DIY Outdoor Sectional
Outdoor wood sectional!
by Elizabeth
Built from Plan(s)
Outdoor wood sectional!
by Elizabeth
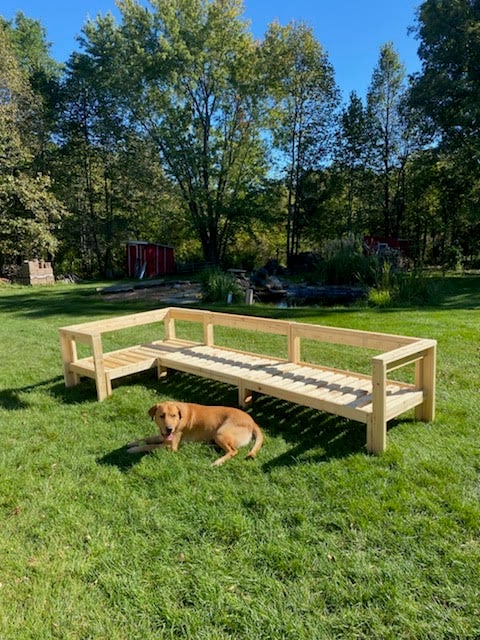
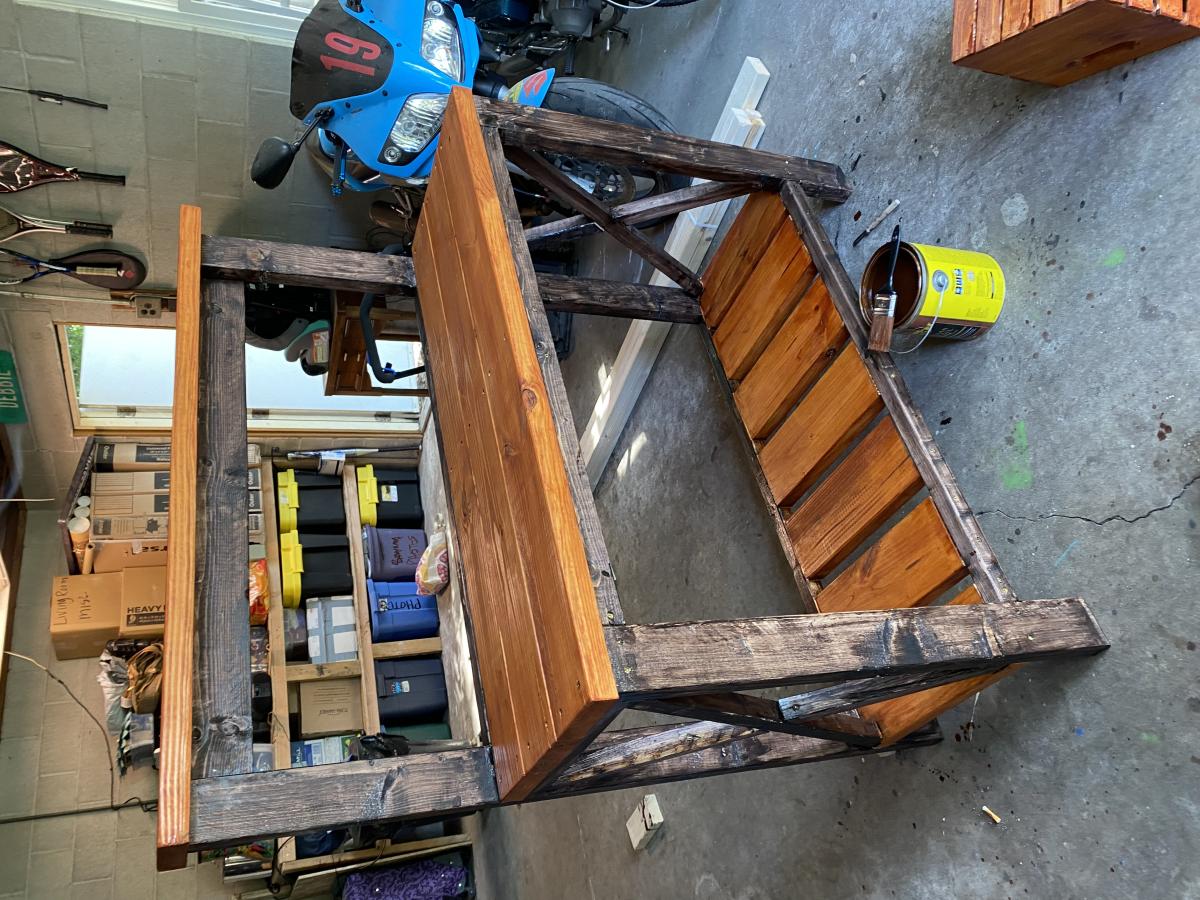
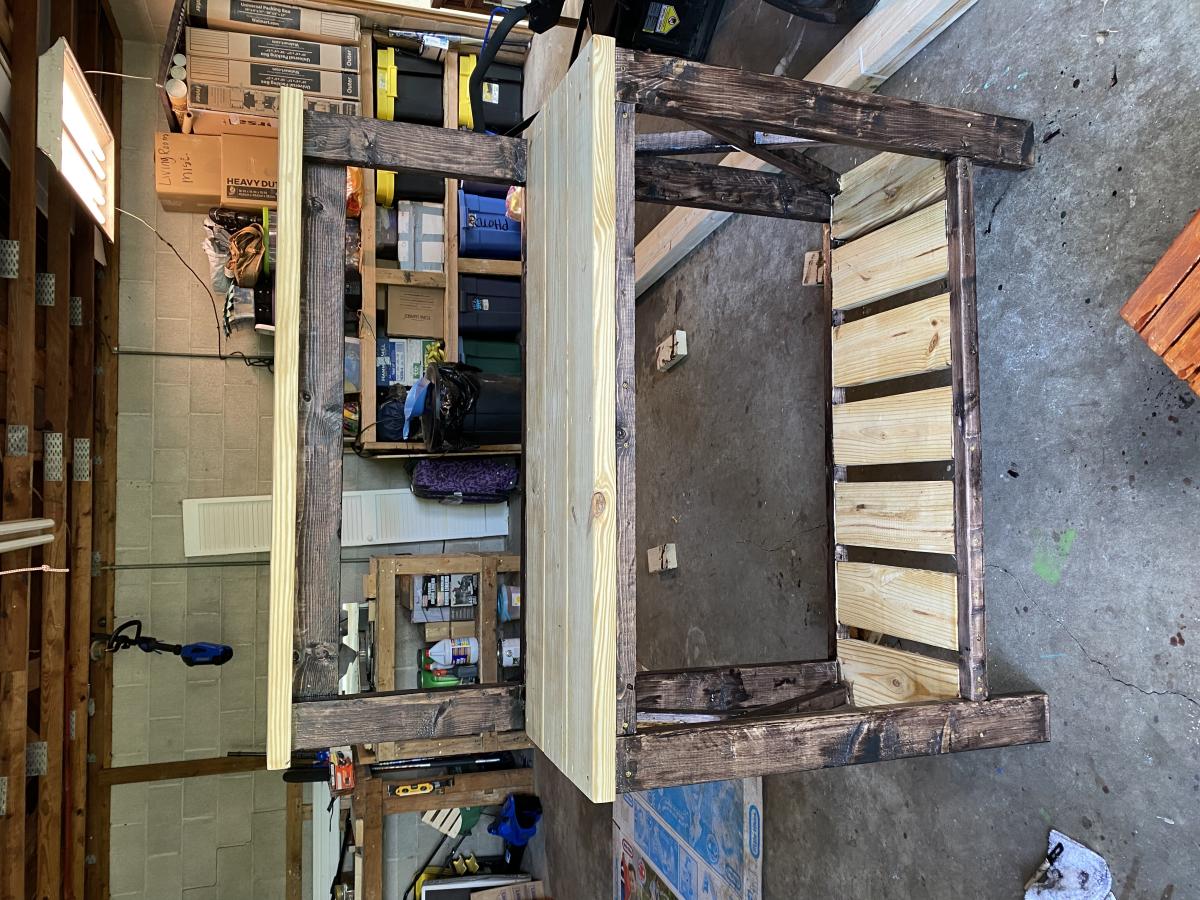
Very quick to do. I made a few modifications to the plans as you can see. I also stained the pieces before gluing and screwing together. My boys LOVE this one...
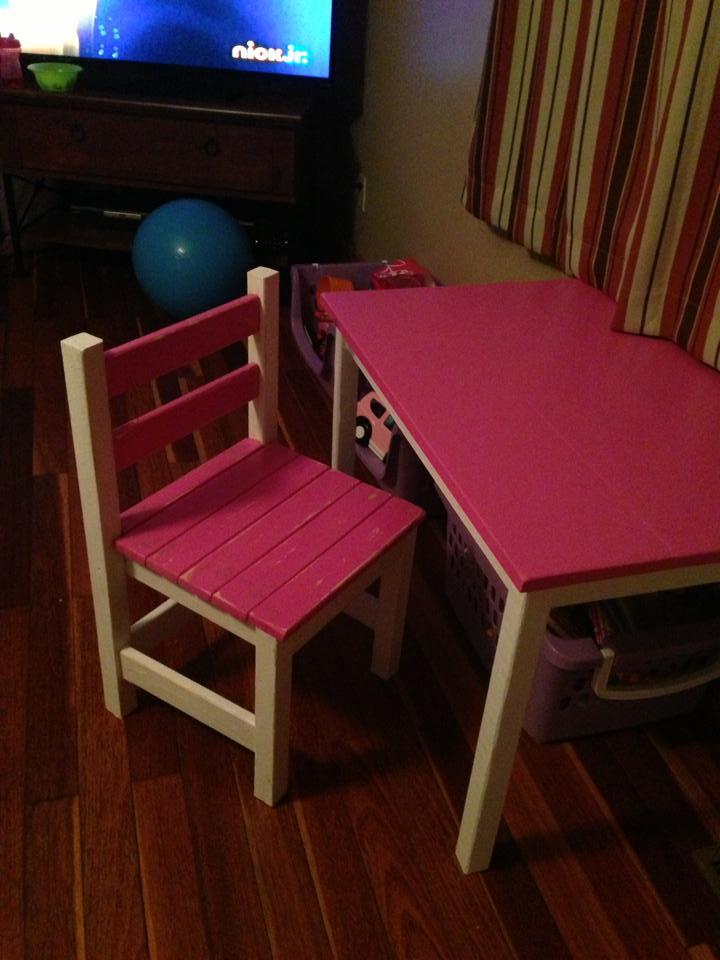
I made the $4 dollar chair and Ana Table. For the chairs I used 2x2's for the legs to help sturdy it up and because of that my seat slats are closer together. It's a very sturdy chair. I can sit on it and it doesn't budge.
The table was easy to do.

Sun, 08/11/2013 - 20:35
This is just so cute! =D Now I want to stop what I'm doing and build one too; infectious! Haha.
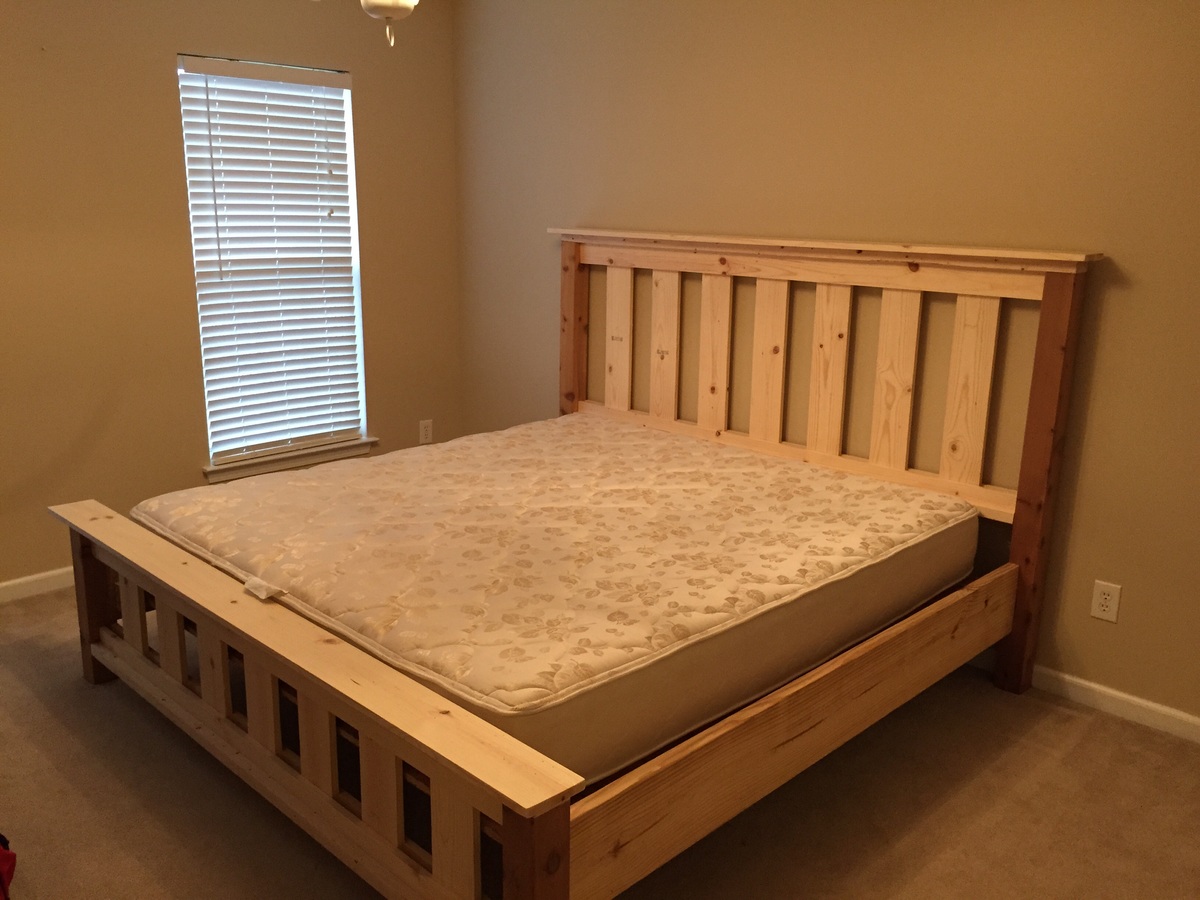
The project went relatively well. Had to readjust in order to fit our king. I used 2x4s and 2x4 joist hangers to support the mattres.

I started off following the plan, then decided I didn't want to put a full back on it. Then I decided it was a good time to learn how to use my new router, and the next thing you know, it had turned into this! I didn't know what I was doing, so I just made it up as I went along.

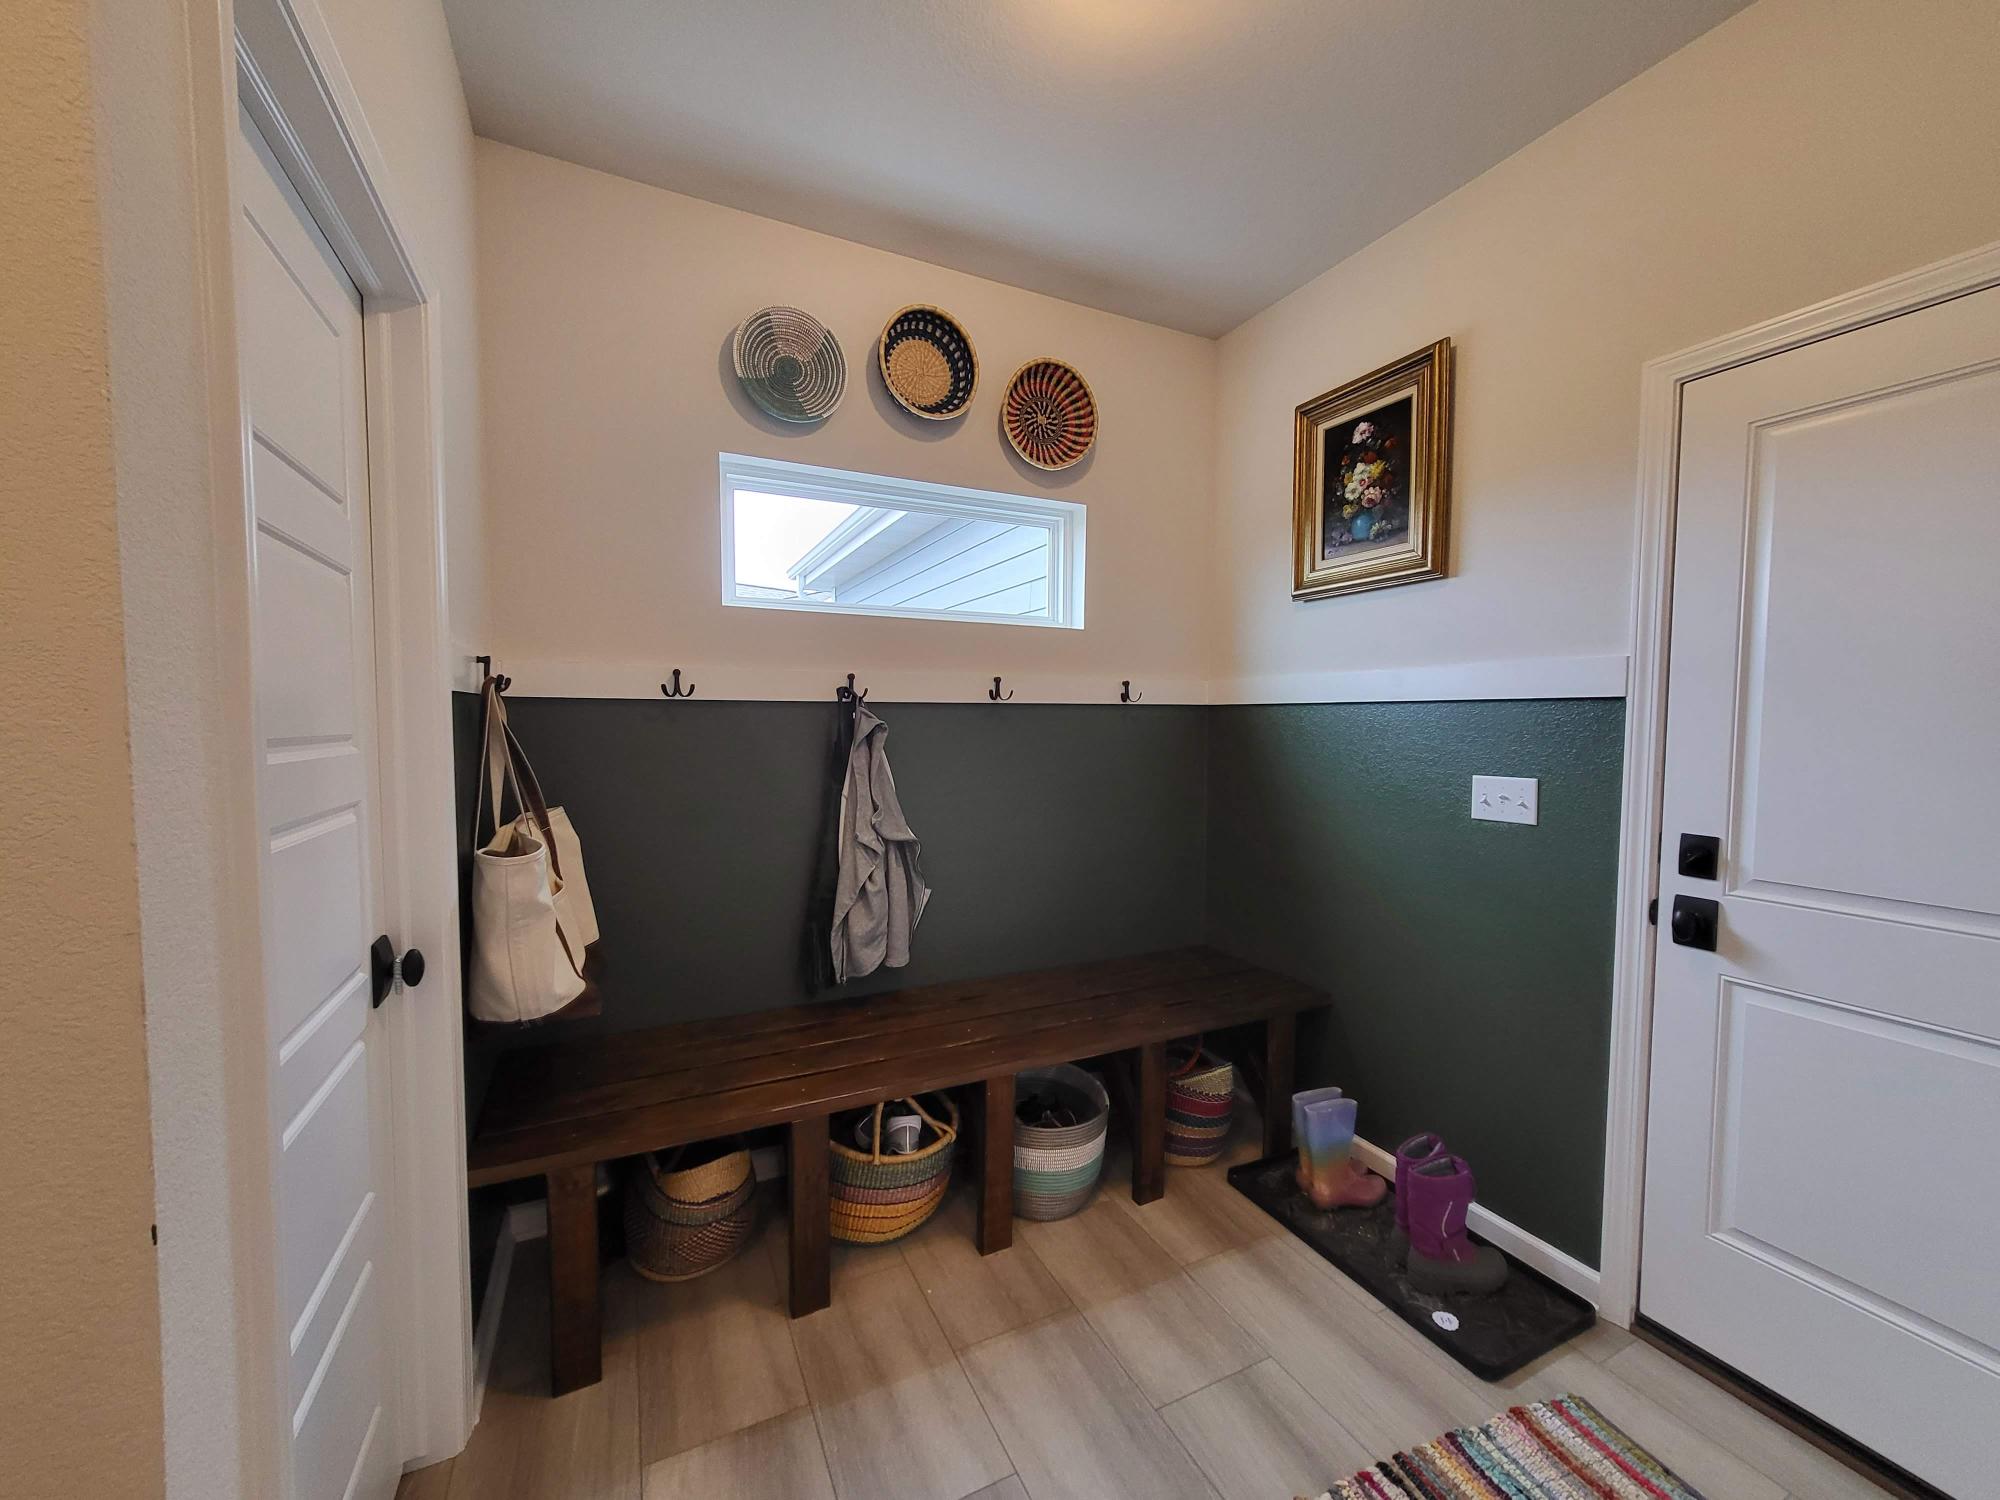
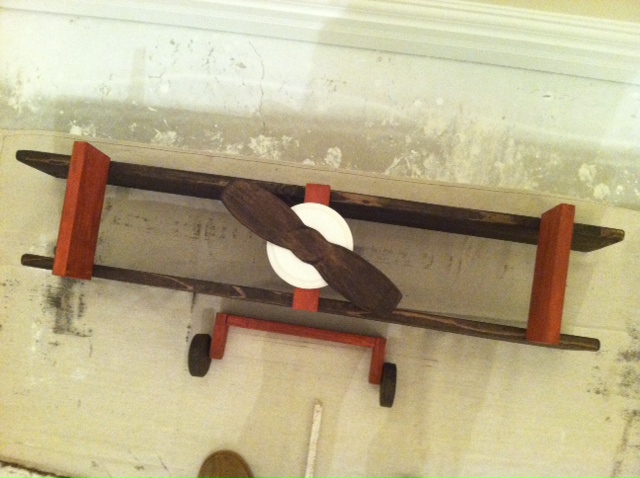
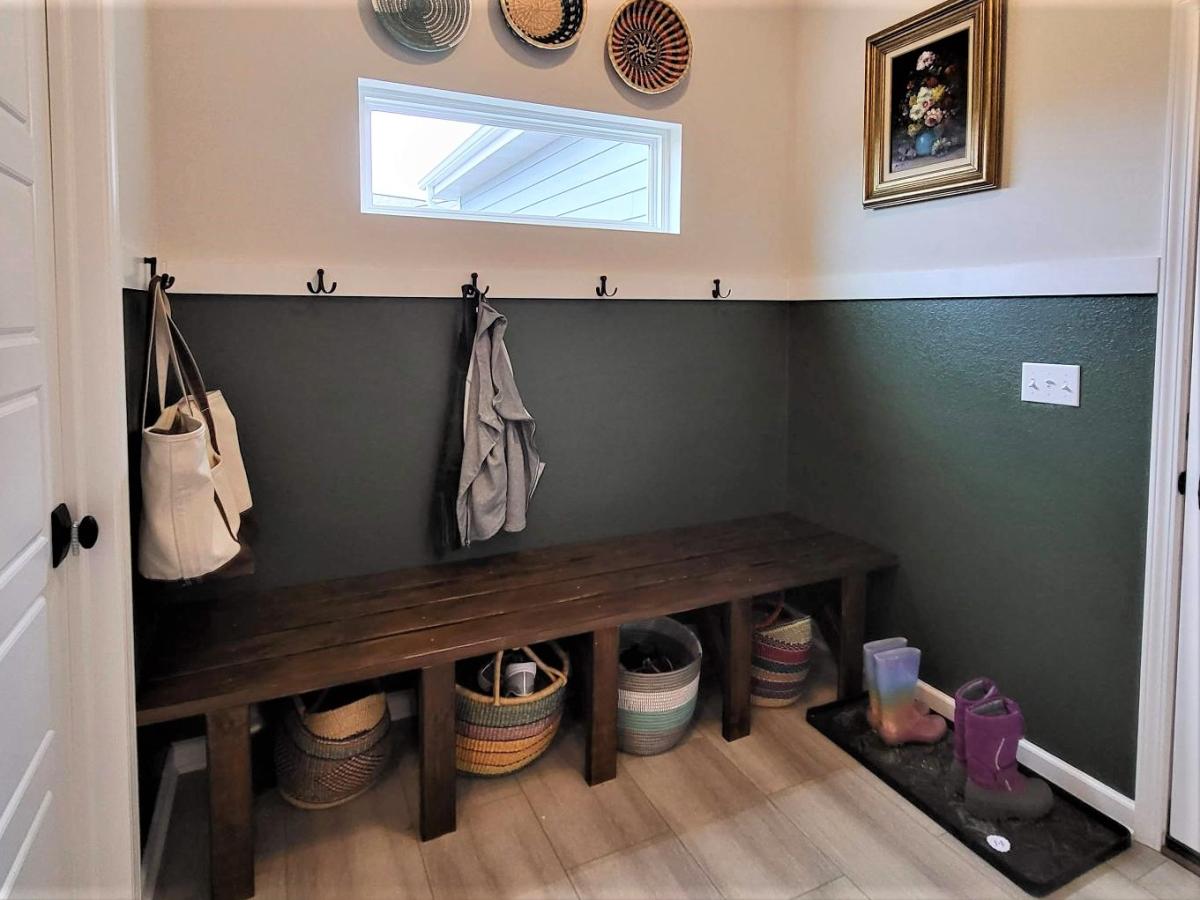
Used the warming hut bench plan to build this rear foyer bench! I used Behr Stain & Poly in Mission oak (2 coats) and love the way it ties in with the rest of our house. Plus I love saying "Thanks, I made it!" when people see it and ask where I found something that fit so perfectly. :)
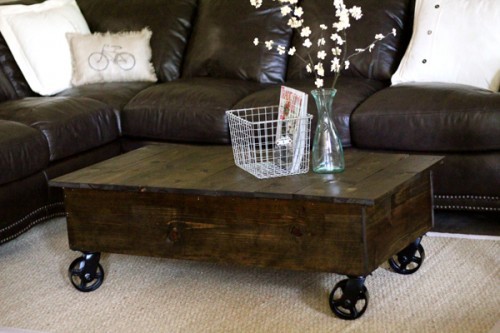
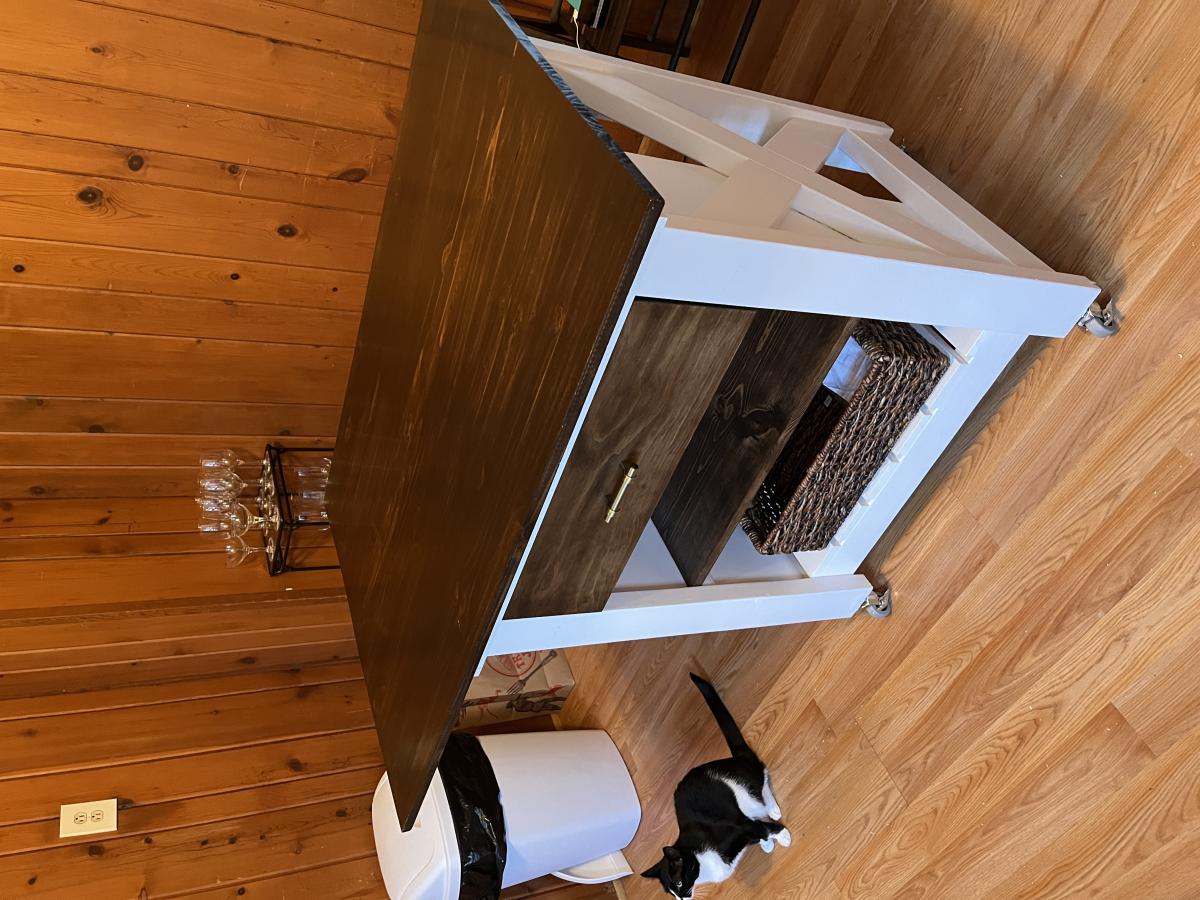
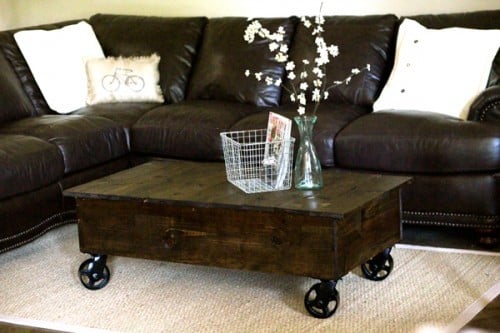
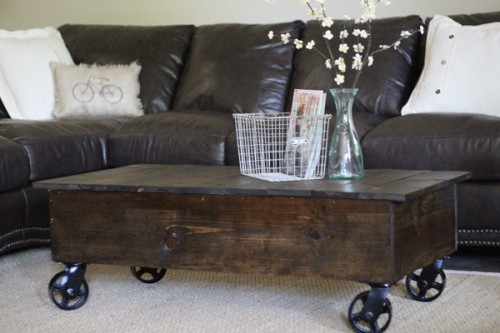
I used Ana's plans for her factory cart coffee table to create my new coffee table. It was super easy and cheap! I used 1x10's for the sides to make it a bit taller. I found my casters at Northern Tool for $12 a piece. That was the main cost of the table. I used Gorilla Glue and 2" nails to hold everything together. I had it done in a couple hours and I love it! You can see more details at http://www.shanty-2-chic.com/2011/06/crate-coffee-table-reveal.html !
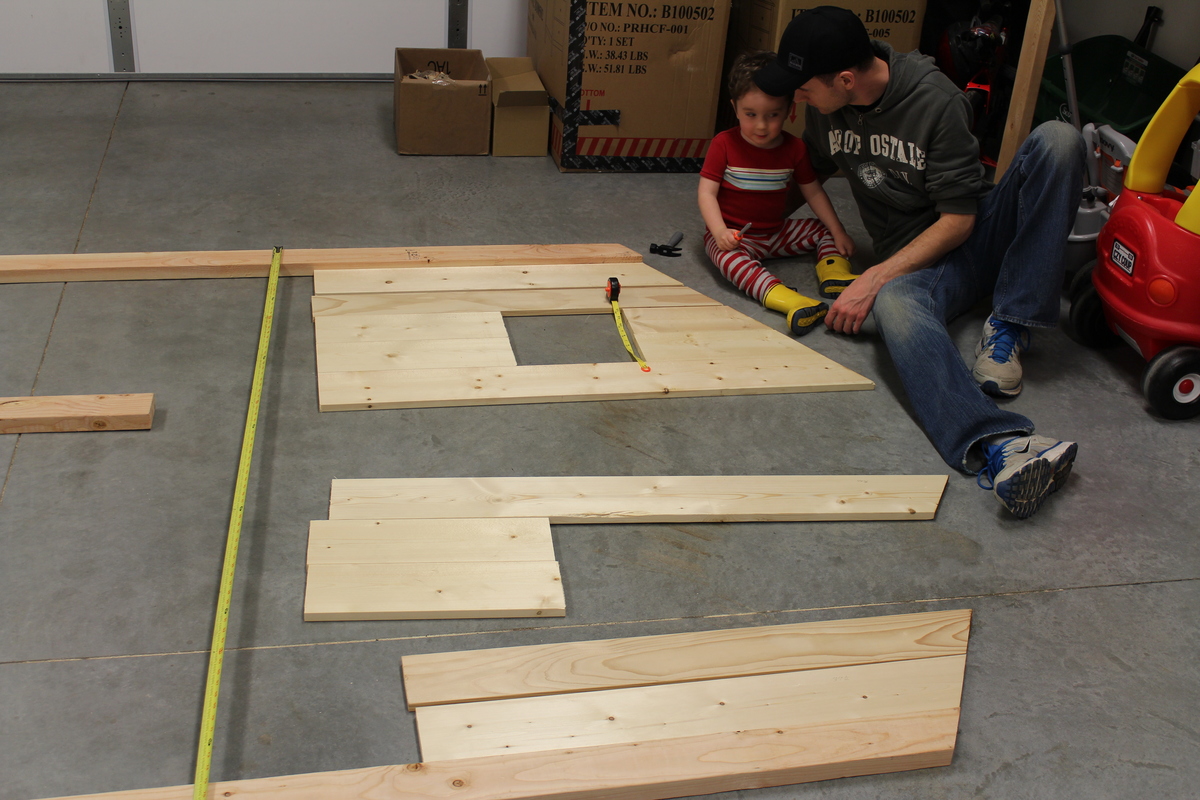
This project is fun and relatively quick for the end result. All together, it took just over 20 hours. For the most part I followed the instructions and wood cuts according to the plan. I ended up having to tweak some things and I'm not sure if the error was in the plans provided online or my own error. Probably mine!
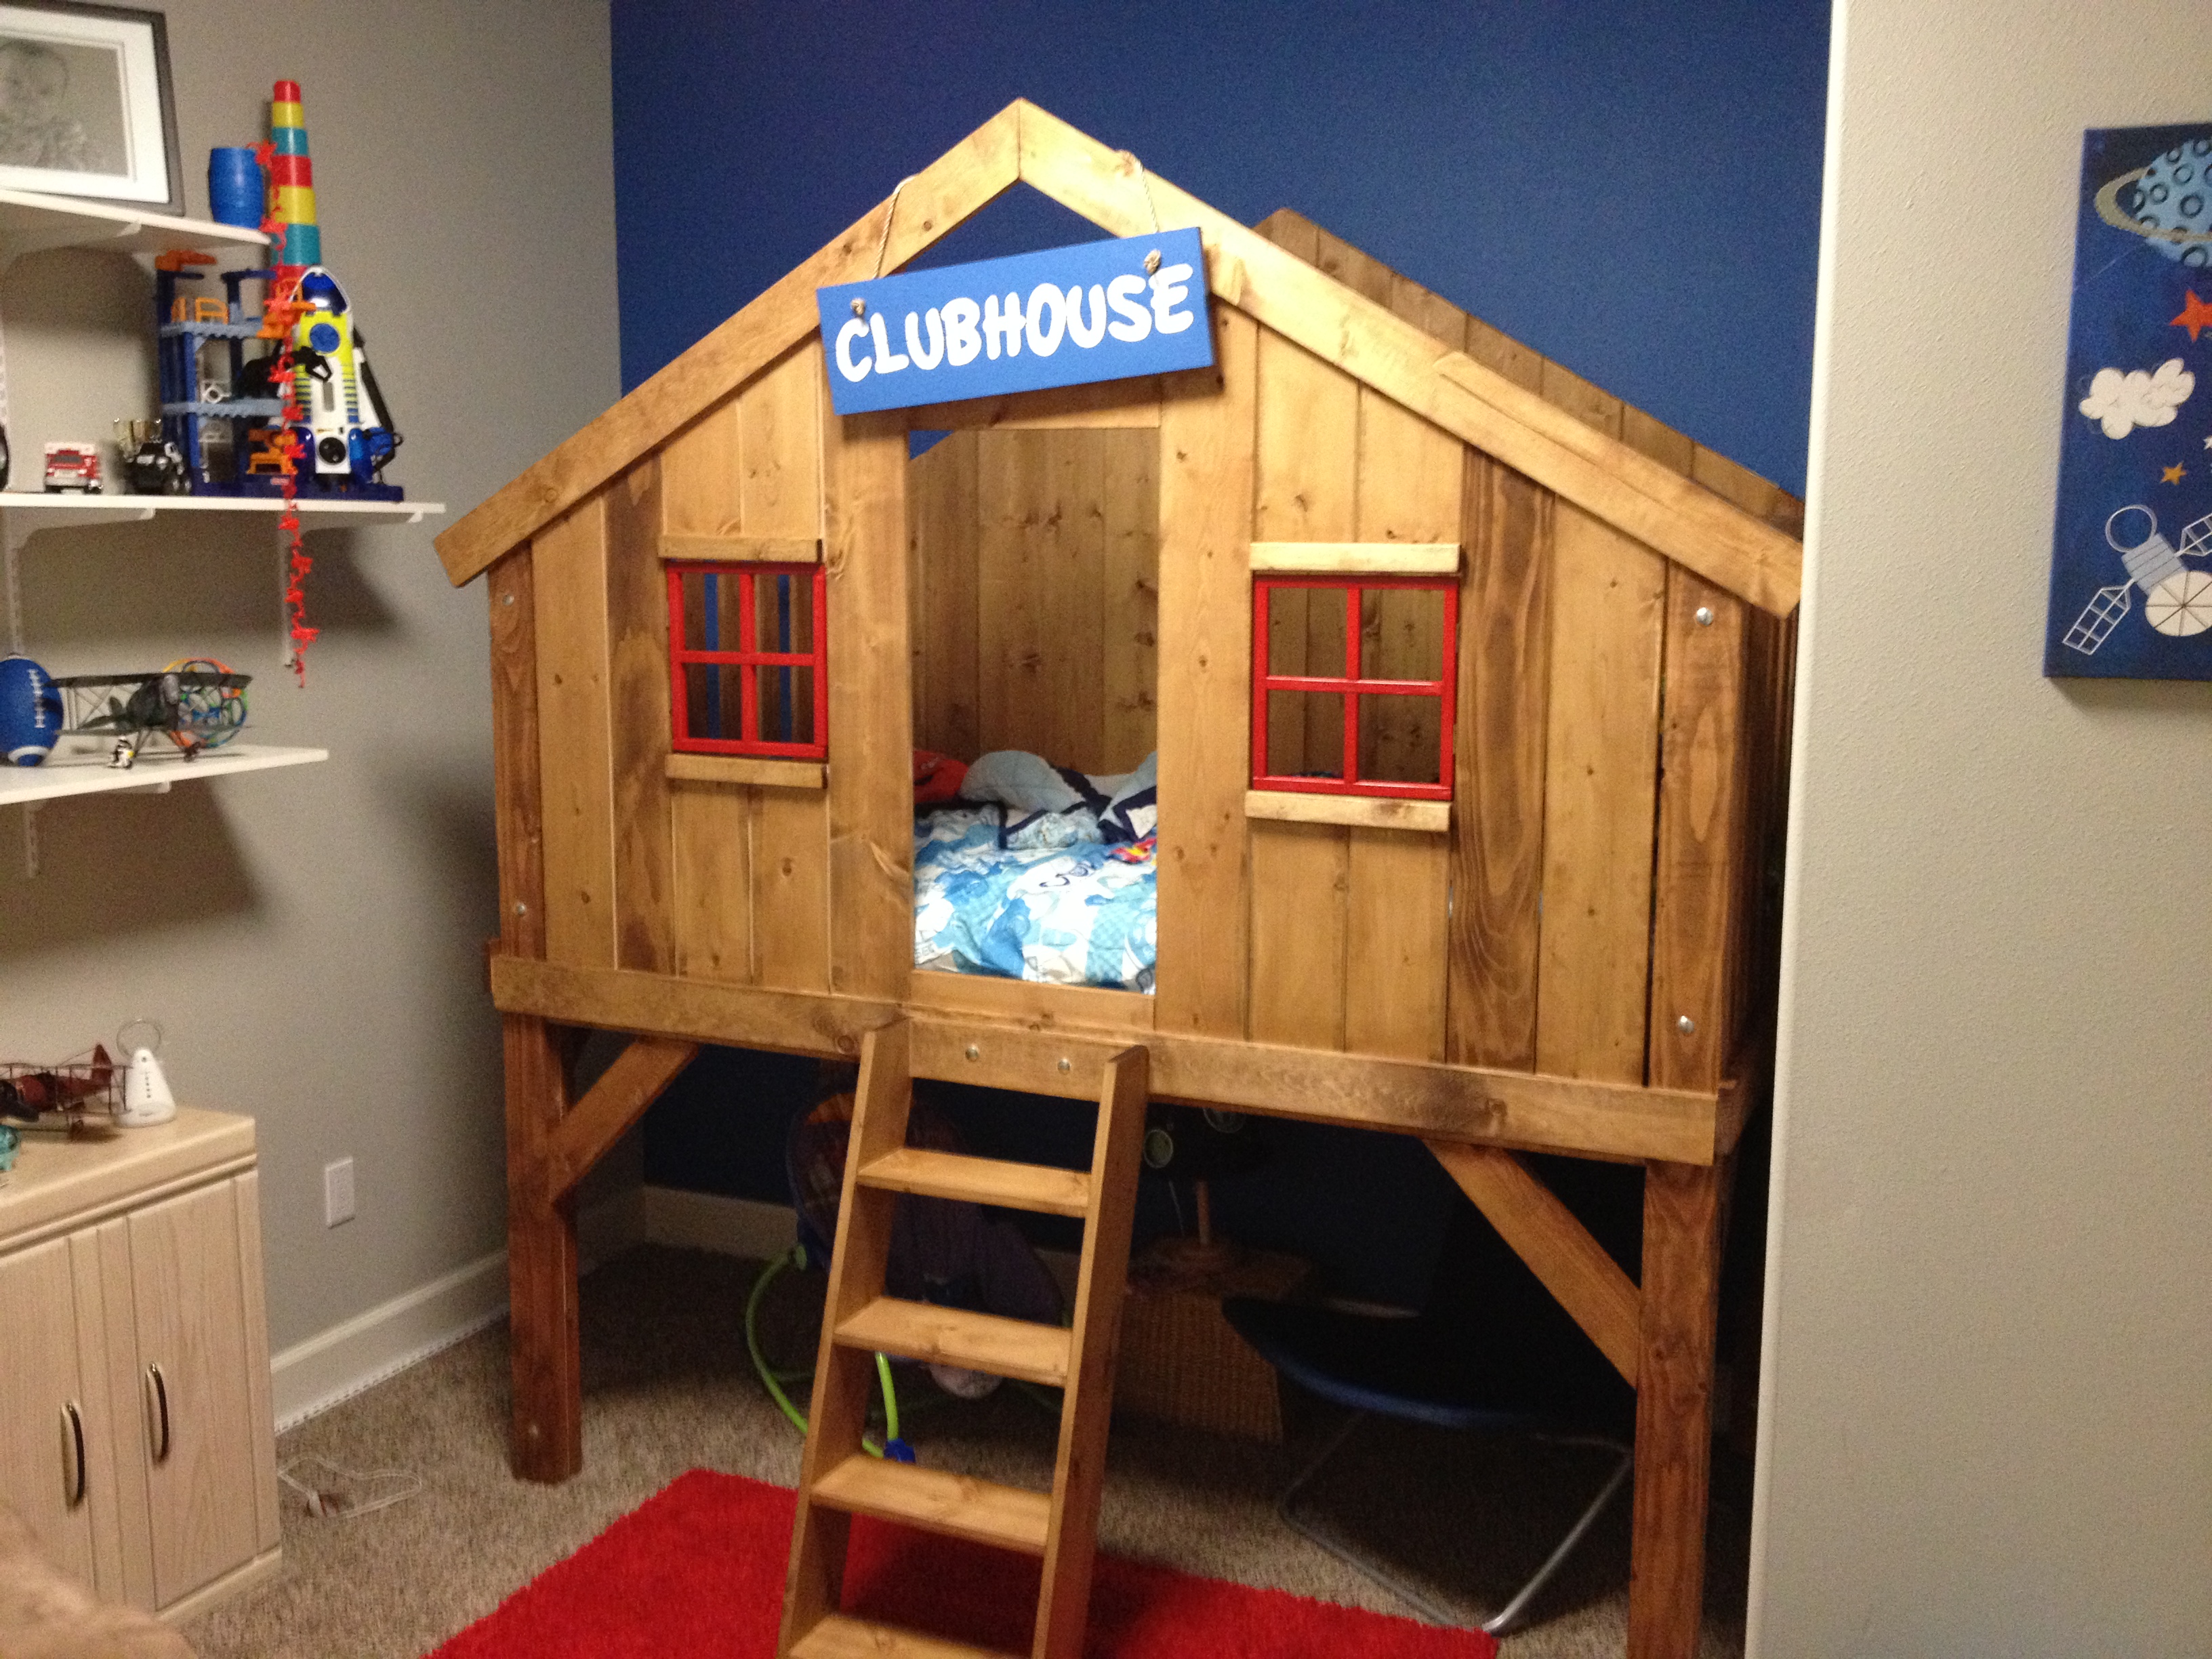
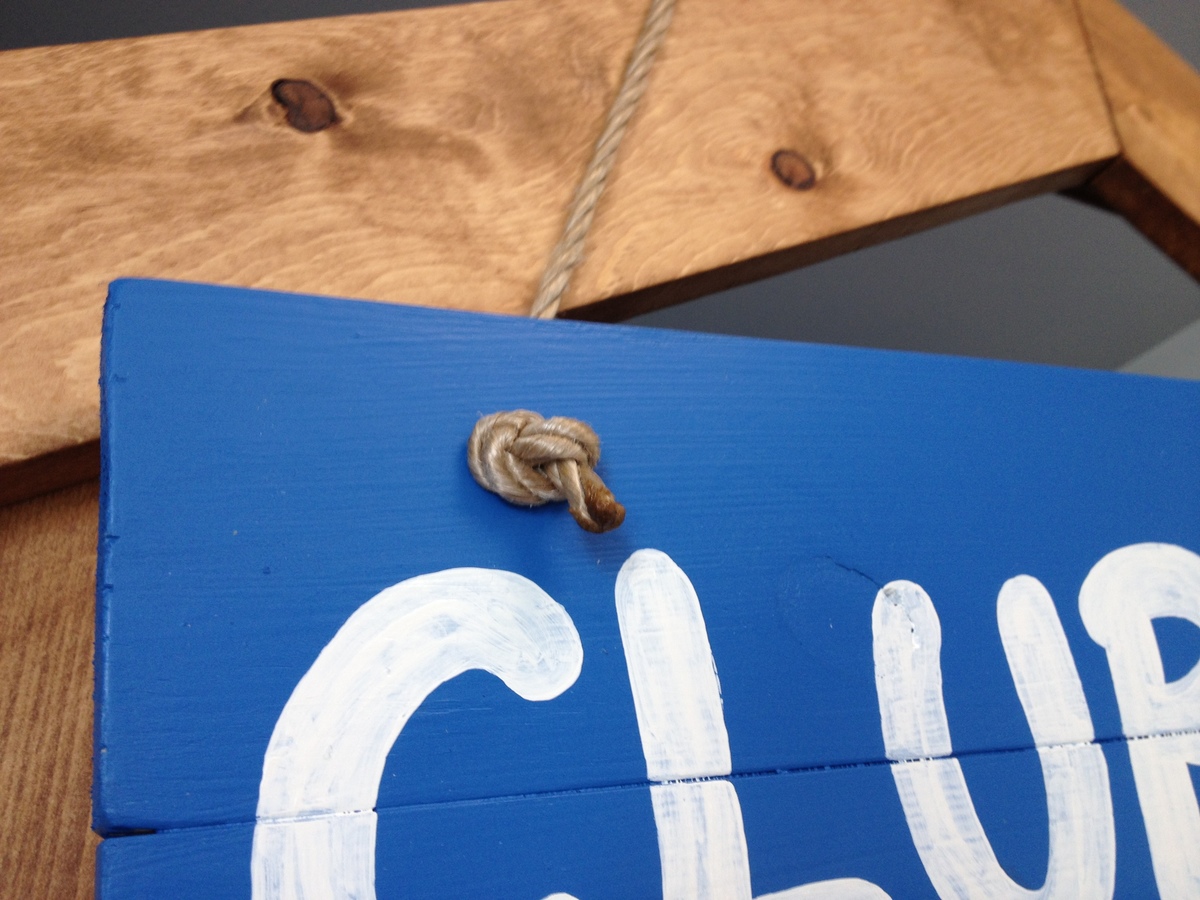
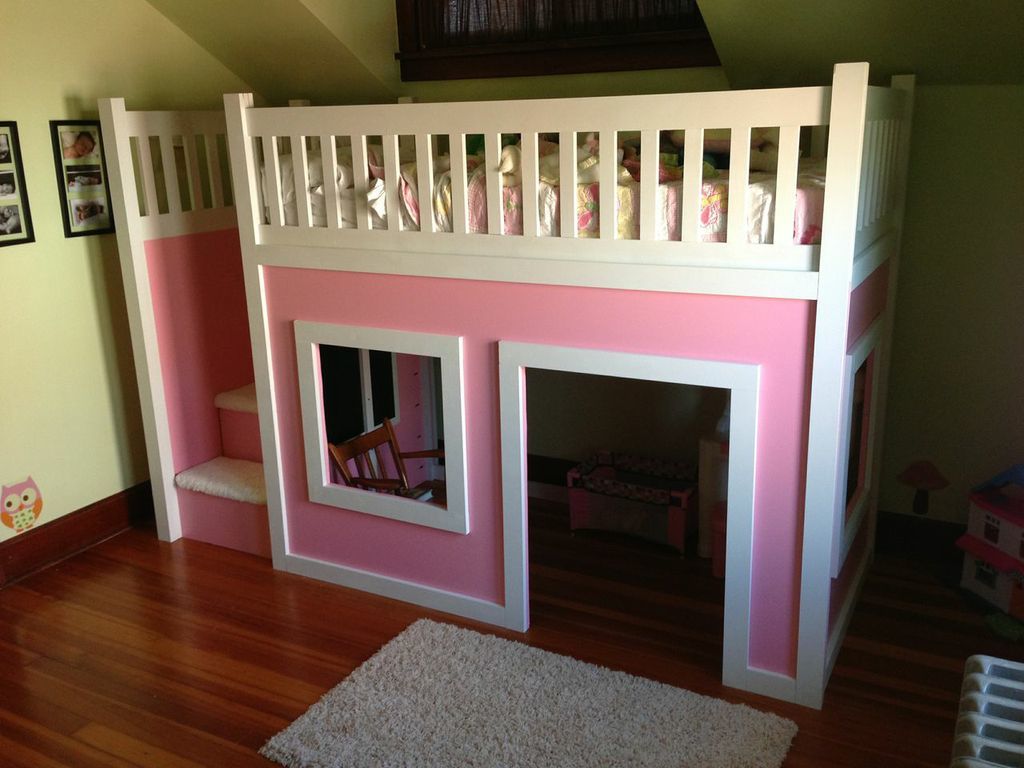
I thought I would add that, for the sign, I simply picked a font on the computer and printed out big letters (a size that would fit nicely on the sign) and then used those letters to trace out the border. Then I painted the letters by staying inside the lines! Easy Peasy. I used a small rustic rope and drilled holes in the sign to slip the rope through. I then tied knots so as to hold the sign in place. Works great and definitely completes the set. I thought about skipping the windows, but I'm so glad I did not. They really stand out and look amazing. My son loves to open them and just stare out (who knows what his imagination is making him see).
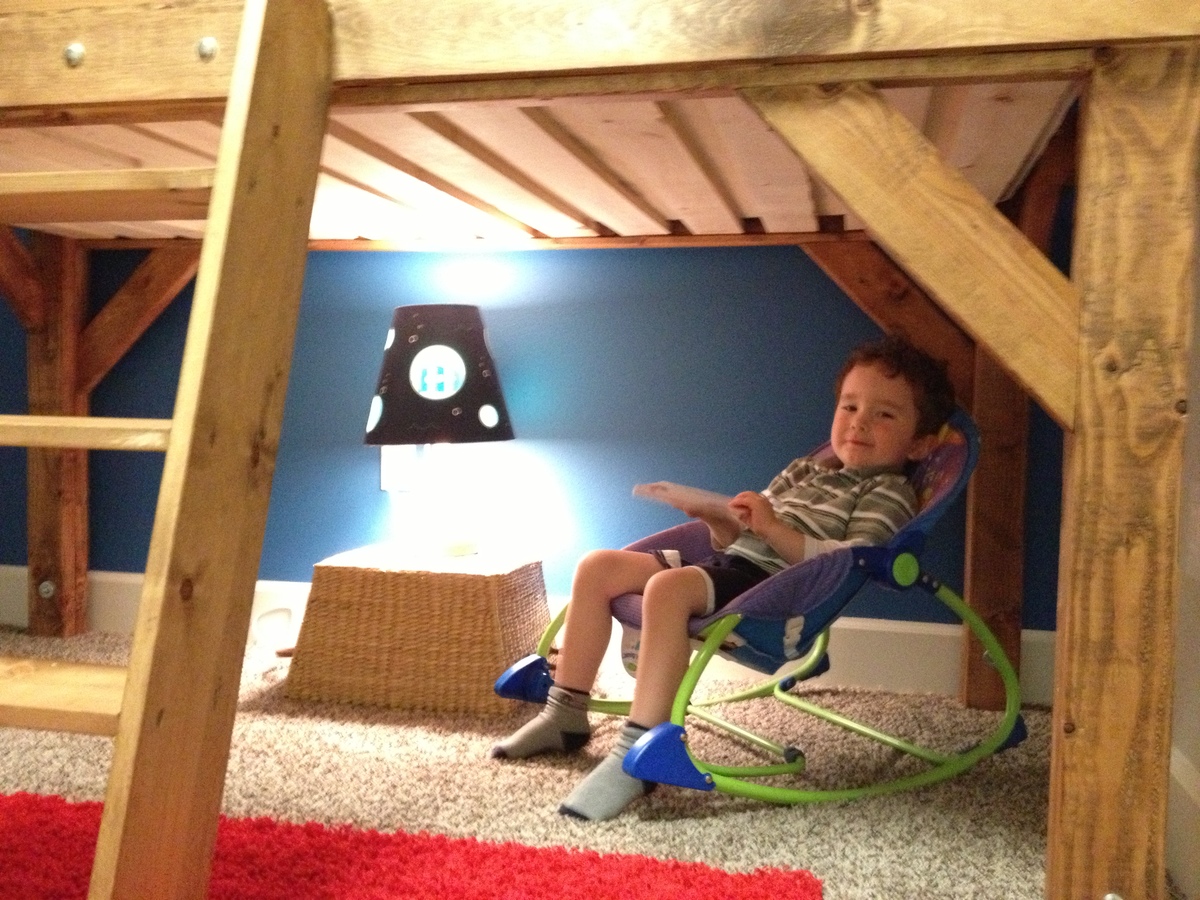
This bed is great because it allows for another area below. My son likes to turn on a lamp, sit in his chair and read. Thank you SO MUCH for this plan!!!

Mon, 03/14/2016 - 19:00
May I ask which mattress size do you used? Looks small for me and I'm guessing you've used toddler bed?
Sun, 03/27/2016 - 09:53
I used a regular size Twin Mattress. I'm 6'2" and I've actually slept in this bed : )
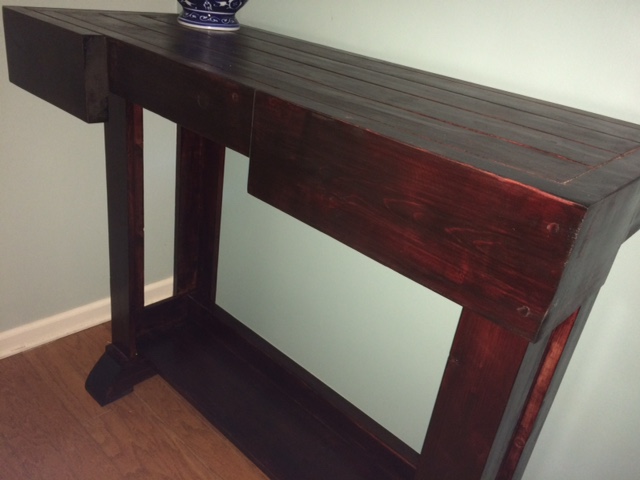
Took me a bit longer since I had to make a new cutting list as my table was smaller. Plus, the wife wanted a really dark rich stain on it so several coats went into the stain.
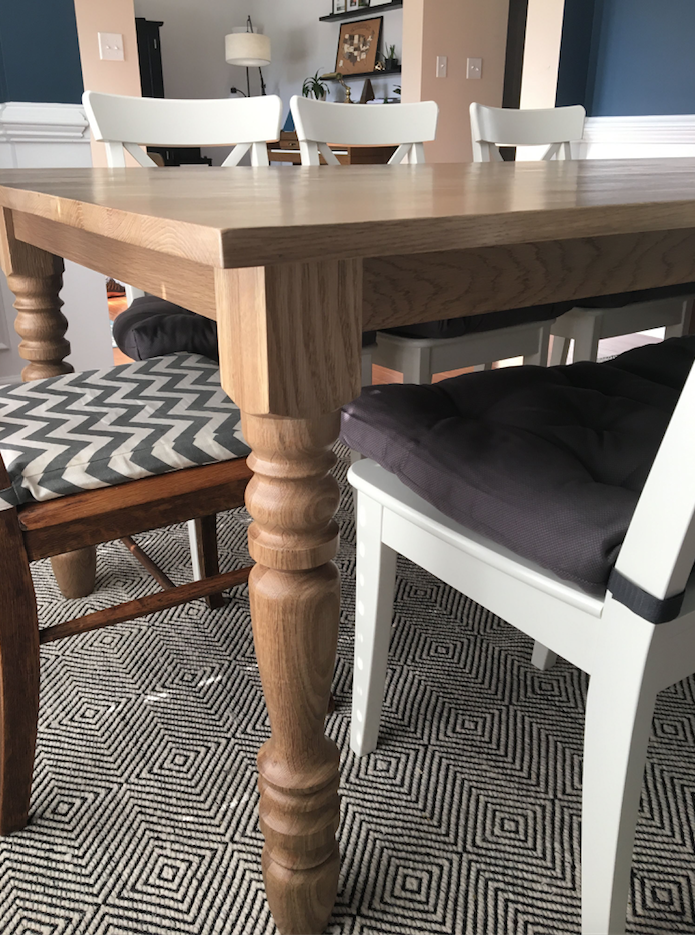
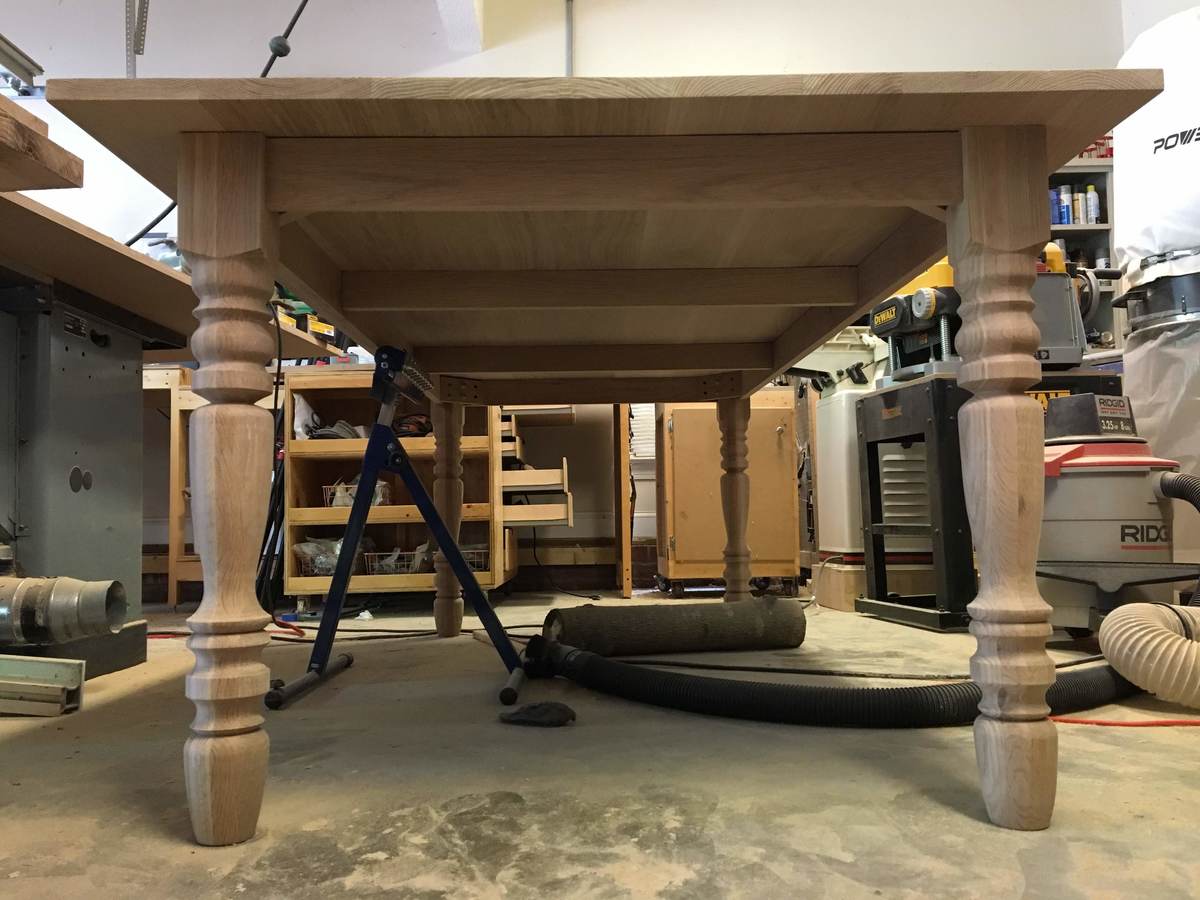
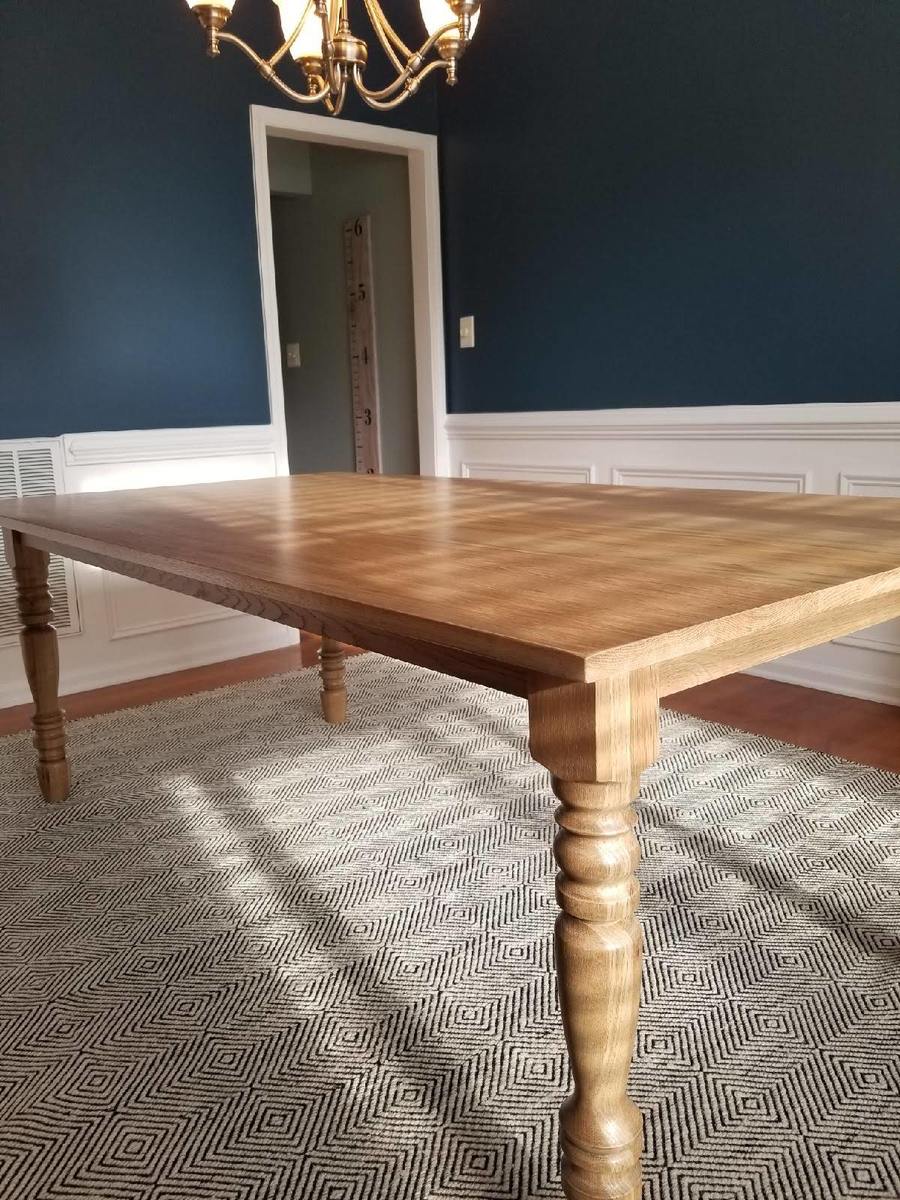
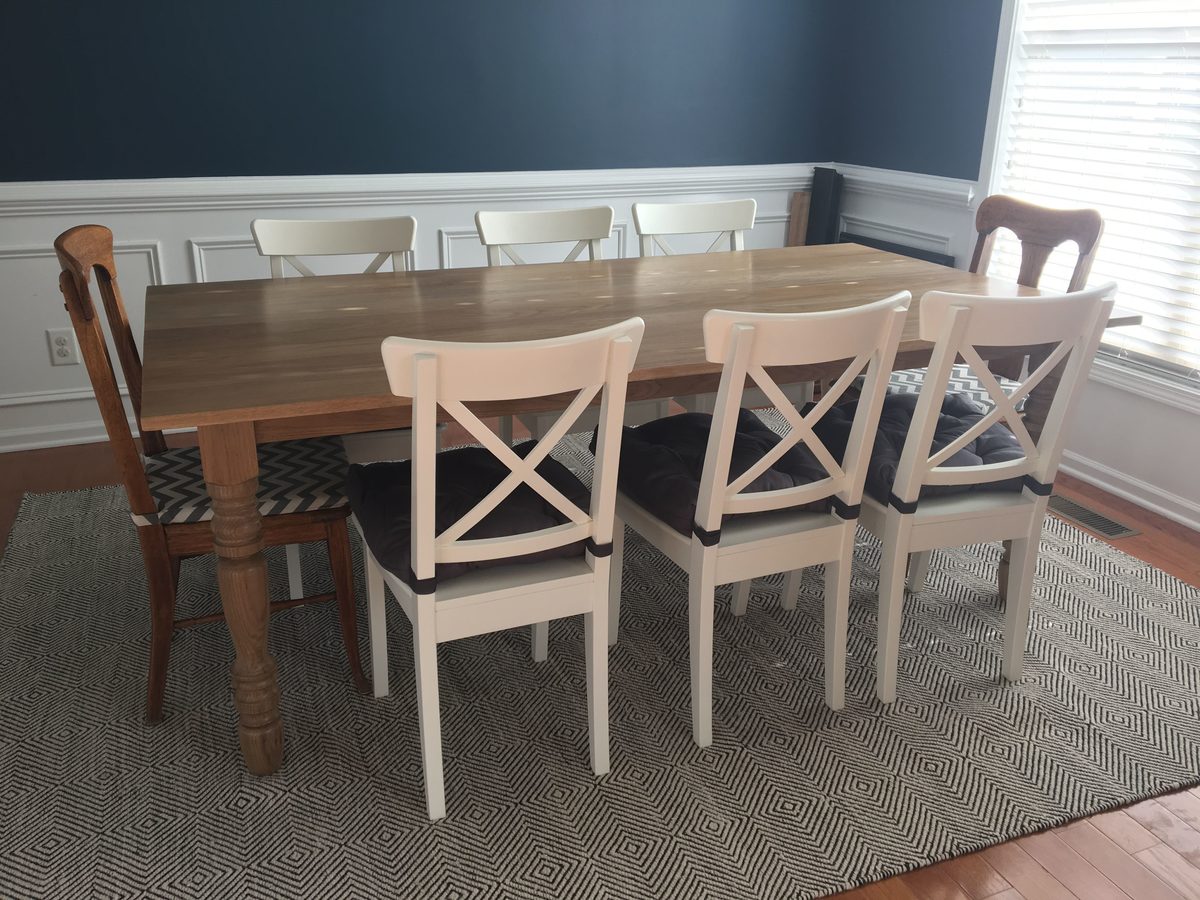
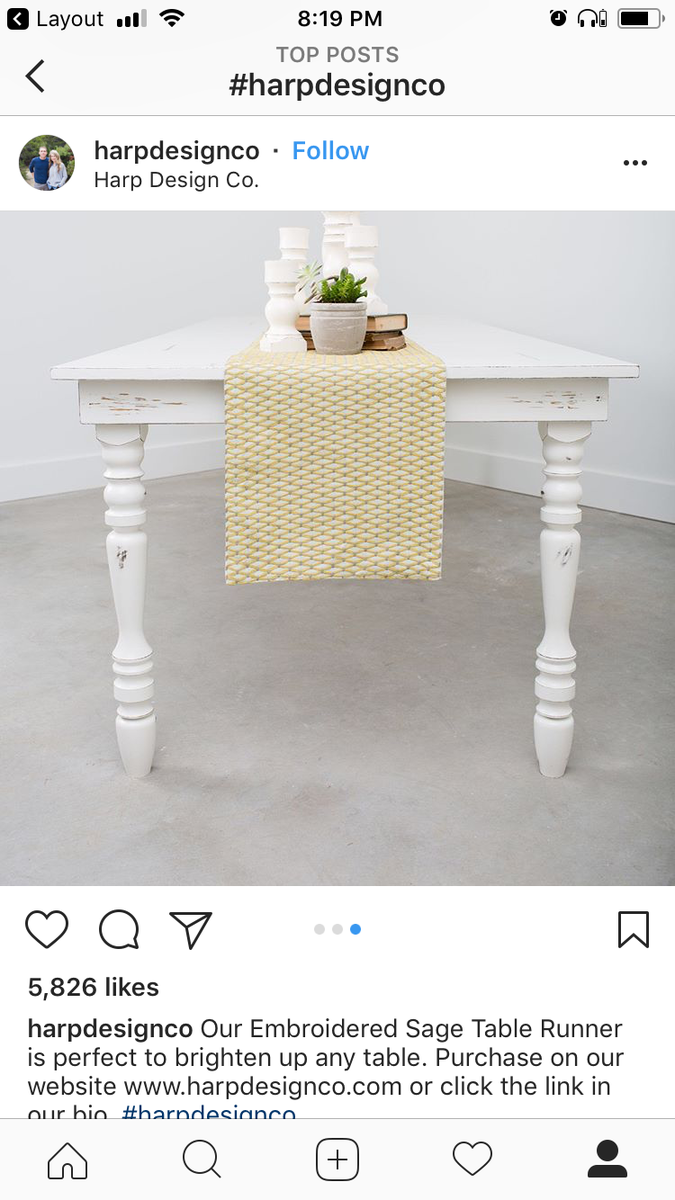
A friend of mine loves the tables by Harp Design Co. but she wanted changes made to it such as the apron being inset, removable legs, oak wood, specific finish, etc.
She hired me to make her one and it's been an exciting build! I built it from a pile of raw wood, turned the legs, etc.
My favorite thing to do is to inpsire others to reach beyond what they're comfortable doing - that's why I post about my projects through my website so other people will feel like they can do it too! https://theprojectlady.com/how-to-build-a-harp-design-table/
I'd rate the level of build as intermediate, but really anyone can make it easier or harder. The most challenging part is the legs - do something more simple, hire someone to make you some, order them online, etc. The posts I created for this table are in-depth but don't let that intimidate you!
Happy Building Friends!
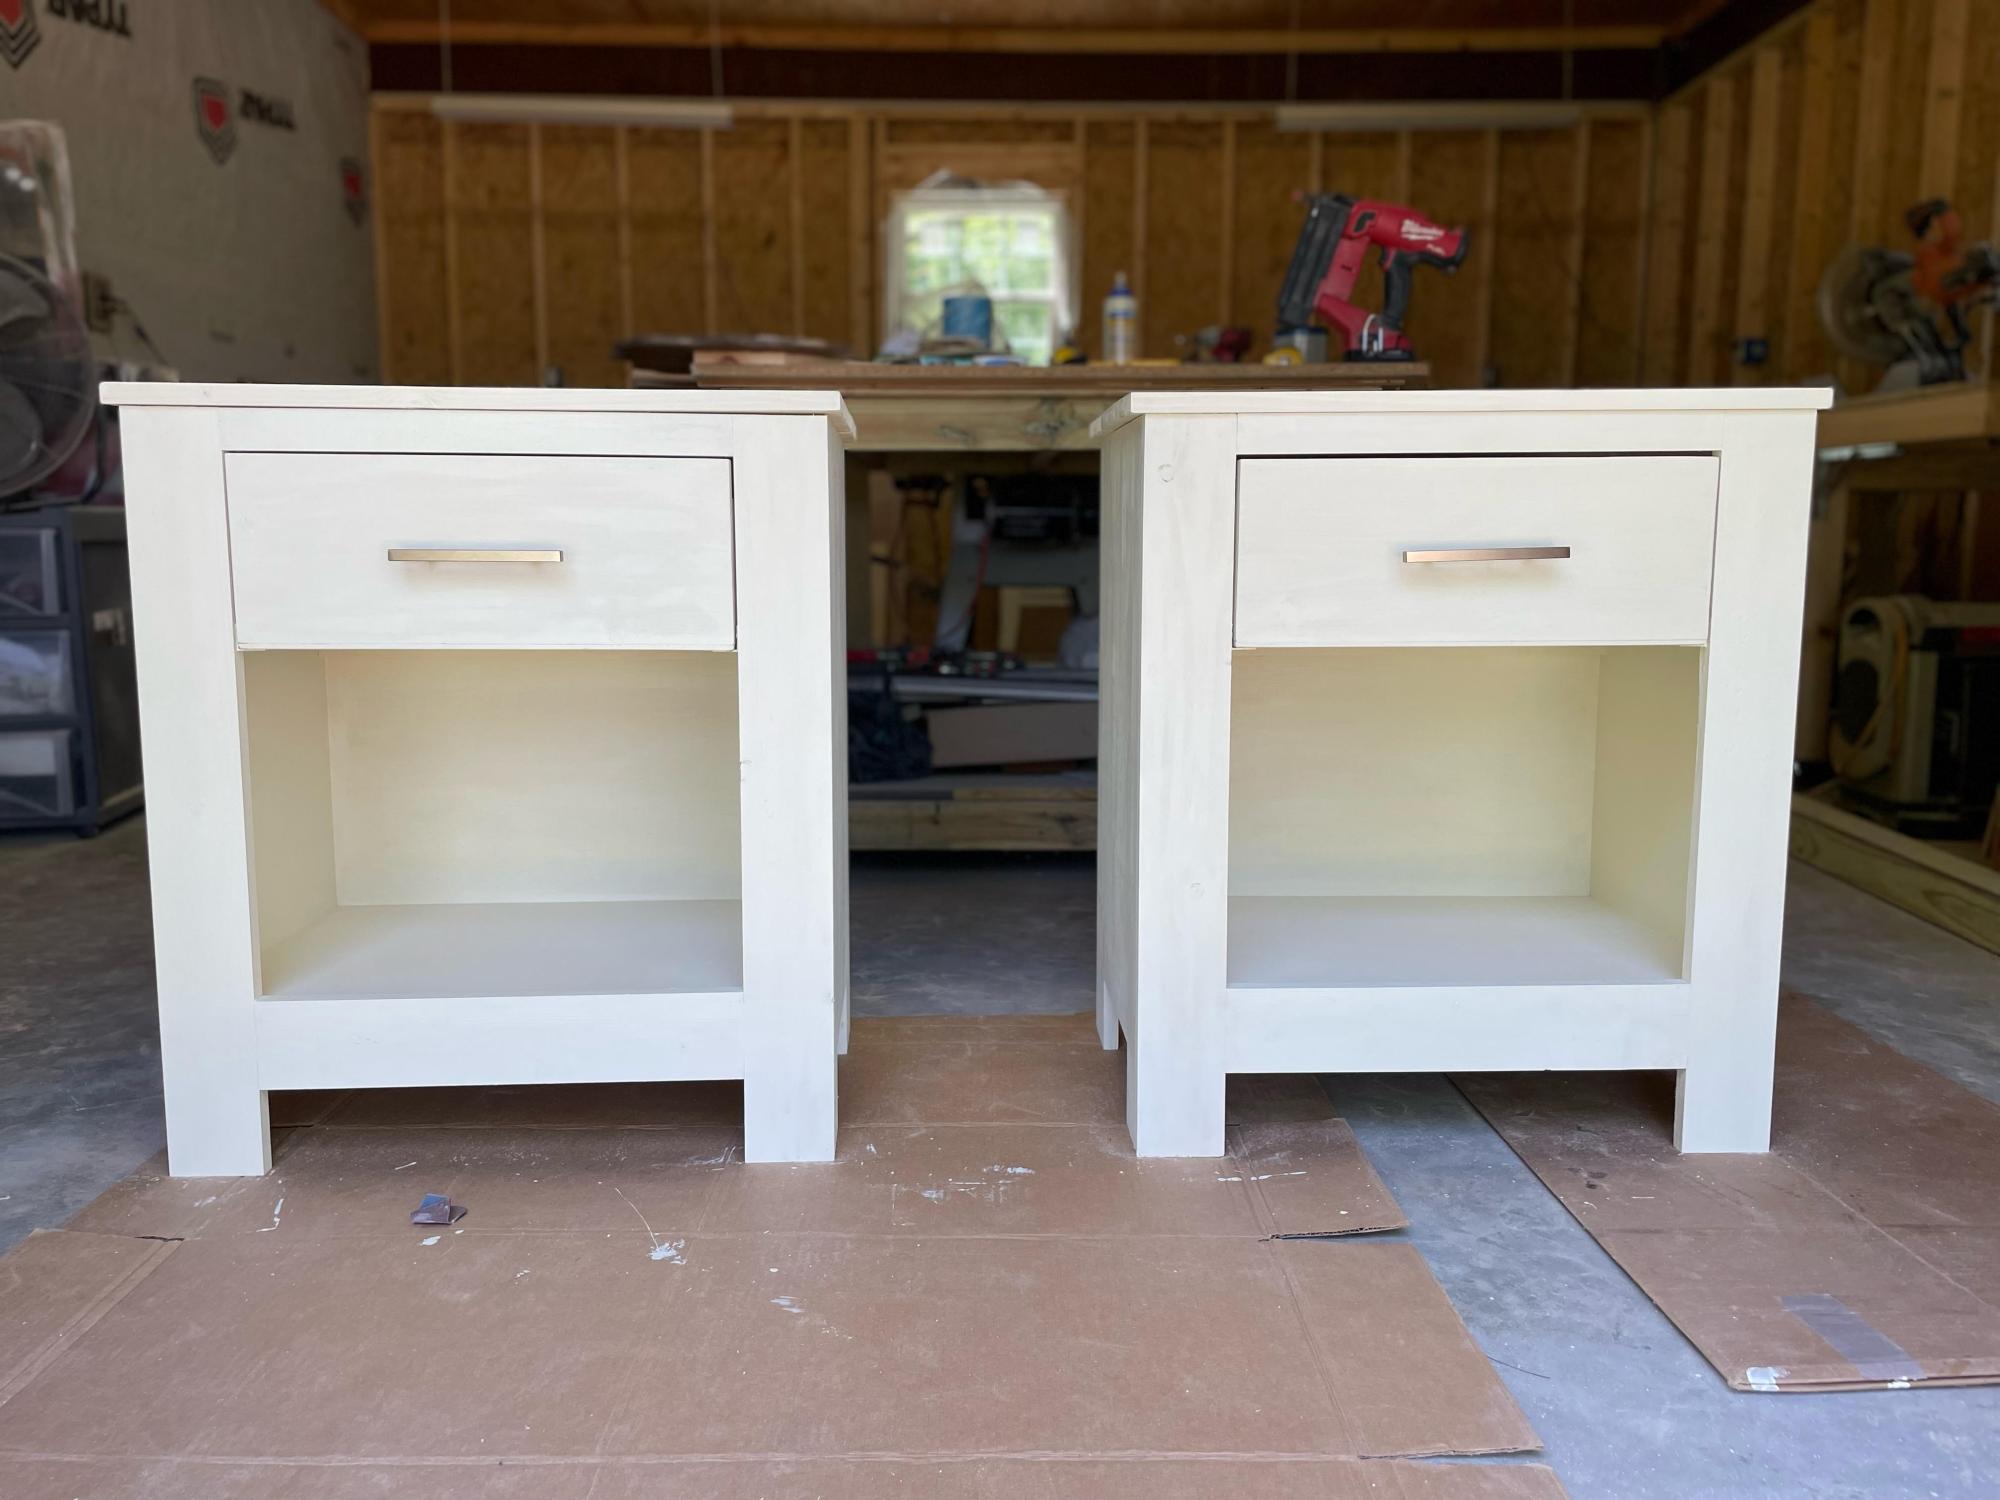
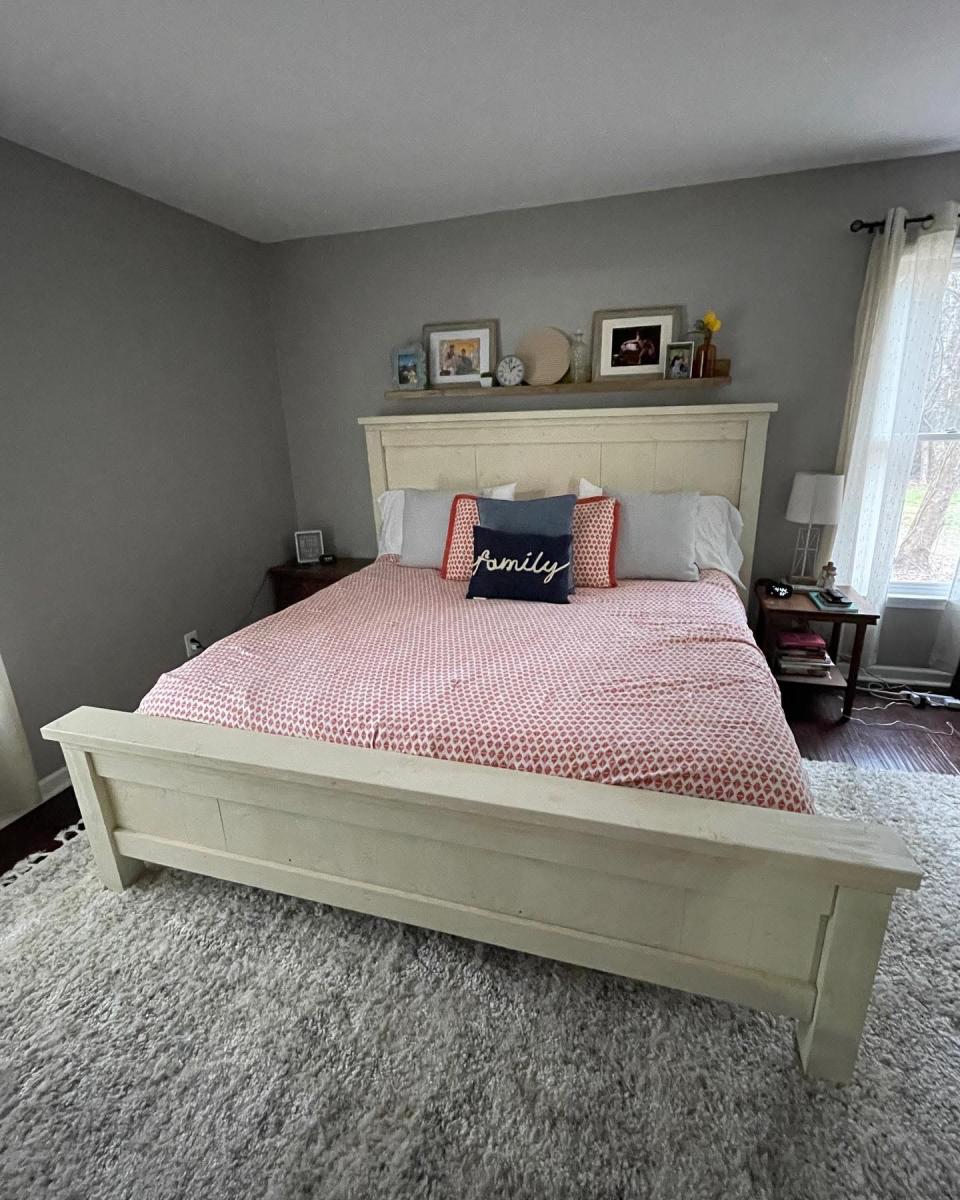
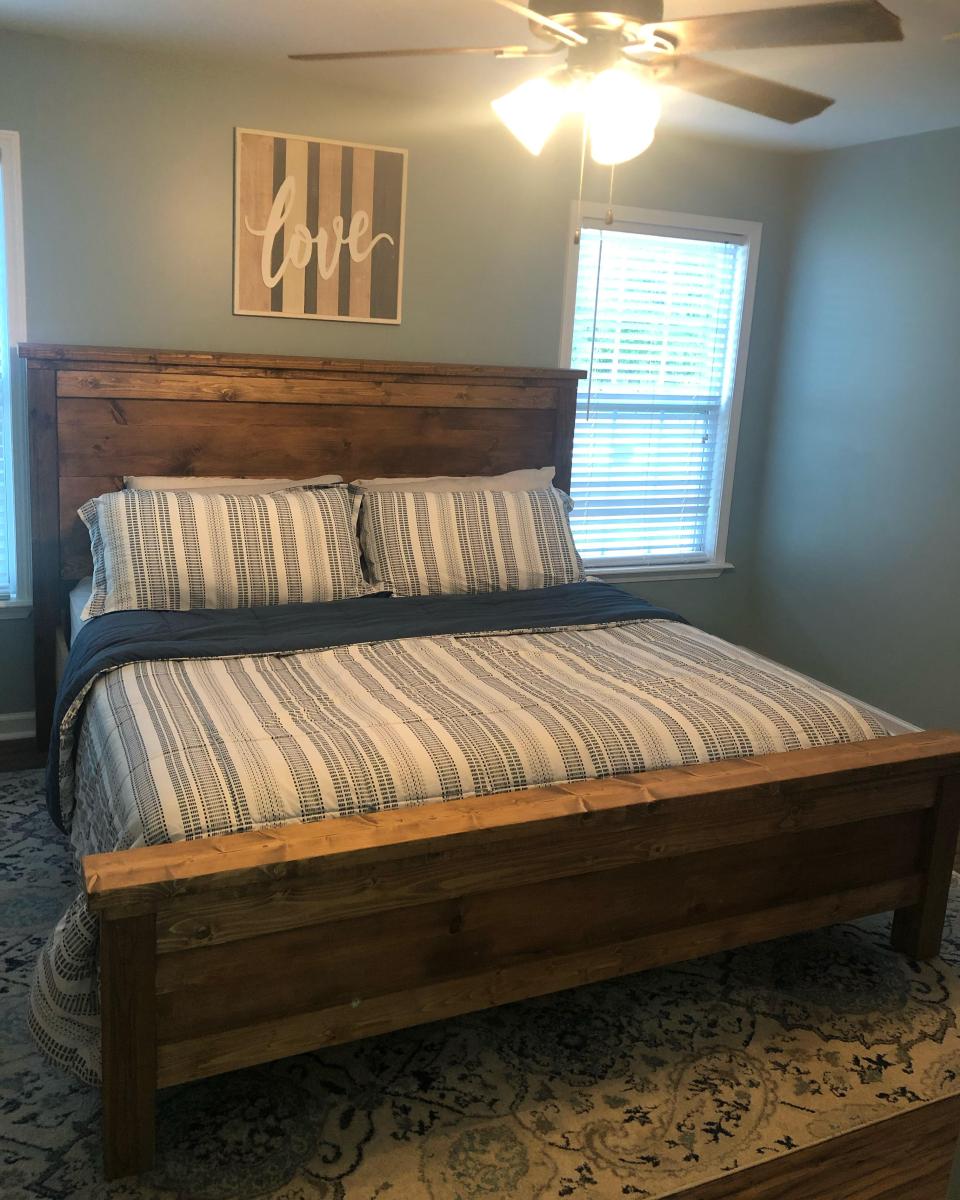
Off white standard king farmhouse bed and matching nightstands and modified (horizontal slats) standard king farmhouse bed stained.
I love your plans!!!
by Tiffany
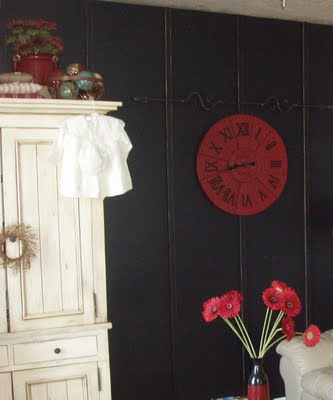
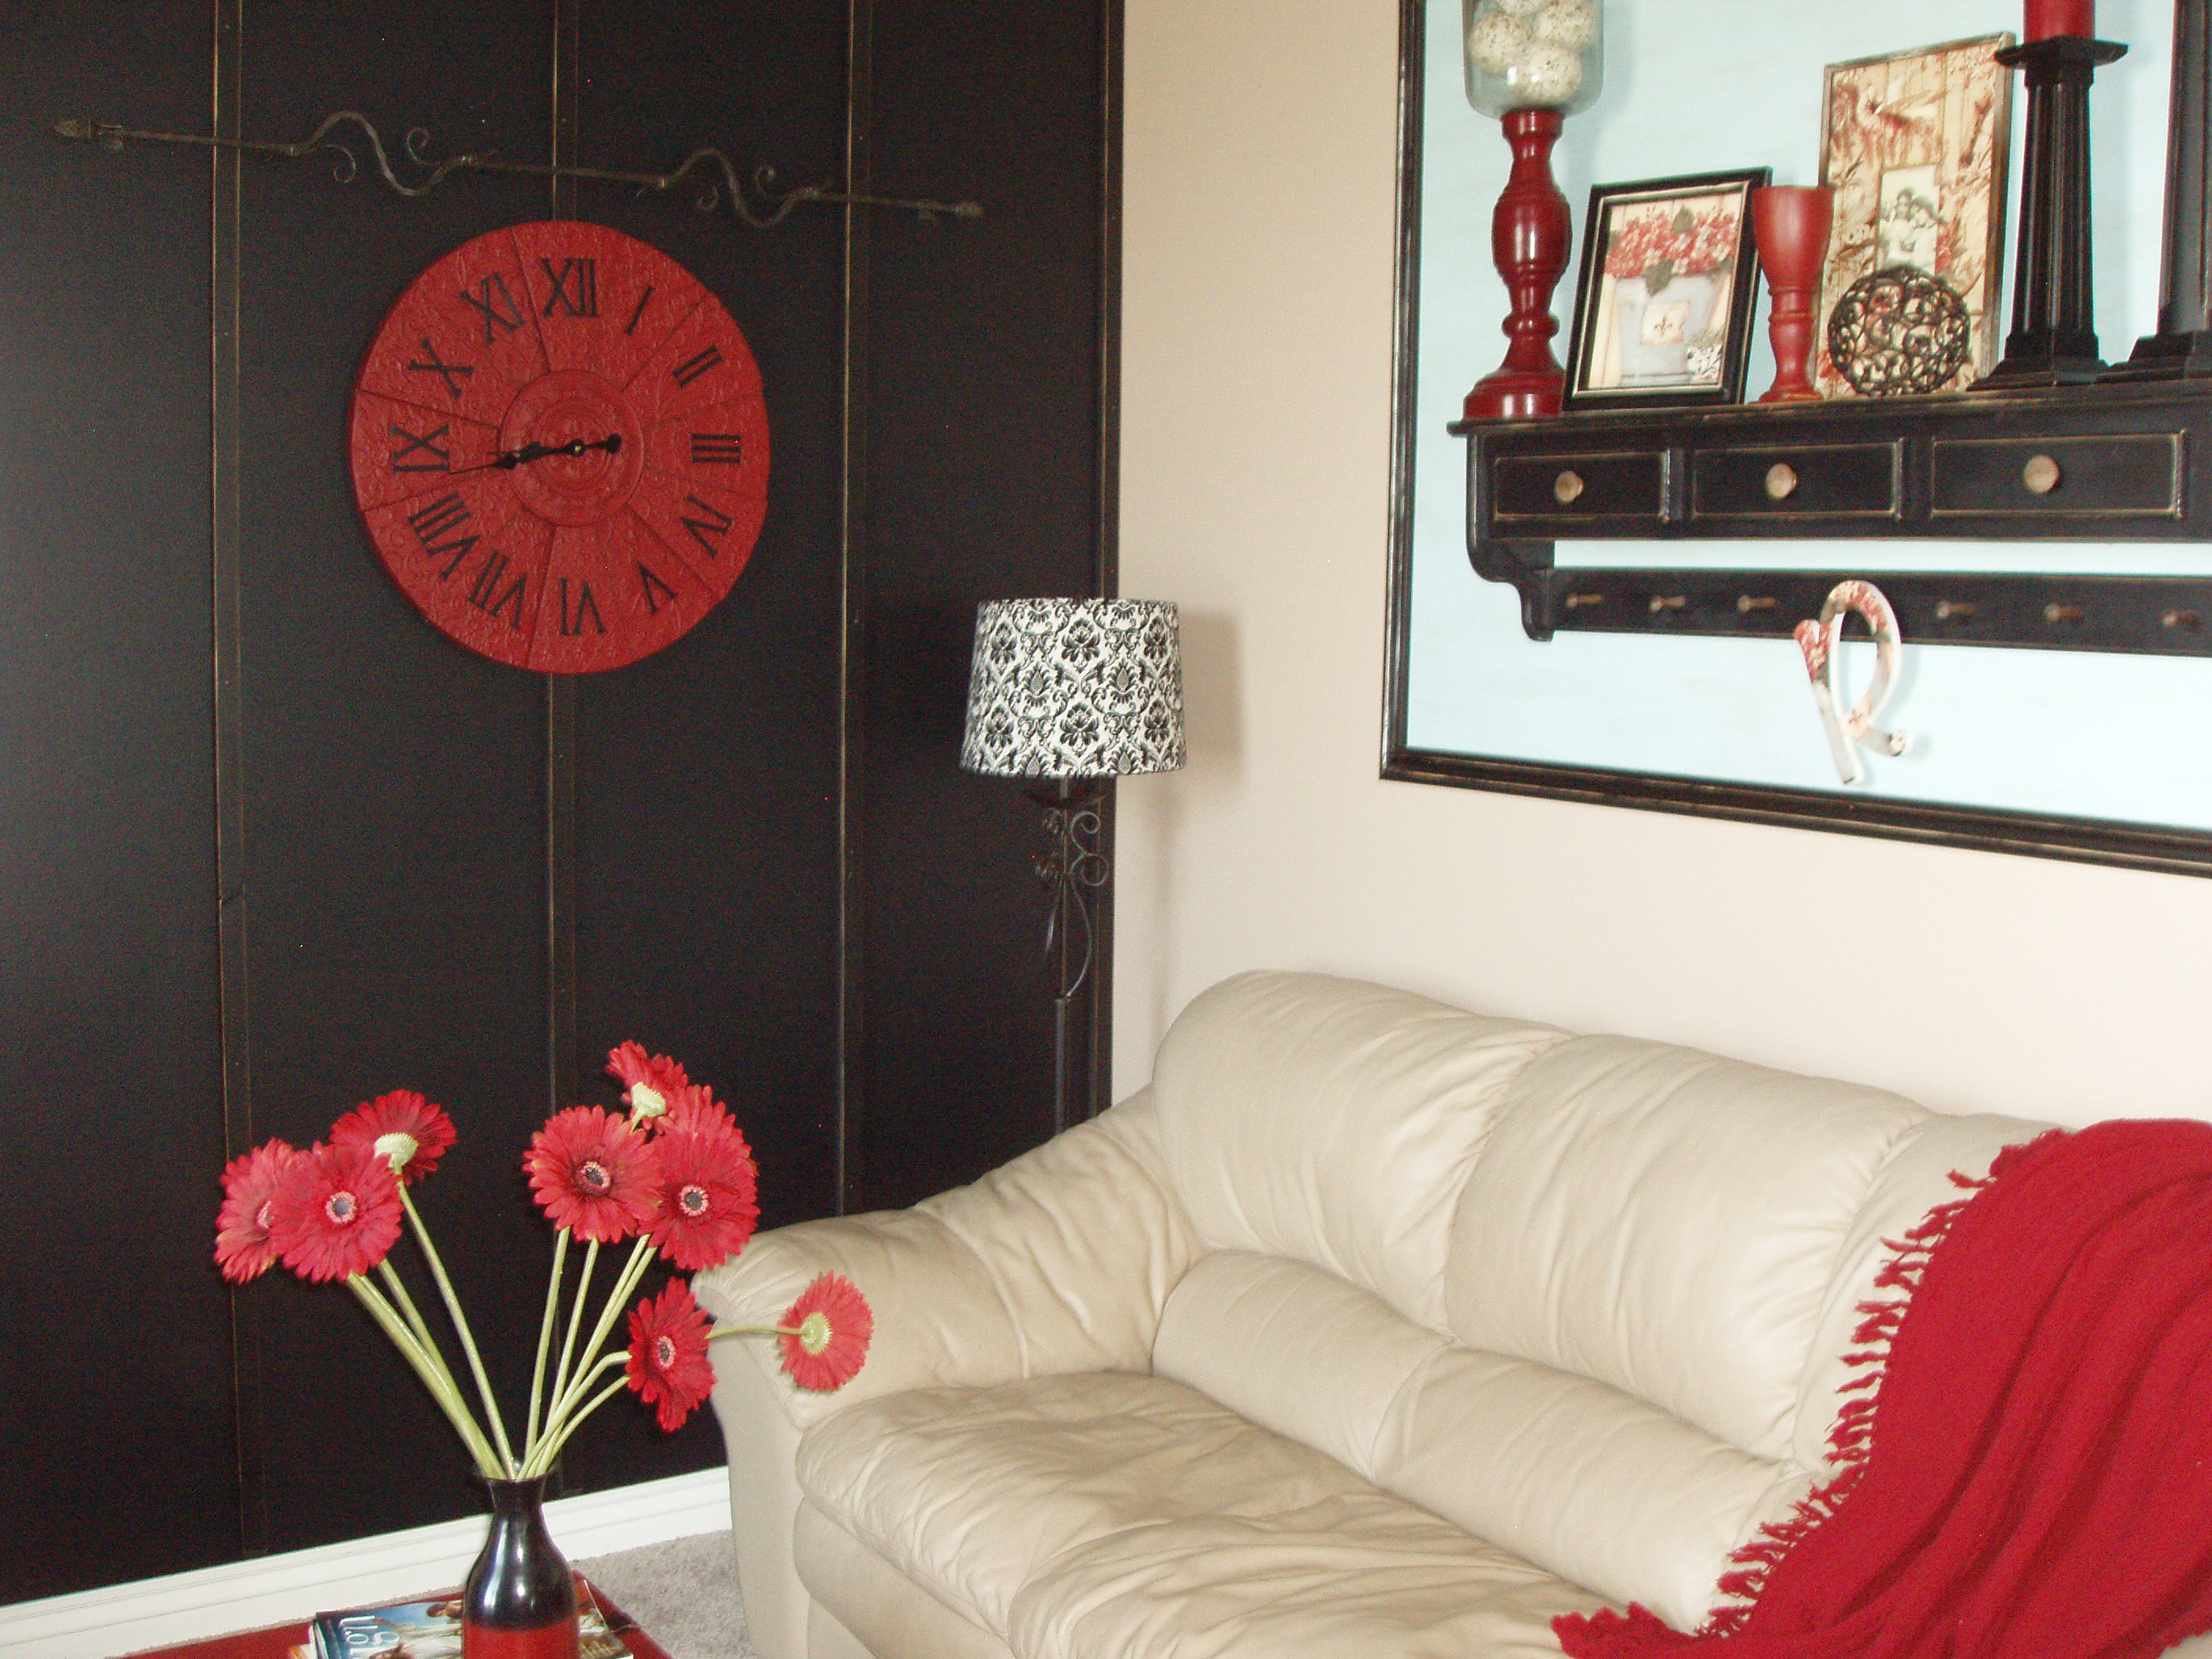
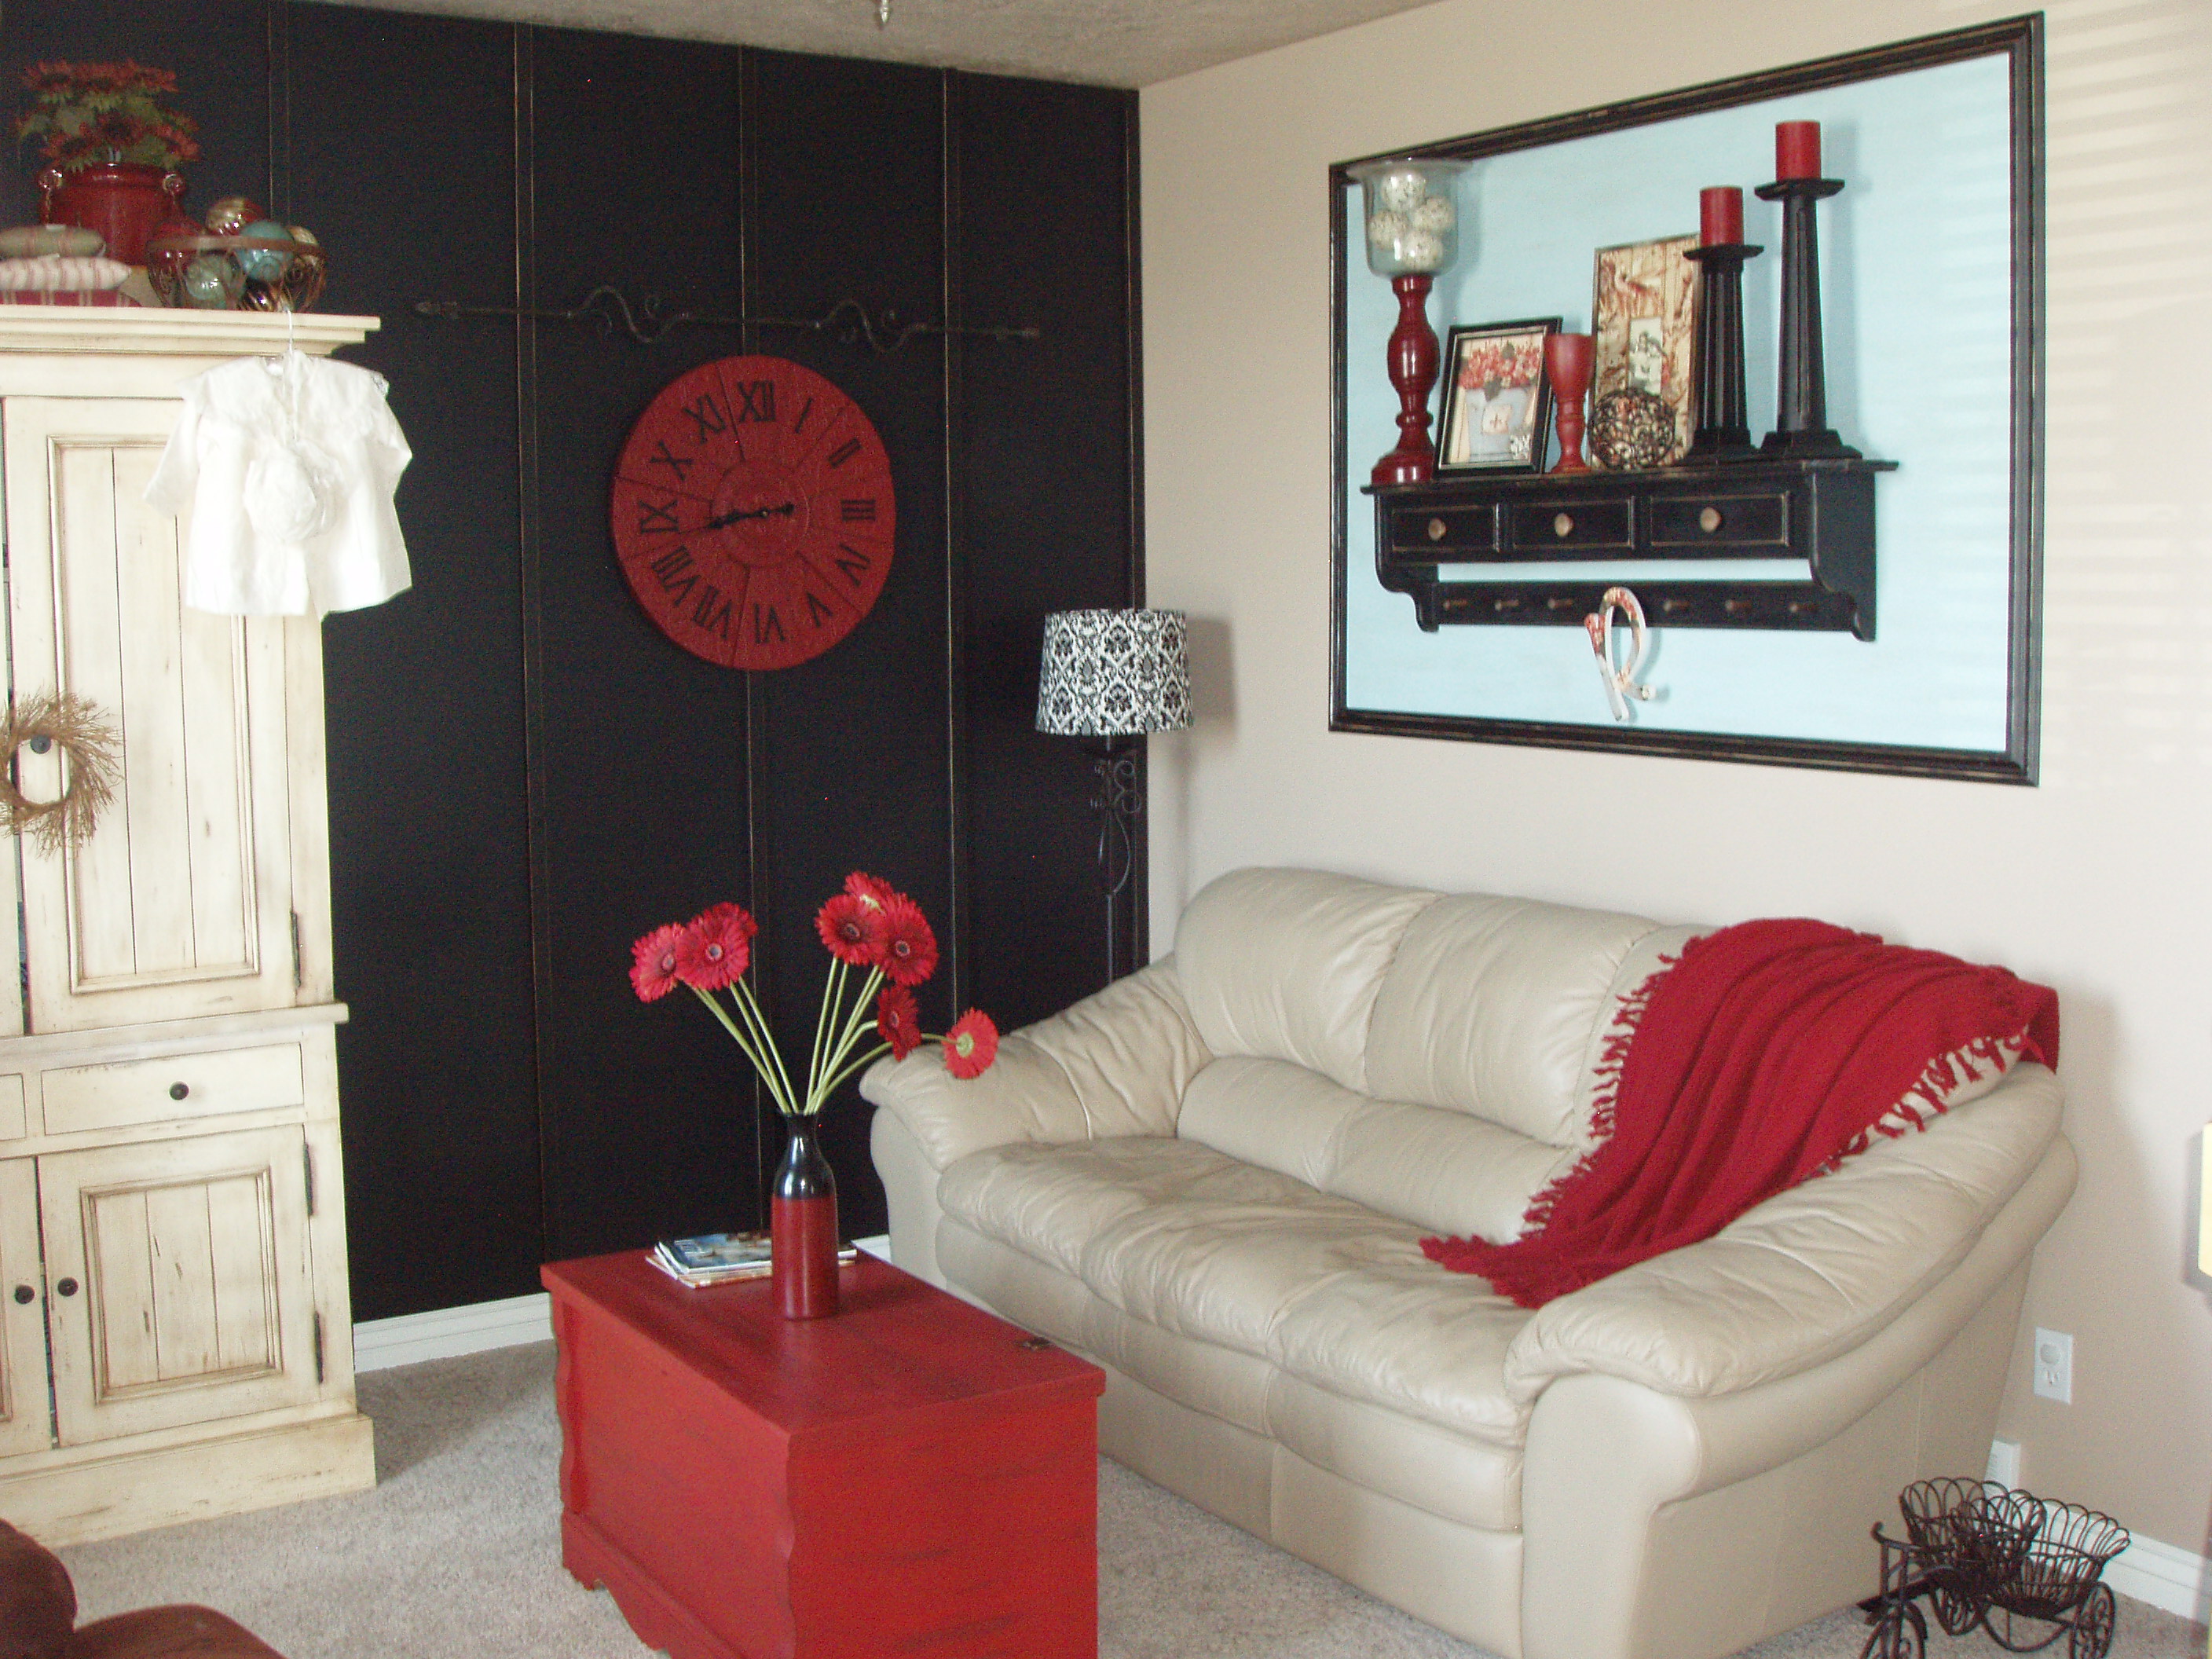
Hanging the board and batten wall is incredibly easy and fast! It's when you decide to paint it black that complicates things!
You can check out the whole tearful/funny experience here http://isteppedoutofmycomfortzone.blogspot.com/2011/04/and-opened-can-o…
Sat, 08/06/2011 - 16:26
This looks great!!! I love your board and batten. I also love the shelf within the frame.
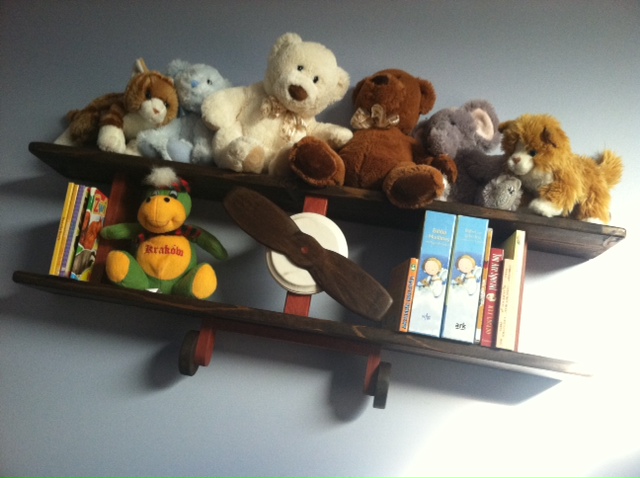
This was my first "real" project other than making a small bench to hold my miter saw in order to make this project! :)
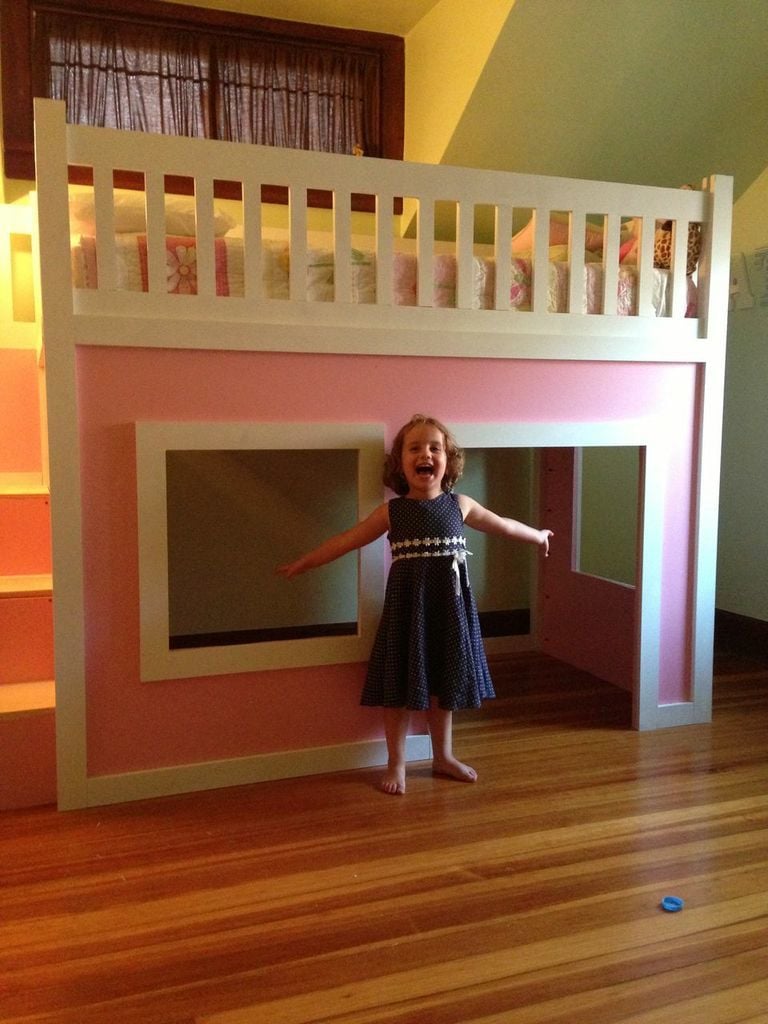
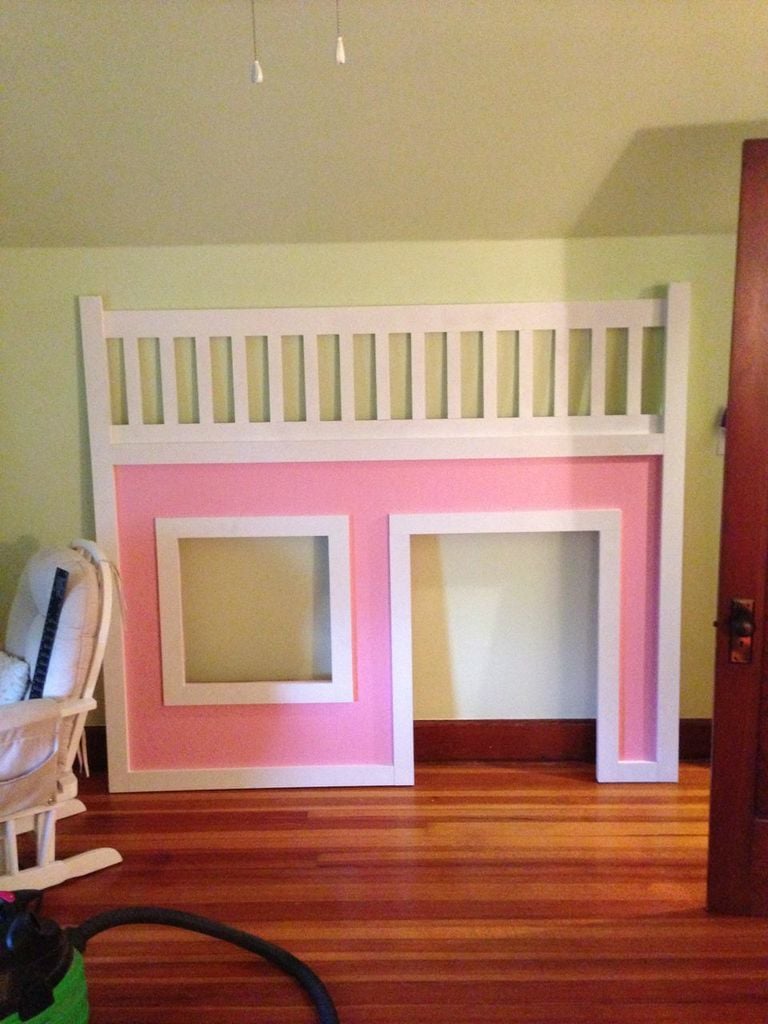
Saw these plans and instantly fell in love. I knew my daughter's birthday was coming up soon (she turned 4) so I got to work!
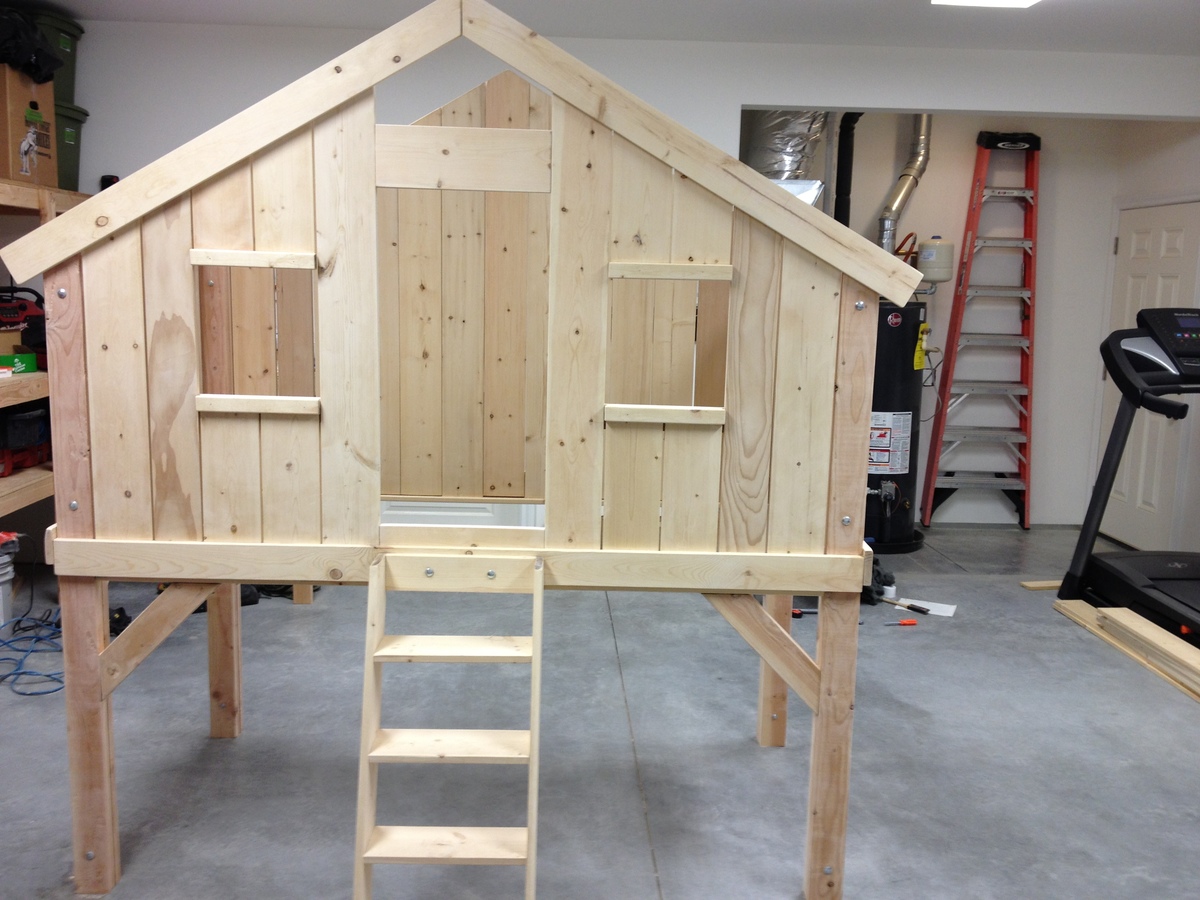
I used Poplar wood that had different nominal dimensions than the standard making this project not nearly as easy as what it should be. A lot of headaches, but seeing Tatum's smile on her face when we revealed her surprise made it ALL worth it!
I mostly used my Kreg Jig and Kreg screws. Used my nailer to tack up all trim. used wood screws to secure all of the walls together through the legs.
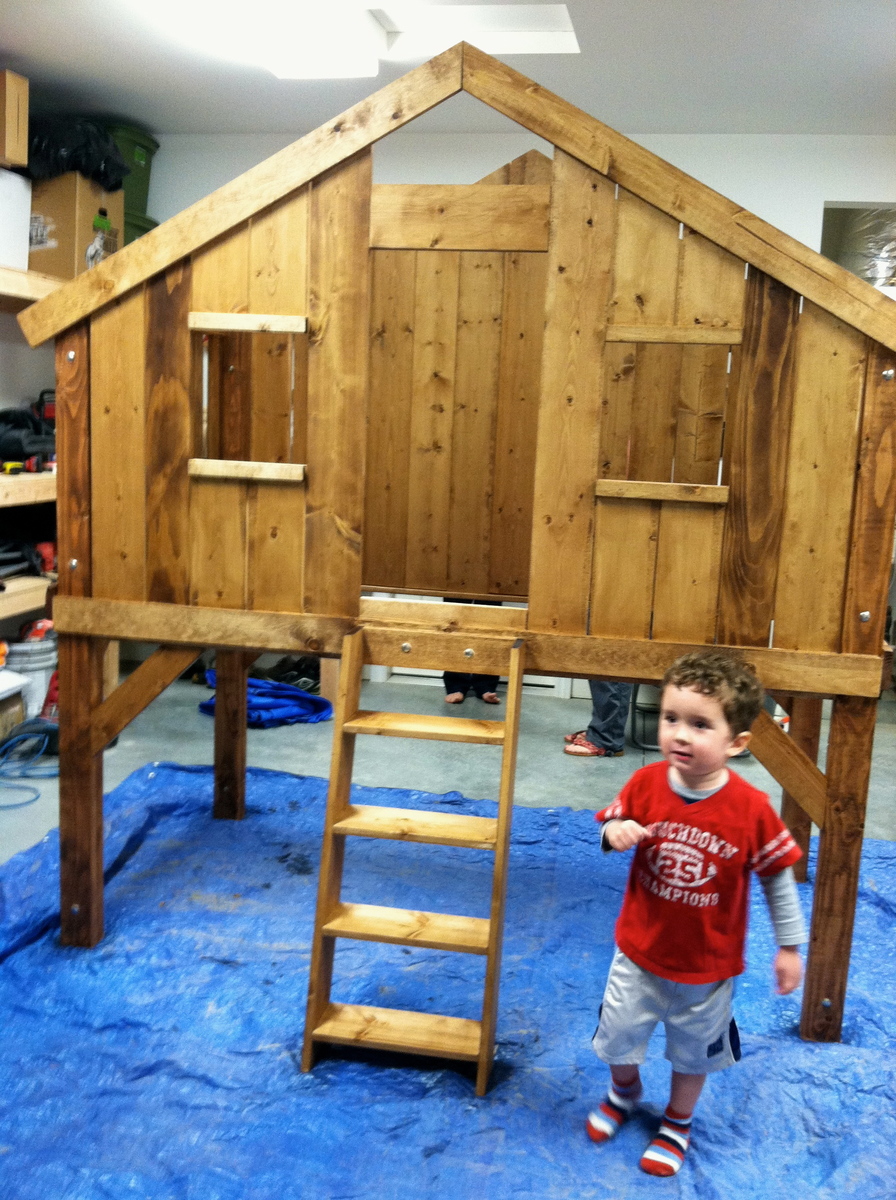
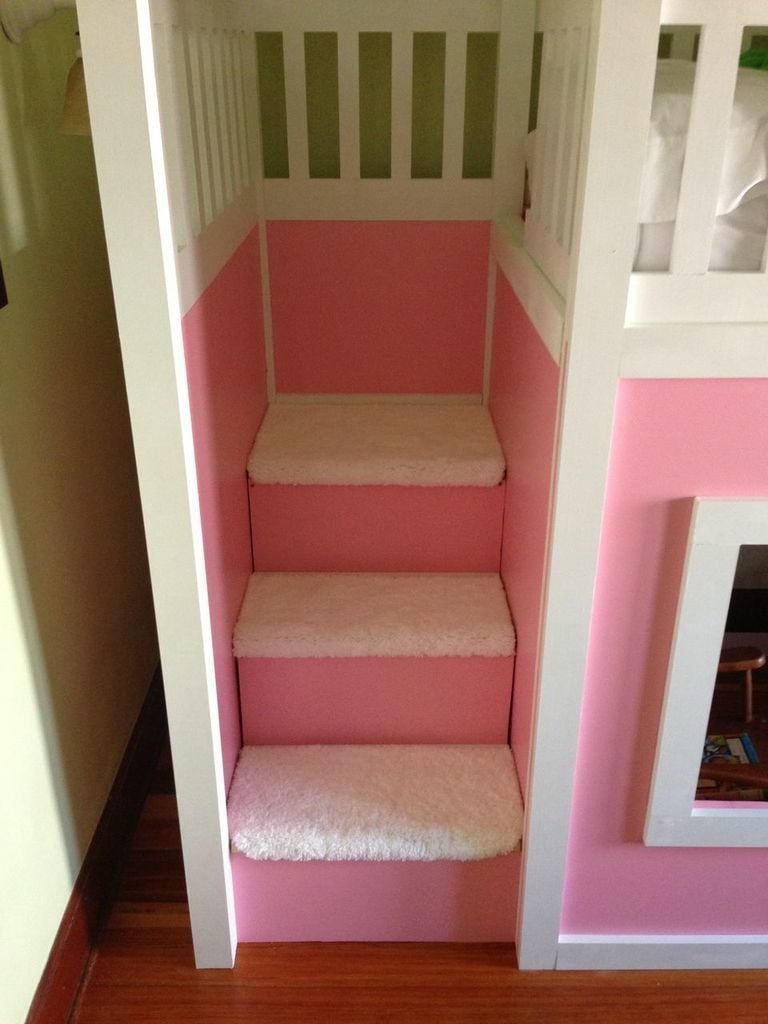
For the stairs, I purchased a large bathmat from Walmart and cut it to fit each step. I tacked it down with some staples and adhesive. I used 12" continuous hinges for the stairs and they worked perfectly.
Keep in mind other expenses, as the bill can increase rather rapidly!
My total wood bill was $398...but I used Poplar. If you go with pine, it will cost you less. $40 for primer and paint. $100 for new twin mattress. $30 for protective mattress cover. $75 for pottery barn quilt set (eBay). $13 for carpet on stairs. $24 for hinges ($8 each)!! $28 for 2 sets of sheets...bringing the grand total to a whopping: $708!
Very finicky to assemble, but love the finished product!
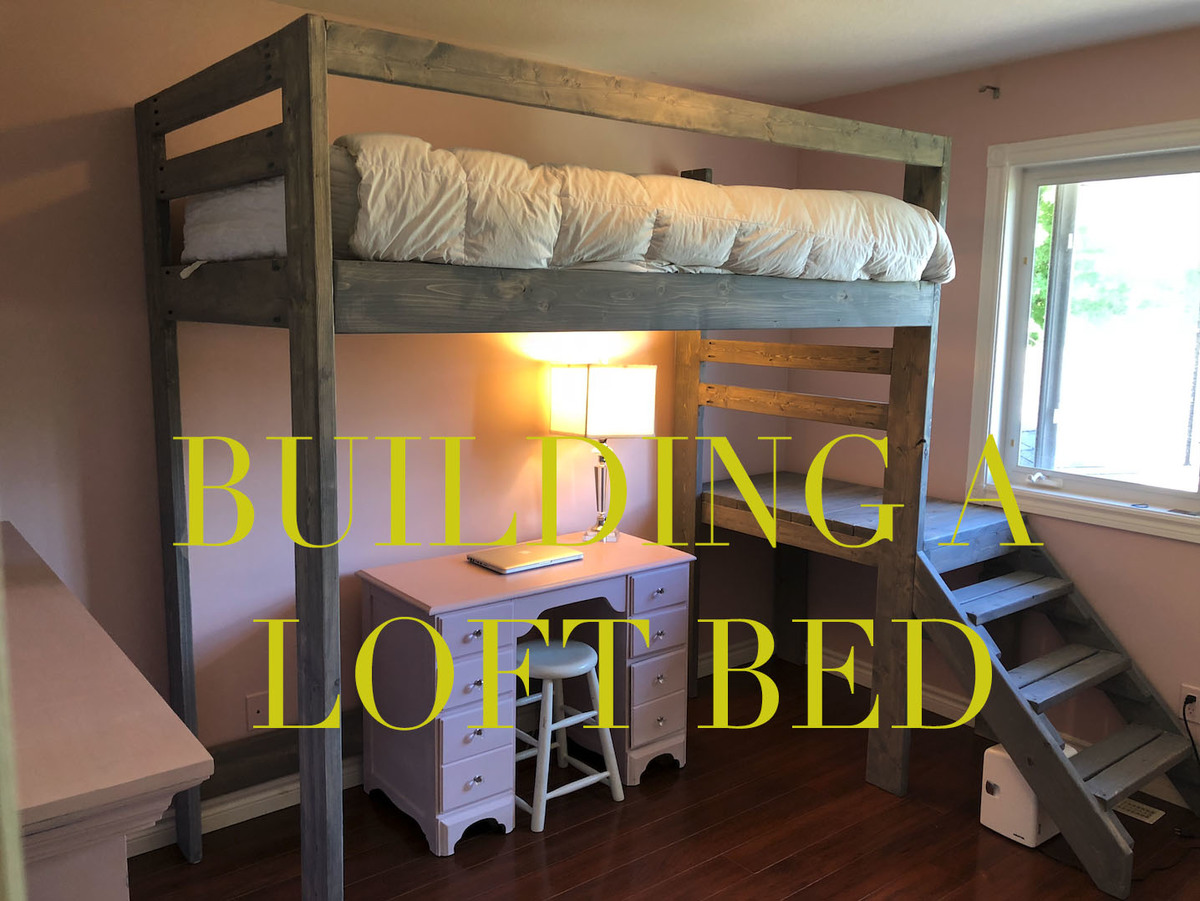
This is my youtube video of me building the loft bed.
Instagram: @gardners_garage
Thanks Ana for your plans. I used them but made just minor adjustments to the height to suit my daughter.
Having your website defenitly made things easier, from picking up the wood to the cuts!
Thanks!

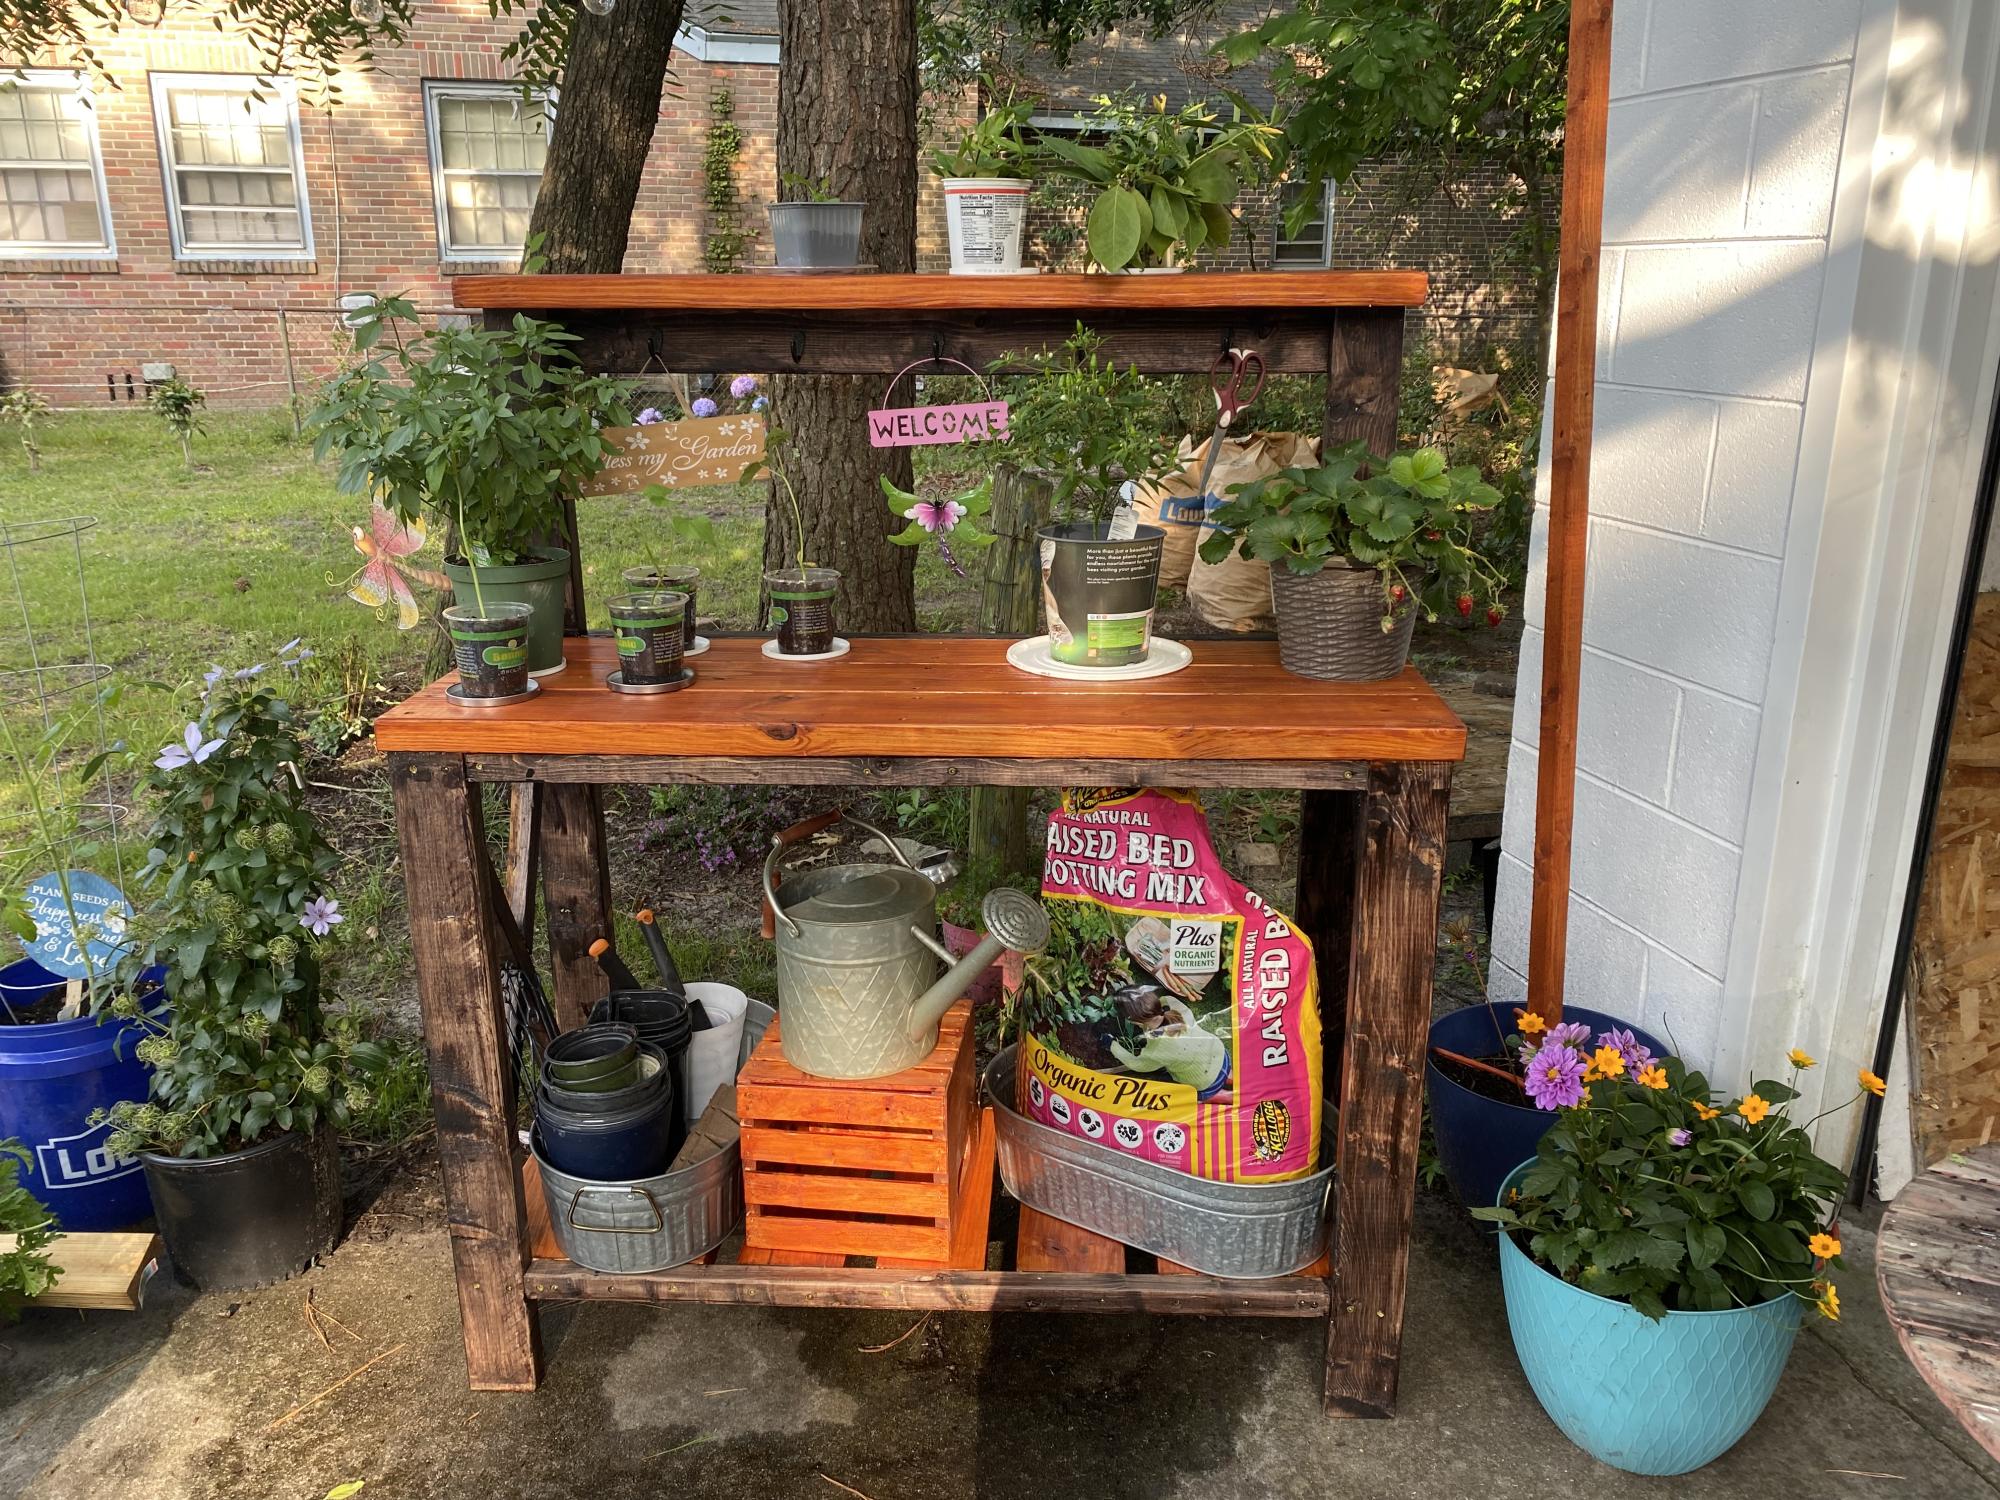
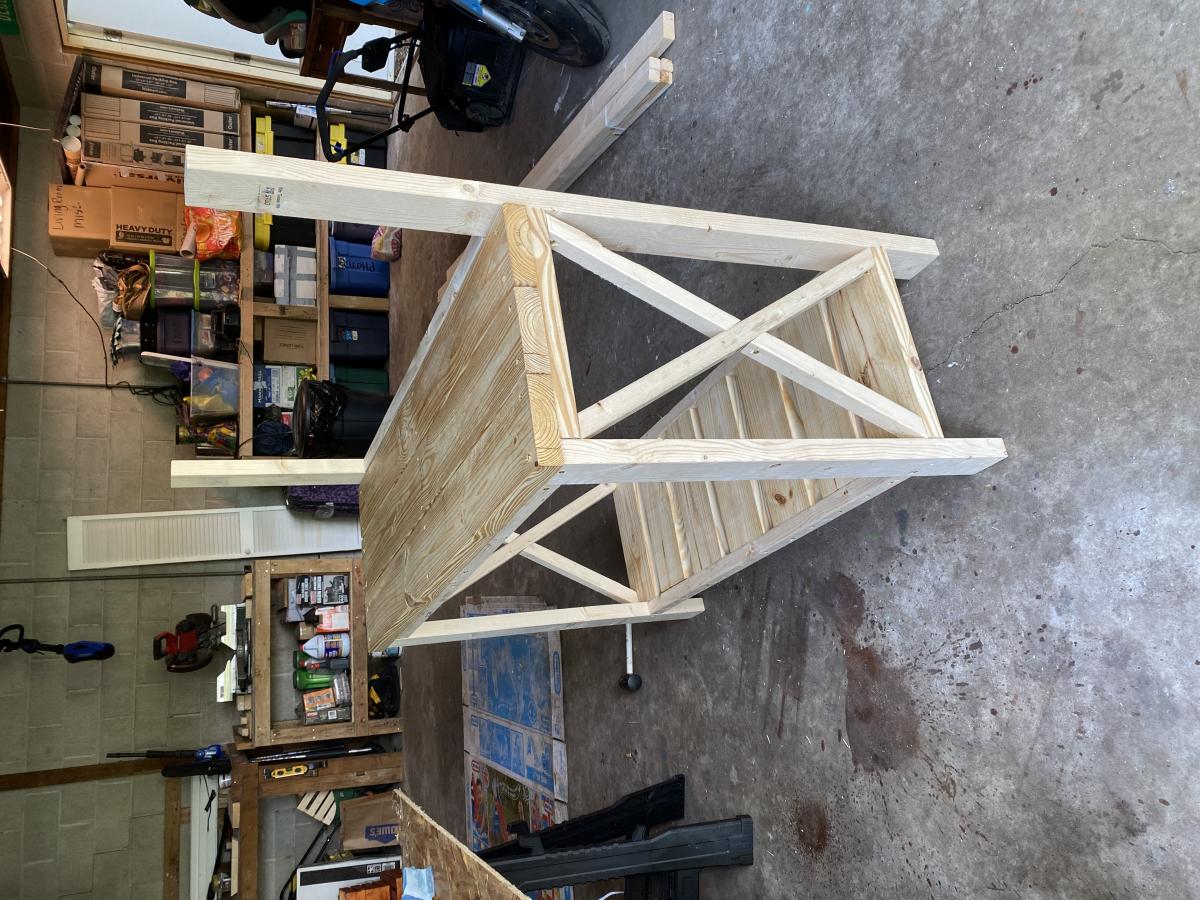
So easy… about 3 hours to cut and assemble. Will make another one for sure when I go to visit my mom at Thanksgiving. I absolutely love it!
Wed, 06/01/2022 - 08:04
Wonderful build, it looks fantastic! Thank you for sharing:)
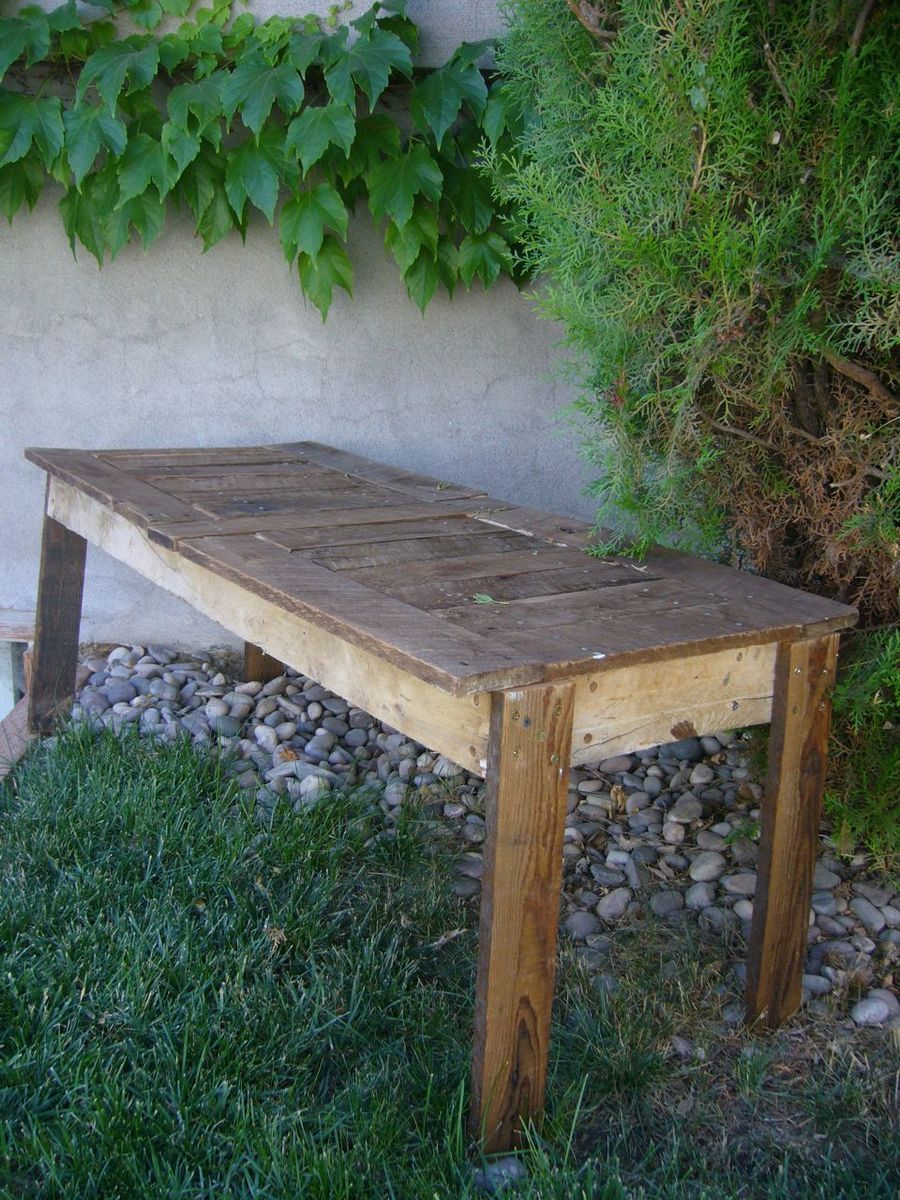
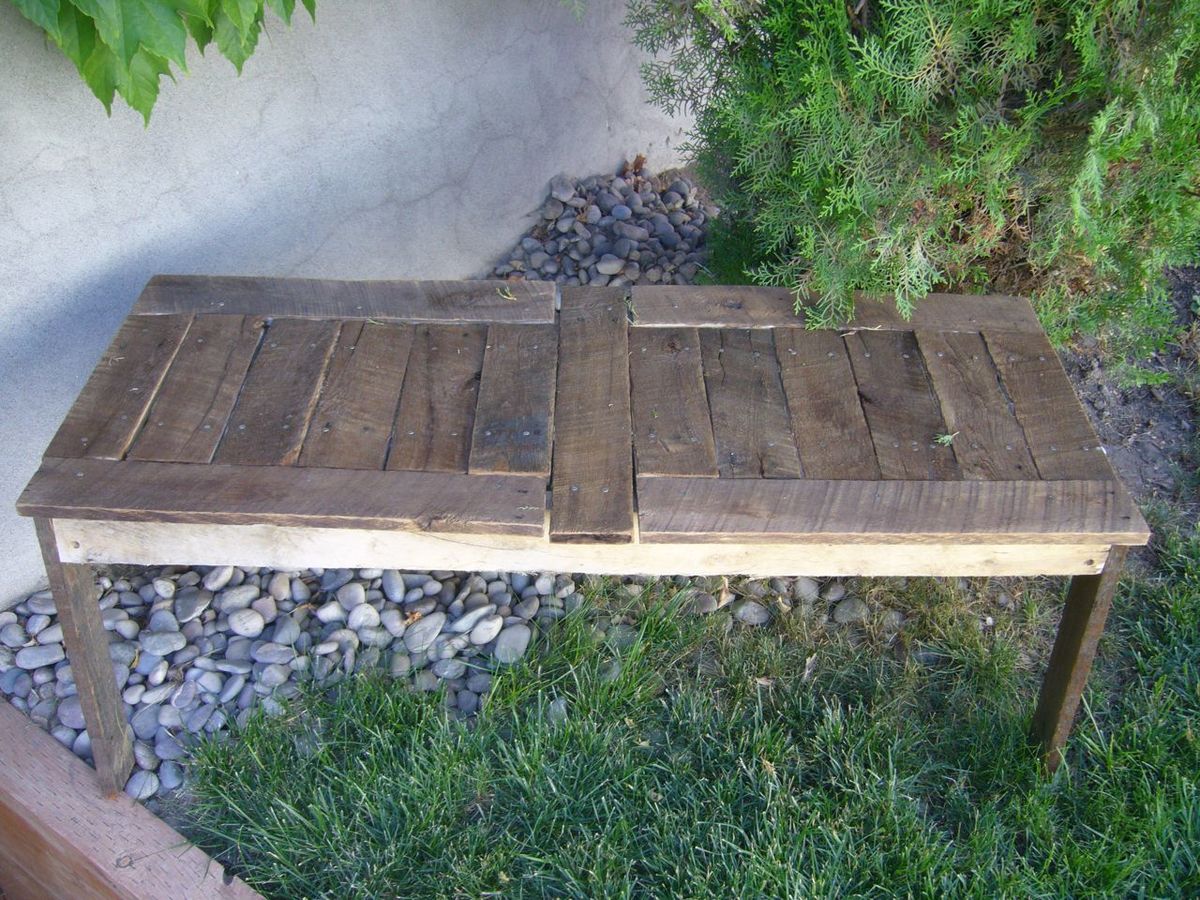
The side of our house needed some character, and this pallet wood bench was the perfect solution. Very rustic, very worn, very out of square and poorly measured, yet cute, sturdy, rich and perfect. The weathered rough sawn oak pallet that we made this out of was so heavy it took two to carry out of the weeds it was found in. The bench probably weighs 100 pounds. The hardest part? Getting the 100 year old pallet apart. Bring all your muscles (or a saws all!). Perfect for decoration and if need be a quiet spot to sit and think.
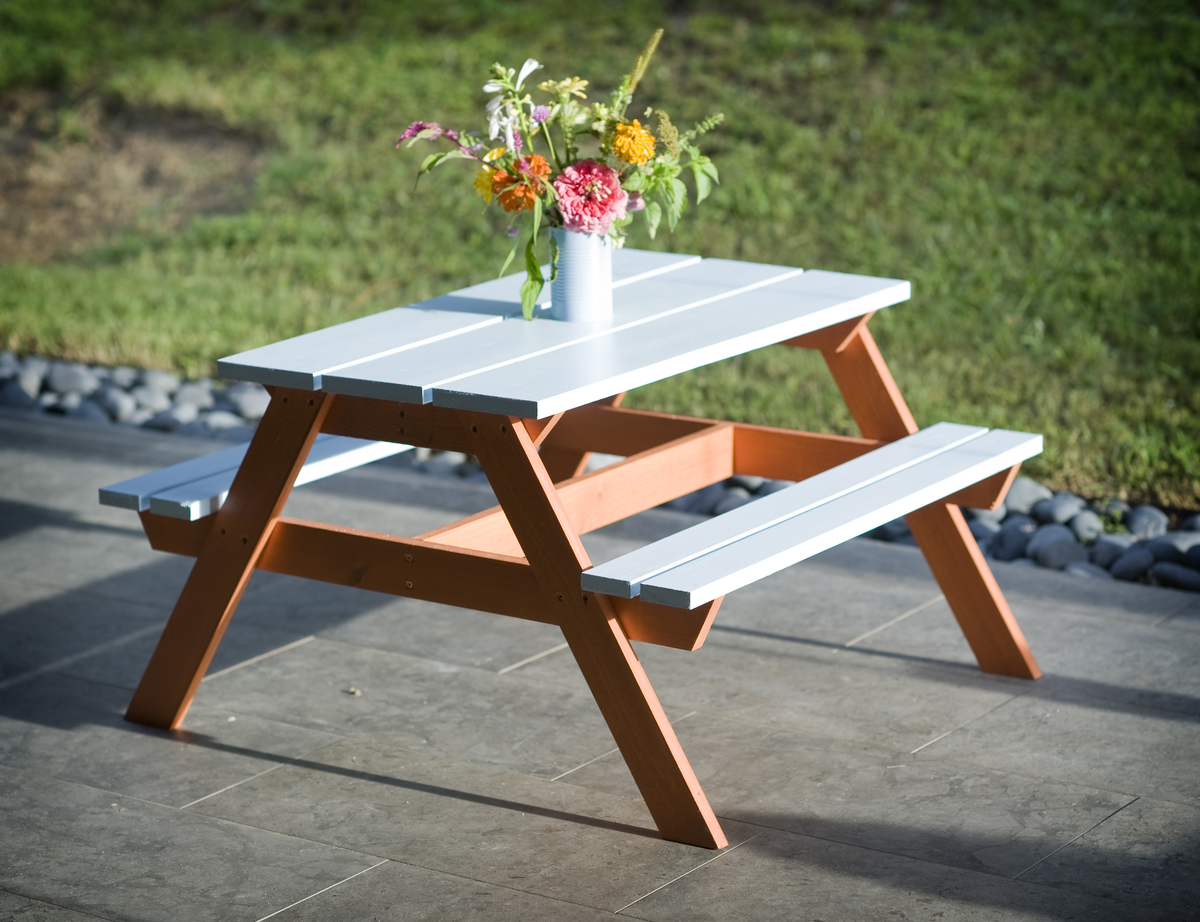
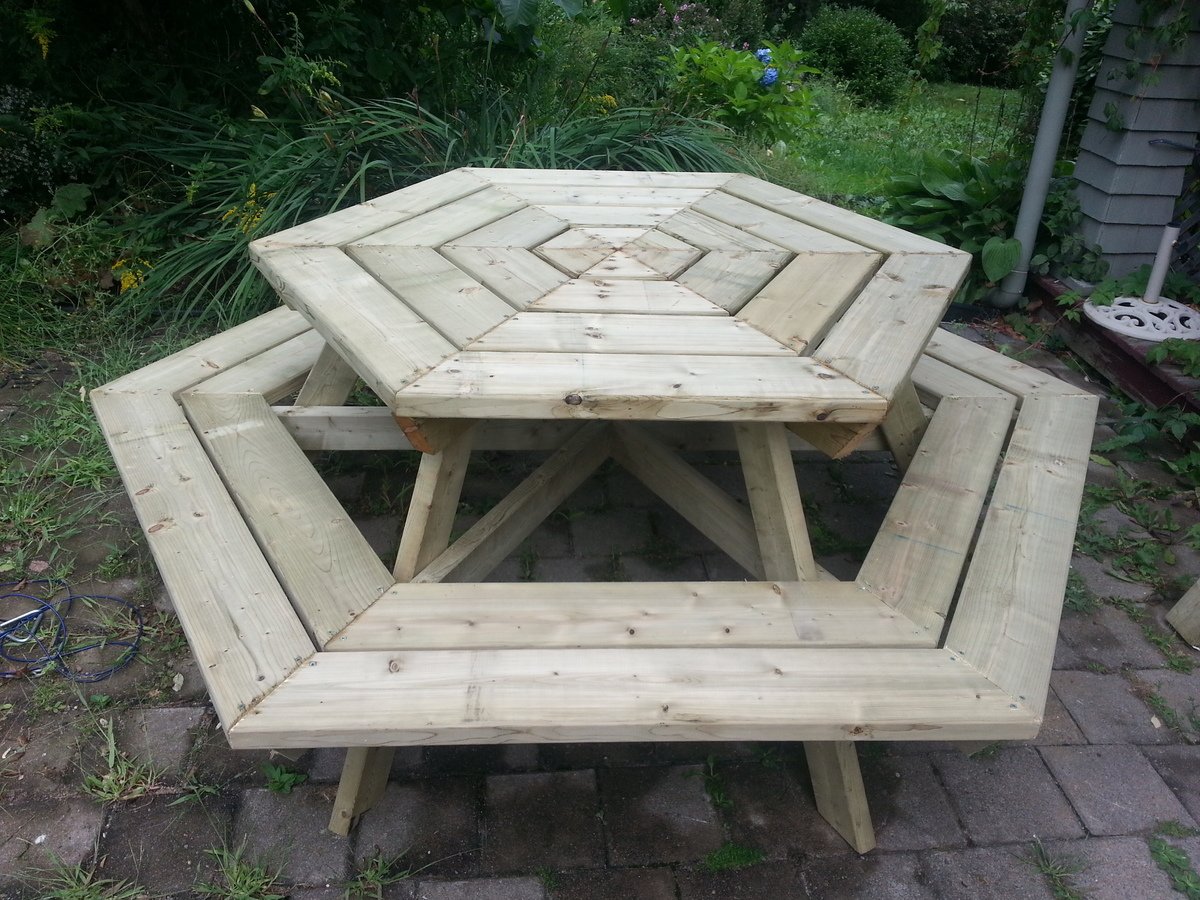
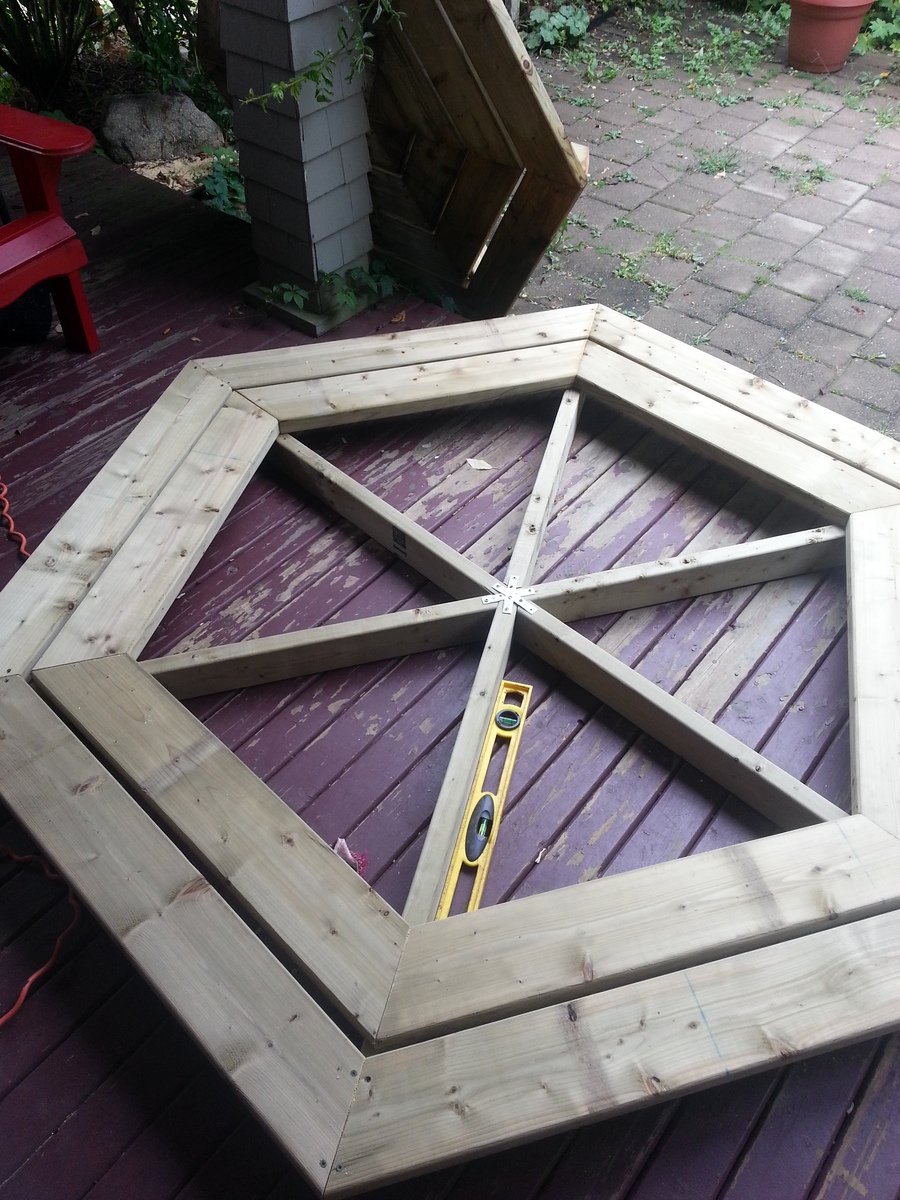
My husband and I made 2 of these for my 3 year olds "Picnic Birthday Party", and they worked out great! We will definitely be using them for a while! They took about a week off and on since I just had a little time each day to do them, but I could have gotten them done in a couple easily. Very fun, easy project! We ended up staining the bottom support pieces and painting the top pieces a light blue, I love how it turned out!


Mon, 08/19/2013 - 19:13
This little table is just darling! The picture of your girls at the table is just the cutest thing! Thank you for posting this!
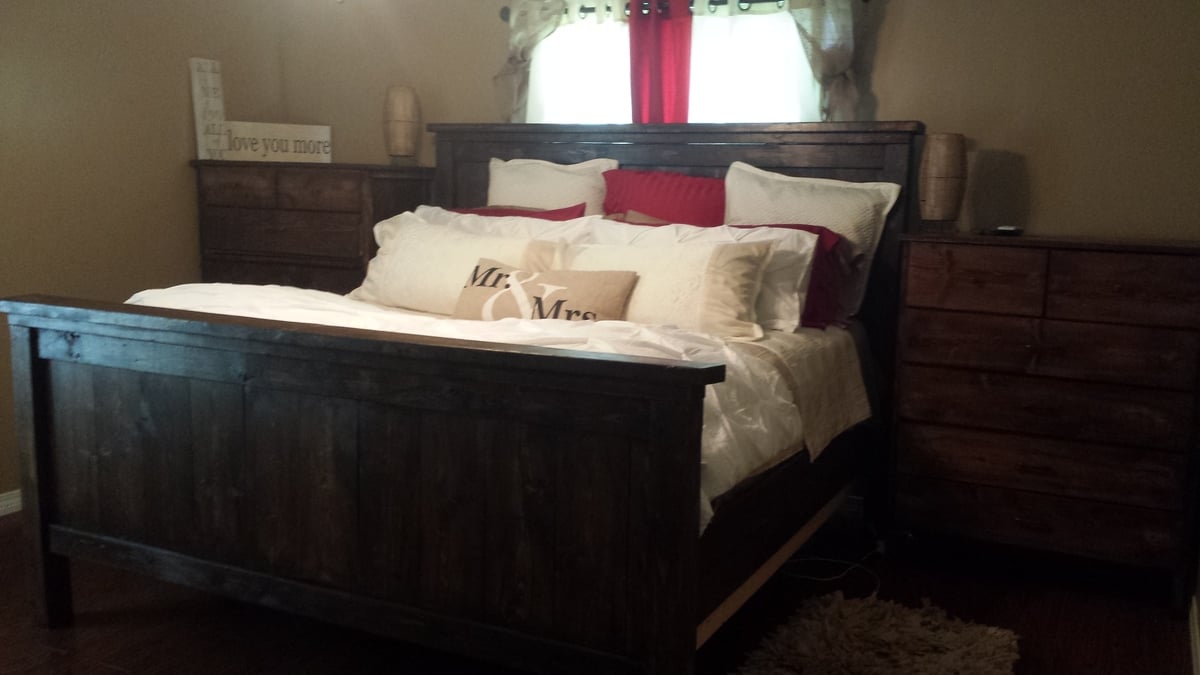
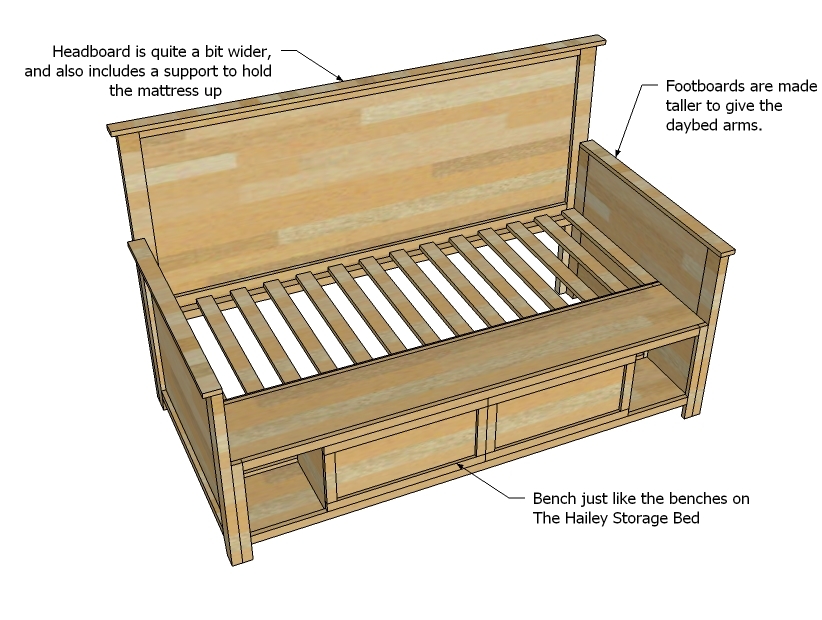
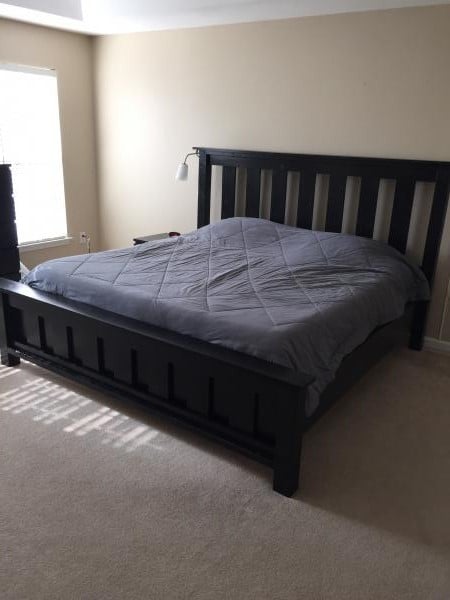
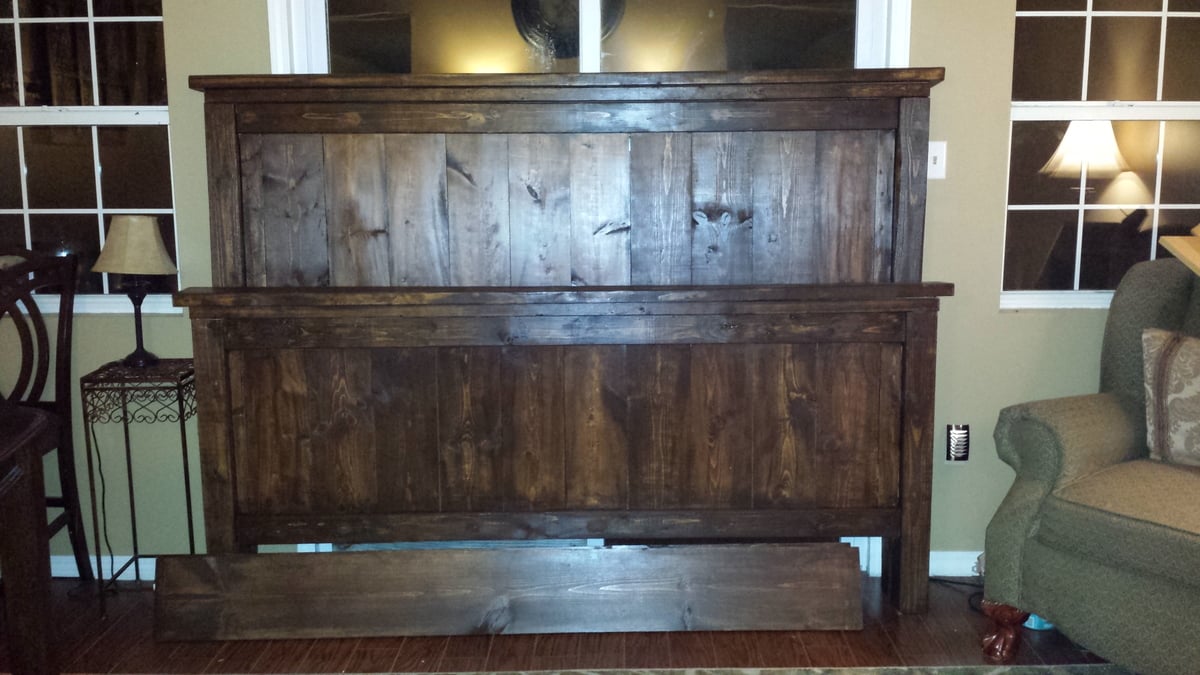
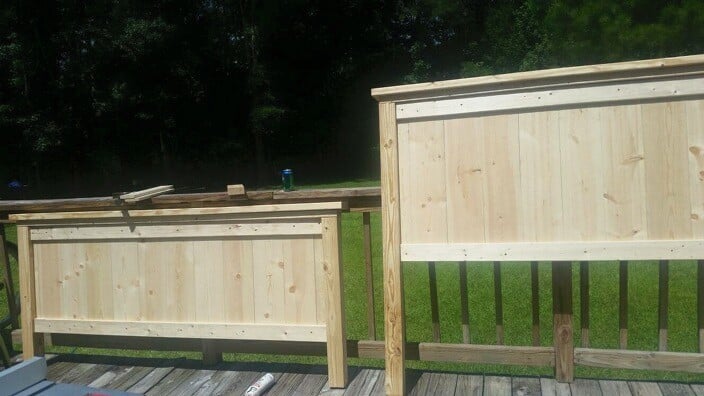
This was our first big DIY project and I absolutely LOVE the finished product. We now have a solid, sturdy king size bed that everyone loves. The plans were pretty easy to follow although I chose to make the headboard and footboard taller than mentioned on the original plans. The measurements came from another Ana White DIY-er http://diystinctlymade.com/2014/02/05/diy-pottery-barn-farmhouse-bed/ . For the bed frame, brackets and 2x4s were used. The stain use was dark walnut by Rust-o-leum and finished with minwax polyurethane semigloss. Working on and off, it took us approximately 2 weeks to finish the project; although, I'm pretty sure it could've been completed in a weekend.
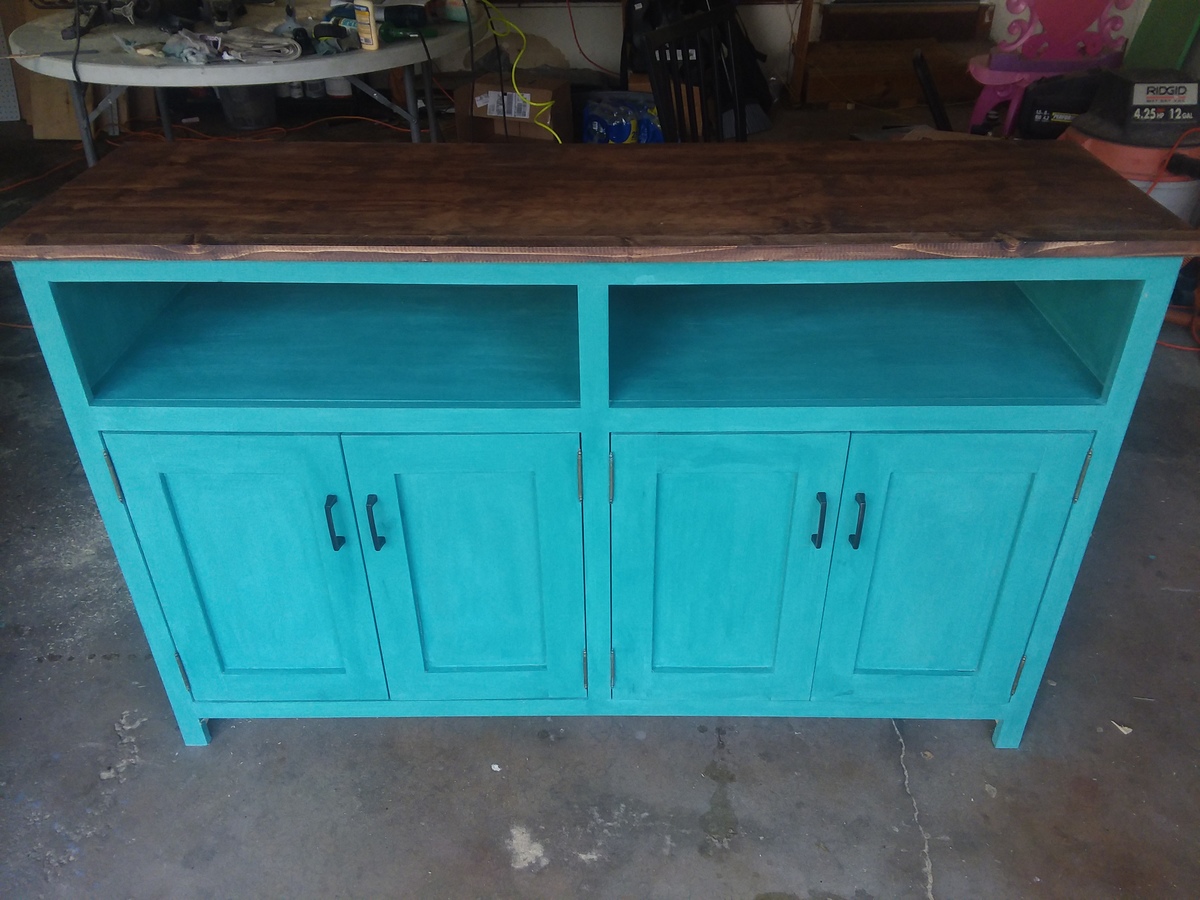
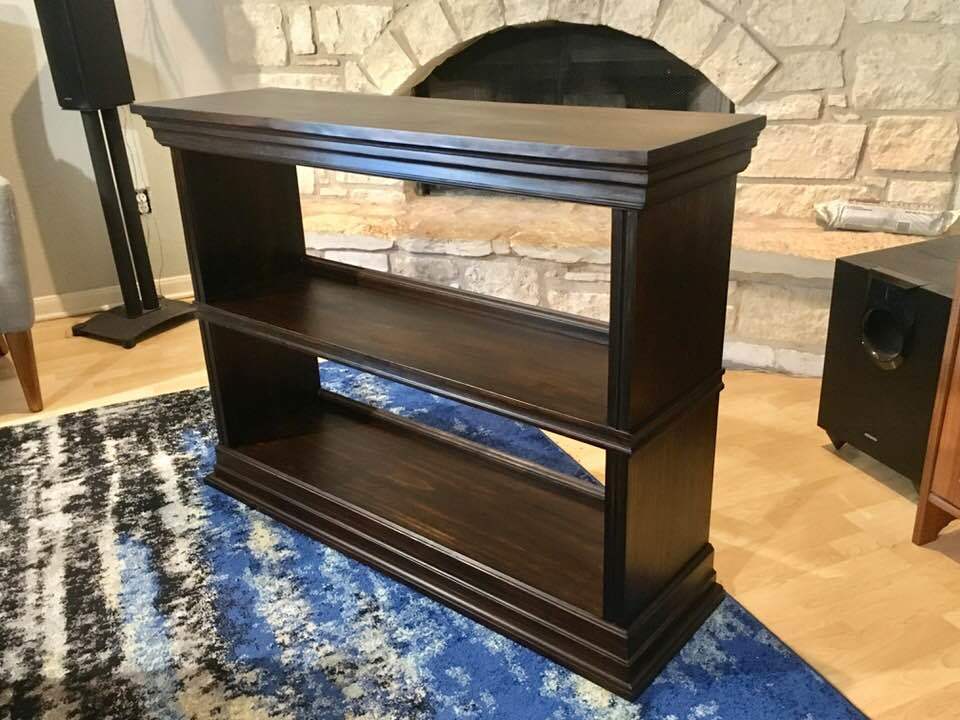
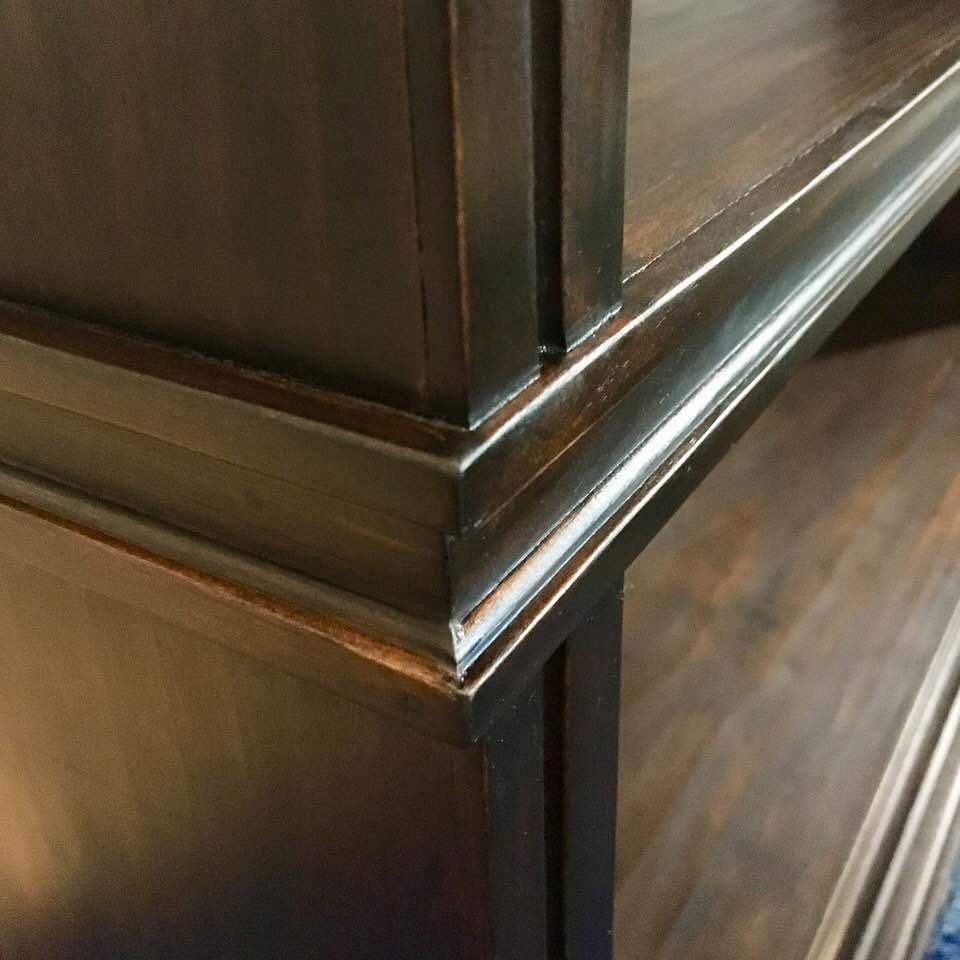
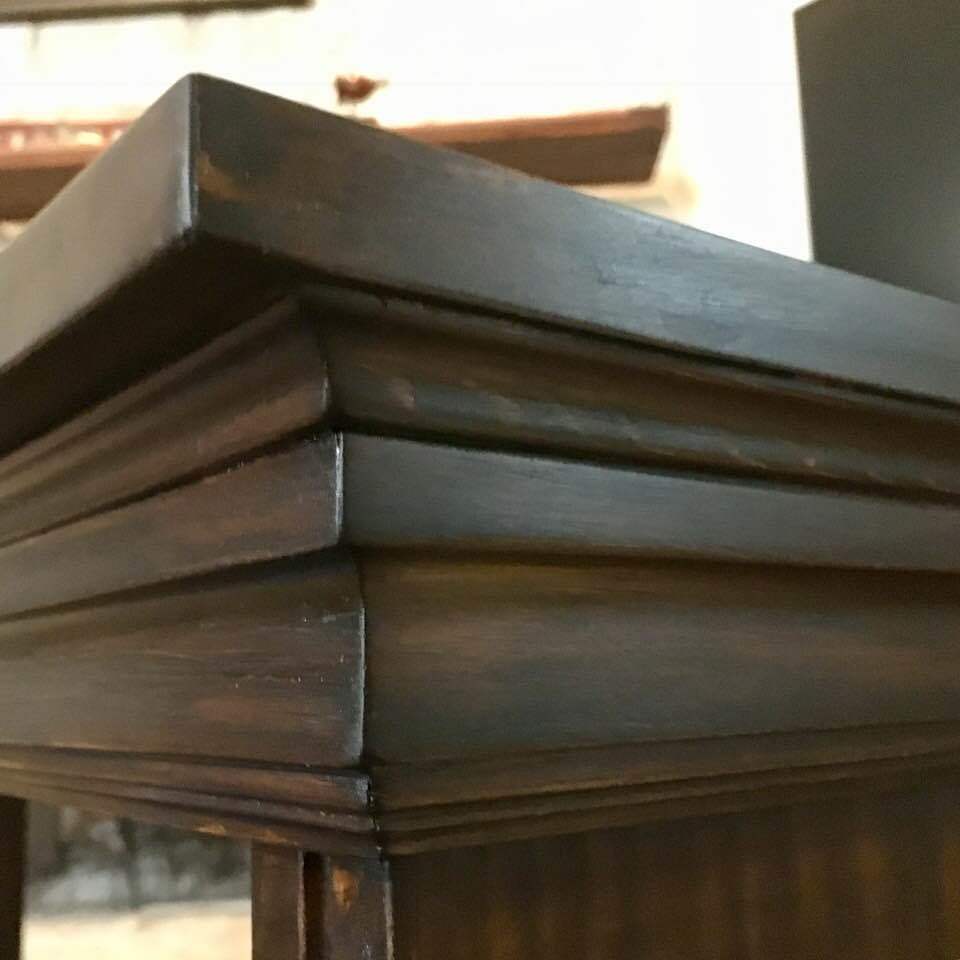
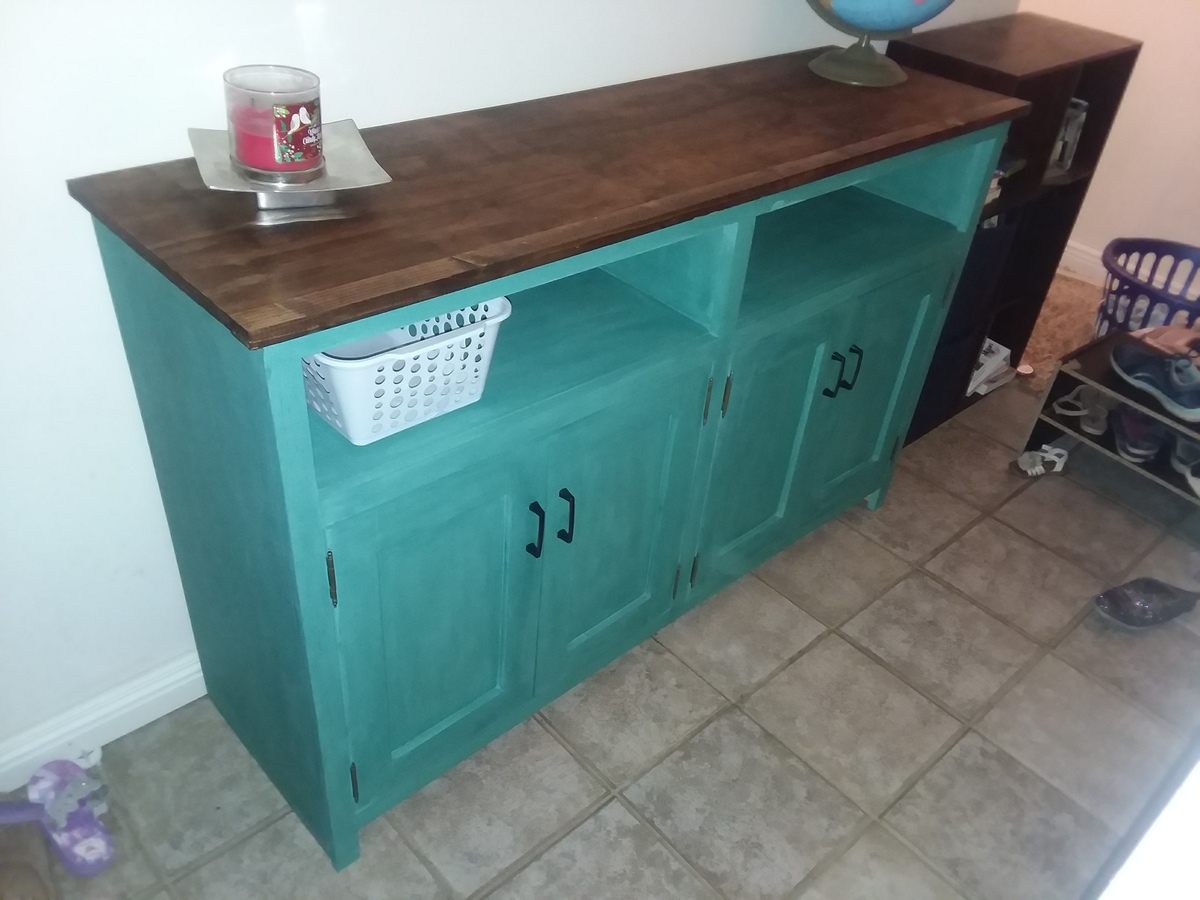
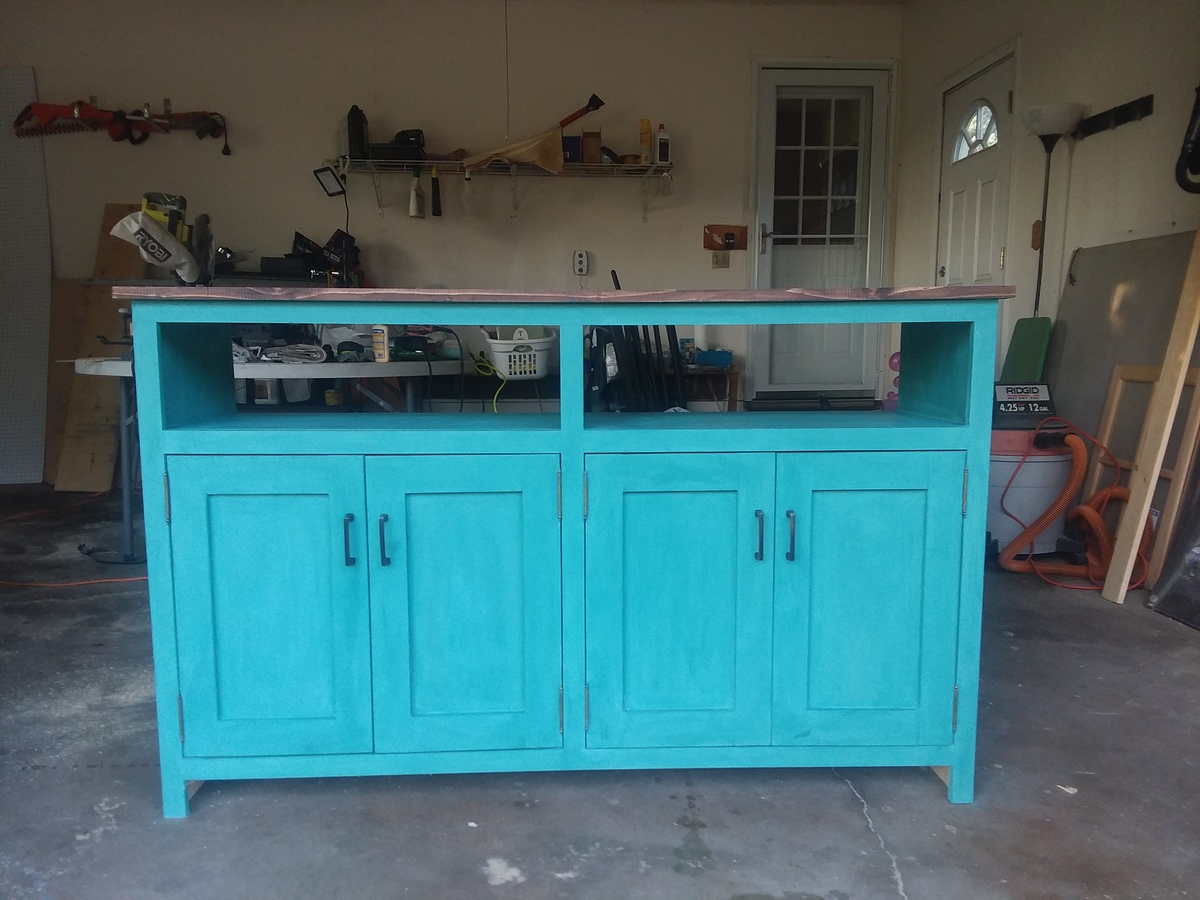
Entryway console without base pieces to more closely match my other furniture.
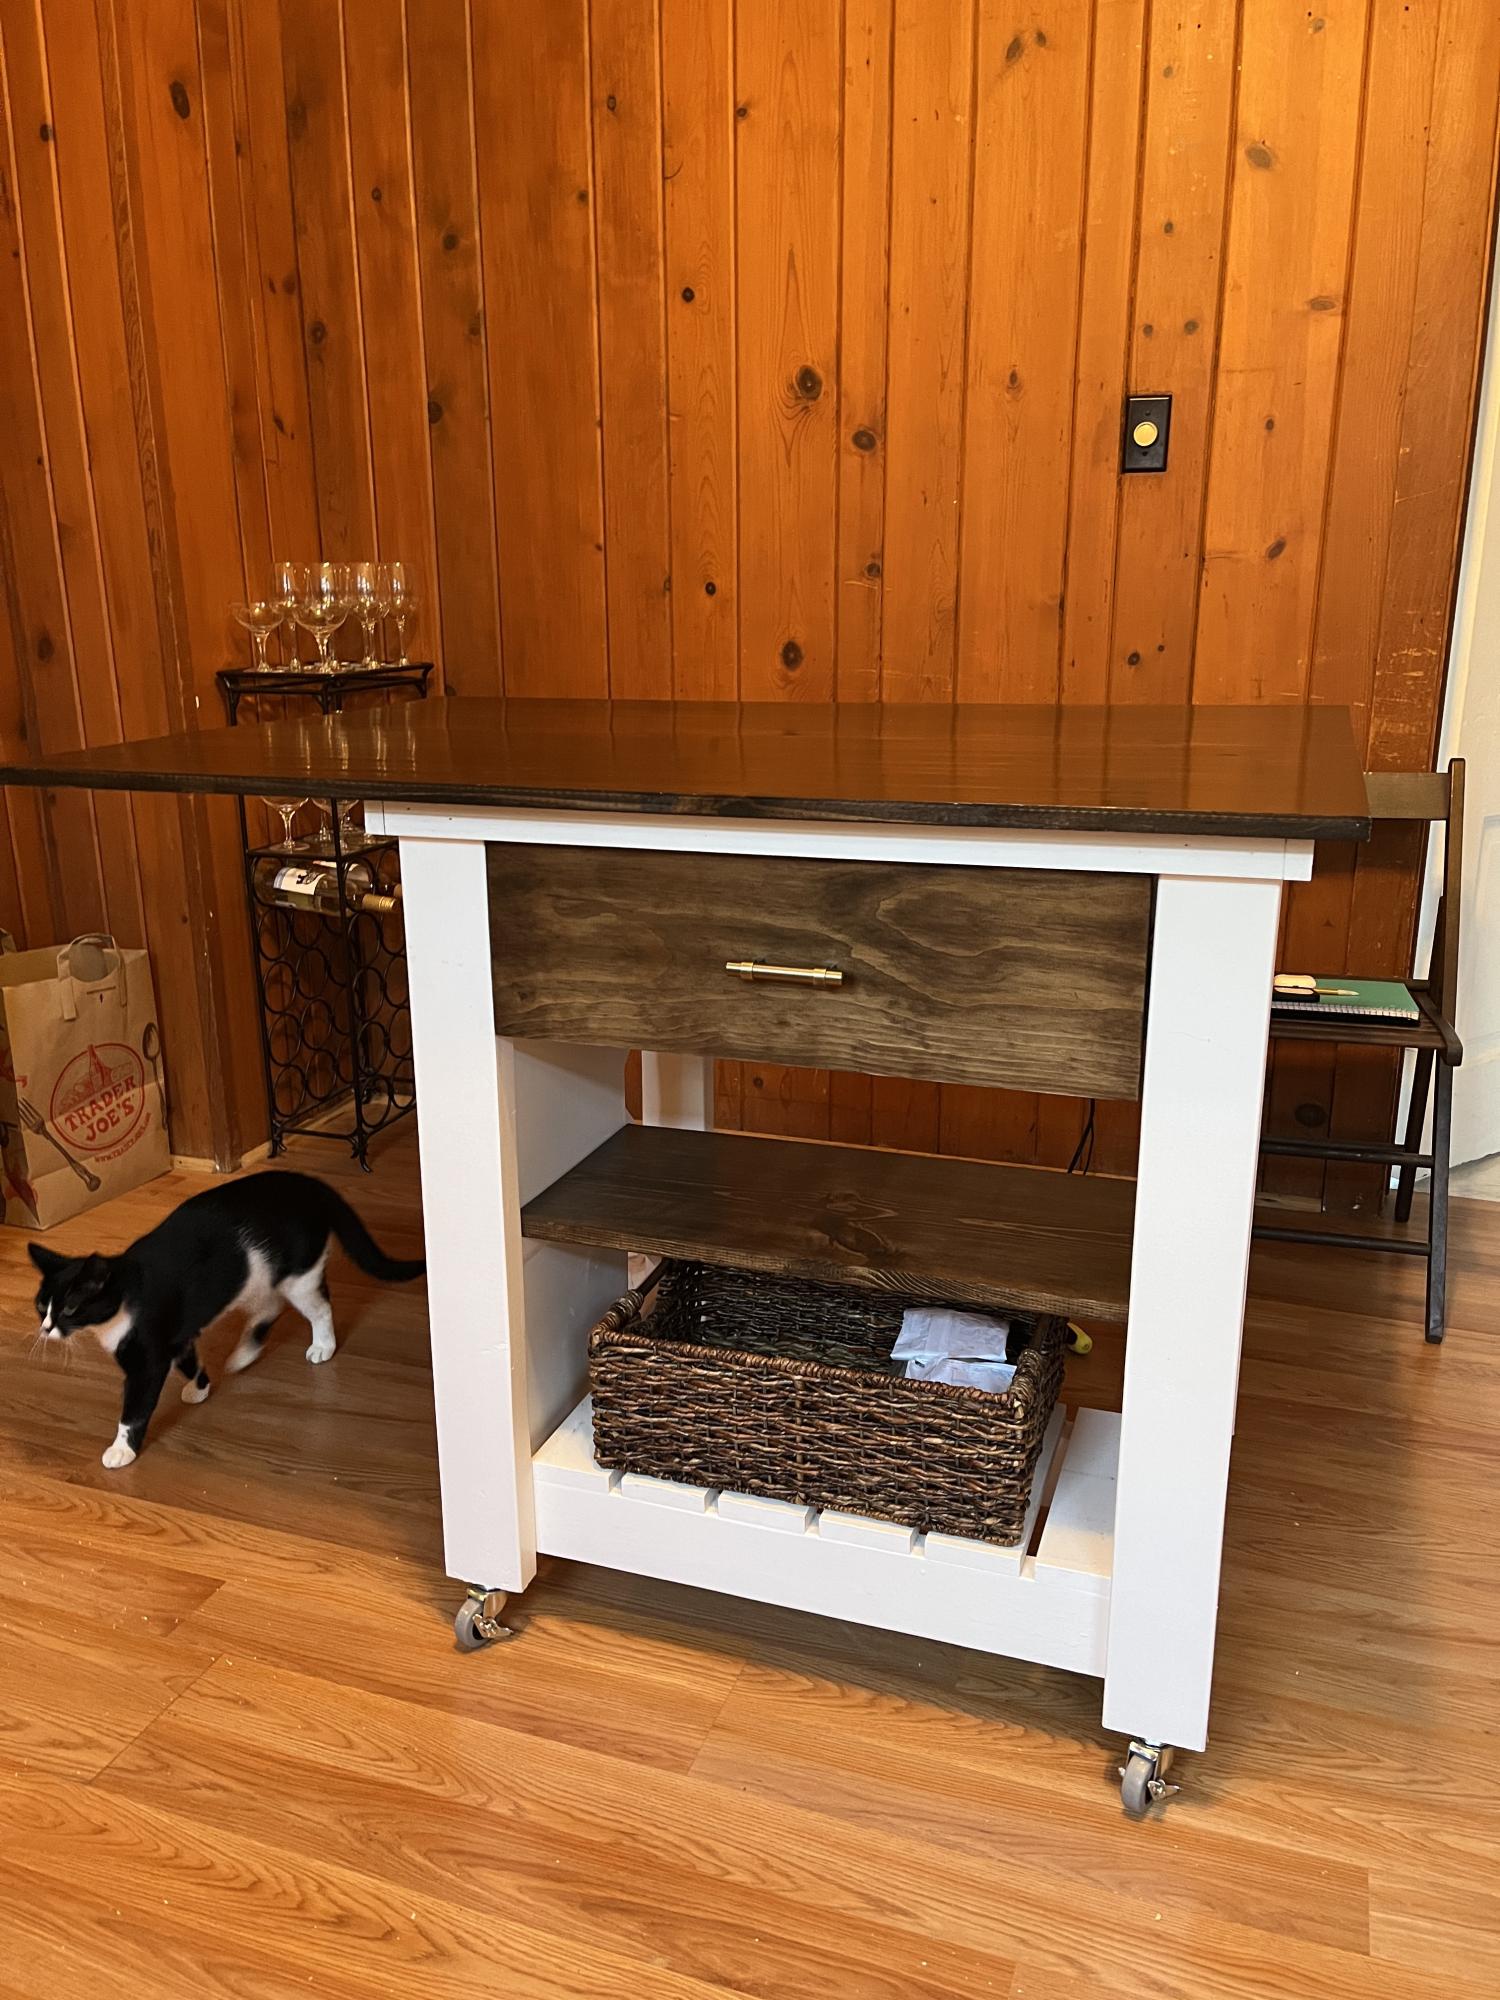
We built this island with the top offset so you could use it for stools on 2 sides. It fit perfectly in our daughter's first college house! The plans were easy to follow we added drawer slides and dovetailed the drawer.