Community Brag Posts

Reclaimed Wood Look Headboard

Submitted by JenMash on Mon, 09/03/2012 - 12:49

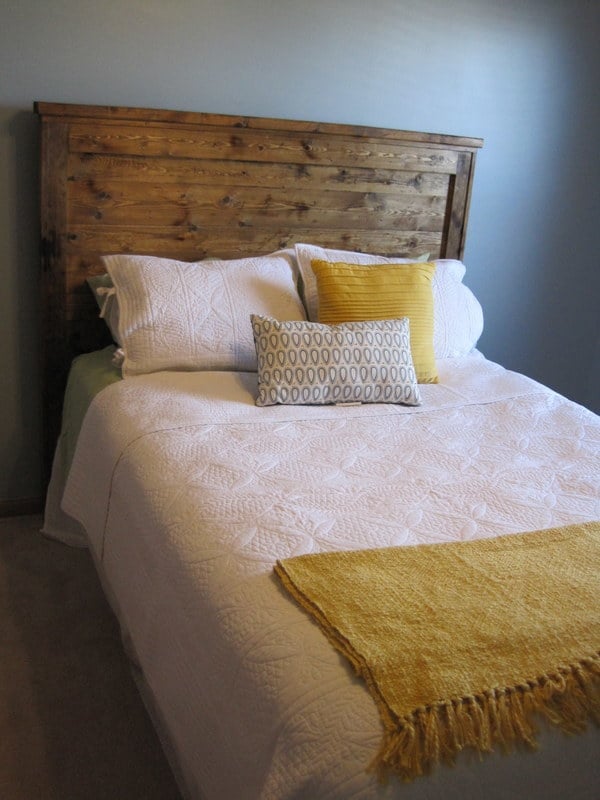
My husband and I had been looking for a great headboard for a bed in our guest room. We found ones we really liked but didn't like the price tag of 800-1500 dollars (not even including shipping!) We stumbled on this site and absolutely fell in love with the reclaimed wood style headboard. It was exactly what we were looking for. Building it just took a few hours. After we distressed the wood using a chain I found at the hardware store (only $1.60), a drill, a creme brulee torch and a hammer, we prepped the wood (sanded and primed), stained and clear coated. I highly suggest not only vacuuming off the wood but also using a tack cloth (so cheap but it makes such a difference) to make sure all of the dust was off. We bolted the headboard into the bed frame. It will be heavy but it is really sturdy and looks great! A good tip is to decide early what you want the front to be - you can chose the best sides of the wood that way!

Estimated Cost
150.00
Estimated Time Investment
Afternoon Project (3-6 Hours)
Finish Used
We prepped the wood using Minwax pre-stain wood conditioner. We then applied Minwax Provincial stain, waited about 10 minutes and wiped it off with a t-shirt. After we let it dry for the allotted time (we rushed it a bit but were so excited about the new headboard) and then put on a clear-coat finisher.
Recommended Skill Level
Beginner
Seasonal And Holiday

Farmhouse Table

Submitted by wannabee on Sun, 06/29/2014 - 19:04

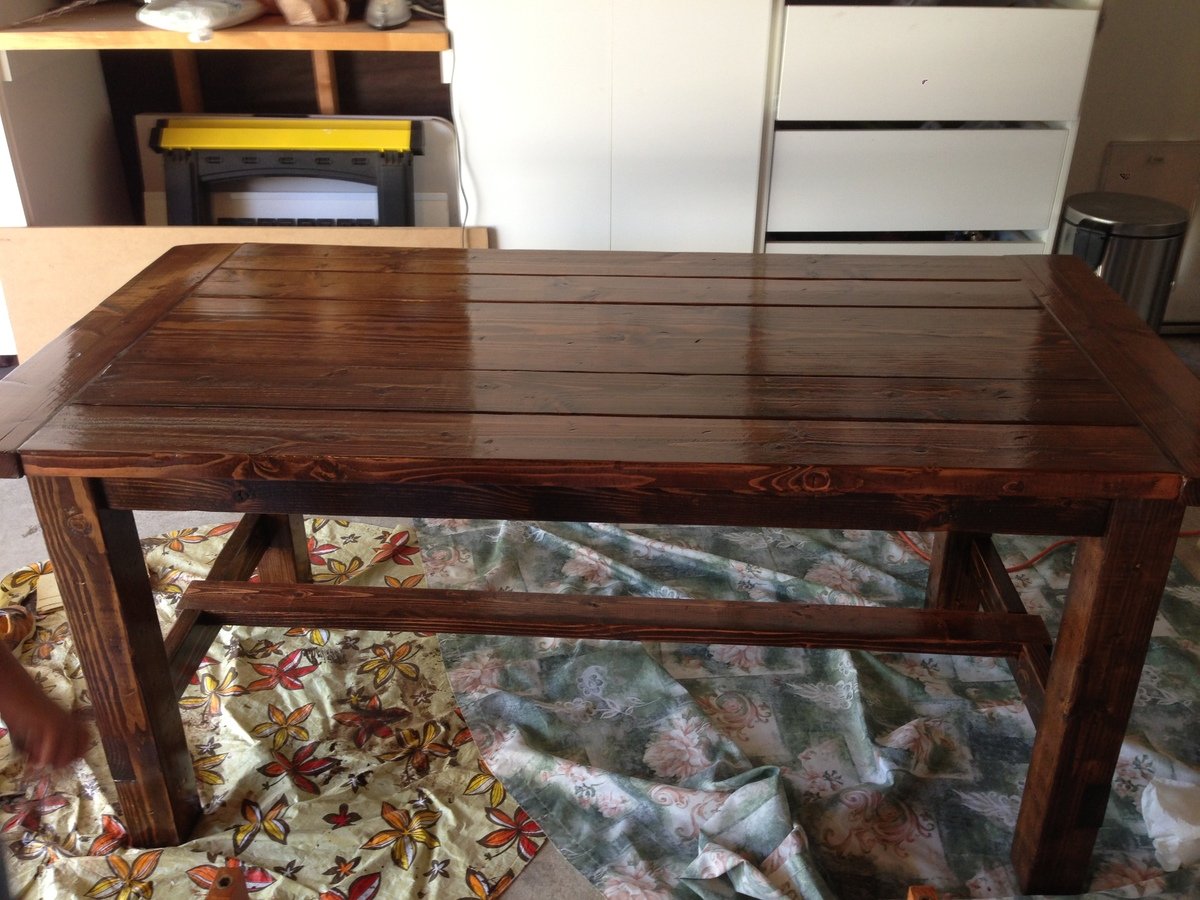
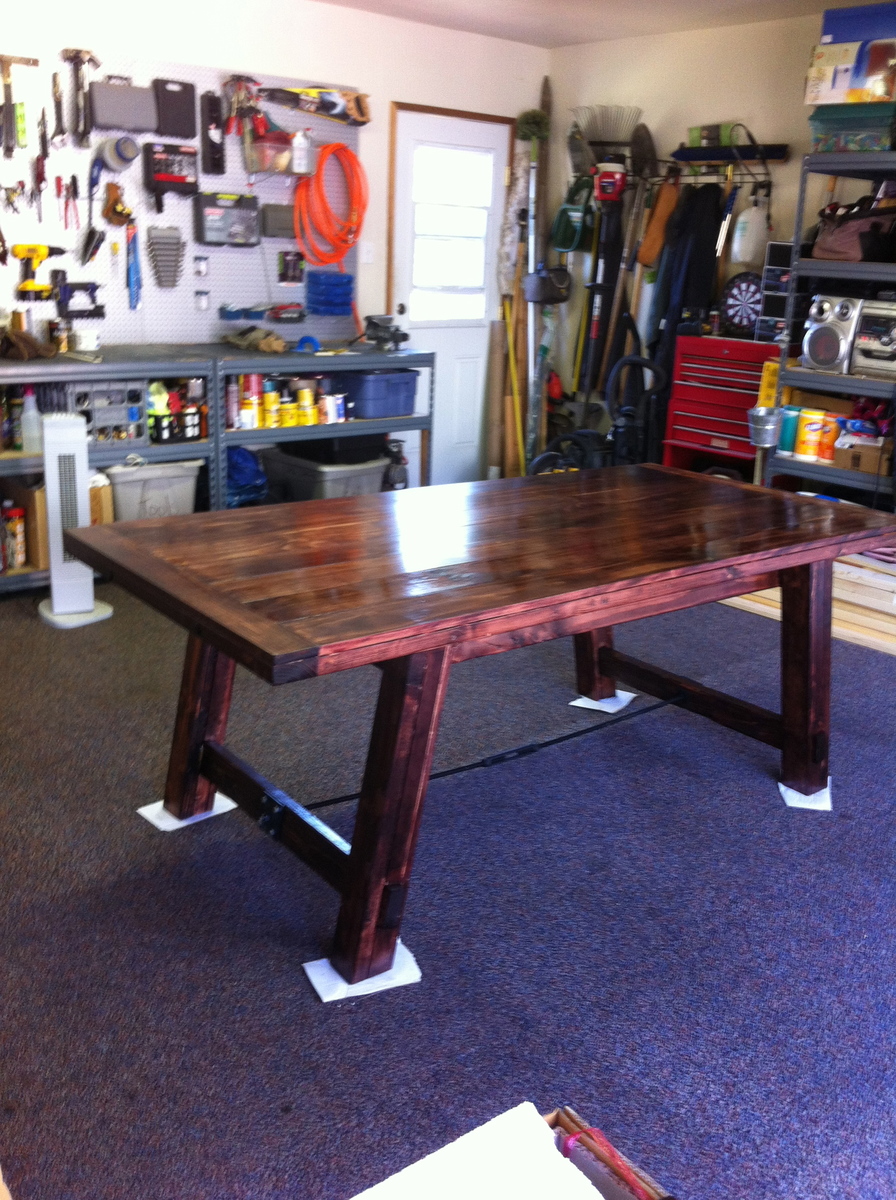
This is my first furniture building project and I was initially nervous that I have taken up more than I can handle. But things turned out just fine. My wife said she would pick this table if it were in a store and that made this project a success. My wife and I both like the distressed look and nothing in the stores impressed us enough. Three weekends worth of effort and we have a gleaming new table exactly as we wished. So, if you're a beginner like me, do not fret. This is a good starter project if you have the right tools.

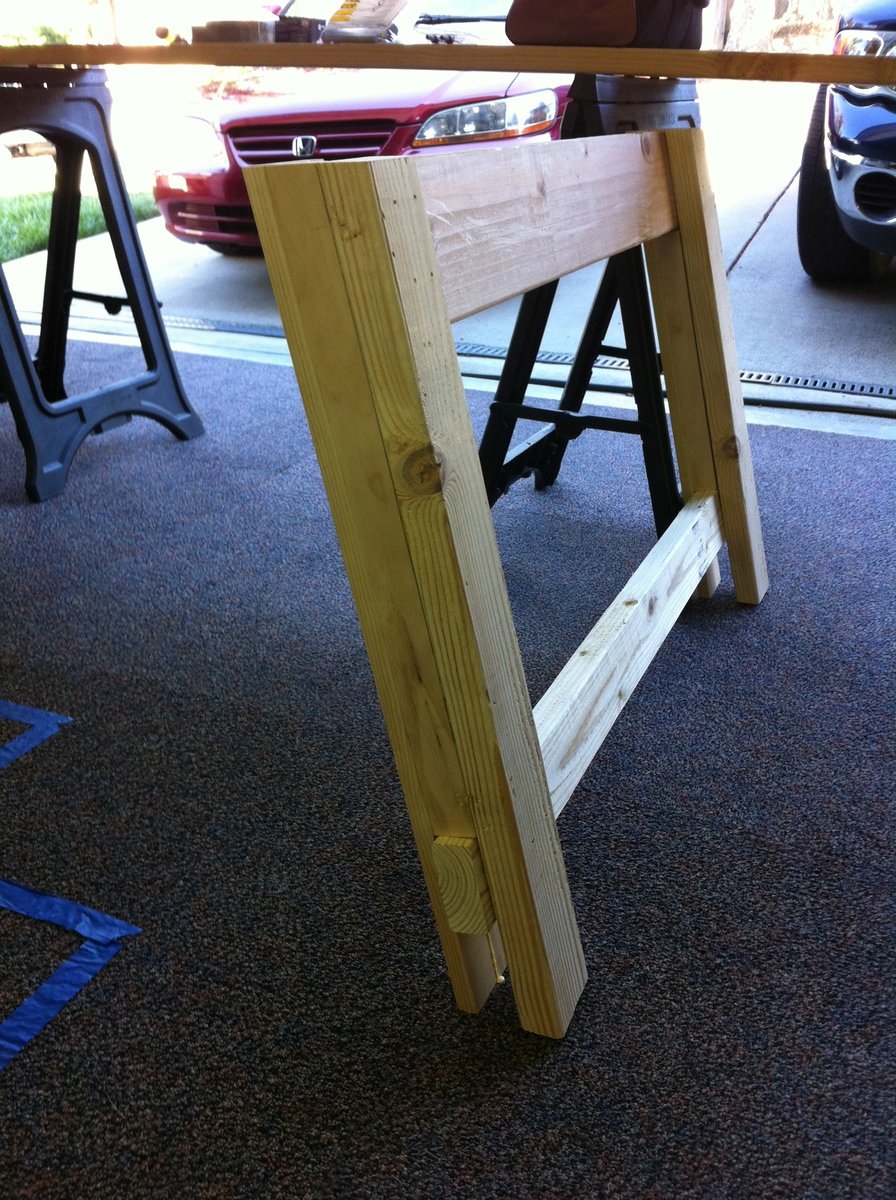
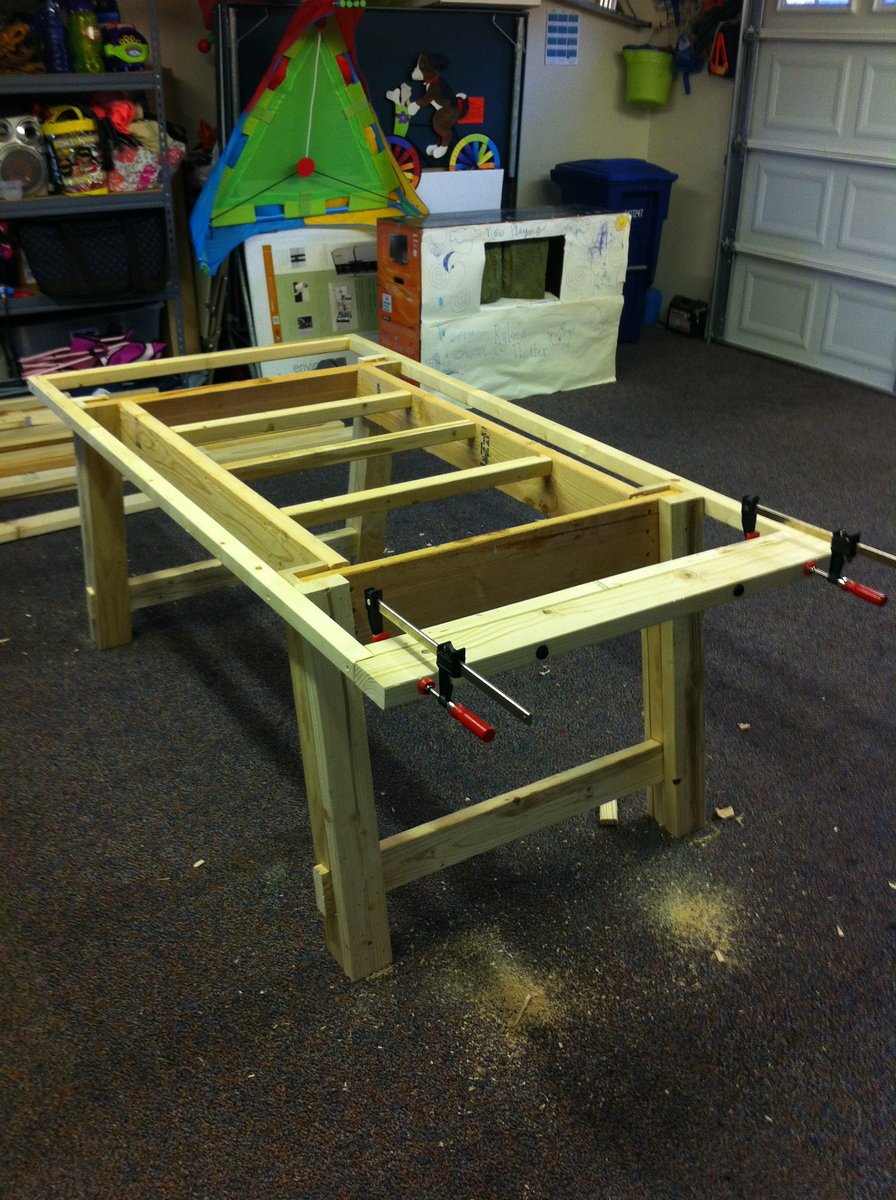
The basic specs were from this site but I had to change it to suit my size. Also, for the top I used 2X6's throughout except the center piece which is 2X12. I liked this look a little better. I do not know how much work Kreg Jig will save as I have no experience doing it the other way. Kreg jig is not very common and I did not find it in Home Depot. Lowes carried it. With this design note that you cannot put any chairs on the smaller side of the table as the bottom stretchers will obstruct you.

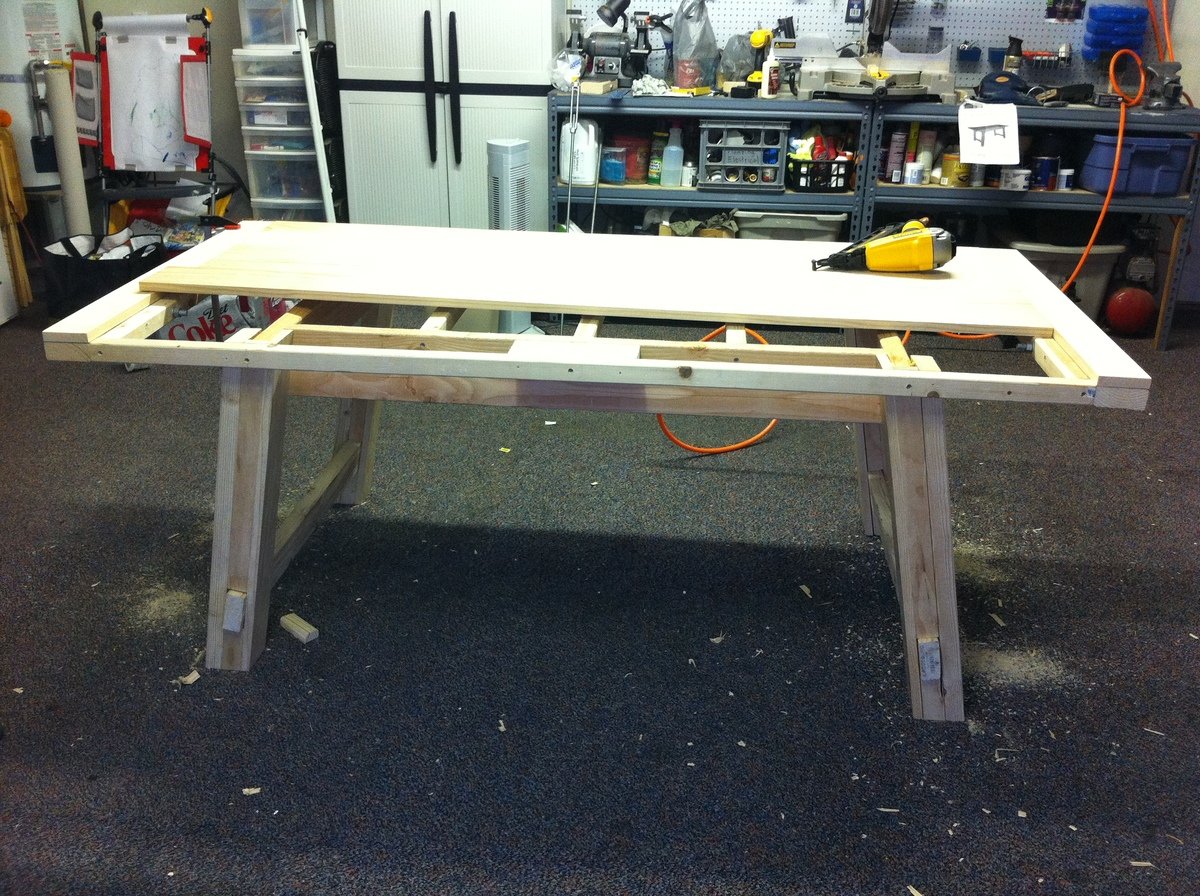
I had to use a hand planer on many occasions to level things out, especially between the table top planks and the breadboards. With construction grade lumber there will always be warps and twists, so this is something you need to plan for.

Now to the build part,
Top is all 2X6 with center piece 2X12. Rest as per Ana's plans. Construction grade lumber - Douglas Fir.
I did not sand too much - used 120 Grit throughout - did not sand with anything finer than that and it turned out ok. I did this to retain the feel of the grains. It was fun distressing it. We used hammer, chains and nails, but the best effect was from chiseling on the sides. Practice on spare wood first.

For Finish I used Dark Walnut from Rustoleum. One single coat. Then I wiped on Minwax Red Chestnut on top and quickly wiped it off. That gave it a pop. I used 5 coats of Rustoleum Poly on top. Rustoleum makes a huge difference to your project time as it dries much quicker than minwax. Also one single coat of stain did the job as advertised. Note that Rustoleum Poly is milky in color, but dries clear.

Good luck to your project and hope this helped.
Estimated Time Investment
Week Long Project (20 Hours or More)
Finish Used
Rustoleum Dark Walnut one coat, Minwax Red Chestnut one very light coat, Rustoleum Poly Gloss finish 5 coats. Distressed look.
Recommended Skill Level
Beginner

TV Stand

Submitted by Anonymous (not verified) on Mon, 10/03/2016 - 11:06

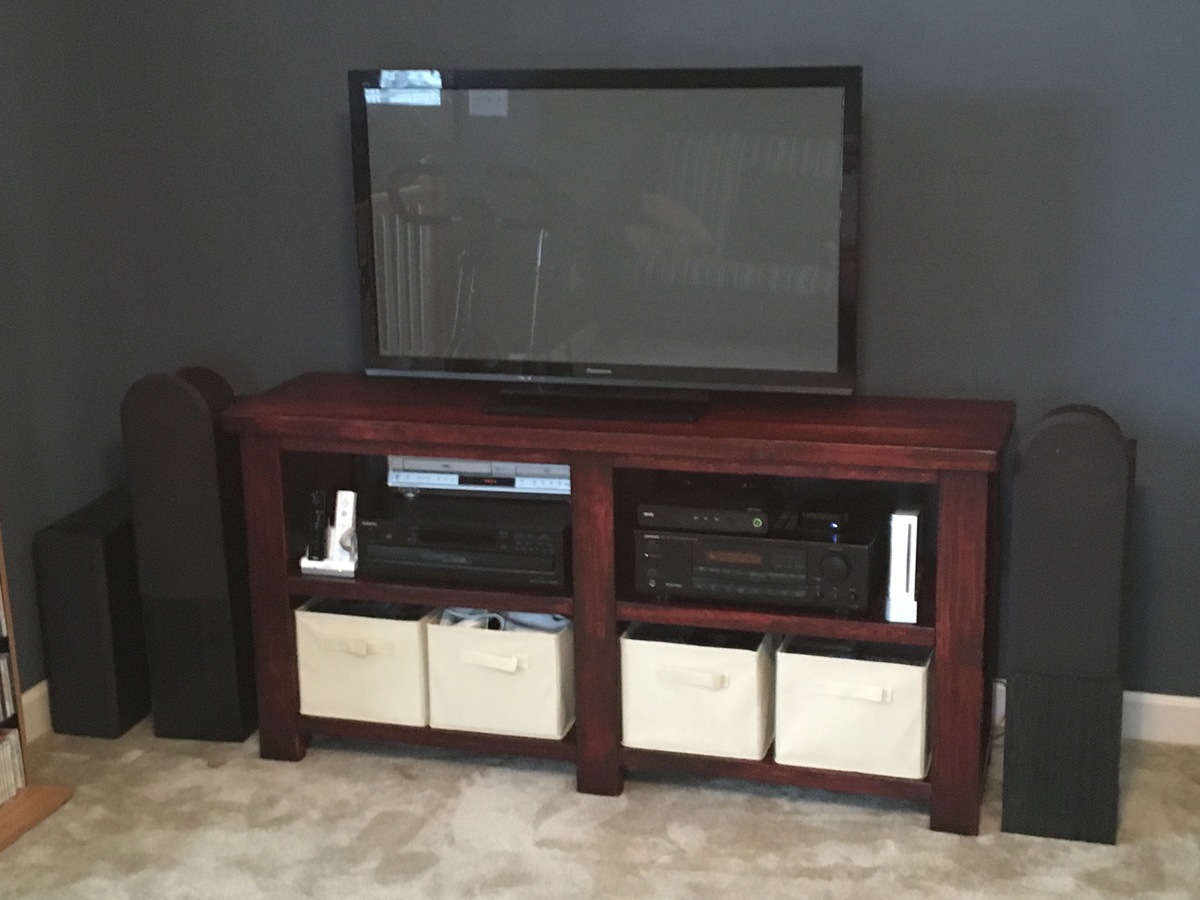
Shortened the plan to fit my space. Used Georgian Cherry stain. 

Estimated Cost
$65
Estimated Time Investment
Weekend Project (10-20 Hours)
Finish Used
Georgian Cherry gel stain
Recommended Skill Level
Beginner

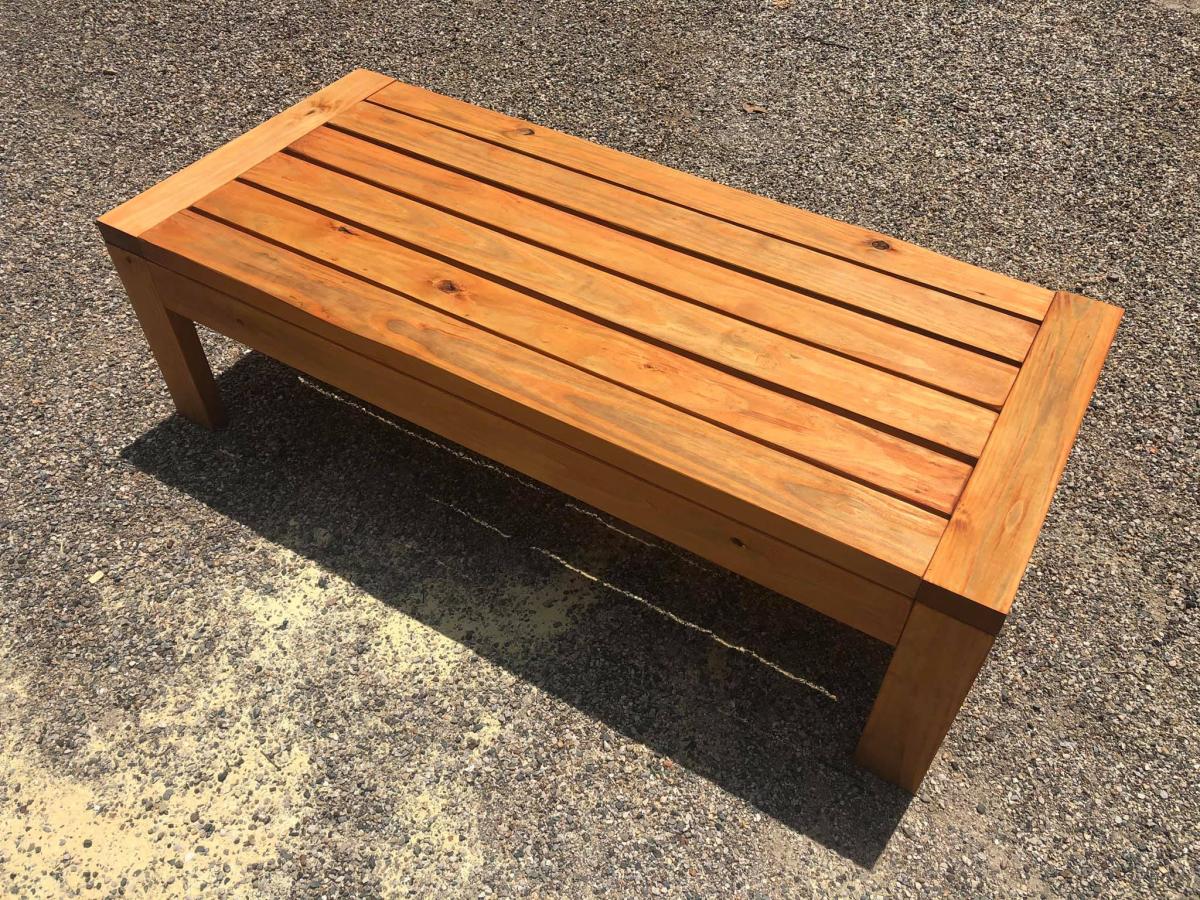
Modern Outdoor Patio Chair

Submitted by Hemann85 on Tue, 07/07/2020 - 11:15

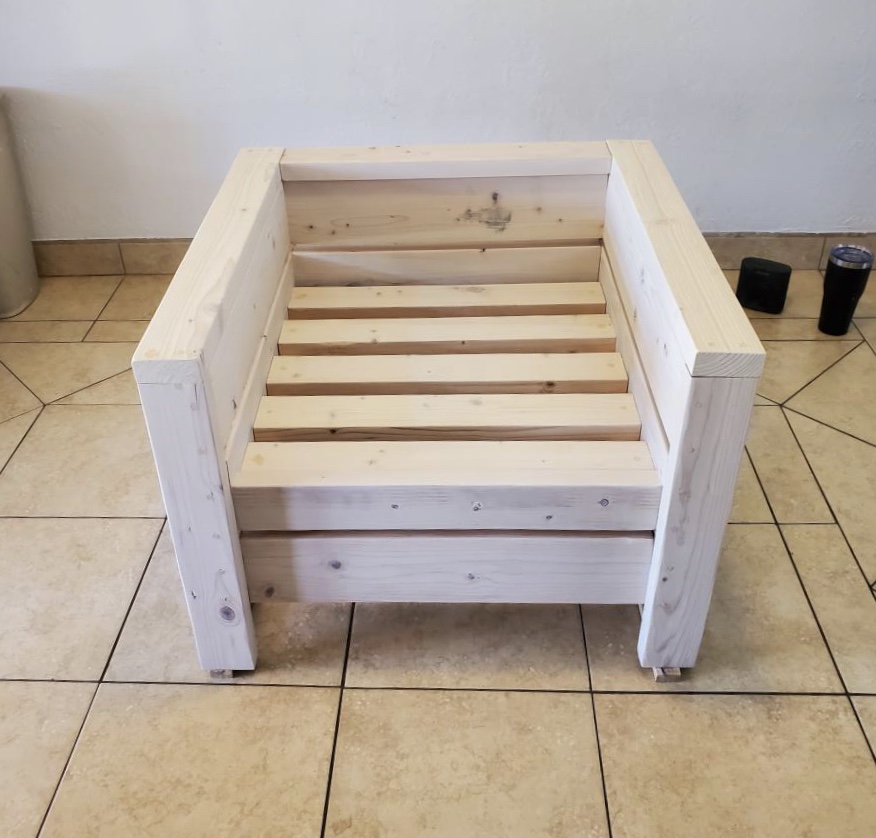
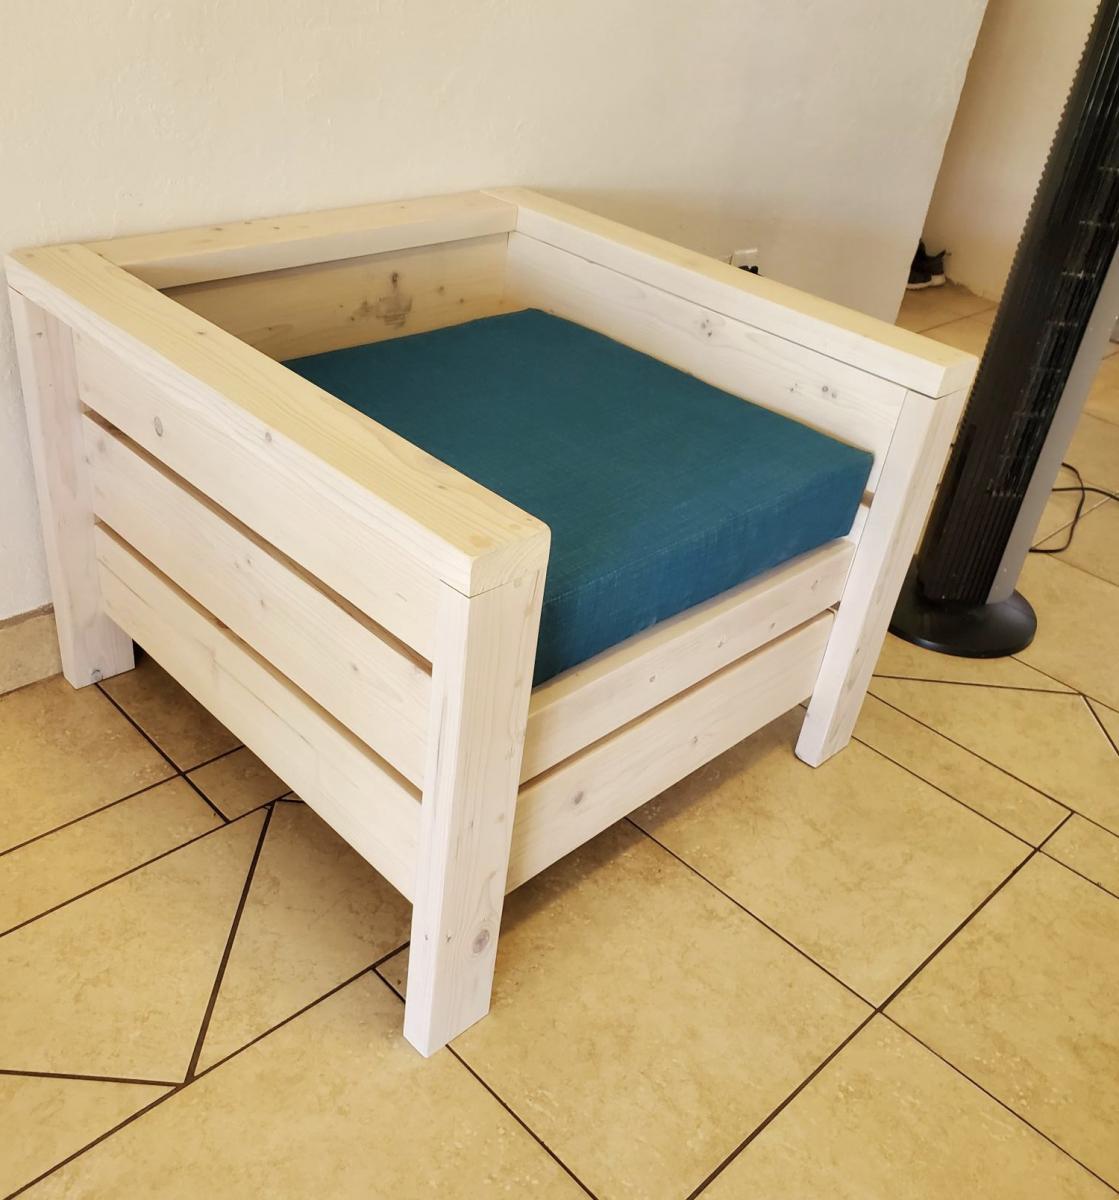
I just built this chair but I think I will be adding a back support for a larger cushion. The stain is a semi translucent white with a touch of grey.

Estimated Cost
$50
Estimated Time Investment
Afternoon Project (3-6 Hours)
Finish Used
Valspar semi-translucent
Recommended Skill Level
Beginner

Play Kitchen

Submitted by keribeth on Tue, 09/04/2012 - 12:36

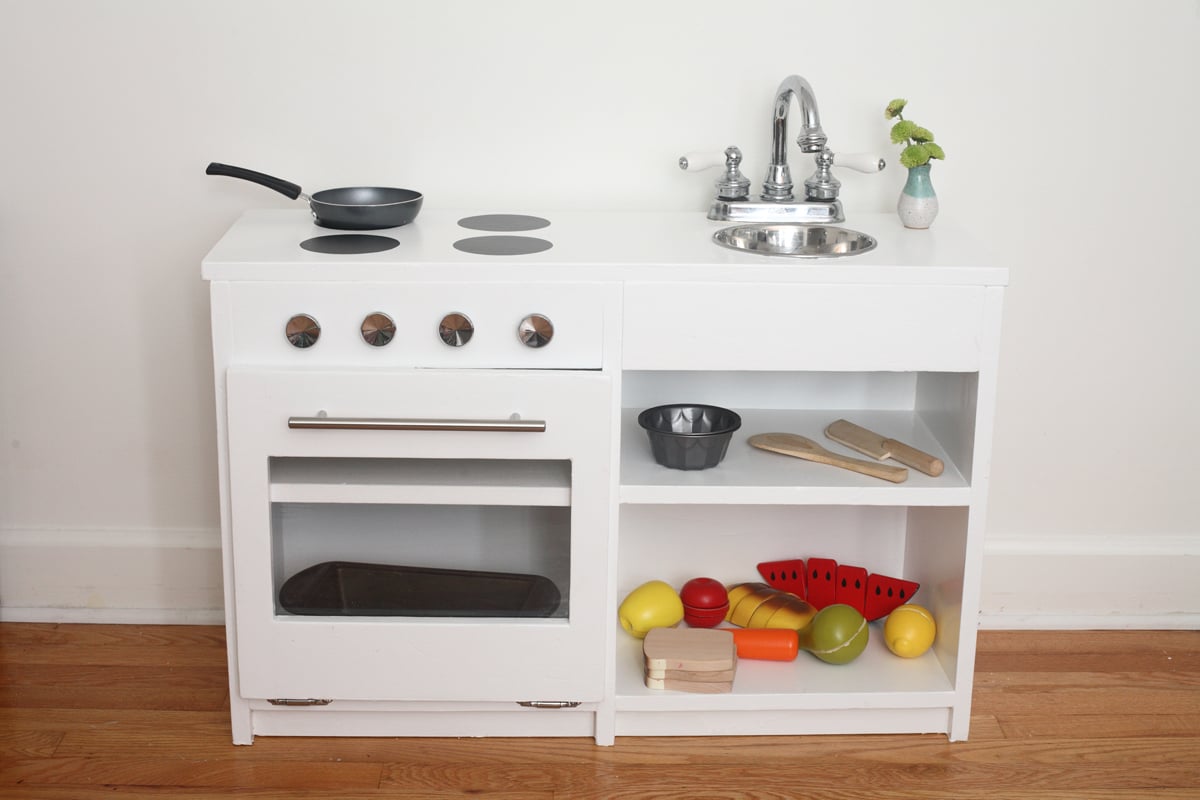
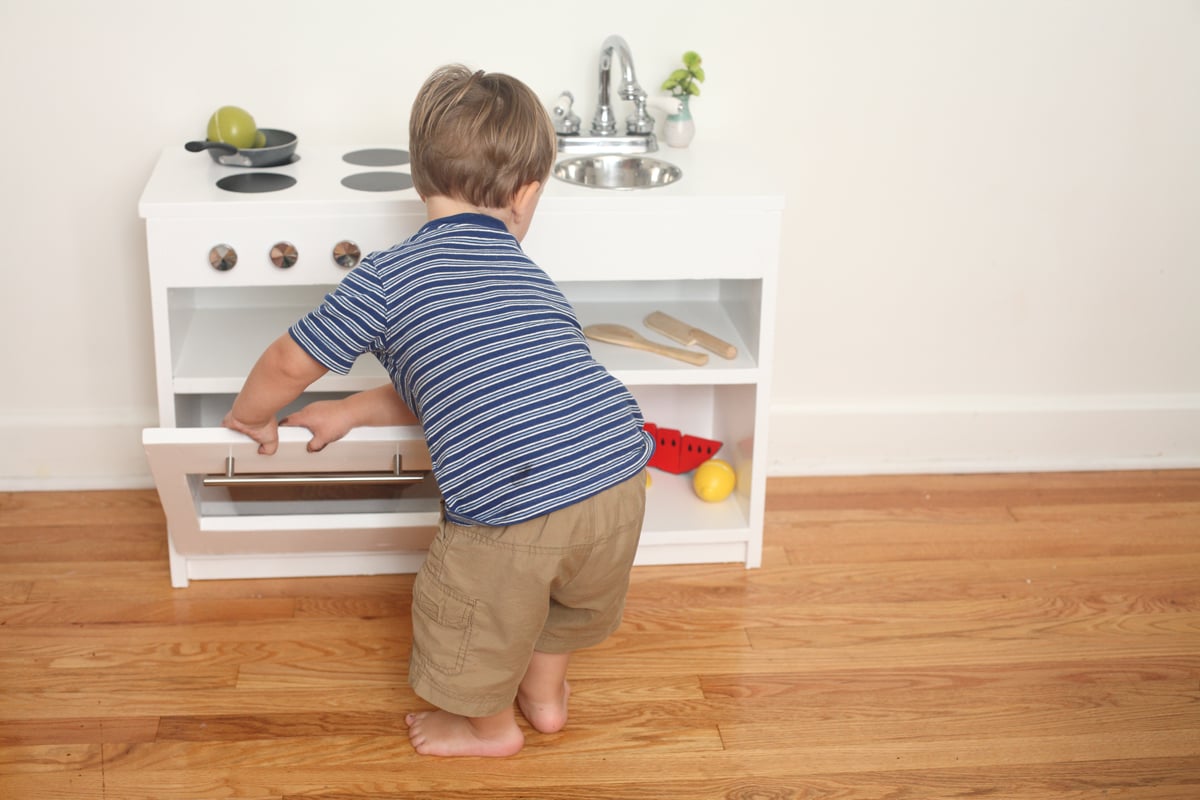
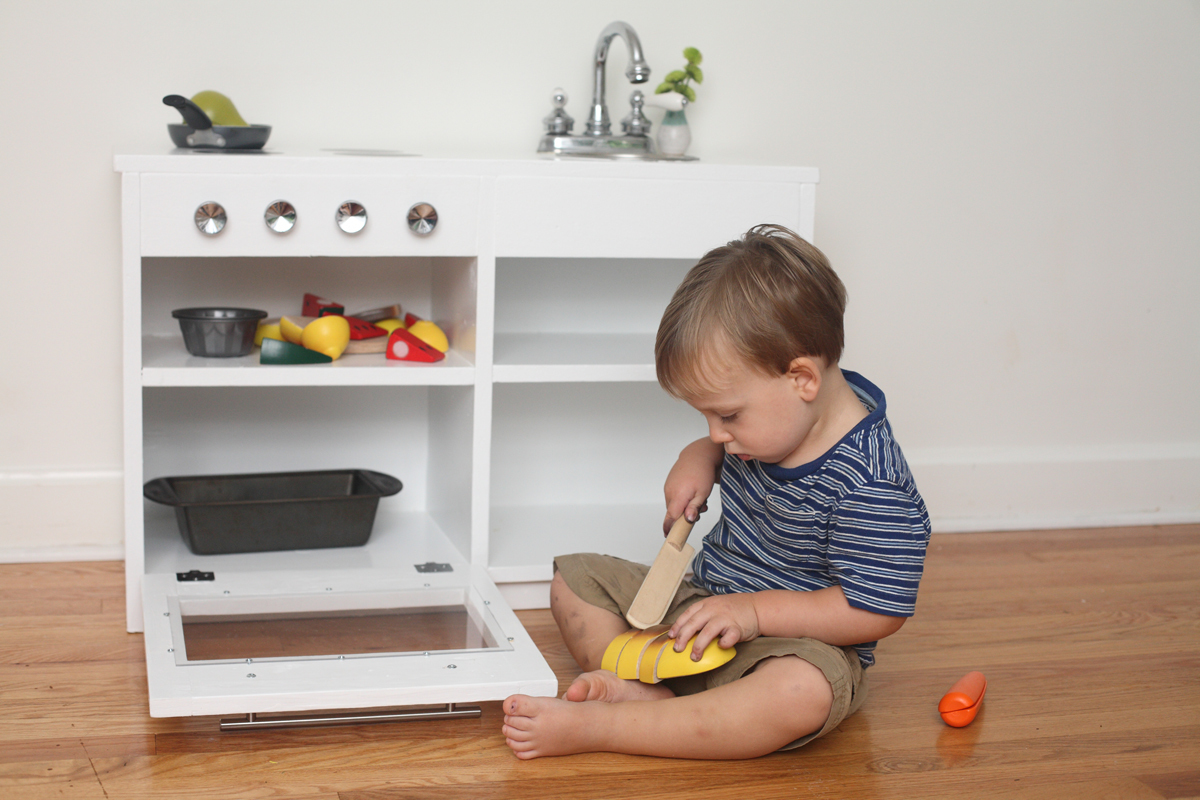
I combined the play sink and play stove into a one-piece kitchen by having them share a side. I found a bathroom faucet at my local Habitat ReStore for $15 (and that included a sink I didn't even need!). Time investment does not include painting. Here's my cost breakdown. Lumber: $25 (I used some scraps.) Faucet: $15 Dog bowl: $7 Hardware: $13 Primer and paint: $19 Screws: $4 Sandpaper: $5 Plexiglass: $3 Prepping dinner while my toddler works in his play kitchen beside me: Priceless.

Estimated Cost
~$90
Estimated Time Investment
Day Project (6-9 Hours)
Finish Used
Cheap white paint. It dripped like crazy and took forever to dry. My mantra was "It's a toy, it's a toy, it's a toy."
Recommended Skill Level
Intermediate

Comments

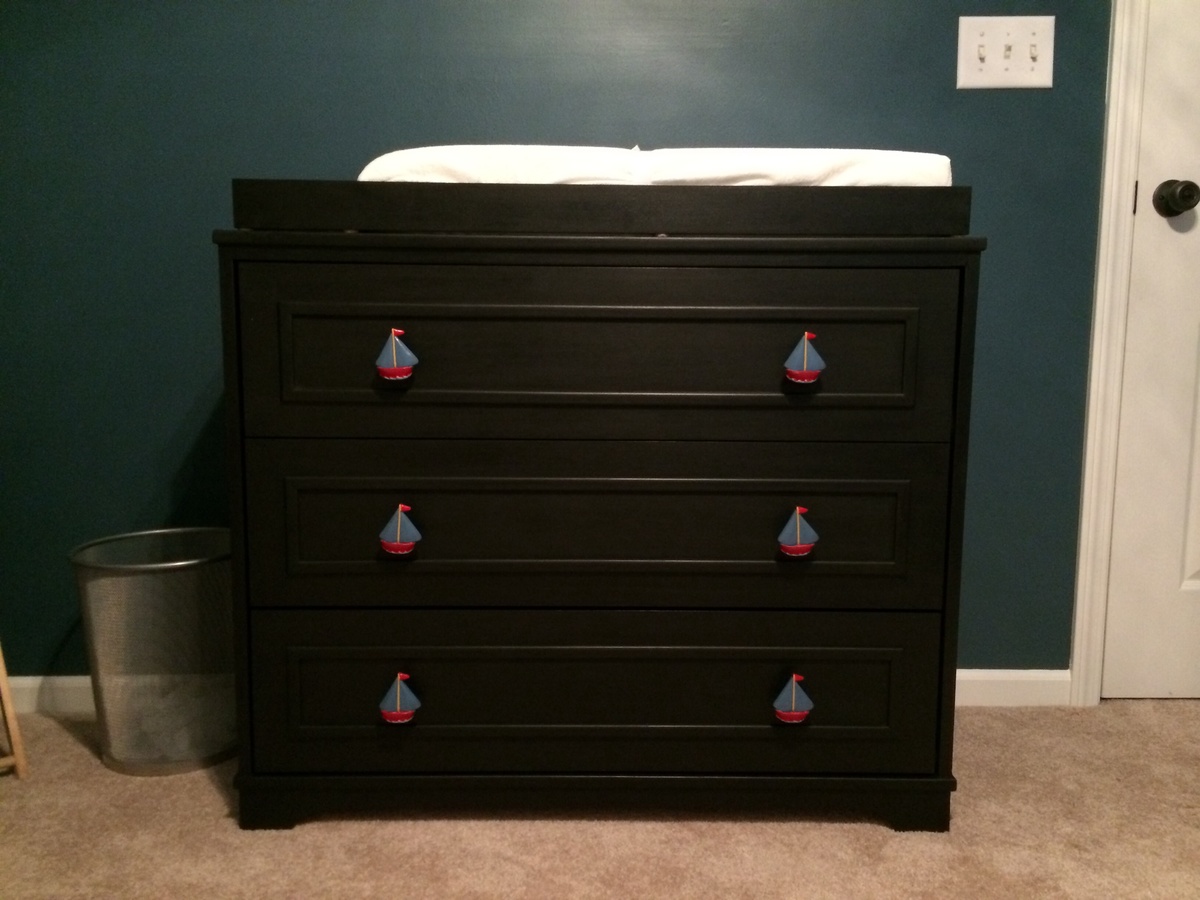
Fillman Dresser/Changing Station

Submitted by e.tesch on Thu, 07/03/2014 - 08:47

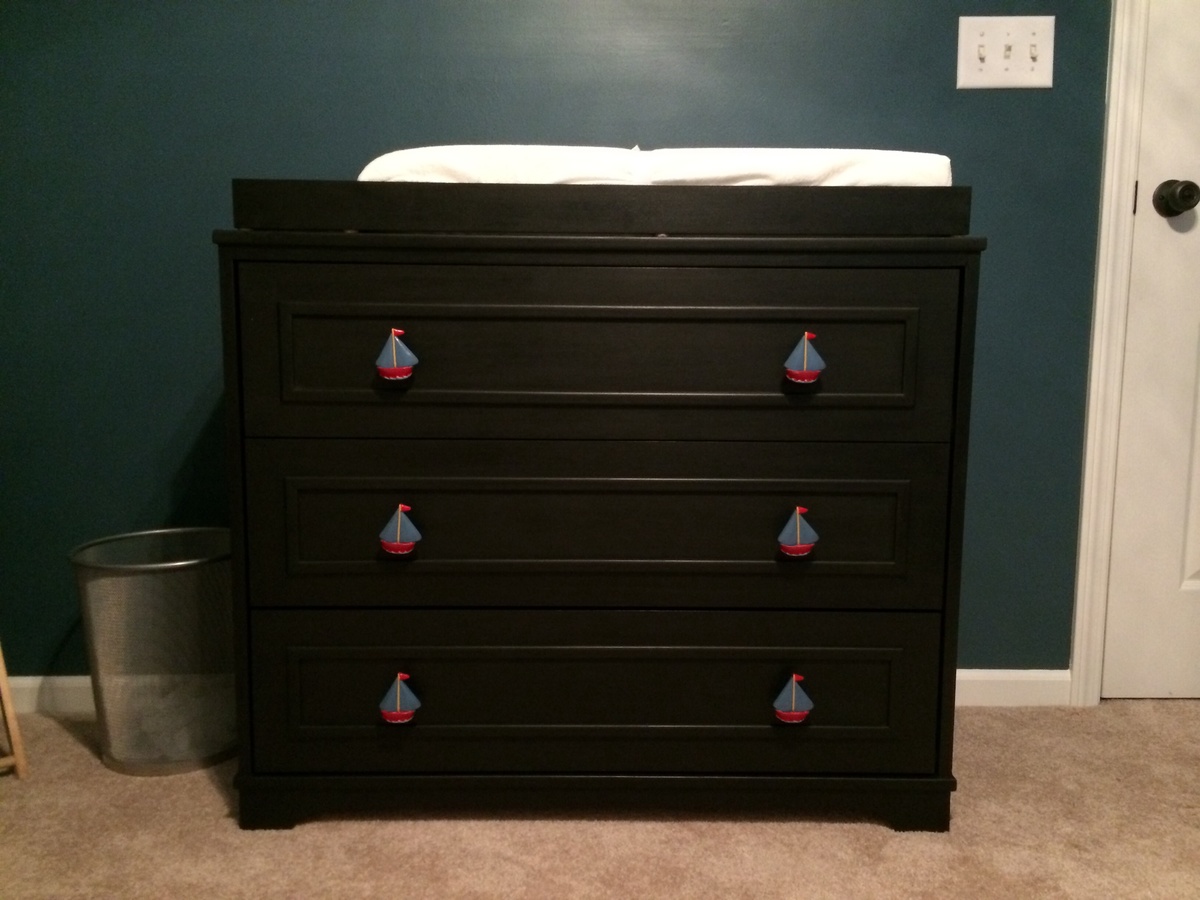
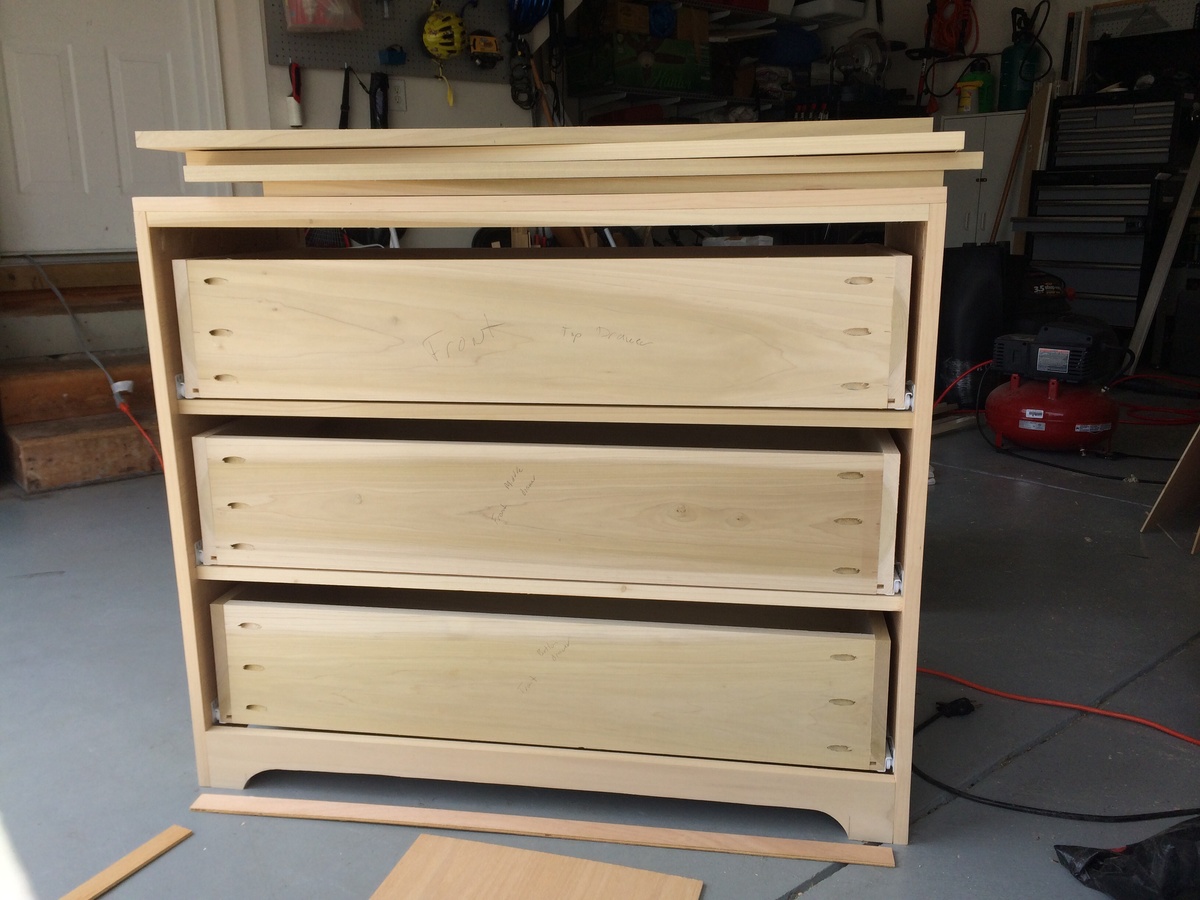
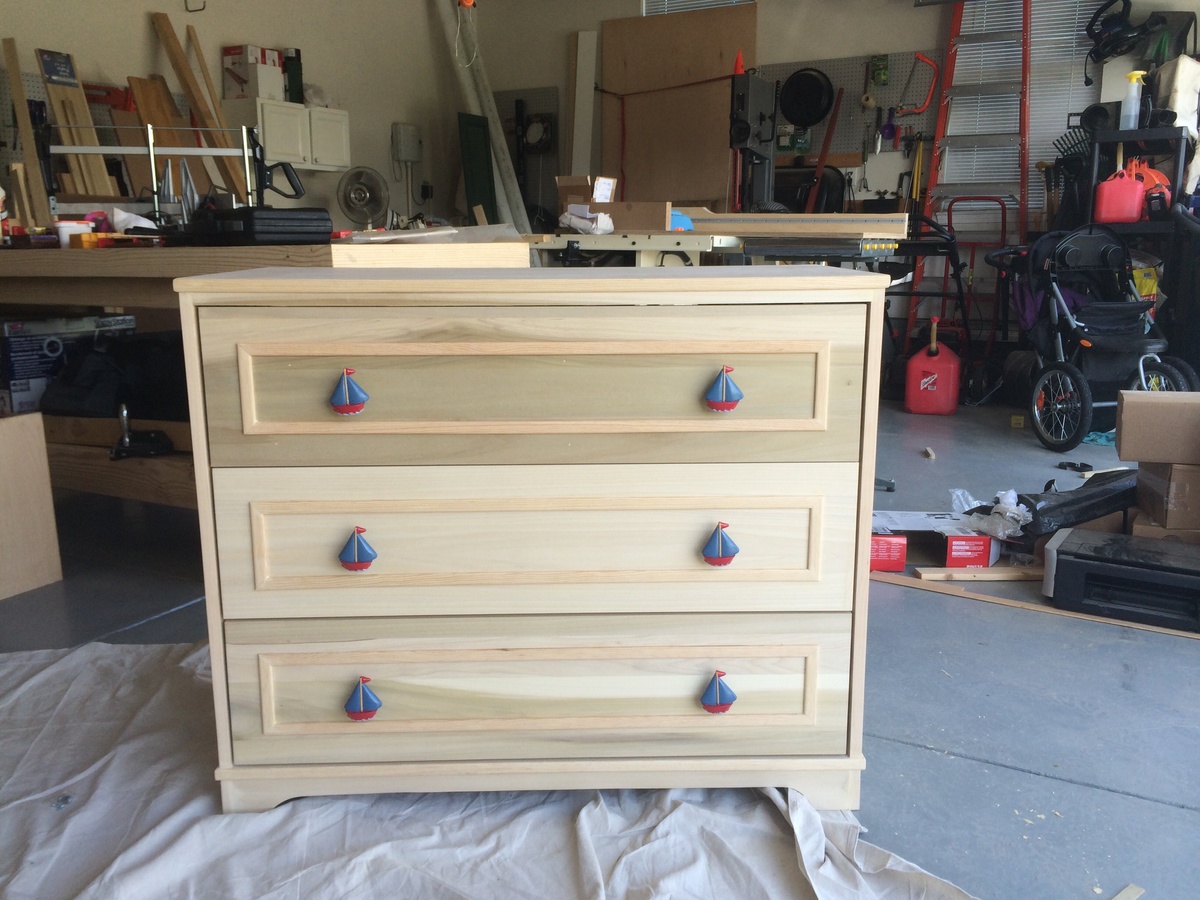
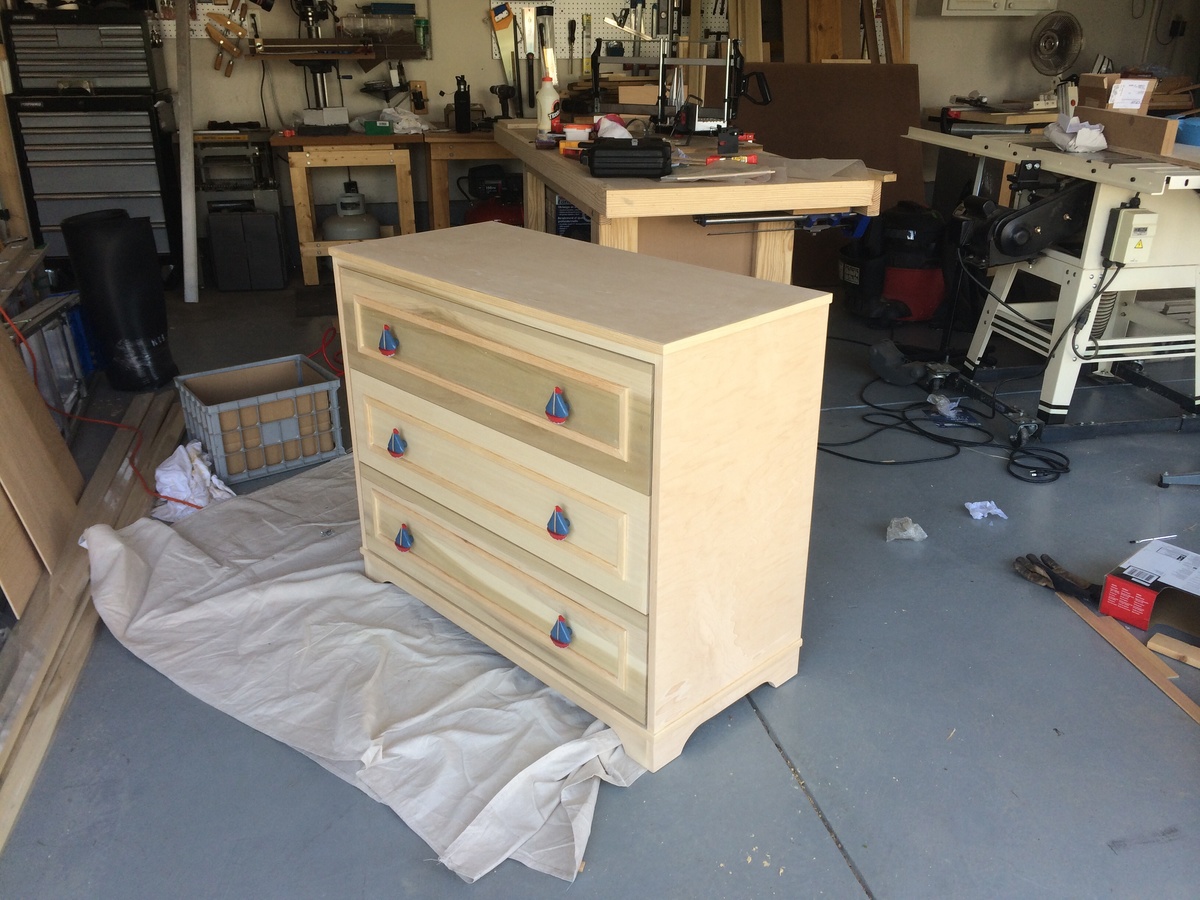
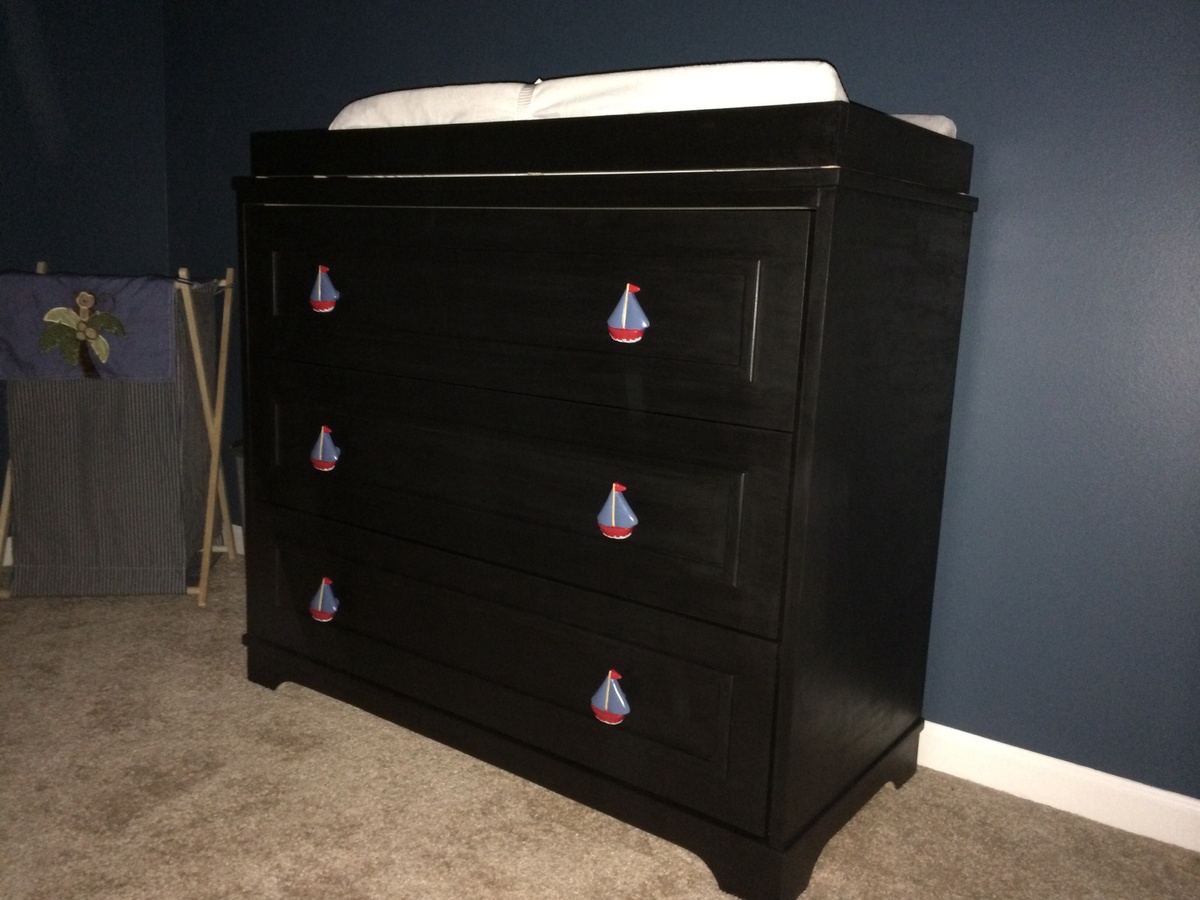
Needed a dresser/changing station for our baby boys nursery. After pricing the "cheap ones" at target ($225). Decided I could build one for much less and much better quality. Found the Fillman Dresser/Changing station plan on Ana's site and felt that was the plan.

One modification I did to make the drawer bottoms stronger was to route a ¼" rabbit ⅜" from the bottom of the drawer to help hold the ¼" plywood.

This was my first time using milk paint and after the first coat I felt I ruined the project because the color was so uneven. Thank goodness for the internet because when I looked milk paint up every site had a "don't panic" paragraph about the first coat going on uneven. Quick sanding and a second coat Made me a believer.

As this was my first project I am very pleased with how it turned out. I learned a number of things to avoid and look forward to my next project.

Thanks Ana for all of the inspiration and ideas.

Estimated Cost
$140
Estimated Time Investment
Weekend Project (10-20 Hours)
Finish Used
Old Fashioned Milk Paint (Black)
Watco Danish Oil
Recommended Skill Level
Beginner

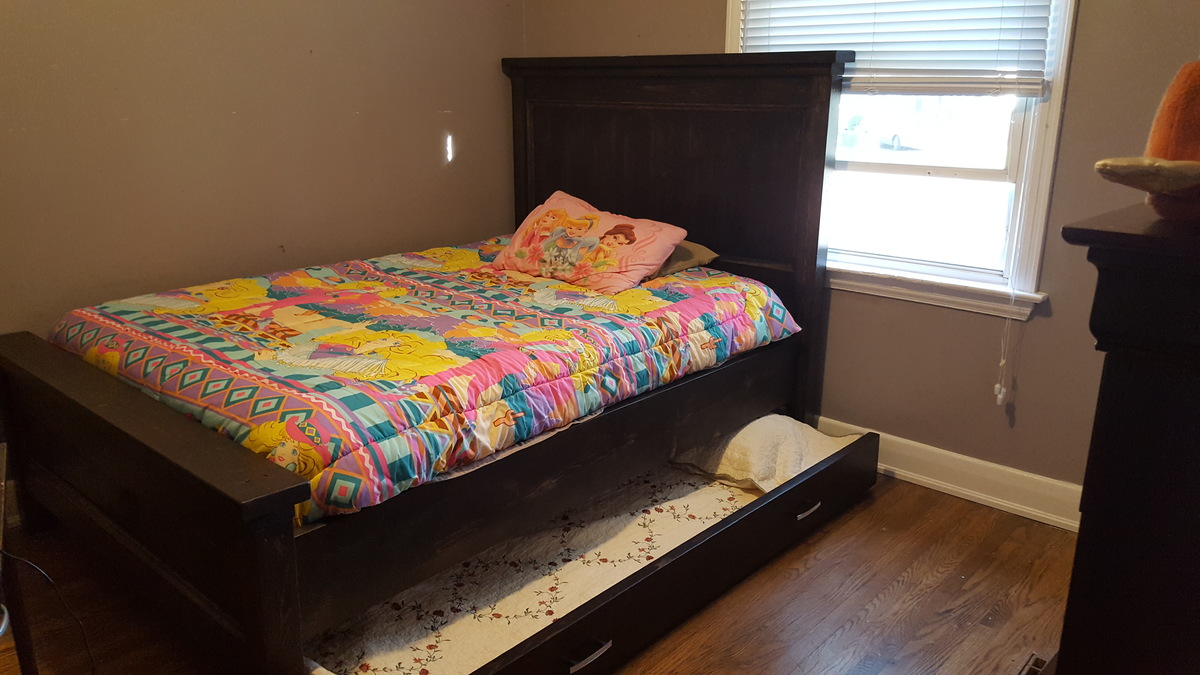
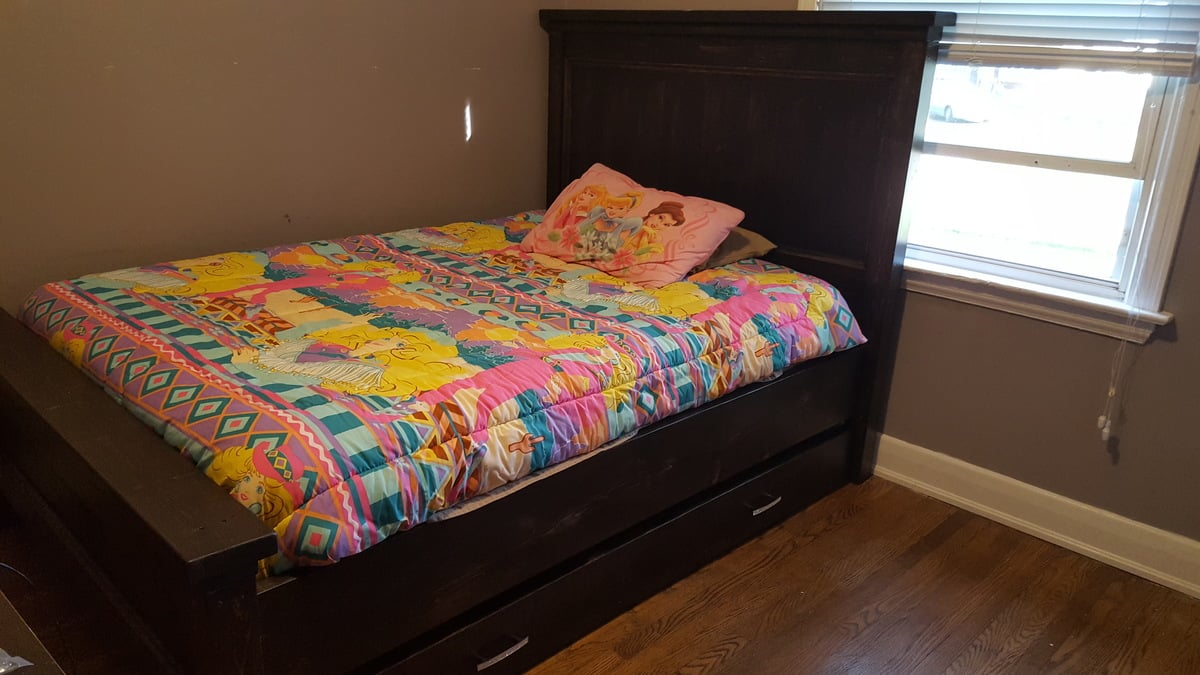
Double Farmhouse Bed with Trundle

This was the first Farmhouse bed I have ever built!  I am totally in love with it!  I found the plans very easy to understand and follow.  I used the Twin Farmhouse bed and adapted it for a double and also added some trim details in the head and foot boards.  I also changed the way I attached my bed frame as I wanted to be able to take apart easily if ever needed.  So I used 2 by 10s and attached them to my posts.  I also made a trundle for underneath it. Finally totally complete!!  Love the way it turned out.  
Estimated Cost
300
Estimated Time Investment
Week Long Project (20 Hours or More)
Finish Used
Rustoleum Triple Thick, Expresso. Rustoleum Triple thick Clear Coat.
Recommended Skill Level
Intermediate

Comments

TWIN FARMHOUSE BED

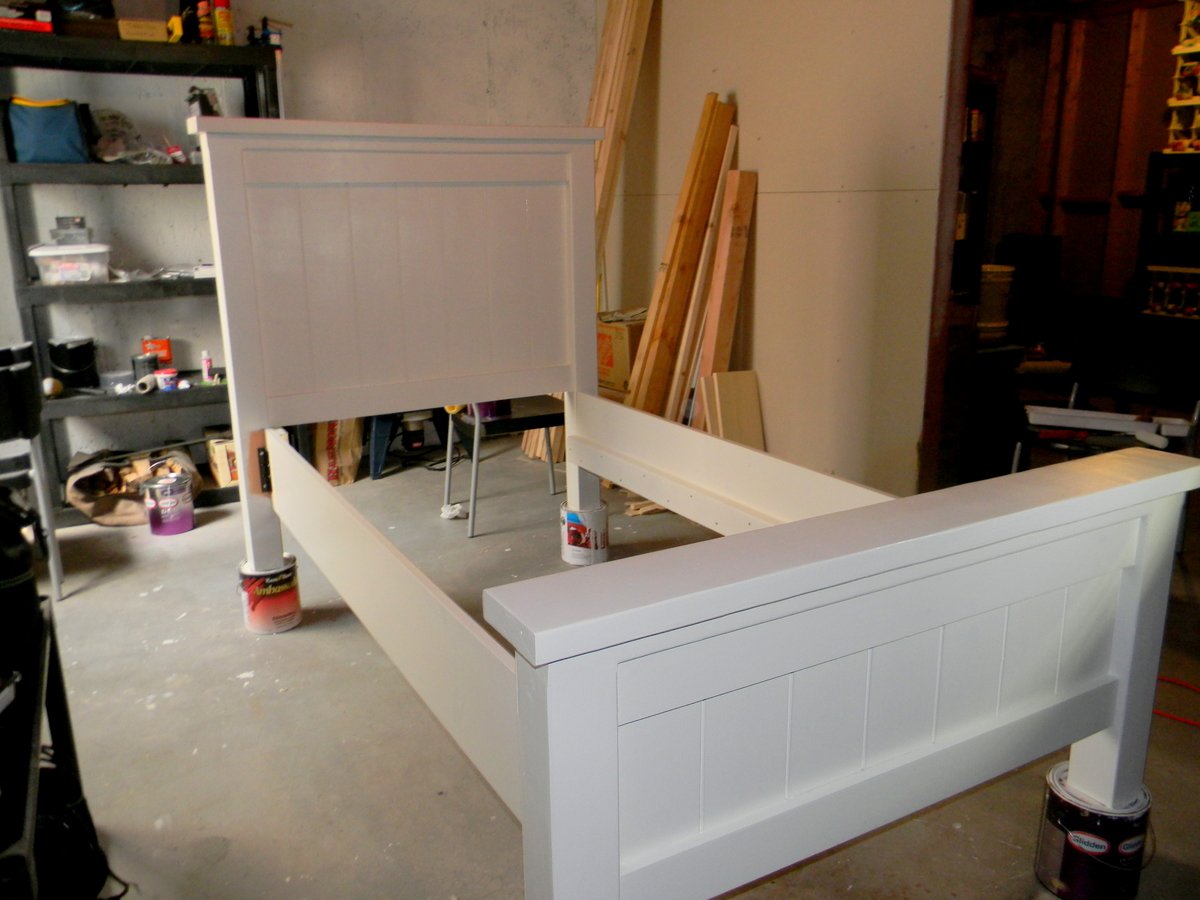
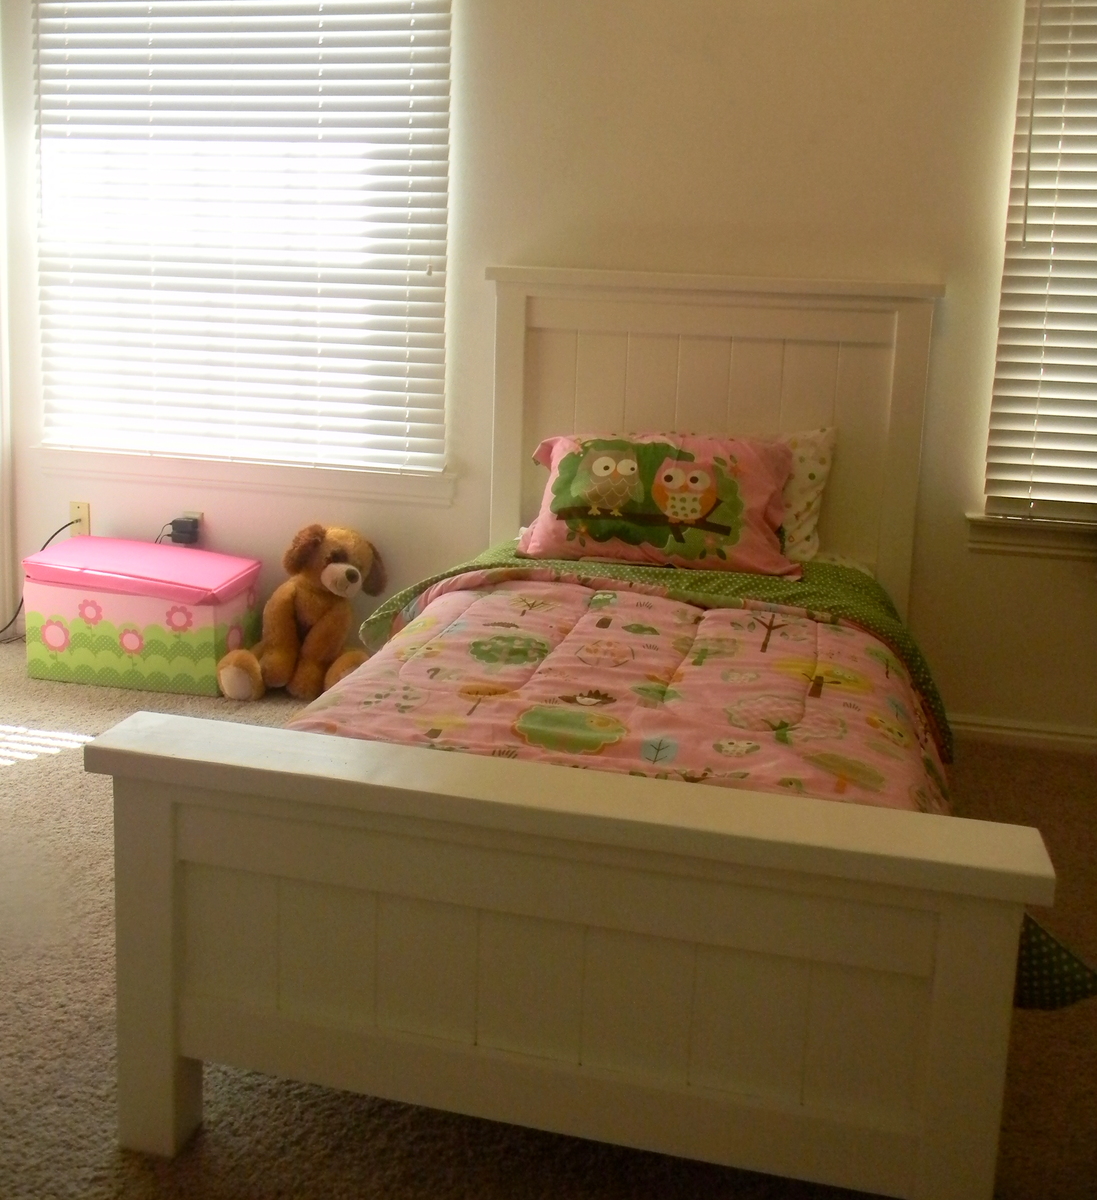
The hubs and I built this for our two year old daughter. It was pretty straightforward, and wasn't a huge time commitment. We had taken her out of her crib a few months back, but she had been sleeping in a twin mattress on the floor, so she could get used to not being in a crib. She was so excited for her new bed.
Note: we used rockler brackets to attach the rails to the headboard and footboard, so its not just one huge piece, and when we move we can take it apart. They worked Great!!
Also, because she is two, and we wanted to keep her lower to the floor, we decided not to use a box spring for now, so we took 9 inches off the bottom of thr headboard 4x4s. this ensured there was not a gap between the top of the mattress and bottom of the headboard. If we choose to use a box spring mattress later, it will still work out fine and look great.

Built from Plan(s)
Estimated Cost
170
Estimated Time Investment
Weekend Project (10-20 Hours)
Finish Used
We used parchment white, semi gloss paint, made by glidden. It took three coats to get the desired finish.
Recommended Skill Level
Intermediate

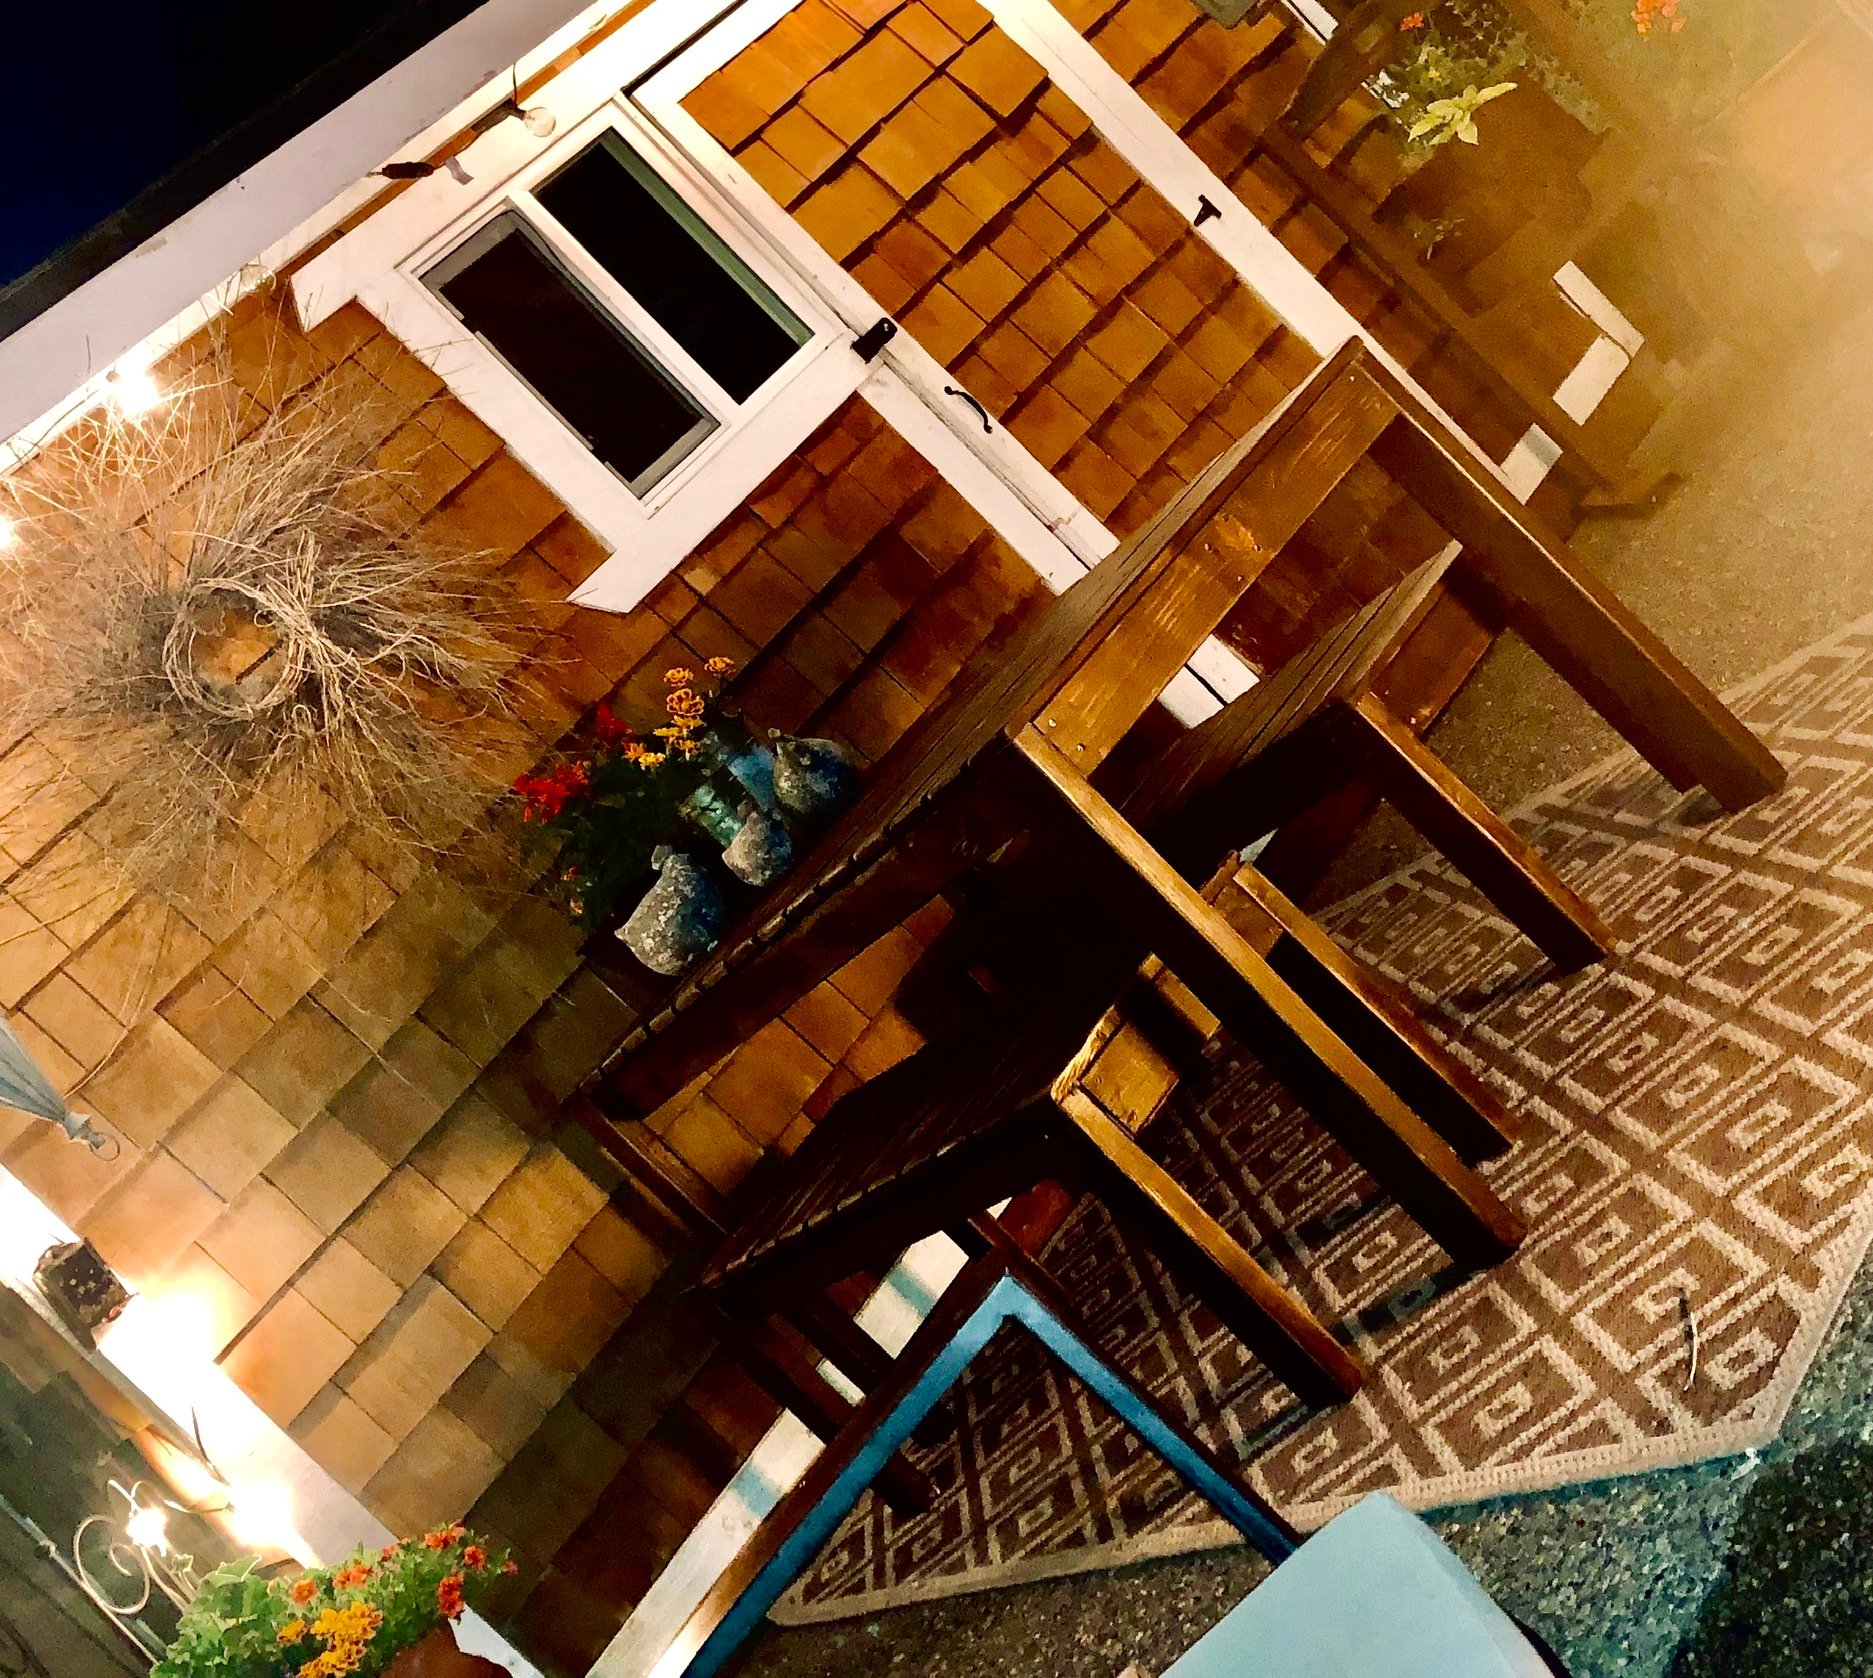
PATIO TABLE WITH BUILT-IN BEER/WINE COOLERS

Submitted by Joagirard on Fri, 07/04/2014 - 21:05

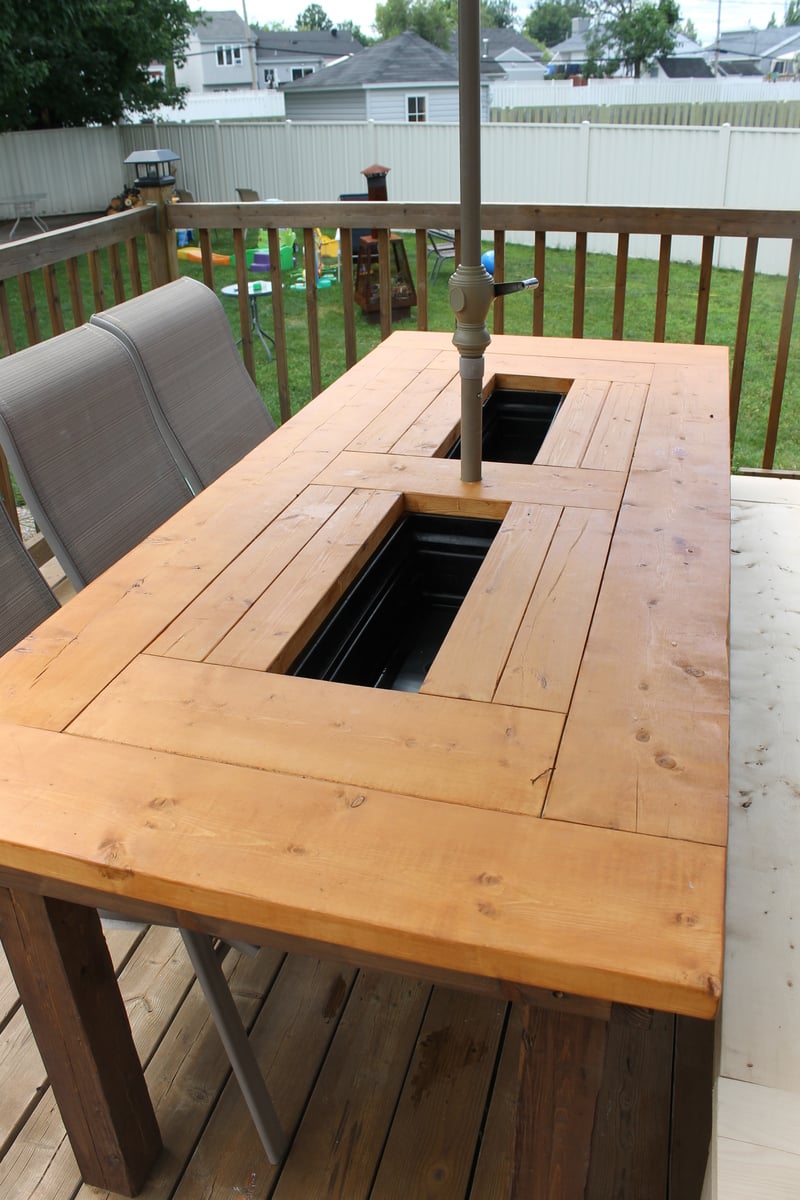
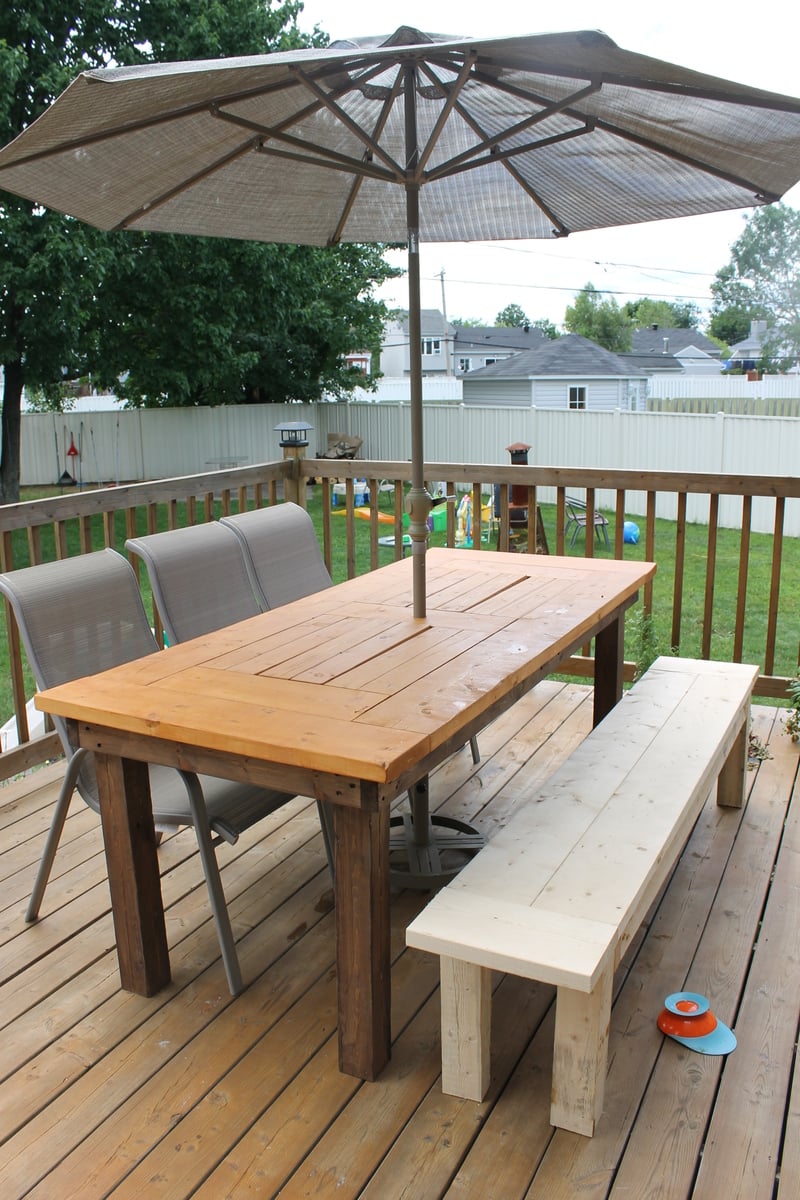
My sister was in love with my 4x4 truss table i made and needed a patio table so we decided to take one day to make 2 tables, one for each. We convinced both daddys to take care of the kids while we made the table by telling them the tables were gonna have beer coolers inside! Attaching the to of the table was a lot a job. If you plan of doing this you really want to have a kreg jig. It works well, we love it. I made a bench to go with it. I made my how plan for it.

Estimated Cost
200$
Estimated Time Investment
Weekend Project (10-20 Hours)
Finish Used
Sico outside wood stain color oak. 3 coats for the top and 3 coat sico chocolate for the bottom. All applied with a brush.
Recommended Skill Level
Intermediate

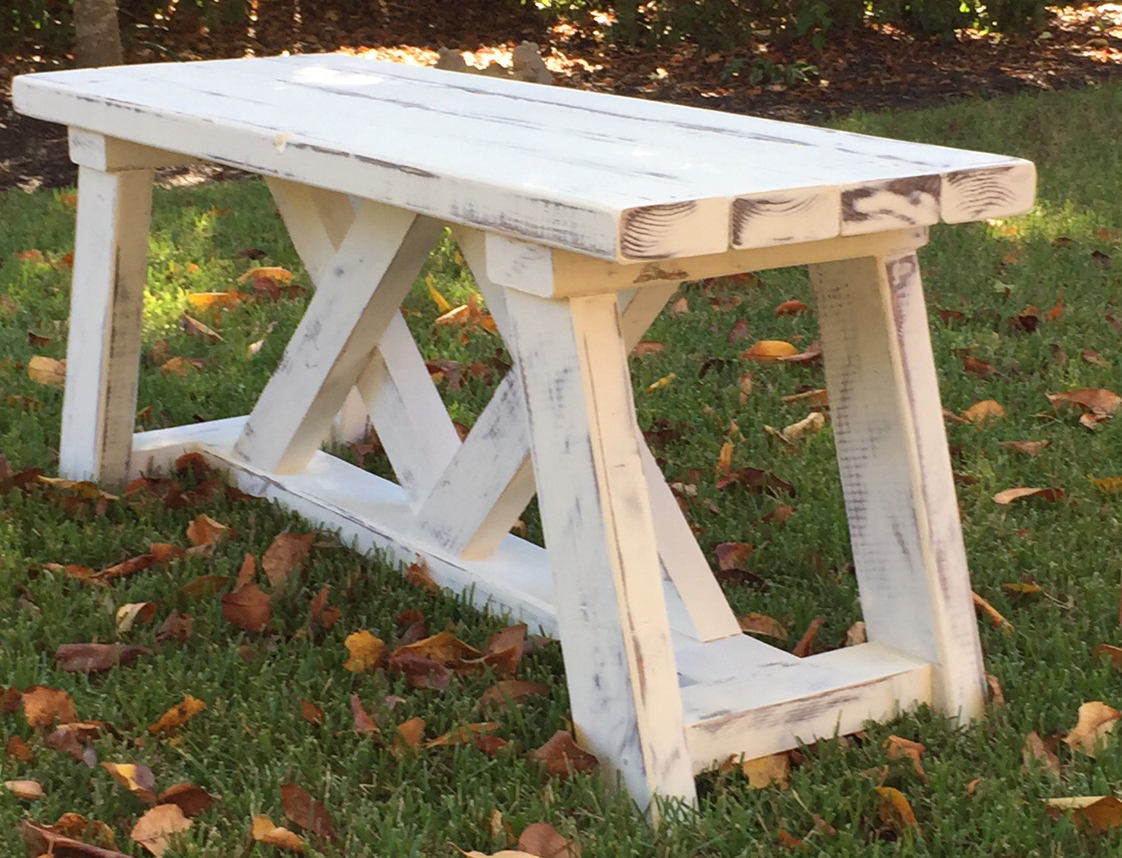
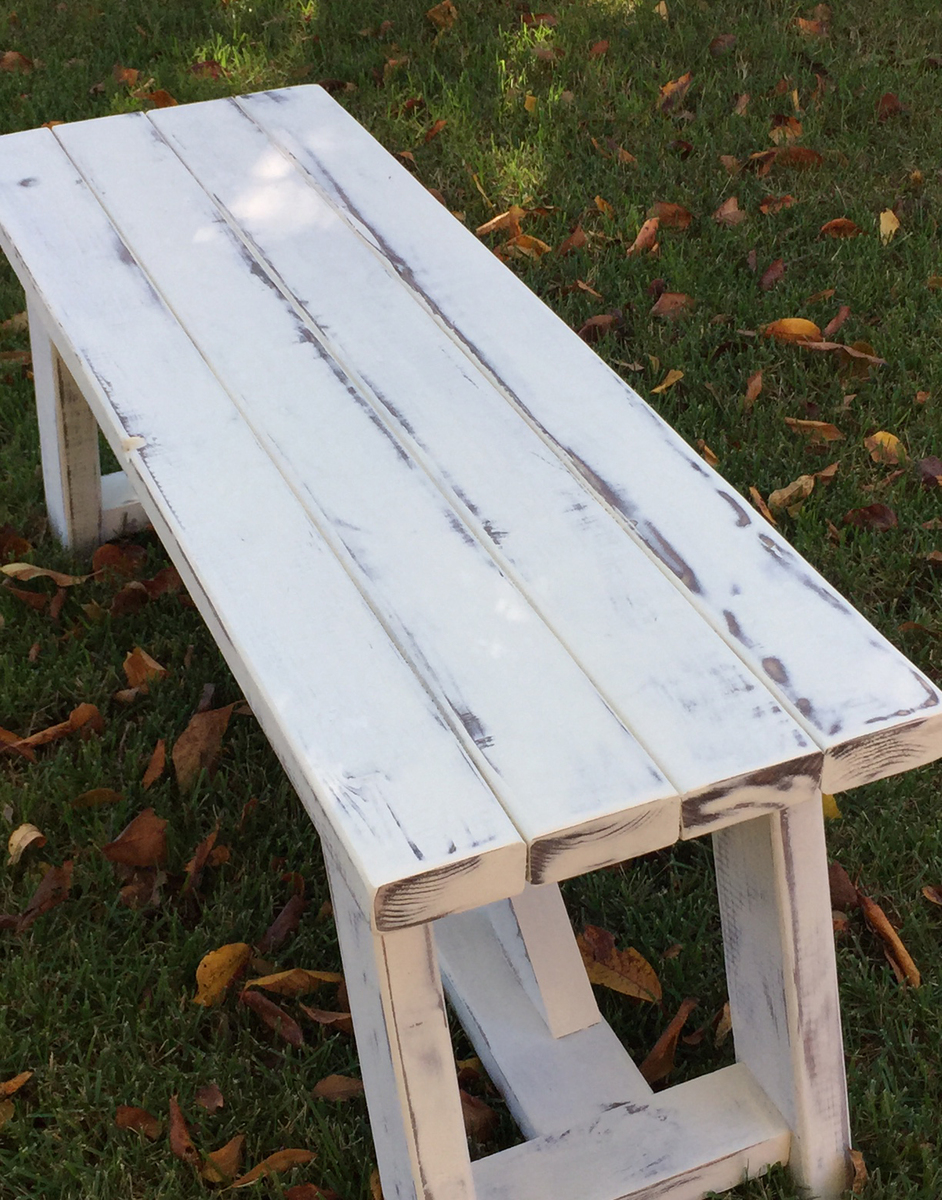
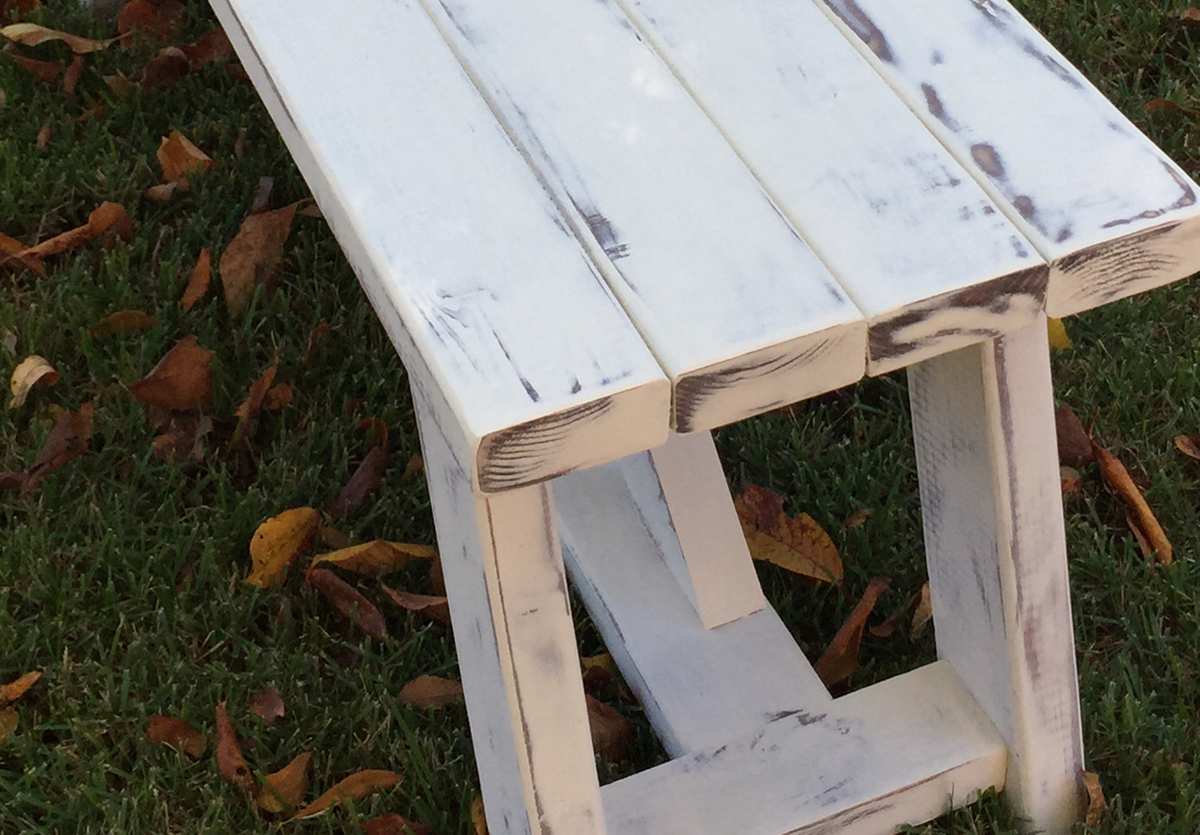
Double X Bench

Submitted by Anonymous (not verified) on Sun, 10/09/2016 - 18:00

This was the second double x bench that I made.  It was very simple to make.  It took me around 3 hours to build it and another 2 hours to sand, stain and paint it (this does not include the  1 hour between coats that I allowed them to dry).  I used Annie Sloan Old White Chalk Paint and General Finishes Java Gel stain.  Annie Sloan Chalk paint does NOT need a topcoat if it is being used outside.

Built from Plan(s)
Estimated Cost
$15 - i already had the stain, paint and screws.
Estimated Time Investment
Afternoon Project (3-6 Hours)
Finish Used
Annie Sloan Old White Chalk Paint
General Finishes Java Gel
Recommended Skill Level
Beginner

Comments

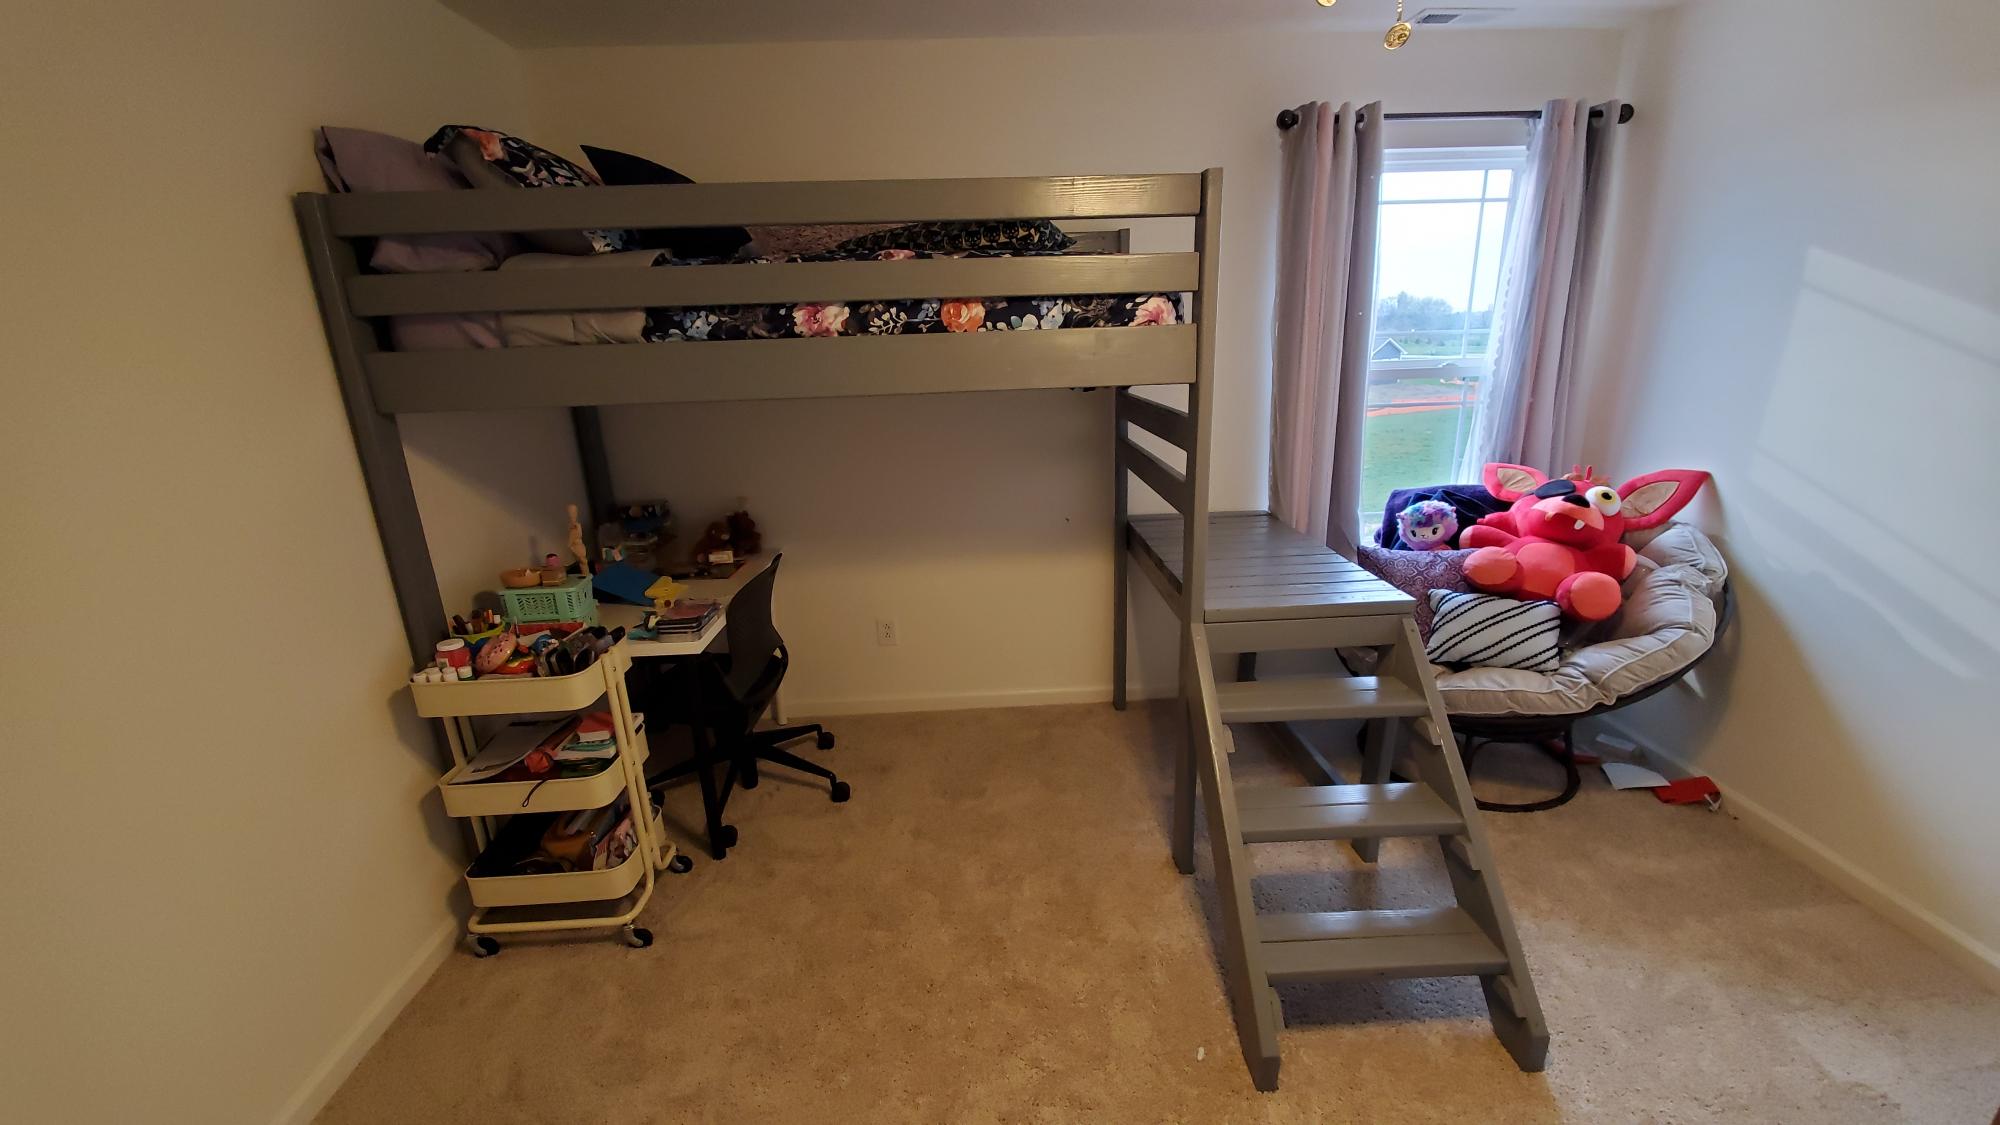
Modified Junior Loft Bed

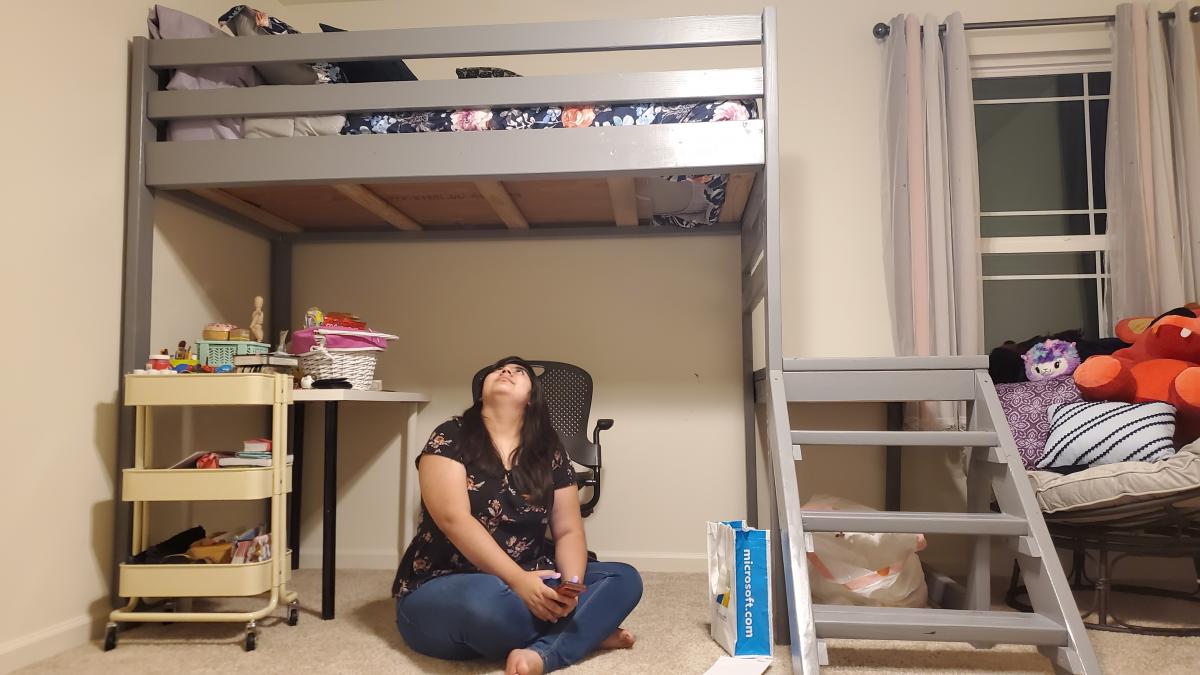
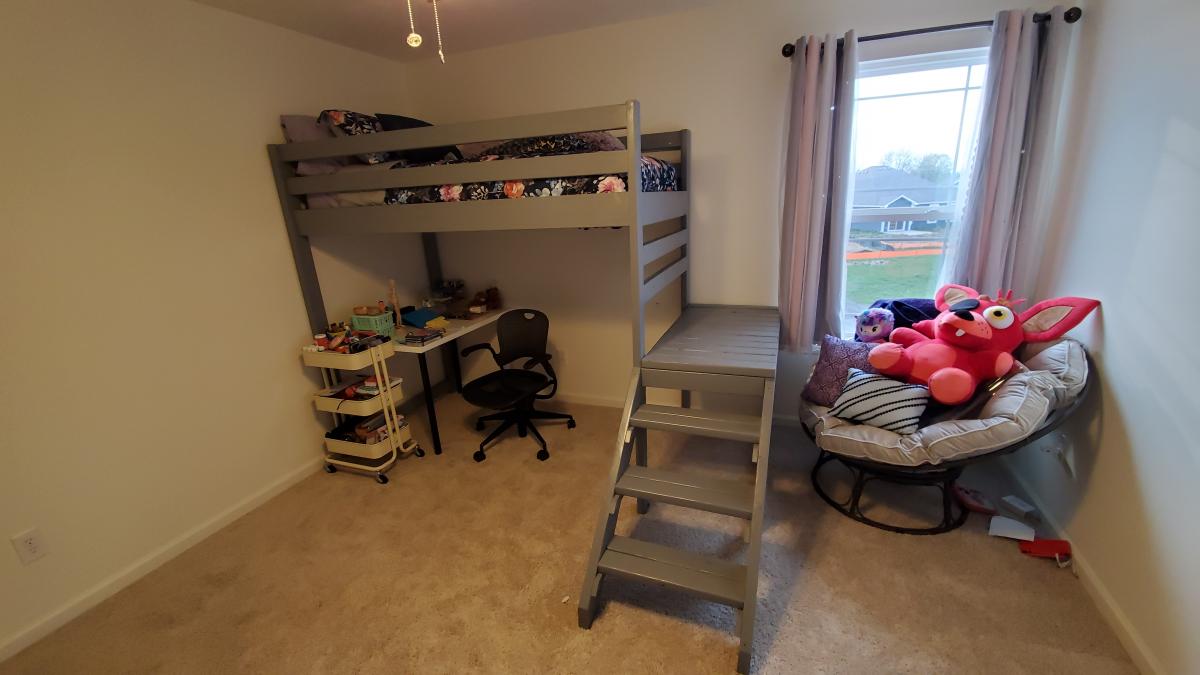
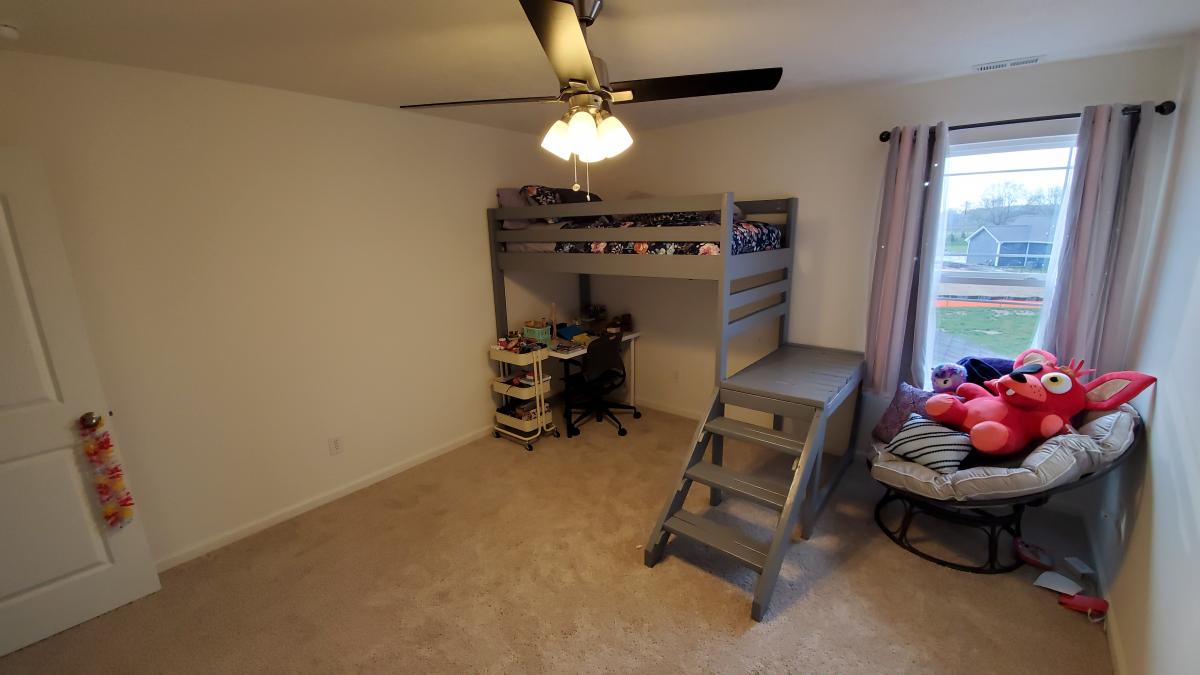
My daughter wanted to have a bed that she could consider her own. She always wanted a loft bed and that way still have room to do her art and a place to do her homework. While the camp bed was great I had to modify the plans in order to not only have it fit in her room, but also have enough space for her to sit at her desk underneath it.

This was my first major project, and it will always be a special one because it is my daughter's bed. She loves sleeping on her bed, and when her friends come over to visit they make sure to compliment her on it!! I'm very proud of it, and hopefully it will serve her when she goes to college, as I assembled it in such a way that it is modular to put together and take apart.

Estimated Cost
$125
Estimated Time Investment
Weekend Project (10-20 Hours)
Finish Used
Painted with Vessel Gray (4005-2A) Valspar Cabinet Enamel Semi-Gloss Paint. I used approximately half a gallon in order to give the bed 2 even coats of paint.
Recommended Skill Level
Intermediate

Benchright Farmhouse Table

Submitted by Bergenj123 on Mon, 09/10/2012 - 16:41

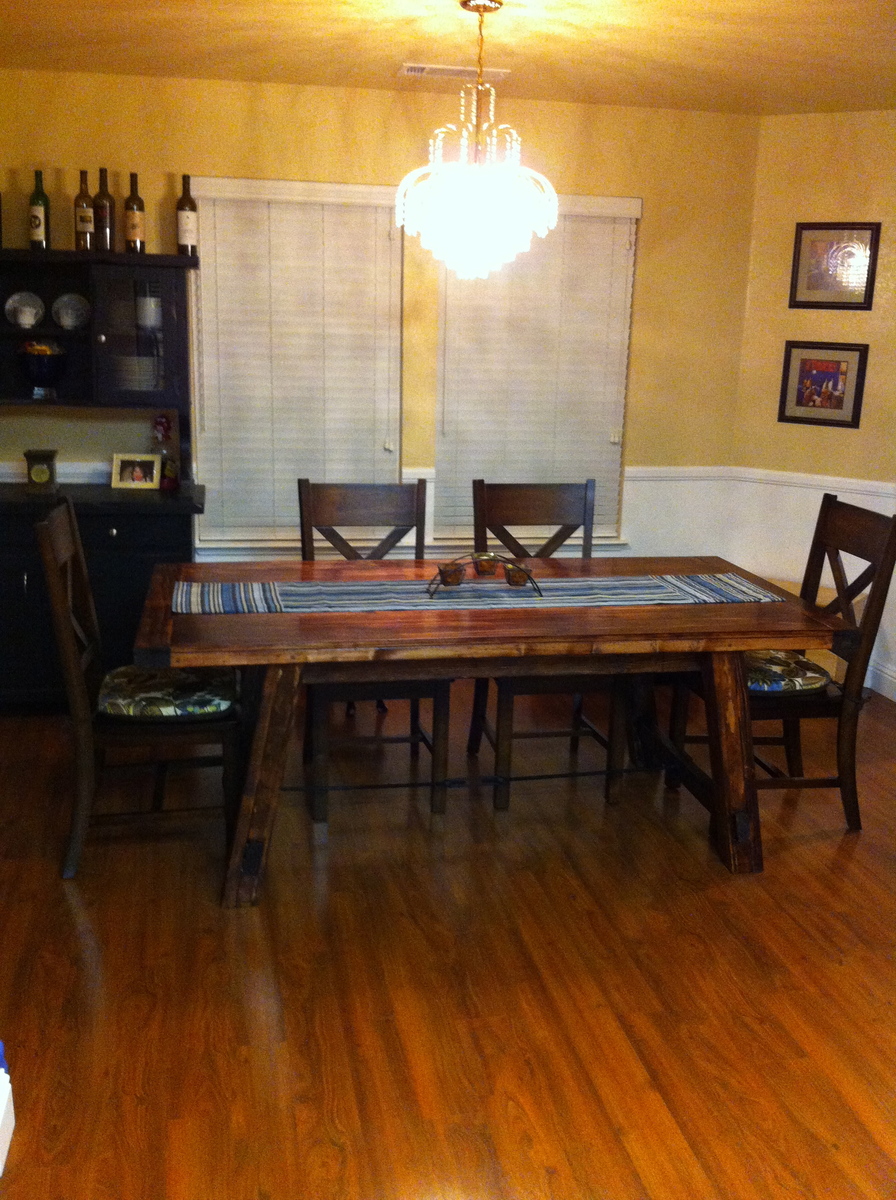
A lot of hard work went into this table, but Im so happy with the result. I followed Ana whites plans closely and read all the Blog comments to help out. I made the table one 1x6 board wider and 4 inches longer to fit my space better. I also used a turnbuckle and threaded pipe for the stretcher to make it look a little more like the Pottery Barn Table. I think it gives it more of an industrial look. I used a red mahogony stain and plenty of polyurethane finish. I still have to build the bench, and i'm looking forward to using the plans from this site.

Estimated Cost
200-300 dollars
Estimated Time Investment
Weekend Project (10-20 Hours)
Finish Used
red mahogany stain and a satin polyurethane finish.
Recommended Skill Level
Intermediate

Comments

tommirhea

Mon, 09/10/2012 - 17:44

This looks amazing! And I thought making the farmhouse table notches were tough :)

Bergenj123

Mon, 11/12/2012 - 13:49

Thanks, the chairs are from Cost Plus World Market. They are the verona chairs. Funny you should mention the bench...I'm building it today. I will post it when I'm done.

Bergenj123

Wed, 09/03/2014 - 21:24

The turnbuckle I got from a place called tractor supply and I ordered the pipe from an online hardware company, only because one side is reverse thread and I couldn't find it at a local hardware store 

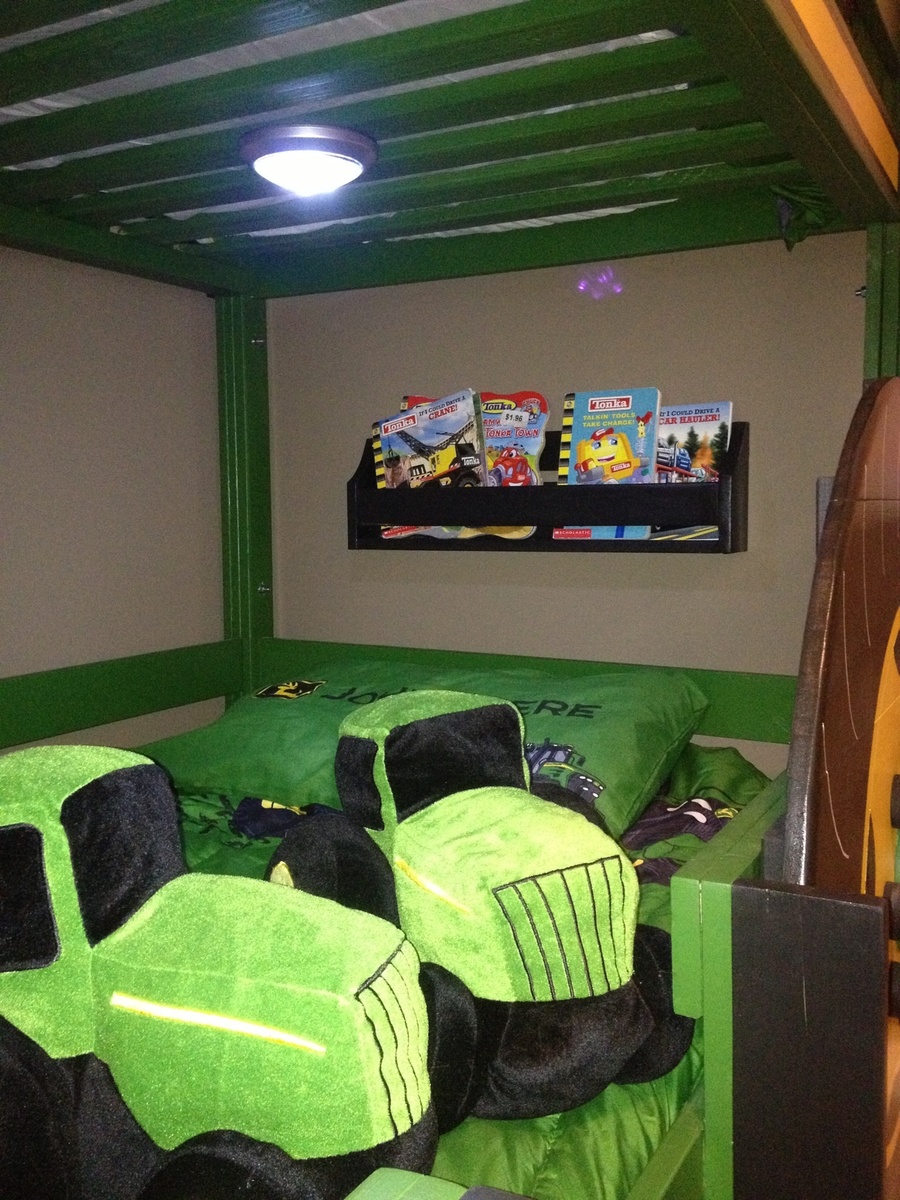
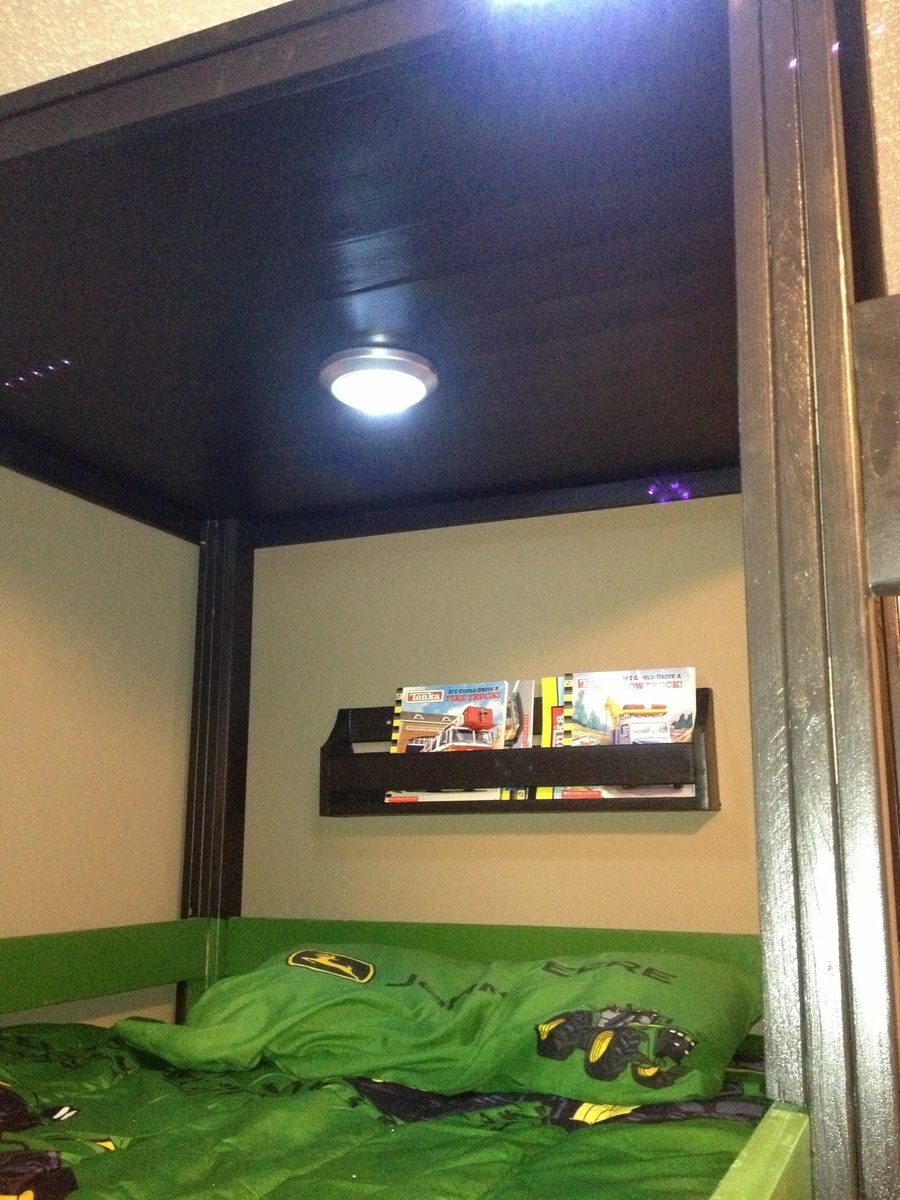
Flat Wall Bookholders

Submitted by Veronica P on Mon, 07/07/2014 - 20:09

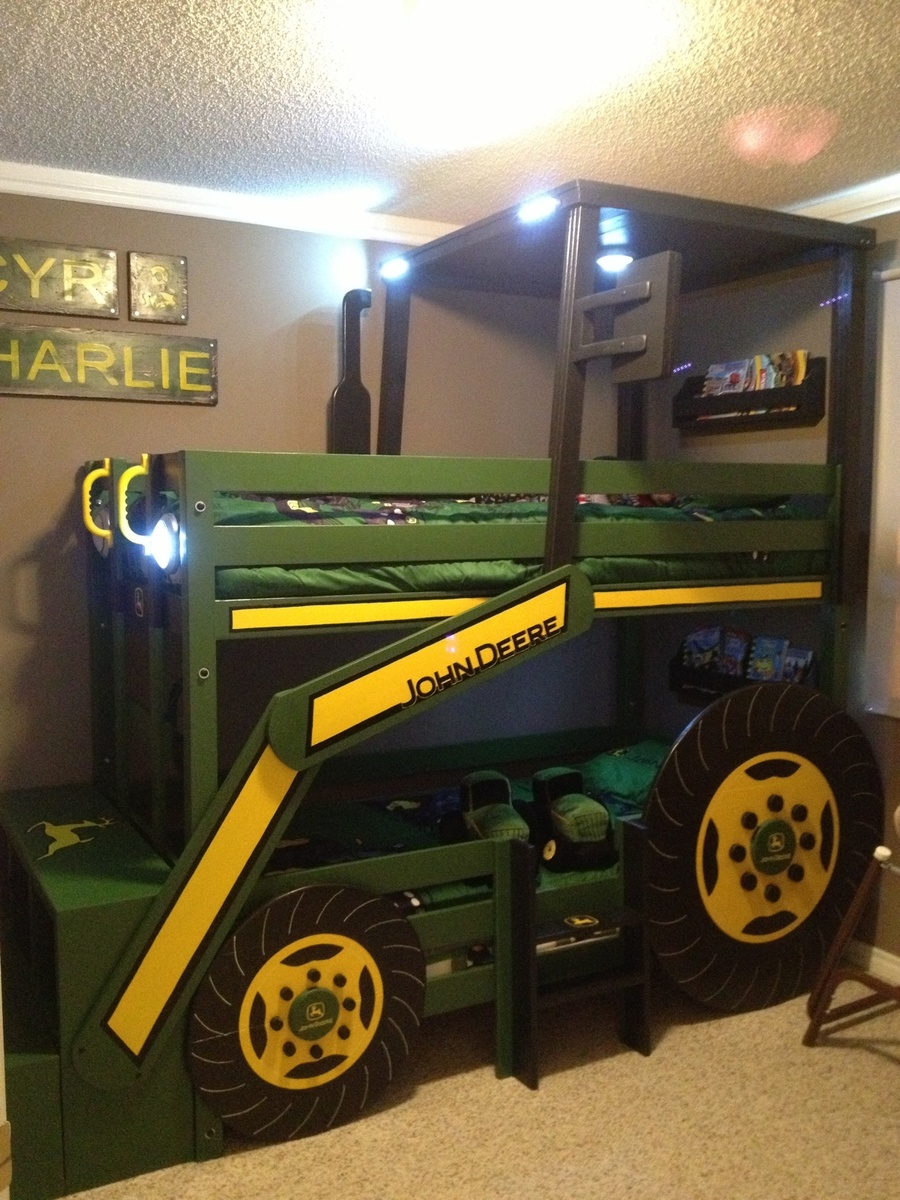
These flat wall bookholders are the perfect little shelves to add storage for books to my boys' new tractor bunk bed. What a great simple plan!

Estimated Cost
Unknown as I used scrap.
Estimated Time Investment
An Hour or Two (0-2 Hours)
Finish Used
Black paint and a couple coats of poly.
Recommended Skill Level
Starter Project

Faux Fireplace

Submitted by Anonymous (not verified) on Wed, 10/12/2016 - 08:54

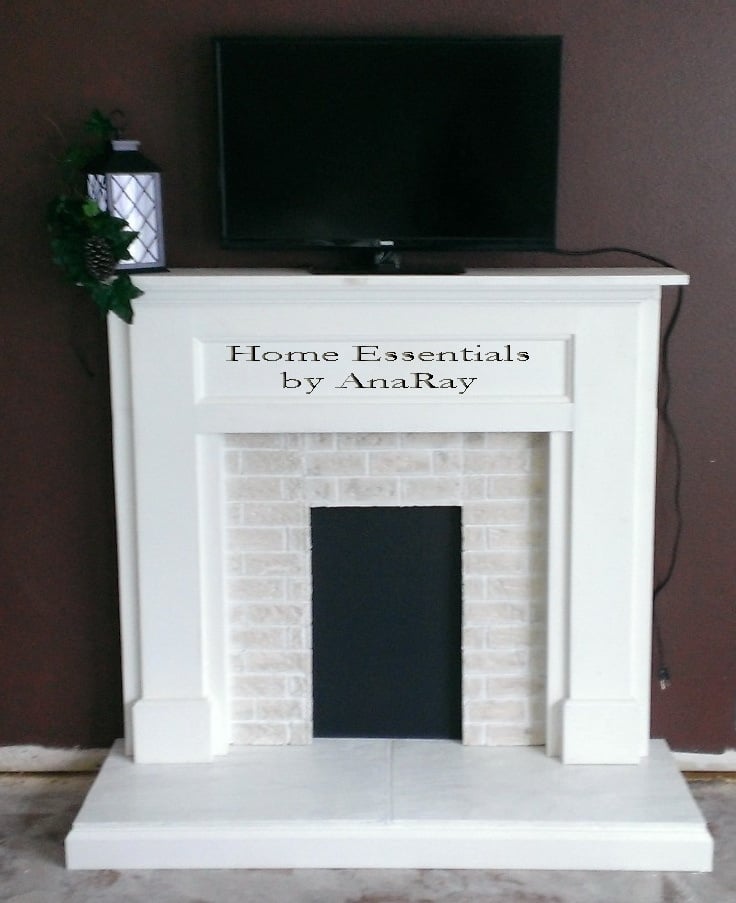
A couple of years ago I used Ana White’s plan for a faux fireplace, the grandchildren always love hanging their stocking on it for Christmas. But I always wanted to dress it up a bit. I didn’t even attach it to the wall. It was plain, it really needed something.

Look what I did to it.

I added a hearth and faux bricks.

Estimated Time Investment
Day Project (6-9 Hours)
Finish Used
I used Oyster White paint and Rust-Oleum Stone in Cream for the bricks.
Recommended Skill Level
Intermediate

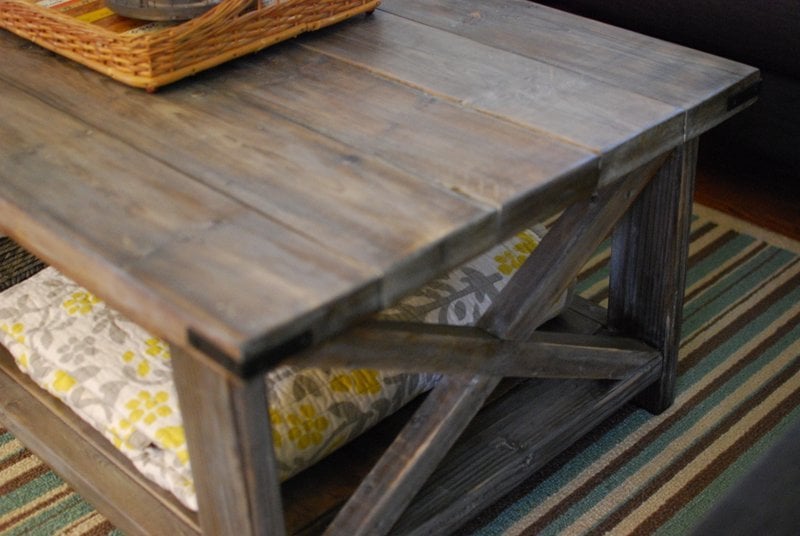
Rustic X Coffee Table

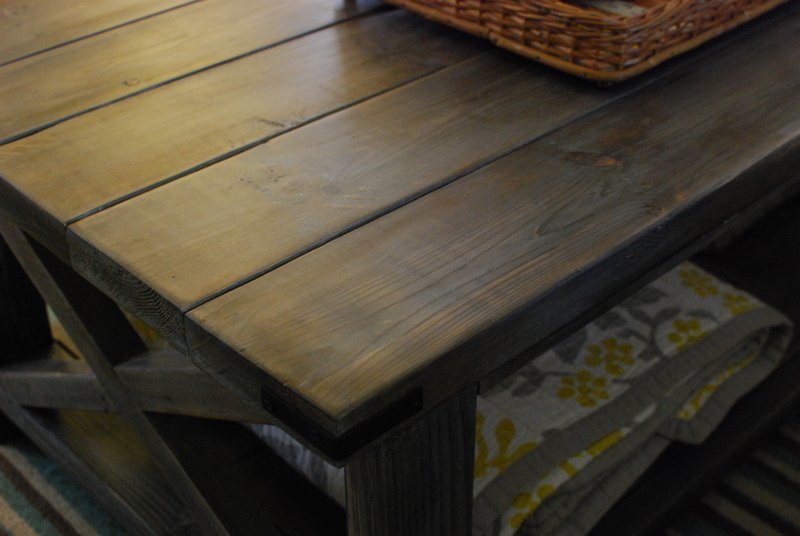
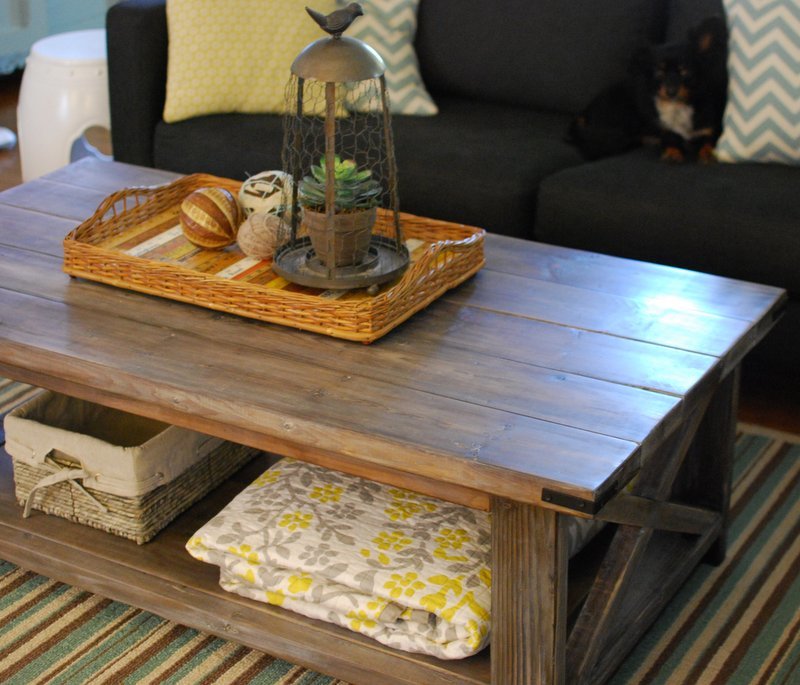
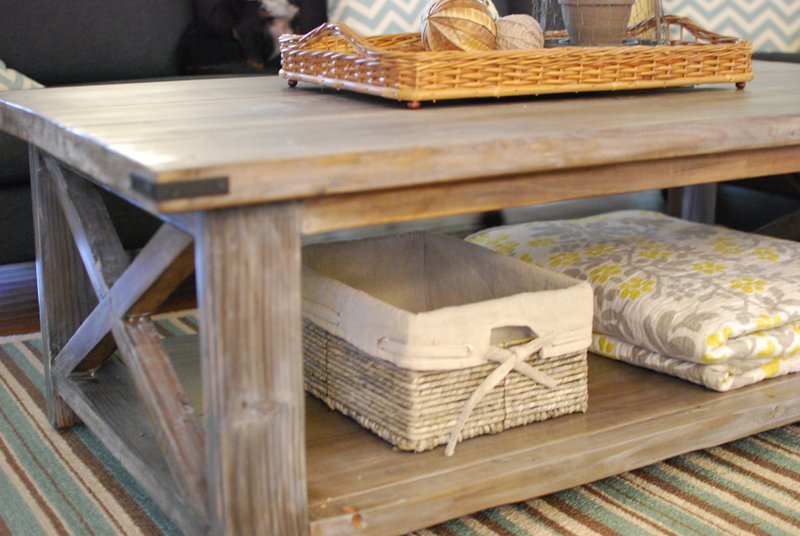
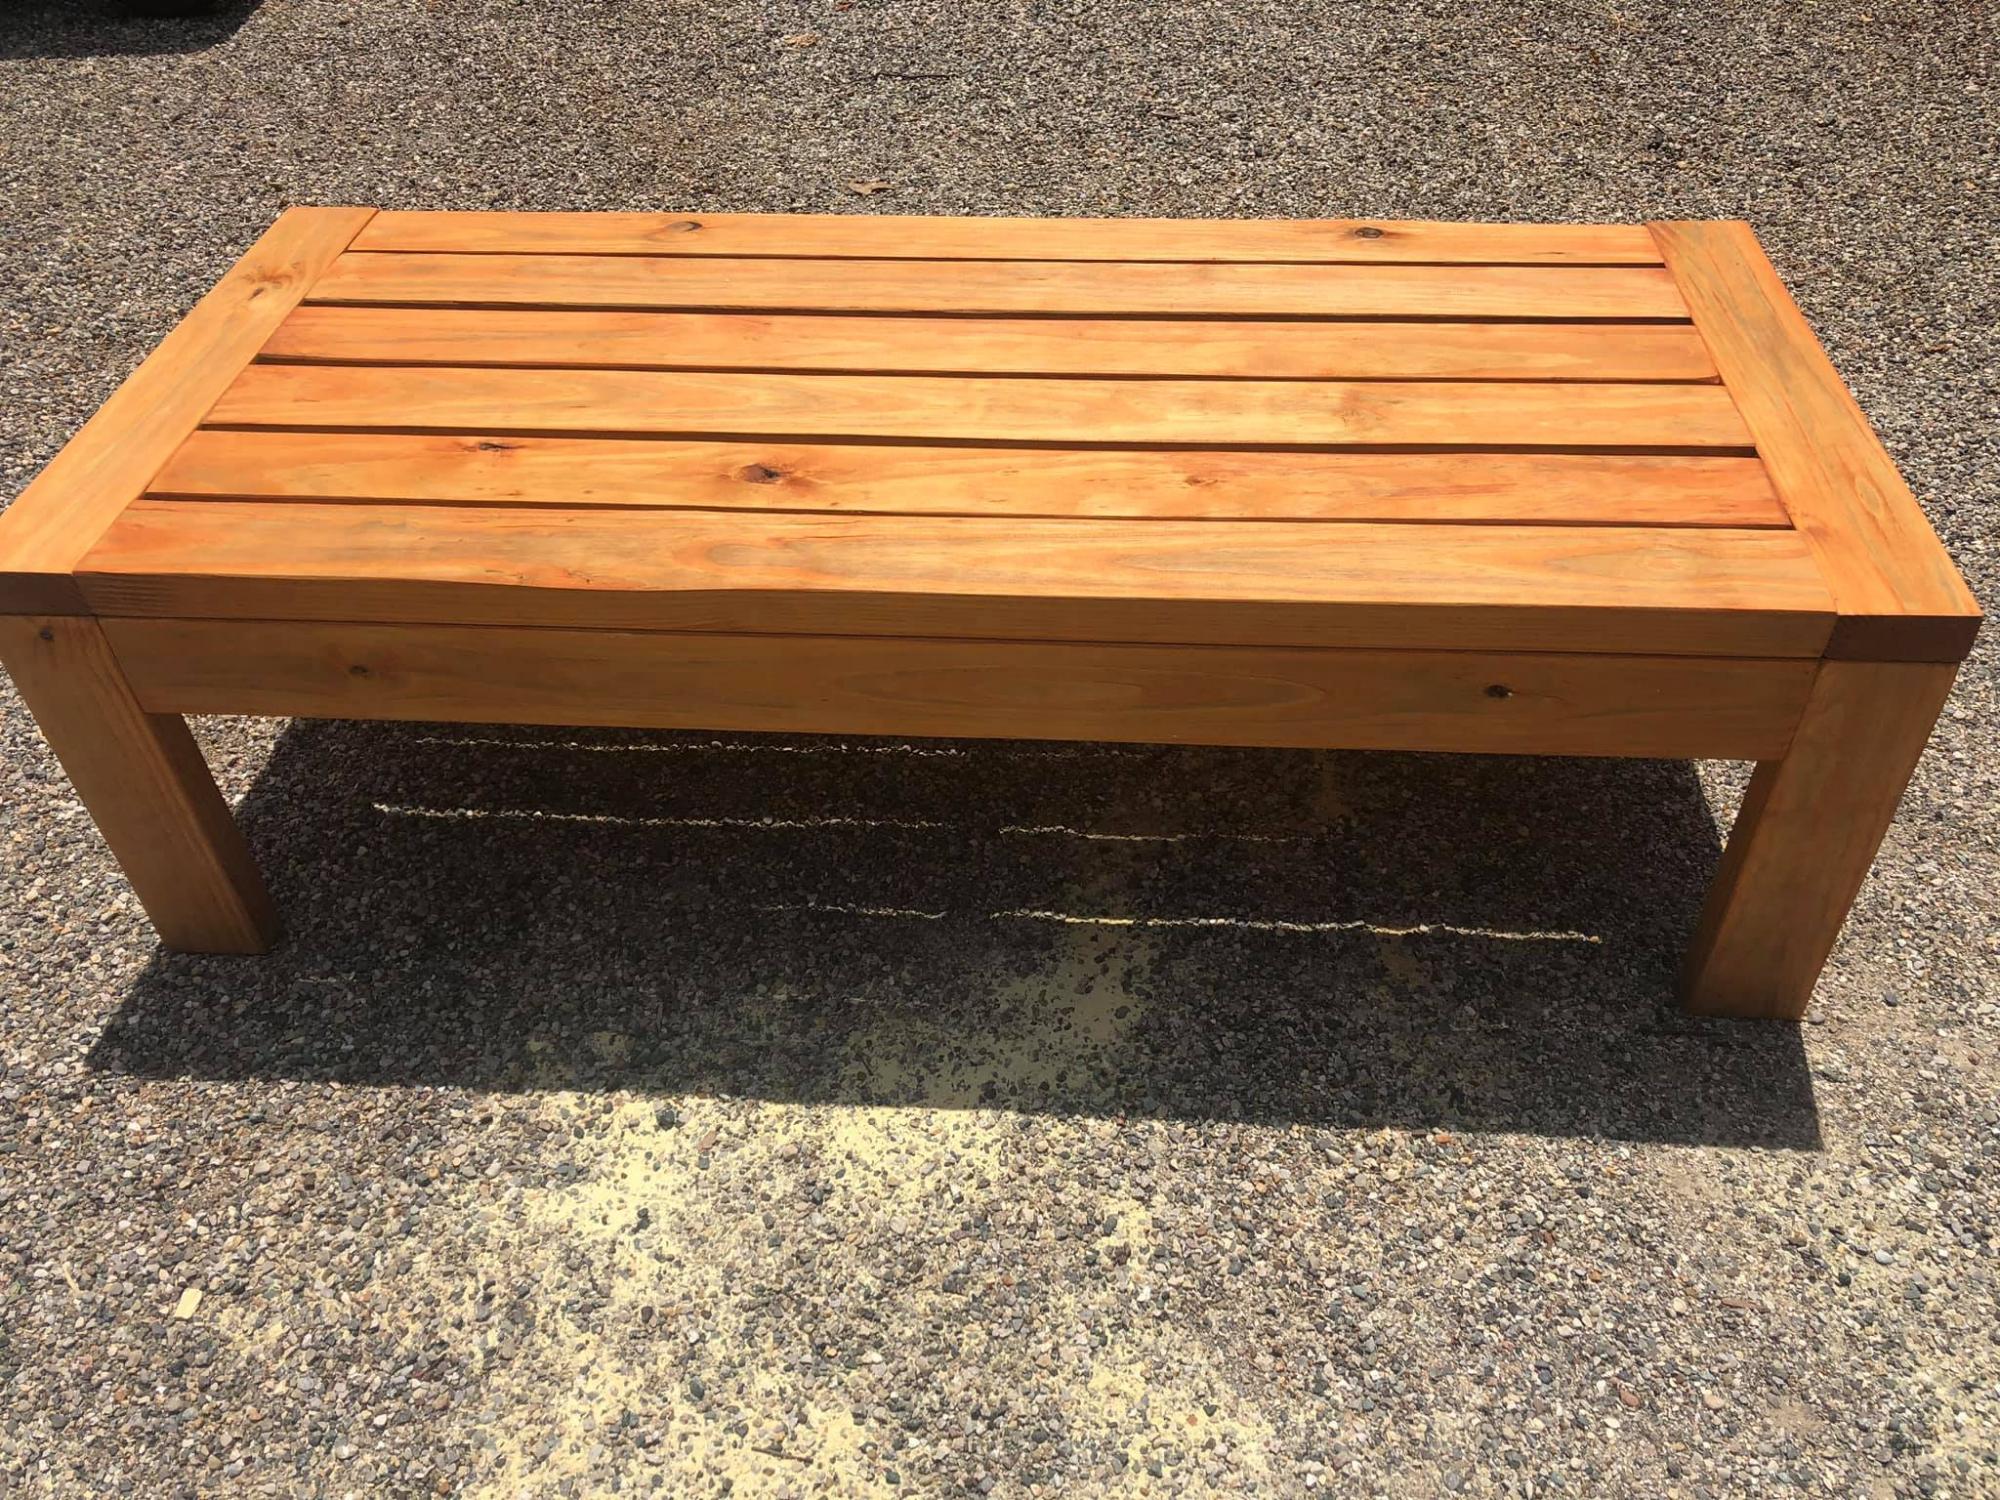
Thanks to the beautifully written as well as the example build post by Hilary, I found this project easy to build for a beginner like myself. I followed the plan as written and can't wait to start my next project.

Built from Plan(s)
Estimated Cost
Sixty Dollars
Estimated Time Investment
Day Project (6-9 Hours)
Finish Used
Vinegar and steel wool as described in the example post. I used wax as a protective finish. Clear mixed with a little brown wax, followed by a coat of liming wax then a final coat of clear wax.
Recommended Skill Level
Beginner

Comments

Work Stool

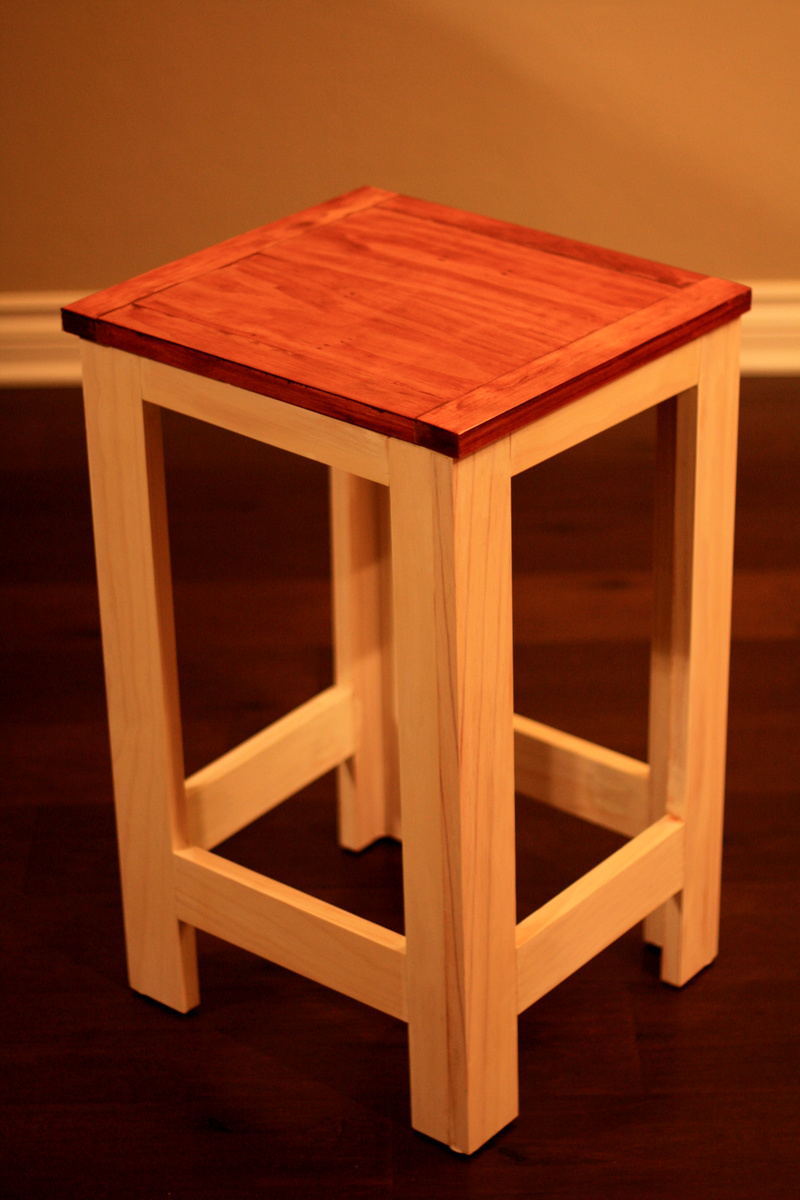
This was my very first woodworking project! My girlfriend and I built it as a learning experience, and to use as a work stool in our "workshop" (aka garage). The wood we used was pine. We were so happy with the results we've decided to build more. Thank you Anthony DeCesare for posting the plans, and Ana White for many more amazing designs.

Estimated Cost
$35
Estimated Time Investment
Weekend Project (10-20 Hours)
Finish Used
Stain
Recommended Skill Level
Starter Project

Easy & Fast Garage Shelving - Weekend Fun for 12yr Old!

Submitted by Anonymous (not verified) on Mon, 10/17/2016 - 10:02

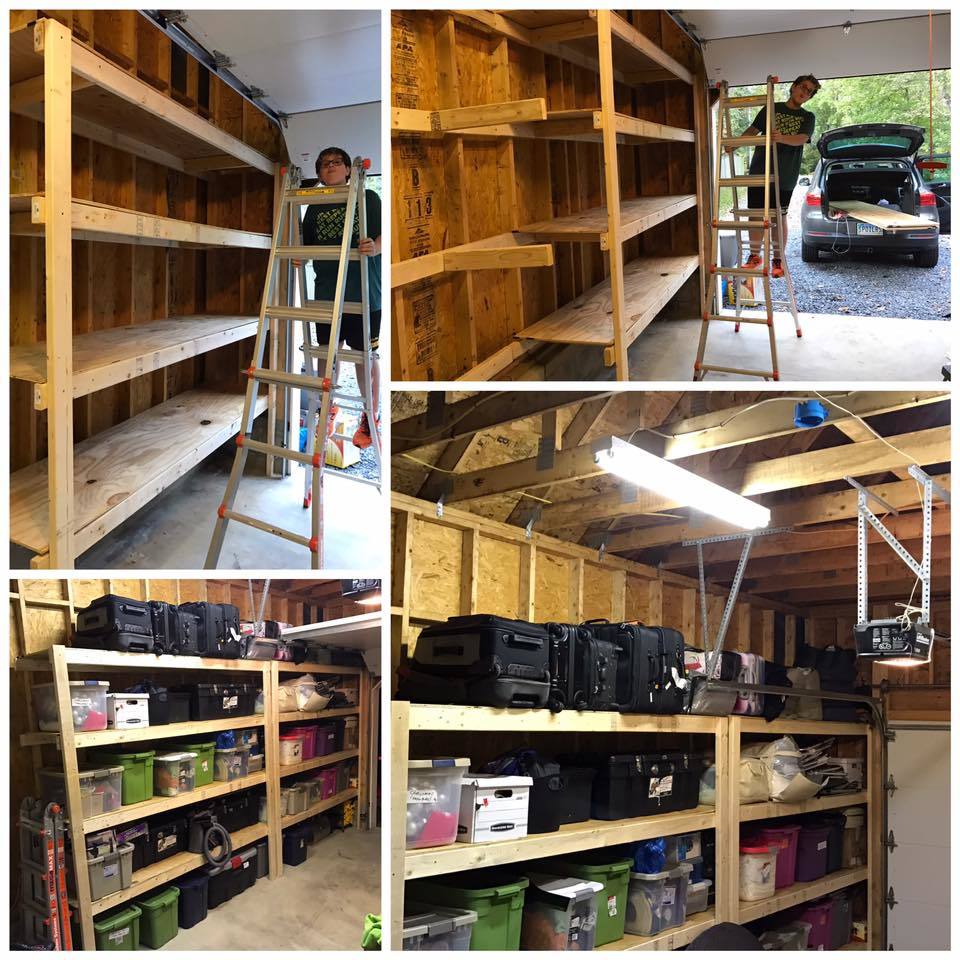
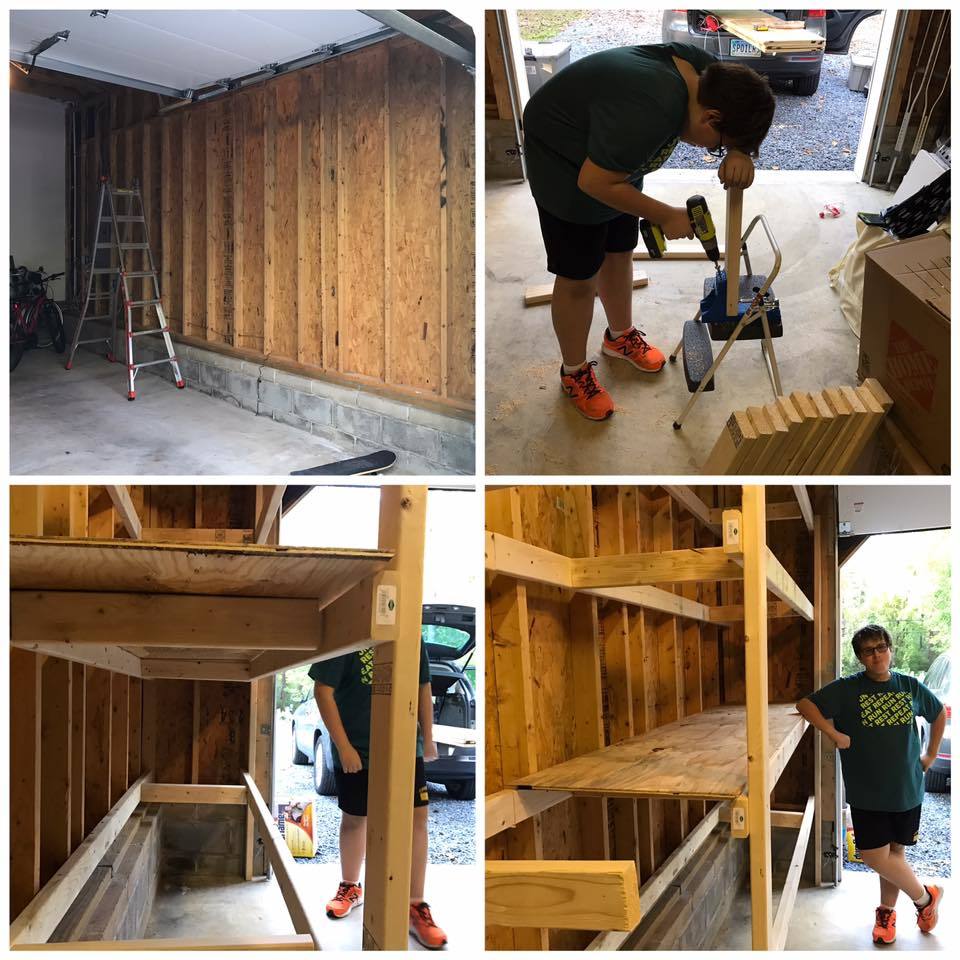
Thanks for fantastic plans Ana!!  My 12yr old son and I knocked these out in an afternoon.

He learned new skills and we got a key project done.  The best thing was his statement of "these are awesome!!"  

Estimated Cost
$156 from Home Depot
Estimated Time Investment
Afternoon Project (3-6 Hours)
Recommended Skill Level
Beginner

Comments

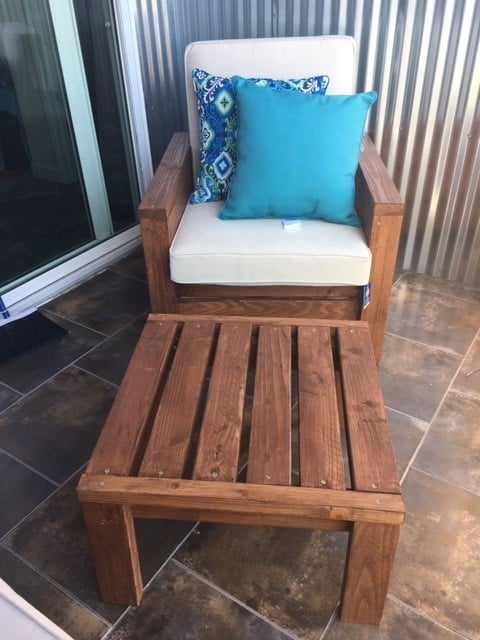
Beautiful Outdoor chairs and Ottoman from 2x4s and 2x6s (and a 2x2)

The chairs were my first project ever and they came out great! I even made the ottoman/side table because the chairs looked so good. Ana, your plans were fantastic and easy for a beginner. I learned so much from this first project and I'm already working on another project from your site! The cushions were definitely the most expensive part of the chair.

Estimated Cost
$40-$50/chair (without cushions) including screws, wood and stain
Estimated Time Investment
Afternoon Project (3-6 Hours)
Finish Used
Behr semi-transparent stain and sealer (Chocolate) as noted in Ana's project plans.
Recommended Skill Level
Beginner

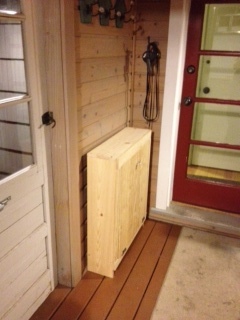
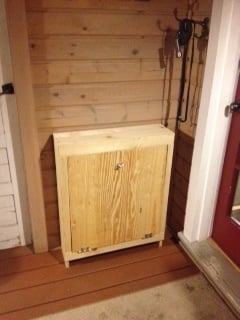
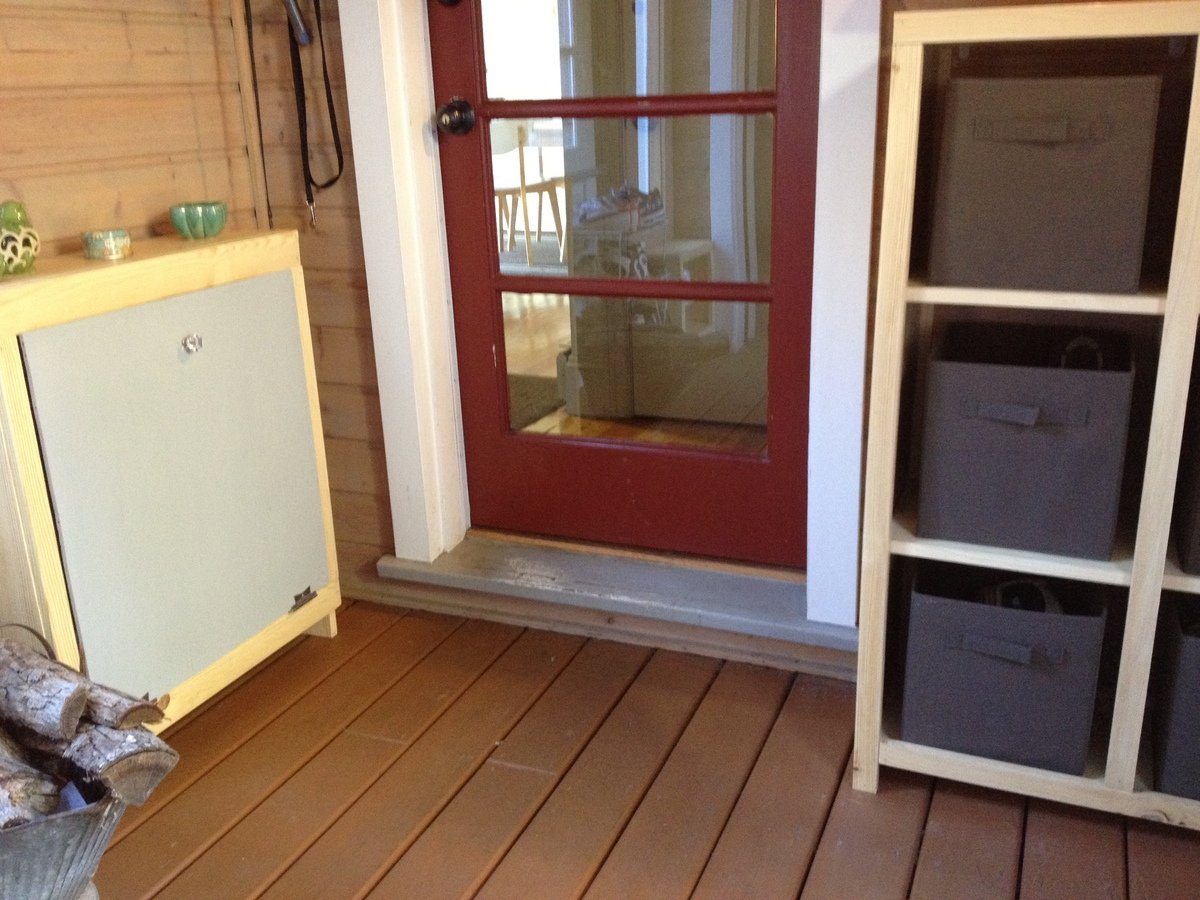
tilt out recycling center

Submitted by amyjeanae on Sun, 09/16/2012 - 08:09

Second wood project overall. First with a power-saw. Just found Ana-White - love it and thanks for sharing it all! I had to change the dimensions of this one to fit the space we needed it for. It holds two paper bags side by side to hold all of our recycling. So much neater then our plastic bin we had.

Looking forward to the next project...

Estimated Time Investment
Afternoon Project (3-6 Hours)
Finish Used
sanded all, wood filler in holes on plywood, sanded again, painted plywood (2 coats) and clear polyurethane (2 coats) rest of project.
Recommended Skill Level
Beginner

Comments

spiceylg

Mon, 09/17/2012 - 05:59

You can stain the perimeter and make the door that red to match the door on the right.

carajane

Sun, 11/29/2015 - 11:57

The bottom looks different as well. I'm trying to avoid having to use a jig saw for the bottom. Would you mind sharing if and what modifications you made to the bottom? Great work!


Cara