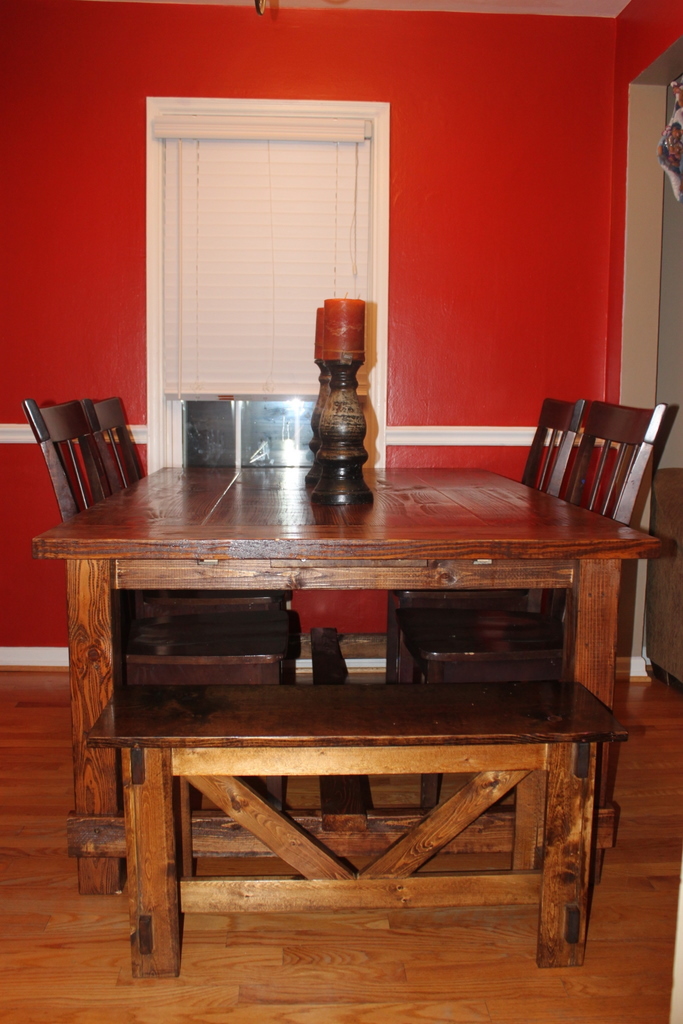
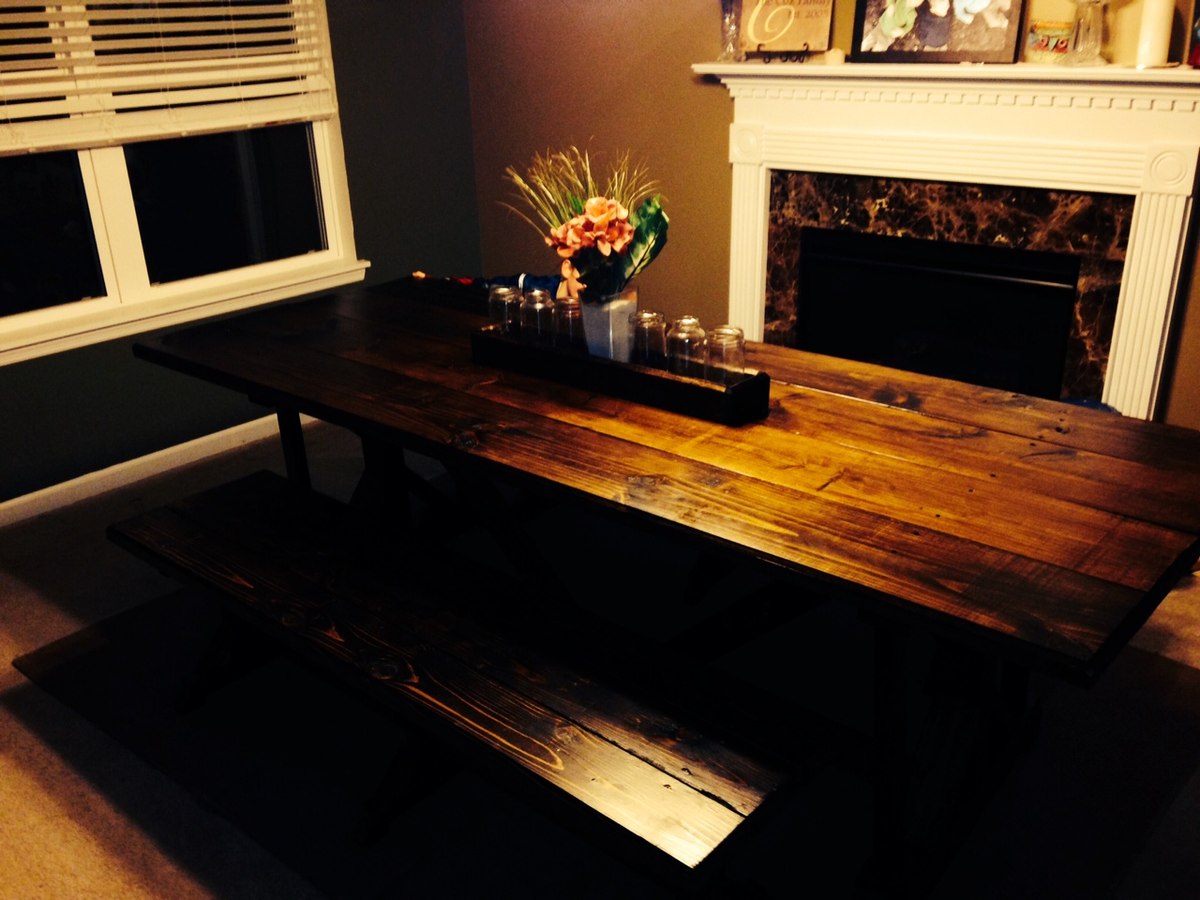
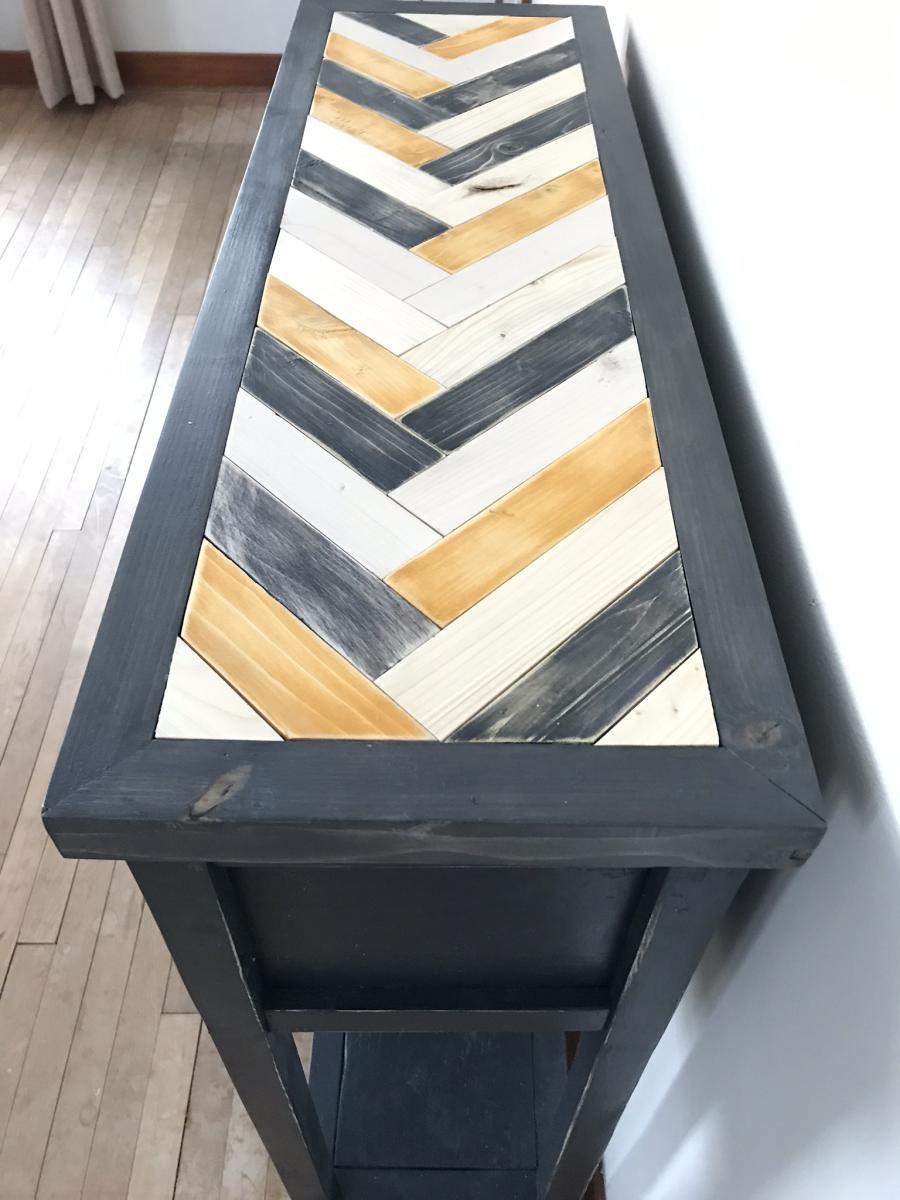
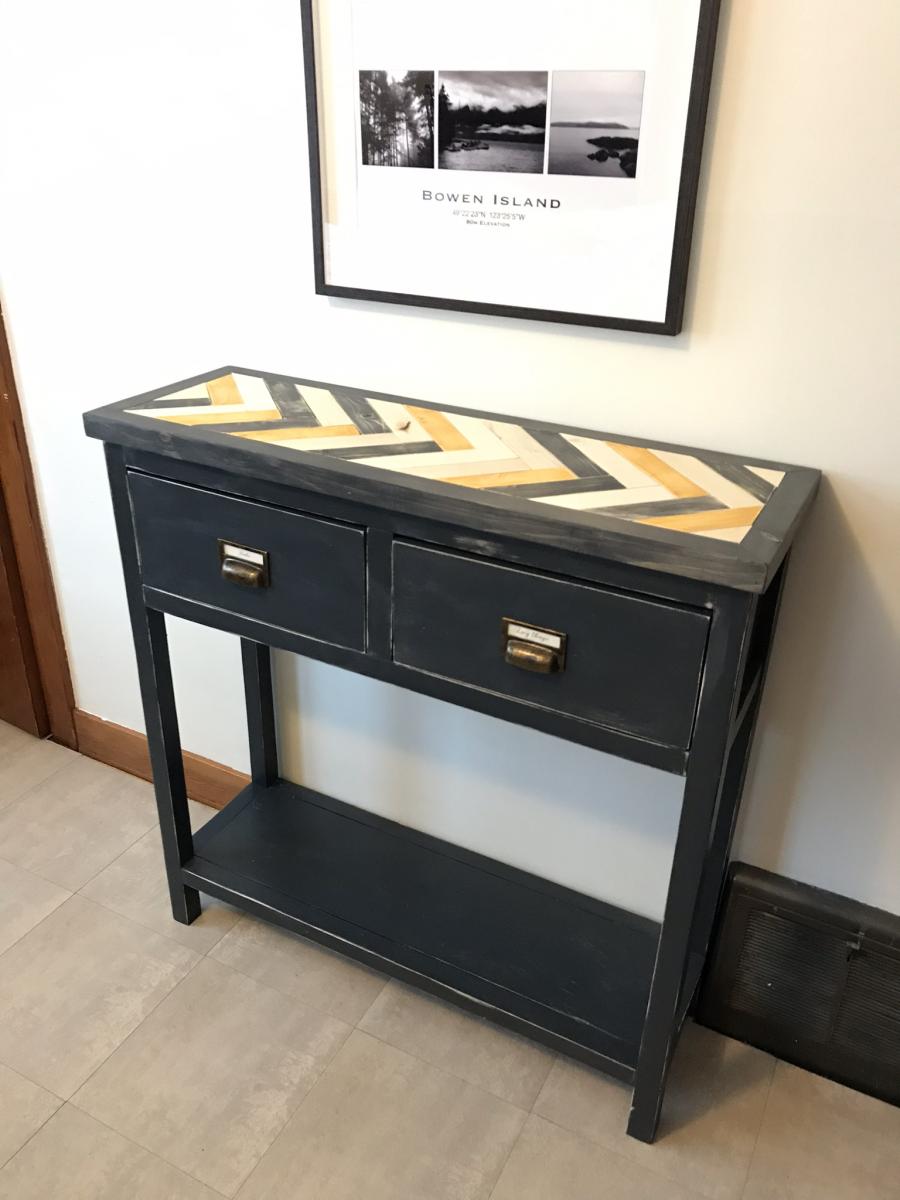
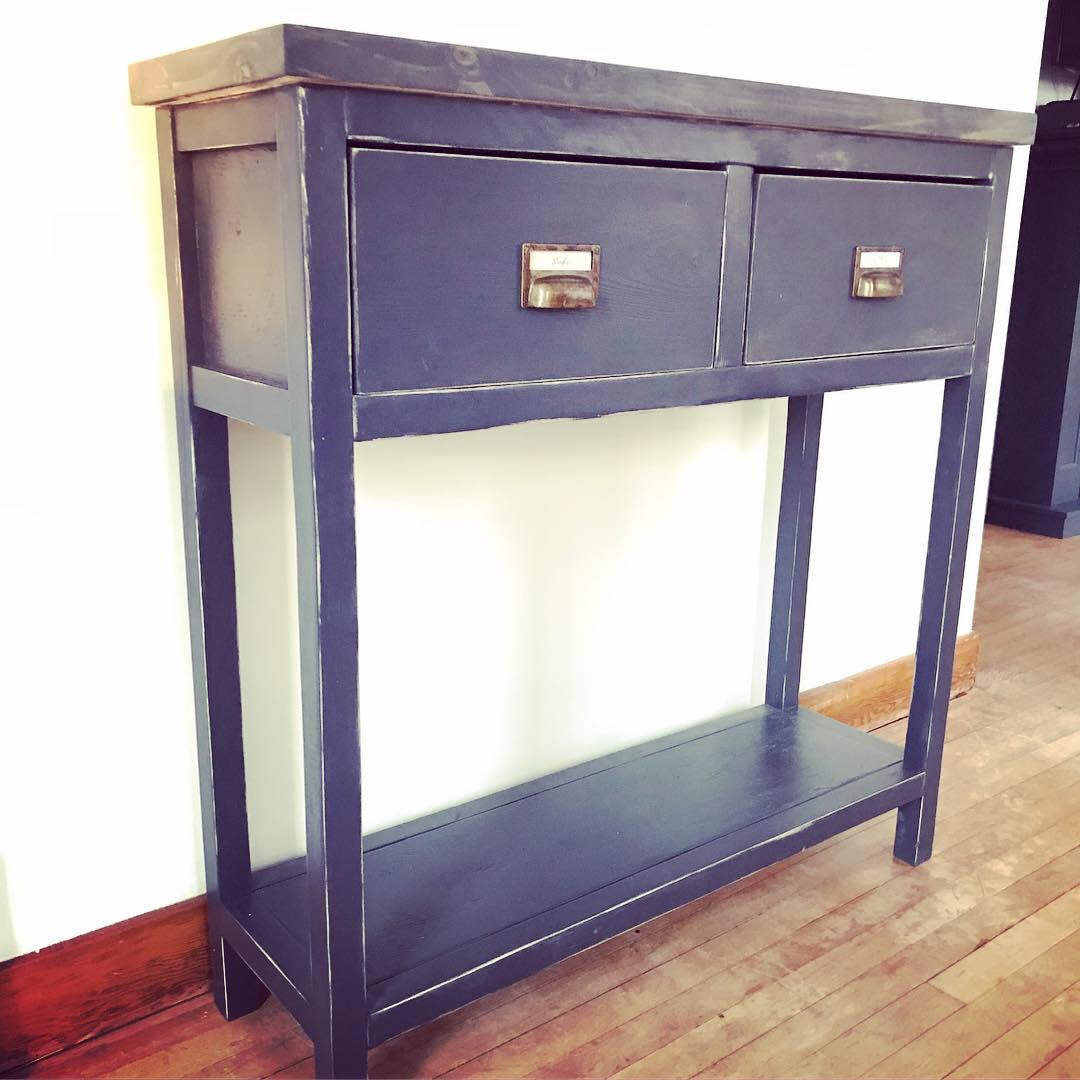
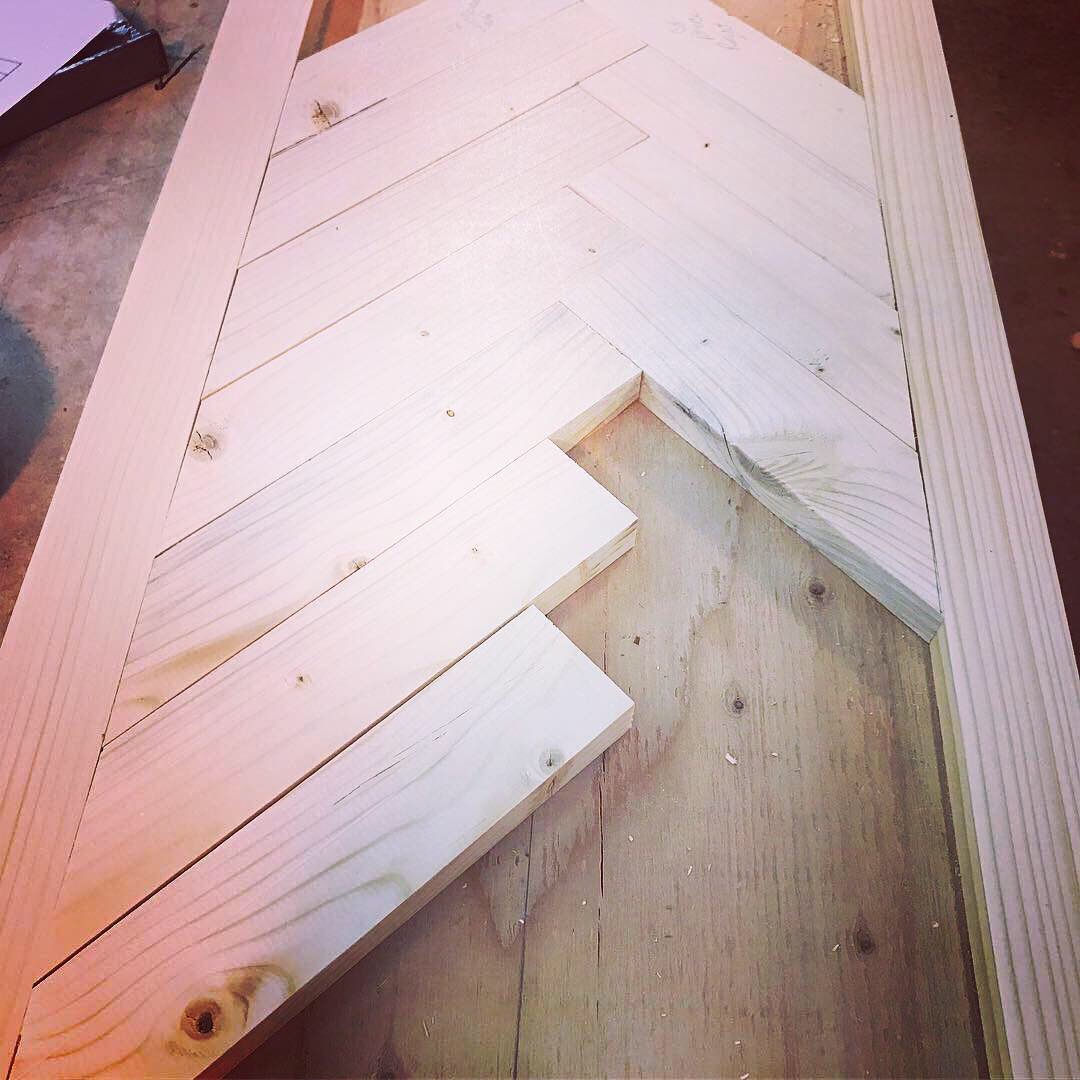
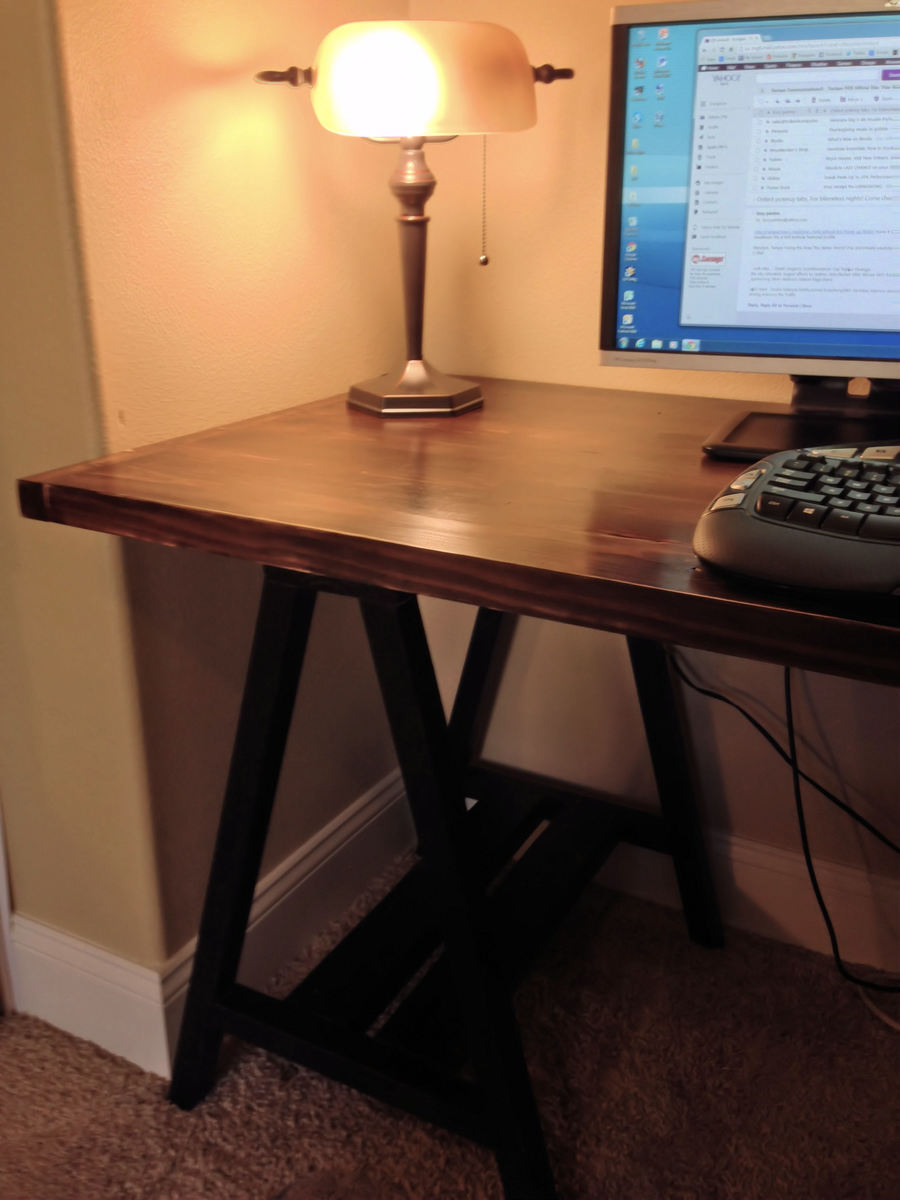
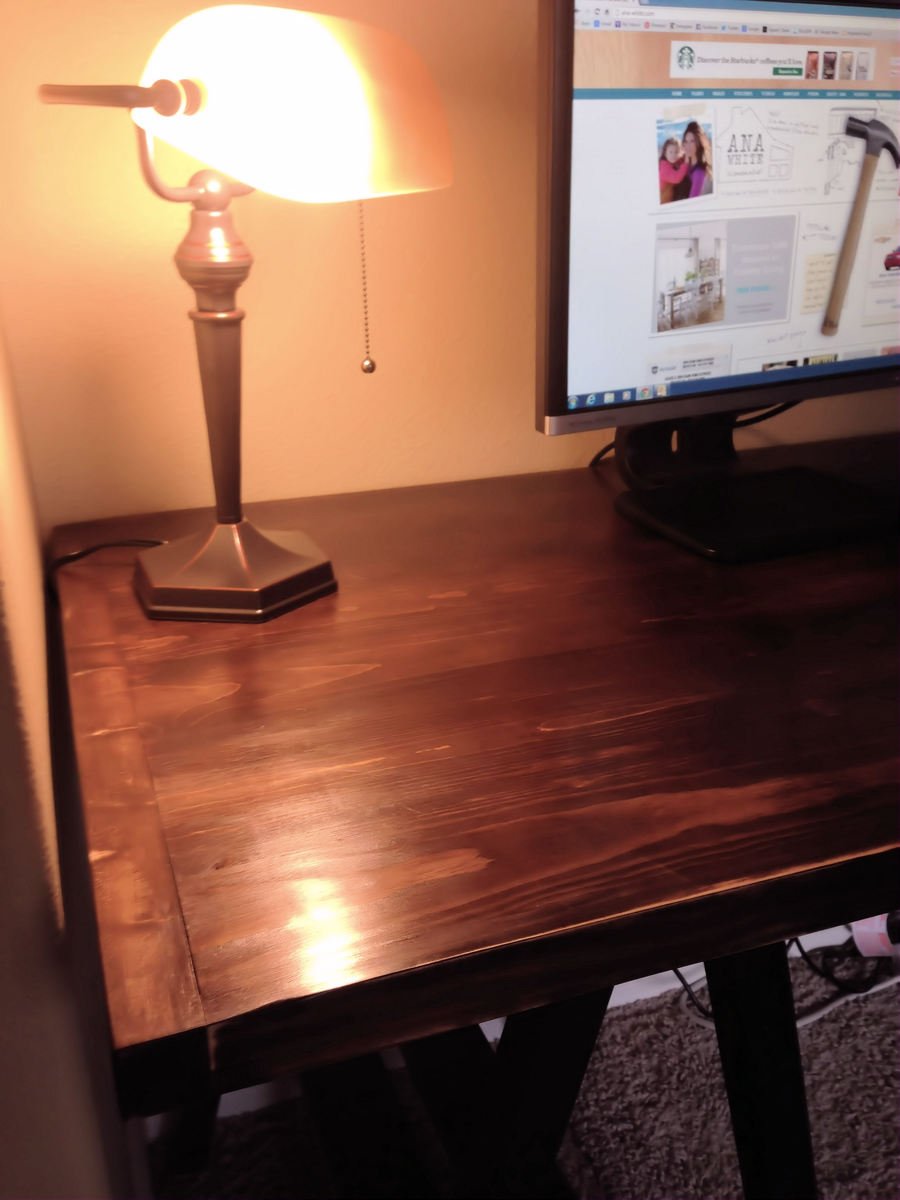
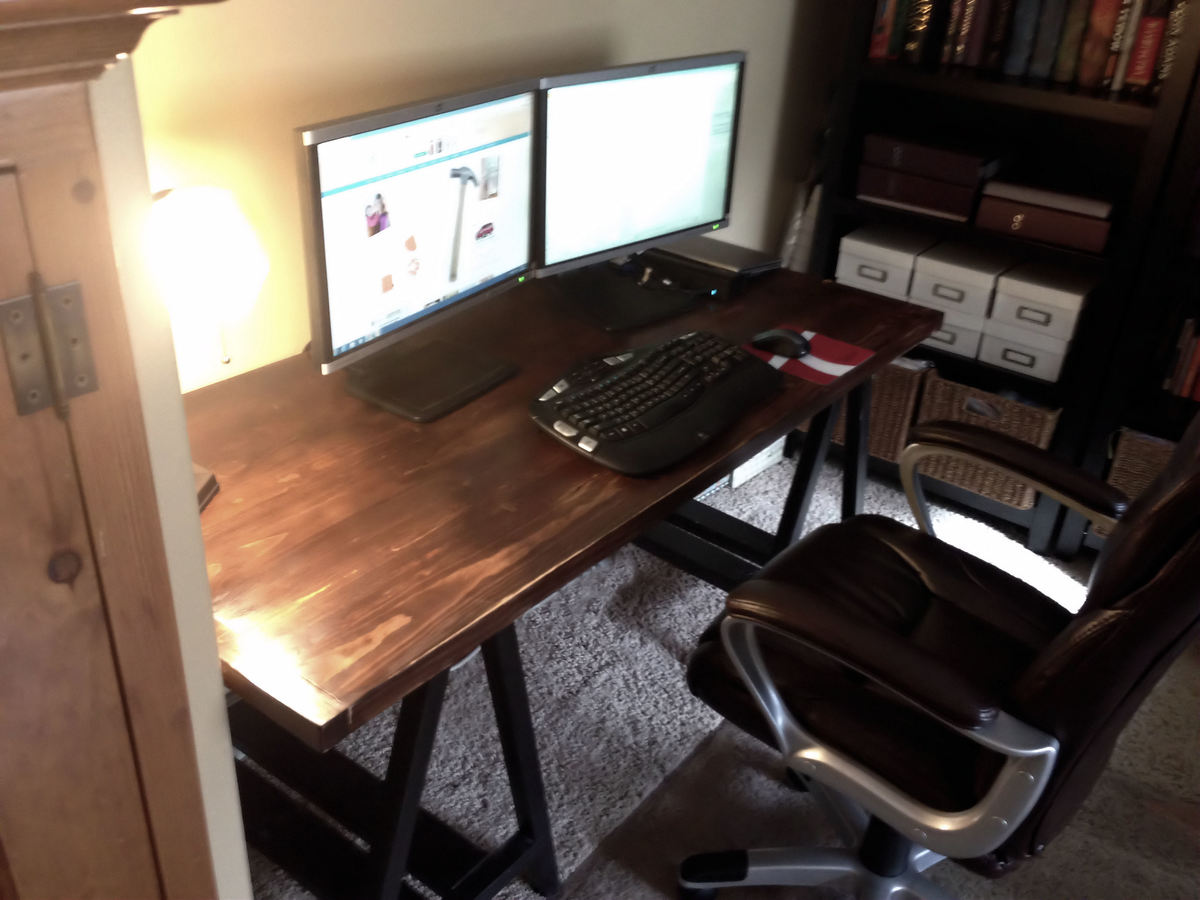
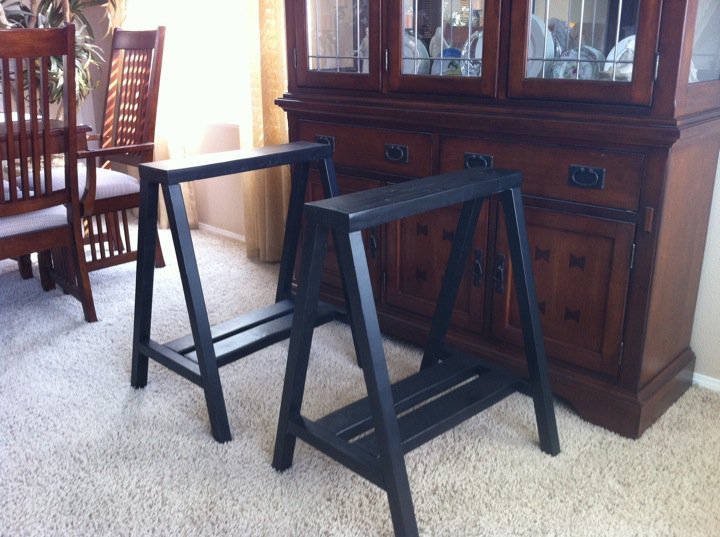
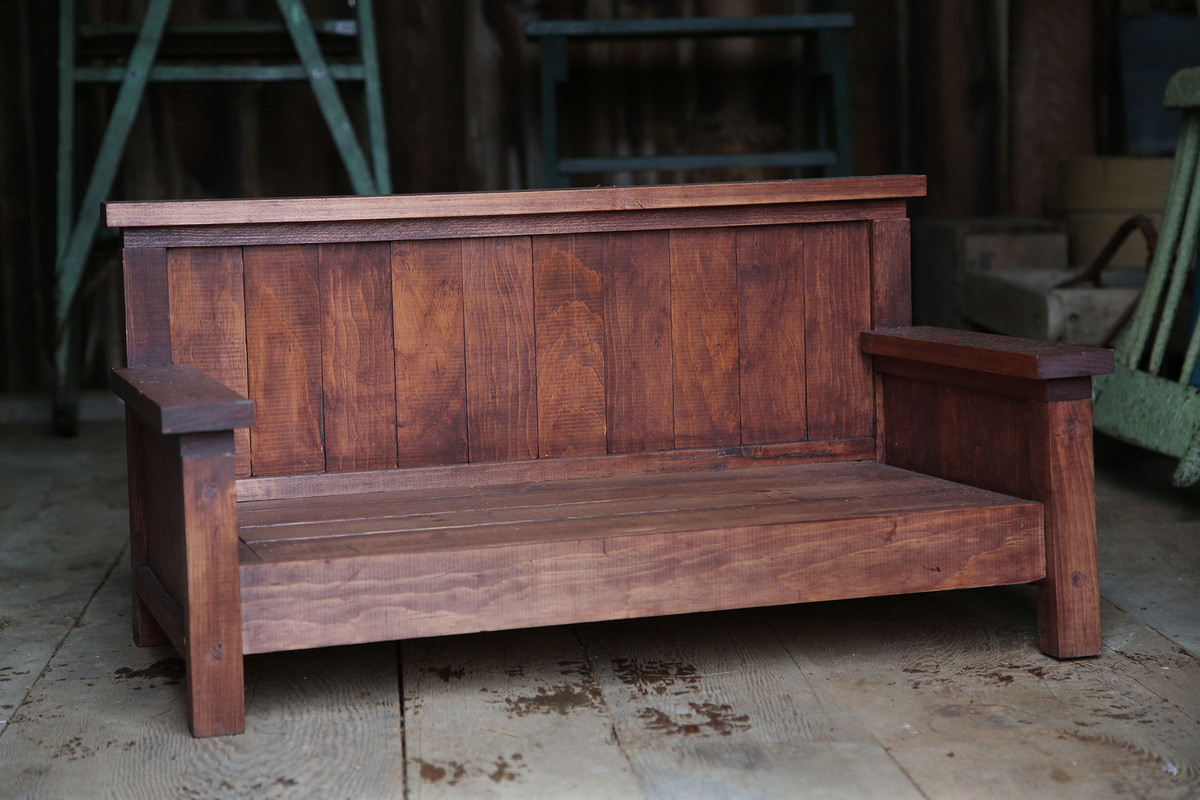
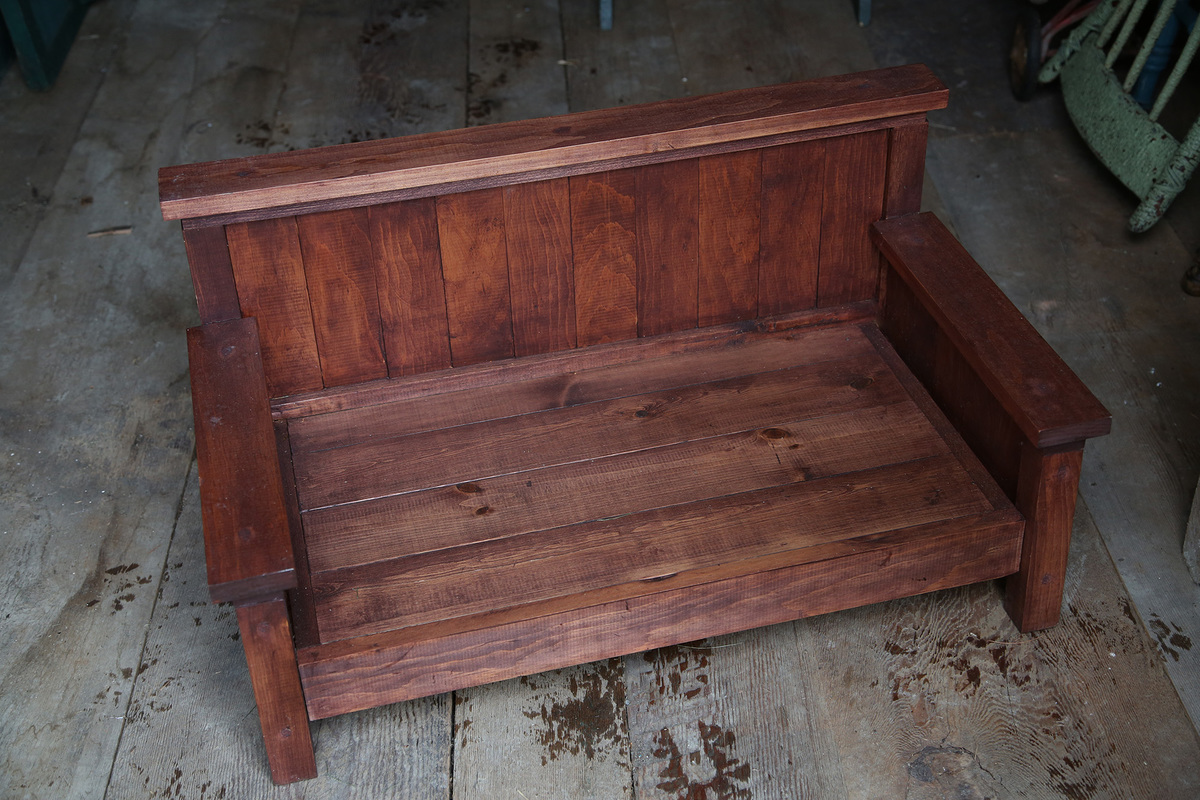
Community Brag Posts

Rustic X Bench

Submitted by jont on Fri, 12/09/2011 - 18:51

Simple x bench followed the plans posted below except I shortened it to fit our old table.

Estimated Cost
$35
Estimated Time Investment
Weekend Project (10-20 Hours)
Finish Used
English Chestnut Minwax stain with 2 coats minwax polyurethane
Recommended Skill Level
Intermediate

Comments

Handmade pedestal farmhouse table

Submitted by Anonymous (not verified) on Wed, 01/20/2016 - 09:42

Modified slightly to include just two legs and excluded the decorative pieces for a more streamined look.

Built from Plan(s)
Estimated Cost
$400
Estimated Time Investment
Weekend Project (10-20 Hours)
Finish Used
English chestnut stain with a flat poly
Recommended Skill Level
Beginner

Herringbone Side Board

Submitted by abarkman on Tue, 06/18/2019 - 14:18

I started this project by using the mini Farmhouse side tables plan.   I added my own herringbone detail on the top that turned out pretty cool.    I finished with Italian brass hardware and put a sleek satin Old Masters finish over the whole thing.  It's a lovely piece that I really enjoy.  

Built from Plan(s)
Estimated Cost
Made mostly out of scrap that I had kicking around. The top has a 1/2" plywood base that would probably cost the most out of all the lumber.
Estimated Time Investment
Weekend Project (10-20 Hours)
Finish Used
Ben Moore Paint (sanded back a bit) and Old Masters Polyurethane
Recommended Skill Level
Intermediate

COVID Projects

Submitted by Anonymous (not verified) on Fri, 03/31/2023 - 07:31

A few alterations to plans….thanks for the inspiration!

Built from Plan(s)

Comments

Farmhouse Doll Beds

For these beds I modified the original farmhouse doll bed plans to accommodate a few more dolls. In the process, I discovered that, while doll furniture turns out SUPER cute, it takes me about the same amount of time to build a little piece as it does to build a big piece, especially when you consider the time it takes to sew the bedding.

I put these together mostly with nails and glue, but used my kreg jig to join the rails to the headboards and footboards.

Estimated Cost
$20 or less per bed.
Estimated Time Investment
Weekend Project (10-20 Hours)
Finish Used
Paint and Vermont Natural Coatings PolyWhey to seal. Lots of sanding before and in between coats.
Recommended Skill Level
Beginner

Comments

spiceylg

Thu, 12/15/2011 - 06:00

I love the mods you did on these. For the farmhouse w/trundle, I know you had to raise up the bottom and it looks like you did the headboard sized boards for the footboard and made the headboard w/even longer boards? Then for the bunkbeds, are those all headboard lengths for the head and footboards and then just very long 2x2s for the posts? I am never brave enough to mod anything just yet! I also absolutely love that bedding on the top pic! So bright and cheery!

In reply to by spiceylg

hillarylouise

Thu, 12/15/2011 - 06:51

Isn't that bedding beautiful? I love it. The fabric is from Hobby Lobby. They have so many cute calicos.

Yes, you got the mods right. If I were to do the trundle again, I'd make the headboard longer so that it goes almost to the ground like the footboard, otherwise you can see the trundle.

The bunk was easy -- much easier than the other bunk plans all out of 1x2s. I've made them both now and the farmhouse one just comes together a lot faster (once you figure out the measurements).

spiceylg

Thu, 12/15/2011 - 09:57

I love Hobby Lobby but never think to check out their fabric! Silly me, I'll have to do just that! Okay, thank you for the info. I just noted the additional detail of the feet, how nice! If you don't mind, I'd love the measurement of the 2x2 for the bunks, simply because I'm lazy like that, lol!

In reply to by spiceylg

hillarylouise

Thu, 12/15/2011 - 10:27

The 2x2s are 22 3/4" and the slats in the headboard are 7". I think the bottom of the bottom headboard is around 2 3/4" or 3" from the bottom of the 2x2s. All the width measurements are the same as in the original plan. Also, I used lath strips for the mattress to rest on instead of a rectangle of 1/4" ply -- it seemed easier and I think it was cheaper, too.

Tsu Dho Nimh

Fri, 12/16/2011 - 08:00

You are so right about the time it takes.

I made a stuffed doll and her clothing for a niece, and I could have made myself two complete outfits in the time it took to sew one dinky doll dress.

lmhaney (not verified)

Tue, 02/28/2012 - 07:40

Hillary how did you do the trundle for the farmhouse single bed. I read where you said you would do the headboard longer,but this is going to be my first build and I need a little more instruction to make the trundle and how long would you do the headboard. Thanks!!!

In reply to by lmhaney (not verified)

hillarylouise

Tue, 02/28/2012 - 09:05

Hey. I made the trundle using 1x3 boards just slightly shorter than the size of the overall bed (so it would fit underneath). I used two 18 1/2" 1x3s and two 14 1/2" 1x3s. I built it using pocket holes on the 14 1/2" 1x3s, screwing into the 18 1/2" 1x3s. Then I attached two 1x2 cleats to the bottom insides of the 18.5" boards so that I'd have a place to set support pieces for the mattress. I attached the cleats with glue and nails, I think, but pocket screws would work fine, too. I used pine lath for the support, attached with glue and staples.

For the headboard, I cut my panel pieces at 7", I think, but I should have cut them at 9 3/4" so that the headboard panel would extend closer to the ground like the footboard panel does. Here is an abbreviated cut list:
footboard panel -- 5 1x3s @ 6"
footboard legs -- 2 2x2s @ 7 1/4"
headboard panel -- 5 1x3s @ 9 3/4"
headboard legs -- 2 2x2s @ 11"

All of the horizontal cuts are the same as the original plan as long as you are using #1 pine. If you are using #2 pine or furring strips, your horizontal cuts will need to be slightly smaller b/c your panel board will be slightly narrower than the plans expect.

Just be sure to screw the side rails of the bed in high enough to get the trundle underneath.

Hopefully that all makes sense! Good luck! Can't wait to see photos!

In reply to by Aida (not verified)

claydowling

Sun, 08/05/2012 - 06:29

They -might- cut it for you. But based on the experience of a lot of people here, and the advice of some Home Depot employees also on here, it's a mistake to have them do that.

You can do the cuts on your own though. If you can't afford a circular saw, or you're uncomfortable with them, you can buy a hand saw for about $25. It's no good for cutting plywood or MDF, but for solid wood it's hard to beat.

Hillary (not verified)

Mon, 08/06/2012 - 19:26

Nope, I don't think they will. And if they did you won't be happy with the outcome. Too many cuts and there's no way they'll get every cut right. You'd be better off finding a friend with a miter saw you could borrow for an hour to get all the pieces cut. Good luck!

Aida (not verified)

Sun, 08/12/2012 - 08:27

Thank you........ I may have to stop been afraid of using this tools and just use it lol............love this bed and my daughter want me to make it for her........ I will post pictures

blair28

Tue, 10/29/2013 - 08:53

Just curious if you have ever thought of making these and selling them?? I have been looking for a doll bunk bed for my daughter for Christmas and love this bunk bed with trundle. So thought I would ask if you would consider making one and selling it!!

emmakayte

Sun, 12/08/2013 - 18:07

I absolutely love what you did with the trundle and the bunk bed. You are so talented! Thank you so much for sharing the measurements that you used to make the bunk bed and sharing tips. I am going to attempt to make one for my daughter. This will be my first woodworking project. I am crossing my fingers it goes well. Thank you! :)

Simple Chair

Submitted by Medickep on Wed, 11/06/2013 - 21:11

I needed some new chairs for my kids play room as the ones that came with a table they received as a gift were cheap and I had reinforced them three different times.

I liked the simple design of them and the cost is right! Mine were a little more as I used 2x2's for the legs and made the body of the chair double-braced as my boys are hard on things!!

My boys picked the colors, which the blue was left over from a room and the red from my older son's desk!

Estimated Cost
15 per chair
Estimated Time Investment
Weekend Project (10-20 Hours)
Finish Used
I primed and painted the chairs with left over paint. On one of the chairs I used a spray polyurethane. On the other one, I used a foam brush with expensive (30.00 quart) polyacrylic as I wanted to see if there was a huge difference. I didn't care for the sprayed technique!
Recommended Skill Level
Beginner

Fancy Baby Doll Crib and Hi Chair Set

Submitted by Linda7 on Thu, 01/21/2016 - 15:07

This was a Christmas gift for my youngest grandniece. The doll crib is made from the Fancy Doll Crib plans, slightly modified to be taller and longer. The high chair is made according to plan, except I substituted a 1" x 6" board for the back.

Estimated Cost
Purchased a 1" x 12" x 48" project board for the bottom and sides for about $10.00; the remainder of the wood was scrap, and I had the paint on hand. To make the set similar to the others I built for my grandnieces and granddaughter, I ordered a water-slide decal from Etsy - $13.00 including shipping, but there are several more decals on the sheet for future projects. The finials are from Hobby Lobby; need two pks at $1.99 each . I marked this as a weekend project just because I needed time to sand and dry time for the paint.
Estimated Time Investment
Weekend Project (10-20 Hours)
Finish Used
Valspar "Ultra White" interior paint; spray a clear finish over paint.
Recommended Skill Level
Beginner

Outdoor Loveseat

Still need to stain but this was my very first project and it turned out well!  The directions are very easy to follow and I am very happy with it!

Estimated Cost
$25
Estimated Time Investment
Afternoon Project (3-6 Hours)
Finish Used
Will be using Minwax oil-based stain over a wood conitioner, and a clear flat oil-based top-coat.
Recommended Skill Level
Beginner

Floating Bunk Bed

Submitted by JBand4kidz on Sat, 04/08/2023 - 15:12

So...we are 6 people in a 3 bedroom house. We needed more room! Thanks for the inspiration Ana. I think these beds turned out GREAT. And the girls love them!!!

Comments

Doll Farmhouse Bed

Submitted by kmatt55 on Mon, 12/19/2011 - 07:26

I made these for my two nieces and soon to be born daughter for Xmas. I used 1" hobby foam for the mattress.

Estimated Cost
Scrap Wood = FREE, $30 for bedding.
Estimated Time Investment
Weekend Project (10-20 Hours)
Finish Used
Primer, Interior semi-gloss white.
Recommended Skill Level
Intermediate

Comments

Sawhorse Desk

Submitted by kcragun on Sun, 11/10/2013 - 10:22

I used Ana's sawhorse plans and painted the sawhorses black. I made up a plan for the desk top inspired by some of the farmhouse table plans. The top looks very thick and chunky, but is mostly made from cheap 1x6 boards put together with glue and pocket holes. The ends of the top are made from 2x2 boards attached with pocket holes. The sides are from 1x2 boards - all attached with glue and pocket holes.

For the finish I used a water based stain from General Finishes - Black Cherry. I started with one coat of poly-acrylic and did not like the look. I sanded it back and bit (distressing the edges a bit) and put on two coats of wax.

Built from Plan(s)
Estimated Cost
$50
Estimated Time Investment
Weekend Project (10-20 Hours)
Finish Used
General Finishes - Black Cherry
Recommended Skill Level
Beginner

Thanks for the inspiration!

Submitted by Anonymous (not verified) on Mon, 01/25/2016 - 06:17

Made a round top 61" from 2x6 ripped to 5" wide so I deviated slightly for a wider bottom (42") and top (58") base. Used the cross pattern instead of the decorative supports. Thanks for the inspiration!


looking to whitewash whole thing or gray stain bottom and dark stained top. 


Estimated Cost
$195.00 unfinished
Estimated Time Investment
Day Project (6-9 Hours)
Finish Used
None yet. Thinking gray stain bottom dark stain top. Or just classic semi gloss white.
Recommended Skill Level
Beginner

Comments

Modern Farmhouse Bed

Submitted by DCecil43 on Mon, 07/08/2019 - 19:54

Just like my previous post on the nightstands, It was cheaper to build a bed that I envisioned instead of searching for something over priced.  I found the plans for this bed on the site but made the headboard a little over 6 feet tall.  This came out amazing and really compliments the nightstands.  I also built the sconces that are centered over the nightstands to keep the tops of the nightstands clean and not cluttered.  They also have touch pads for the lights mounted behind the bed to make them easy to turn on and off.

This is hands down the best transformation in any room in my house.  Ana, you saved me a ton of money with DIY.  I even picked up most of the Kreg jigs along the way which is an added bonus!

Estimated Cost
$275
Estimated Time Investment
Weekend Project (10-20 Hours)
Finish Used
Minwax Early American Stain and Minwax Satin Polyurethane
Recommended Skill Level
Intermediate

Comments

Clubhouse bed

Submitted by Anonymous (not verified) on Fri, 04/14/2023 - 05:36

My dad and I built this for my son. He wanted a treehouse bed so that’s what he got.

Built from Plan(s)

Comments

Doll Crib

Submitted by melehes on Wed, 12/21/2011 - 15:16

I built this for my little girl for Christmas. I think it is one of the cutest $20 presents I have ever gotten her.
Thanks to my sister in law who made the bedding. I also placed felt squares on each corner to make sliding the drawer out of the wood floor a breeze.

Built from Plan(s)
Estimated Cost
$20
Estimated Time Investment
Afternoon Project (3-6 Hours)
Finish Used
I used paint and then vinyl for the name to give it a personal touch.
Recommended Skill Level
Beginner

Comments

sgilly

Wed, 12/21/2011 - 20:11

What a lucky little girl to have a momma (or dad??) who can build her such a cute gift. Great job.

HDB (not verified)

Thu, 12/22/2011 - 17:01

are there plans for this? where can I get them?

Doll bed turned day bed / mini sofa!

I started with the doll farmhouse bed. Someone made a super cute version as a dog bed- and I loved it as a mini sofa...

Estimated Time Investment
Afternoon Project (3-6 Hours)
Finish Used
gel stain
Recommended Skill Level
Beginner

Comments

jackiemacrae

Tue, 12/31/2013 - 09:53

Hi Brad- so sorry for not getting back to you sooner. I saw that you'd left a message, and I haven't had a chance to get back into the shed to check- The seat is only about 5 inches off the ground, and the backrest is about 17 inches.

I hope that helps!

Sand and water table

I love this table!  On cool winter mornings we fill it with warm water.  The built in umbrella stand will be essential once the Texas sun comes out.  

Hopefully it buys me some free time to finish some projects!  laugh 

I already have lots of requests to build more of these for friends and family.  I have some edits in mind to make it a little faster and easier next time.

Many thanks to Ana and all the contributers for all the inspiration and tips!

Estimated Time Investment
Day Project (6-9 Hours)
Recommended Skill Level
Intermediate

doll bed #8 and #9

Farmhouse style doll beds modified width one less slat.

Estimated Cost
$10 each
Estimated Time Investment
Afternoon Project (3-6 Hours)
Finish Used
1. One coat primer
2. Two coats Behr off white
3. Distressed and seal Minwax clear satin poly
Recommended Skill Level
Beginner

Comments