Loft Bed Tweak
I added 6 inches to the height to be able to add a twin bed underneath. I also made the platform narrower to fit our room better. Love it. Cant wait to build more.
Weekend project for a friend. We built this for her husband for a Fathers day gift.. He is a fire fighter so we decided to paint it fire engine red.
This was the first thing i have ever built. I enjoyed it so much and can't wit to start my next project. The plans were easy to follow even with me changing the dimensions slightly as i was using reclaimed wood, so had to go with the sizes i had already.
The 4-foot "classic beadboard" wall shelf is simple and cheap to make and it looks great for hanging pictures or decorations on the wall. The project requires only about $10 in materials, but it does required more advanced tools such as a chop saw, table saw, jig saw and router. Comparable shelves sell at between $60-$80.
I can build the project is about 1-2 hours, but it may take longer if you don't have all your tools set up. The plans are free on my woodworking blog at: http://www.jrlwoodworking.com/
You can also make the shelf in 2-foot and 3-foot lengths, simply shrink all the horizontal dimensions by one or two feet.
Fri, 01/04/2013 - 12:37
We actually built three of these for my husband's siblings for Christmas. The best part of it was the low cost. These only cost about $10 a piece and we left them unpainted so they could paint them to match their home decor. And whenever they look at their shelf, they will remember the hand-made Christmas present!
My hubby is 6'5'' tall. Since most matresses are 80 inches long, he mostly ends up with his feet hanging out of the bed (since you don't lay your head down at the very beginning of the mattress, right?). So I tried to solve this problem by making the bed 4'' longer than the plans suggested. I added 2'' of foam on each end of the bed, so now its 84'' long and my hubby fits perfectly!
Thanks for the great plans, I had a blast building my own bed!
Made a work bench first so I could use it to make other projects. I will probably add to this a miter saw bench since I just have mine on top of my bench right now and it takes up way to much room. This was so much fun and I am so happy I attempted this!
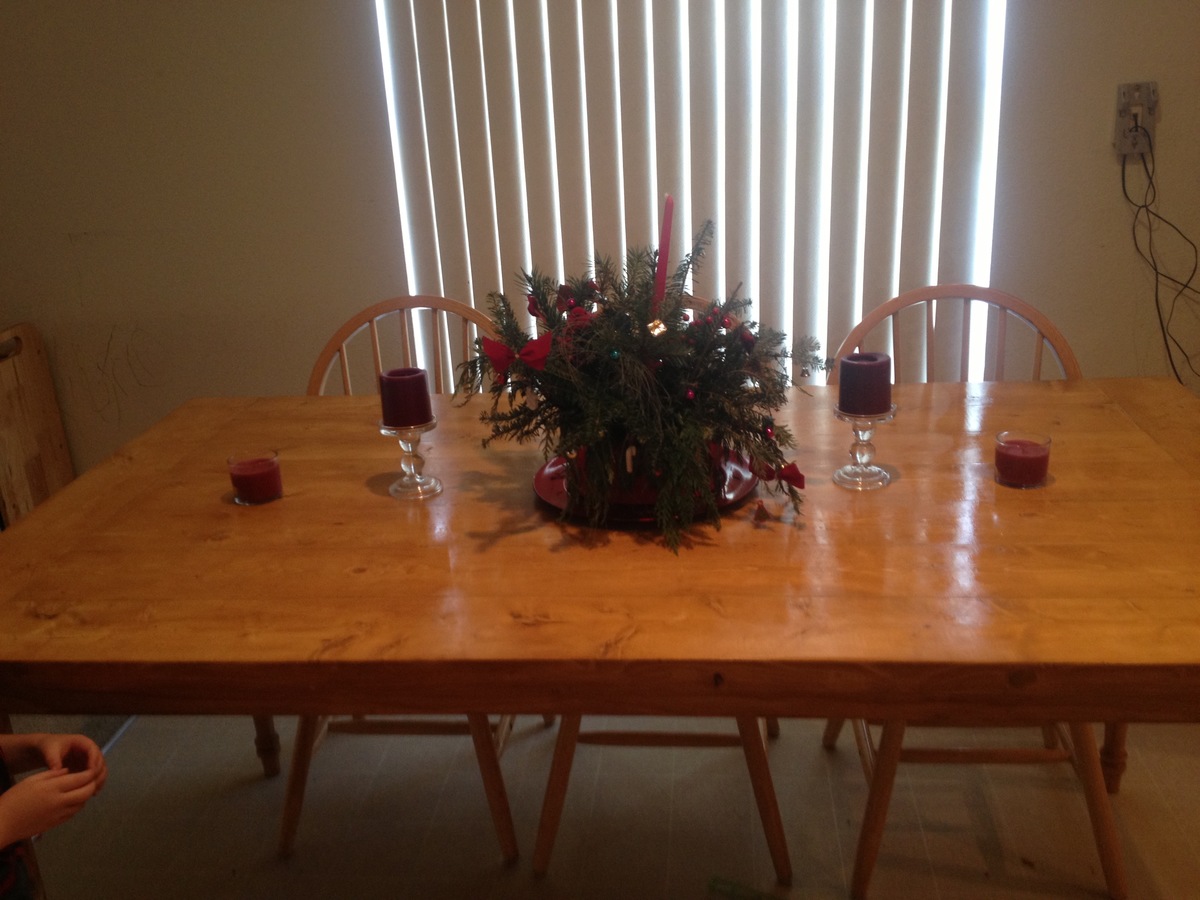
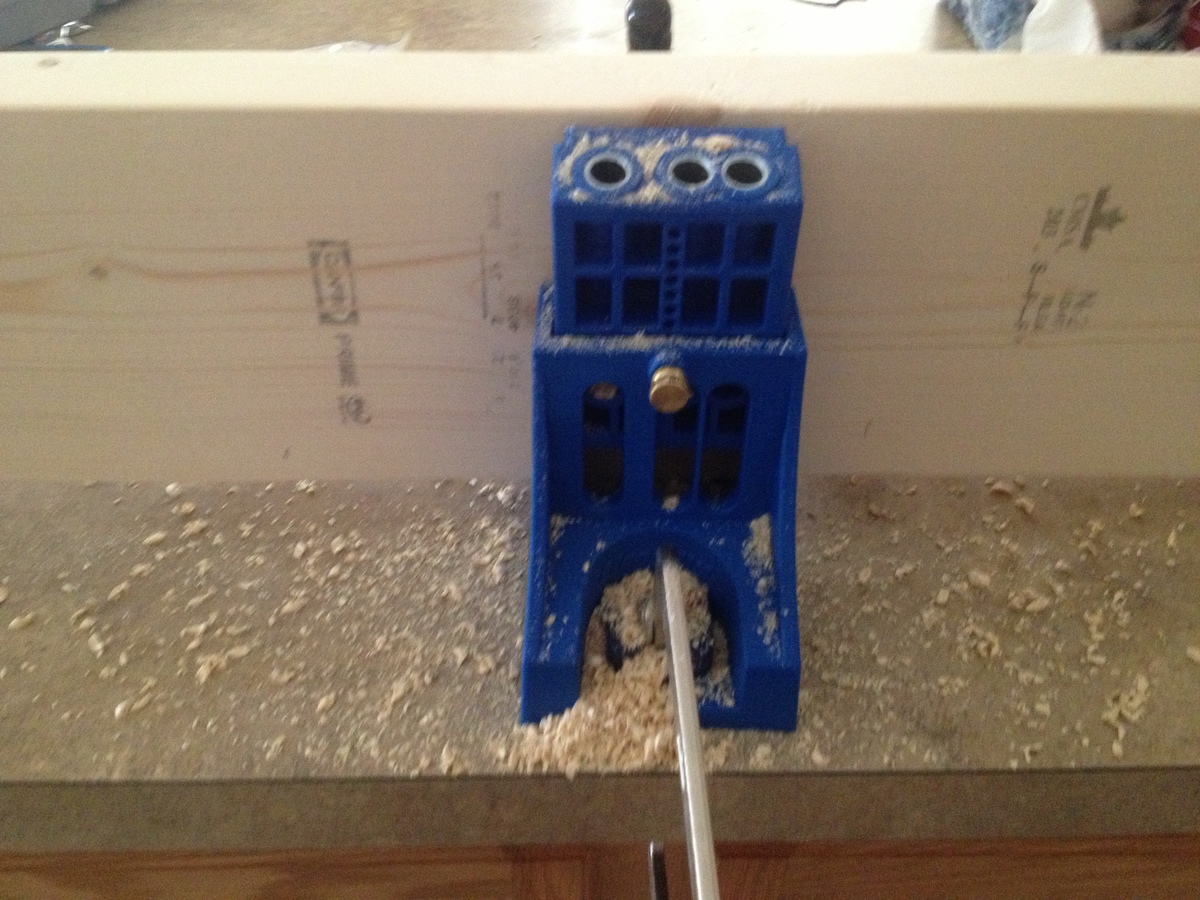
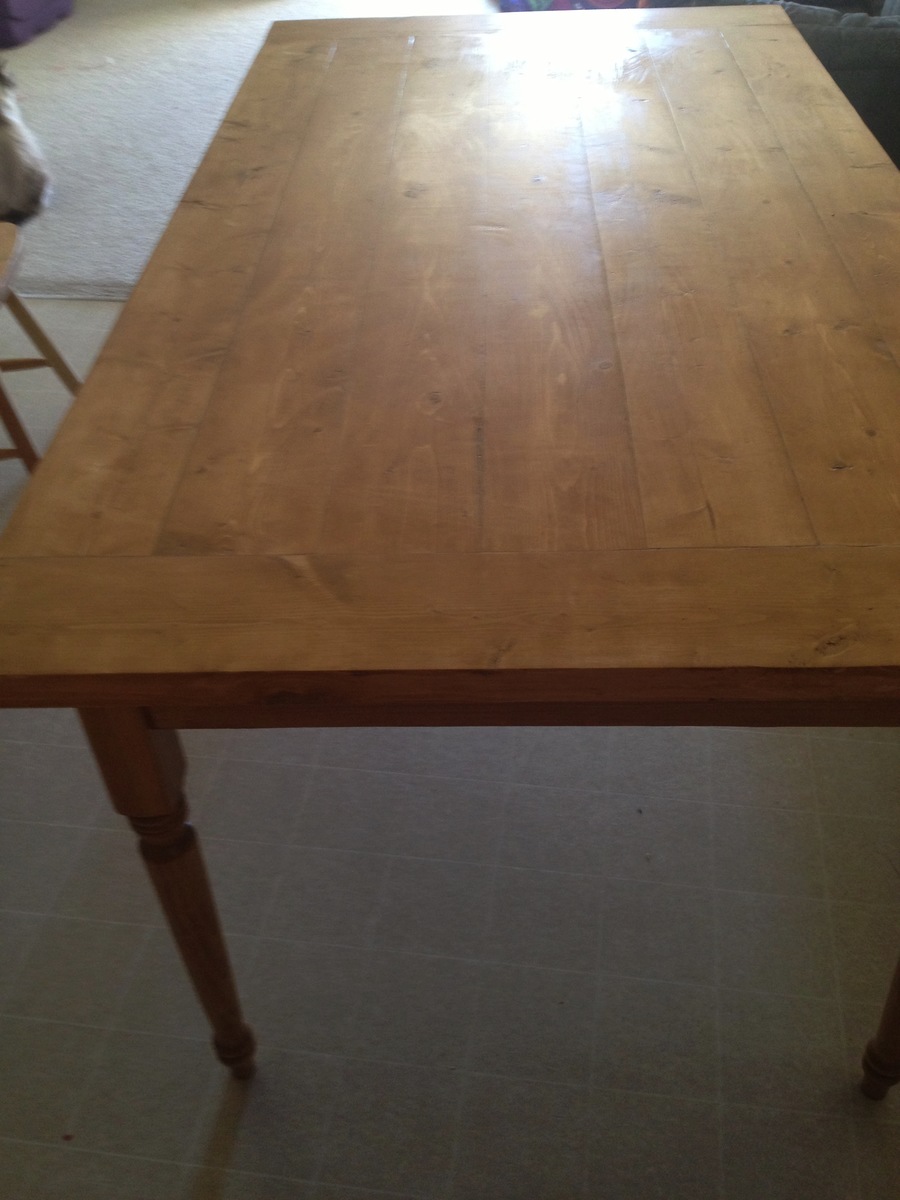
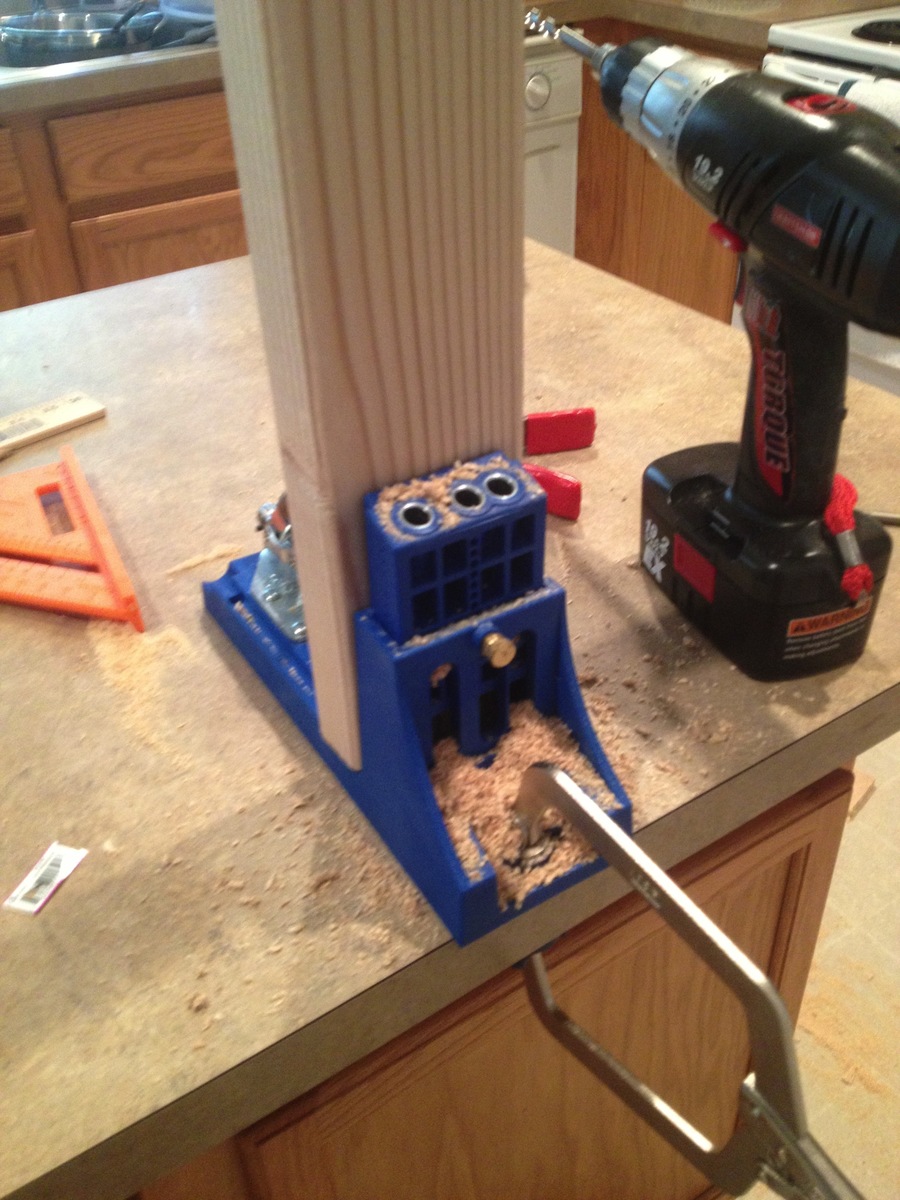
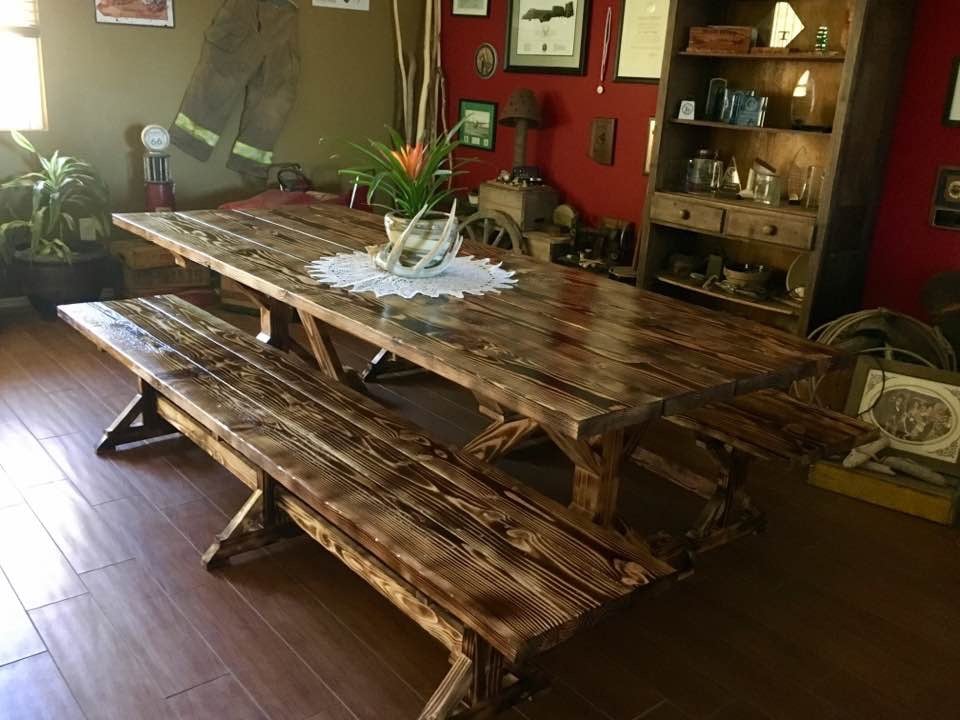
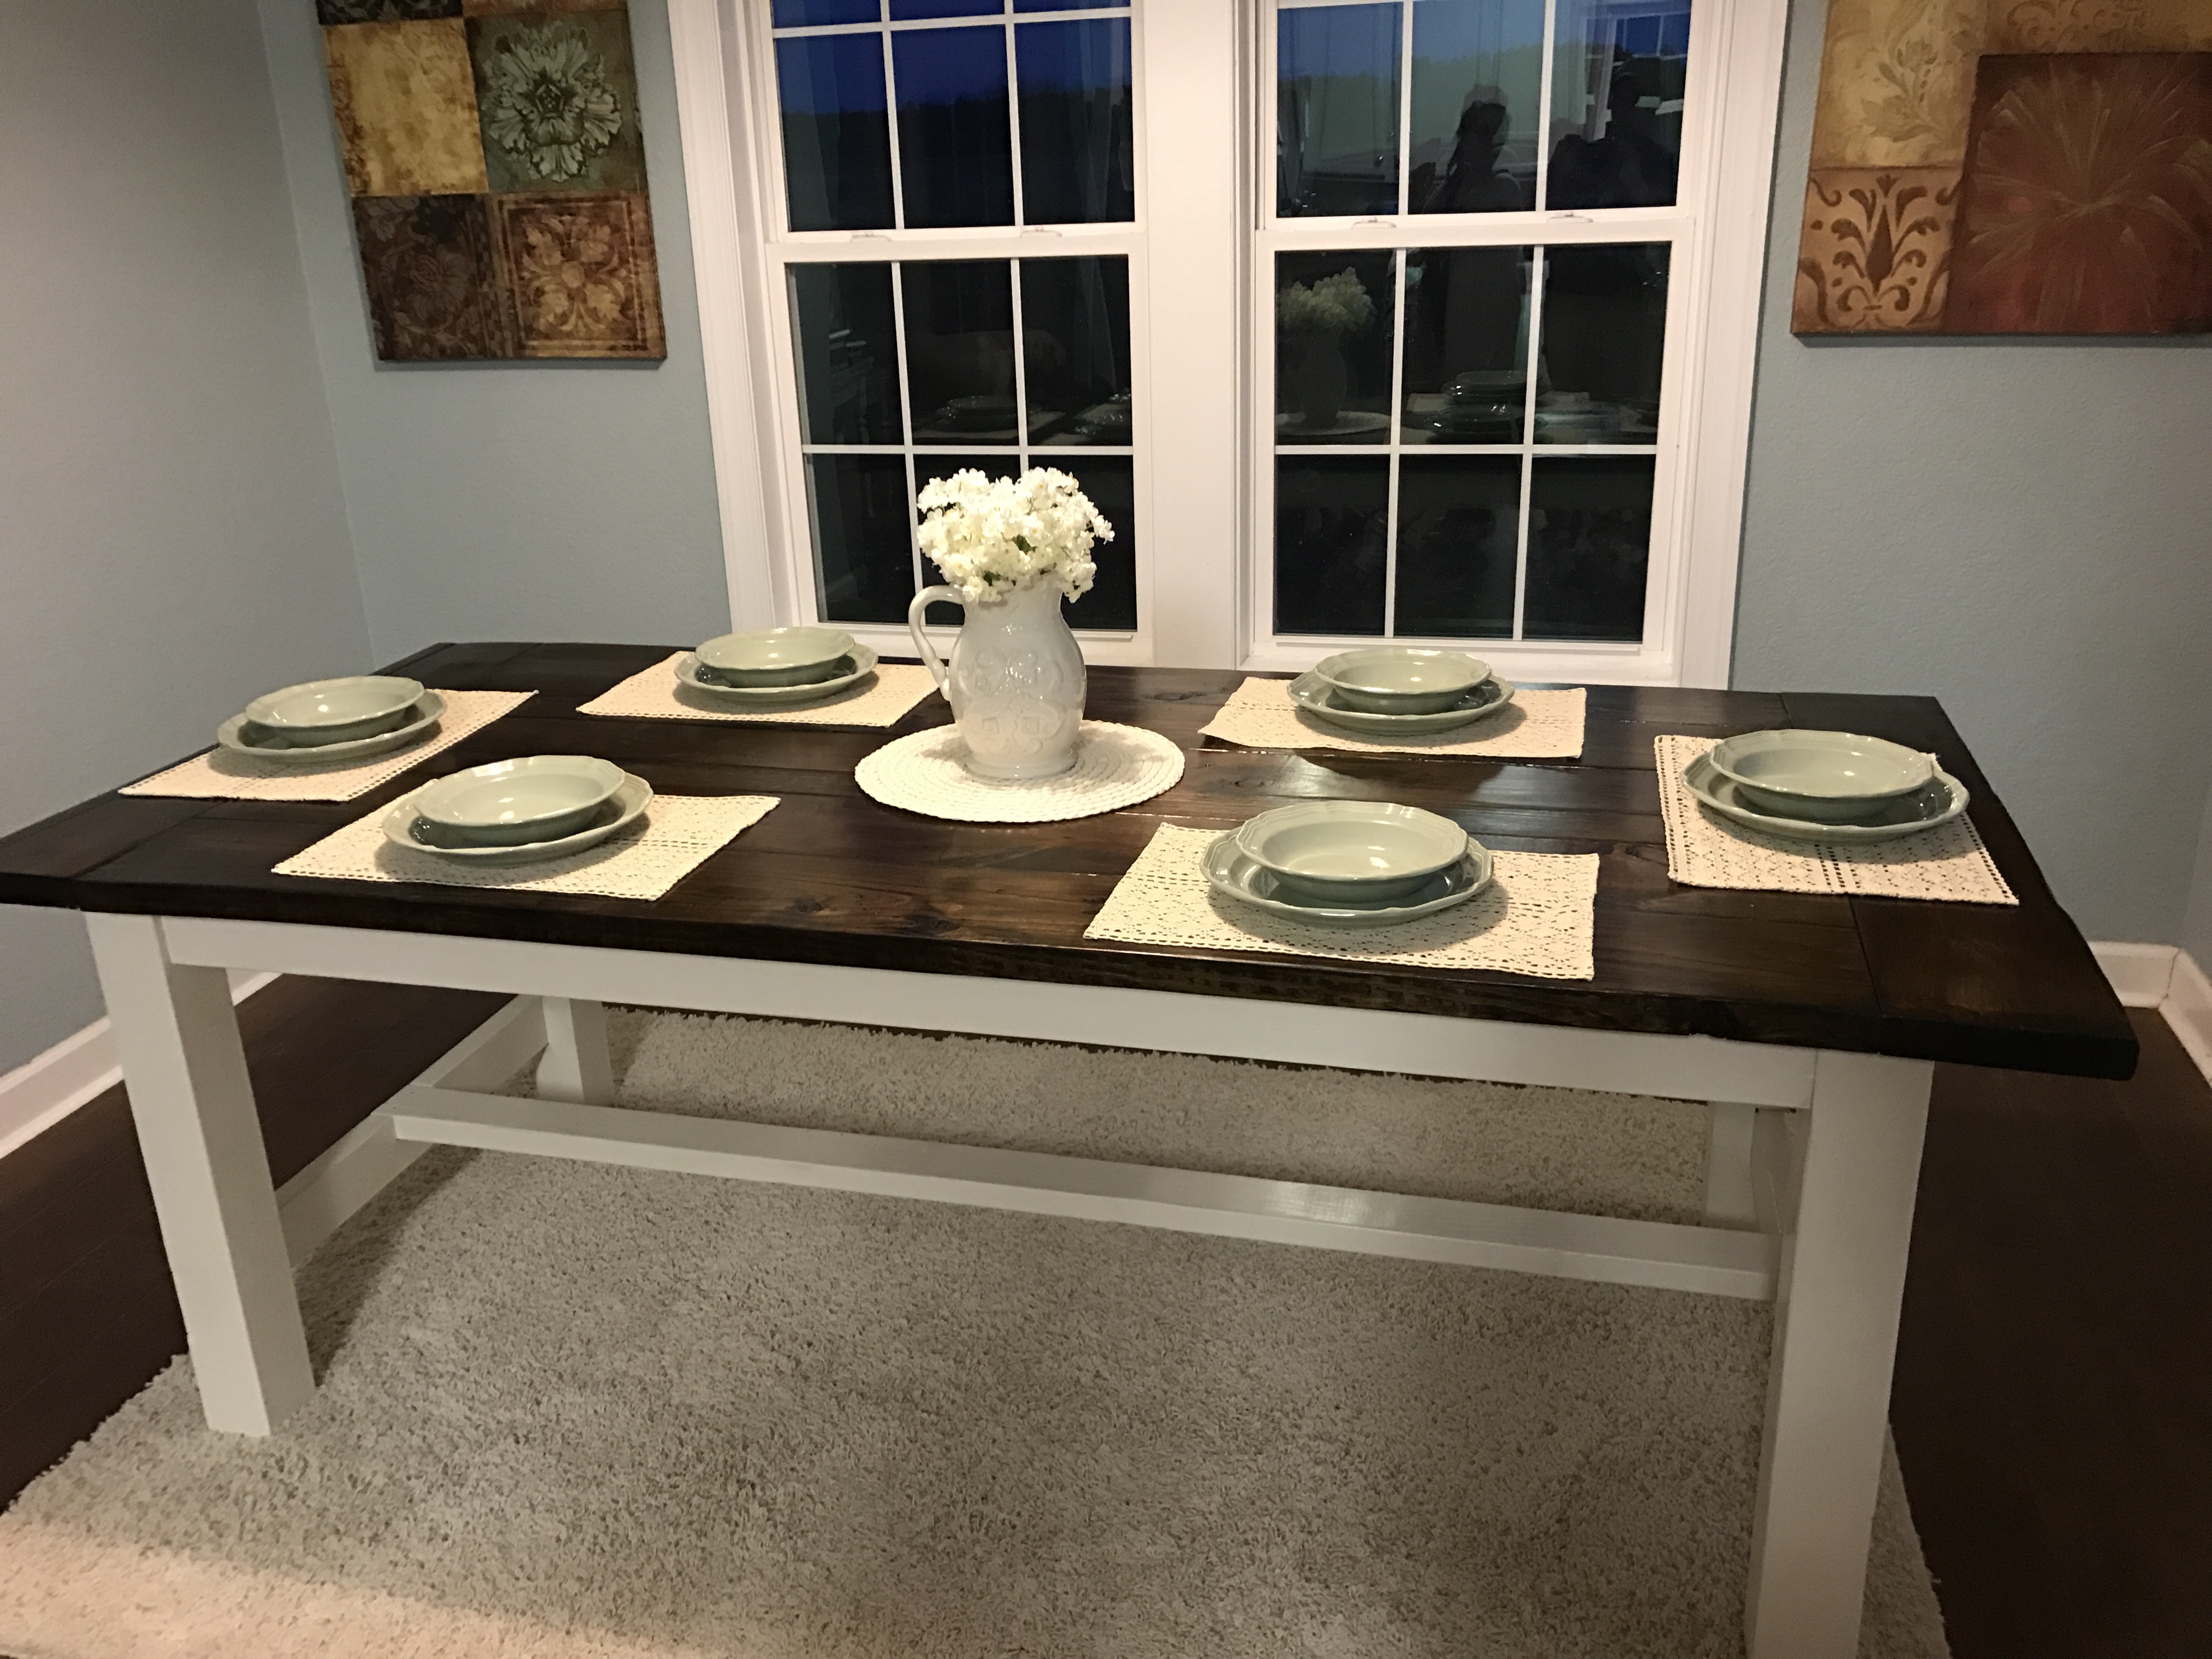
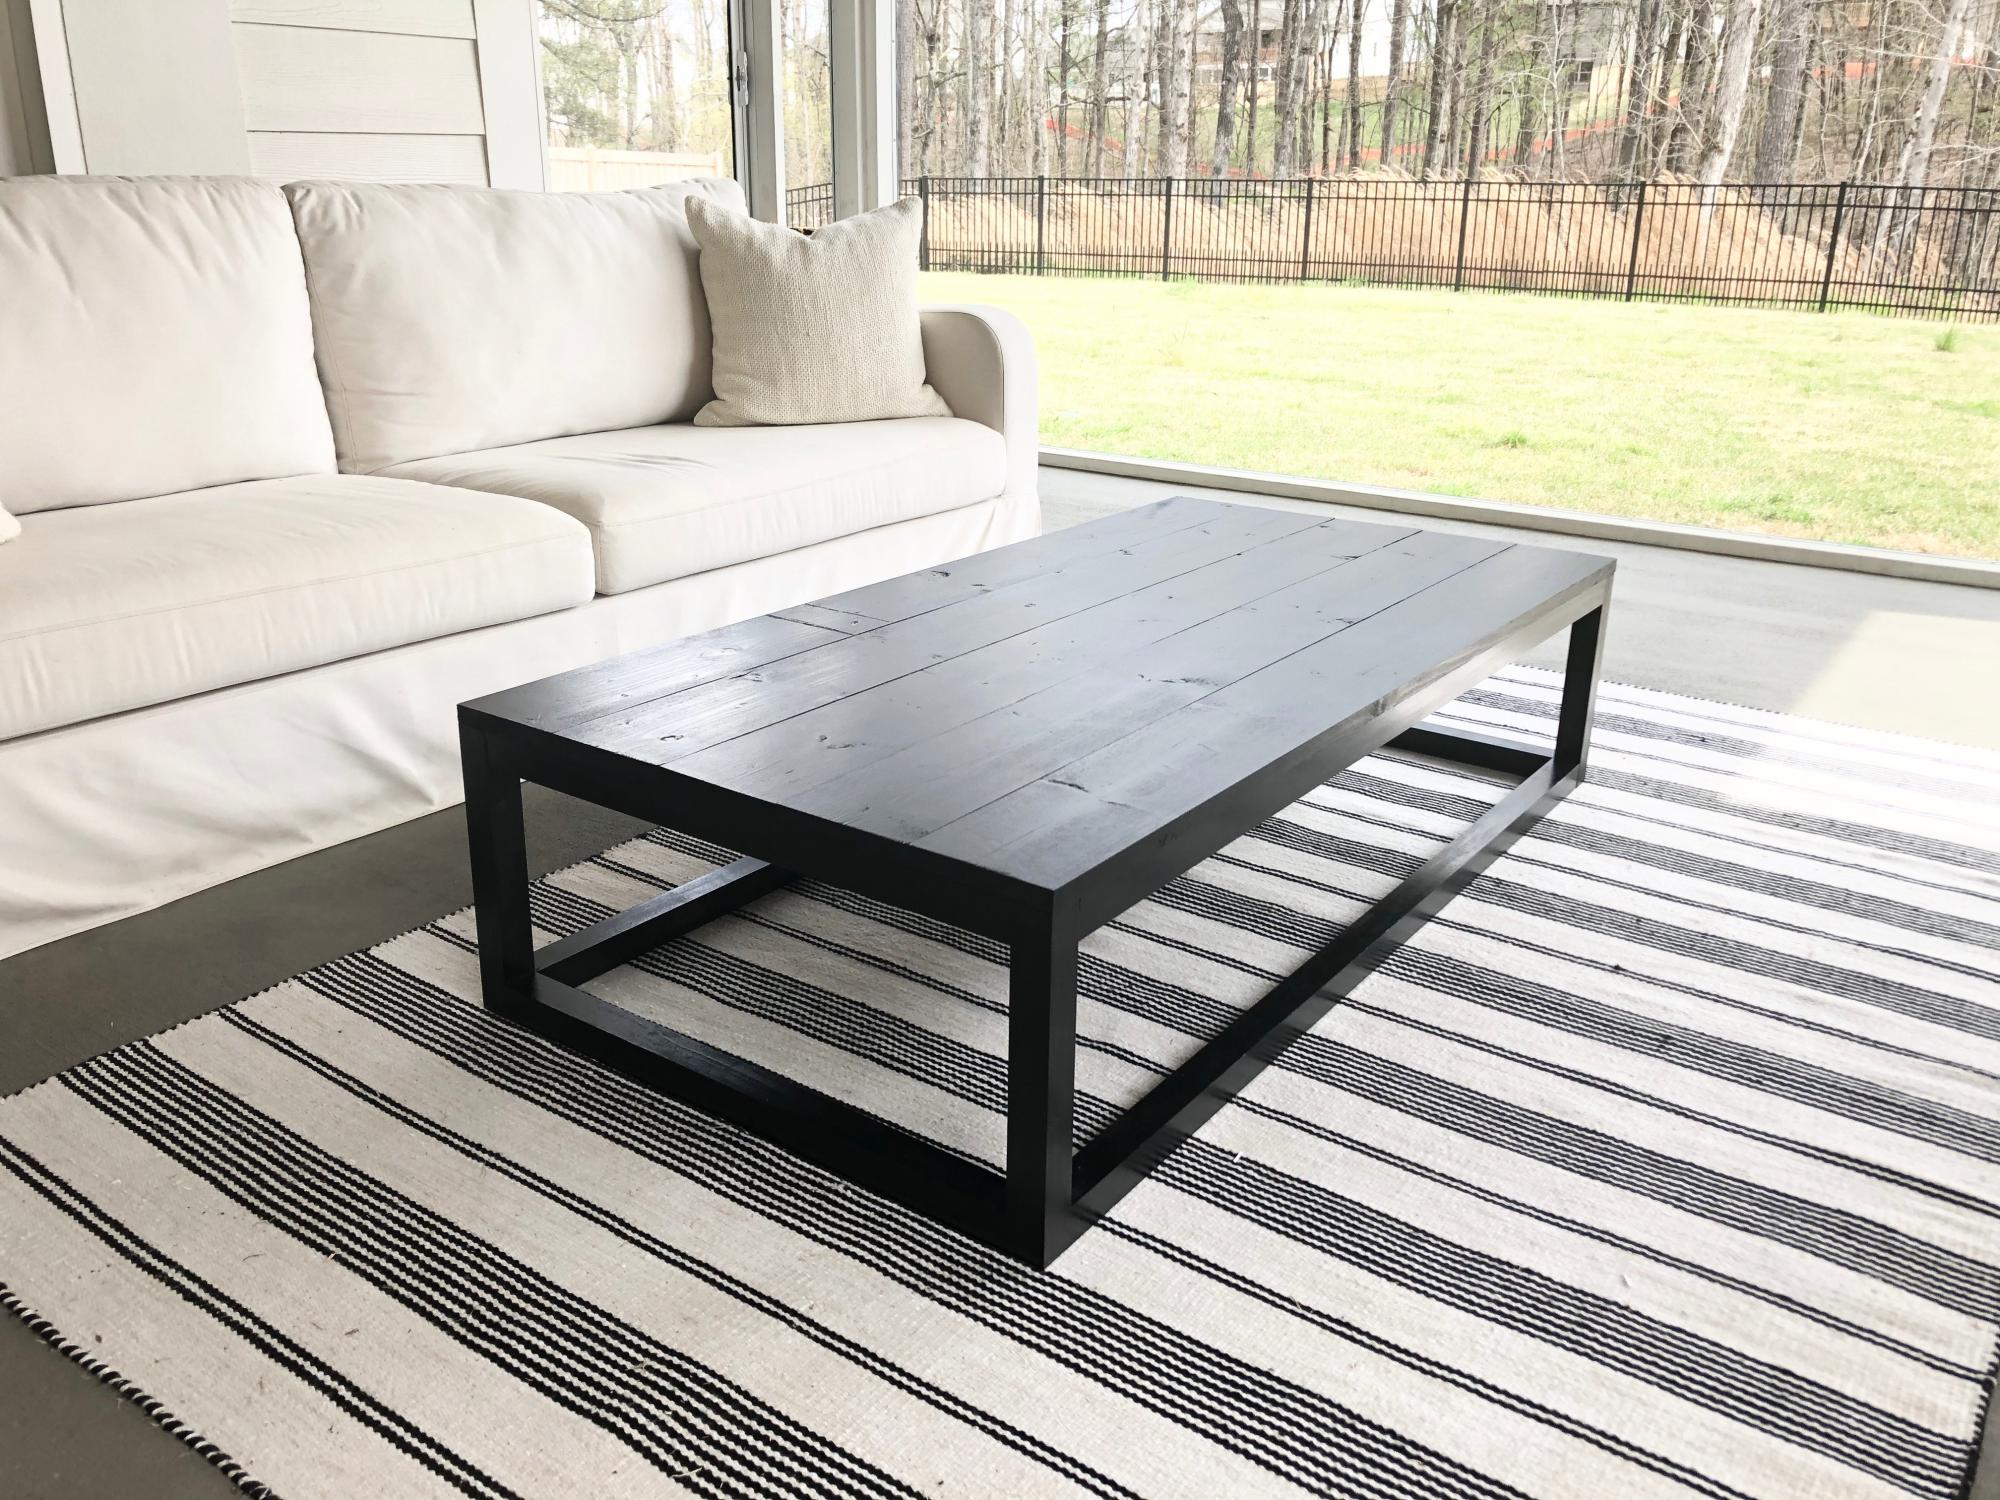
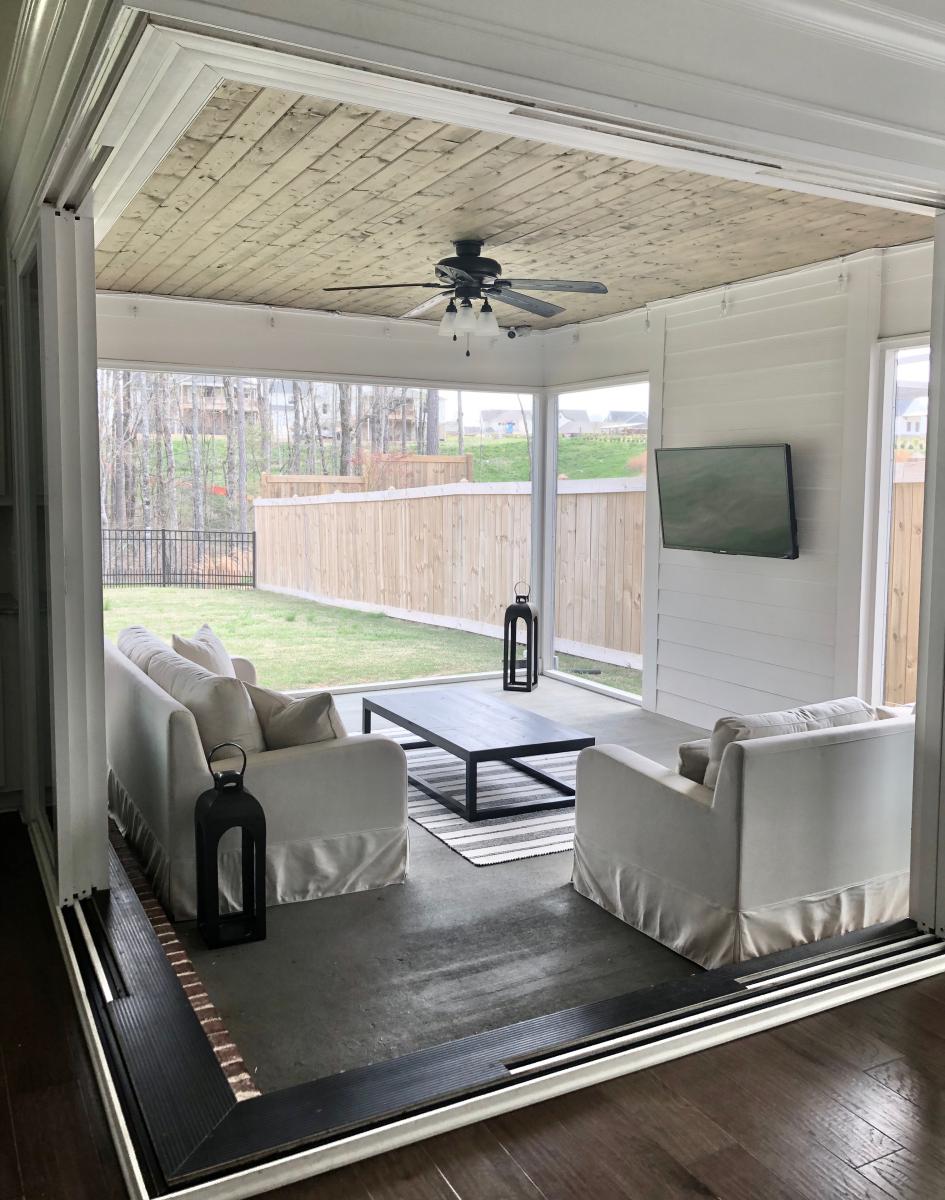
This was my first project and I LOVE it. We desperately needed to get a new table for our kitchen, and thanks to Ana... here she is. I love it. I cannot wait until I build more things. The Handbuilt Home is ear marked for many projects. I am such a geek, I have not only the book, but the digital version as well. This is so helpful because the digital version is on my phone and I have it readily available when I go to the store. I cannot recommend this book enough. Ana exudes confidence and that helped me to pick up that circular saw. NO FEAR! Ok, I was petrified that first cut, and probably all of the other cuts too, but it didn't stop me.
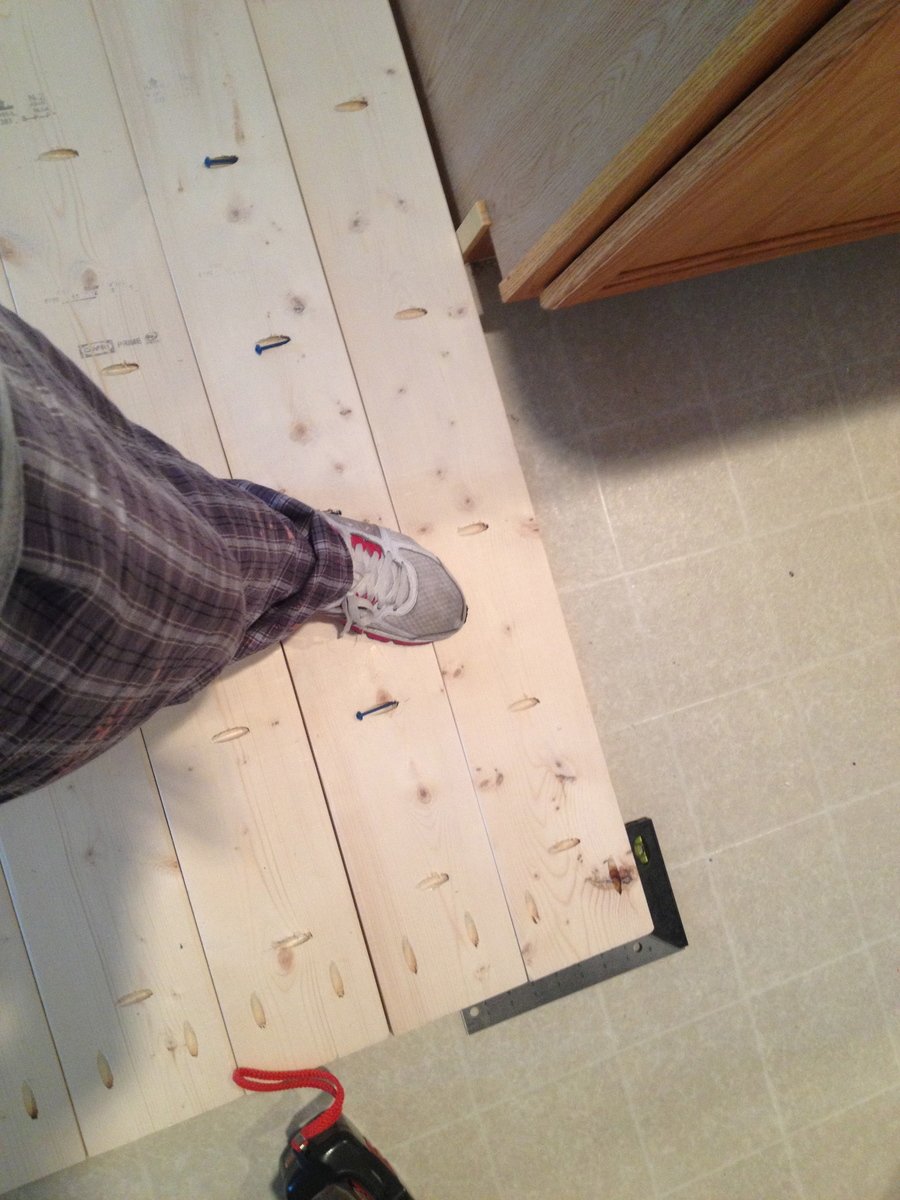
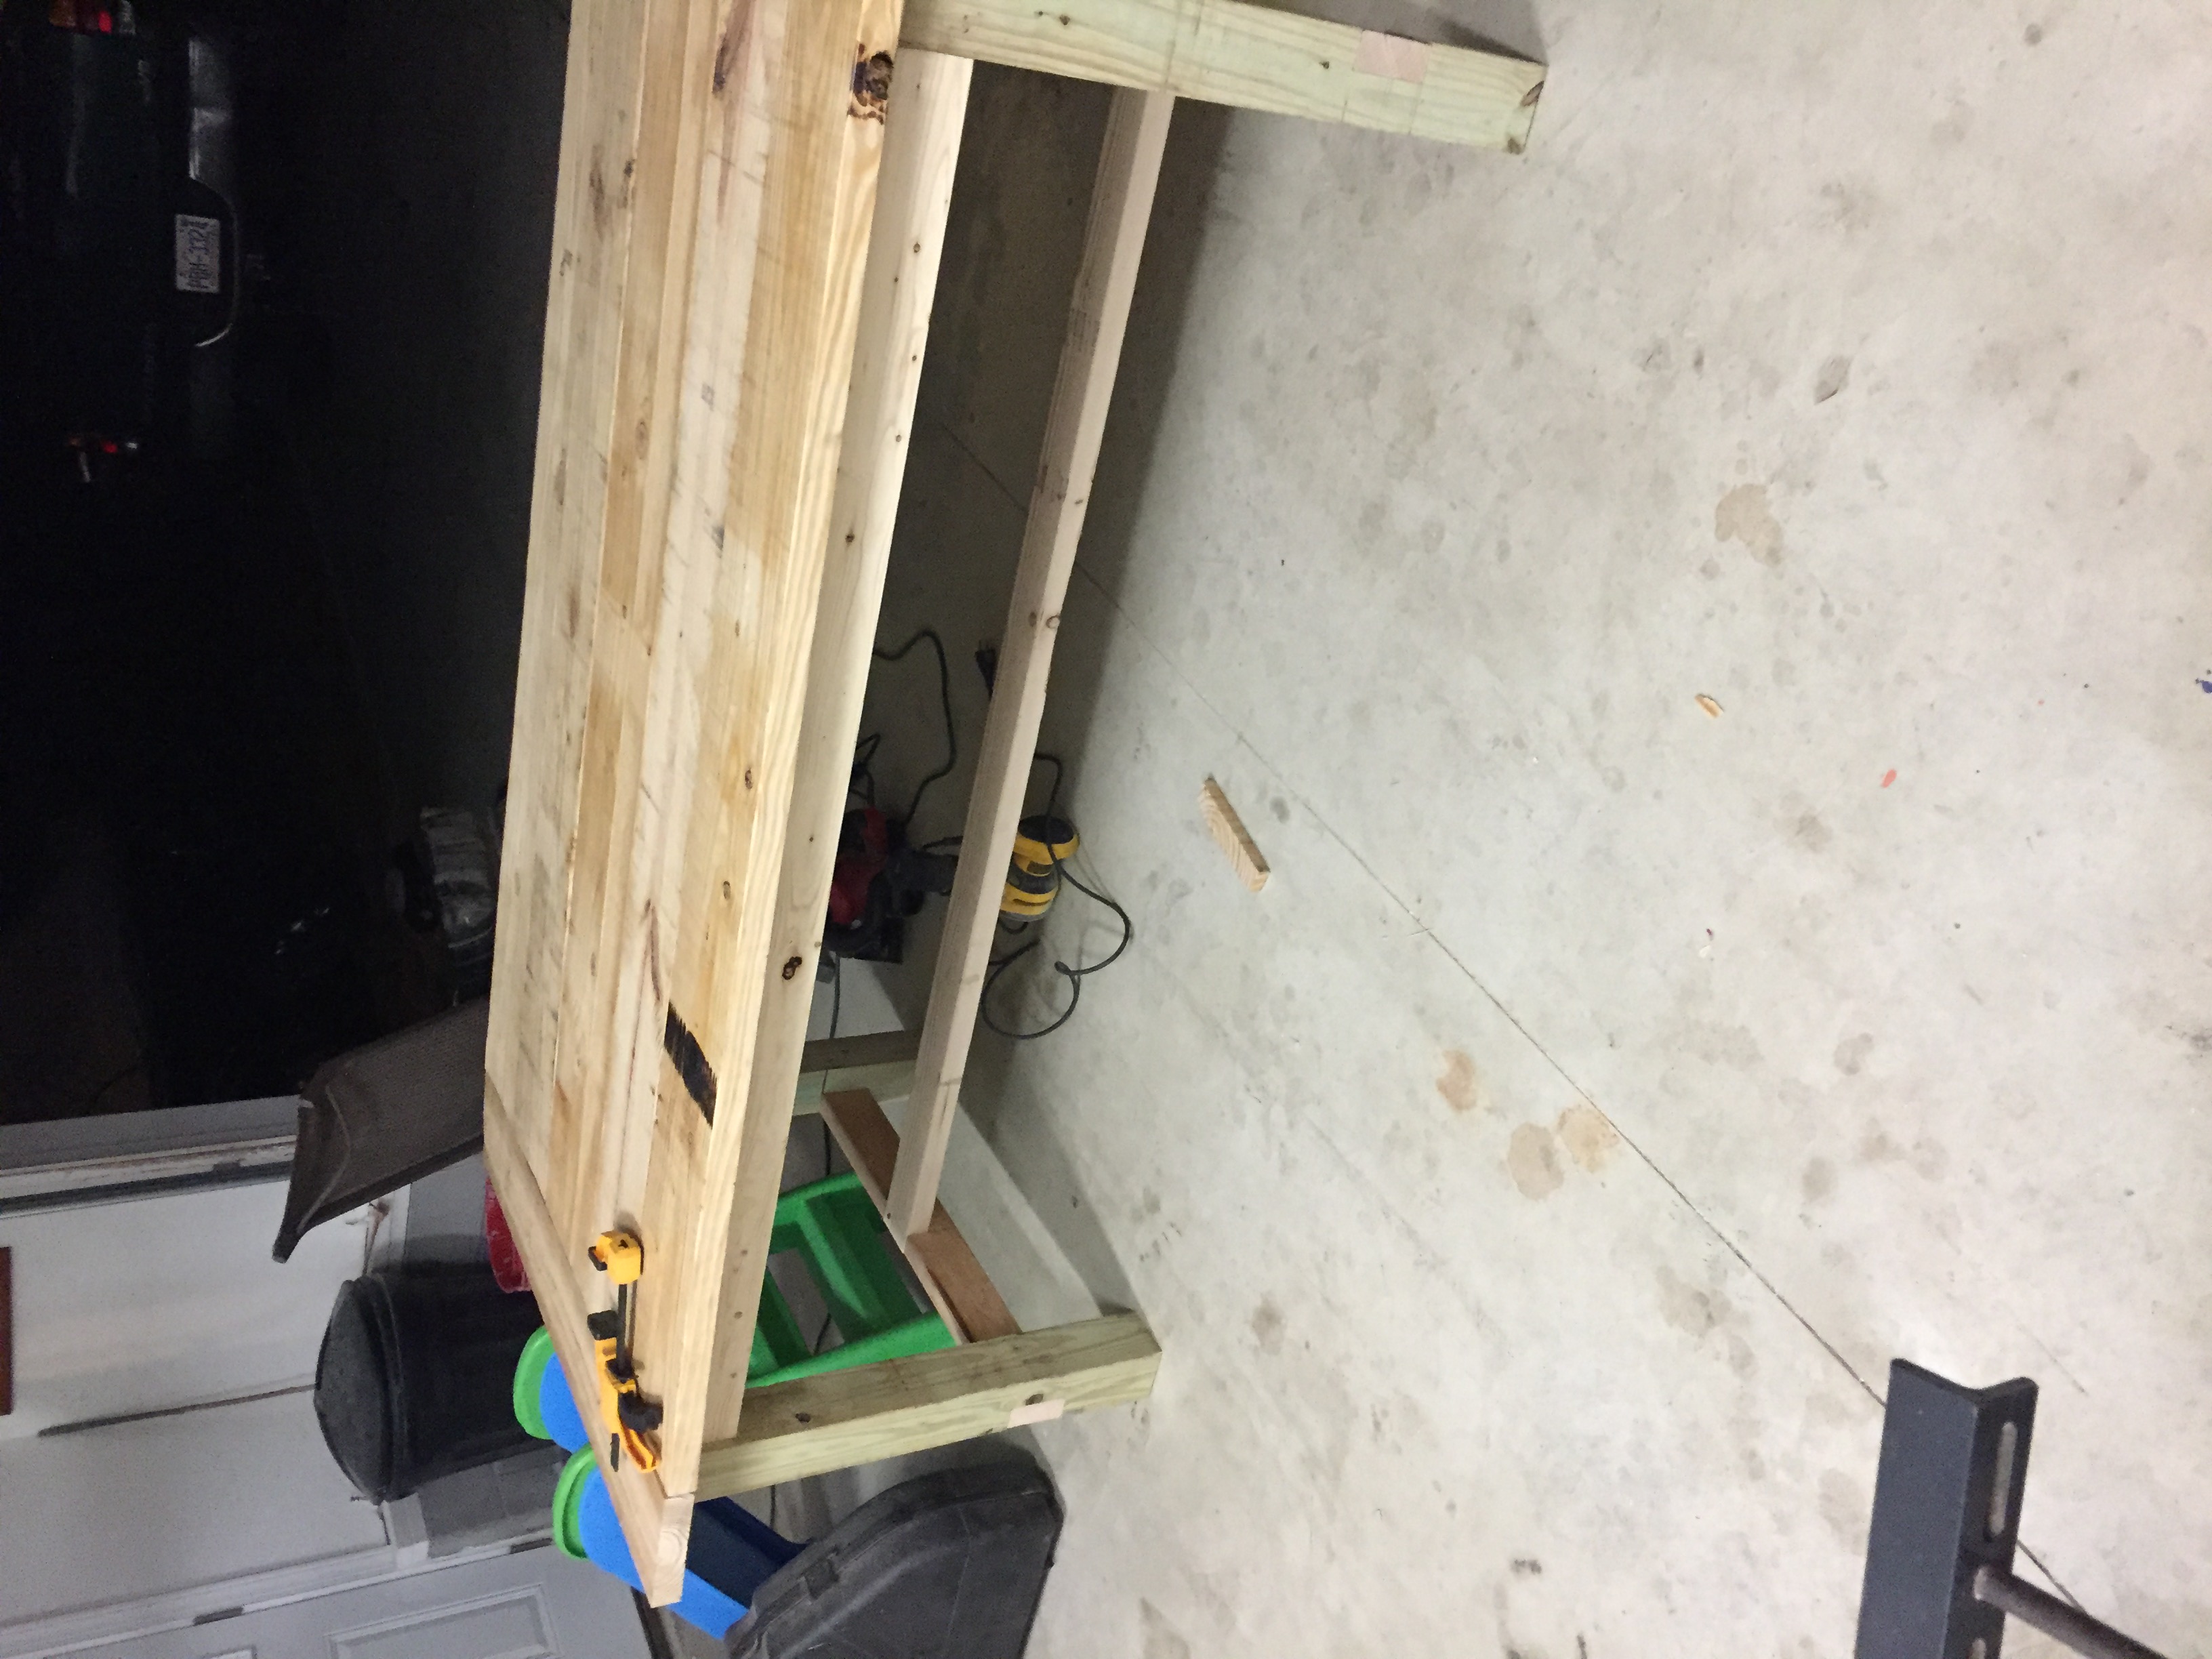
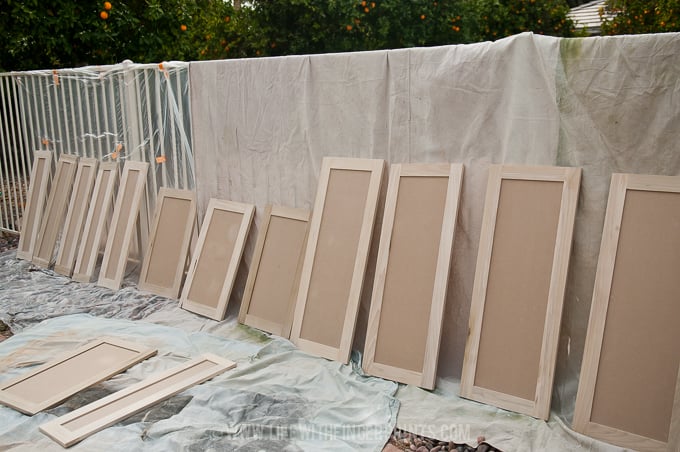
This table was so time consuming because I have three children and those little stinkers take up at lot of time. I am positive if I could have dedicated a day or two just to this project, I would have been done sooner. I underestimated how much time needs to be dedicated to sanding and staining and sanding and sanding :) I also underestimated how heavy this table is. I needed help to turn this table right side up.
All in all, I could not be happier with the finished project.
My daughter and I used these easy plans to build these two shelving units for the garage. We altered the plan slightly.The sizes that I used were determined by the lumber I had available as we used rescued lumber for this project. The height on each is 5' (tallest 2x4's we had) and the length is 64". All I had for 2x4's were 48" pieces so we used some other rescued lumber for the shelves. We used whatever we had. So they are made from misc lumber. The 2x material made for the strongest shelves. Depth is 17" as in original plans.
We added additional brackets for support under a couple of the shelves. We also attached to the wall to avoid tipping. I absolutely love these. So useful. No more unstacking each tote to find out what's in the bottom one. I LOVE IT! Thanks for the plans.
We completed these in one afternoon.
Great way to turn inexpensive pine into a beautiful piece. Our wood was quite wet so we were extra careful to keep it tight and straight. Once the top was assembled, out came the torch! The torch provided an instant partial drying of the wood causing a great bonding and snug fit. The flame brought out the grain in various colors. We opted to use polyurethane as a finish.
Of course we had to make benches to match!
Pretty much followed the steps as outlined in the rocket bookcase plans. Googled astronaut and spaceship stencils and free hand drew those on construction paper. This bookcase is heading to my 3 year old son's room and he's pretty excited to fill it with toys and books.
I'm really happy with how this project turned out.
To attach the beds together I deviated from the original instructions and instead attached the headboard header to the headboard itself instead of to the feet of the upper bunk as directed. I used 3/4" dowels to attach the two beds, drilling 3" into the bottom bunk (through the header and into the posts), and 2" into the legs of the top bunk. This way the beds will easily come apart. They are incredibly secure, and incredibly heavy!
Mon, 01/07/2013 - 13:05
Lovely! Love that the ladder and bedrail are pink!
My boyfriend and I made this bed in about six hours on a saturday. The instractions were easy to follow and I am in love with this bed! Its very sturdy and i get tons of compliments on it!
Fri, 10/31/2014 - 13:44
Good work. This color paint looks awesome up against the brick work.
First table build. Took the farmhouse X and just made it for the dinner table. Took me a long time, learned a lot and bought more tools then needed. Having a little problem when the kids lean on it moves down just a touch. Any info to help that much appreciated.
Used red mahogany for stain and glaze coat for top. First time for epoxy also. Legs are cracked slate.
Tue, 11/03/2020 - 12:35
Looks great, thank you for sharing! I am not sure what exactly you mean by moves down a touch when the kids lean on it...
Wed, 11/04/2020 - 15:59
Little one in picture is not heavy enough but if push where she is it will move down or rock just a little on both sides.
One of the projects that I've wanted to tackle for a long time has been adding built-in bookshelves to the sides of my existing fireplace. This fireplace (and I'm assuming the mantel) was original to the house and I wanted to create an addition that would look seamless and tie into the existing woodwork. I began designing a piece above the mantel to give the fireplace some height and then I designed the flanking bookcases to match. All of the project details and free step-by-step instructions can be found on my website at: www.momthebuilder.net
I modified the original plan so that it would fit in the area wher my old linen cabinet was. I also wanted the drawers to be visible.
Made from the Camp Loft Bed plans. Added some additional strength with 4x4 legs instead of 2X4 and added some additional supports underneath for the rambuncious kid that was going to be using it.
Also since the room was small, it was made to be dismantled with a ladder instead of the stairs.
Fun little project for a friend who is also expecting another. So it looks like we will expand this loft bed for future expansion.
I modified this plan from square to rectangular to fit my space. It is exactly what was needed! Modified size: 27.5" x 55"
Sat, 11/07/2020 - 11:19
Looks perfect in your space! Thanks for sharing:)
We had a dark corner in the living room that was needing some light. I had two vintage pendant lamps (amazing thrift store find) and leftover barn wood from my farm table build. I decided to build a frame to hang the lights in the corner. For less than $10 I have a completely unique lighting solution.
Get behind the scenes on this entire project broken down step by step on my blog; http://www.lifewithfingerprints.com/2014/10/the-entertainment-center.html