Community Brag Posts

Island Organizer Cart

Submitted by Anonymous (not verified) on Mon, 08/21/2023 - 09:42

Hello, Ana.

This is my first share and I plan to share more eventually. First, please know how much I appreciate your willingness to share with and motivate your followers. Thank you.

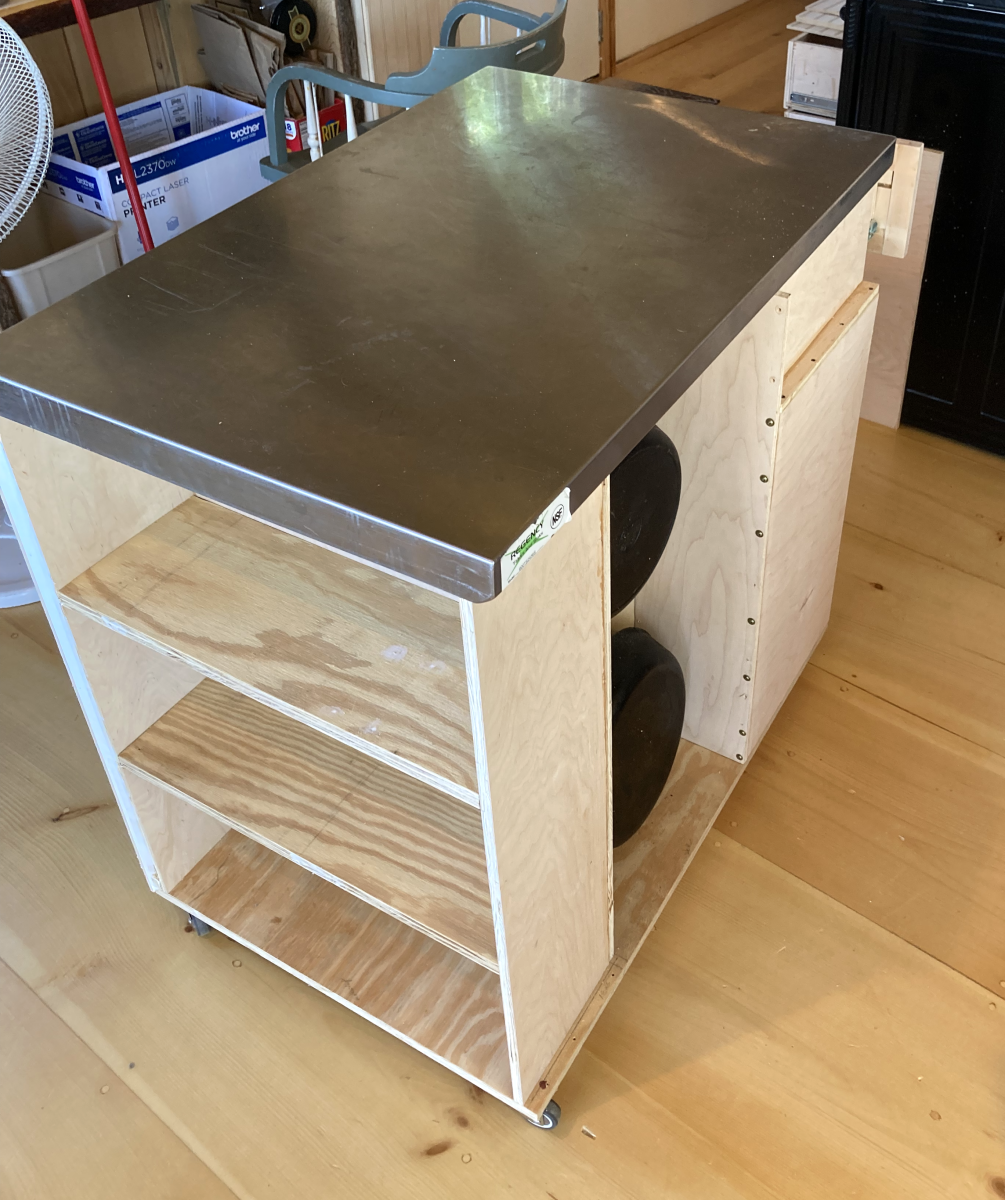
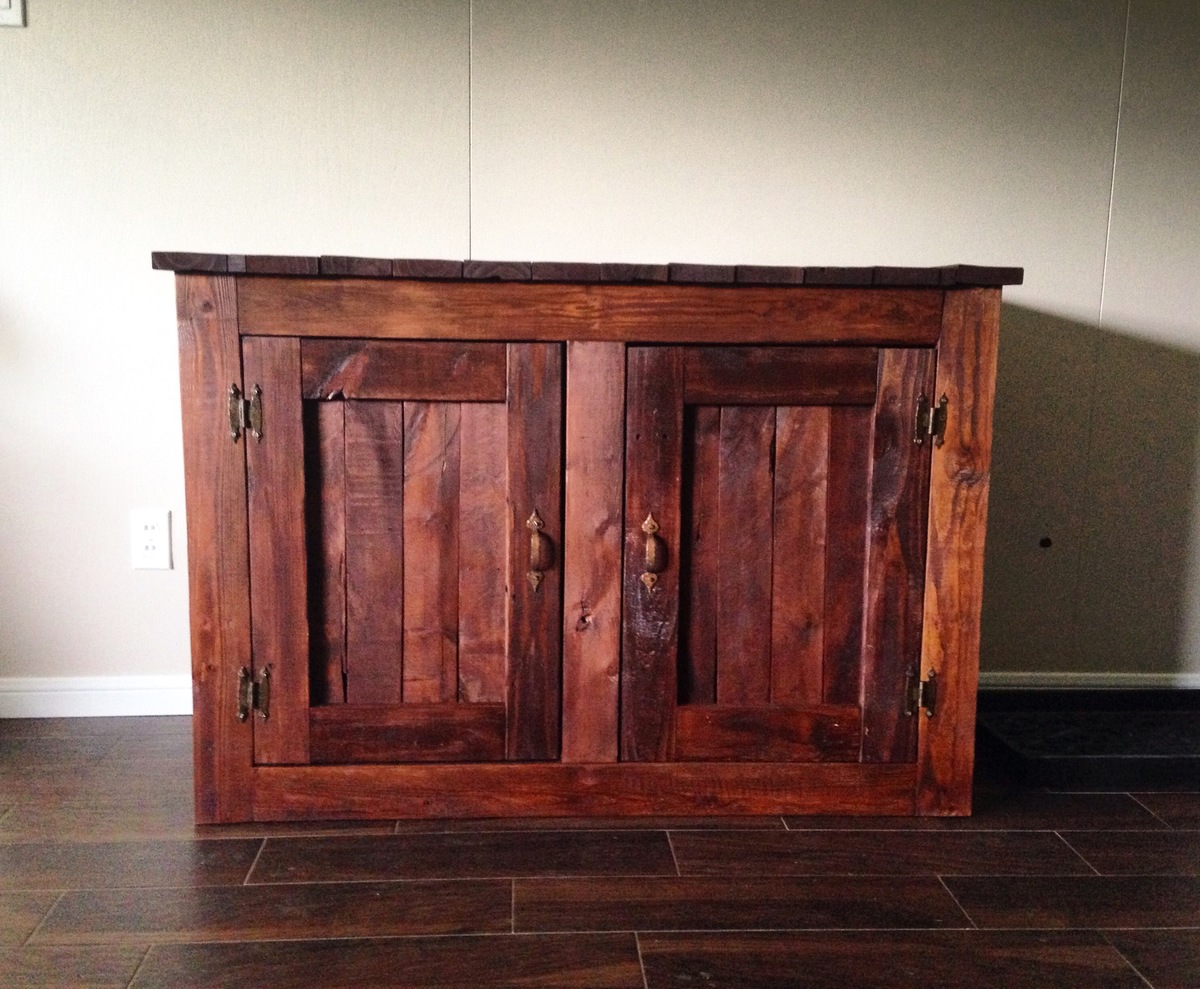
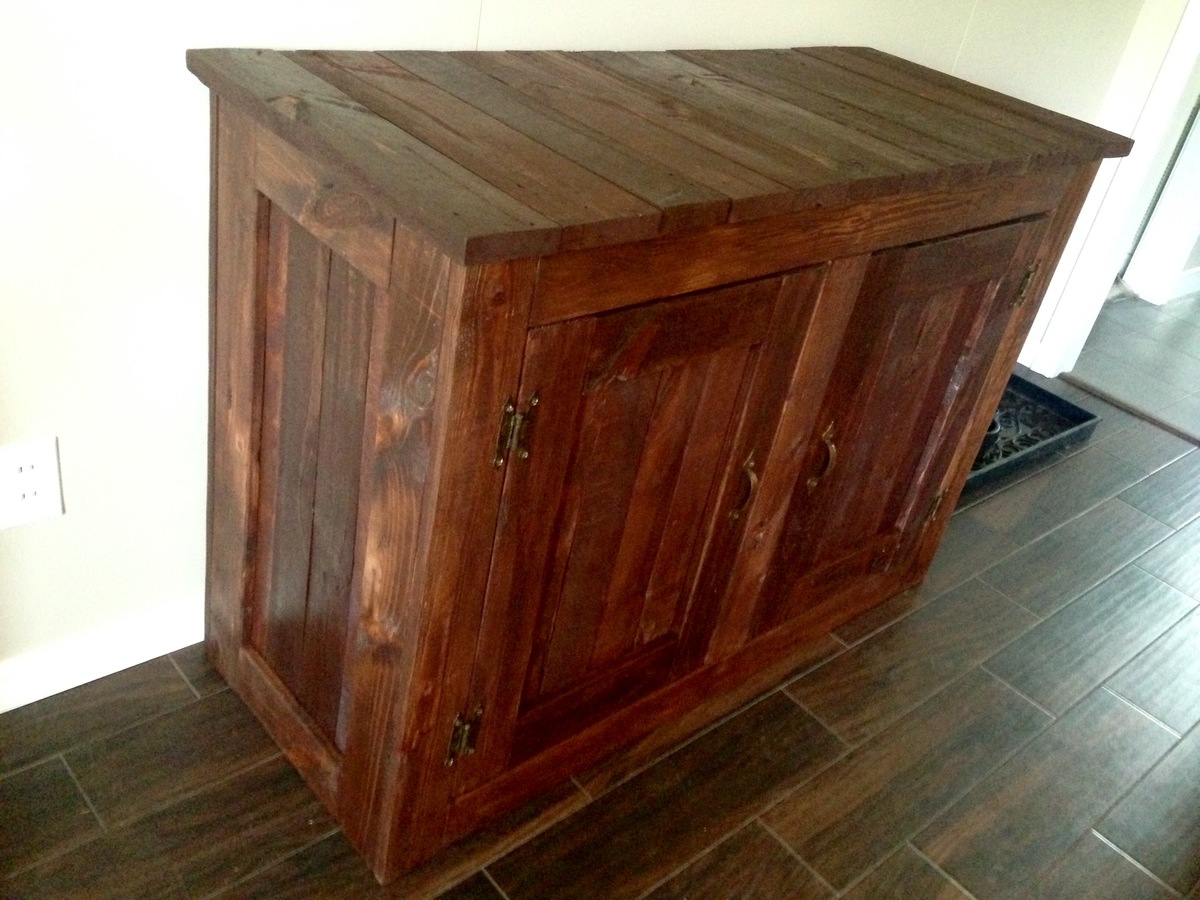
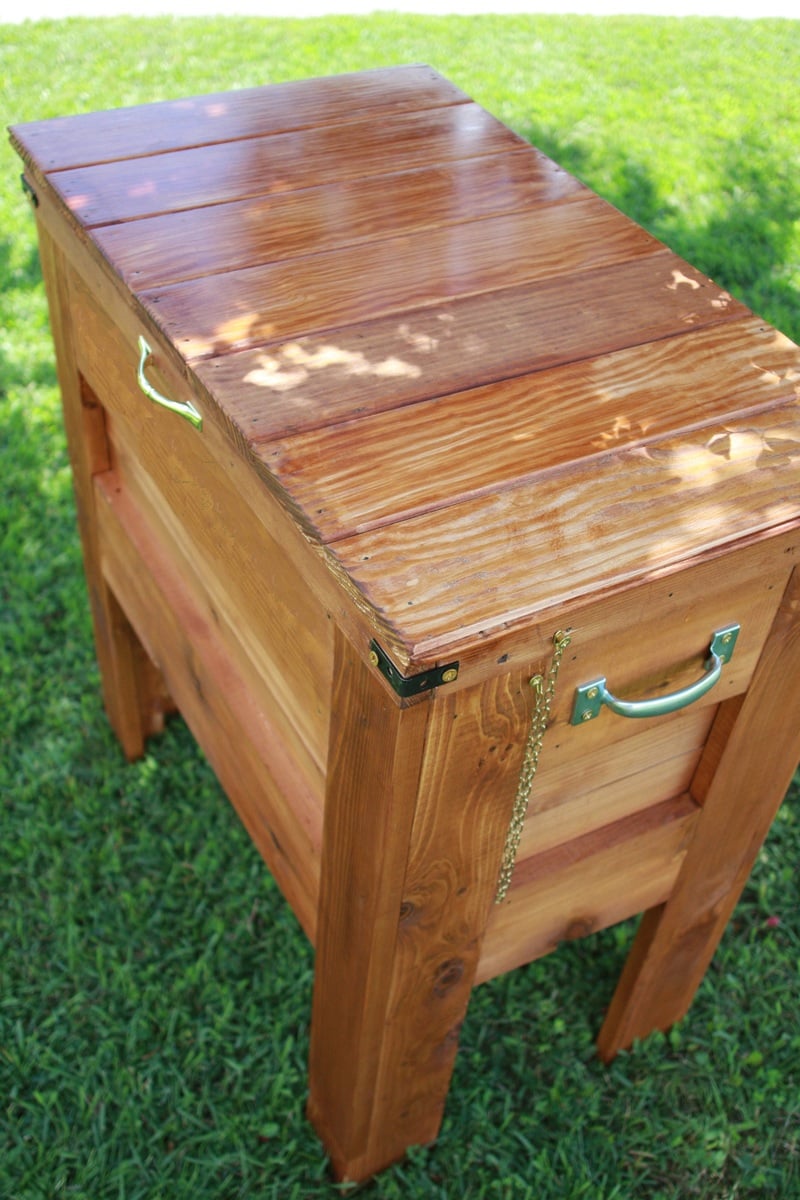
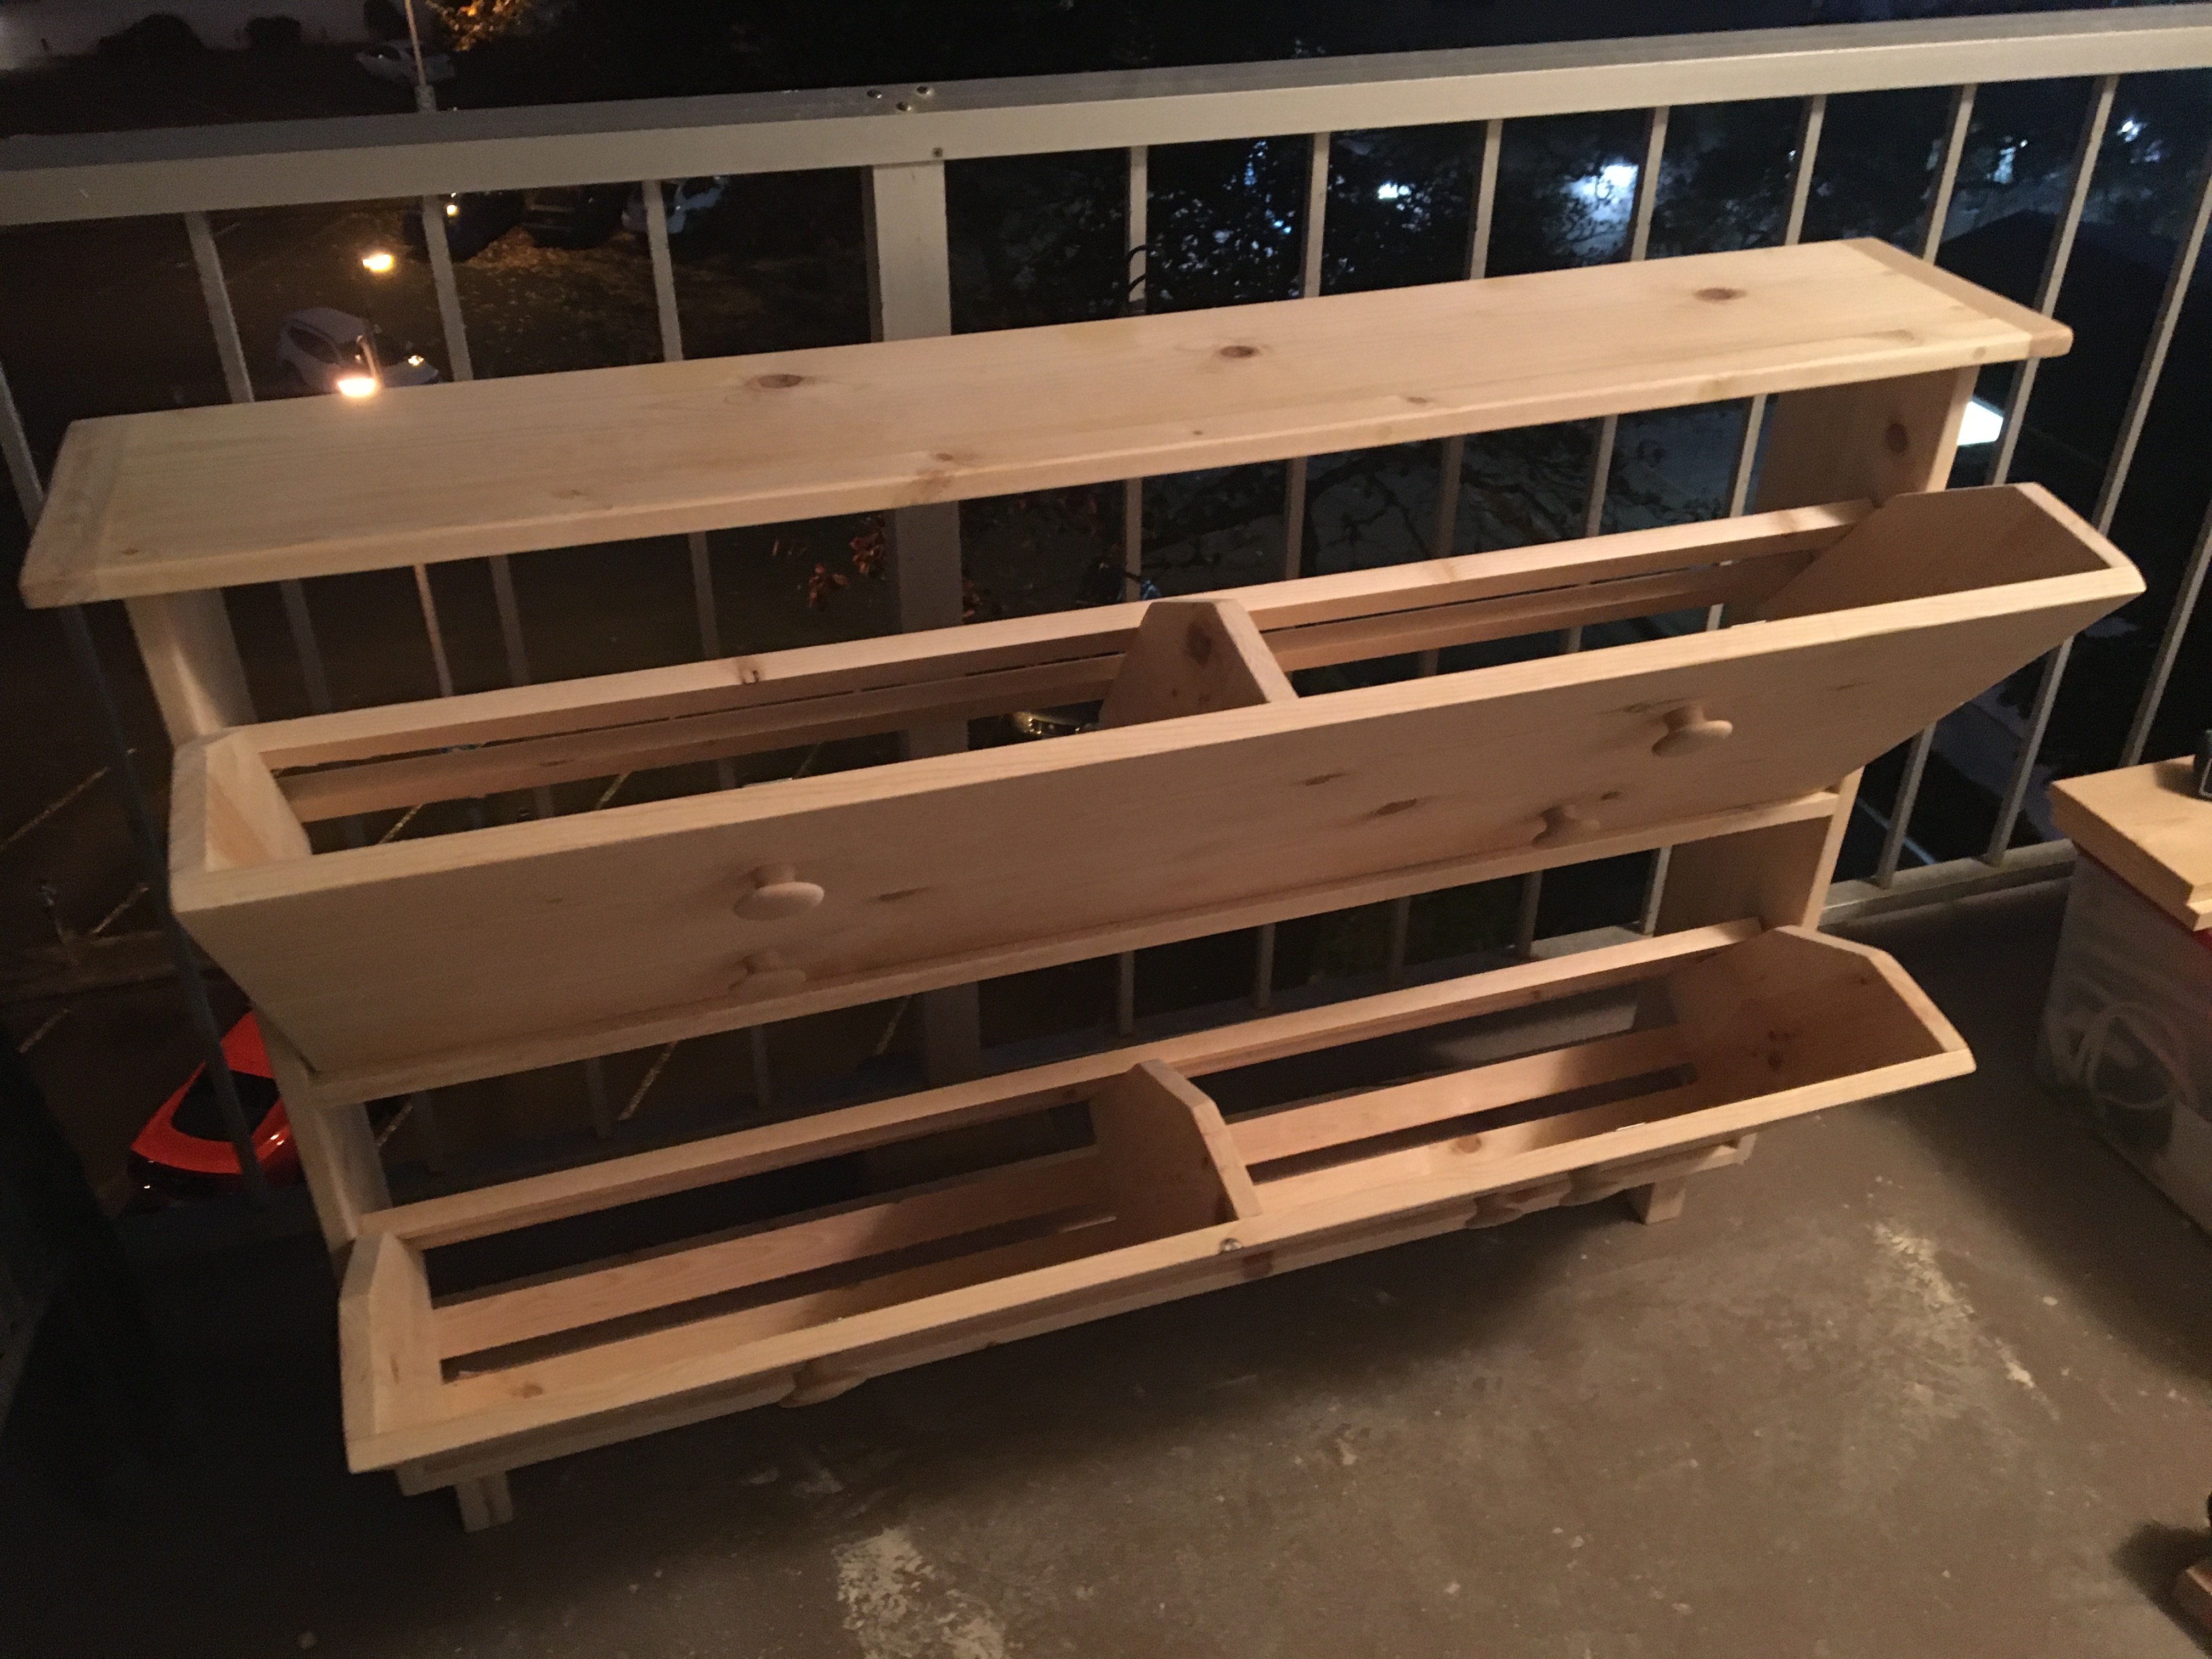
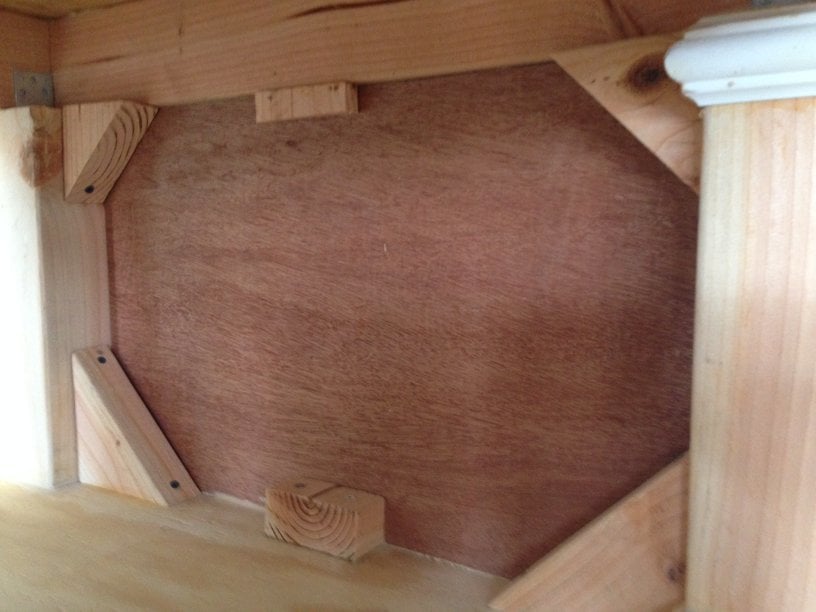
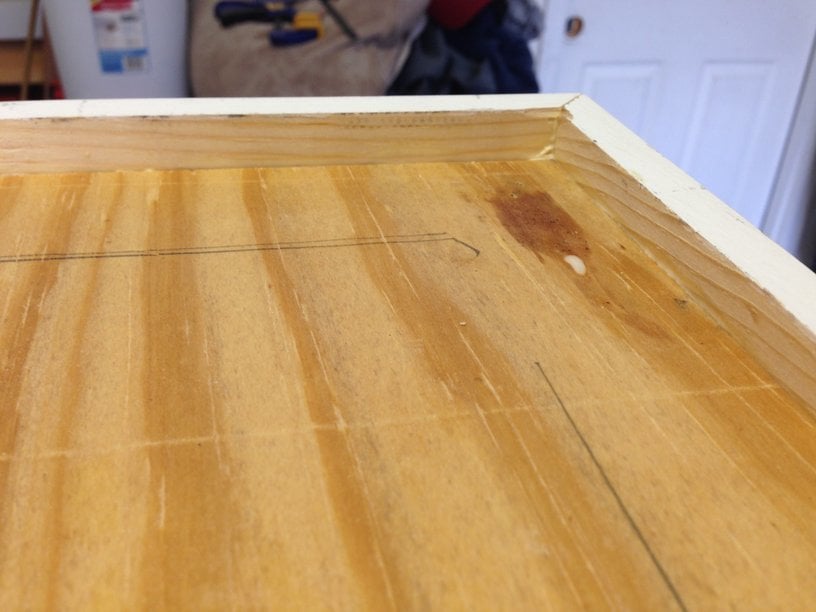
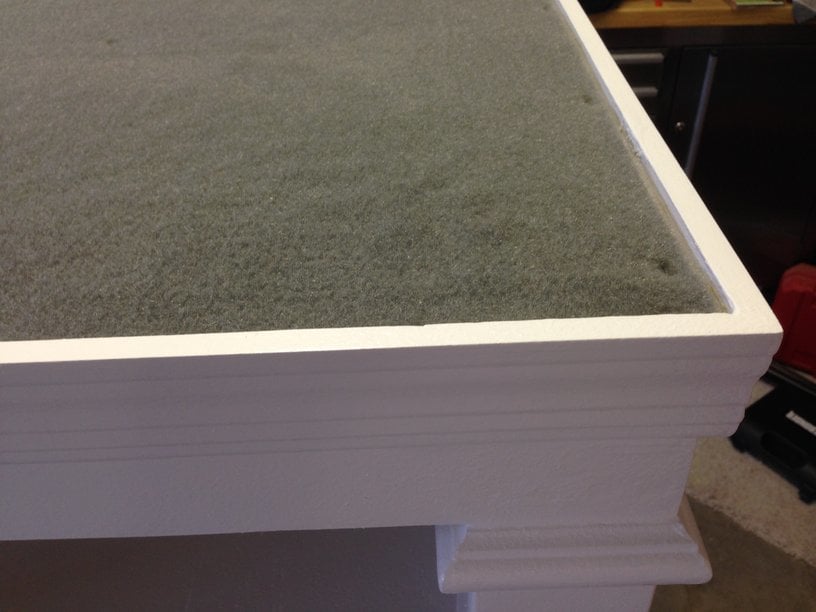
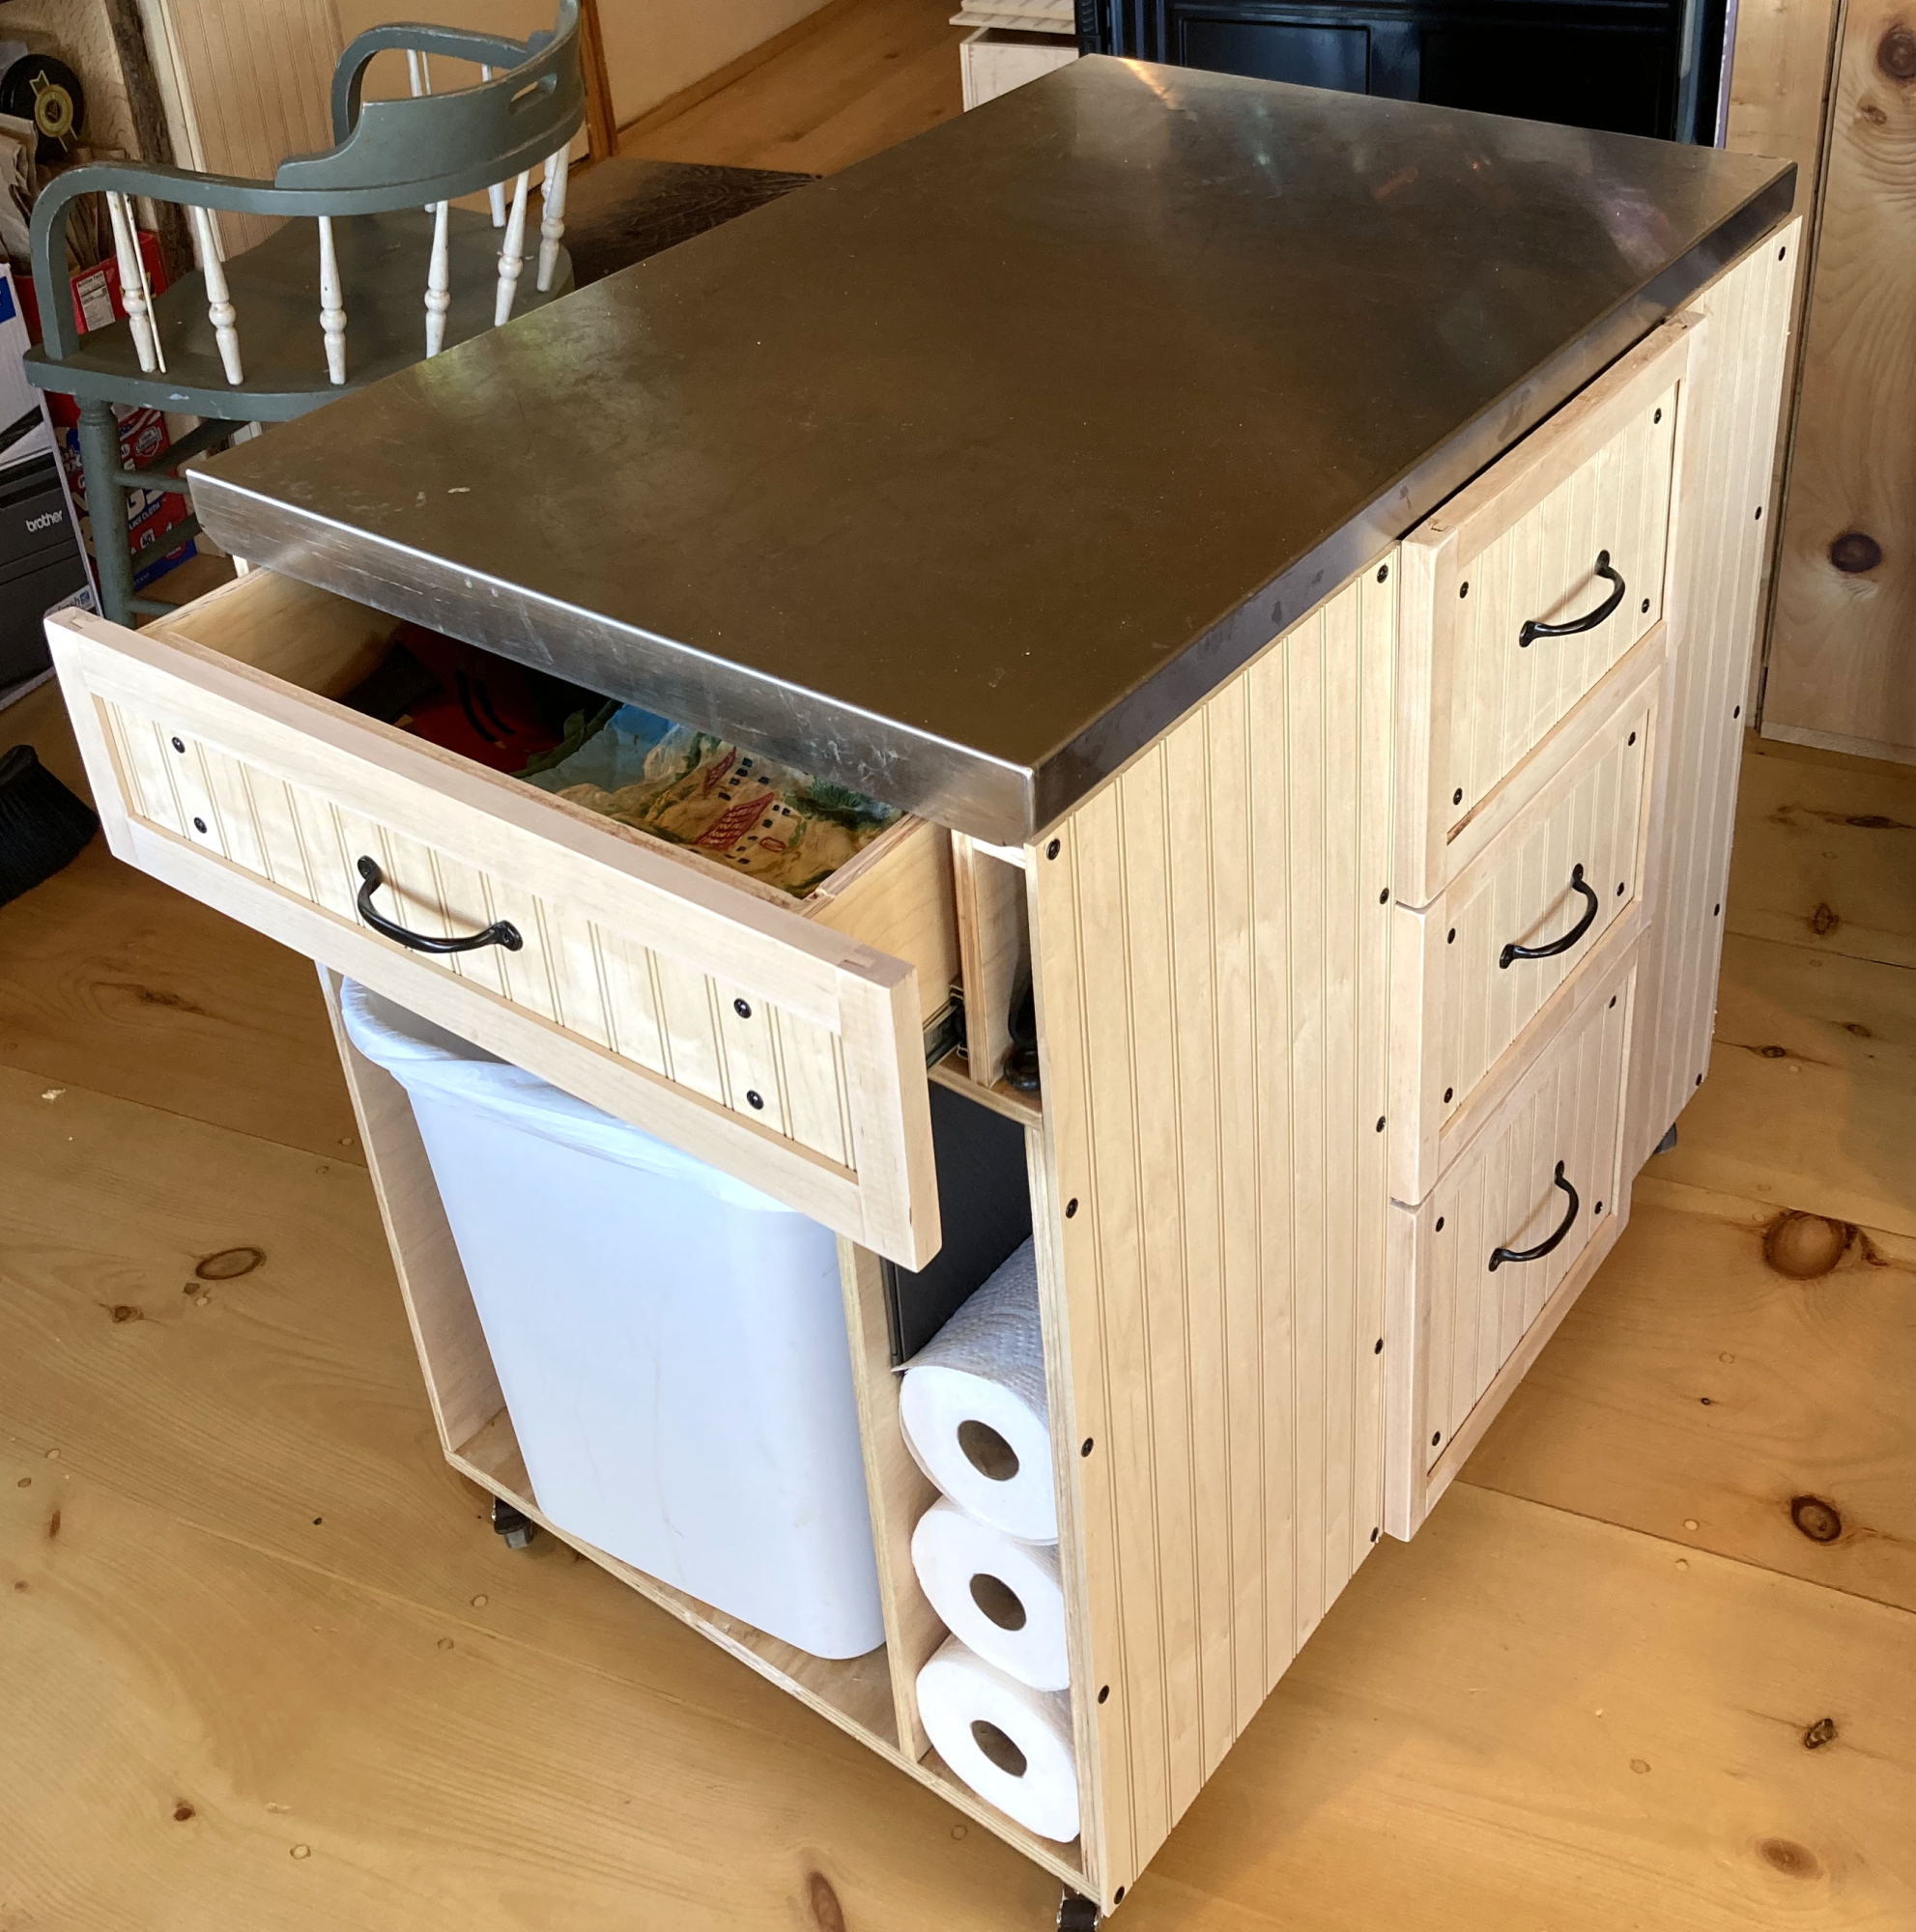
As for the cart I am sharing, I do not have any plans other than the ones that were in my head so the cart would fit under the stainless steel top. My wife wanted more surface and storage space next to the electric stove in our camp here in Maine. We purchased a used stainless steel table from a restaurant supplier, removed the legs, and prepared the underside of it so it would attach to the cart. In case it is not clear from the two photos, one end is for her cookbooks, the opposite end has a place for the garbage can and a drawer for various kitchen necessities. One long side has drawers where she puts pots and pans. The other side has a place for her to hang her heavy iron fry pans.

I learned a lot from making this and I'm happy to share it with you.

Frank

Poker table with hiding beverage holder

Submitted by jasonr on Mon, 04/02/2012 - 12:48

*I did not have any plans to work from*
the cost really depends on how much you can get your wood for. I had a lot left over from previous projects, so $500 is only a low guess.

This is the second of 3 poker tables built.
Each side is 24"
the table measures 58" across
Some of the accompanying photos of the build were from my first table, but thought they might help.

I purchased a foam pad and "speed cloth" from a local poker supply store. The slide away bev. holders are kept in place with rare earth magnets

If you need any specifics, I'll try to help

Estimated Cost
500+
Estimated Time Investment
Week Long Project (20 Hours or More)
Finish Used
tung oil-
start with a 50/50 mix of turpentine and tung oil and rub into the wood. It will dry fast and absorb quickly. Wipe off excess after 15 minutes (if any). Allow 24 hours between coats. Sand with 220 grit and rub in tung oil with a few drops of japan drier. I add 1ml of japan drier to 40ml of tung oil. Allow oil to sit for 15-20 minutes before wiping off oil. Buff with cloth and allow another 24hrs. Sand with 0000 steel wool and repeat application process. Continue everyday until the desired finish achieved
Recommended Skill Level
Intermediate

Comments

carcreek

Tue, 02/25/2014 - 10:12

If you have plans for this poker table I would love to see them! Beautiful table.

easiest daybed turned floating twin beds

we love ana's plans, and we love the way this one was executed by the bumper crop. check out more pics of our girl version and how we did it at http://www.iwantbdphotography.com/archives/2661

Built from Plan(s)
Estimated Cost
$90 each
Estimated Time Investment
Weekend Project (10-20 Hours)
Finish Used
none :) gutsy for a kid's room. not sure how they will hold up, but we just love the raw unfinished look
Recommended Skill Level
Intermediate

Herb & Flower Ladder

Submitted by Anonymous (not verified) on Mon, 05/09/2016 - 15:06

Living on a small city plot, this vertical ladder planter was just what I was looking for to grow my herbs and flowers. I am not an experienced builder but the plans were easy to follow. It didn't take me much time at all to complete this project. Now I am looking forward to fresh herbs and flowers all summer.

Recommended Skill Level
Beginner

Comments

Rugged Outdoor Table

Submitted by cdrum89 on Thu, 03/06/2014 - 06:05

Ok I decided to construct my very first project - a small outdoor table that would look a bit ancient mostly because the need for it in my house has been screaming since I could remember. I would selfish to say that I did it alone but I got a bit of help from my hussy. I'm happy that the kids love it and all struggle to have lunch on it.

Built from Plan(s)
Estimated Cost
$50.00
Estimated Time Investment
Day Project (6-9 Hours)
Finish Used
Coated with a transparent paint/thinner as I wanted to keep it a bit raw.
Recommended Skill Level
Beginner

Loft bed for Wyatt

Submitted by Quartney on Thu, 06/20/2019 - 11:47

I did this project 99.97% alone (if you call "alone" with a 1-year old and 3-year old nearby). This was a challenging project that took longer than expected (one full week, working well into the night after the kids went to sleep). I used furring strips for the 1x3s and 1x4s. They cost about $2 less per board! Total cost of this project includes paint, screws, etc.

Estimated Cost
$240.00
Estimated Time Investment
Week Long Project (20 Hours or More)
Finish Used
Zinsser BIN primer, followed by Sherwin Williams semi-gloss enamel paint
Recommended Skill Level
Intermediate

Comments

John Hopkins (not verified)

Mon, 10/22/2012 - 20:40

I have been looking for something similar to this but with a futon in the bottom. Anyone seen plans for such a critter?

Pallet Cabinet

Submitted by Anonymous (not verified) on Sun, 07/03/2016 - 08:55

All of the wood is recycled from pallets. The hardware is also recycled from old kitchen cabinets. All sides of the cabinet are paneled with planks of pallet wood. The plans were awesome to follow! After a certain point though, I had to go rogue because I was using different wood. 

Built from Plan(s)
Estimated Cost
maybe $25 because I had to add to our supply of stain & shelac to finish
Estimated Time Investment
Week Long Project (20 Hours or More)
Finish Used
Zar oil-based Rosewood
Recommended Skill Level
Intermediate

Tall Planters

Submitted by np78s on Mon, 05/25/2020 - 20:01

I love the way these planters look and knew I wanted to make them. My freehand circular skills aren't great, so I attached the pickets together with a furring strip and used a template (second picture) to make the cuts. I used screws to attach the furring strips so that once the trim pieces are attached, the furring strips can be removed - or not. This method takes a little longer but it allowed me to make uniform parts. It's also easier to align the sides of the planters since the pickets are already attached to one another - i.e. one unit. I've made two, have a third, shorter one in progress and plan to make more!

Built from Plan(s)
Estimated Time Investment
Afternoon Project (3-6 Hours)
Finish Used
No finish used. these are for vegetables and I didn't want to use a finish.
Recommended Skill Level
Beginner

Comments

Washer and Dryer Pedestal

Submitted by katie0910 on Mon, 07/30/2012 - 13:10

Our very first project! We absolutely love how it looks and that there's an easy way for our kids to sort their laundry. Can't wait to start more projects! You can see how we built it here http://addicted2diy.com/2014/01/14/diy-laundry-pedestal/

Estimated Cost
$125
Estimated Time Investment
Weekend Project (10-20 Hours)
Recommended Skill Level
Beginner

Sofa

I modified the back slightly to have 2 beams across otherwise pretty close to your design

Estimated Cost
£50
Estimated Time Investment
Afternoon Project (3-6 Hours)
Finish Used
Ronseal Dark Oak wood stain

Outdoor Wooden Cooler

An Outdoor Wooden Cooler is the perfect way to accent any deck, patio, or garage. Can be made from Cedar, Pressure Treated, Cyprus, etc. Sizes can vary from small 28 qt coolers to Large 120 qt coolers capable of holding hundreds of drinks. These coolers can be themed for your favorite sports team, favorite hobby, or anything of your choice. Engraving or wood burning is available.

Built from Plan(s)
Estimated Time Investment
Weekend Project (10-20 Hours)
Finish Used
Stain, painted, distressed, etc.
Recommended Skill Level
Intermediate

Comments

sgilly

Fri, 08/31/2012 - 09:52

Well, actually, two. My beer loving son-in-laws would love this, and Christmas is coming! Do you happen to have any "step-by-step" directions you'd be willing to share? I can figure out the dimensions but it would be really helpful to read - or see - the components and how you put it all together.
Thanks for sharing!

Adam_Scheetz

Fri, 09/28/2012 - 11:41

I had to make a new page because of some password issues. Thanks for comments. I have no plans yet, I've built so many it's sort of muscle memory now. Shoot me an email at [email protected] and perhaps I can help.

And no, the lid style I like is nothing more than some tongue~n~groove boards cut to length, attached with pocket holes and nailed to the lid frame. Tongue~N~groove is optional of course, you could just use regular boards.

sgilly

Fri, 09/28/2012 - 11:58

I really appreciate your response. And, I did indeed send you an email!
I have a bunch of cedar milled and planed by one of my son-in-laws. He'll be thrilled to see that I've made something he can use for his favorite beverage!

Spa bench

Submitted by Joagirard on Fri, 07/04/2014 - 20:50

I had left over wood from previus projects and needed an entry bench. The closest i made my plan inspired by the spa bench.

Built from Plan(s)
Estimated Cost
20$
Estimated Time Investment
An Hour or Two (0-2 Hours)
Finish Used
One coat of dark walnut varathane wood stain applied with an old t-shirt. Followed by 2 coats of varathane satin professional finish. I sanded between the finised coats.
Recommended Skill Level
Starter Project

Comments

andimat

Tue, 03/06/2018 - 19:18

This is exactly how I was hoping to modify this!  What did you use for the sides?  Is the top 2 x 6?  Thank you in advance!

andimat

Tue, 03/06/2018 - 19:20

This is exactly what I wanted to do!  What did you use for the sides?  Is the top 2 x 6s?  

Dog crate/bench

We wanted a bench at the foot of the bed to help our squatty dog Kirby get up and down from our elevated bed. When we saw the plans for the dog crate we decided that we could make a crate for our Boston Terrier Petey who needs to be confined overnight AND put a reinforced top on it to provide seating space. We knew it could not be taller than 18" (the same as our living room couches) so Kirby could jump on and off comfortably, and that we didn't need to make it as big as Ana's plan since Petey is half the size of Ana's lab. Our crate/bench is narrower. Every bit of this piece was made with wood either repurposed from an old playhouse or scraps from the cedar pergola we built in May. We had the hinges and the screws on hand already. We drilled holes in the lid to tie a cushion on top eventually. The lid comes off completely for ease of changing out dog bedding. Petey loves sleeping inside and will go in for naps even during the day when he has the run of the house. Kirby and our other dog also like to nap in there. You can just see the white of Petey's blaze in the pic where Kirby is peeking in.

Built from Plan(s)
Estimated Cost
$20
Estimated Time Investment
Weekend Project (10-20 Hours)
Finish Used
One coat primer, two coats of Valspar in Indigo. Lid has 3 coats of Minwax Golden Oak.
Recommended Skill Level
Starter Project

Comments

booksnotbombs

Thu, 07/10/2014 - 07:22

Your pups look so happy with their new crate/bench! It looks nice and sturdy. :) Do Kirby's nails scratch the top at all as he jumps on an off? Just curious what you used as a clear coat, if anything. My little dog gives me the hardest time about cutting her nails so they're probably a little longer than they should be at times until I get her to the groomer.

This is a great, creative solution to all your needs. :)

S_and_S_have_t…

Thu, 07/10/2014 - 19:51

Yes, they are very happy and spoiled! Kirby's nails have not scratched the top yet but since we know they probably will eventually, we plan to put a thin pillow on the top. I won't get around to making it until the fall. We might put a clear protective poly coat but haven't yet.

I started using a Dremel on my 2 Boston Terrier's nails when they were very, very young so they are calm and resigned when it's nail time. That they get Cheerios as a treat afterwards doesn't hurt! However when Kirby was a puppy he was going back and forth between my ex-husband's and my house and my ex didn't start Dremeling early so Kirby won't let us sand his nails down and a groomer has to do them. I hate that we have to spend money on something that could be taken care of a couple times a month at home but if dogs are not conditioned to be held upright, tolerant of having their paws held tightly for the sanding, or terrified of the noise, it's not going to be acceptable to them when full grown. Kirby goes full Tasmanian Devil throwing a fit whenever he sees the Dremel case out so we don't even try anymore.

The bench is great and I am so happy Petey loves it so much. He is congenitally deaf and a real pill sometimes so it is a relief that he has taken to it.

Dream doll house

Submitted by JoseO1998 on Fri, 07/25/2014 - 01:51

I was browsing through the plans and came across the dream doll house and my sister-in-law absolutely fell in love with it on ana-white.com's site... My niece has her 5th birthday next month and my sister-in-law asked if I could build her the doll house... Showed it to my niece and she loved it saying she wanted one---how could I say no!!! A lot of time and effort went into this but here's the final outcome... My sister-in-law just saw it and loves it... Hope my niece does as well :) thx Ana White

Estimated Time Investment
Week Long Project (20 Hours or More)
Finish Used
Medium oak minwax stain and minwax polyurethane
Recommended Skill Level
Intermediate

Rustic x hall tree

Submitted by Takoravi on Mon, 10/05/2020 - 08:50

first furniture build from scratch. A few minor differences. I decided to distress by staining entire piece with minwax espresso stain, then painting over with white chalk paint and sanding through. Decided to leave bench and to molding stained for effect. Love the piece and so does my wife.

Built from Plan(s)

Comments

Shoe cabinet!

Submitted by JMasters on Thu, 01/26/2017 - 13:43

Created my own version out this plan. 

Built from Plan(s)
Estimated Cost
$80
Estimated Time Investment
Weekend Project (10-20 Hours)
Recommended Skill Level
Intermediate

Ryan's Washer/Dryer Pedestal

Submitted by zoolander on Fri, 12/05/2014 - 17:25

I loved this design.  I couldn't believe that they wanted to charge me almost $600 for the pedestals for the washer/dryer set that I bought on black friday, so I decided to give this project a go.  I basically used the same construction plans from Sausha's project, but I dressed mine up a bit.  First, I chose a bit larger trim for the tops and bottoms of the posts.  Then, I bought some 2" baseboards and did the top and bottom with baseboards.  On the bottom, I had to use my tablesaw to trim off about 1/2" because I used 1x1" boards on the bottom so that I could have more space for baskets.  Then, on the top, I inverted the baseboard and allowed it to overlap a bit so that if it were to vibrate, the washer/dryer could not fall off the edge.  I also added some fabric on the top (stuff that I use to cover the bunk boards on my boat trailer...kind of like a very thick and durable felt material) to cut down on vibration and also keep the units in place.  Finally, I added sides by using wedge trusses on the inside of my side posts and then I put a 1/8" piece of plywood over top and nailed/glued it to the trusses.

It turned out great.  Thanks for the plans Sausha!

Estimated Cost
$125
Estimated Time Investment
Weekend Project (10-20 Hours)
Finish Used
paint
Recommended Skill Level
Intermediate

Comments

Zlk200

Mon, 12/21/2015 - 17:38

Did you use sanded plywood? Did you use any veneers for the exposed 2x4's to get a smooth finish or did you paint right on it?

lastly, what is the name of the trim you put on the 4x4s? I've hard a hard time finding it. Thank you!

In reply to by Zlk200

zoolander

Wed, 06/29/2016 - 13:59

Sorry for the super delayed response.  I didn't realize this question was here.  I did not plane anything.  I did sand the surfaces a bit, but I didn't get too crazy.  I put 3 thick coats of paint on it which made it pretty smooth.  If you look very closely in person, you can still see a bit of wood grain, but it is only noticable if you really get down and look.  I did use a lot of wood putty to fill all of the gaps and crevaces and then I sanded those parts pretty well.  


With regard to the trim, the top literally just standard baseboard material turned upside down, and then the little trim on the tops and bottoms of the 4x4s is just another standard strip of moulding that I got from Lowes.  I think they call it "Chair Rail" moulding.  Its the stuff that you put down if you are doing some sort of paint separation or wainscoting.

http://www.lowes.com/pd/1-625-in-x-12-ft-Mdf-Chair-Rail/3403018

I used woodglue on all of the moulding and tacked it on with a nail gun.  Then I filled all of the nail holes with wood putty and also use the putty to fill gaps where the corners came together to make that look smooth.

I hope that helps...you are probably already done with your project by now, but I figured that I would answer anyway.  :)

Back