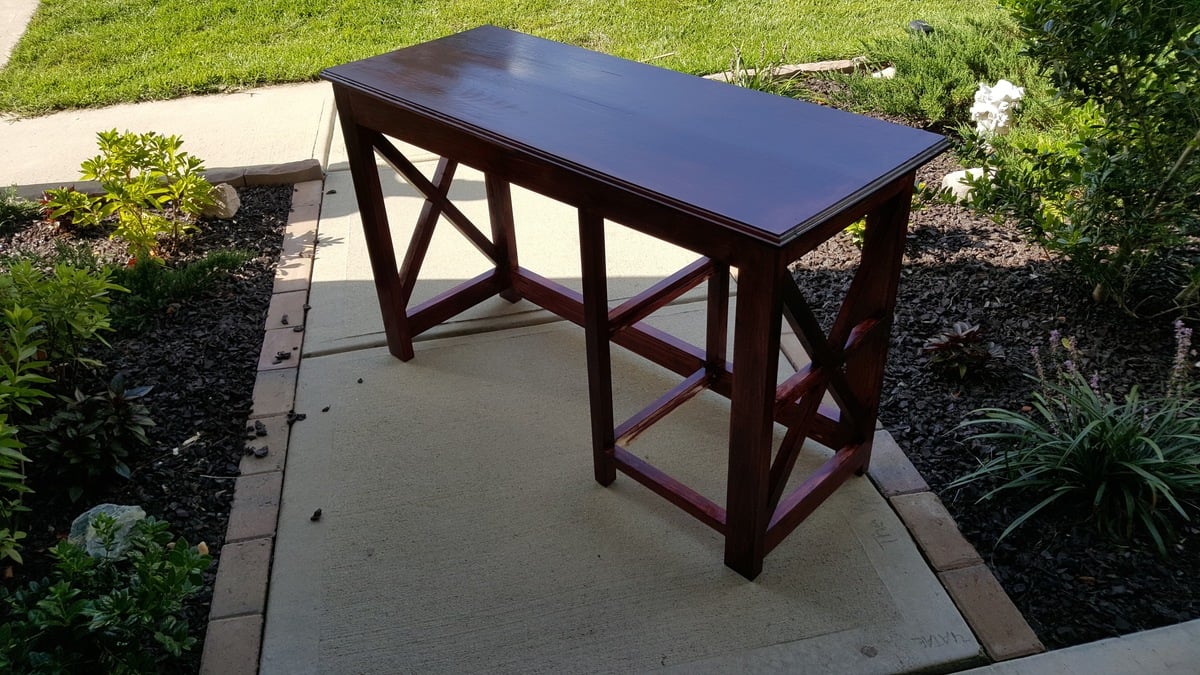
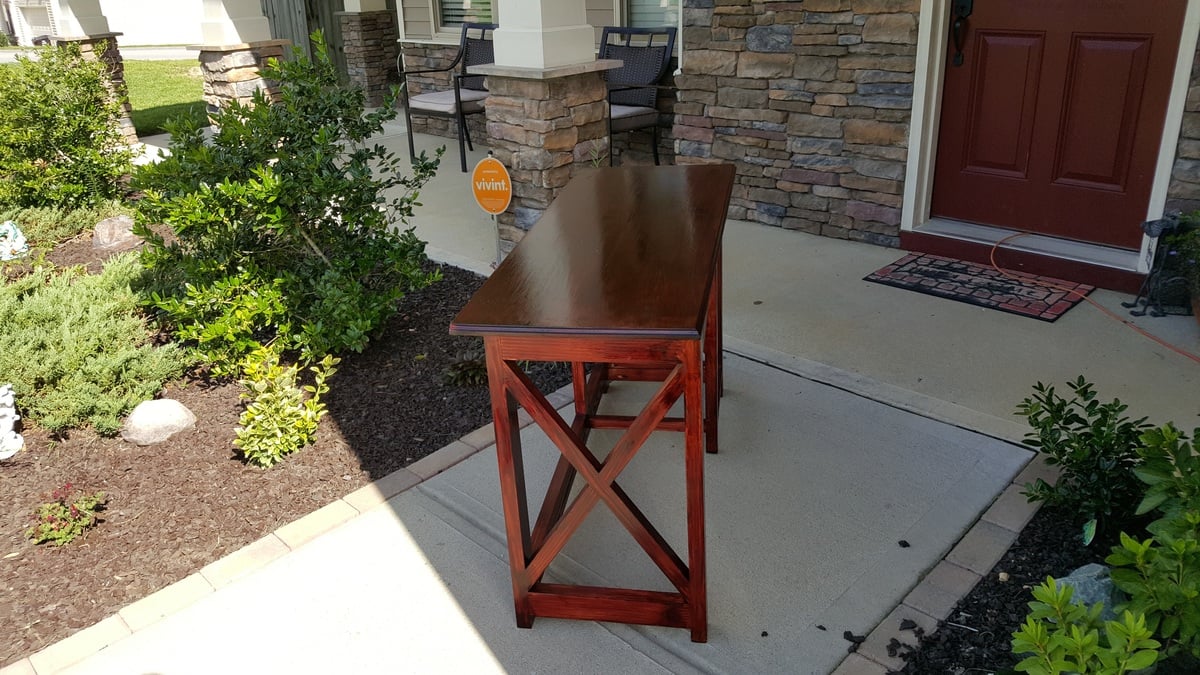
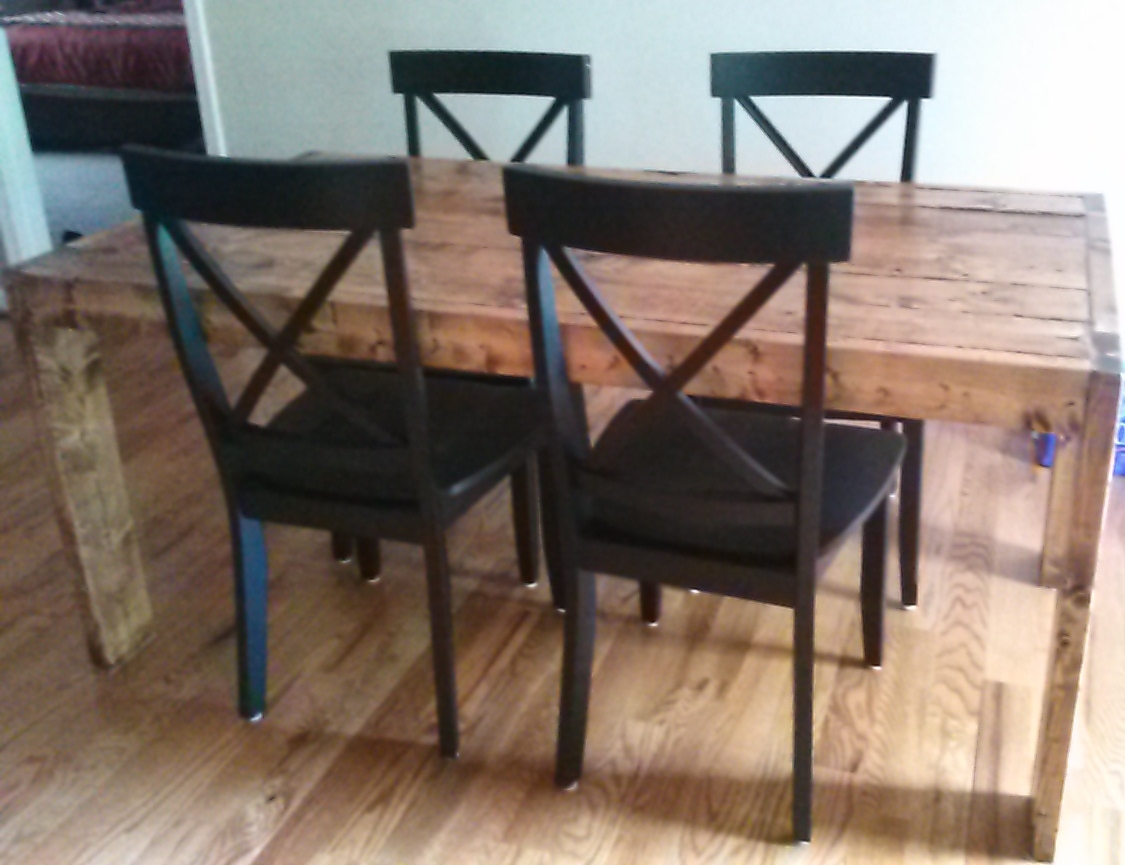
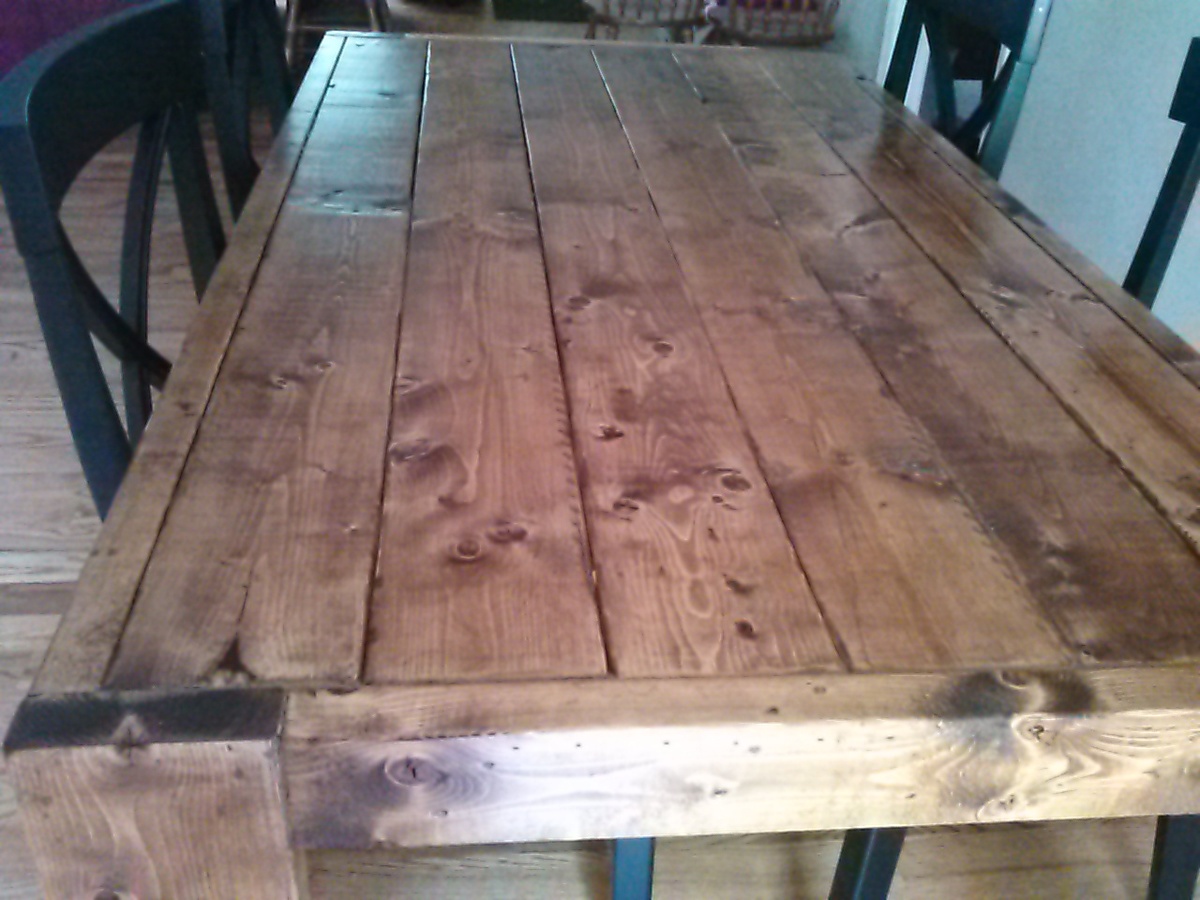
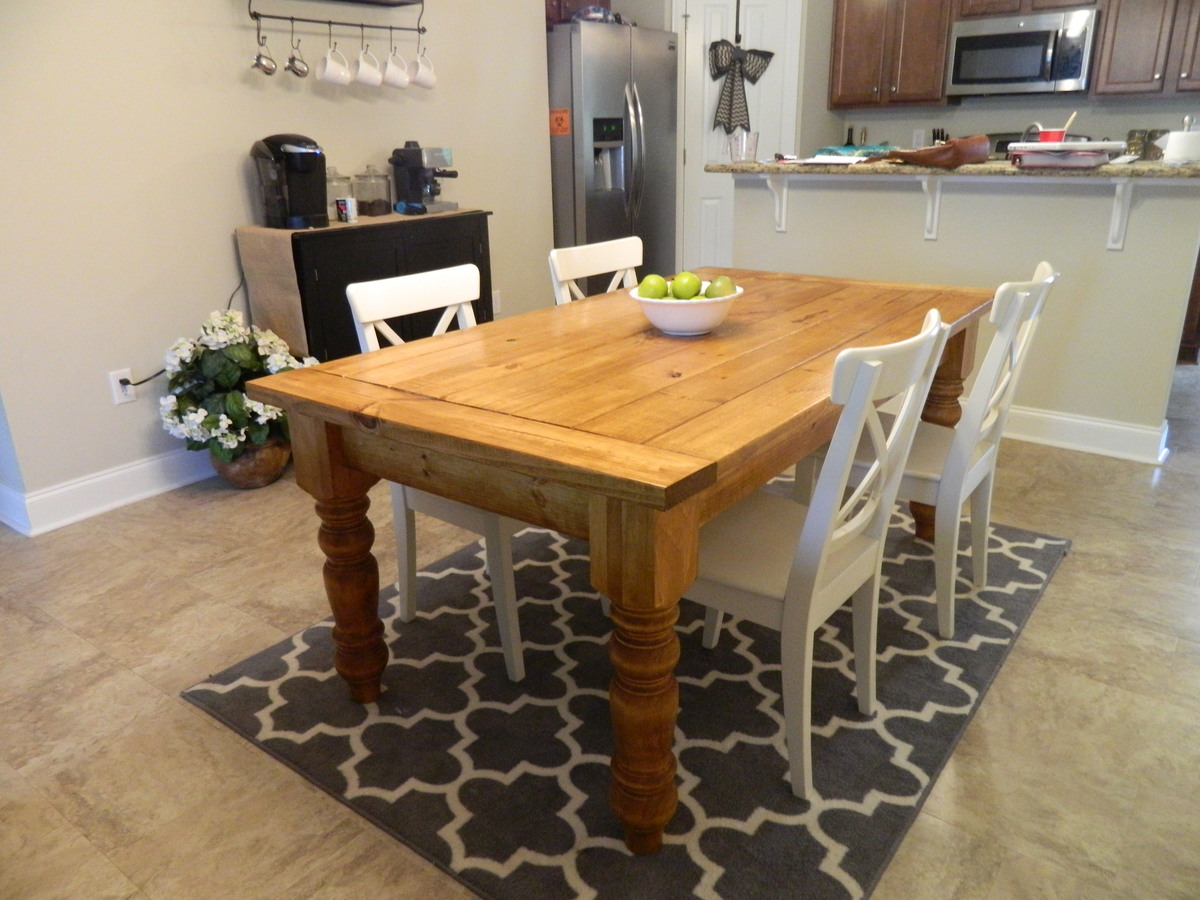
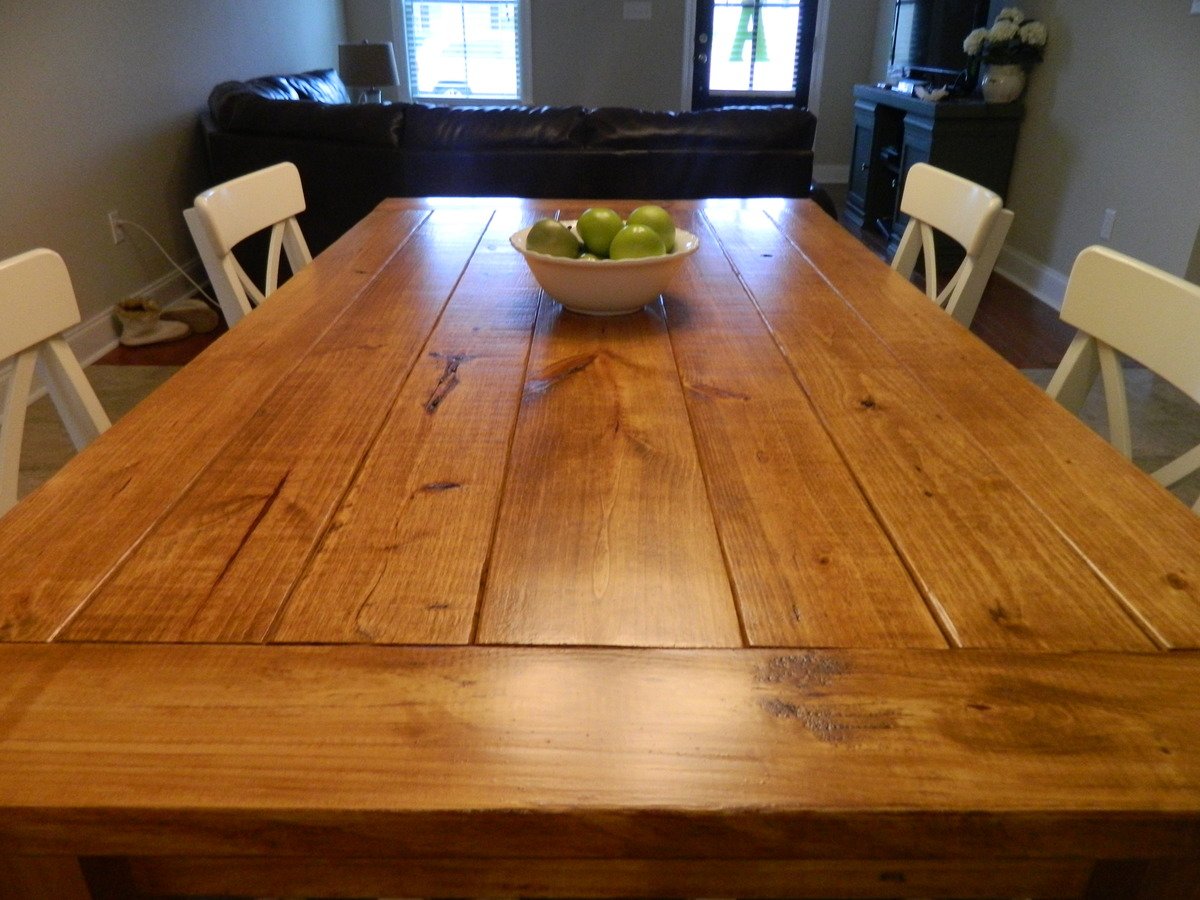
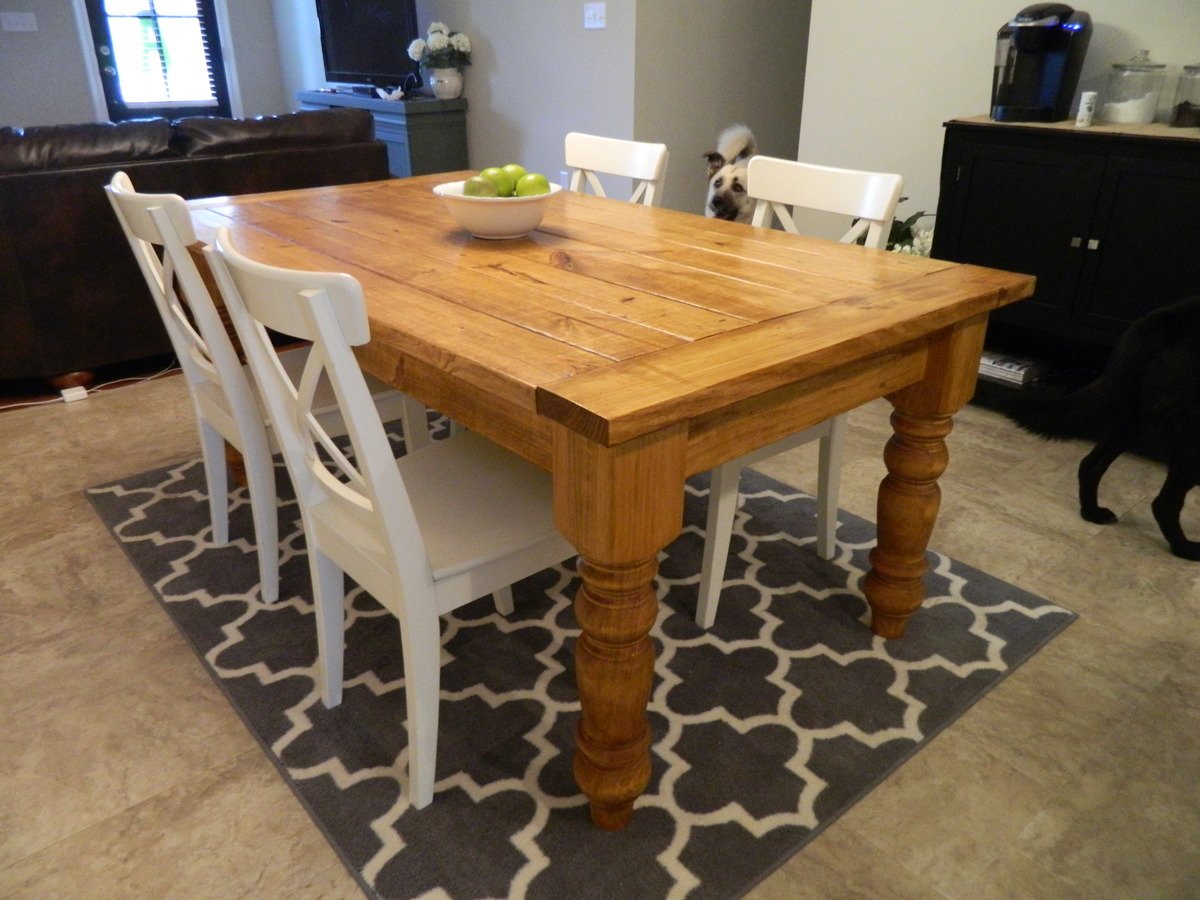
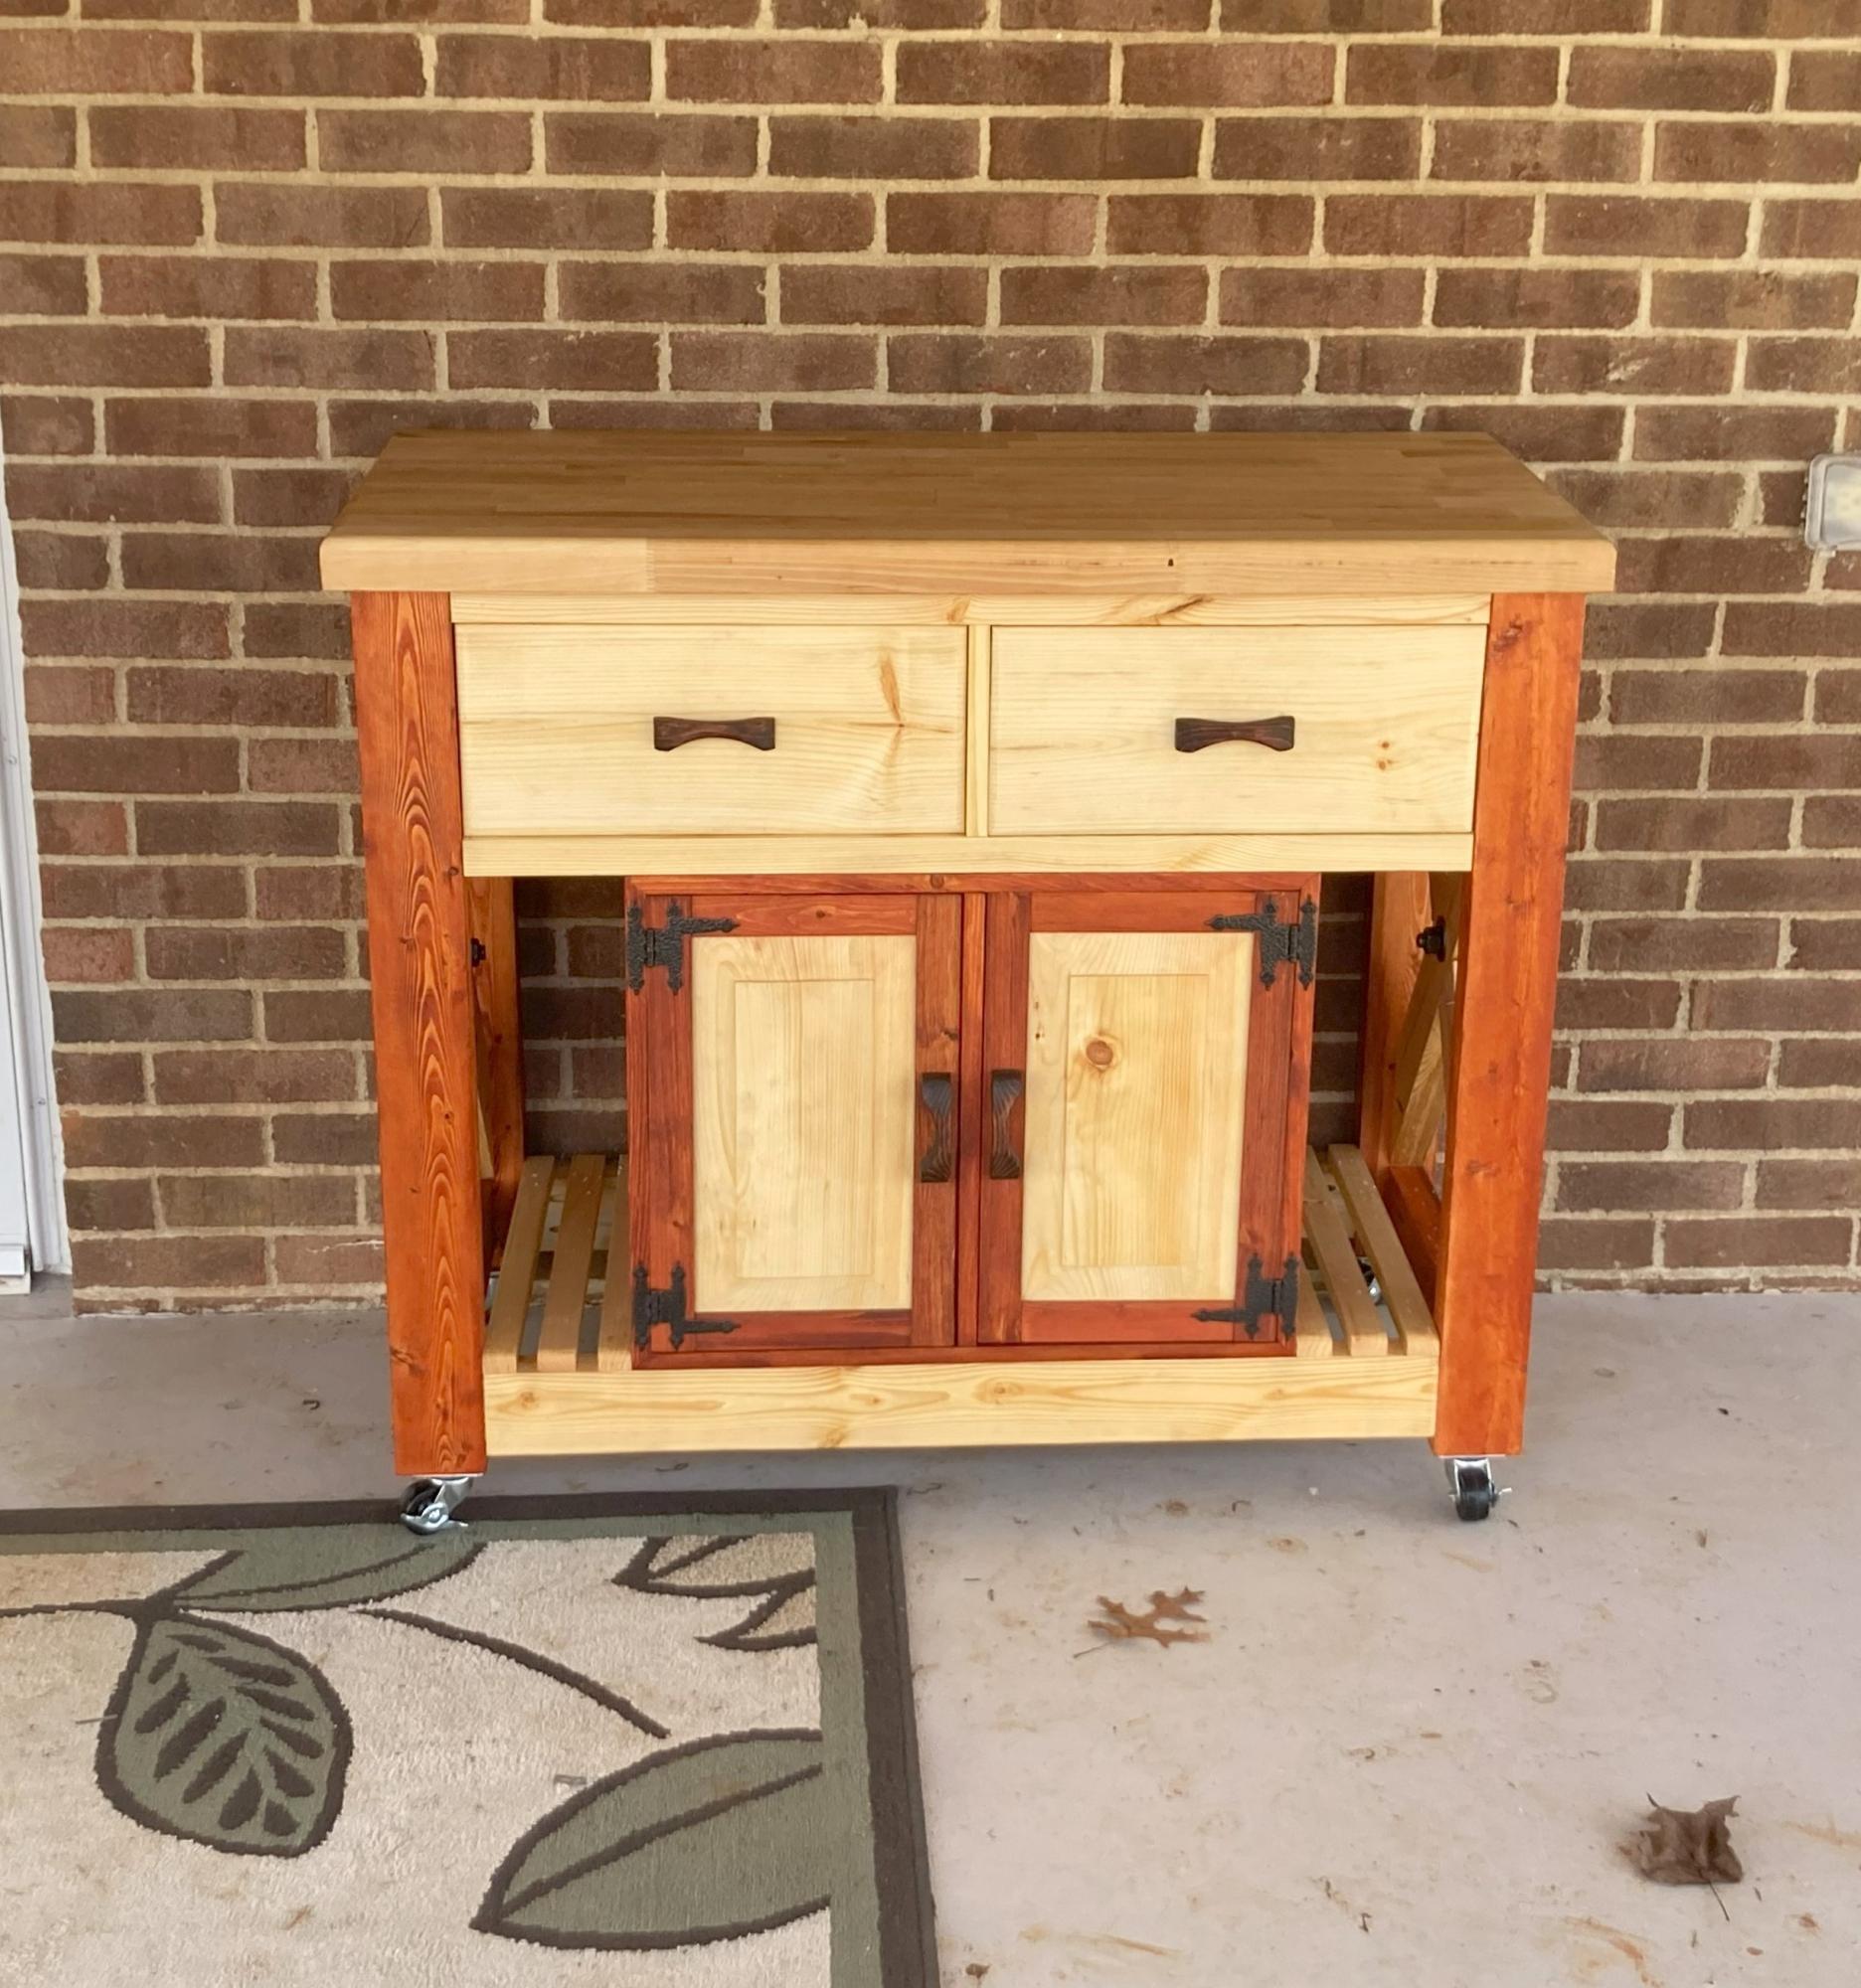
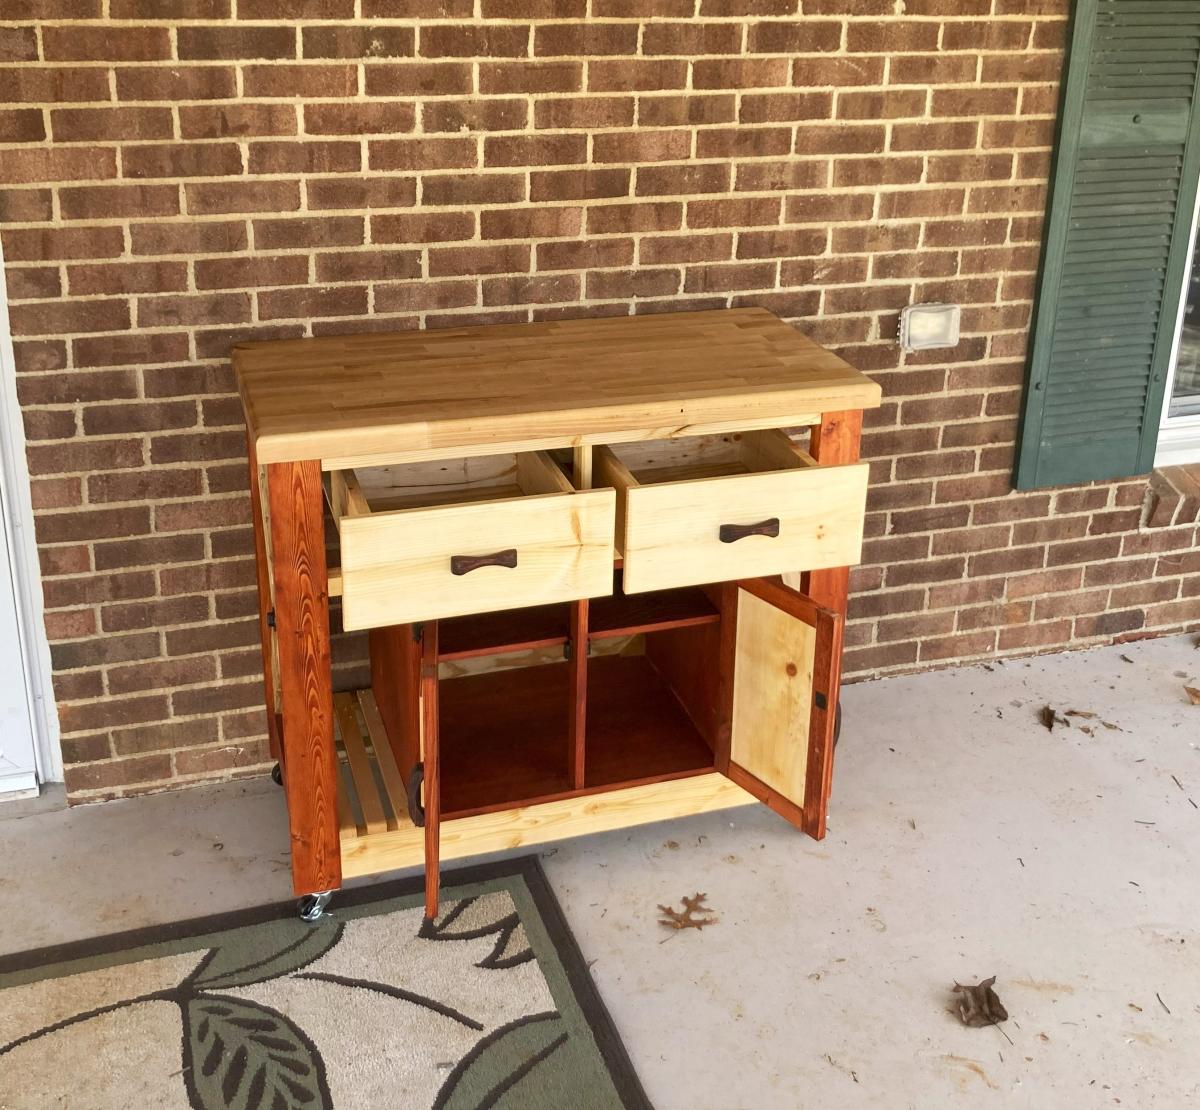
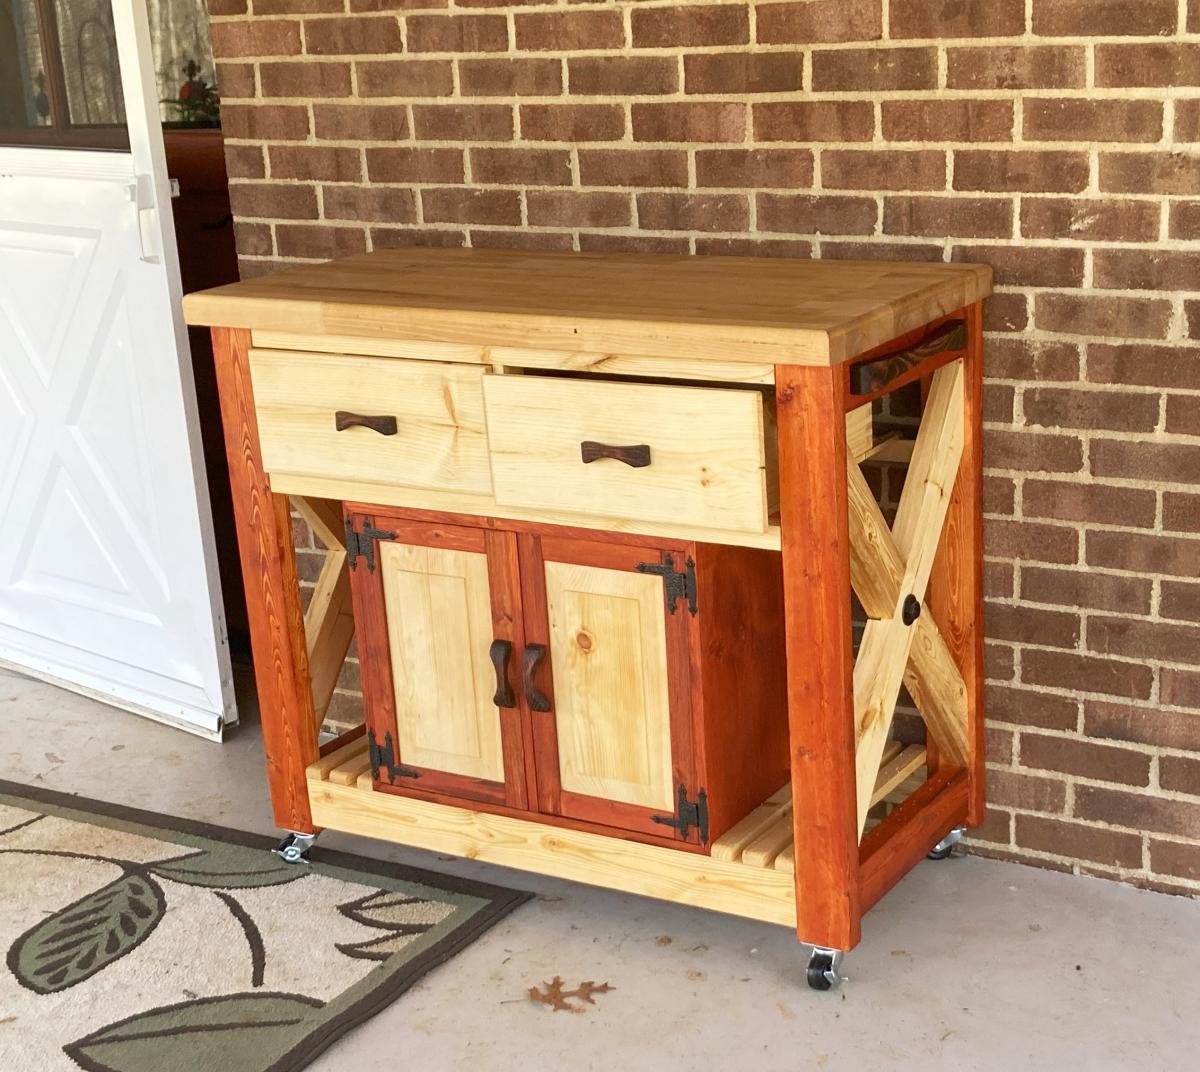
Kitchen Island
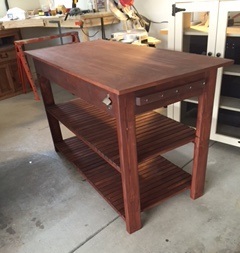
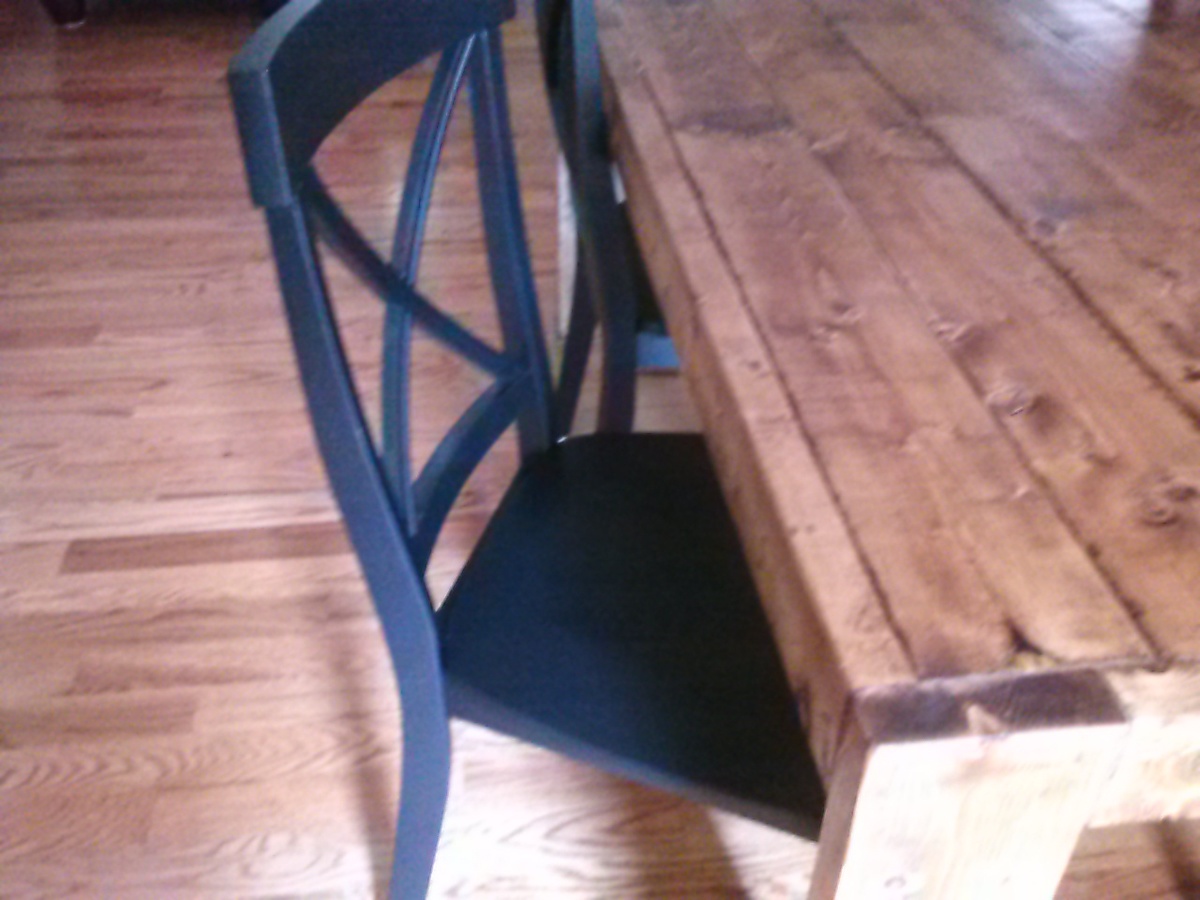
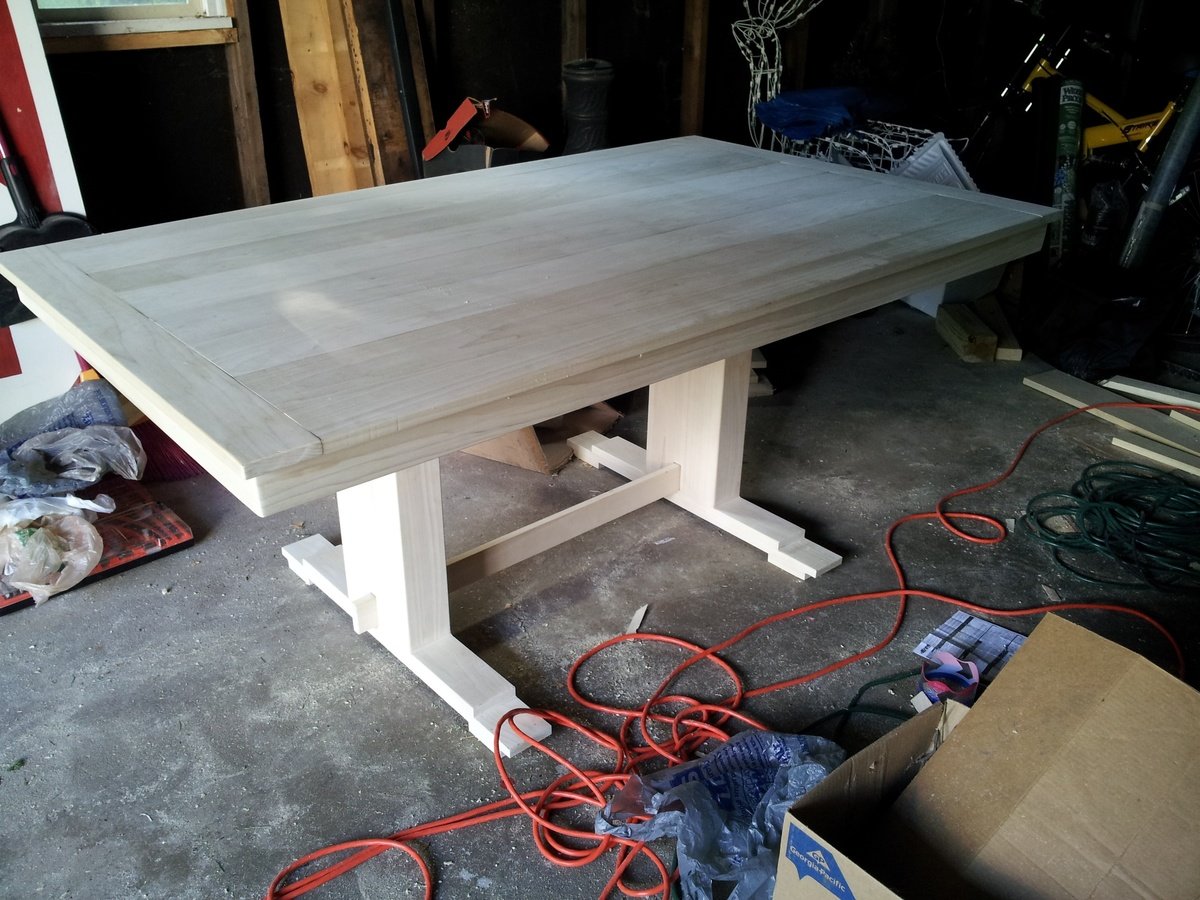
I created a different top out various size select pine boards joined by biscuits and glue and then added utensil hooks on both ends and a bottle opener
Estimated Cost
$80
Estimated Time Investment
Weekend Project (10-20 Hours)
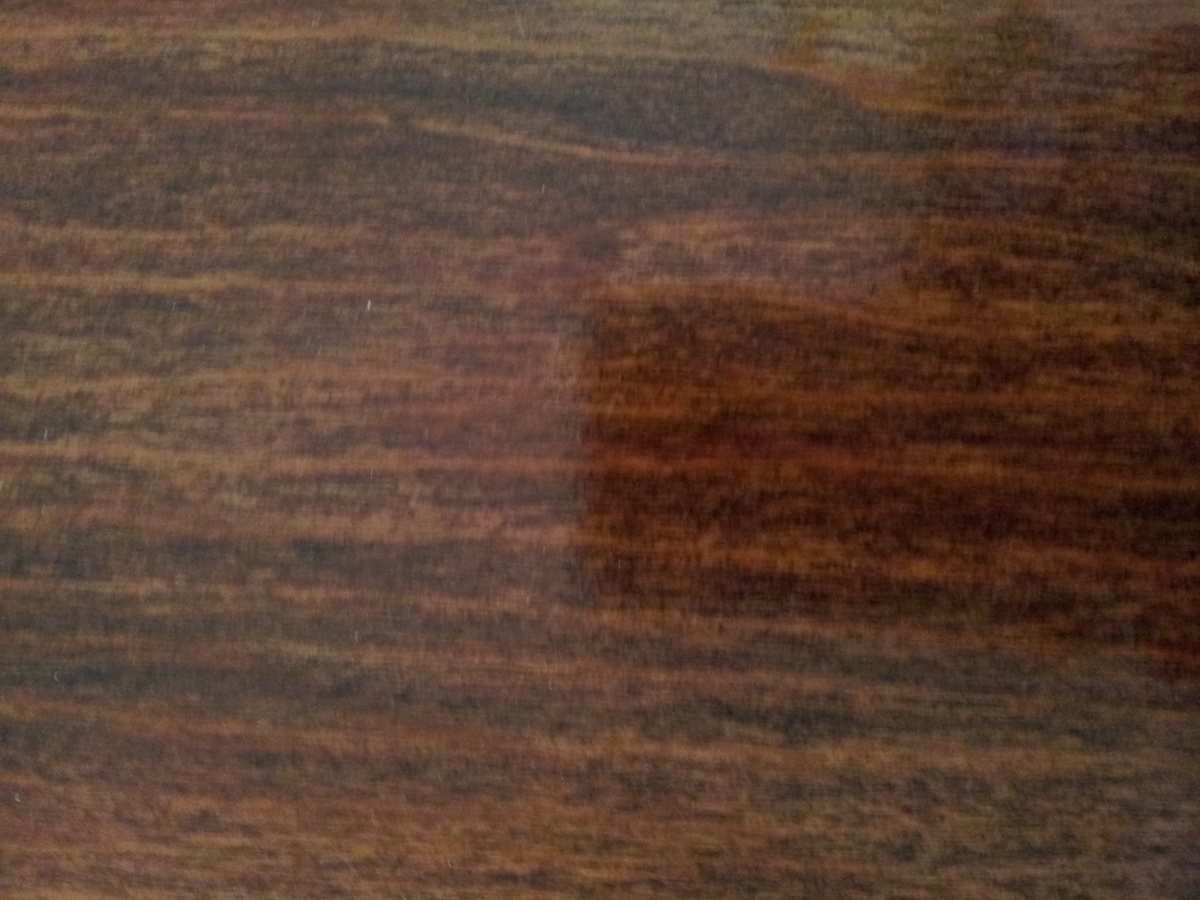
Finish Used
Gunstock stain and satin polyurethane
Recommended Skill Level
Intermediate