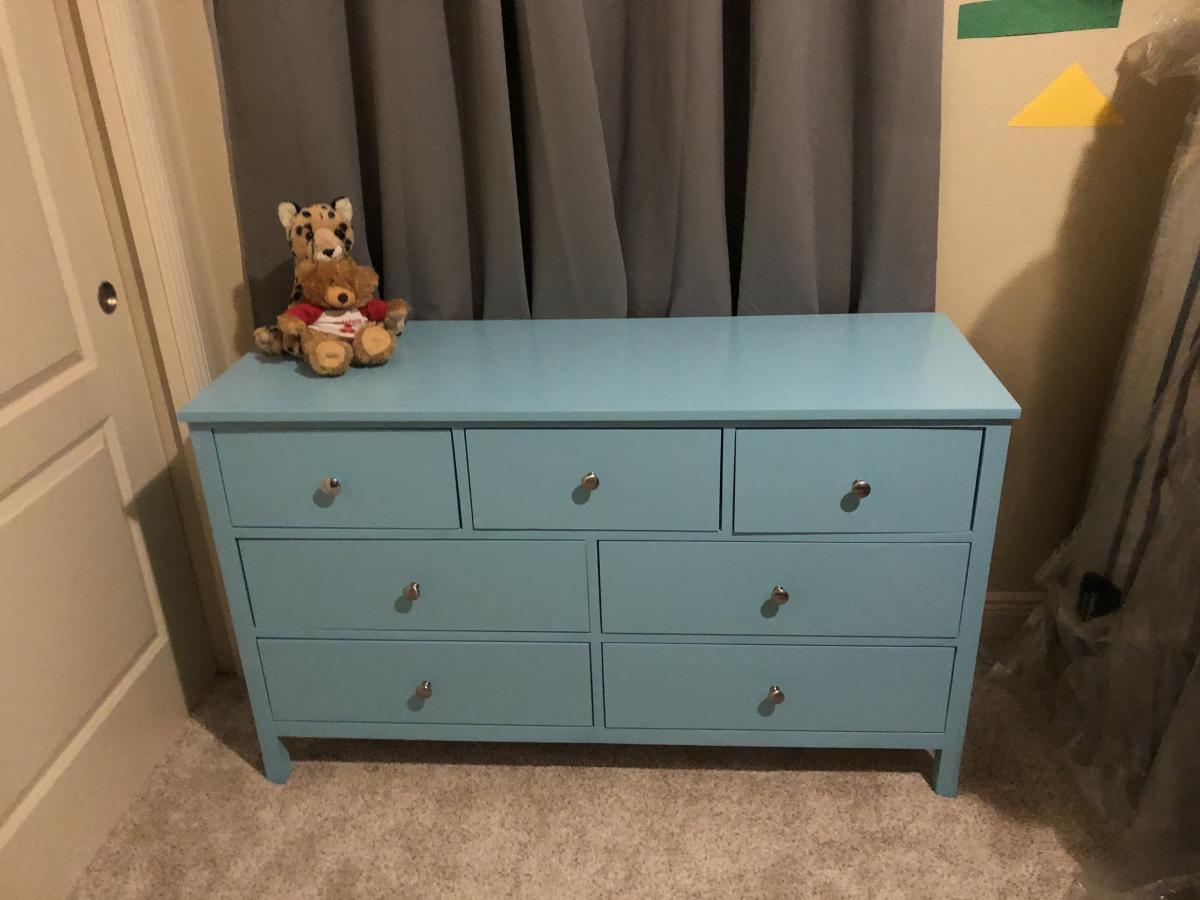
Dresser done!

Struggled with this one, but it’s done and I’m pretty proud of her
Built from Plan(s)
Struggled with this one, but it’s done and I’m pretty proud of her

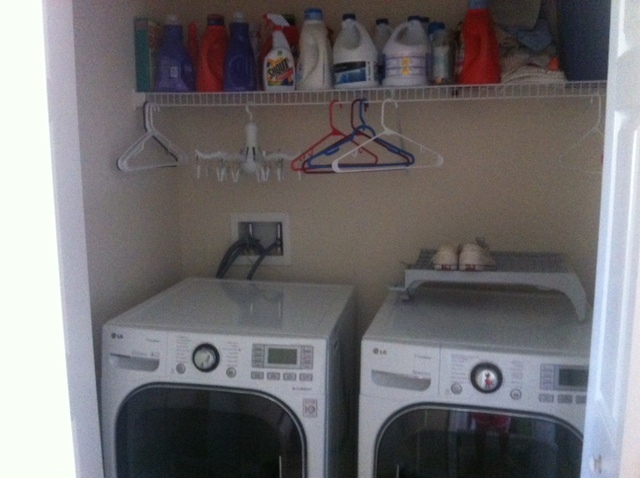
Laundry closet makeover. I was tired of having only the one wire shelf to store laundry supplies. So I added a cabinet, hanging rod, and counter-top over the washer/dryer for folding clothes. Also, behind the curtain on the left is a built-in garbage can for lit. Recovered small ironing board in same fabric as curtain and hung it up so save space.


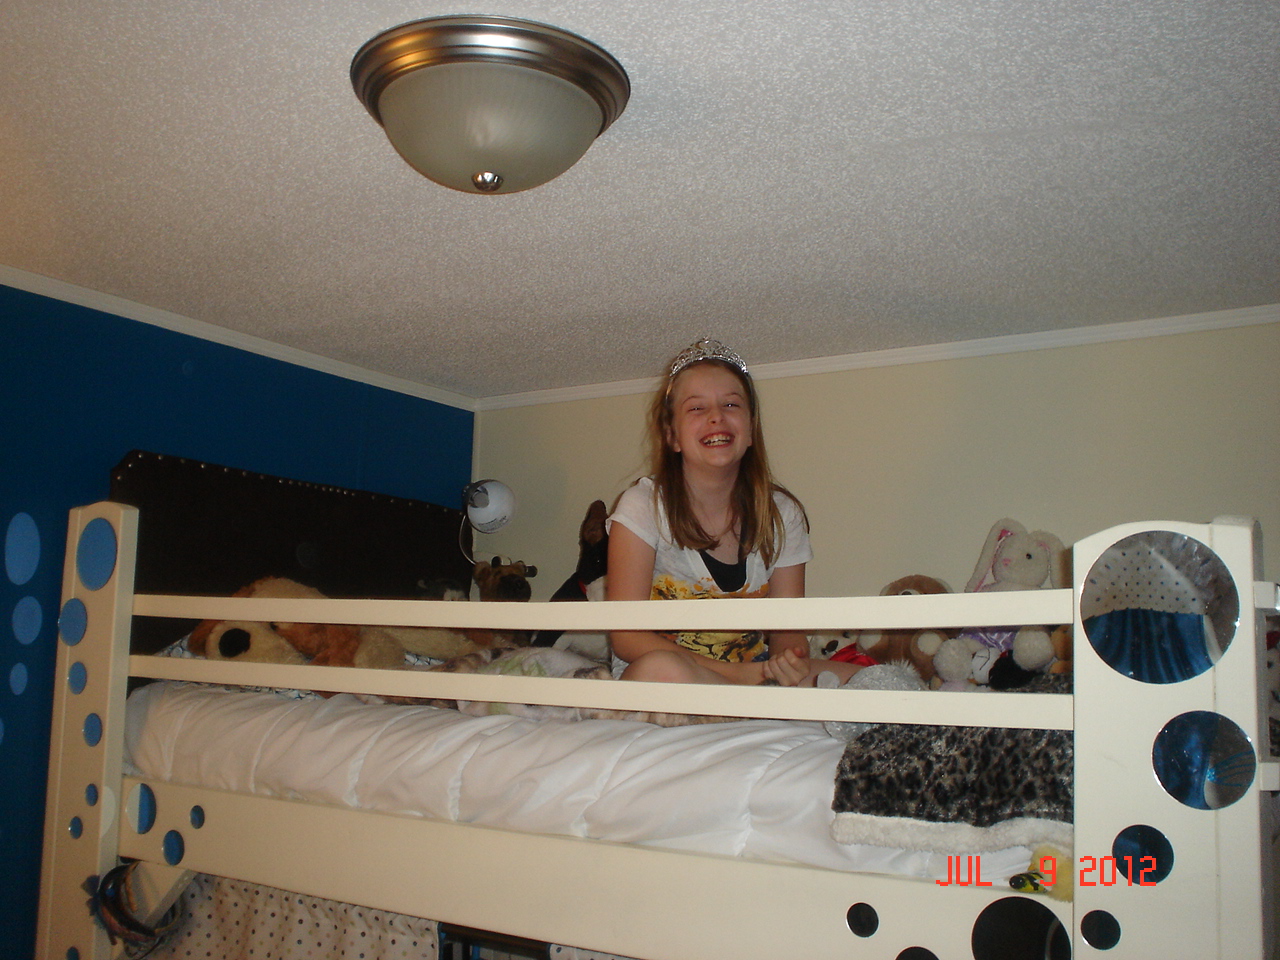
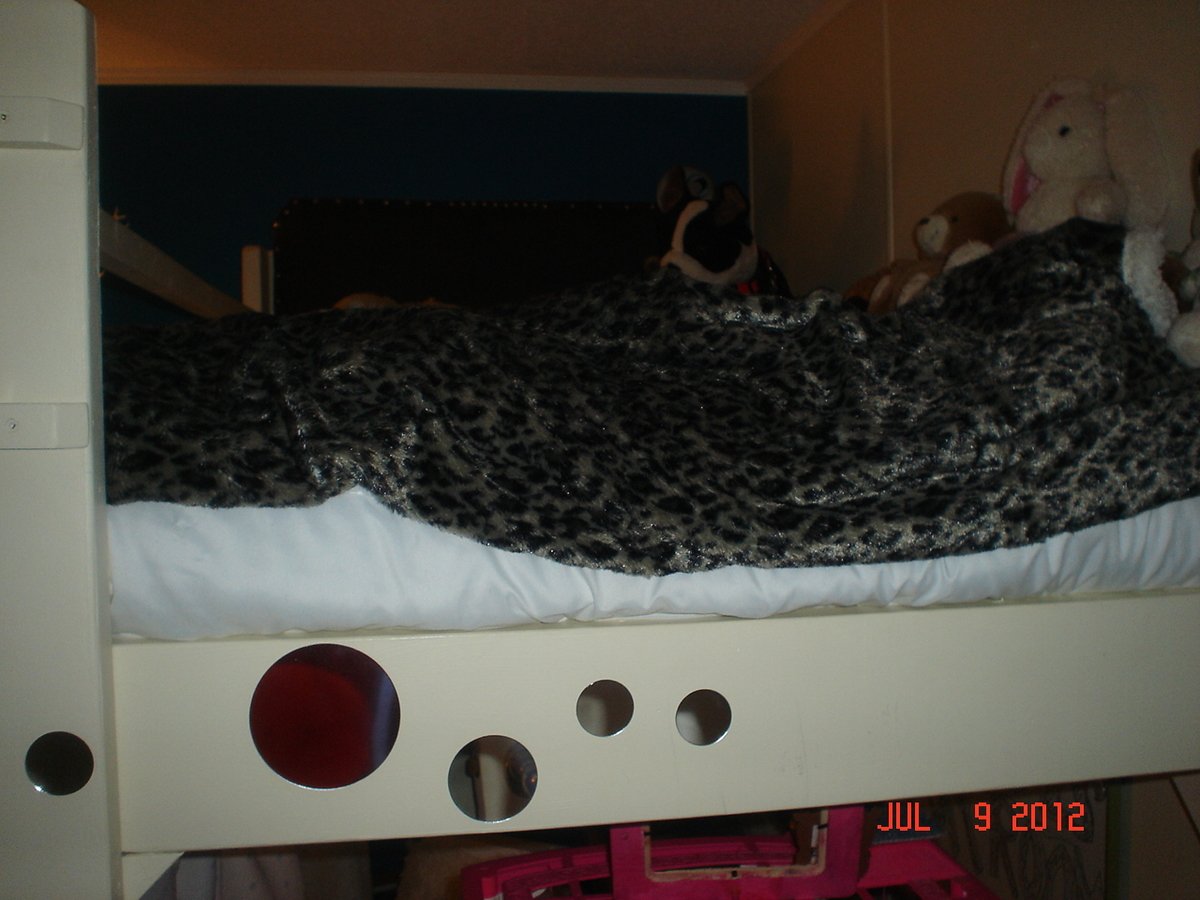
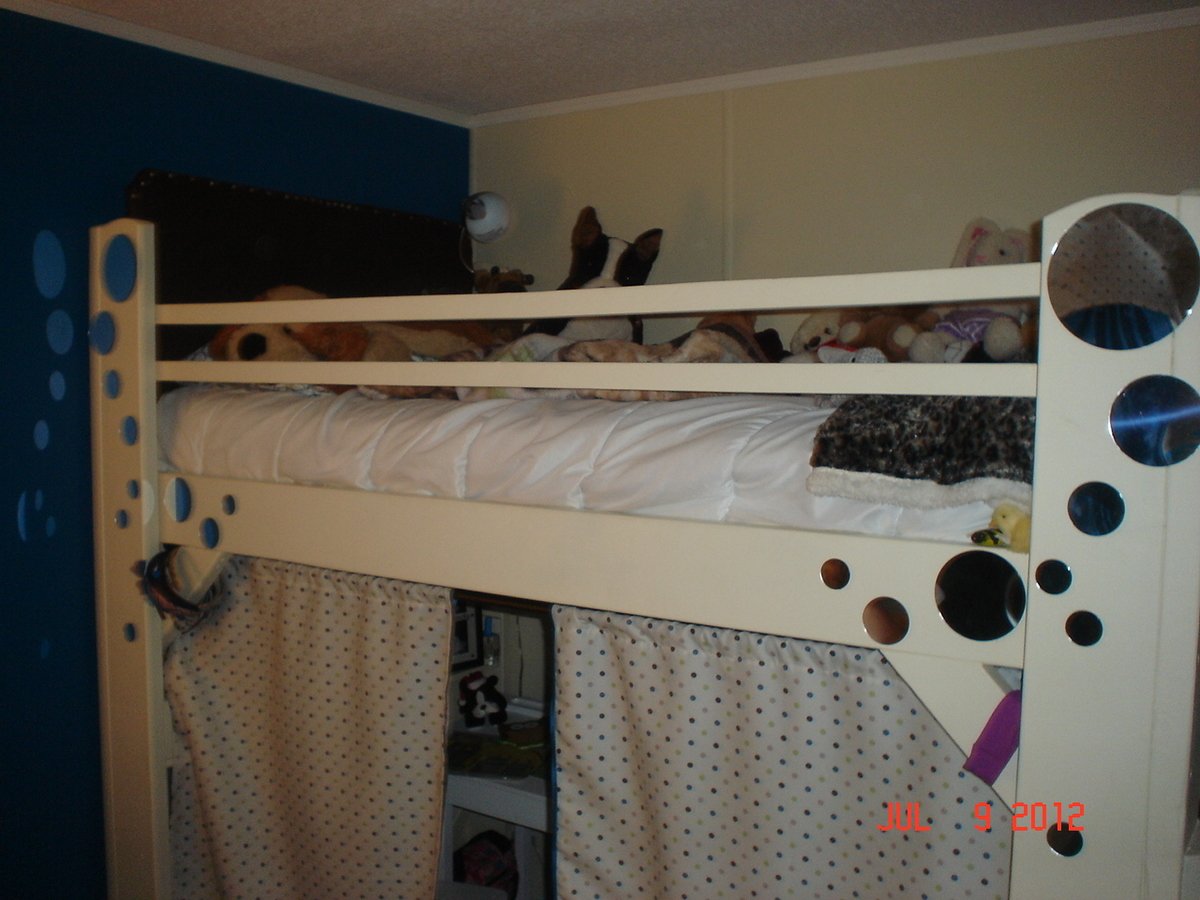
Seen the plan on another site....cannot for the life of me remember which one.....but I made my own out of the one I seen online. Sorry pictures are not that great!!! But my daughter loves it!!!!
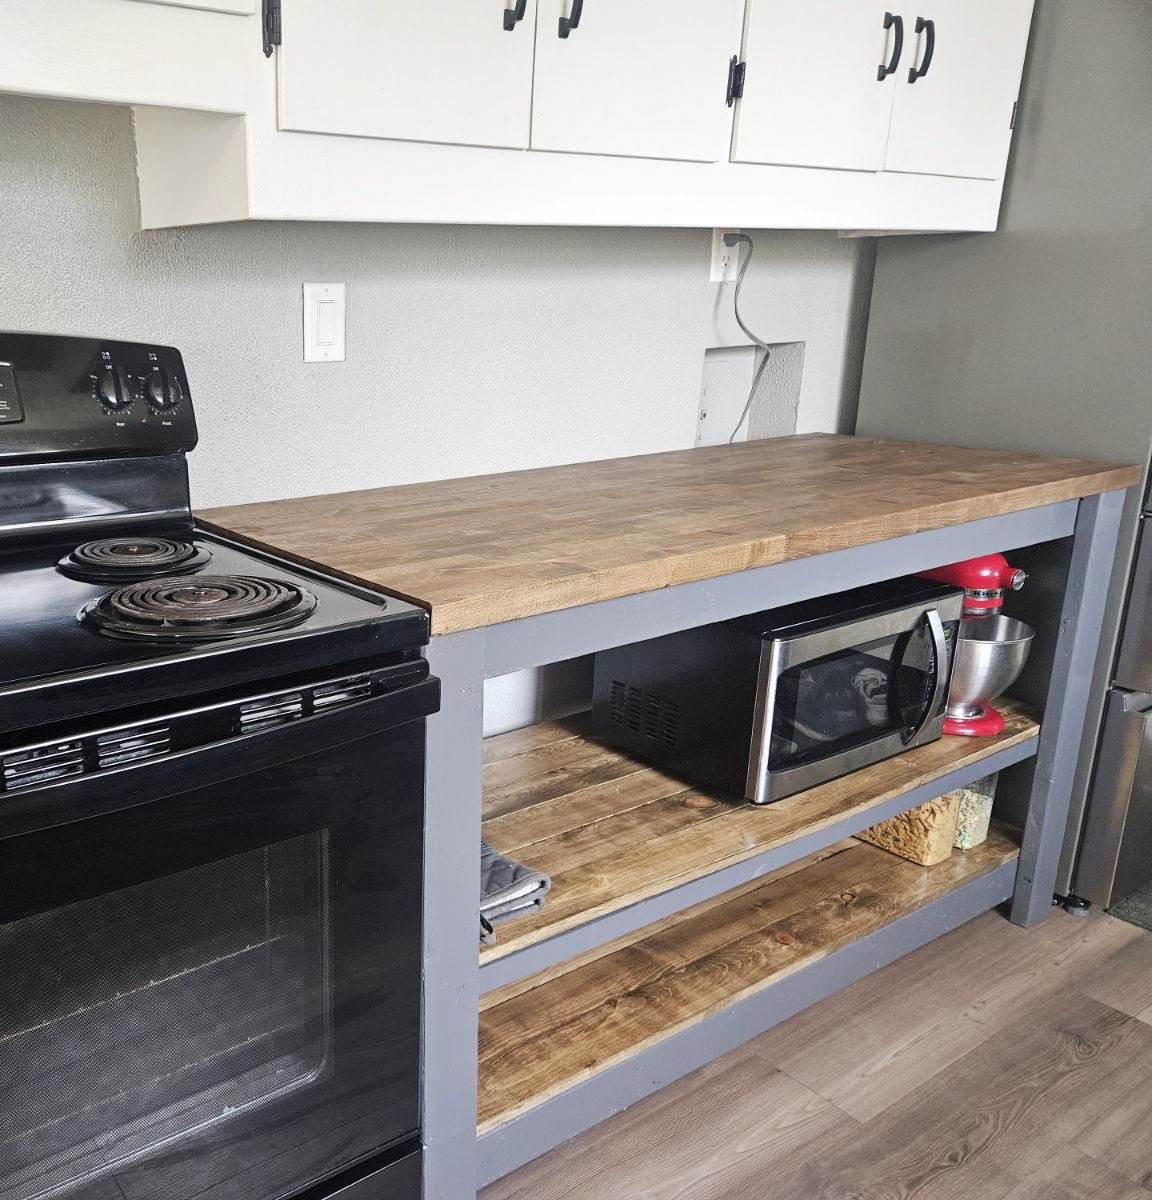
Built-in Kitchen Island by Nick Wiedenfeld
This is a super easy build, but it cost us WAY more than the estimate. By the time we painted and hung it the total was closer to $150.
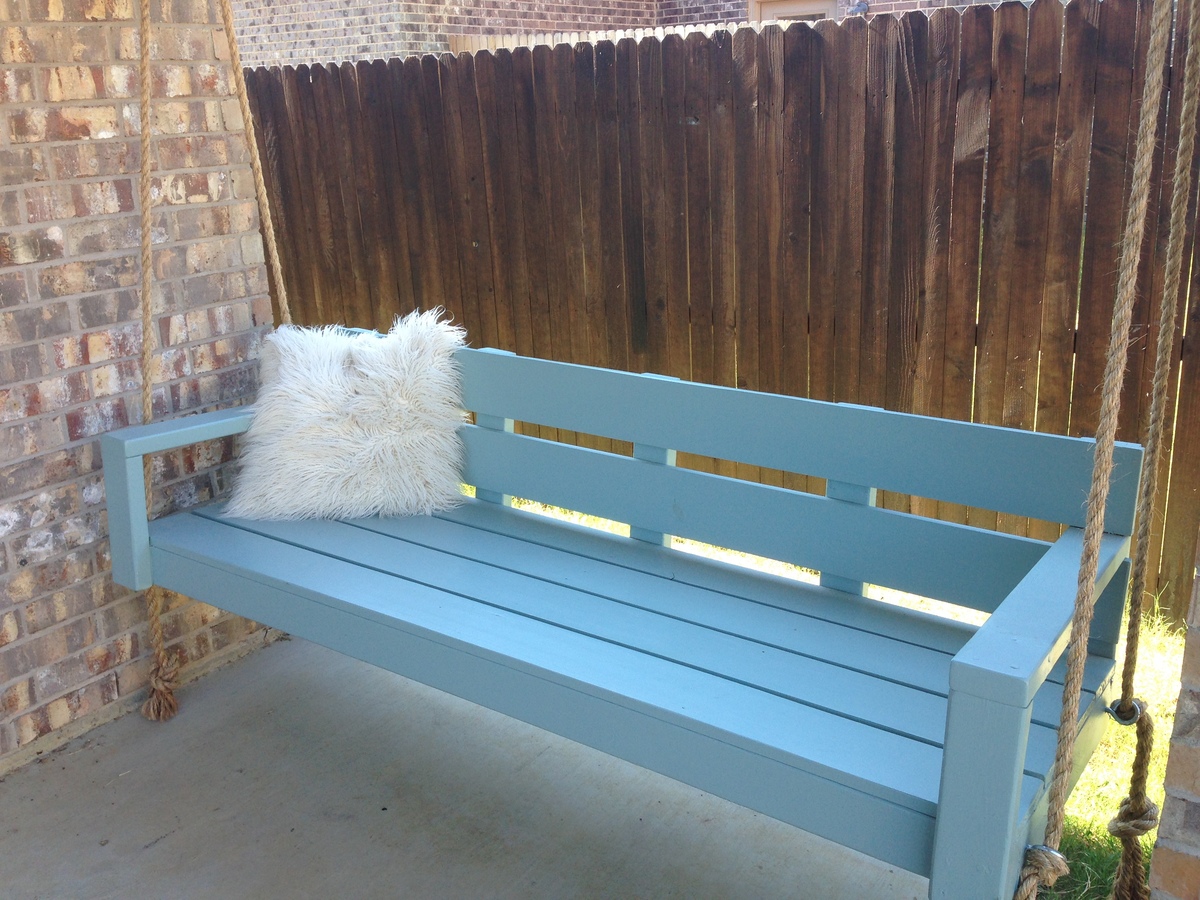
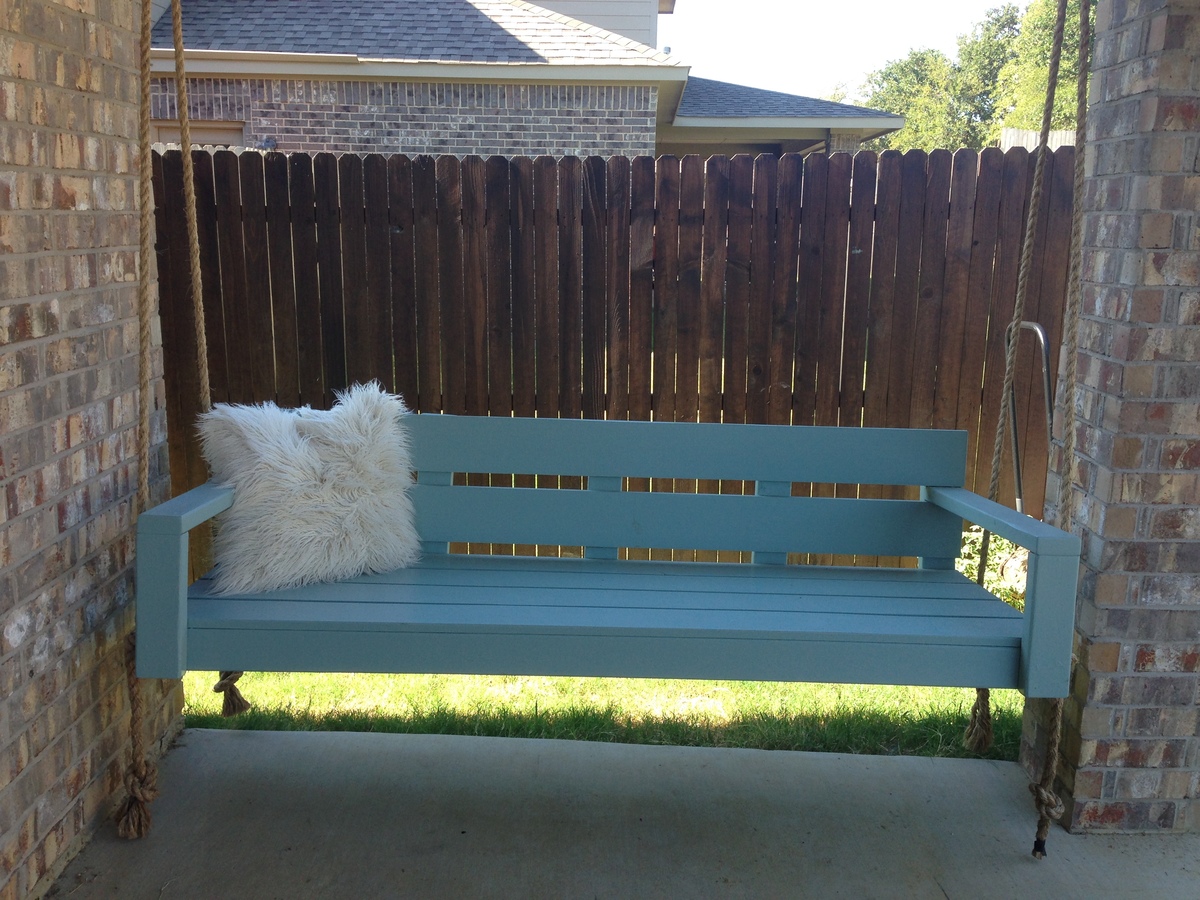
We we squeezed the swing into the crack between the pillar and wall of my back porch. It barely fit, but we are a family of six so I wanted it to be as big as possible.
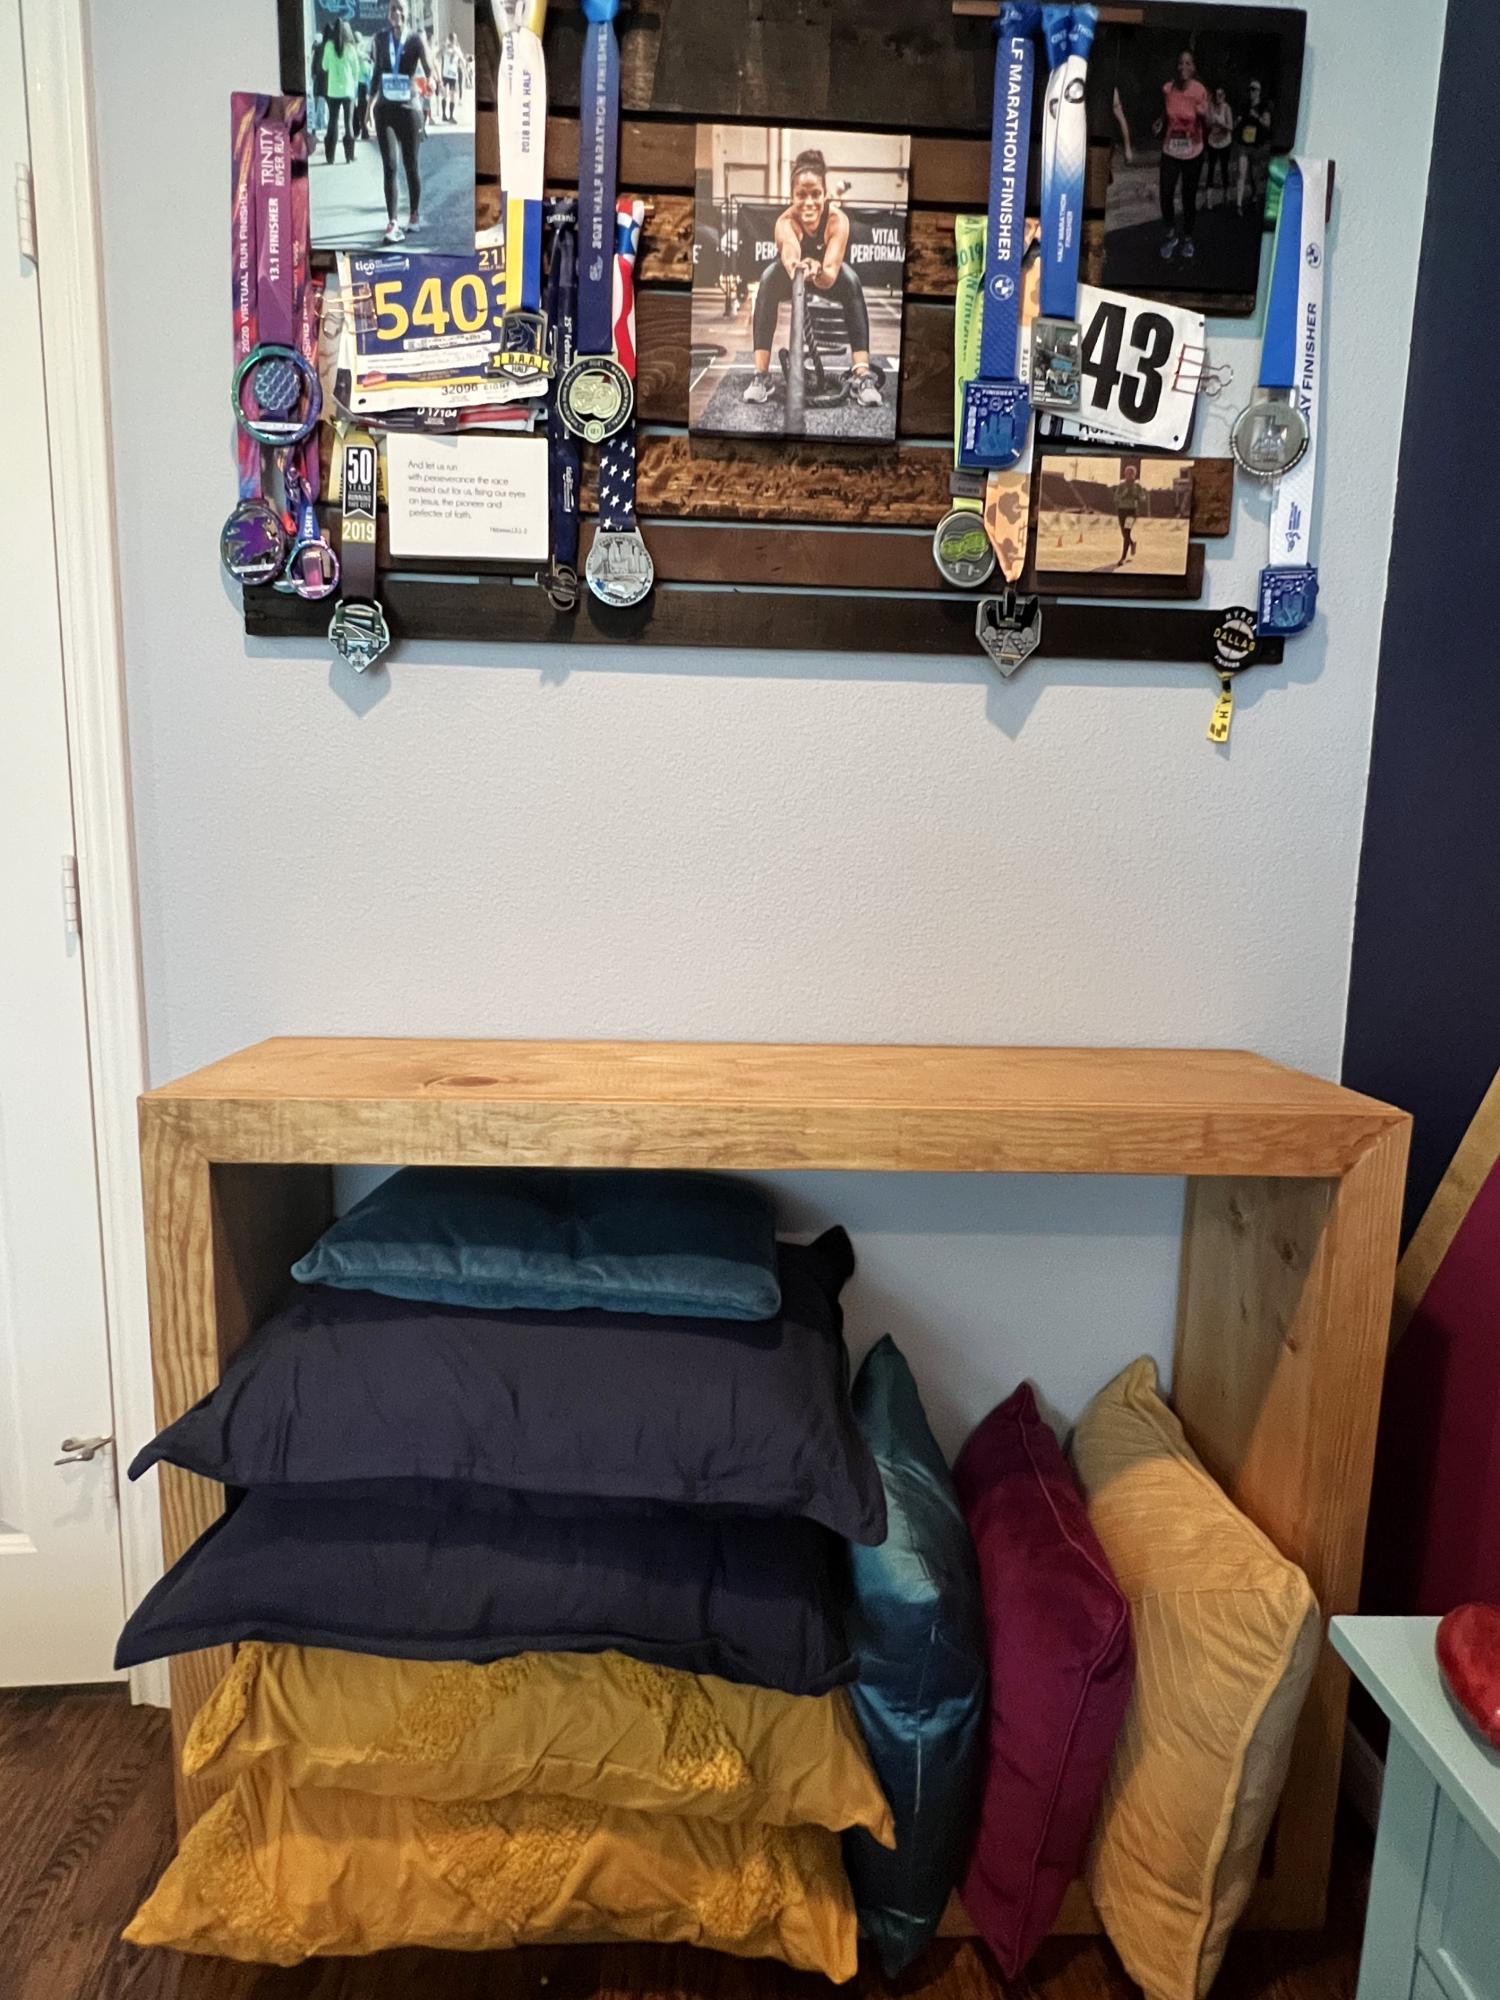
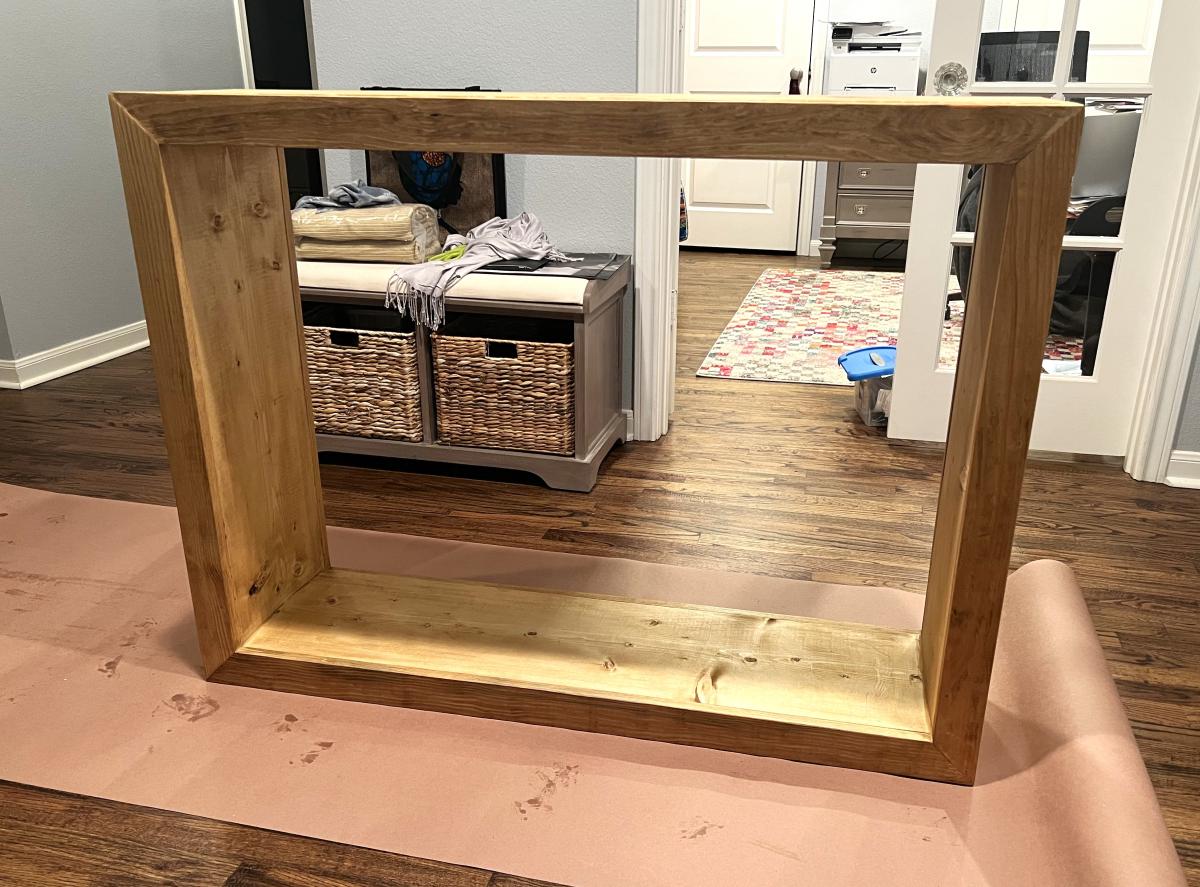
This is the 52 inch waterfall console. I fell in love the it and thought it might be a great way to store my bed pillows when they aren’t in use. I modified it to be shorter and taller, to fit my space and needs. This was my first time using a kreg jig and brad nailer… tutorials on those would be great, but I figured it out! And I’m so excited I did - this is a game changer for my building projects!
Ashlie Alaman
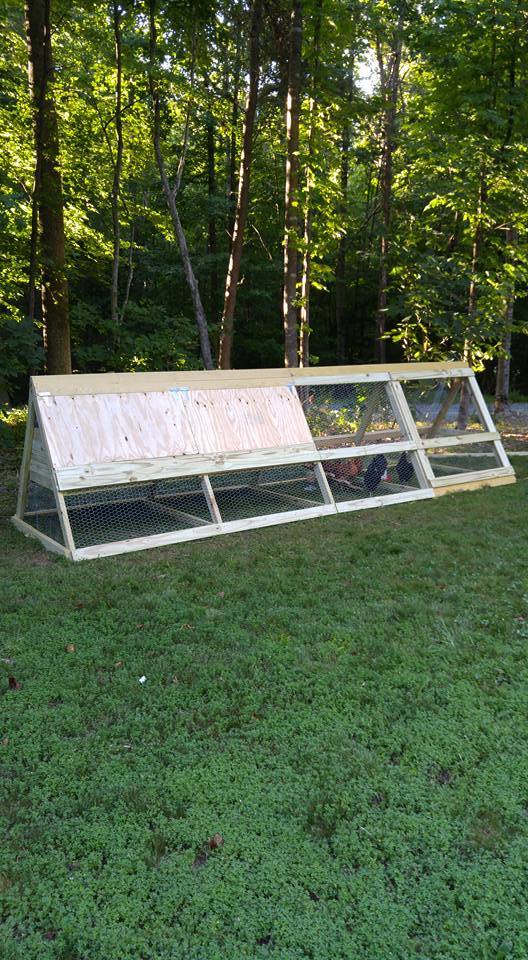
We wanted our chickens to have plenty of room for when we ere not home and could not let them free range in the yard. One of the six was a rooster-- and long story-- but we don't have him any more-- so 5 chickens now enjoy this coop/run. It cost about $300 in supplies. It is 16 feet long.
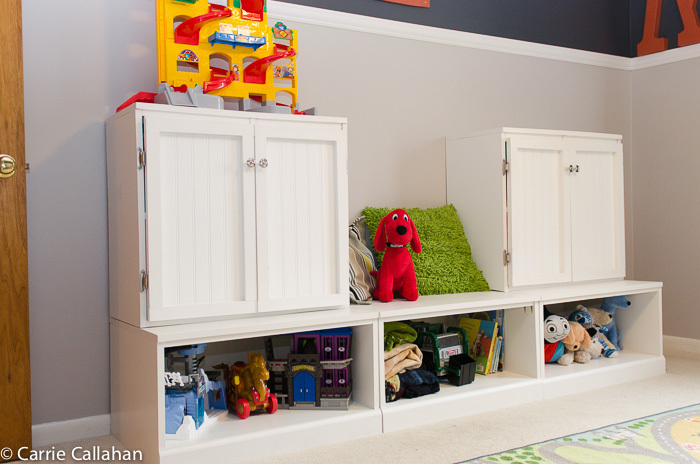
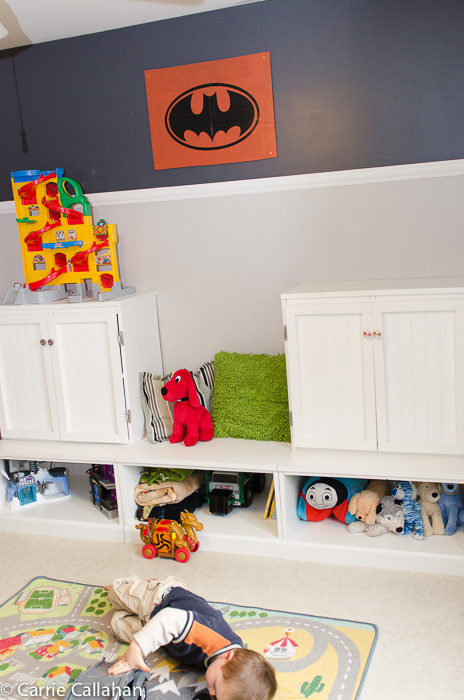
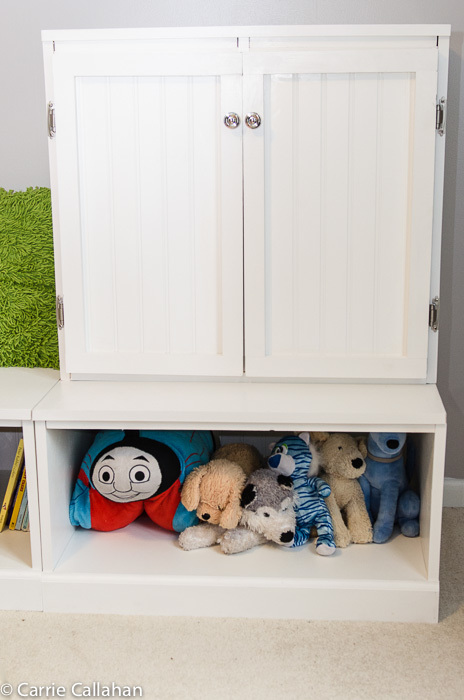
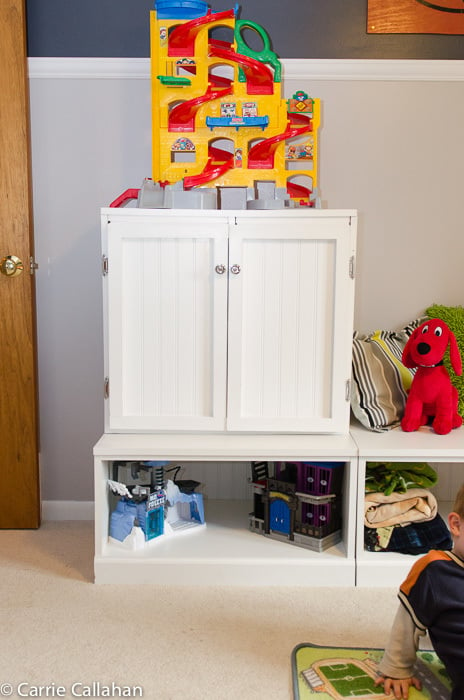
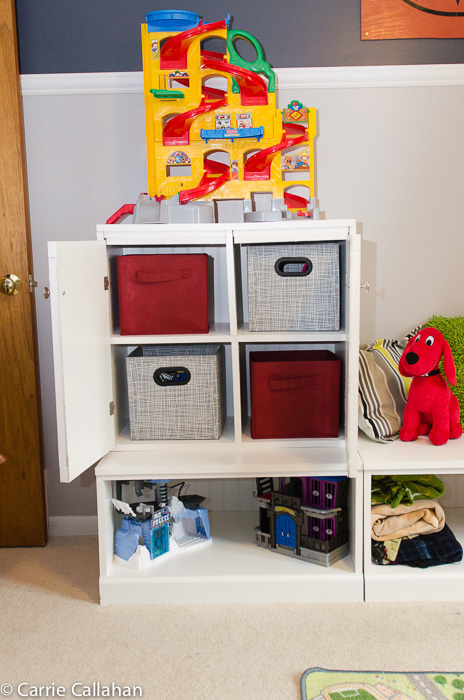
I am so excited about this project! I re-did my entire little man's room. It included a ton of Ana's projects! The closet, $10 ledges, step stool and the toy storage. This was quite the venture for me, I have done a lot of plans from Ana, but this one was a lot - a lot of painting. And hanging the doors, was a challenge :) I couldn't be more happy. My little man didn't want to leave his room he was so excited!
Mon, 10/22/2012 - 08:16
Love your new room for your son! I love using clear toy storage bags to organize toys and then you could put the bags on display or behind the doors in your storage unit - http://mommby.com/Store/Bag.php.
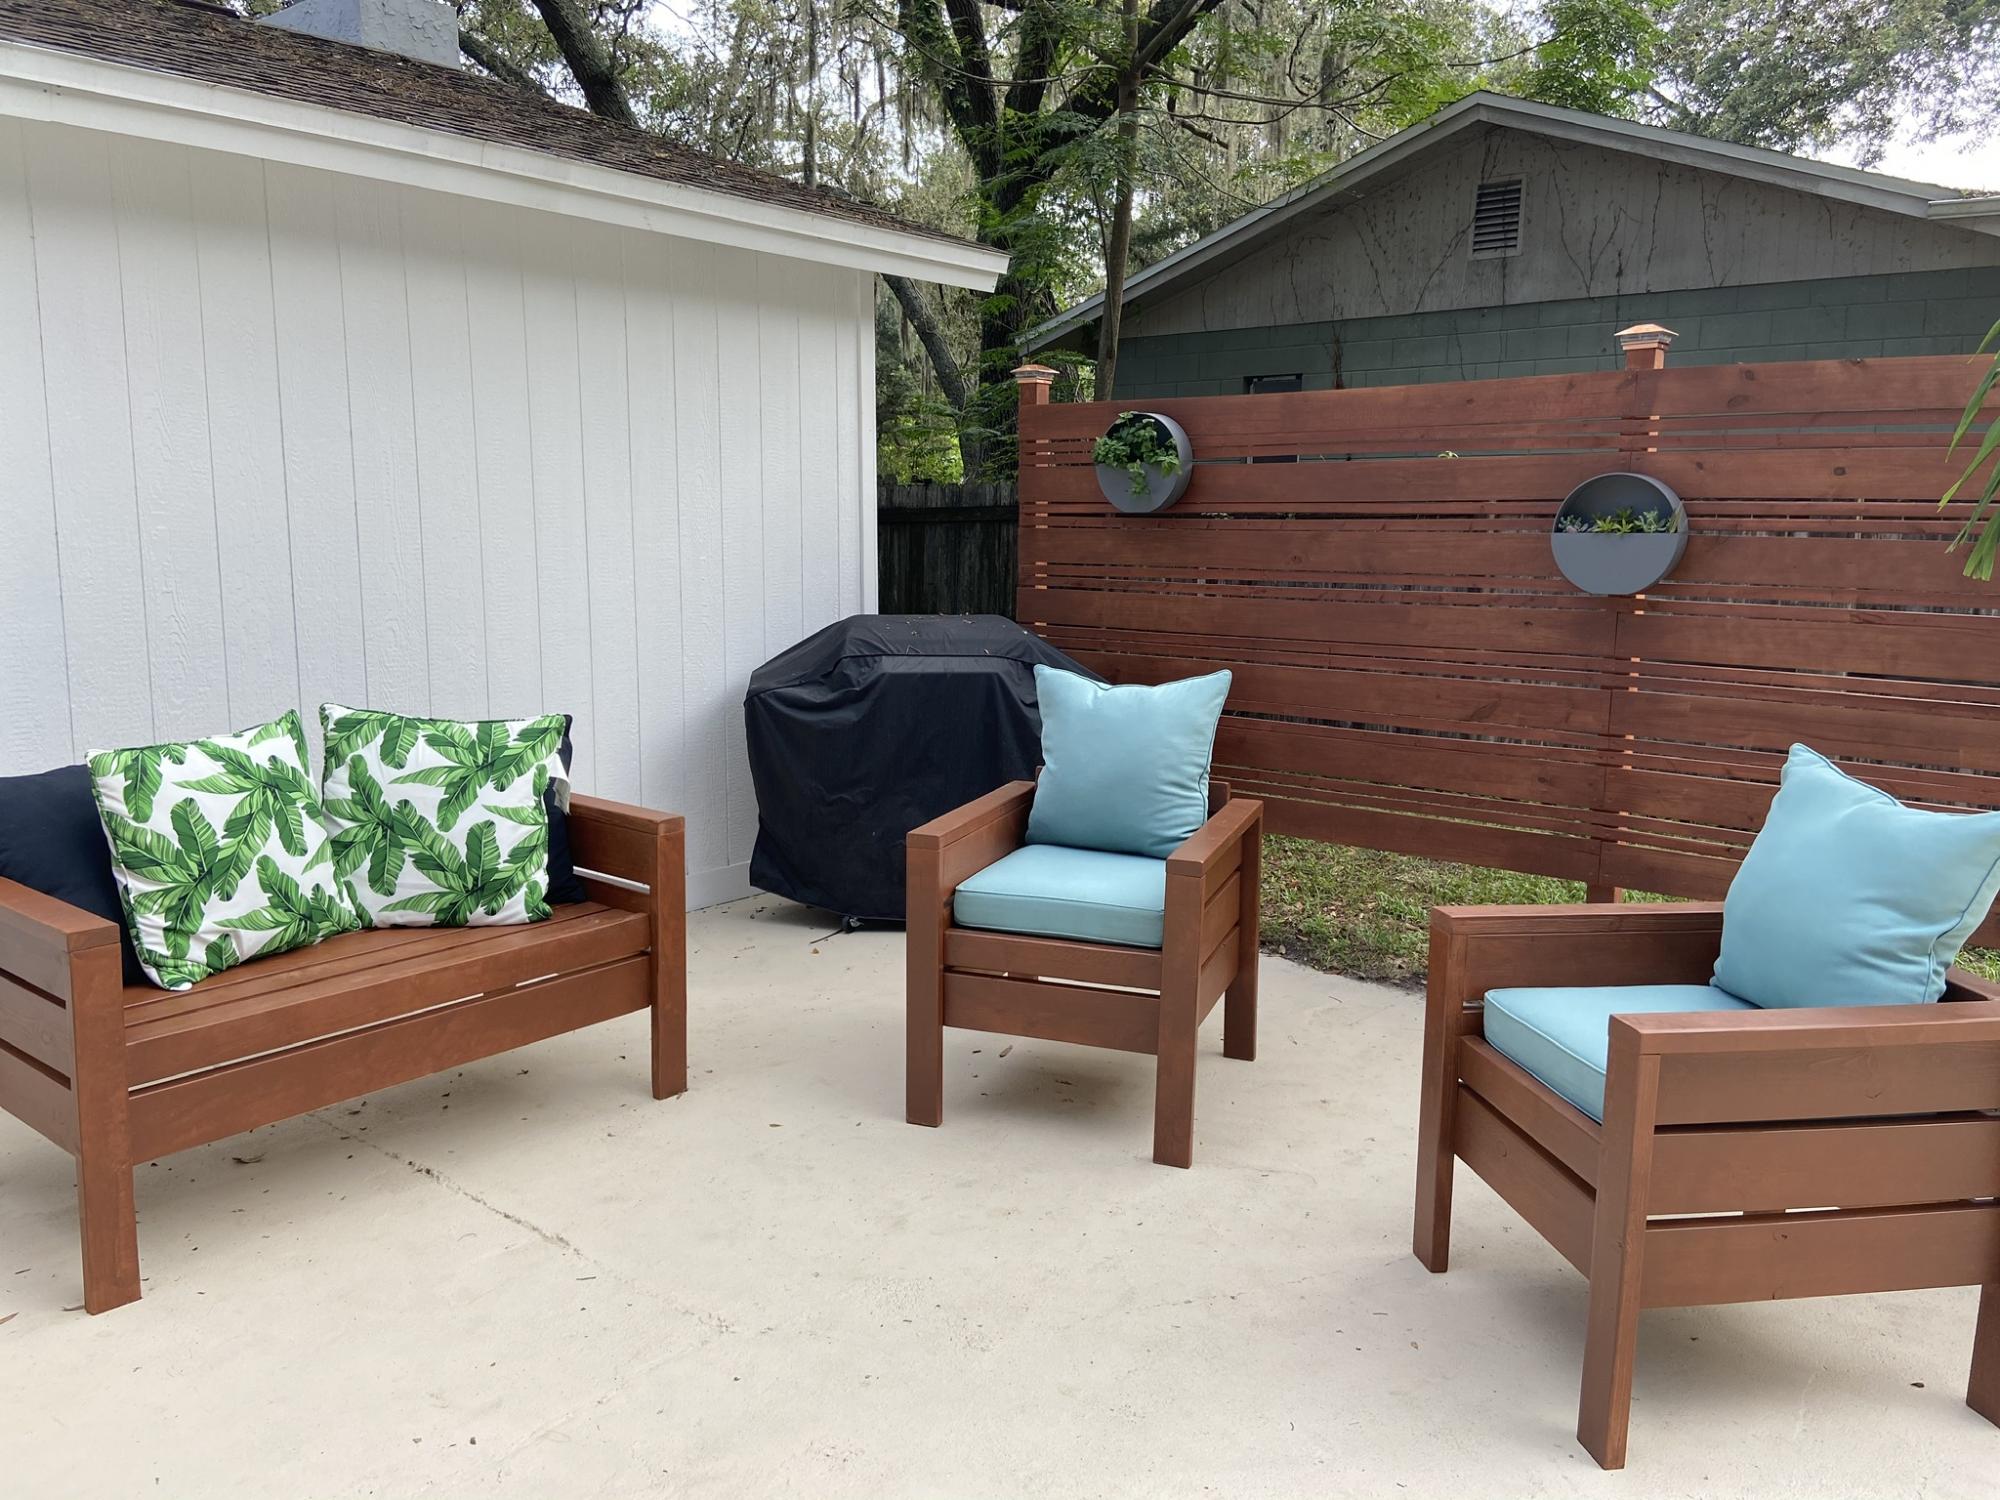
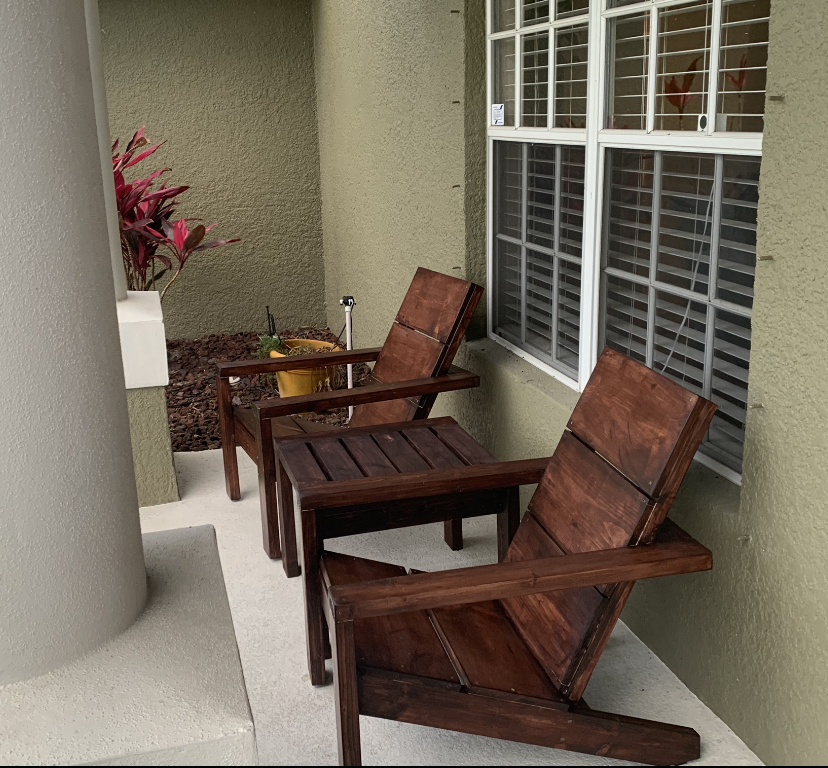
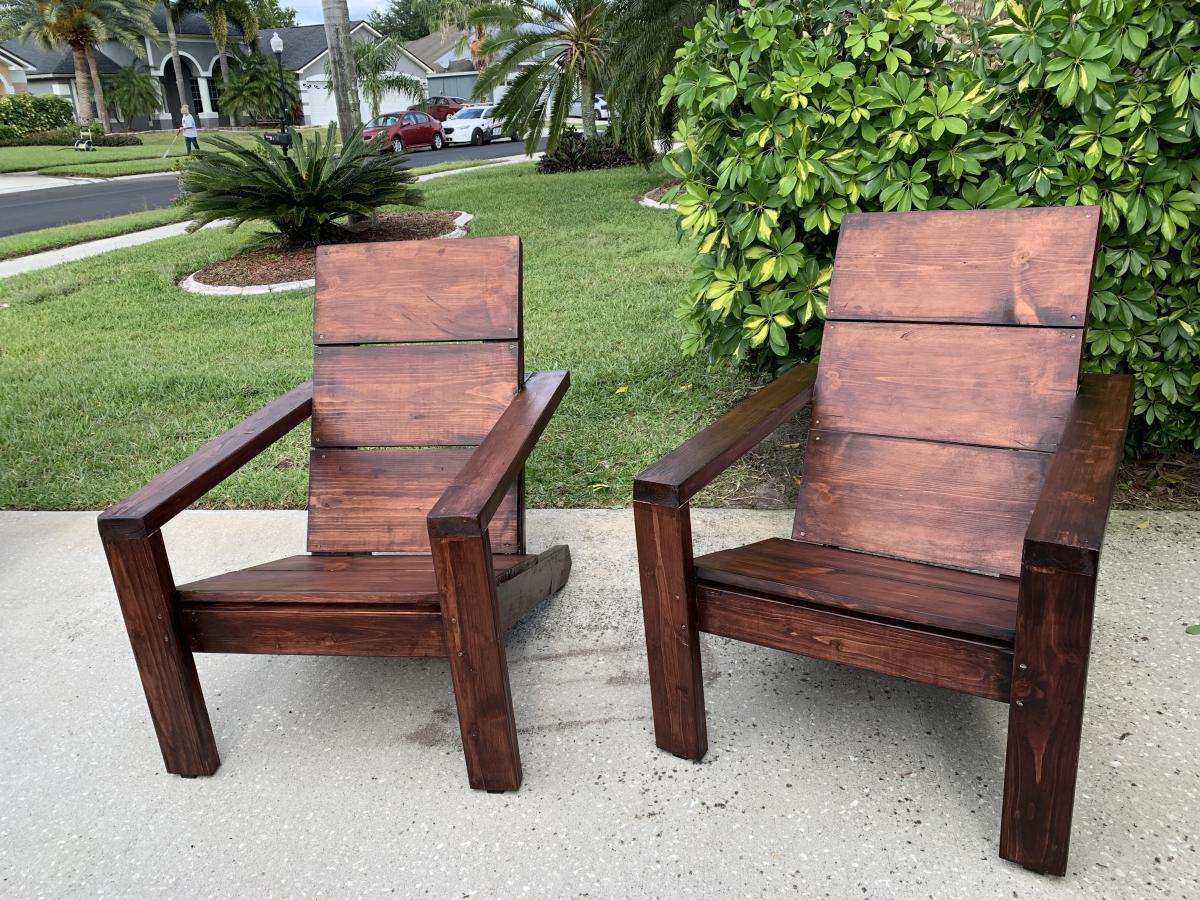
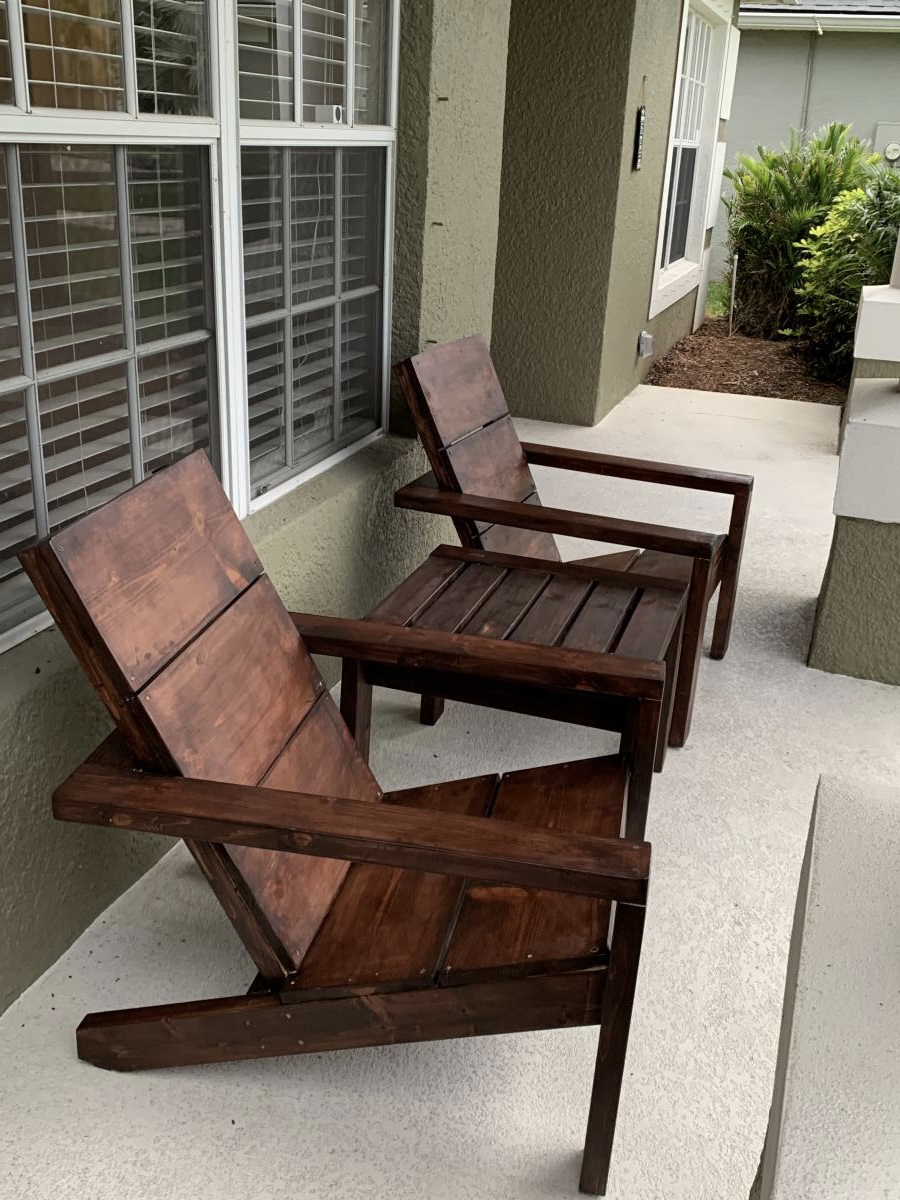
I was so excited to build this outdoor patio set! My husband and I looked high and low to find an affordable,“tall and sturdy people” outdoor patio set. The sturdy pieces we found were in the $600-$1000s... and I’m sorry.... we’re not paying that. Especially, since most of those sets were not built to hold up in the Florida rain and humidity. So my husband suggested... “ just build it!” I modified the leg length to 28 1/4”, since I have tall family. The cushions were found at Pier1 for a steal since they’re going out of business, so the chairs were modified to fit the cushion size 22”x 22”.
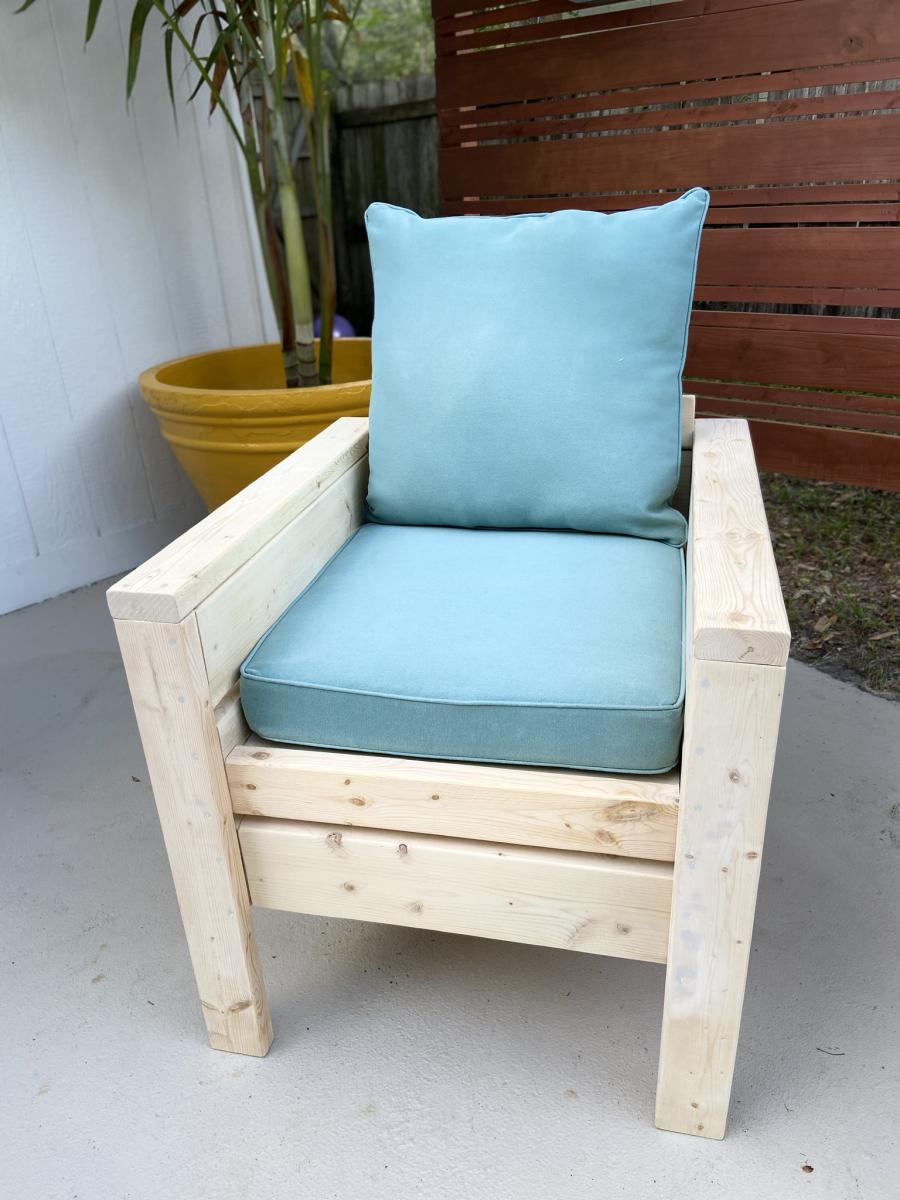
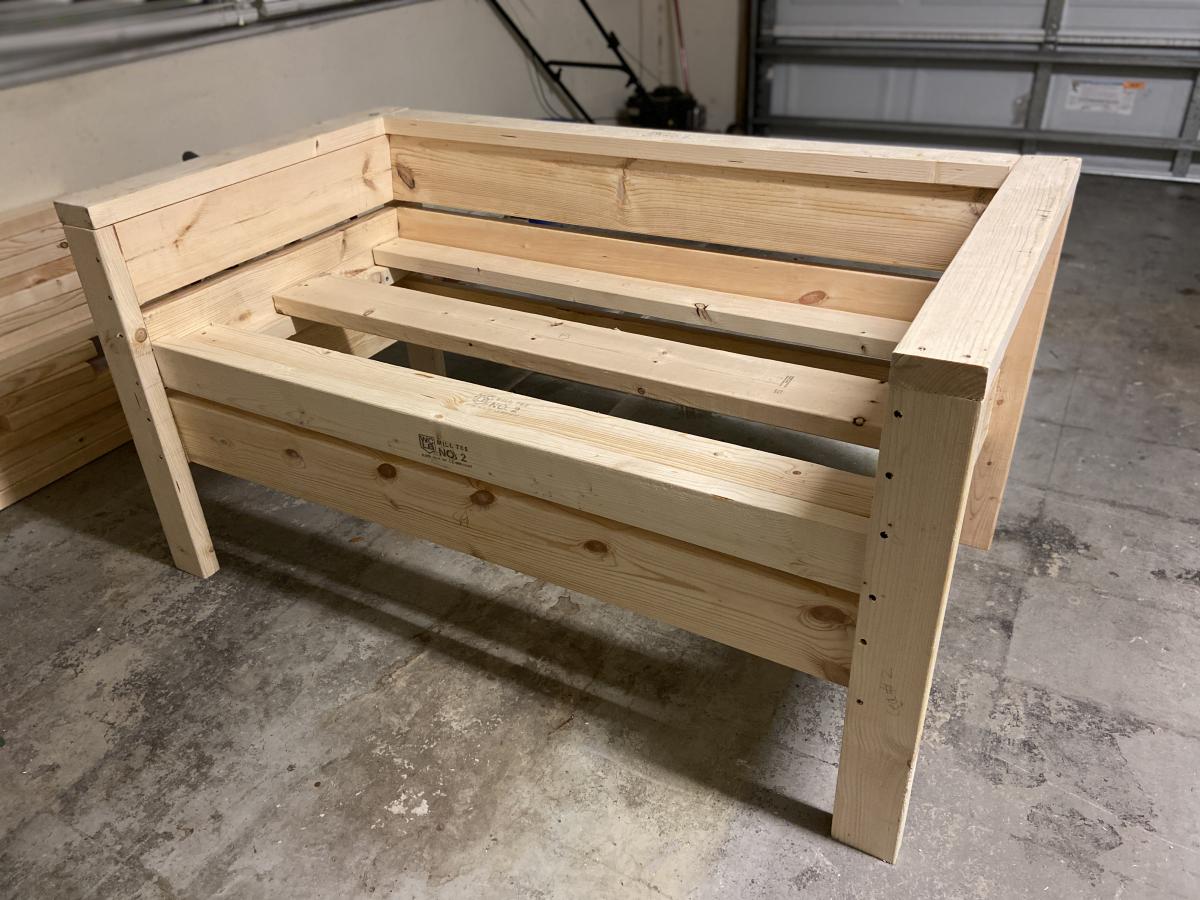
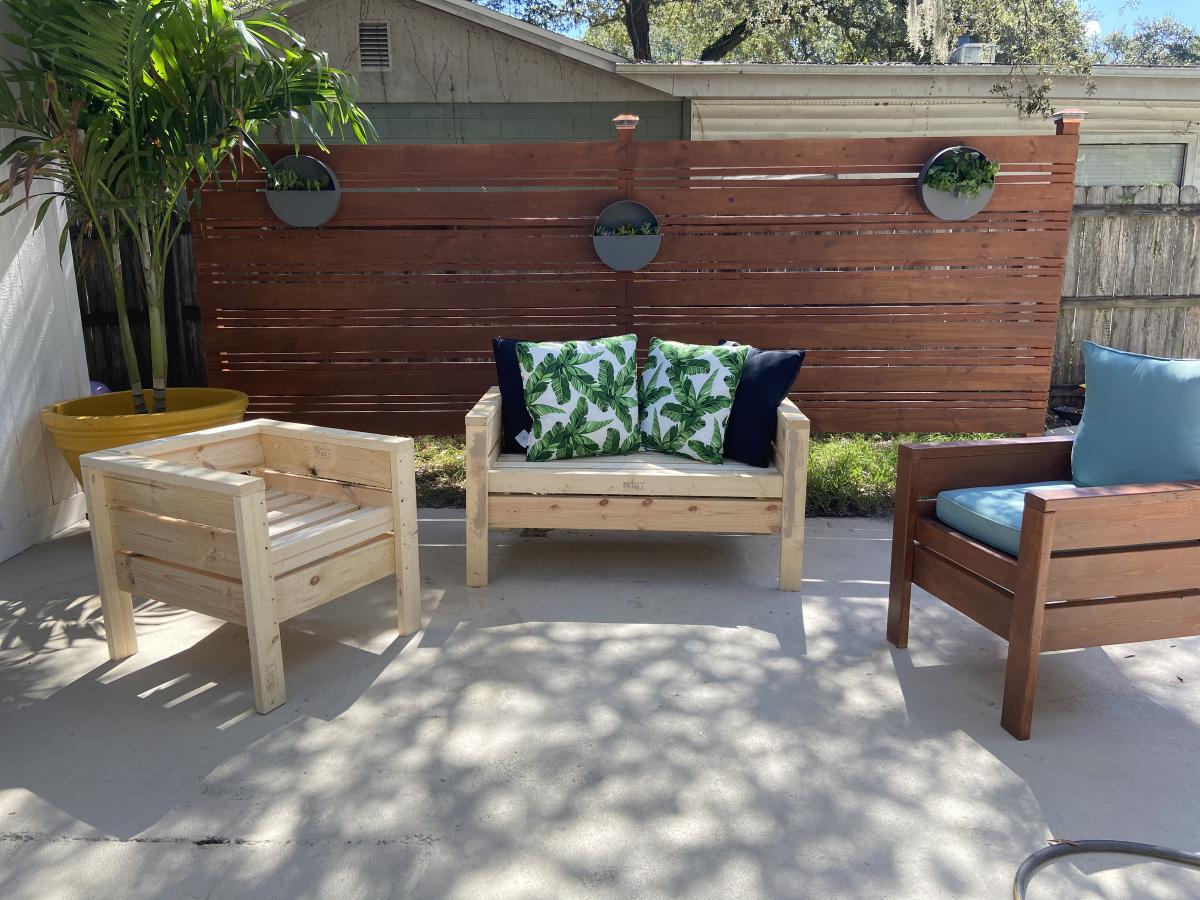
With a mix of the 2 attached plans, I found the perfect design! Plus, I was able to build them both, including the table, out of the scrap from the deck I built!! Thank you so much!!!
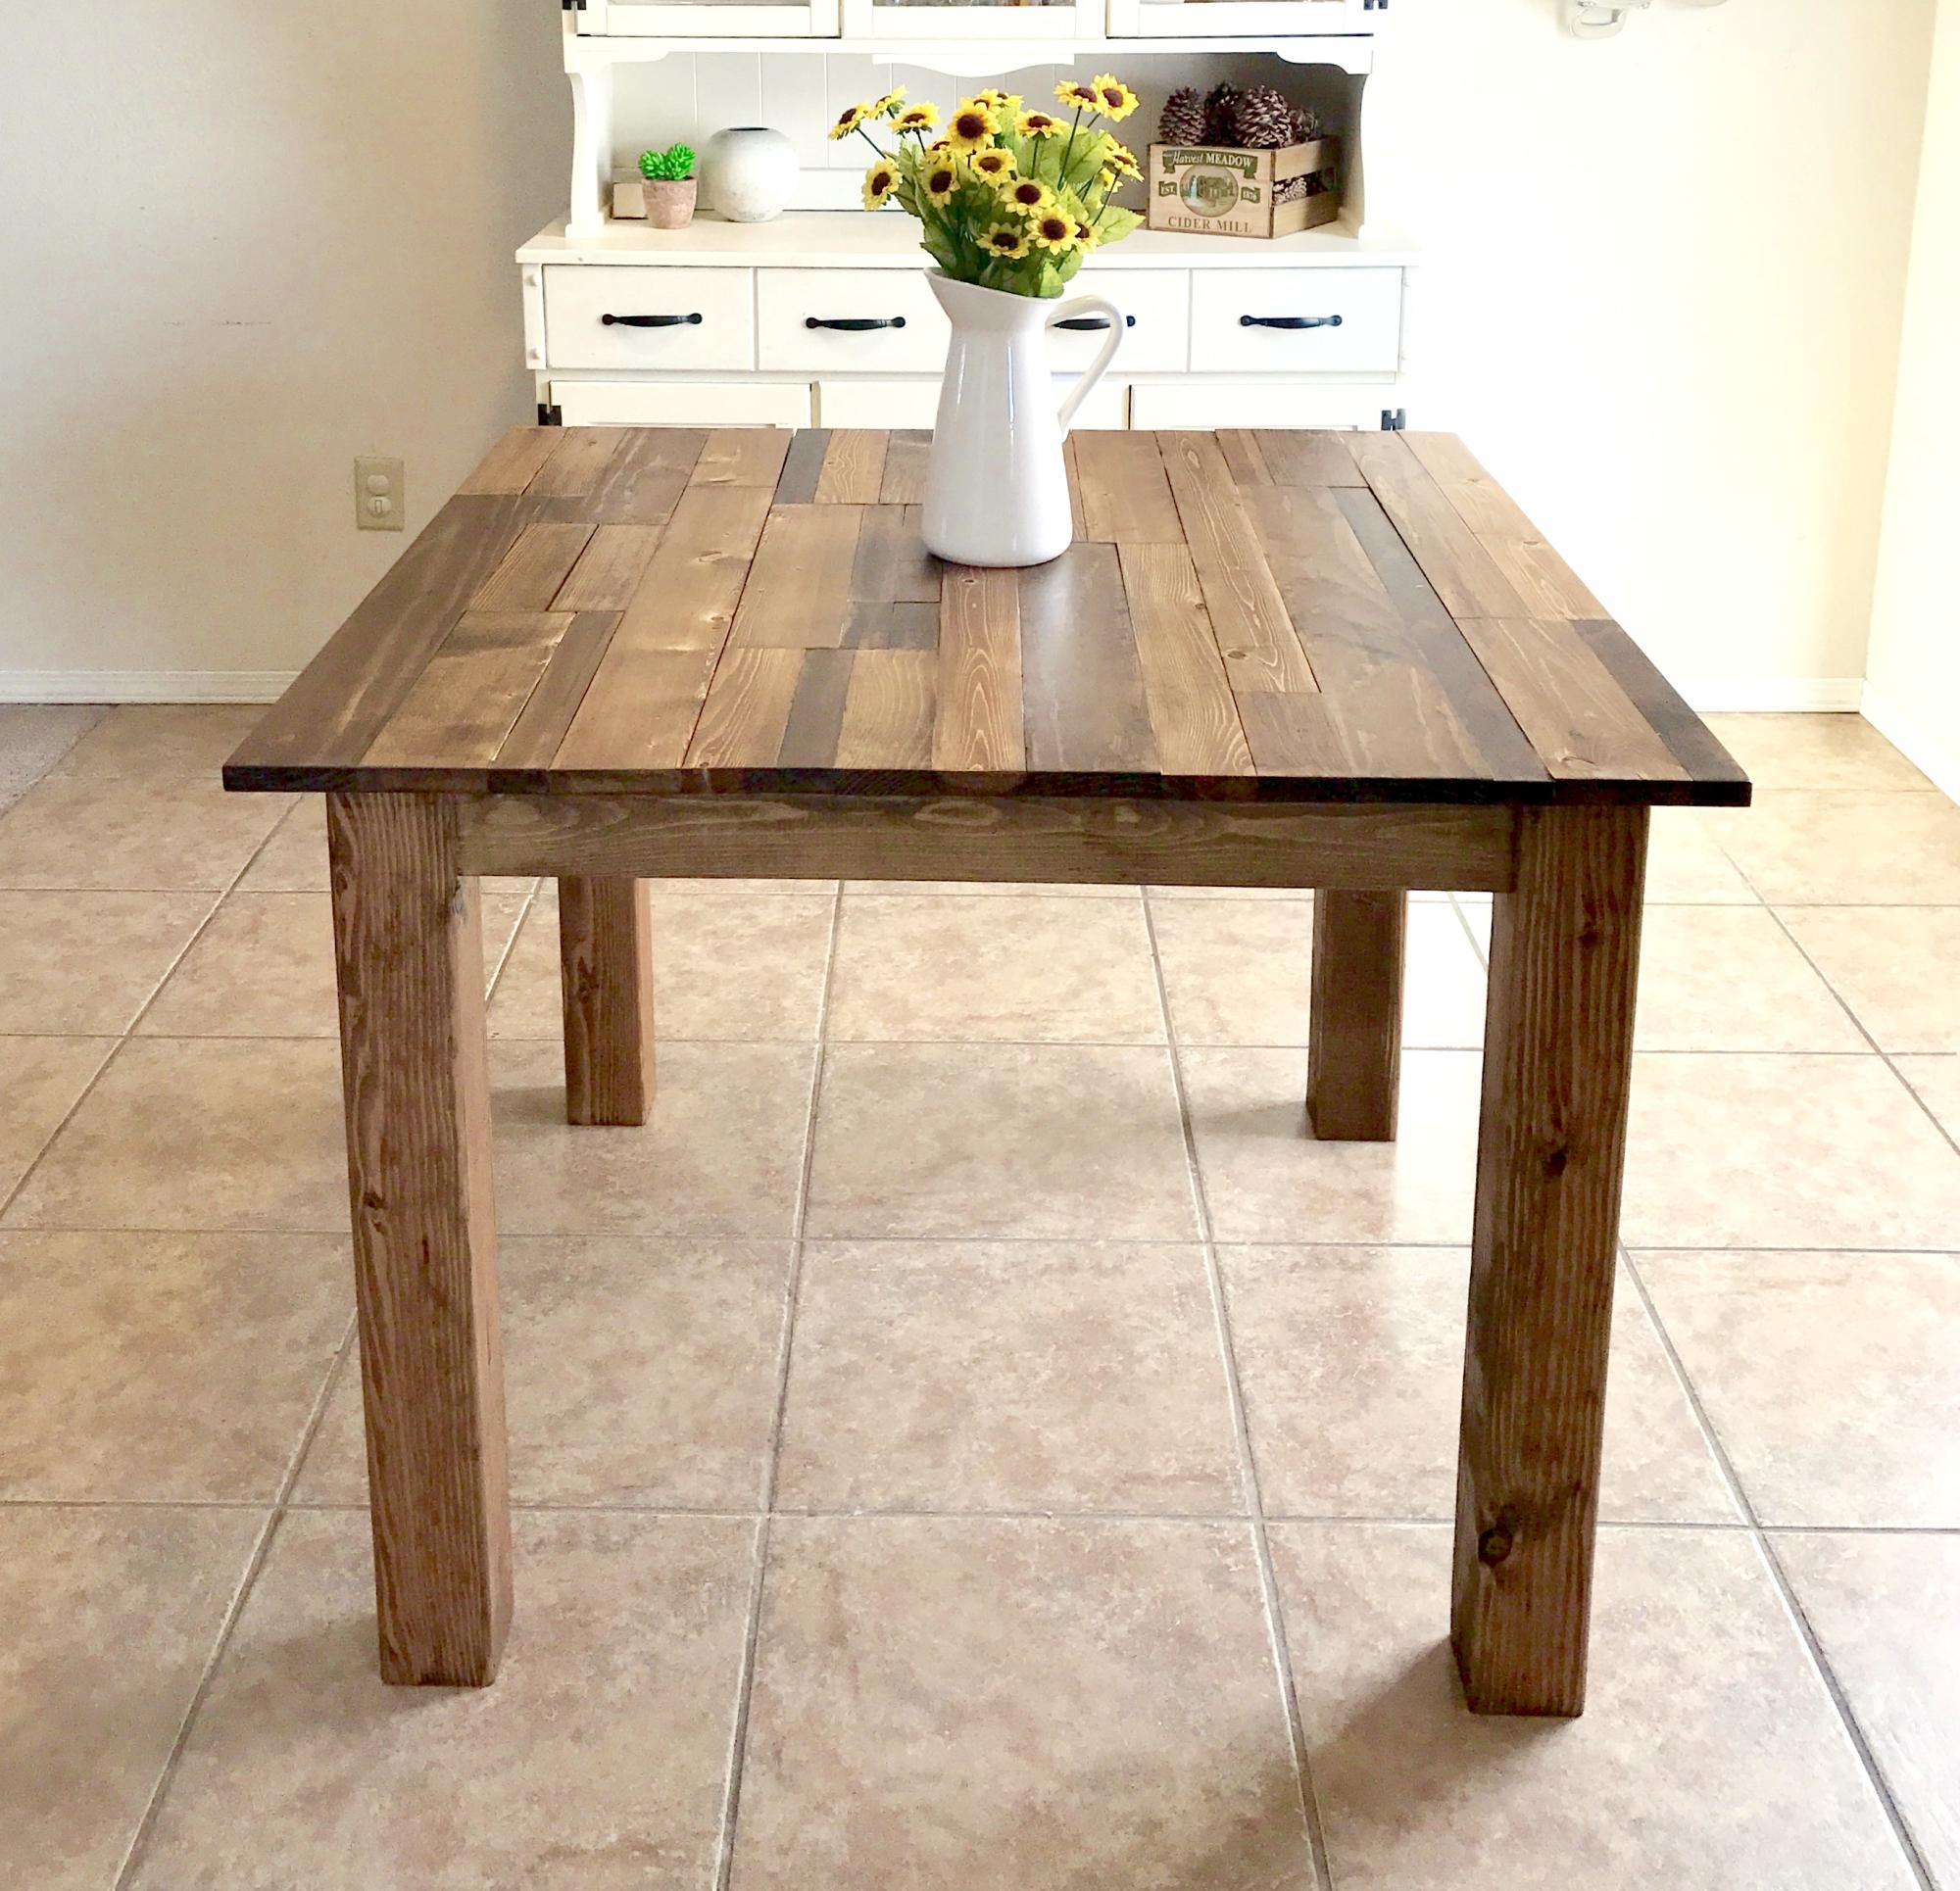
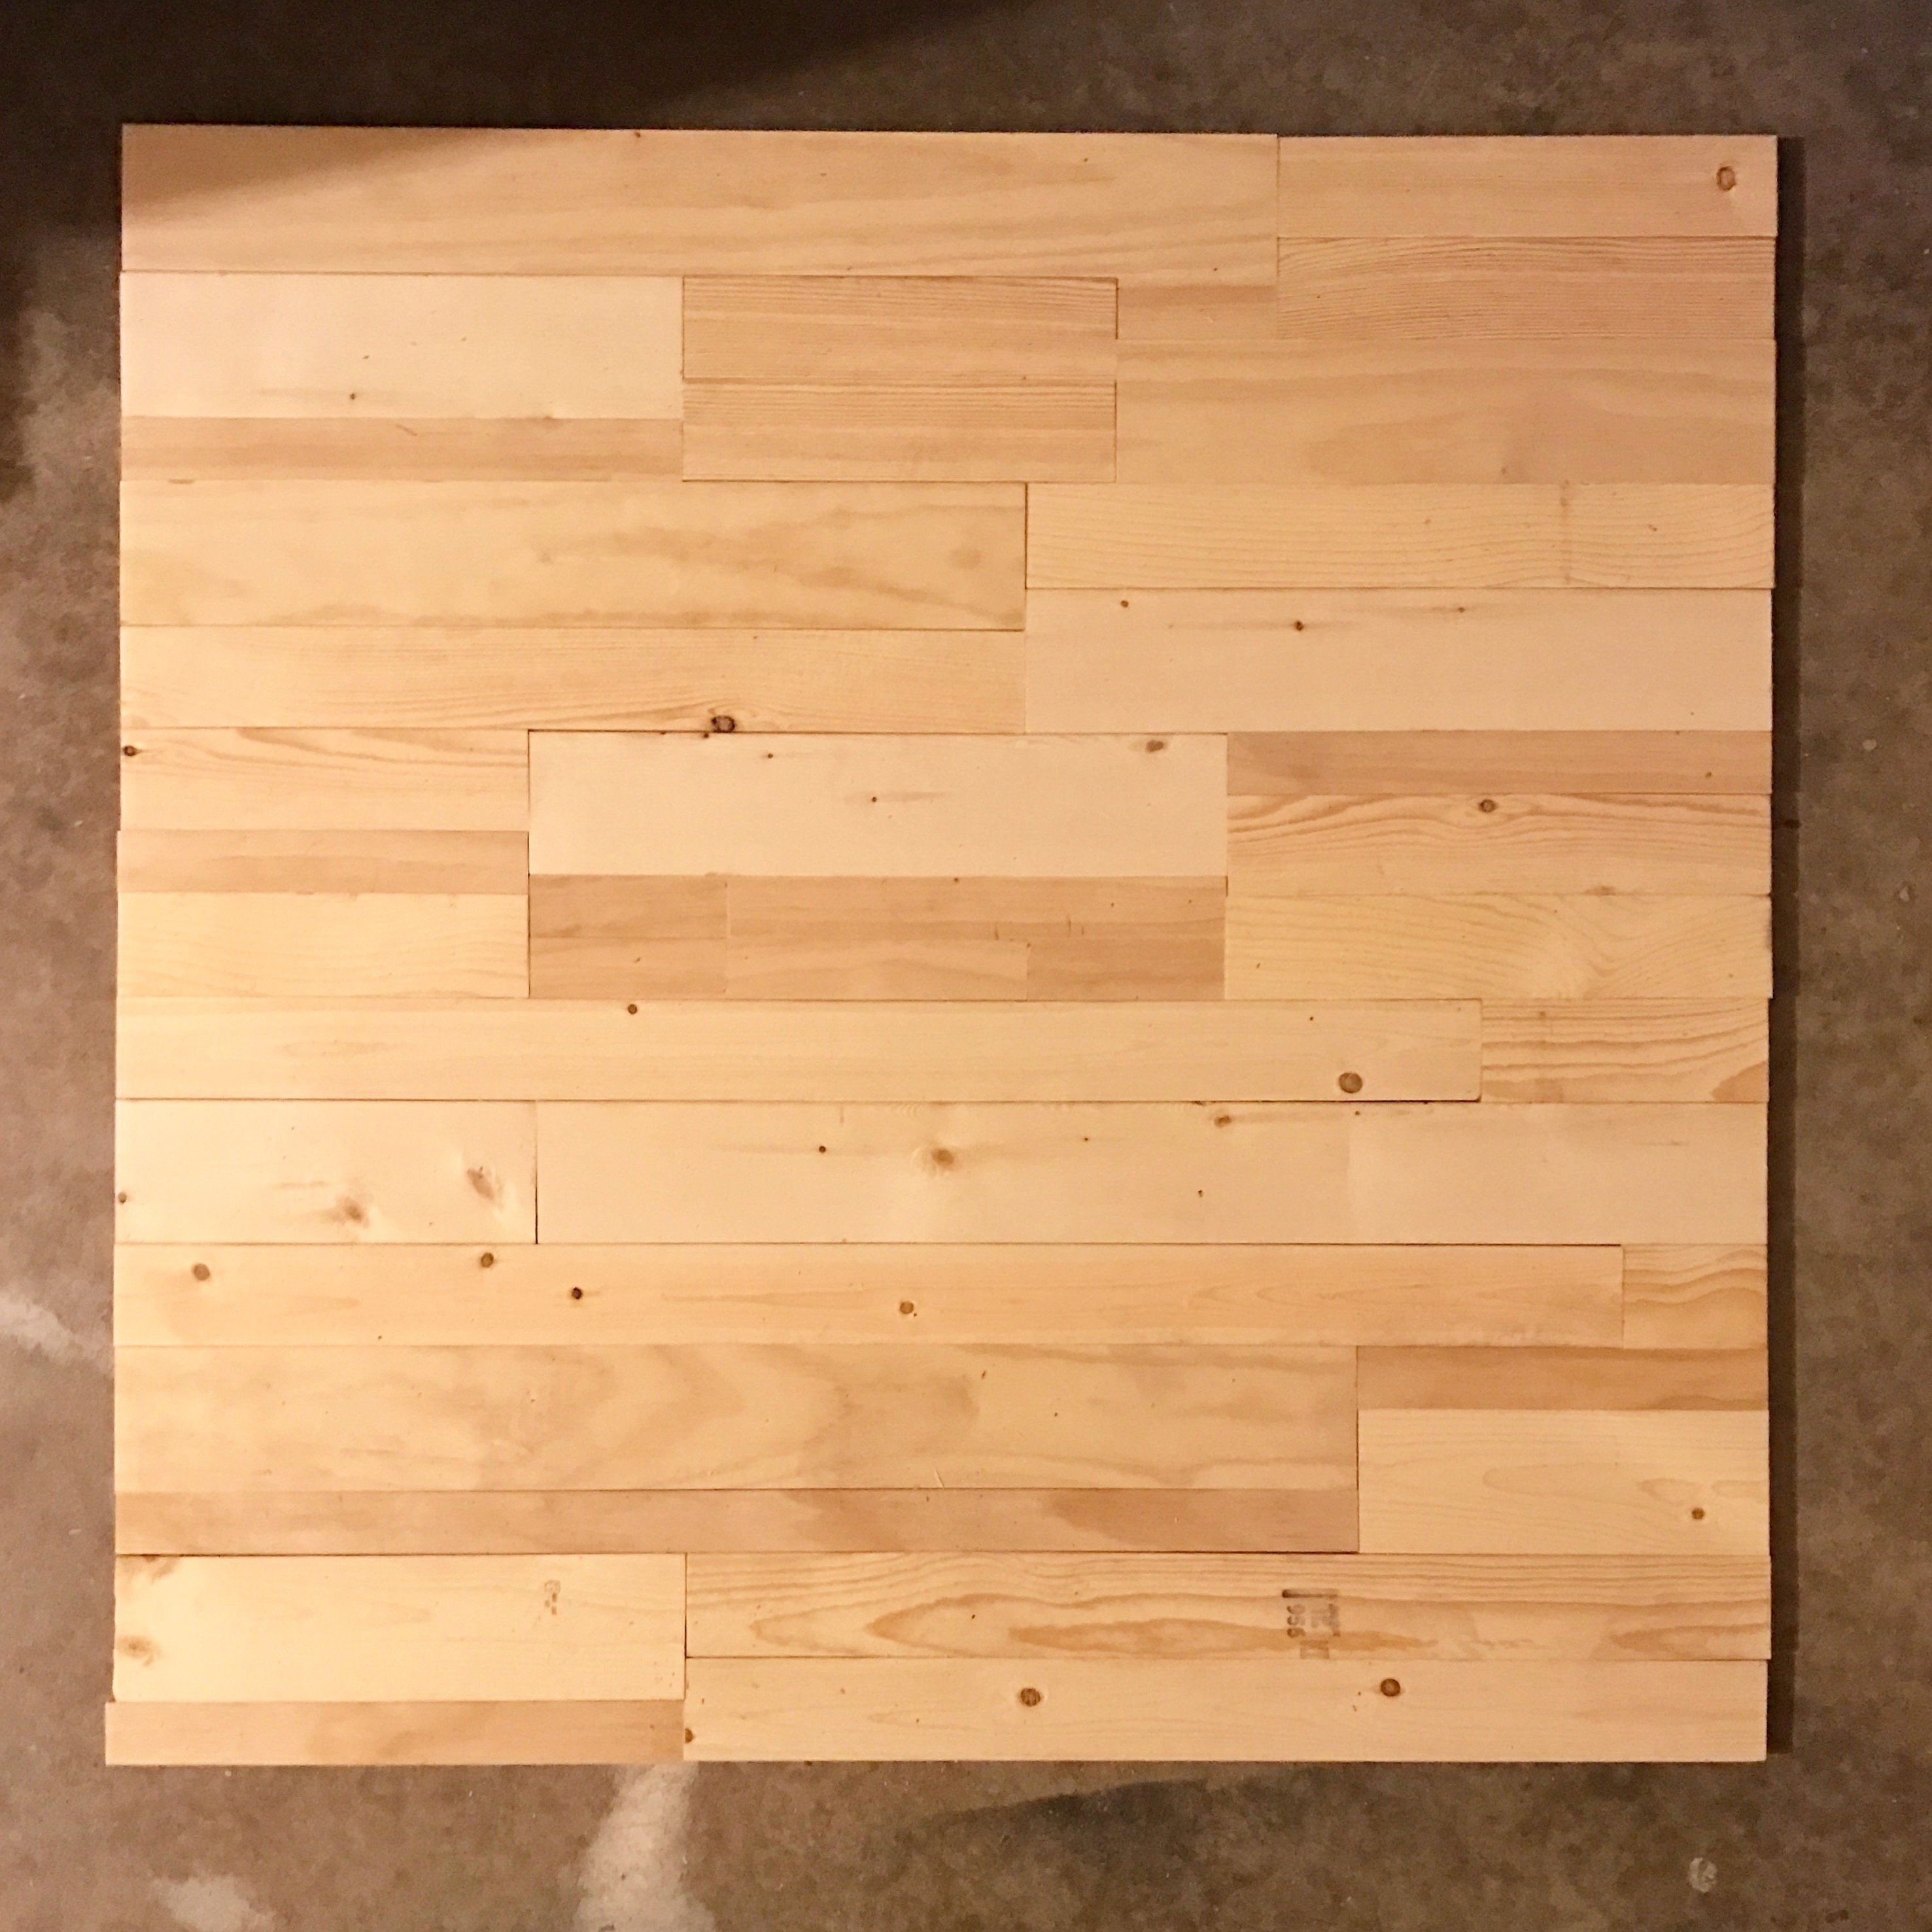
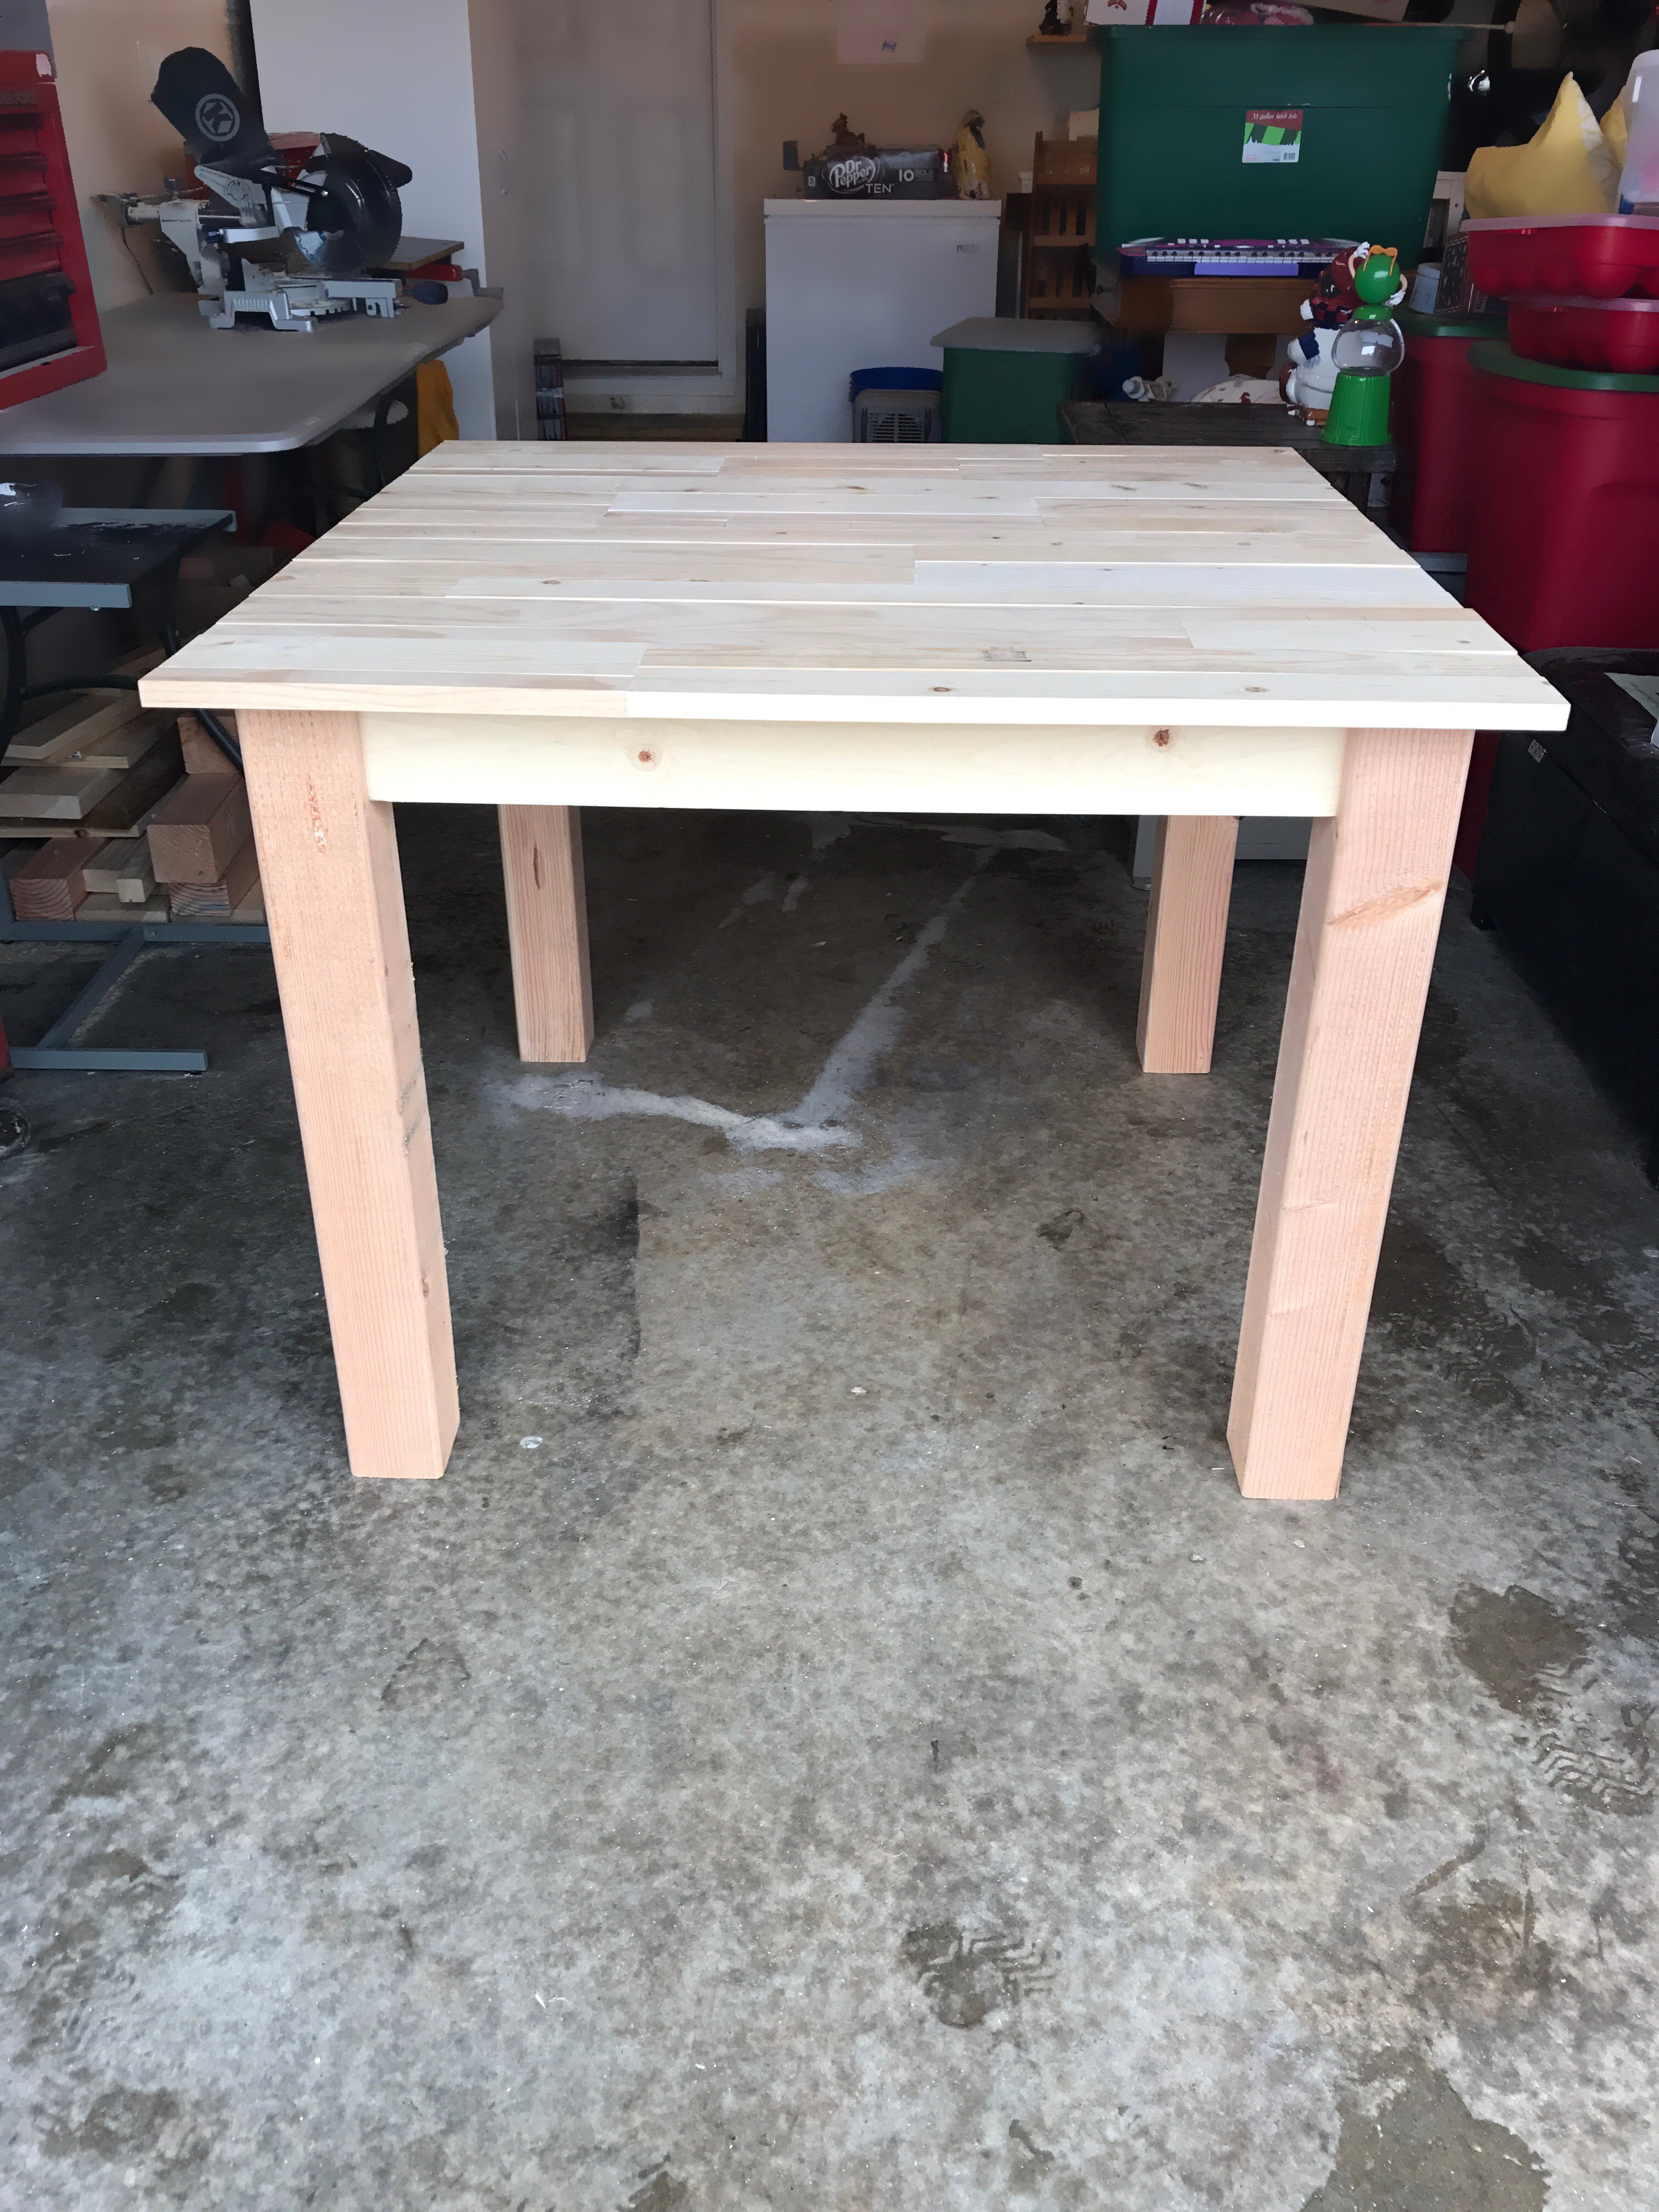
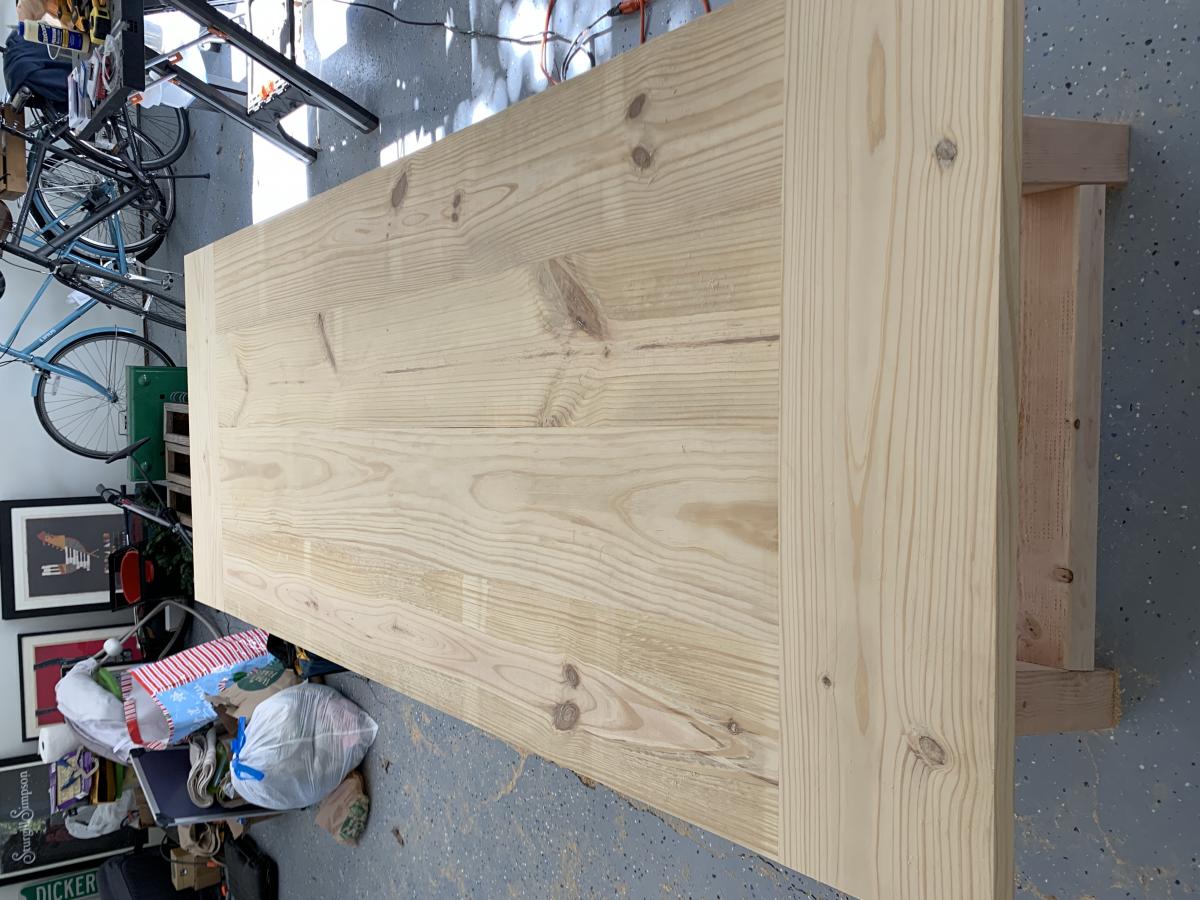
I built this table for a friend who wanted a rustic, plank-top kitchen table. She wanted a square table with 4x4 legs. Since I don't have clamps, I used pocket holes and wood glue for the table top. Also, I only have a 7&1/4" miter saw, which means the 4x4s were too thick to cut. So I made one cut in the legs, then flipped them and made another. It worked! :) I sanded down the sides of the table top with 80 grit. They needed to be evened up since some of the planks were a little longer than others. I back braced underneathe the top with (3) 1x3s. Then, I sanded all over with 120, vacuumed, then wiped it down with a damp towel. Fun build!!
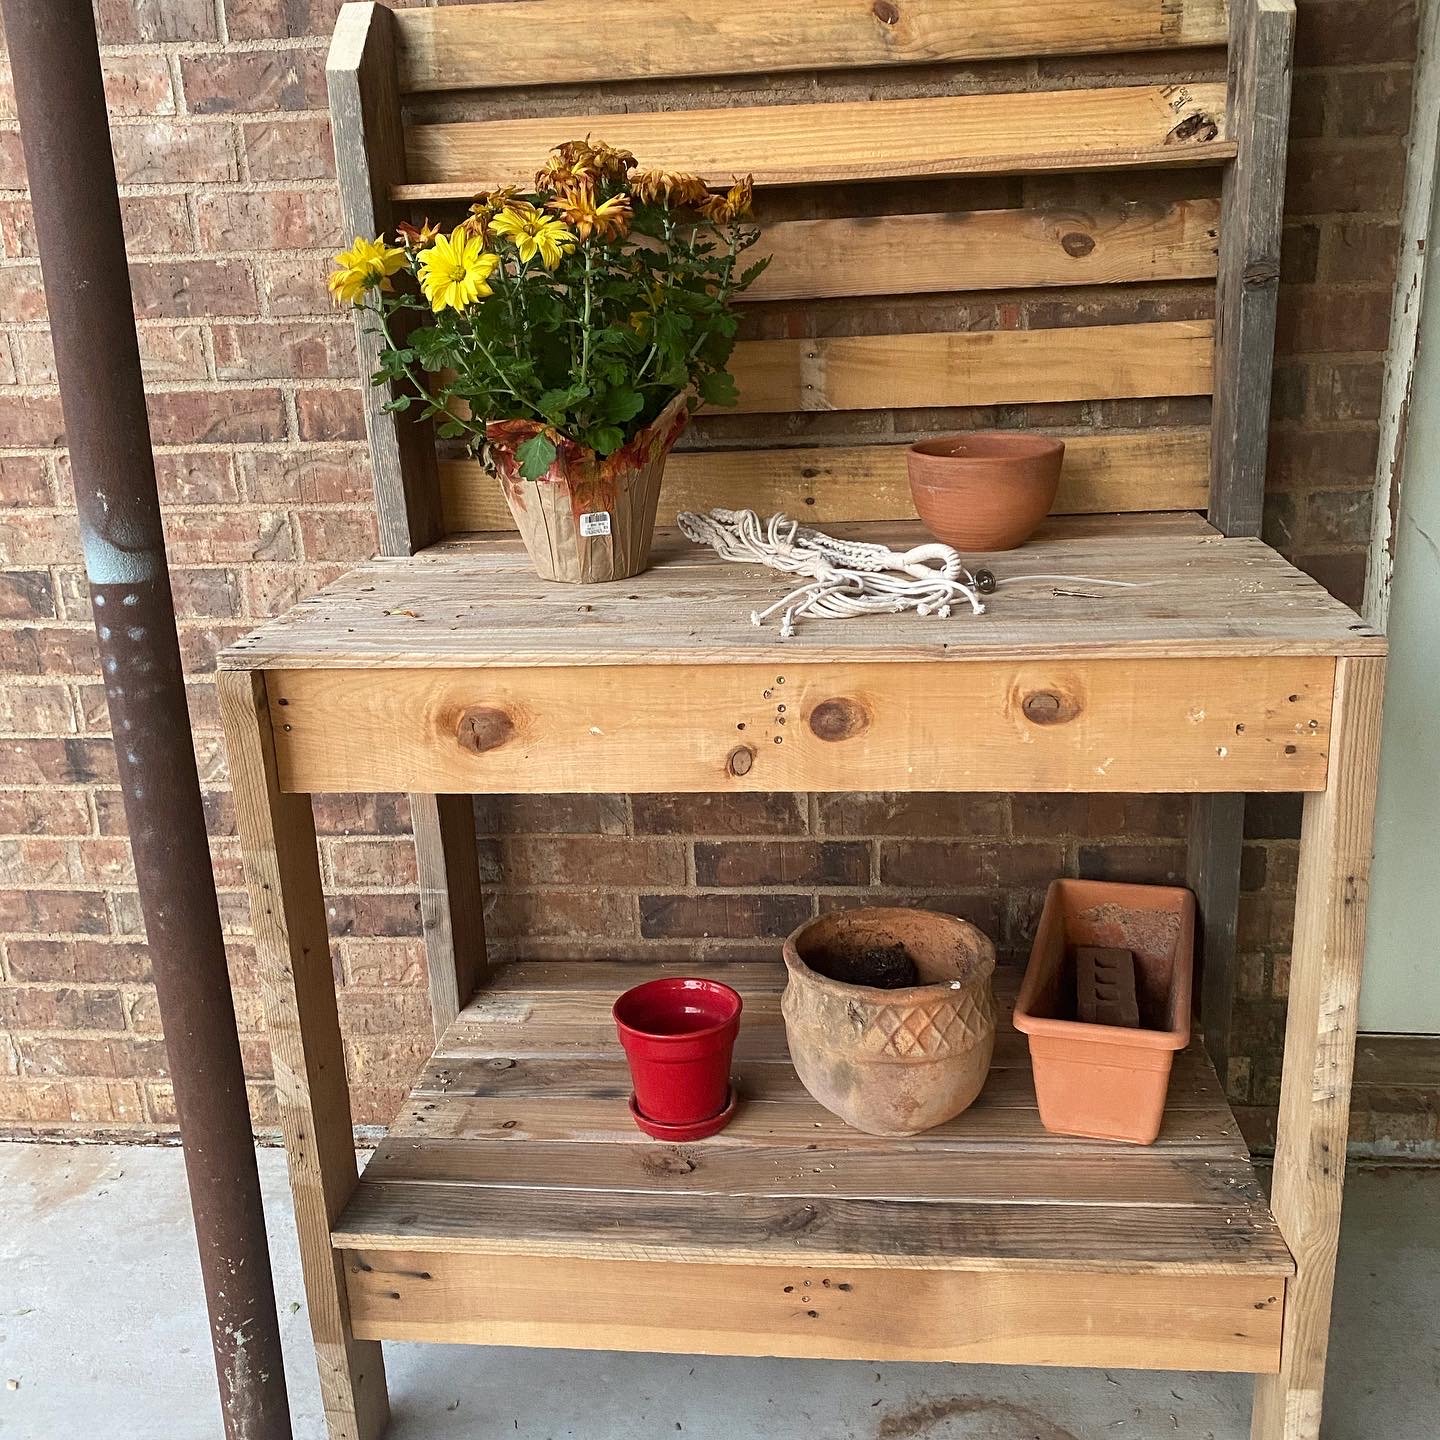
Thank you Ana for the great plans! We adapted the project for wood we had on hand. It is only 40 inches wide instead of 42”. Our widest pallet board was only 40”.
Thank you for continuing to inspire us! We made two couches a couple of months ago. Great plans!

Hey Ana -
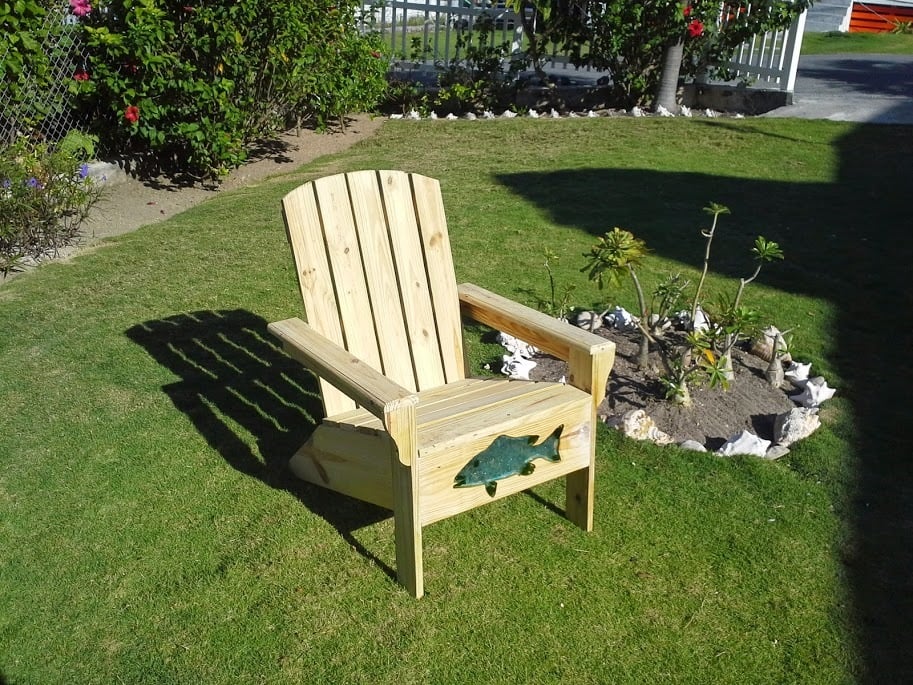
You're plans have been such a great help to me here in the Bahamas. You've saved us thousands of dollars. Really! Here's one of my many adirondack chairs under construction. I added a Bahamian accent.
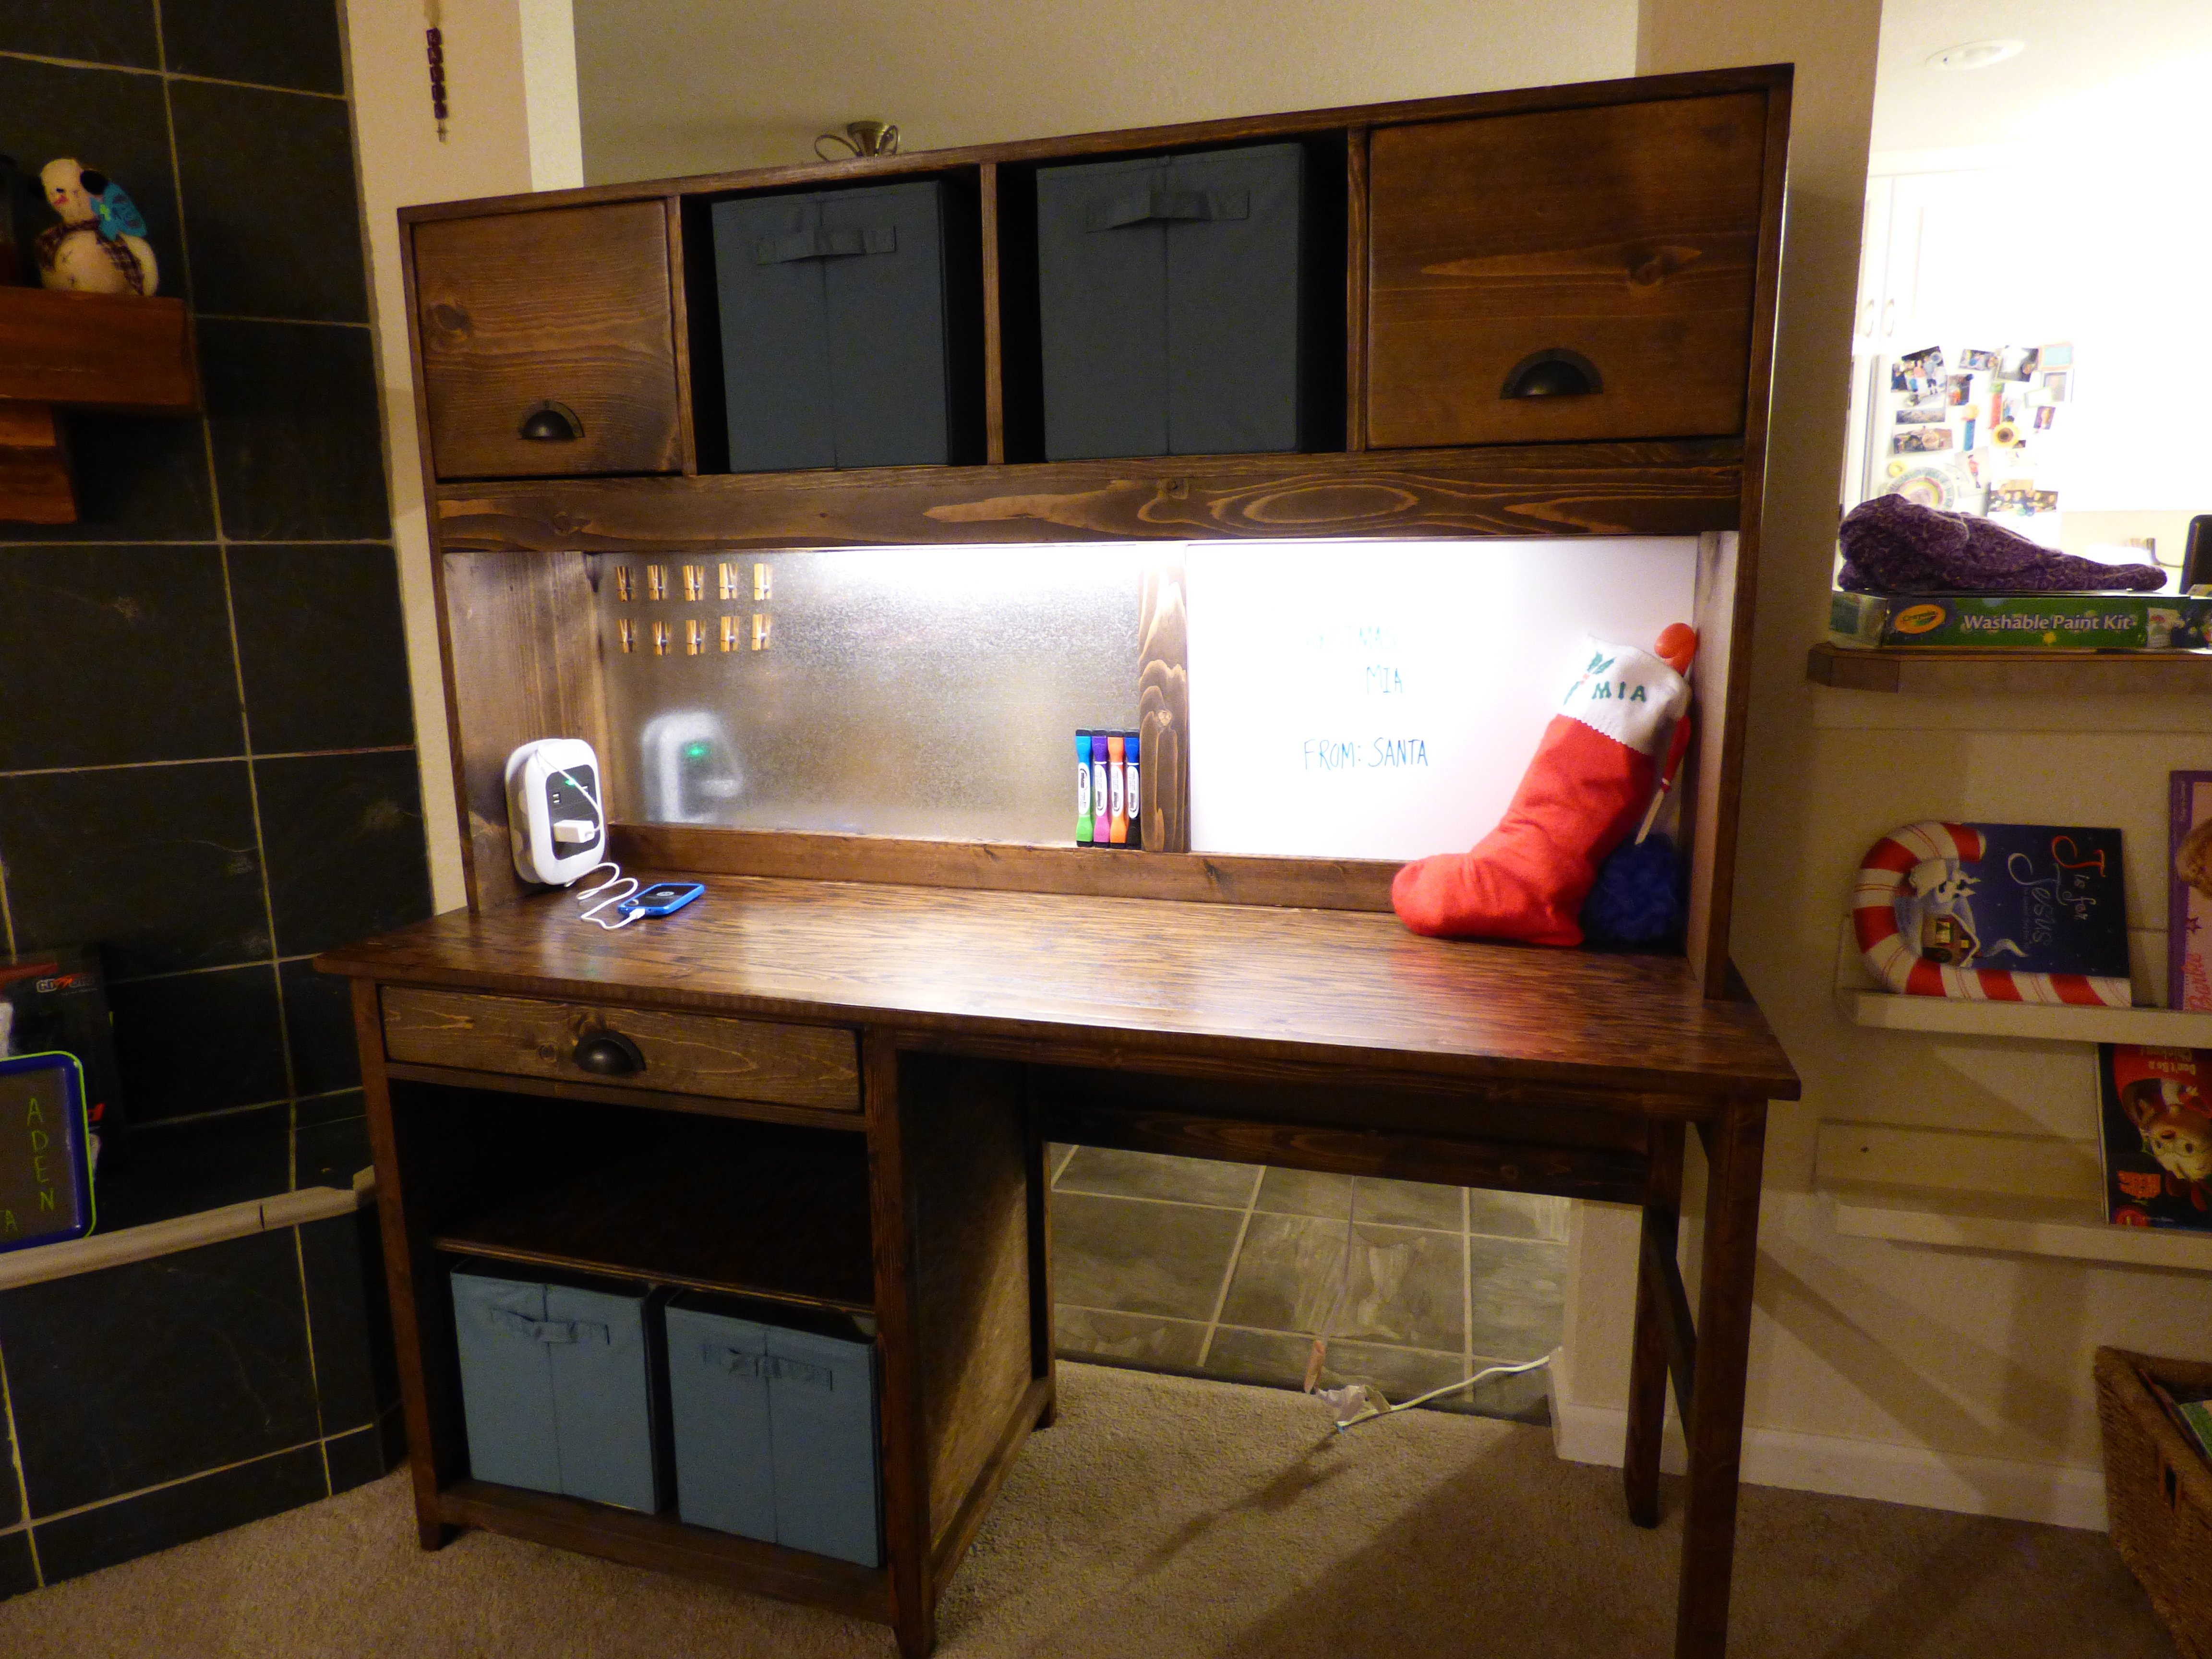
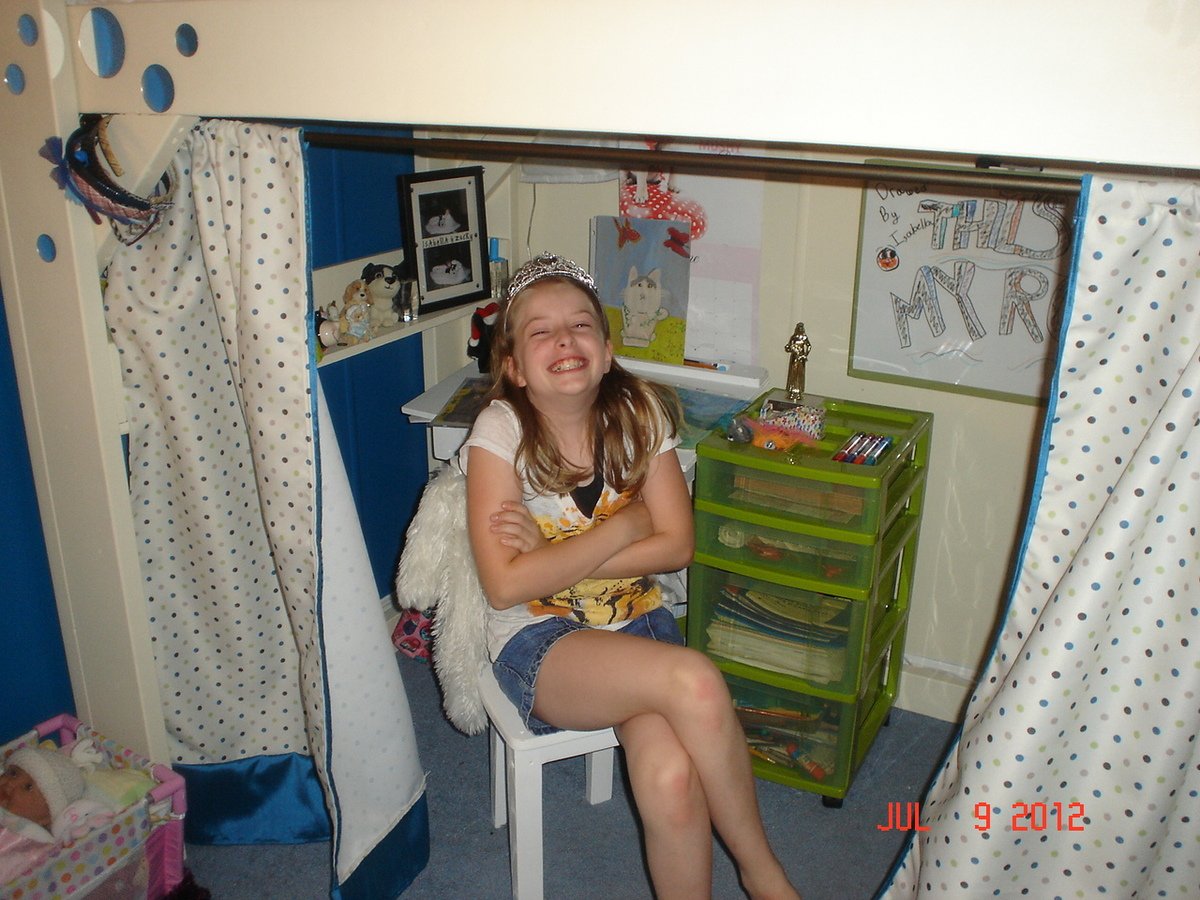
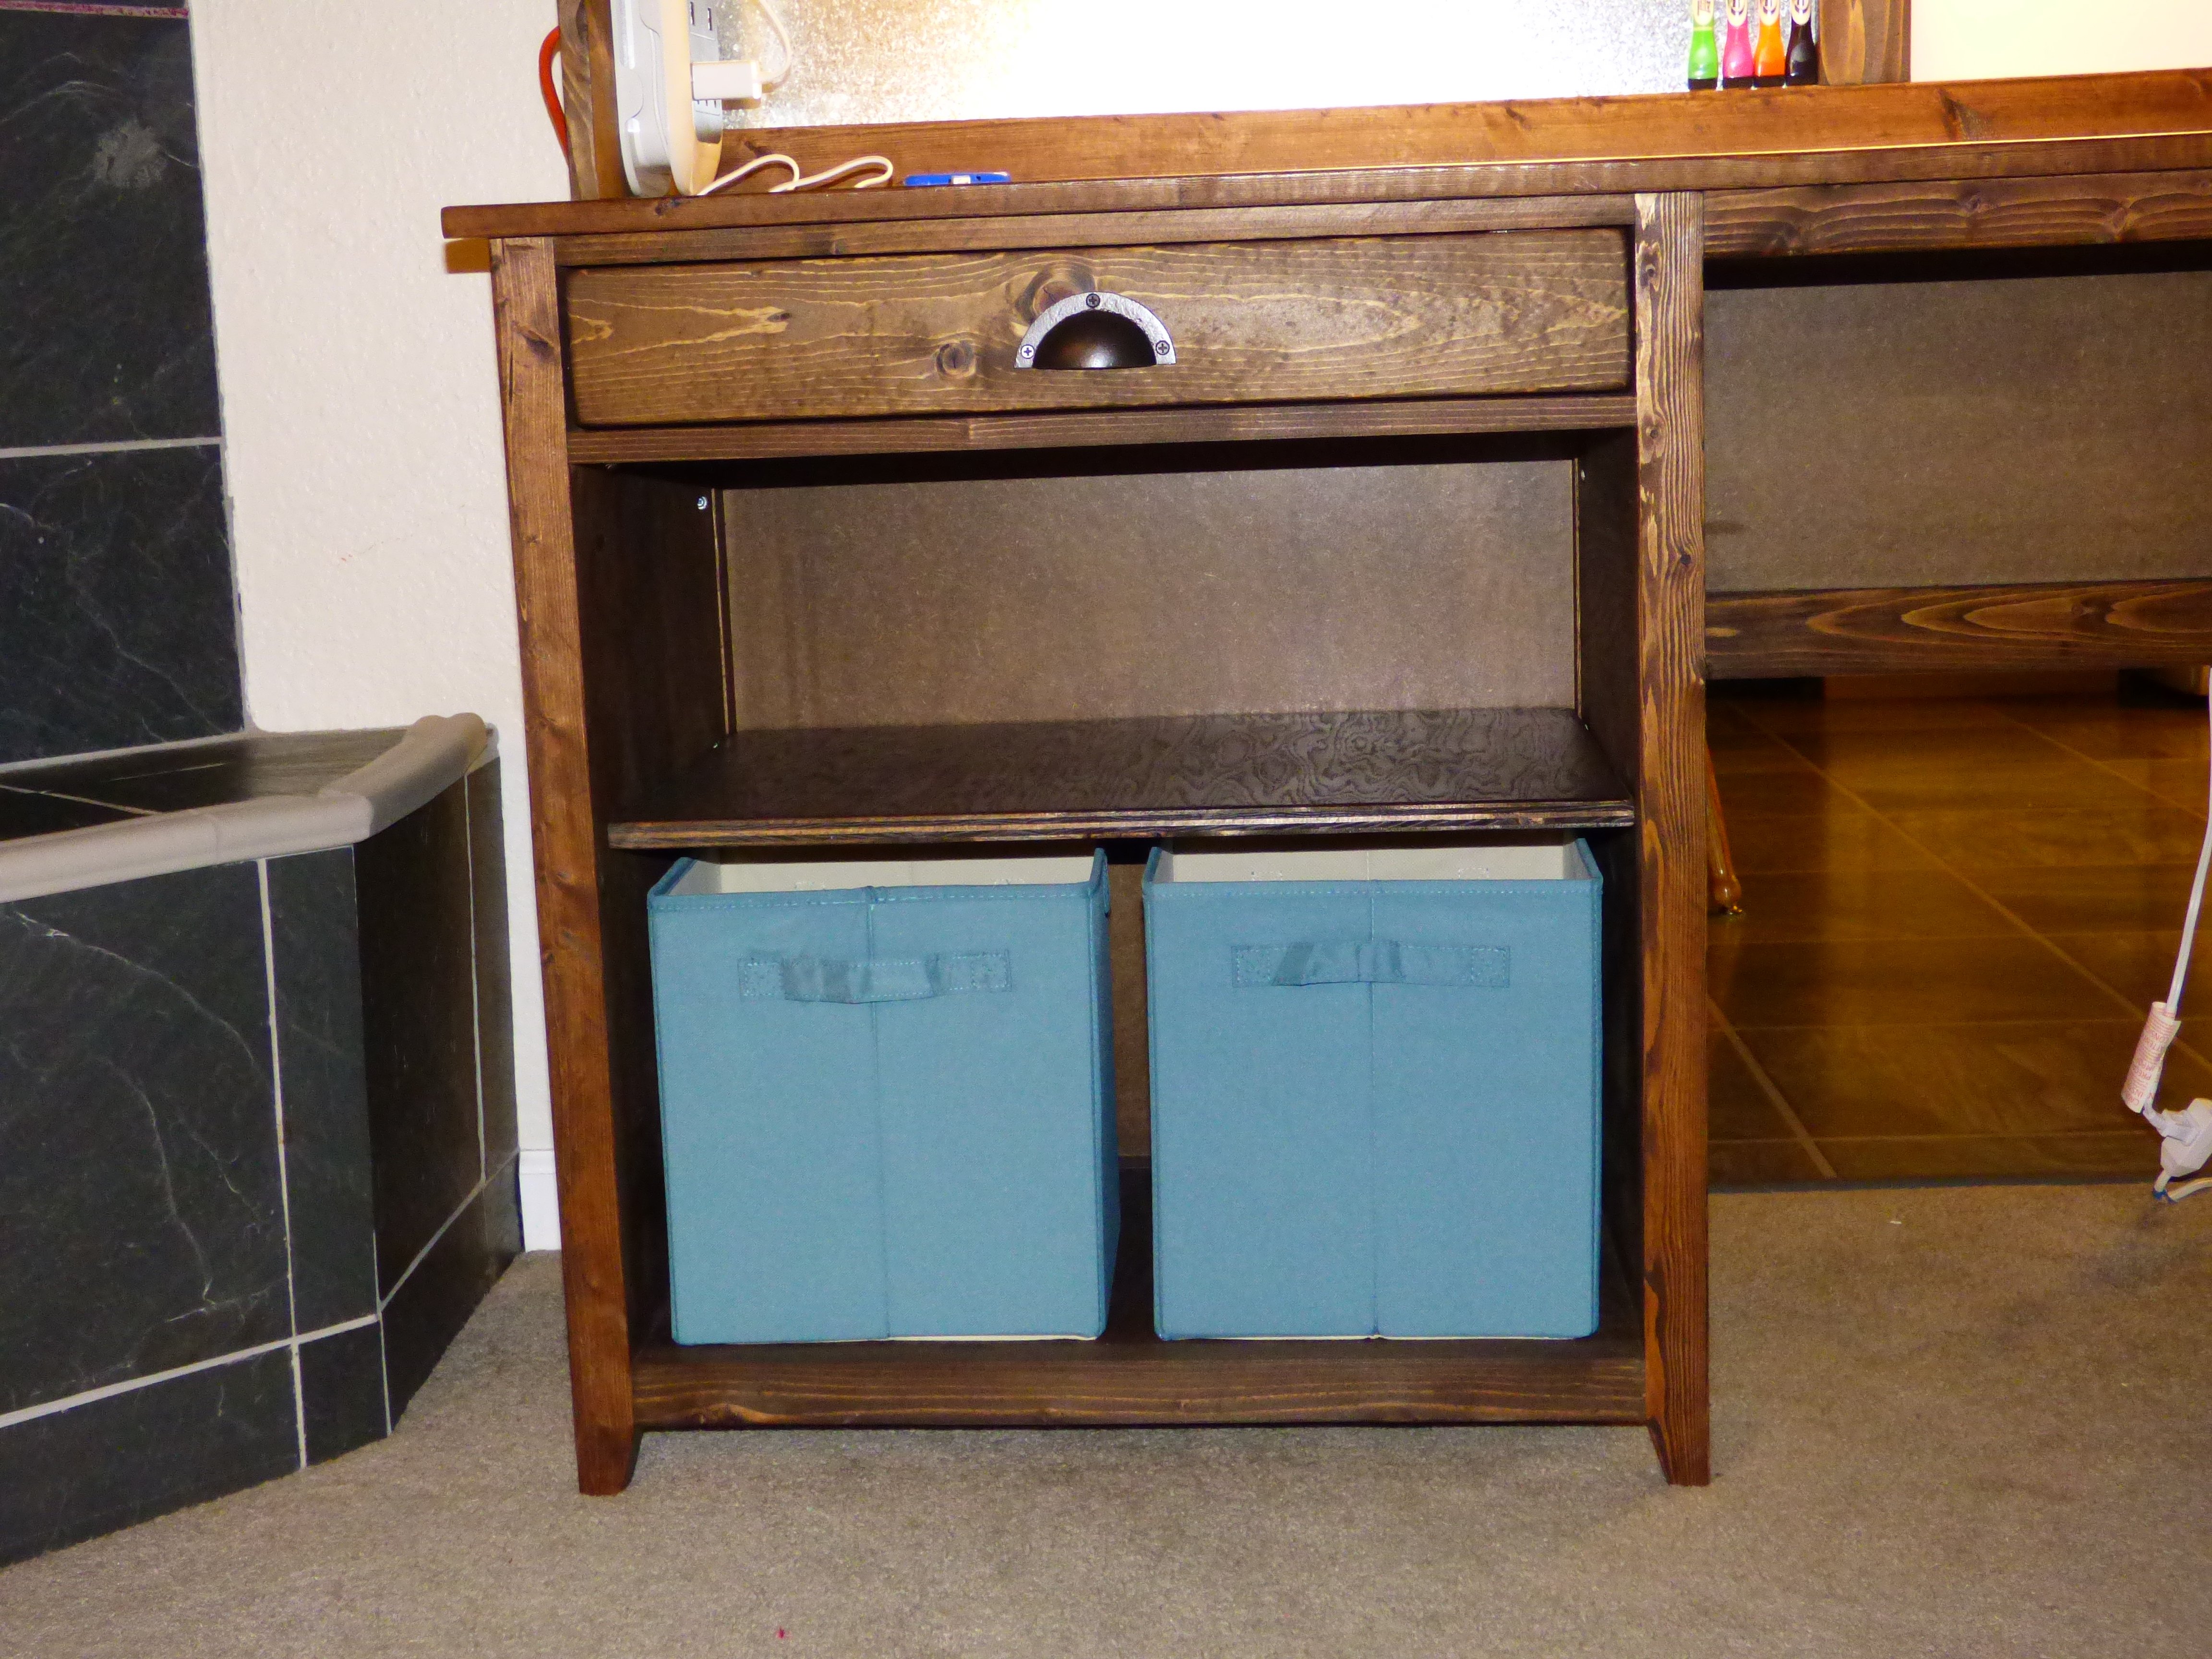
I was not able to get to this desk last year and thought my 15 year old teenage daughter had forgotten about it and was getting too old. Around Thanksgiving she made a comment with a sigh that it would never happen and she understood. I immediately went to work in the garage to have this ready on Christmas morning. She had no idea and was very surprised to find it near the Christmas tree!
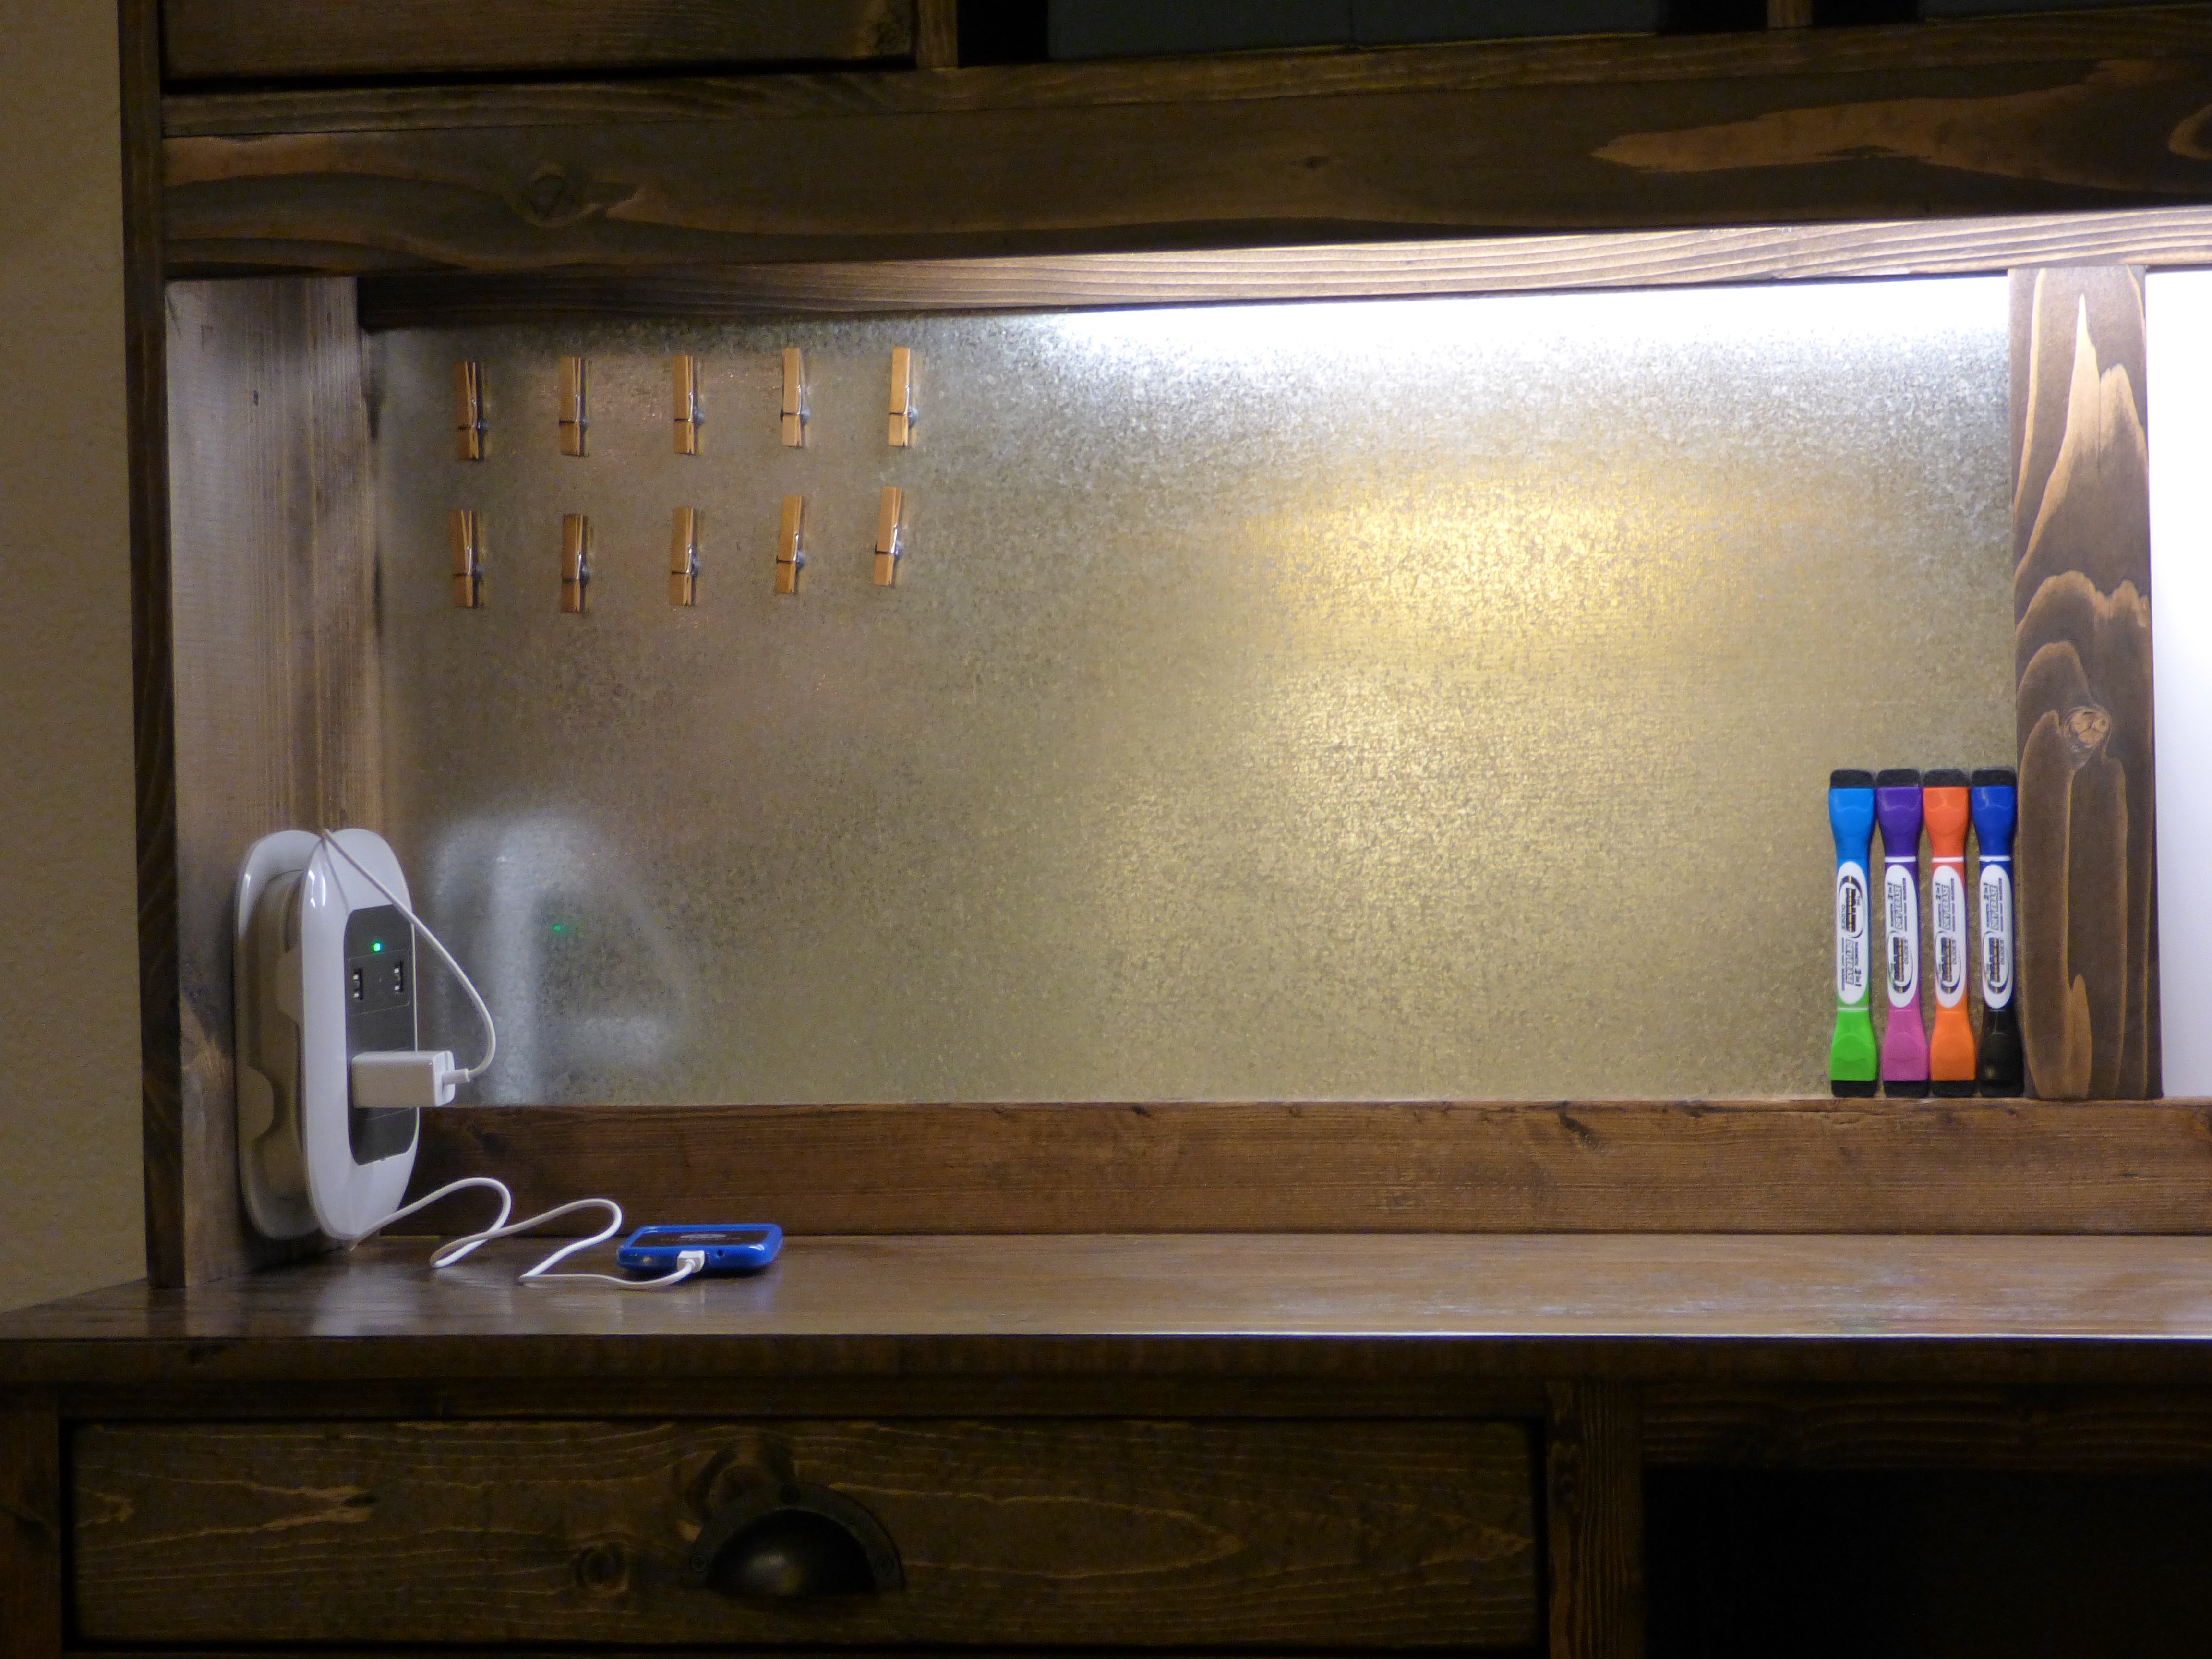
Desk included a power strip with USB ports, an under the hutch light, magnet board & dry erase board w/ magnet markers to stick on the magnet board.
Thank you so much for putting these plans on-line.

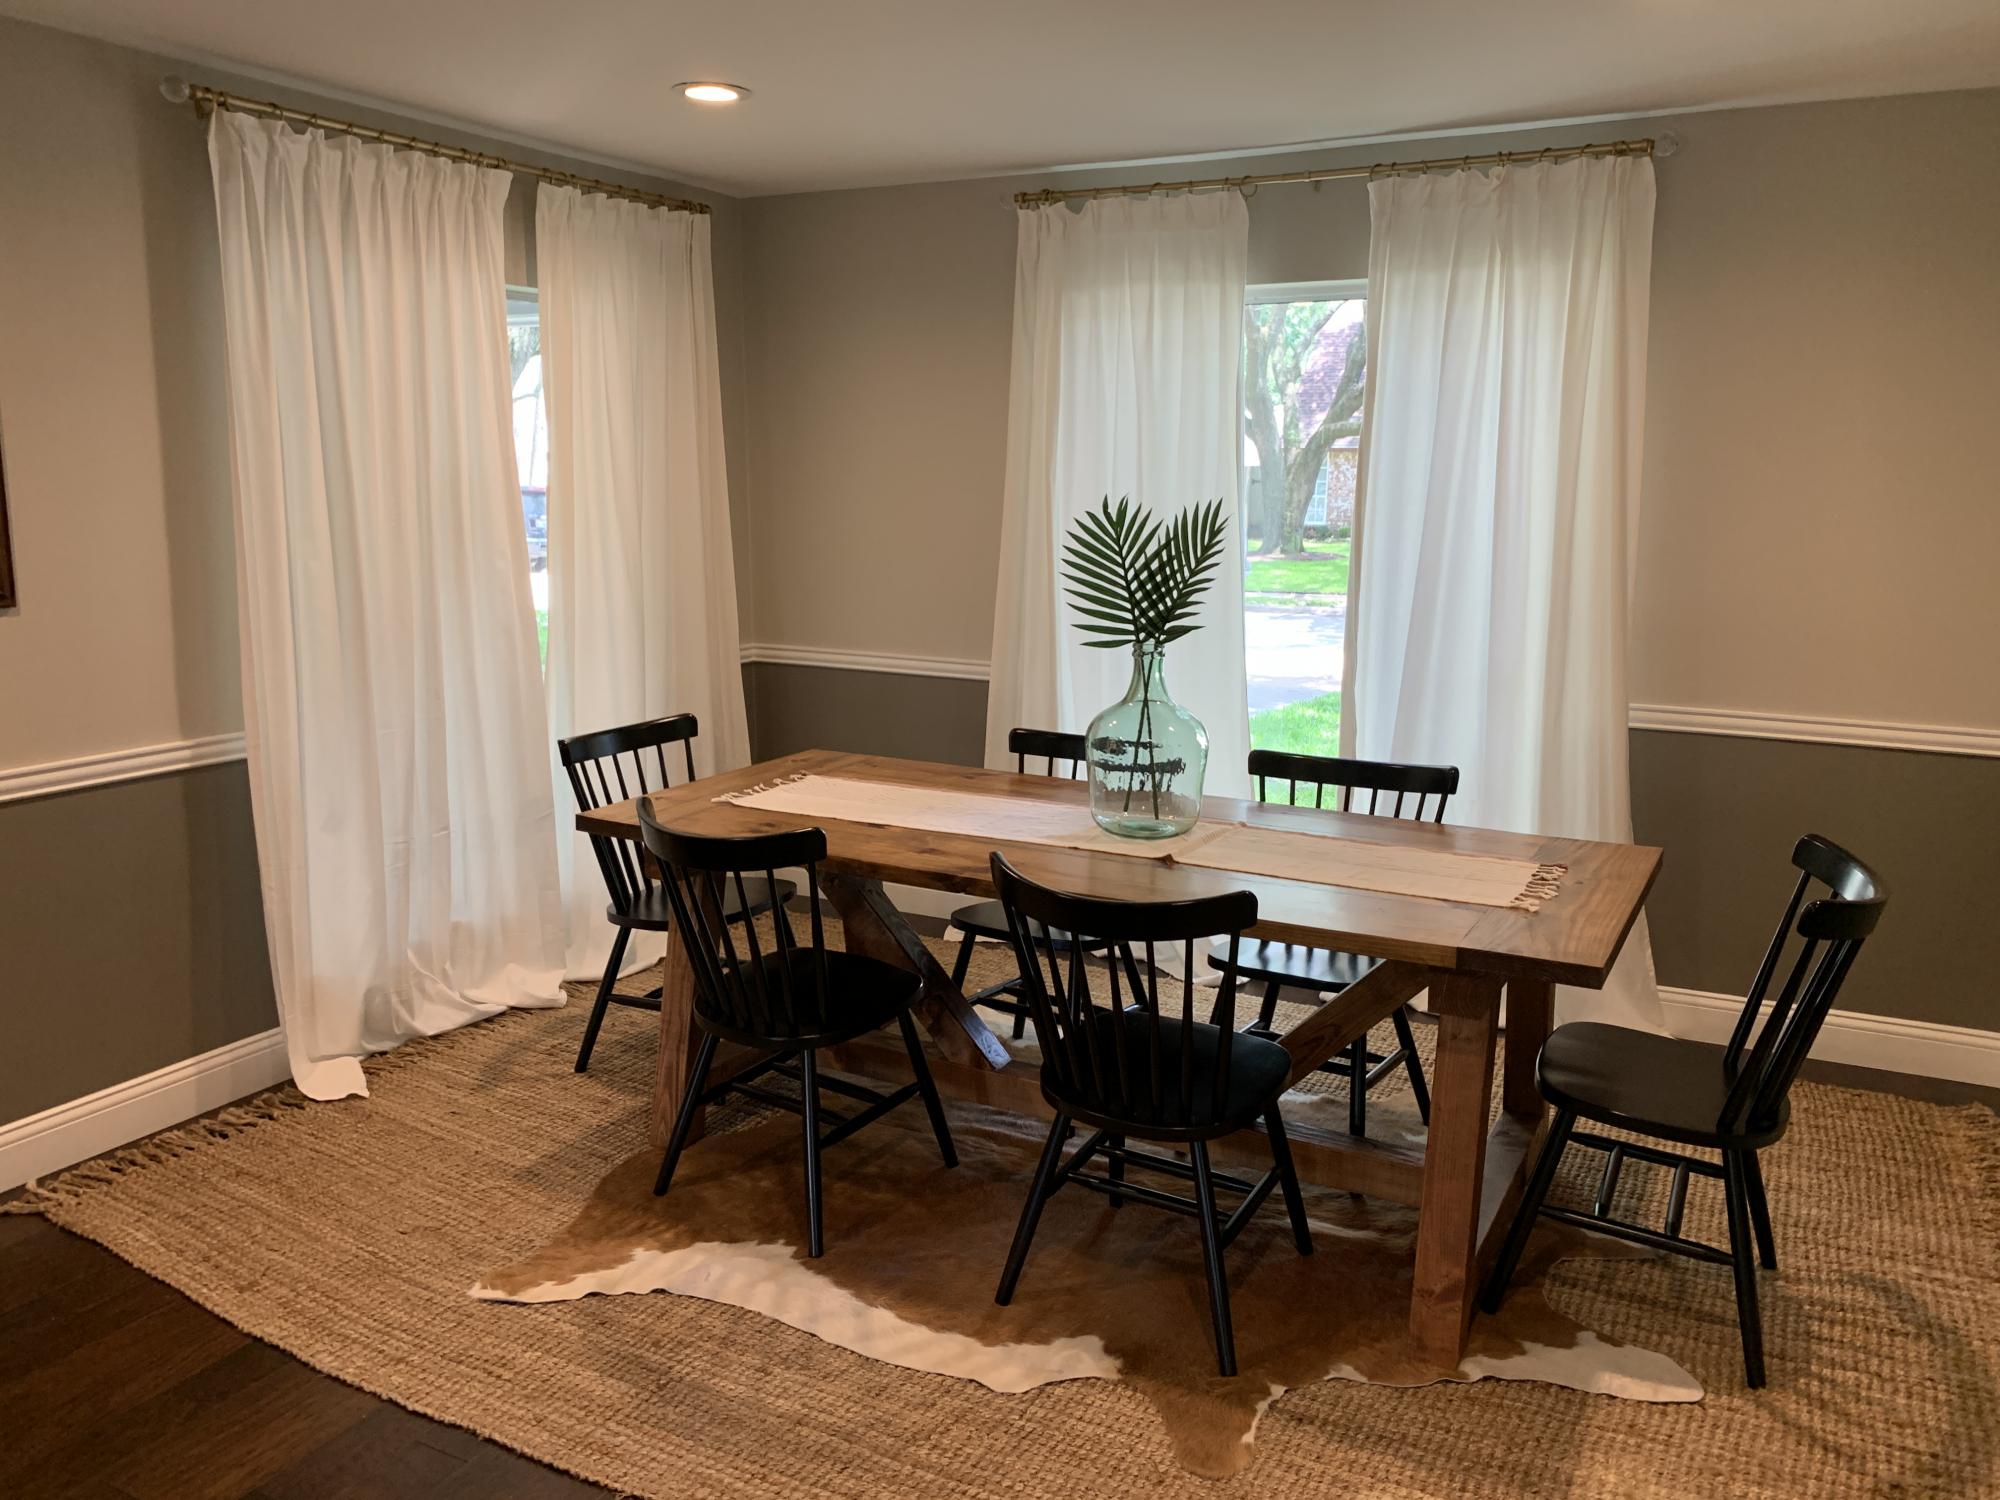
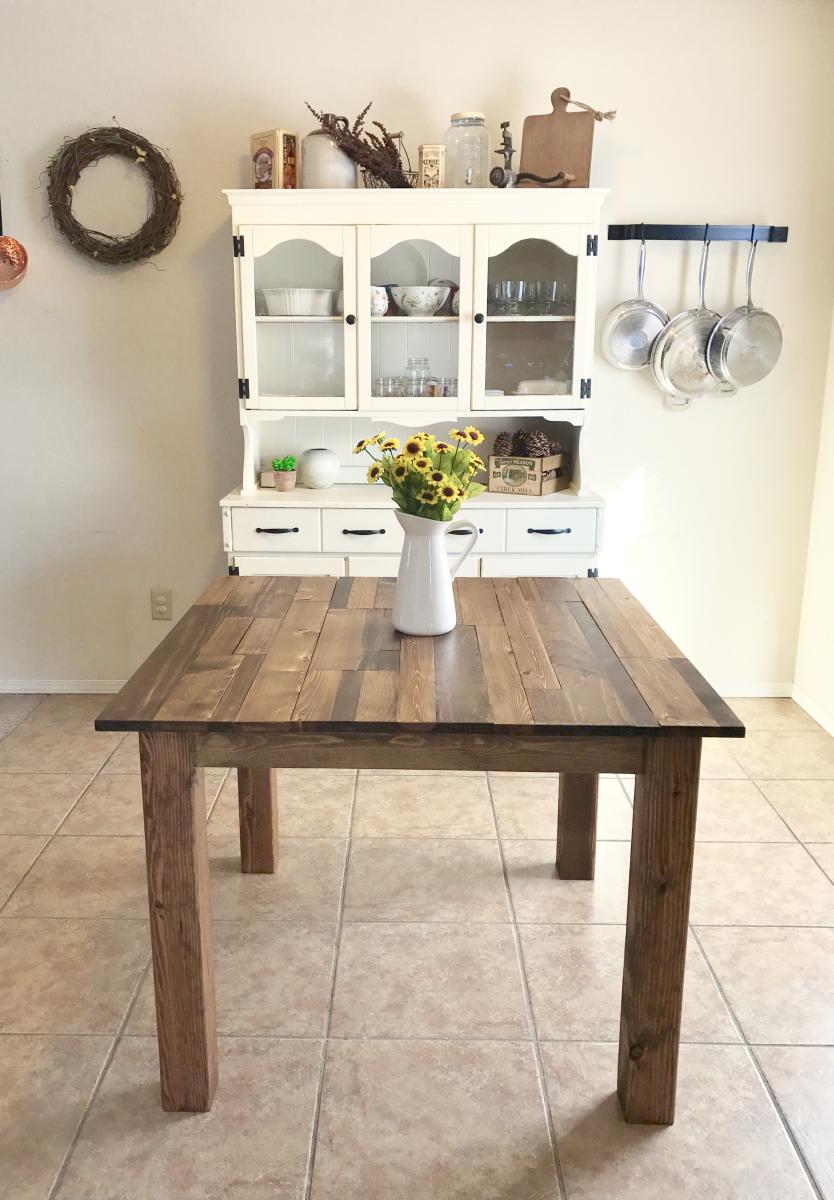
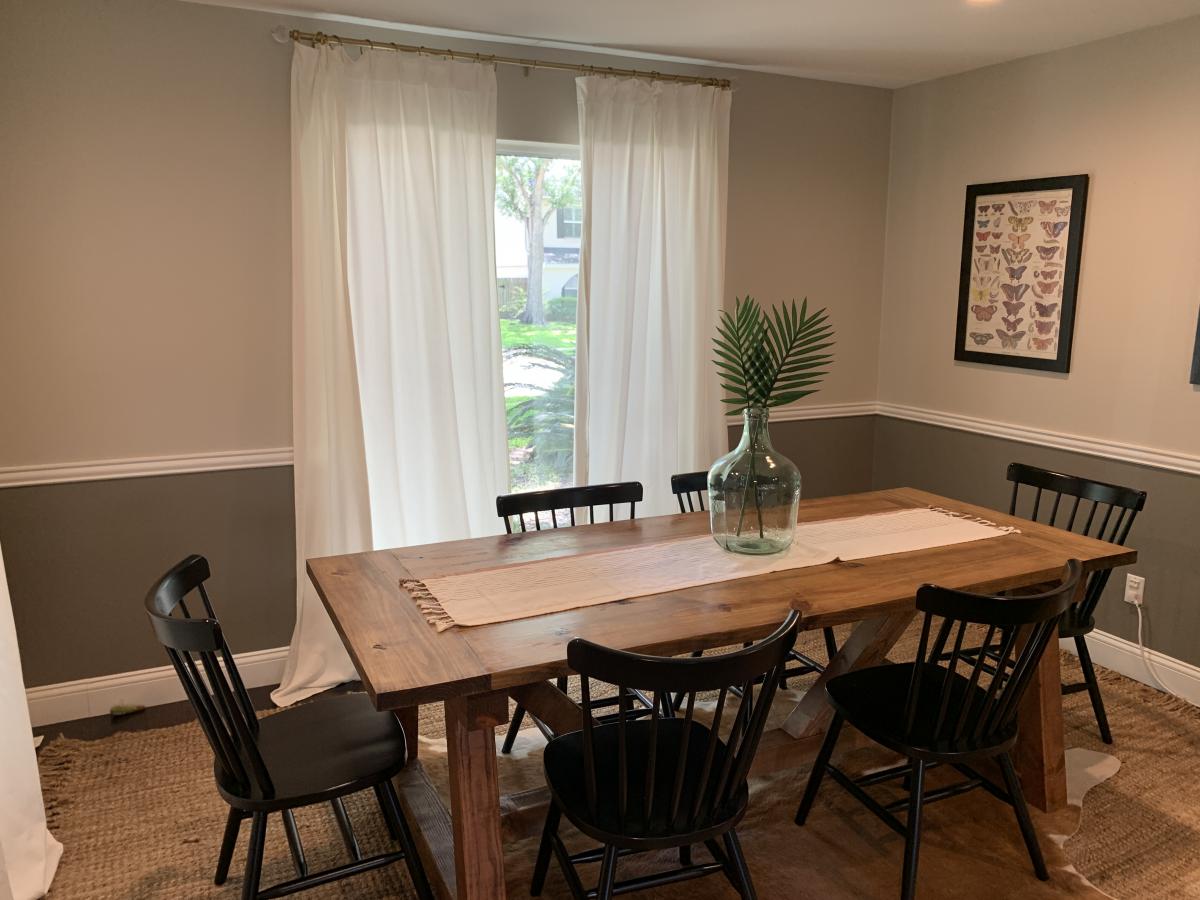
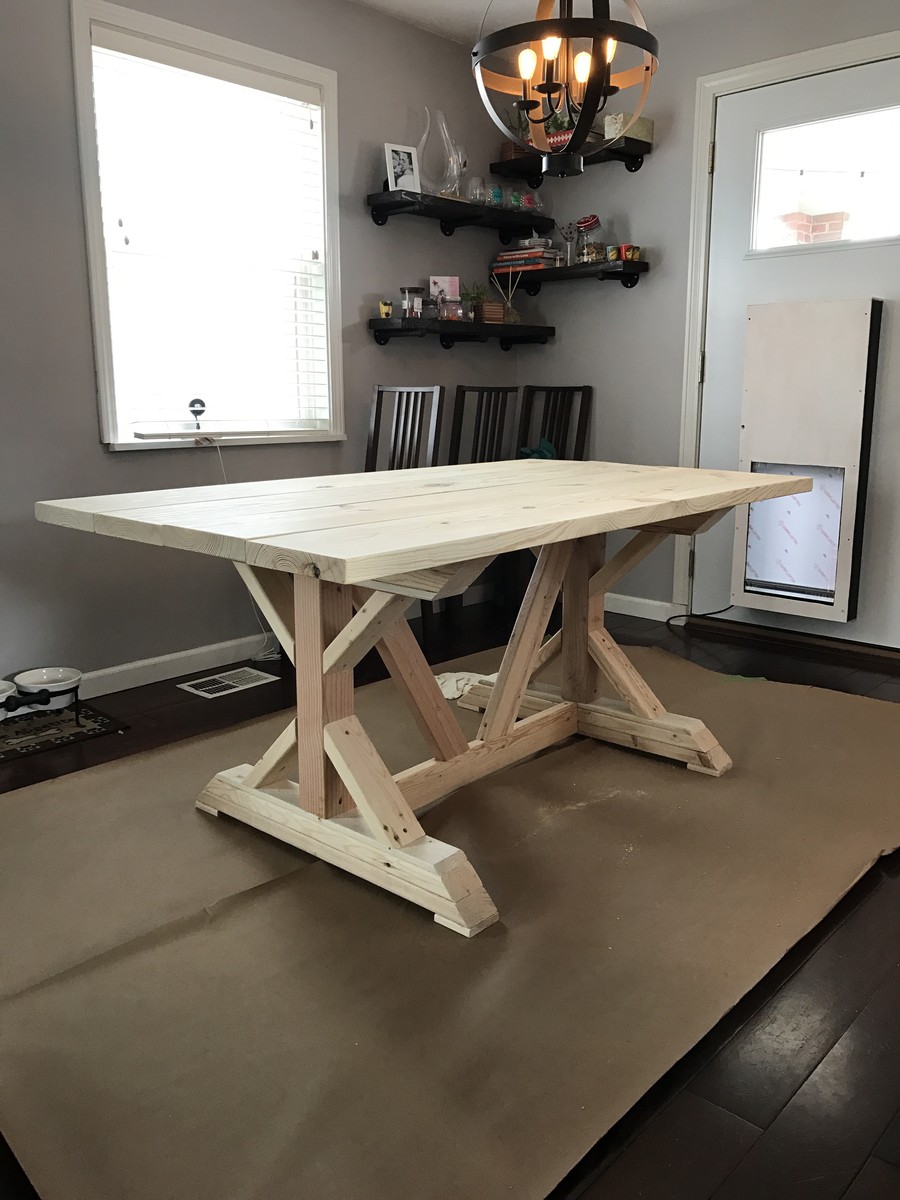
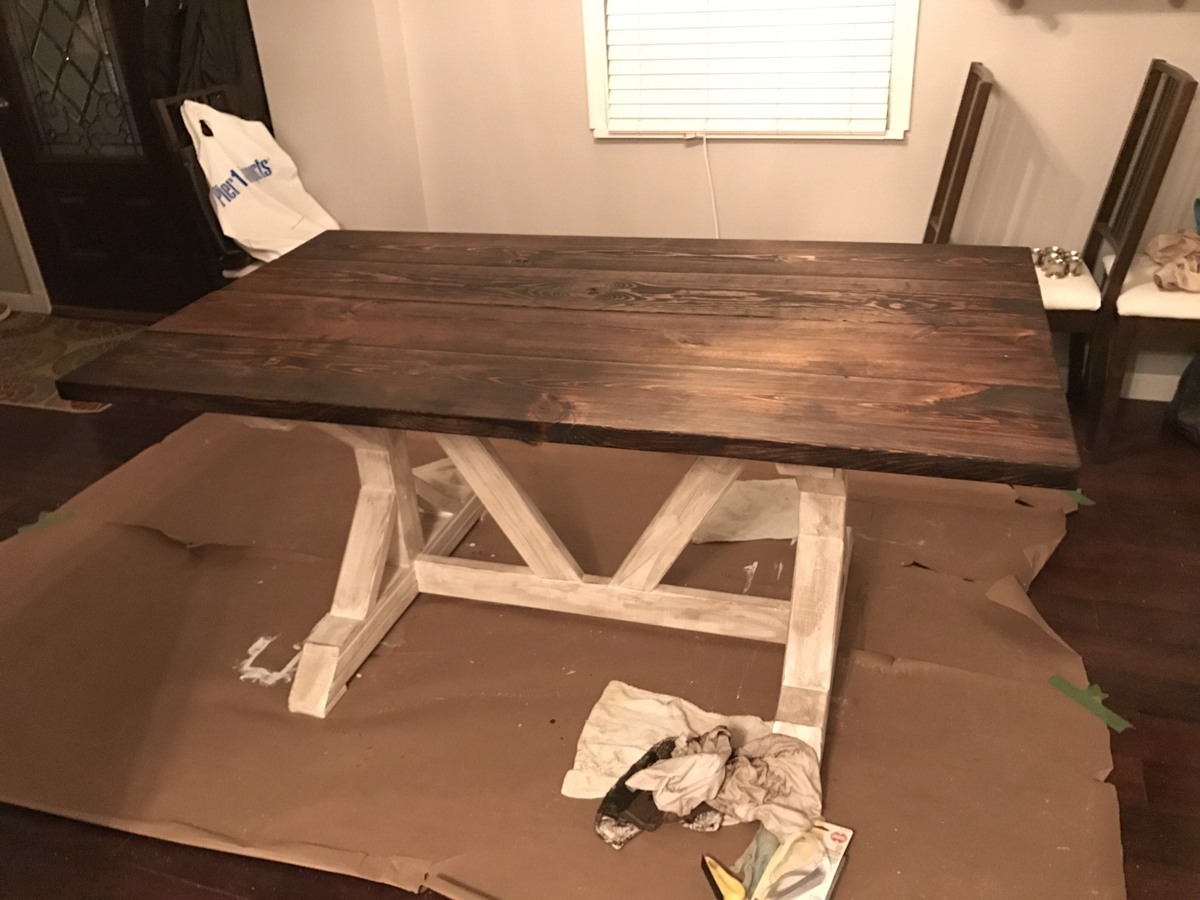
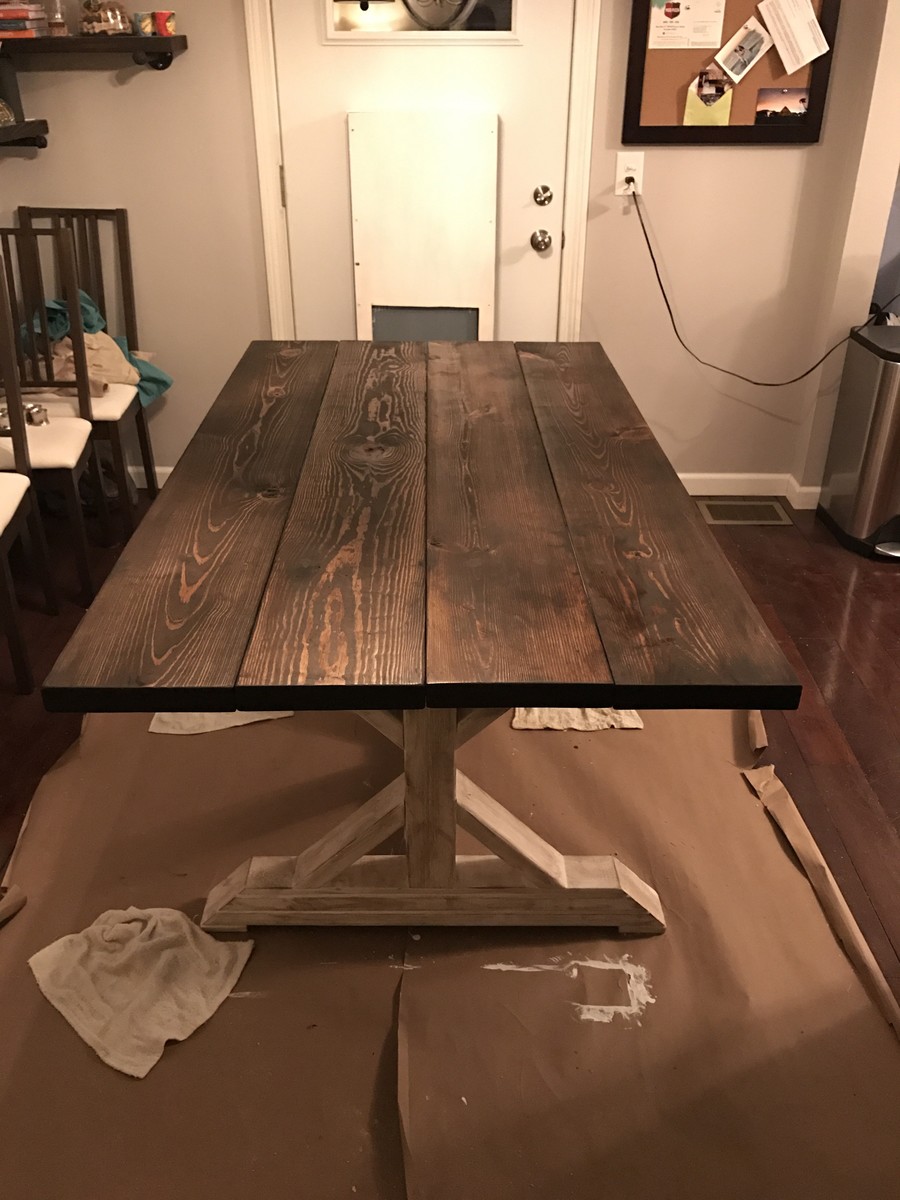
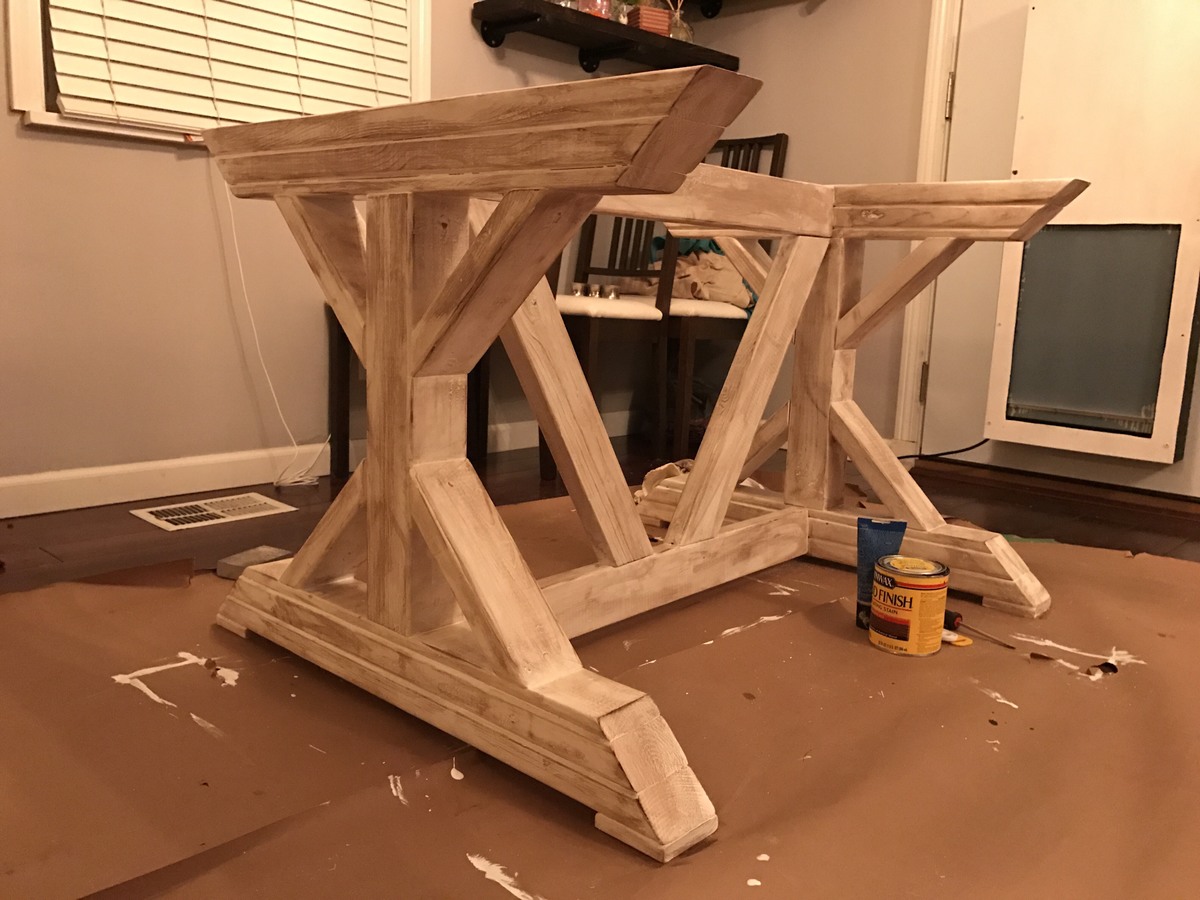
We built this table for our dining room. The project followed the plans for cuts and dimensions except for the top. Instead of using 2x10, we used 2x12 and ripped an inch off each side to have flatter top with out needing to plane.
We used pine for the top and douglas fir for the 4x4 base. Before staining we used a pre-stain conditioner. The table was stained using Minwax Early American and then finished with a clear satin polyurethane.


Have been wanting to build this for 6 months now and just havnt had the time. Finally completed it!
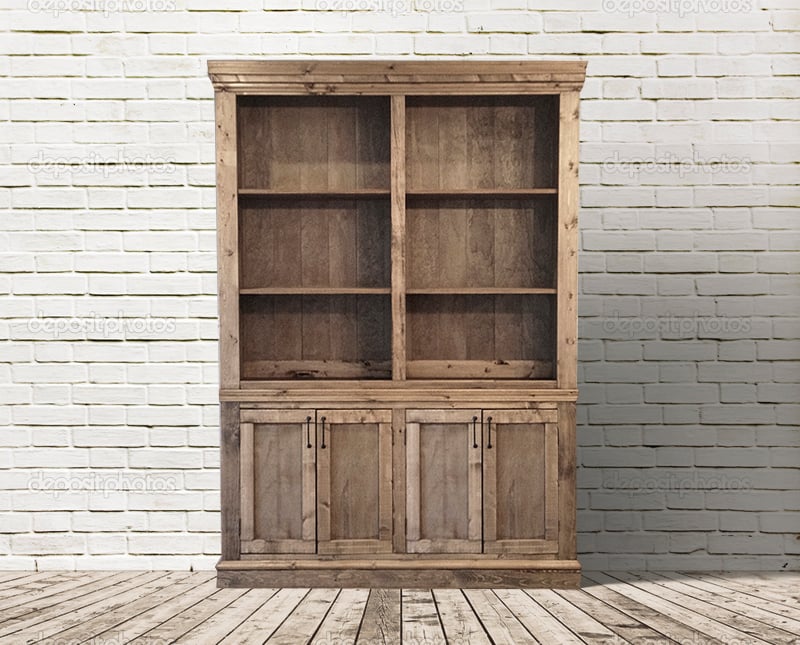
I made some small changes to the design, different trim layouts, different dimensions, and went with a plank look for the back of the hutch instead of a solid peice of 1/4" plywood.
In reply to This looks great. I love the by handmadewithash
Wed, 12/31/2014 - 17:00
Thank you very much for the comment! =).
Happy New Years as well!
Cheers,
Justin
Thu, 01/01/2015 - 22:48
Thank you ehays216! Ive looked at your Farmhouse Storage Bed a few times.. Have always wanted to try the Steel wool/Vinegar trick.
Cheers,
Justin
In reply to Stunning! by Ana White Admin
Thu, 01/01/2015 - 22:49
Thank you very much Ana White Admin!
Cheers,
Justin
In reply to Beautiful!!! by Smjackson82
Sun, 01/04/2015 - 16:07
Of coarse! I used the same height and depth dimensions, just shortened the width by 9 inches.
Cheers,
Justin
In reply to backdrop by timberandsoul
Sun, 01/04/2015 - 16:09
Thanks a lot timberandsoul!
Photo was taken on an empty wall in my living room, Which is currently a light gray wall. thought it looked boring so I did a quick switch of backdrops in PS. I just typed in brick wall in google.
Cheers,
Justin

Sun, 01/04/2015 - 11:30
Hi Justin. Did you use any special technique between the two coats of stain to achieve that effect. Thanks. Andy
In reply to How to achieve that finish? by AndyH
Sun, 01/04/2015 - 16:10
Got your email Andy, hopefully you got mine!
Cheers,
Justin
Sun, 01/04/2015 - 18:36
Hey Singhs, I went with Home Depot Regular Knotty Pine. Cheap and easy to work with.
Cheers,
Justin
Mon, 01/19/2015 - 13:03
I love this! Can you give me information on how you modified the plan to achieve the plank backing and the stain color?
In reply to Stain color and plank backing by juddgirl2
Sat, 01/24/2015 - 13:08
Sure! the plans call for 2 solid sheets of 1/4 plywood for the backing.. I simply just ran the plywood through a table saw at 5.5" wide and brad nailed it the back. =)
The stain is weathered oak and let sit for 15min. Then right away special walnut and let sit for 15 min.
repeat until desired colour. let me know if you have any more questions!
Cheers,
Justin
Sun, 01/08/2017 - 07:33
How many coats did you have to do to achieve this look? The weathered oak looks so light...and gray.
Thanks!

Sun, 05/17/2015 - 19:40
What was your strategy on attaching the sideboard to the Hutch. I haven't seen where there is any instructions or conversation around this. What and how did you accomplish this and/or is there anywhere to go that discussed this that helped you.
Thanks,
Tue, 07/05/2016 - 00:19
This inspired hutch/sideboard is absolutely divine! What an awesome job!
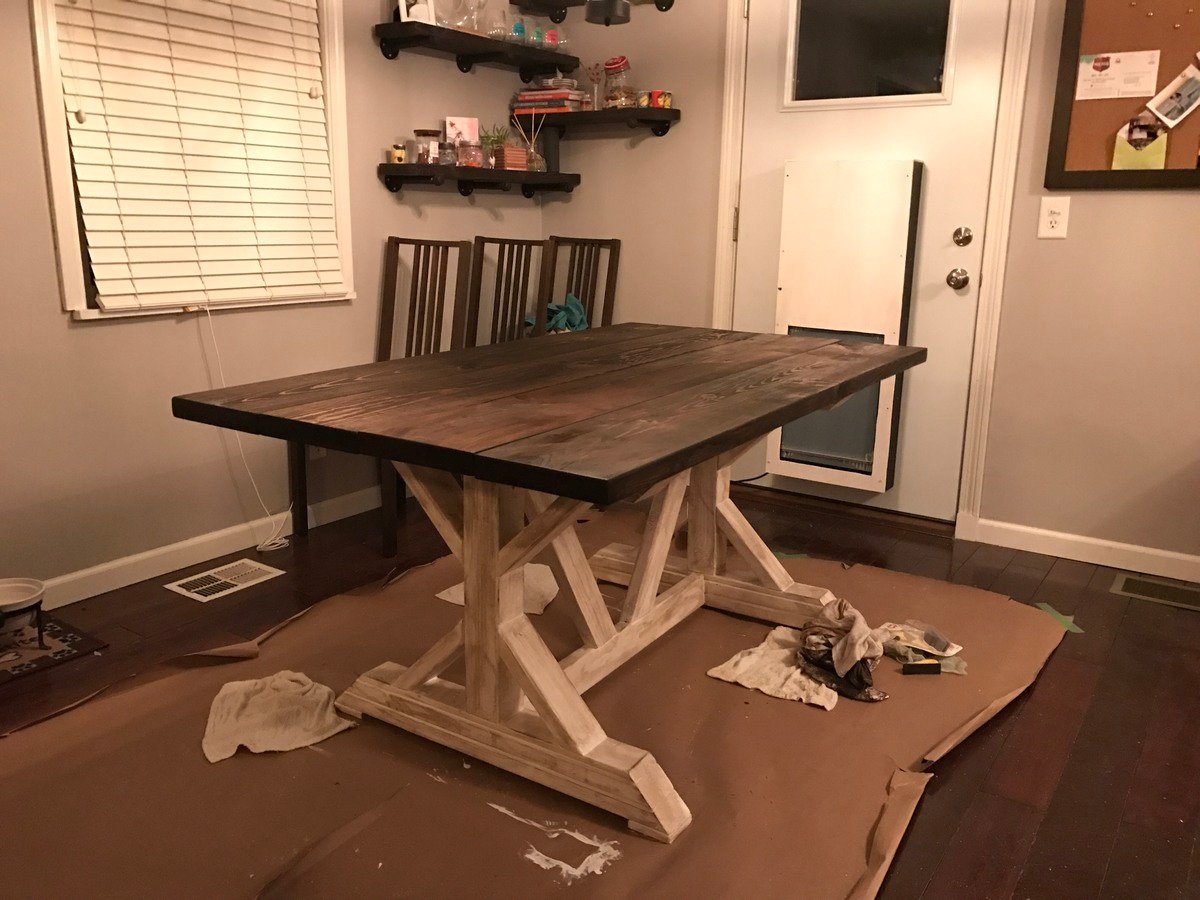
I had to alter some of the measurements to a smaller size for our dining room. 66" long 2x10's on the top. & 39" 2x4's across the base.

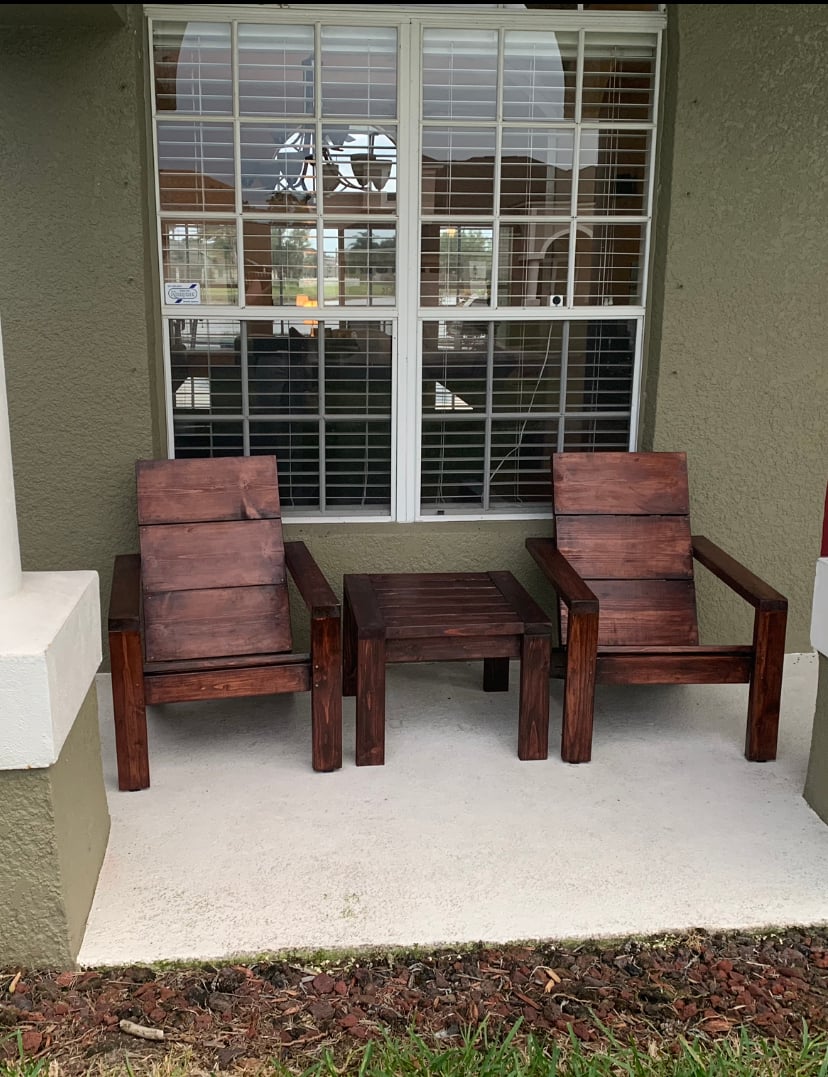
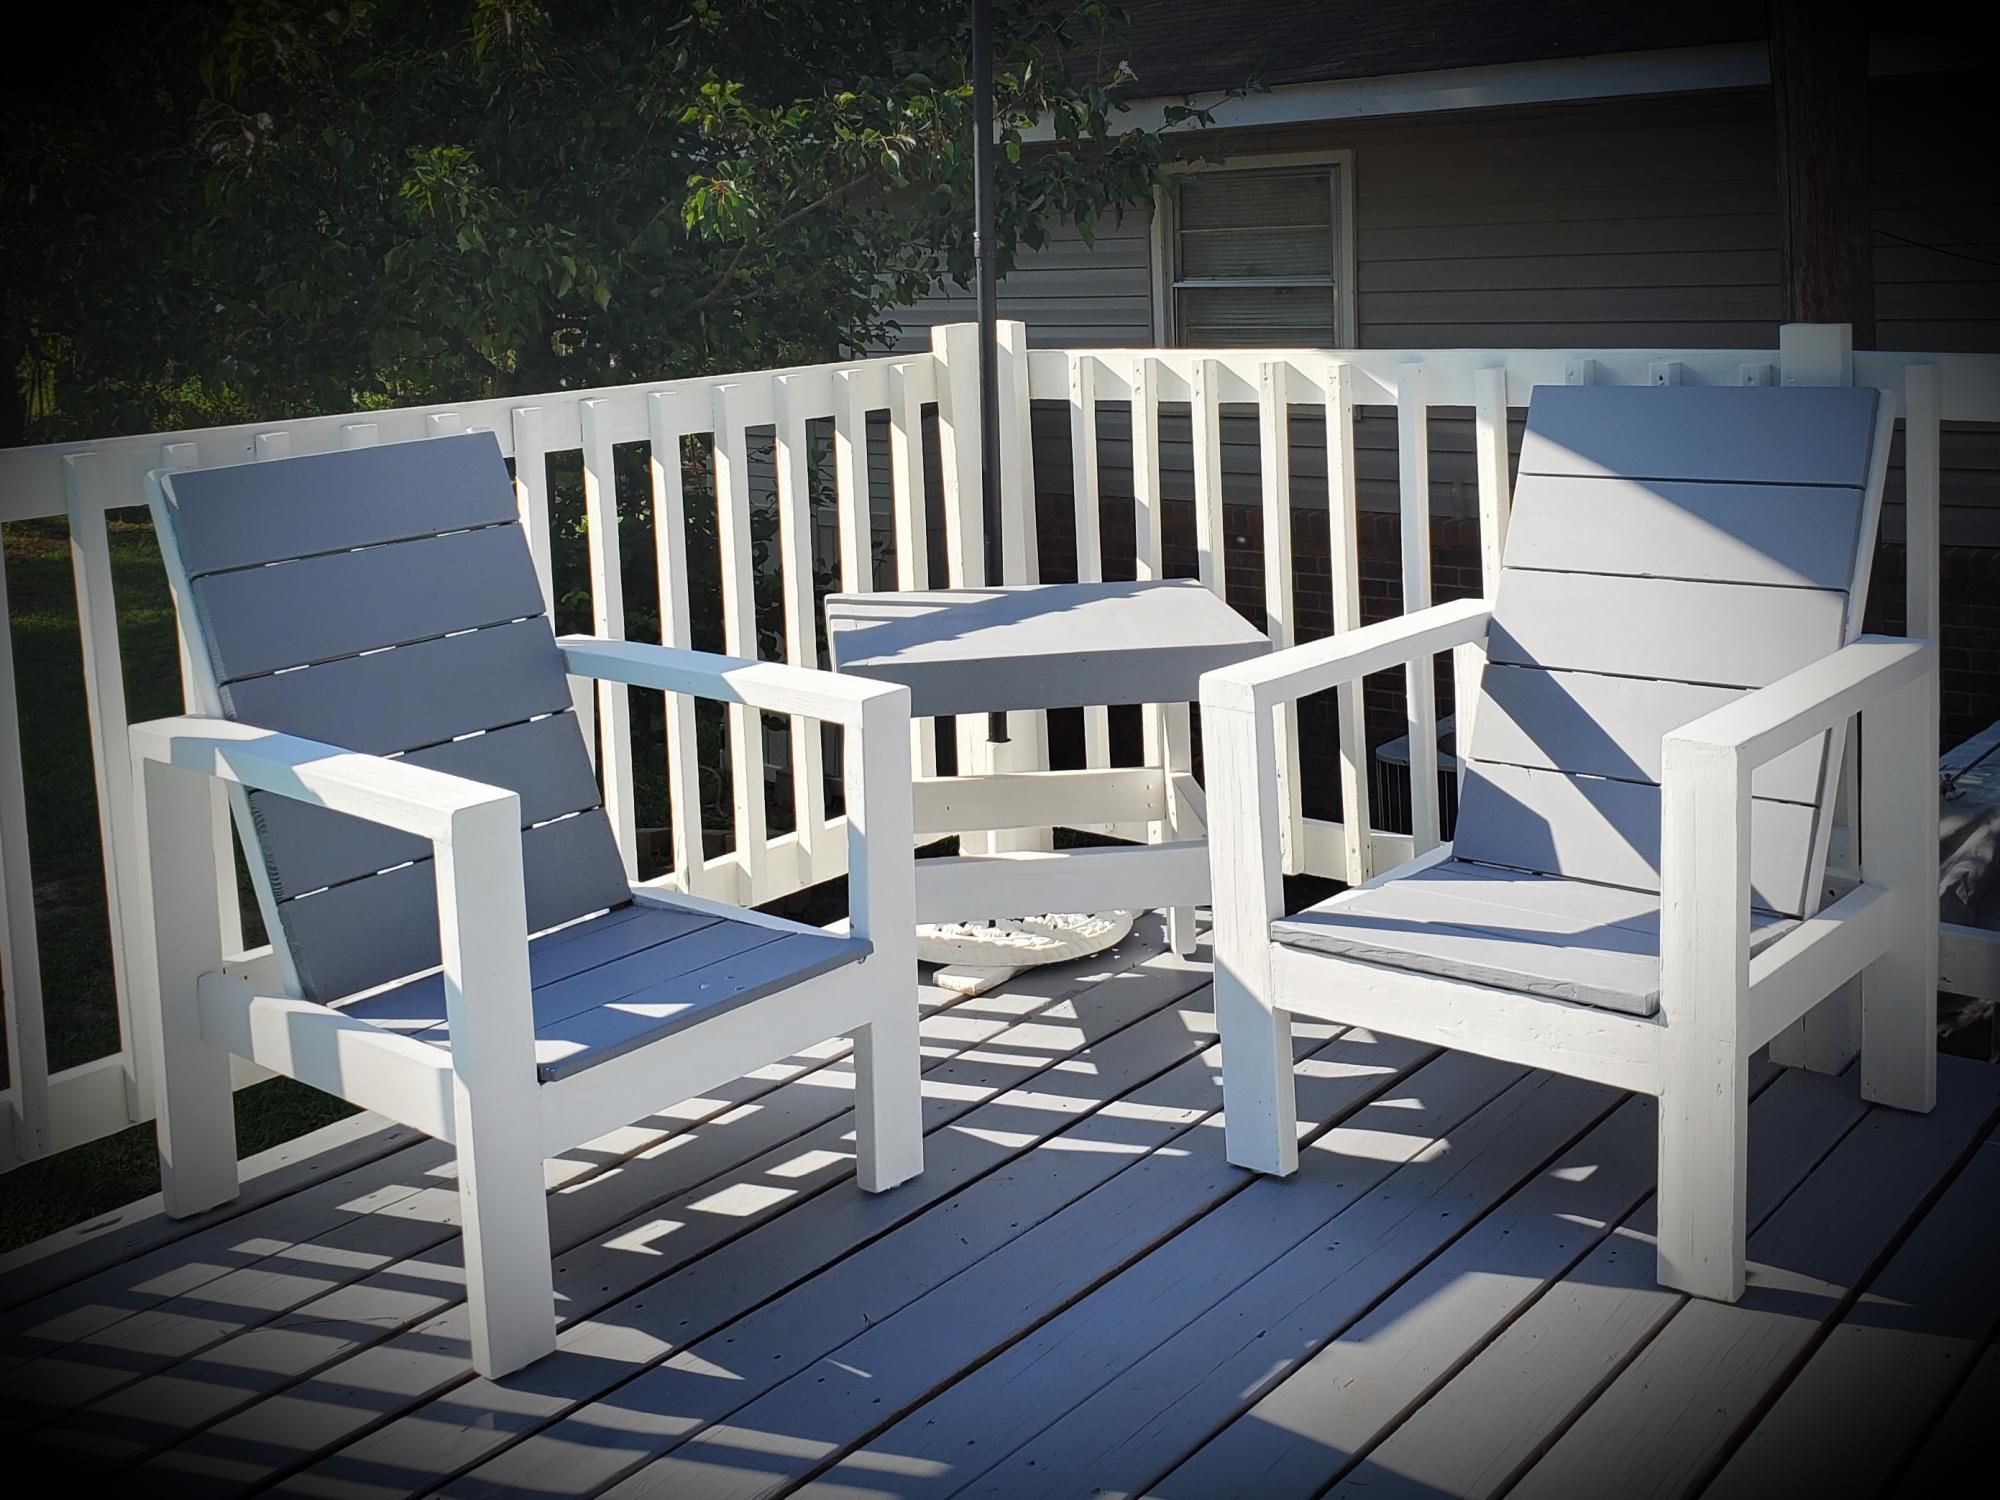
These modern Adirondack chairs were my first wood working project ever and they turned out awesome! I wanted to build a small table to complete the set and Ana’s new side table plans were exactly what I was looking for. I am truly amazed at how easy these projects were to make and how great they look on our front patio. Ana’s step-by-step plans make it so simple. My wife and I can’t wait to build some more of these projects for our backyard lanai and pool area.


Mon, 04/12/2021 - 10:21
Amazing job on your first build, I see more handmade pieces in your future!
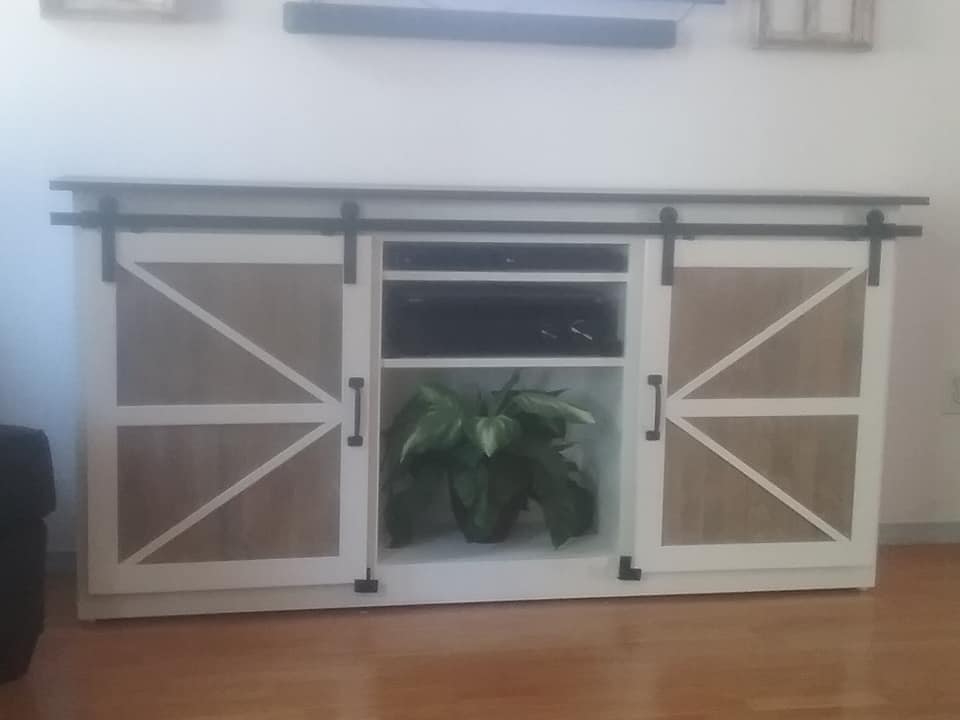
This is a modification to the Patrick Hosey Plan. Being my first ever furniture build it took considerable time to plan out the dimensions for the project before I even began. The Mrs and I both felt strongly the media cabinet needed the ability to store large amounts of media thus the design you see was born.
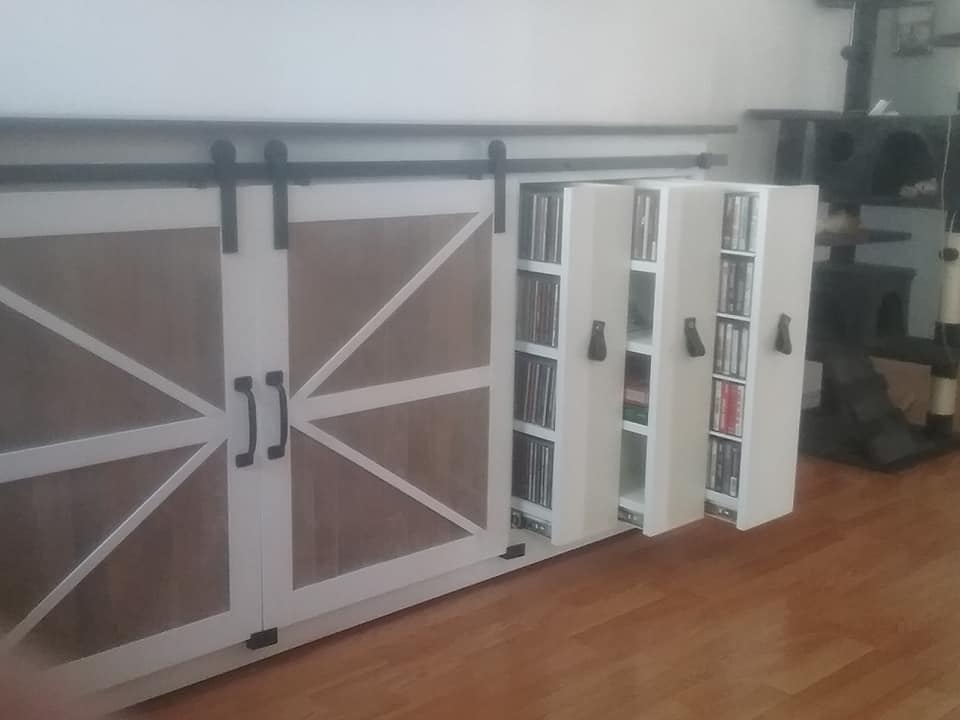
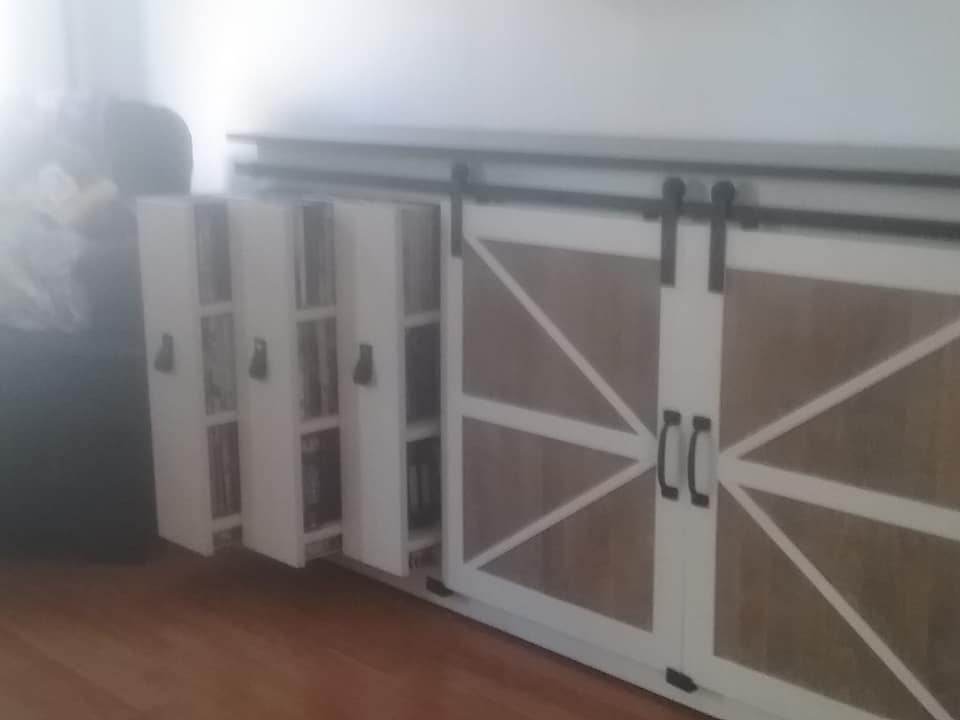
Each of the 6 pull outs are on a pair of 10 inch full extend drawer glides for complete access. The body was painted with an Oxford White furniture paint, and the top is painted with a Mocha Paint. The sliding doors are inset with a pre-finished Barnwood found at a local box store ripped to width and fitted into the 3-rail door. The angled trim is ripped from the edge of 1 x material and planed to thickness.
Wed, 07/21/2021 - 14:06
Love the media storage shelves that pull out. Fantastic idea!
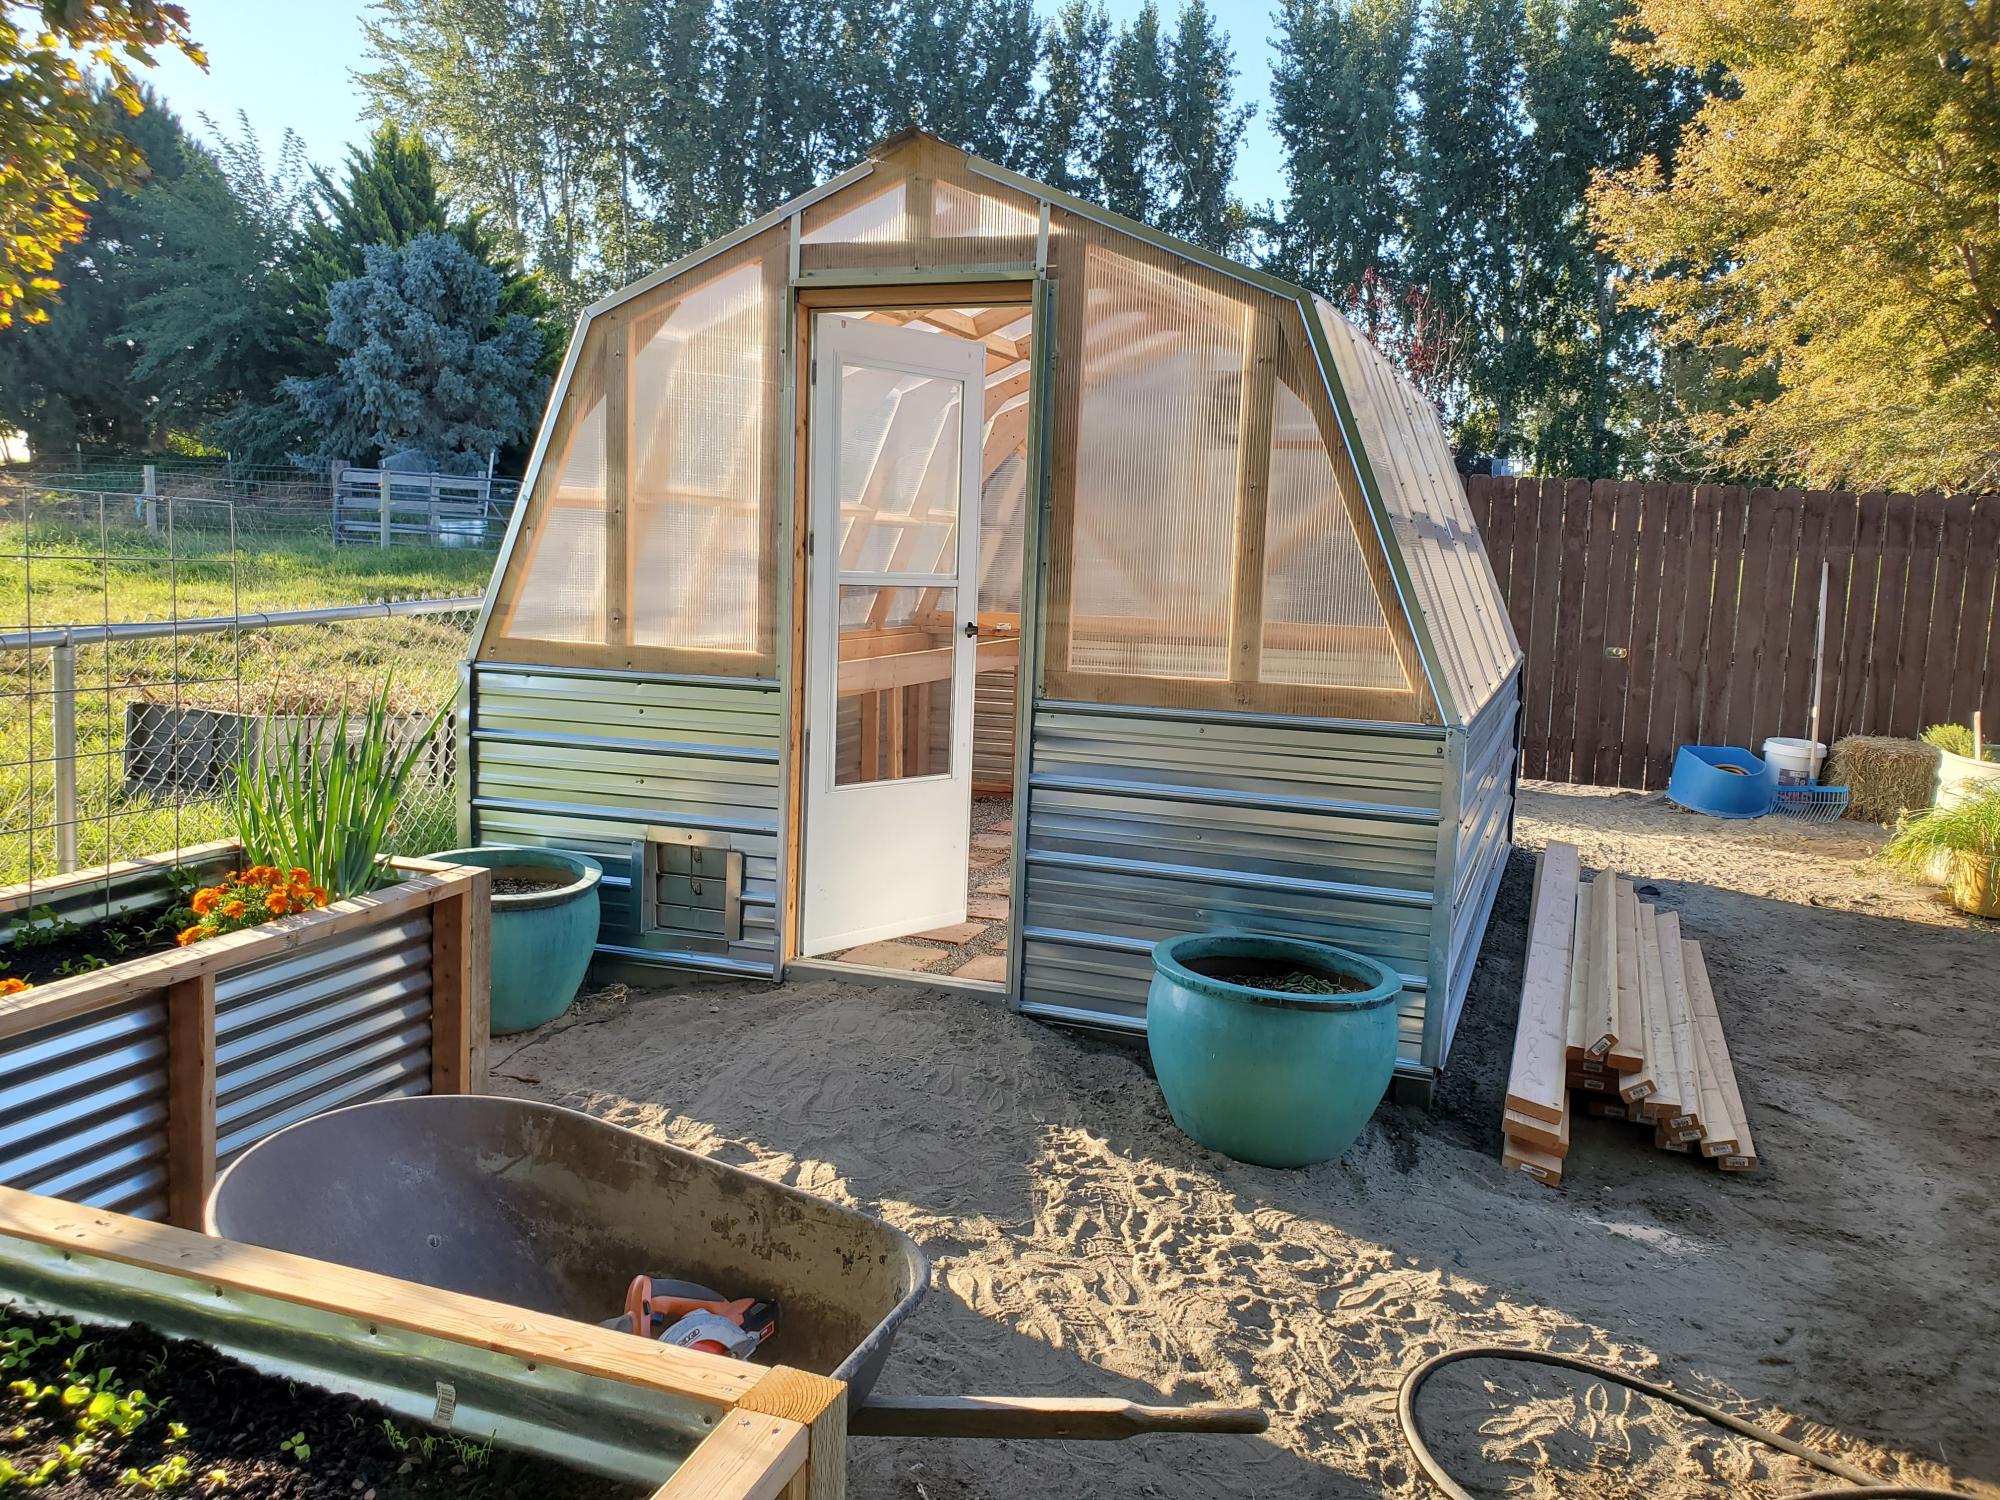
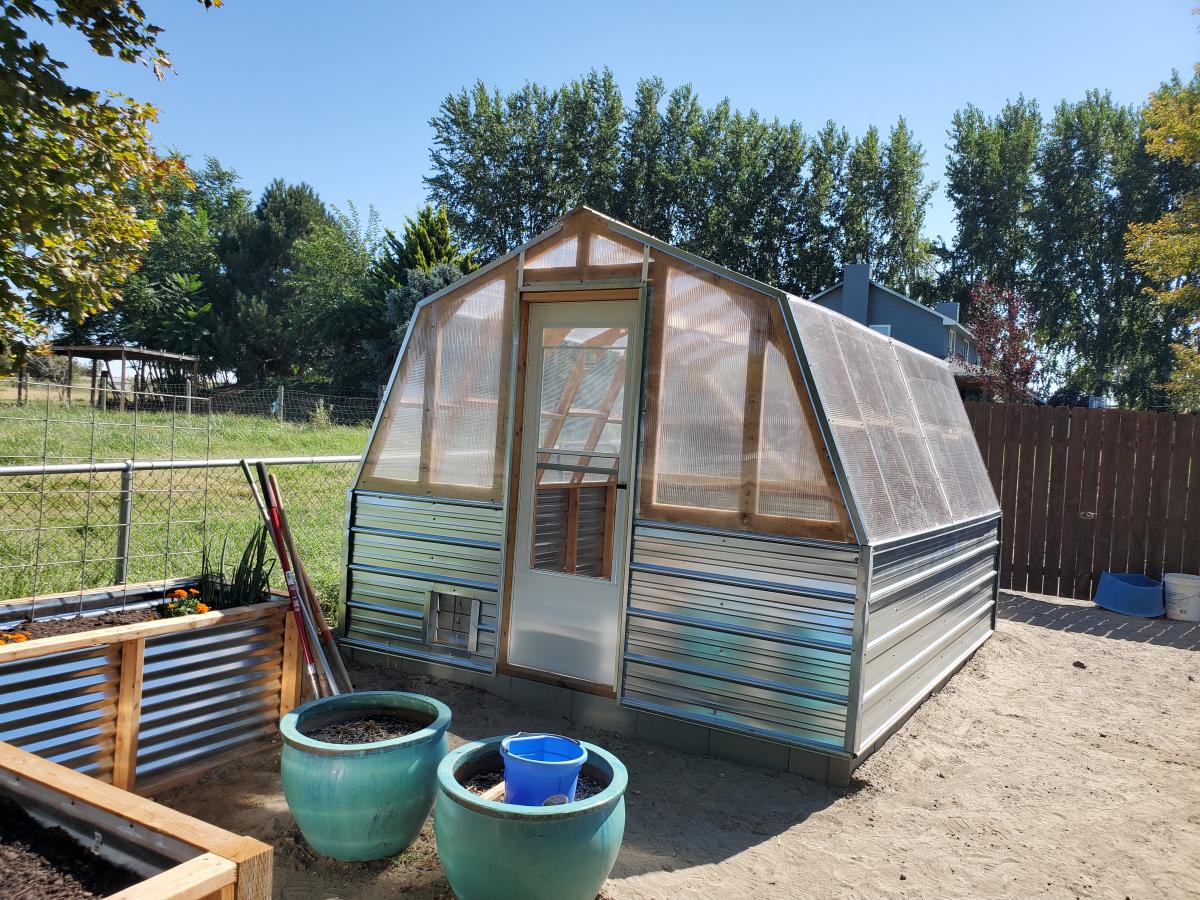
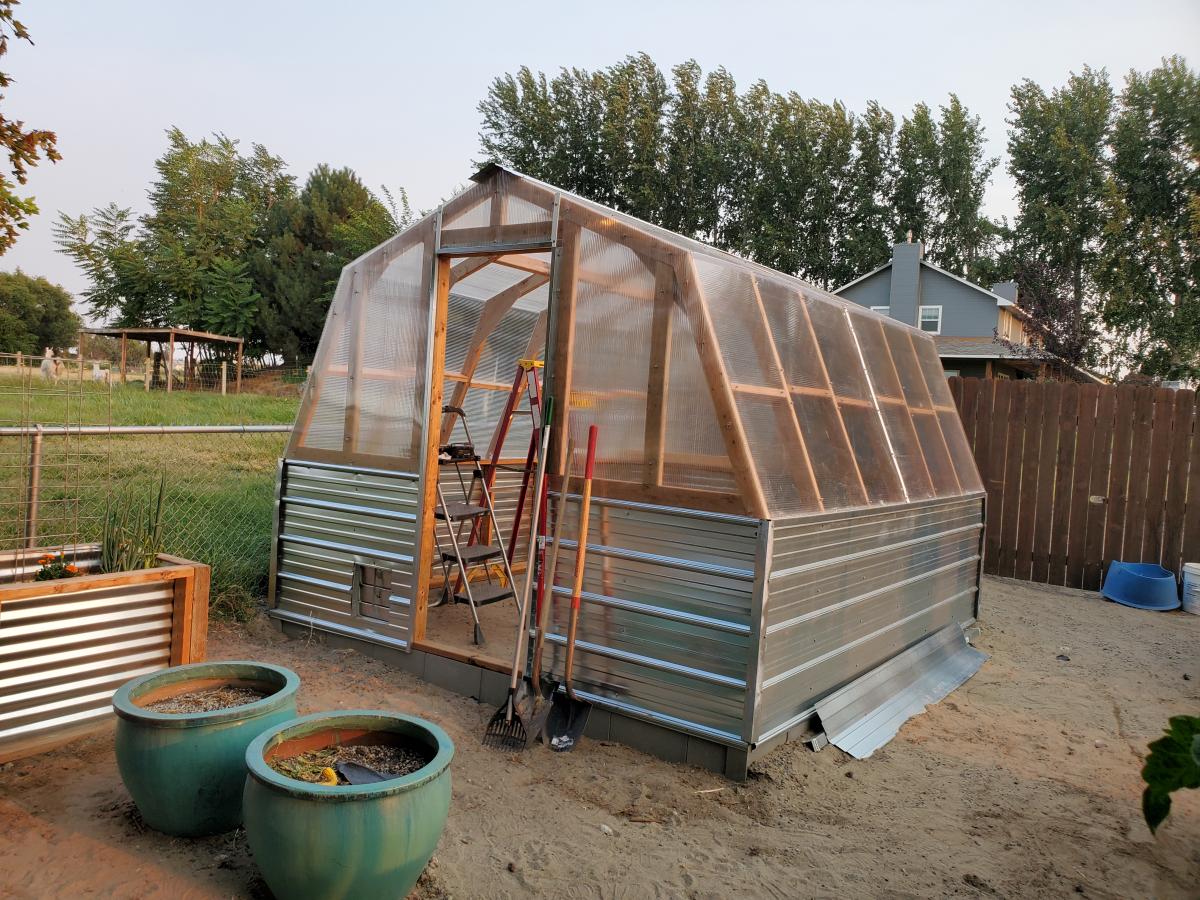
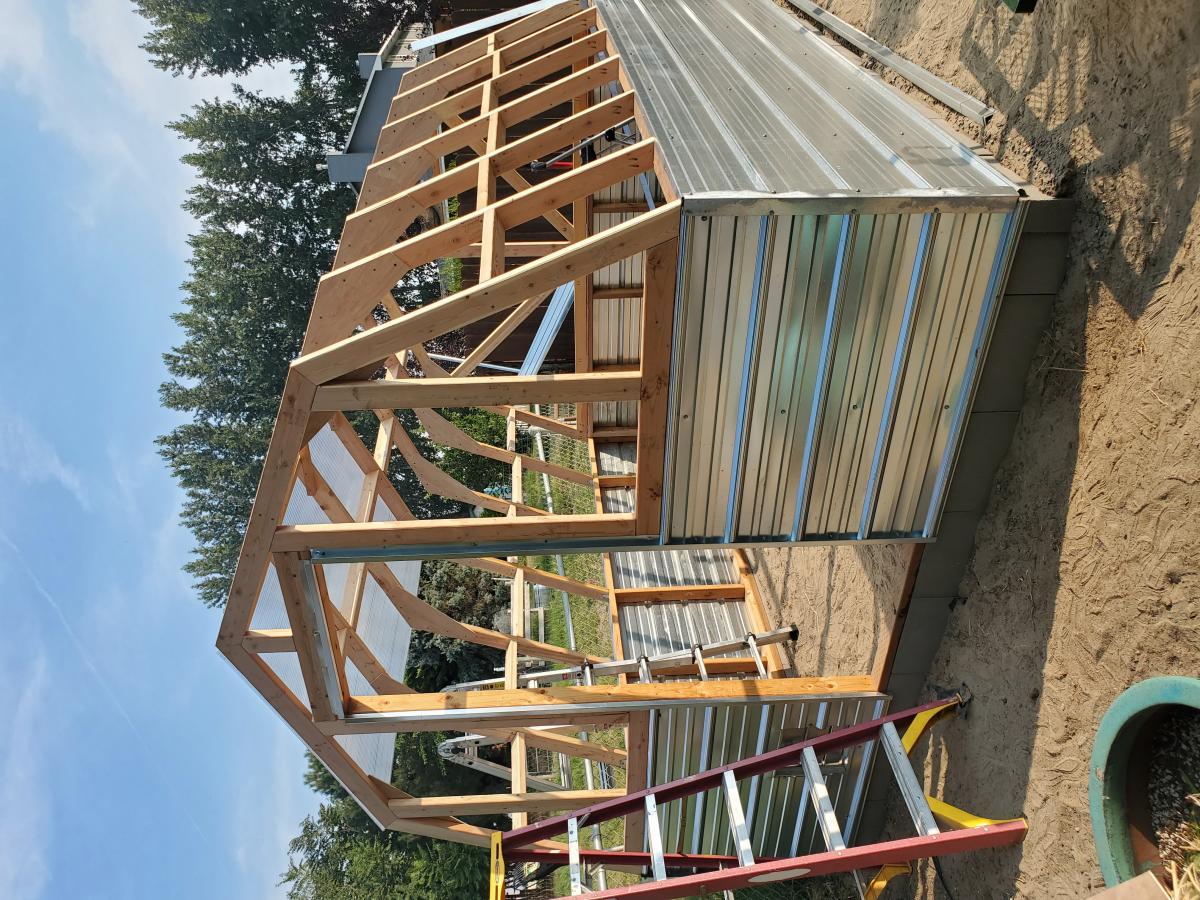
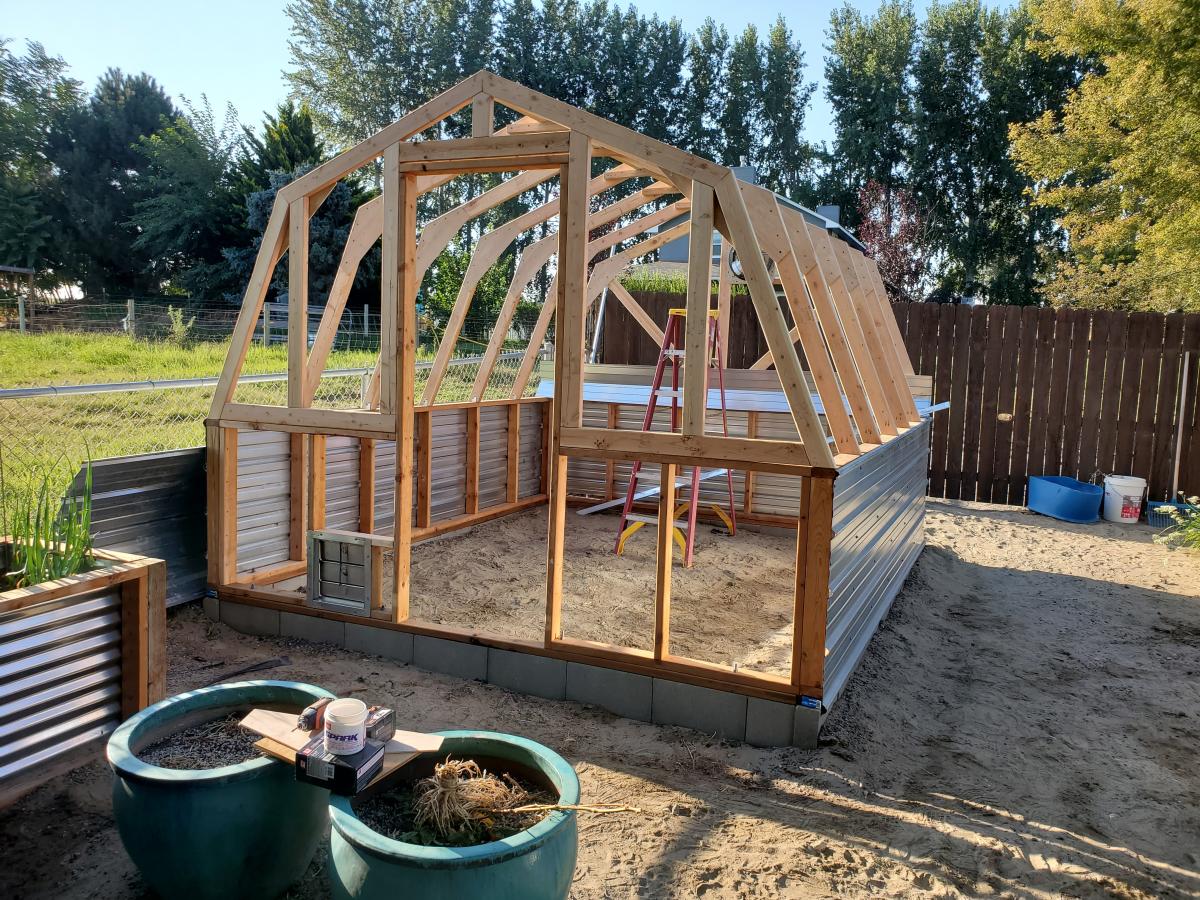
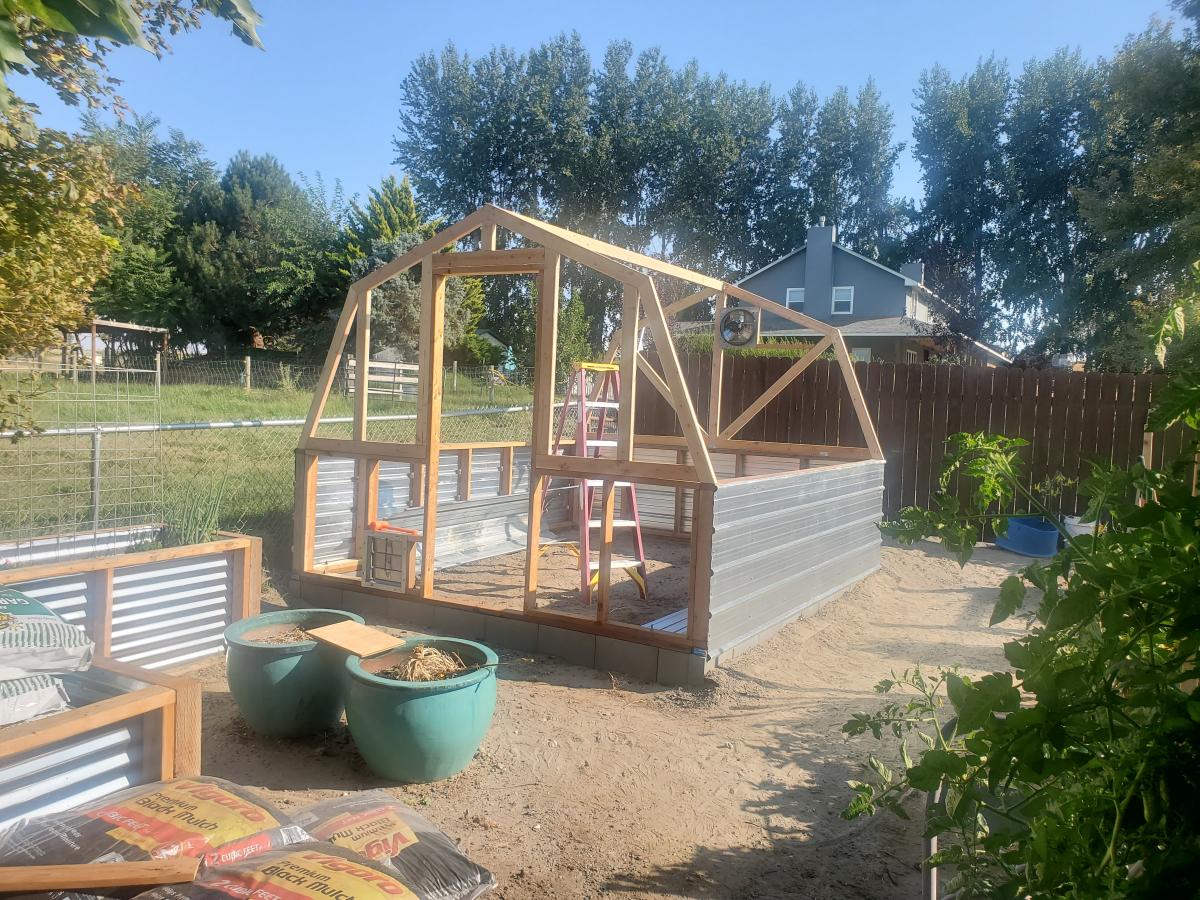
My wife and I built your green house! It is turning out awesome! I just want to take the time to say thank you for the plans. You are a great designer and generous with your sharing.


Comments
ladybug'13
Thu, 06/04/2020 - 16:17
Nice work!
Beautiful dresser, you did a great job! Love the color too.