Community Brag Posts

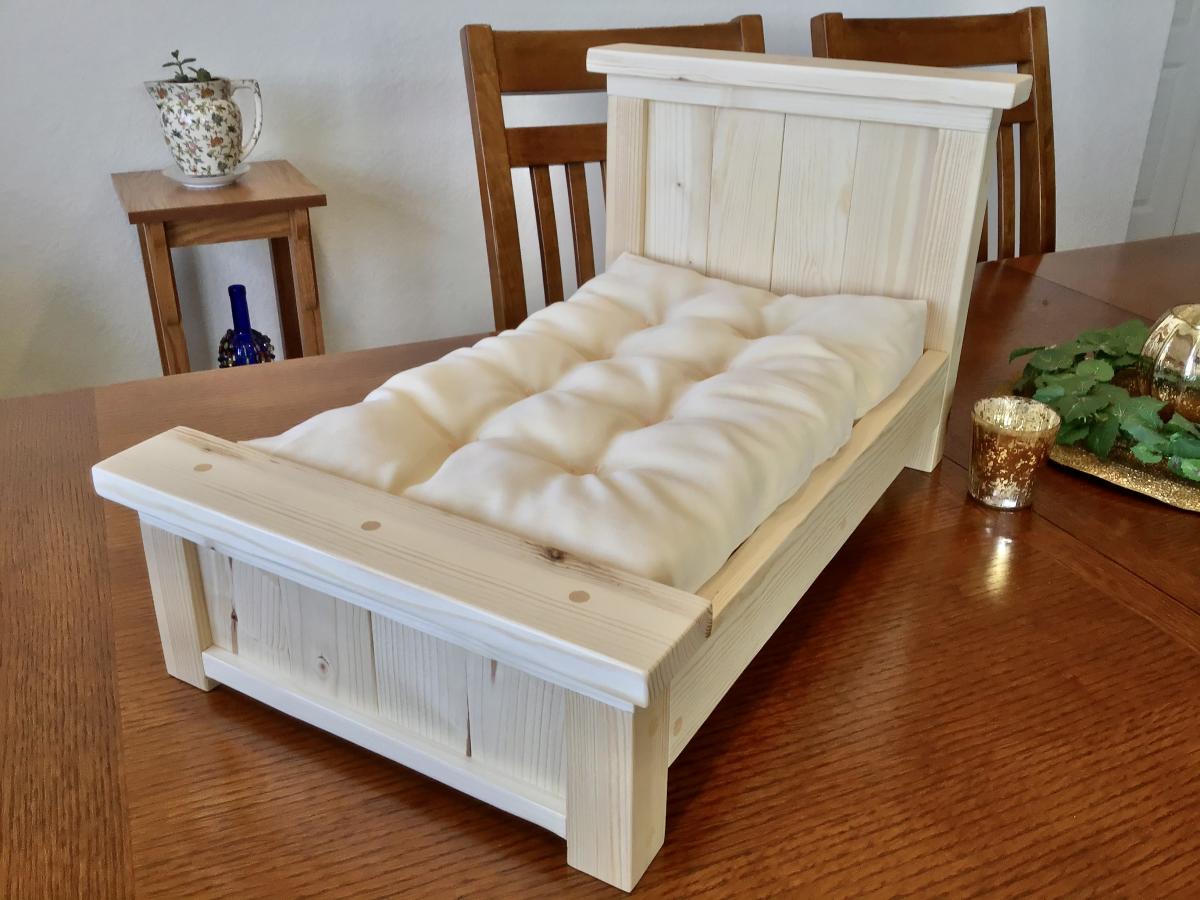
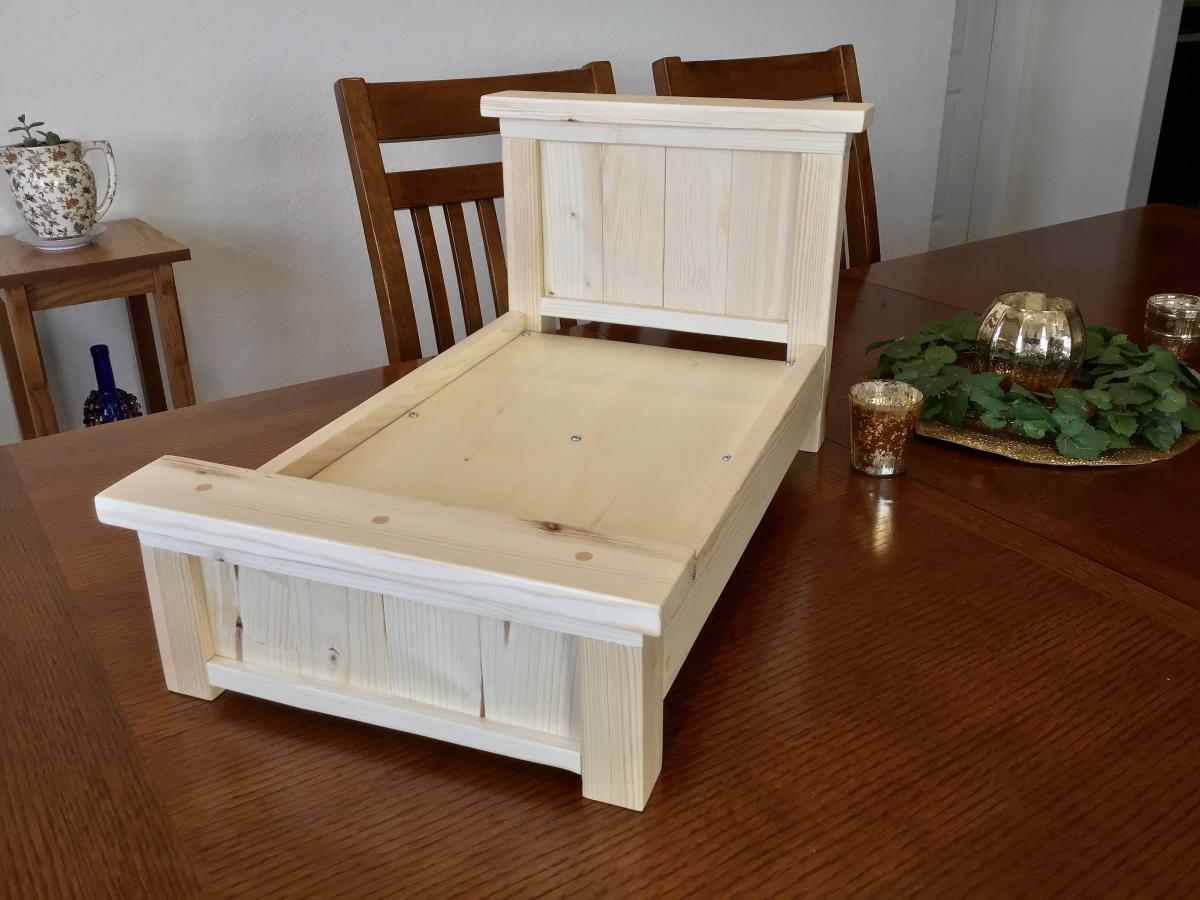
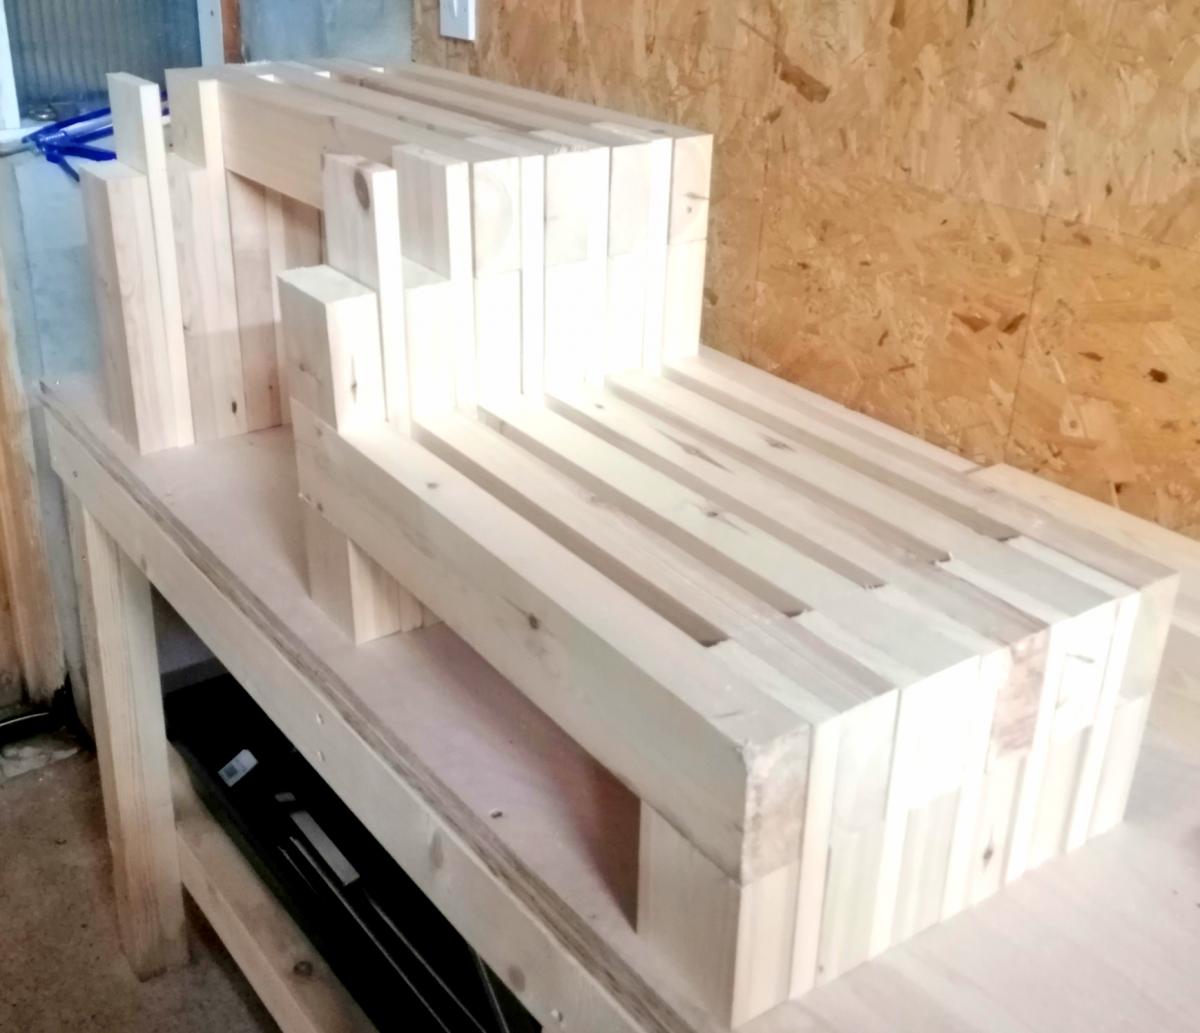
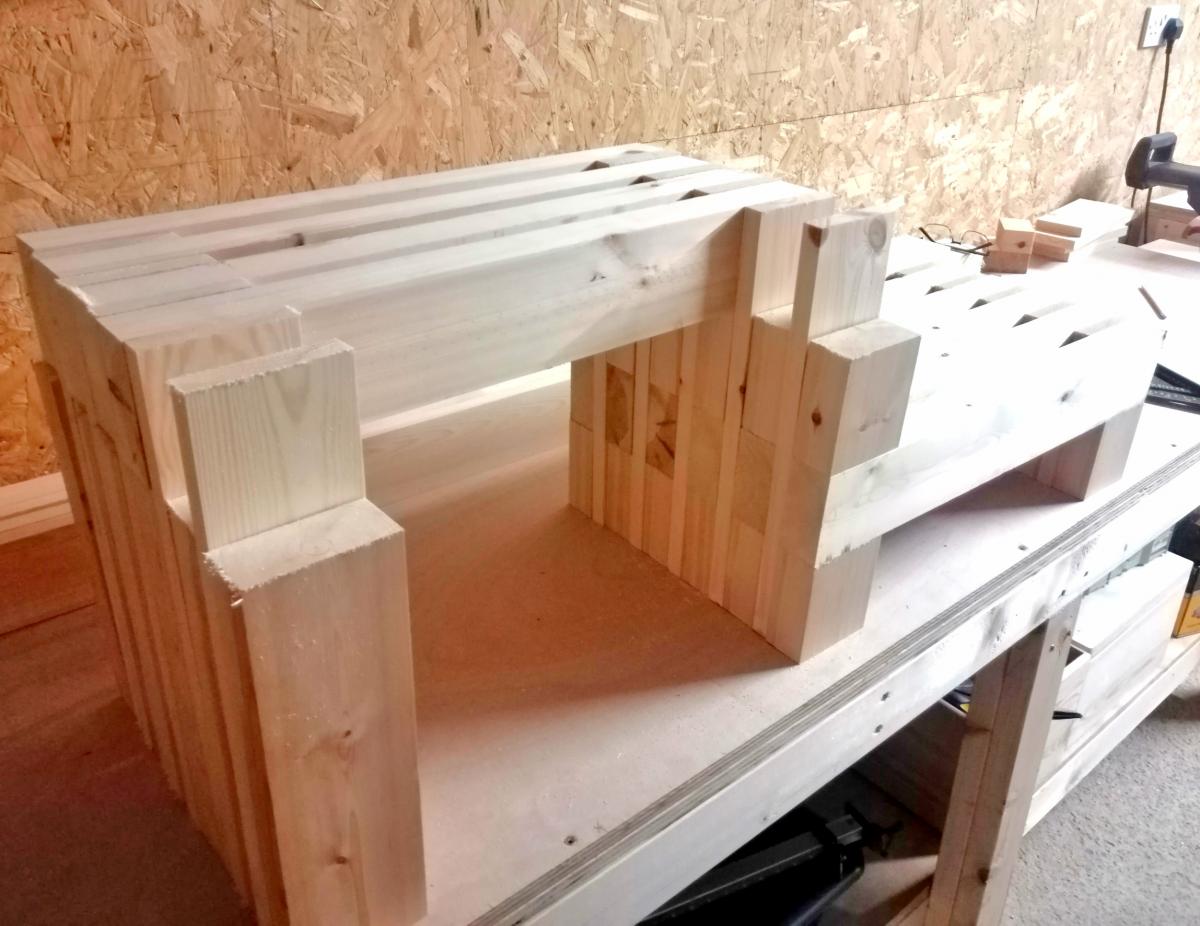
Farmhouse Doll Bed and Doll Mattress

Submitted by Pa on Sat, 12/26/2020 - 22:58

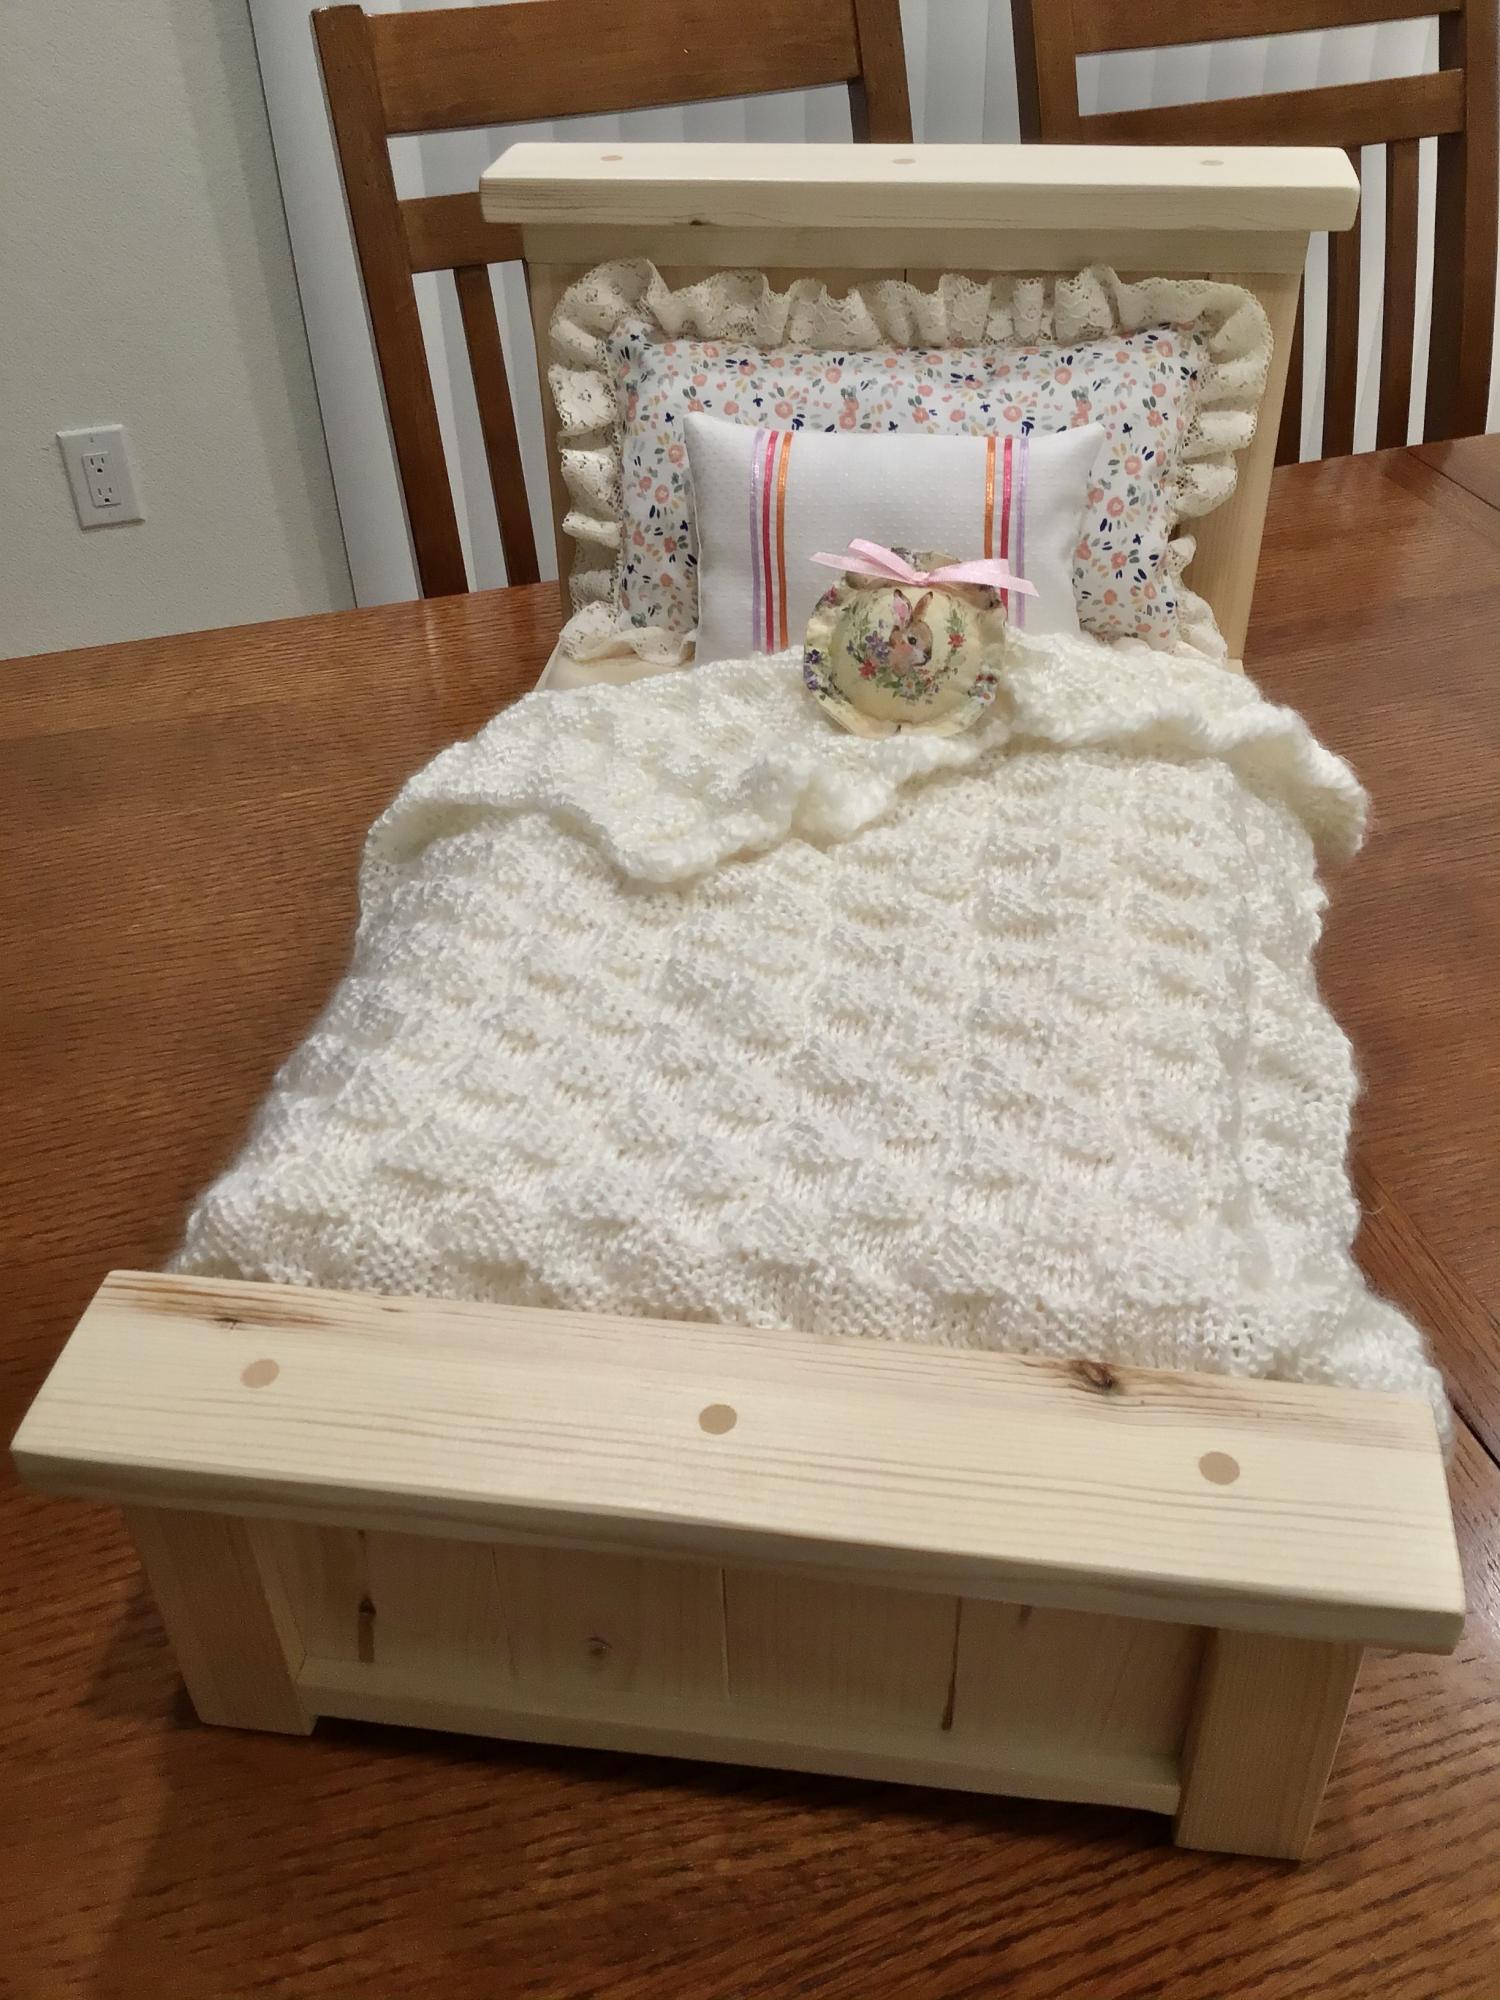
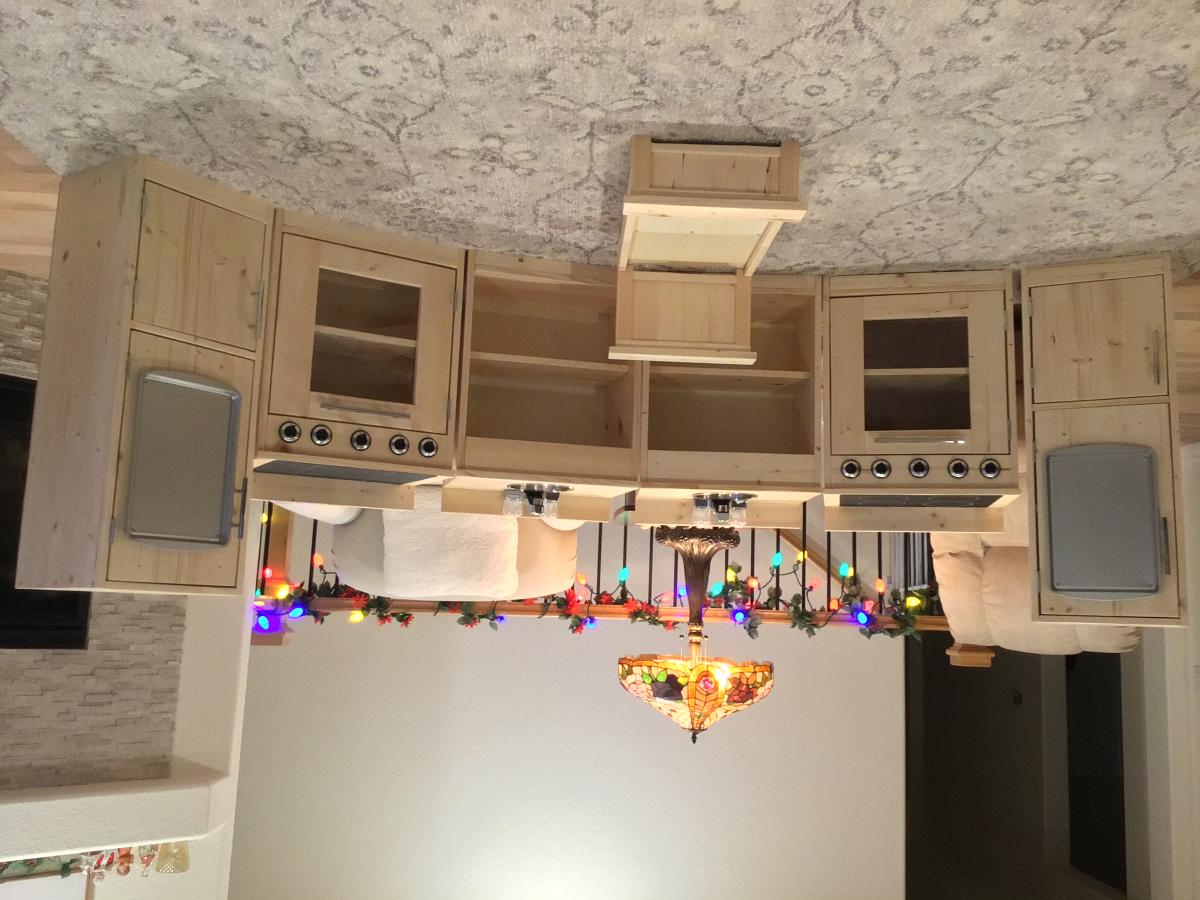
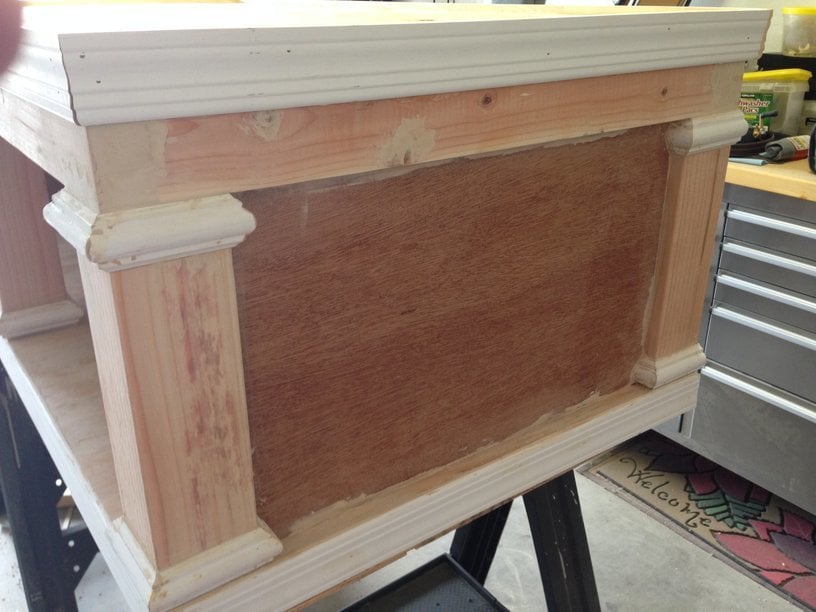
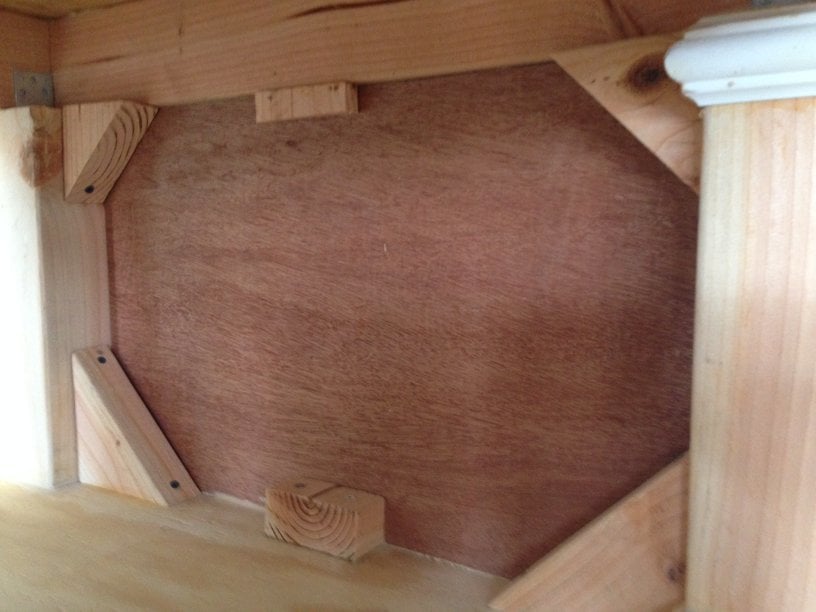
Well ... we found this farmhouse bed pattern as two play kitchen set were being constructed. Irresistible design; we decided that we HAD to also make the doll bed! And the bed came together very quickly. Two changes: per other comments, removed one vertical slat from the headboard/footboard (wanted the narrower width), and put an extra brace in the middle of the bed (just in case it gets stepped on or sat on).

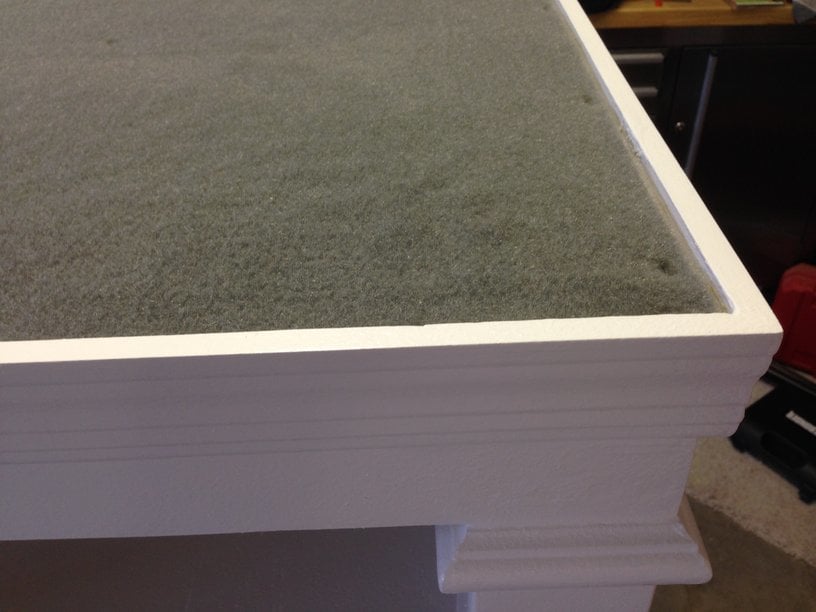
Also used the pattern for the 18” Doll Mattress Tutorial. Skipped the buttons for tufting and simply sewed in 8 little Xs with embroidery floss.

This bed is for a granddaughter with a birthday in a few days .... and I’ve already started cutting out a second set for a granddaughter with a birthday in a couple of months. Happy to say that all of the bedding/linens are handmade; the pillows include lace and ribbons from two family weddings. You just can’t help but smile when you look at one of these finished farmhouse beds!

Estimated Time Investment
Weekend Project (10-20 Hours)
Finish Used
Polyurethane
Recommended Skill Level
Beginner

Shoe Crates

I saw someone's brag where she used this plan for shoe storage. I thought it was a great idea. It sure lets me clean the floor better, just roll it out of the way, clean, roll back. It is so much better than the shoe rack that occupied the space before with such piles of shoes that it was arduous to clean the floor at all. Next month I will take care of the second shoe rack for my own shoes.

It was so simple, I loved making them. Grandpa and I had fun. The best part, you can make them quick because the don't have to be perfect. And Grandpa's nail gun made quick work of all the attached boards. All boards were also glued and sanded.

Ana your site gave me the confidence to solve my own furniture problems with custom solutions. Thanks, I can't wait for my next project.

Estimated Cost
$100 for 2.5 carts
Estimated Time Investment
Afternoon Project (3-6 Hours)
Finish Used
Polyurethane, 2 coats
Recommended Skill Level
Starter Project

Ryan's Washer/Dryer Pedestal

Submitted by zoolander on Fri, 12/05/2014 - 17:25

I loved this design.  I couldn't believe that they wanted to charge me almost $600 for the pedestals for the washer/dryer set that I bought on black friday, so I decided to give this project a go.  I basically used the same construction plans from Sausha's project, but I dressed mine up a bit.  First, I chose a bit larger trim for the tops and bottoms of the posts.  Then, I bought some 2" baseboards and did the top and bottom with baseboards.  On the bottom, I had to use my tablesaw to trim off about 1/2" because I used 1x1" boards on the bottom so that I could have more space for baskets.  Then, on the top, I inverted the baseboard and allowed it to overlap a bit so that if it were to vibrate, the washer/dryer could not fall off the edge.  I also added some fabric on the top (stuff that I use to cover the bunk boards on my boat trailer...kind of like a very thick and durable felt material) to cut down on vibration and also keep the units in place.  Finally, I added sides by using wedge trusses on the inside of my side posts and then I put a 1/8" piece of plywood over top and nailed/glued it to the trusses.

It turned out great.  Thanks for the plans Sausha!

Estimated Cost
$125
Estimated Time Investment
Weekend Project (10-20 Hours)
Finish Used
paint
Recommended Skill Level
Intermediate

Comments

Zlk200

Mon, 12/21/2015 - 17:38

Did you use sanded plywood? Did you use any veneers for the exposed 2x4's to get a smooth finish or did you paint right on it?

lastly, what is the name of the trim you put on the 4x4s? I've hard a hard time finding it. Thank you!

In reply to by Zlk200

zoolander

Wed, 06/29/2016 - 13:59

Sorry for the super delayed response.  I didn't realize this question was here.  I did not plane anything.  I did sand the surfaces a bit, but I didn't get too crazy.  I put 3 thick coats of paint on it which made it pretty smooth.  If you look very closely in person, you can still see a bit of wood grain, but it is only noticable if you really get down and look.  I did use a lot of wood putty to fill all of the gaps and crevaces and then I sanded those parts pretty well.  


With regard to the trim, the top literally just standard baseboard material turned upside down, and then the little trim on the tops and bottoms of the 4x4s is just another standard strip of moulding that I got from Lowes.  I think they call it "Chair Rail" moulding.  Its the stuff that you put down if you are doing some sort of paint separation or wainscoting.

http://www.lowes.com/pd/1-625-in-x-12-ft-Mdf-Chair-Rail/3403018

I used woodglue on all of the moulding and tacked it on with a nail gun.  Then I filled all of the nail holes with wood putty and also use the putty to fill gaps where the corners came together to make that look smooth.

I hope that helps...you are probably already done with your project by now, but I figured that I would answer anyway.  :)

Bathroom Vanity

Submitted by brittanyj on Thu, 03/09/2017 - 11:45

Built this vanity to fit our space in our tiny bathroom.  I love the storage increase from having a pedestal sink.  All hardware and sink was from Habitat Restore, and the faucet was off amazon for $25, making total cost for this project around $75. 

Built from Plan(s)
Estimated Cost
$75
Estimated Time Investment
Weekend Project (10-20 Hours)
Finish Used
grey paint, poly finish
Recommended Skill Level
Intermediate

Chunky leg farmhouse table

This is a chunky leg farmhouse table I just finished. We wanted to do something a little different with the color scheme, so we did something a little more colonial with a custom stain and paint blended grey top, and painted the legs a deep navy blue.

Estimated Cost
$400
Estimated Time Investment
Weekend Project (10-20 Hours)
Finish Used
Custom stain paint combo on the top.
Sherwin Williams deep navy blue paint on the legs and skirt
Recommended Skill Level
Intermediate

Triple Pedestal Farmhouse Table

Putting this table together was a lot of fun! We knocked off about two feet from the plan so that it fit in our modest dining area. Many of my saw blades were replaced at some point during this project in favor of sharper and cleaner-cutting replacements, so we spent quite a lot making sure we didn't end up with a giant splinter of a table. You can see from one of the photos how poorly I chose some of the wood (the 2x2 is like a cork screw), so I had to replace a few pieces. Still, I think I could have replaced all of those tools altogether and still spent less than this table would have cost at the store.

Something I learned during finishing: I knew beforehand that wood glue didn't stain, but I didn't realize that even the residue of wiped-up glue will keep the wood from taking stain. When the matching bench is made later on I'll be sure to sand all of the places where glue might be hiding, invisible. The stain color generally wasn't quite what we imagined and the legs seem to have taken it differently than the top, but when the word "Farmhouse" appears in the table style, you can chalk all of those imperfections up to its "rustic" style. For that I am grateful.

The poly dried a bit rough, but a fine sanding sponge smoothed it out and also gave it a little bit of that greywashed RH look. Win-win. We wound up putting "Flor" tiles underneath the table to give it some contrast since it ended up resembling our floor color a bit too closely. Now we actually have a dining area, instead of just a table.

It took about a week and a day (I started Saturday morning and we finished it the following Saturday night). Fortunately our ten-month-old can sleep through just about anything. I'm glad it's done now and we can enjoy it!

Built from Plan(s)
Estimated Time Investment
Week Long Project (20 Hours or More)
Finish Used
Rust-Oleum Early American, Minwax Clear Matte Polyurethane
Recommended Skill Level
Intermediate

Round The Corner Shelf

Submitted by JKEich02 on Mon, 12/08/2014 - 12:55

This is my first project using a Kreg Jig and I'm hooked. Easy build and great storage! Looking forward to doing more projects! 

Estimated Time Investment
Afternoon Project (3-6 Hours)
Finish Used
Minwax pre-conditioner and Minwax stain in Black Cherry.
Recommended Skill Level
Beginner

Box Frame Coffee Table with Lift Top

Submitted by badfishjr on Sat, 01/02/2021 - 07:03

Really fun coffee table - my first foray into furniture! I think I will be adding the bottom shelf for added weight and storage to keep the table top tidy.

Estimated Cost
$80
Estimated Time Investment
Weekend Project (10-20 Hours)
Finish Used
black matte paint and cherry stain
Recommended Skill Level
Intermediate

Comments

Rustic Media Console Cabinet

Submitted by pde00311 on Wed, 02/06/2013 - 19:22

It was a race building and finishing the console before my daughter started crawling, but just as she learned to wander around, we were able to hide all of our tv/dvd/receiver cords within this console. Drilled holes in the back and tucked the power strip and cords in a plastic box inside the cabinet doors.

Used a jigsaw for the first time, which was fun as the saw created the neat designs on the feet at the bottom.

For the finish, we wanted a color that could pull off a distressed/modern shabby chic while matching the stained class windows in the house that we just bought.

This was my first time creating doors, which did not run smoothly, but ended up somehow working.

Built from Plan(s)
Estimated Time Investment
Weekend Project (10-20 Hours)
Finish Used
Behr Scotch Lassie with distressed edges using bottom layer in white paint and Minwax Early American finish
Recommended Skill Level
Intermediate

Comments

Rhondajk

Sun, 02/10/2013 - 18:56

You did such a beautiful job on this! I wasn't even interested in this plan until your brag post caught my eye. I would love to build this but, I'm kind of nervous because it will only be my second build and the instructions don't include the drawer or the doors. Did you use the general instructions for building your doors? I love the color I would use this in my dining room with a drawer, I have a shallow space on one wall that it woud fit perfectly.

Rhonda

pde00311

Tue, 02/12/2013 - 14:34

It was only my fourth project, so I would not be too frightened about tackling this plan, but the doors were definitely the trickiest part. After I finished building the frame, I built the doors to size using leftover 1x2s and beadboard plywood. I measured the doors so they would leave about 3/16 space between the edge of the door and the window in a full inset. However, I spent approximately one full night confused and frustrated because I bought the wrong hinges. Now that I understand from trial and error the differences between cabinet door/hinge design (I found a webpage describing the differences between inset and overlay hinges here: http://www.rockler.com/articles/understanding-hinges.cfm), if I had to do it over again, I would probably design overlay doors instead of inset doors (which seem to be a little off). If someone else could add more suggestions about building and installing doors, it would be greatly appreciated.

Chunky Truss Table

Submitted by DangerDad on Thu, 12/11/2014 - 13:38

This is my first full sized table project.  I wanted to make an inexpensive dining table with nice looks and this one fit the criteria.  I deviated from the plans by making the legs frames and the middle truss using rabbit and dado joinery.  As a result the middle truss and leg frames did not have to be fastened together with any screws.  This design modification made it easier to build in the garage and be able to move easily into the house for final assembly.  Top is made of SPF lumber stained to match the natural colour of the cedar legs and truss frame.  Thanks Ana for the inspiration to build this beutiful piece.

Built from Plan(s)
Estimated Cost
$150-$200
Estimated Time Investment
Week Long Project (20 Hours or More)
Finish Used
Minwax Stain (early american) and Minwax Helmsman finish.
Recommended Skill Level
Intermediate

Comments

earthbybike

Thu, 12/11/2014 - 17:11

Love how you rounded the edges of the 4x4s and taylored the cross beam underneath. Just simply fabulous

ctufano

Mon, 07/24/2017 - 05:24

Hey Dangerdad! Wife and I bought cedar for the base and have all sanded, but are torn on how to stain. I liked your table, and was reading your description of your finish. Did you stain your cedar? You say you stained the top to match the natural cedar, so am thinking maybe you just sealed it without any stain?

Could you clarify? Thanks so much!

ctufano

Mon, 07/24/2017 - 05:25

Hey Dangerdad! Wife and I bought cedar for our table base and were discussing how to finish it. Did you stain your cedar? Your write up seems like you may have just finished it and not stained at all, and only stained the top? Just curious


Thanks so much!


Sewing table

Submitted by Anonymous (not verified) on Mon, 03/13/2017 - 17:19

Sewing table with a square top variation 

Estimated Cost
$250.00
Estimated Time Investment
Weekend Project (10-20 Hours)
Recommended Skill Level
Intermediate

Slatted Bench / Steps

Submitted by Ali Bongo on Thu, 01/07/2021 - 11:50

I saw Anna's slatted bench (and other members brags) and thought I could adjust the design for some hot tub steps.

The design is simple but effective, (but very heavy).

It is slightly more complex and the cuts need to be pretty accurate, (which mine weren't), but you can sand away most mistakes.

I ended up putting adjustable height feet on each leg. This assists with height but also keeps standing water off the wood.

Anyway, I put see through grip tape on the steps to avoid accidents and overall it does the job.

Estimated Time Investment
Weekend Project (10-20 Hours)
Finish Used
I used a preservative fence paint and then re-covered with 3 coats of external yacht varnish.
Recommended Skill Level
Starter Project

Comments

Mantel Moulding Headboard - Pottery Barn

Thank you for the plans! I love the way my headboard came out! I couldn't figure out how to cut the on piece of moulding to get the angles to work, but I think I resolved the issue nicely with the blocks for it to die into.

Built from Plan(s)
Estimated Cost
$250 - $300
Estimated Time Investment
Weekend Project (10-20 Hours)
Recommended Skill Level
Beginner

Fiona's Doll Adirondack Chair

Submitted by Anonymous (not verified) on Thu, 03/16/2017 - 07:05

 As the dolls I have were very small I scaled the plan to half size, and finished  with some leftover garden paint. 

Built from Plan(s)
Estimated Cost
Built from scrap, so zero cost.
Estimated Time Investment
An Hour or Two (0-2 Hours)
Recommended Skill Level
Starter Project

Salsa Console/Buffet Table

Submitted by greg325i on Tue, 01/12/2021 - 11:19

This is by far the most complex piece that I've built off of Ana's site, and the first time I've done drawers or doors on anything. Thanks so much for the awesome plans! Be sure to check the supplies list carefully - I ended up bringing a lot of lumber back to Home Depot. But this is by far my biggest "win" in furniture making so far!


Built from Plan(s)
Estimated Cost
200
Estimated Time Investment
Week Long Project (20 Hours or More)
Finish Used
Behr white deck stain (Smokey White) (base)
Varathane Aged Wood Accelerator (top, drawer interiors)
Varathane Water-based Poly (Oil-based will add a yellow tint when applied onto white stain/paint)
Recommended Skill Level
Intermediate

Comments

take on star doll closet for american girs

Submitted by radardad52 on Tue, 12/16/2014 - 12:28

built for grand daughter for christmas

Estimated Time Investment
Week Long Project (20 Hours or More)
Finish Used
stain urathane finish
Recommended Skill Level
Intermediate

Comments

Rekourt Dining Room Table and benches

Submitted by Anonymous (not verified) on Sat, 03/18/2017 - 18:08

This was my first big build and I love how it came out!  Thank you Ana White for amazing and straightforward plans to follow for both the farmhouse table and benches.  

Estimated Cost
$150
Estimated Time Investment
Weekend Project (10-20 Hours)
Finish Used
Top MinWax Dark Walnut plus Rusteoleum Weathered Grey. Bottom is painted with ivory chalk paint.
Recommended Skill Level
Intermediate

Lego table with hidden storage and shelf

Submitted by pjmal1979 on Mon, 01/18/2021 - 05:15

Lego table with removable top, hidden storage, shelf. 44.5”w X 20” deep X 18.5”h

Estimated Cost
$100-125
Estimated Time Investment
Weekend Project (10-20 Hours)
Finish Used
Willow Grey stain, water based polyurethane
Recommended Skill Level
Beginner

Comments

Liv's Playhouse Kitchen

Built this play kitchen to go in Liv's new Playhouse, also courtesy of Ana's plans. It's about 1" too wide to sit on the floor so we raised it up on a plank so it rests on the studs. A co-worker told me I can get replacement knobs for the stove at Sears and plan to make a trip there on my next break. The faucet is a real one my mother found in her basement from their bathroom redo. She loves it! We "bake" cupcakes from the sandbox in her new house everytime we're outdoors. She did, however, request a microwave after we'd finished the whole thing! This spring I hope to make one. I see that Pottery Barn Kids sells them for over $50!! You know that's crazy if you've come across Ana's website :)

Estimated Time Investment
Weekend Project (10-20 Hours)
Recommended Skill Level
Beginner

Comments

ACM

Wed, 02/13/2013 - 16:49

This is so adorable! Love the colors. We were thinking of making one for our granddaughter to keep at our house. You've inspired me.