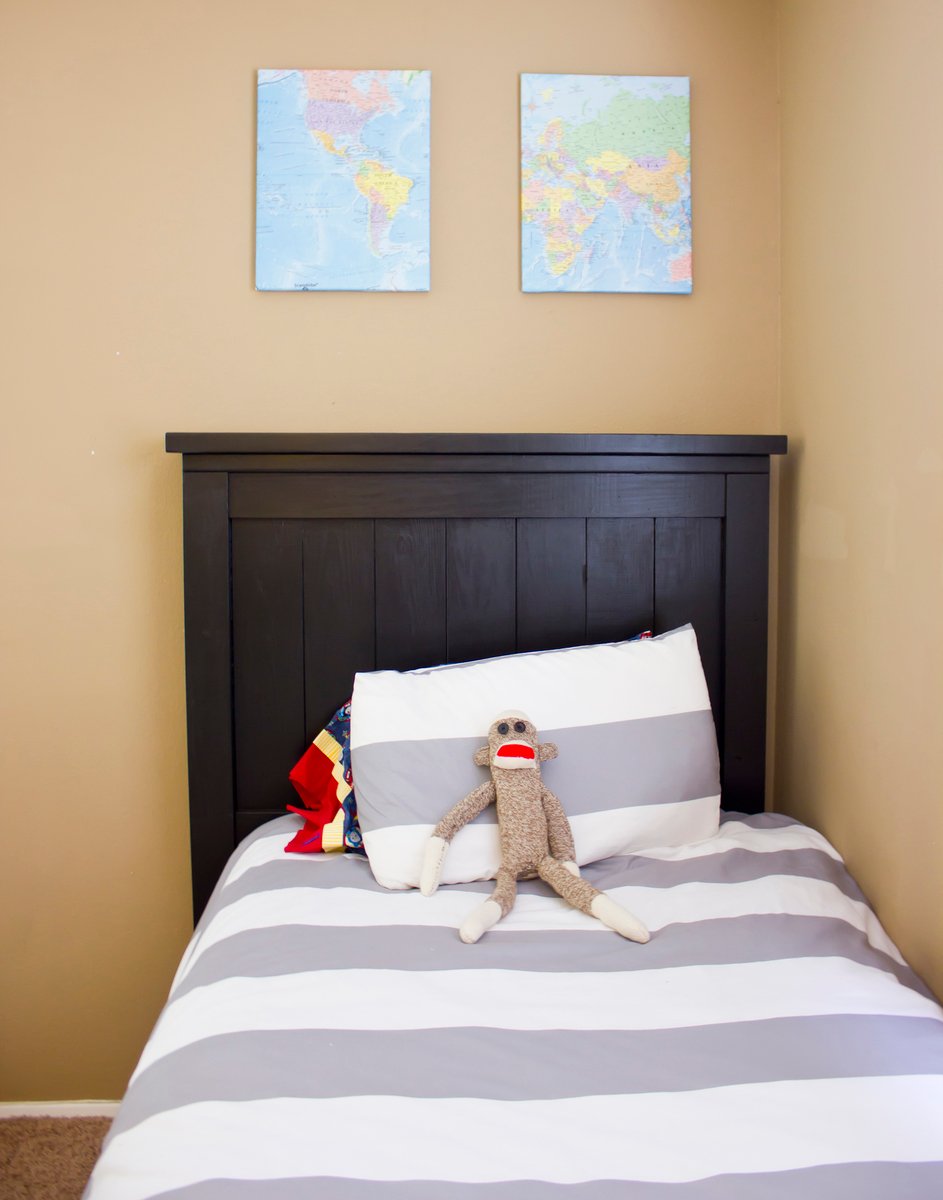
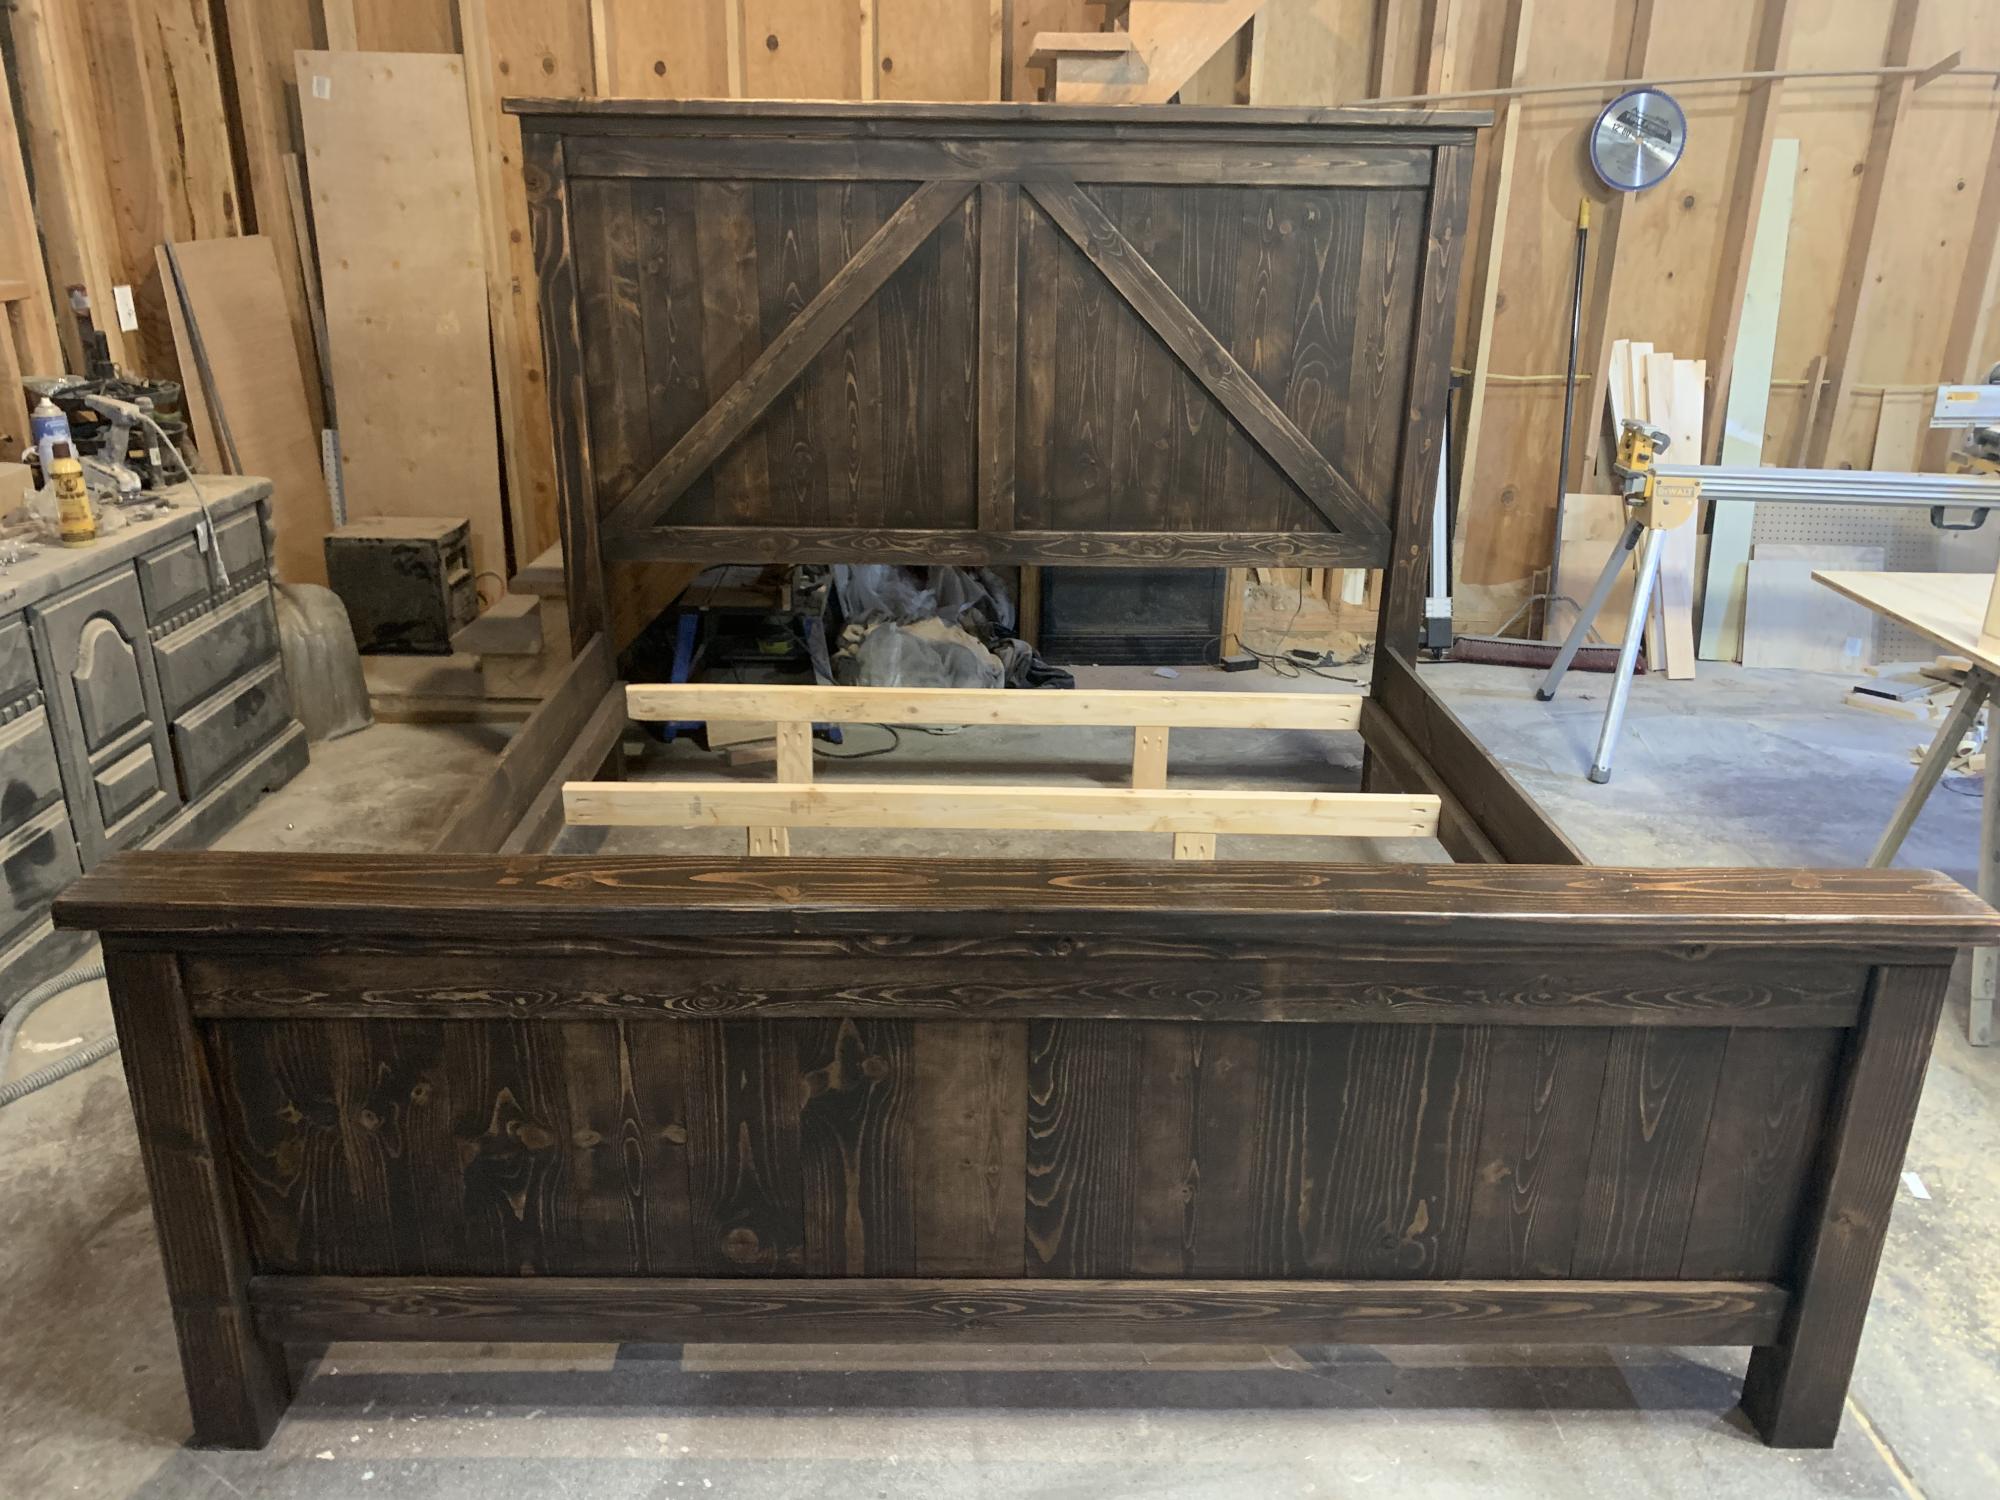
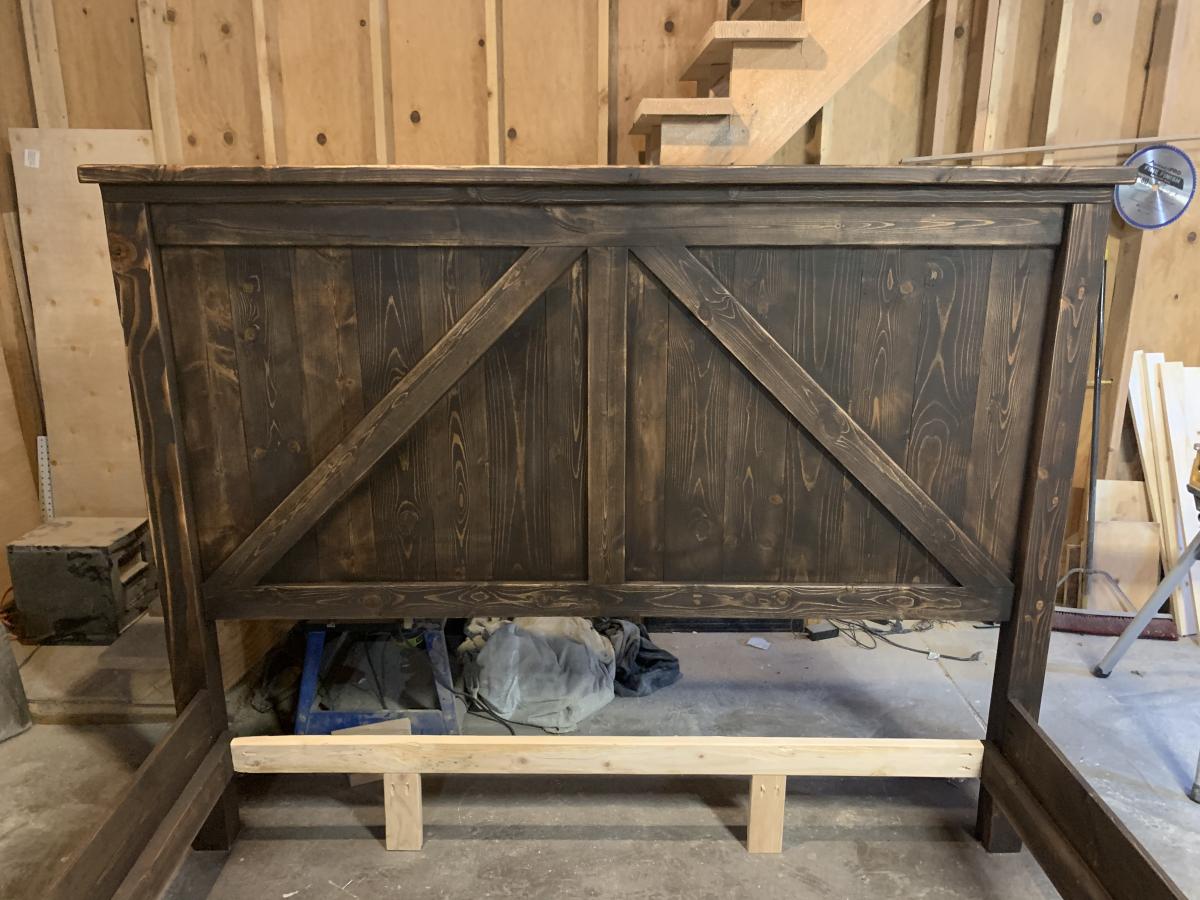
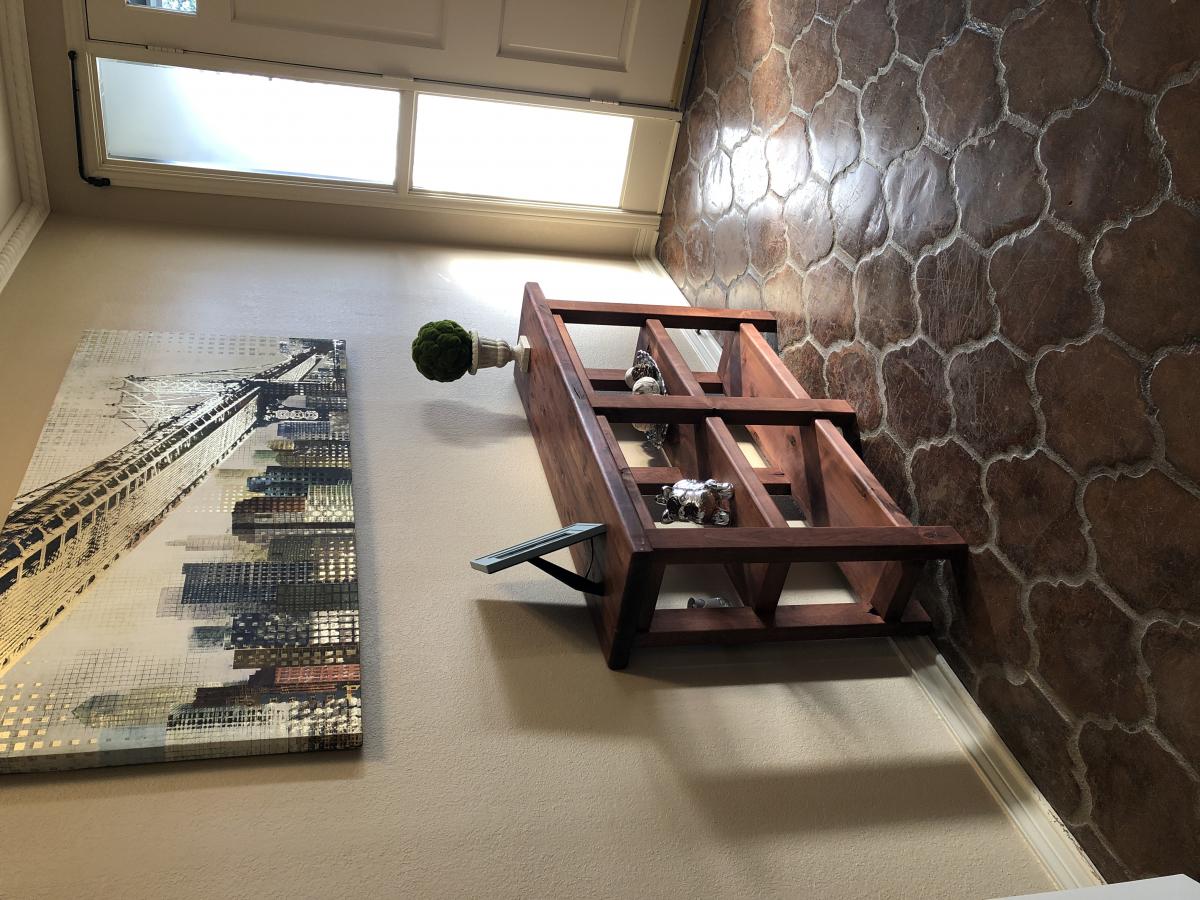
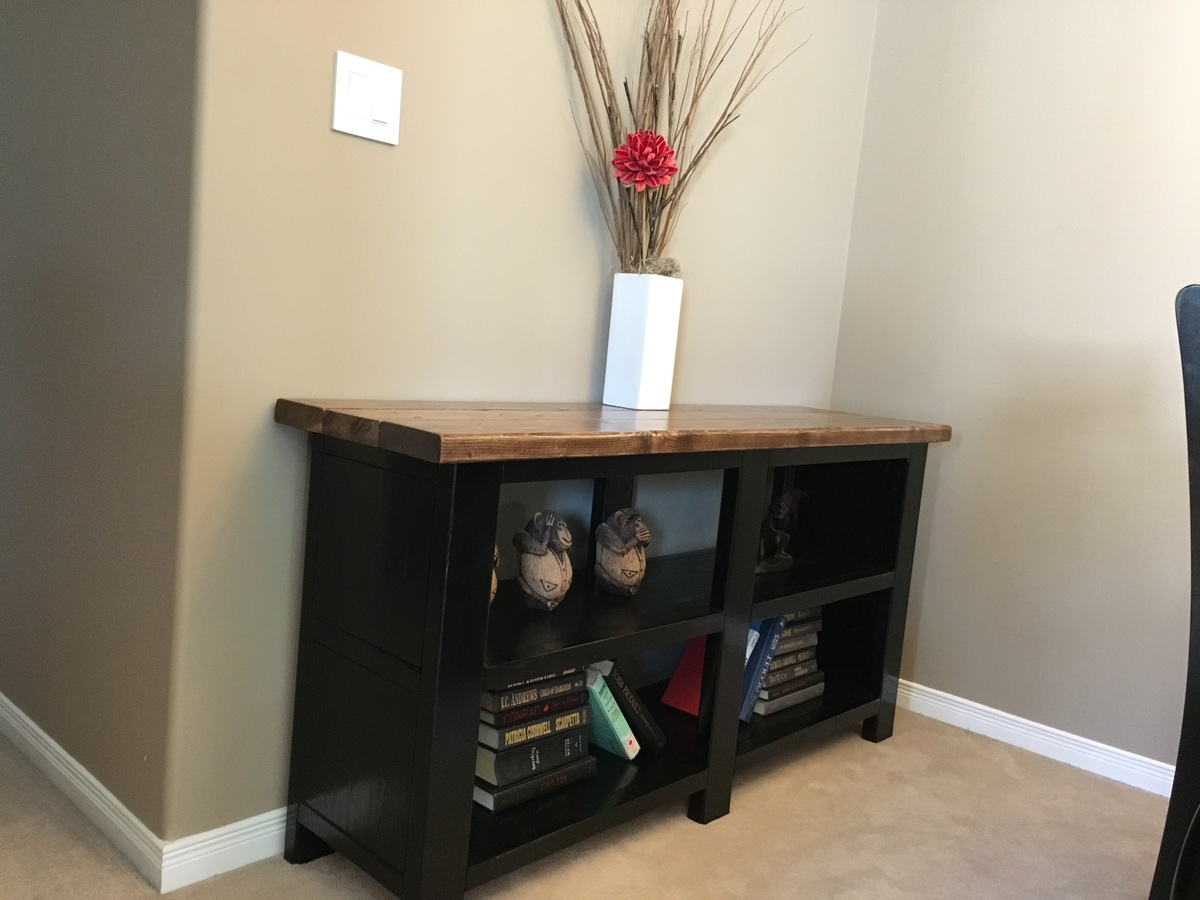
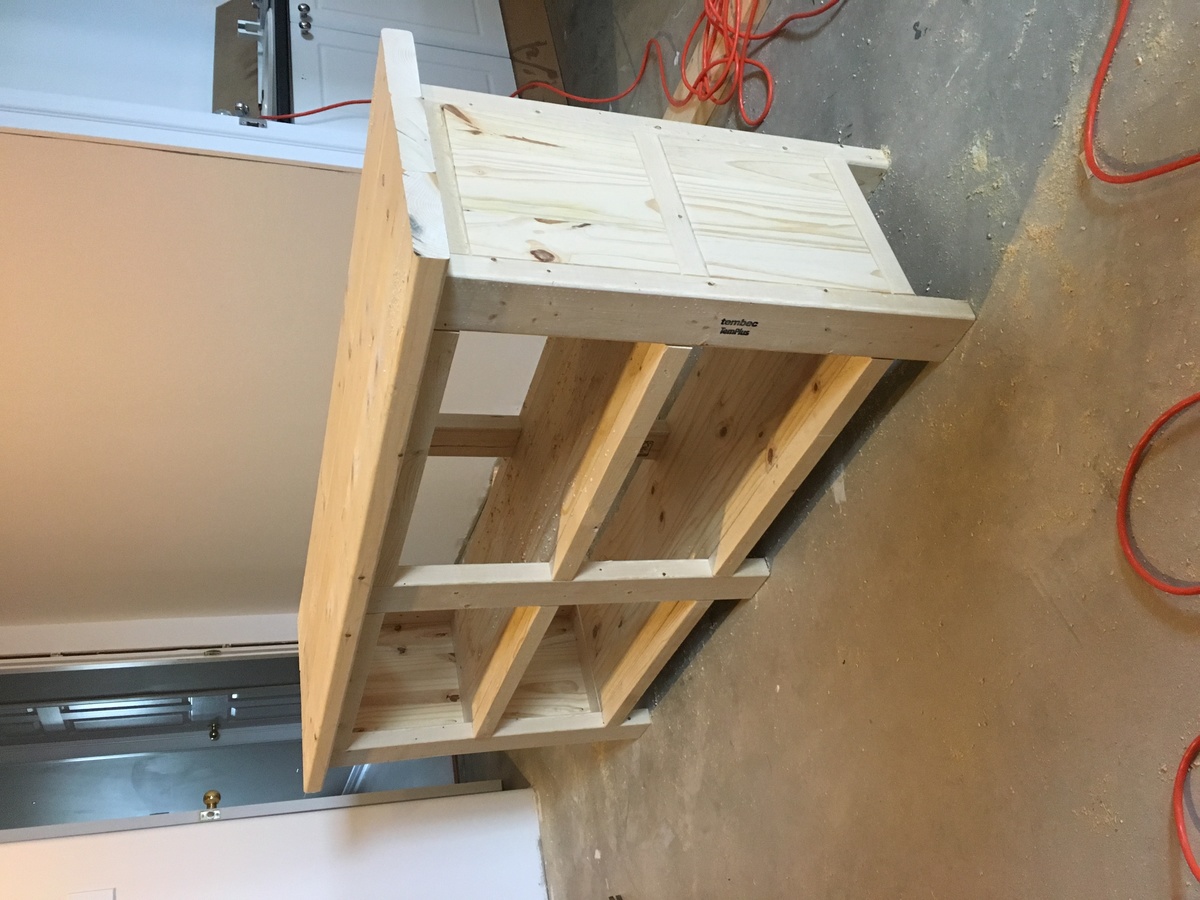
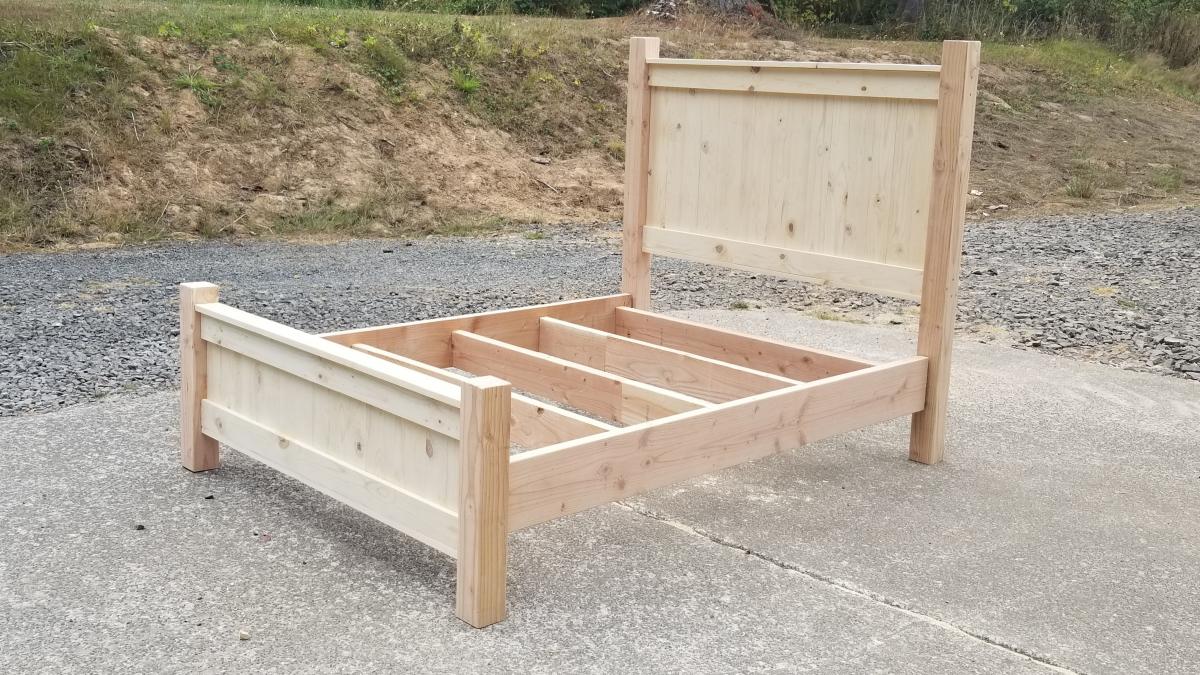
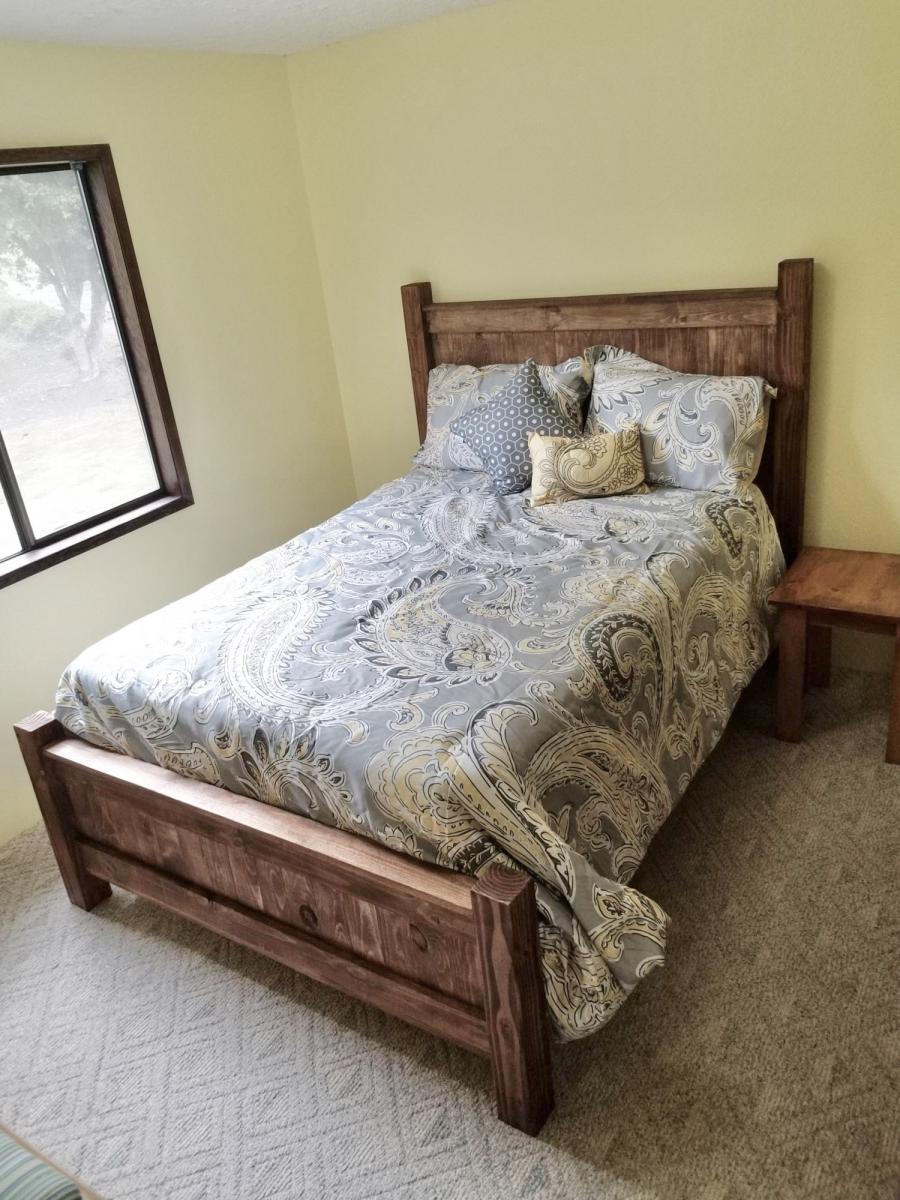
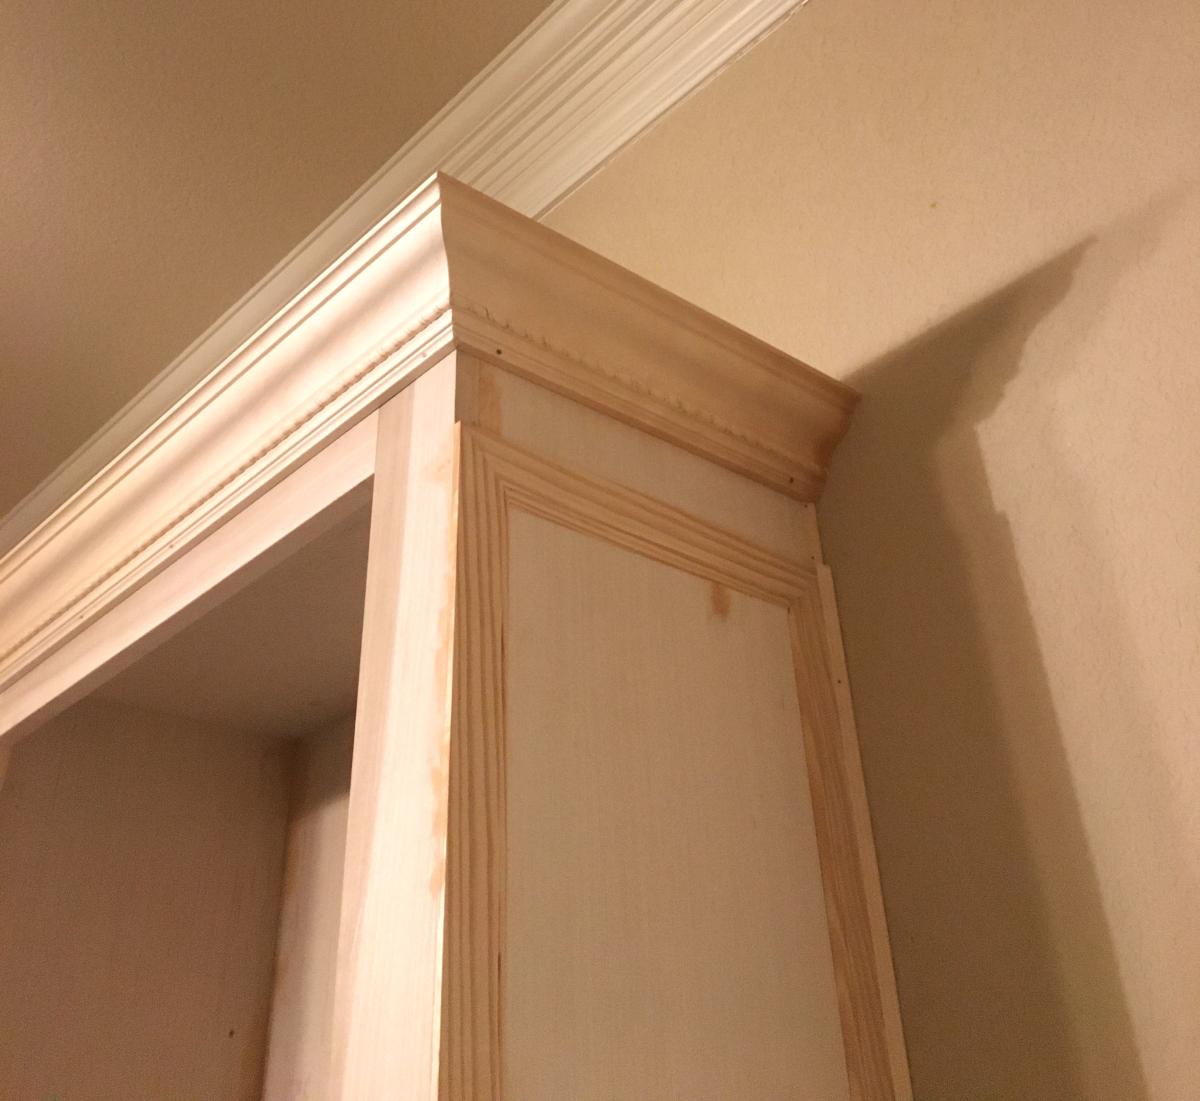
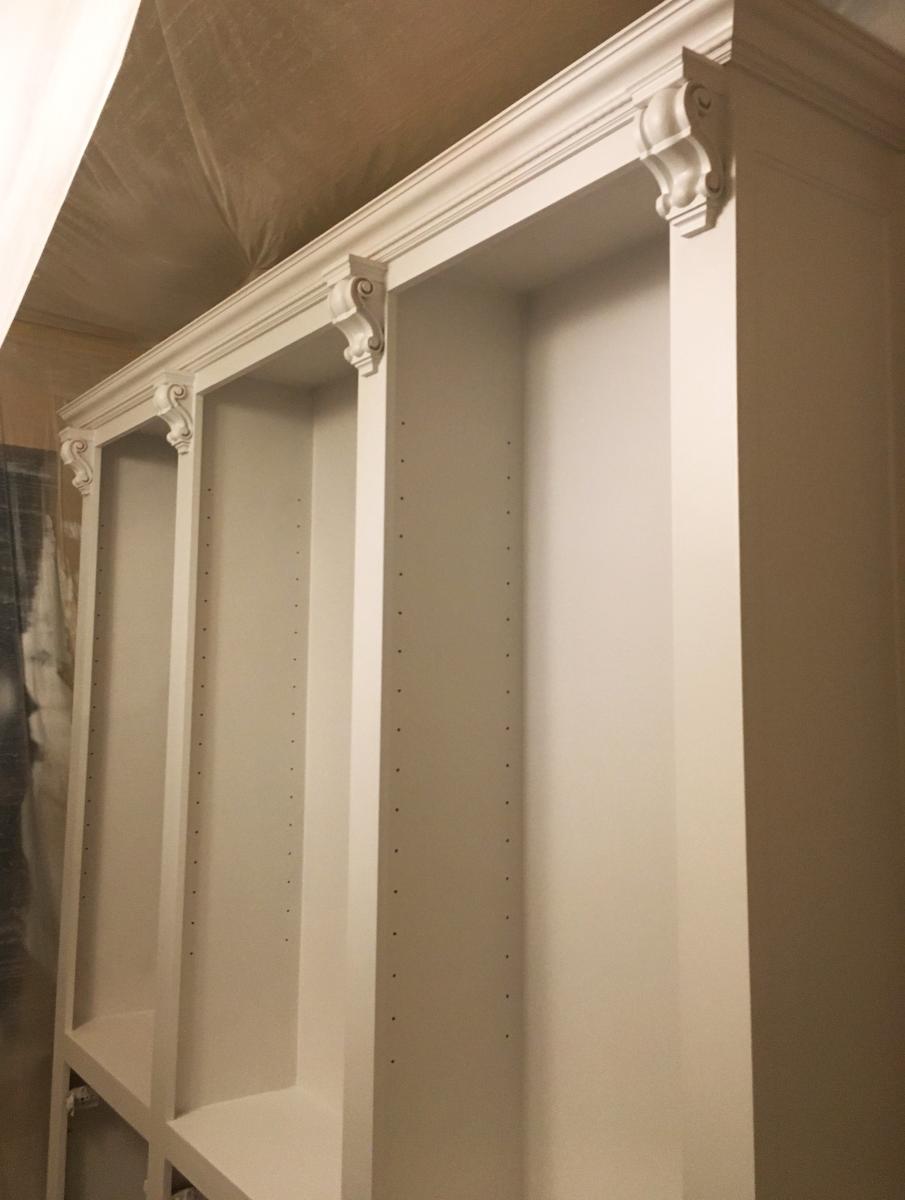
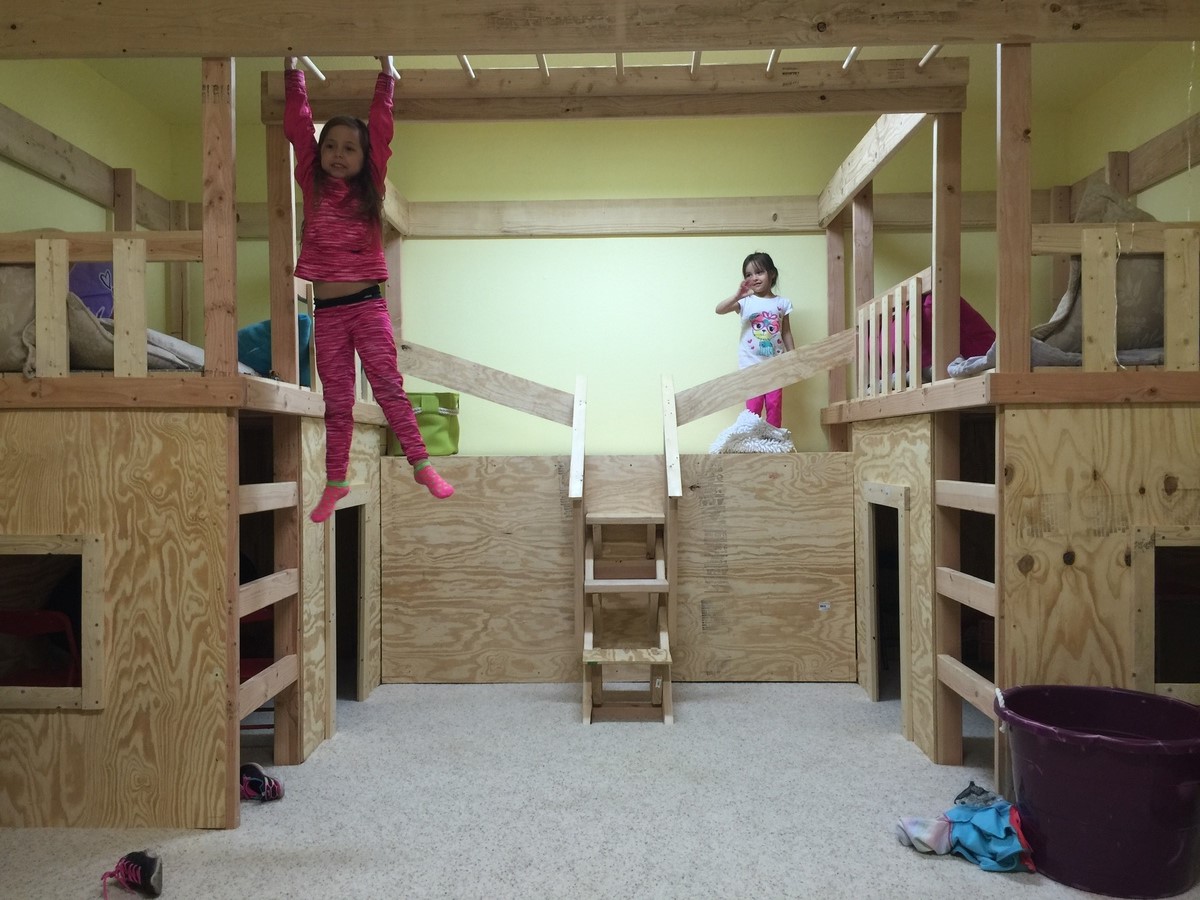
Twin Farmhouse bed for a room to grow in!
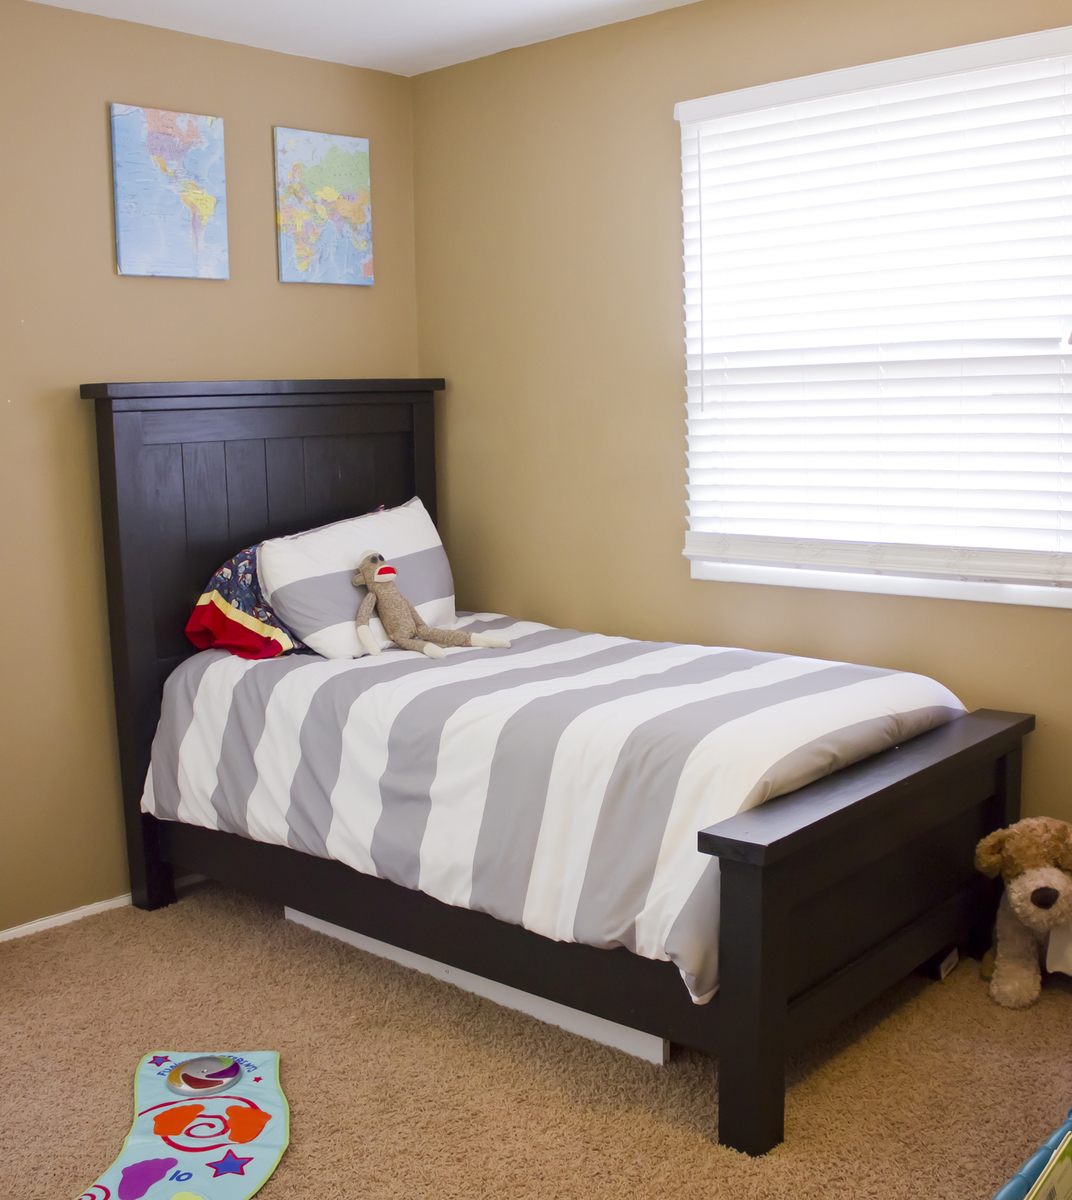
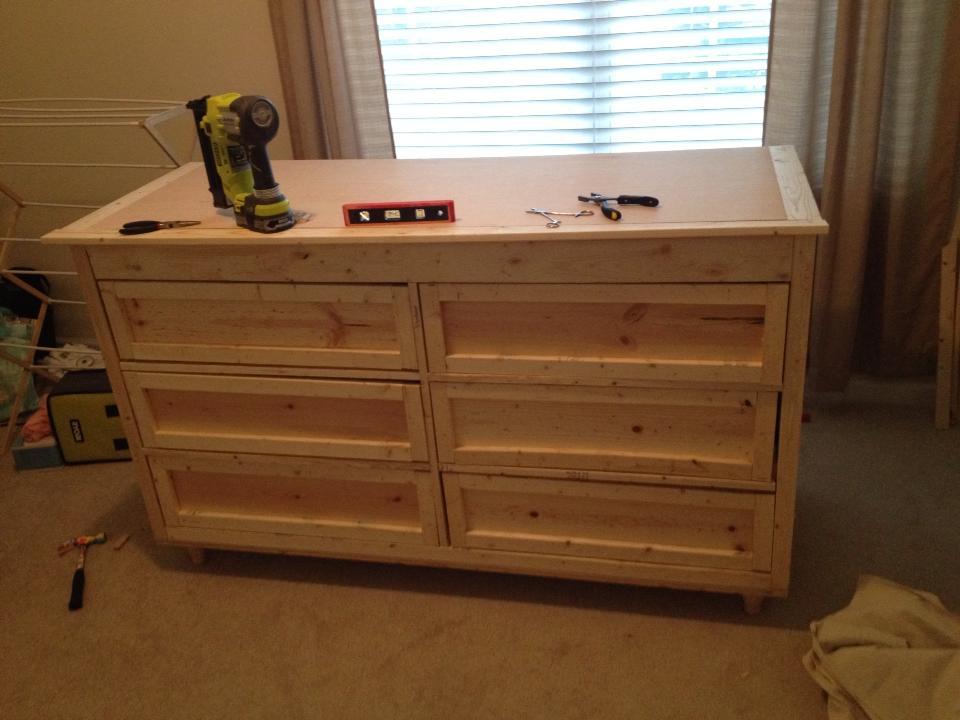
I saw this on the site, and I knew it would be perfect for my soon to be 4 year old boy's room. I wanted something that would be strong (hellloooo 4 year old boy!!) and not too "babyish" to last him through several years of preference changes and growth. This was not too difficult at all! Though I slightly modified some of the construction to make it easier to break down. I ended up using a box spring with a mattress, instead of slats to save a bit of money. (We got the box spring and mattress for free from a relative.)
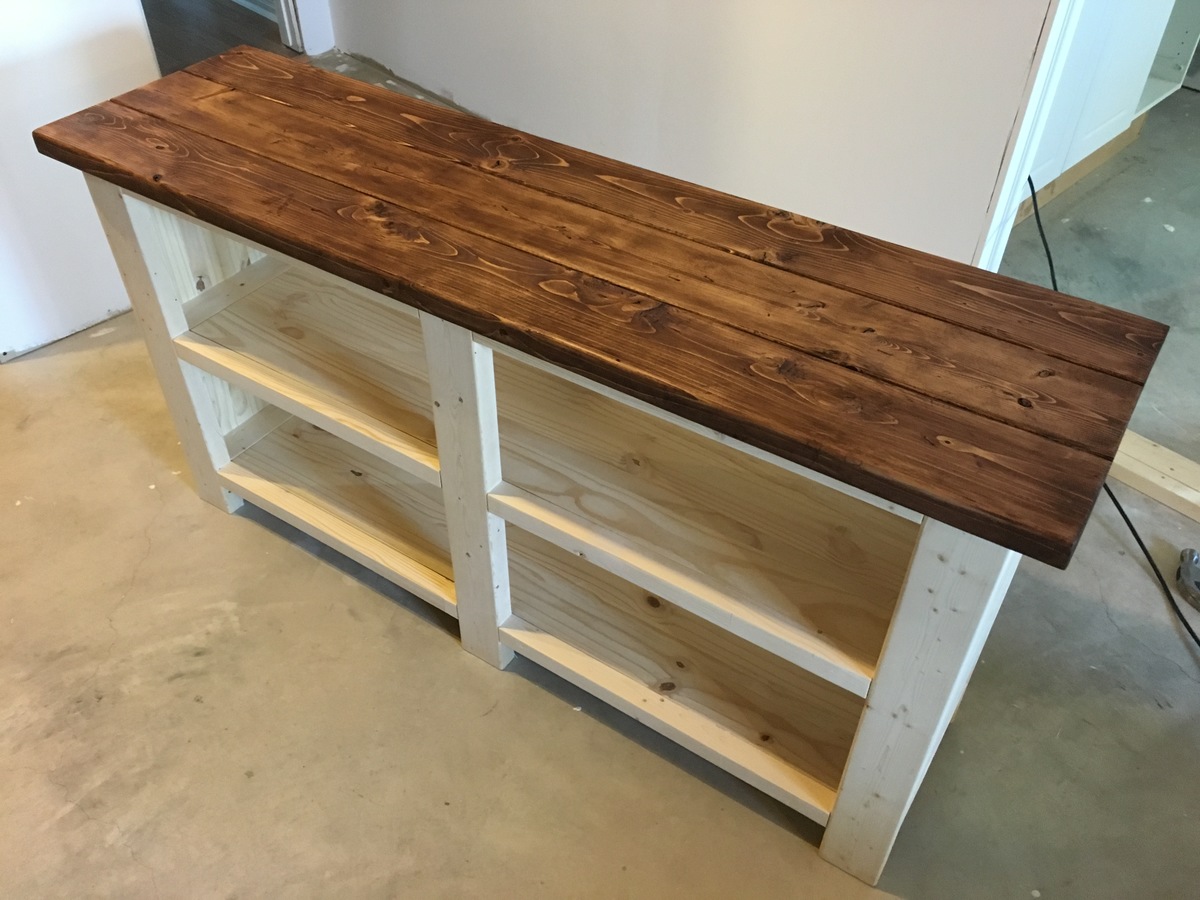
I made this out of pine, and bought everything from Home Depot. Total cost for everything (including paint, sandpaper, wood glue, etc) was about $160! We are loving it!
Built from Plan(s)
Estimated Cost
$160
Estimated Time Investment
Weekend Project (10-20 Hours)
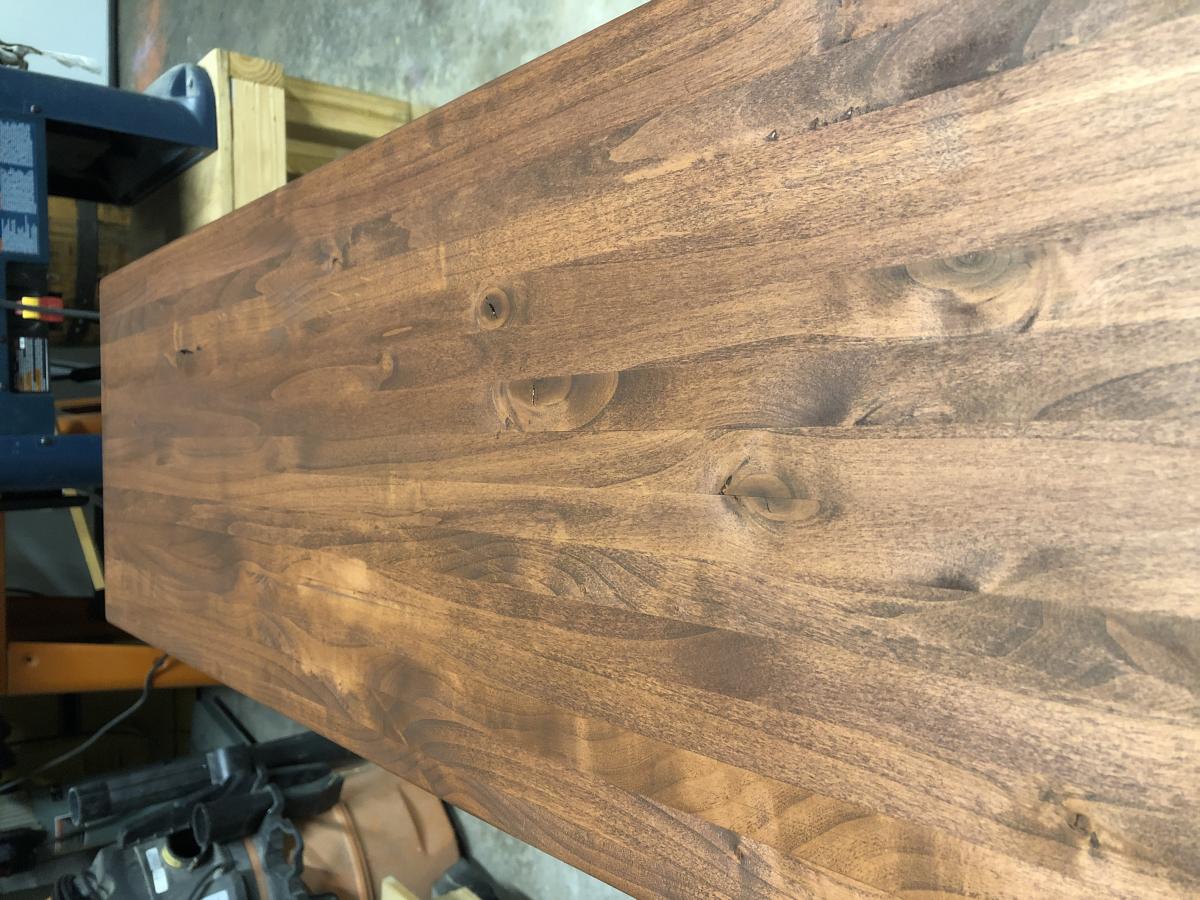
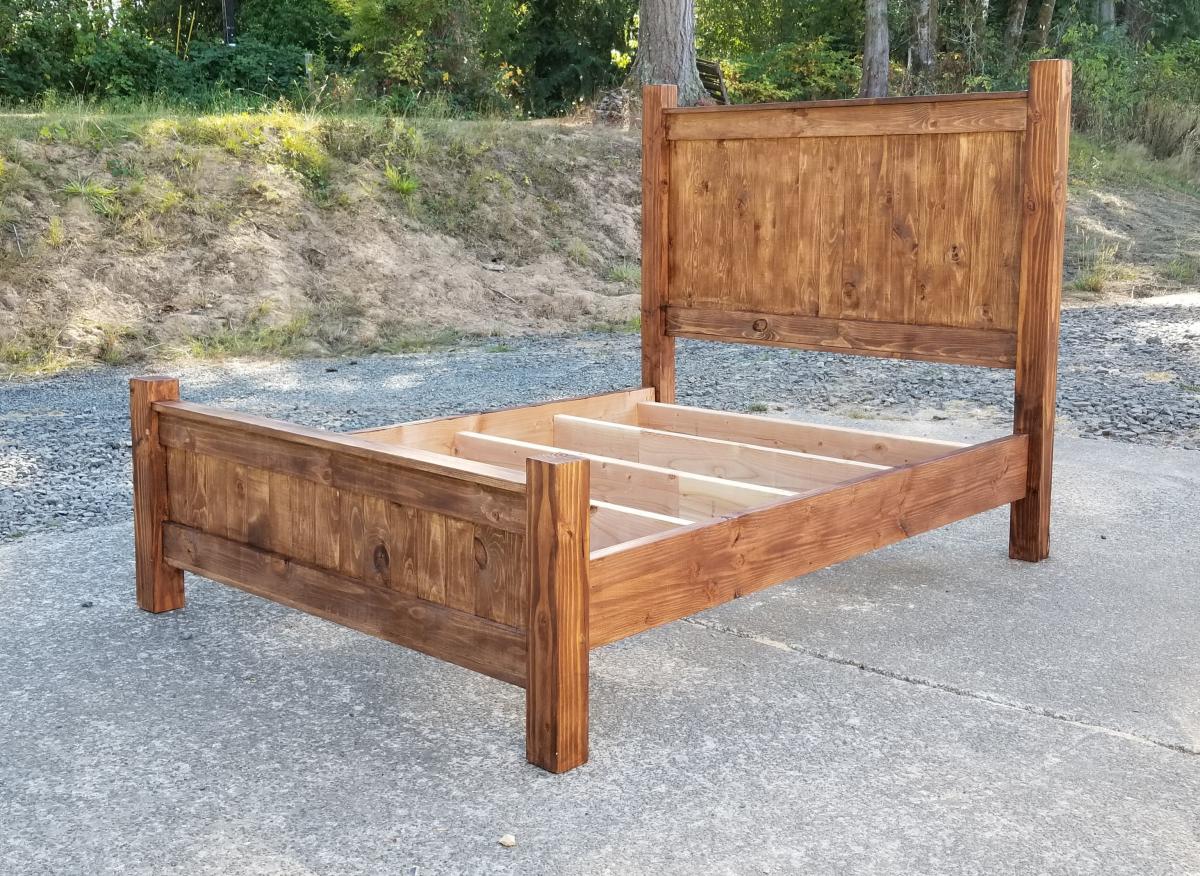
Finish Used
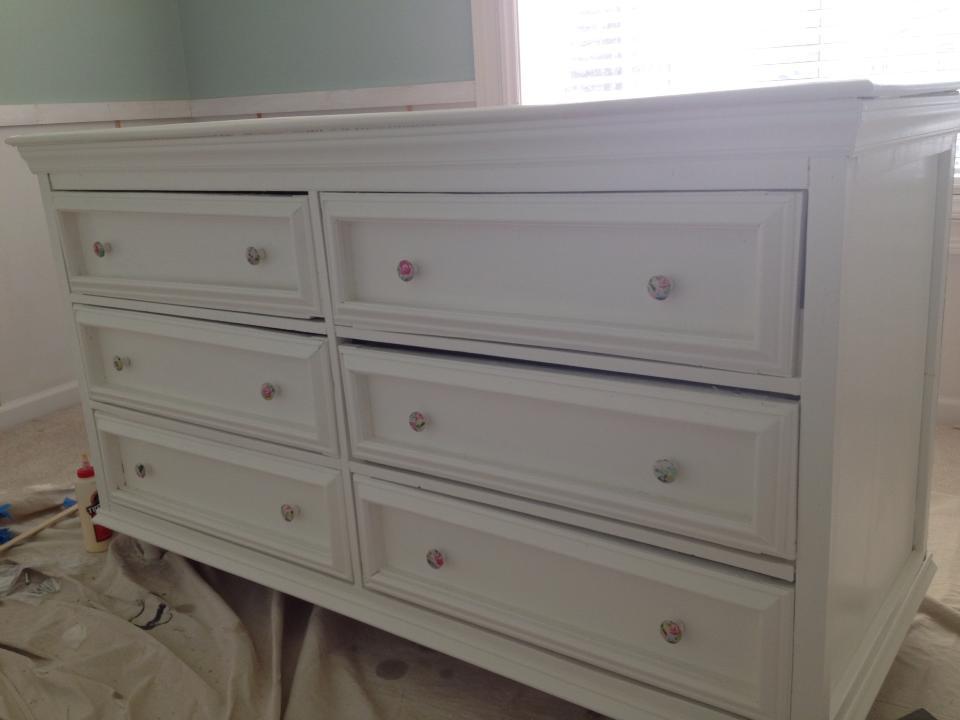
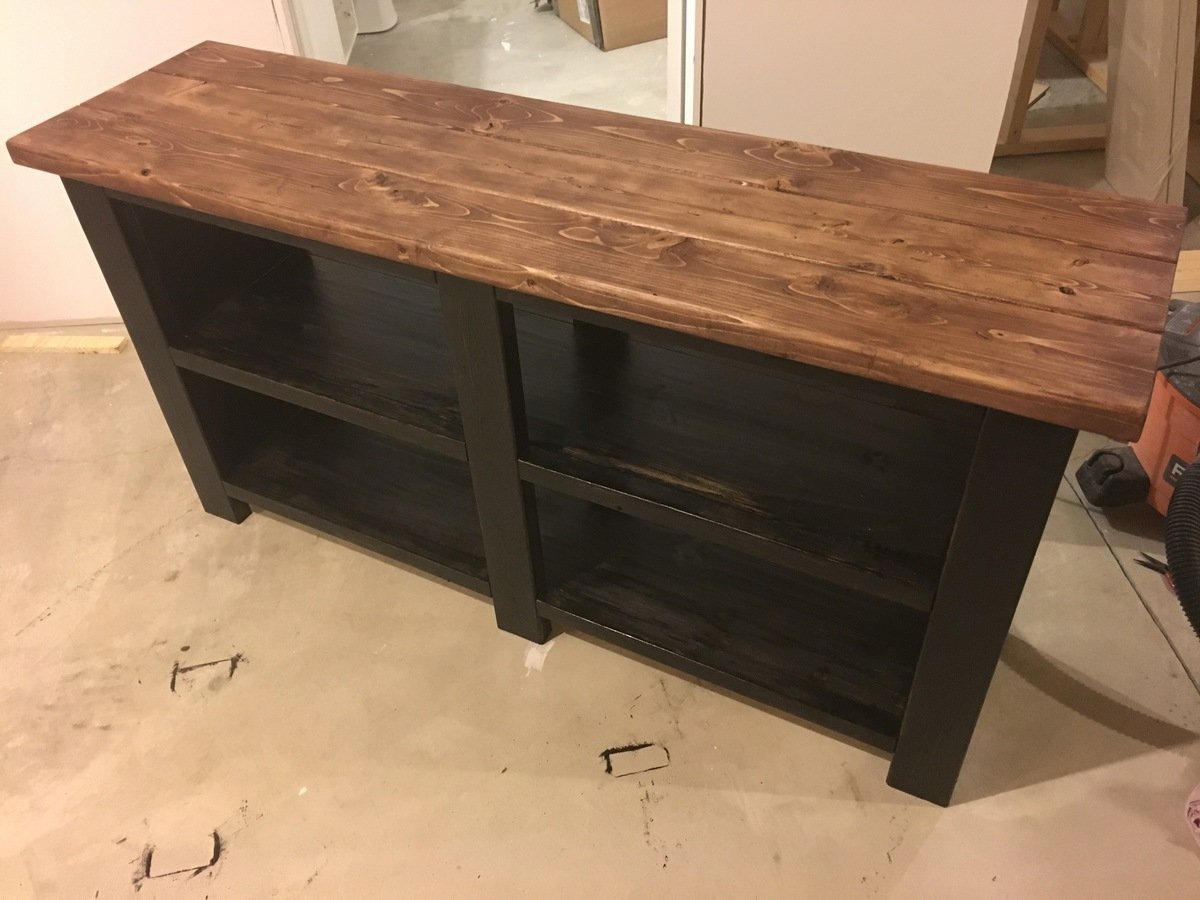
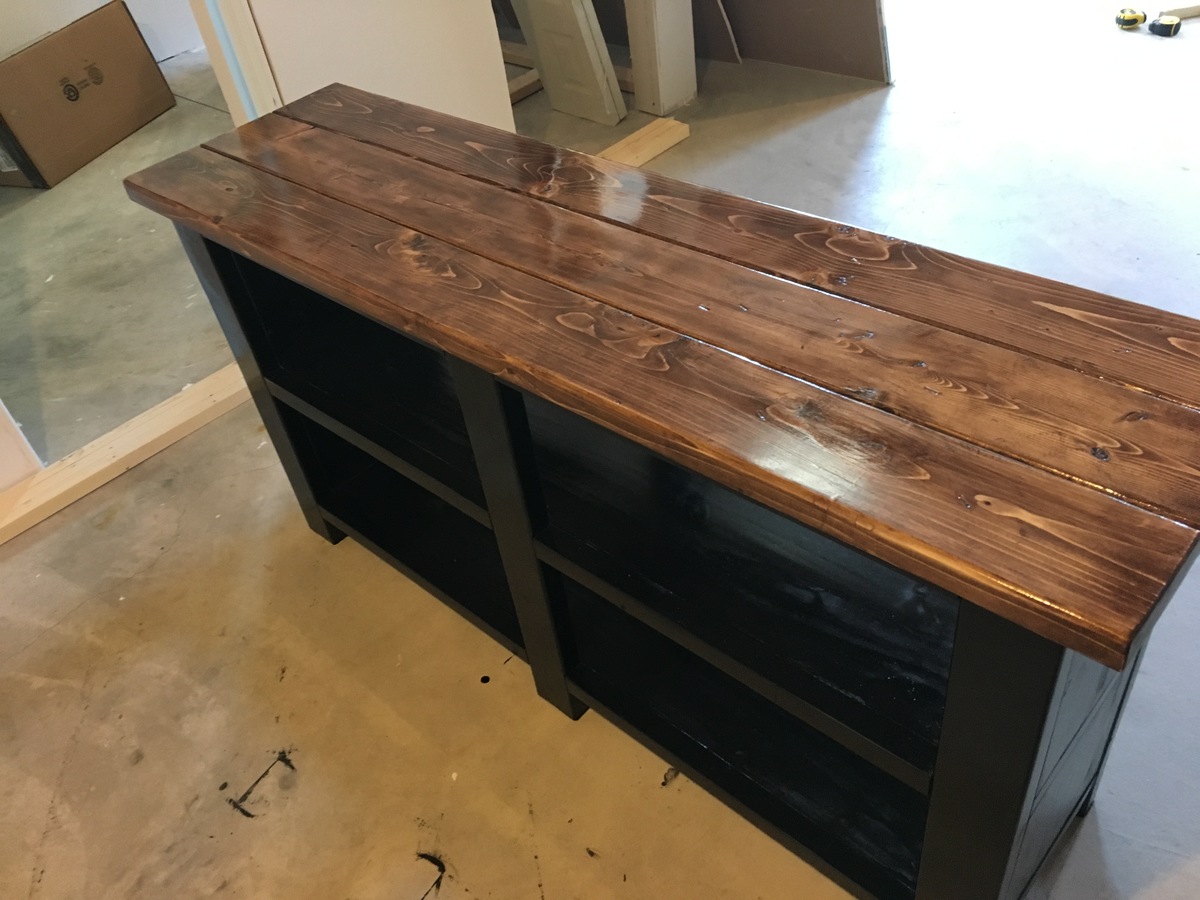
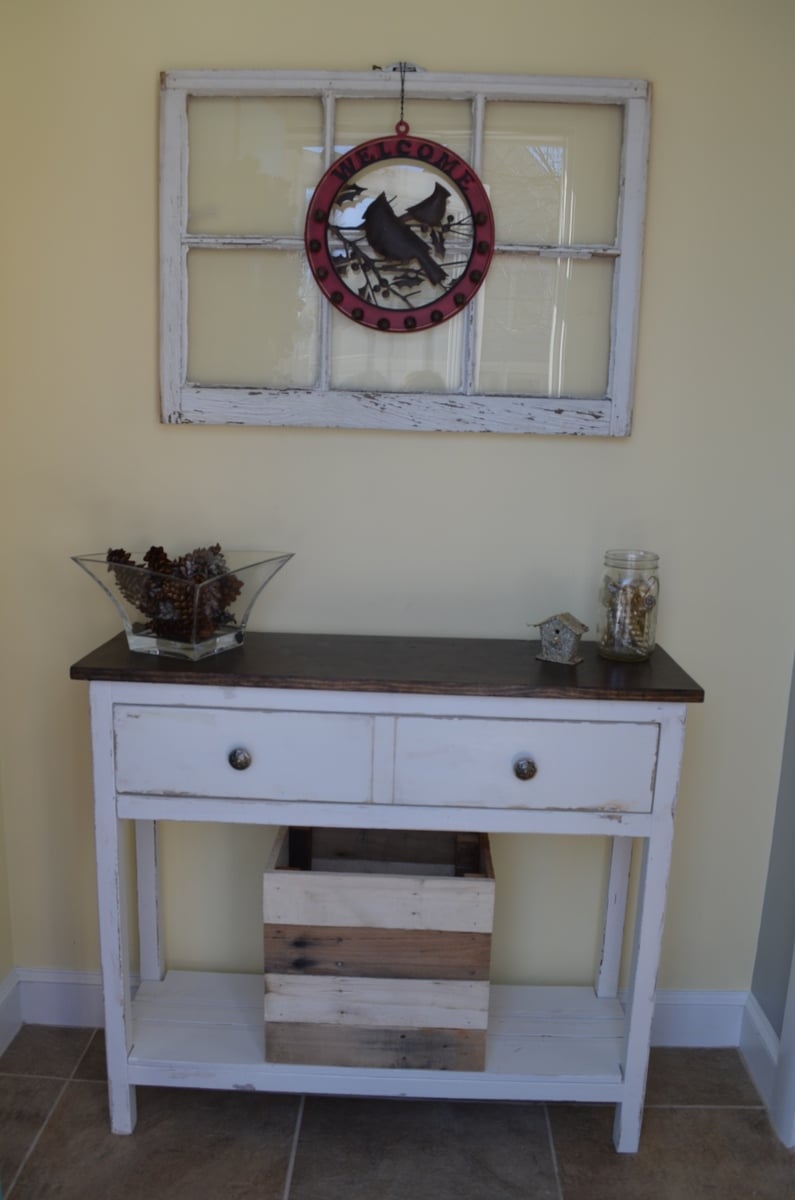
Behr Primer and Paint in 1, satin finish, color "Beluga"
Recommended Skill Level
Beginner


Comments
shaneandterrid
Thu, 05/03/2012 - 23:09
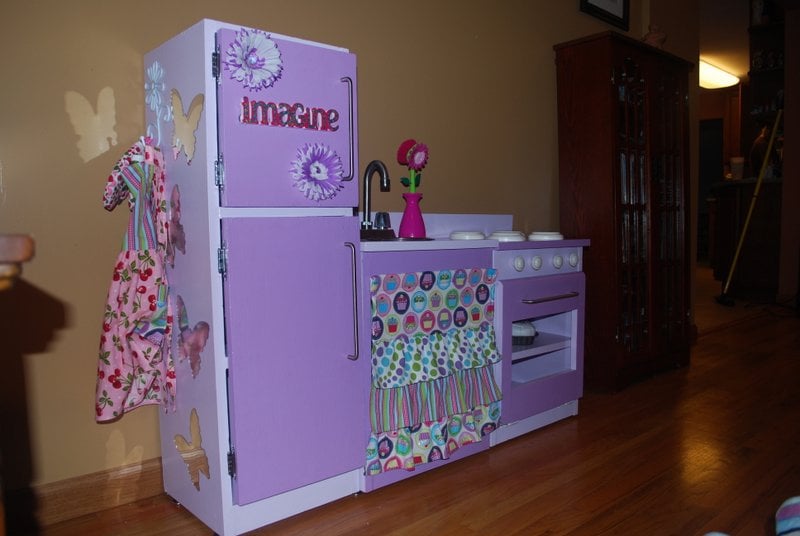
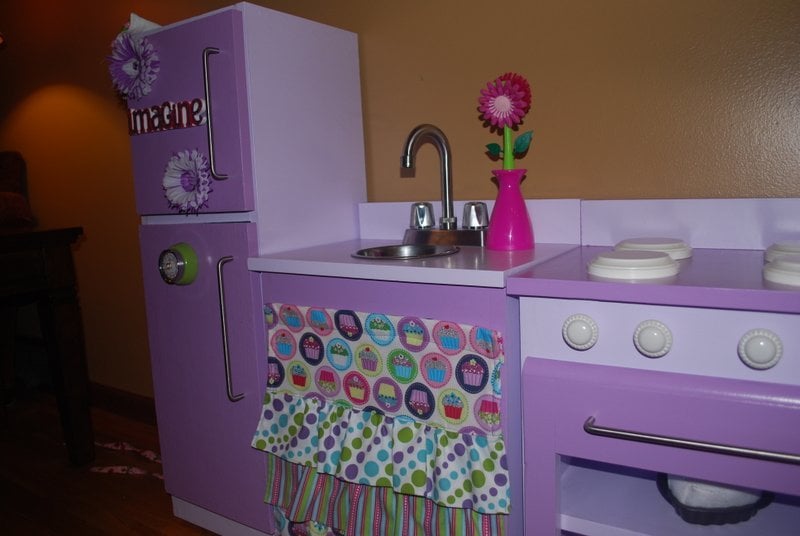
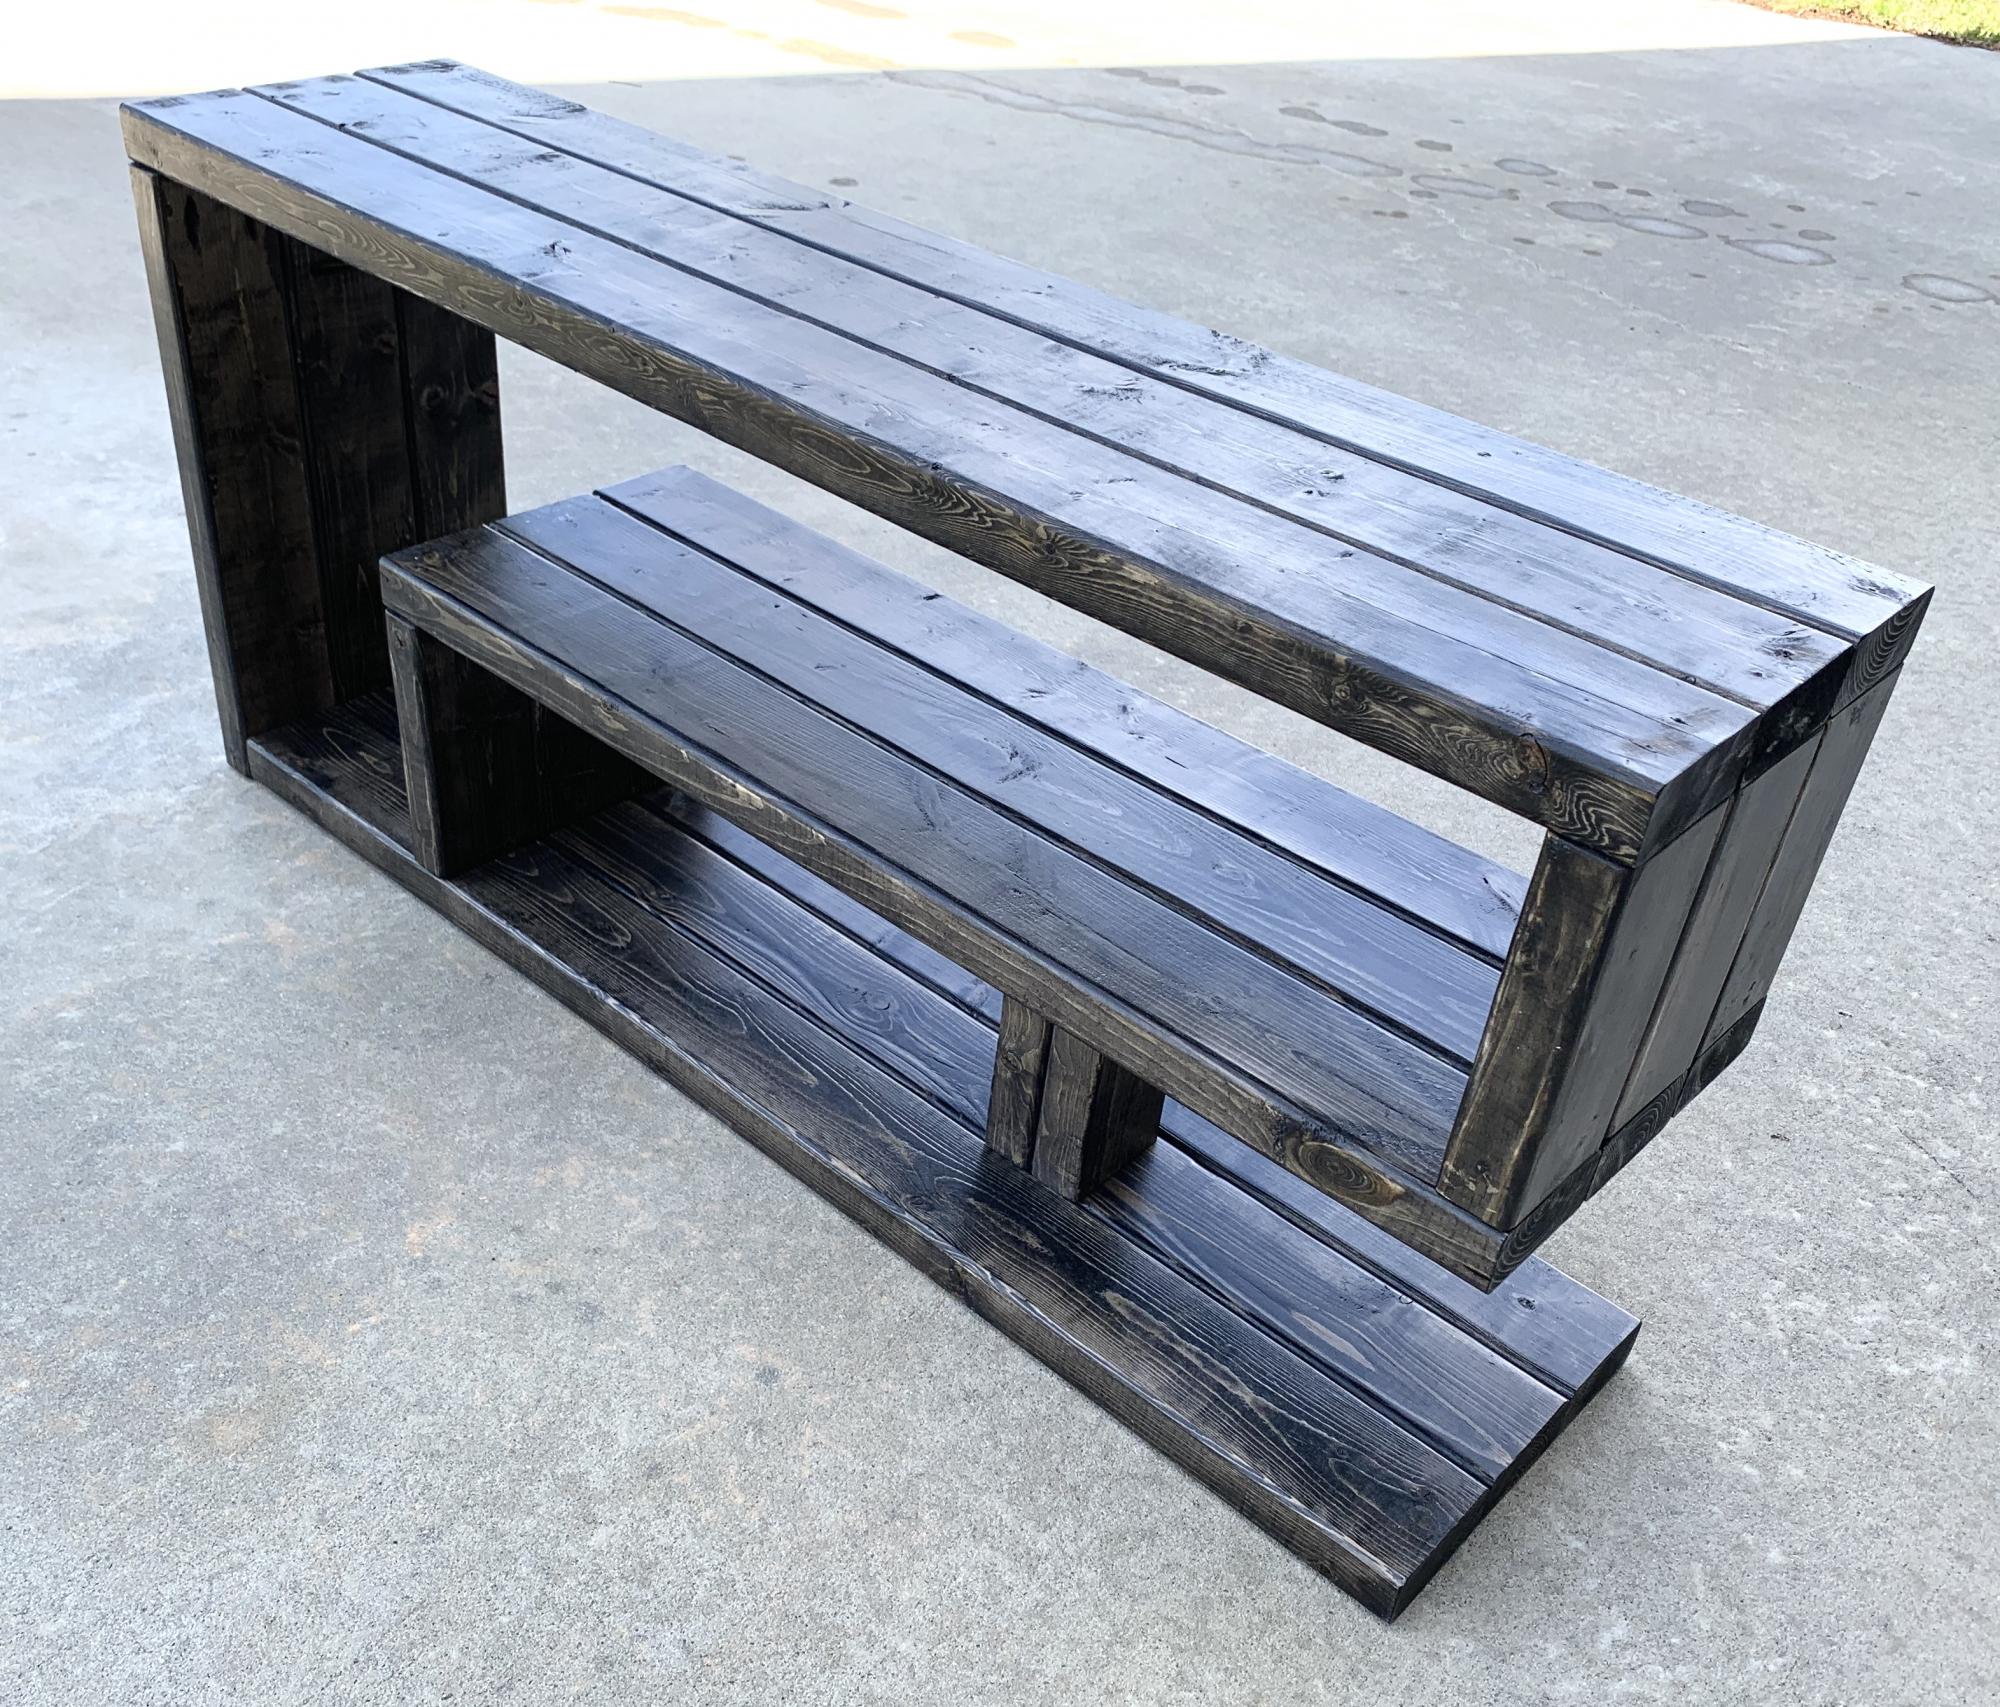
Check out our take on it too!
Hi,
I love what you have done here. We have just finished our first build and am about to start on another for our oldest girl. Check out our blog, its the latest entry on this page.
Love it.
Thanks,
Shane