Community Brag Posts
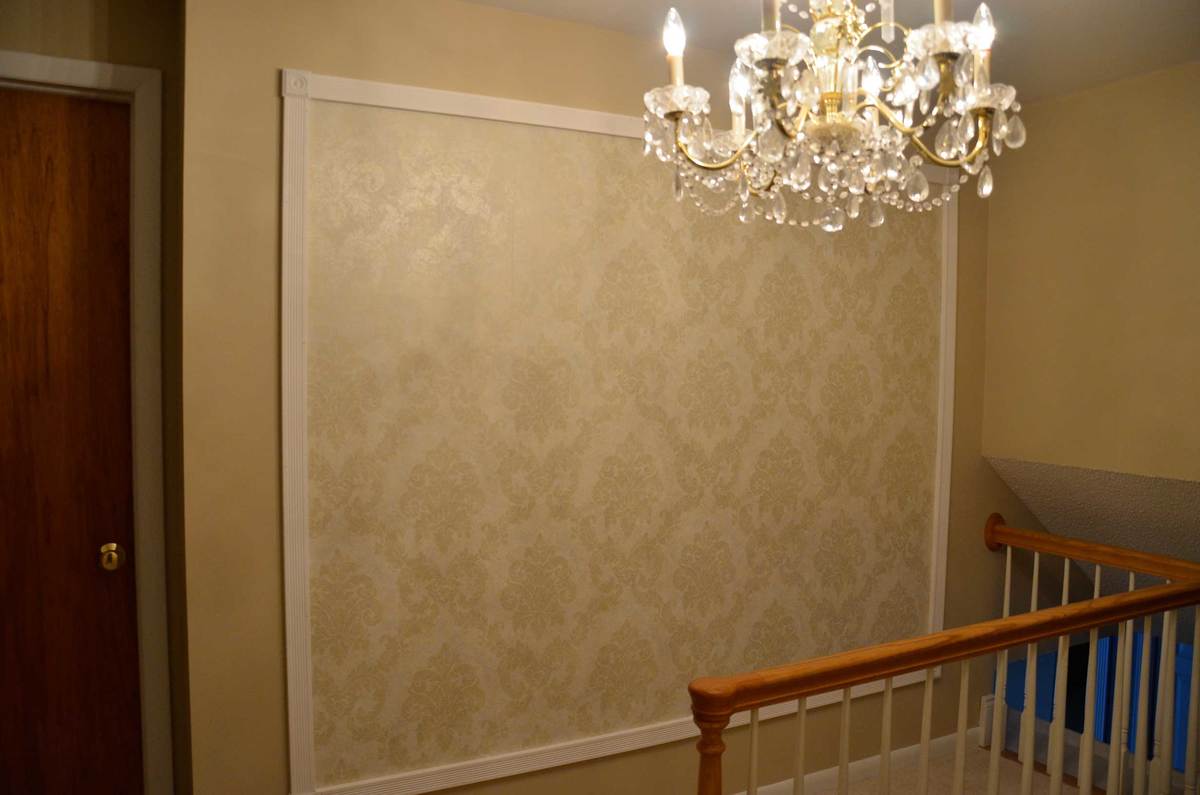
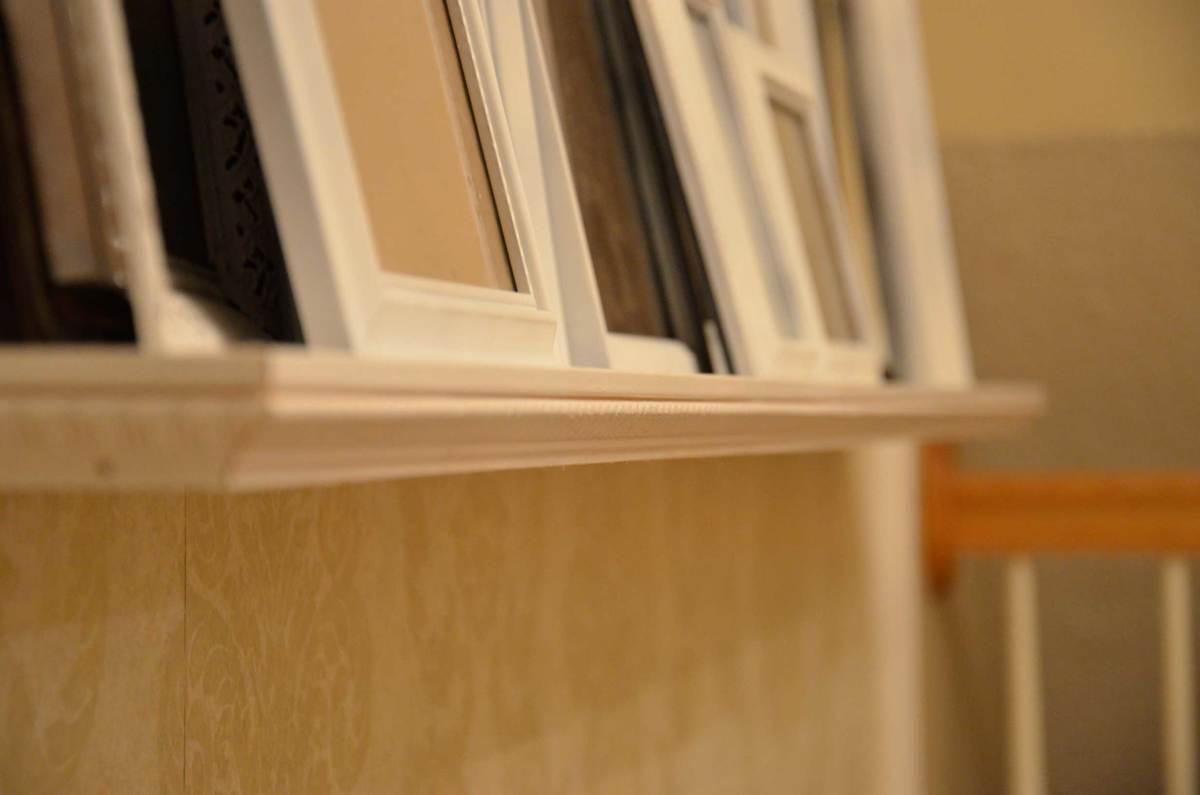
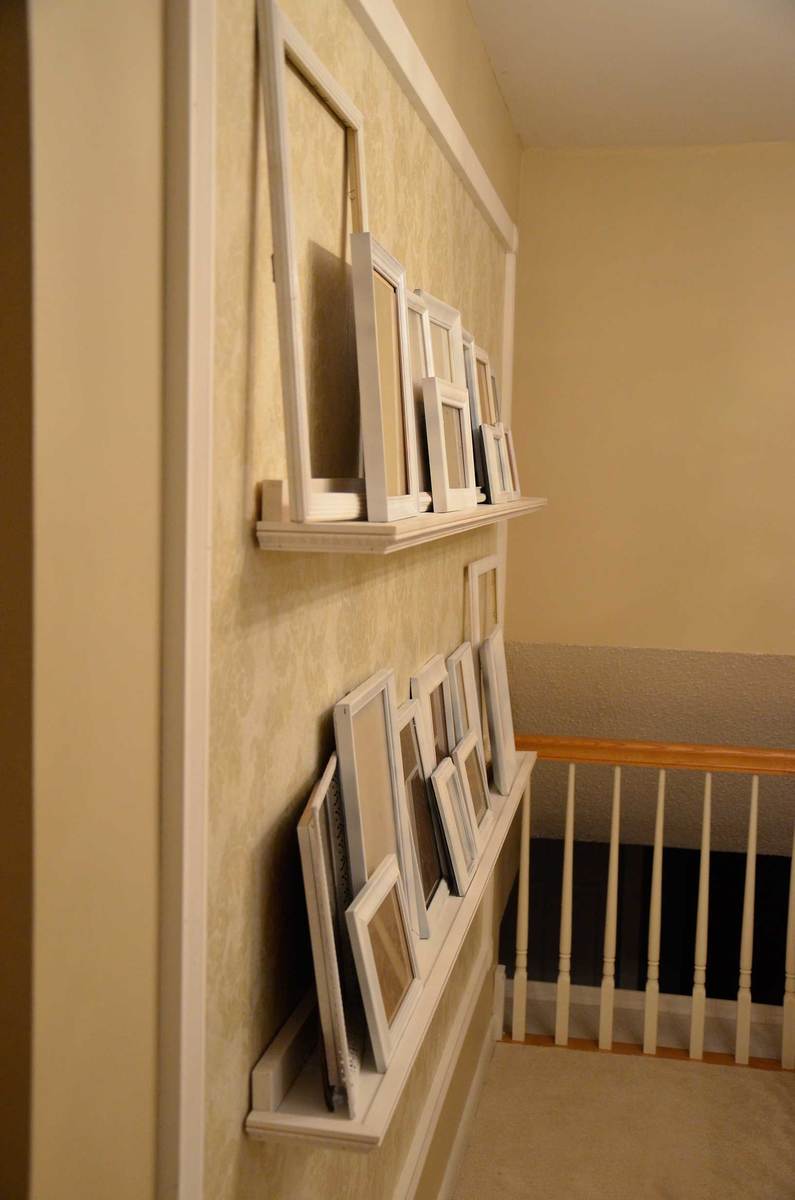
Accent photo gallery wall
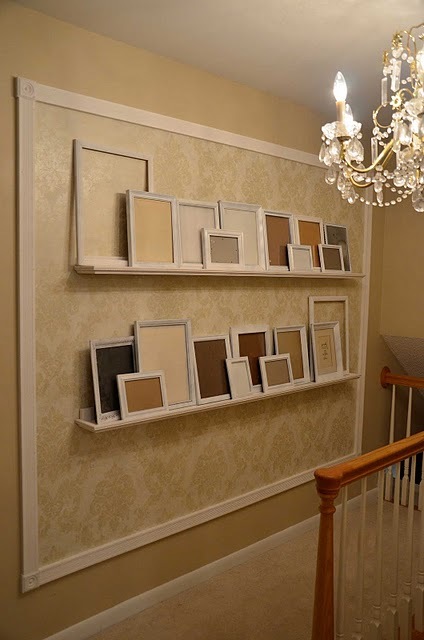
When I first saw Ana's $10 ledges - I knew I wanted to do them, with a twist. I have this random nook in my house - and I knew they would be perfect. I wanted a feature wall there. And a feature it is.
I posted more pictures and how I framed everything out on my blog.
Thank you Ana for your continued inspiration! I wouldn't have been able to do any of it without you!


Estimated Cost
Ledges $20, full wall $160
Estimated Time Investment
Afternoon Project (3-6 Hours)
Finish Used
Prime and white gloss paint
Recommended Skill Level
Starter Project
Comments
Tue, 03/06/2012 - 11:55
I love this! I love the area
I love this! I love the area of wallpaper framed out. Can you tell me how you did that? Did you attach the wallpaper to the wall? Or did you attach to plywood or something and then attach to the wall? I have a perfect spot in my hallway to do something cute like this! LOVE!
Tue, 04/17/2012 - 10:28
accent photo wall
This is absolutely gorgeous!! I would love to something just like this...so creative! By any chance, can you tell me what wallpaper you used??
Tue, 04/17/2012 - 10:29
So beautiful! Can you tell me
So beautiful! Can you tell me which wallpaper you used?? I love it!
Sat, 04/21/2012 - 05:44
I'll look to see if I can
I'll look to see if I can find the name and brand of wallpaper. We actually wallpapered the wall. It was super easy the whole thing. We lined out where it would be centered. Then put up I think 4 sections. When it was done it was super easy We put a decorative block in one corner - cut the next molding piece to line up with the next corner, and continued all 4 sides. No mitering cuts - super easy!
Sun, 04/22/2012 - 19:24
Thank you!!
Wow! Thank you so much! I cannot wait to start! I really appreciate you trying to find the wallpaper pattern. It just so happens i have the same color carpeting, banister and paint already in my upstairs hall, so as soon as i saw your picture i knew it could work. Hopefully you will be able to find it..if not, i can't thank you enough for your detailed instructions. That will really help being i am not that handy! Hope to hear back from you.
Thanks again,
Erica
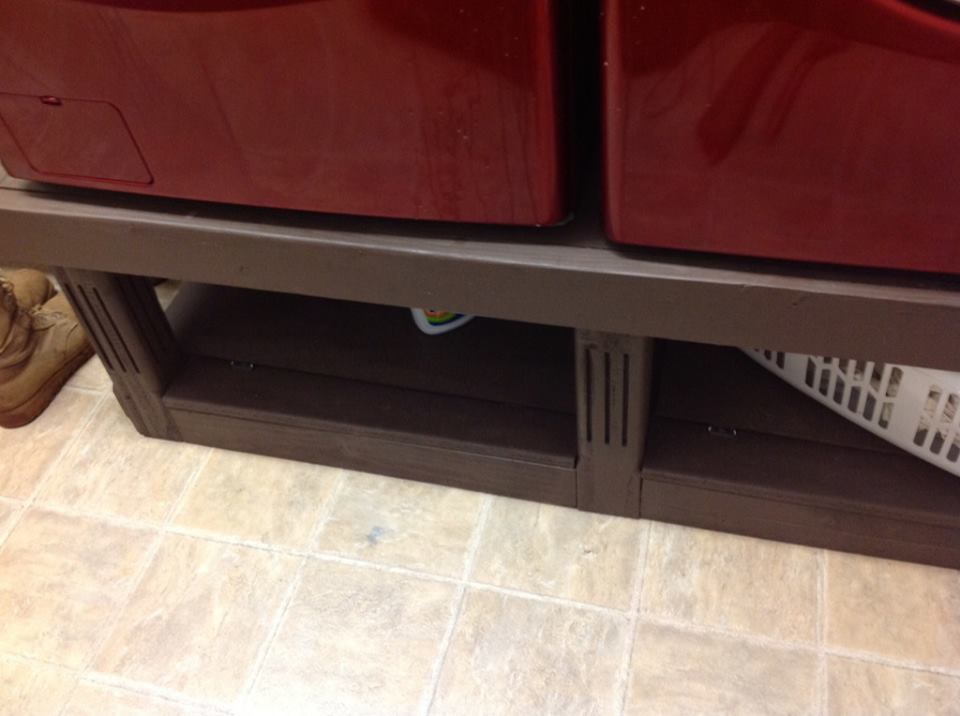
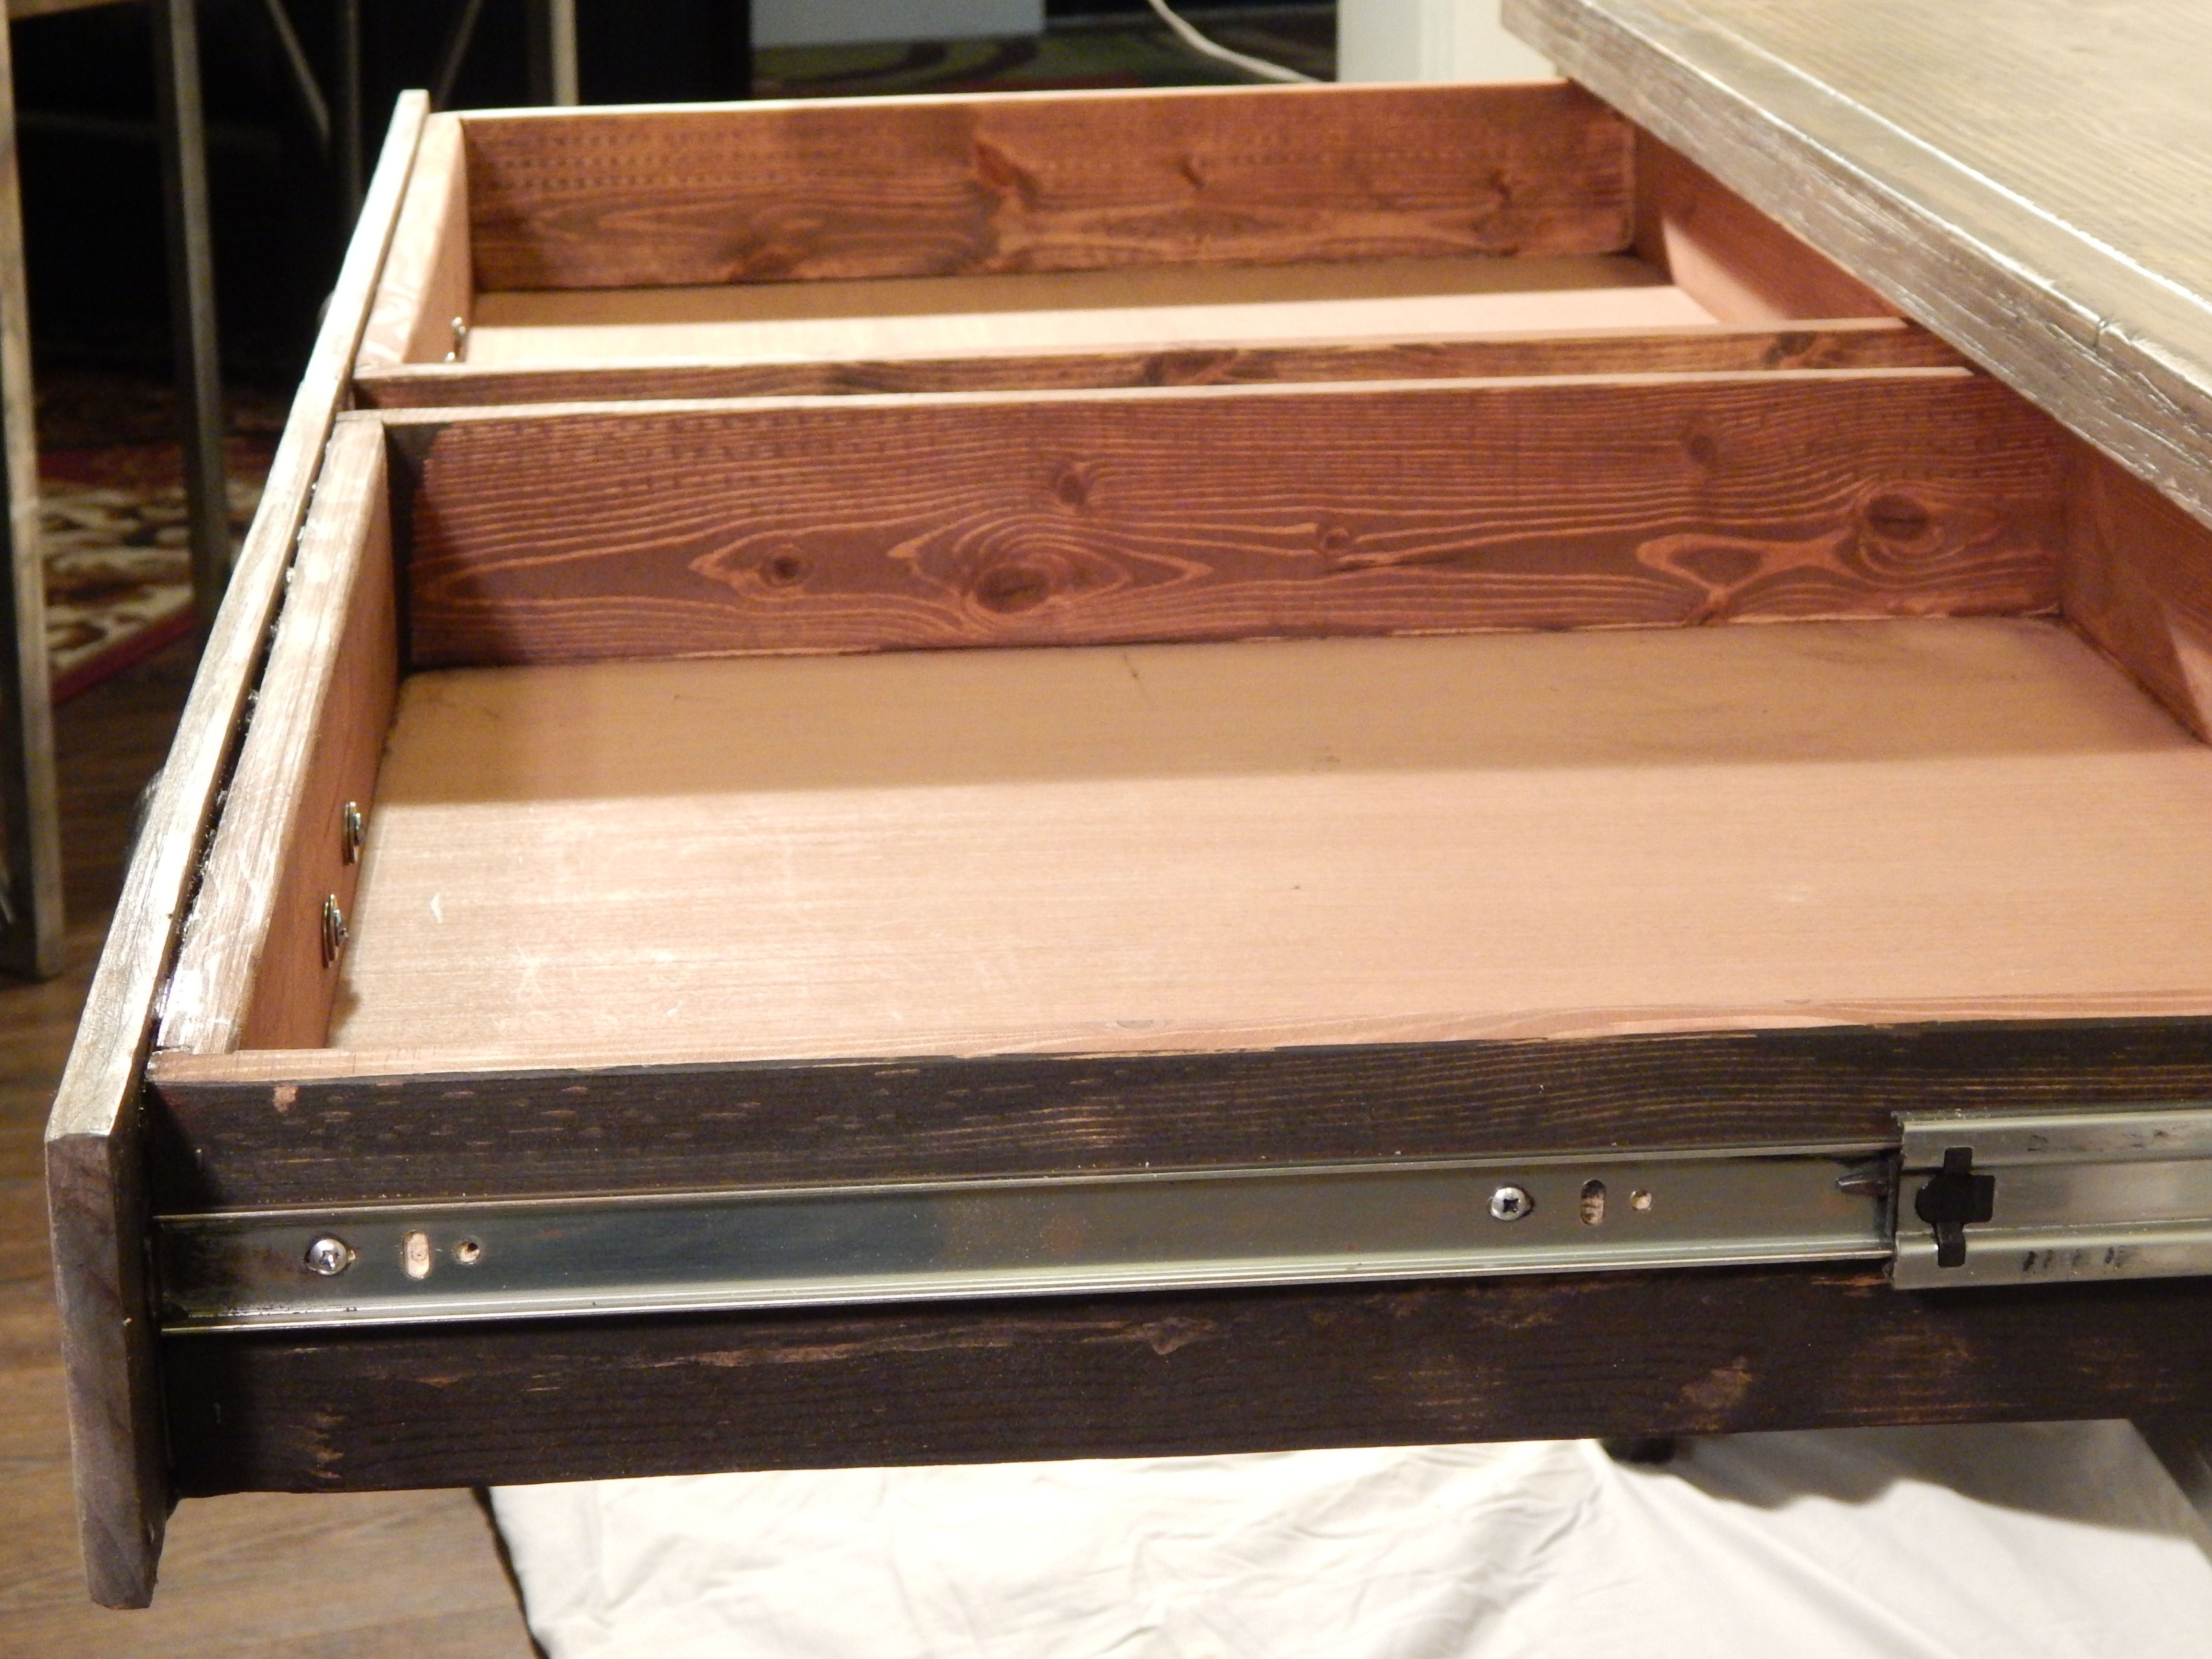
Washer/Dryer Pedestal
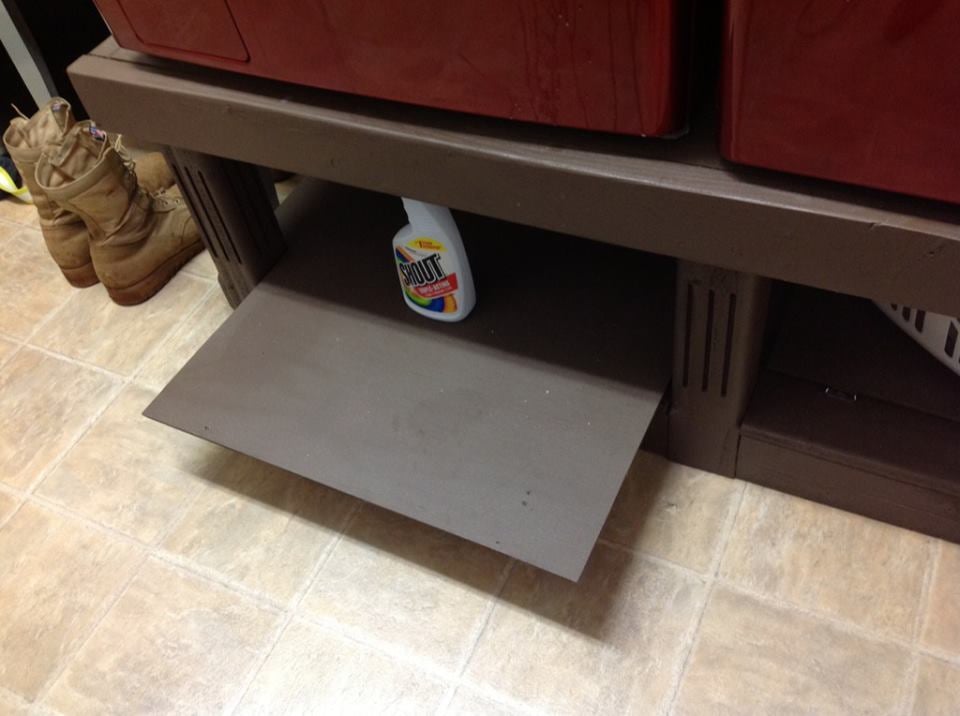
I changed up the plan by making 3 pedestals, adding drawer slides and creating flute work on the pedestals.
Built from Plan(s)
Estimated Cost
200
Estimated Time Investment
Afternoon Project (3-6 Hours)
Finish Used
paint: deep chocolate
Recommended Skill Level
Beginner
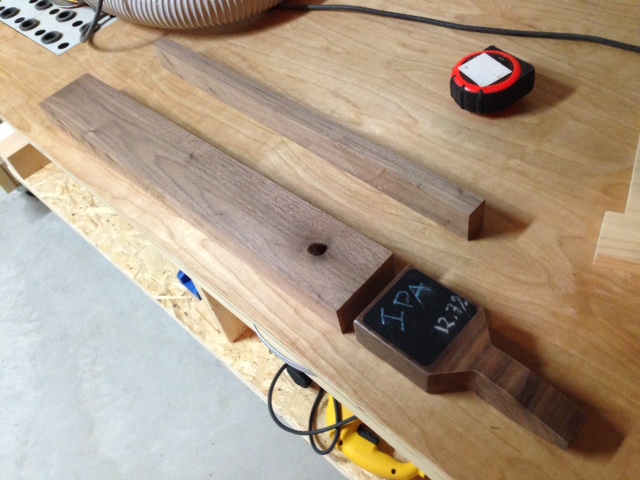
Beer Keg Tap Handles
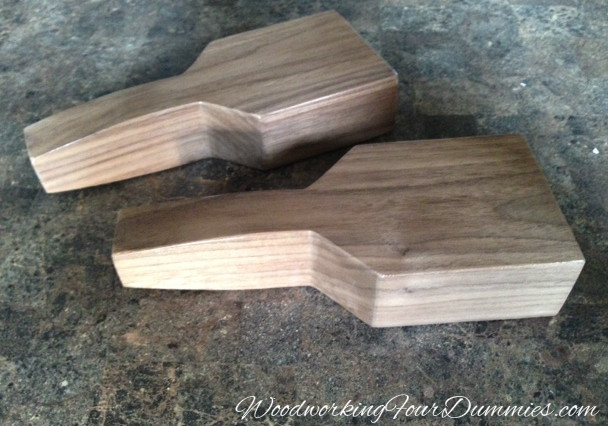
I had some left over Walnut wood, so I decided to make some more Beer Tap handles. This is a fairly simple DIY that doesn't take that long to complete. I have already written a full tutorial on my blog:
Estimated Cost
scrap walnut + $3 lock insert + chalk tape (optional)
Estimated Time Investment
Afternoon Project (3-6 Hours)
Finish Used
Water Based polyurethane
Recommended Skill Level
Beginner
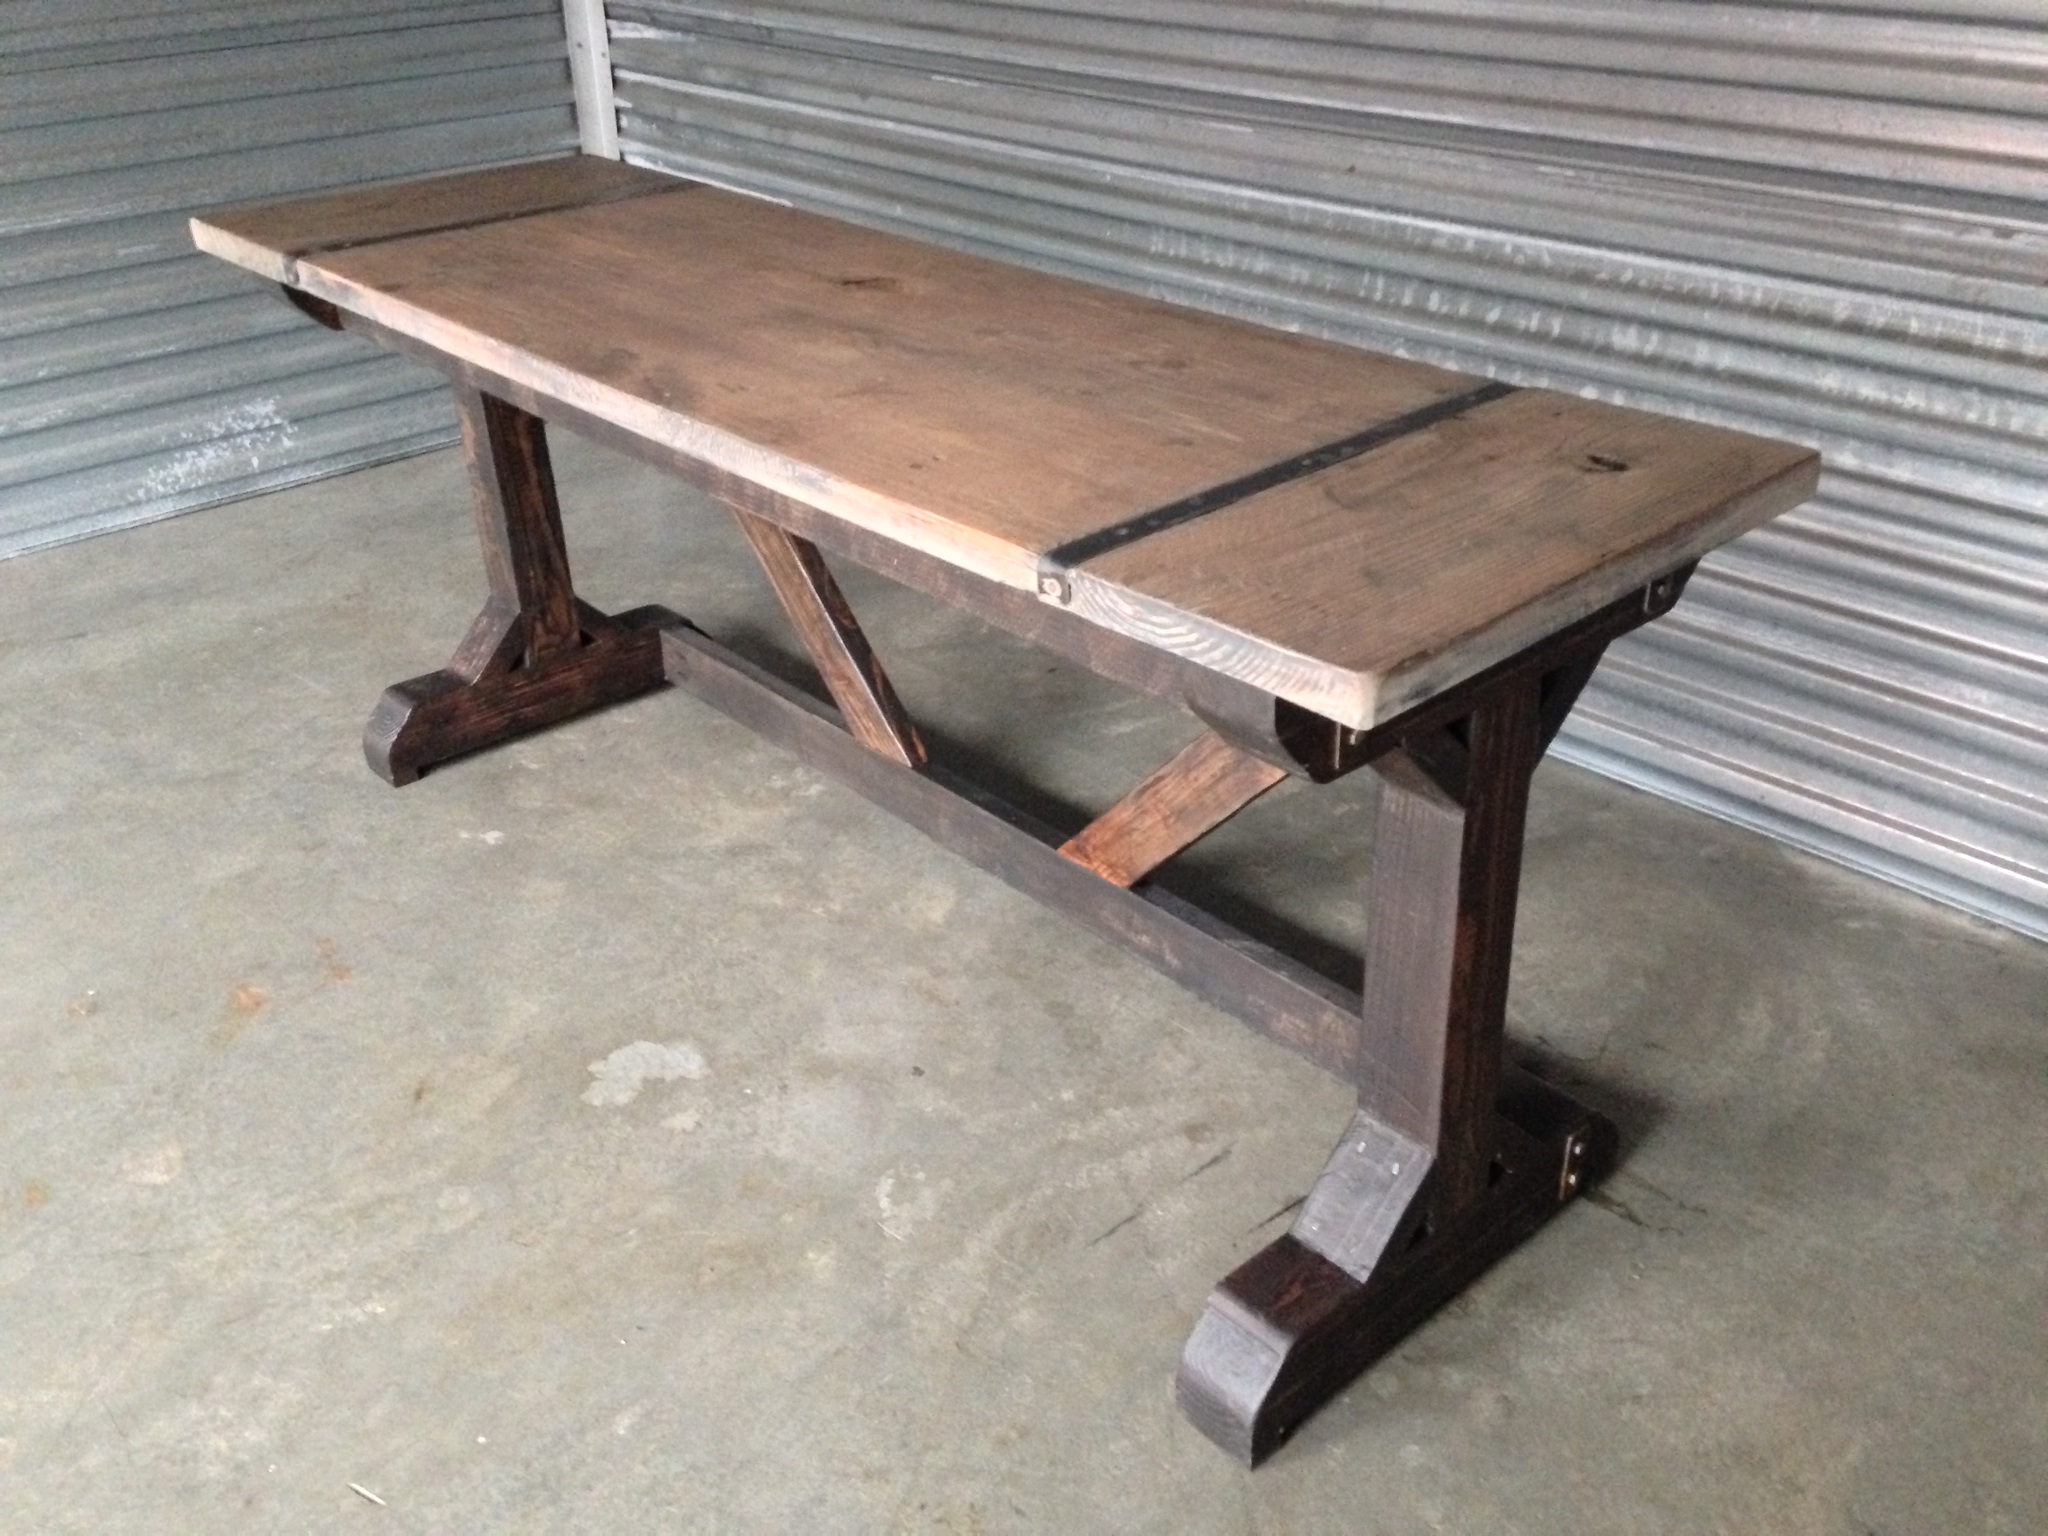
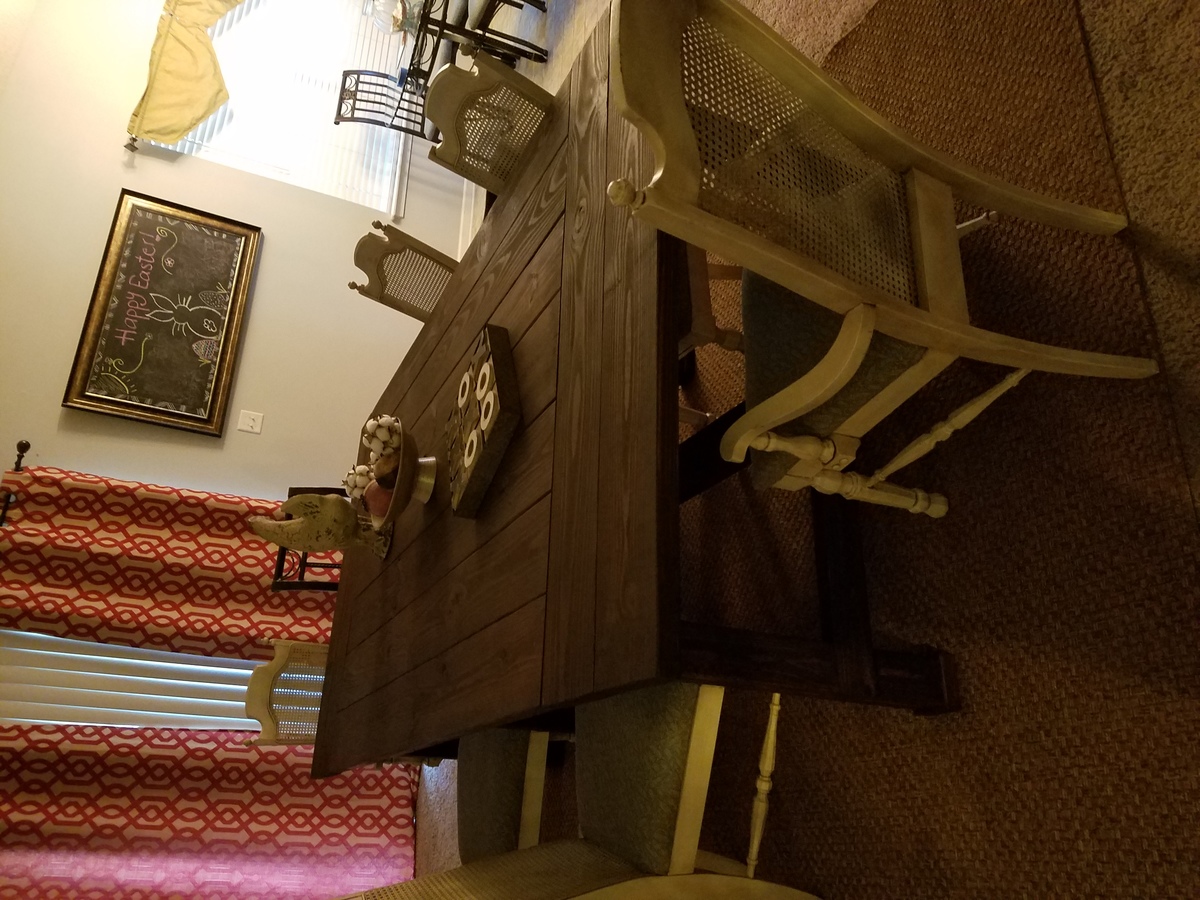
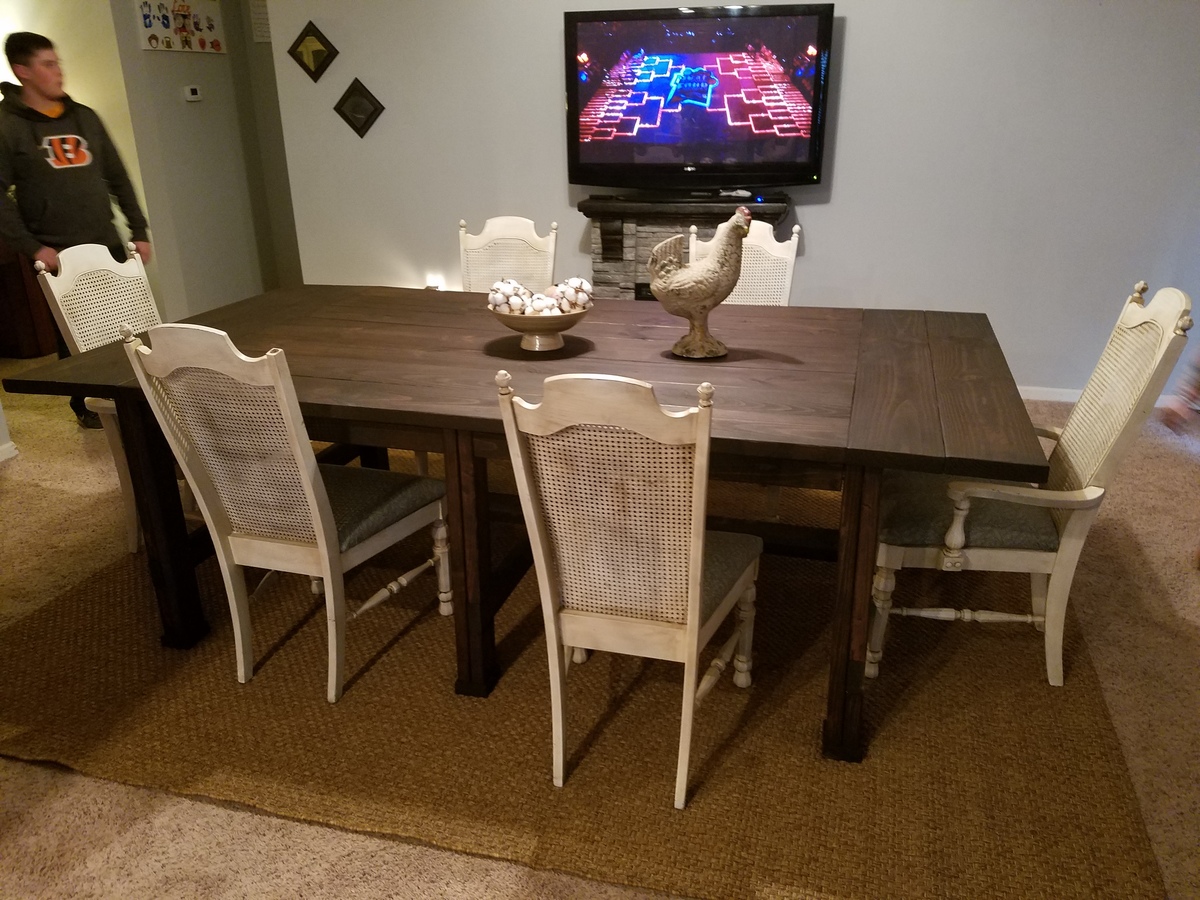
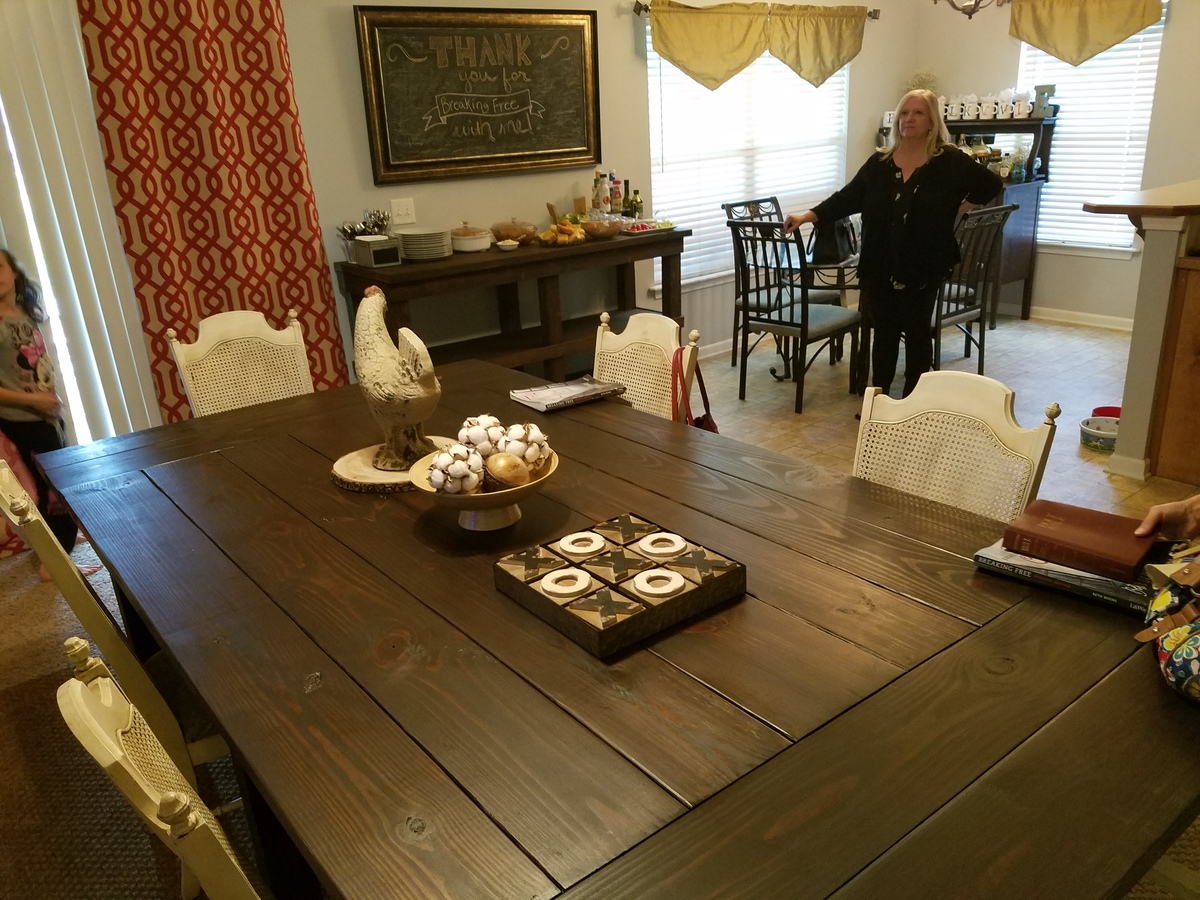
Dining room table and bench!
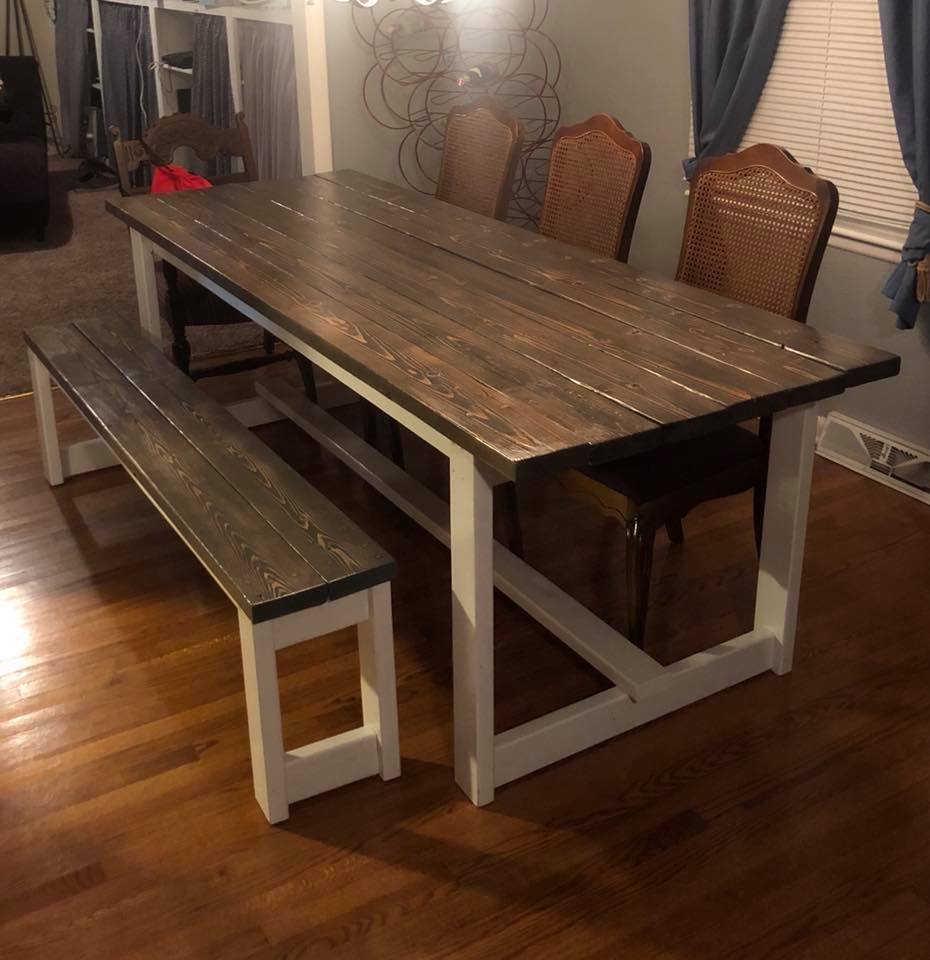
This project was so fun! I am a beginner in the DIY world and so excited with how this turned out. the plans were super easy to follow (thank you for the video too)! Lowes cut all the lumber for me so I really only needed the drill to put it all together. To put the table together it only took us an afternoon but in total it took us several days, once it was put together, to get everything sanded, primed, painted, and stained-overall VERY VERY pleased!
Estimated Cost
$100
Estimated Time Investment
Weekend Project (10-20 Hours)
Finish Used
minwax pre-stain wood conditioner
minwax dark walnut bottom coat
minwax classic grey top coat
minwax waterbased polyurethane over everything (3 coats as recommended in the directions on the can)
minwax dark walnut bottom coat
minwax classic grey top coat
minwax waterbased polyurethane over everything (3 coats as recommended in the directions on the can)
Recommended Skill Level
Beginner
Cedar Planters
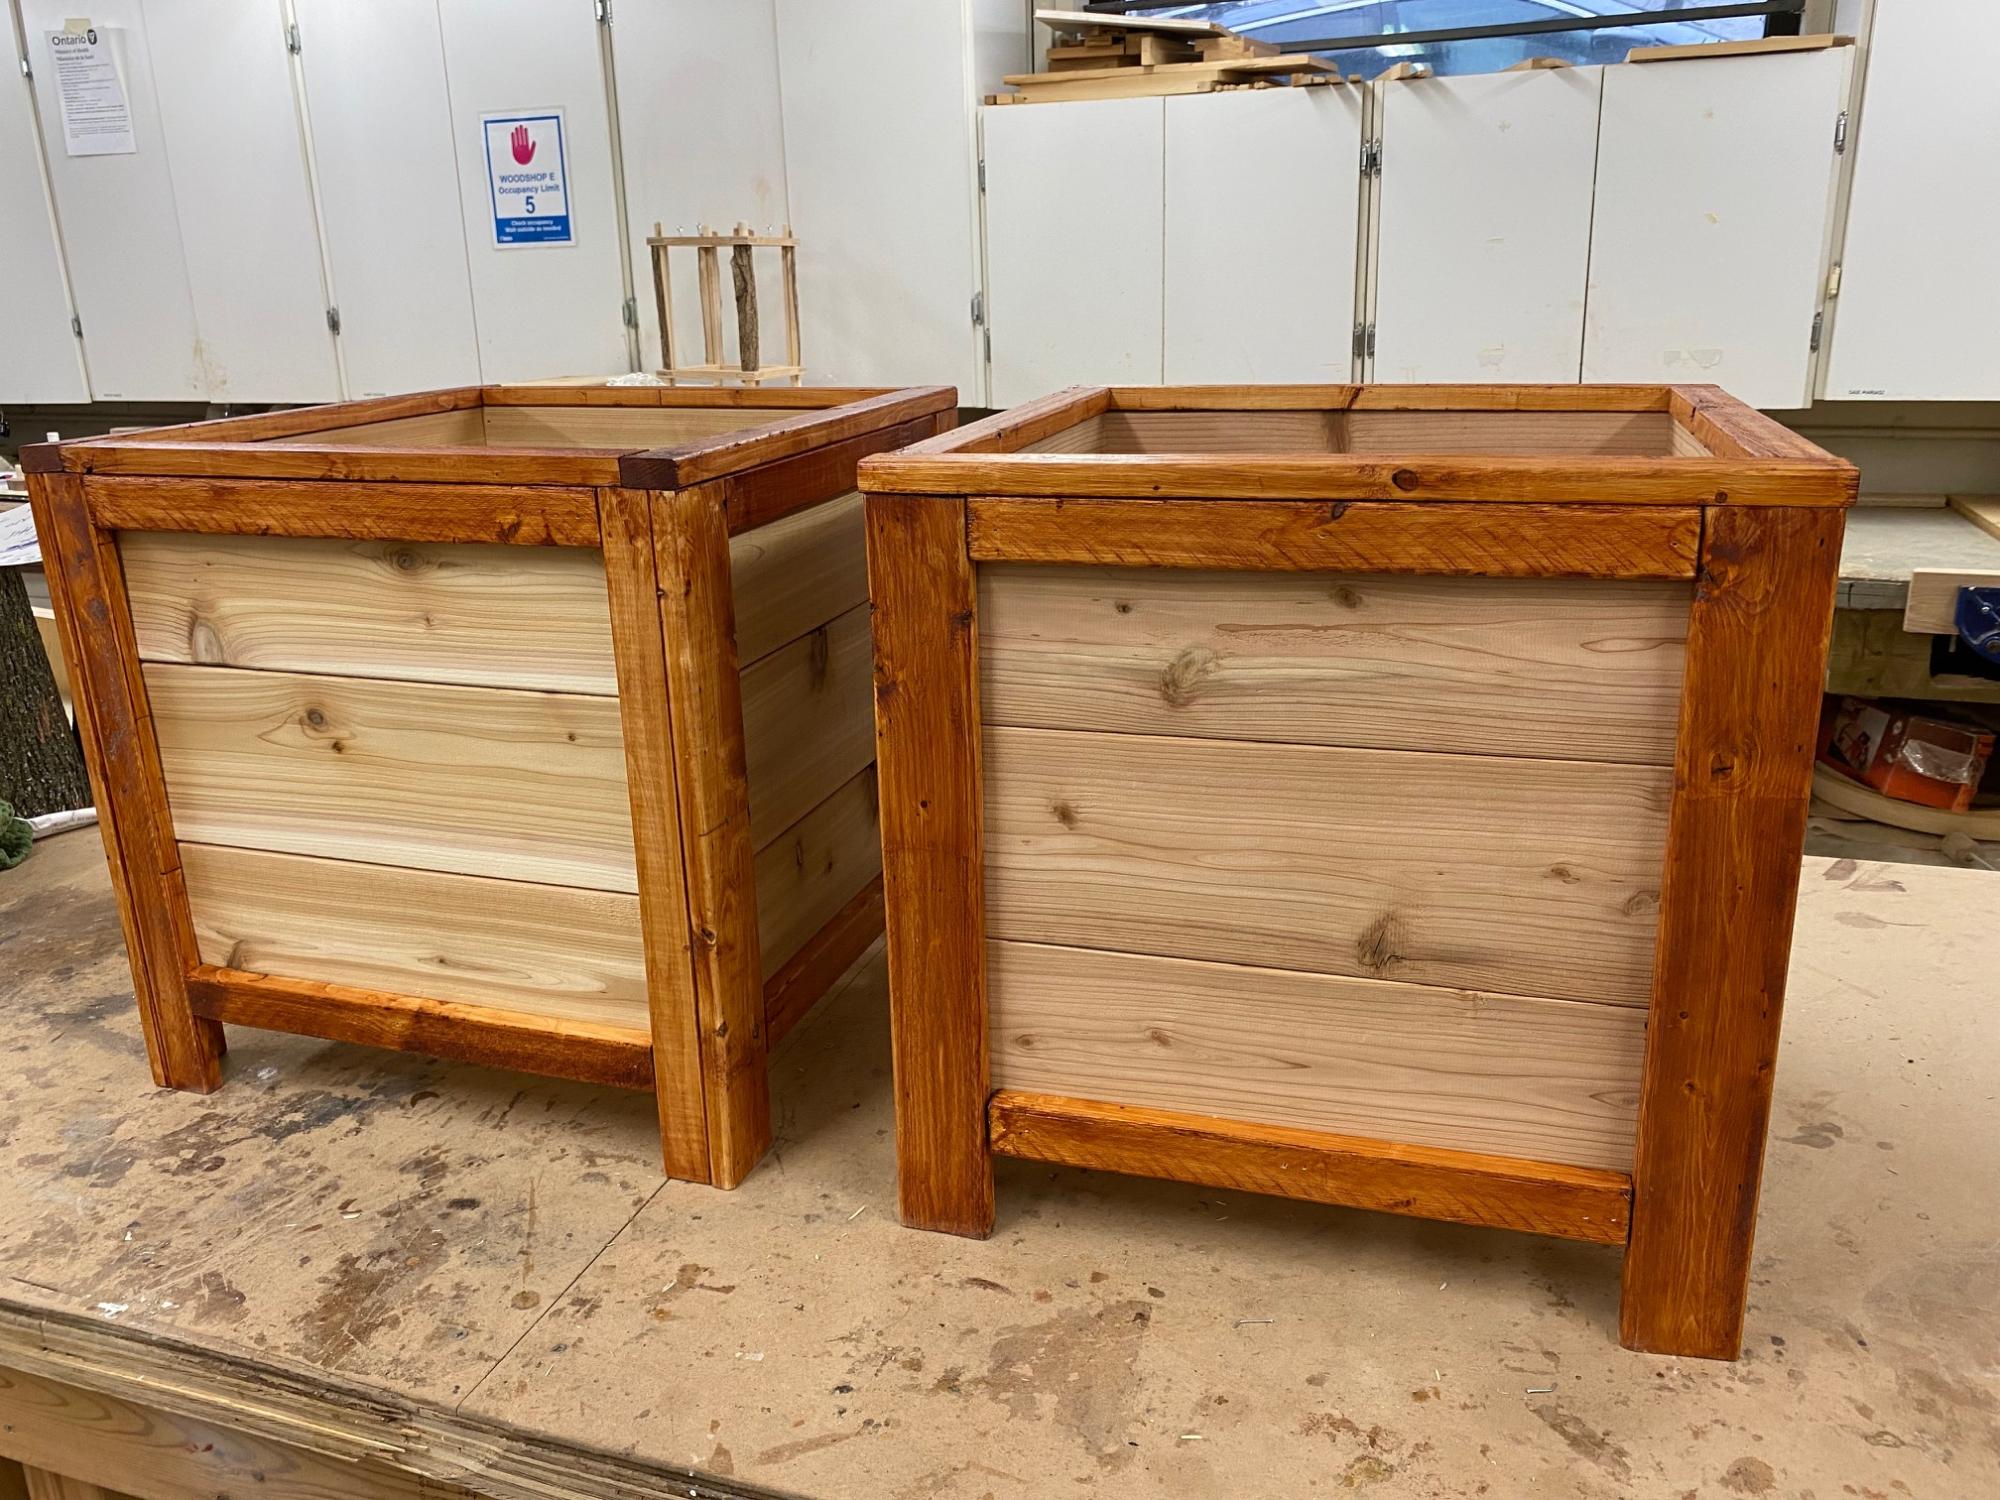
Cedar Planters!
Built from Plan(s)
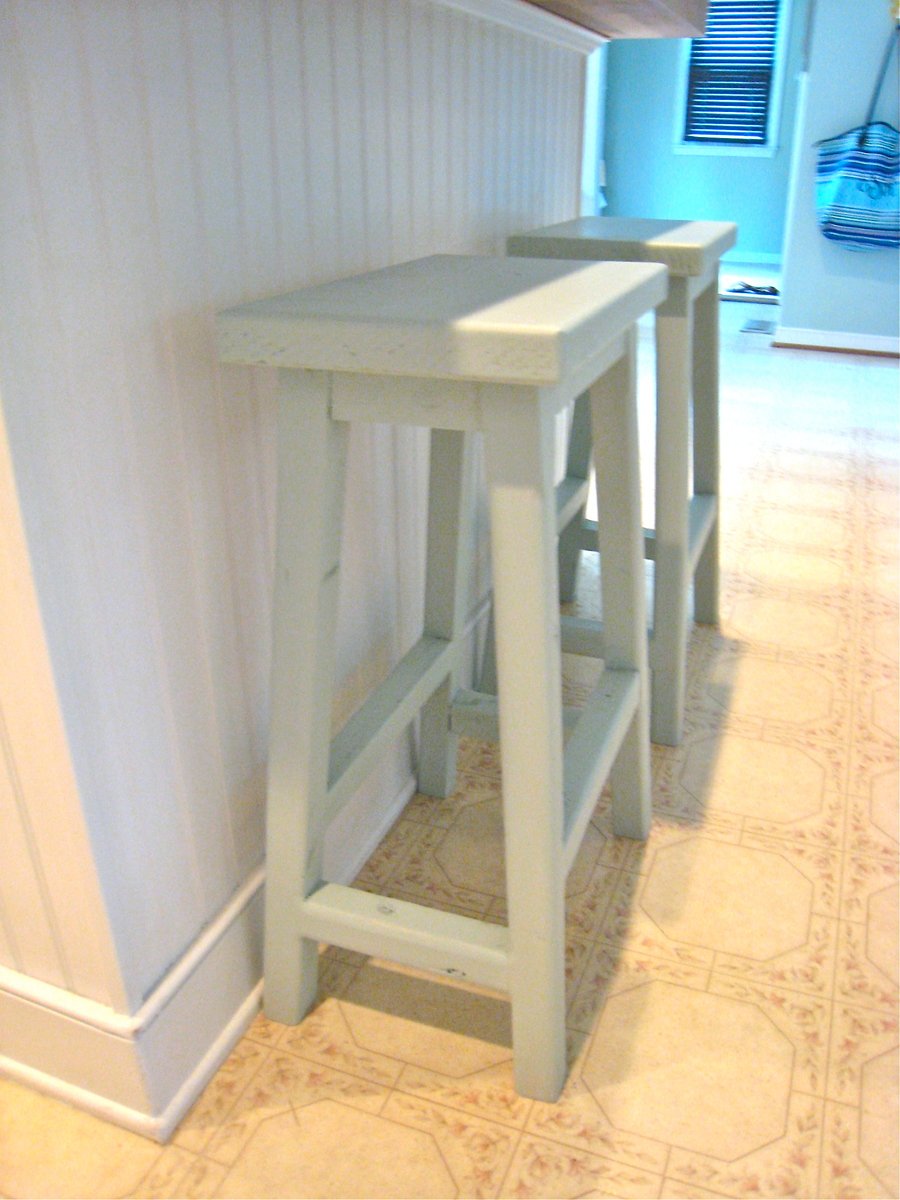
Simplest Stool : Saddle Back Style

We've been looking for some saddle back stools for quite a while that would fit snug under our kitchen island. I couldn't find any, so I checked Ana-White and found the perfect building plan. I used scraps to build two matching stools and so I altered the plans to fit what I had. Other then the dimensions being different, I also used a 2x12" piece of wood cut down to 9x15" for the stool top.
I've documented the process as best as I could at; http://www.tommyandellie.com/Site/Home/Entries/2011/6/13_More_Seating_f…

Built from Plan(s)
Estimated Cost
$0 I used all scrap wood from a previous project
Estimated Time Investment
An Hour or Two (0-2 Hours)
Finish Used
"Rainwater" Martha Stewart Paint
Recommended Skill Level
Beginner
Comments

Thu, 06/30/2011 - 04:50
Wood Filler
I skipped a step that I might redo. I'd recommend taking some wood filler and spreading over the knots and imperfections before painting it. Sand it down, smooth it out, and it'll be Looking flawless.
Thu, 07/07/2011 - 15:02
Awesome job!!
I've been looking for some stools like this, so I followed your lead and just finished making some. Thanks so much for sharing!
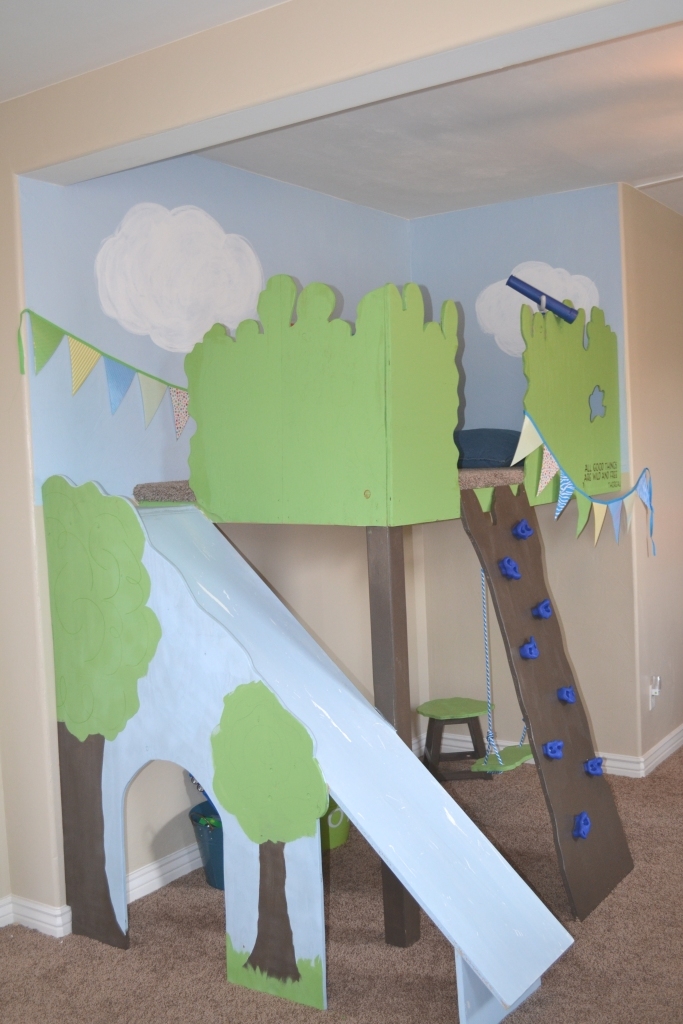
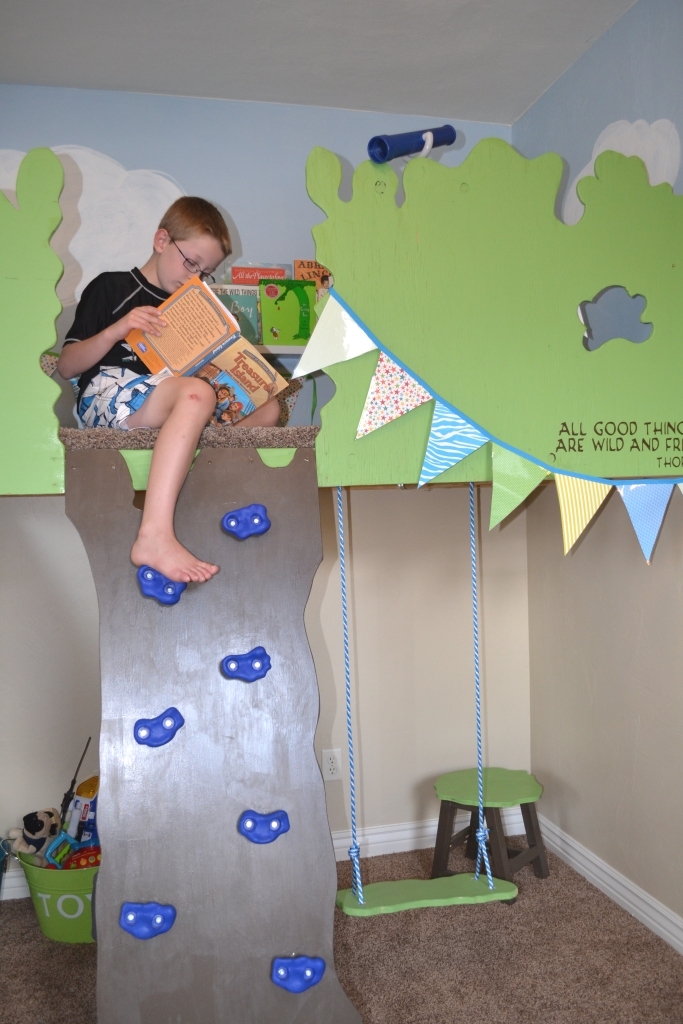
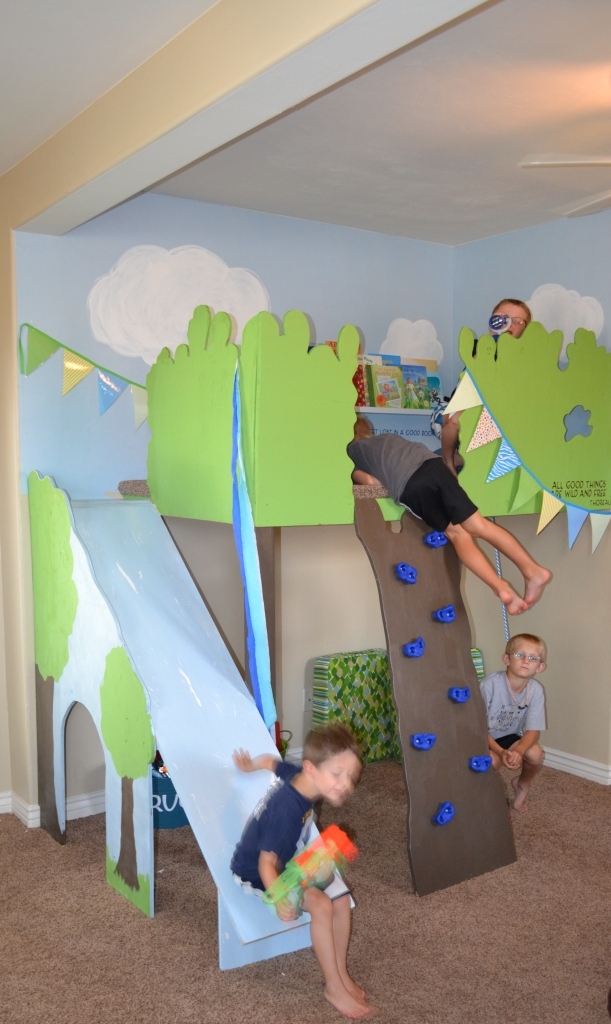
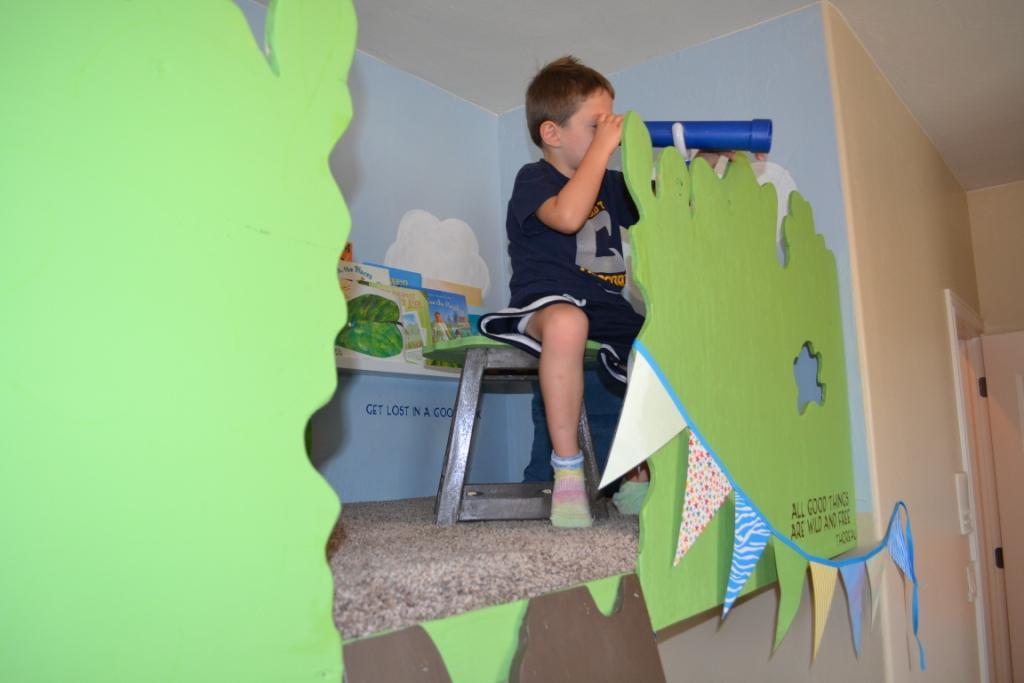
Magic Tree House
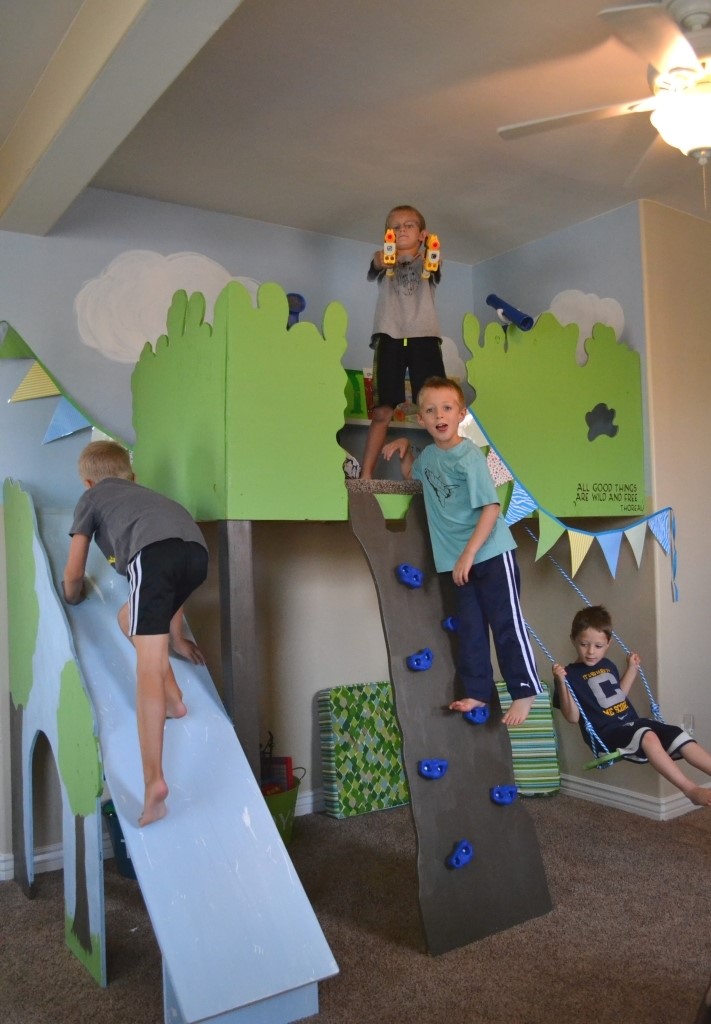
We adapted these plans to build our tree house, I hope it's not too much of a stretch for brag posts! Every kid seems to have two wishes: a fort or tree house and a secret passage way. Or is it just my kids? Turns out we live in the desert and trees are hard to come by. Our solution? Build a tree house in the house. Why not!? Our magic tree house is well used and well loved. This is one of those projects that simmered and in my mind trying to think of the perfect way to build the thing. The stuff our parents built and played in was a hodge podge of left over wood and their own creations, crooked construction and messy paint. So, I set the perfect aside and dove in. The only things our tree house really needs to be is safe and fun. Most families try to find indoor activities for the winter, but in the desert it is so blazing hot we need indoor retreats in the summer. This tree house is the solution a gagillion times over! Thank you Ana!
Built from Plan(s)
Estimated Cost
$150
Estimated Time Investment
Week Long Project (20 Hours or More)
Finish Used
paint, polyurathane
Recommended Skill Level
Intermediate
Comments

Sun, 08/18/2013 - 21:32
Thank you! I just was
Thank you! I just was elevated to cool mom and i love it :)
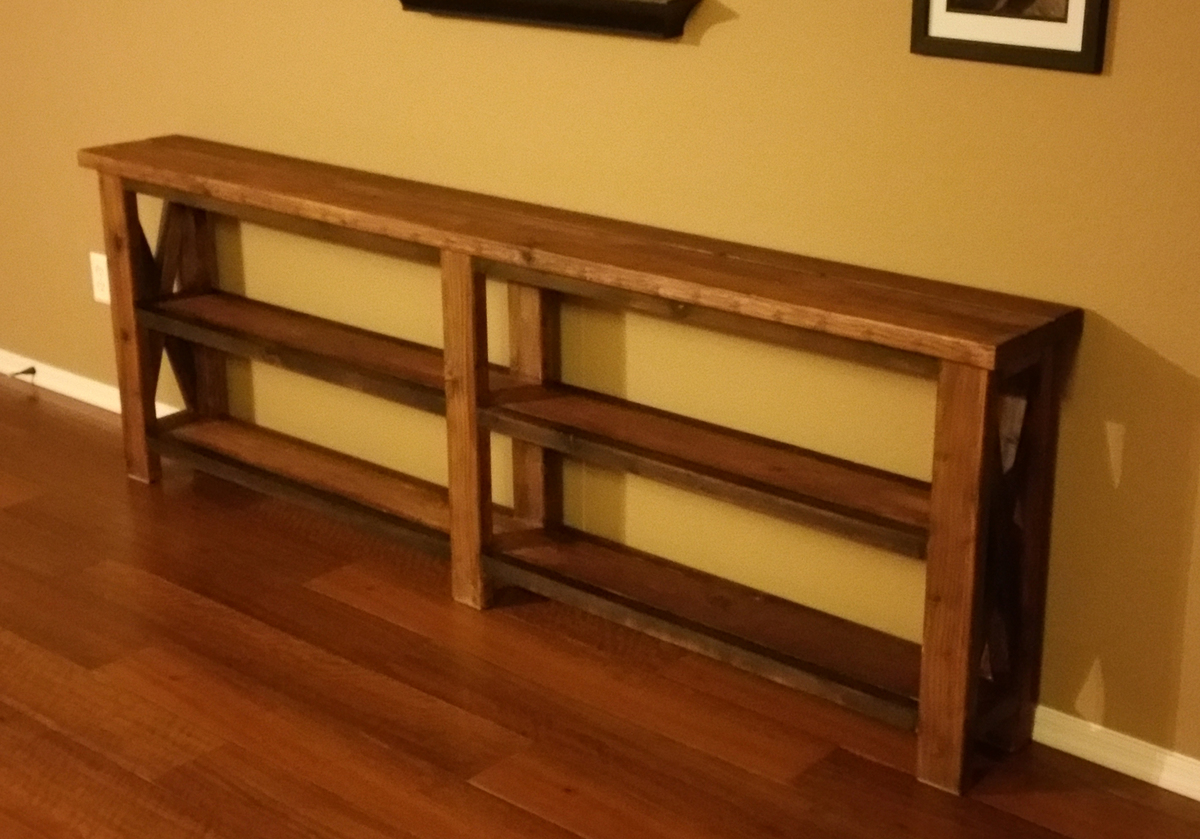
Modified Rustic X Console
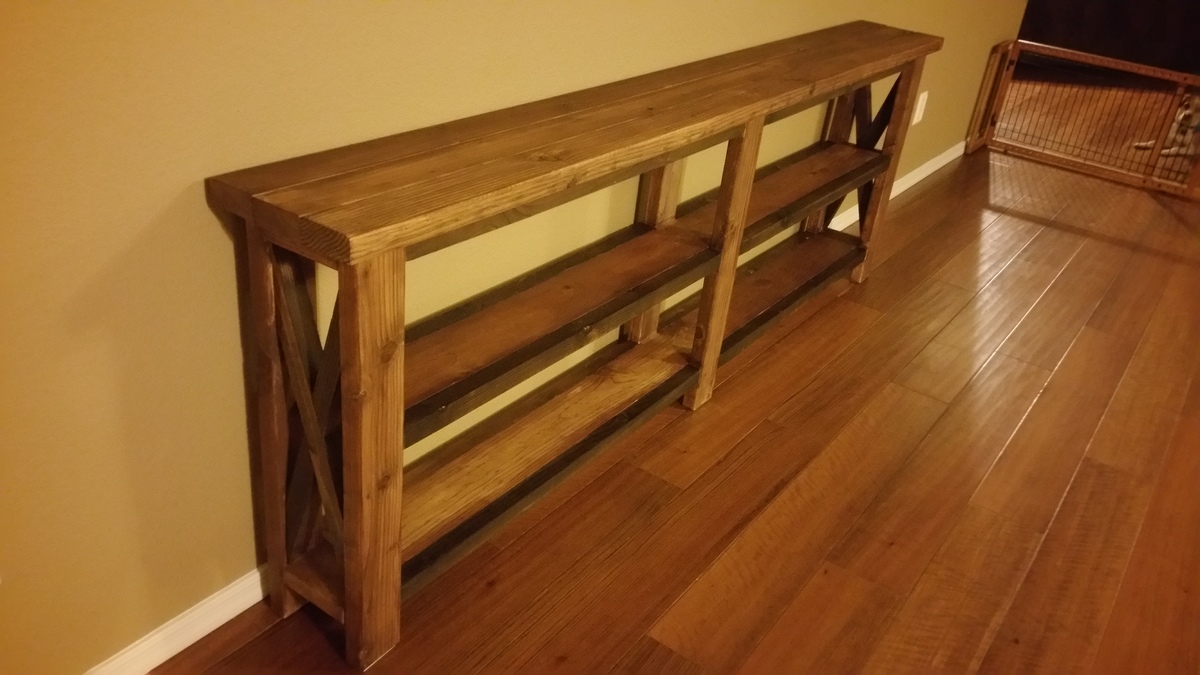
Modified from the original plans to make it longer and thinner to fit the space/need.
For the "X" cuts I just built the frame, clamped on a rough length of 2x2 and drew lines where the cuts should go. I ended up cutting those by hand since they were well over 45 degrees. Next time I will make a jig for my miter saw to handle those angles.
Finish is just vinegar and steel wool. The picture with the clamps is before the top coat was applied. Once the poly was put on it gave it a nice gloss and nice, rich colors.
Now it just needs some decorative pieces sitting on it :)

Finish Used
Steel Wool & Vinegar with 3 coats of poly
Recommended Skill Level
Beginner
Comments
Fri, 08/21/2015 - 20:53
dimensions?
Your console turned out great! I was curious if you still have the dimensions you used?
Thanks
Casual 2x4 Desk
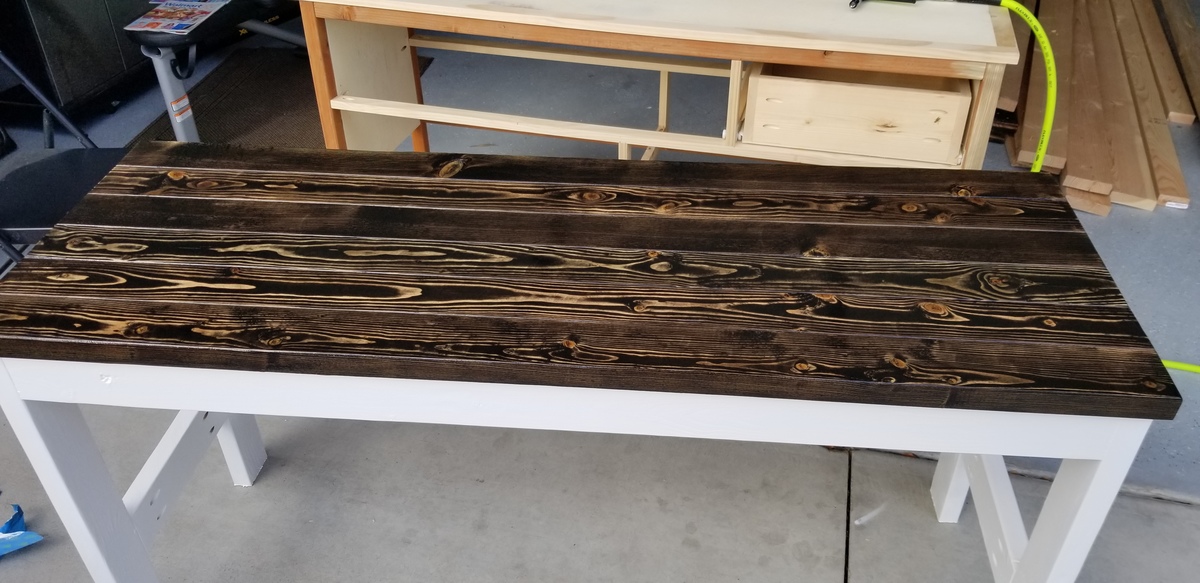
Nice, fun project!
Estimated Time Investment
Weekend Project (10-20 Hours)
Finish Used
ebony stain, polyurethane
Recommended Skill Level
Starter Project
Comments
Thu, 07/02/2020 - 19:28
Very nicely done! Love the…
Very nicely done! Love the wood grain showing through on the desk top.
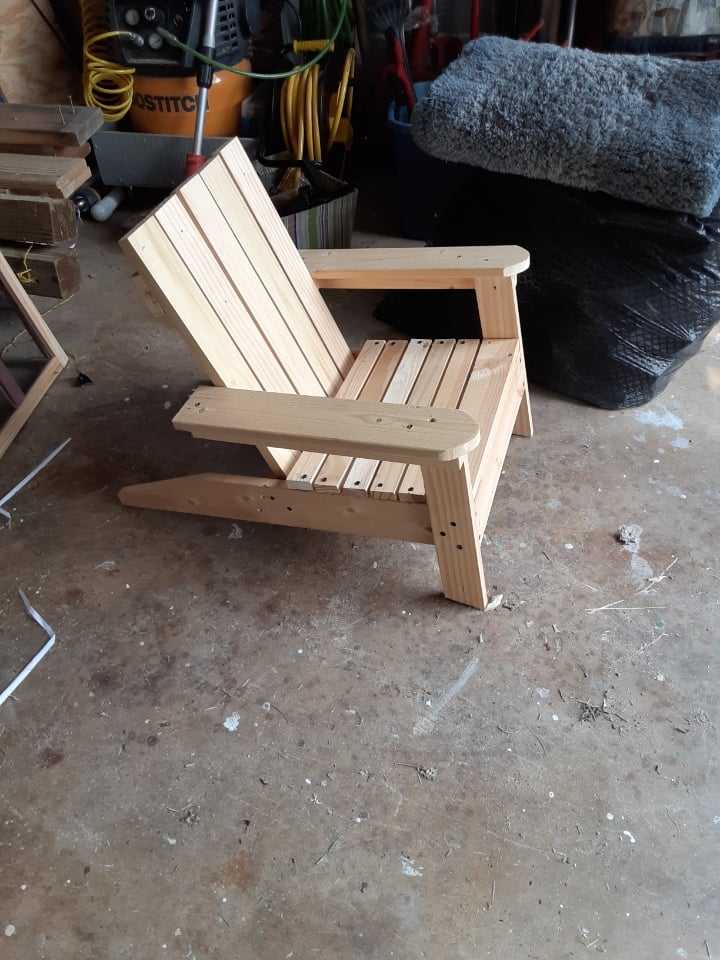
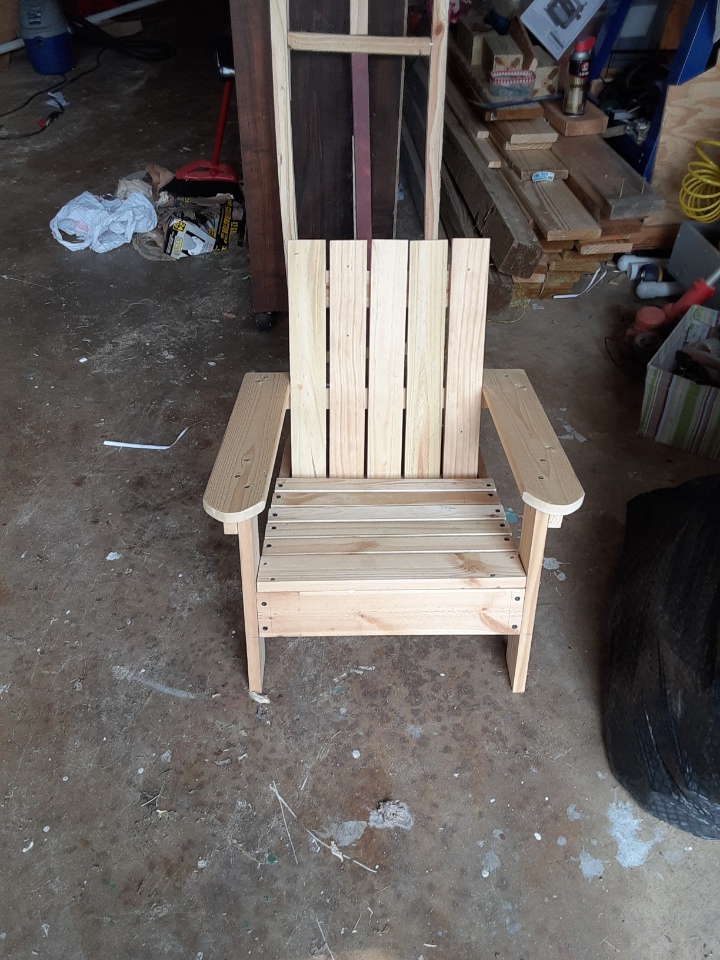
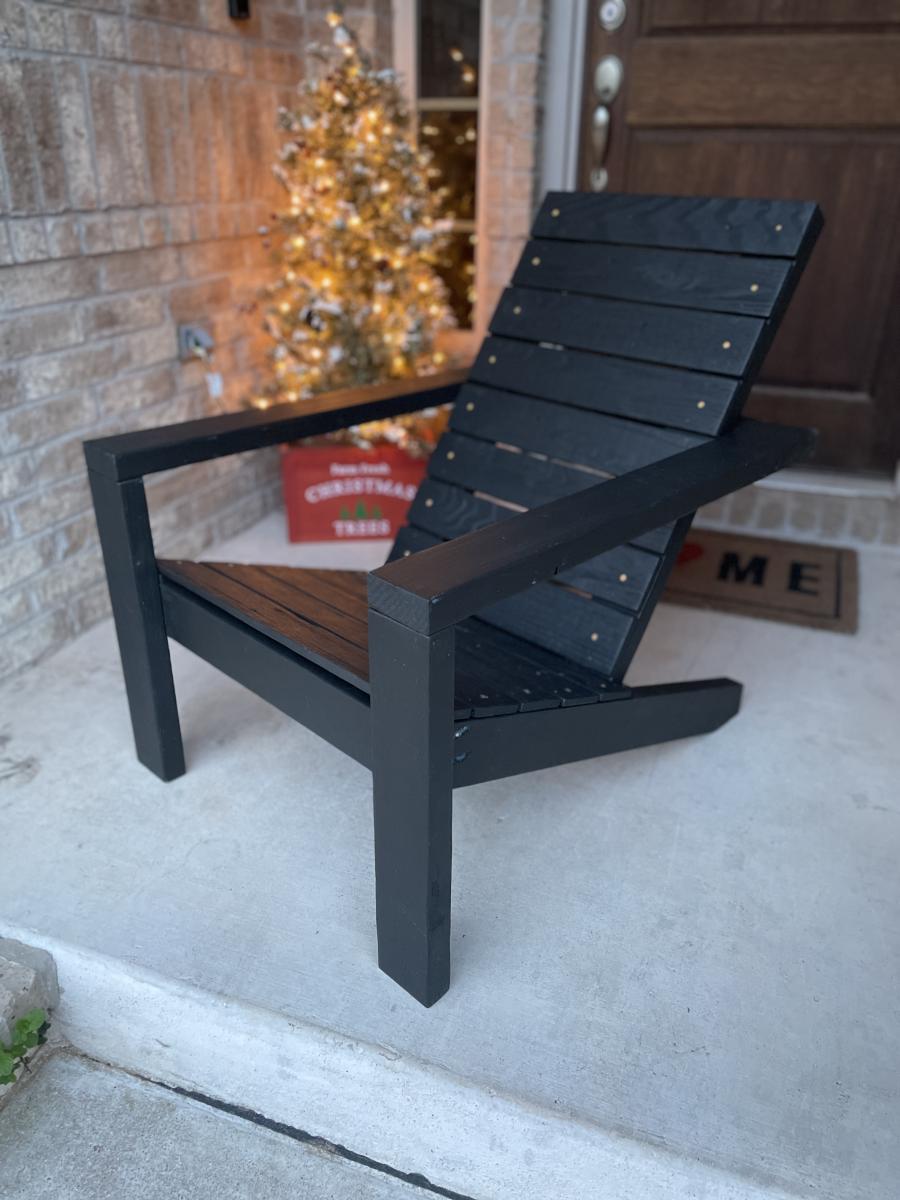
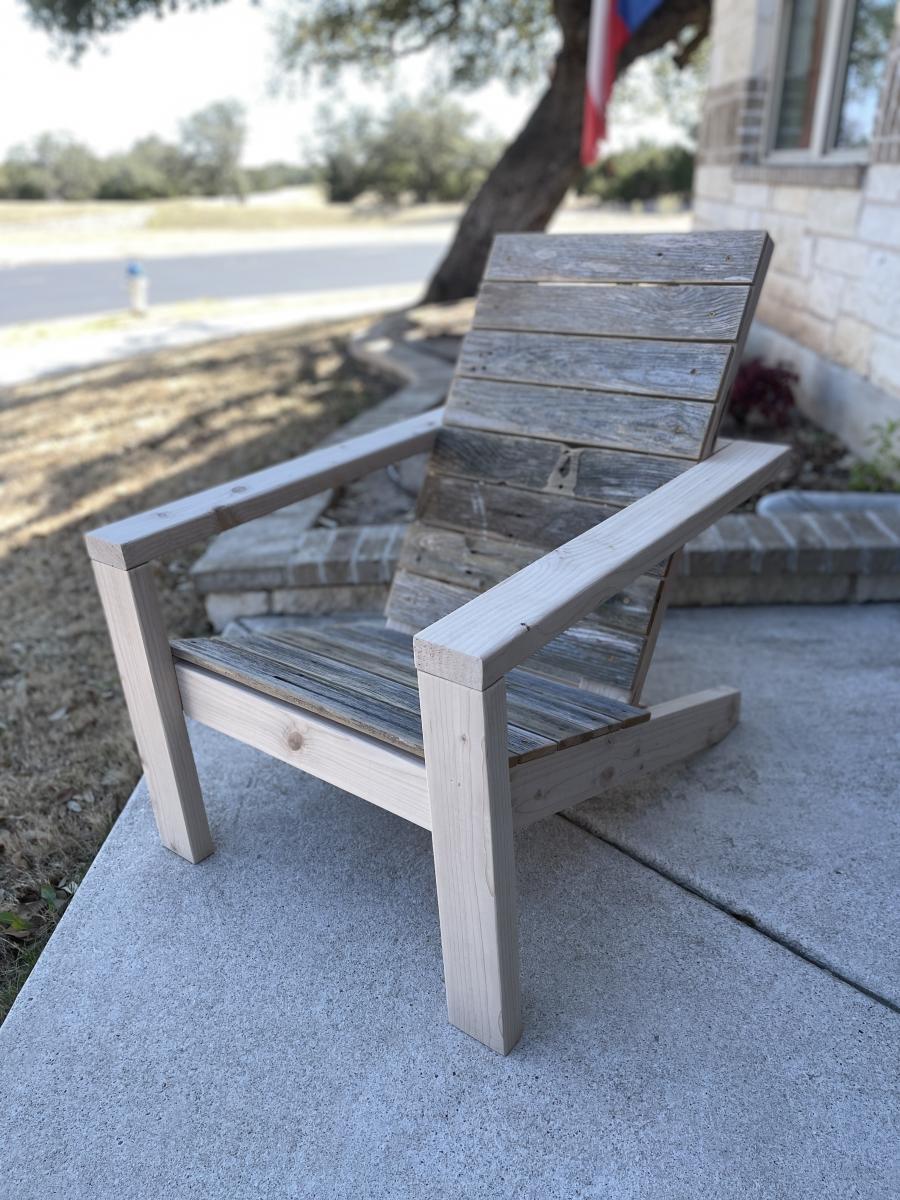
Adirondack Delight
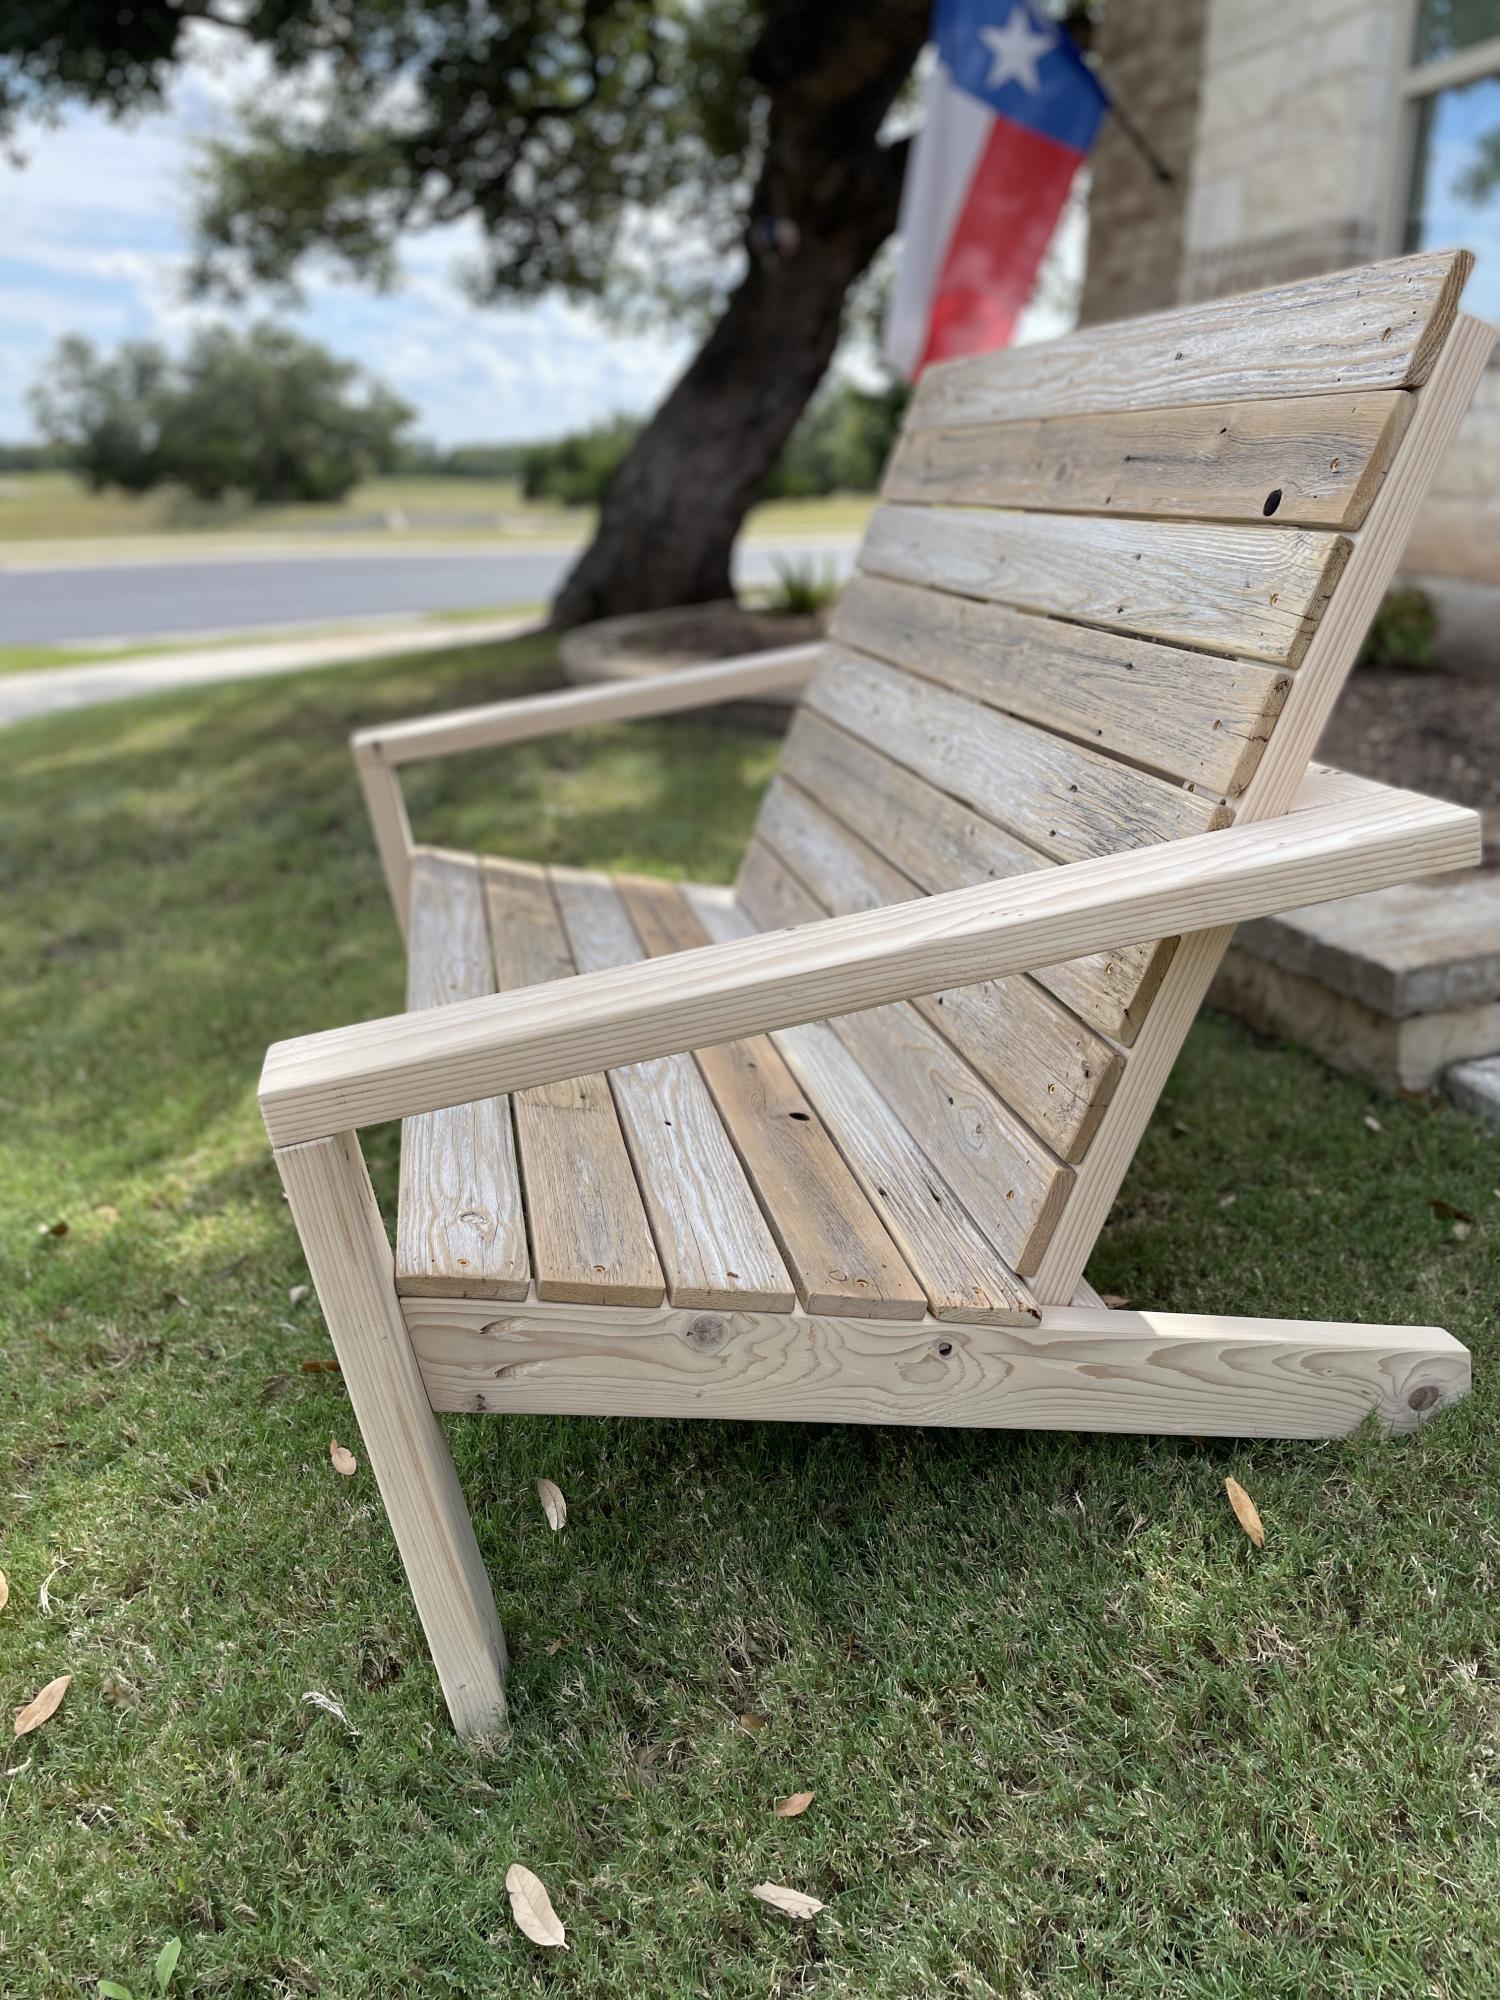
Great adaptations to the adirondack chair plan!
by Kevin
Built from Plan(s)
Recycled Pallet Factory Cart Coffee Table
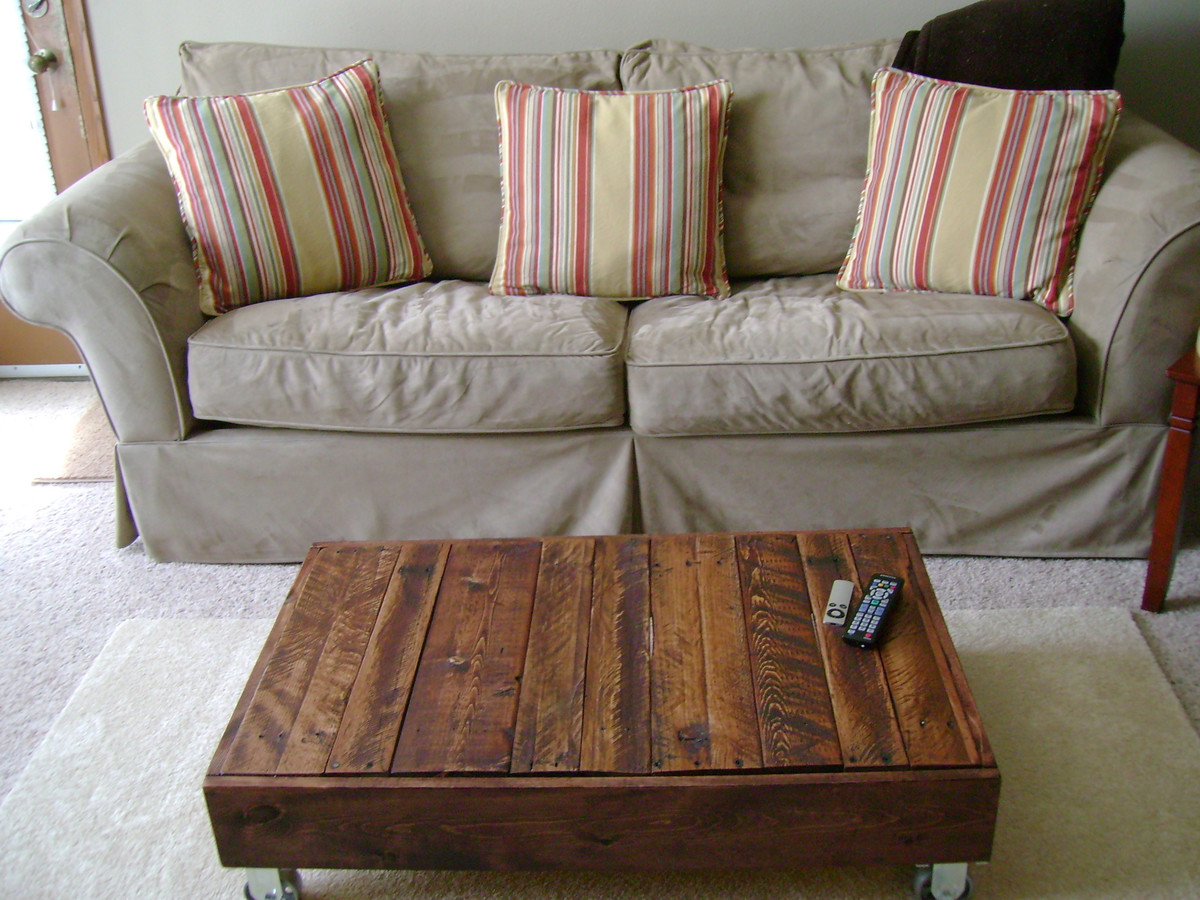
My first build! I tore apart two old pallets to get the surface boards for the table. The skirting is 1 x 6's from the hardware store. I need larger casters but am saving up for the real vintage ones.
Built from Plan(s)
Estimated Time Investment
Weekend Project (10-20 Hours)
Finish Used
Minwax Red Mahogany with 3 coats of Minwax fast-dry poly.
Recommended Skill Level
Beginner
Comments
Tue, 06/28/2011 - 02:26
You need to post what you
You need to post what you come up with. Plus how did you get you photo on my comment posts?
Tue, 08/07/2012 - 00:05
Pallets
My daughter cleaned her room so instead of renting a dumpster I hauled it to the dump i mean"land fill". Anyway instead of coming back the normal route they detoured us around the dump and I found the mother load of pallets. You could ask and they will be free if your "land fill" is like mine...
Tue, 06/28/2011 - 01:32
Pallet furniture
I worked at a candy factory that received several pallets all day long and I loved the ones that had writing on them, like Ghirardelli (a chocolate company), Blommer (chocolate manufacturer) and a few others! I've picked up a few and have made picture frames and shelving from some.
Tue, 11/01/2011 - 10:24
LOVE THIS
I took some pallets from the pumpkin patch last week, with the dream of making something similar!! I want mine a little taller so I am going to attempt a shelf or something, I have had my casters for weeks and was psyched to find the free pallets! Great Job!
Tue, 11/01/2011 - 10:24
LOVE THIS
I took some pallets from the pumpkin patch last week, with the dream of making something similar!! I want mine a little taller so I am going to attempt a shelf or something, I have had my casters for weeks and was psyched to find the free pallets! Great Job!

Thu, 04/05/2012 - 06:49
Caster Wheels?
Love your site and the fact that you share so much info for Diy's. Where is the best place to get the caster wheels? Vintage are sooo expensive so I got to believe that they are out there new with the idea in mind to antique them..
Thanks for all that you posted and shared..

In reply to Caster Wheels? by Queenie (not verified)
Sun, 04/15/2012 - 12:03
Lots of sources
The two best sources I've found for cart wheels are Menards and Harbor Freight. I think you can order them from Rockler or Lee Valley too, but I know that the two physical stores have a good selection and the prices are reasonable.
Mon, 04/23/2012 - 13:38
I love it! I've been
I love it! I've been searching for one to buy but might try to make my own now I've seen yours....and definitely more satisfying when you've build something yourself from scratch. Fab job.
Fri, 05/25/2012 - 23:21
ali
With lots of wonderful options of North Experience Jakcets Outlet, you will be ready for all seasons and all sorts of climate conditions.Obtainable in only about every single shade from pink to orange, sky blue to lime green, this slim coat undoubtedly delivers a bit a thing for everyone.Hat, the particular size can influence the actual degree involving in shape.Karen Millen Dresses Neck marriage ceremony this year set off the rate of growth in retro type with the appeal of asymmetric solitary glenohumeral joint wedding ceremony attracts everybody's consideration, once again going back to fashion trends.Within the cold of winter,it truly is essential to have the protection from North Encounter Jackets.They even touched the actual He Damon the particular Hollywood celebrity.
Thu, 07/19/2012 - 22:23
"That’s is so impressive; I
"That’s is so impressive; I am very pleased by this post. Complete information on this post!!! I really like it"
Thu, 07/19/2012 - 22:25
"That’s is so impressive; I
"That’s is so impressive; I am very pleased by this post. Complete information on this post!!! I really like it"
Fri, 08/31/2012 - 12:15
I like it!
I want something like this only I might make it taller. Also you can search Goodwill for antiquish castor wheels! Good job!
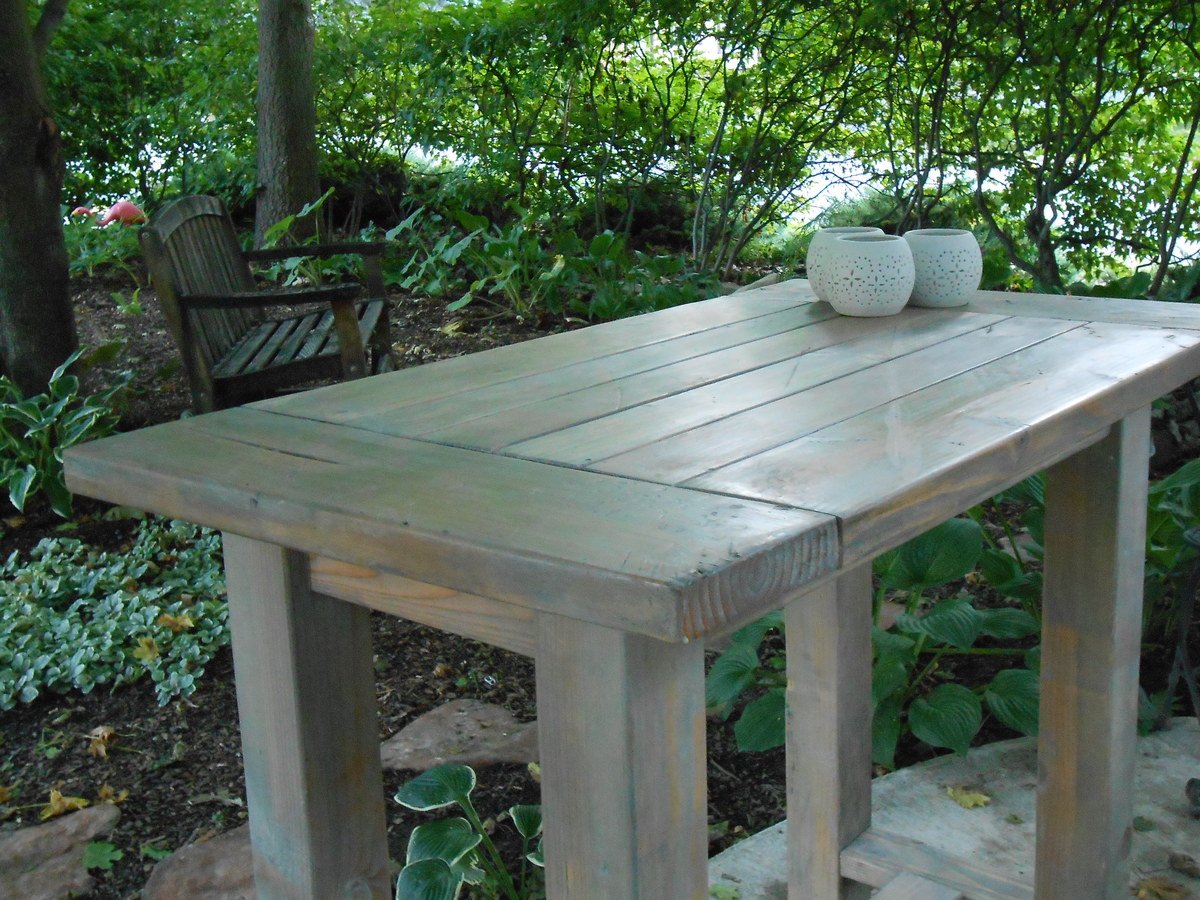
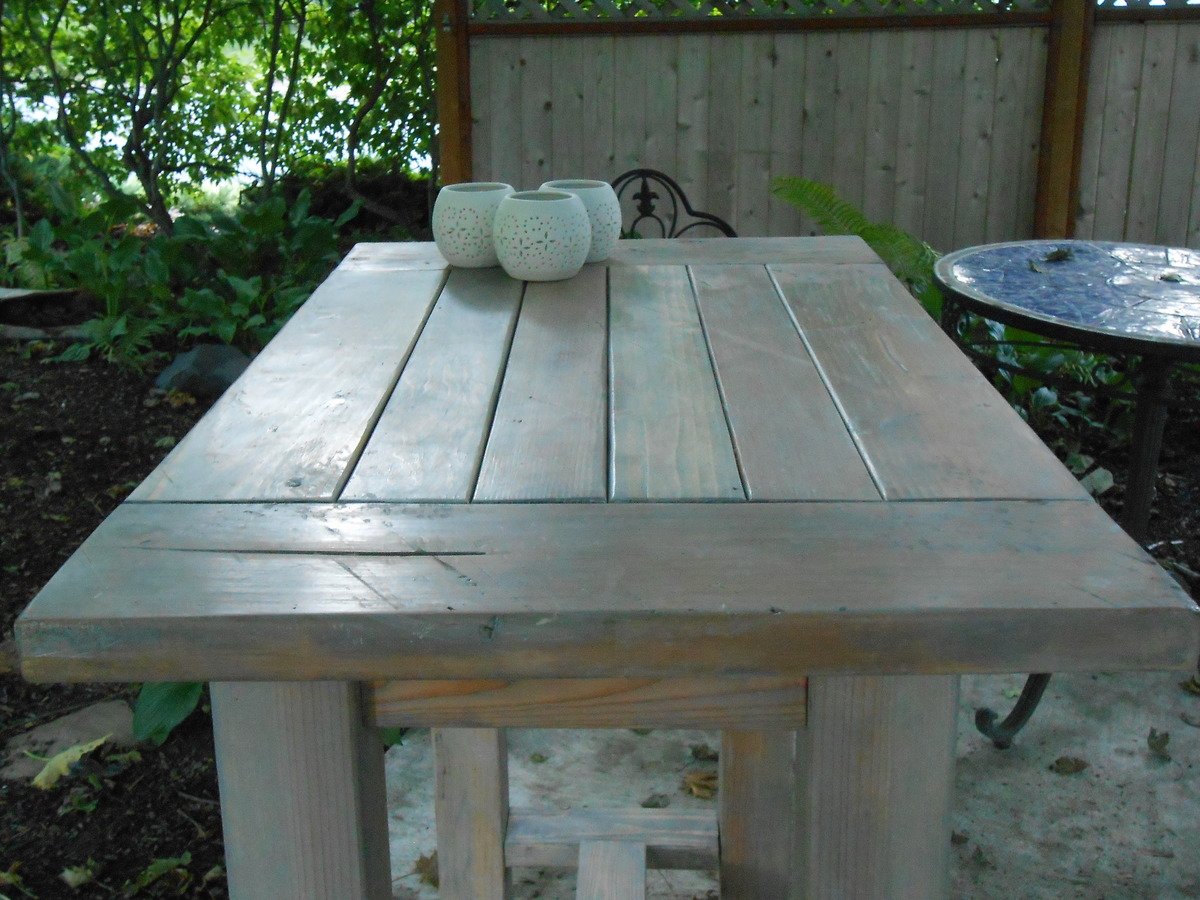
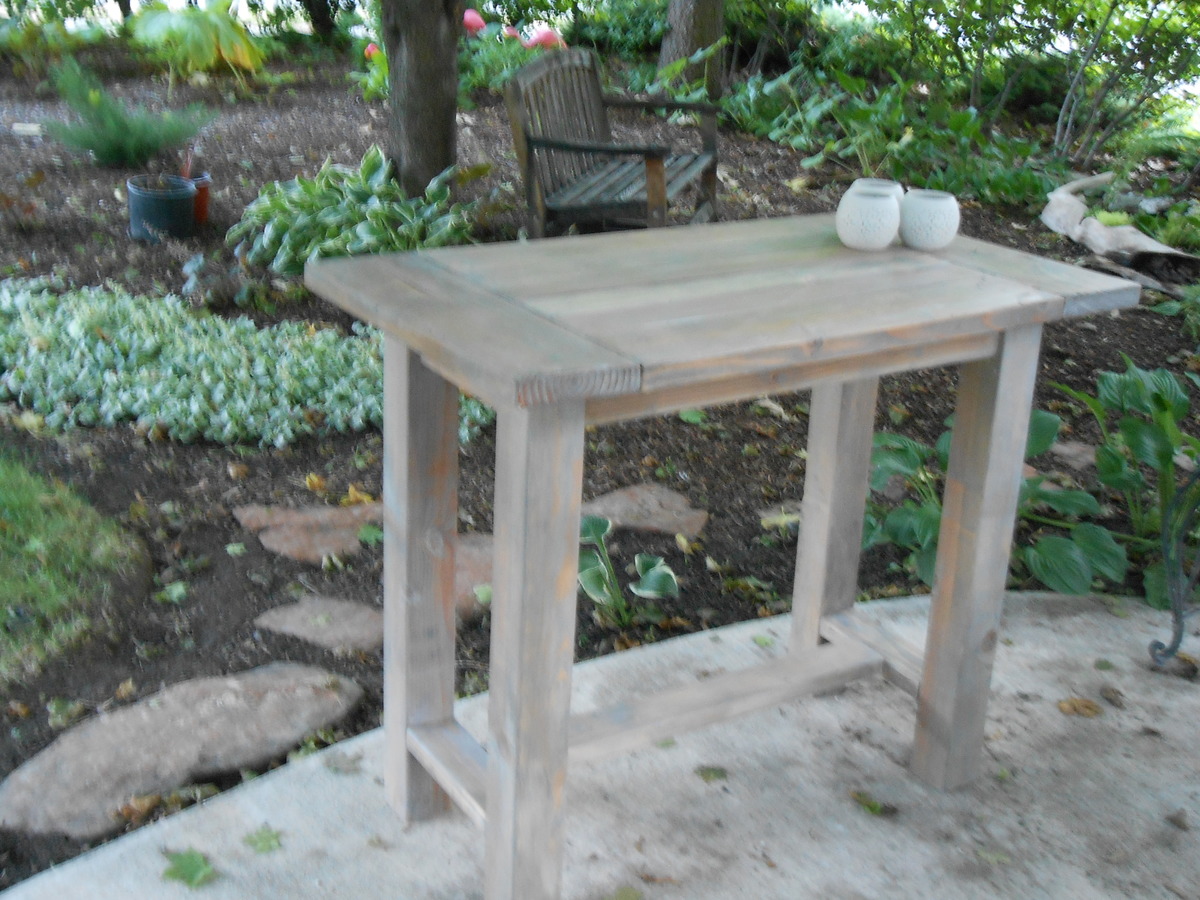
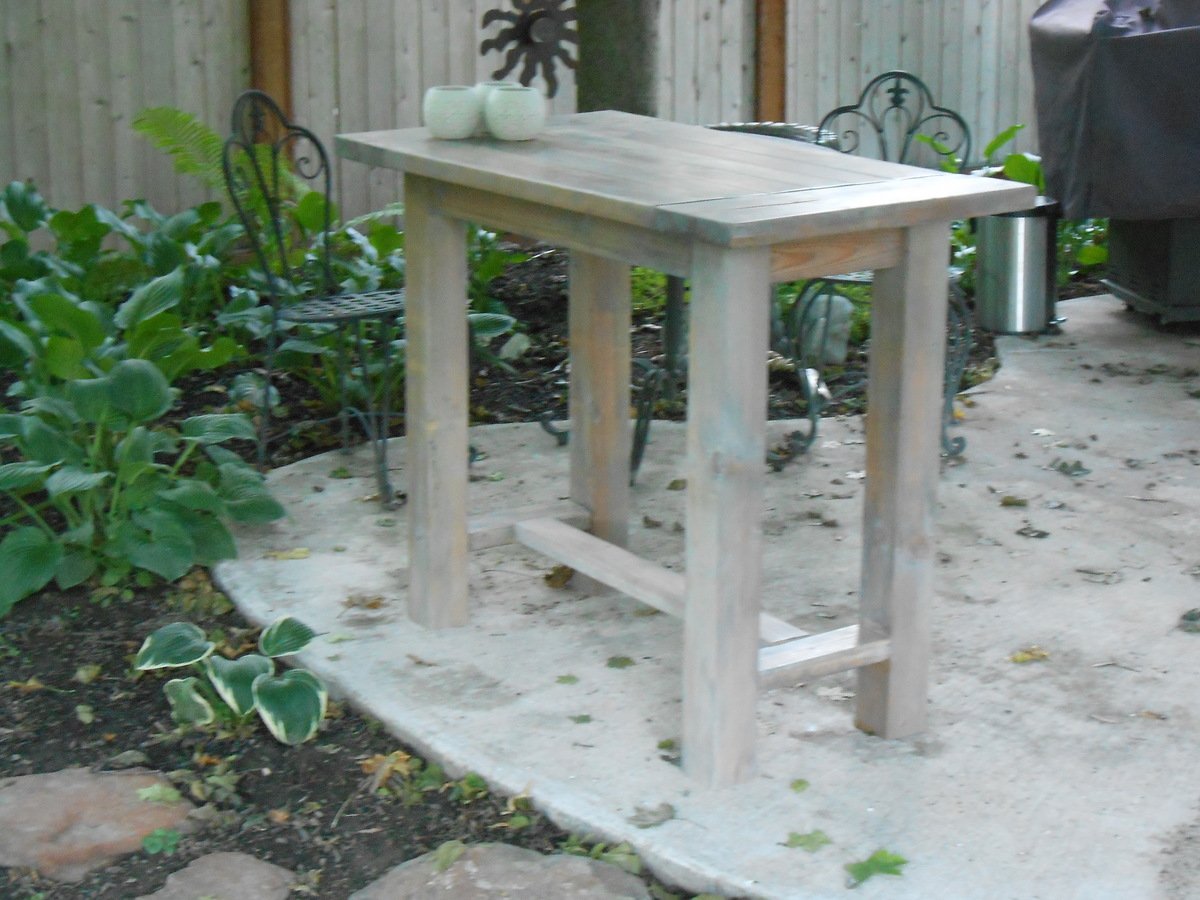
Farmhouse table modified to become an outdoor kitchen Island
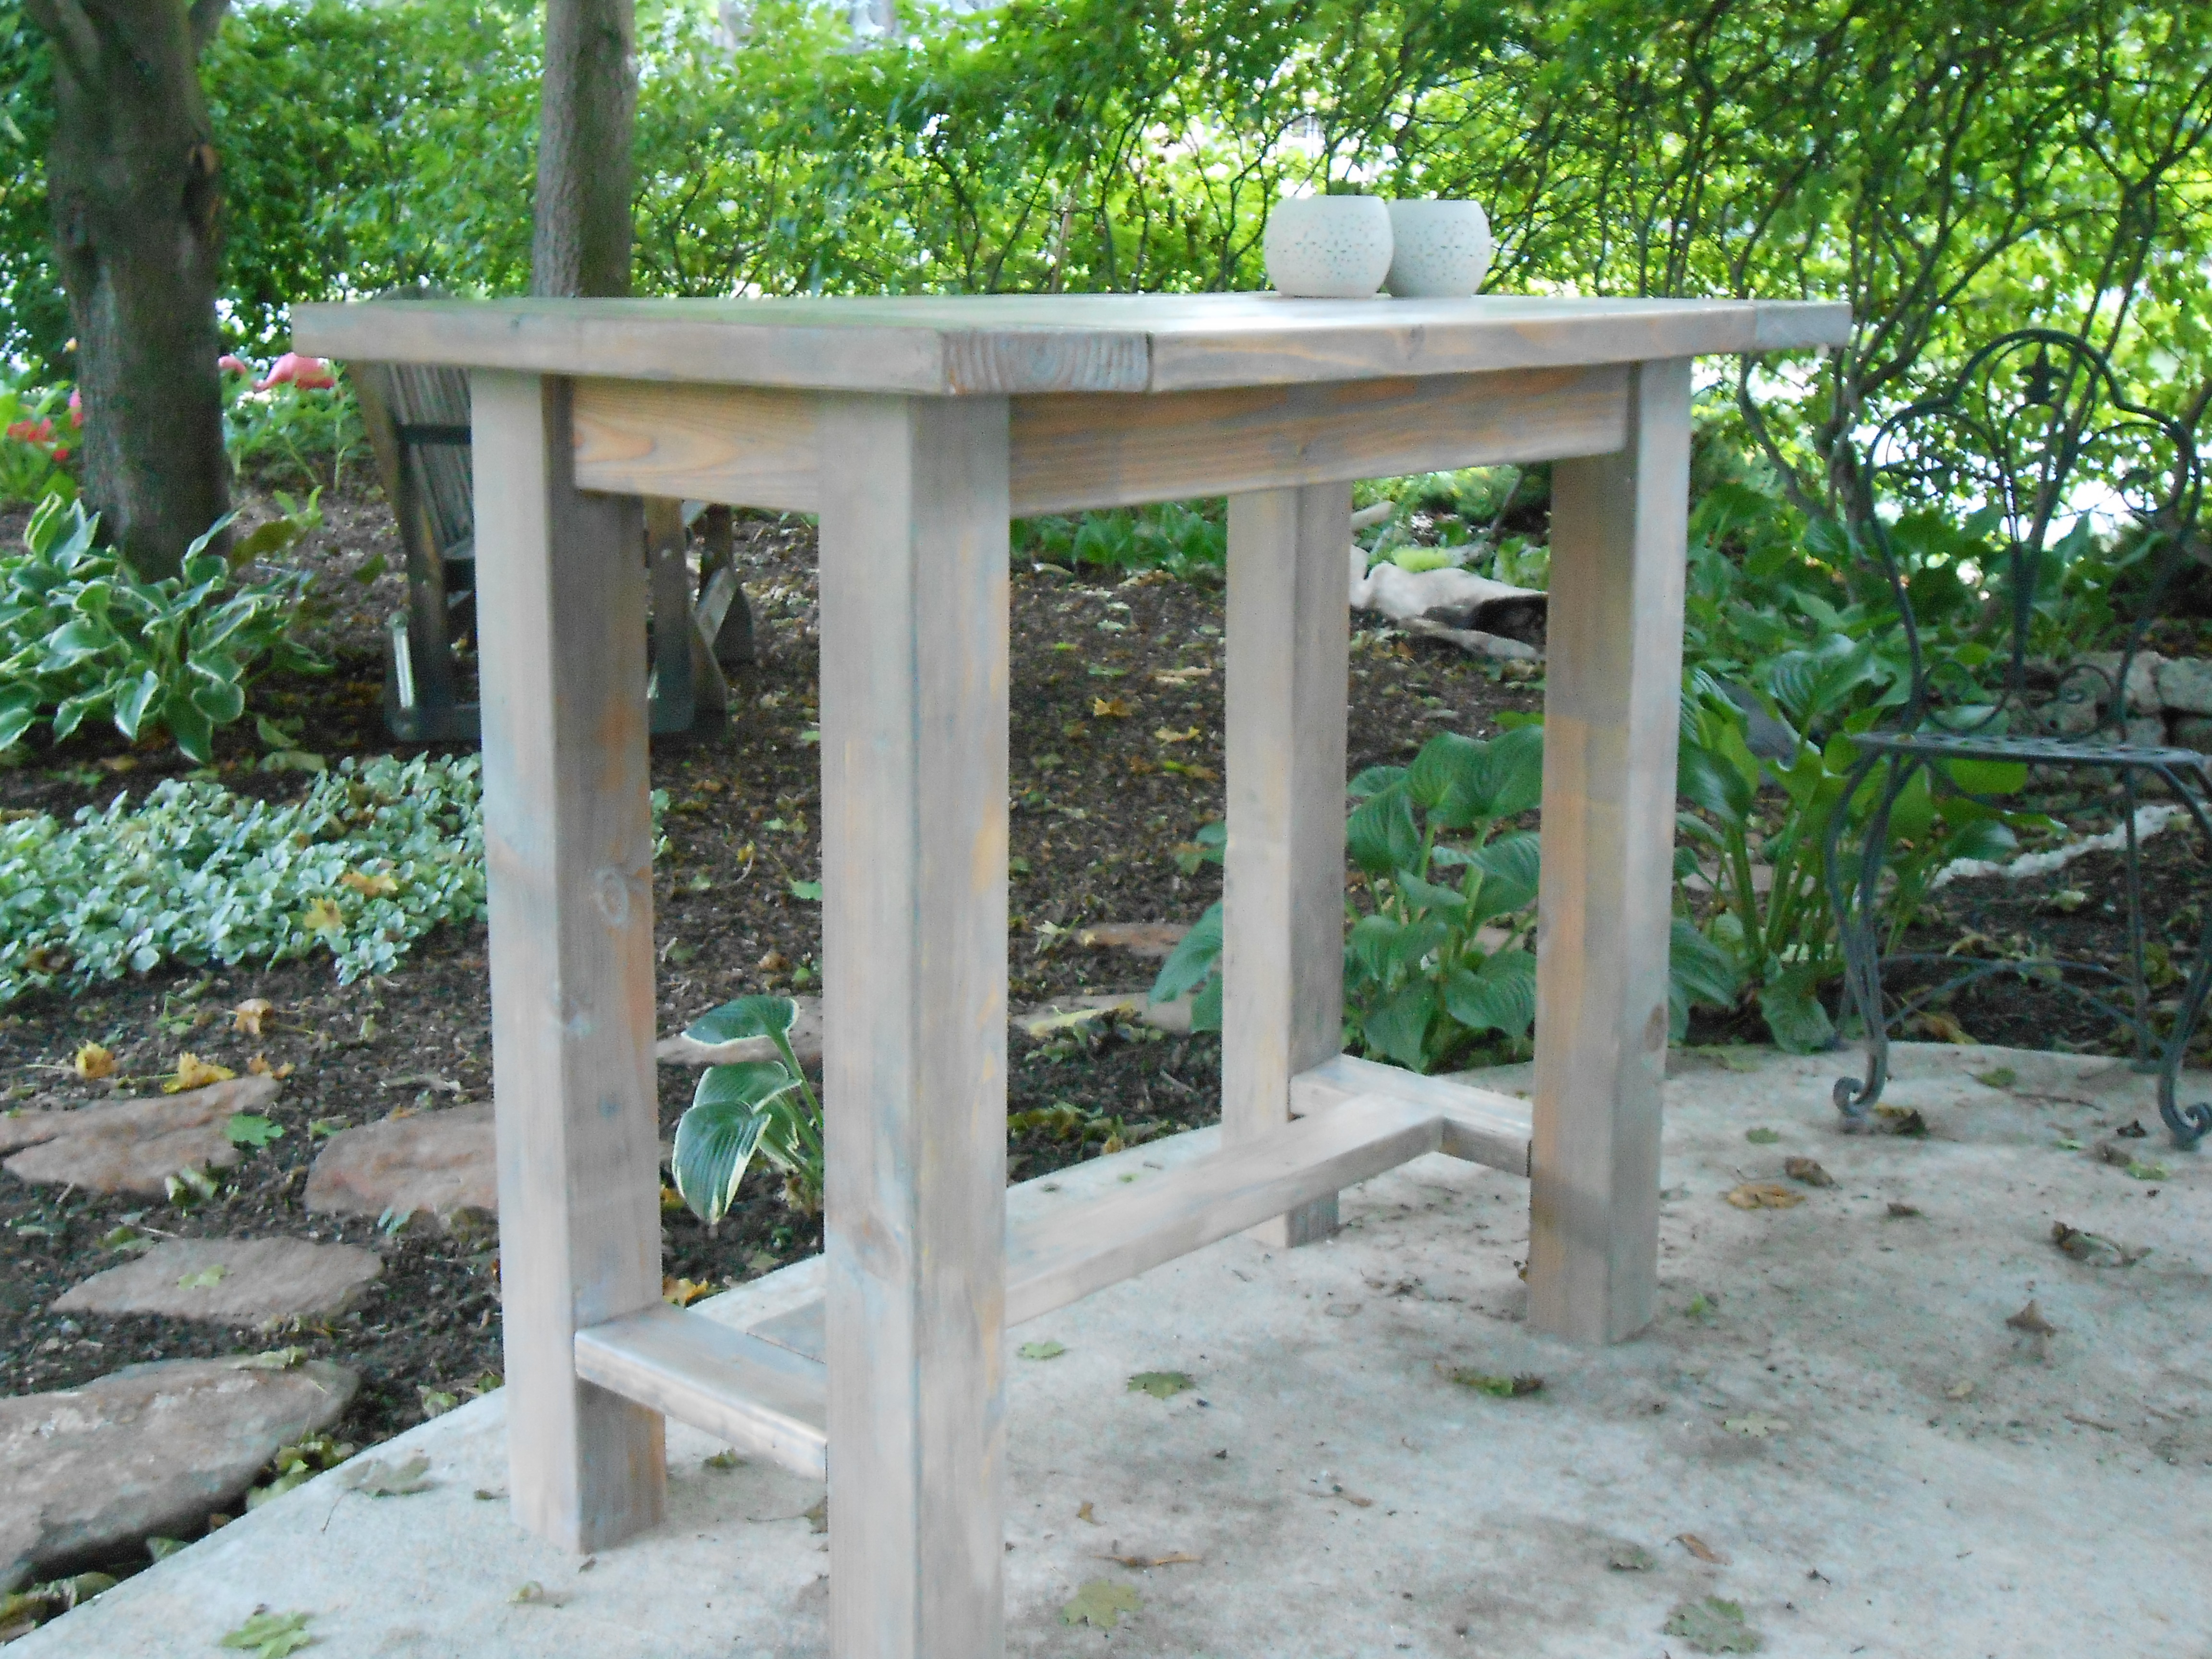
This is the second farmhouse table that we have built but we modified it to fit the needs of our "clients" (my parents). This was a gift for my dad made to be an outdoor prep table/kitchen island. This was the project that would NEVER END! We built it originally and decided that it was just too tall. So, we shortened the legs, put it back together, finished it, loaded it and then SMASH! the darn thing flew out of the back of our truck! So we re-pocket holed, did our best to fix the table top and put it back together once again. We built this thing 3 times! But now it is happily home on my parent's patio and enjoying its new life.
Finish: Driftwood stain, lime wax, miniwax finishing paste wax.
Cost: $15 Most everything was scrap we only had to buy a 2x4 and a 4x4 for the legs.
Built from Plan(s)
Estimated Cost
$15 bucks and lots of scrap
Finish Used
Driftwood stain by Huntwood cabinets, briwax liming wax and miniwax finishing paste wax
Recommended Skill Level
Beginner
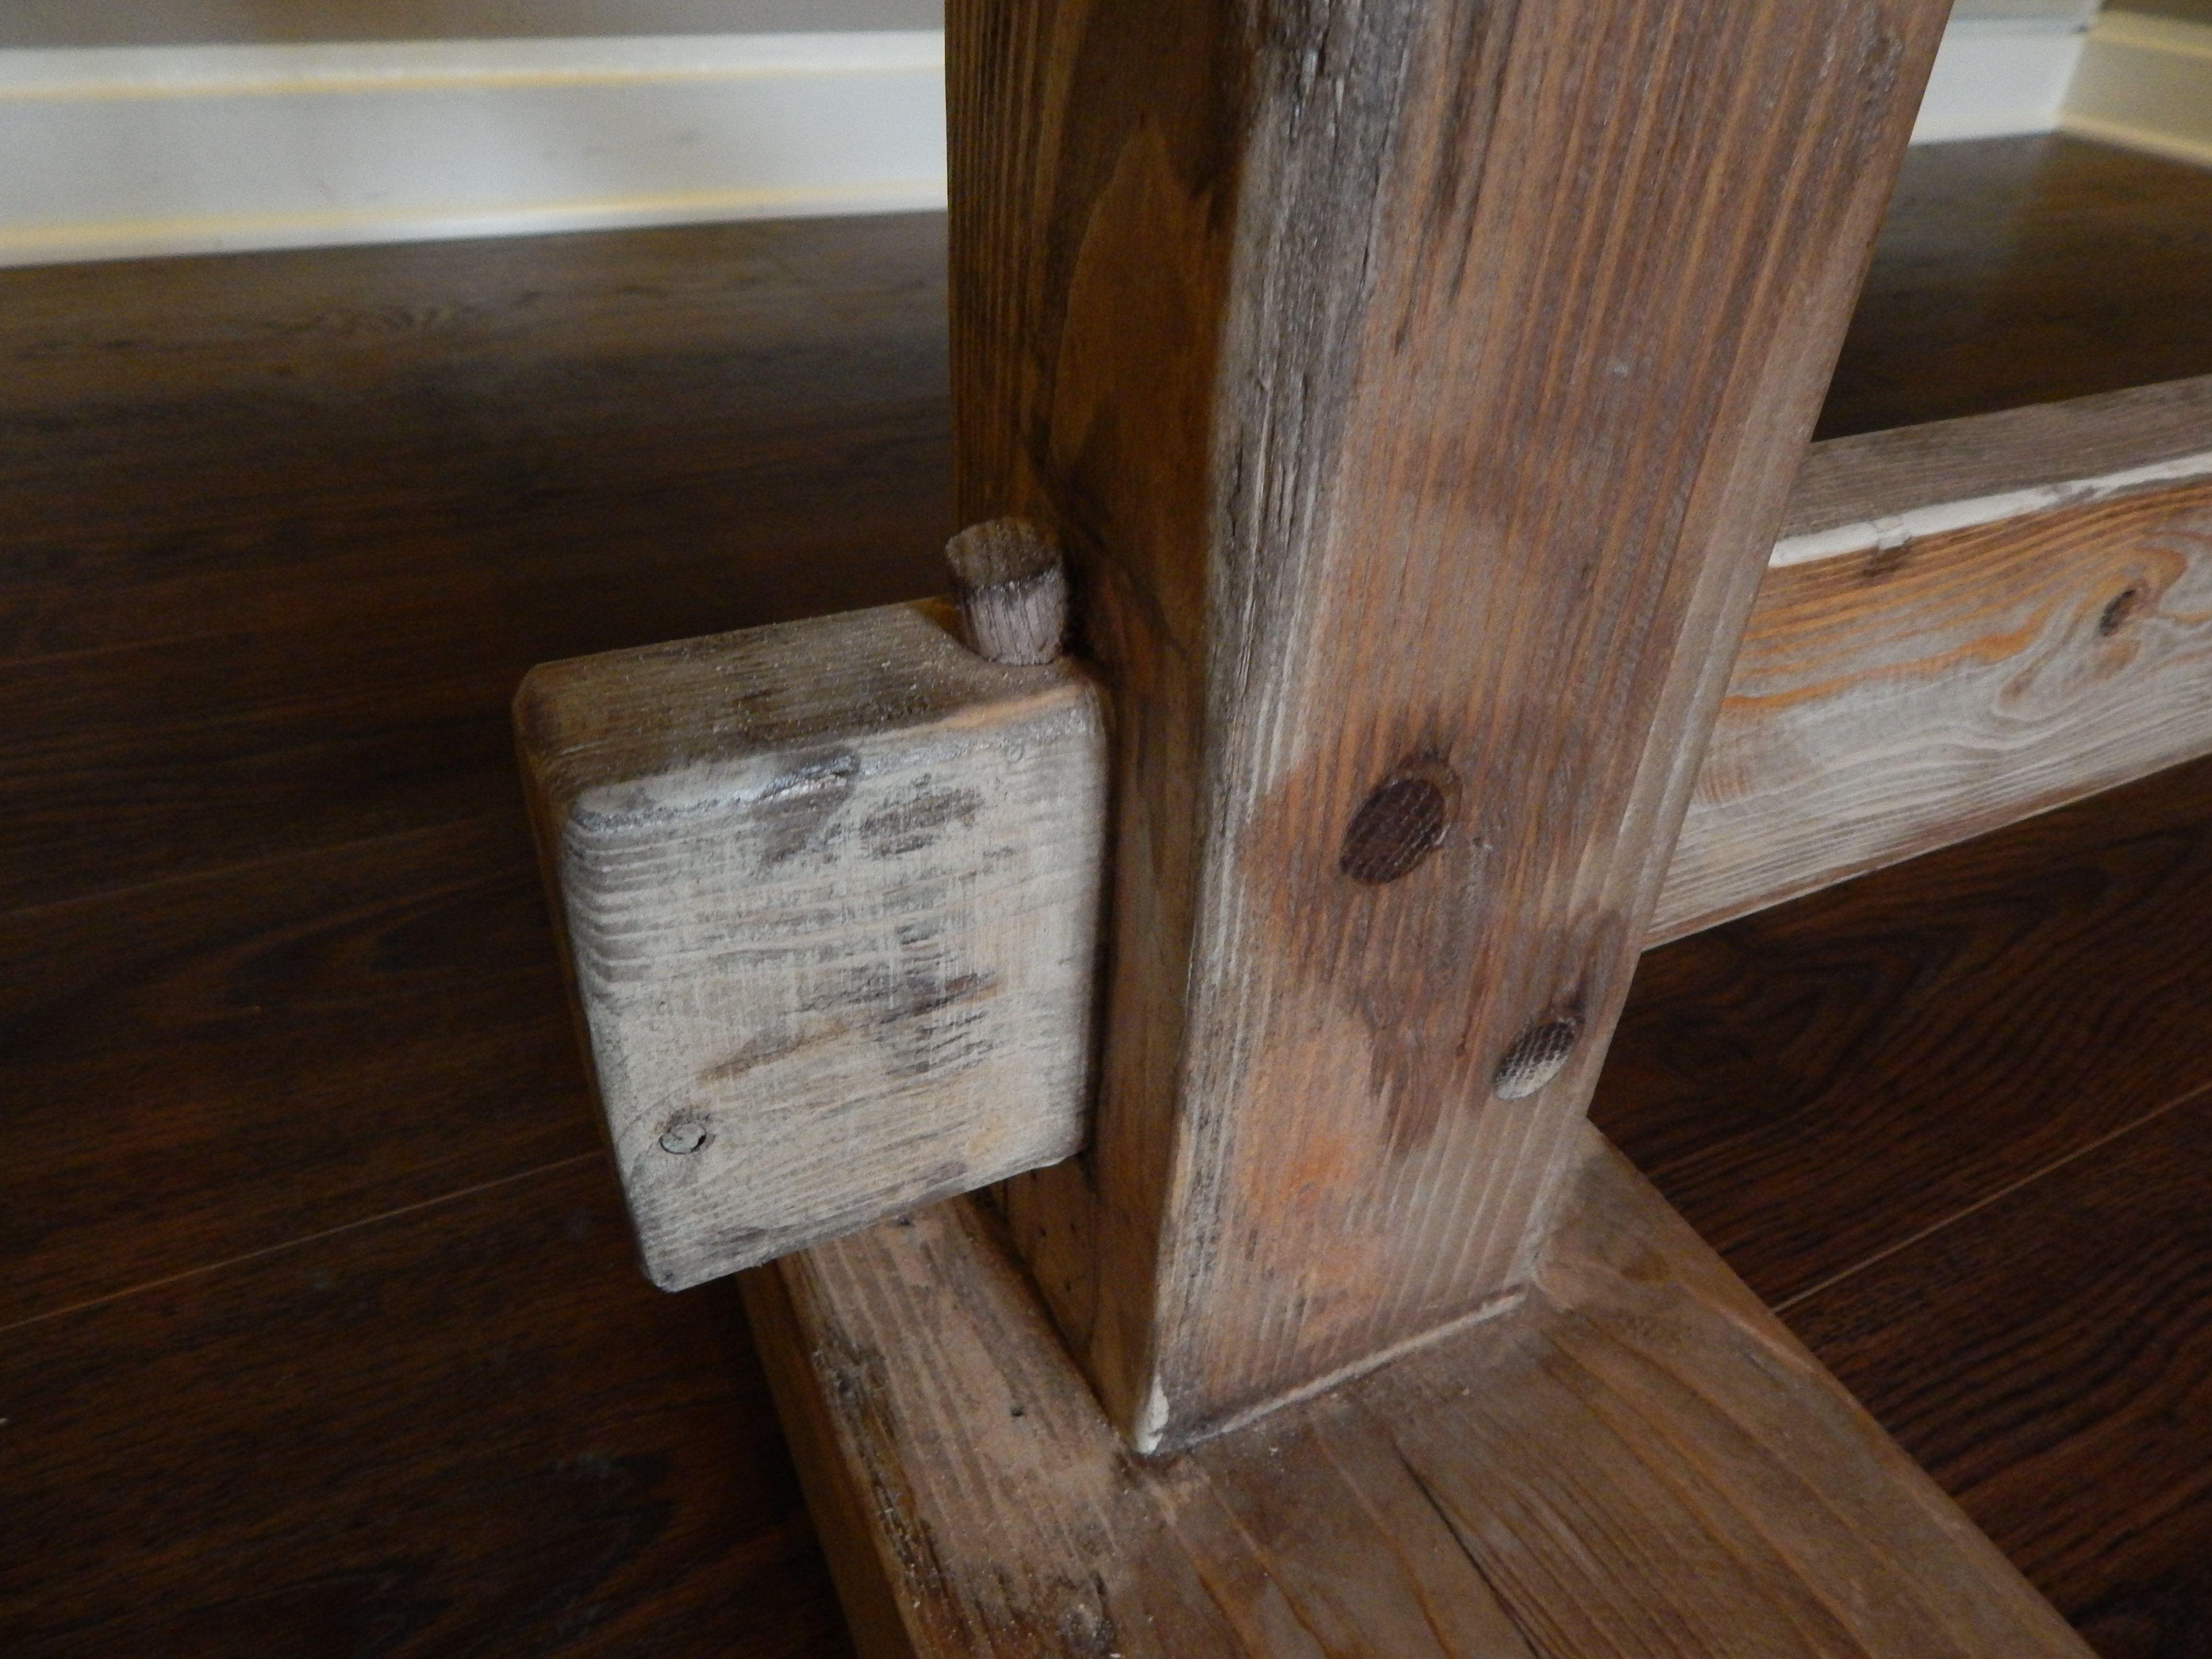
More From Johnnie8!
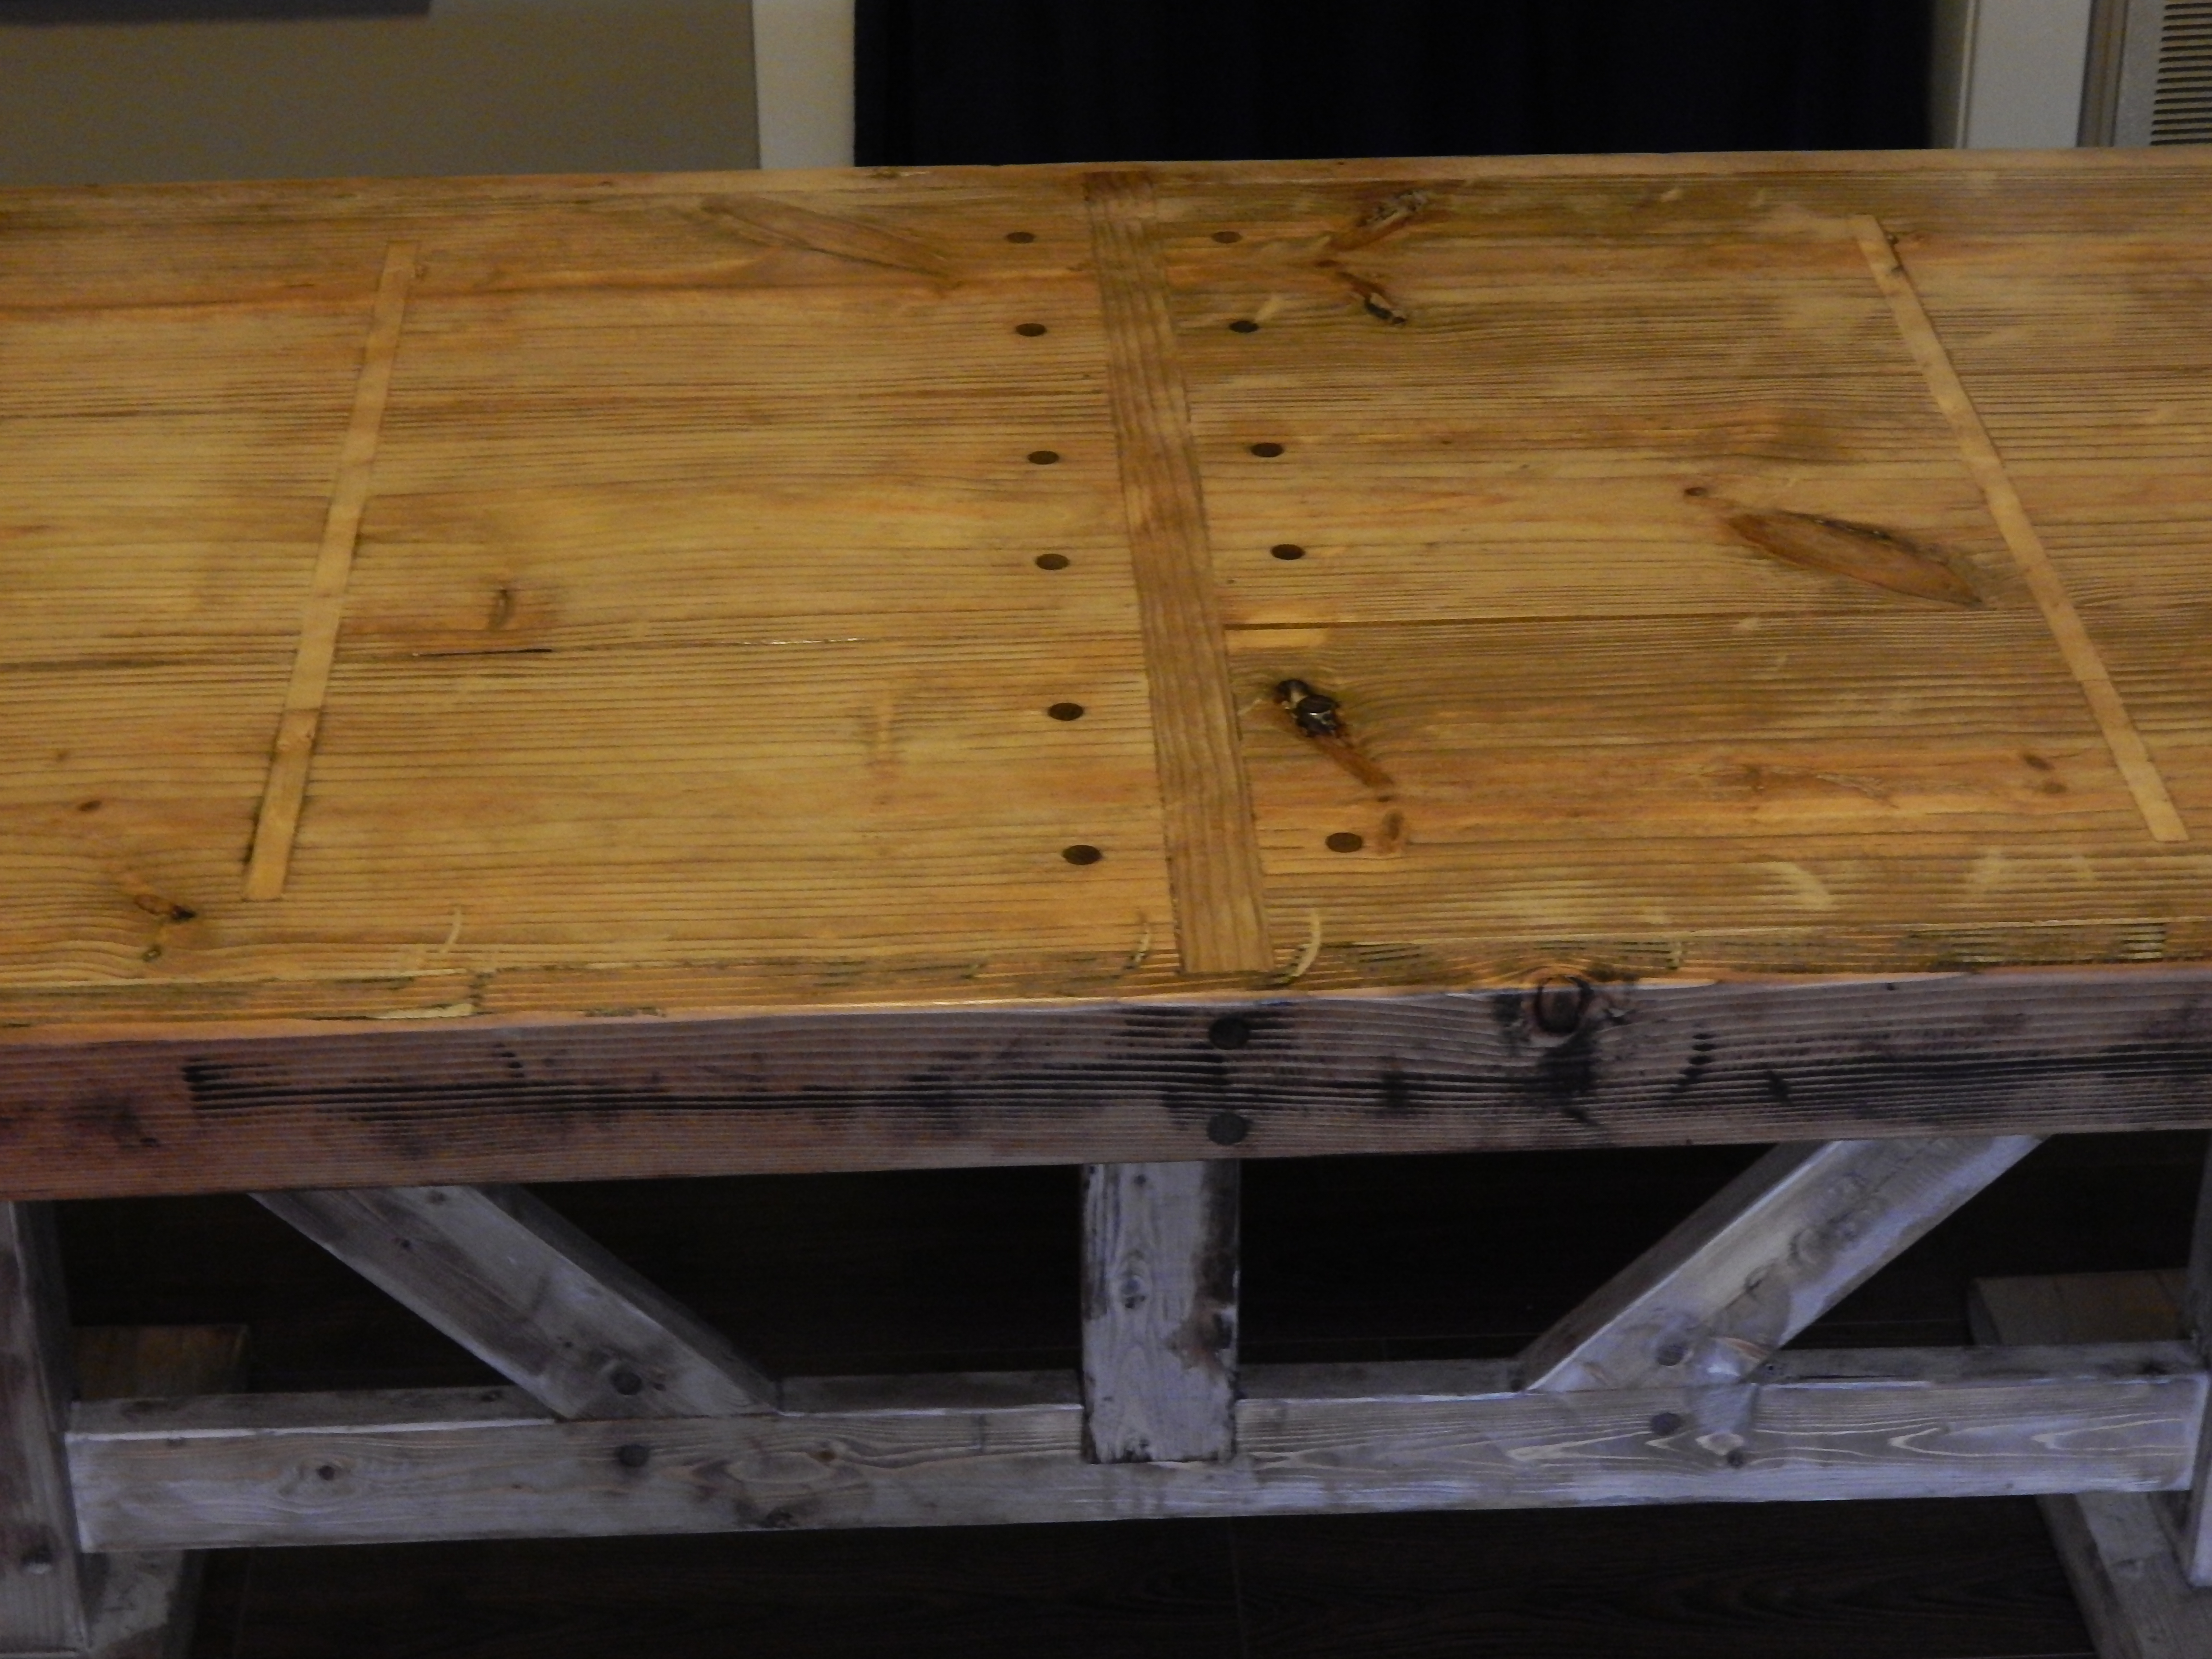
Hi Ana,
Here are a few more pics of some tables I've built! I would love to know what people think!
Thanks!

Built from Plan(s)
Estimated Cost
$150
Estimated Time Investment
Weekend Project (10-20 Hours)
Finish Used
My own blend of stain, paint and wax. Finished with a poly sealer.
Recommended Skill Level
Beginner
Comments

Farmhouse table - pocket hole plans
This table was made for large gatherings. It will seat 12 and is 9' X 4' I had to add another let in the middle and I couldn't find 4X4 so I paired 2 2'X4's. The friend I made it for is very happy with it, and so am I.
Built from Plan(s)
Estimated Time Investment
Weekend Project (10-20 Hours)
Finish Used
Varathane - Kona
Recommended Skill Level
Intermediate
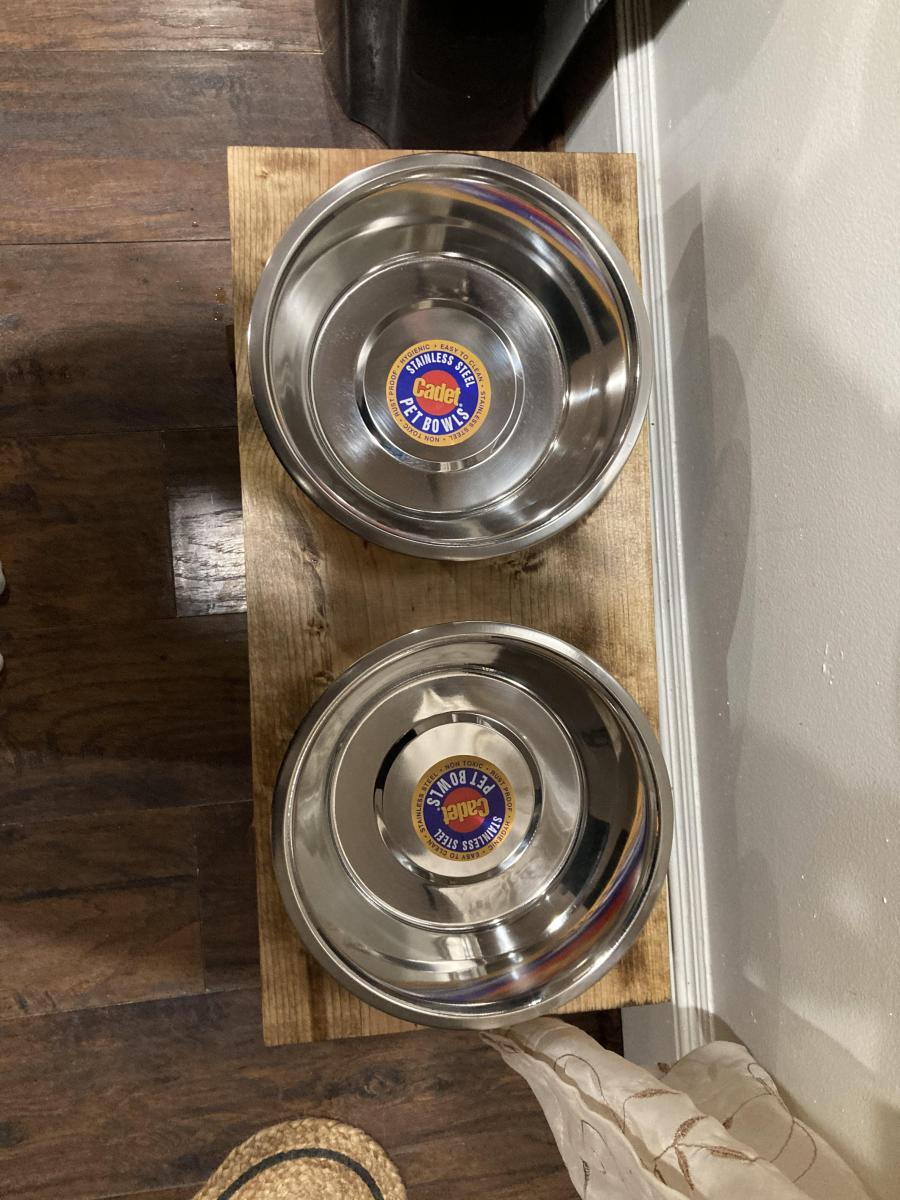
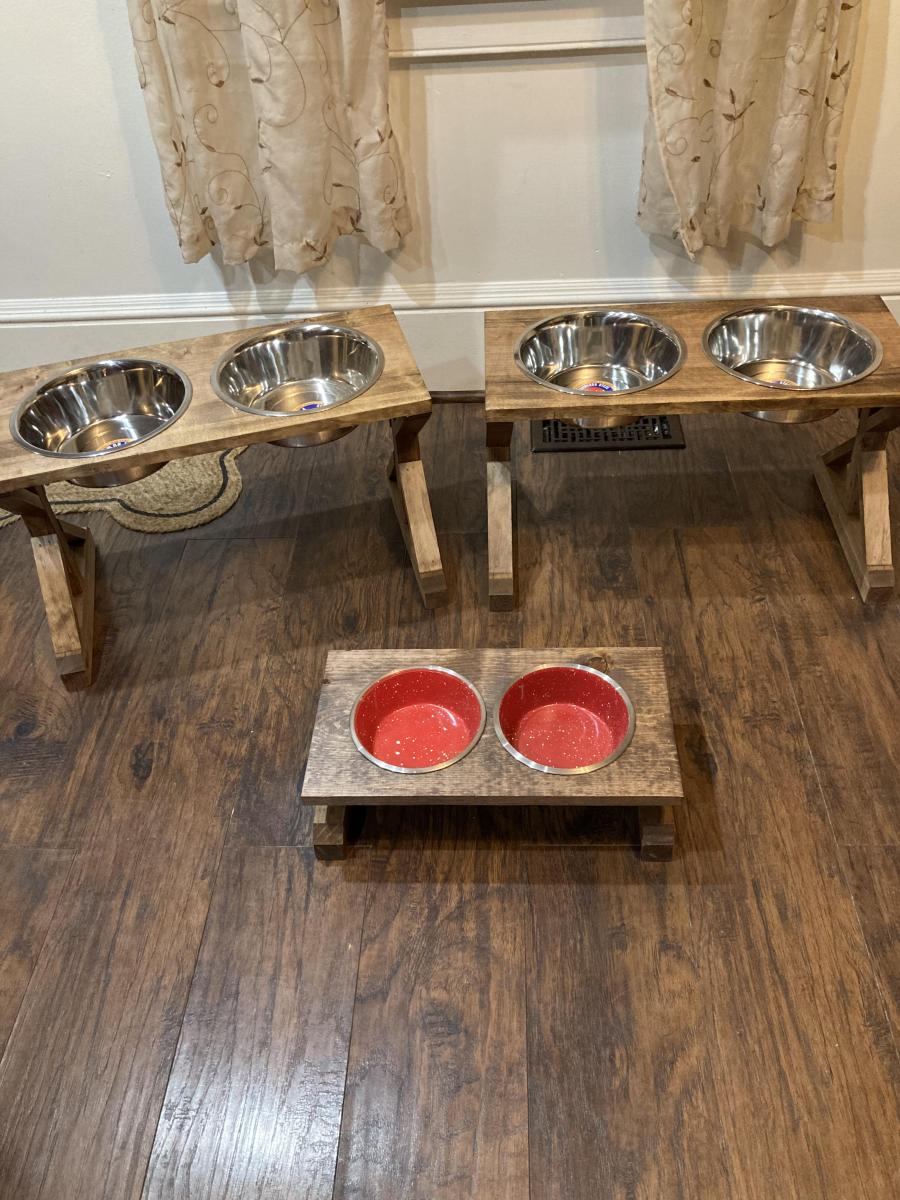
For the Dogs
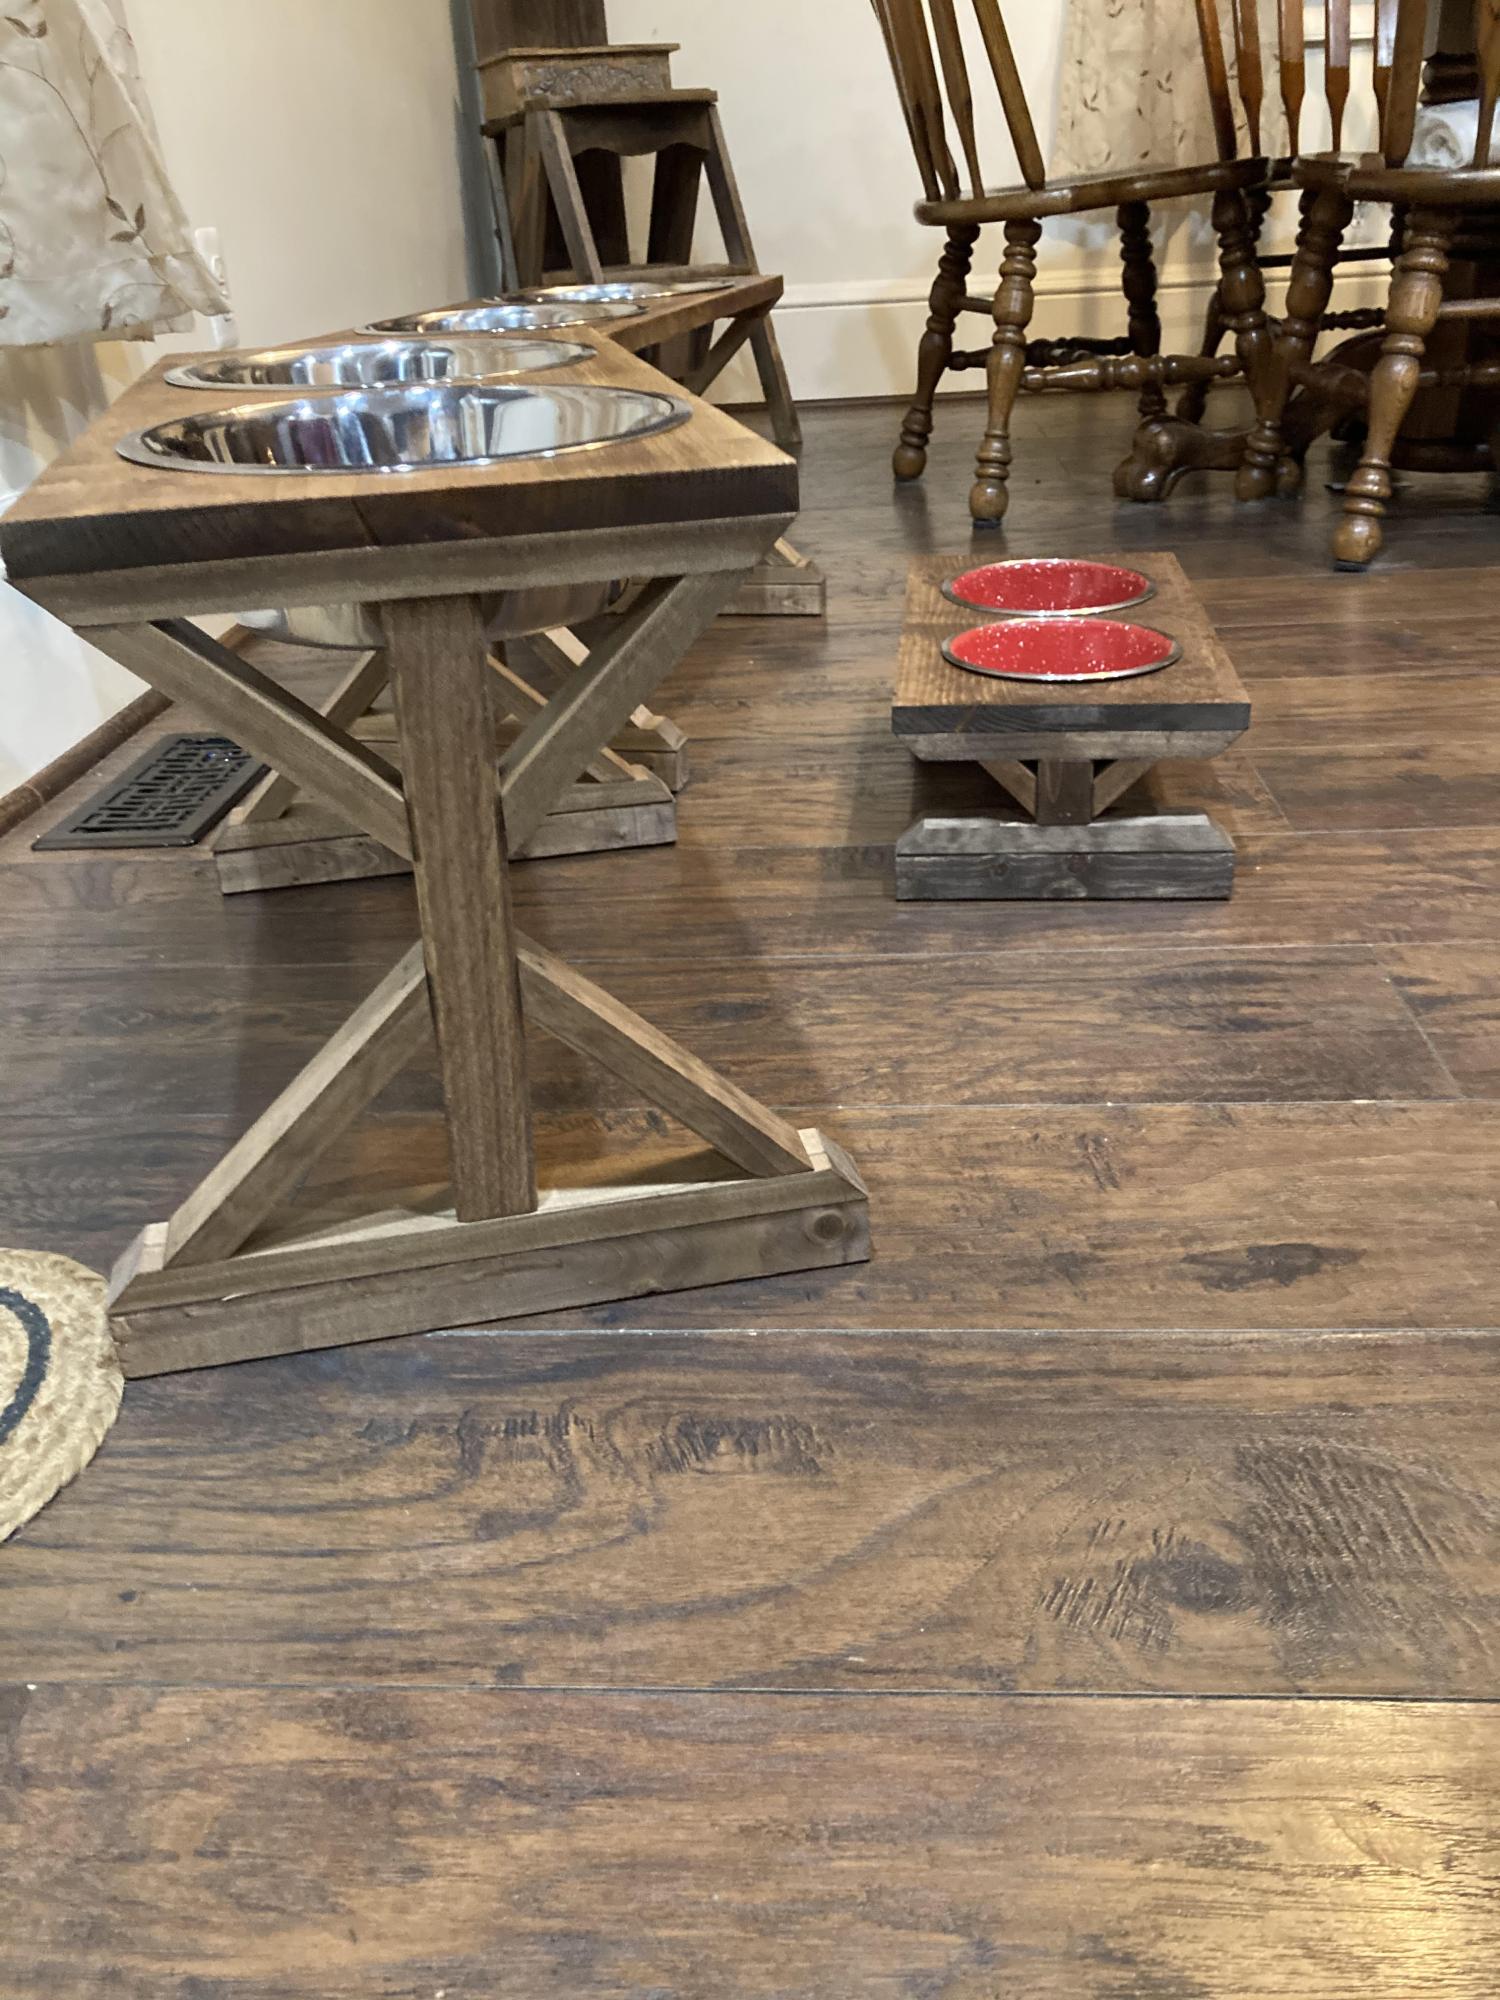
I took the farmhouse desks and turned it into dog dishes.
by Katherine
Built from Plan(s)
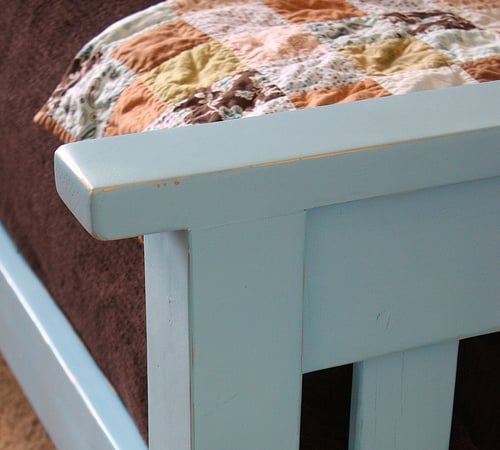
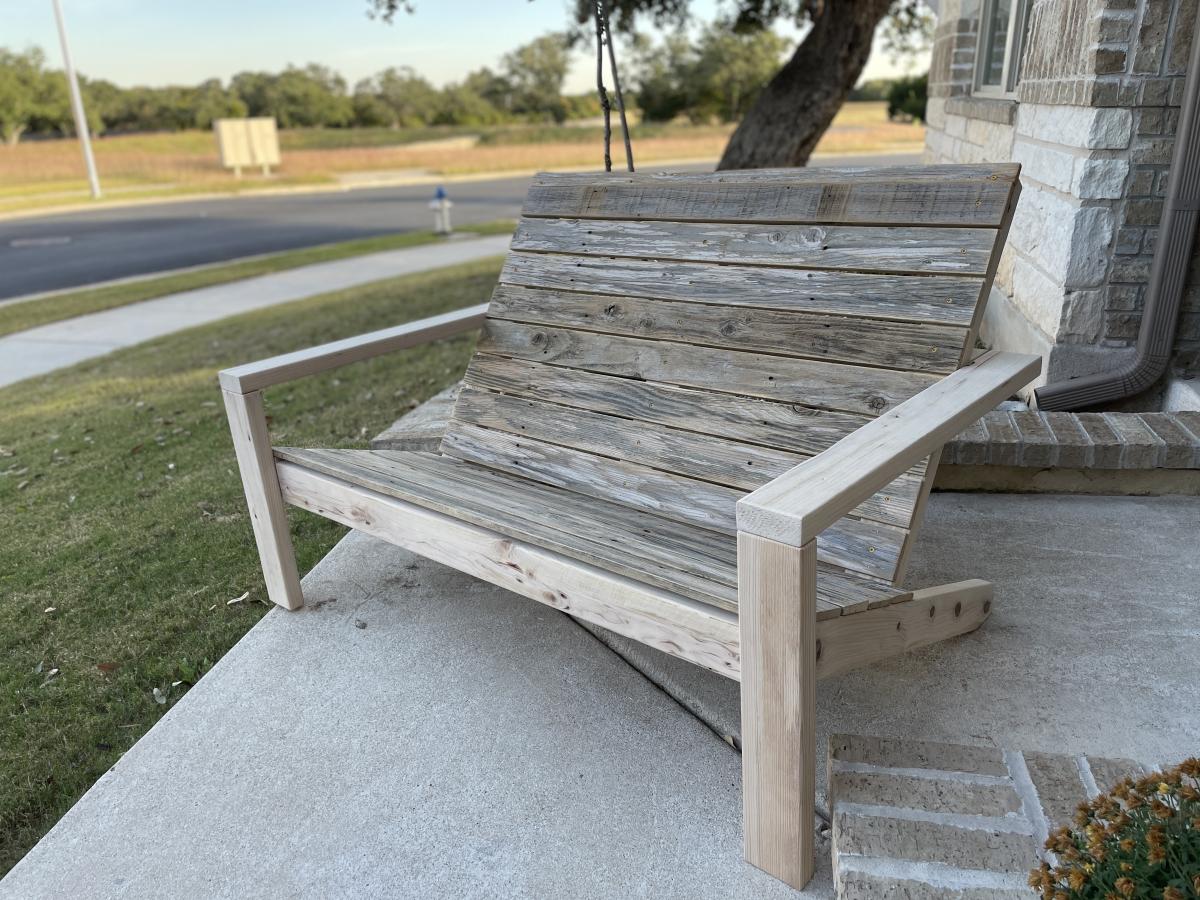
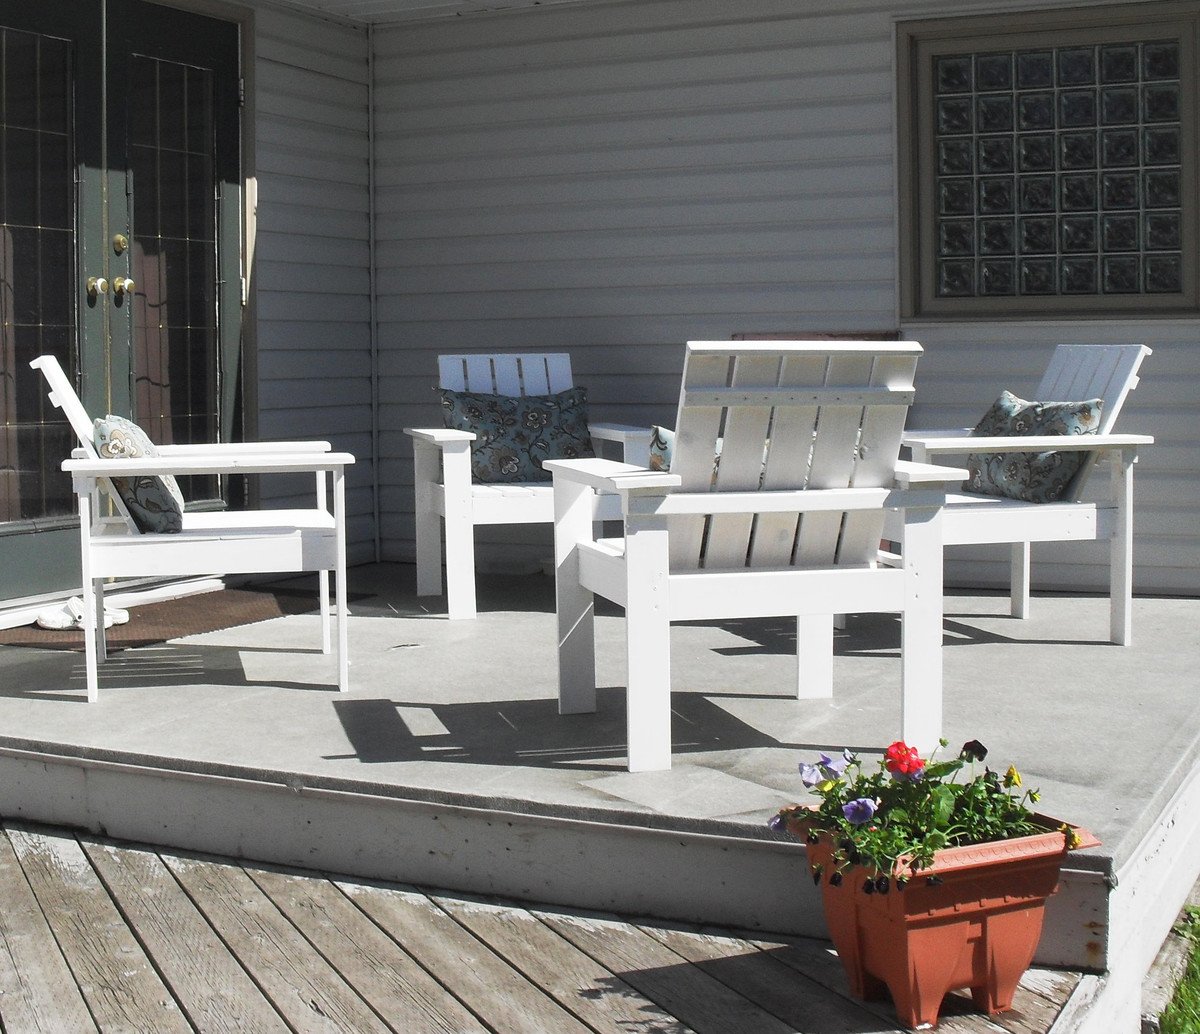
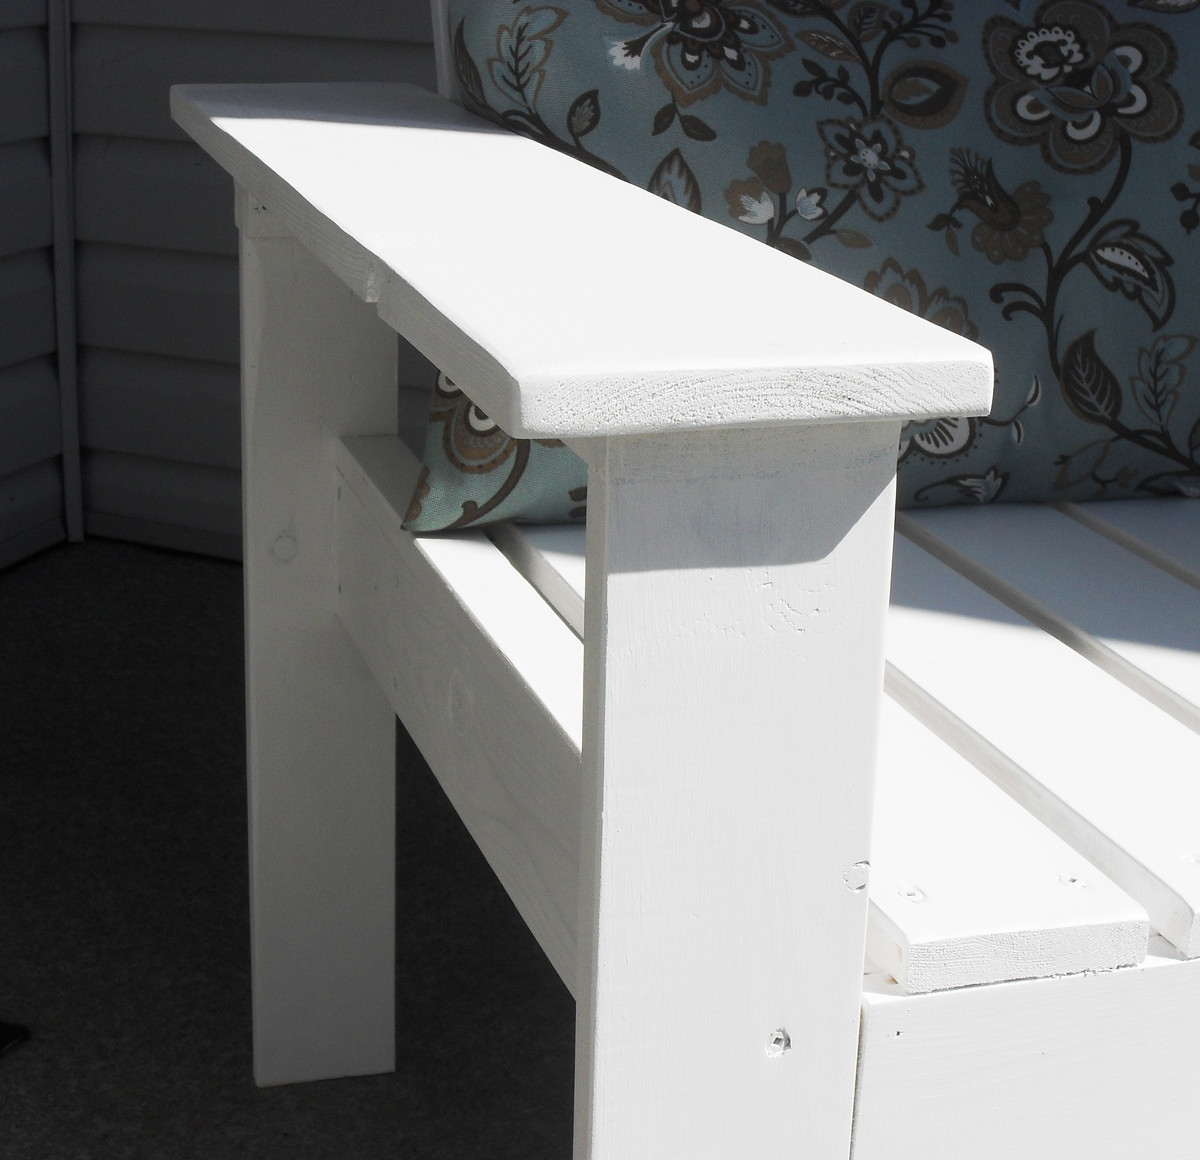
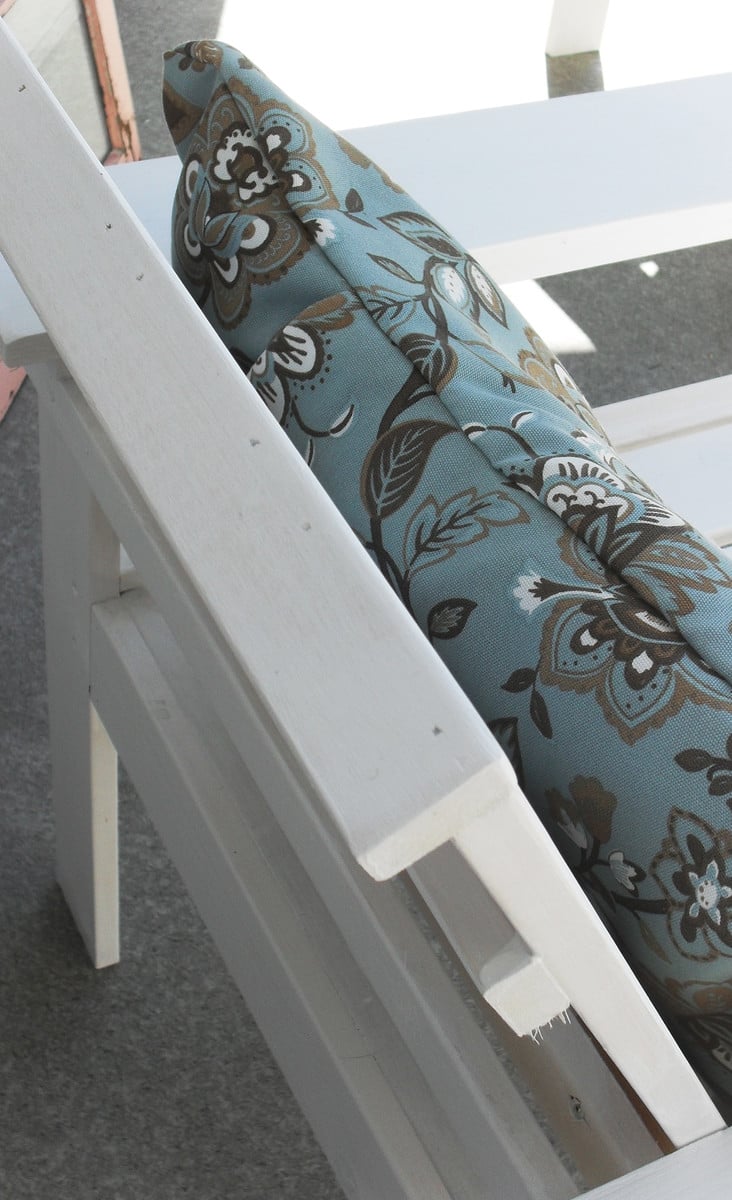
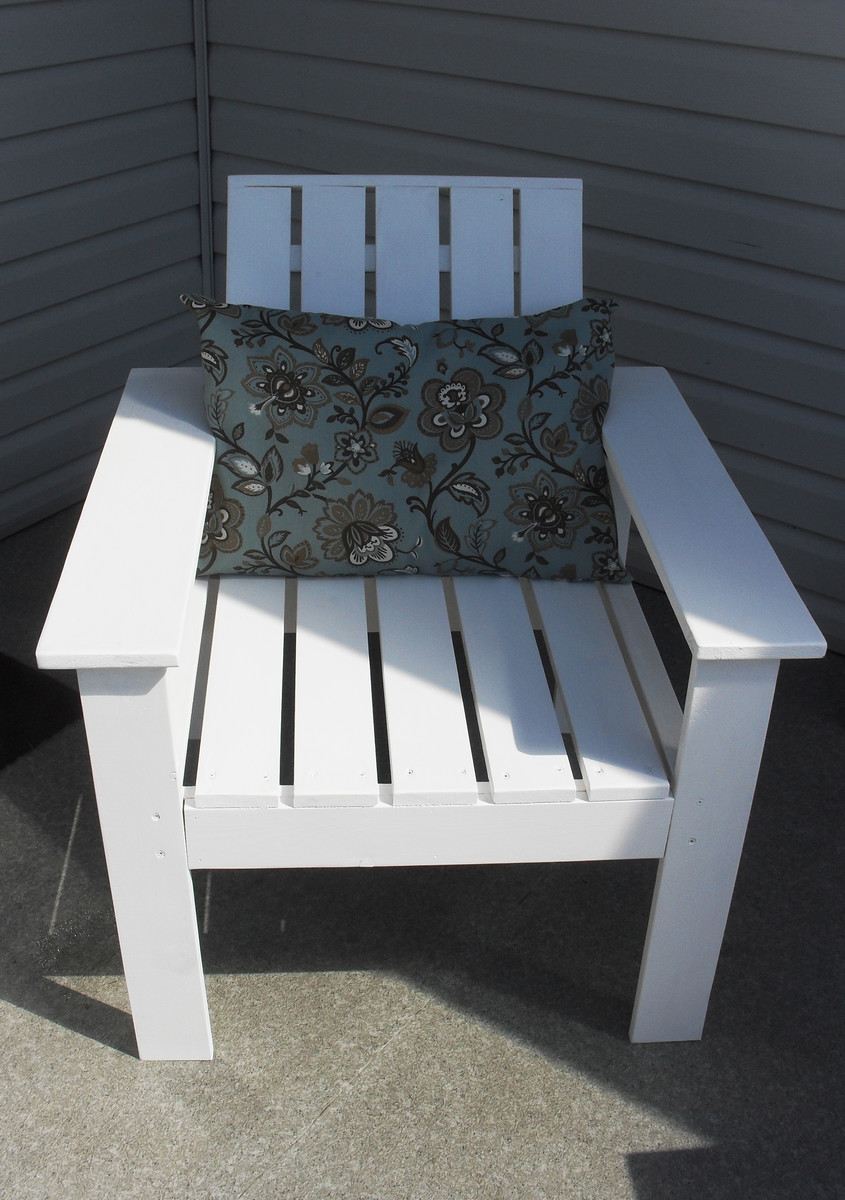
Simple Outdoor Furniture
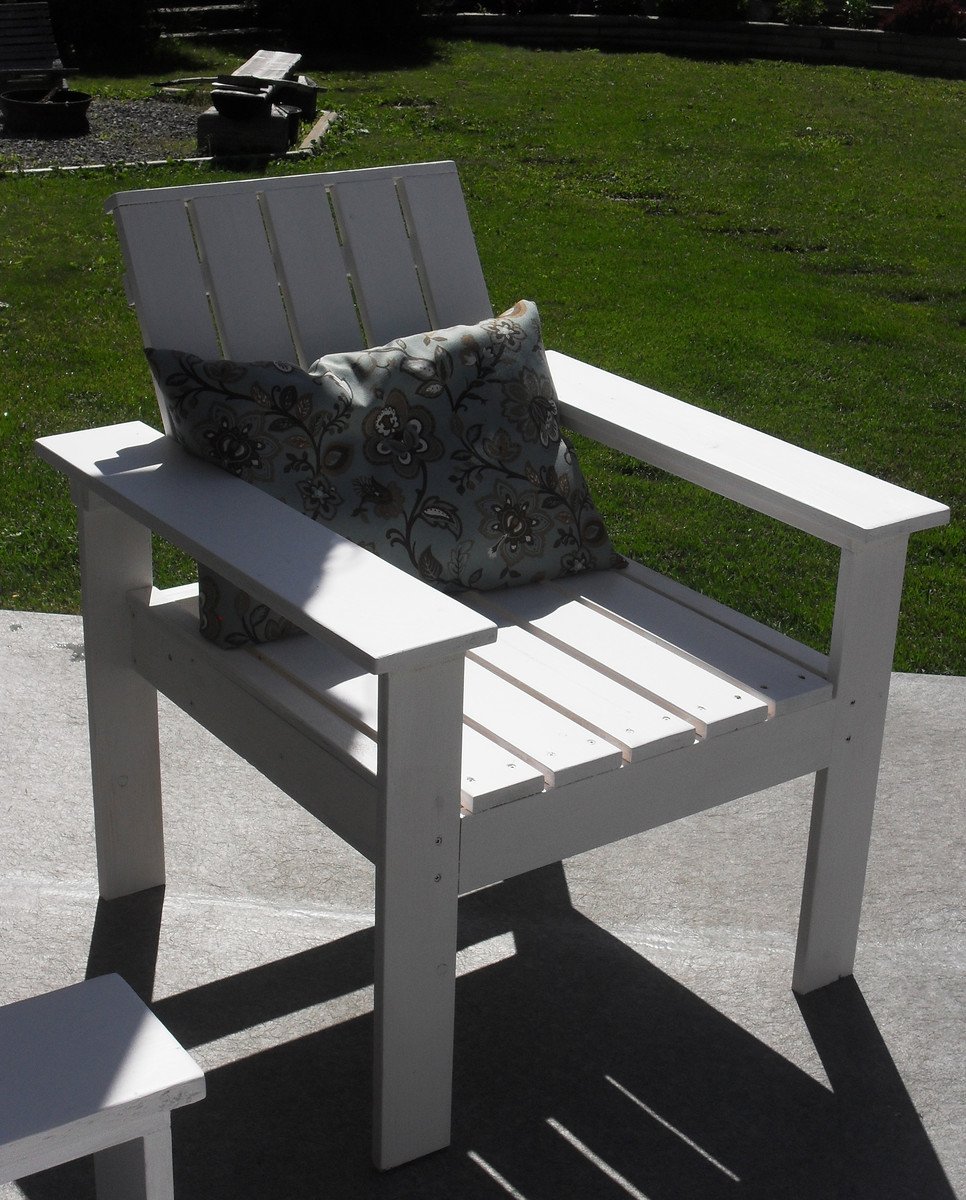
This was a fun, easy and inexpensive project. Ana's instructions are very easy to follow. I modified her plan, only slightly, by adding 1X6 to the arms of the chairs, as well, I added a 1X2 cap to the top back of the chair. I also built four (4) accent tables (not stained yet) and a bench. Now I have a great set of outdoor furniture for my deck!

Built from Plan(s)
Estimated Cost
Four (4) chairs, four (4) tables, bench, wood screws and stain - approximately $100.00
Estimated Time Investment
Weekend Project (10-20 Hours)
Finish Used
I used an exterior latex stain, in white, on the chairs and bench. I'll be painting the accent tables in an ice blue color to match my cushions.
Recommended Skill Level
Starter Project
Comments


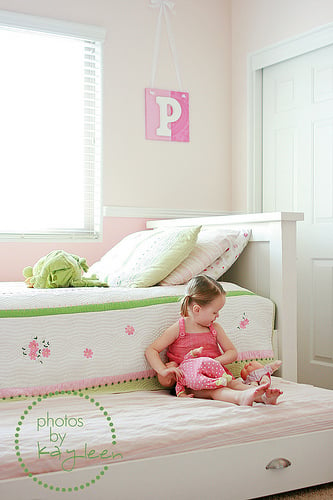
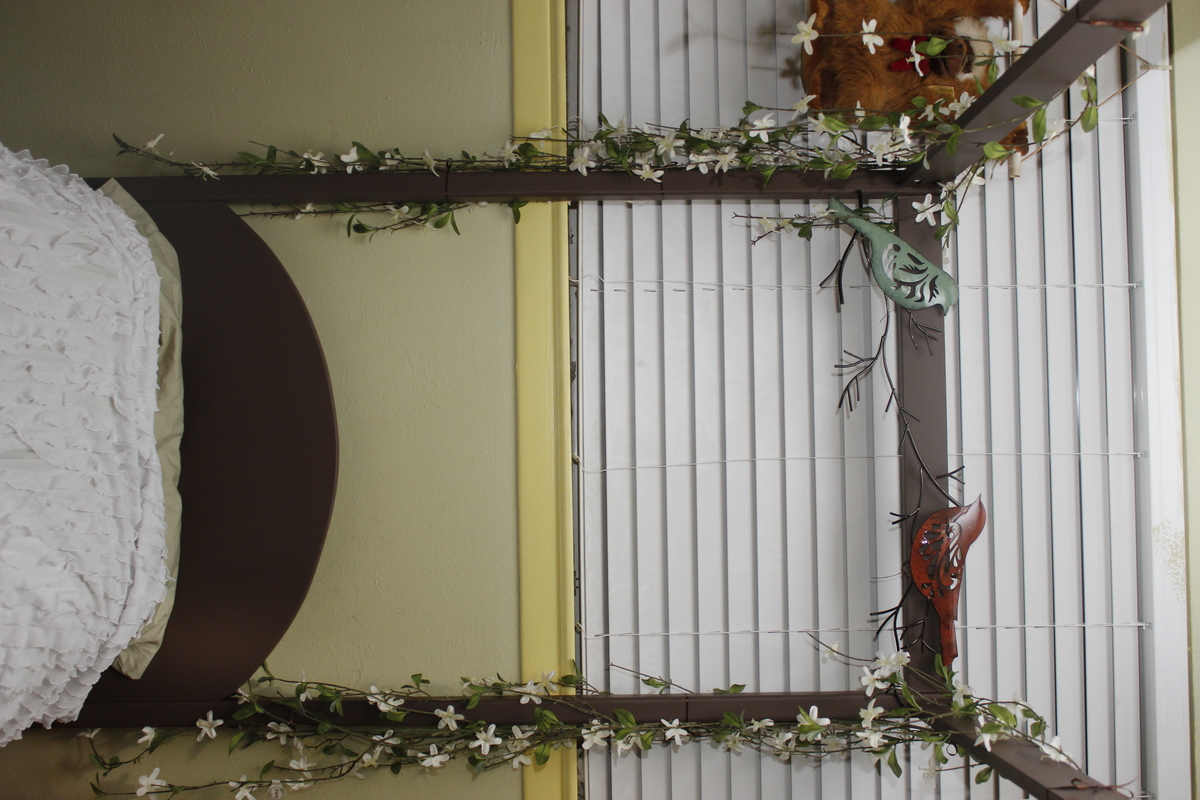
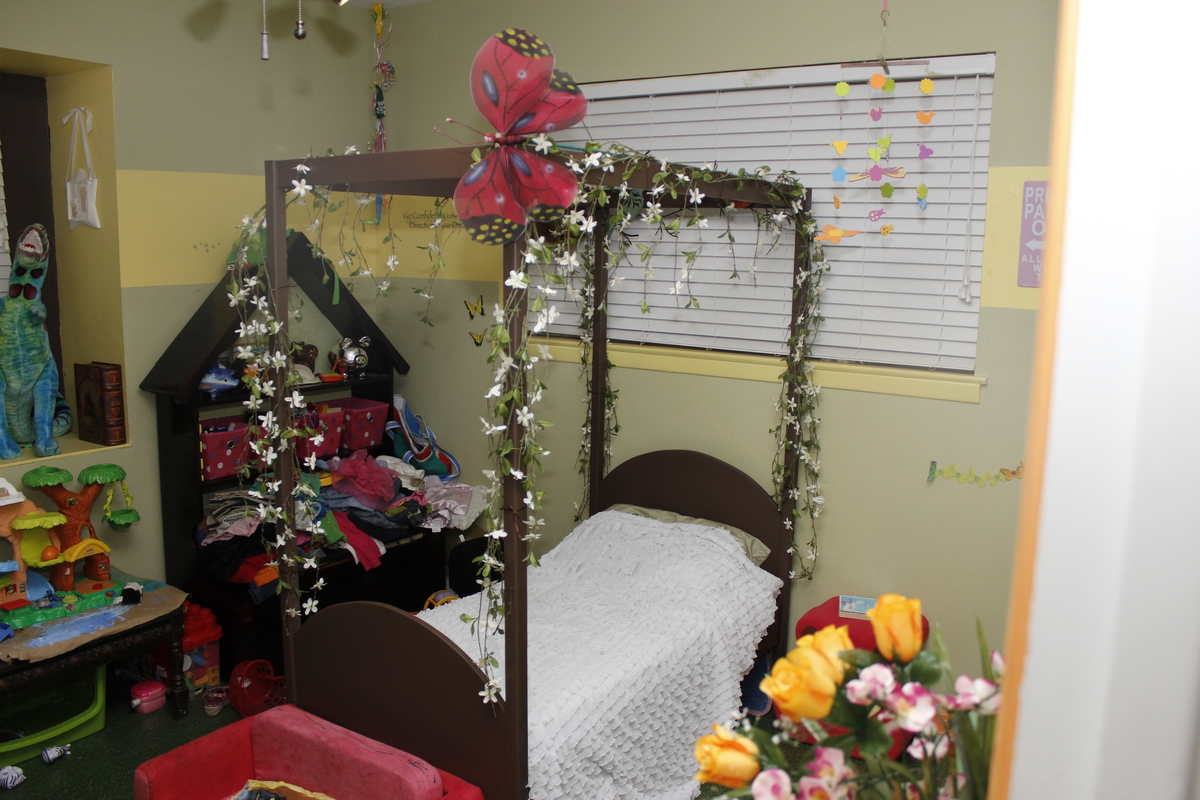
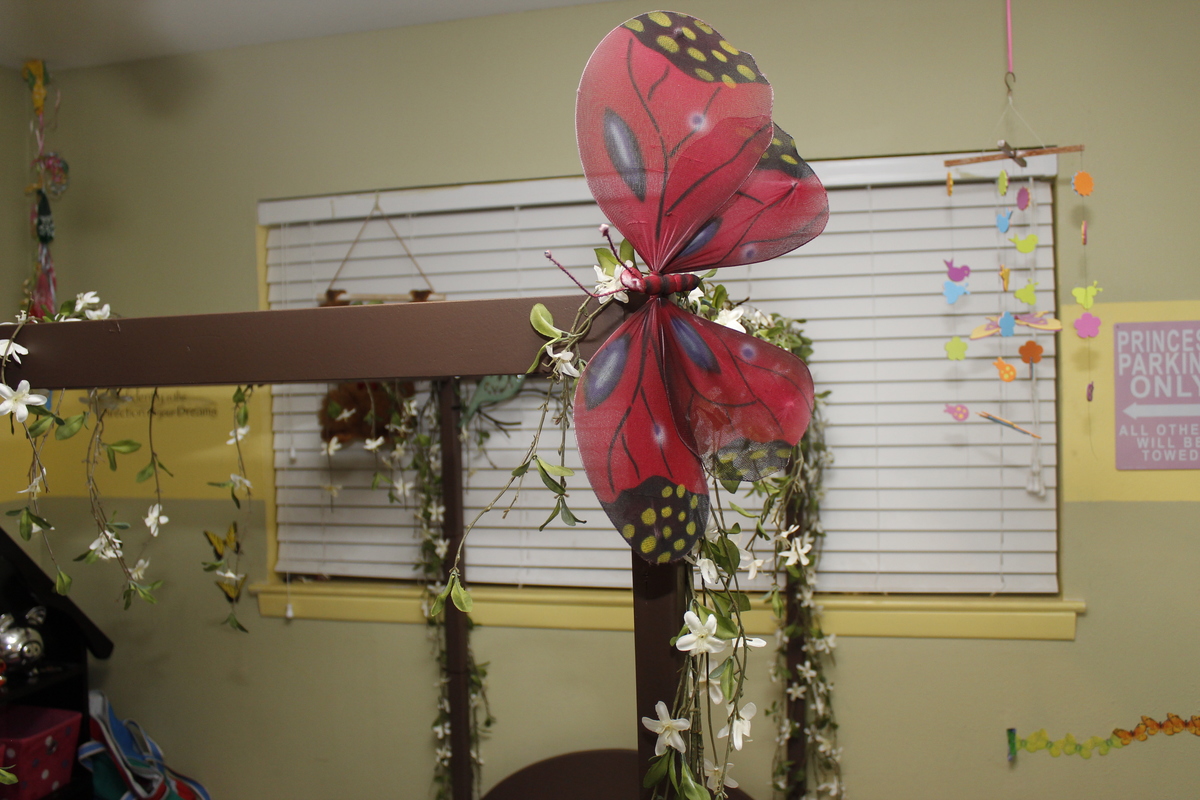
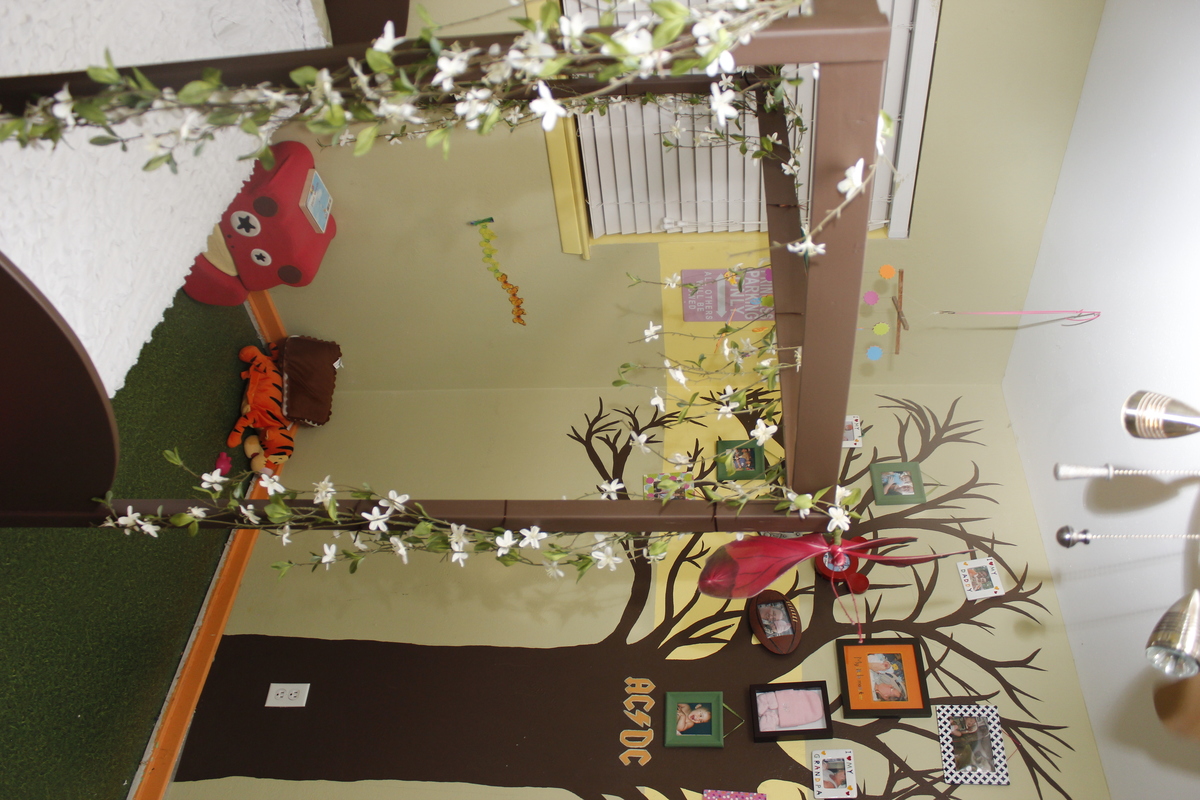
Fairy Princess
I built this for my daughters 3rd birthday. Because my wife works weekends i was only able to spare a few hours a day Monday-Friday. And because i did it in summer under the Texas heat it took longer than i would have liked. The flowers and birds came from Hobby Lobby. My daughter flipped out when she opened her room and saw it, as a father I've never felt prouder than to build this with my own 2 hands just for her.
Estimated Cost
$100
Finish Used
I used some old paint from the tree painted in the room and followed up with a satin soft touch polyurethane.
Recommended Skill Level
Beginner
Suede Gray Beauty

This was produced from the Queen version by adding 16 inches to the width of several of the pieces of wood.
Built from Plan(s)
Estimated Cost
$250
Estimated Time Investment
Week Long Project (20 Hours or More)
Finish Used
Webster Chalk Paint added to Behr Ultra. Finished with several coats of bees wax,
Recommended Skill Level
Intermediate
Comments
My first build!!
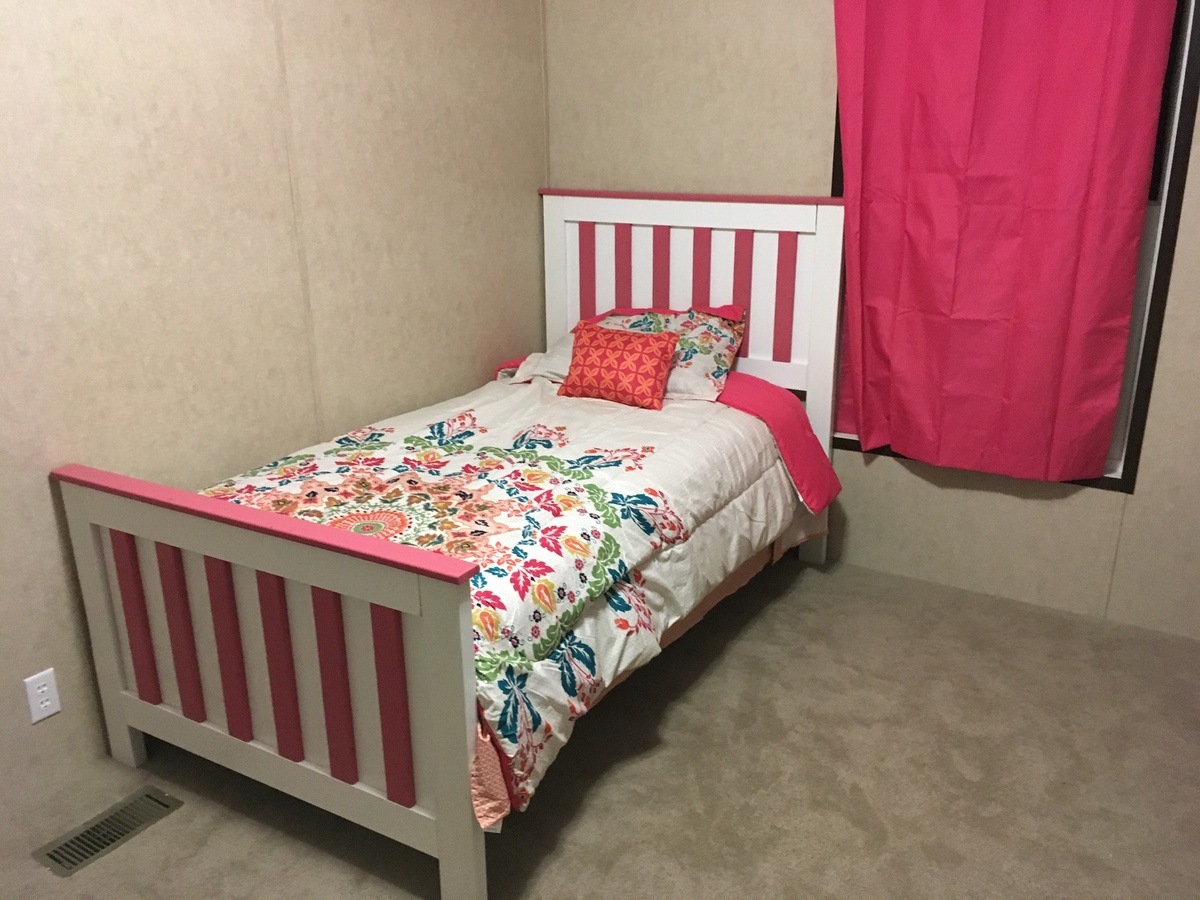
Built the kentwood twin for my daughter from Ana’s free downloadeable plans. Build was very easy and had a blast. Total cost was between $60-$70. Can’t wait to start my next project!
Built from Plan(s)
Estimated Cost
$60-$70
Estimated Time Investment
Day Project (6-9 Hours)
Finish Used
Gloss white & Pink
Recommended Skill Level
Beginner
Comments

Wed, 04/18/2018 - 17:31
Great job!
You did a great job on this bed! It looks adorable all decked out in pink! Congrats on a great first build!
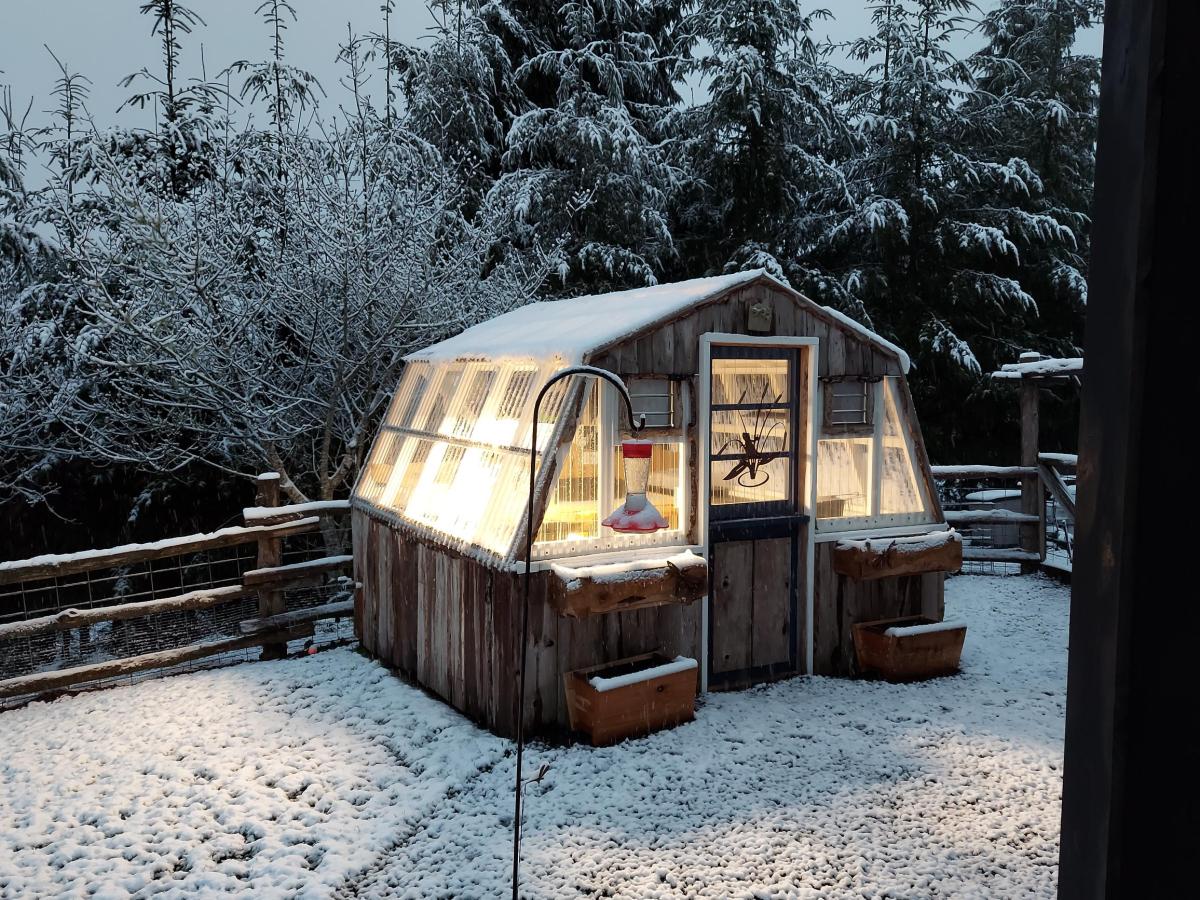
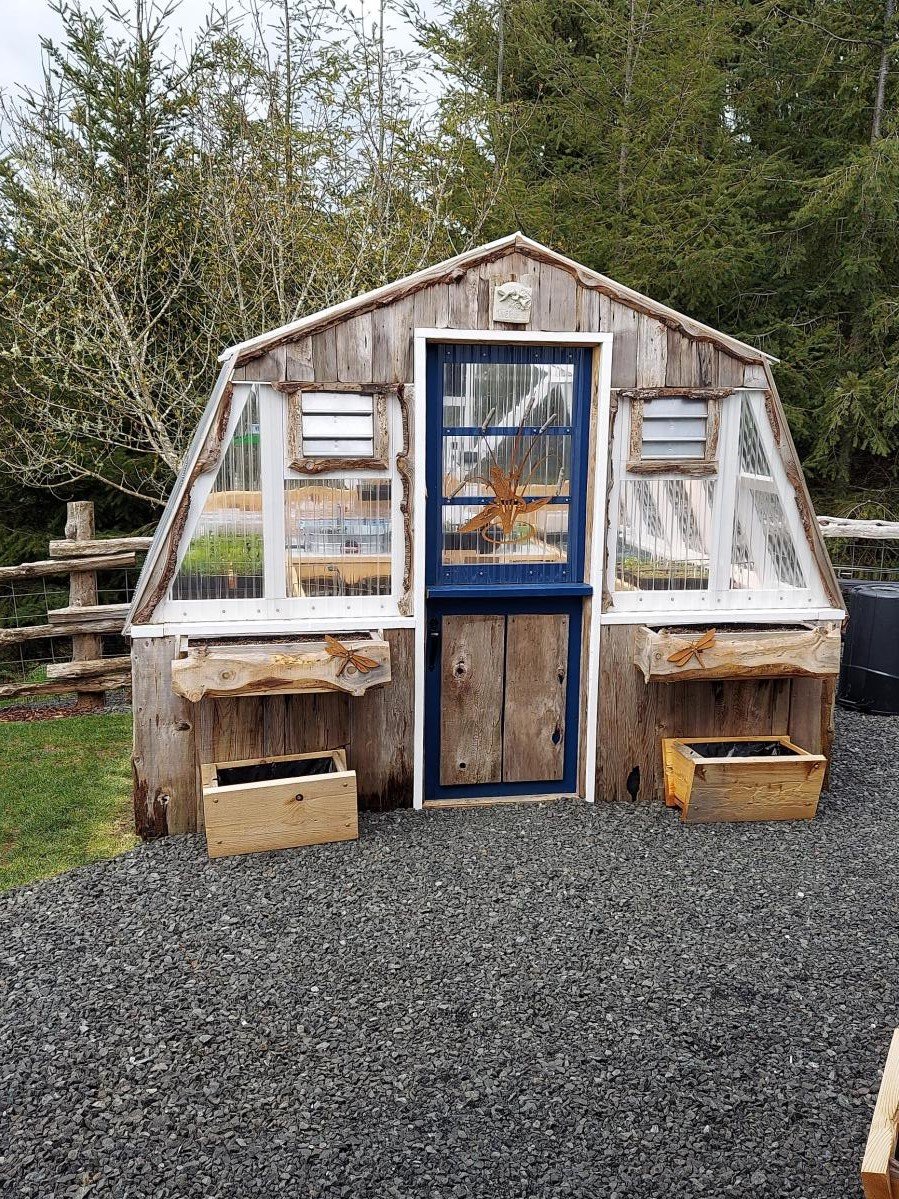
Reclaimed Cedar Board 10x 10 Barn Greenhouse
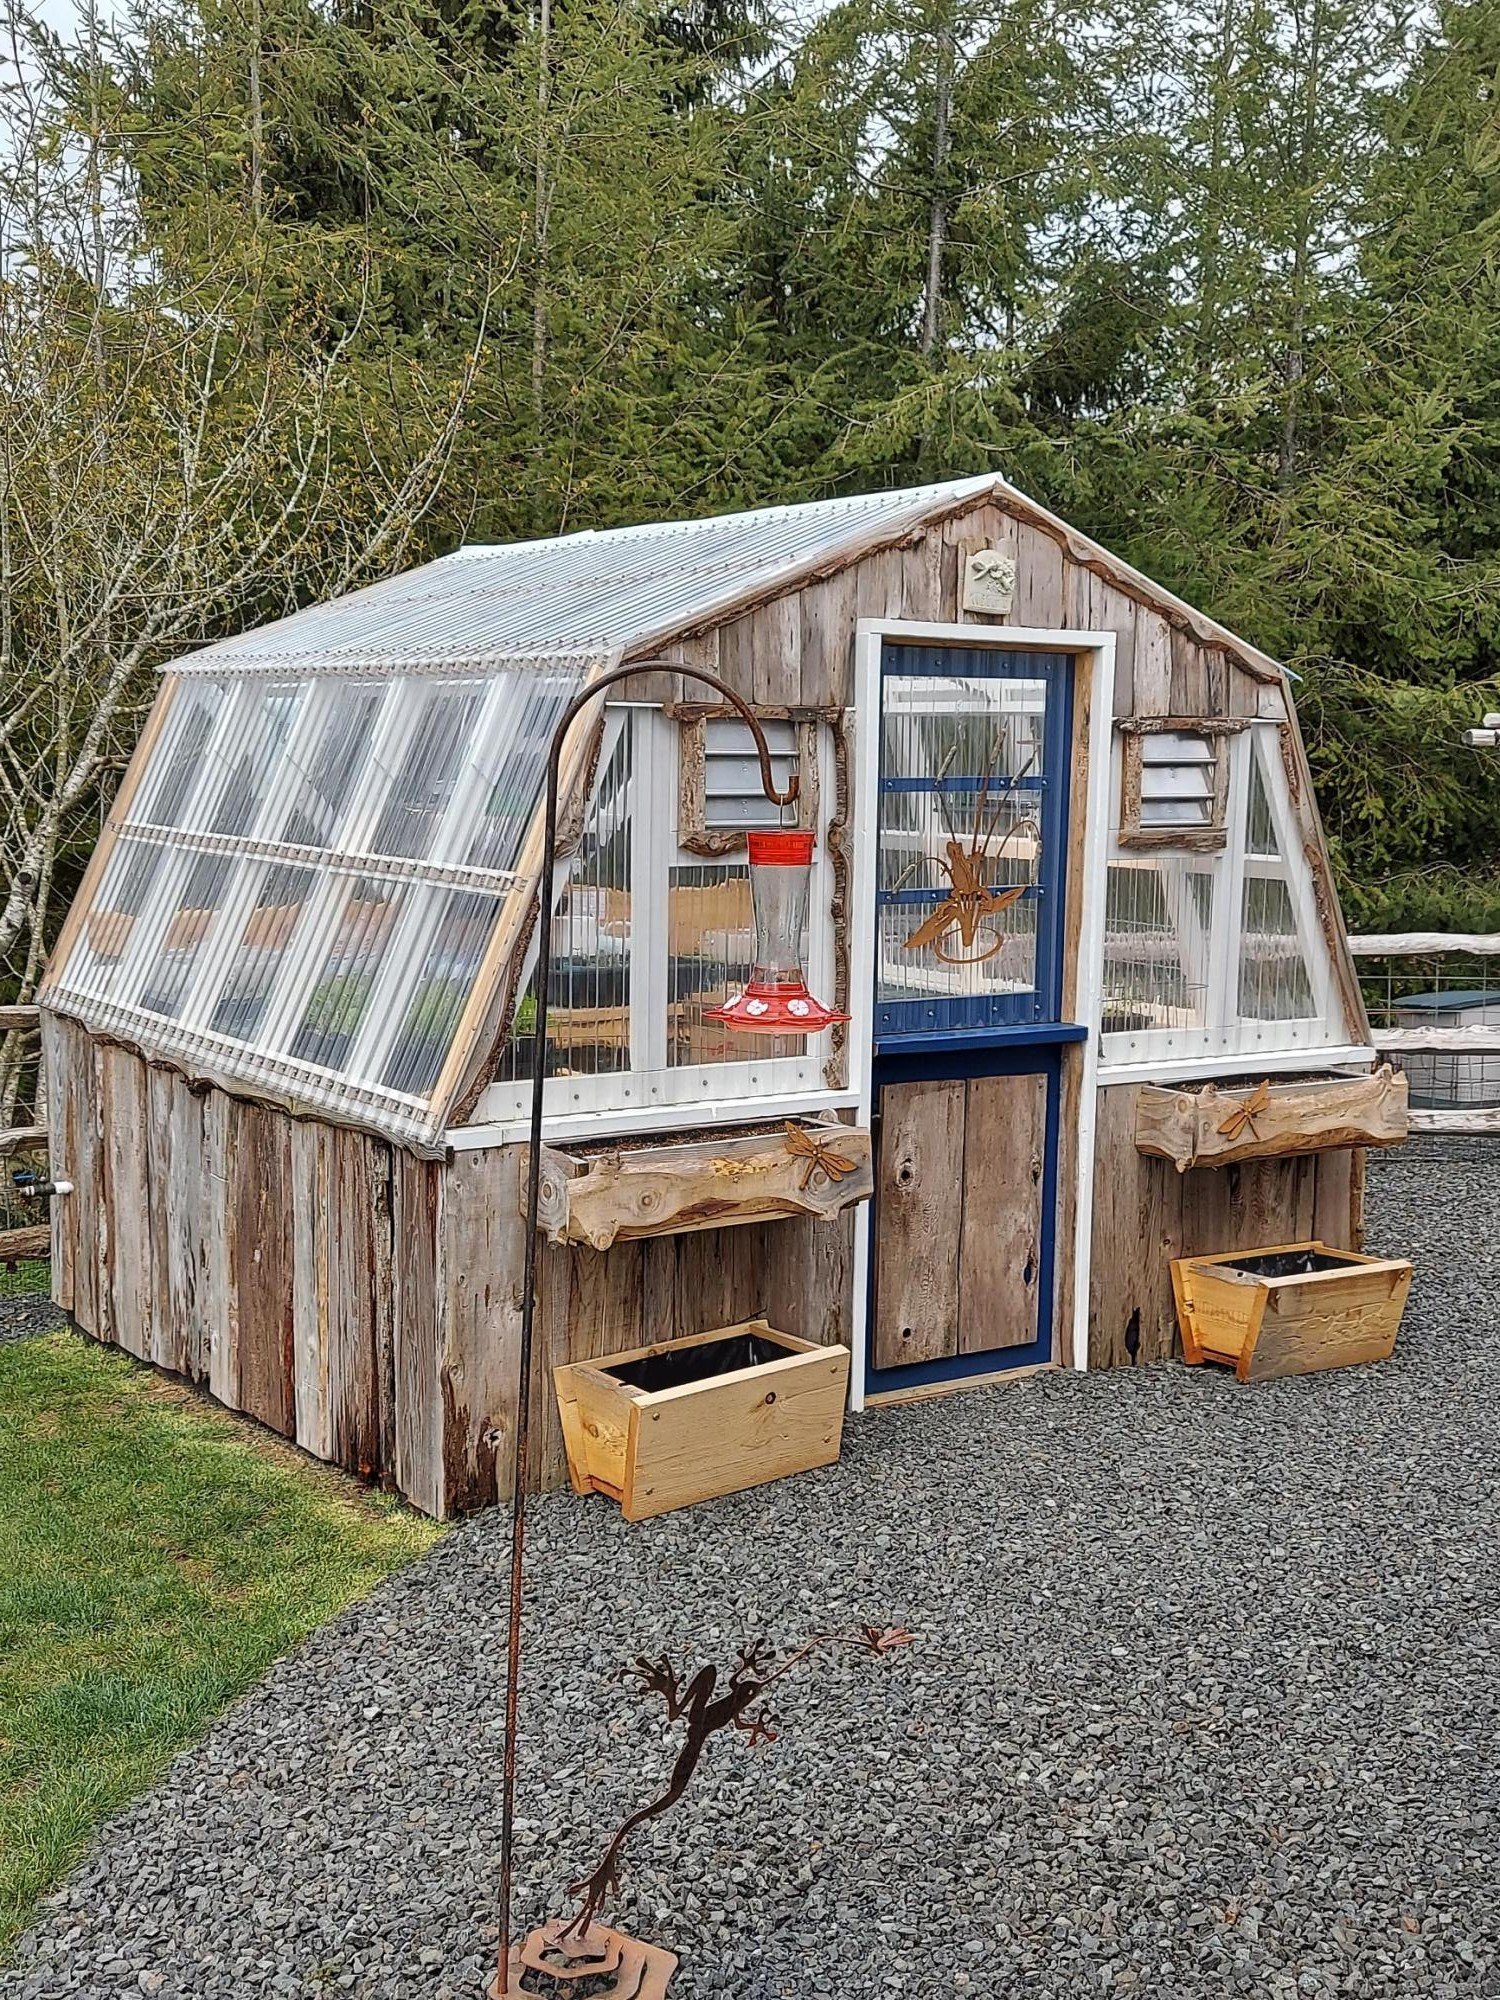
Thank you for sharing your plan!
10×10 greenhouse made with re-claimed cedar boards from old barn on Menlo, WA
Built from Plan(s)
Comments
Wed, 06/08/2022 - 05:52
I love your design changes! Trade? ;-)
Beautiful! I like the fact that you bucked the trend and turned your clear panels for Washington rainwater runoff. There are good and bad with both directions, vertical makes the most sense. I can see myself re-doing ours at some point to change the panel direction. At least they're pointing the right direction on my skylights.
Great design, and of course, I love the 'live edge' details you added throughout!
Comments
Ana White Admin
Fri, 04/22/2022 - 11:24
Super cute!
That's awesome, I am sure you will come up with the perfect recipient! Thanks for sharing:)