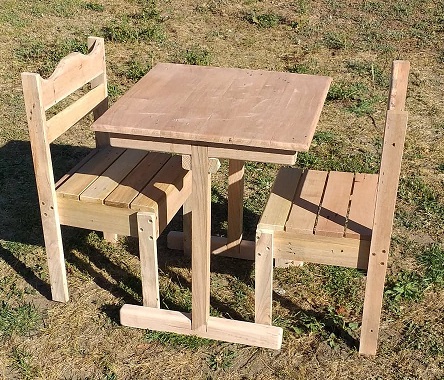
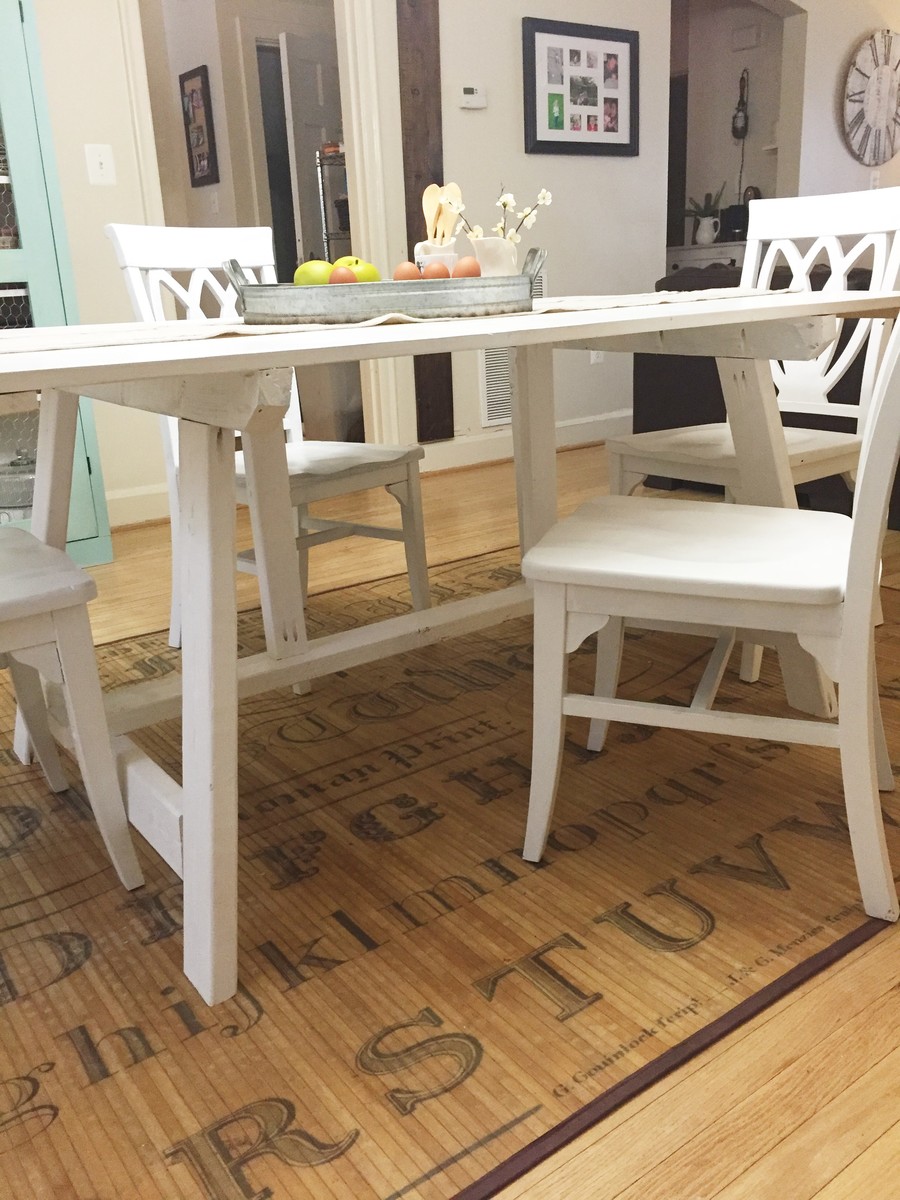
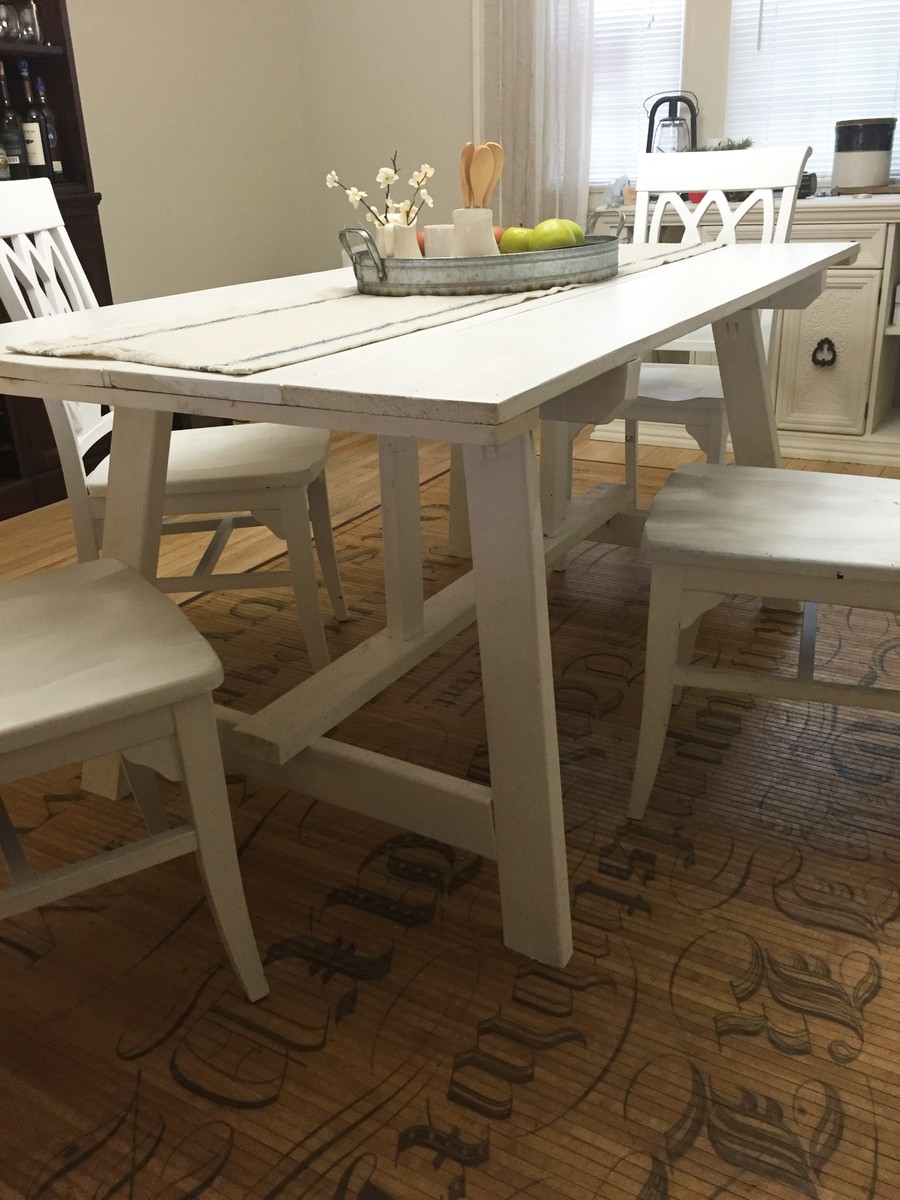
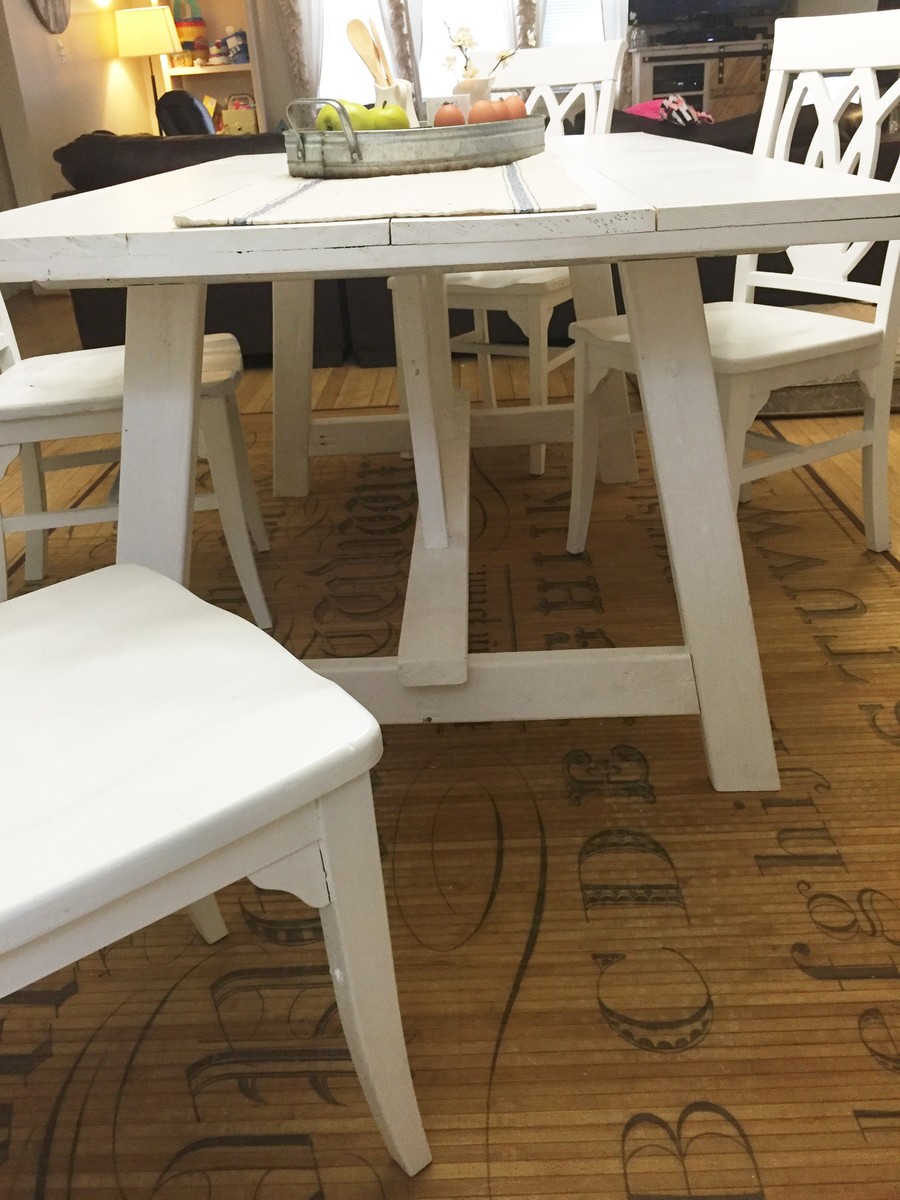
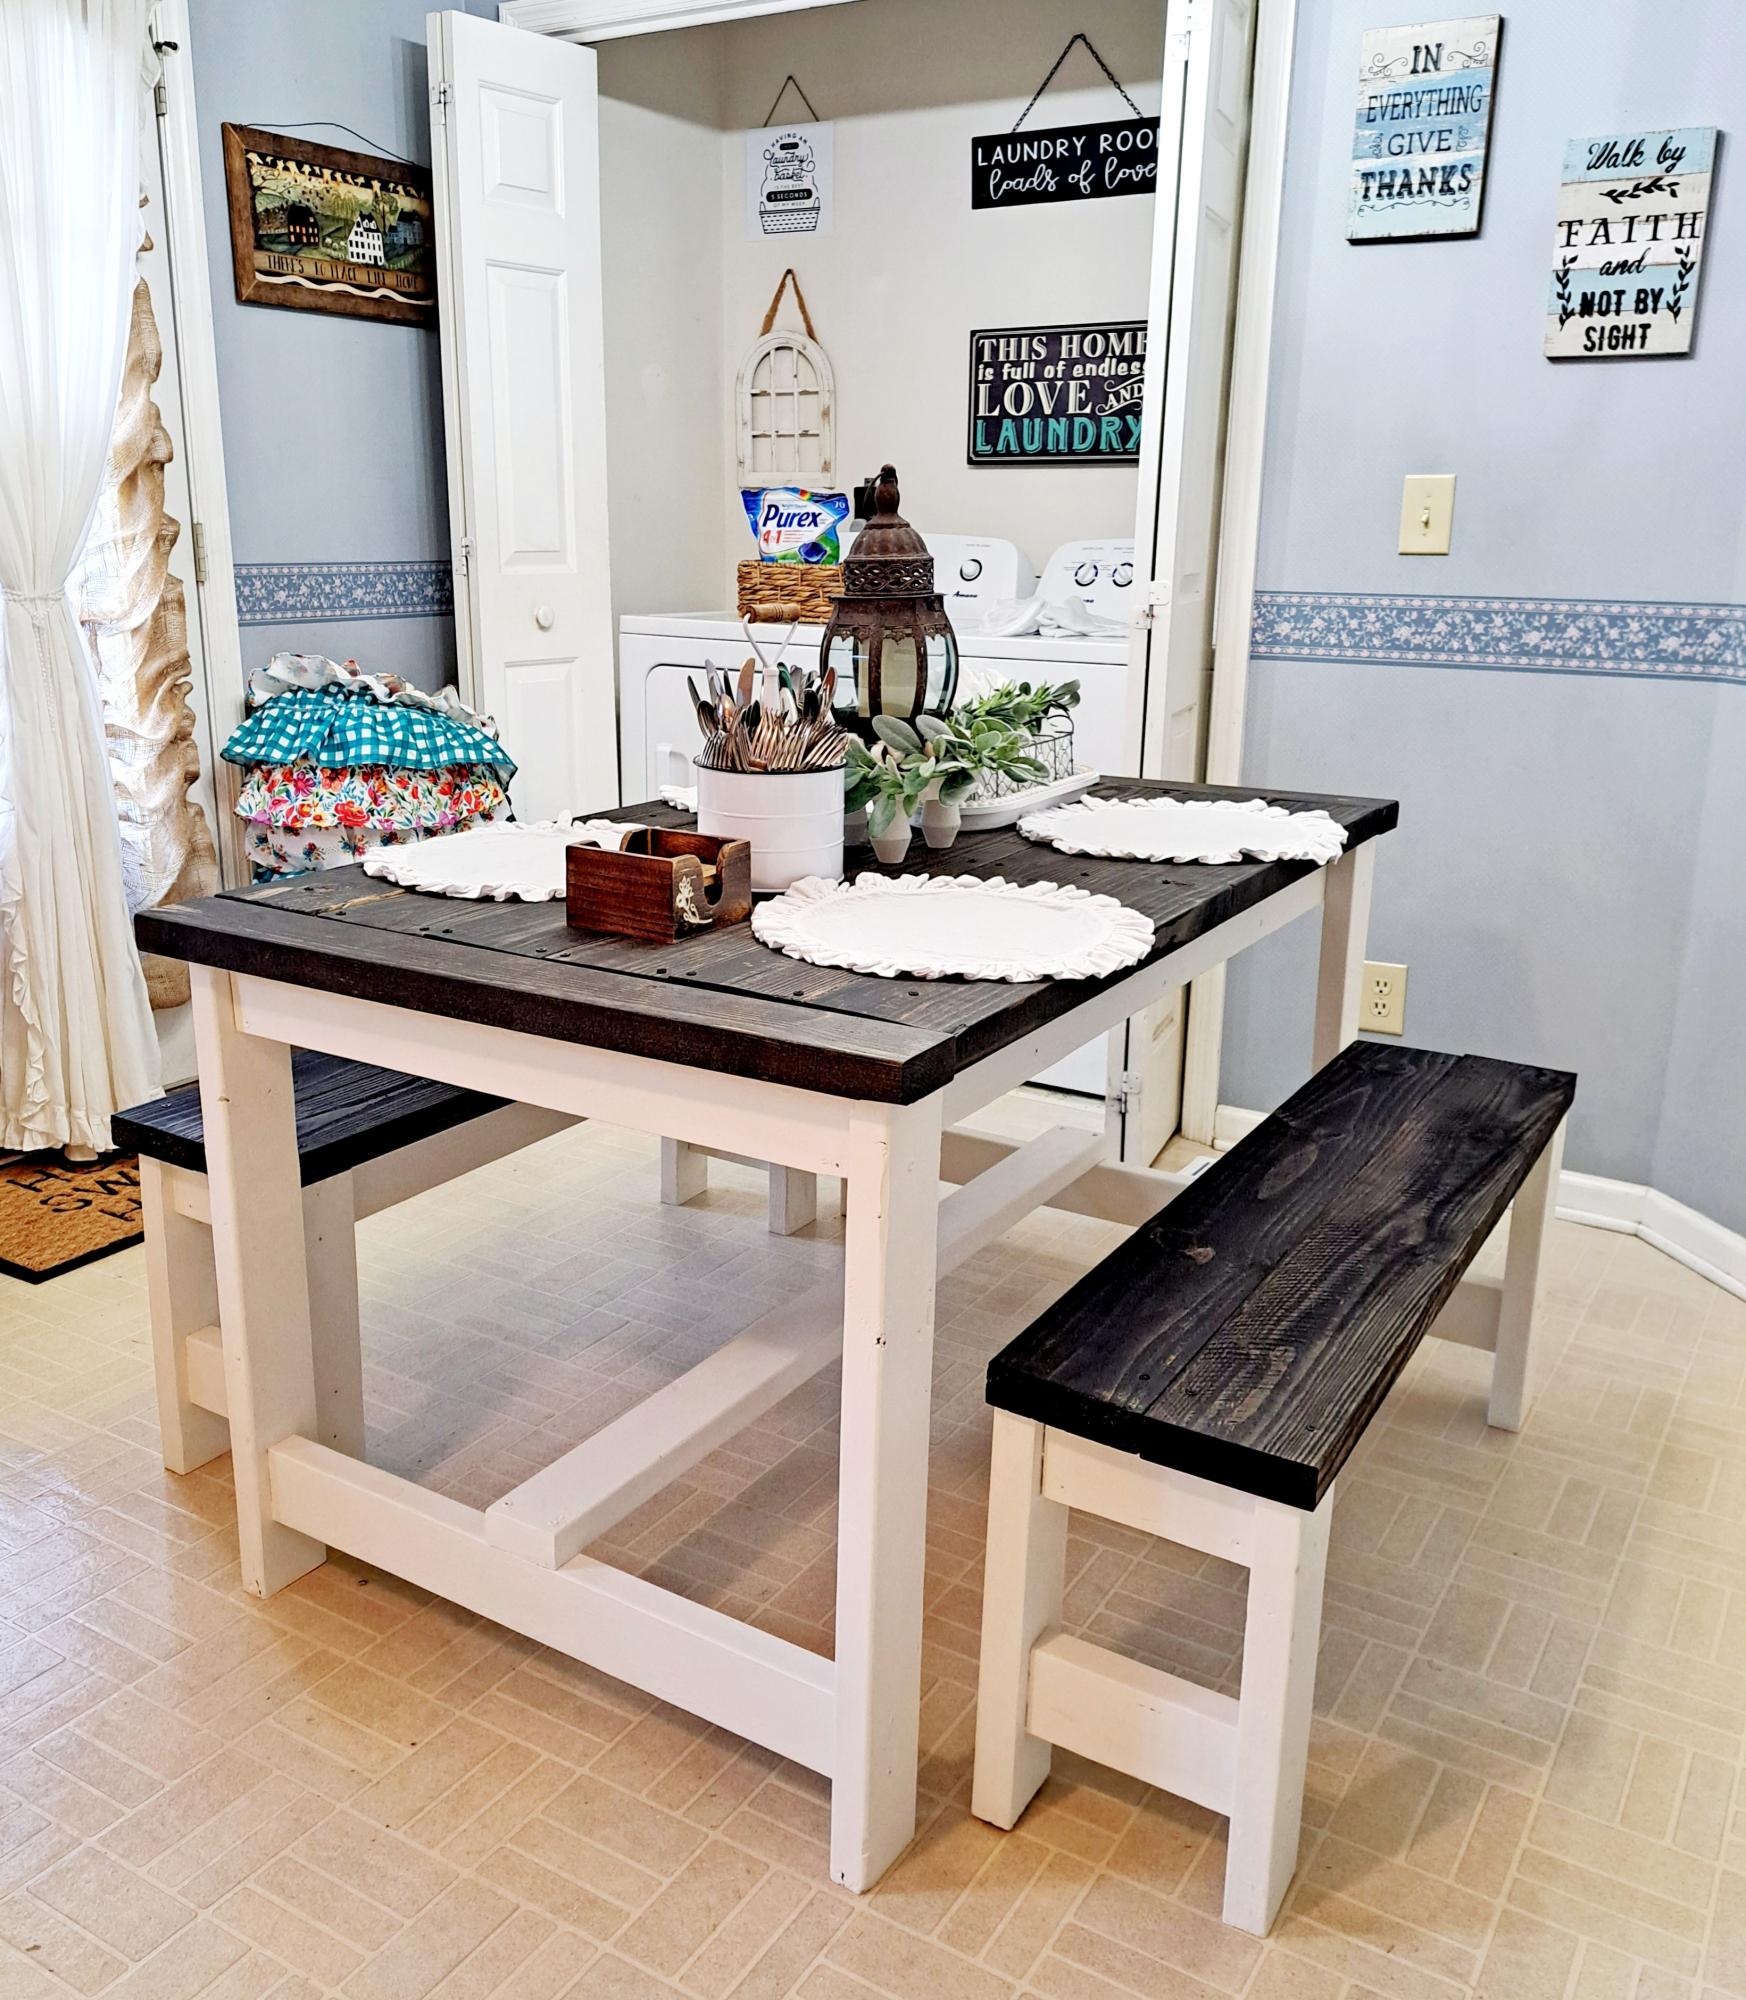
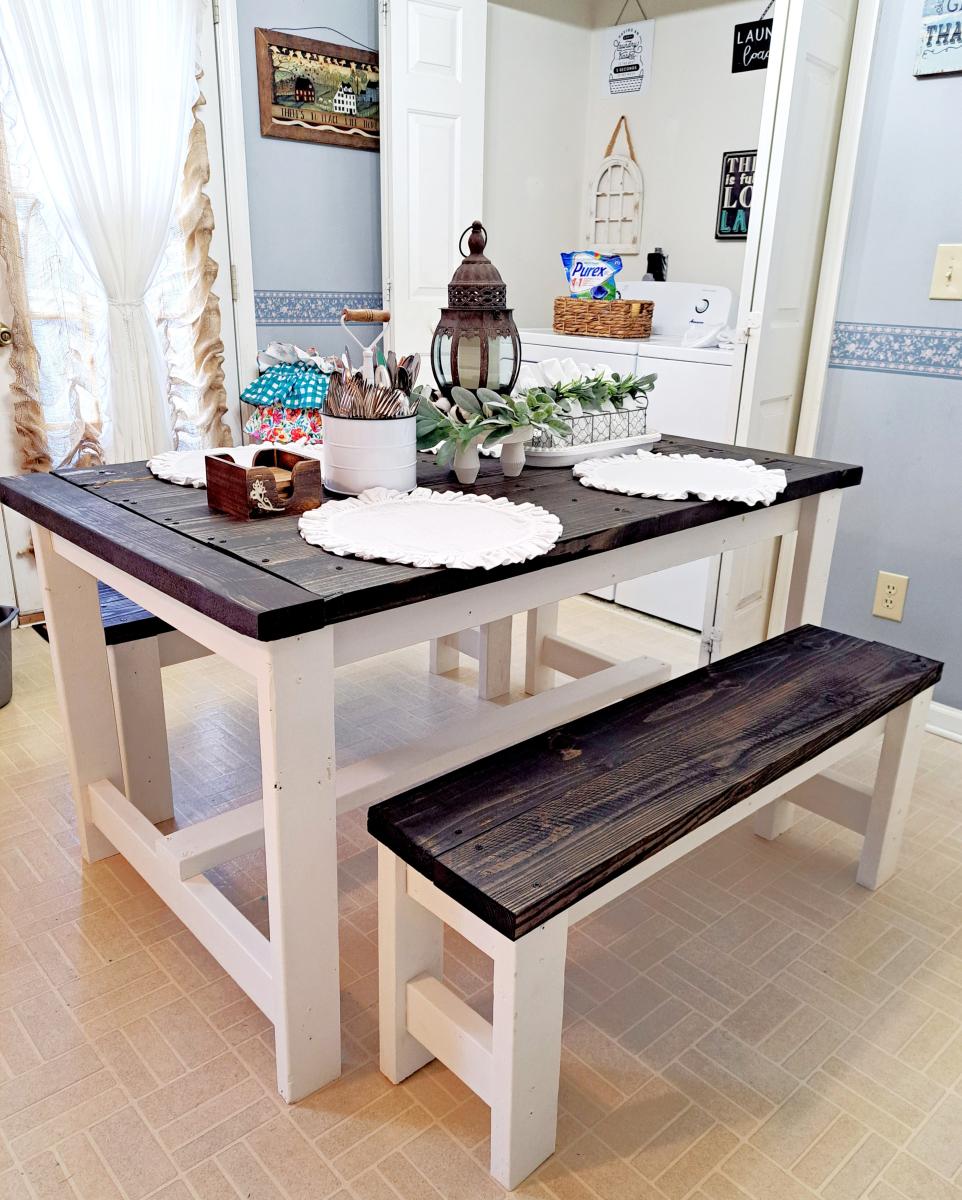
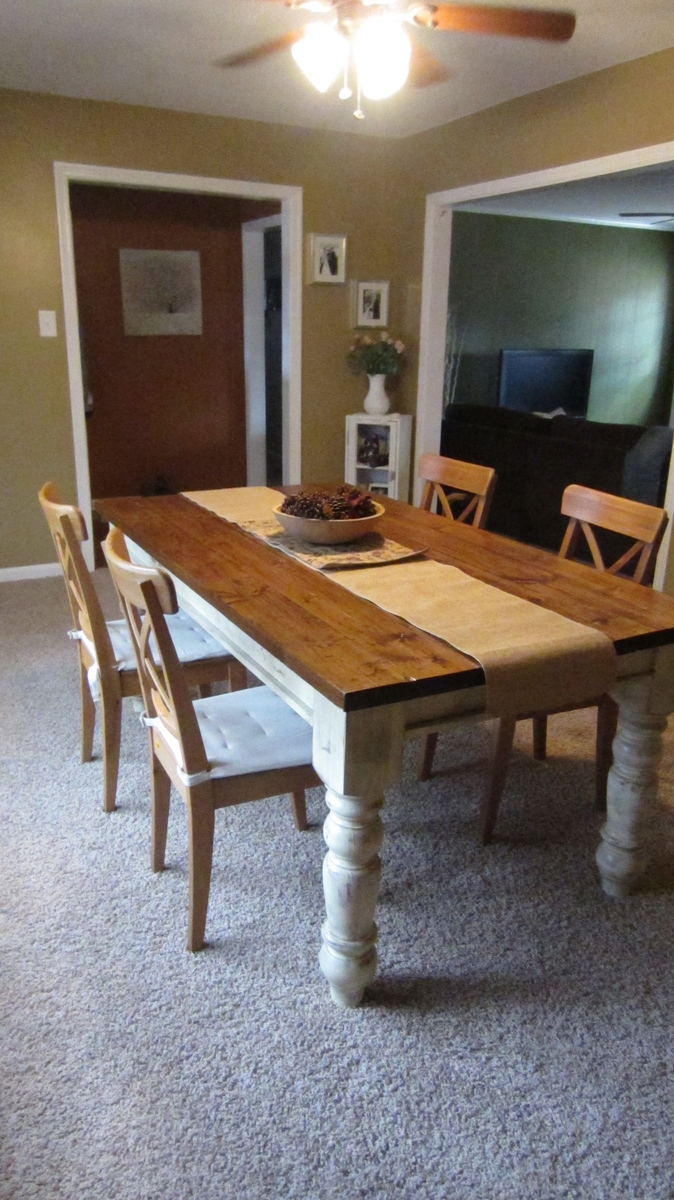
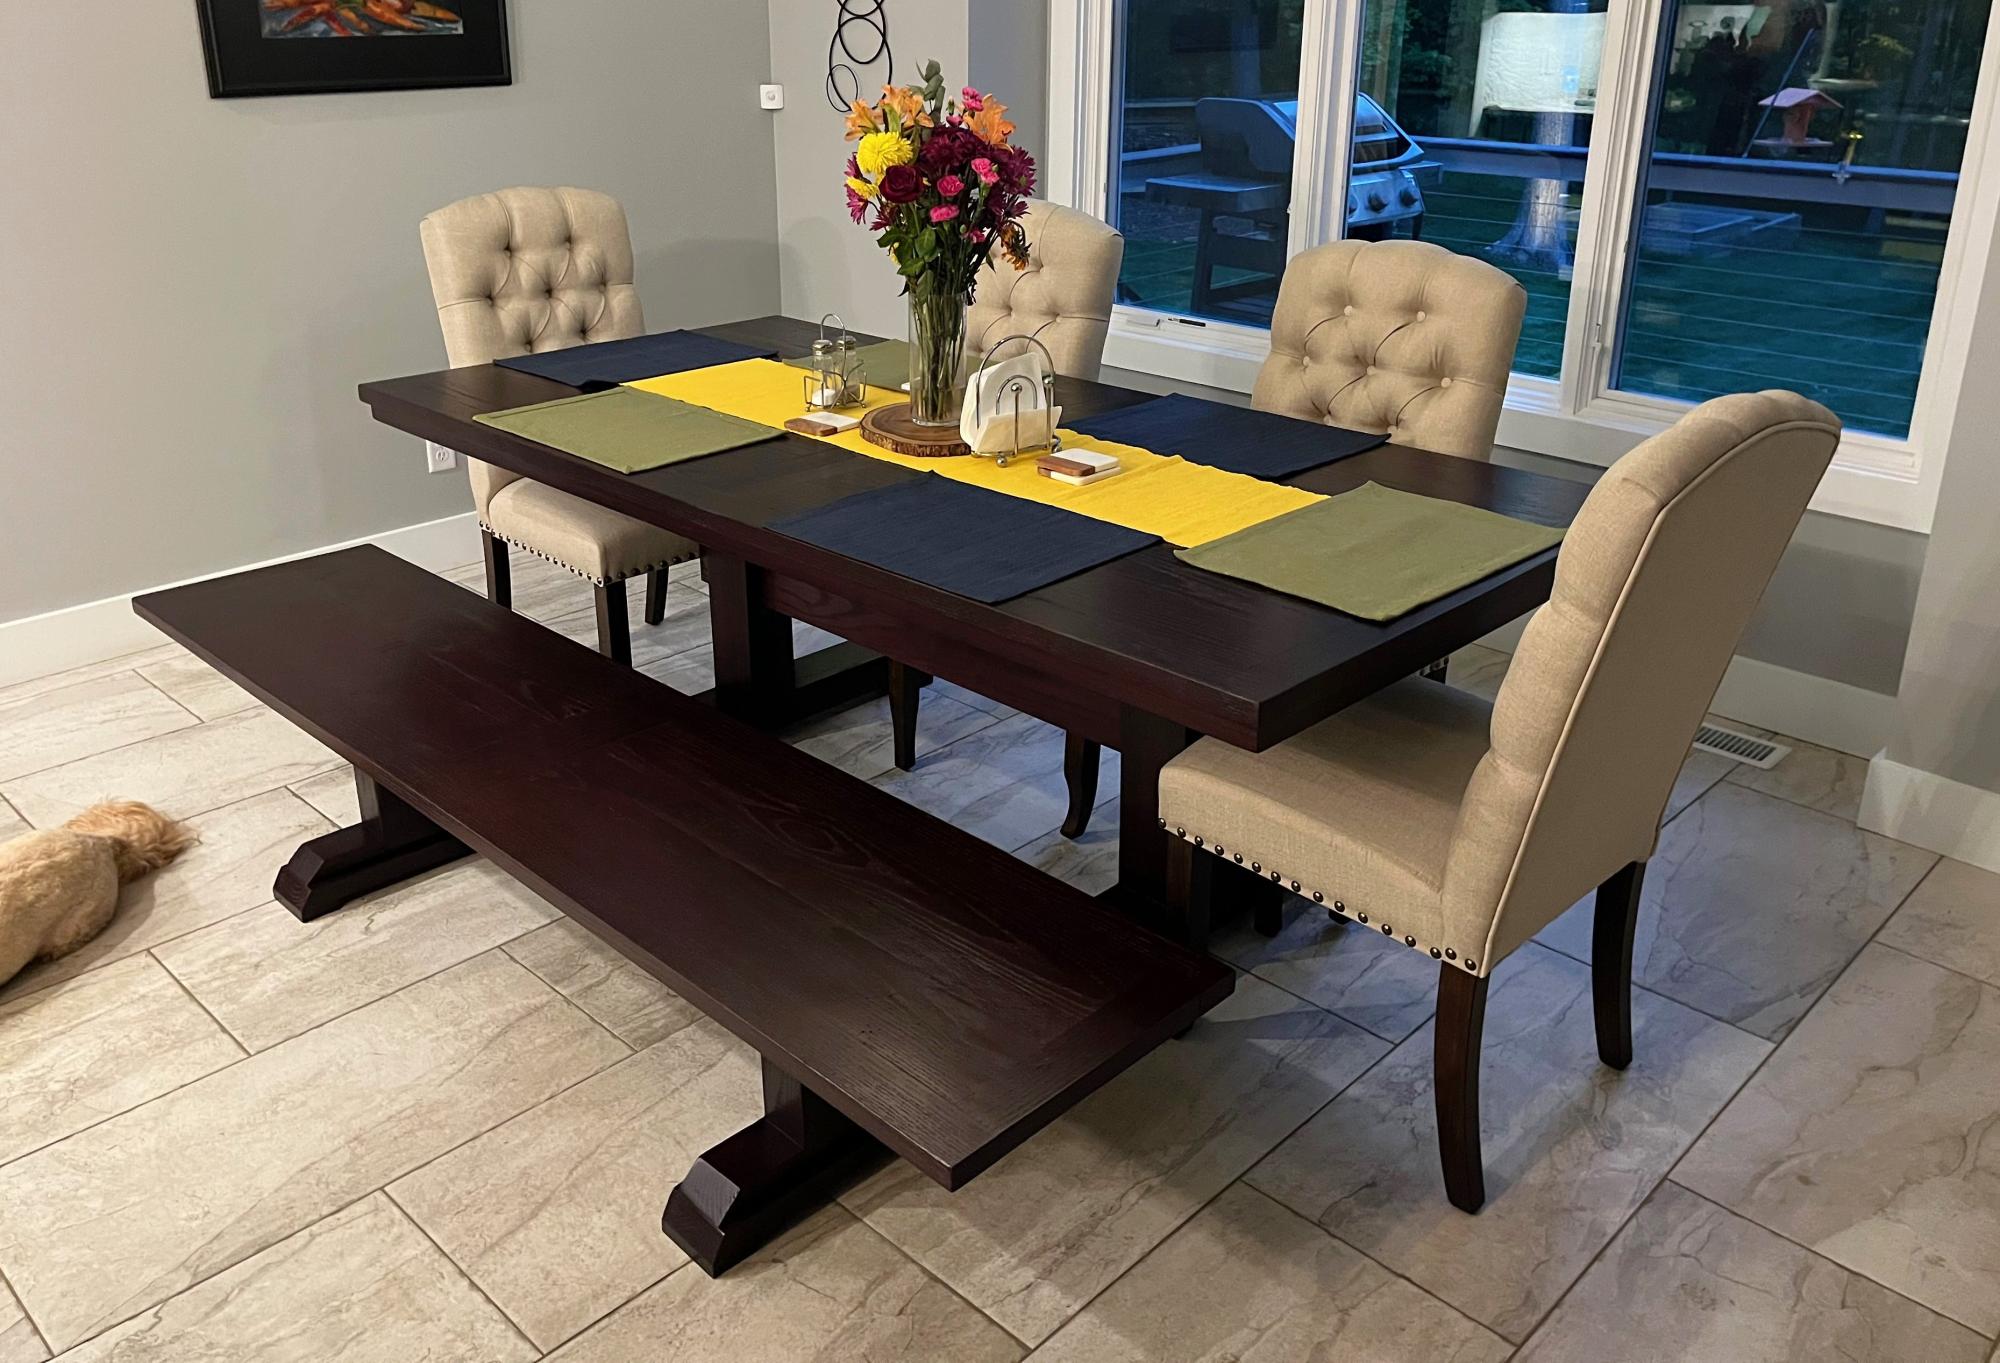
My husband Chris and I have been planning for a few years now to build a farmhouse table for our home. Every year for christmas my mother-in-love (mother in law) gifts us a "must have" tool. We like to think of it as her investing in our home and quality time together. Last year she gave us the Kreg gig, holy cow, that sure is a must have!!! :) This year we received a hand sander. Needless to say we were motivated to start our farmhouse table journey.
We loved the table Ana built for her sister, so we followed the plans almost to a tee. We ordered the turned legs from Georgia. Let me also add that we try to buy everything we possibly can that is made in america, from paintbrushes on. I encourage everyone to take the a few seconds to look and spend an extra dollar or two to support america's economy.
The only modification we did to the plan was add a small strip of wood to the base layer for just a little extra touch of character. :)
Estimated Time Investment
Week Long Project (20 Hours or More)
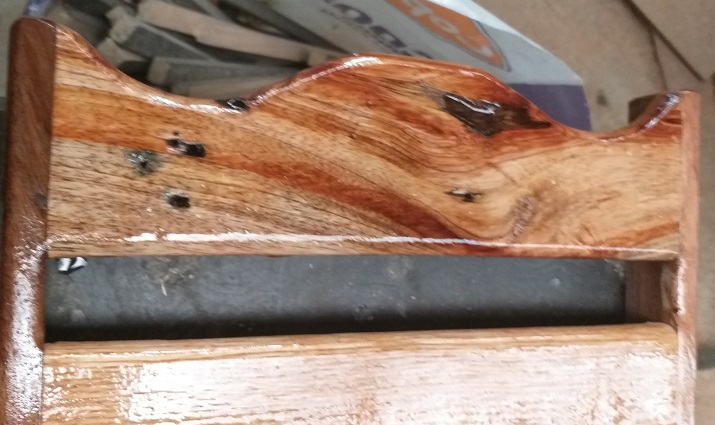
Finish Used
Table top- miniwax wood conditioner, Early American stain, and helmsman spar urethane.
Base- early american stain for base layer, Old Fashion Milk Paint in Buttermilk, and spray on polycrylic.
We live in a small town and were not able to find gel stain anywhere. We could have ordered it online, however we adamant about using our snow days to work on this project. This made a difference as far as how the milk paint chipped on the legs. I had to hand sand to get the rustic look, however it still looks fabulous. :)
Recommended Skill Level
Intermediate