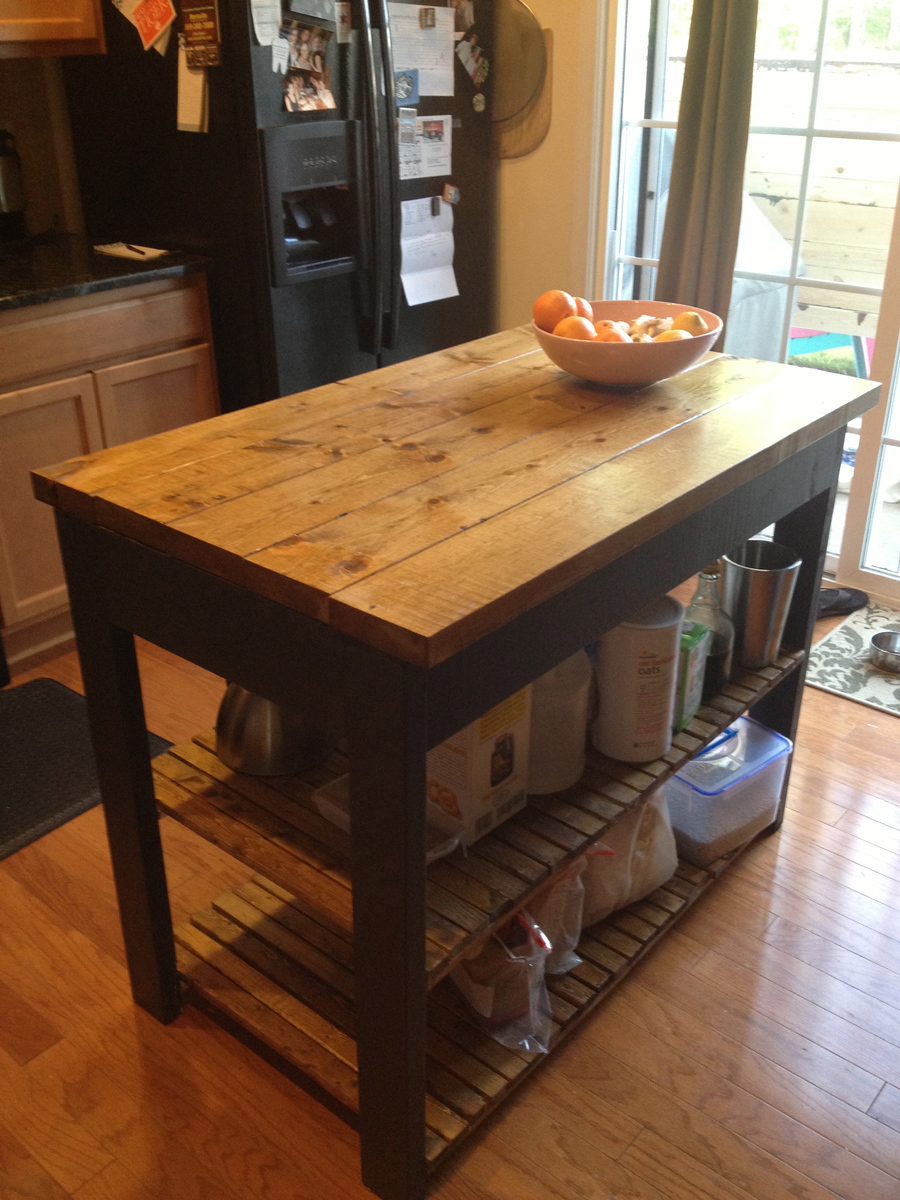
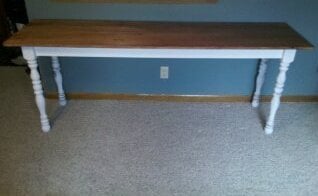
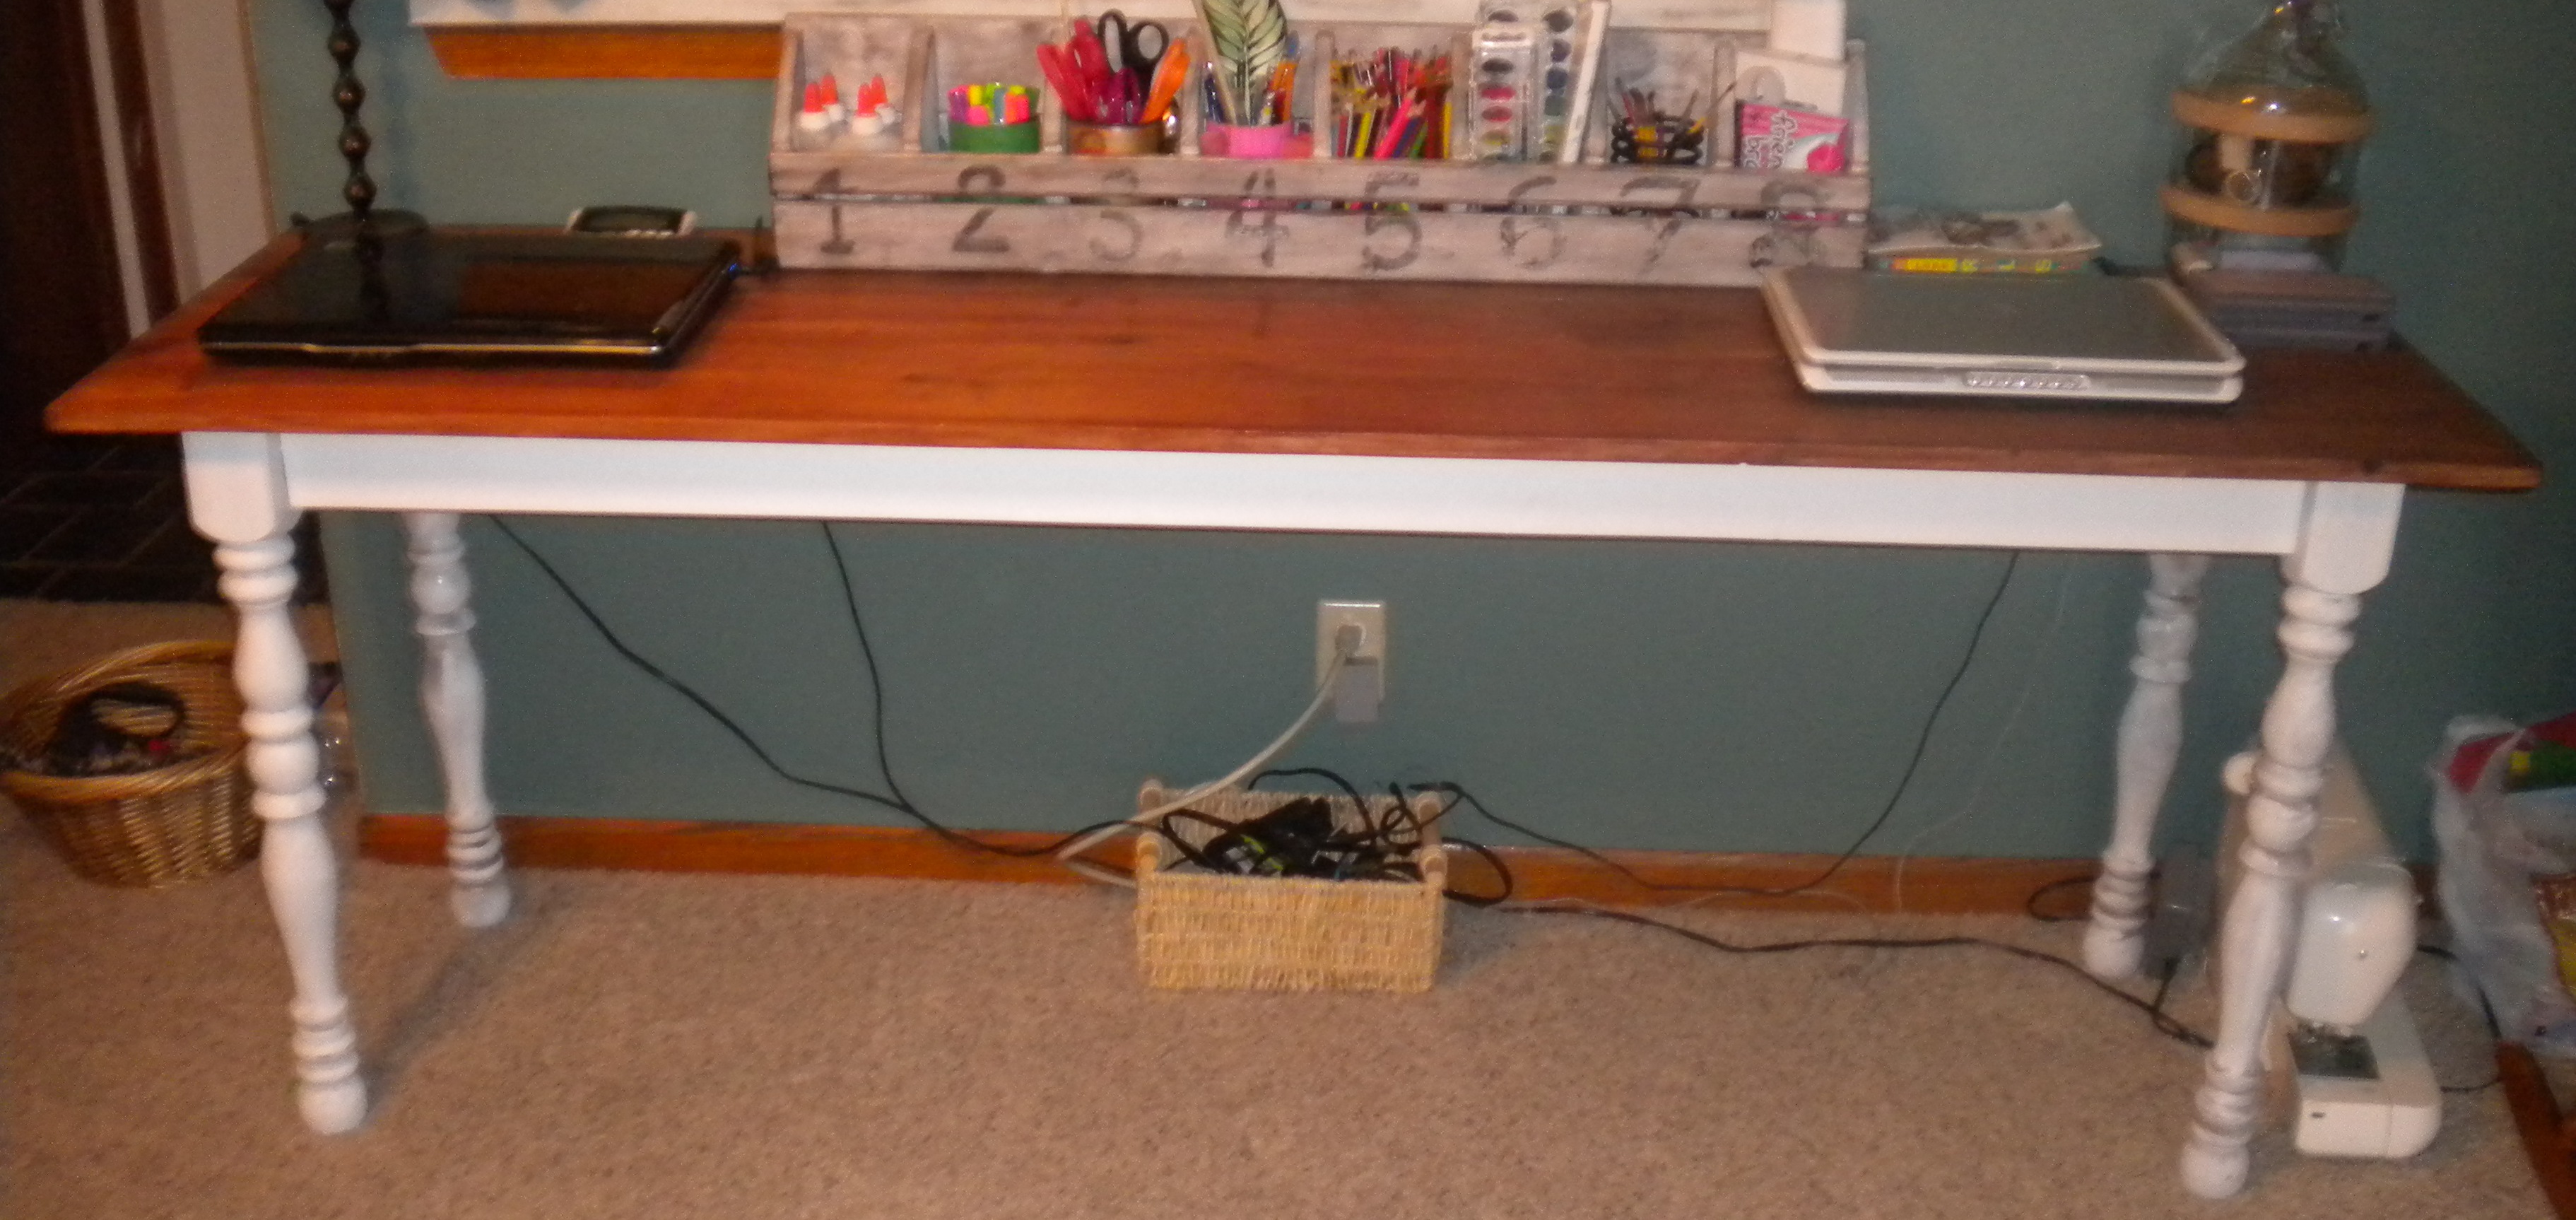
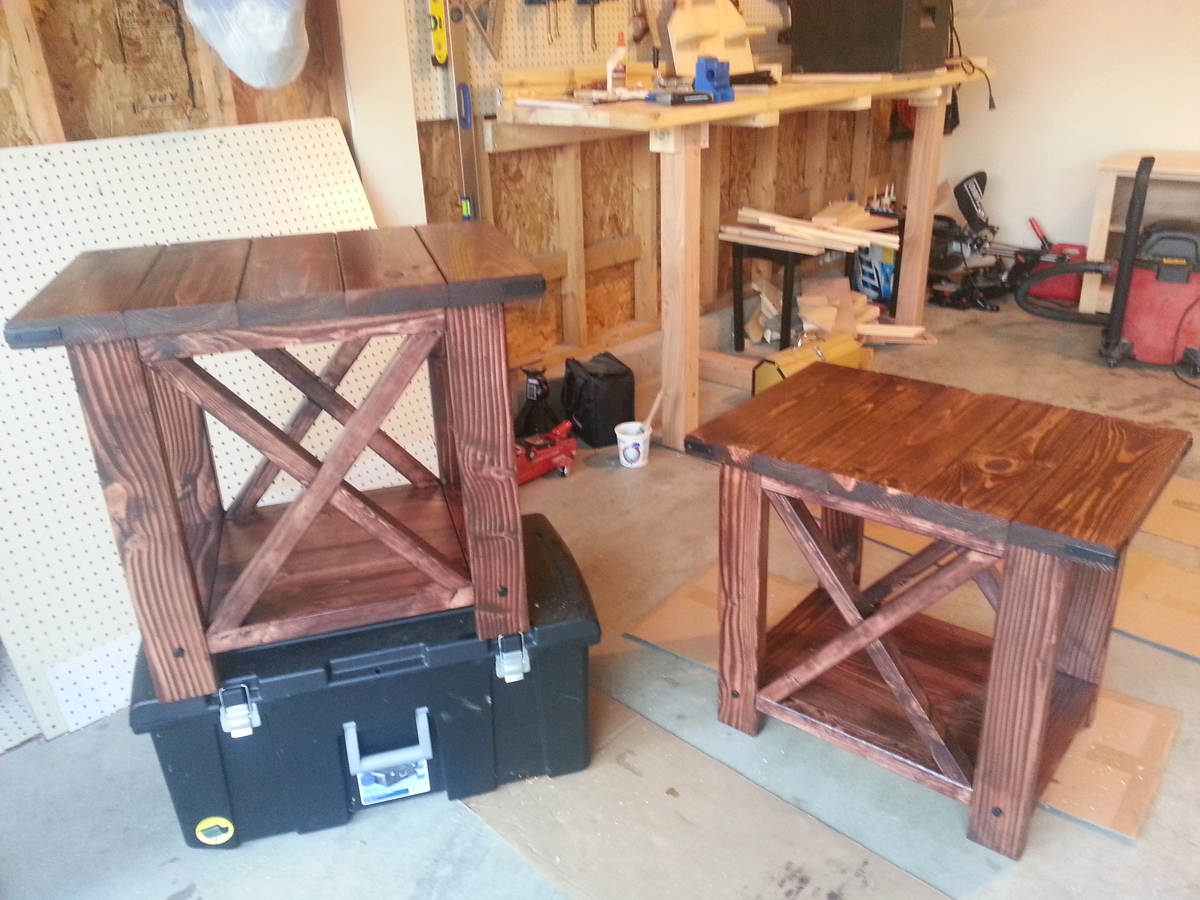
My first furniture project was Ana's Tryde Coffee Table. All along though, the goal was to learn enough to be able to make a dining room table. I love the coffee table, and I love Ana's Farmhouse table plans, but I was worried about getting food and stuff stuck in between the table top boards.
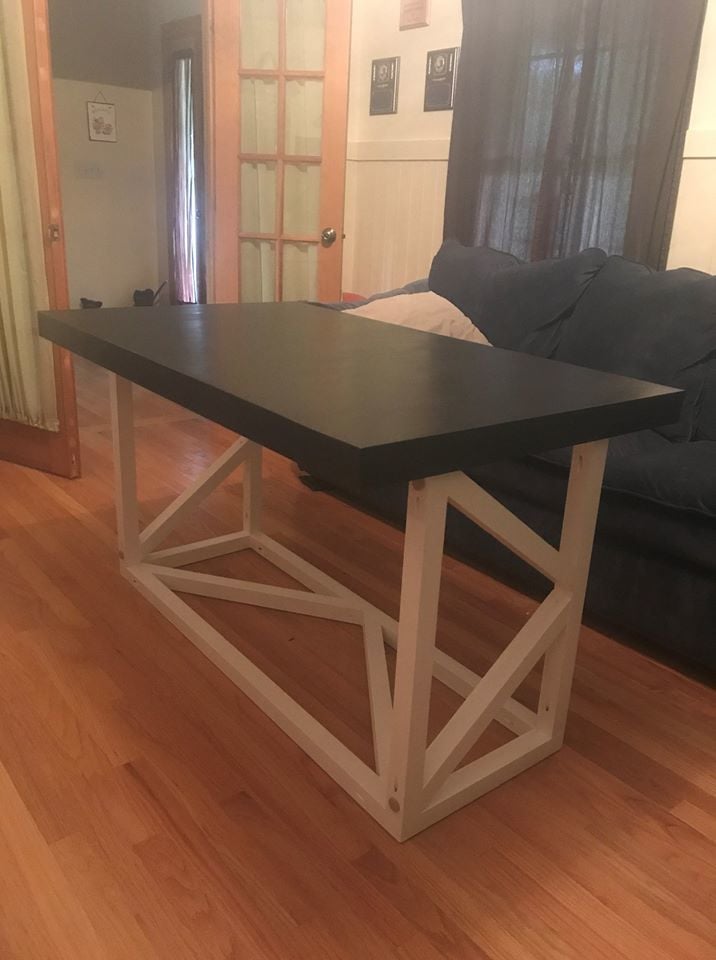
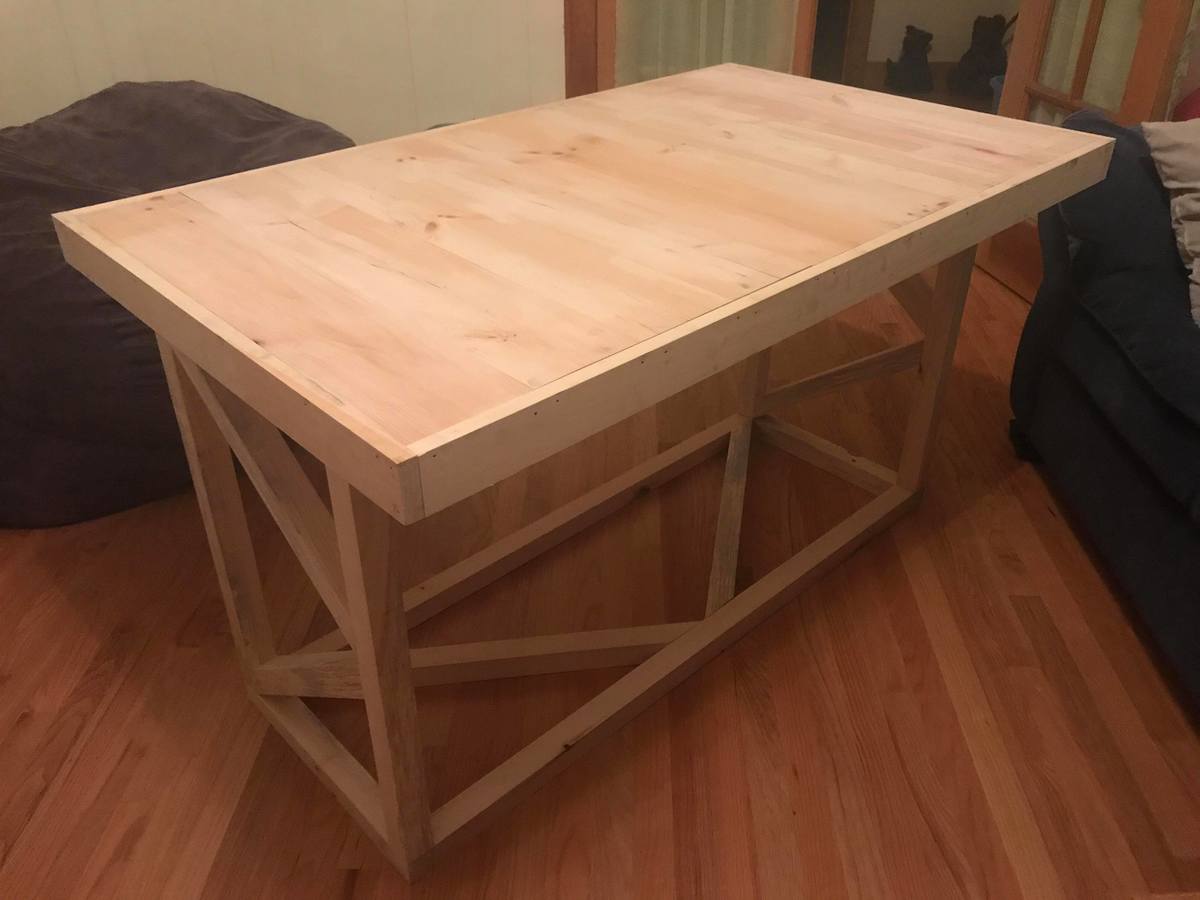
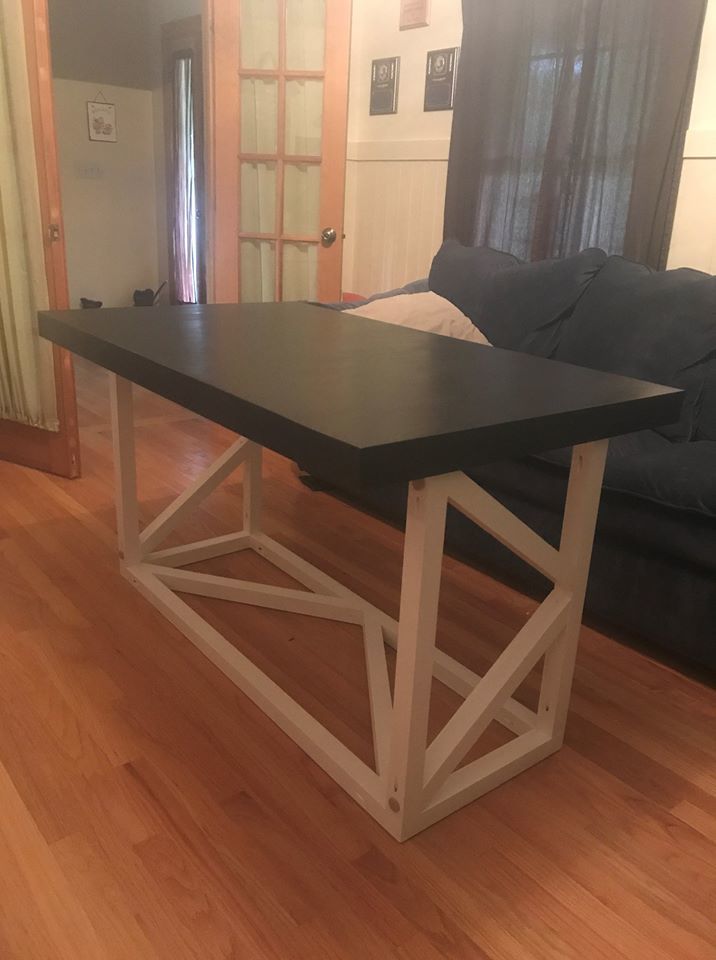
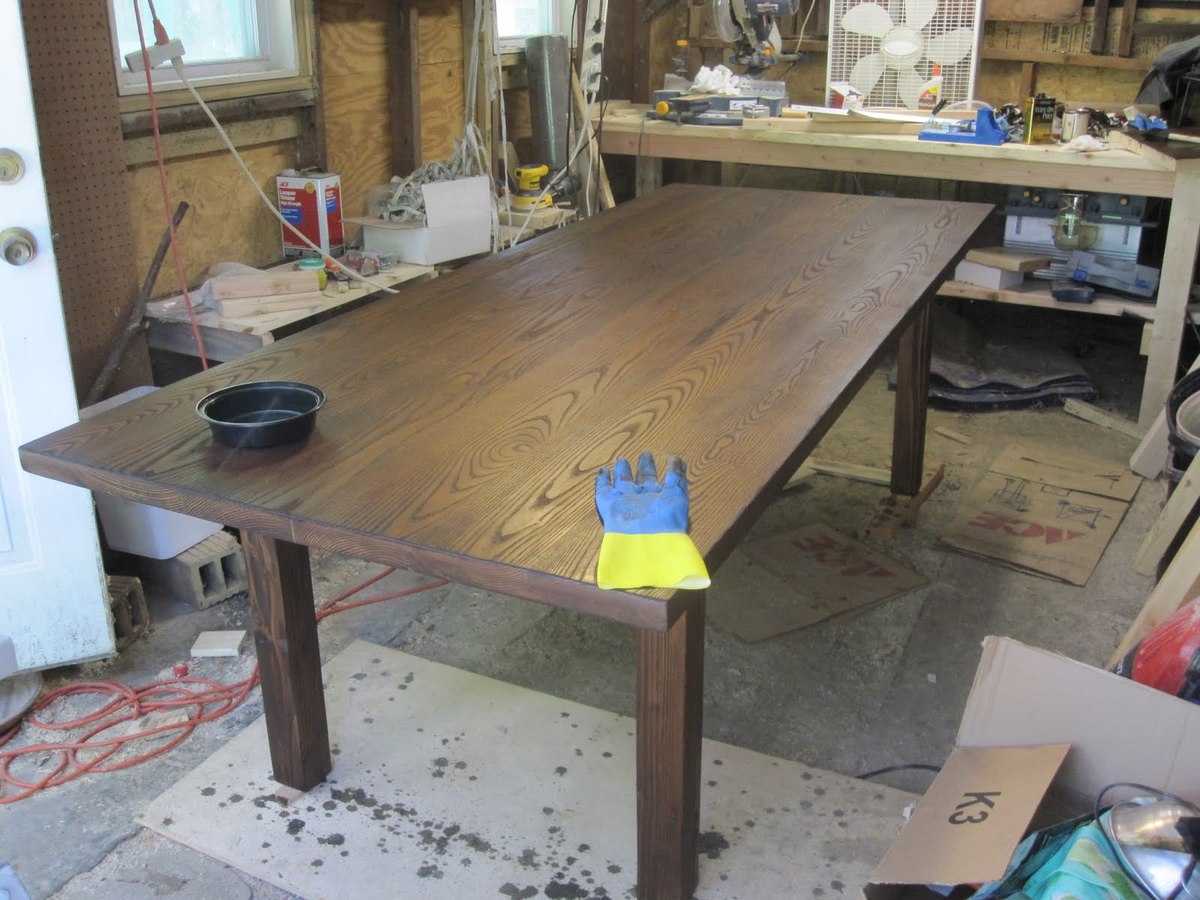
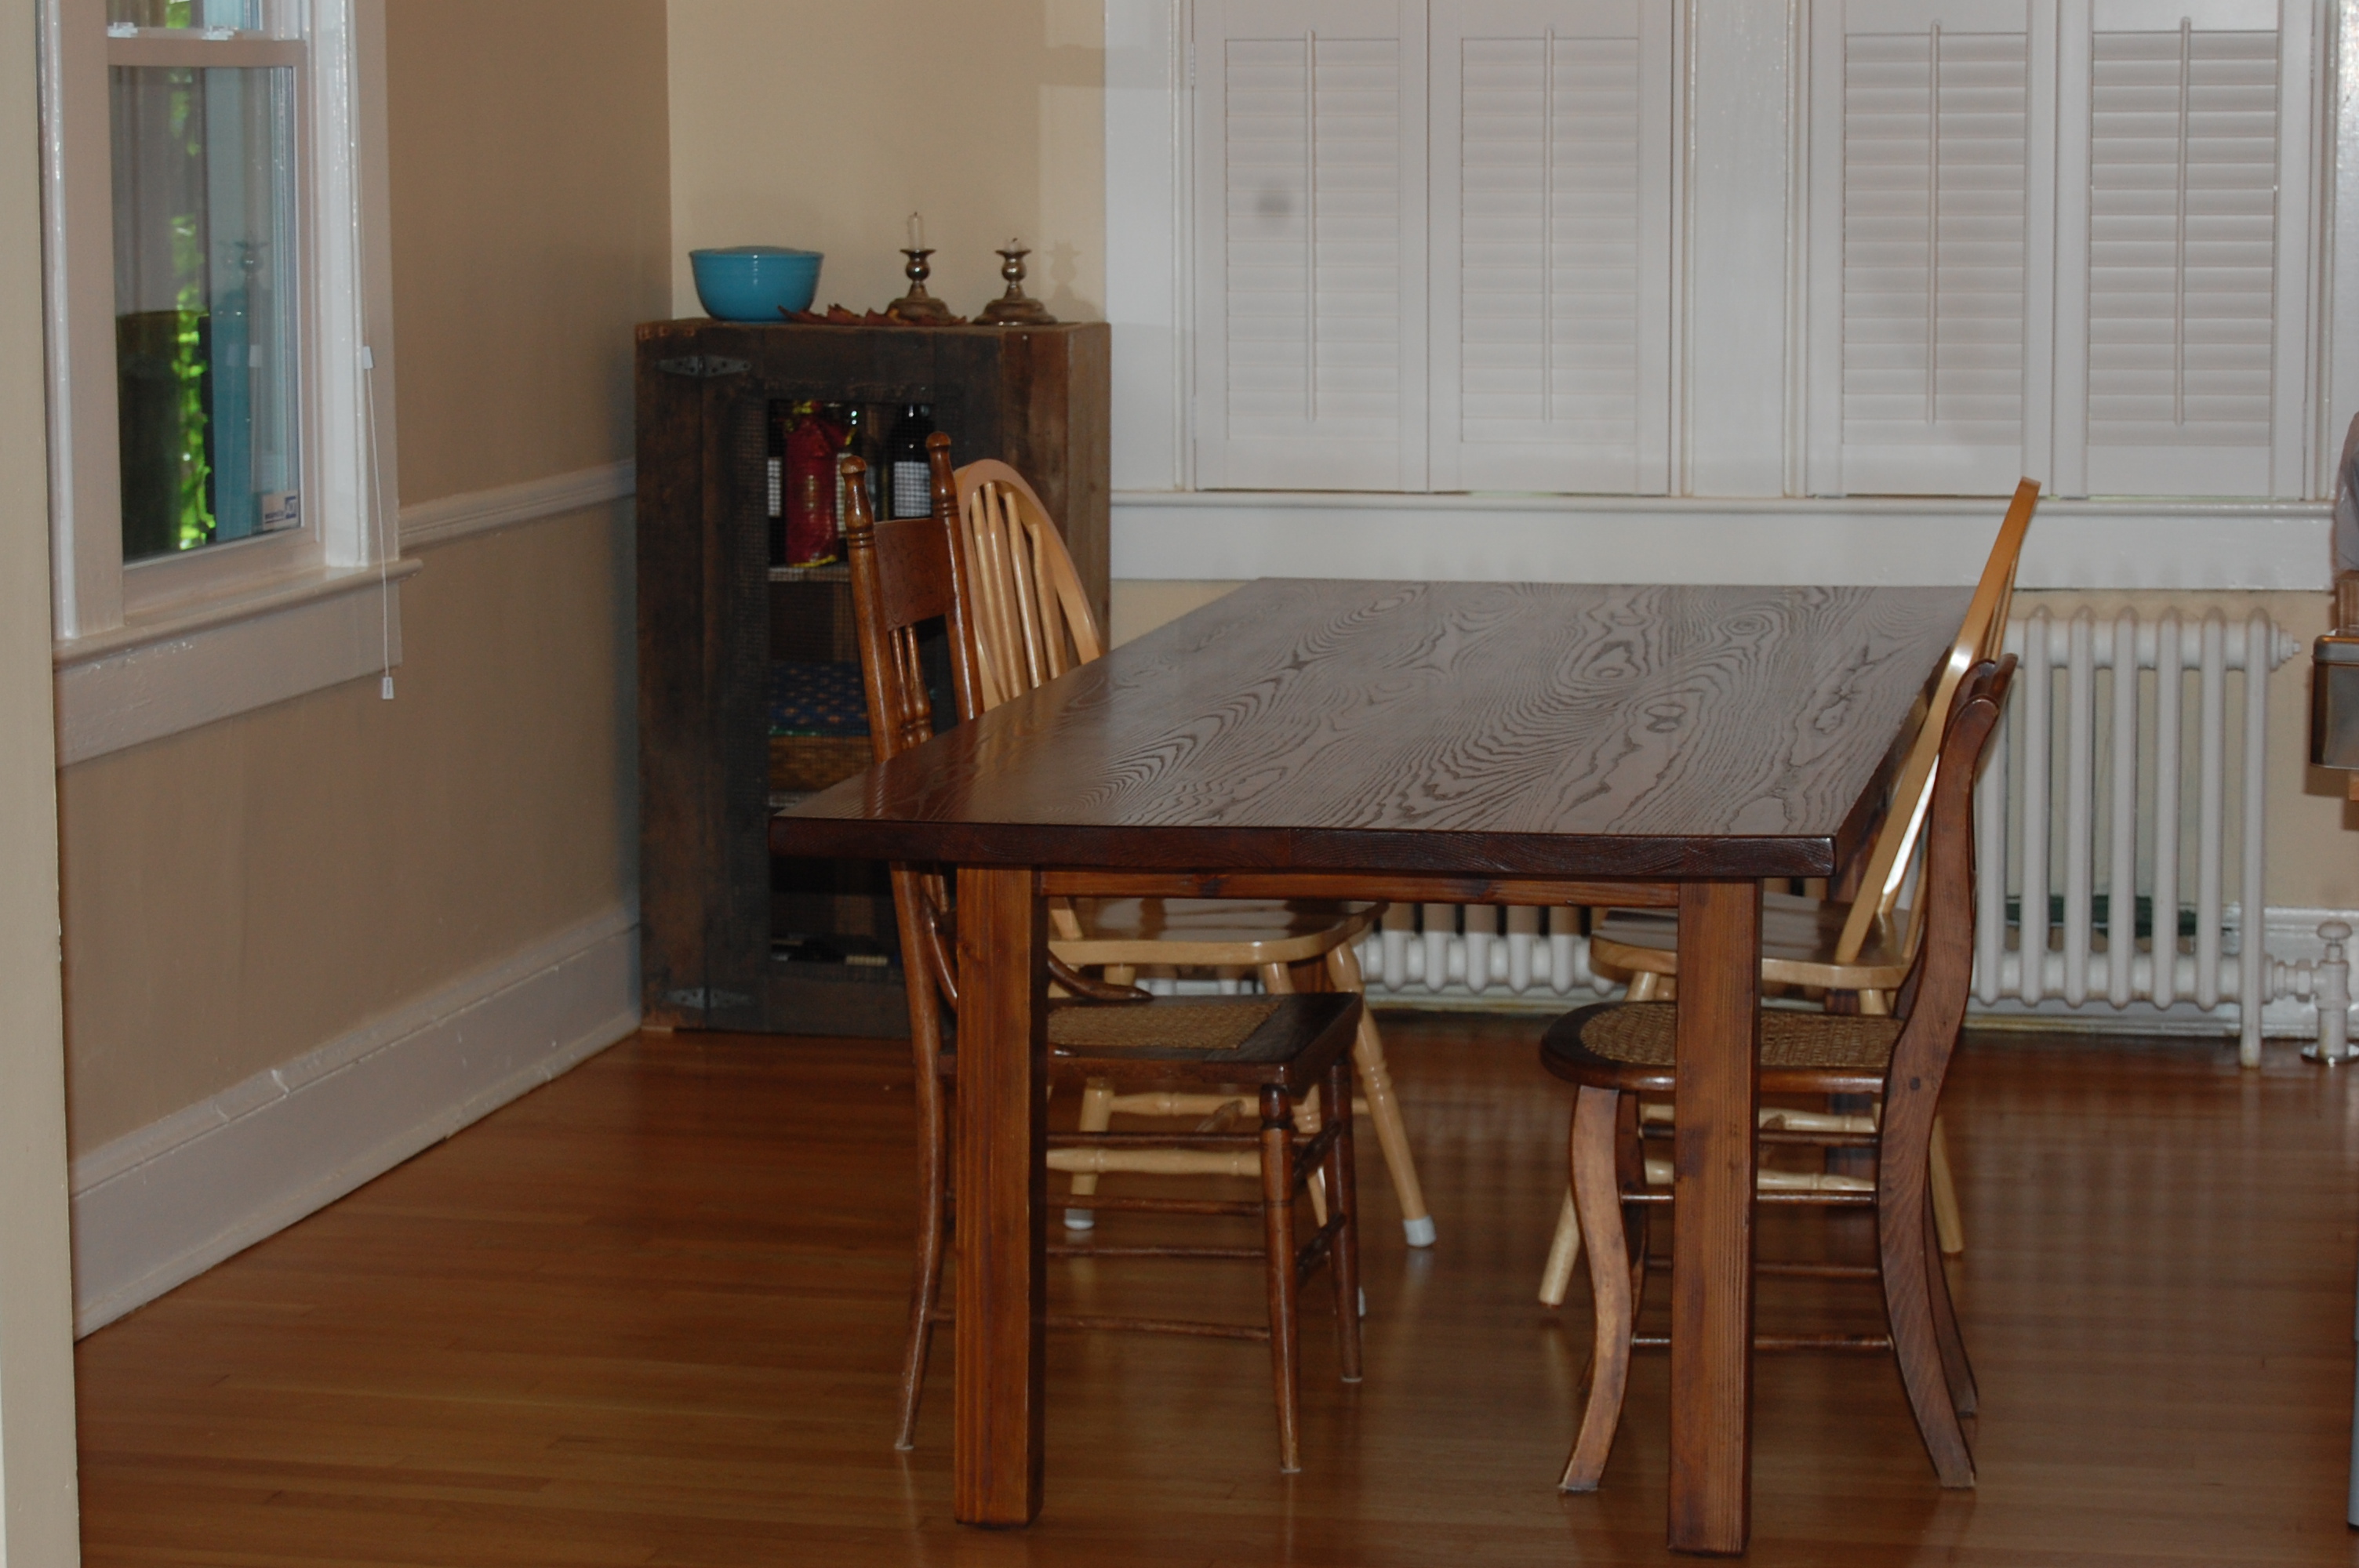
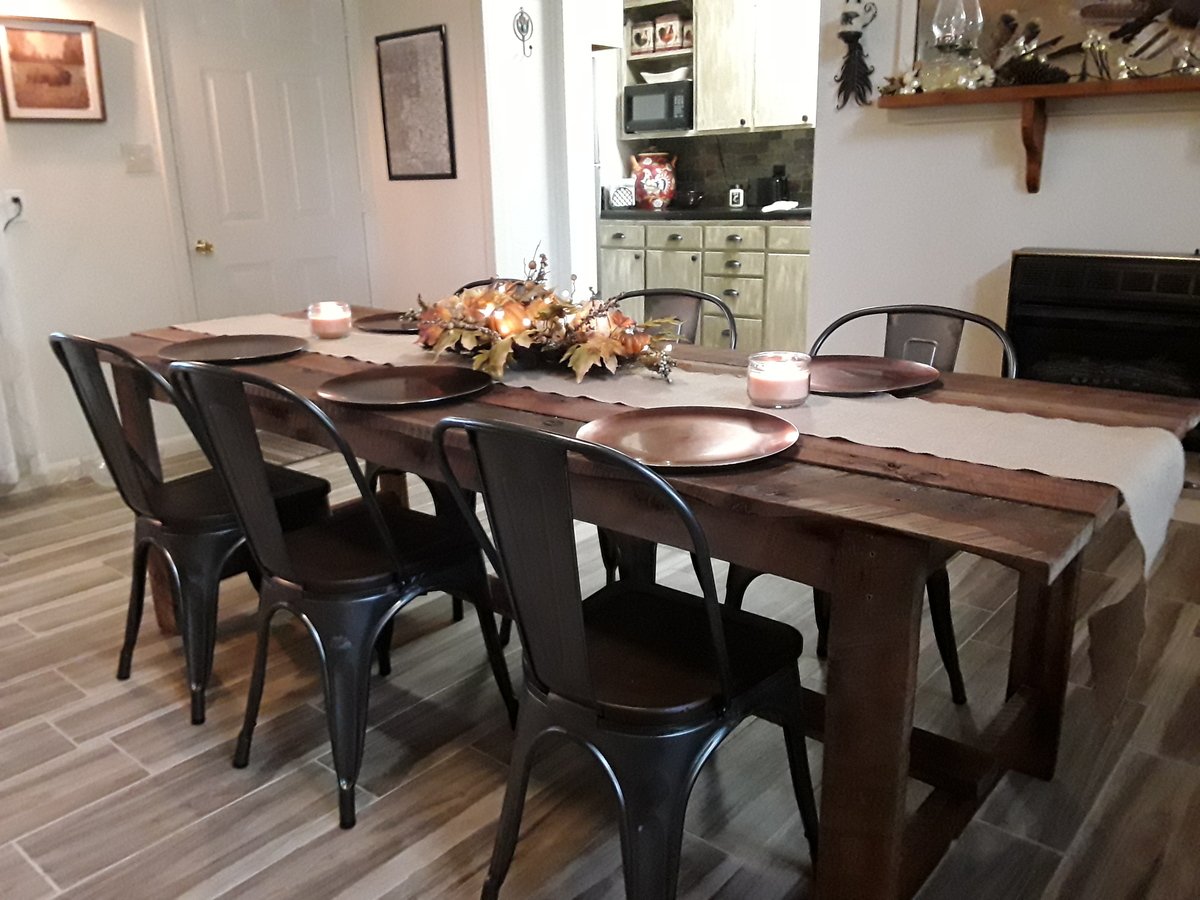
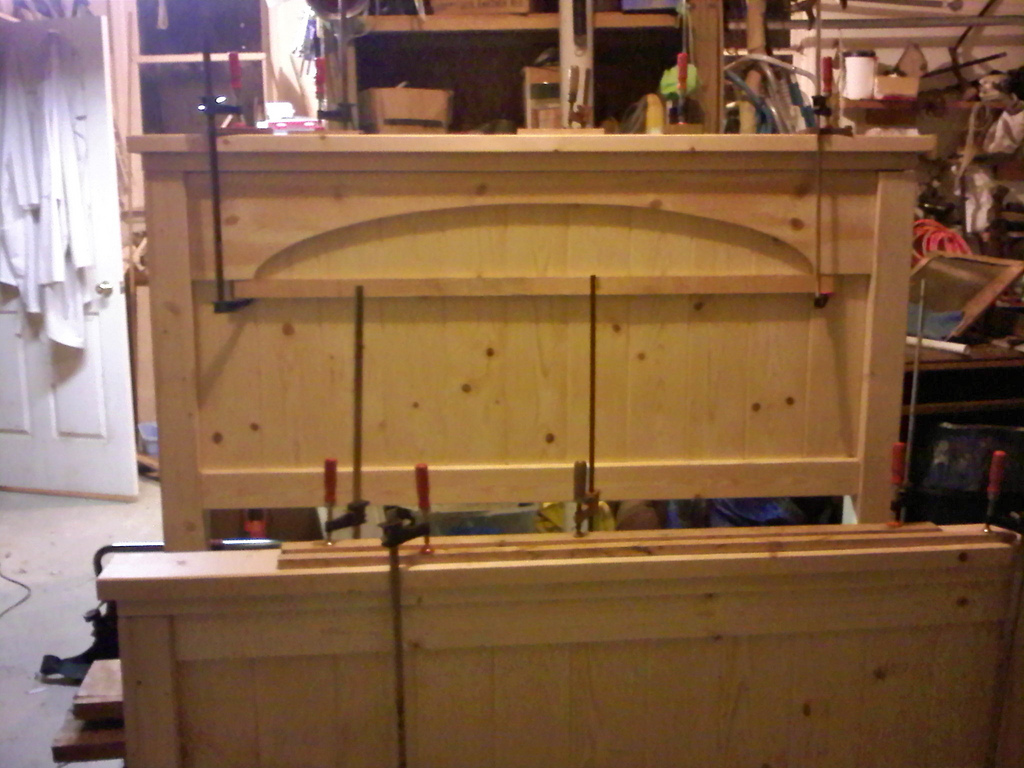
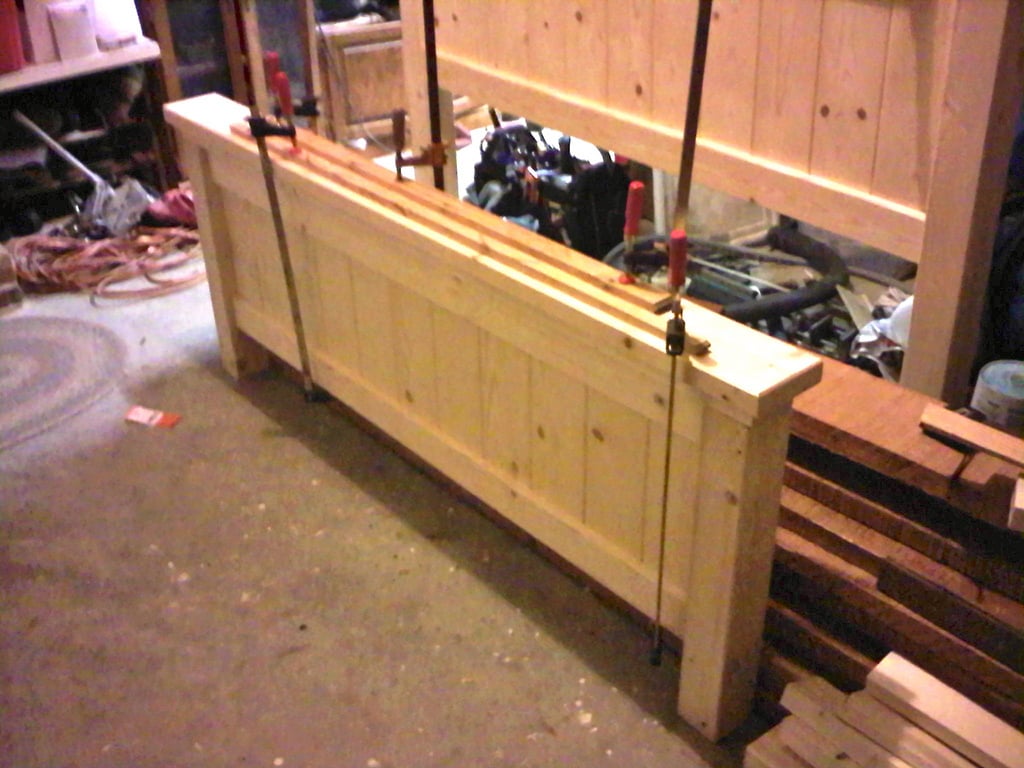
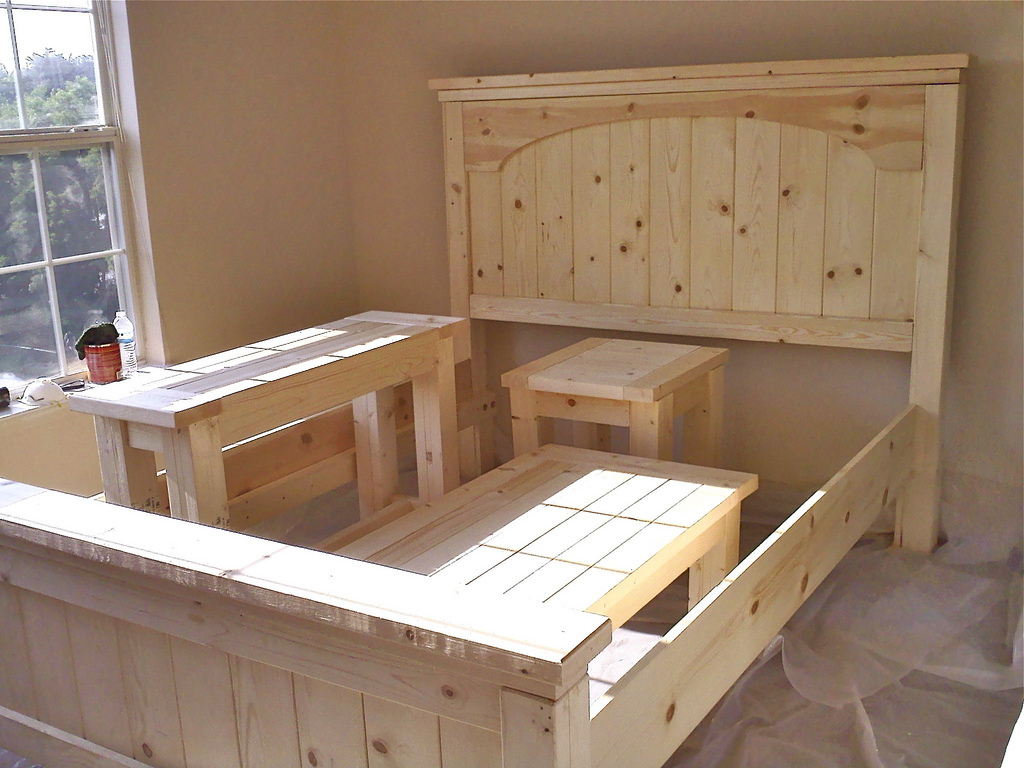
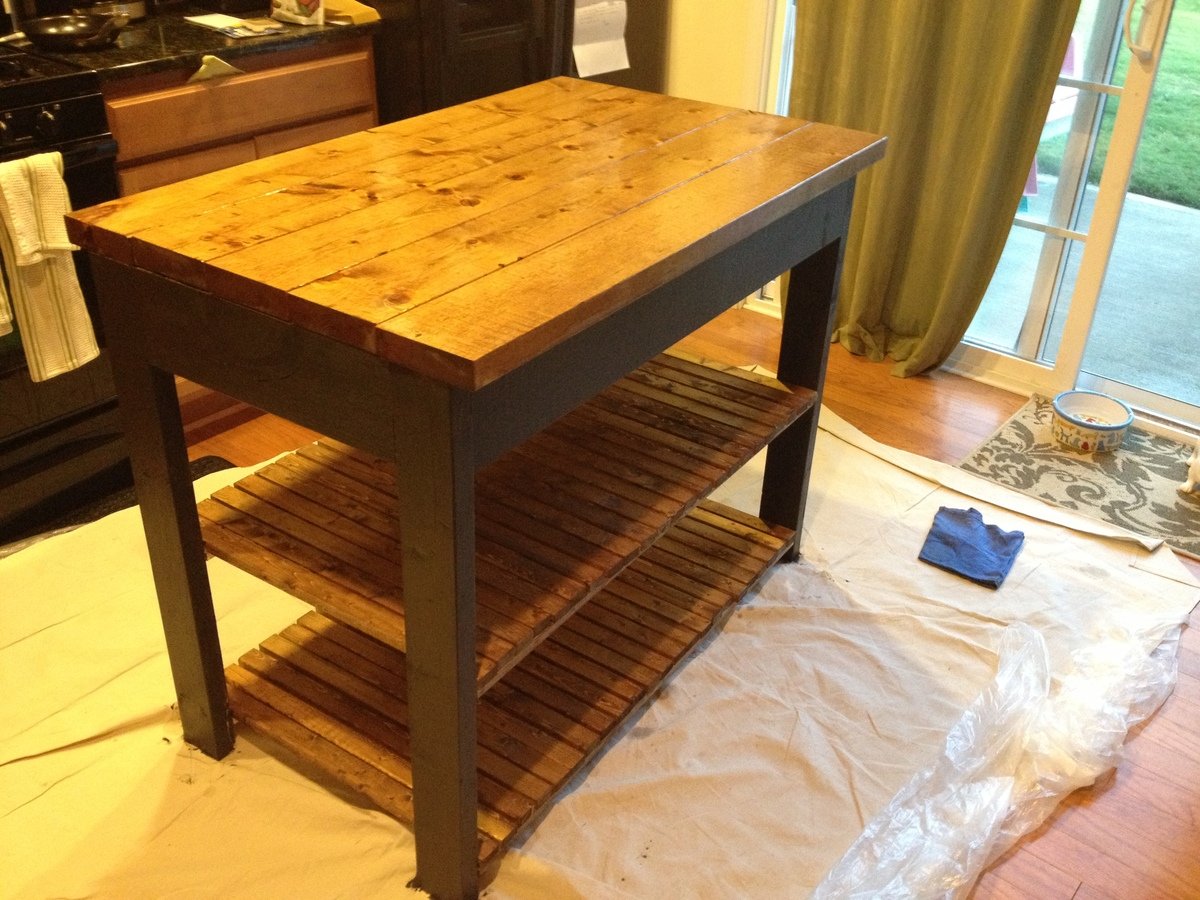
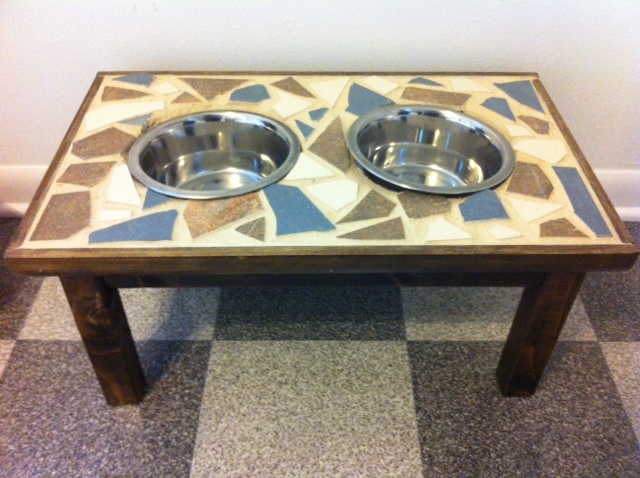
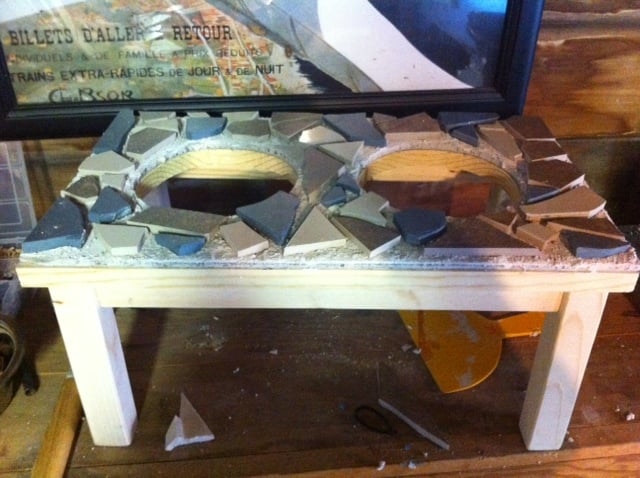
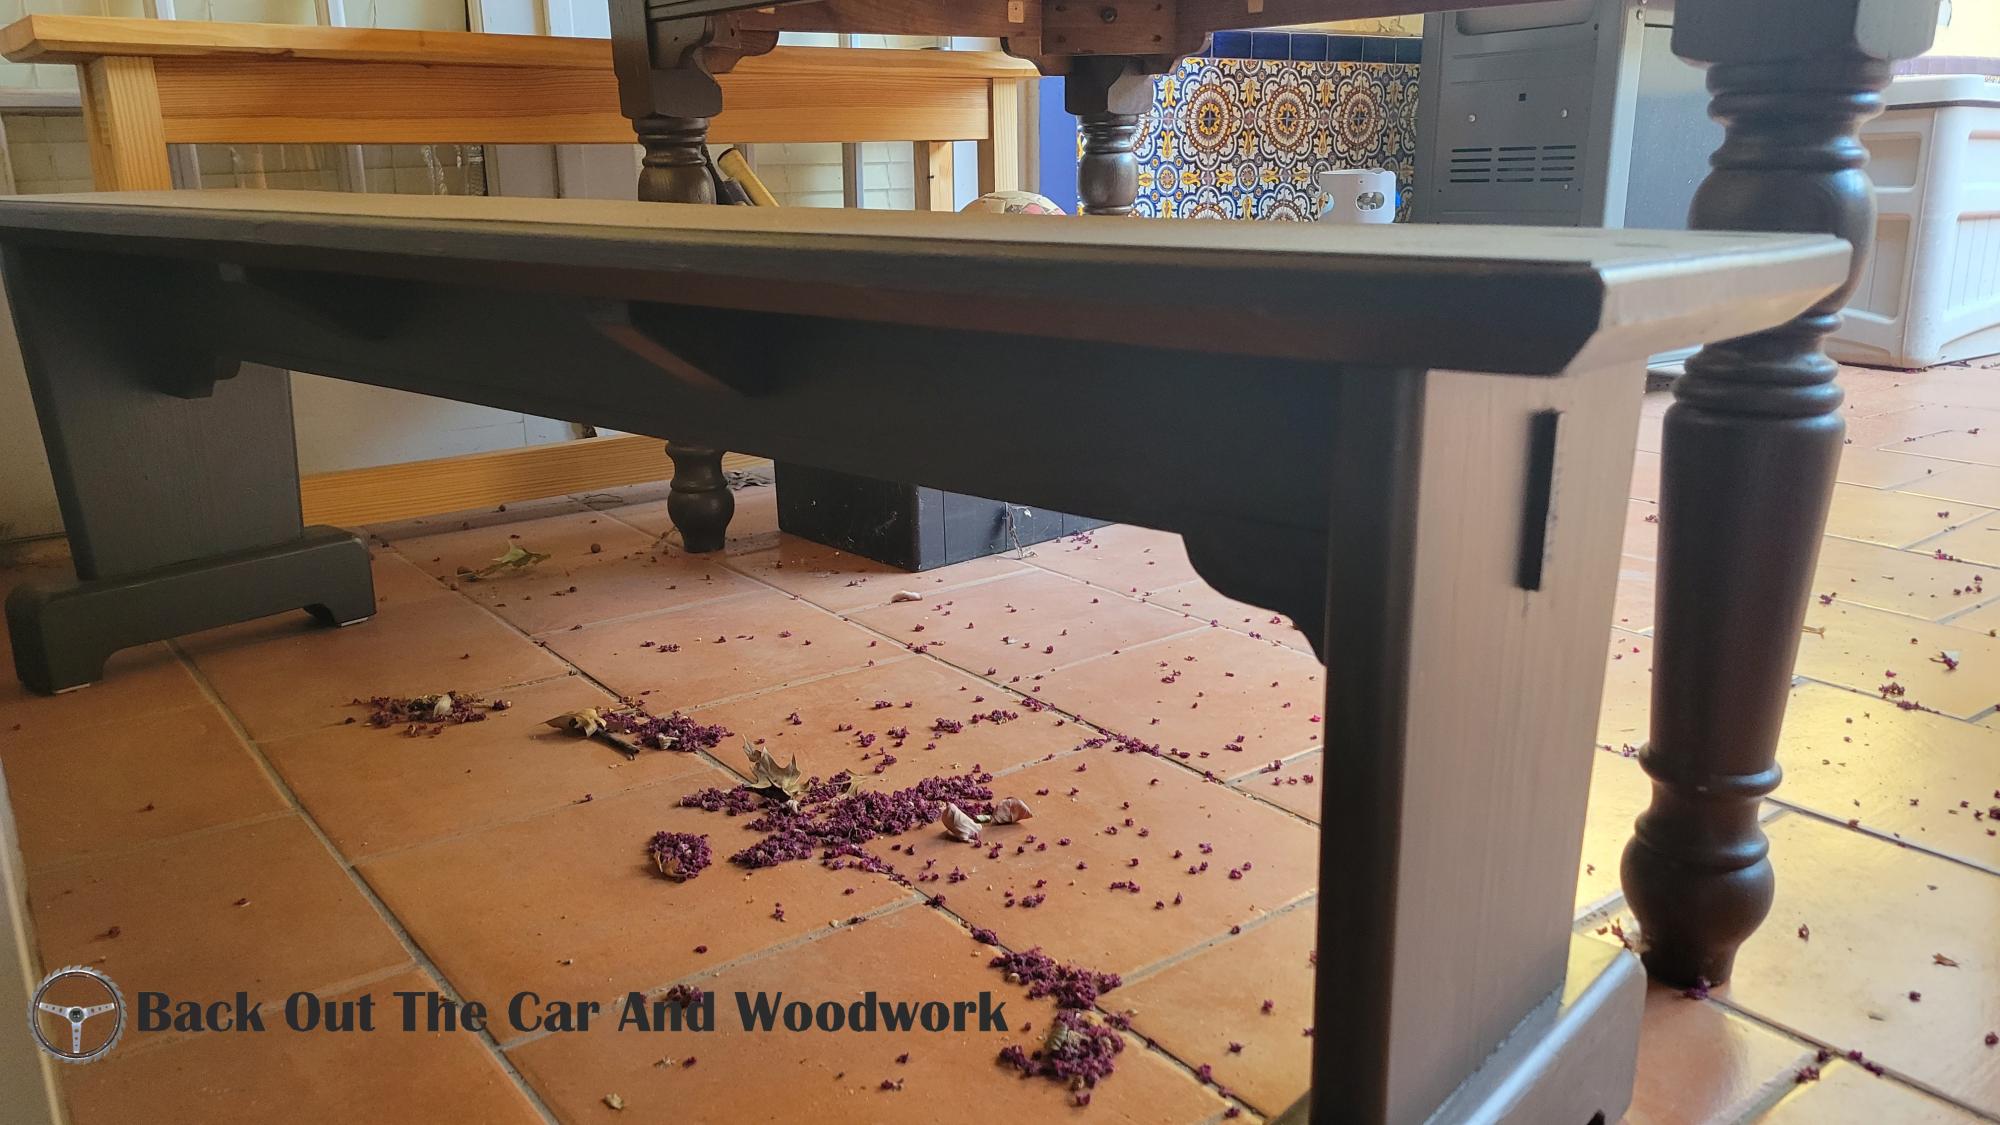
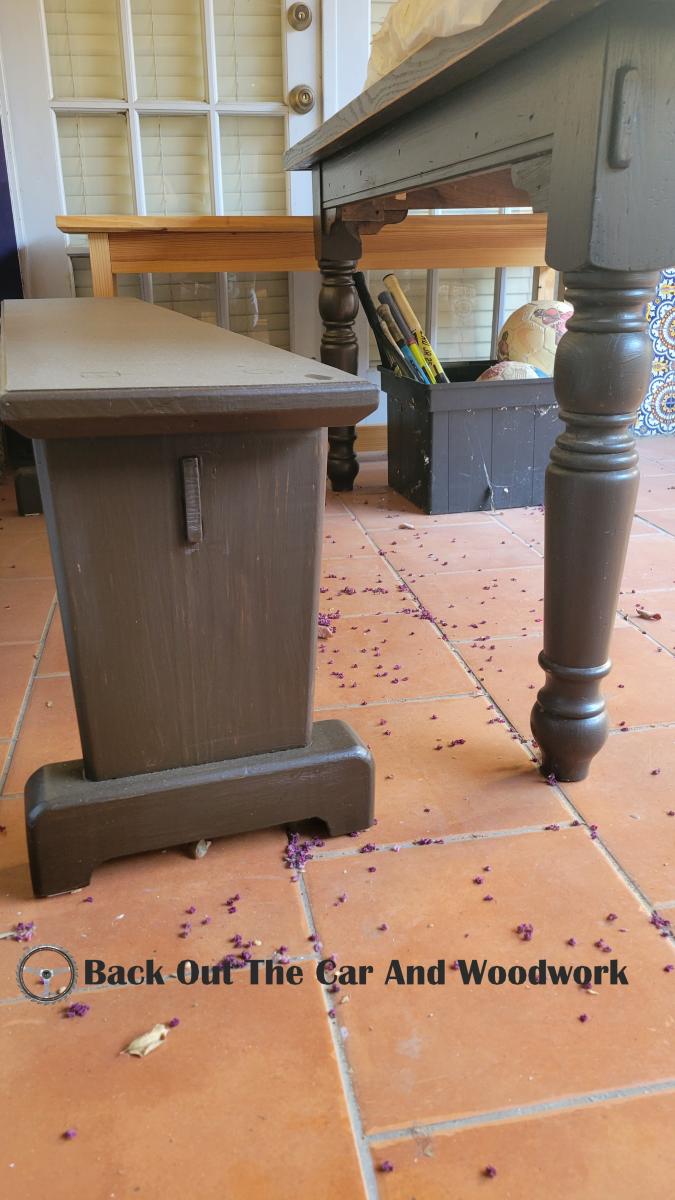
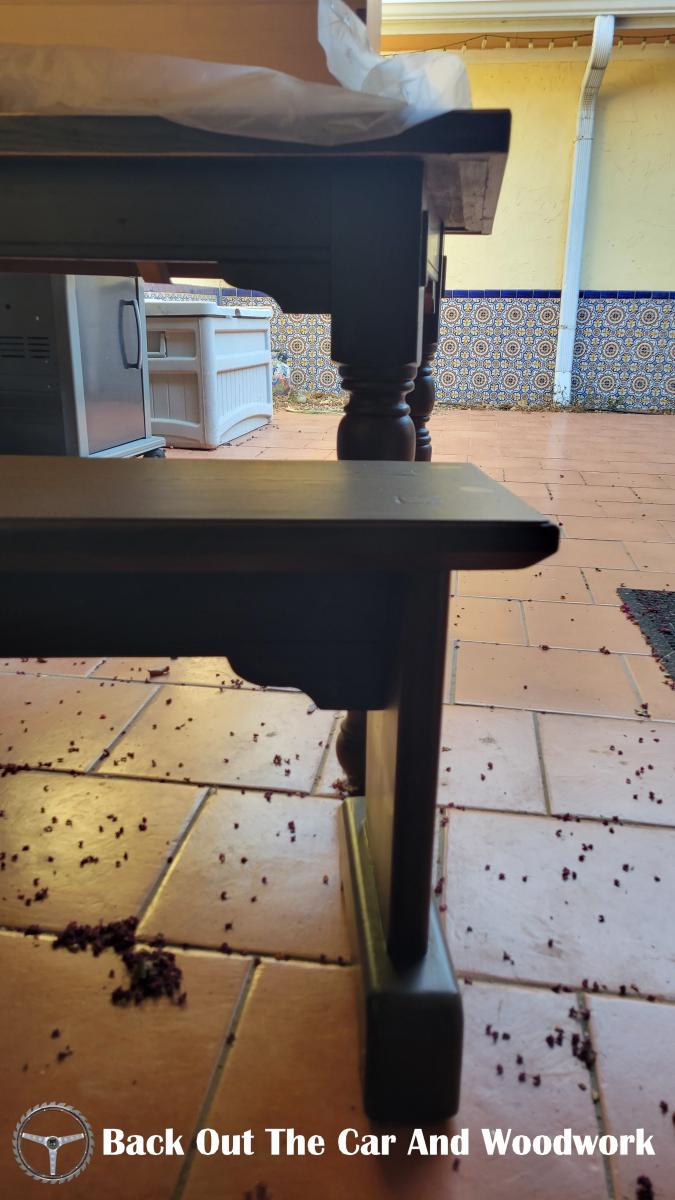
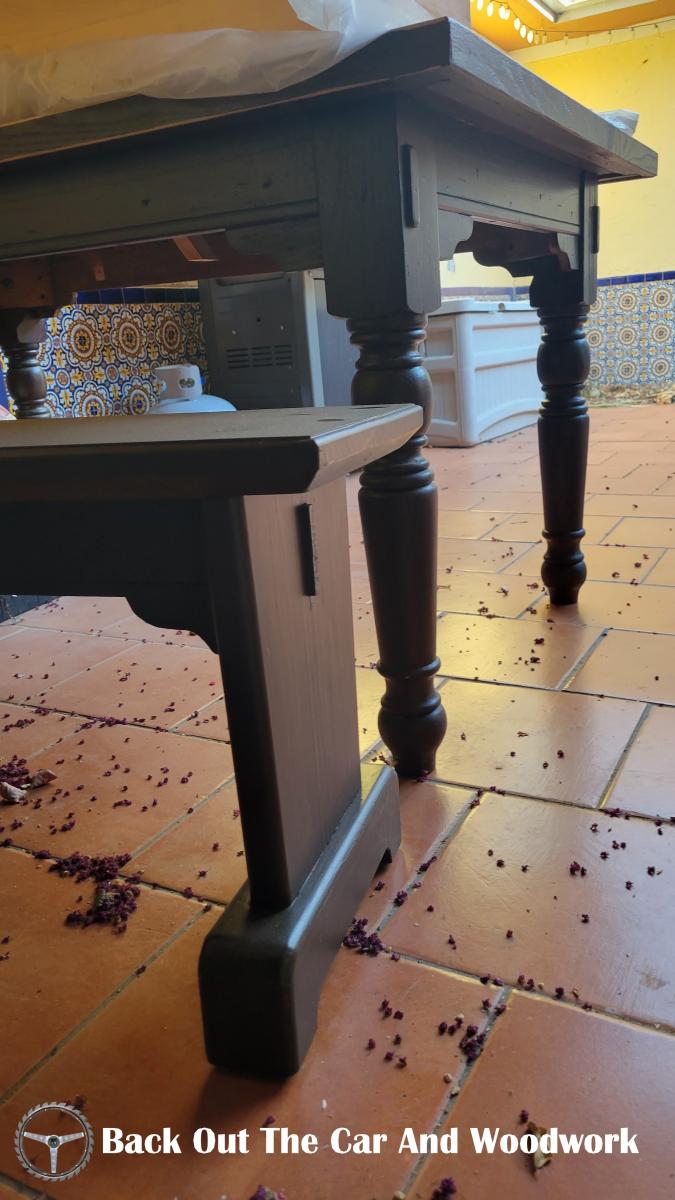
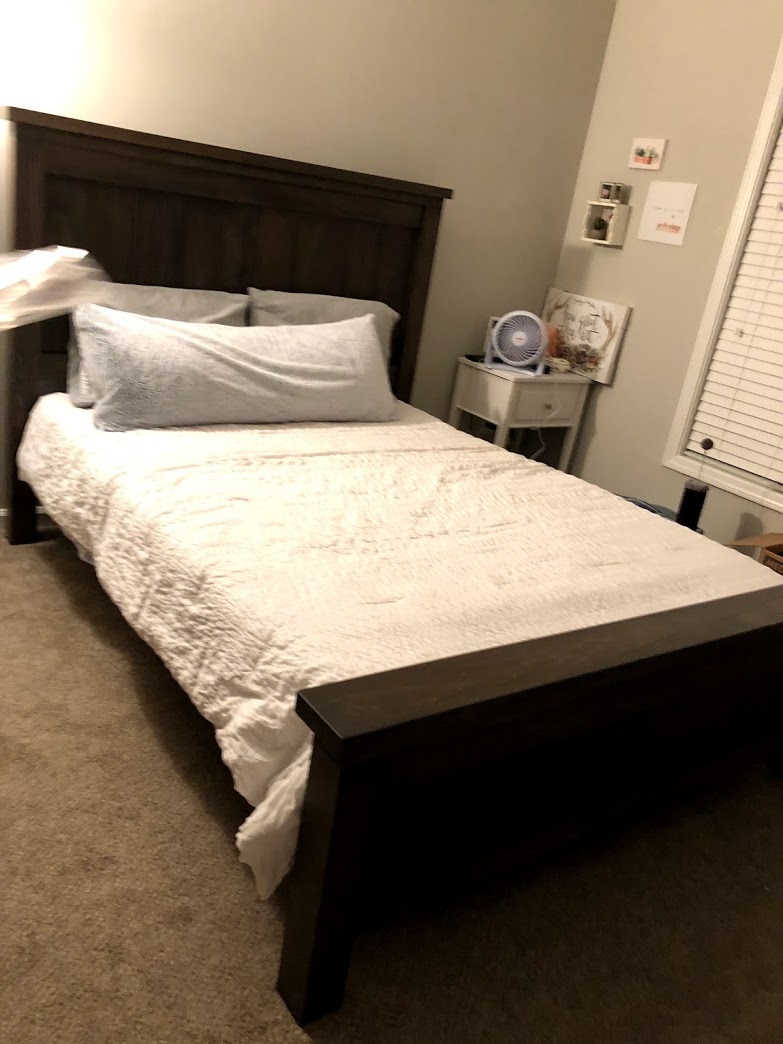
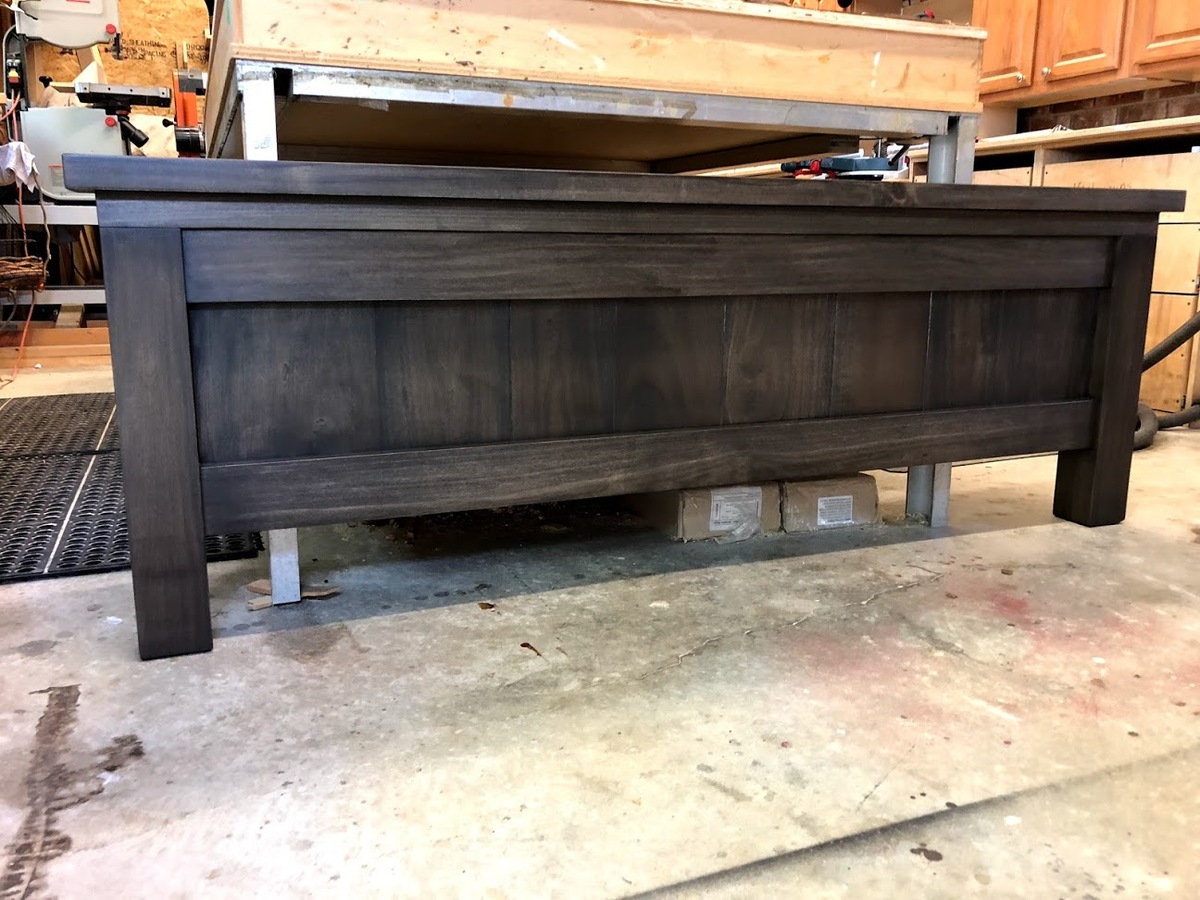
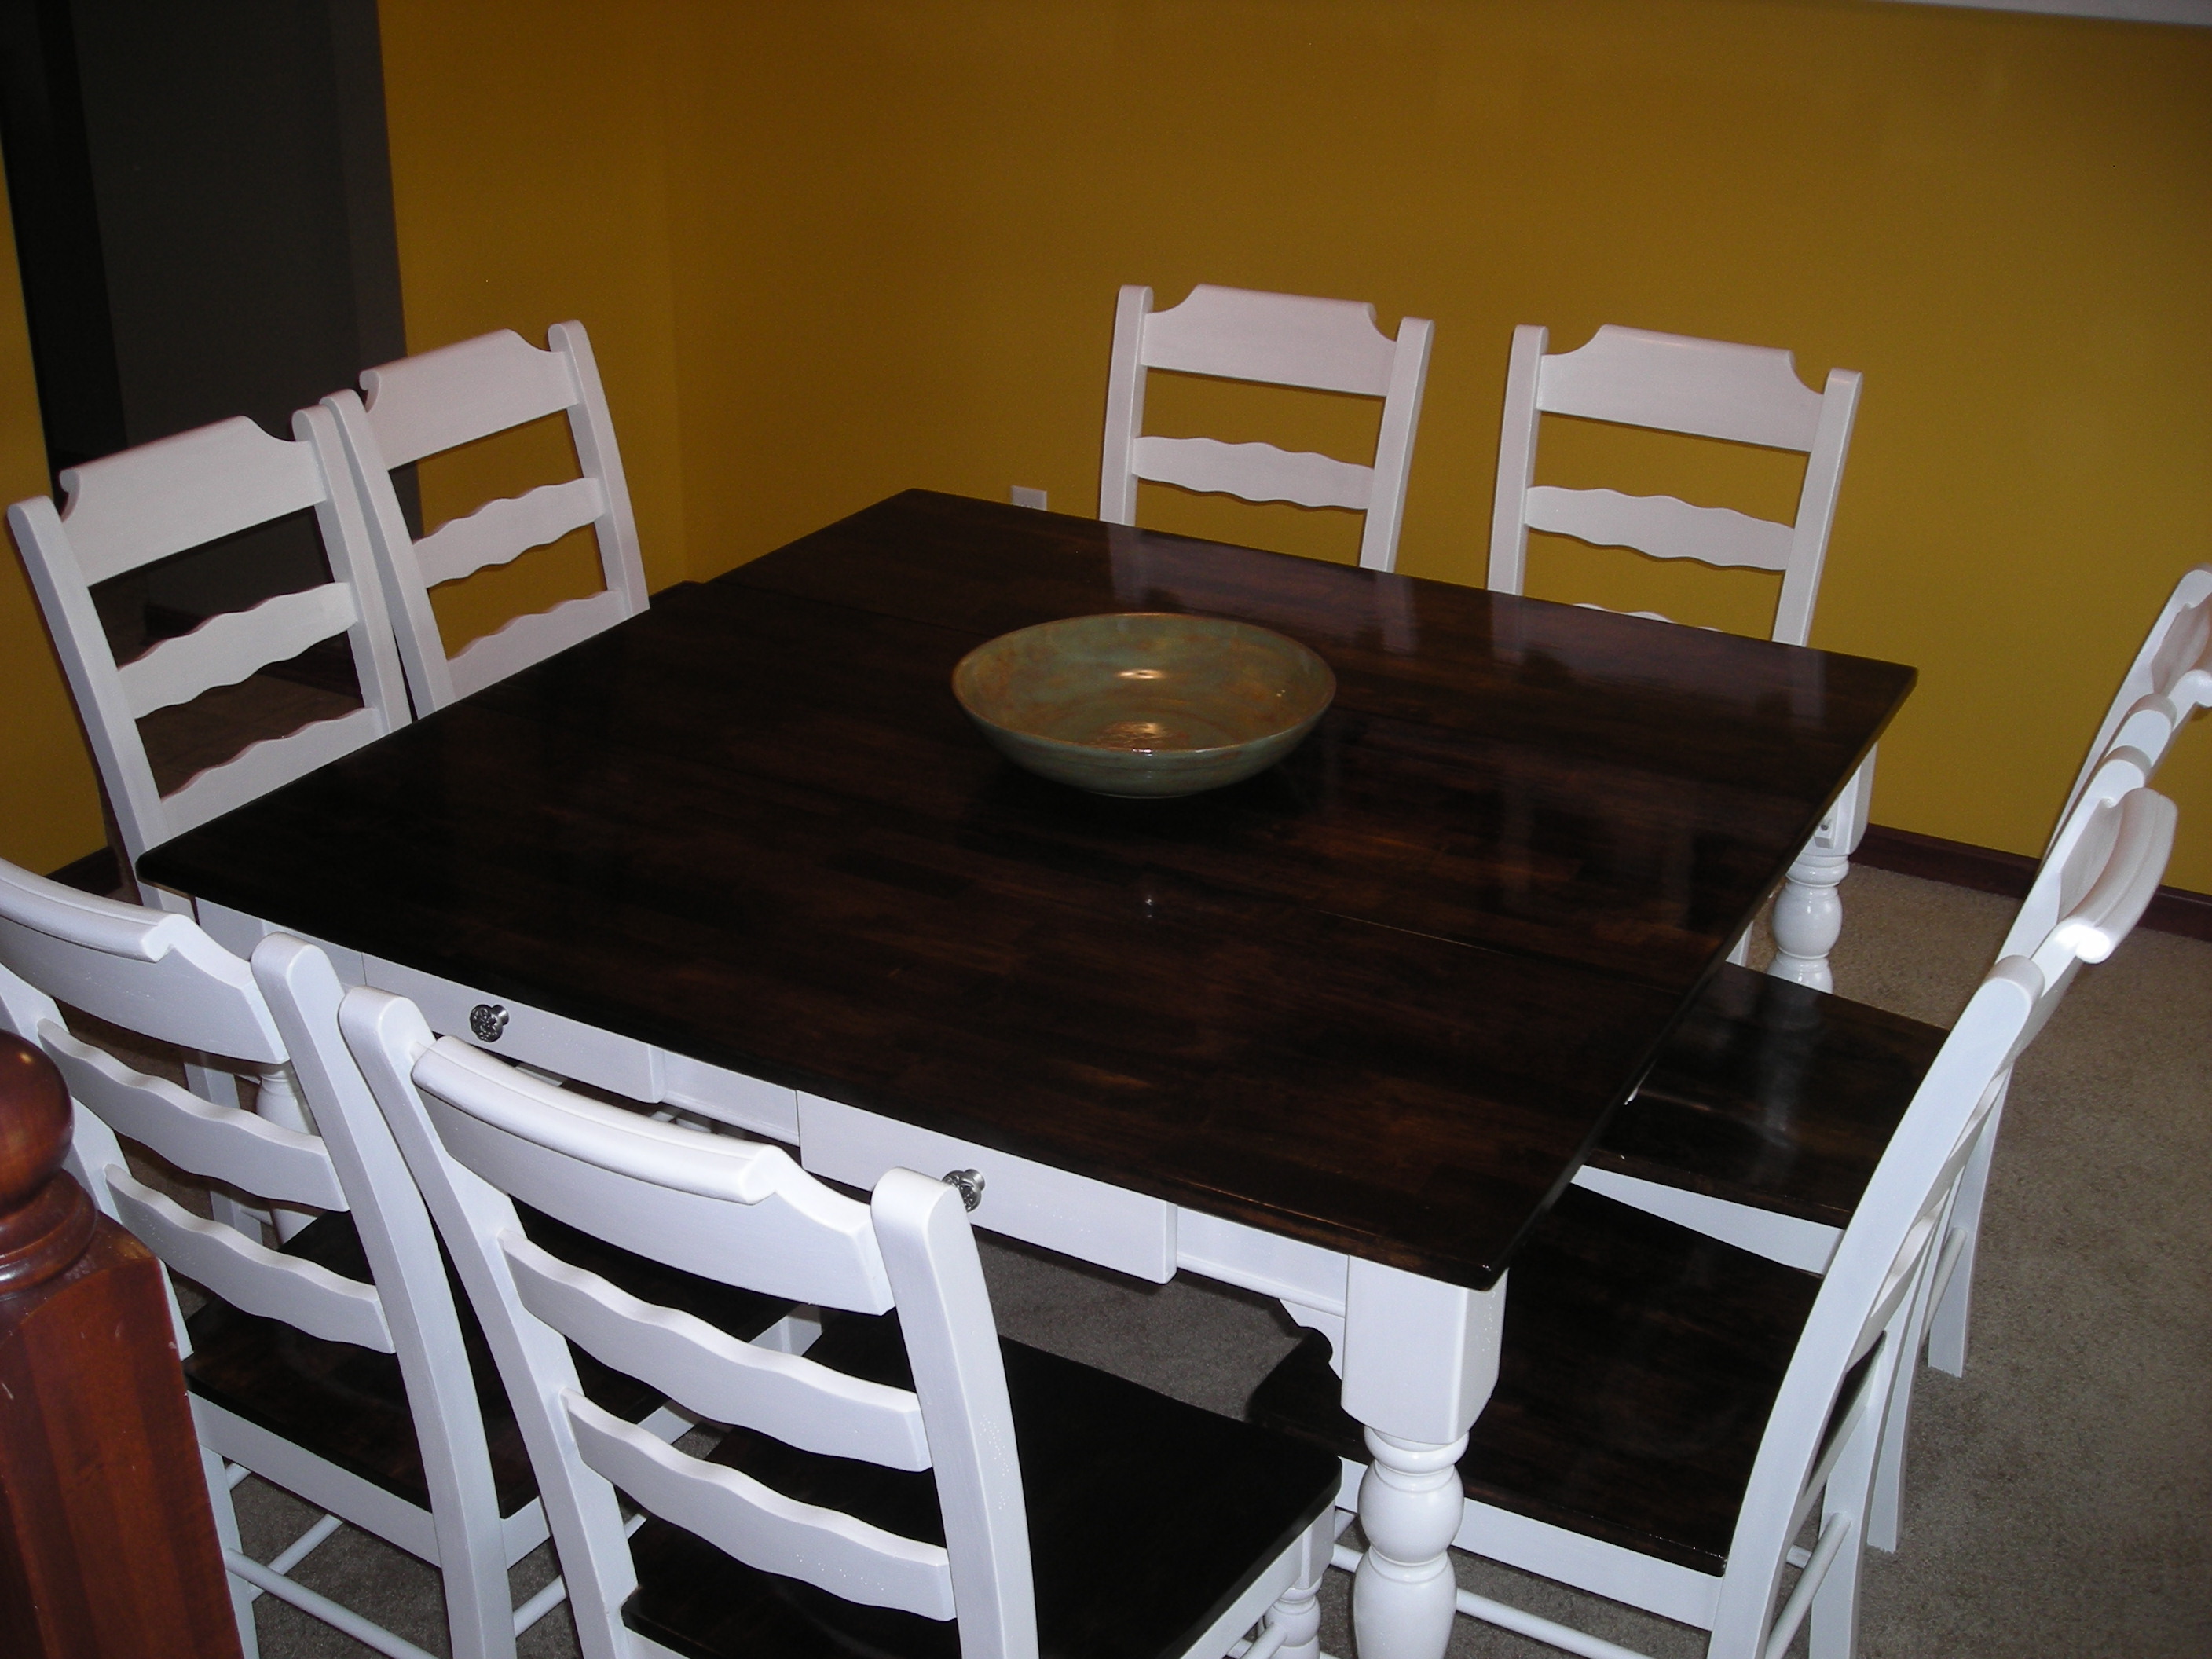
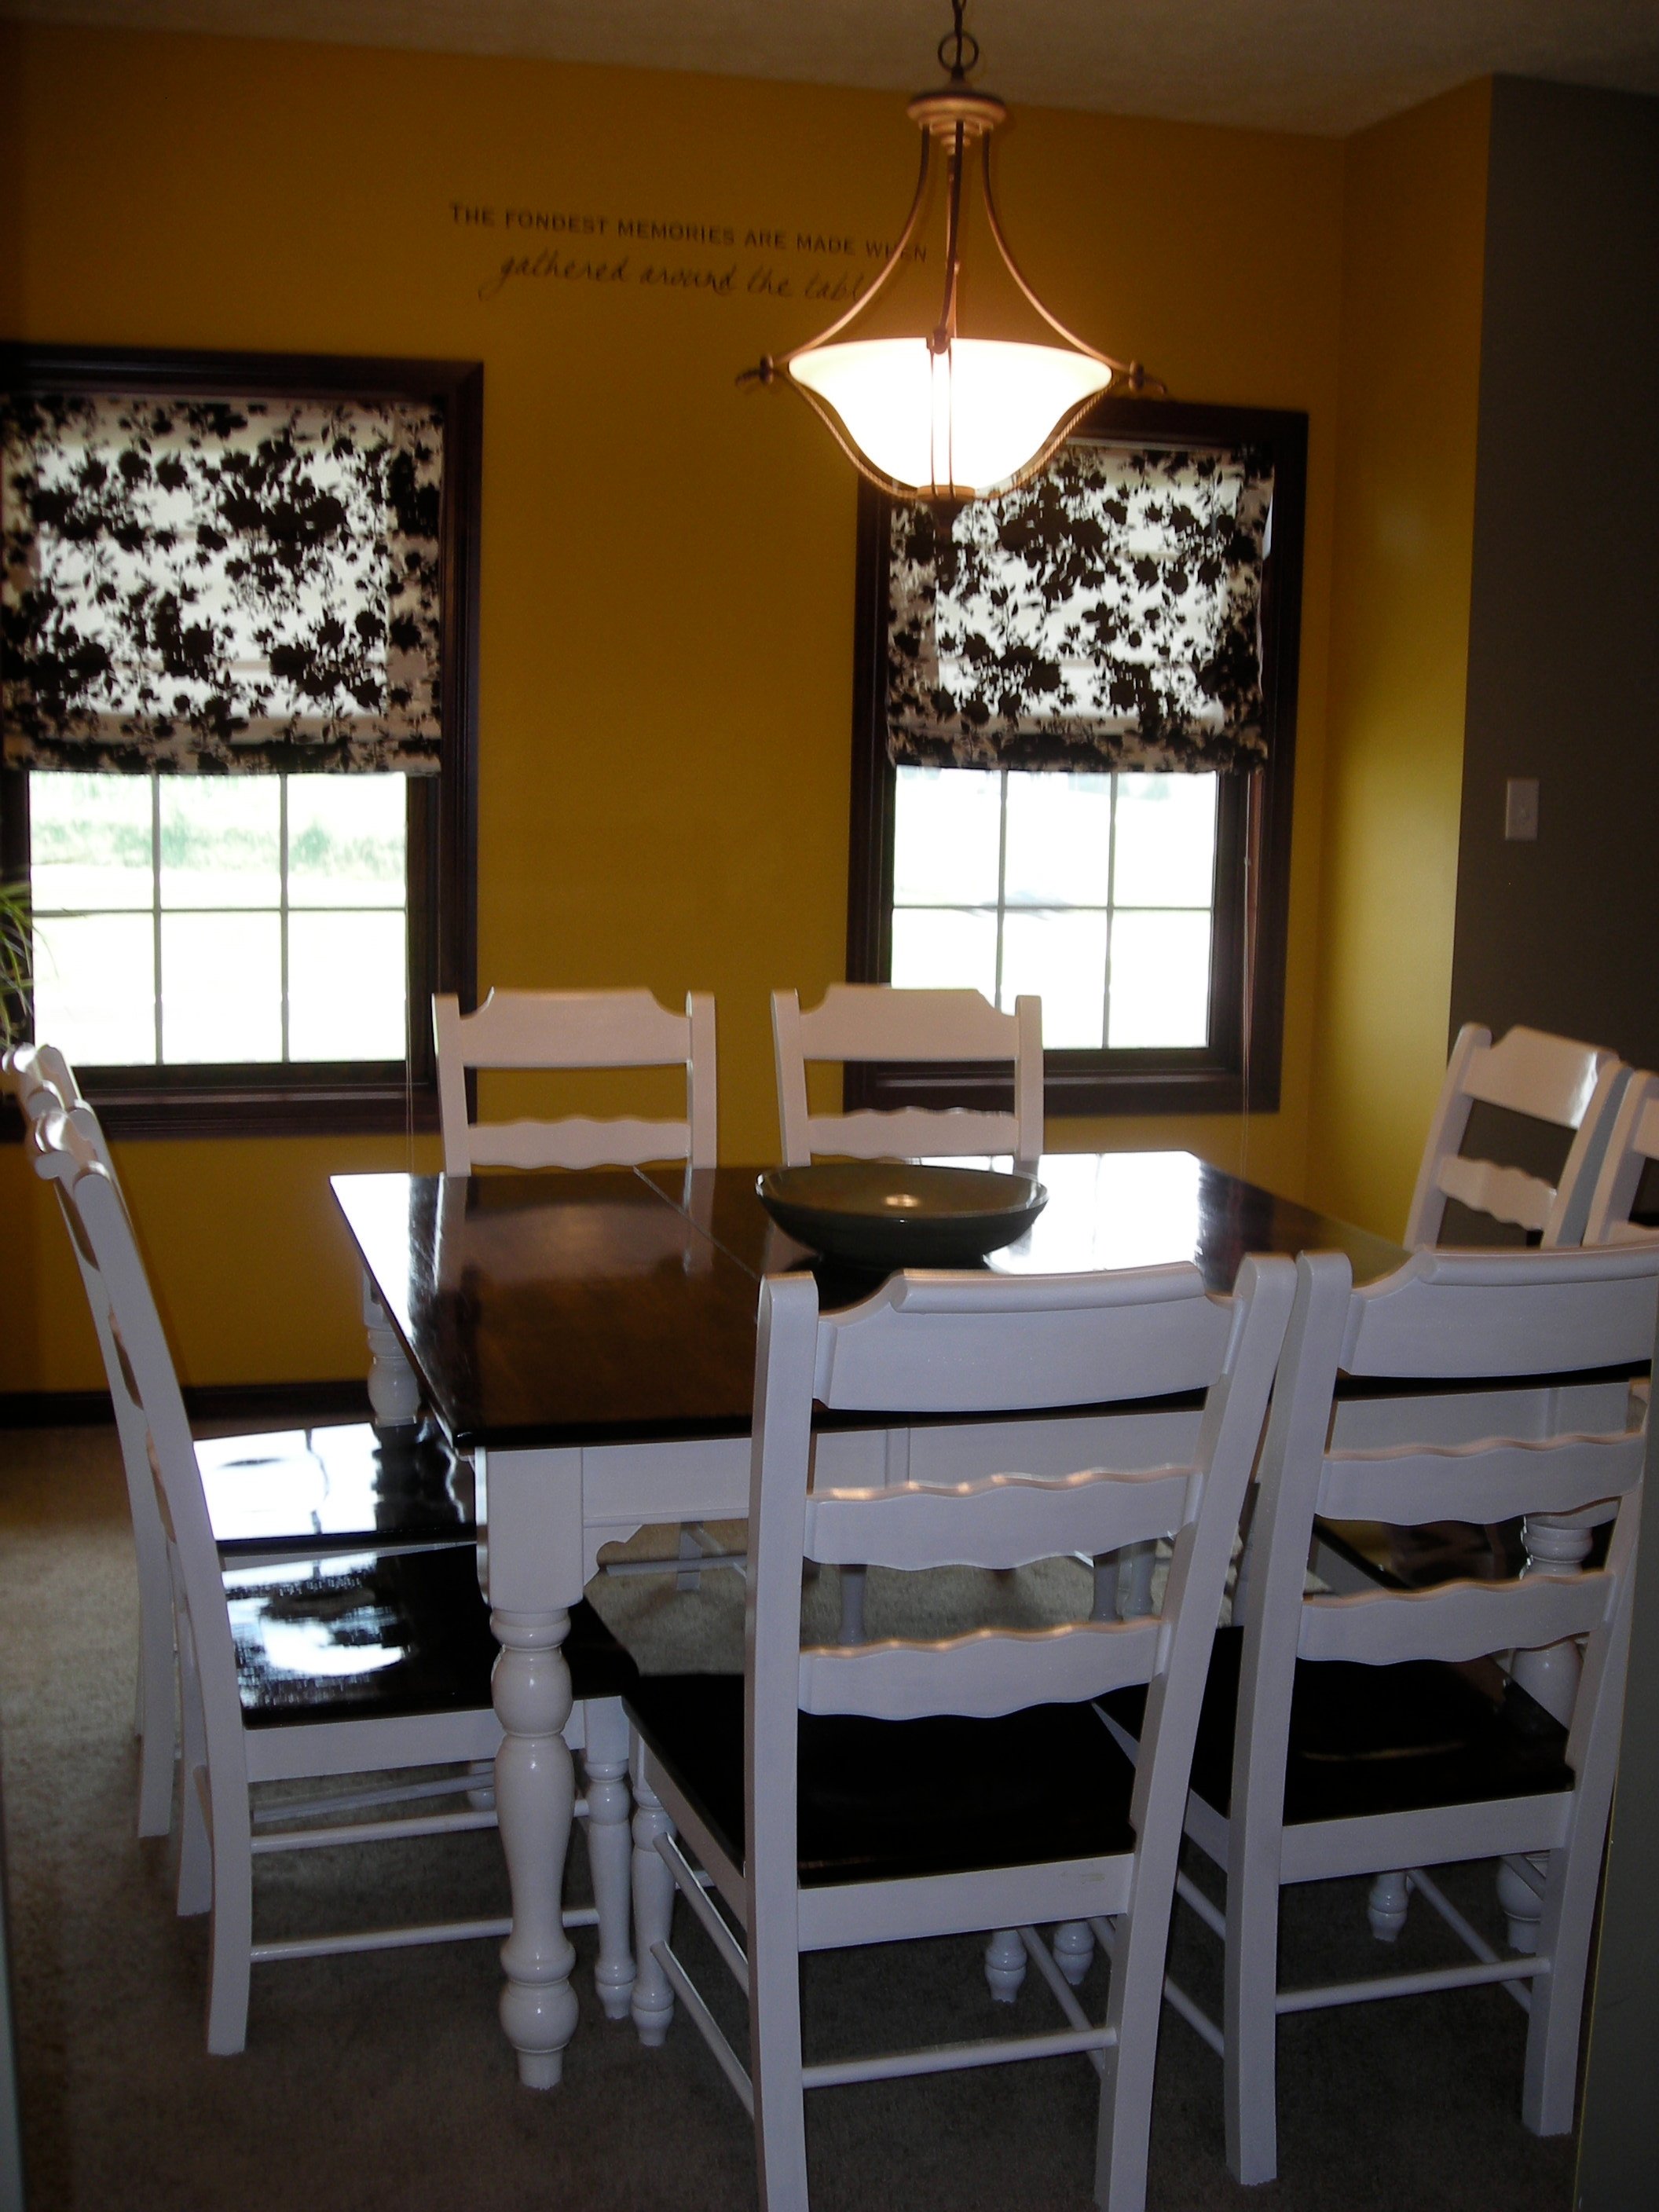
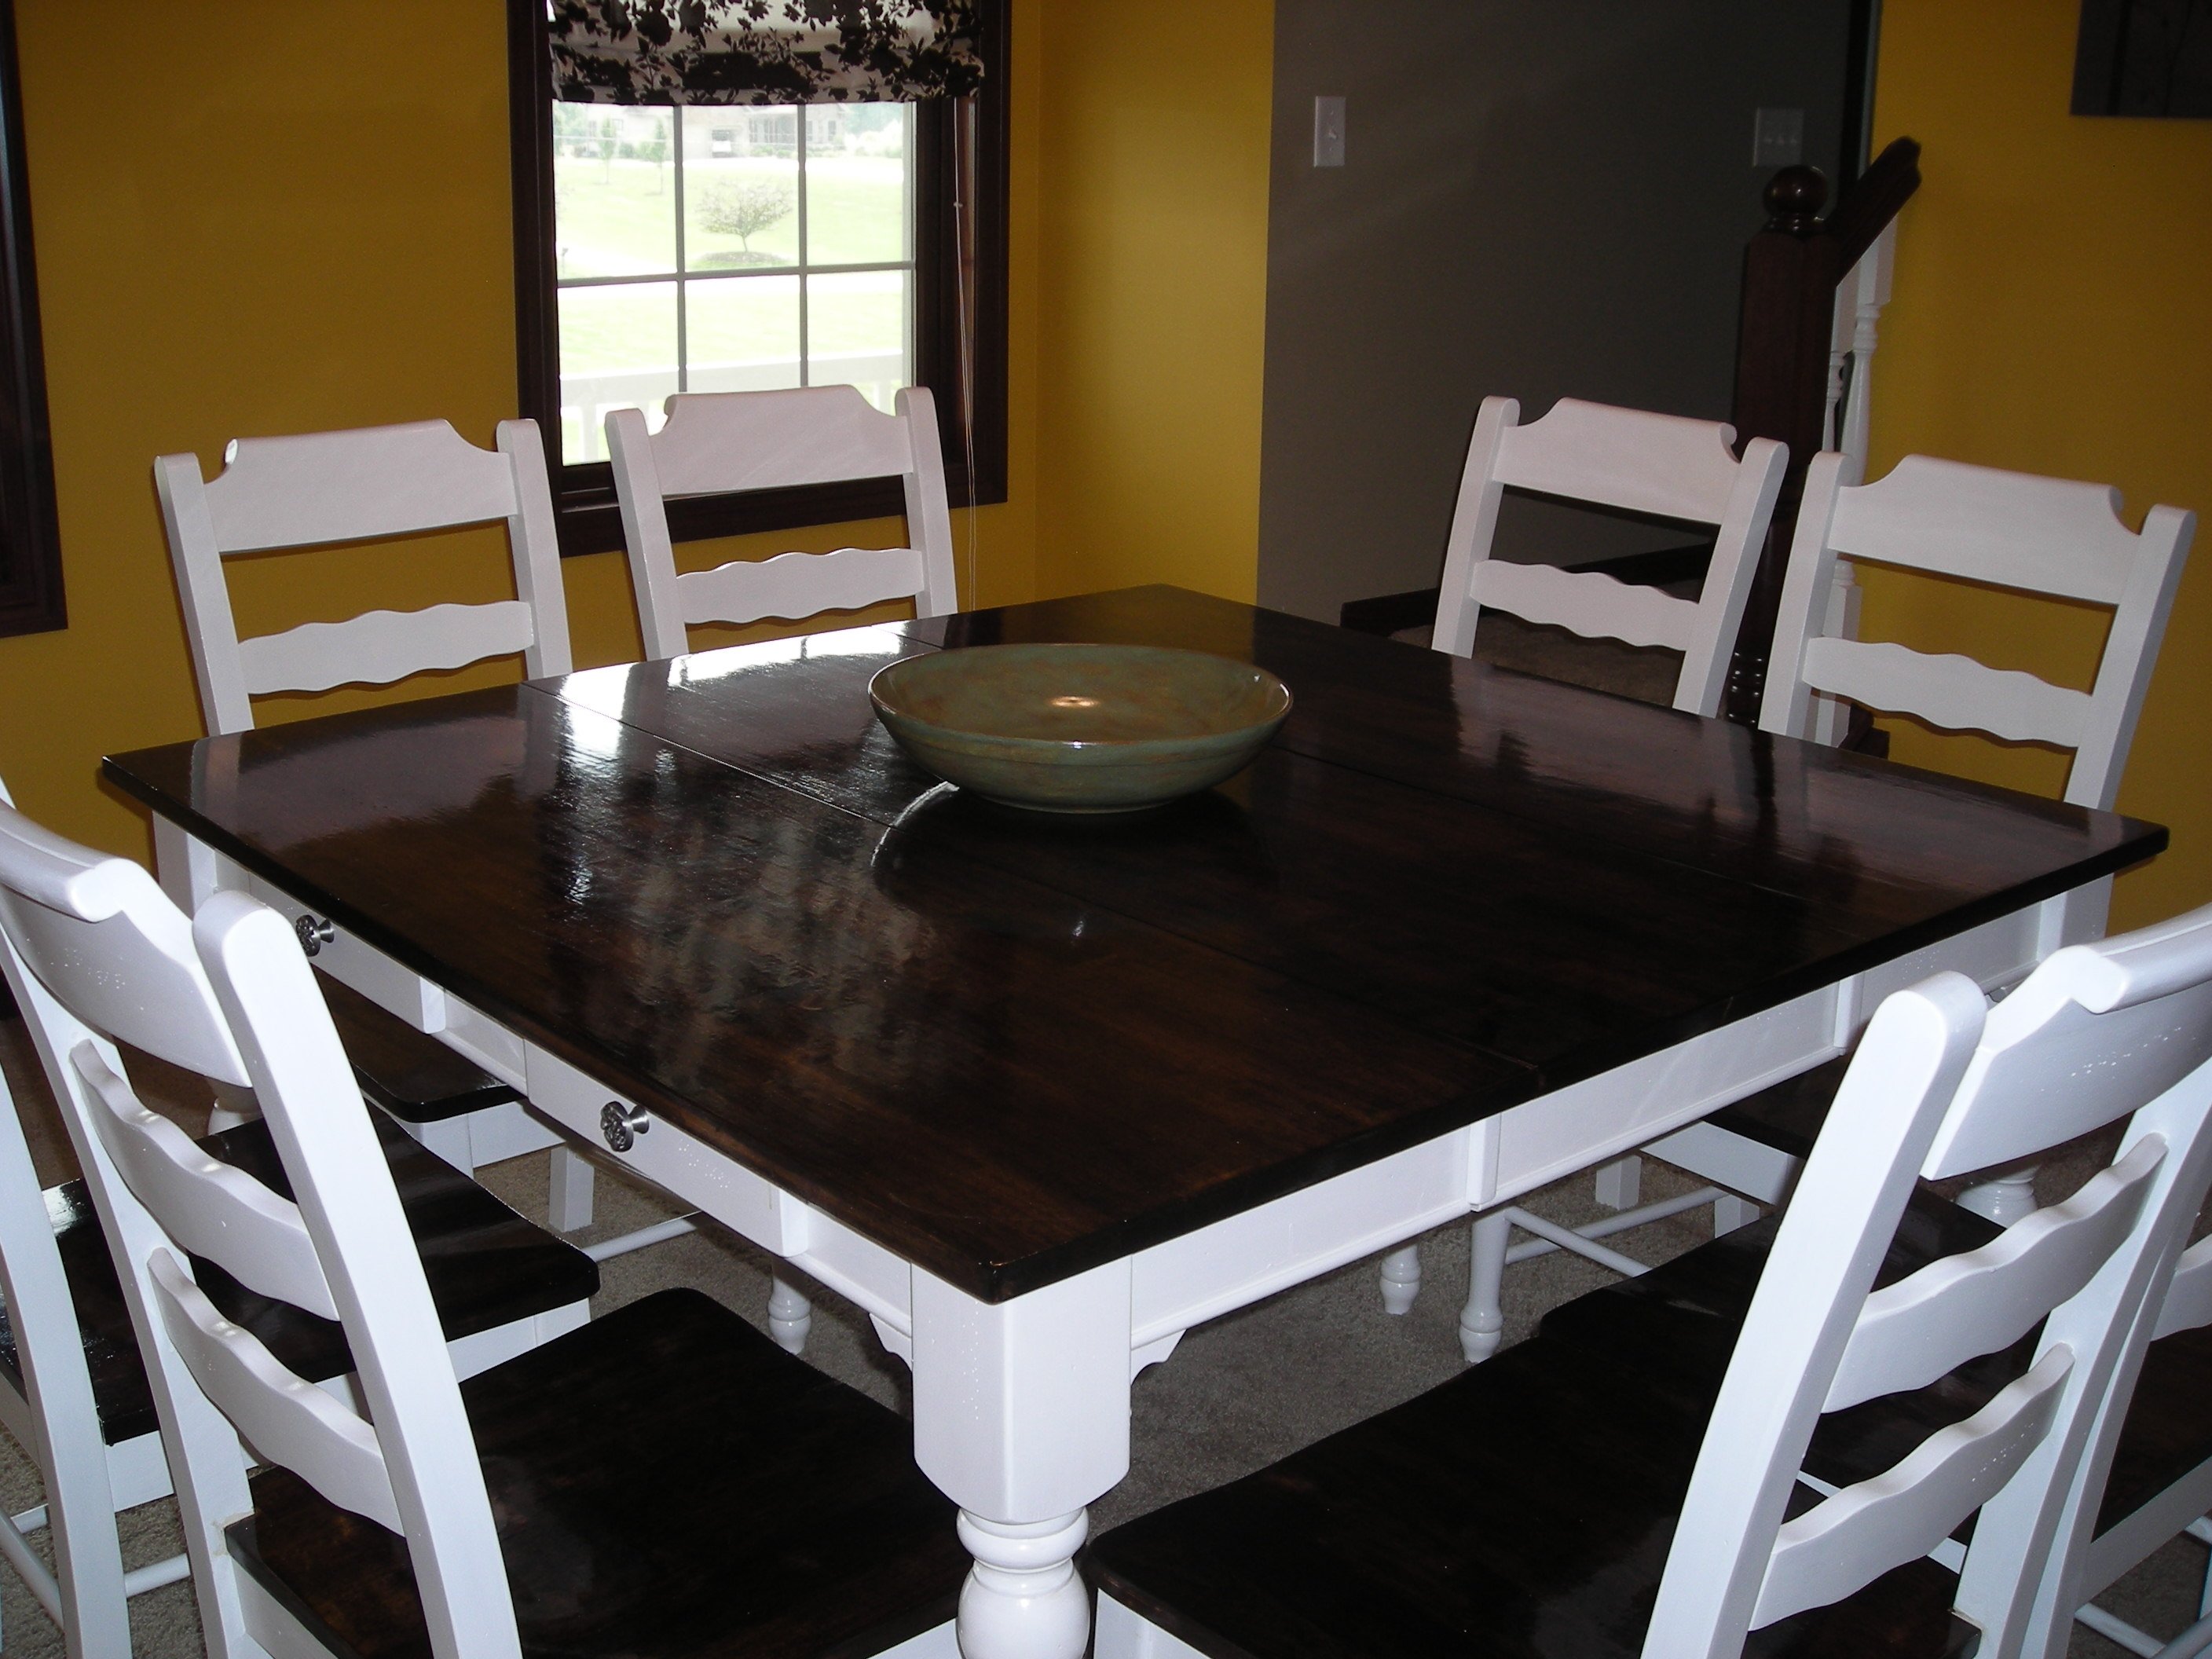
So I decided to embark on the adventure of learning how to make a solid table top that I could rest on top of Ana's base design. The result is below, and although it took about 6 months of learning, practicing, and prototyping, I am finally done!
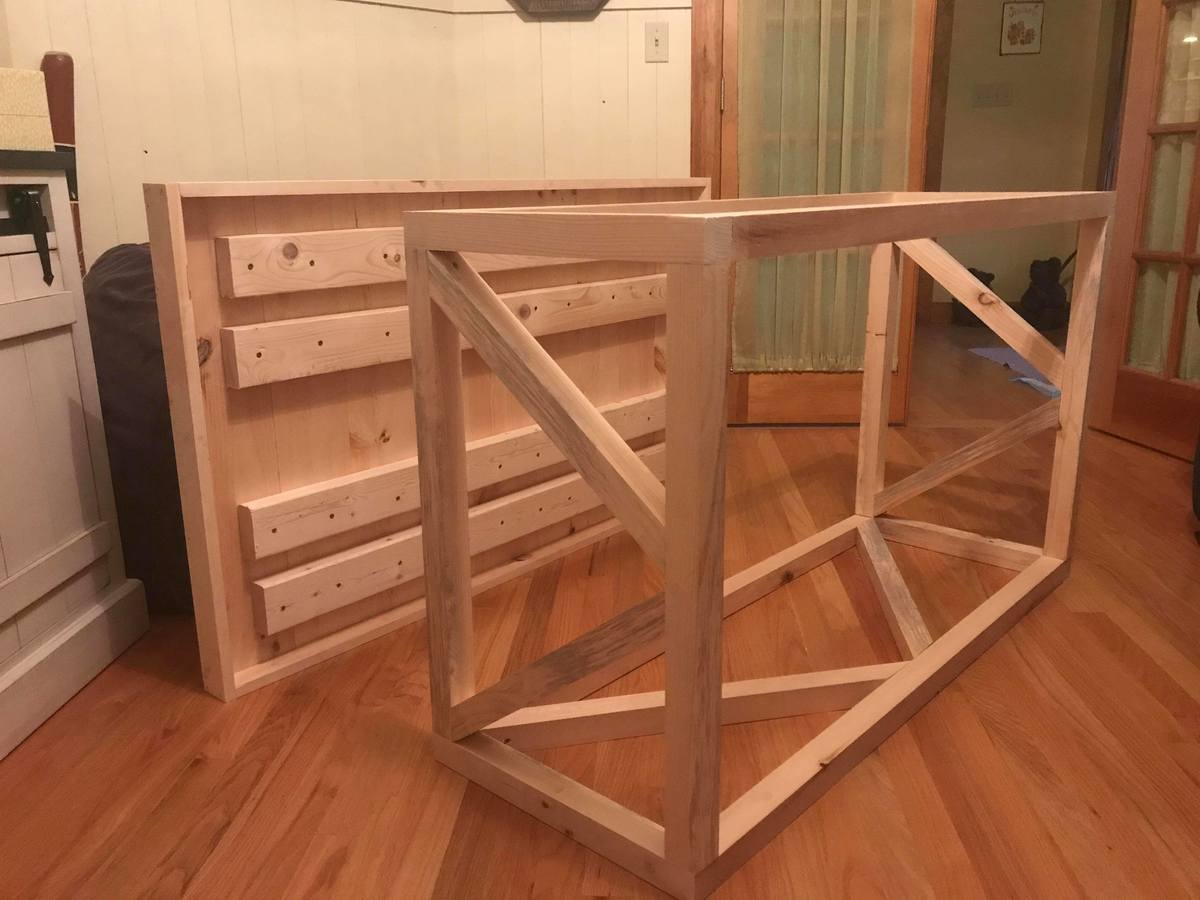
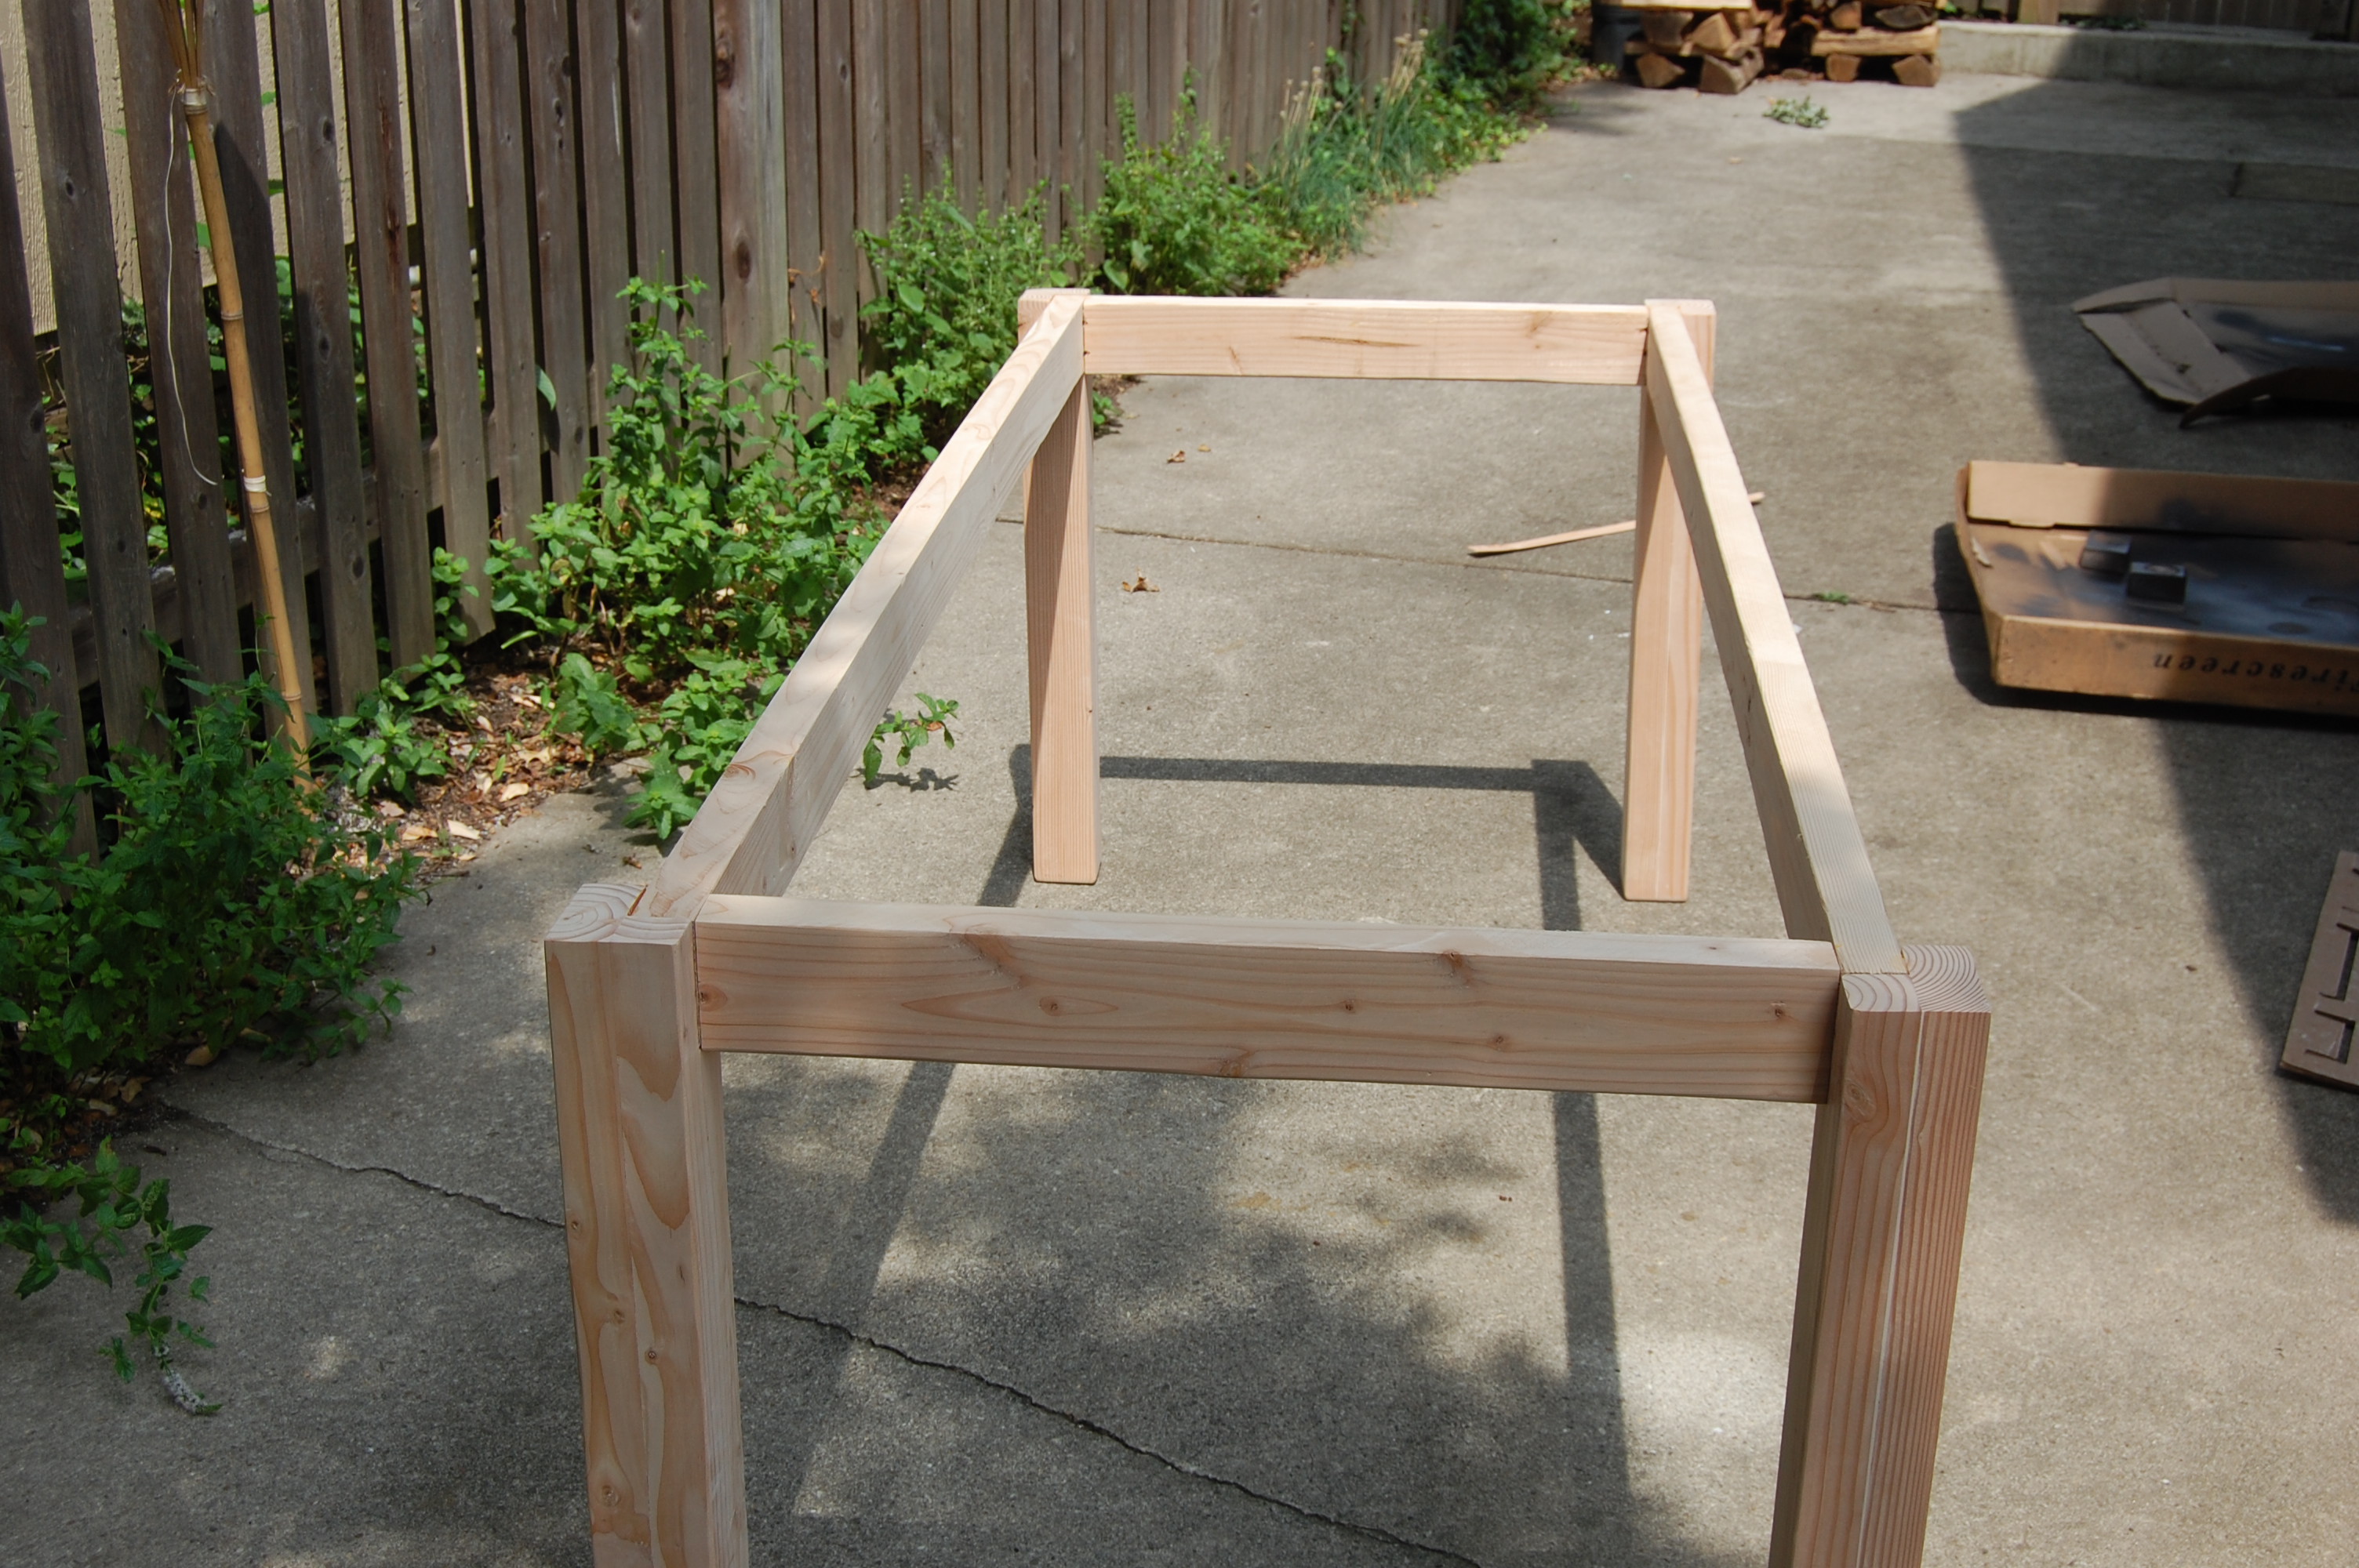
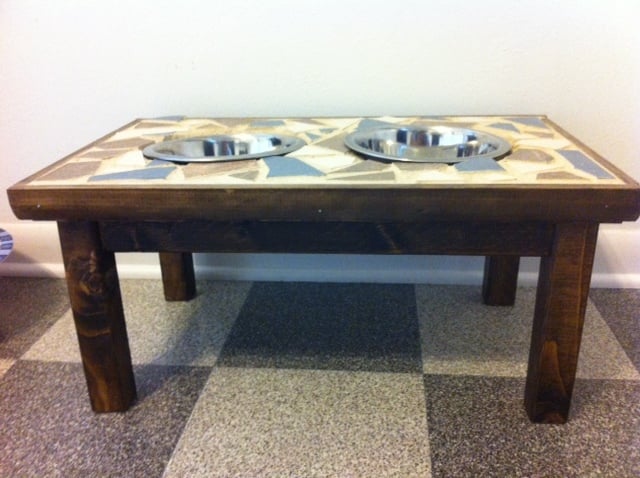
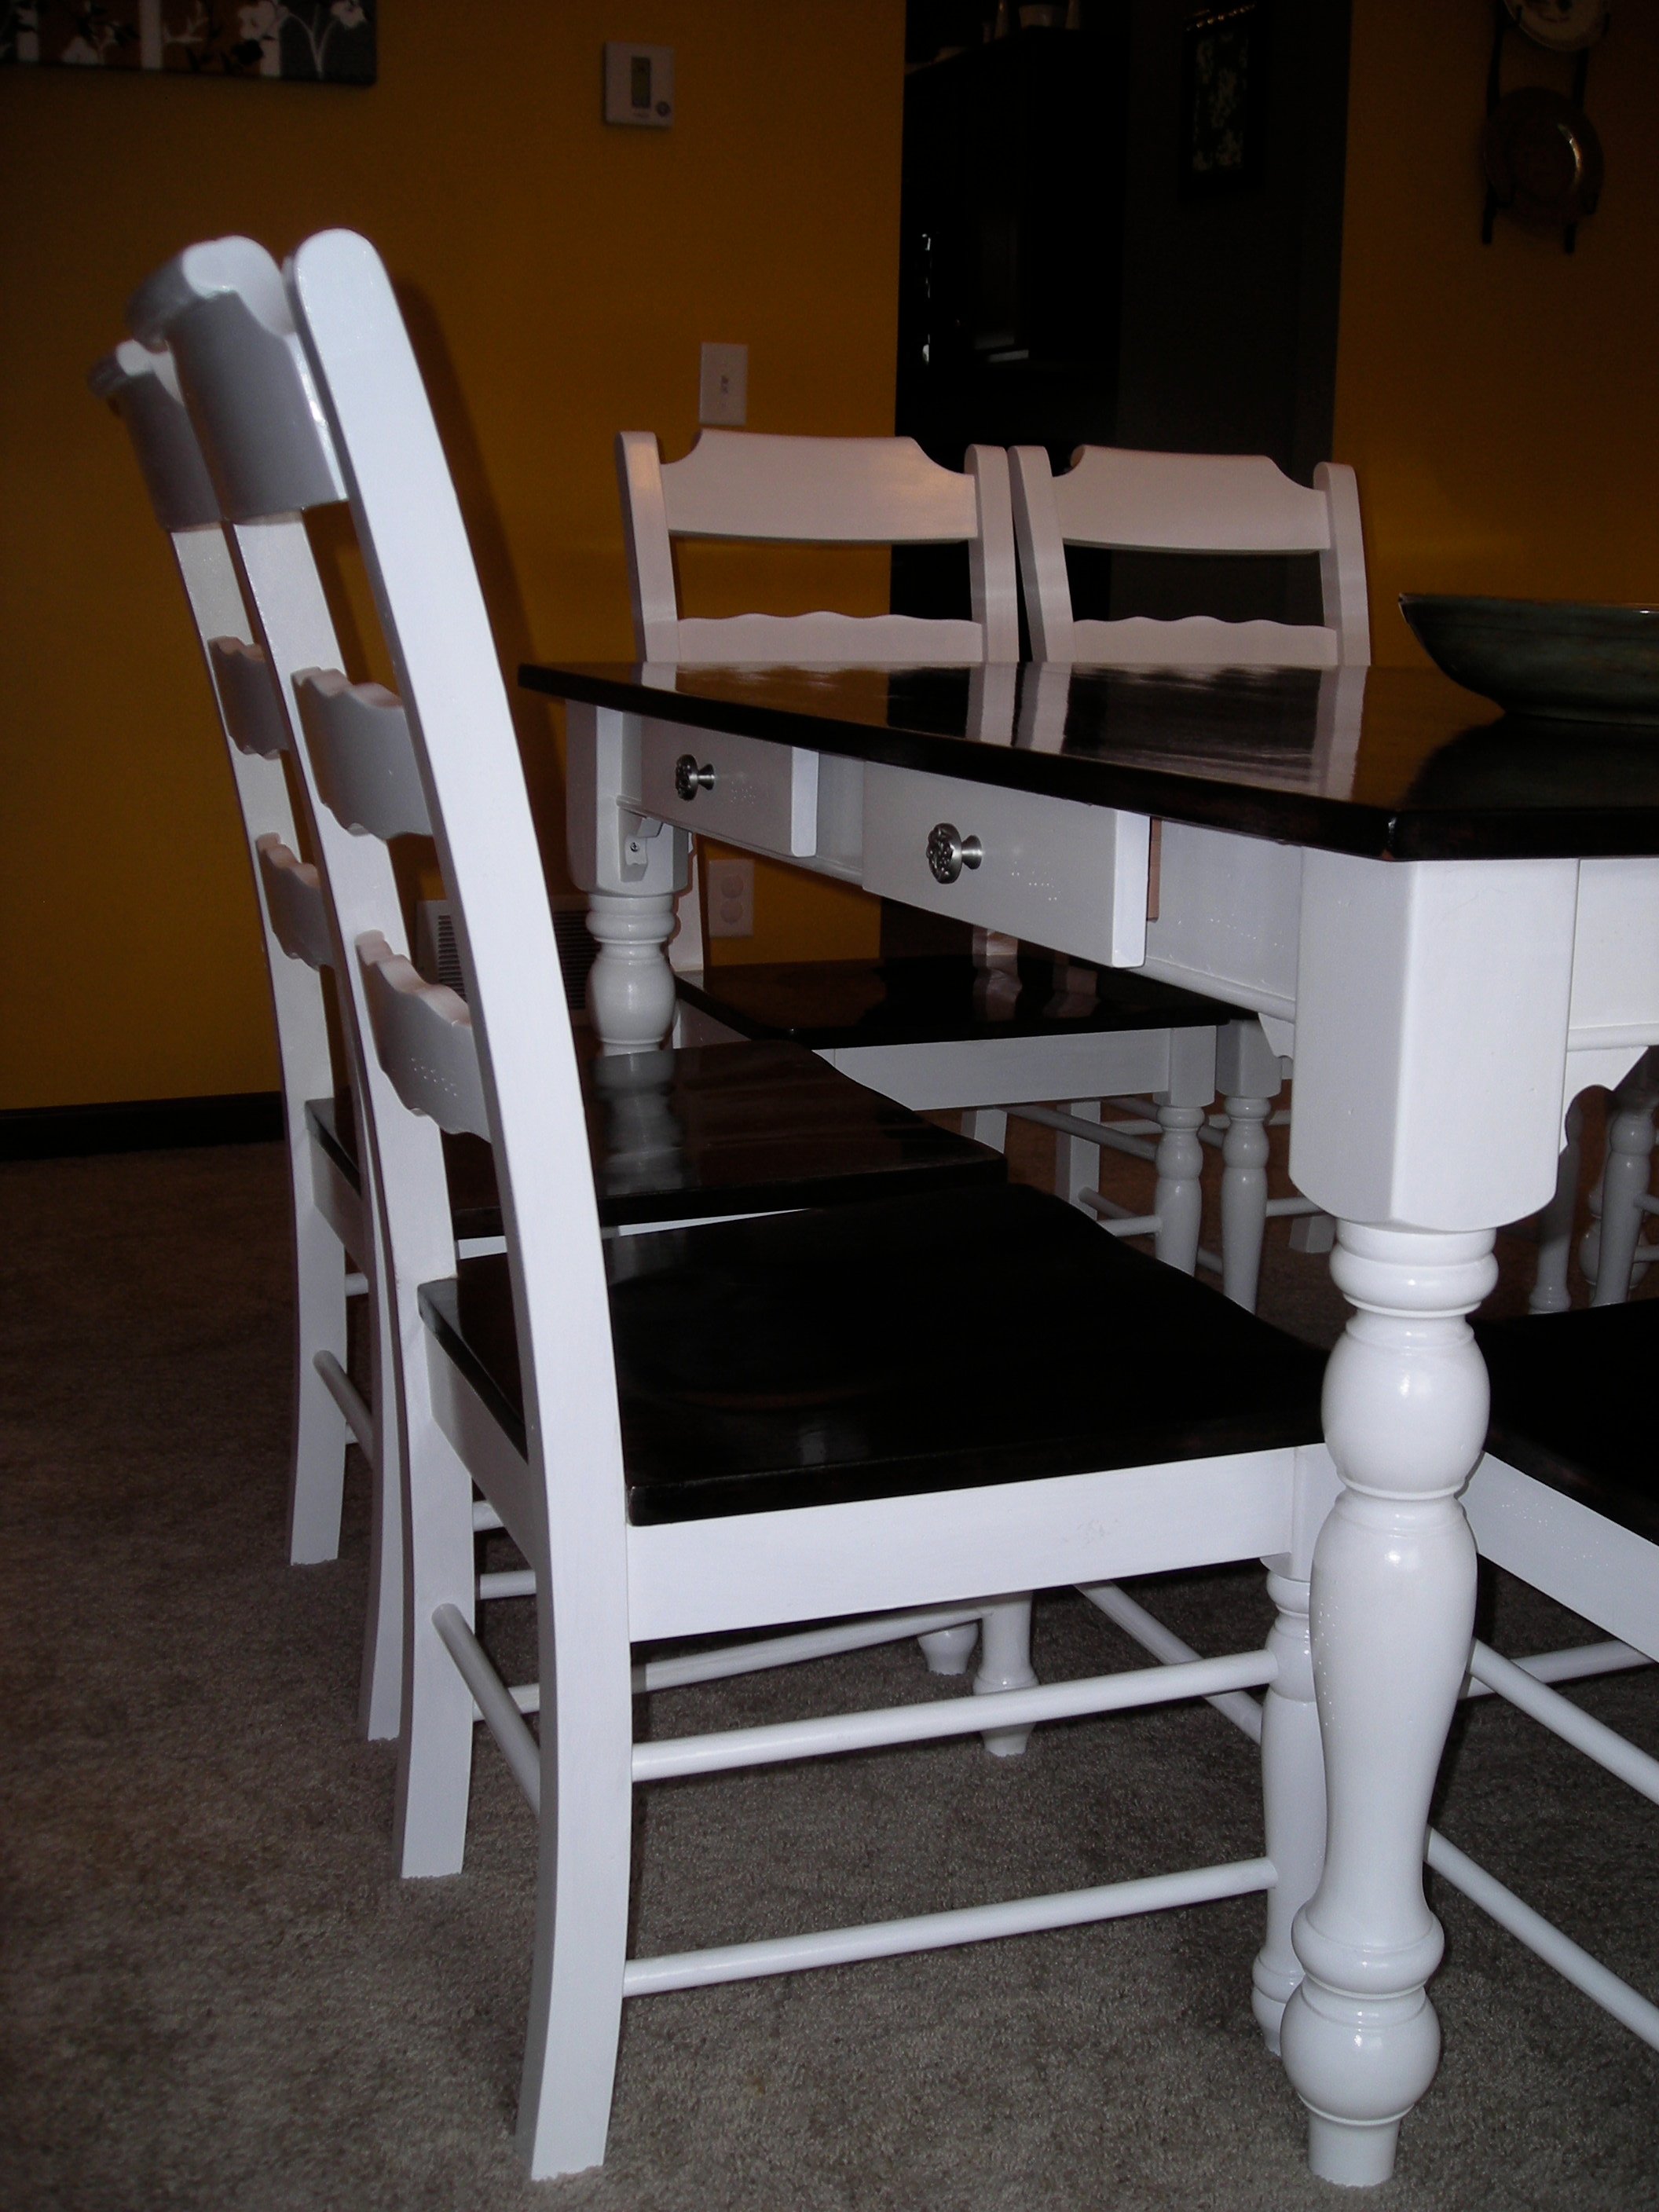
Because I made a solid top, I was able to skip the support beams on the base, which hopefully reduced the weight a little bit.
I don't have a blog, but I added some additional comments in my Picasa Album.
Estimated Cost
$600 total -- The 2 inch thick ash was expensive -- and still half the price oak!
Estimated Time Investment
Week Long Project (20 Hours or More)
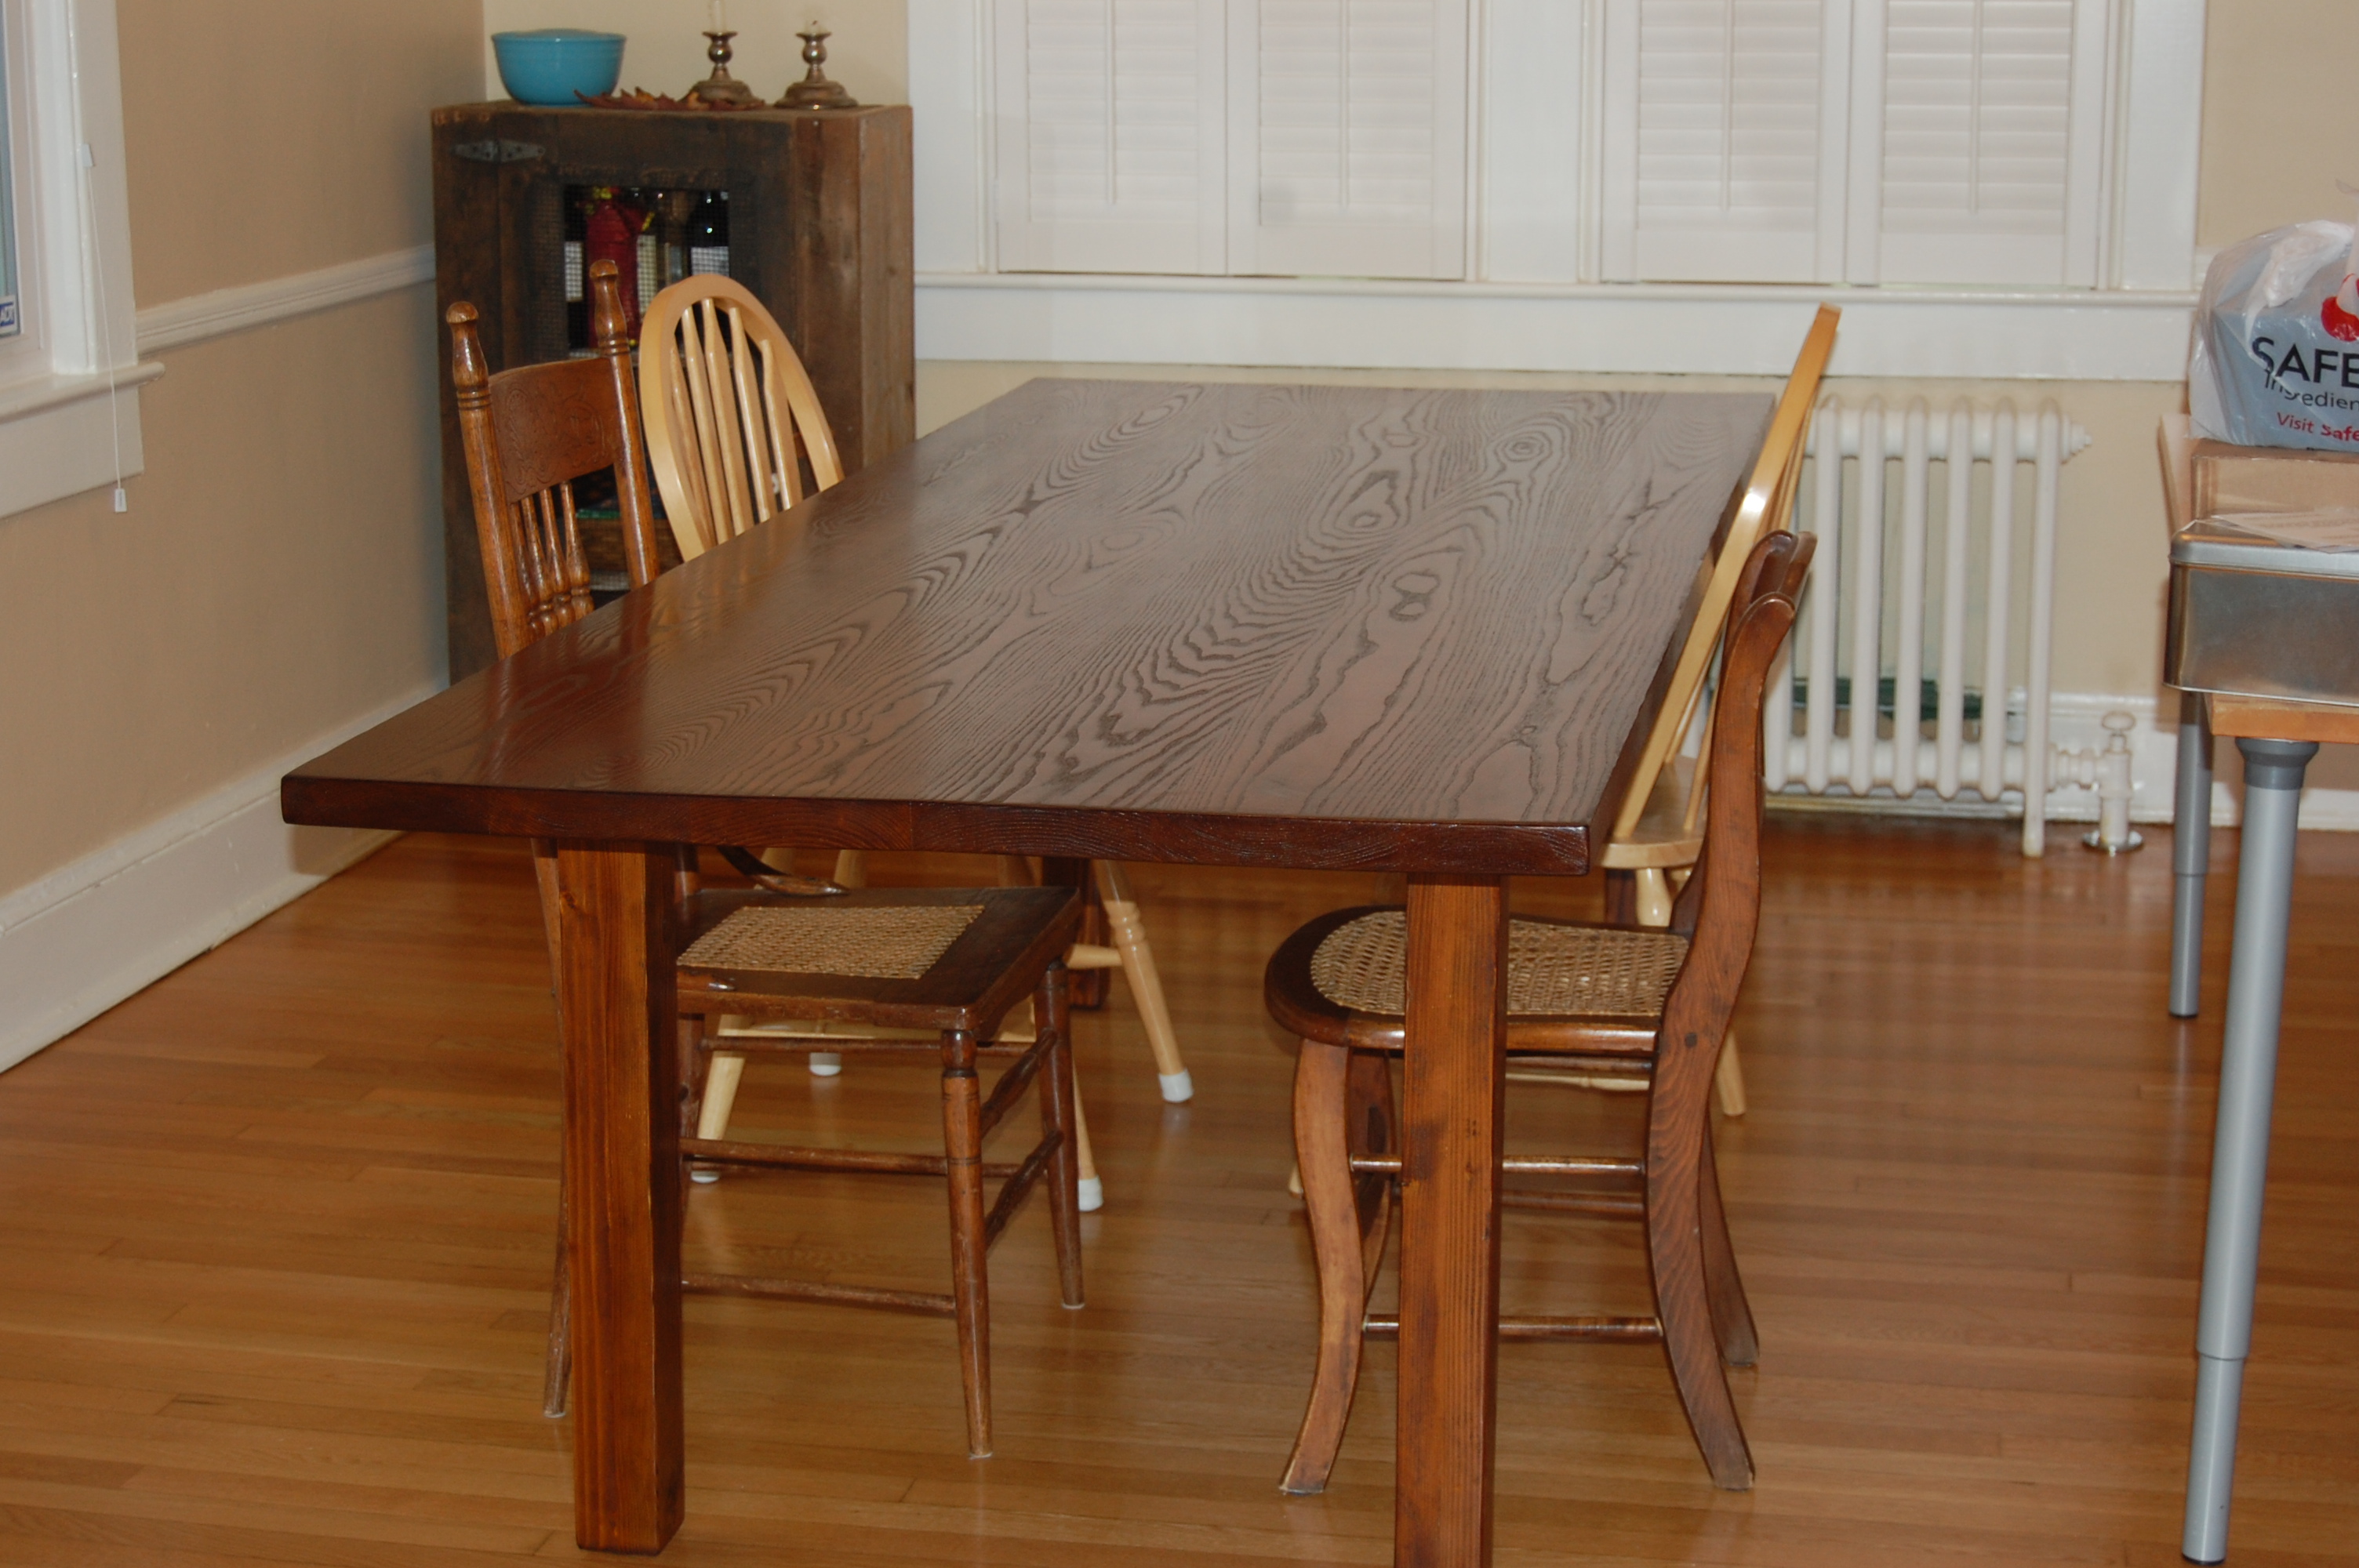
Finish Used
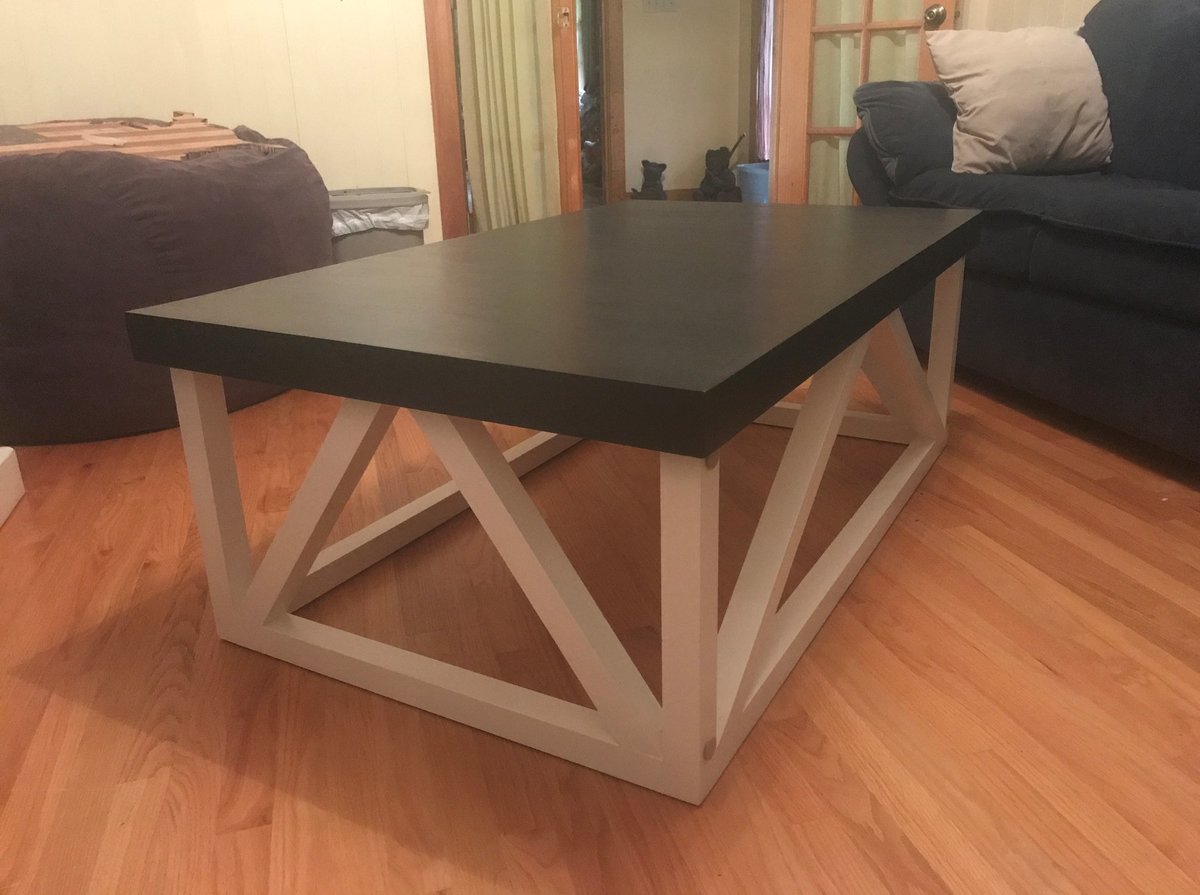
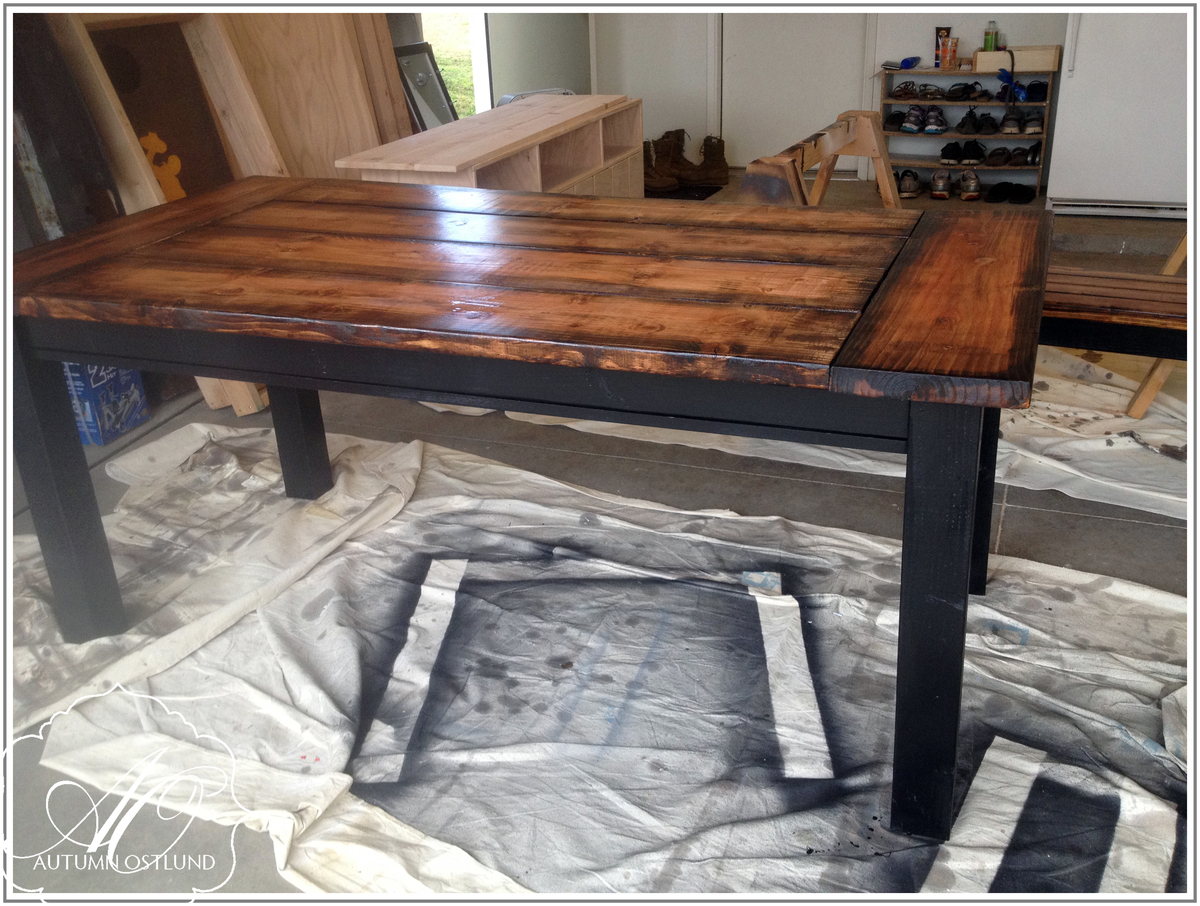
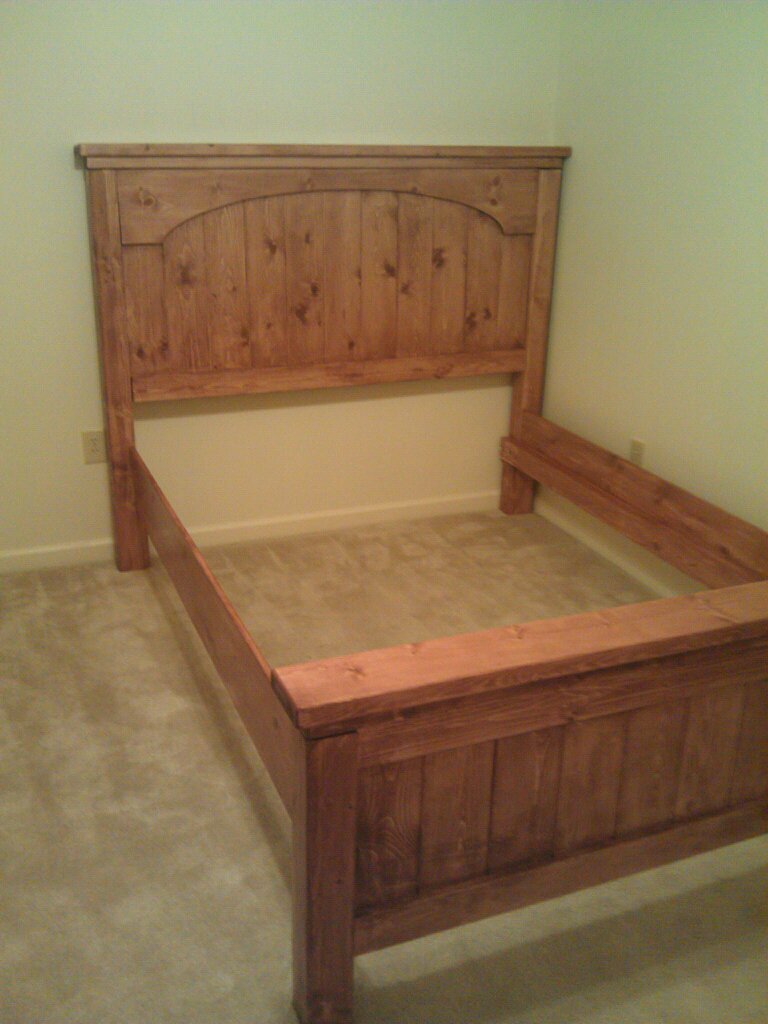
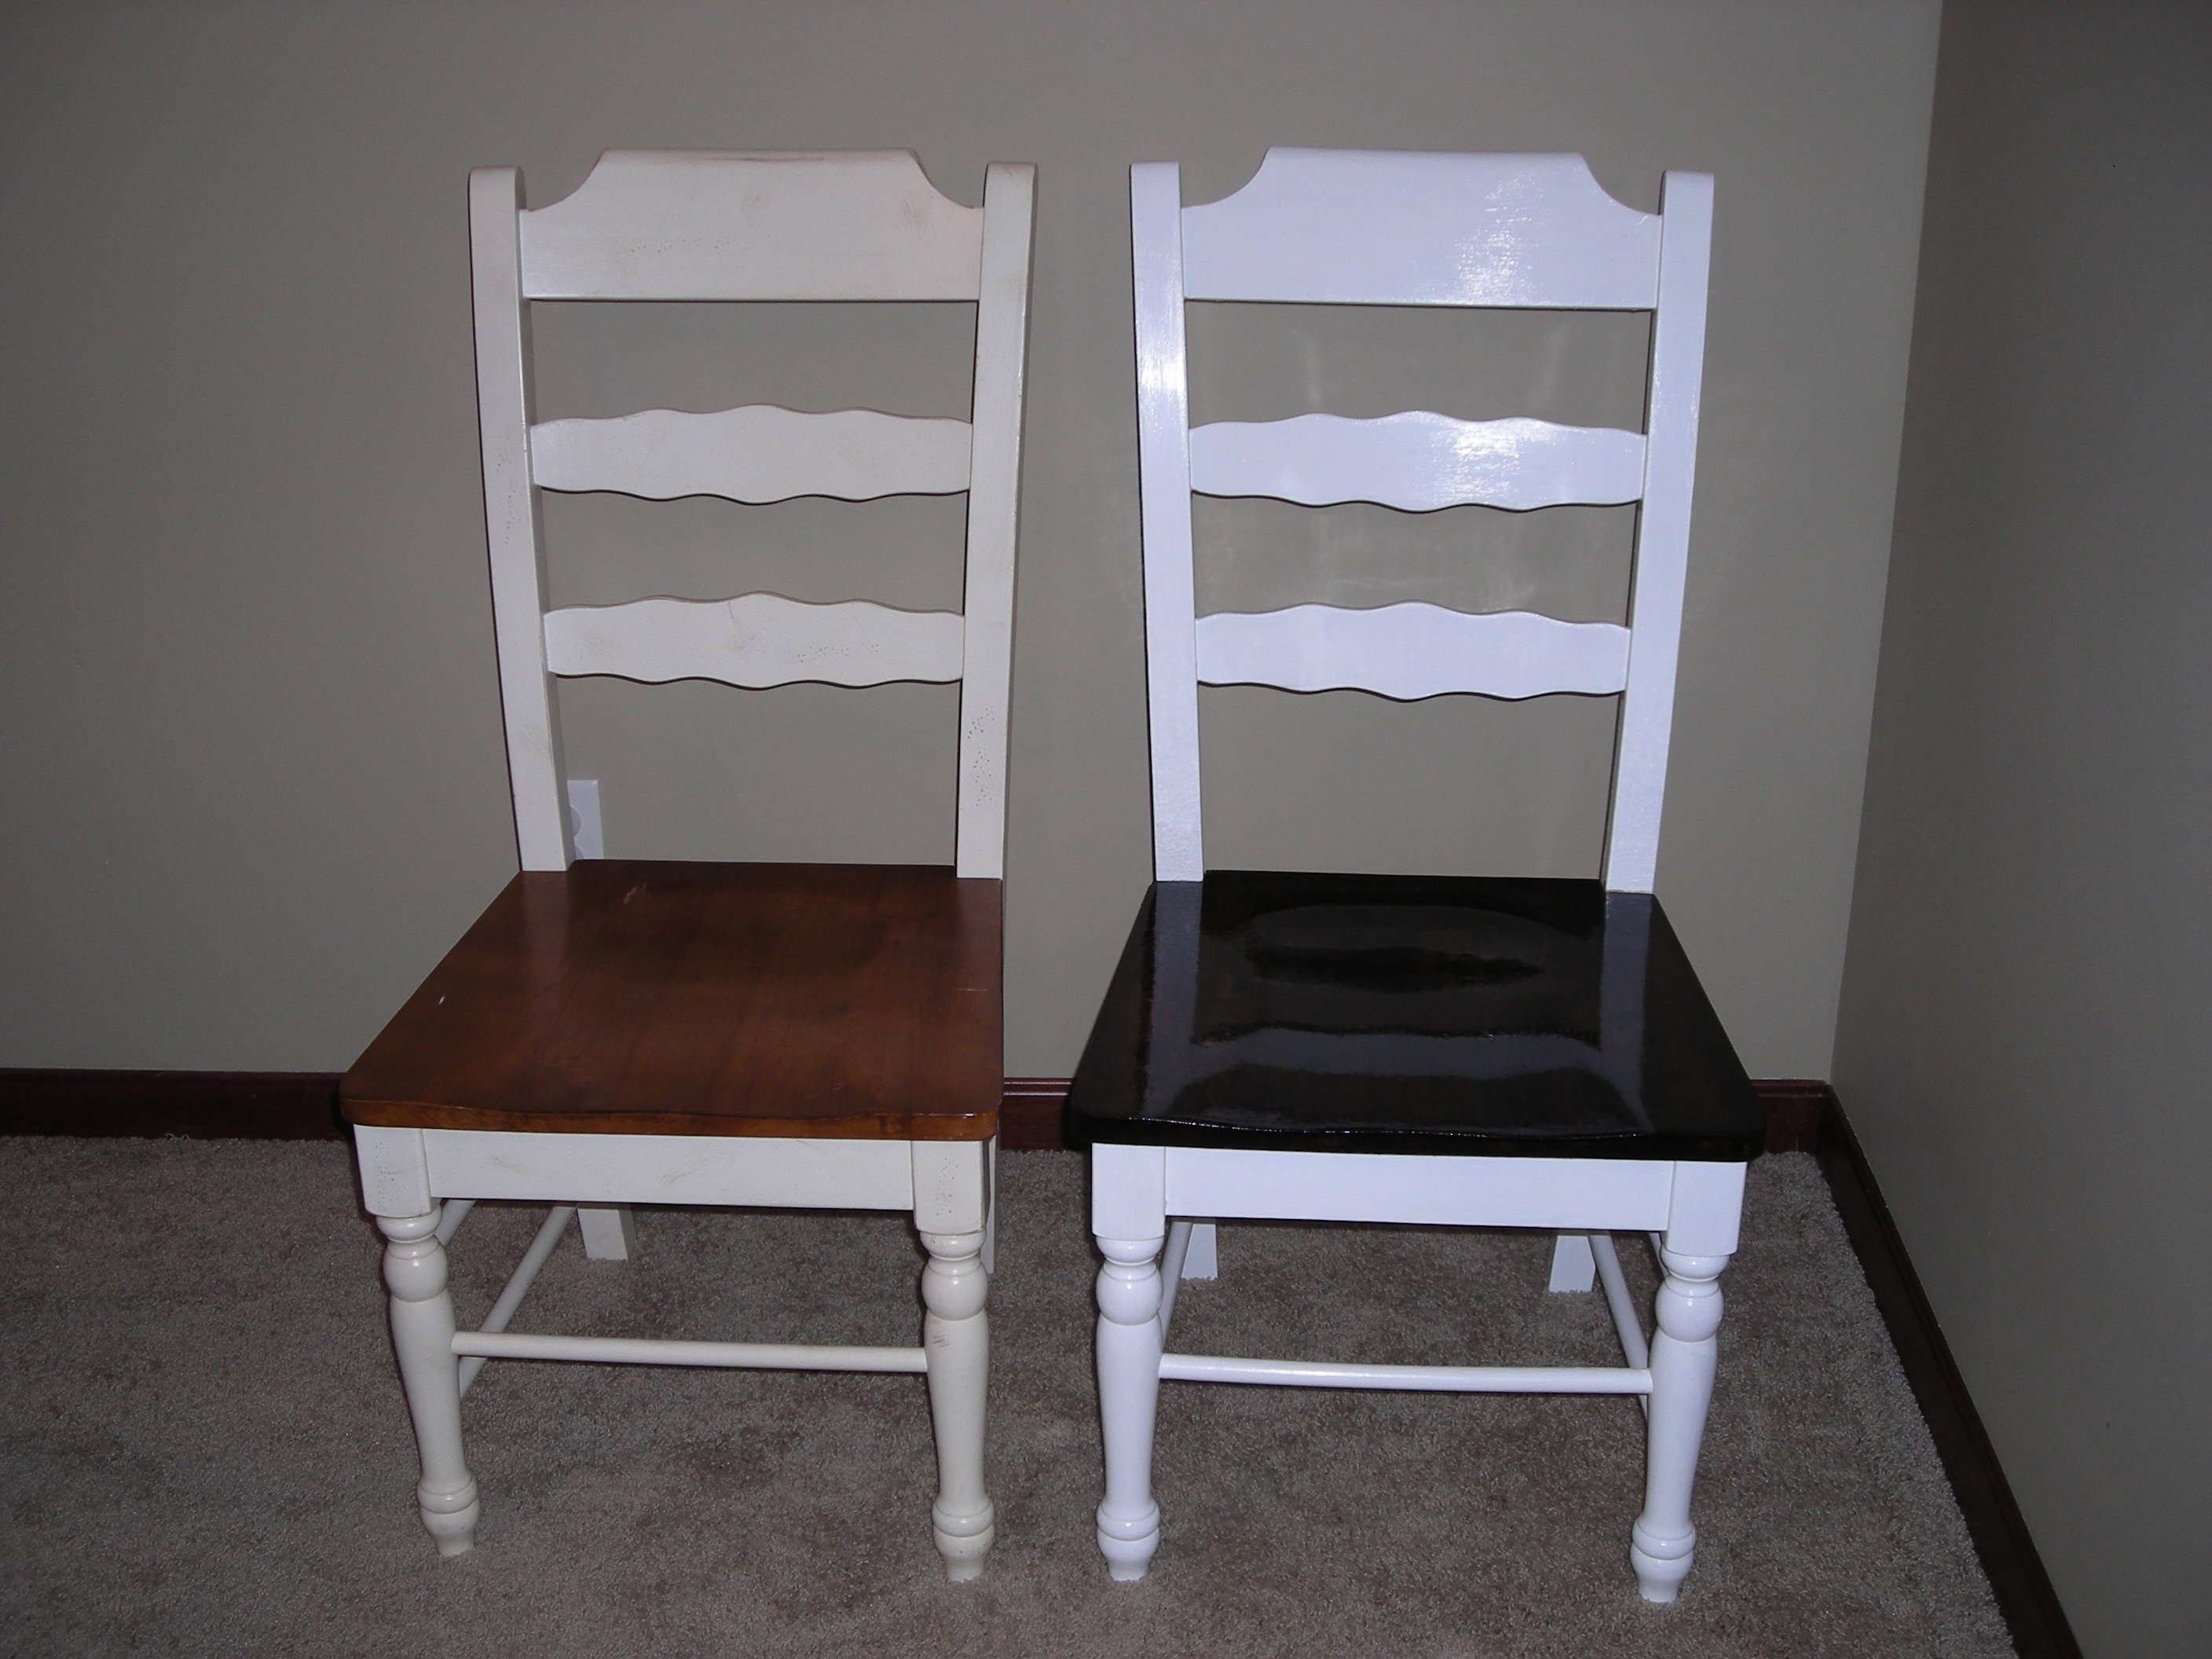
For the stain, I used General Finishes Medium Brown. It is similar to Minwax Special Walnut, which I used on my pine coffee table, but it looked a lot better than the Minwax on the Ash. For the finish, I used Minwax Polyurathane, thinned 50% with mineral spirits (Paint thinner), and wiped it on with old t-shirts. No brushing required (which means no brush strokes), but as it is thinner you need more coats. I have about 3 coats on the bottom of the table, 4 coats on the legs and base, and about 7 coats on the table top. After much research online, it seems that the general wisdom is that if you want a satin finish, you should use the gloss for all coats except for the last 1 or 2 coats, and that is what I did. 2 satin coats on top, and 1 satin coat on the base. The reason is that the satin has "flatteners" in it, and that if you do all coats with satin, it could get a little cloudy. Hope that quick summary helps.
I bought Minwax paste finishing wax, that I plan to run on the top within the next week. I was told that helps protect the polyurathane, and gives it a nice rubbed look. I tried it on a test piece and although it looks good, I didn't think it made a huge difference in looks.
Recommended Skill Level
Intermediate


Comments
Ana White
Sun, 10/14/2018 - 13:52
Looks great, love the way
Looks great, love the way finished it!
bknjohnson
Sun, 10/14/2018 - 15:15
Thank you Ana!
Thanks Ana! What a great surprise hearing from you directly. I appreciate it. :-)