The littlest tower helper
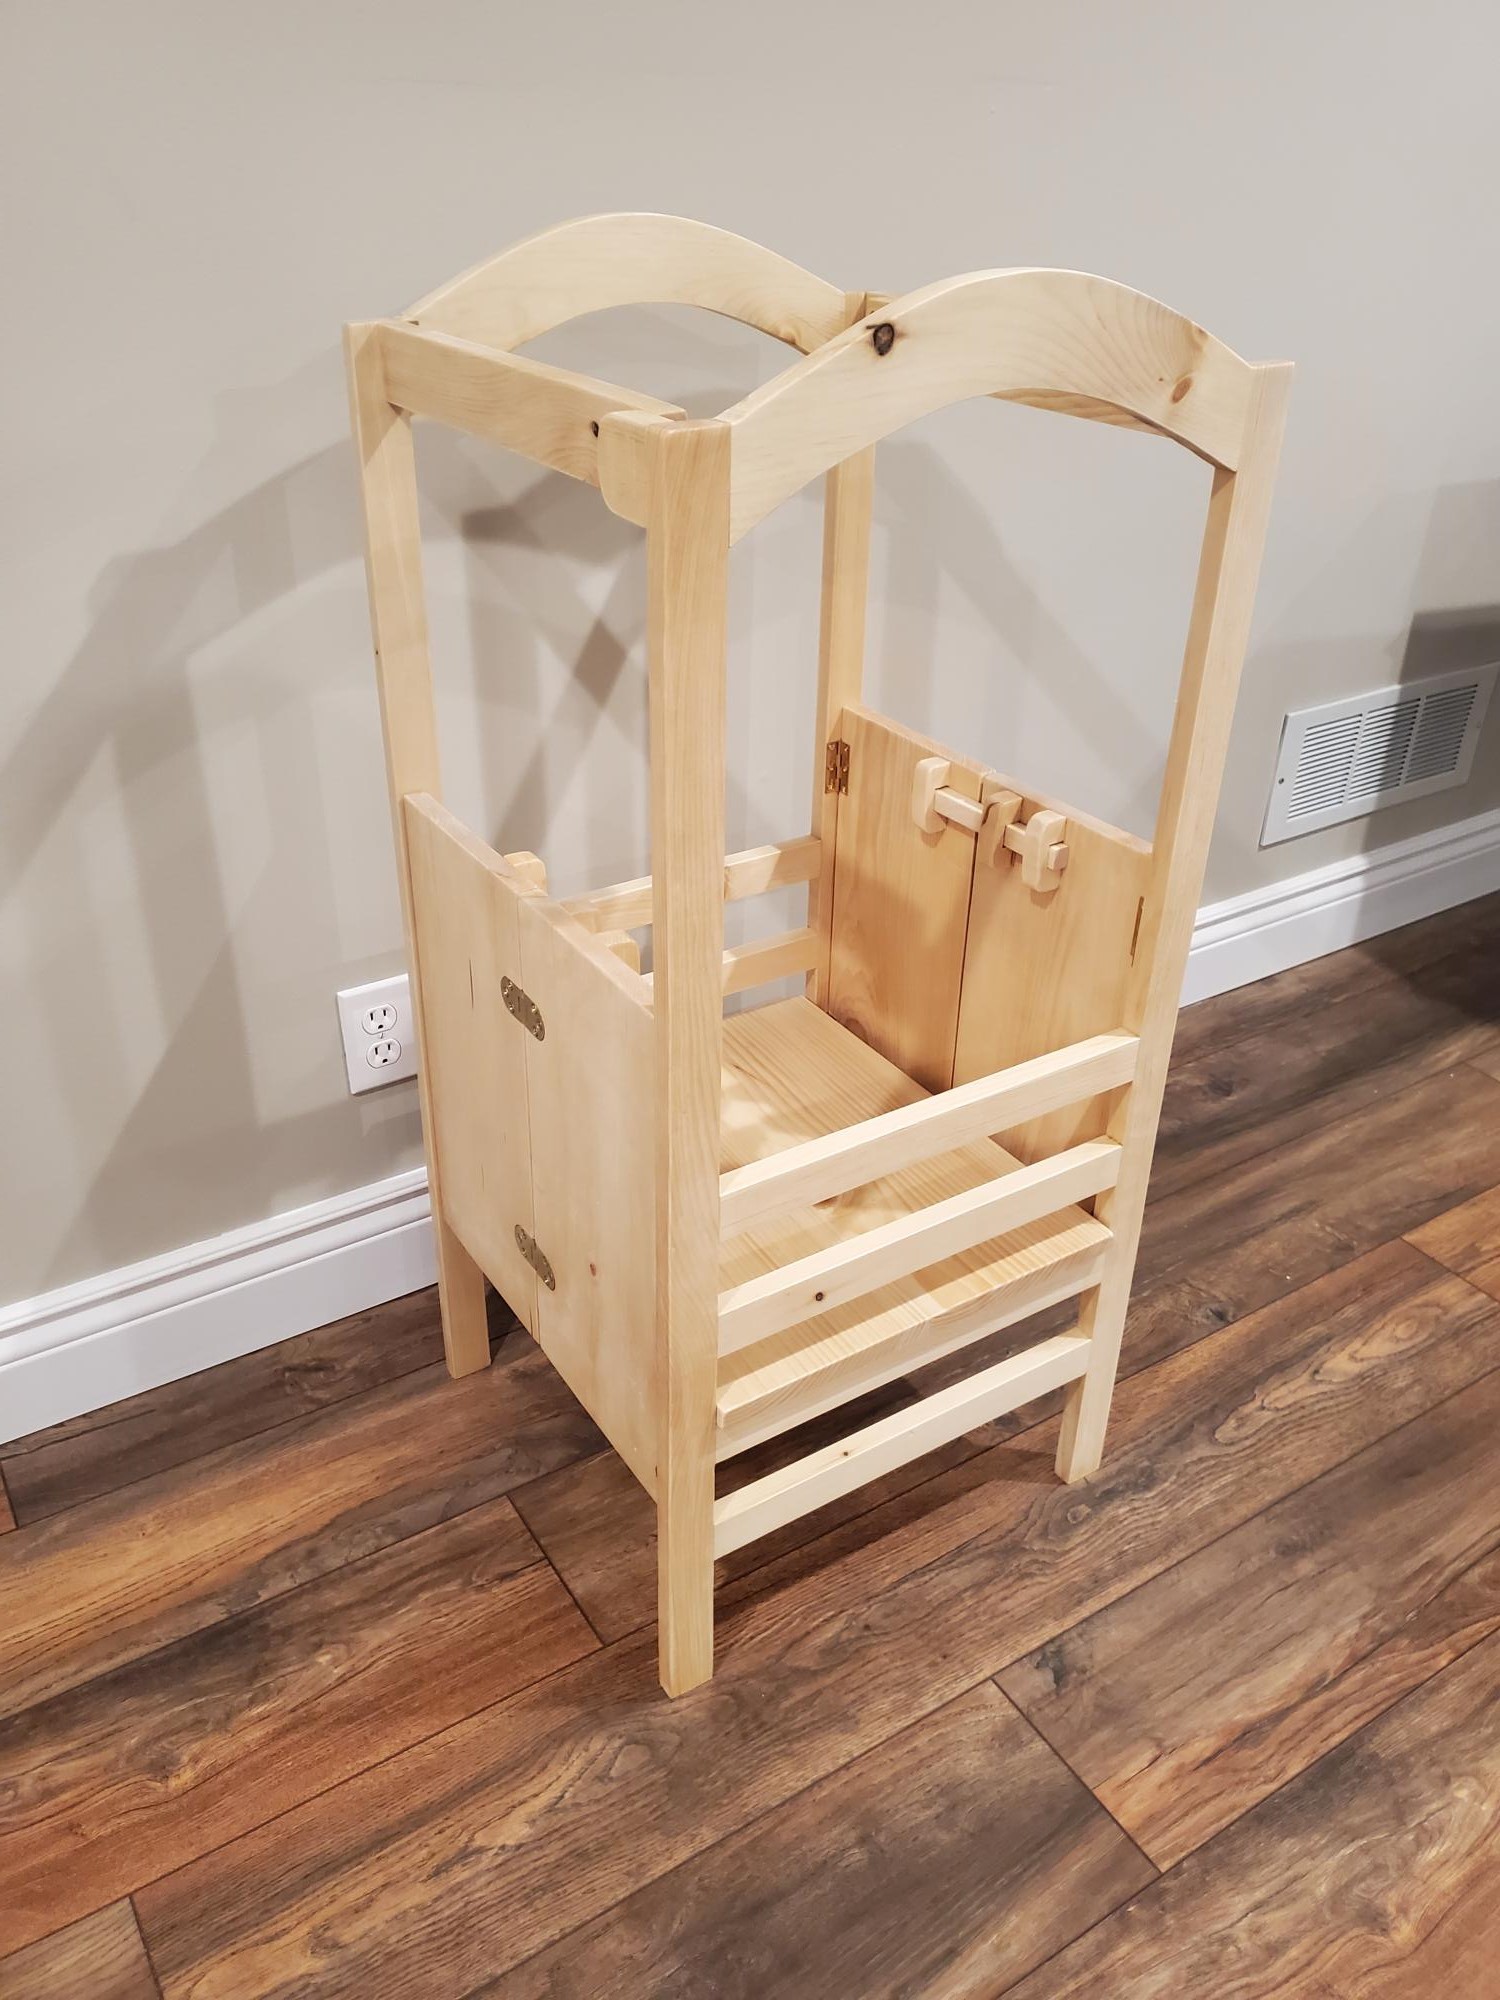
My variation of the "Littlest tower help" plans I found here on Ana white. I loved the design of the original but wanted it to be able to easily store away when not in use. Thanks for looking, Eric
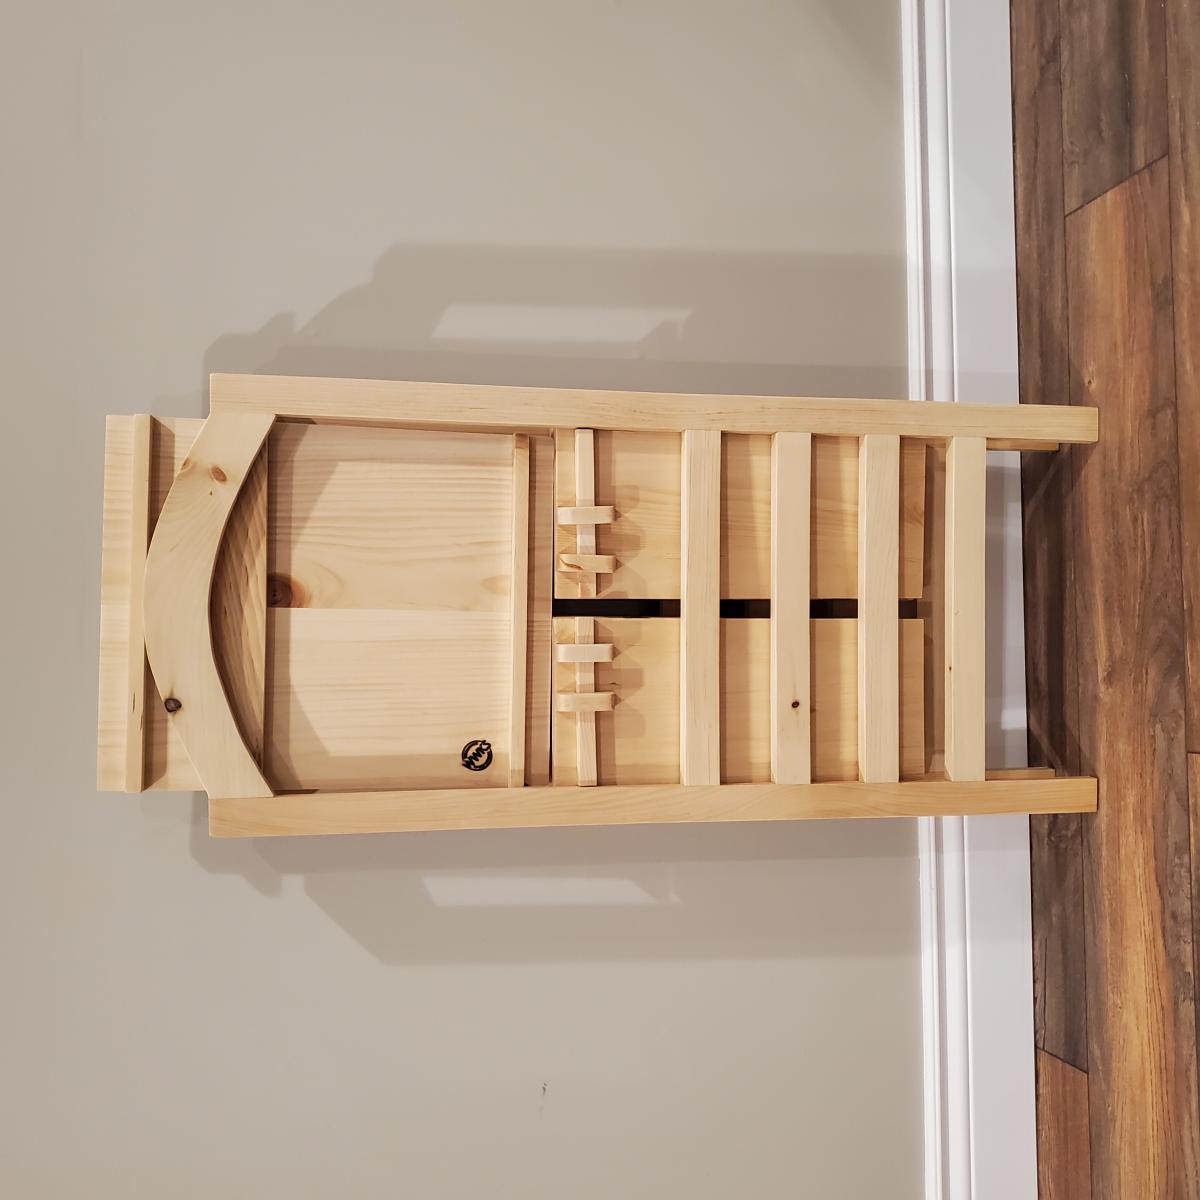
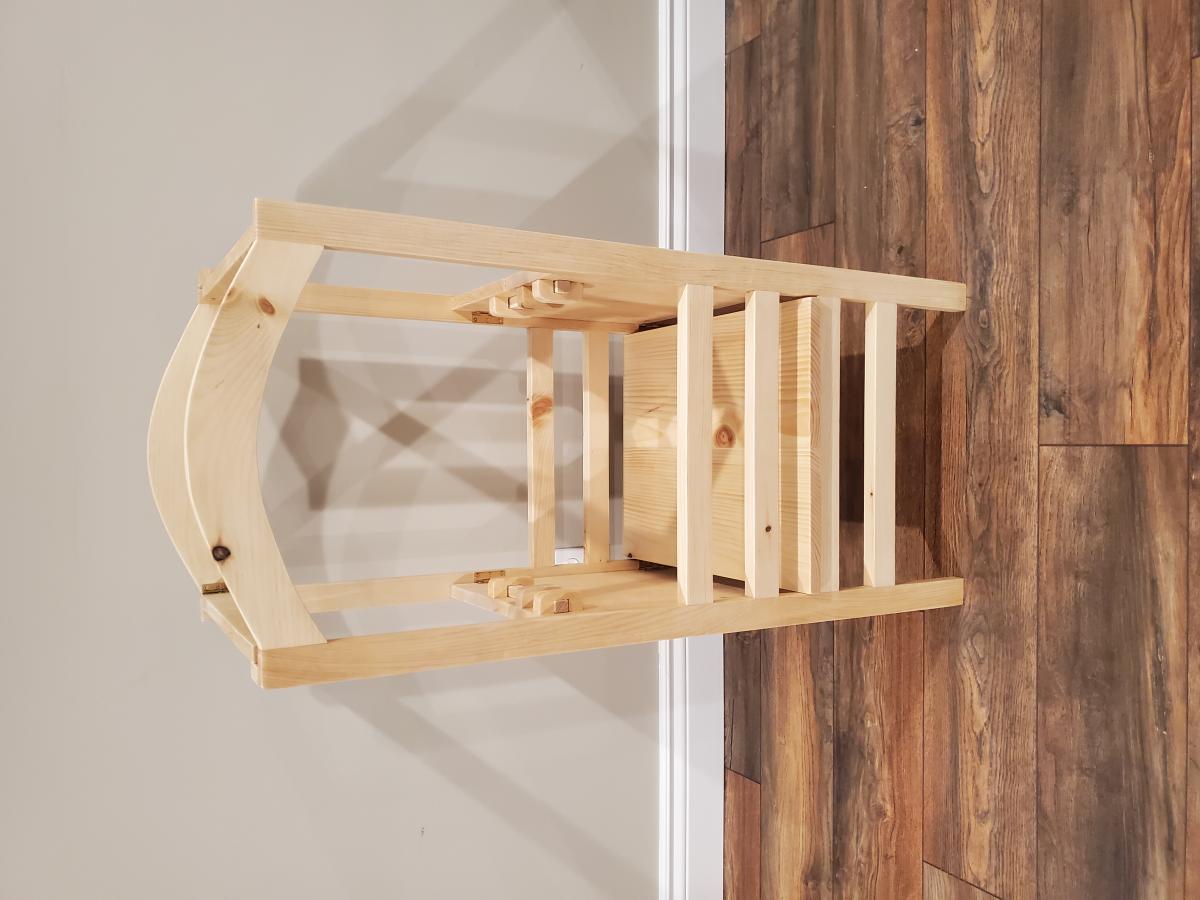
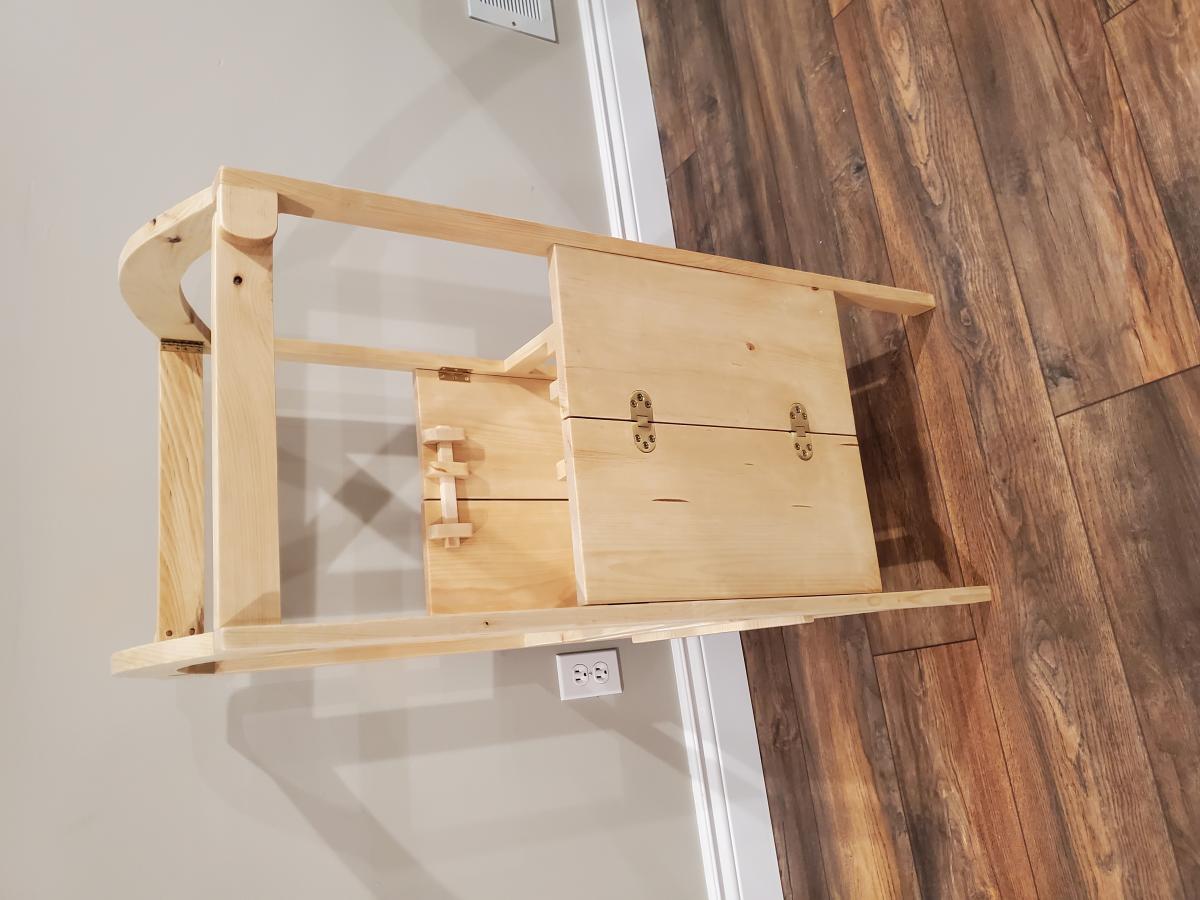

My variation of the "Littlest tower help" plans I found here on Ana white. I loved the design of the original but wanted it to be able to easily store away when not in use. Thanks for looking, Eric


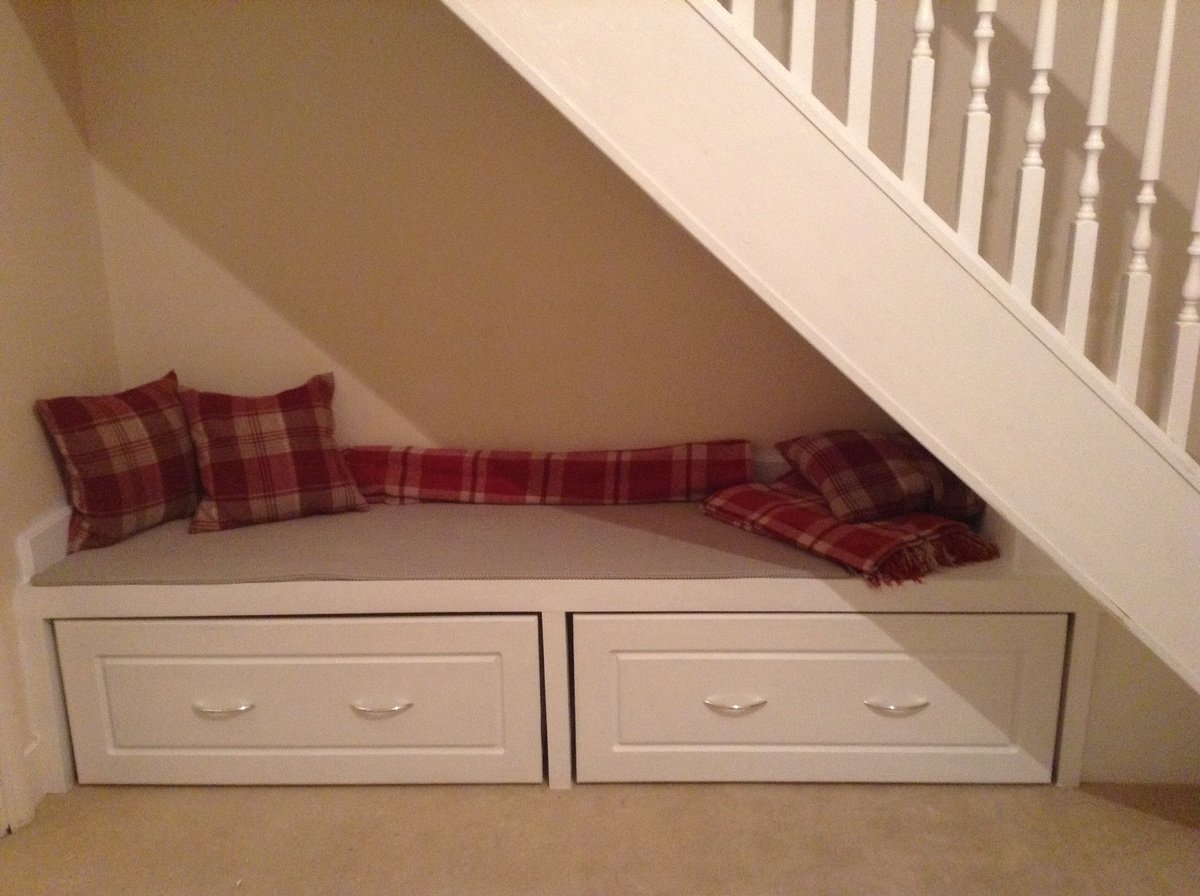
We are in the unique position of having stairs in our bedroom and they take up quite a lot of room. We considered putting a chair and set of drawers under the stairs but they would have looked cramped.
Having done some research we found some photos where people had built benches under the stairs. It was around this time that we found Ana White's plan for framing up a mud room bench in a nook (which for some reason I can't add to the 'built from' section). We had to adapt it as the original plan was framed by 3 walls and due to the angle of the stairs we could only use 2 and added legs. We also had to add triangular panels to give it that built-in look.
We were able to complete the build for relatively cheap as we kept a ton of 2x2 from when we removed a 60s built in wardrobe and was able to rebuild it. If you look behind the drawers you can even see that the wood is notched from the wardrobe hinges but in a nice way it keeps the old owners work in the house.
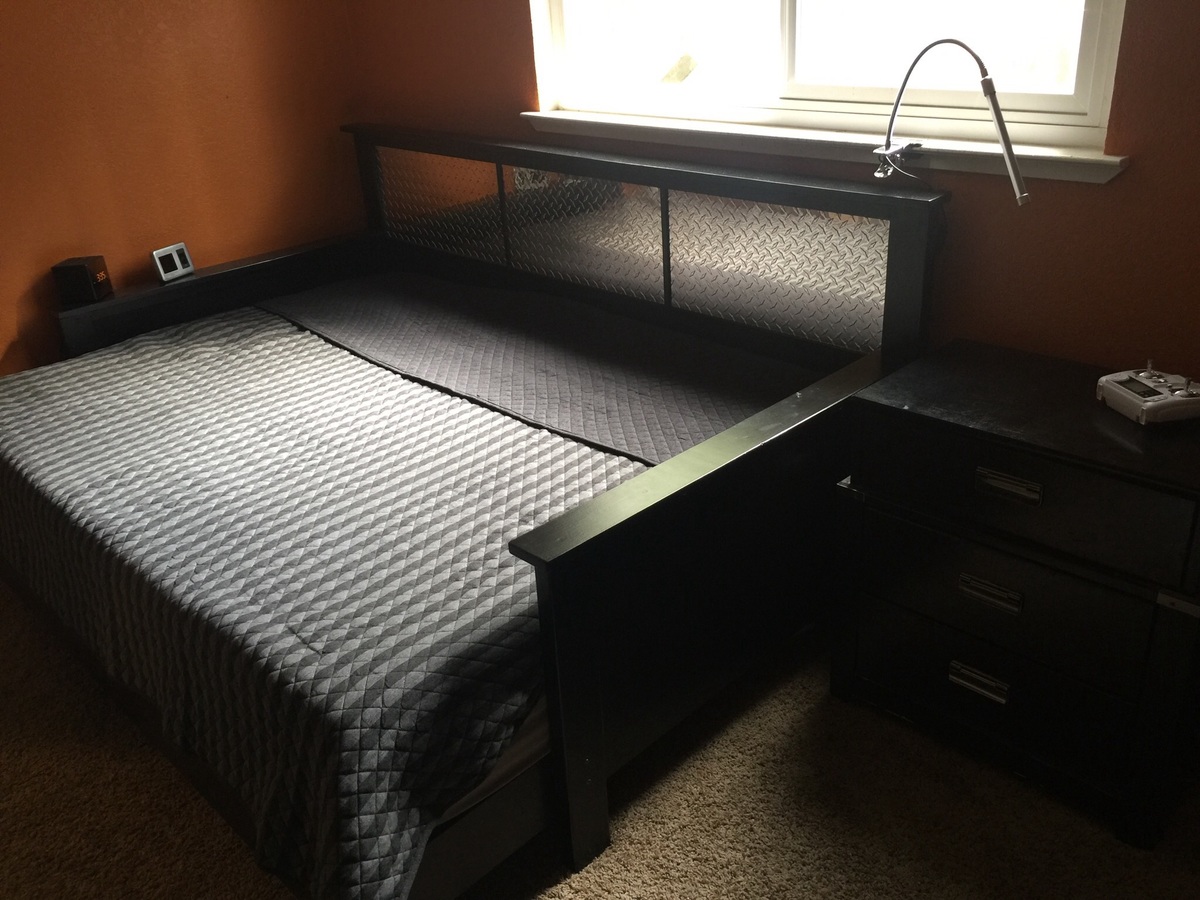
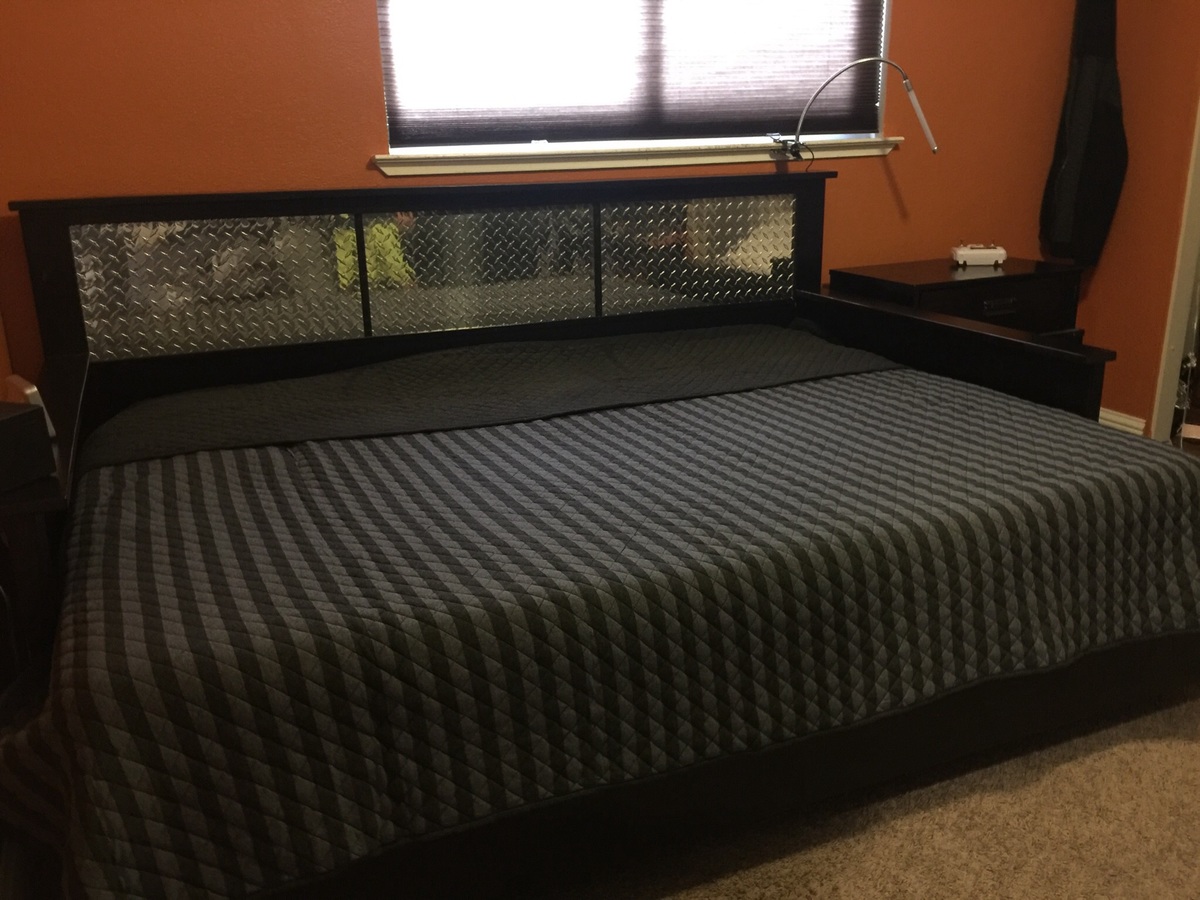
This is a hybrid between the Hailey daybed and the Hailey platform bed. My son is in love with this bed! Used aluminum diamond plate for the headboard.
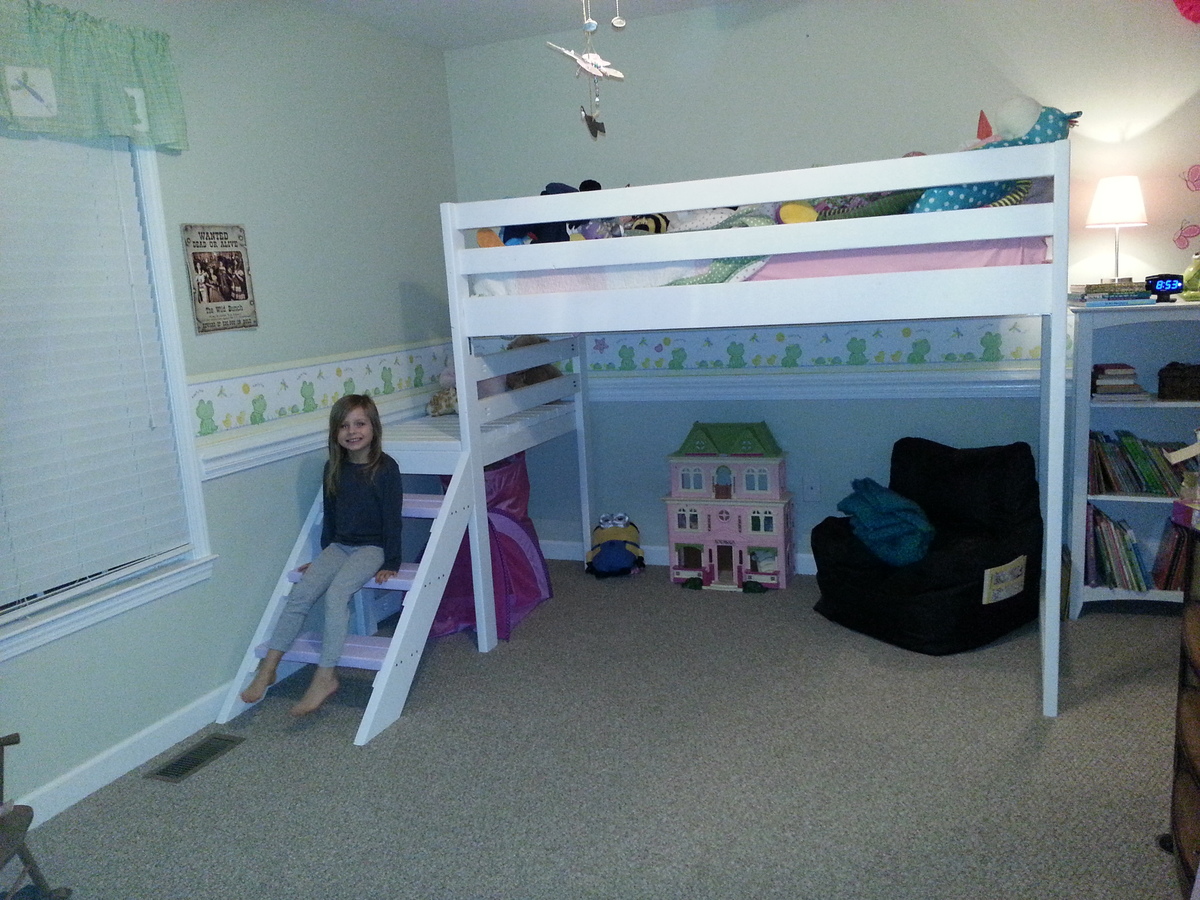
We had a blast building this bed for our daughter. It was our first build and I think it turned out perfect! Thank you Ana White for the inspiration and fantastic directions to get us through! Now onto the next project!
Amy
For some time I've wanted to build a sturdy coffee table for our family room. I've also been experimenting with and bulidng lots of furniture for the kids rooms with low cost, paint grade, maple veneer plywood. I love the ease of working with this material and results have been great. I never thought that raw edged plywood furniture would have a place outside of the kid's bedrooms until I saw this slab of bamboo counter top at our local big box store and I got the idea for this piece. Although I still would'nt consider this "fine furniture", I think it turned out pretty cool. The design is my own, and it's the first time I've tried flaring legs in two directions which was real easy to do with a bandsaw. I have the plan drawn up in sketchup if anyone is interested.
Fri, 01/09/2015 - 13:33
What a cool project! Love the bamboo top! To do your table legs, did you glue the plywood pieces into a block and then cut with the band saw? Beautiful job!
Fri, 01/09/2015 - 14:11
Hey Thanks for the comment. Yes the legs are just 4 pcs. of 3/4" plywood glued together then cut out on the band saw.

Hi,
I made these planter boxes from Ana's plans. The plans made it an easy project and we also decided to paint them white.
Cheap and very effective in the garden.
Thanks Ana...


Modified the plan in order to use 12 inch drawer slides and to fit the 1X24x48 project panel found at Lowes. The 2 inch swivel casters and drawer hardware were found at Home Depot.
Built this table using the Ana White plans everything worked great.
This took me and my father a few weekends to complete simply because that is all the time I had to work on it (was the weekends). We put a lot of effort into it and made sure everything was neat and safe. We modified the original plan a bit to give some more boy feel to this bed, and we added window bars to keep my children from climbing out of them. You know boys! We also added a window on the far side of the top bunk. We should have added one to the bottom too since it is so dark, but he likes it anyway! If you want to see some step by step photos, you can go to http://www.facebook.com/media/set/?set=a.10151477424866465.1073741825.5…
P.S. The estimated cost was for the bed only, not the mattresses or stain
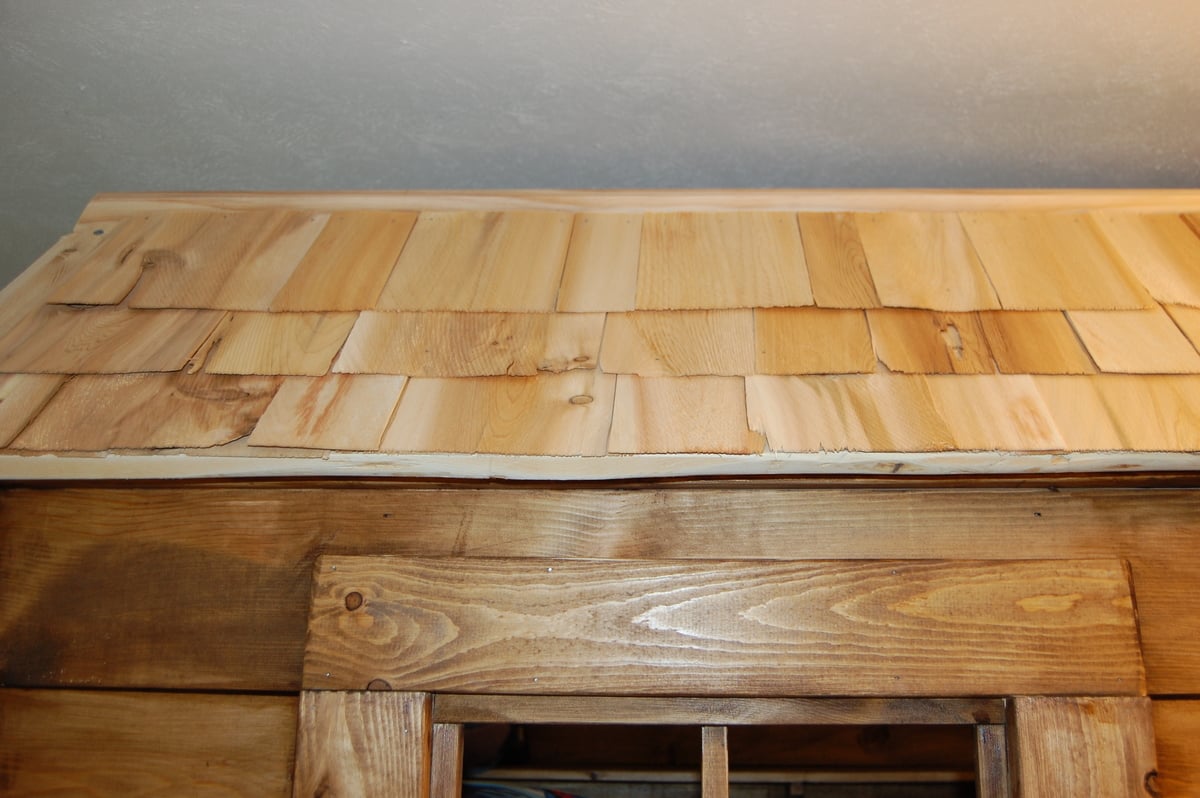
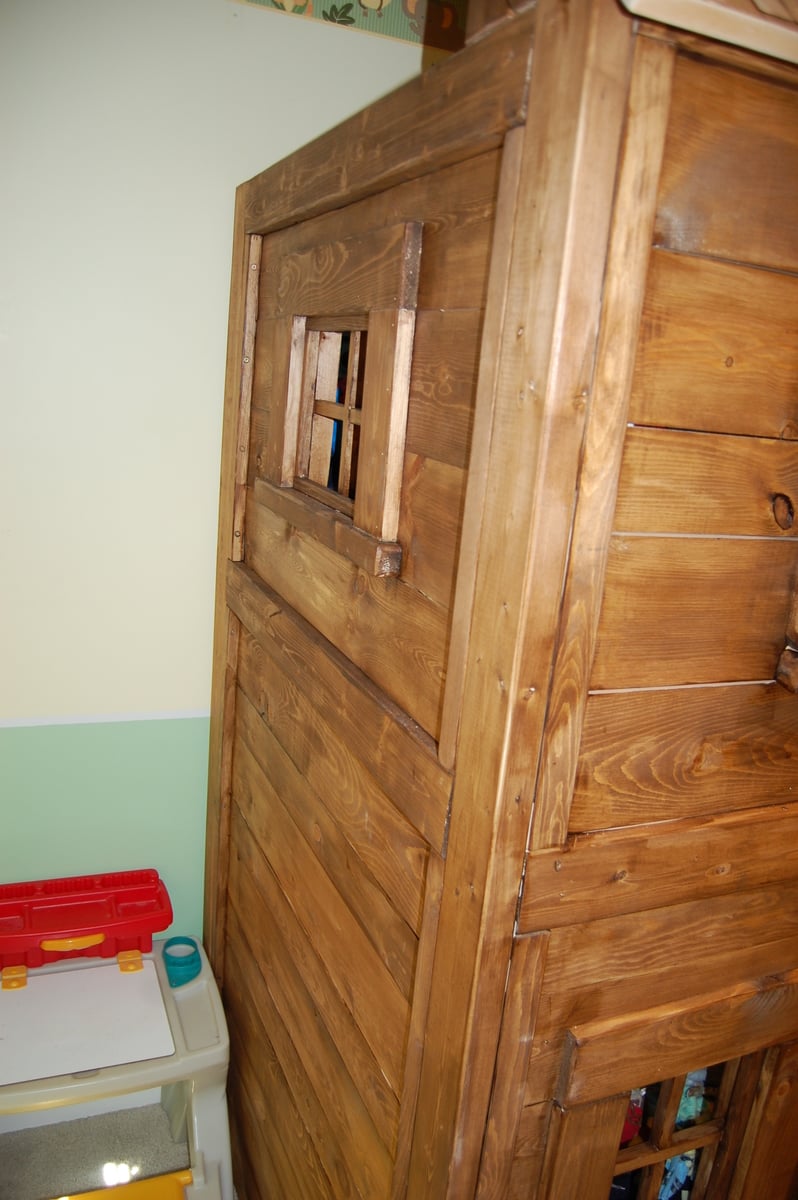
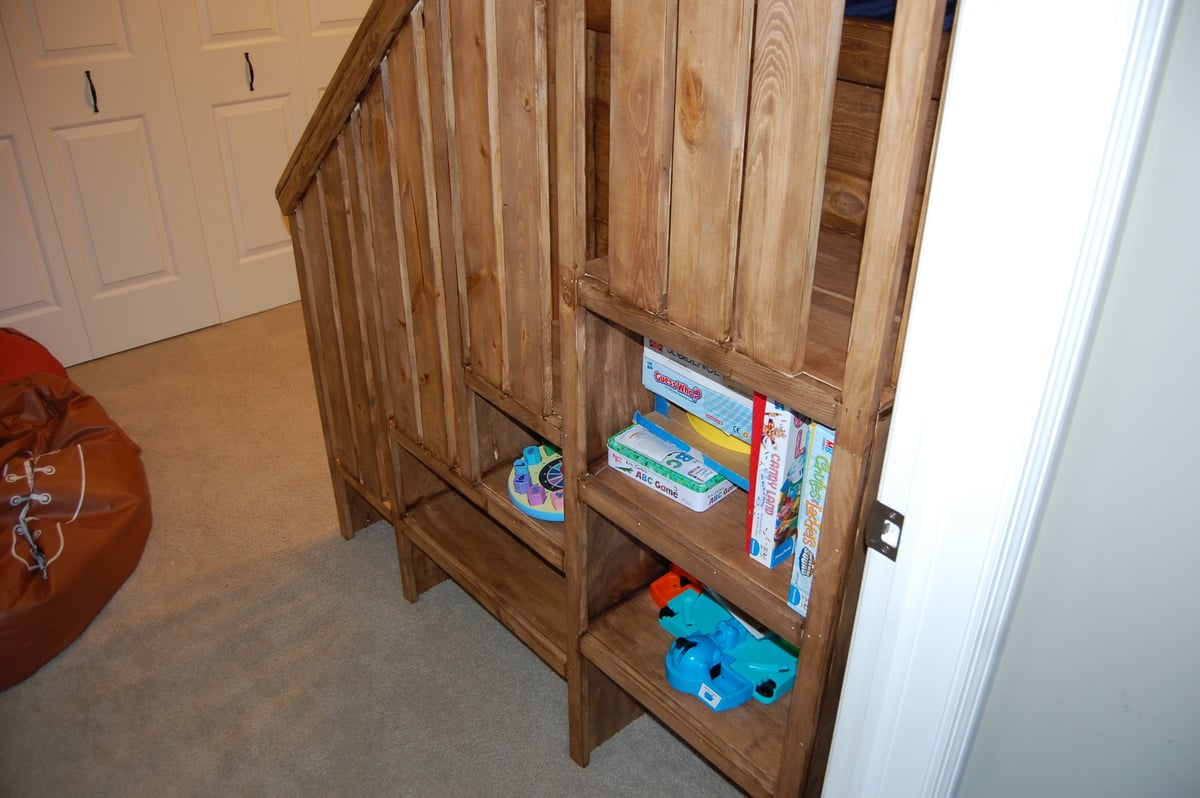
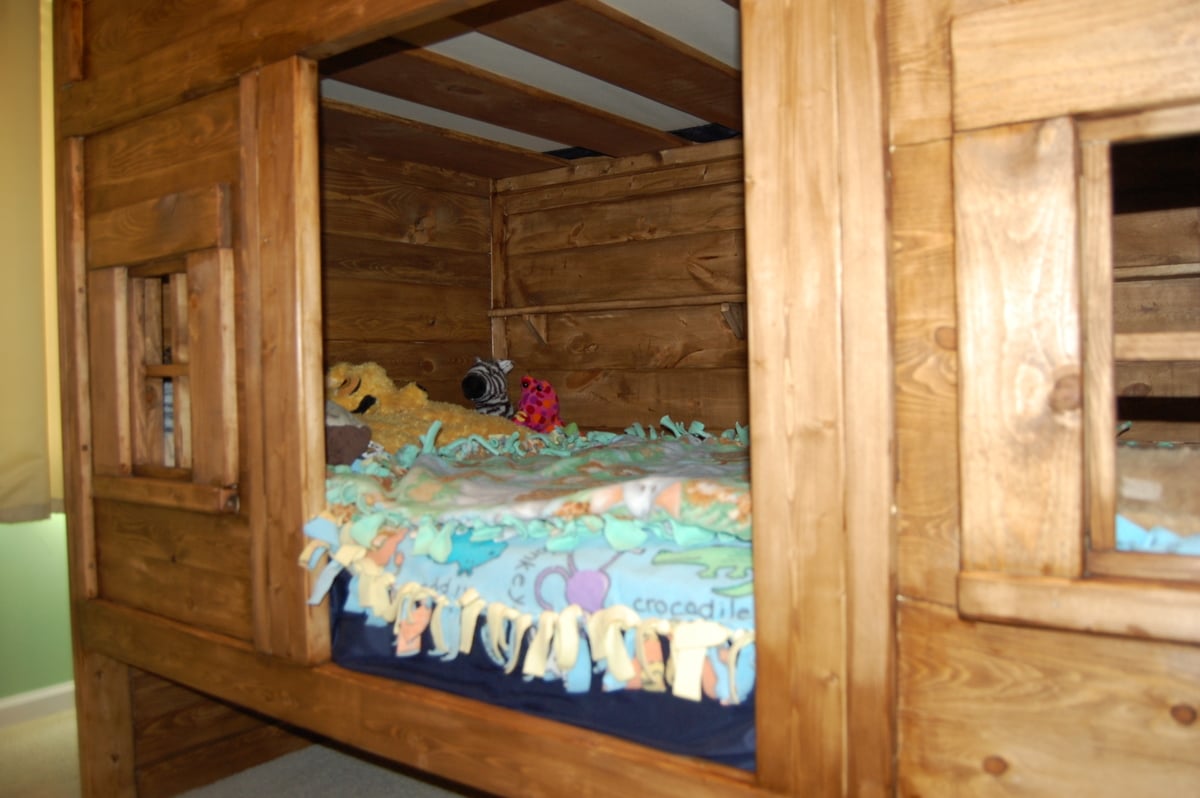

Sun, 03/17/2013 - 14:53
My daughter walked in and said.....AH! I wanna sleep on the top! HAHA. Good job
Sun, 03/24/2013 - 08:08
I love this! You did a fantastic job. I think the stain makes it look great!
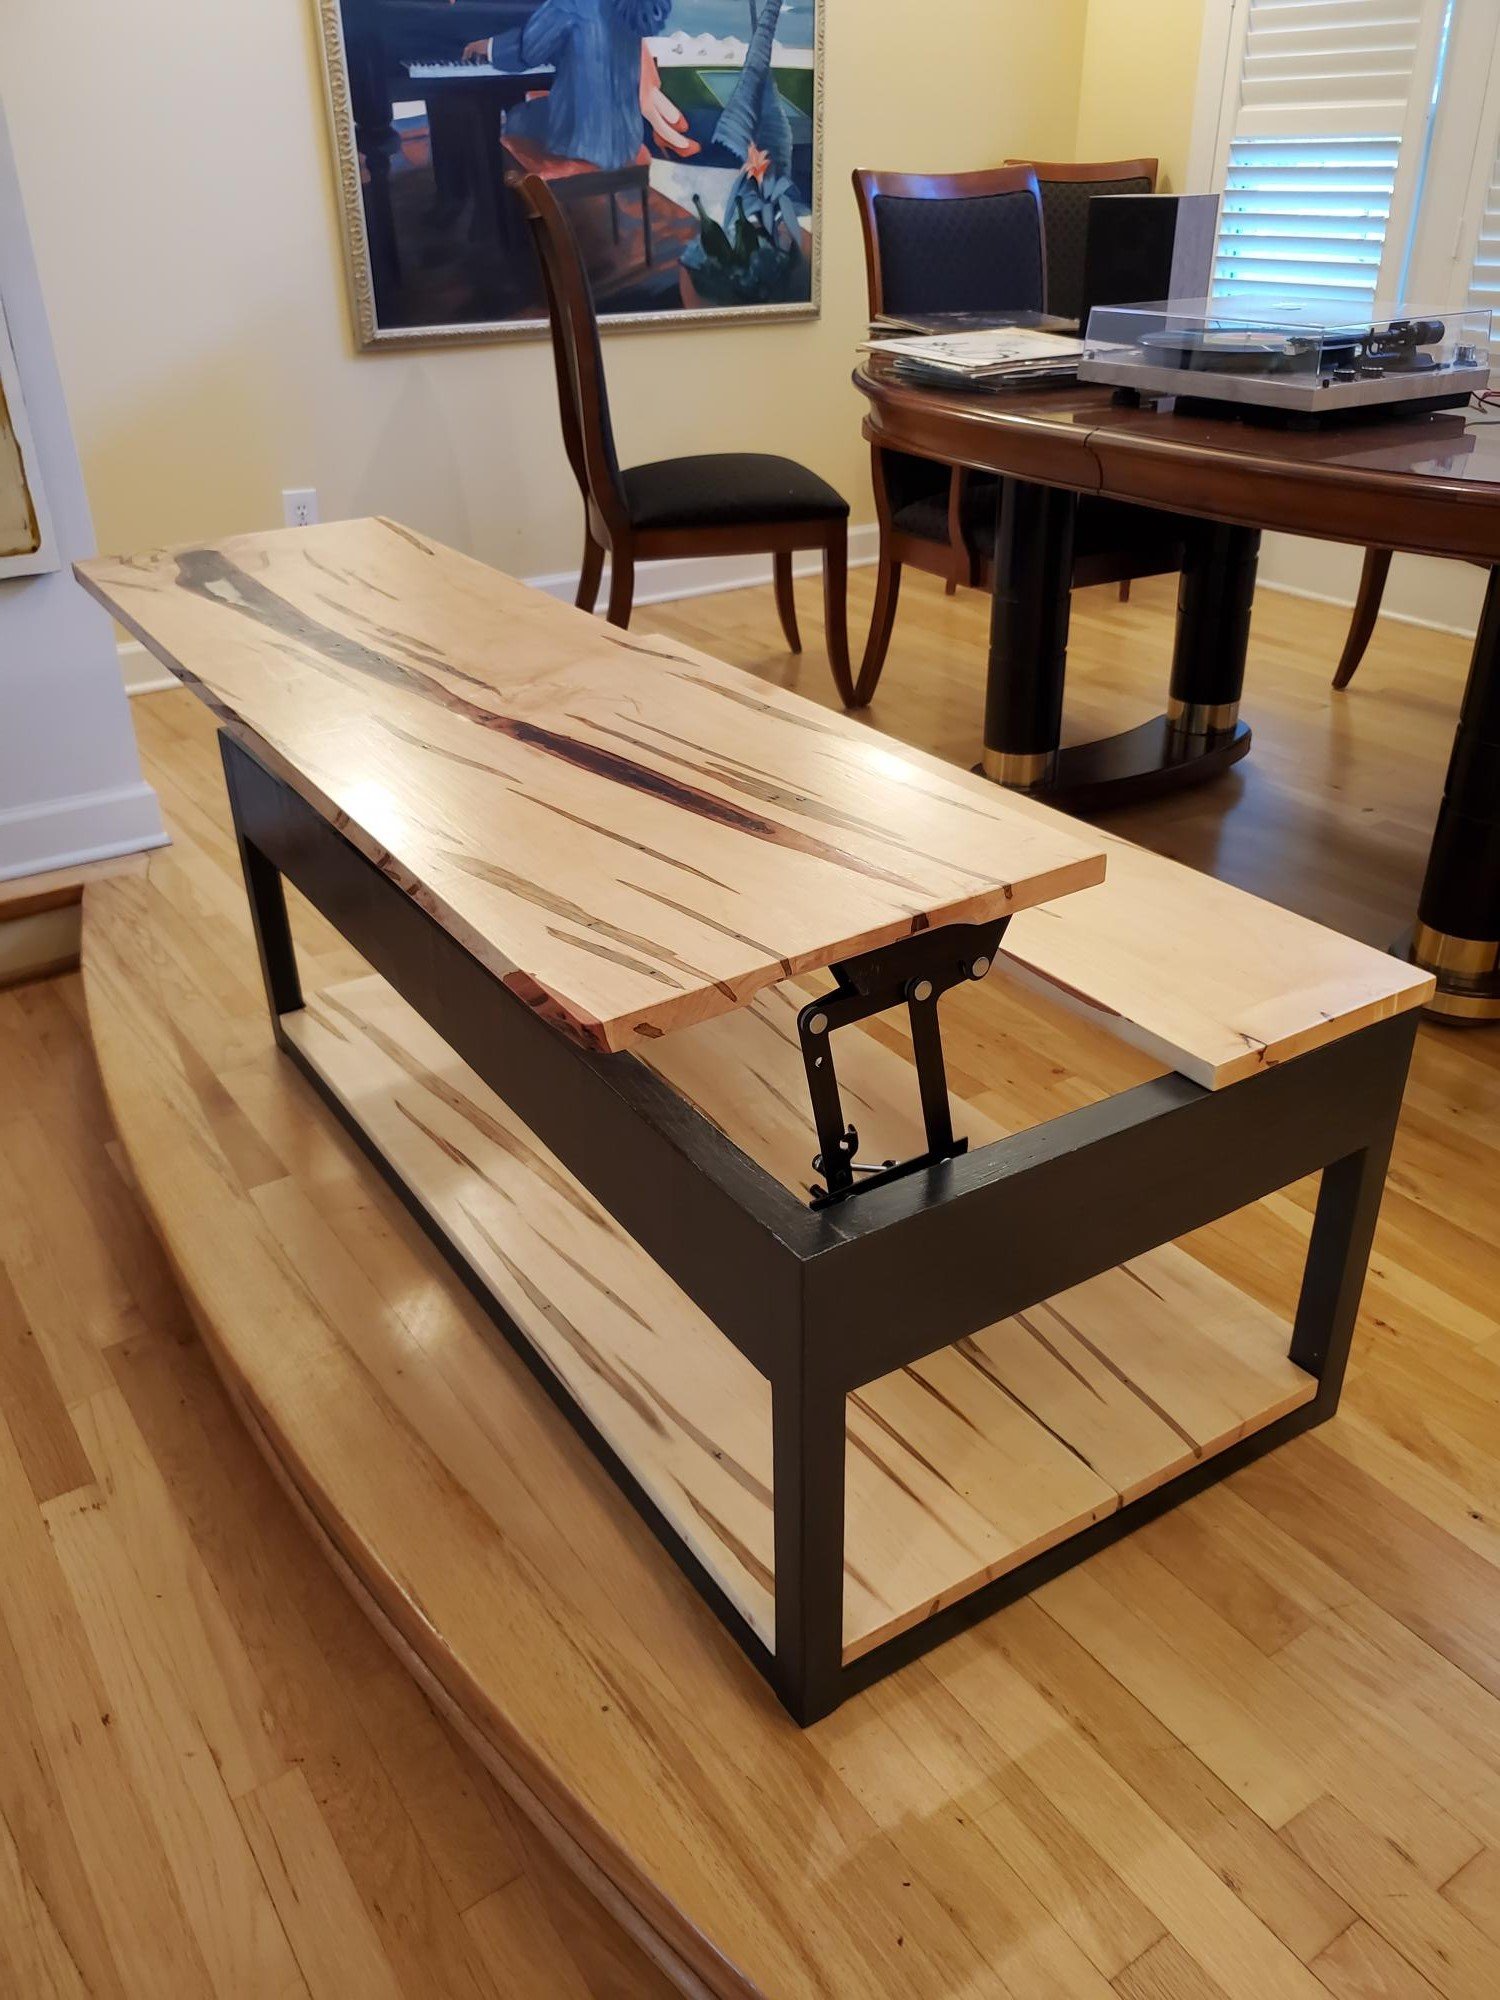
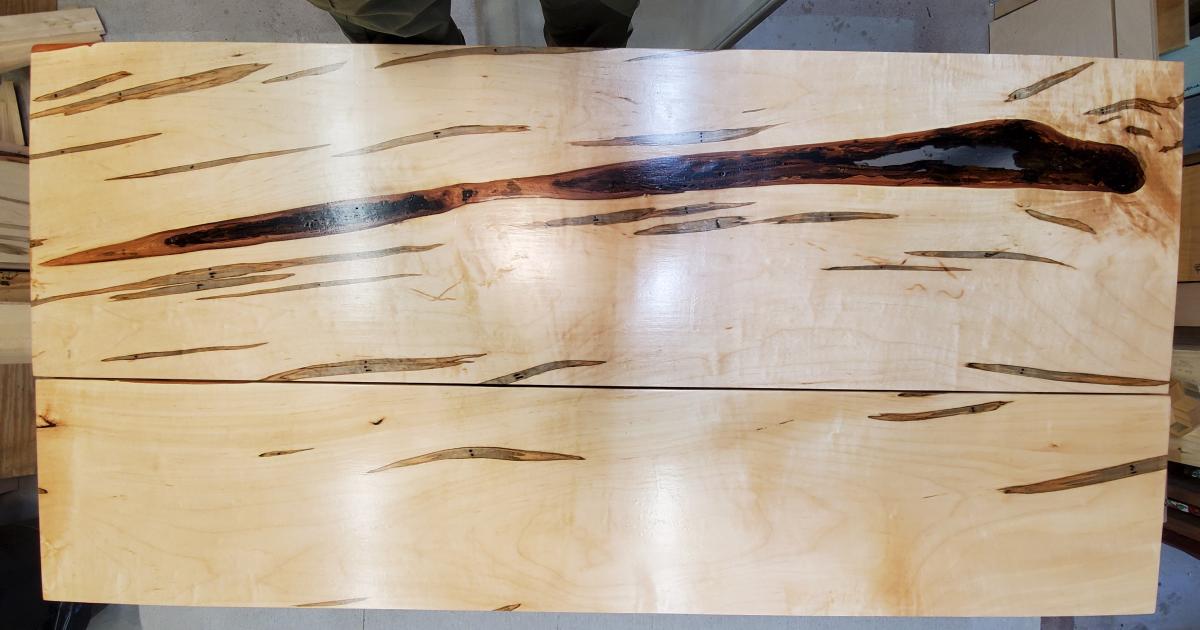
Wow, building this table was more than I bargained for, but all the difficulties were my own fault. For starters, although the wood is beautiful (wormy ambrosia maple) the piece I chose to work with had a large knot hole that needed filling with an epoxy pour. It looks pretty good if I do say so myself (it's probably hard to see in this photo). Second, I didn't count on the hinges being so long and my wood came up about 3/4 inch too short for them. Had to scour the internet for some that were not so long. They ended up being a bit of trouble to install, but all's well. I used my router to cut a cove for finger grips which did make it easier to lift the top. I also made the top sides bigger that the original 2 x 2 (2 x 5 maybe) for weight and stability. I had extra wood so I added a bottom shelf as well. The finish is several coats of Varathane semi gloss polyurethane. I really like how it turned out!
Mon, 04/19/2021 - 15:35
Sounds like you attacked and conquered! Thank you for sharing your gorgeous build here!

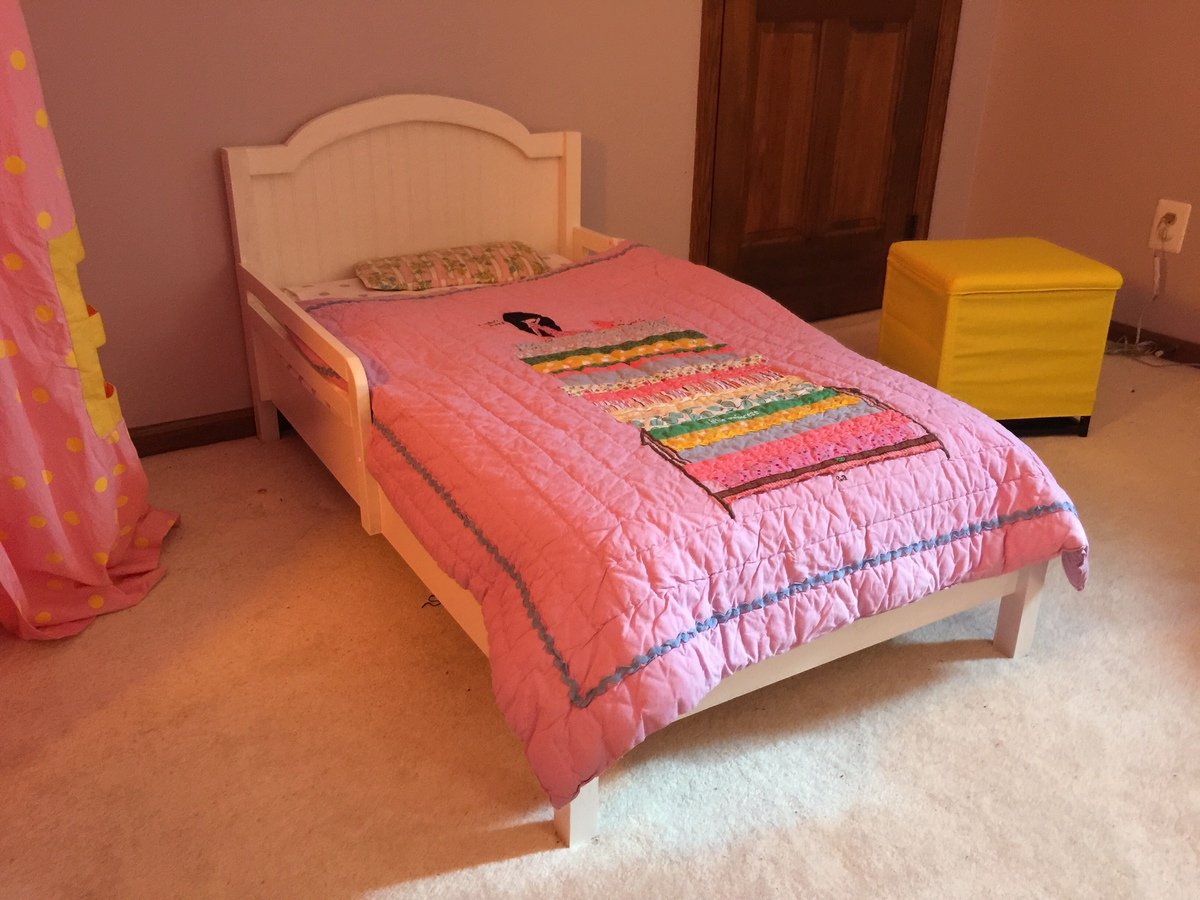
With another baby on the way in a few months, we decided to move our 2+ year old daughter across the hall into her first big girl room. I built big sister the Kendal Extra Wide Dresser, Traditional Wood Toddler Bed, Letter A Shelf and a Dollhouse Bookcase and matched the colors with her new comforter, lamps and princess canopy tent from the Land of Nod outlet.
A lot of people have done some pretty cool modifications to this project, but at the end of the day, we decided to follow the plan verbatim and build the Pottery Barn design. This build was super easy. Probably spent most of the project time sanding over and over in order to ensure that it was splinter-free, smooth, and safe for our princess. I do note that the side rails in the project design are somewhat low after you put the mattress down. However, this was really only a concern during the first few weeks. Although our daughter somehow was able fall to the floor during the first night (without incident--she did not even wake up--thank god for carpet), after she became accustomed to the bed, the lower side rails actually work rather well. Our daughter, a insanely crazy sleeper, usually wedges herself against the side rails at different parts of the night. She might hang a limb or two over the rails, but never through the rails, and she never falls off the bed.

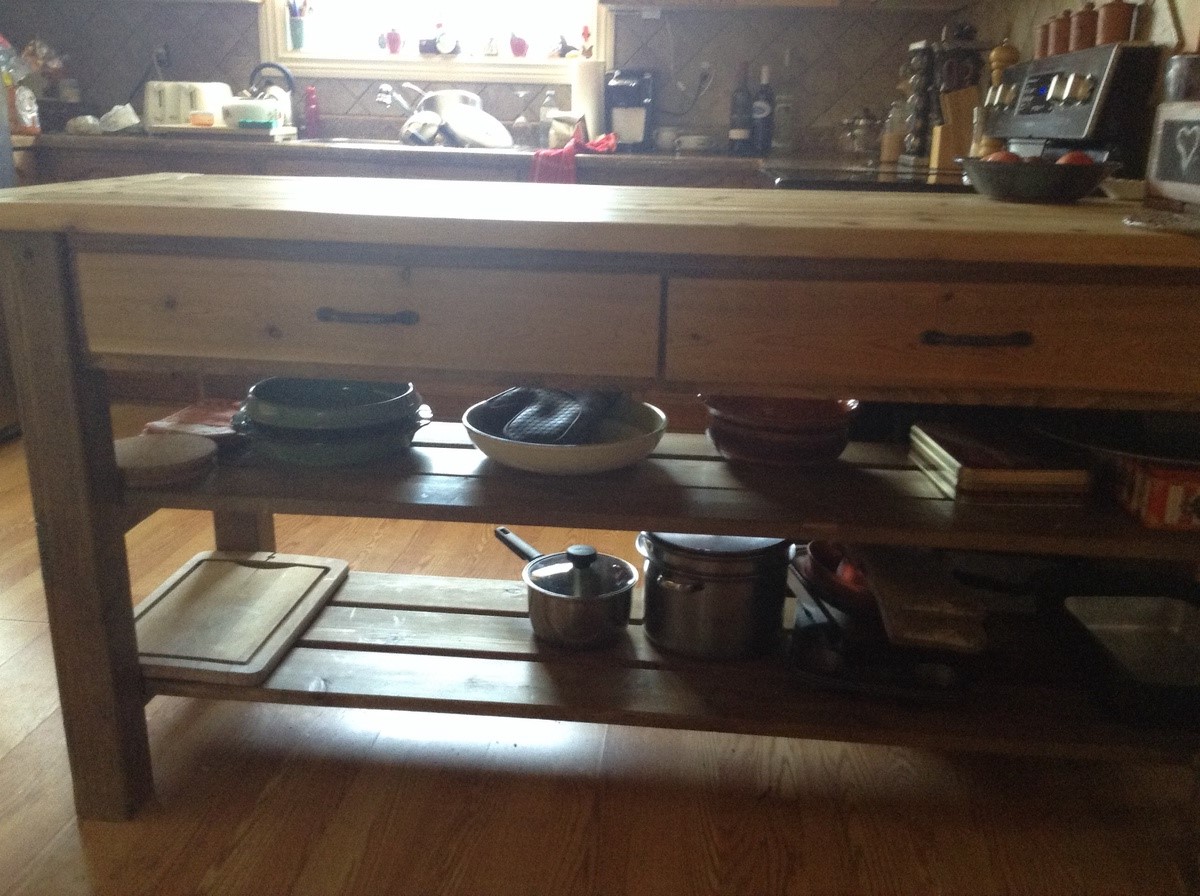
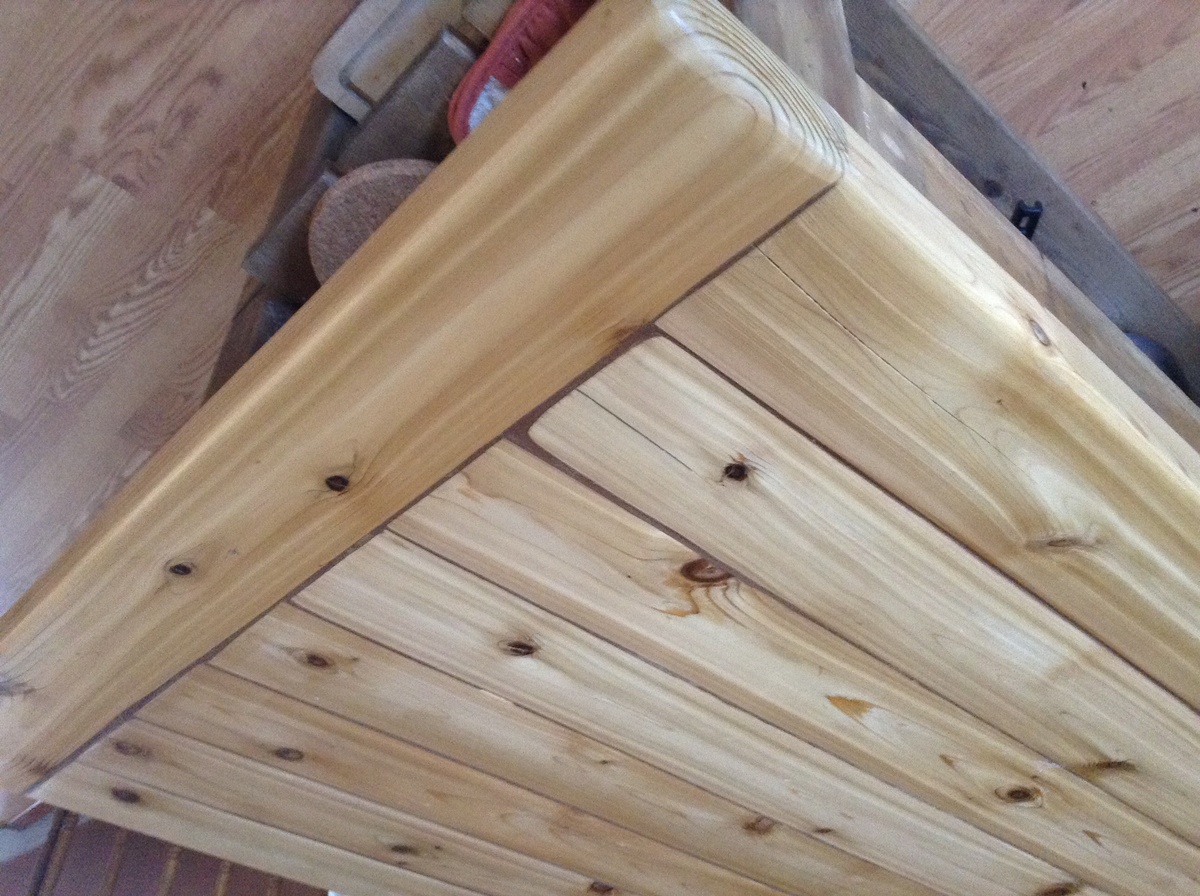
The original plans were altered to measure 6 feet long to fit the space. The top is all cedar which I had planned to keep unfinished and oil each month. Well, that was the plan until I found that it was very hard to clean with kids eating on it and because the 2x4 boards were screwed down, they allowed a lot of food, water to seep through. Some of the boards began splitting and warped considerably. Then I discovered the pocket hole jig!! I took the top off, gave a good sand to them and attached all with pocket hole screws which tightened them up so much that I needed to add an extra 2x4 to adequately cover the top of the island. I also added a breadboard to the end to give it that finished look. To fill in the grooves I used wood filler with a dark pigment, and gave it a really good sanding after it dried. I then applied Varathane in 4 coats to the top after using steel wool in between coats. Gives it a lovely natural cedar patina and keeps the breadcrumbs out.
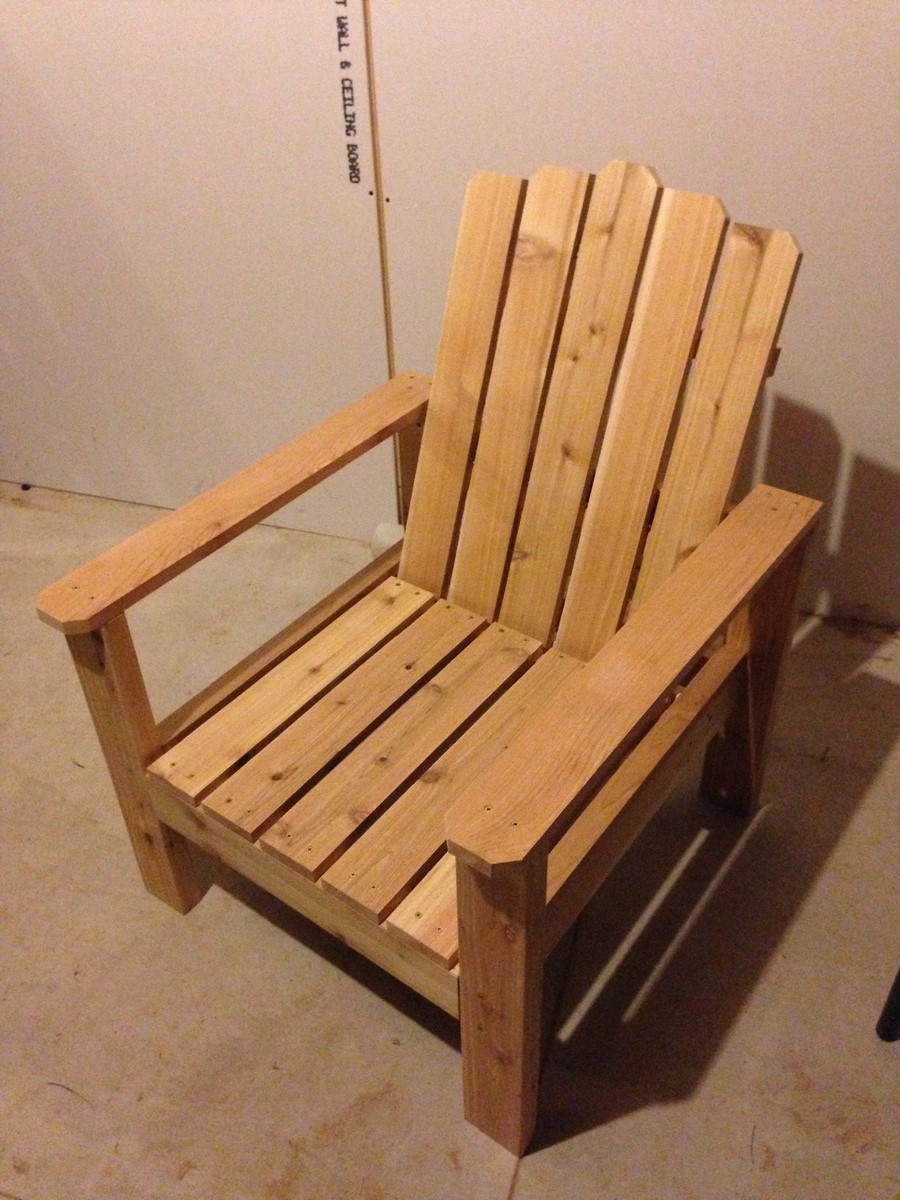
My husband loves to set outside and look out over our 10 acres with his coffee in the mornings. I thought this chair would be a great birthday gift to use for that purpose! It was fairly easy to put together. I just have to purchase some cushions and it'll be ready to give to him. I did modify a few things...used some 2x4s, changed up the back boards a bit and put some angle cuts on the arms. I'm very pleased with it! This is the third or fourth project we've made from Ana's plans. We just love them!
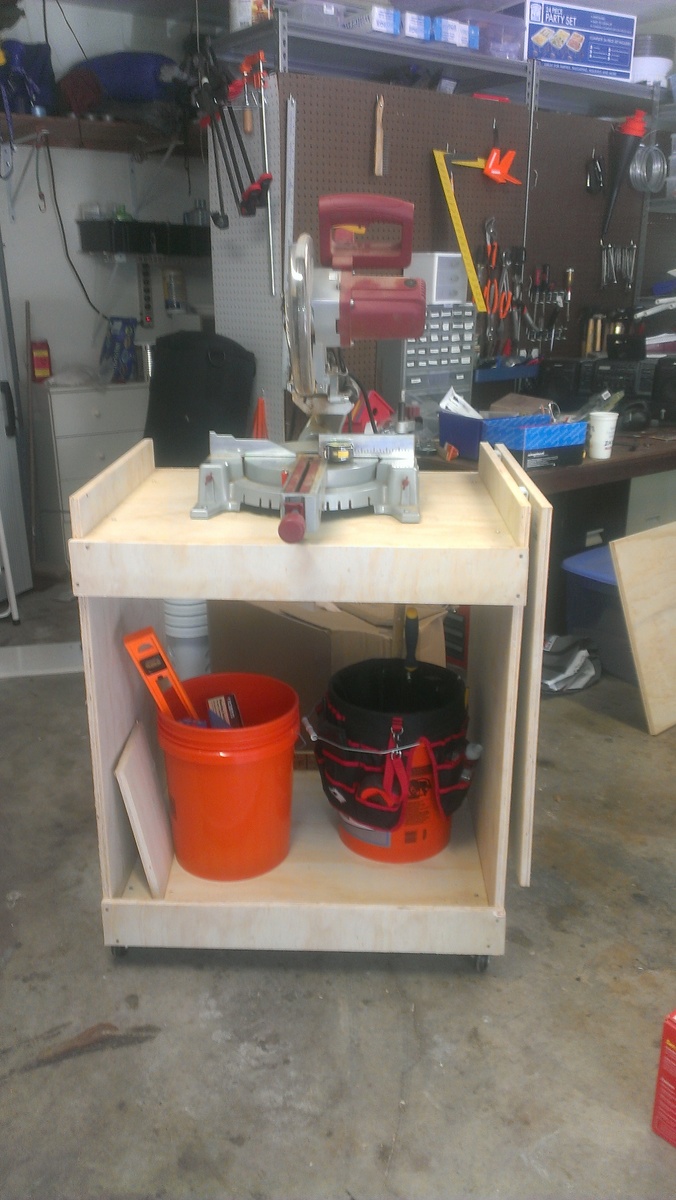
I made the miter saw cart today. It took me about 2.5 hrs, but I was going slow and taking lots of breaks.
Fri, 04/05/2013 - 10:46
Looks great! I really, really need to build one these. Are you happy with the way it works?
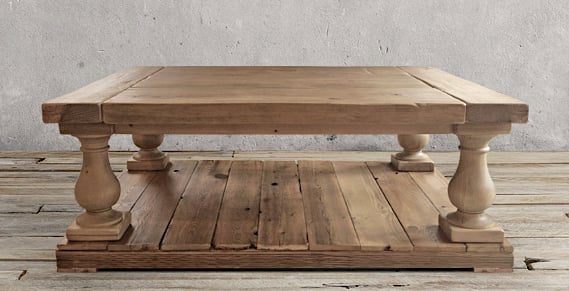
Here is the latest Table I have made. I cant get enough of this table design, the rustic bold feel blending with curved lines is awesome.
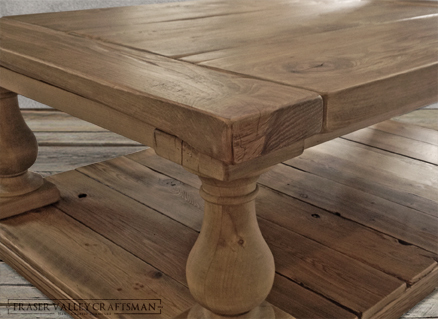
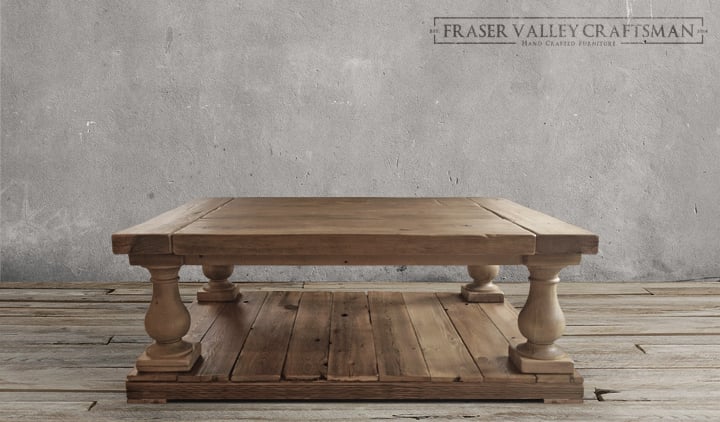
I'd built a table for my daughter and her roommates at college last year. One of them is getting married this year and asked If I would mind building one for them. They found a picture of this table someone had built and I tracked down your plans. They needed it smaller so this one is 72" by 39" and I built the bench in a similar style.
They wanted a smooth top (no grooves between boards) and no breaboard ends. The table top wanted to warp a bit at the corners without the breadboards, so I imbedded some angle iron to keep it flat.
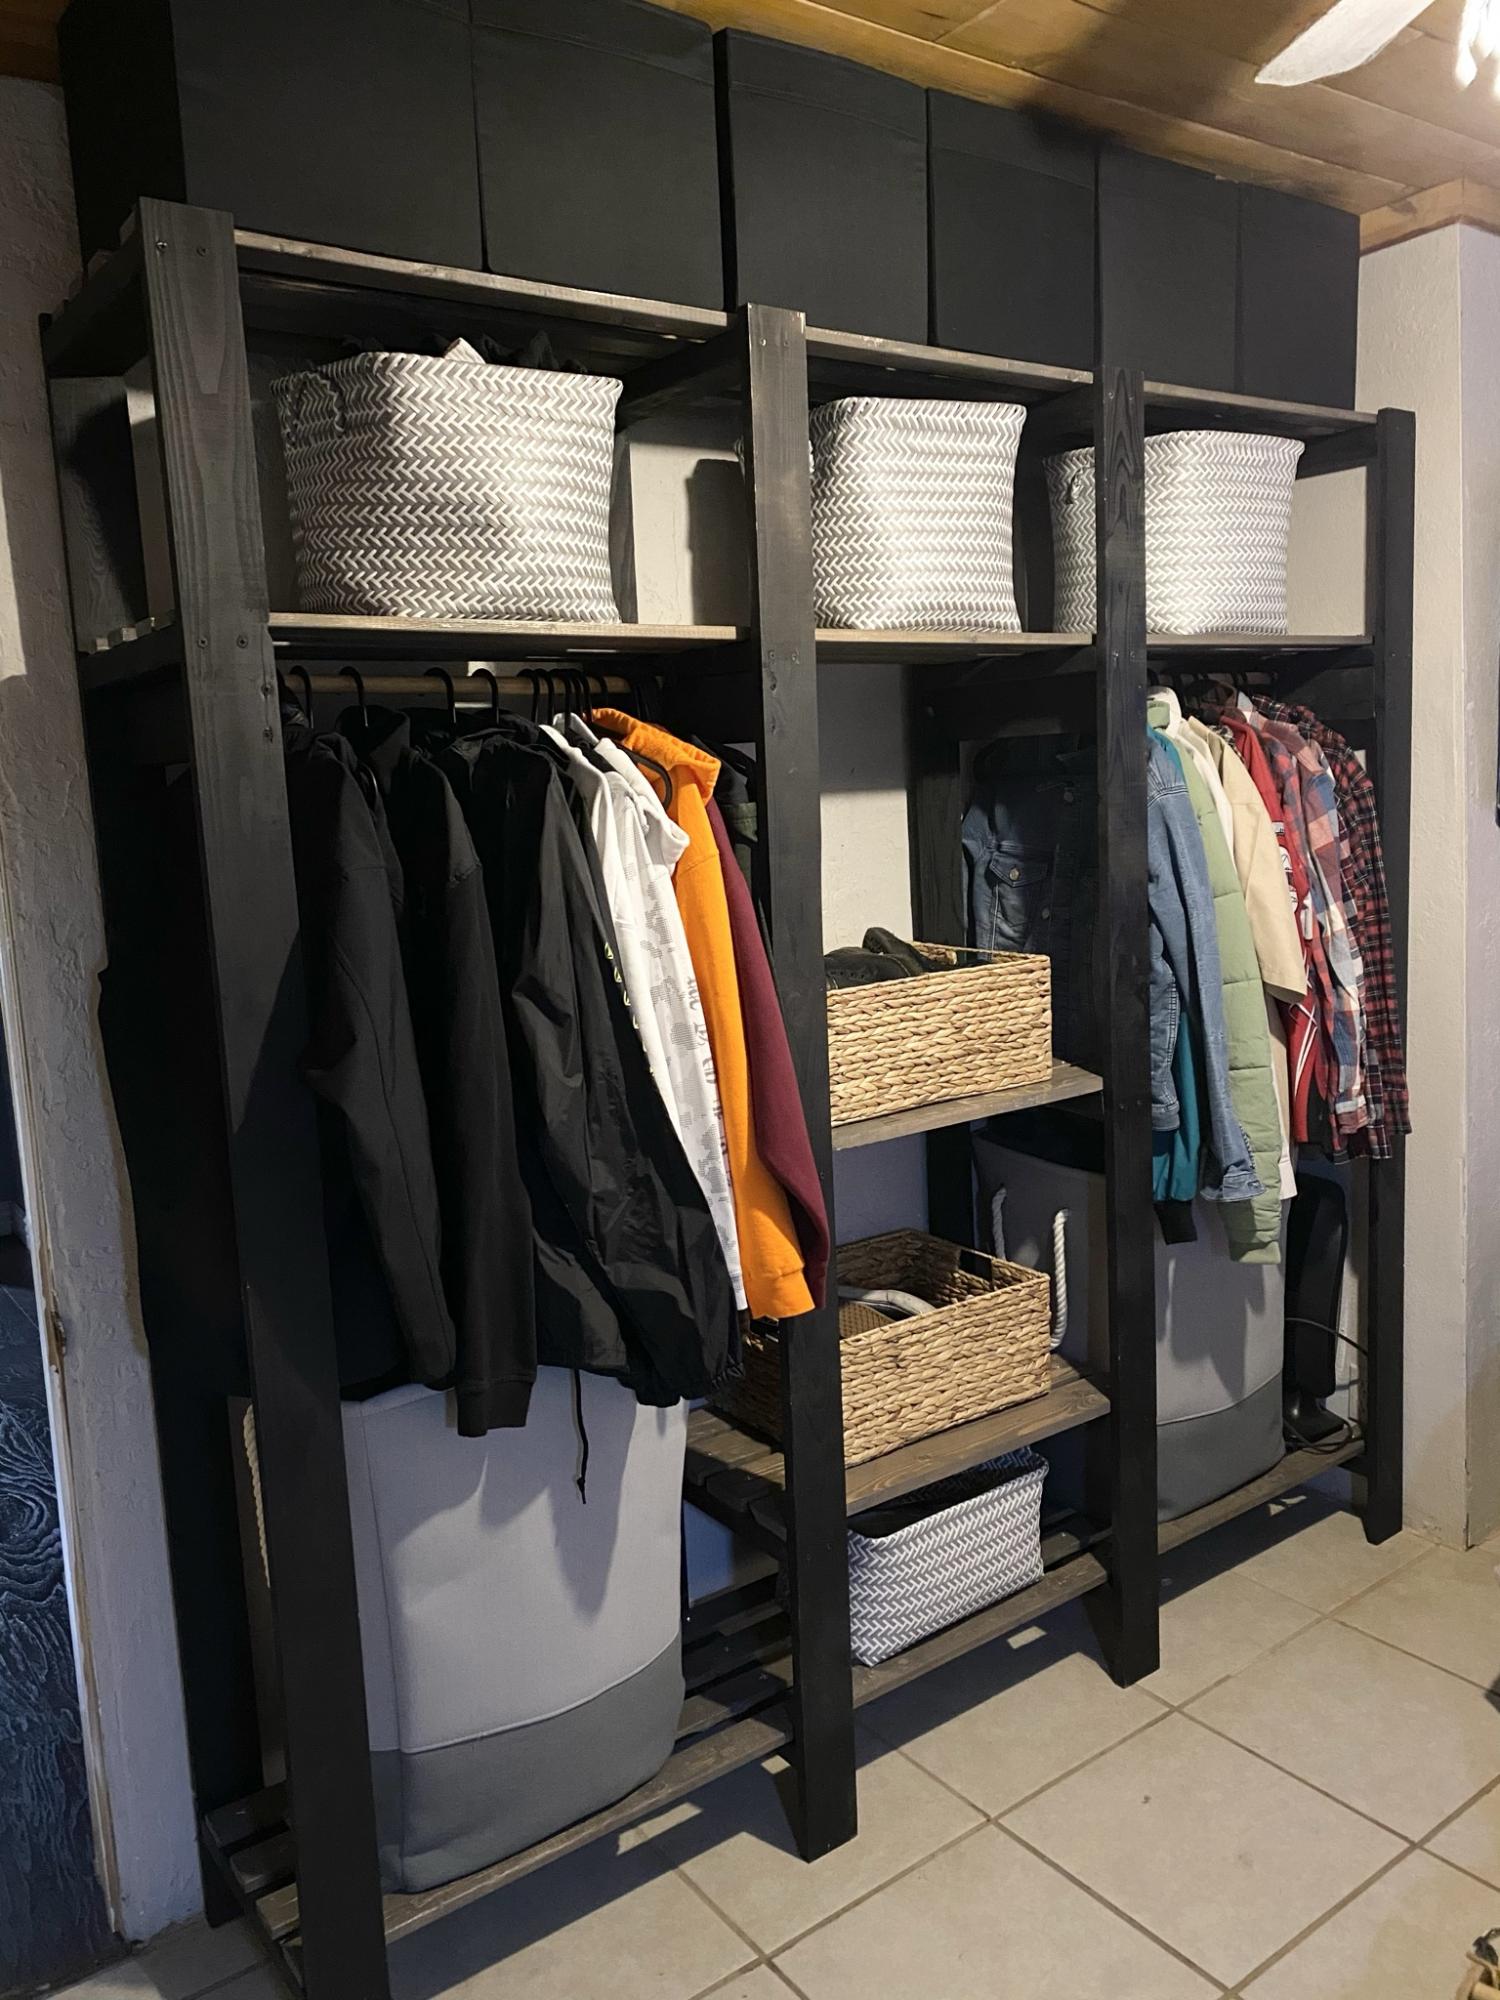
Closet
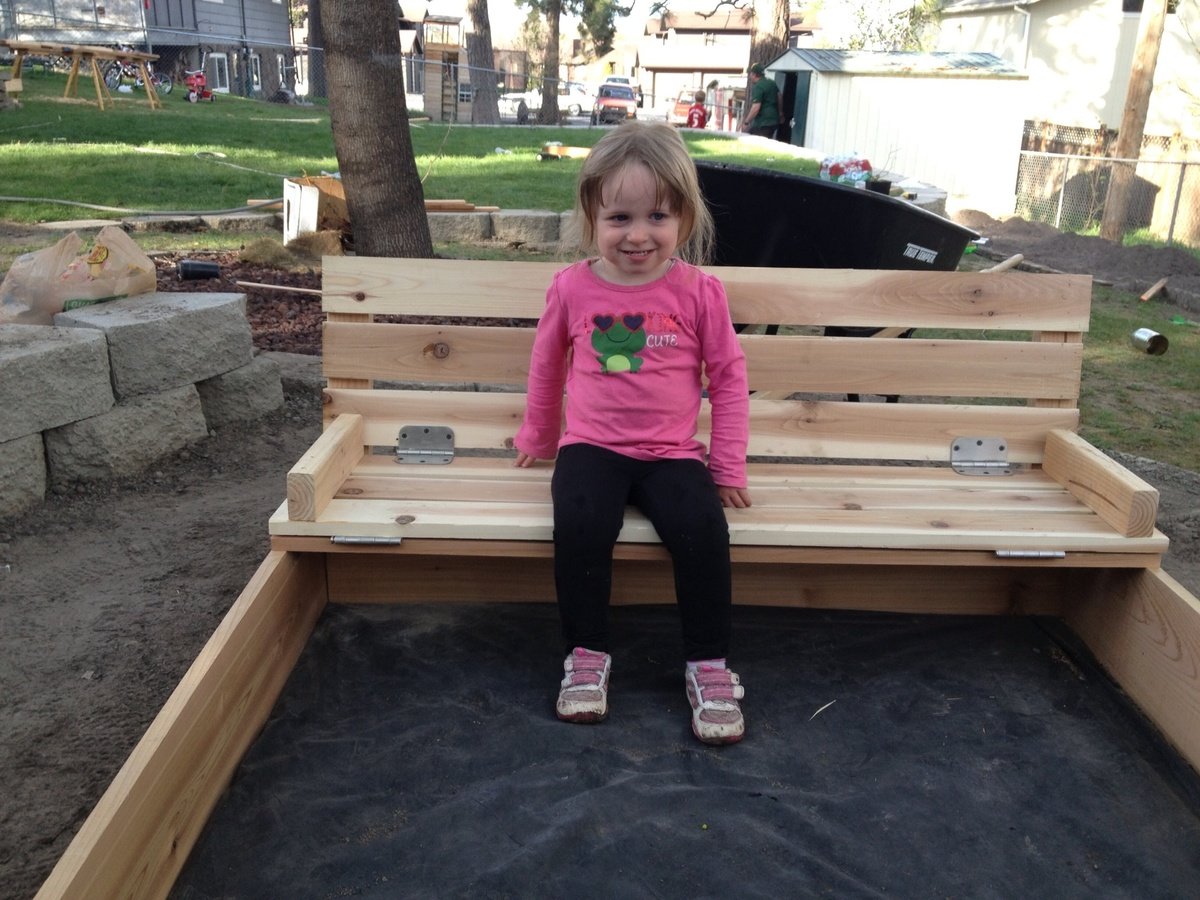
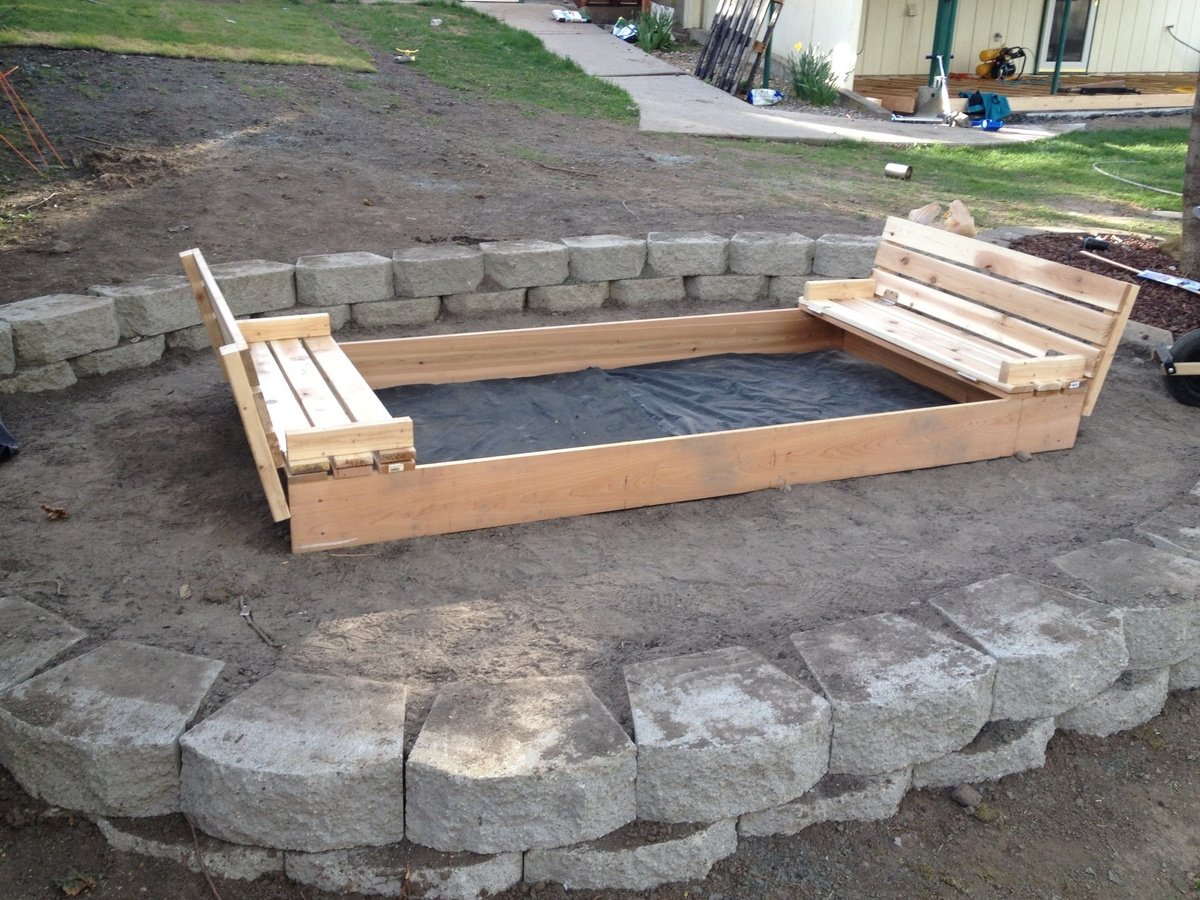
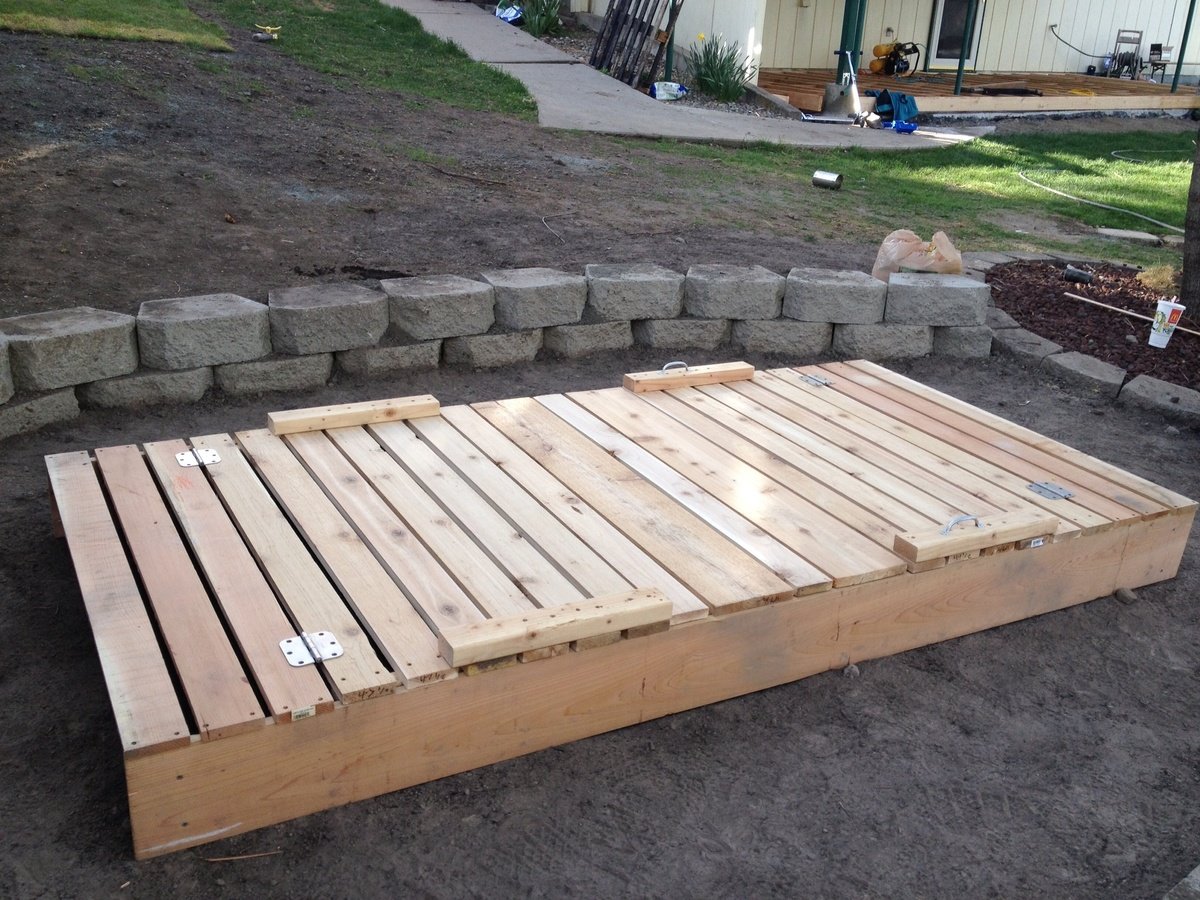
This was my first EVER wood working project.
With that being said, it took me more than just an afternoon.
I used cedar, and all the materials on the cut list had to be sanded , since I didn't like the roughness of the cedar.
I also made the box 4x8. I didn't take into account that that would require a minimum of 48 inches for the top planks. So, some of my top planks are shorter.
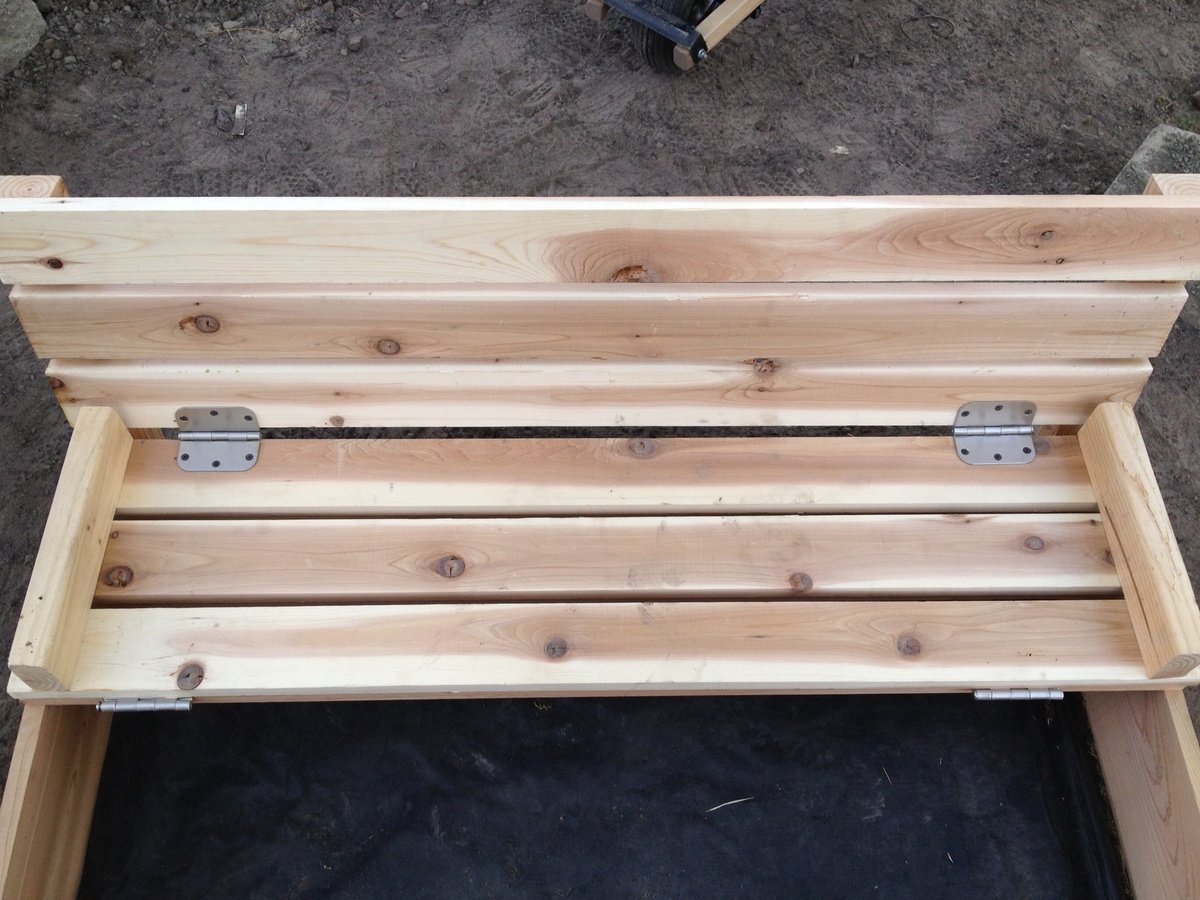
I also wished I had a little more instruction from which side to screw the screws in. May sound a little needy for some of you, but I never did anything with wood before. The instructions simply read attach top planks to arm rests (or something int that manner) and I wish it would have told me from which side to screw in (or give me a picture). Looking at some of the brag posts helped a lot.
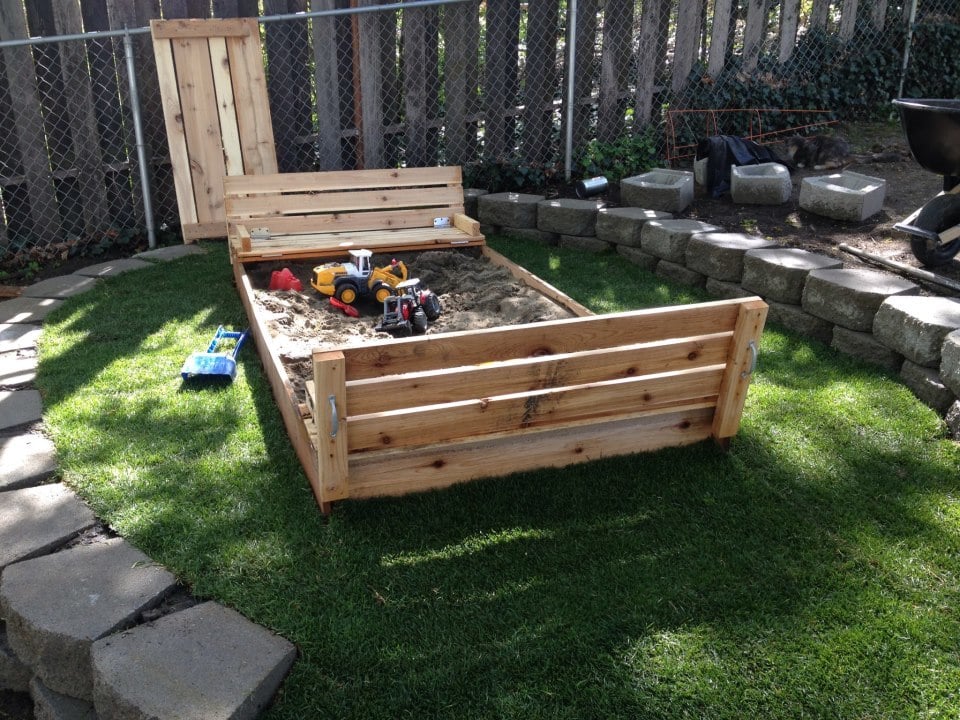
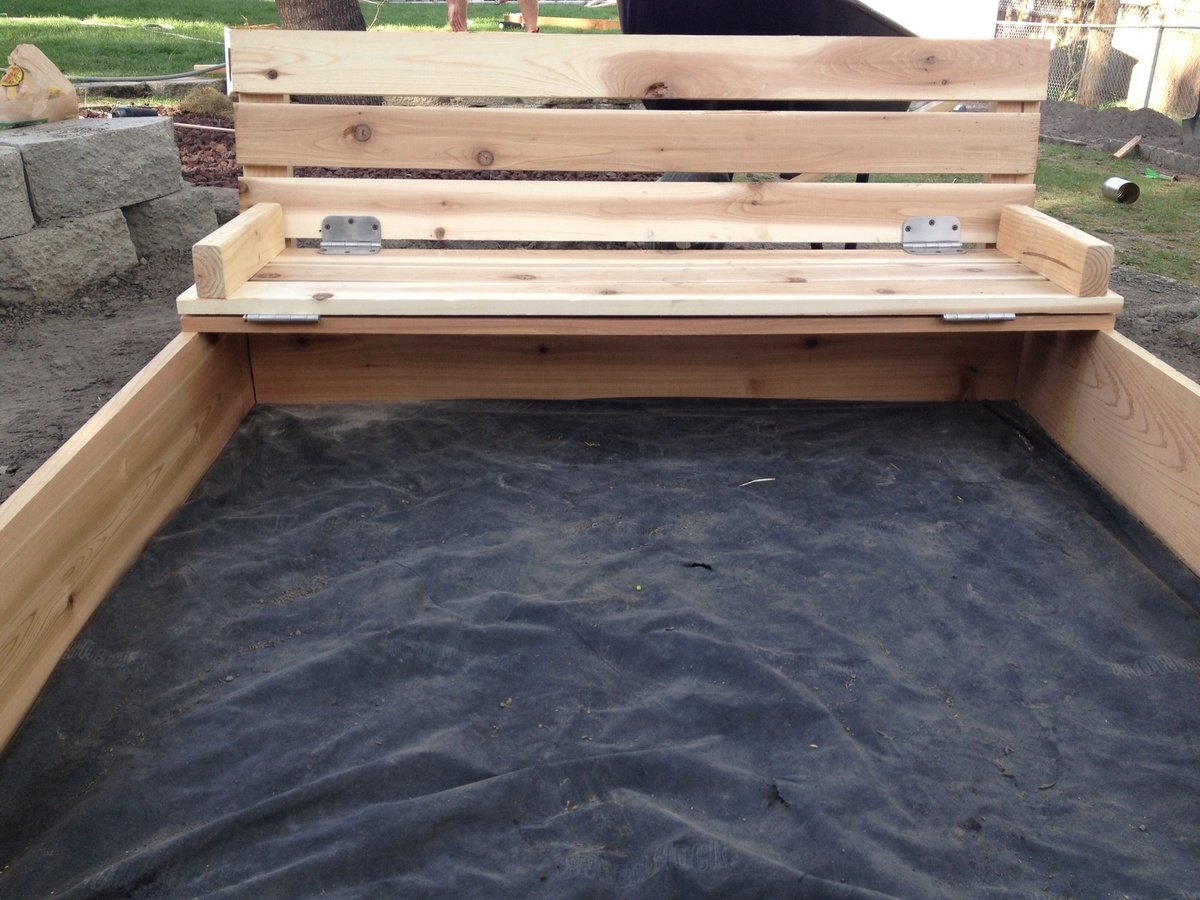
Because its larger size, I decided to make the seats 3 top planks wide (and also the back rest) and made another middle cover piece to bridge the additional gap when both seats are folded down.
Also, the cedar was VERY expensive, and all the screws, hinges, and handles almost cost me as much as the wood.
The sand to fill the box ran us another $80 (for good plays and), but that was because we made it so big.
All in all, a rather pricey sandbox, but worth it because of the large custom sizes, and the cute little seats.
Pictures show the sandbox without sand, and with some of the handles still missing. I also still need to fill the holes.
Will add a picture of finished box filled with sand when it is available.
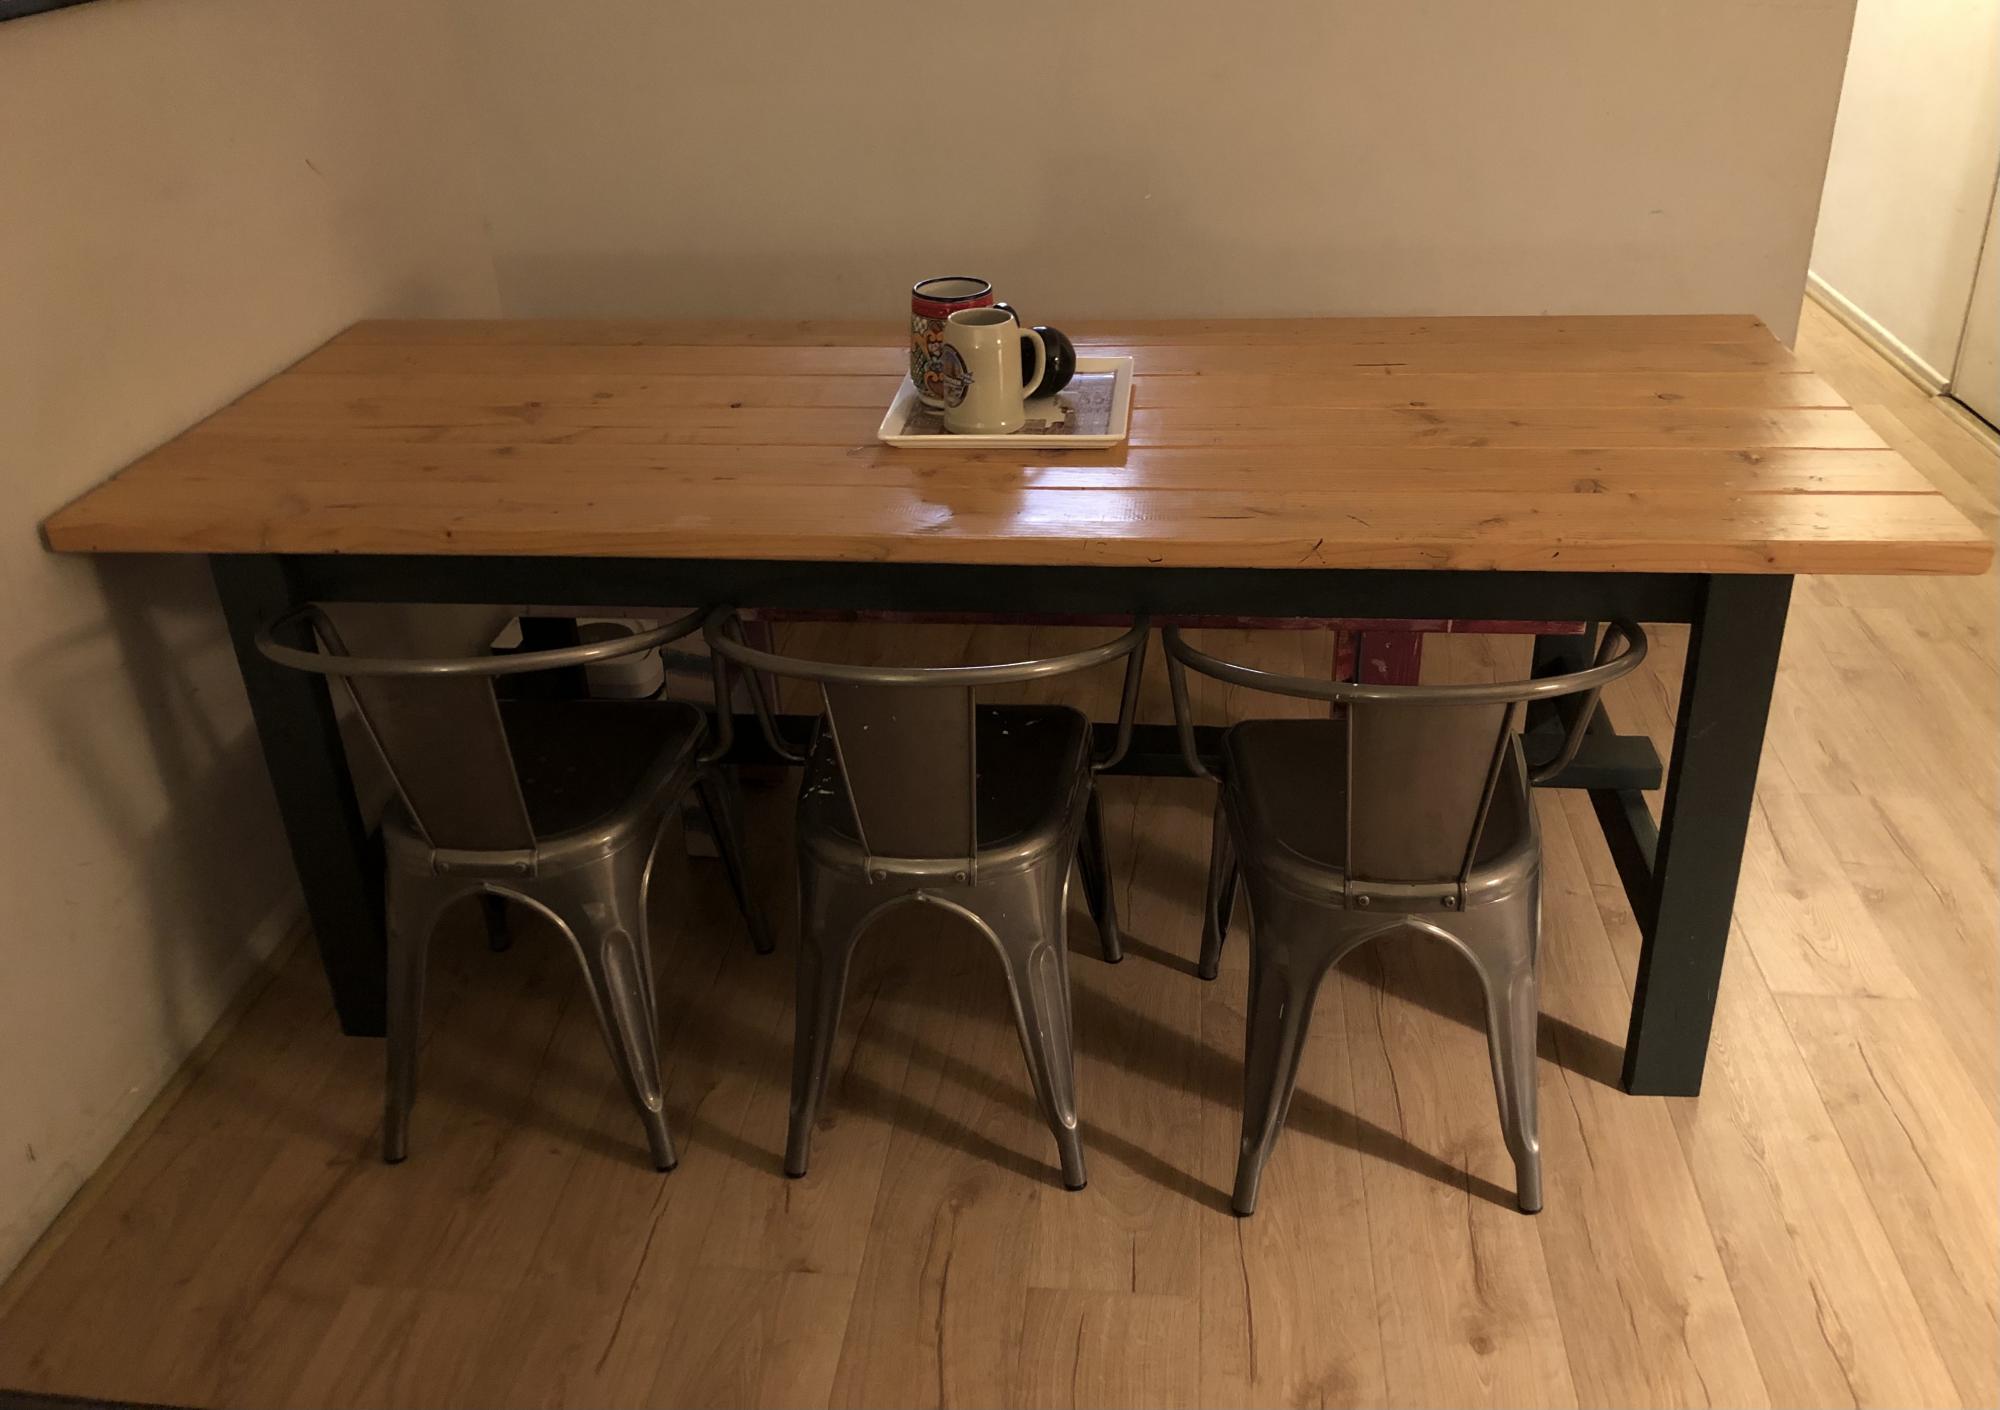
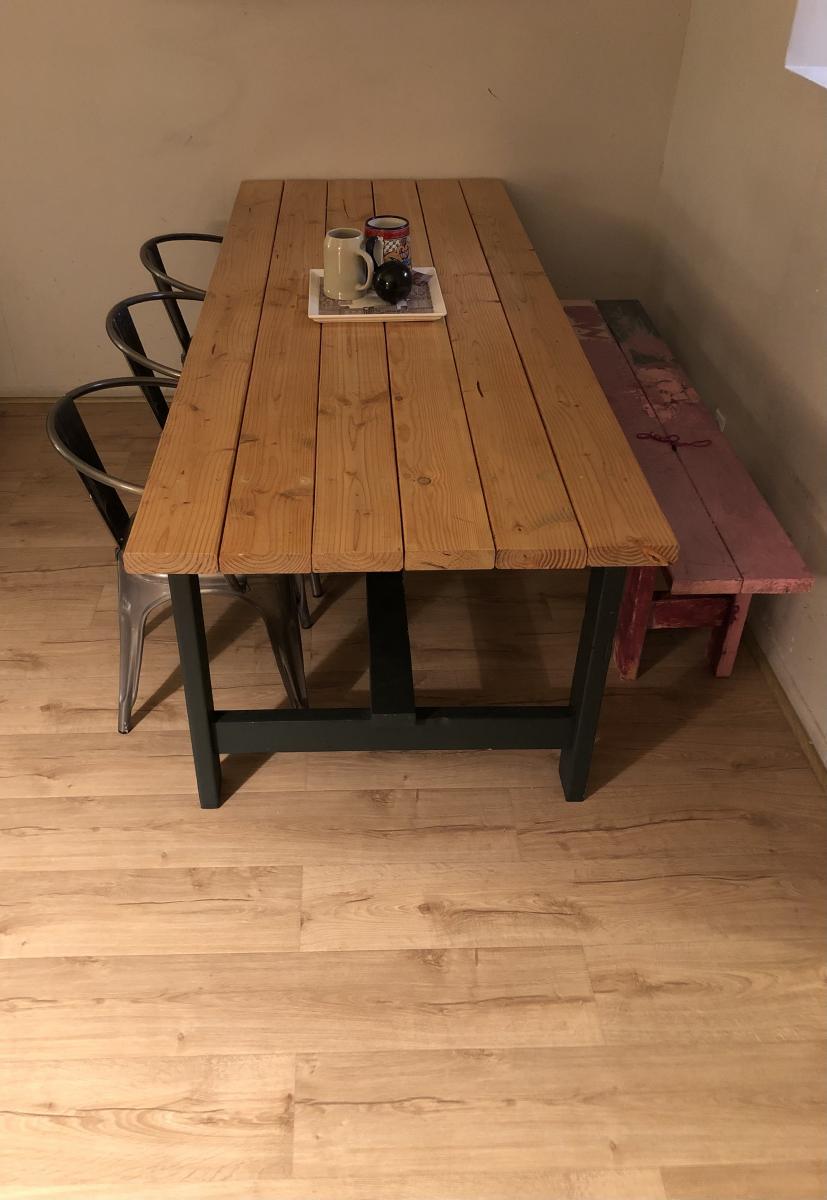
Absolutely love how this table turned out! I slightly modified the length to accommodate our space. Definitely a beginner friendly project. I used farrow and ball studio green for the base and just poly on the top.
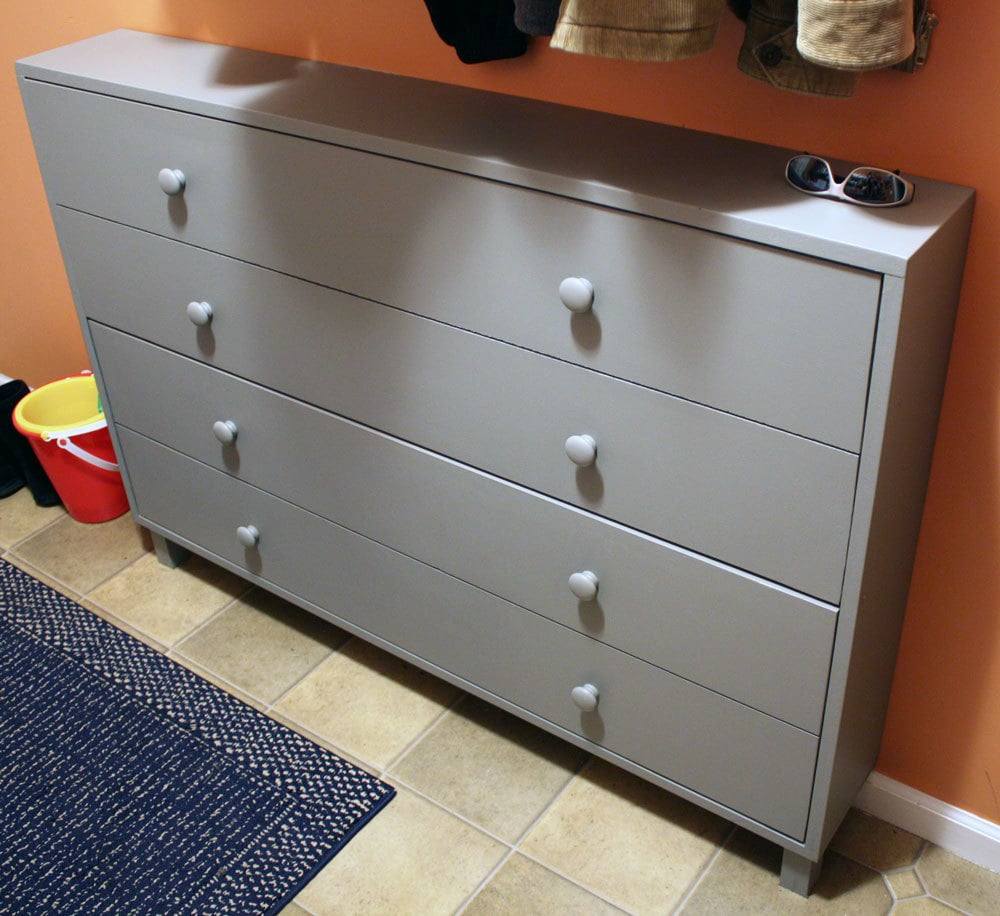
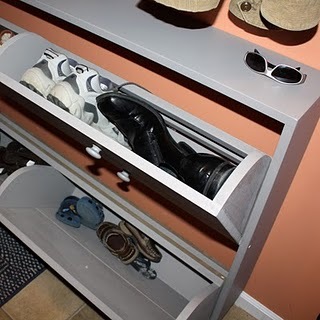
We have two young kids who don't want to take their shoes and put them away (as well as two adults who are the same way) so I asked my hubby to make Ana's shoe dresser. He did a great job and we were so excited with how it turned out!
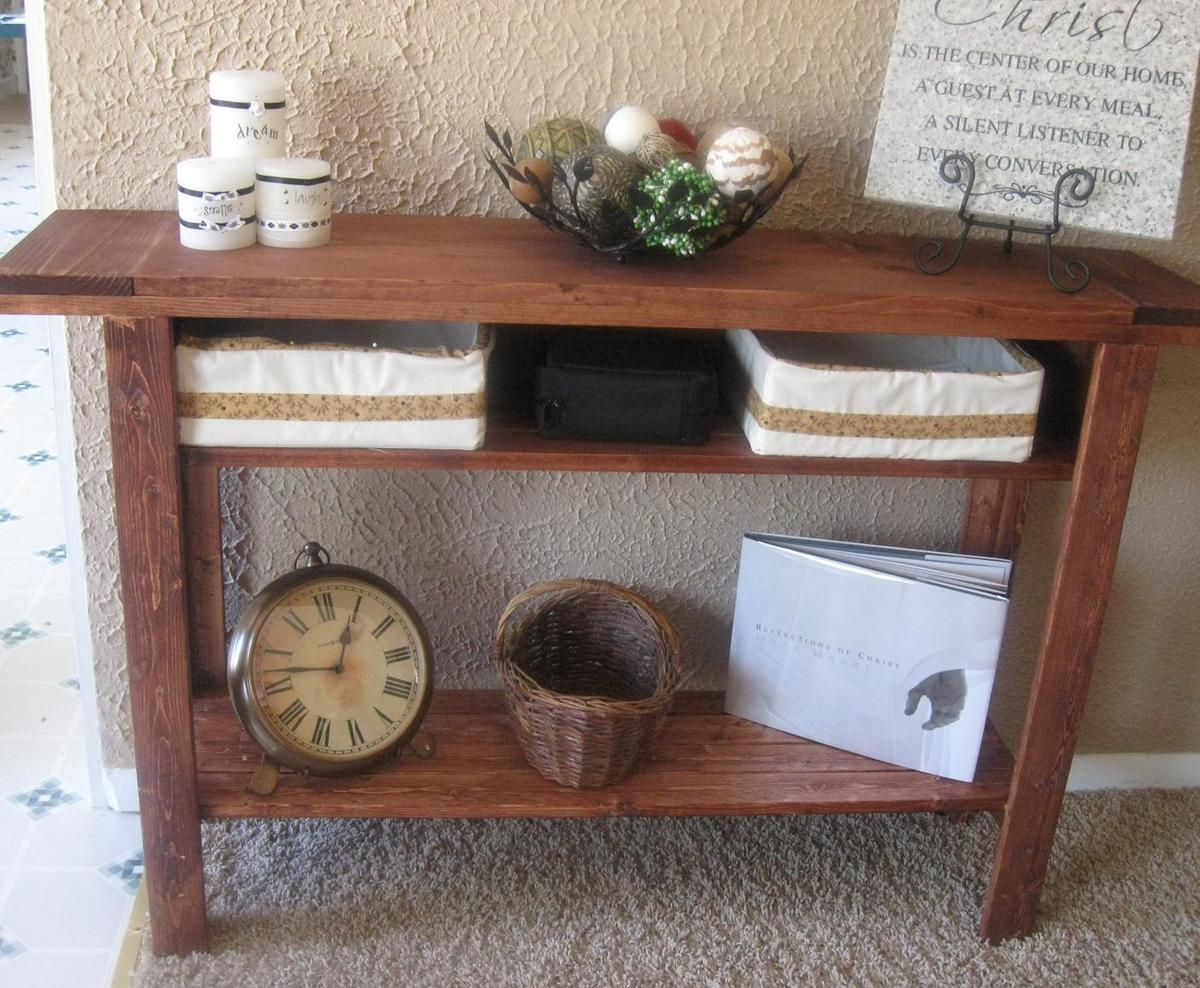
I added the bottom shelf by using (4) 1x3's. I also swapped out the 1x4 back for a 1x6 to give the top shelf more height. Lots more details on my blog.