Community Brag Posts

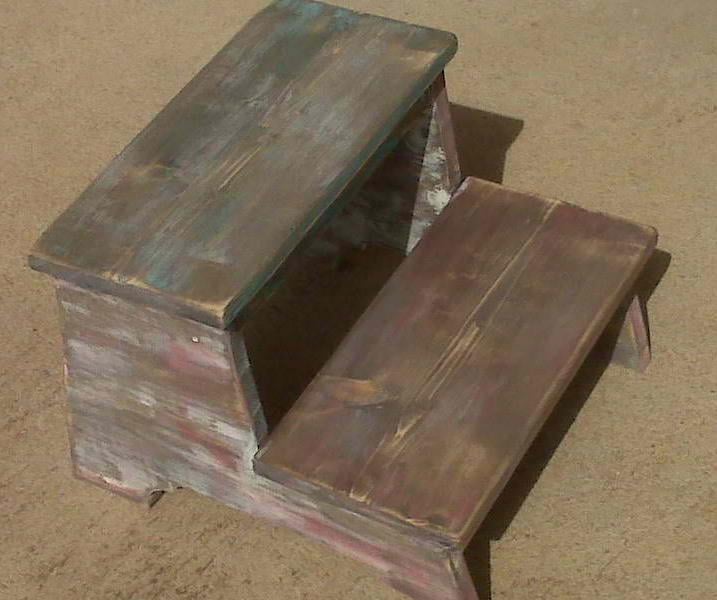
vintage step stool

Submitted by rhonit on Mon, 03/14/2011 - 05:17

This is my first ever build. Now I have cut wood all my adult life, trim wood and straight cuts for husband. As to actually build something all on my own, this is a first. I started small, and have other things in mind to build up too (excuse the pun). I did have my husband drill the holes with his Kreg Gig. It might look like old barn wood but that was a happy mistake. First I used oak stain, then black stain, white paint, red and turqouise paint. And sanded like crazy, again, Happy Mistake!!

Estimated Cost
$20
Estimated Time Investment
An Hour or Two (0-2 Hours)
Finish Used
stain & paint
oak stain, black stain, left over paint: white paint, acrylic paint, barn red & turquoise
sand like crazy and ta-duh, looks like old barn wood. Looks like One Hot Mess, prior to sanding.
Recommended Skill Level
Starter Project

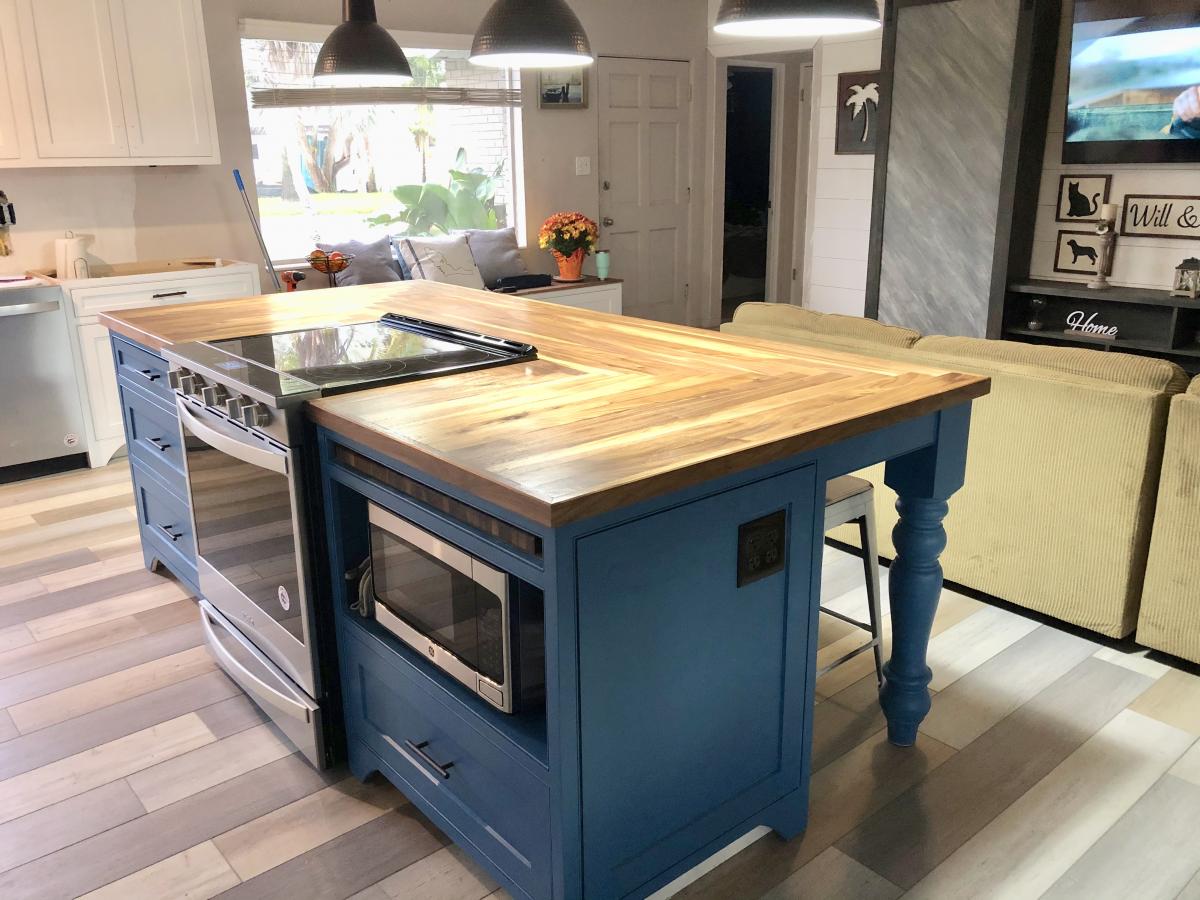
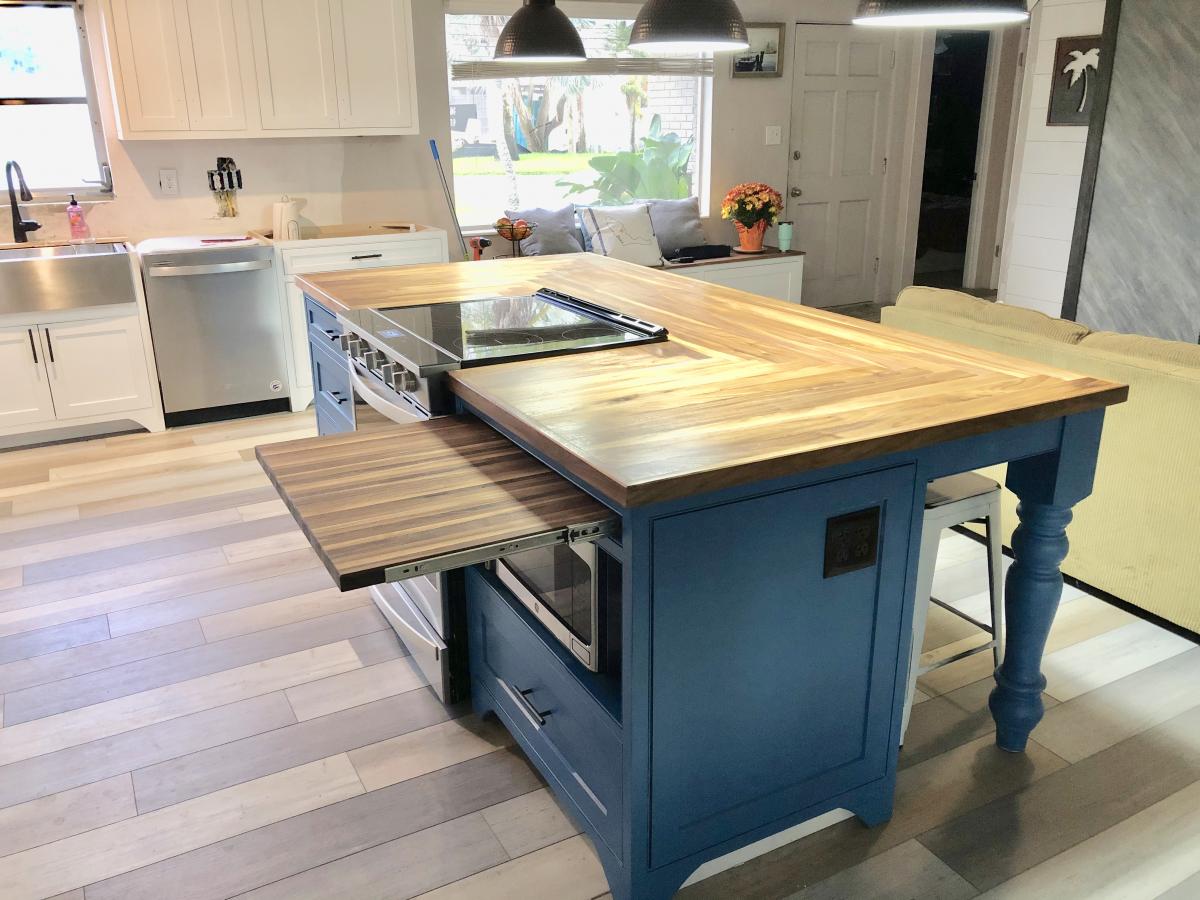
Kitchen island

Submitted by Chriss45 on Sat, 11/16/2019 - 20:32

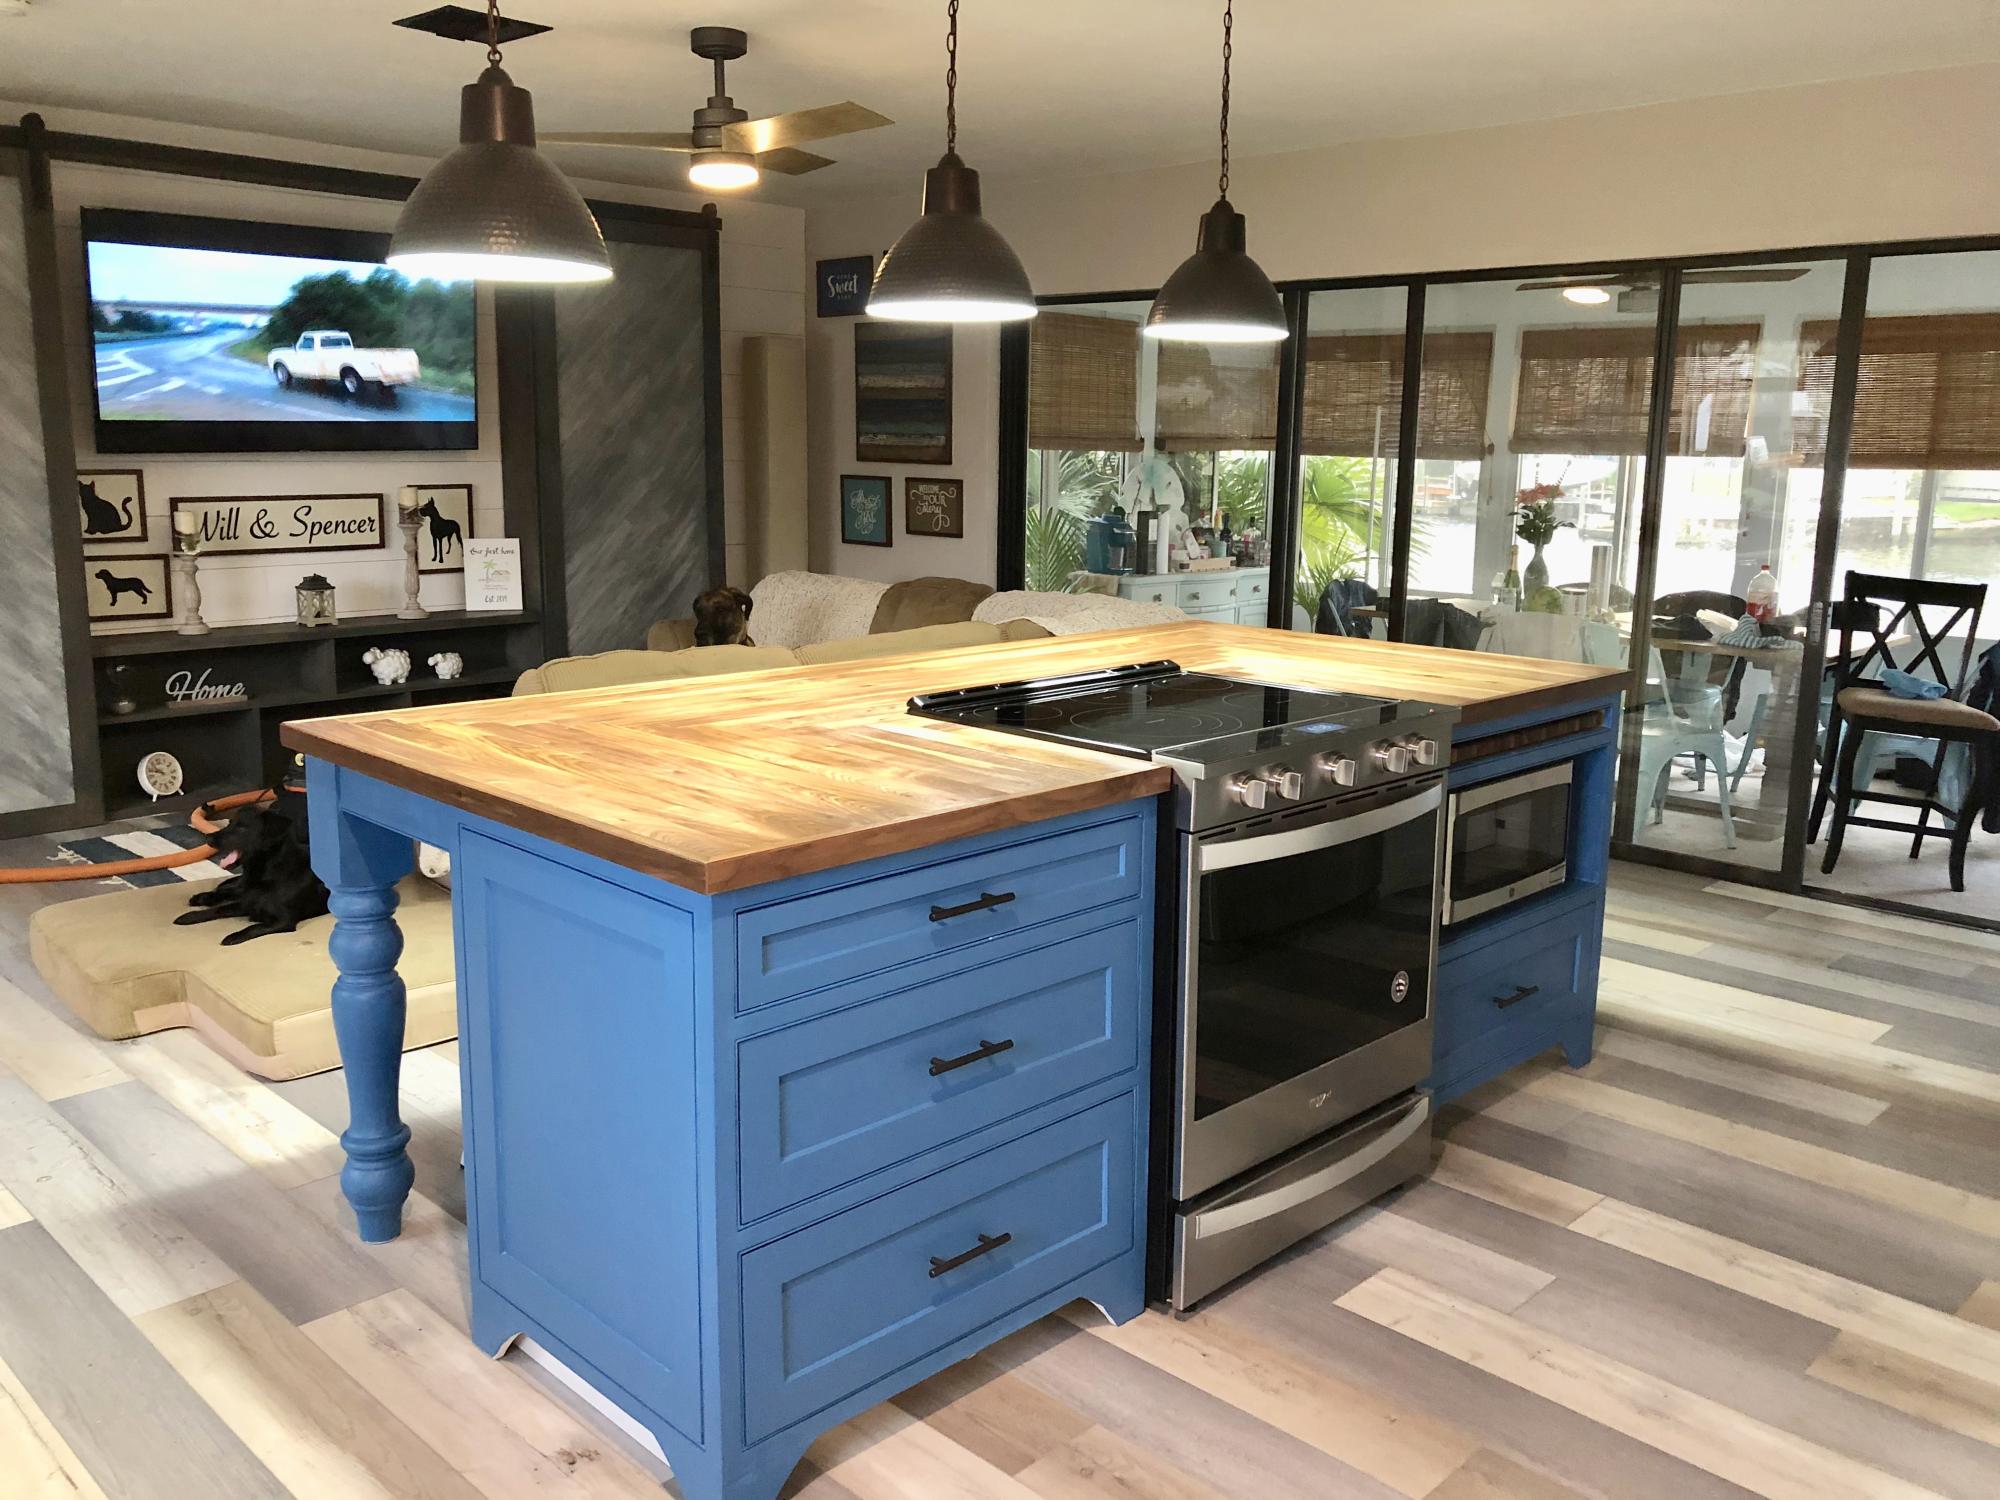
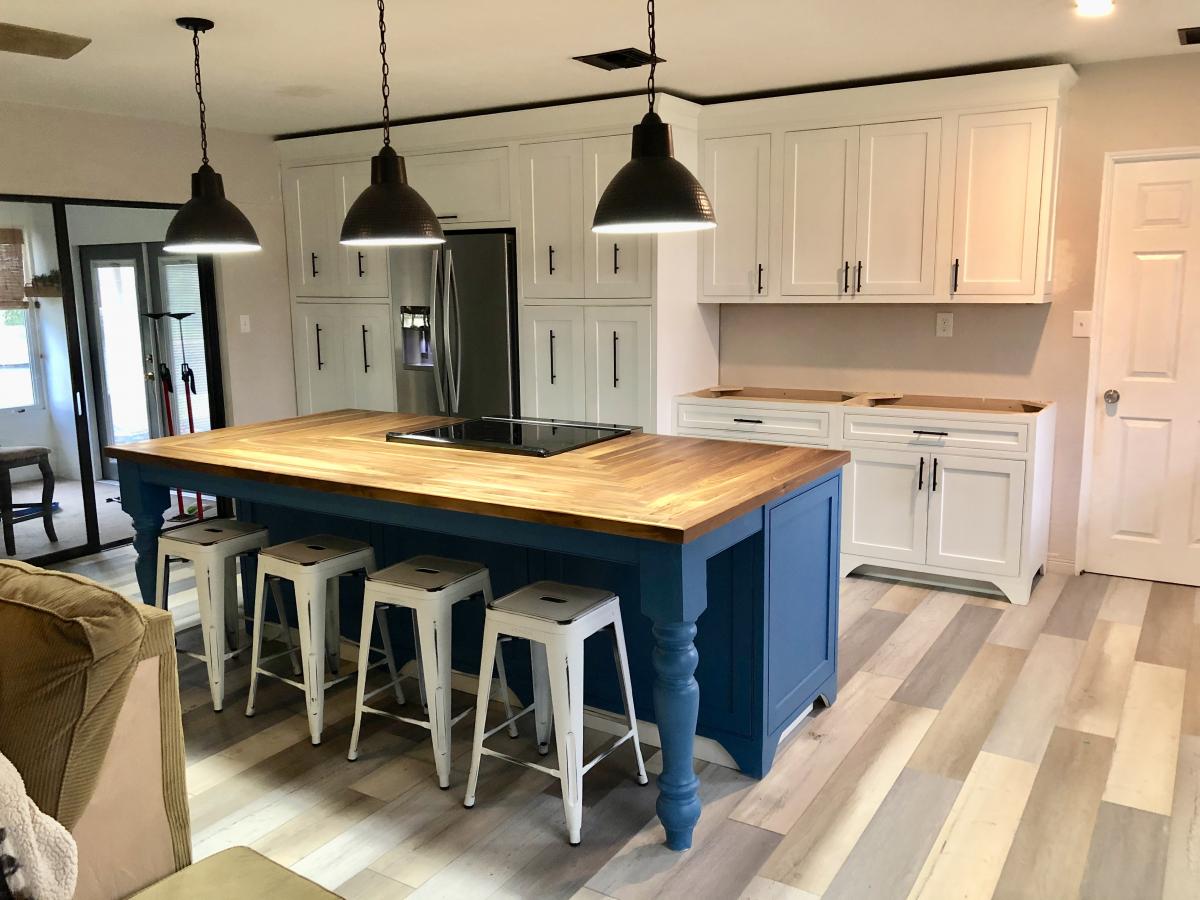
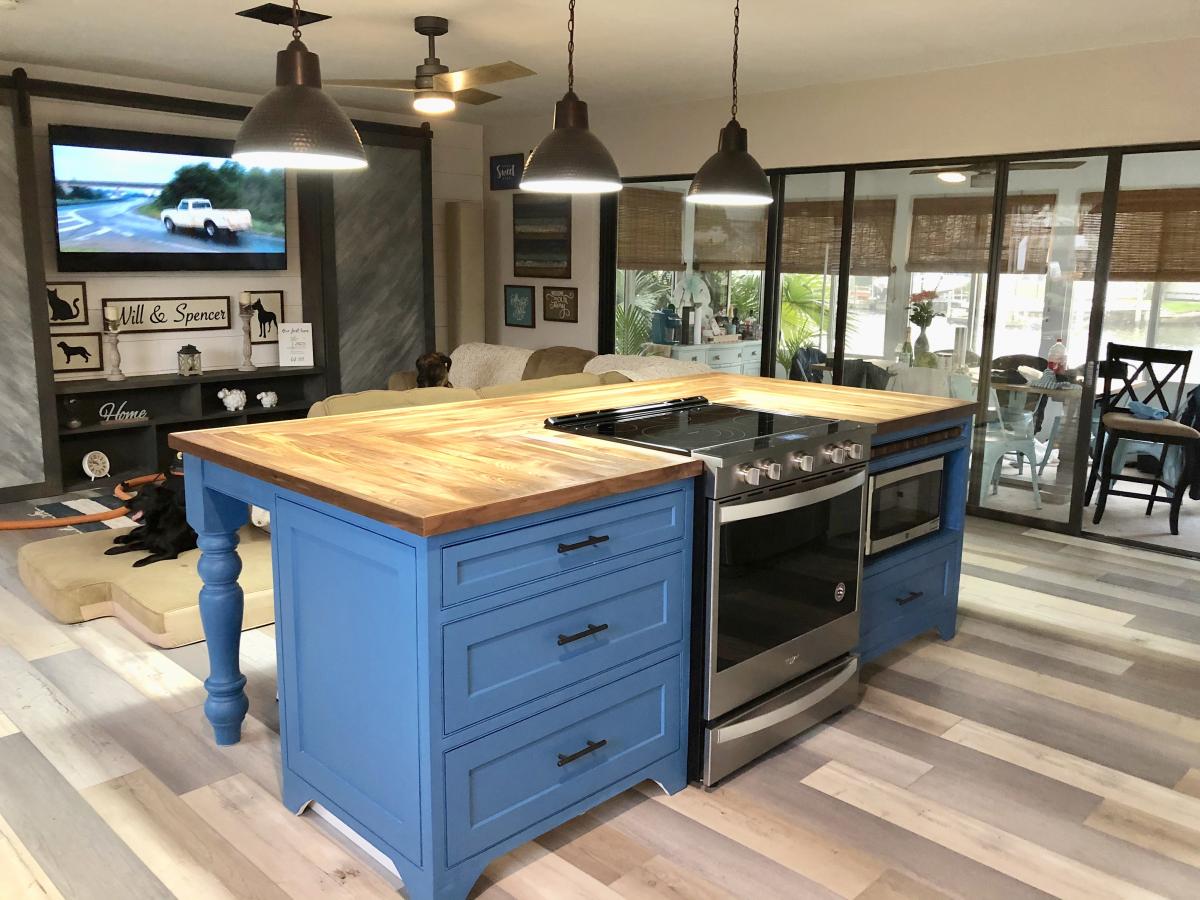
I designed and built this kitchen island for my daughter and her husband along with the cabinets. the island top is made of walnut.

Estimated Cost
800 dollars
Estimated Time Investment
Week Long Project (20 Hours or More)
Finish Used
Benjamin Moore paint
Recommended Skill Level
Advanced

Comments

ladybug'13

Sun, 11/17/2019 - 06:23

Wow! This is so beautiful! What a special gift you've given them. You did a great job and I especially love the color and top of the island. 

Bookshelf and Bench Built-in

Submitted by Anonymous (not verified) on Fri, 02/23/2024 - 10:39

I apologize for not having before and after shots from the same perspective, but this is the bookcase I built to replace the very poorly sized and very poor quality bookcase that was in this room before. The room has a slanted ceiling that goes from 8' to 16,' and has baseboard heaters that got in the way of cabinetry. I worked around it. These were my first cabinets, and they didn't come out exactly has I had envisioned, but they're pretty darn close! The shelves are all on brackets that are screwed into studs in the wall, and the boards that make the sides of the bookcase aren't even screwed down. I wanted something that would be sturdy and yet easy to take down or change. I left space in the middle because we'd like to put in a fireplace one day...

MelissaLeigh144

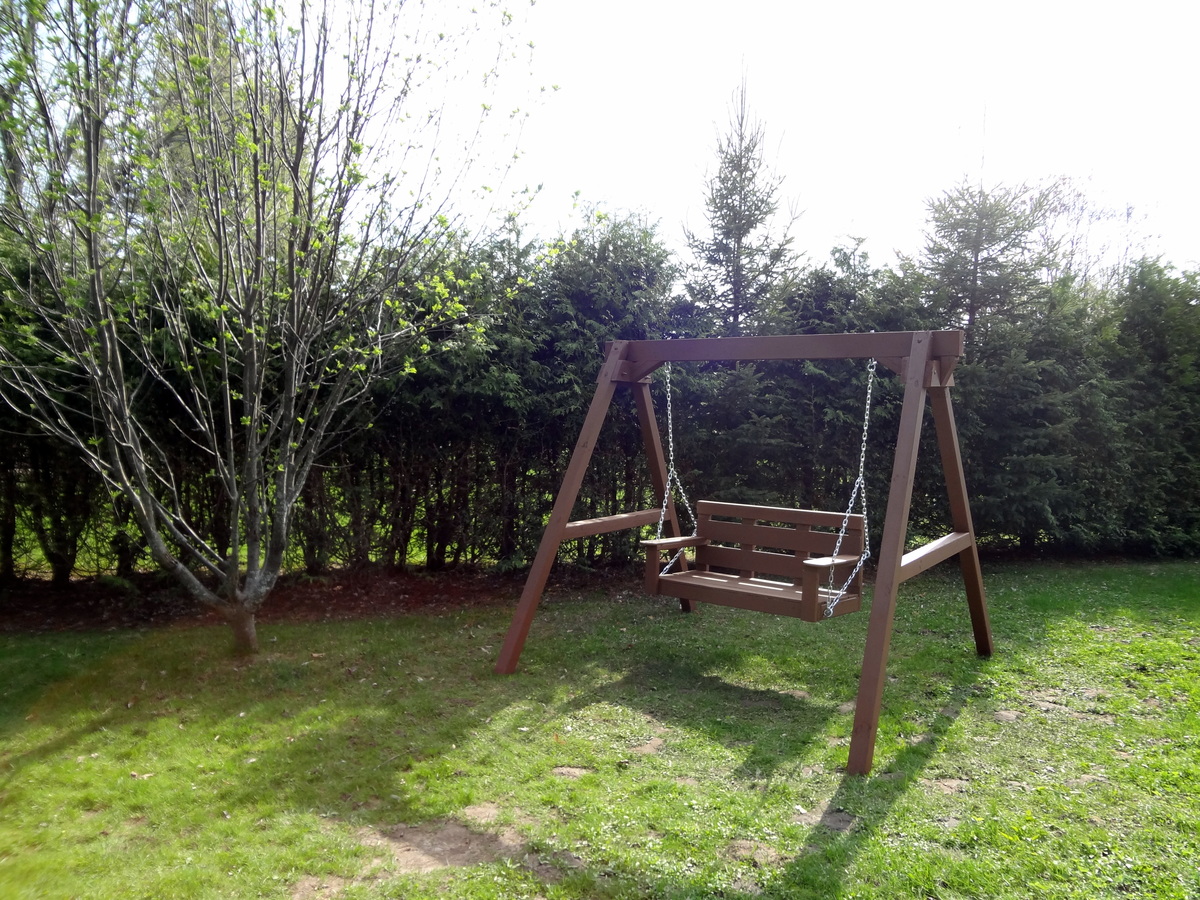
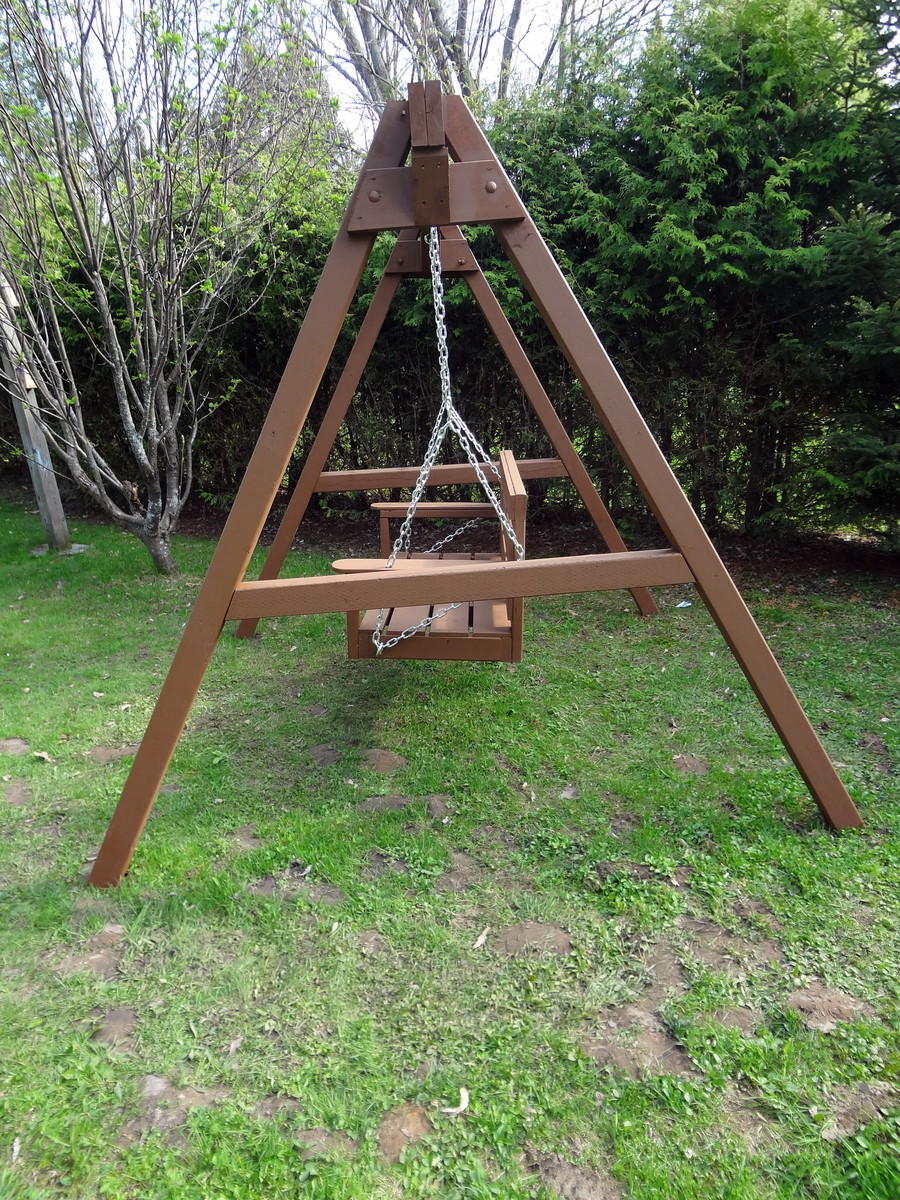
Great weekend project...the "love swing"

Submitted by Don Ellery on Mon, 05/19/2014 - 15:49

A great weekend project...the "love swing"! I used the plan from Ana for the swing seat and added two arm rests from left over 1x6, rounded them off and sanded.

I cobbled together an A-frame to hang everything, made from five 8 foot 4x4s and two 8 foot 2x6s laminated together for the stretcher. Assembled with 1/2" galvanized carriage bolts and hung with 1/4" chain.

Definitely going to want a good miter saw for the A-Frame angles (the top ones are a bit tricky to get everything lined up)

Love it! Thanks for another great plan Ana..and of course..Shanty2Chic!

Built from Plan(s)
Estimated Cost
$200 ish..including the A-Frame... the hardware and chain can be pricey!
Estimated Time Investment
Day Project (6-9 Hours)
Finish Used
Behr exterior weatherproofing stain - Chocolate.

Just 2 thin coats, dries fast...second coat can be applied later the same day.
Recommended Skill Level
Beginner

Comments

Carpenters Daughter

Mon, 12/12/2016 - 17:09

Could you please post the plans to build the a frame as well? I really love what you did and would like to copy it! Great Job!

Don Ellery

Wed, 07/19/2017 - 11:31

Hi! I wish I could, but I didn't take any notes on the angles or lengths when I made this and I left it with the house when we moved. 

Great plans!

Submitted by Anonymous (not verified) on Mon, 07/06/2020 - 07:34

These plans were great. Easy to put together and they look quite amazing. And they are solid! Bought cushions from IKEA and the wood from Home Depot. Stained and sealed.

Estimated Cost
250
Estimated Time Investment
Day Project (6-9 Hours)
Finish Used
Behr stain and seal
Recommended Skill Level
Beginner

Comments

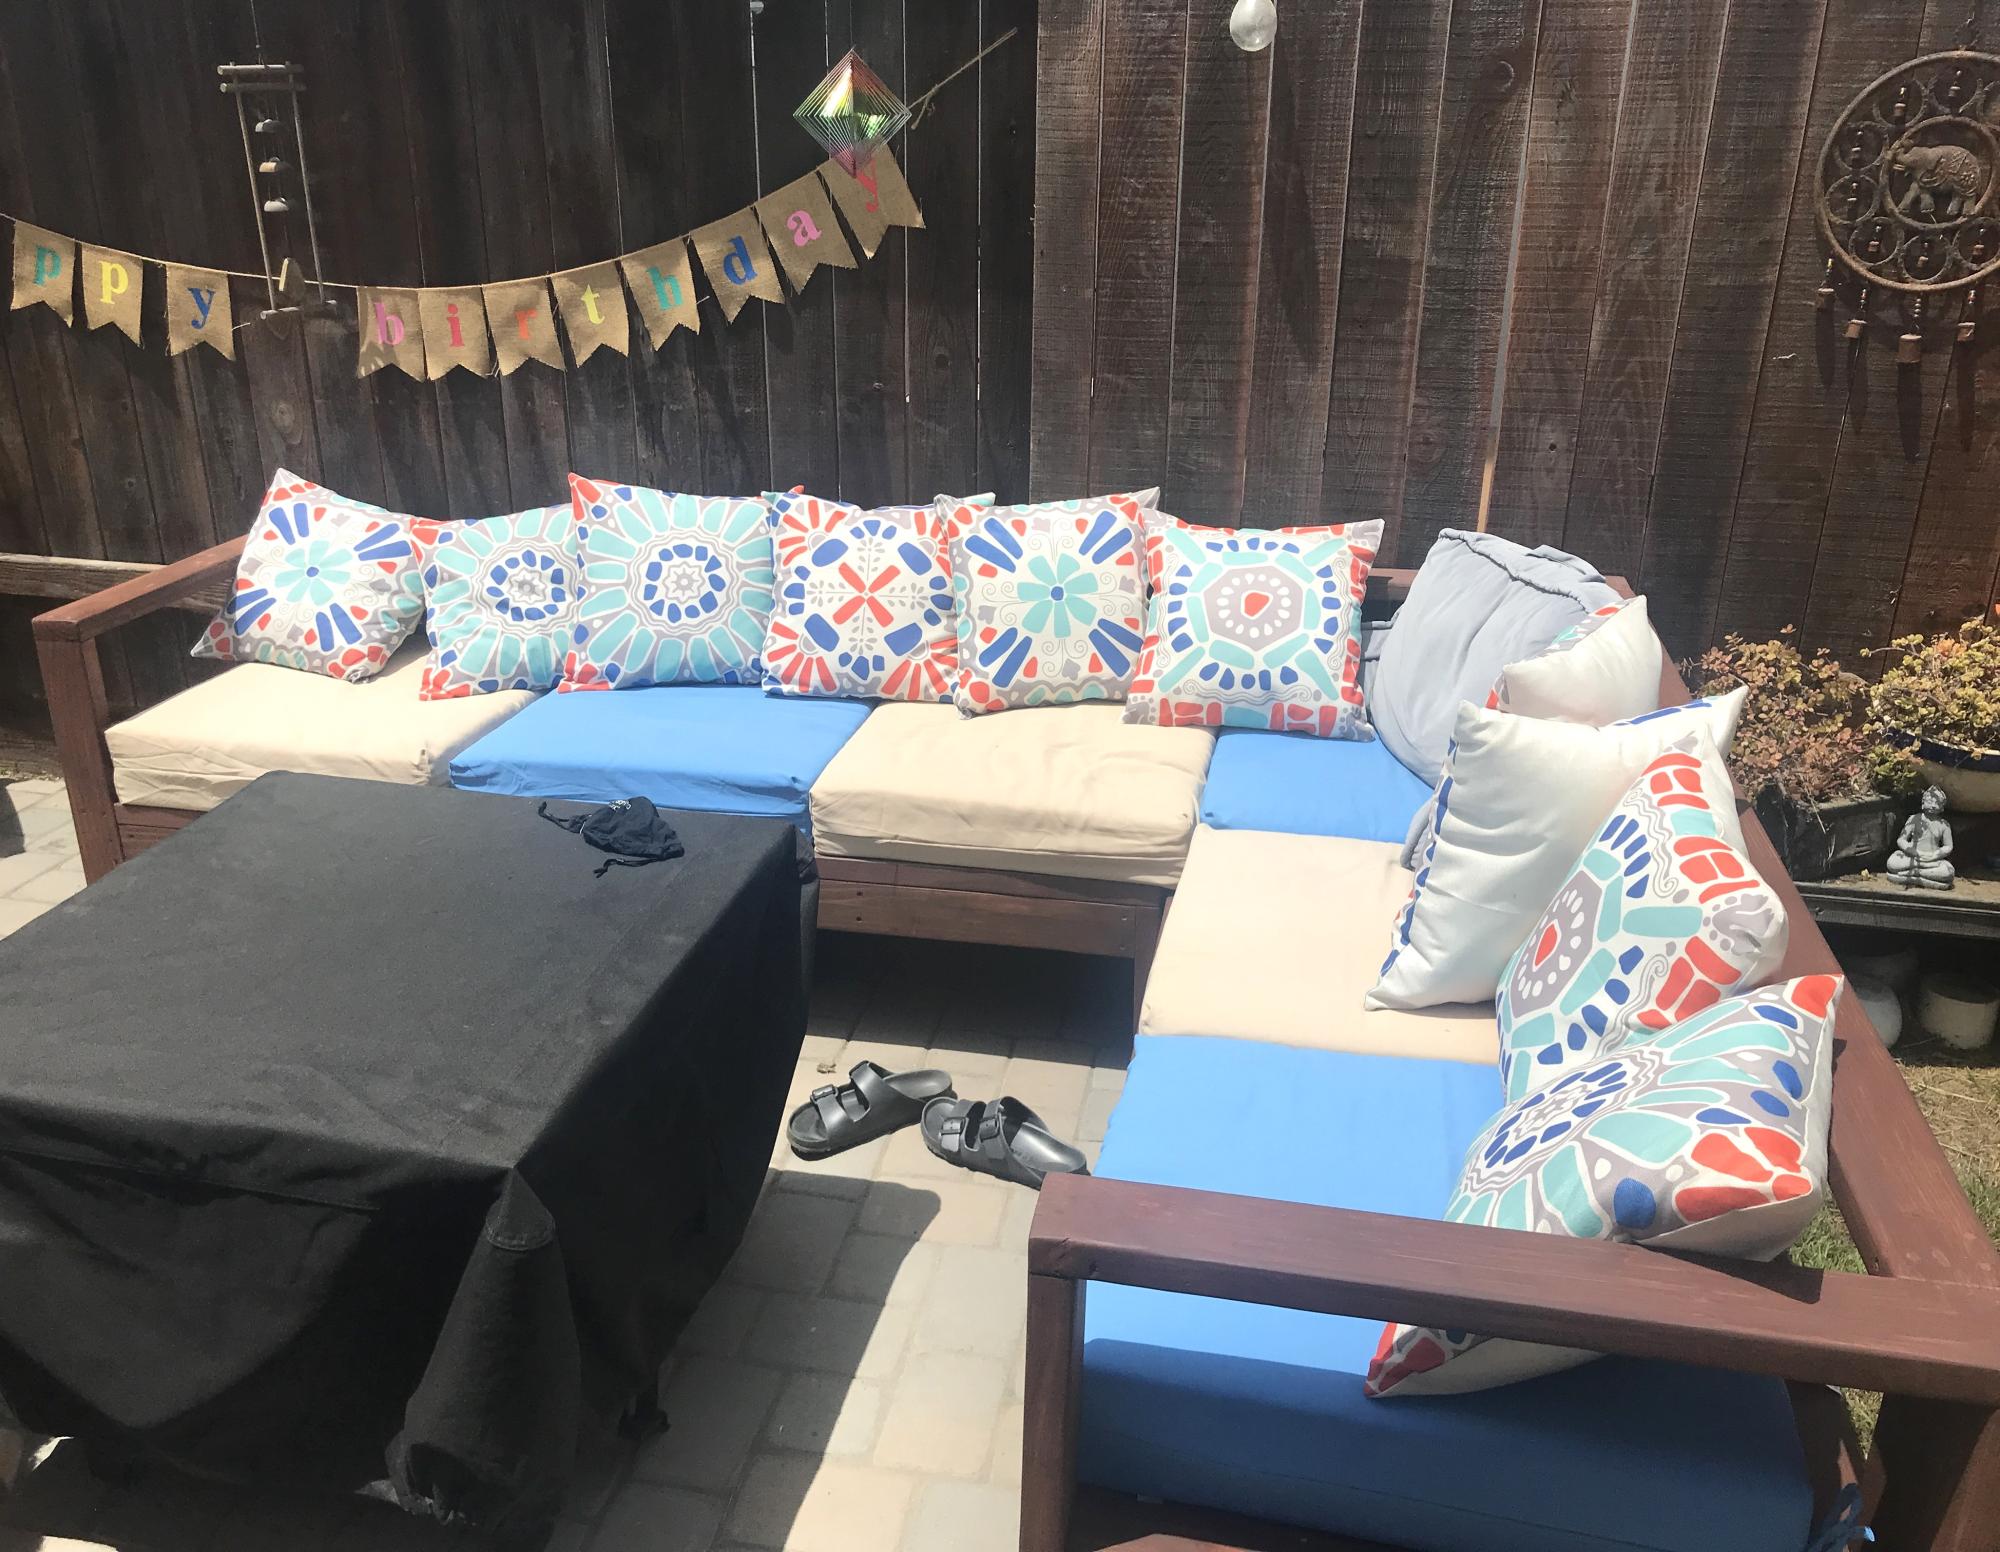
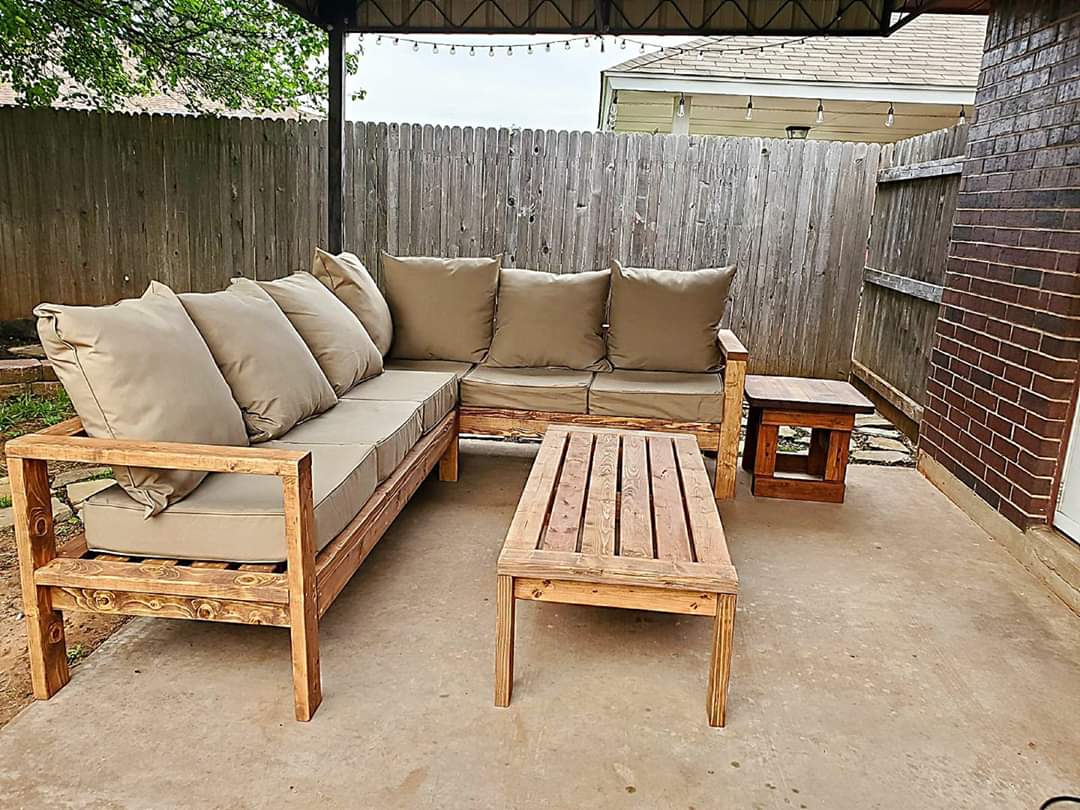
Outdoor sectional and coffee table

Submitted by Rynhffr on Mon, 07/06/2020 - 21:06

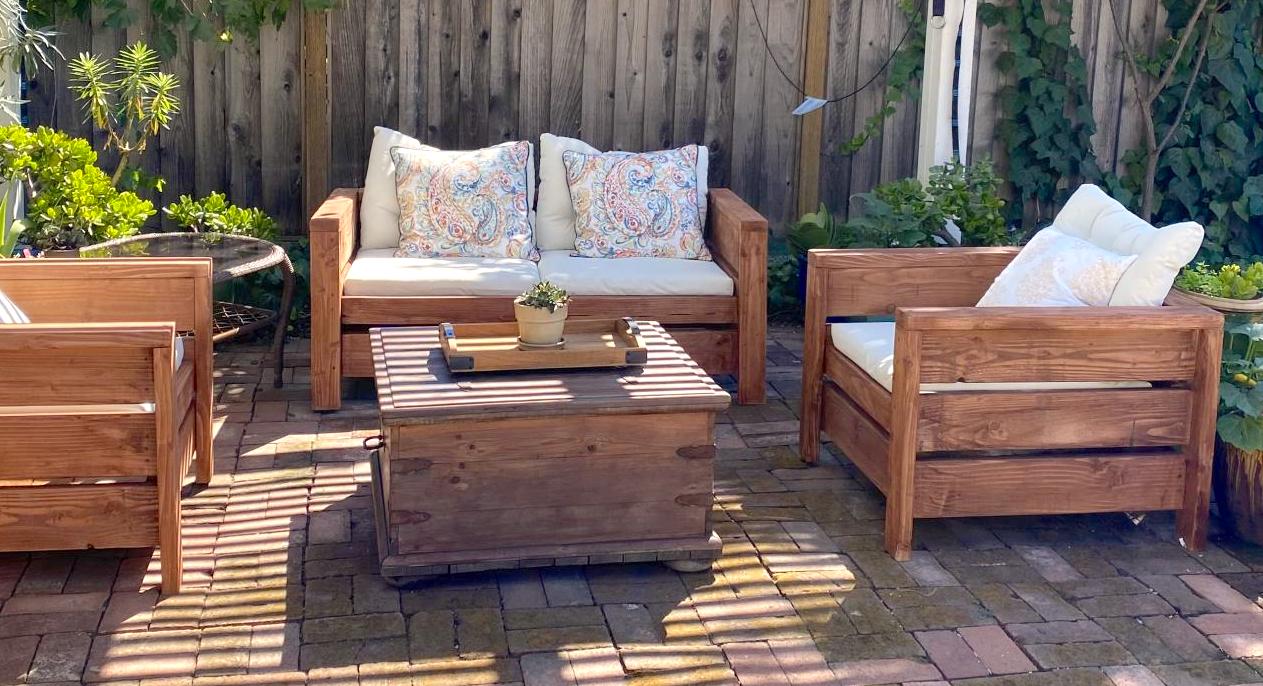
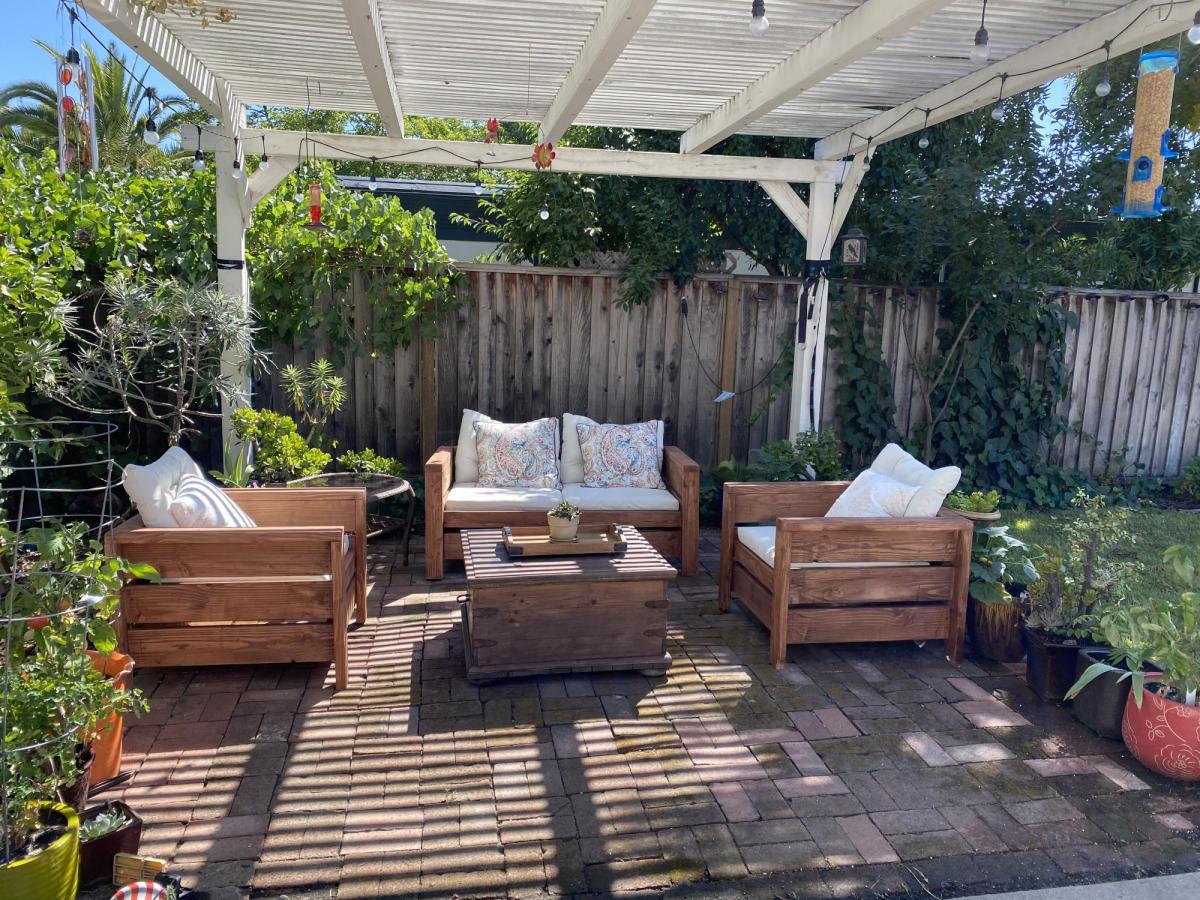
Loved these plans! Was my first project I tackled trying my hand with a new hobby of wood working to stave off quarantine craziness :-) finished project looked awesome and got me started working on other plans on the site.

**note**
Side table was just sanded and refinished, wasn't built just tried to match.

Estimated Cost
400
Estimated Time Investment
Weekend Project (10-20 Hours)
Recommended Skill Level
Beginner

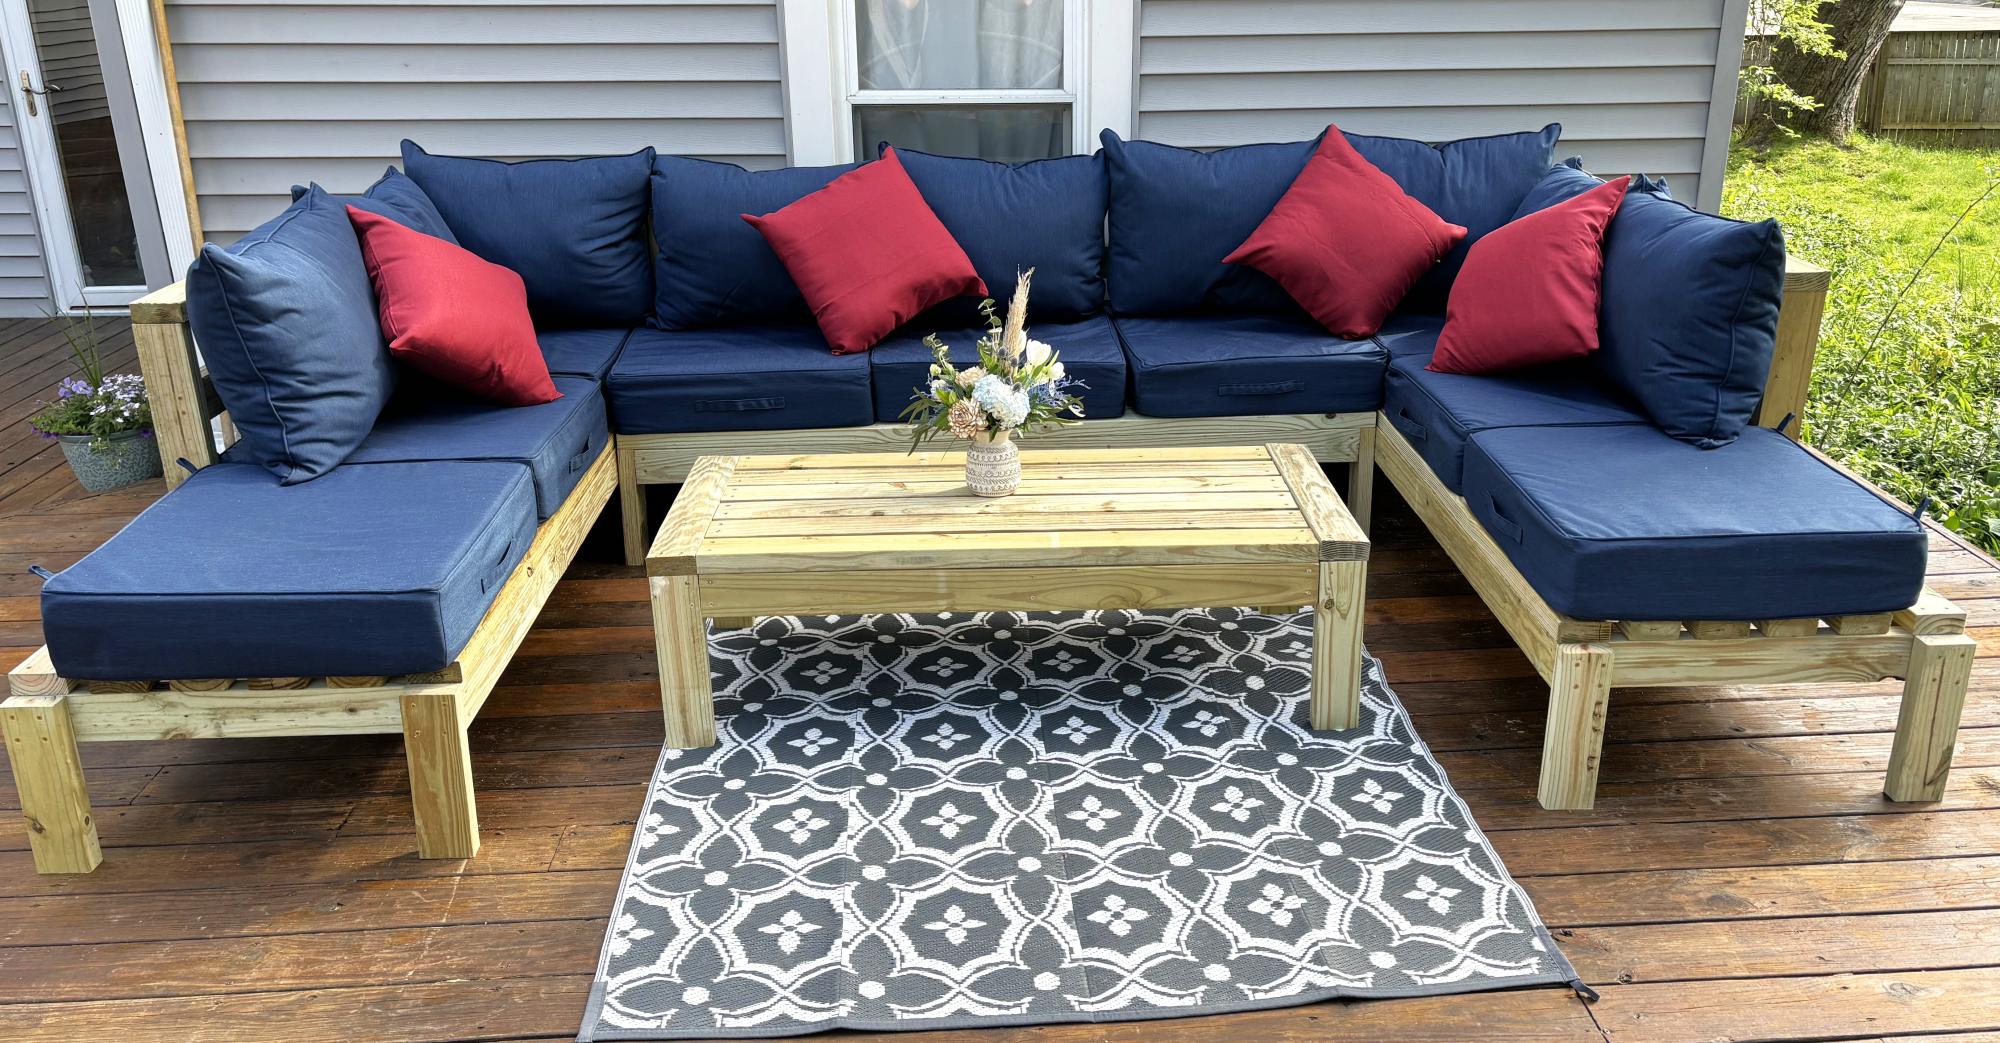
DIY Outdoor Sectional

Submitted by Anonymous (not verified) on Mon, 05/06/2024 - 13:25

I used the armless chair plan, and altered the one armed plans to make two chaises. Then I increased the size slightly to accommodate the 25x25 pillows I bought. This took about 12 hours with one person working. I am super proud of it! Finished today, and will eventually stain after the wood has dried out a little. Thank you, Ana, for making straightforward plans that gave me the confidence to do my first woodworking project!

Andrea in Michigan

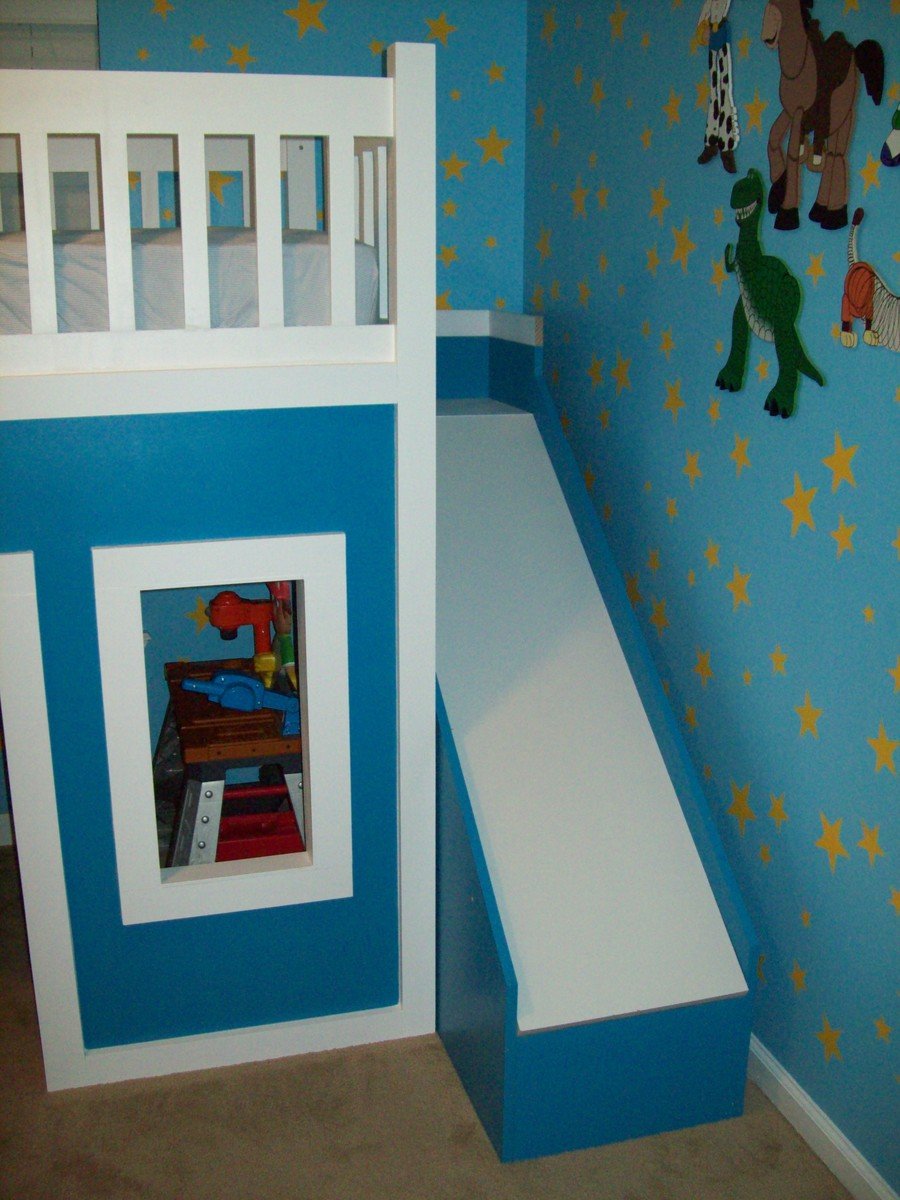
Playhouse Loft Bed With Stairs And Slide

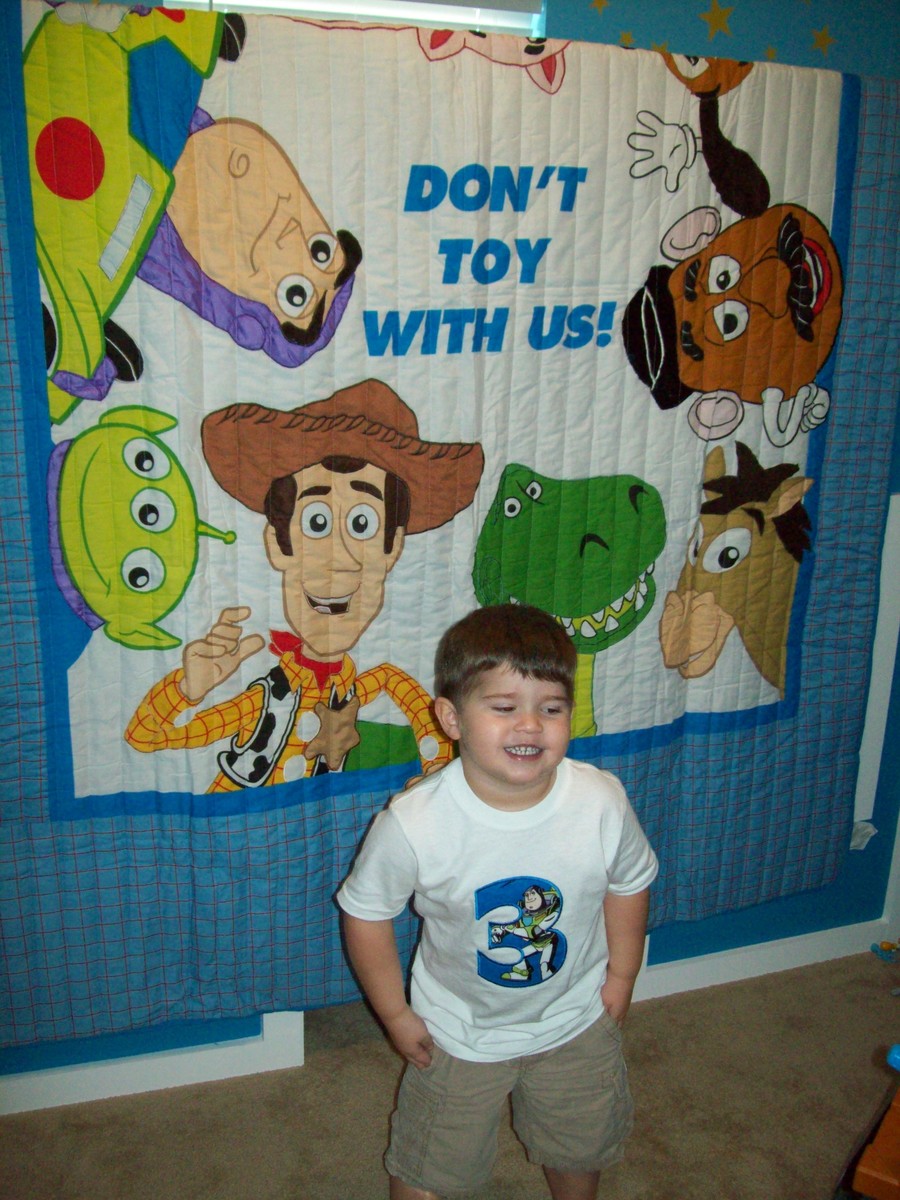
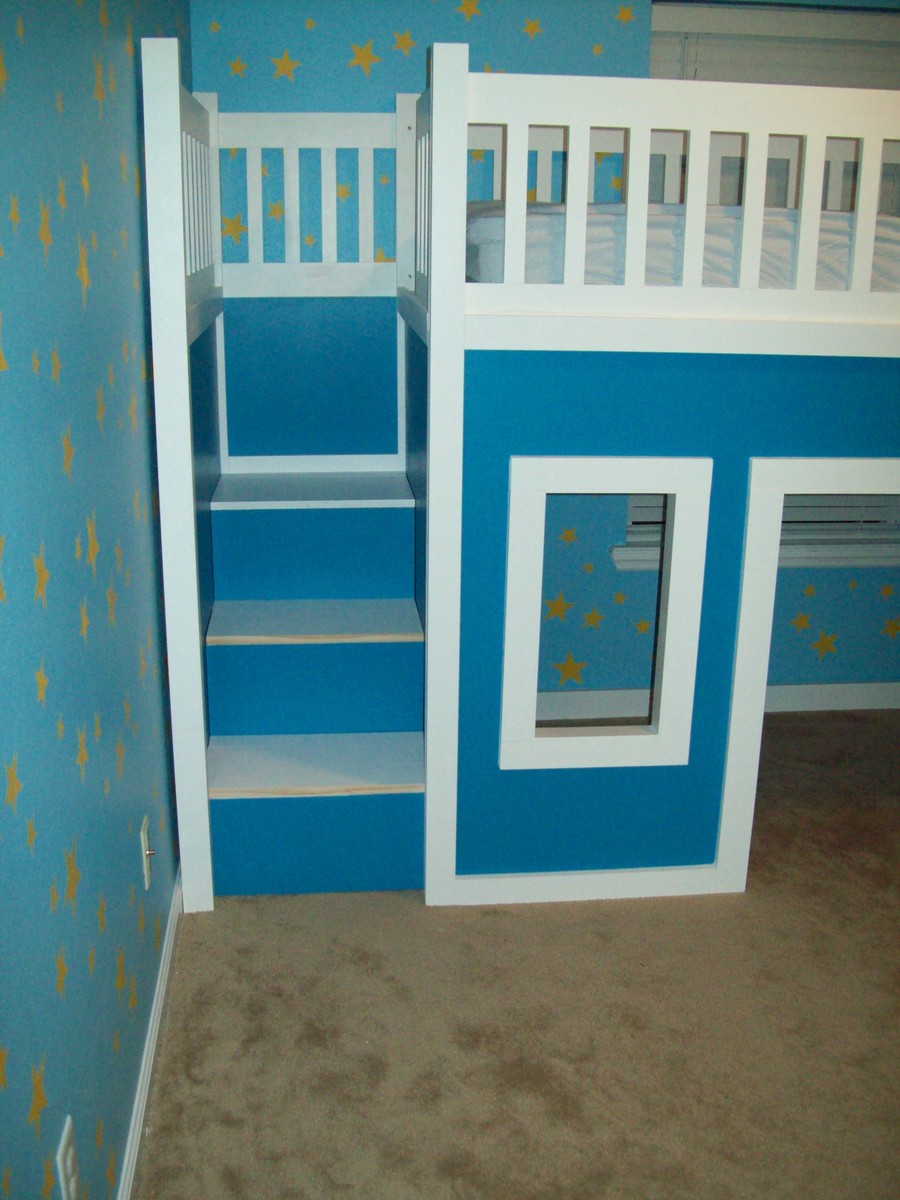
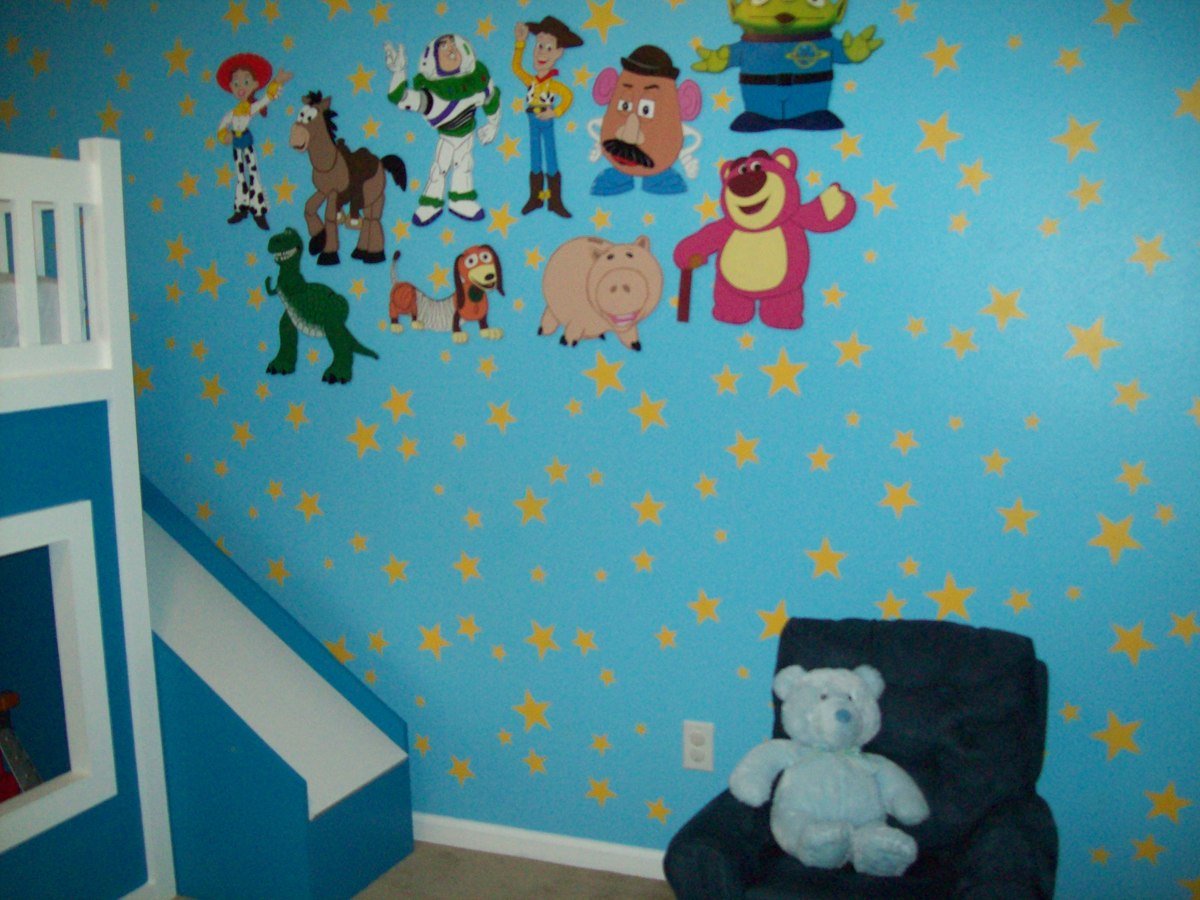
My son was about to turn 3 and I really wanted to redesign his bedroom as a birthday surprise. We went with a Toy Story themed room, he just loves Toy Story.
I started off by painting the walls blue with yellow stars like Andy's room in the movie. I added some custom painted art work and then it was off to find a cool playhouse bed. My husband and I were shopping around and we could never really find what we were looking for in the store. So we decided to build one ourselves using plans from this website.
I used the playhouse loft bed and the playhouse loft bed stair plans, for the bed and the stairs. I used the castle loft bed plan as inspiration for the slide. The project took us about 5 weeks from start to finish. We both have full time jobs and we did most of the work on the weekends. I looked at each plan very carefully and made notes. I had to modify the stair plans slightly to fit the space where we wanted to put the bed. The stairs look narrow, but they work just fine. My husband and I can both use them to get up in the bed. The stairs feature hinged stair tread with built in storage. We built them like that at first, but then later decided to make them stationary stair treads, with plywood. I didn't like the way the hinges looked and the top stair was so deep that I was worried my son would fall in there and get stuck. The storage idea was neat, but his safety was more important to me. The bed turned out really nice and VERY sturdy. Both my husband and I are able to get up there with my son (not at the same time).
Another modification that I made was instead of slats to hold on the mattress, I used a piece of plywood. I wanted the roof in the playhouse to look finished, and I didn't want to see his bedding hanging down from the slats. I painted the top of the plywood white, where the mattress goes to blend in with the slats, and the other side was painted blue to match the walls inside the playhouse.
I did modify the playhouse front facade to have 2 windows and one door. I like the symmetrical look. The total project cost about $400. I used birch plywood and select pine boards, and about 6 quarts of paint. I noticed AFTER we had finished the bed using the birch plywood, that Home Depot had cabinet grade plywood on a random end cap, that was just as nice for $12 less a sheet. If I could do it all over again, I would definitely use that!. I wanted the paint to have a nice smooth finish, without having to do a lot of sanding or patching.
We had Home Depot cut the plywood to the dimensions we needed. I had my husband cut the rest of the wood dimensions listed in the plans, and then I painted all of them before we put the pieces together. I used a small roller and self priming paint. The paint finish looks great. After assembling the bed I can not imagine what I would have gone through trying to paint it after the fact.

The slide was a bit tricky, I looked at the plan for the castle loft bed and attempted to use those dimensions, and for the most part they worked. But when we went to assemble the slide, we did end up recutting some of the wood to different dimensions. I used a piece of the melamine coated closet shelf material for the slide.
It is already finished in white and its nice and slick, like a slide should be! I hate MDF, but for this it seemed the best fit. We cut the top edge at an angle to meet up with the slide platform. PLEASE BE CAREFUL with this material. After it was angle cut the edge was razor sharp and I sliced my fingers up. Once it was installed it butted up perfectly to the slide platform, and the edge was hidden and not a danger. But use caution during the install.

Clamps are your friend! We used Kreg clamps for everything. They kept the wood in place while we were screwing the parts together. The coolest thing that my husband came up with was clamping two identical pieces for plywood together, and drawing the template for the slide support walls. Then he used his circular saw to cut them out. We ended up with two mirror image pieces. They looked awesome. I left them clamped together when I sanded the edges as well.
We really didn't have any building experience other, than building tables and chairs for children, We got the deluxe Kreg jig kit and a miter saw on Craigslist for $50 each and they were both practically brand new. This was the first time we had ever used a Kreg jig and we are both addicted. That thing is the bomb.

We locked my son out of his room for a week while we assembled everything. We had the big reveal at his birthday party and all of the guests were excited to see it after seeing my facebook teaser posts of our progress. There were 8 kids up there at one time and the bed did not budge. They all enjoyed the slide. I did the planning and paint and my husband did an awesome job making all of the cuts and sanding everything. We are both very proud of the final product. My son love his new big boy bed.
DISCLAIMER: This bed is not recommended for a child under 6 years old. My son is mature for his age and we monitor him carefully.
Estimated Cost
$400
Estimated Time Investment
Week Long Project (20 Hours or More)
Finish Used
self priming paint
Recommended Skill Level
Beginner

Comments

Teania (not verified)

Mon, 01/21/2013 - 12:41

This bed is awesome. My boyfriend and I want one just like this for are son. Did you happen to write out all your dimensions? I would love to make this bed for my son.

silvinairiana

Thu, 10/16/2014 - 14:40

Hi! Congratulations you did an awesome job!!  Would you please let me know what the total measures are, length and width?  Thank you so much!!


Washer Dryer pedestal

Submitted by glap on Mon, 11/24/2014 - 05:59

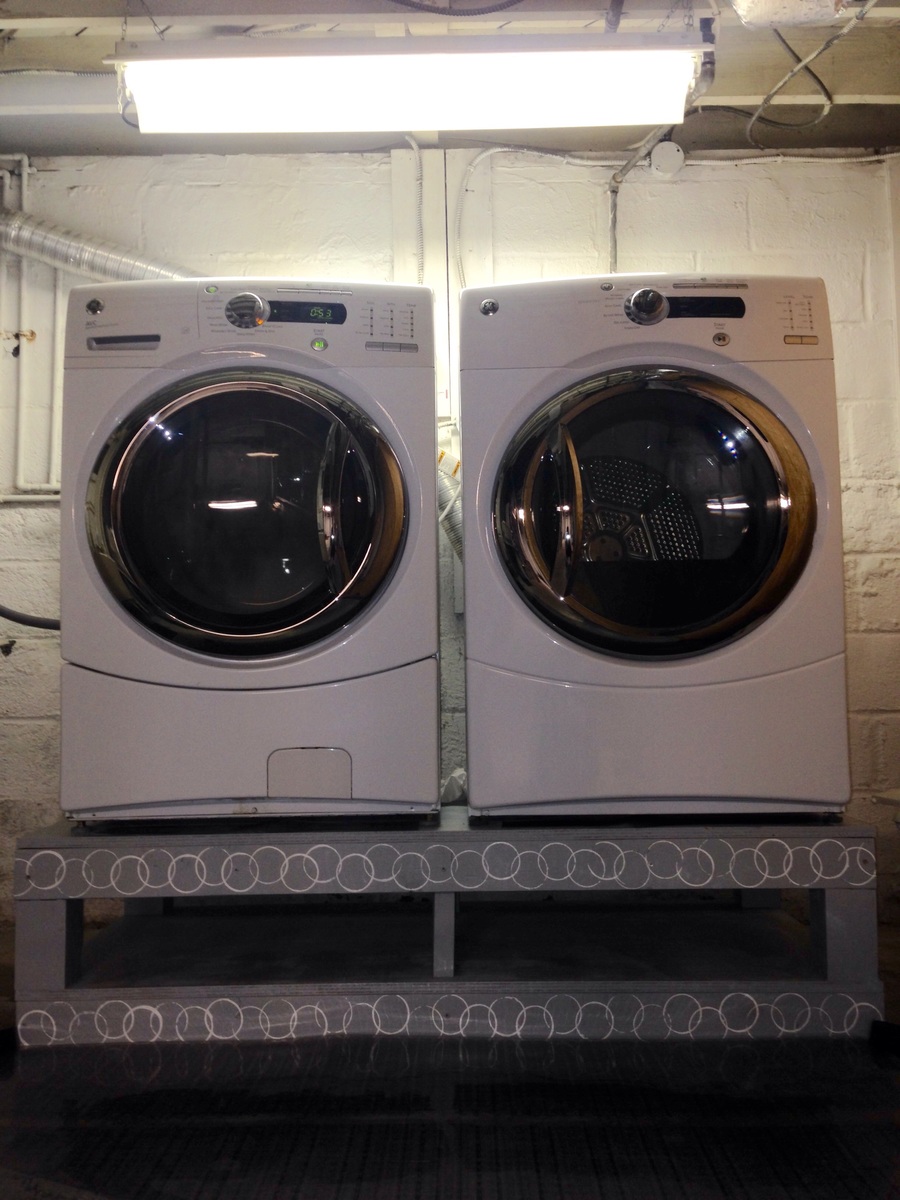
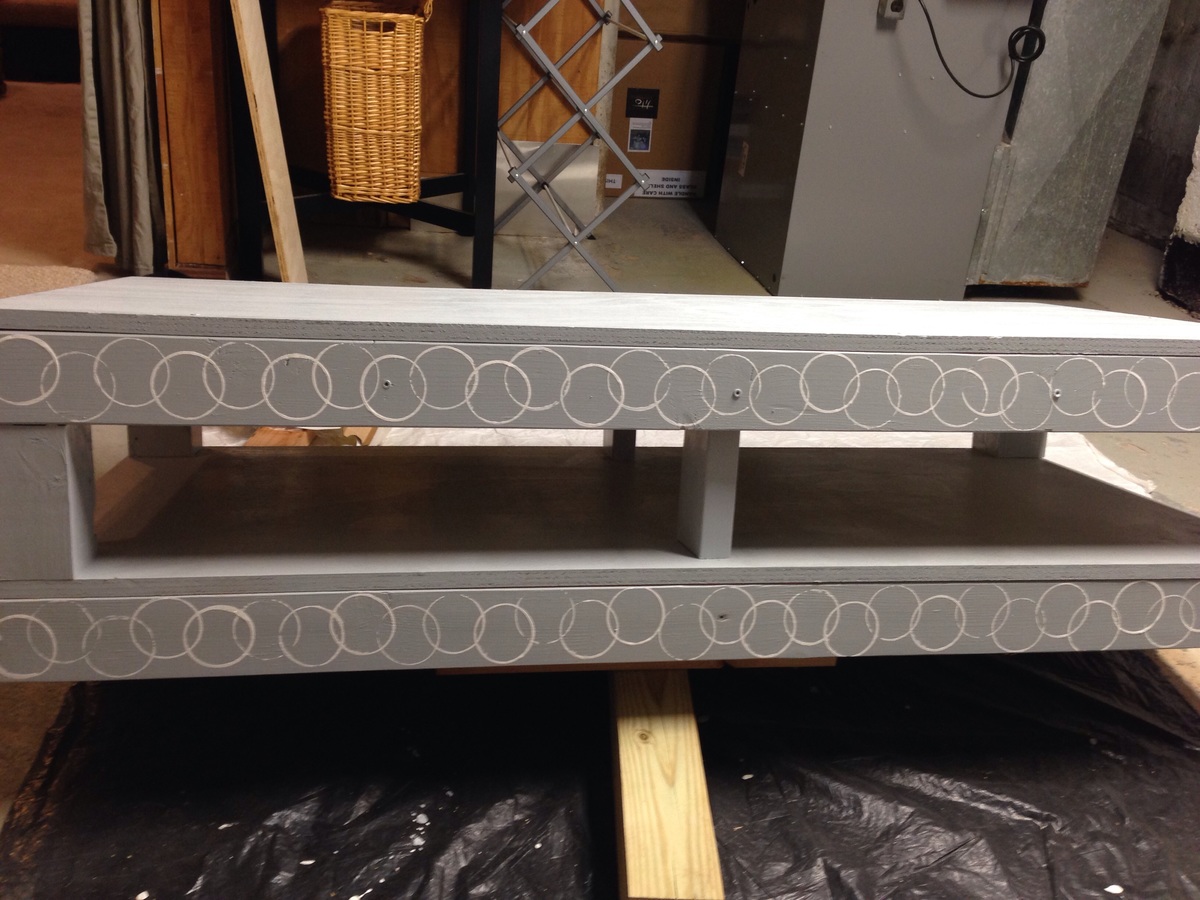
Thank you so much to Sausha and this site for the instructions, shopping list and measurements! I finally have my pedestal! No more back aches! I modified the height to 15" by making the posts to 6" and added center posts using 2x4.


Estimated Cost
$175
Estimated Time Investment
Day Project (6-9 Hours)
Finish Used
Behr paint (1 coat) and white paint for the design
Recommended Skill Level
Intermediate

Cedar Tiered Flower Planter

Submitted by Anonymous (not verified) on Tue, 05/04/2021 - 14:30

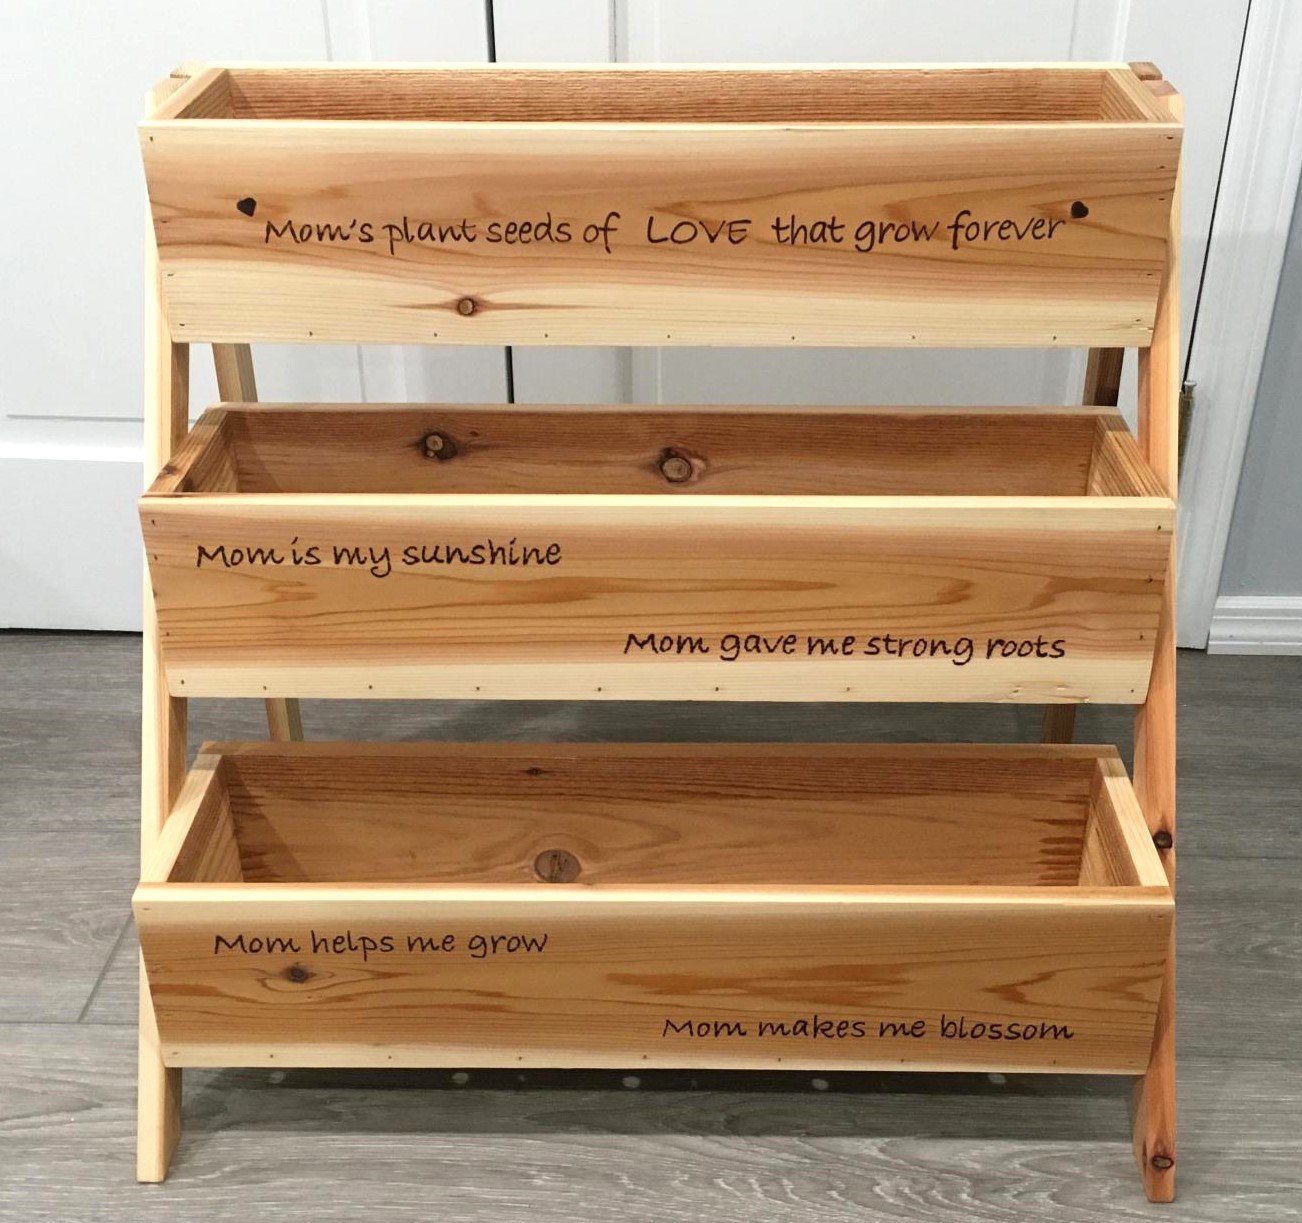
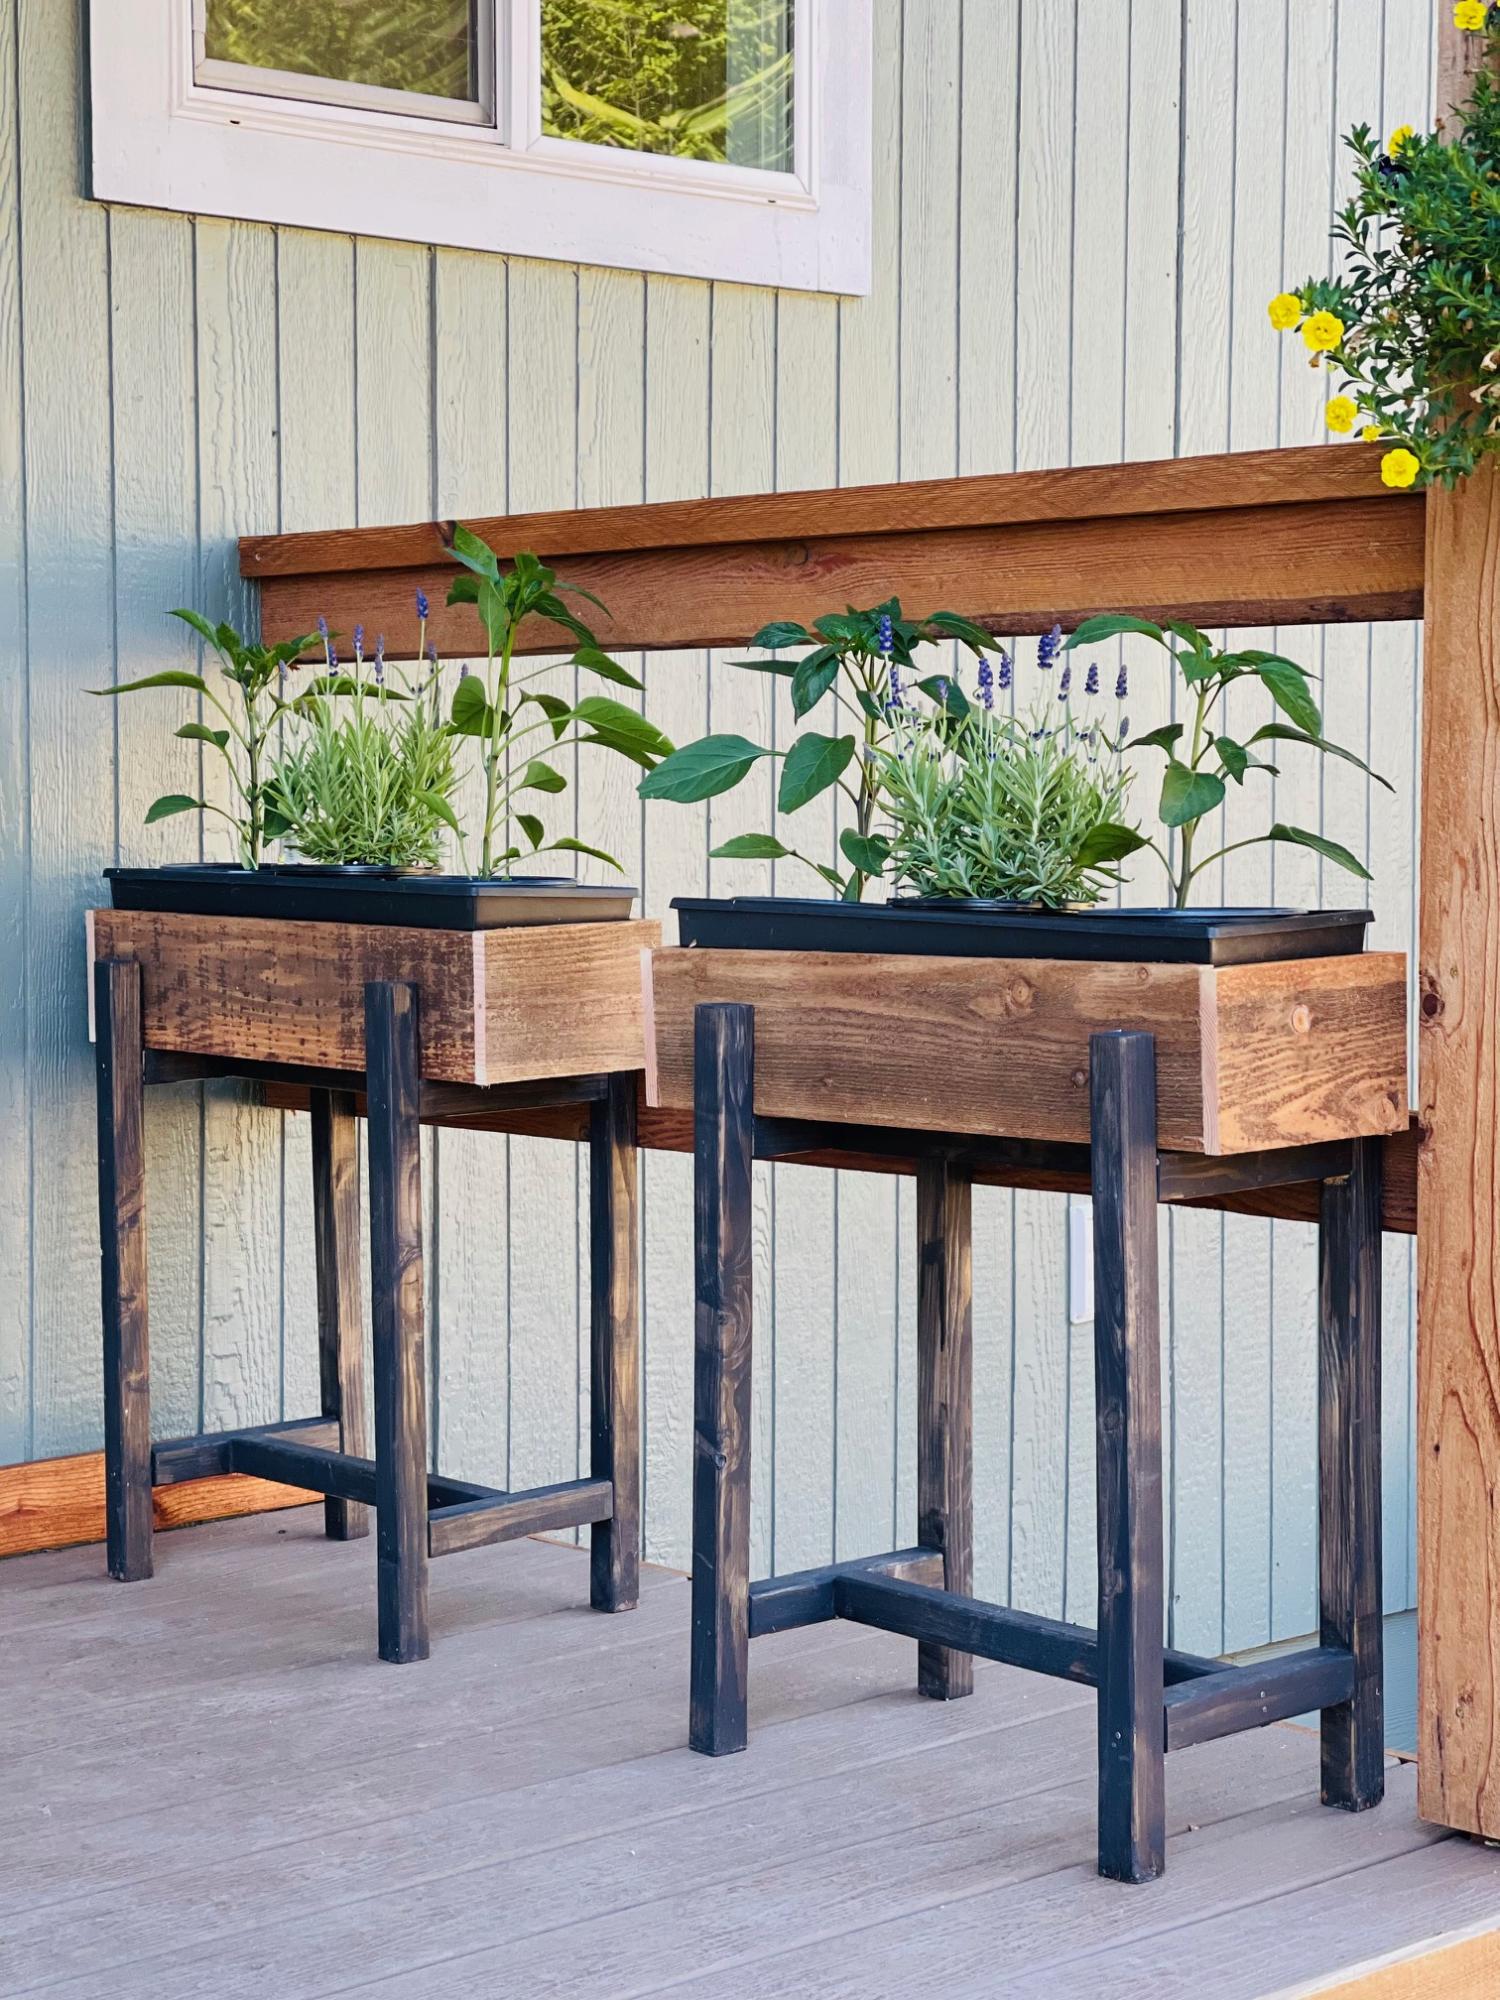
We made this tiered planter for a Mother's Day gift for my wife. It was a simple build and the plans are very easy to follow. I couldn't get any cedar fence pickets so I used standard 1x6x8 cedar boards that were available at the local big box store; that's why the cost is a little high. The planters were made 24" wide for more room instead of 16'" wide as per the plans. We personalized it by adding the quotes to the boards and burning them into the wood with a pyrography pen.

Estimated Cost
$50
Estimated Time Investment
Afternoon Project (3-6 Hours)
Finish Used
Varathane Classic Penetrating Wood Stain - Natural
Recommended Skill Level
Beginner

Comments

My Little Princesses Playhouse

Submitted by sanmaurais on Tue, 05/07/2013 - 17:00

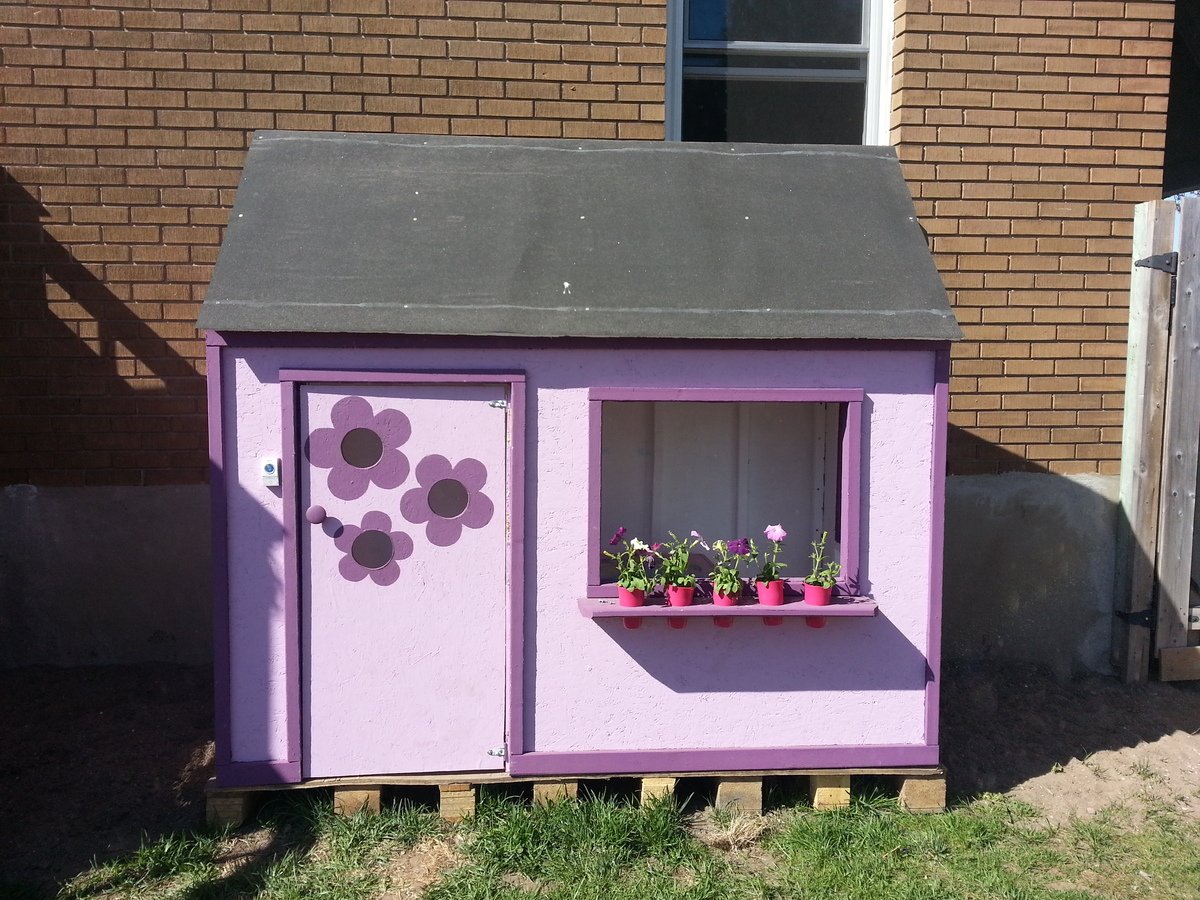
This was the first thing I have ever built, and I loved making the playhouse! I took pictures of every step I did! It was very rewarding to see the look on my girls faces with it was done!! They absolutely love it!!! Thank you for posting the plans.

Estimated Time Investment
Week Long Project (20 Hours or More)
Recommended Skill Level
Starter Project

Cleaning Caddy

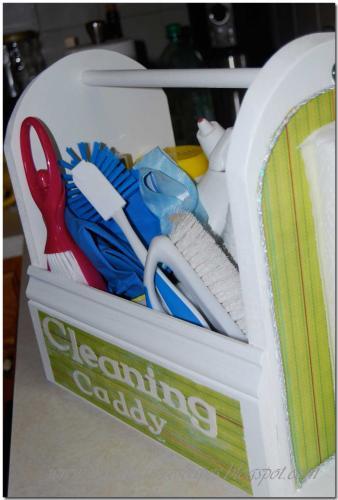
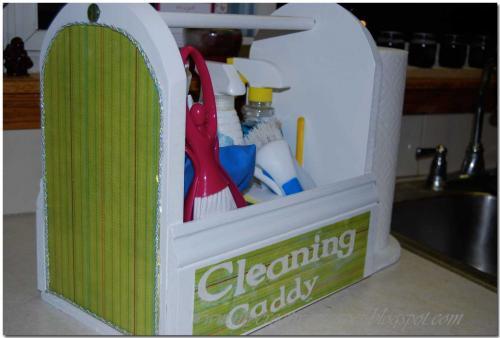
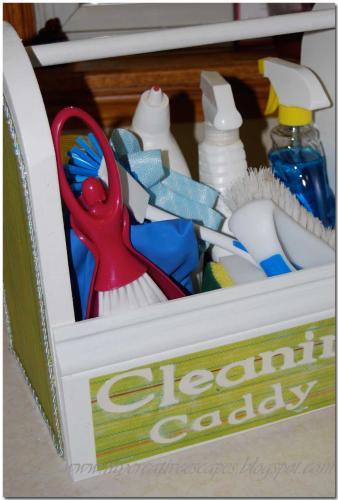
I wanted to build a cleaning caddy. Normally when I go to clean – I want to do it all at once. We have a bigger house – so I’ll be upstairs in the kids room – and realize I left the Windex downstairs – get upstairs – I left the paper towels downstairs….SERIOUSLY. So – hopefully this will stop that from happening!!!
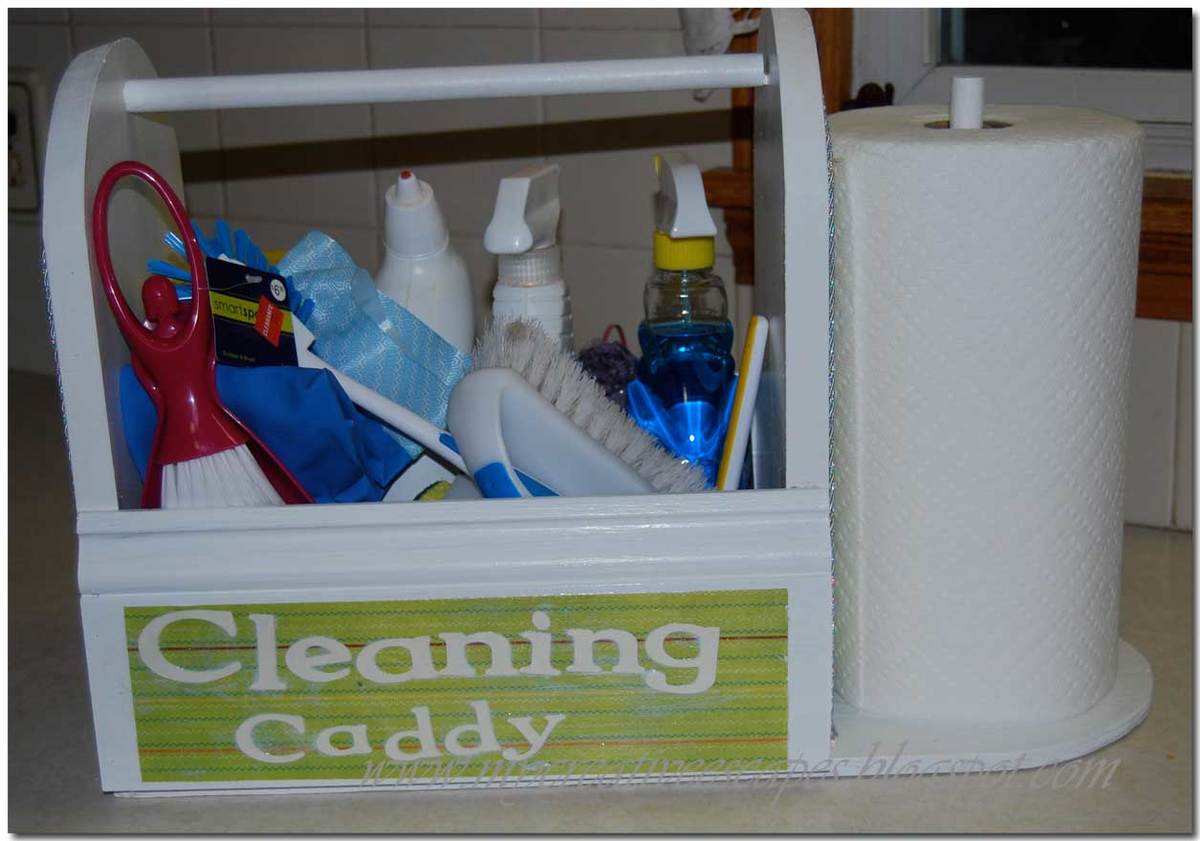
So – here we have my Cleaning Caddy!! It was actually pretty easy to build. I had everything on hand. I had the dowels from another project – so that is how I based everything.

I took two left over pieces of MDF and made a design, cut it out with a Jig Saw. I wanted to make sure it was tall enough for the cleaning bottles.

Then I screwed the dowel to each side of the MDF sides.

I then measure the length I needed for the sides – I used scrap base molding we had laying around – I don’t even know where it came from!

Then came the bottom – I measured out the sides – and then I wanted it long enough to hold a roll of paper towels.

Glued and nailed everything in with the nailer (always use glue too – this thing is kind of heavy with all the cleaning supplies)

I screwed the dowel in from the bottom for the paper towels.

I painted it many times with white trim paint – used many different types of wood so I wanted it to look uniform.

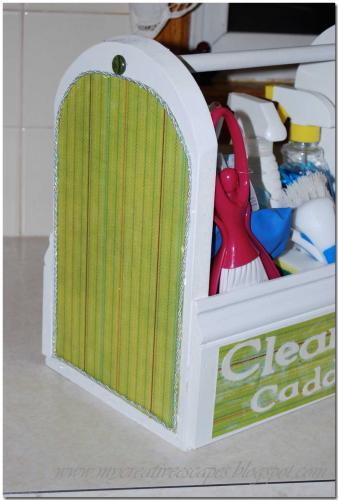
Then for the finishing touches – I went to my abundant scrapbook paper collection – Mod Podged it all up. Love that stuff!!! On the front – I cut out “Cleaning Caddy” with my Cricut. And on the sides I trimmed it out with cording I had on hand, just used hot glue and did about a 6 inch section at a time. I hot glued buttons where my screws were on the outside tops. My counter sink bit was the wrong size, so they stuck out a little. Now it’s a nice decorative element.

Estimated Cost
Free
Estimated Time Investment
An Hour or Two (0-2 Hours)
Finish Used
Sanding, priming, painting, mod podge
Recommended Skill Level
Beginner

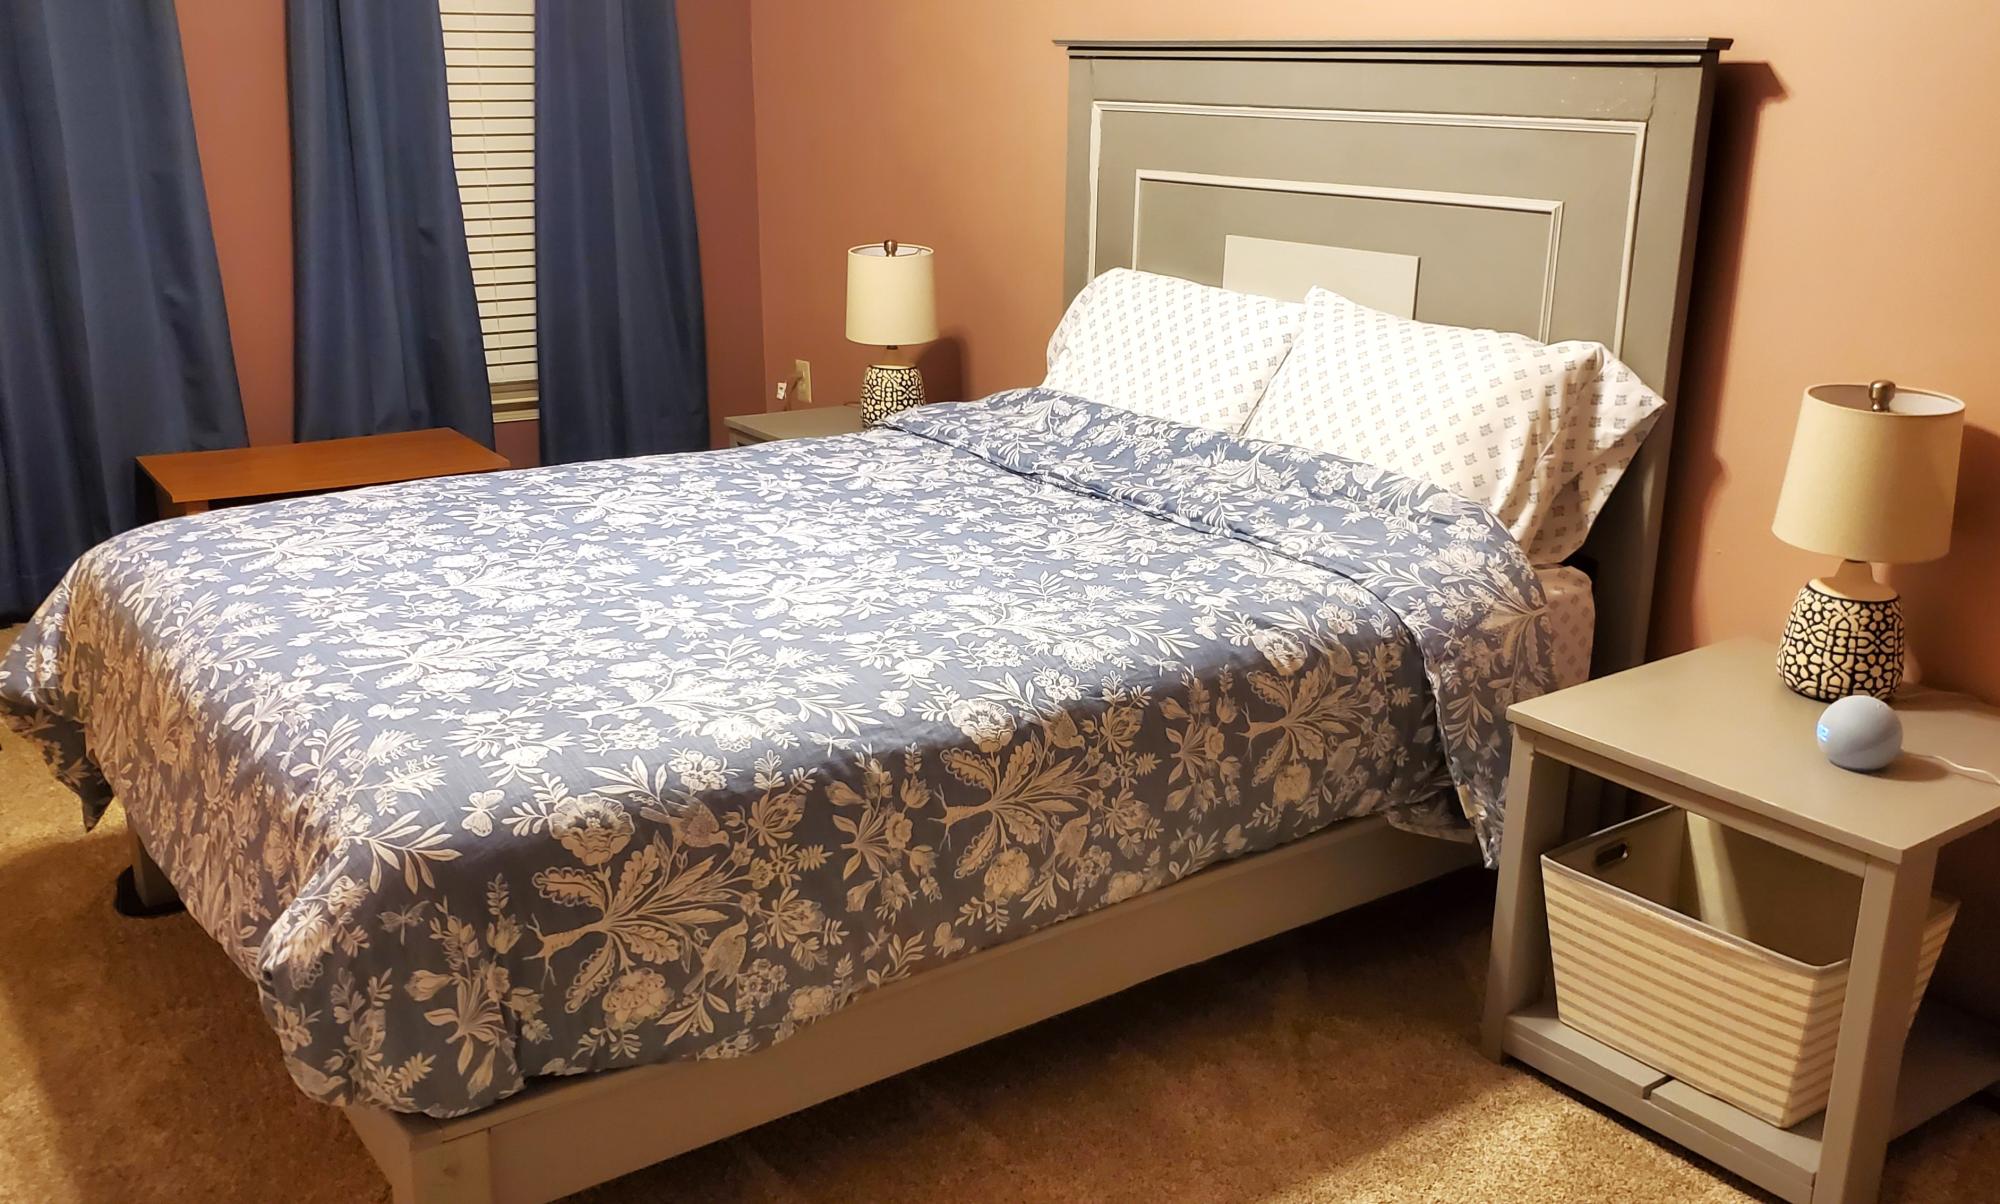
Full size bed size

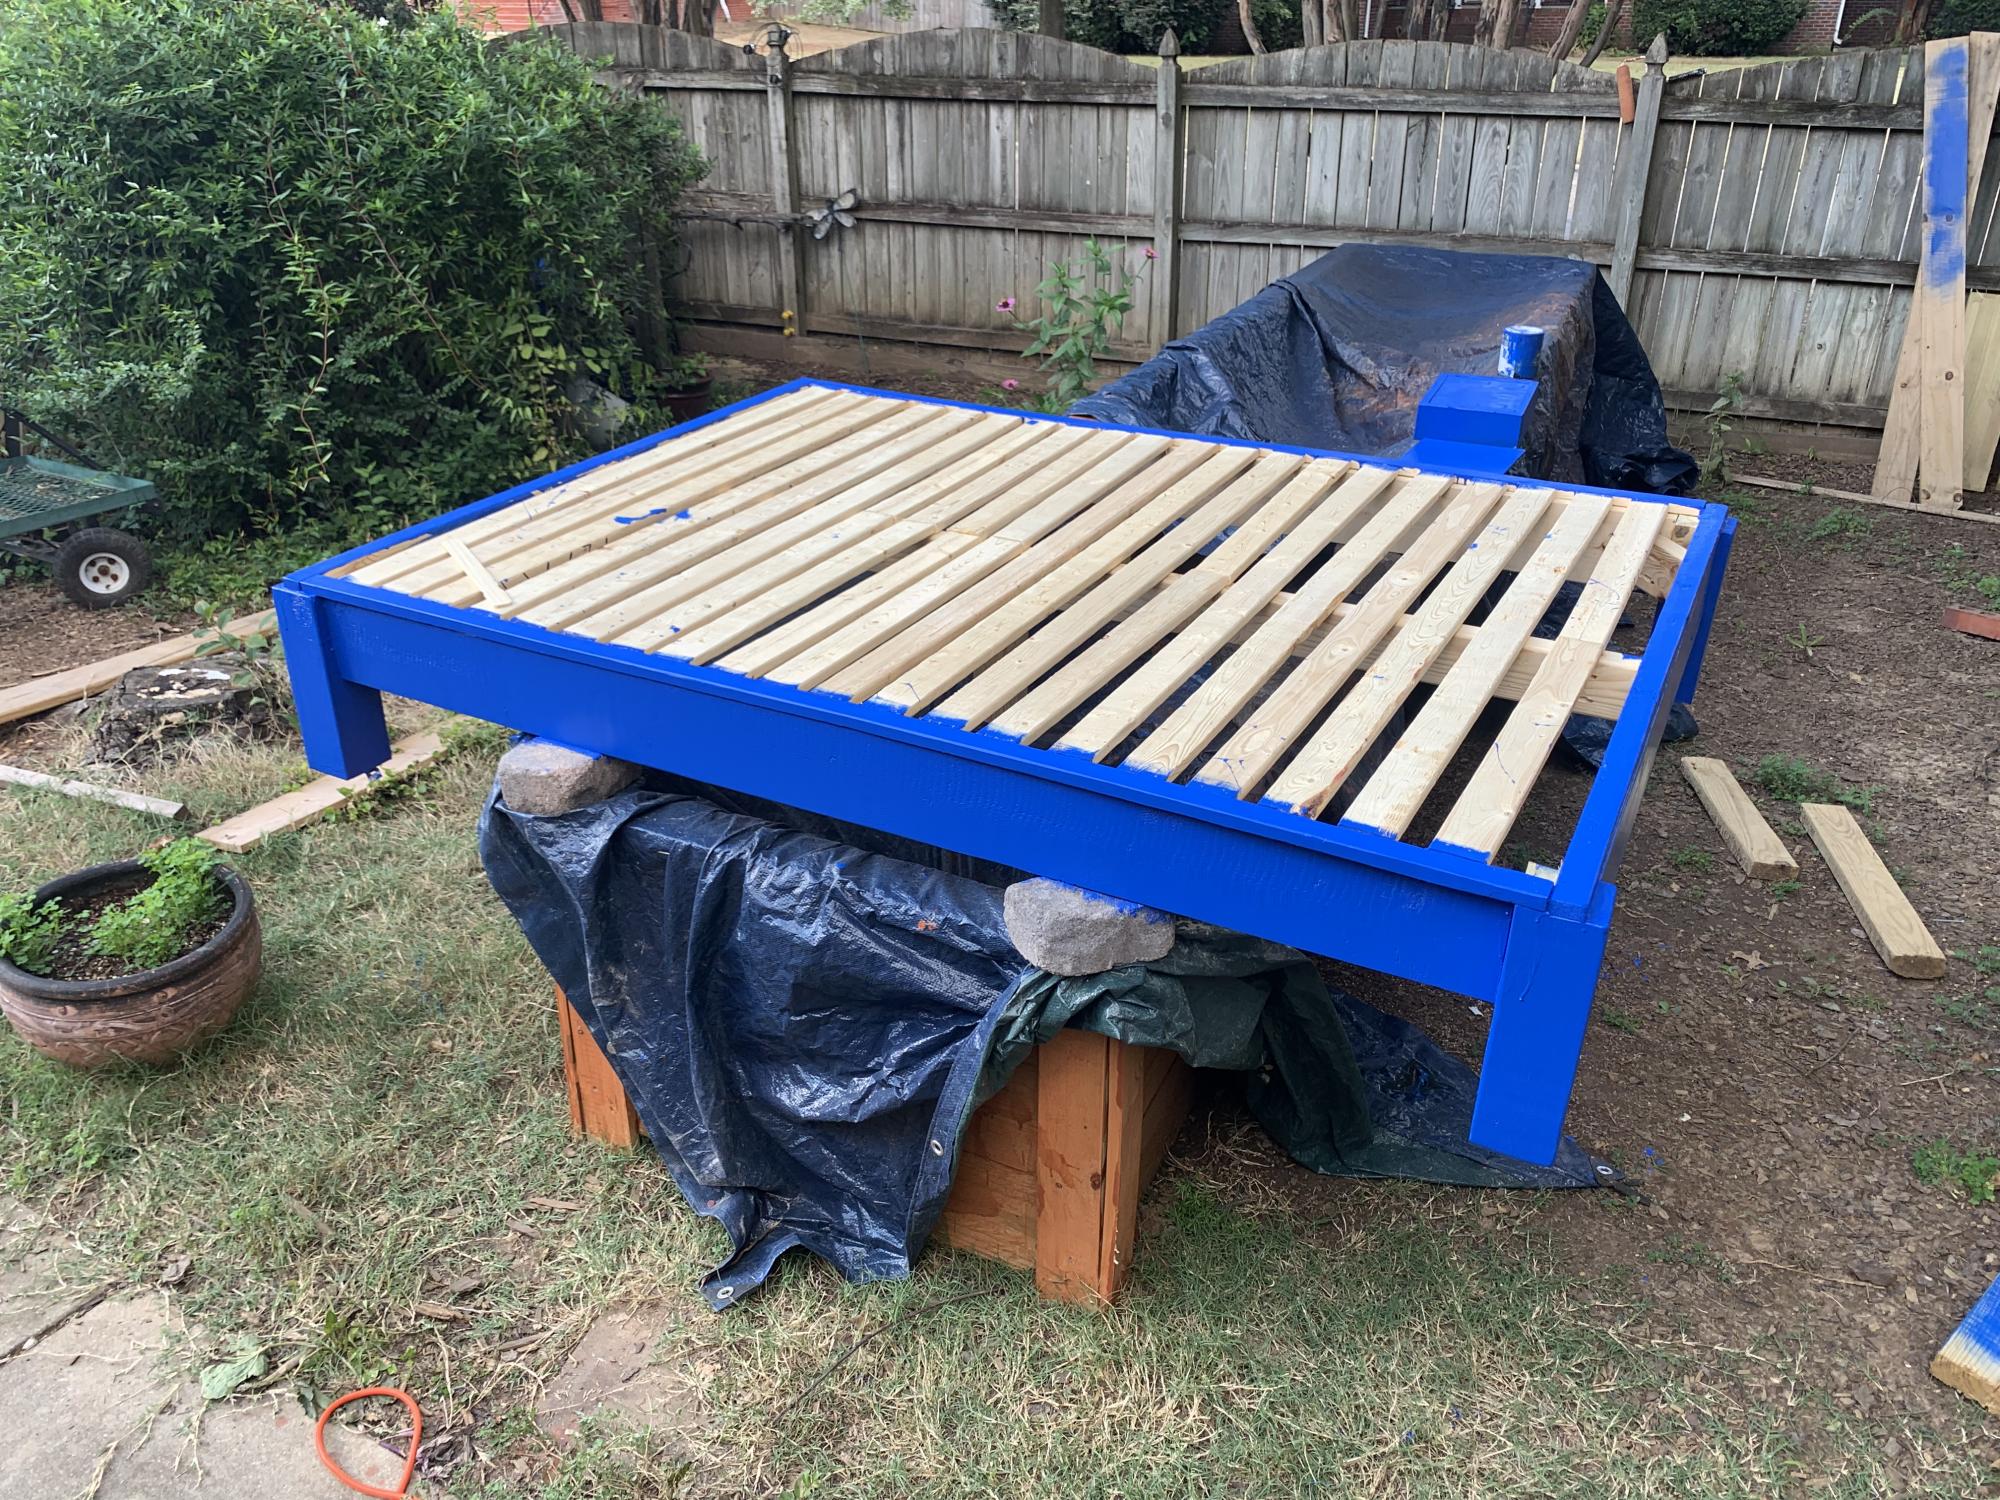
Submitted by Anonymous (not verified) on Mon, 10/04/2021 - 13:47

Loved your plans for building a bed frame- easy to follow.

Comments

4x4 Truss Table and Benches - Modified

Submitted by ride4lamar on Tue, 05/26/2015 - 05:42

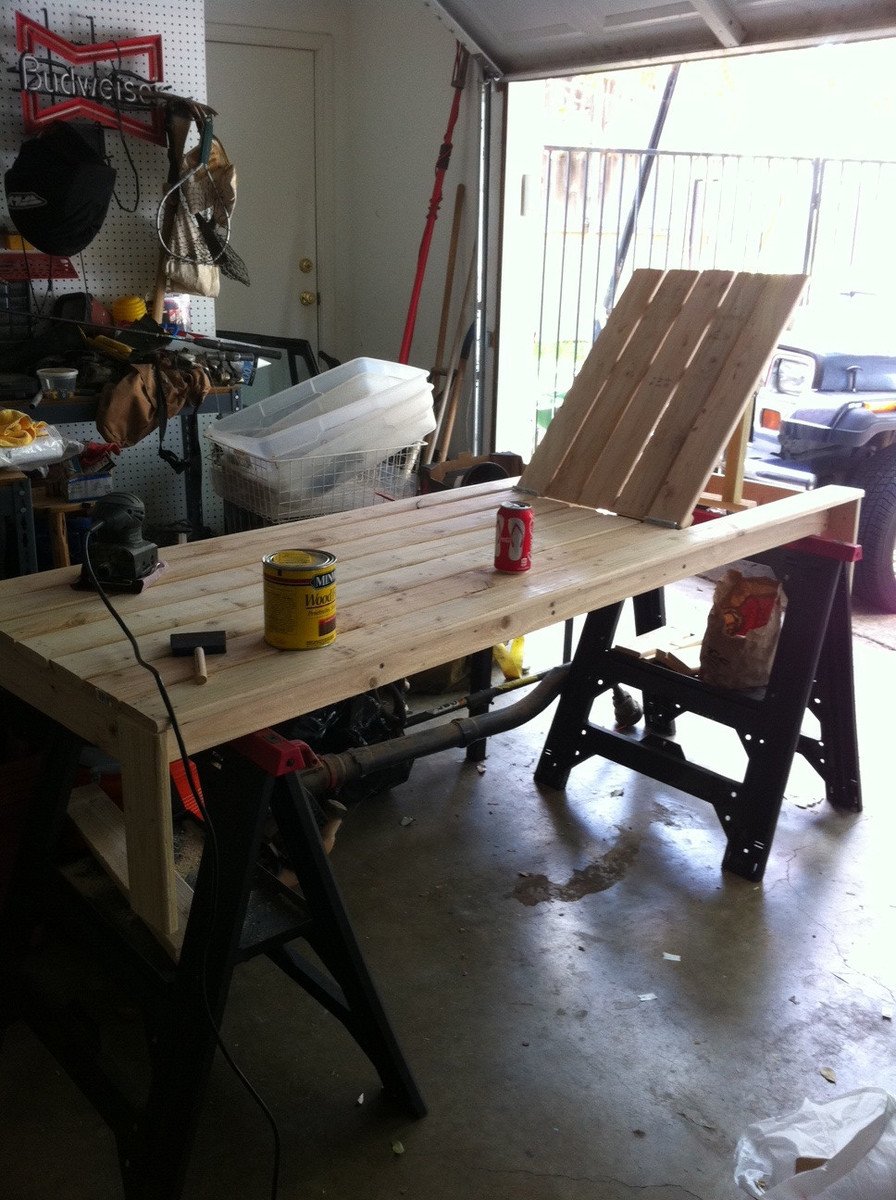
I took the plans and modified them a bit to build what we were looking for. - I used 2x8s for the top of the table so that the middle board could have two removable sections that could be used for ice buckets for drinks. I made those out of plastic planter boxes. I also used 4 2x4s across the top for support.

The last major change is that i used corner brackets and bolts or screws to attach all the pieces. I liked the industrial look it gave the table and benches.

Everything was sanded down and finished with a drift gray stain and seal.

The building part was easy, but sanding and staining prior to putting it all together is what took most of the time. It was probably an hour of cutting, an hour of building and the rest was sanding or staining.

Estimated Cost
$350-$400
Estimated Time Investment
Weekend Project (10-20 Hours)
Recommended Skill Level
Intermediate

Ten Dollar Ledges

Submitted by hannahclou on Sat, 06/11/2011 - 15:39

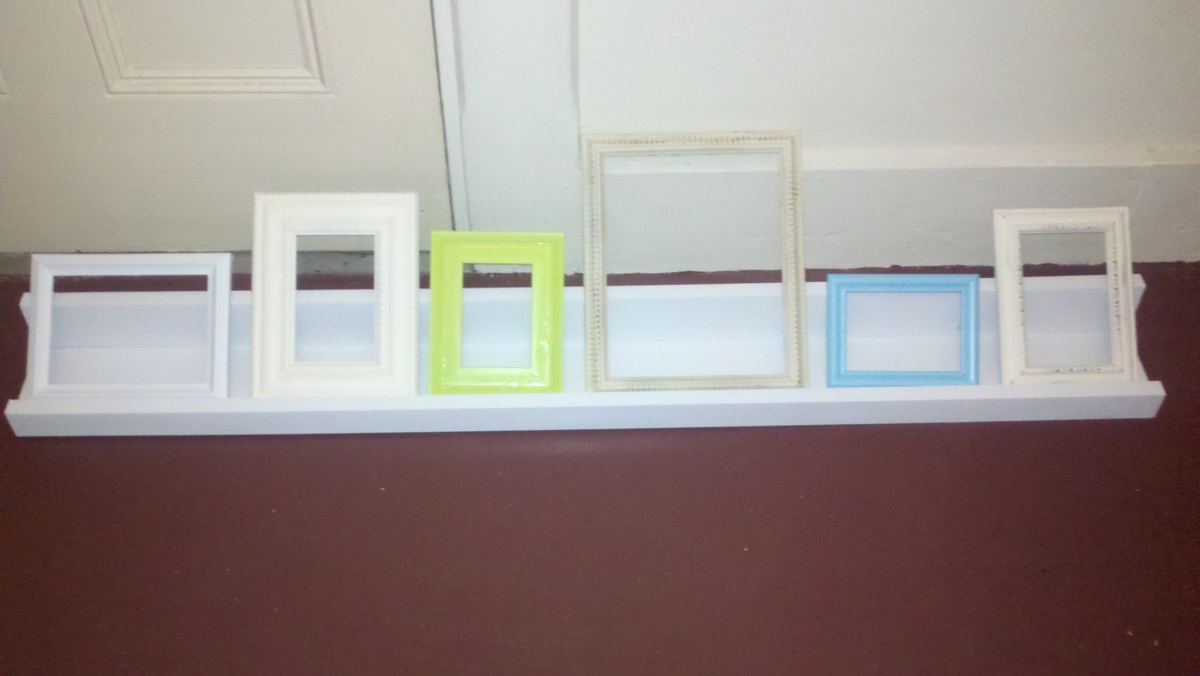
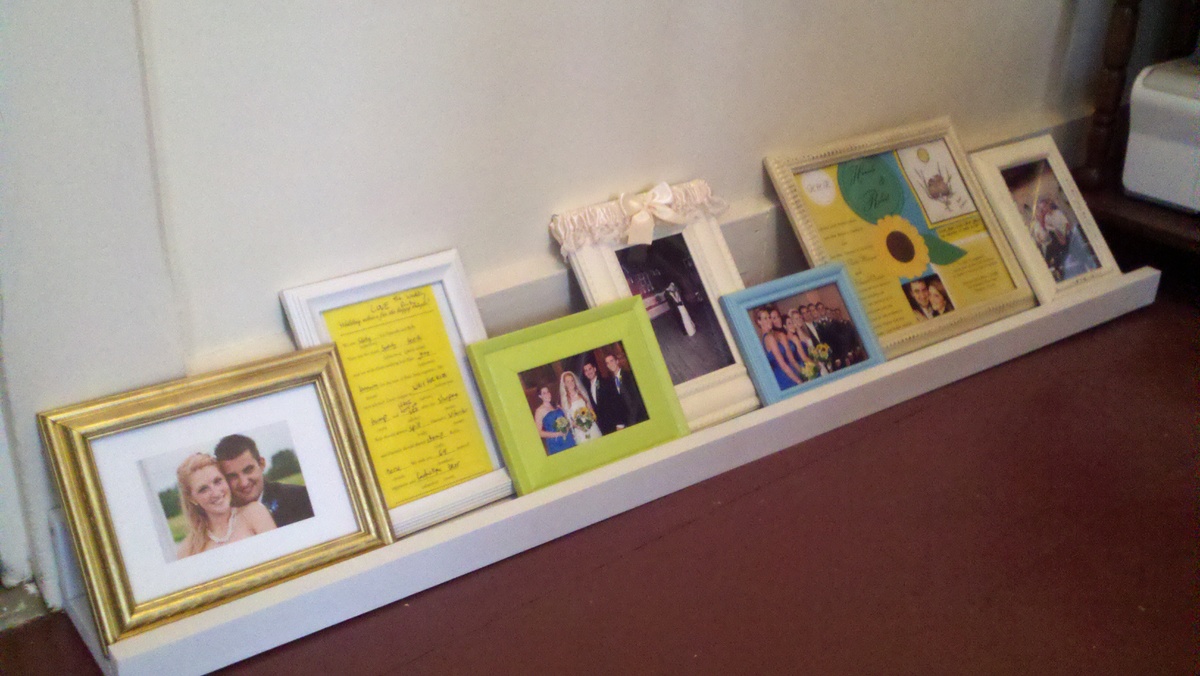
After moving into my new house, I found this great blog and began dreaming of building furniture! I am finally trying it out. Since I didn't know the first thing about power tools and wood-working I wanted to start simple. I bought some 48" pieces of 1x4 and 1x2 in pine, spray painted some old frames and used some of my wedding pictures/momentos and voila...my first project was done! I will be making many more of these easy and pretty shelves! Now to find a wall to put them on.

Built from Plan(s)
Estimated Cost
$5.00
Estimated Time Investment
An Hour or Two (0-2 Hours)
Finish Used
High Gloss White Paint
Recommended Skill Level
Starter Project

DIY Chaise Lounge Chairs

Submitted by jroubinek on Wed, 07/06/2011 - 10:44

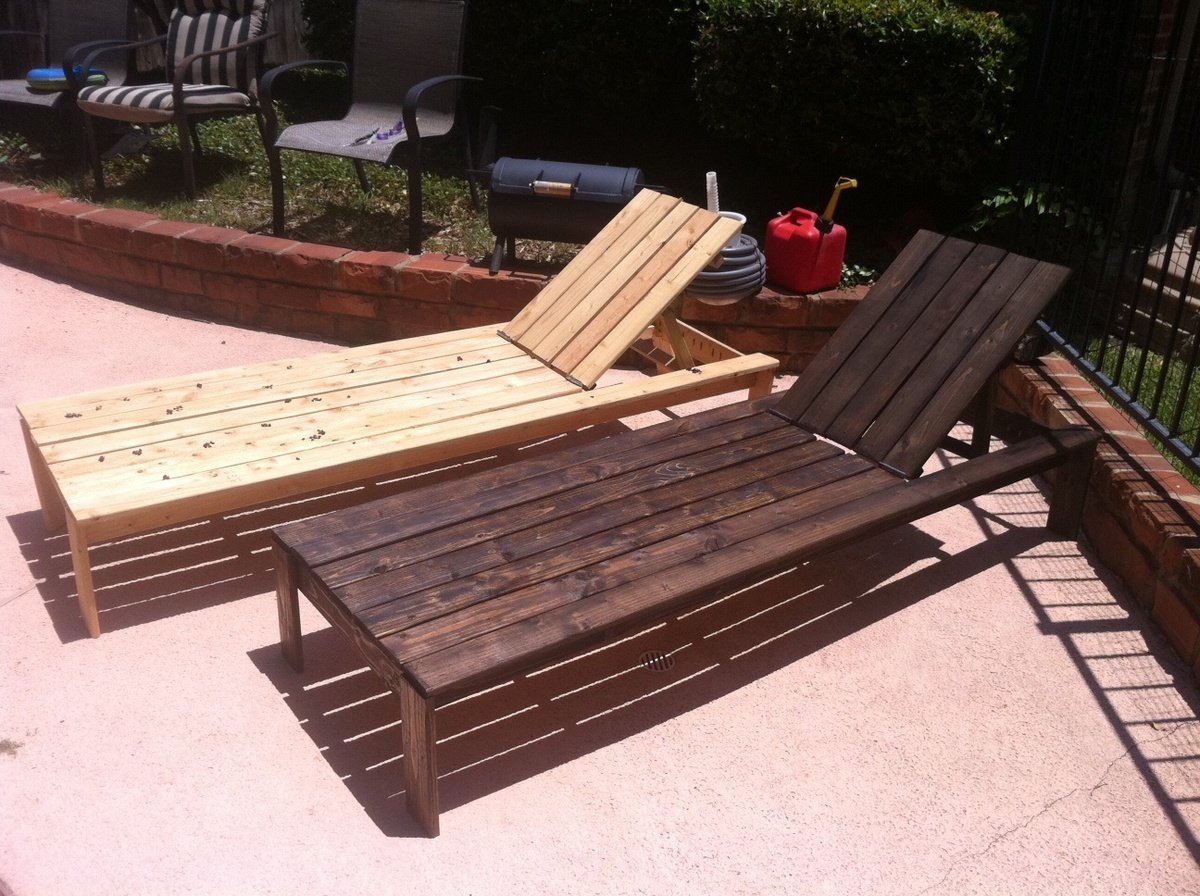
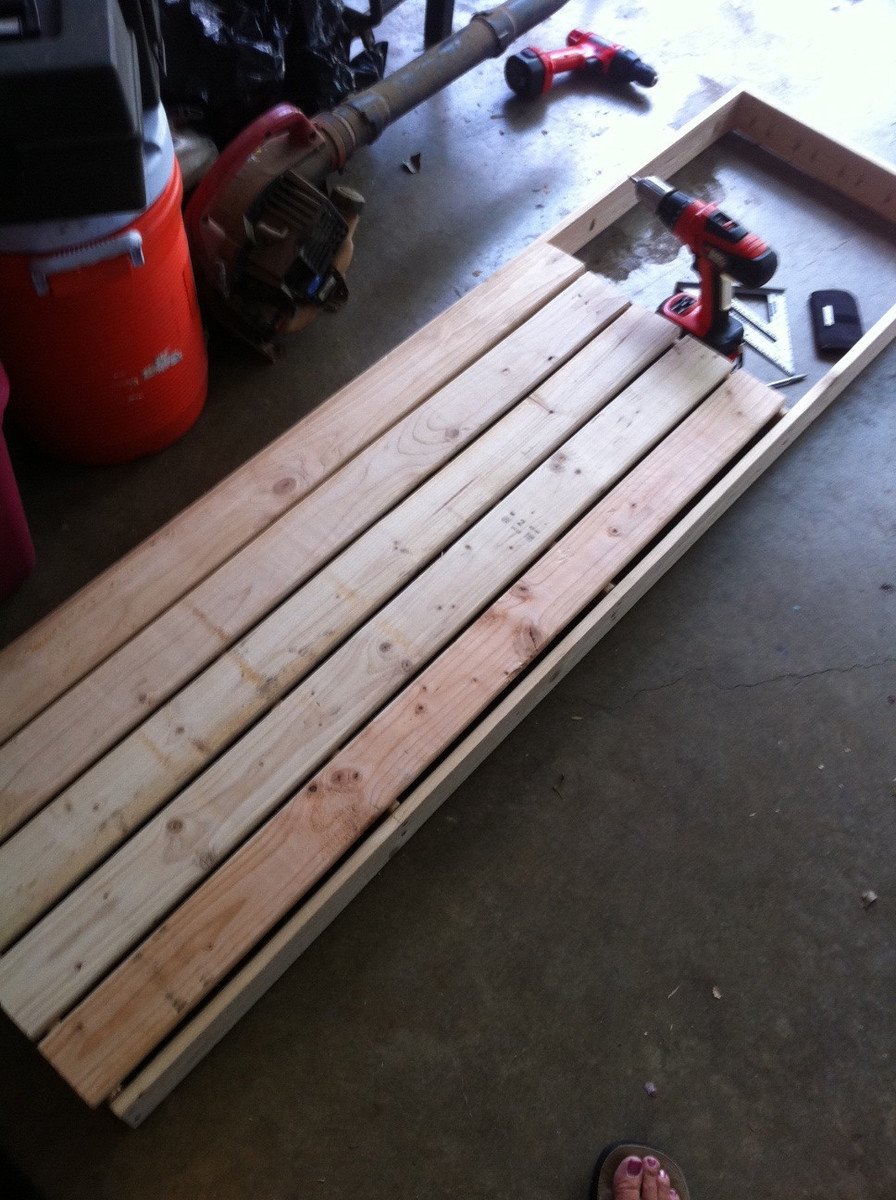
This was my very first project to take on with Ana's plans. It took a little longer than I would have liked only because I got frustrated and put it to the side for a MONTH. I realized how important it was to pre-drill my holes and then got the motivation to get back to it. Once I got started again, it was finished in NO TIME! I still need to stain one of them, but I couldn't be happier with the result.

Estimated Cost
$60
Estimated Time Investment
Weekend Project (10-20 Hours)
Finish Used
I used Wood Conditioner to make sure I didn't have to worry about blotchiness. Then I used a paintbrush to apply Minwax's Dark Walnut stain.
Recommended Skill Level
Beginner

Comments

geophyrd

Sun, 07/31/2011 - 07:55

I'm right in the middle of building one of these. My problem is that the 2x4s specified are 2" thick...having to rip them down and that took a lot of guts. Did them all except the long boards. Going to do those later today (if I don't melt) and when my wife can give me a hand.

How did you rip them to size?

Also, did you use a router table to round the edges?

MichelleC

Fri, 07/20/2012 - 09:21

These look great! Geophyrd...do you mean 2x2's? You just use the ones straight from the store, also referred to as furring strips...that will save you a lot of time and stress rather than ripping down 2x4's. When the plans say 2x2's, they aren't going to actually be 2", and the plans don't say that they have to be 2". Ana writes the plans as simply as possible without us having to do complicated steps like ripping down boards thank goodness!

Planked Wood Bedside tables

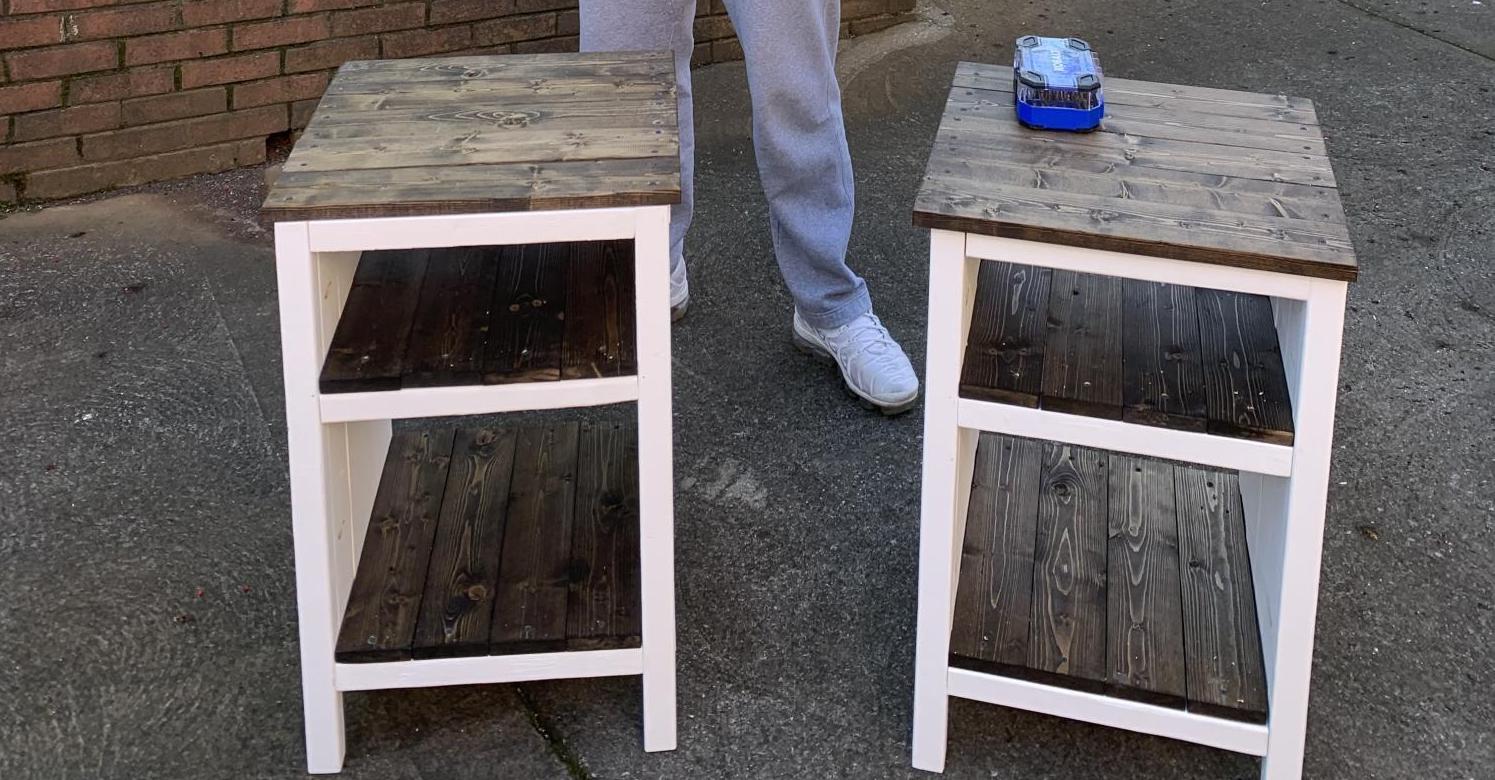
Submitted by JMG on Wed, 07/06/2022 - 19:26

My son moved out and needed bedside tables. I have been hounding him to learn how to build and this was the first project he did! He was super proud of himself and how they turned out. Not bad for a first build! #mompride

Comments

Back