Community Brag Posts

Shoe dresser

Submitted by RoseOfShaz on Thu, 07/04/2013 - 15:26

I didn't build this shoe dresser because I particularly needed one, but it looked so lovely that I couldn't resist.

- I modified the plans by building 3 bins instead of 2 so it could hold more shoes.
- I decided against the dowel stick and opted for hinges instead, which were surprisingly not too difficult to assemble. I found that I didn't even need the magnets after installing the hinges as the doors stay closed.
- I used 7" chains on both sides of each bin instead of a belt to make it extra sturdy.
- I added two back legs.

Et voila! This is the end result. I'm very pleased.

PS. Those flopping bins are a pain when you're trying to build!! An extra pair of hands is definitely recommended.

Built from Plan(s)
Estimated Cost
$150 (with extra bin)
Estimated Time Investment
Weekend Project (10-20 Hours)
Finish Used
Walnut (can't remember the exact name of the stain, but it's the one Shanty 2 Chic always uses!)
Recommended Skill Level
Intermediate

Comments

SoCaliforniaMel

Fri, 07/05/2013 - 22:49

Pretty :) Good Job. Now if I only had the space for one thats 10 rows high :P I like the stain color too. Shanty 2 Chic always uses Rust-o-leum. I think its called dark walnut. Dont quote me though. I love the stain and spray paint combo colors they use.
~Melody

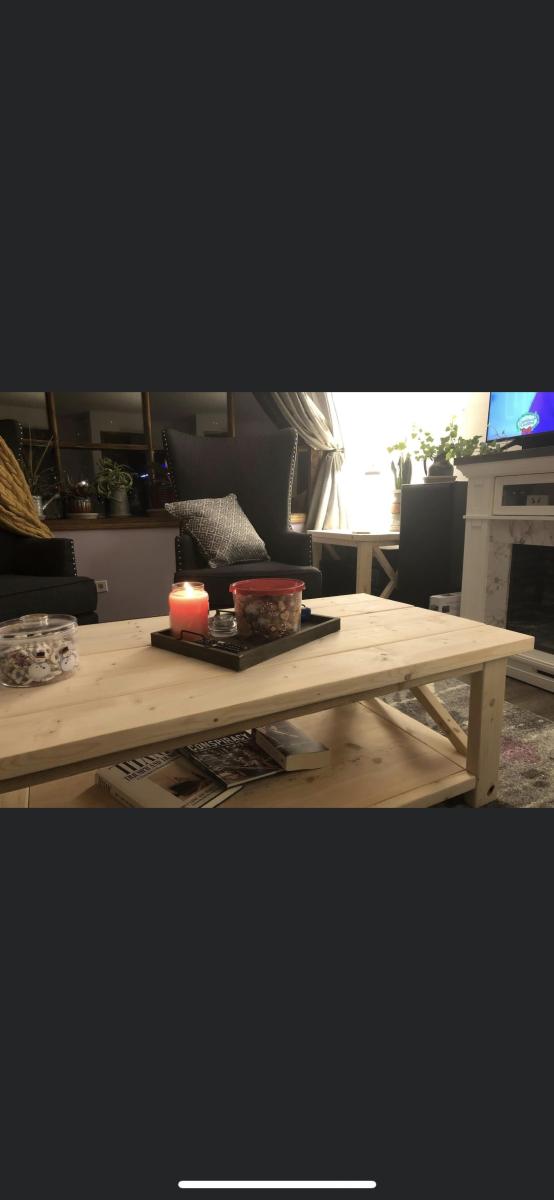
Tryde coffee table

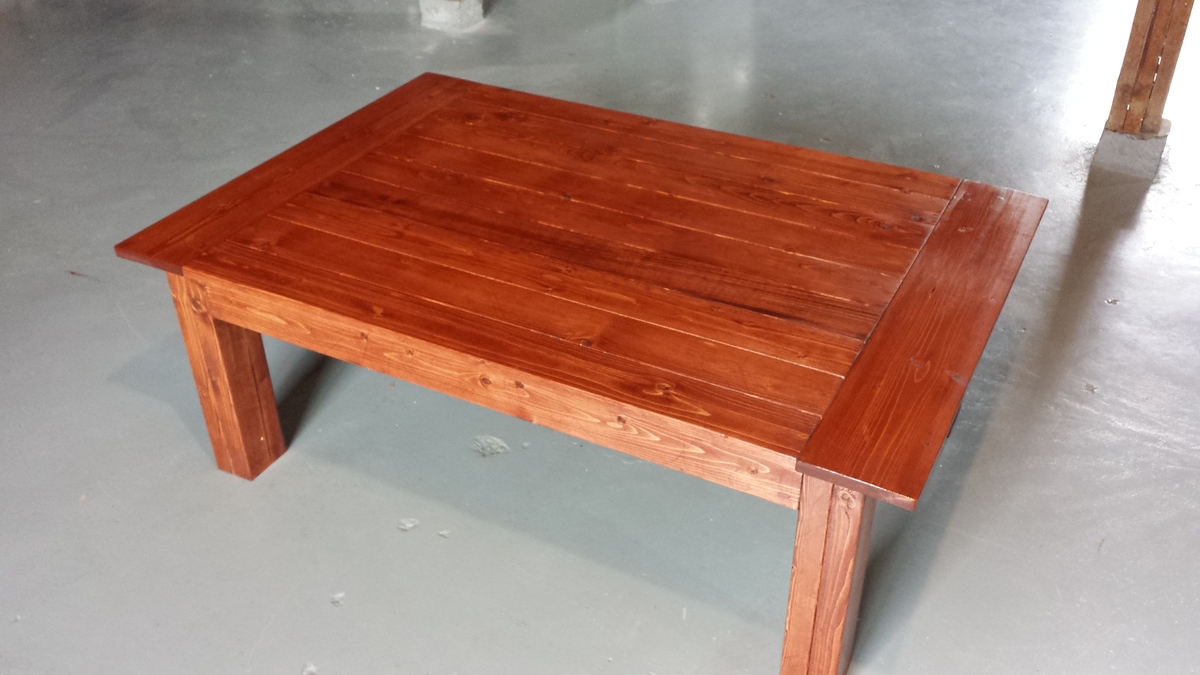
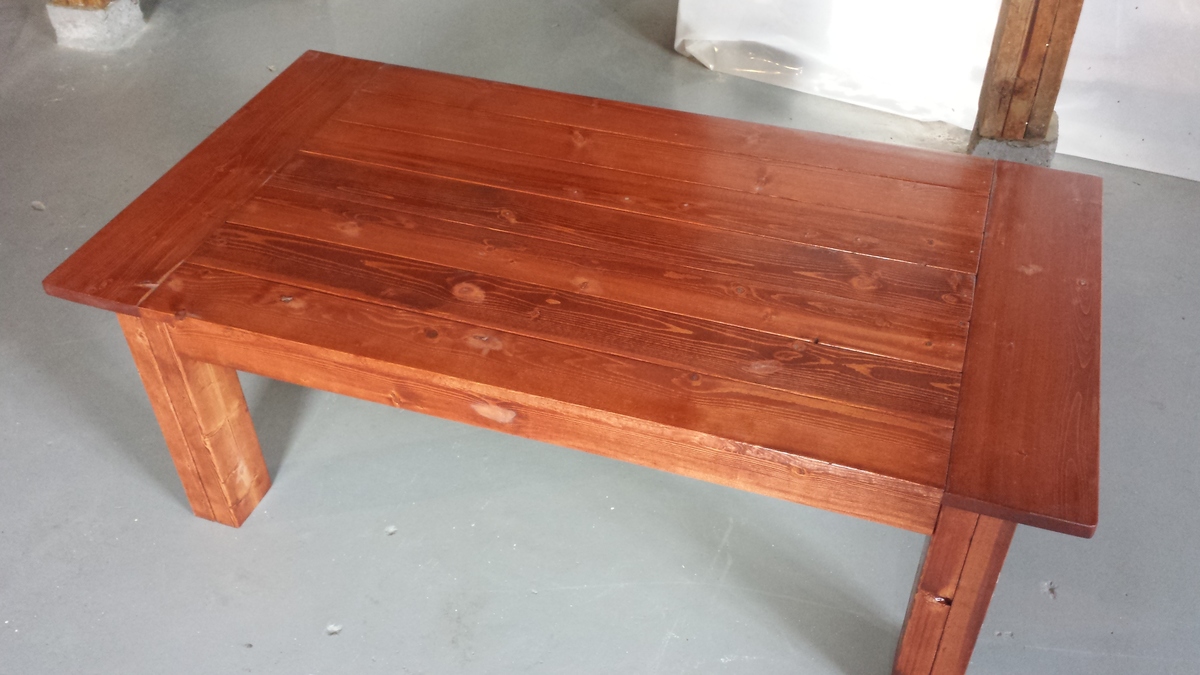
I've made a couple of tables from this plan now, and I love the simplicity of it. I changed the top to 1x4, 1x6 so that it doesn't look so bulky.

Built from Plan(s)
Estimated Time Investment
Day Project (6-9 Hours)
Finish Used
stain, Minwax Red Chestnut. Polyurethane three coats
Recommended Skill Level
Beginner

Thanksgiving special with dessert

Submitted by Anonymous (not verified) on Wed, 12/29/2021 - 08:02

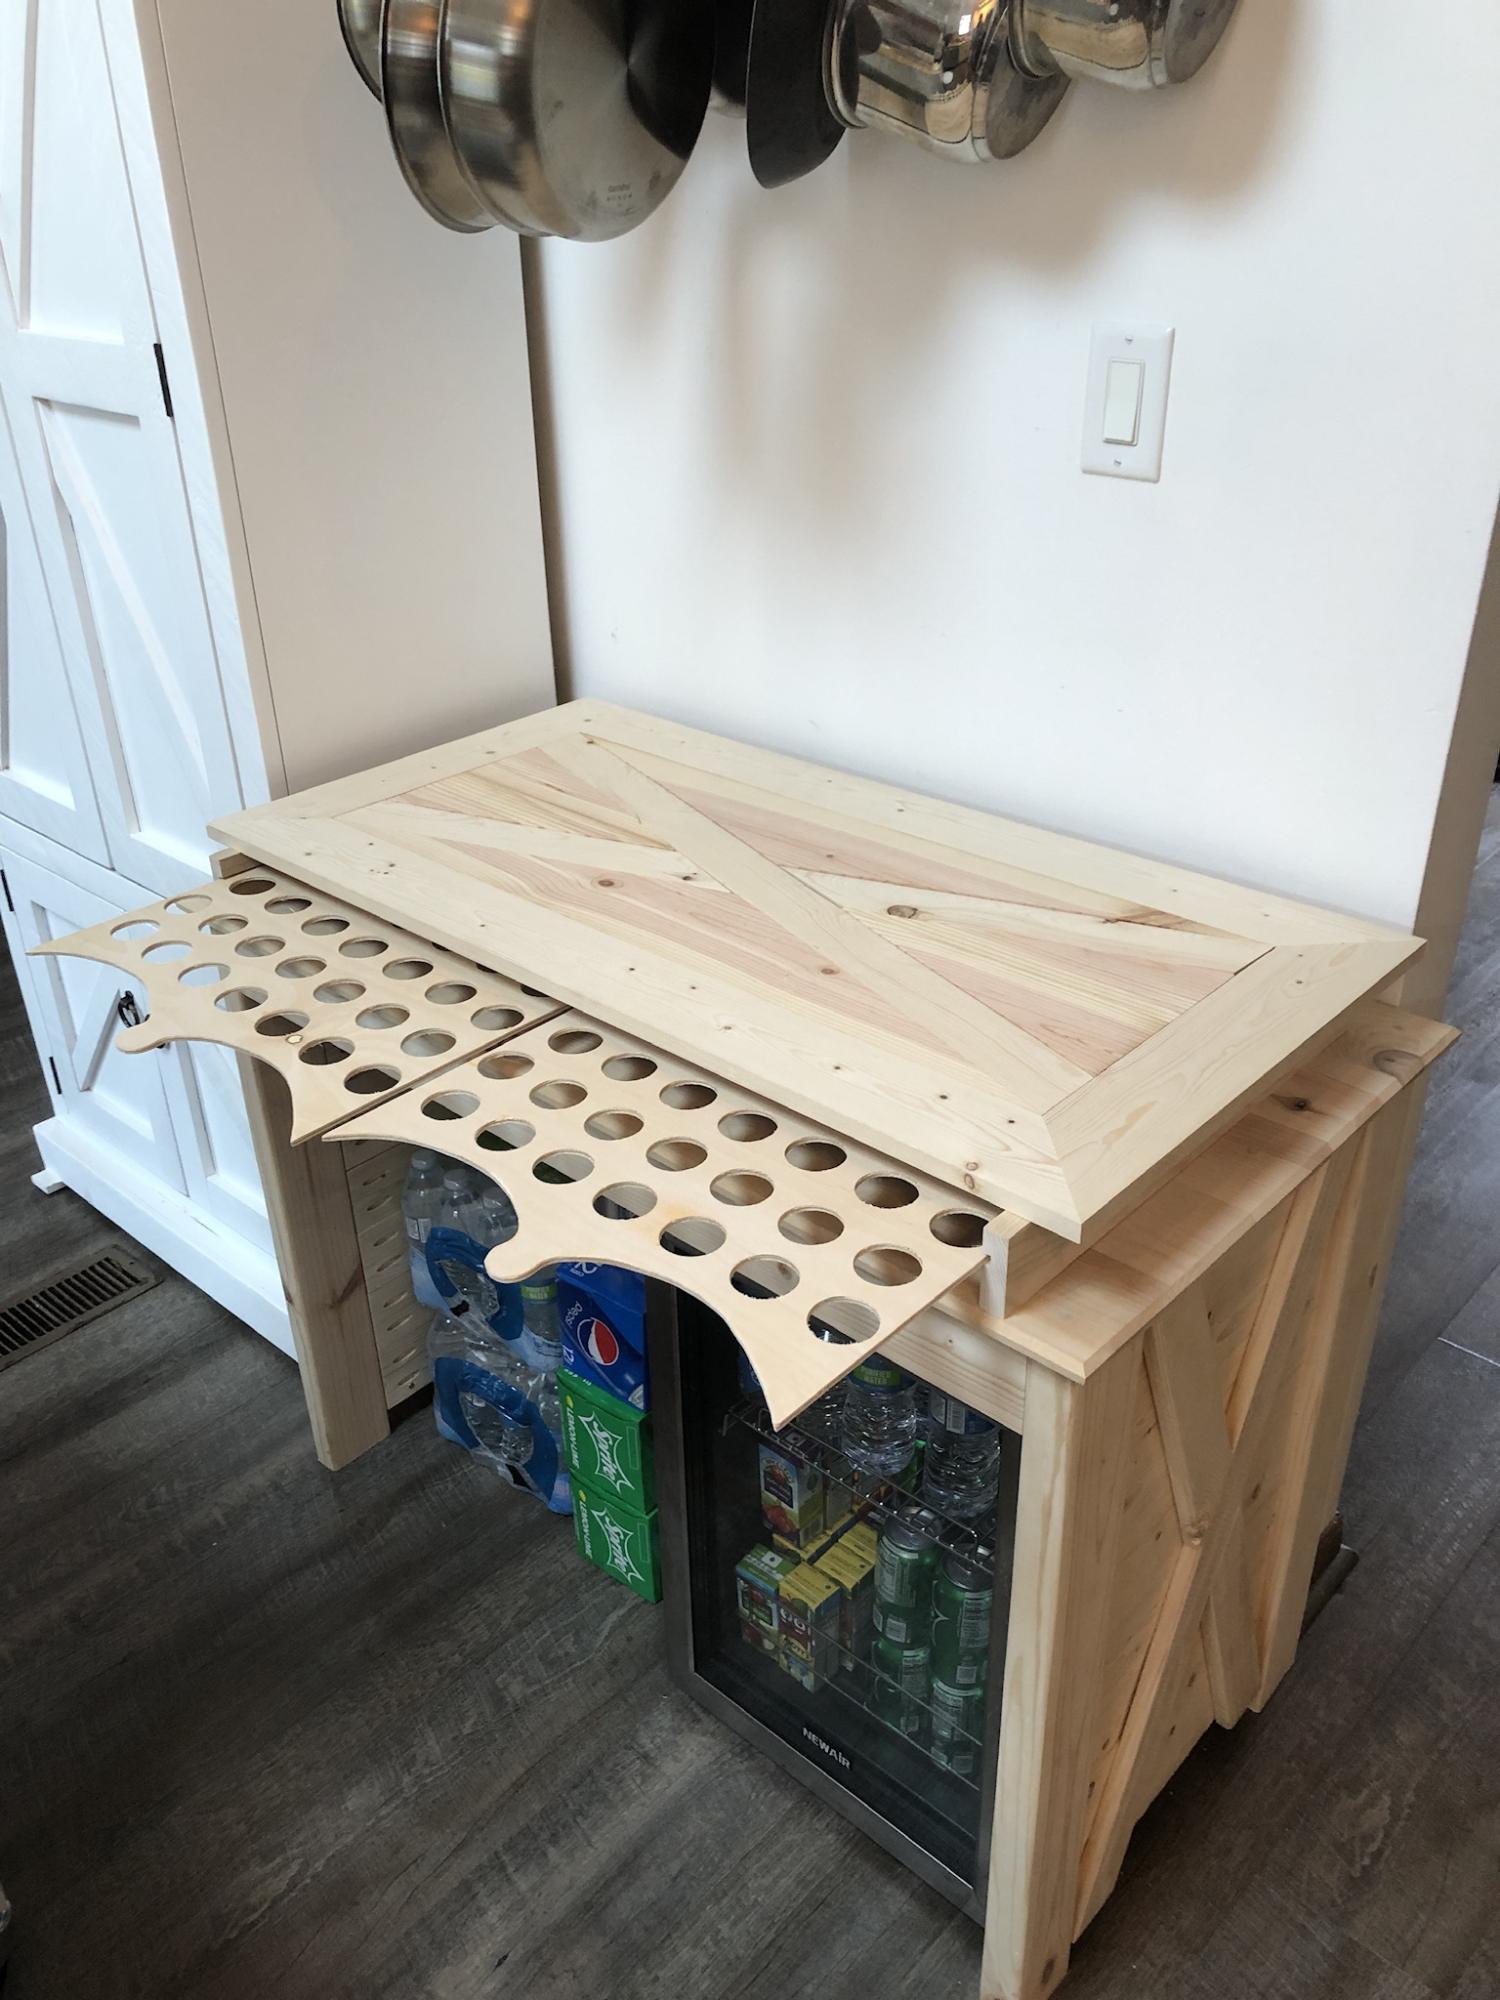
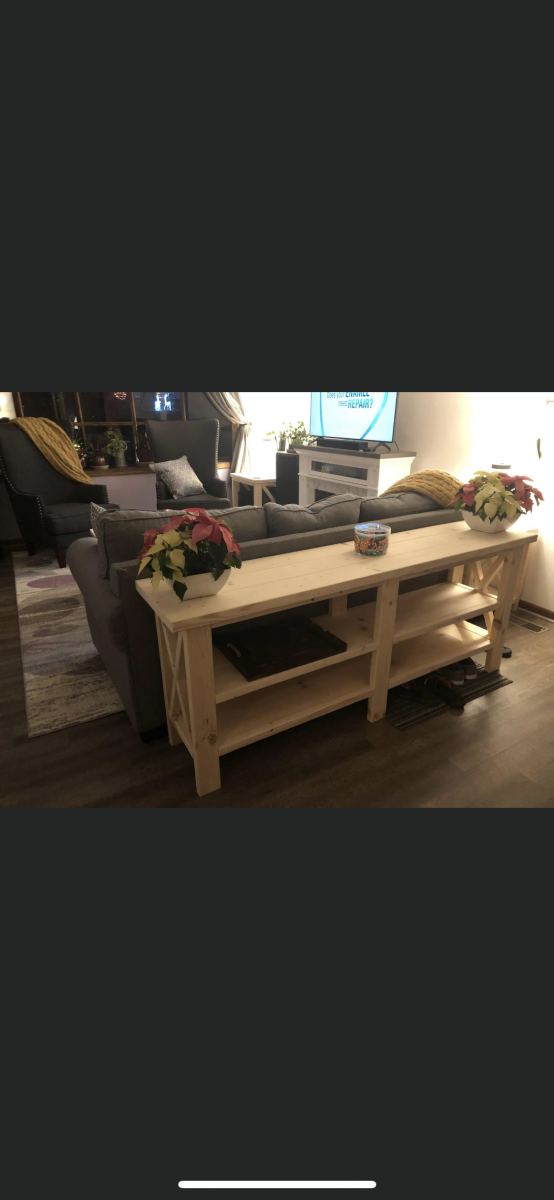
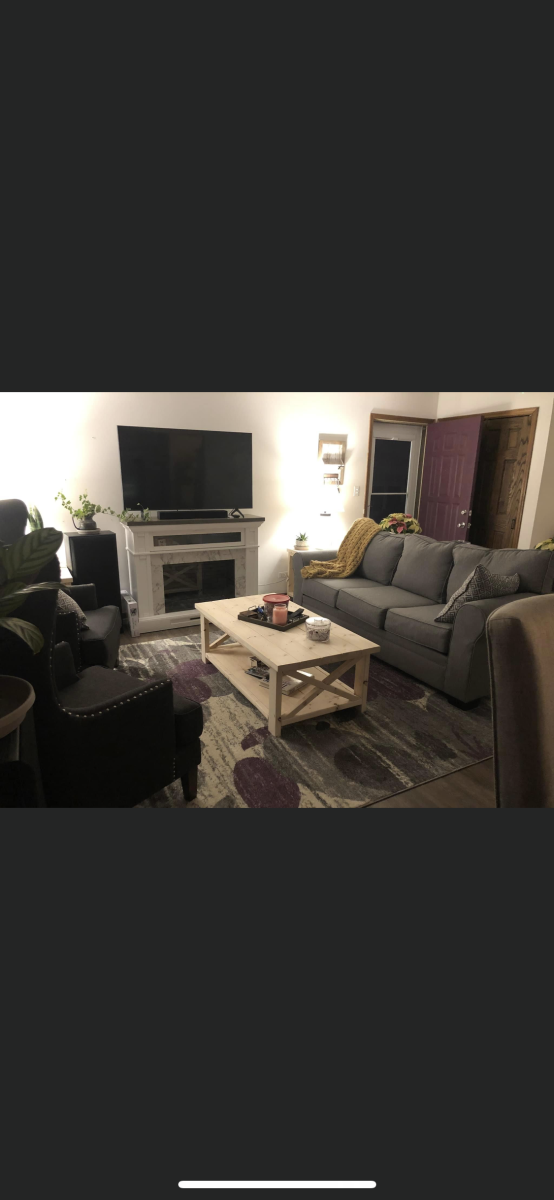
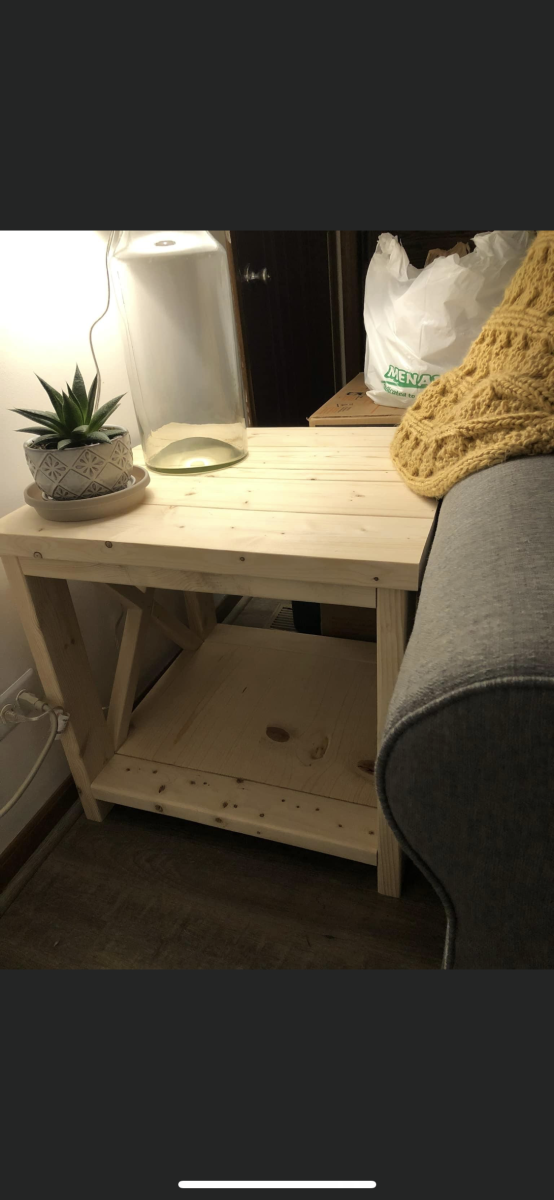
My wife and I moved in to our new home in July, fast forward to November and we still haven’t gotten our furniture due to the supply chain issues. With just over 2 weeks left before Thanksgiving we decided to host! Being a woodworker we decided I would build us furniture! Using plans from the rustic X collection I built 4 tables; 2 end tables, 1 coffee table, 1 console table. Slightly changing the plans for the end tables and raising the bottom shelf of the console table an extra 3 inches to be able to put shoes underneath. I also built a custom coffee bar I designed to ad to the collection. It’s really awesome and I’m super proud of it! It also has a hidden message to ad to its awesomeness! I hope you enjoy the coffee bar along with the rustic X collection! Thank you.
We have a little craft, woodworking business we just started called
jake n’ Jill’s woodshop
Facebook page under the same name, website is still being built.
(I did finish everything on time, bringing in the last table from the woodshop Thanksgiving morning, not sure what we want to do as far as paint or stain yet)

Comments

Entryway Bench

Submitted by karahart on Wed, 05/11/2011 - 08:58

This build seems so long ago...it was over a year ago, and it's what got me on my building kick. I'm just now getting around to transferring my brag posts to the new website. It was my very first build, and one that I'm still extremely proud of. I'll forever be grateful to Ana for giving me the direction to do this so that I had the courage and confidence to know that I can do / build anything!

Estimated Cost
$65 for material + stain
Estimated Time Investment
Day Project (6-9 Hours)
Finish Used
I applied a few coats of minwax stain and then a coat of polyurethane on top.
Recommended Skill Level
Beginner

Emme Twin "Big Boy Bed"

I couldn't believe how much twin beds cost in stores and couldn't find anything I liked for my son under $350. I have already made a few other things from Ana White, so I was excited to see this "knock-off!" I followed the plans exactly and didn't want his bed to be too high, so there is so box spring.

I have recently discovered how much fun it is to make things, so I couldn't wait to build my son his "big boy bed!" He loves it! He's happy so this momma's happy, too!

Estimated Cost
$70
Estimated Time Investment
Weekend Project (10-20 Hours)
Finish Used
I used Rustoleum stain in American Walnut, with Minwax polyurethane in clear semi-gloss.
Recommended Skill Level
Starter Project

Industrial Coffee Table

Built this industrial coffee table without plans

Estimated Cost
$100
Estimated Time Investment
Day Project (6-9 Hours)
Finish Used
Walnut, paint, polyurethane
Recommended Skill Level
Beginner

Comments

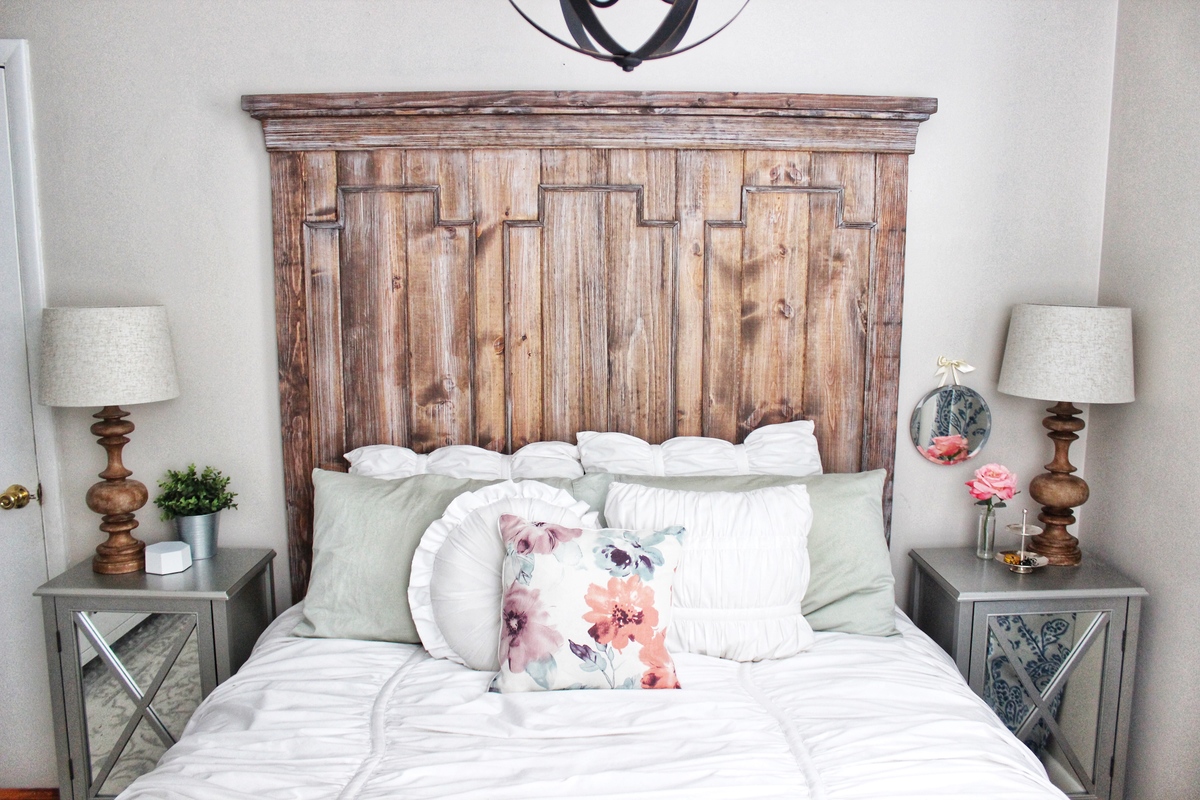
Inspo + Direction

Submitted by CarrieLJP on Tue, 01/16/2018 - 15:36

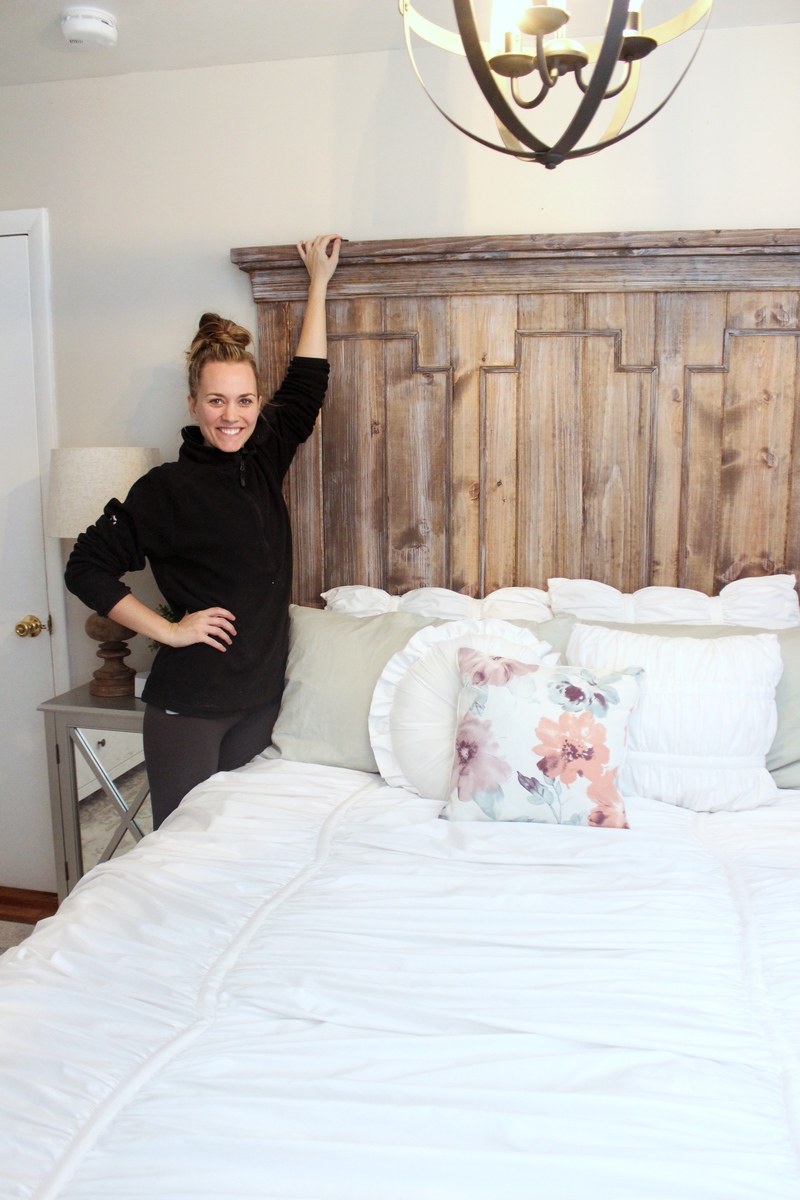
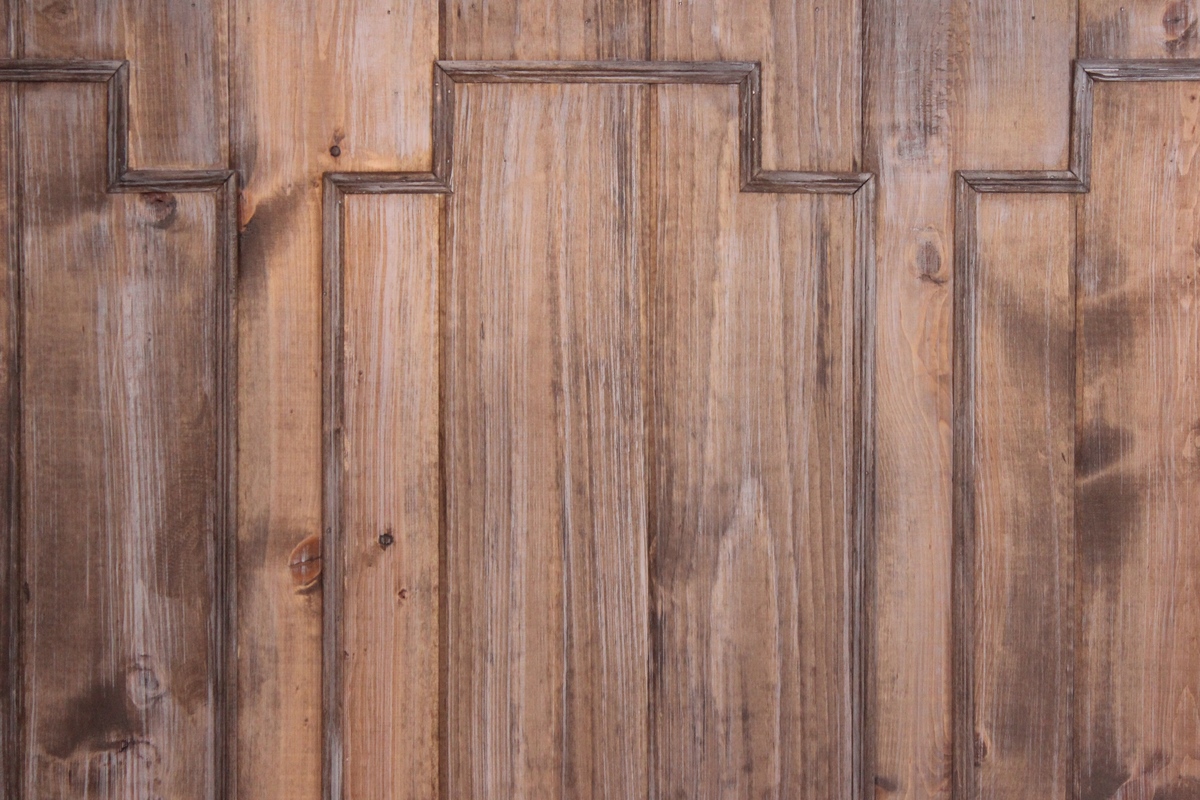
I fell in love with a headboard I found on Houzz that was priced over $1,500. I knew I wanted to build it myself but I had never built a headboard to this scale before. Several headboards from Ana's site helped give me direction and this is what I ended up with. My husband and I build furniture for a living, so we had plenty of lumber around to put most of the body together, but we don't often work with trim in such fine detail, so that added significantly to the cost (and time) invested. If I had to guess though, the headboard as we built it was probably around $125.

Built from Plan(s)
Estimated Cost
$100-$125
Estimated Time Investment
Day Project (6-9 Hours)
Finish Used
Special Walnut stain (let sit for 20+ minutes before wiping off), dry-brush white wash, finished with Johnson hard wax.
Recommended Skill Level
Intermediate

4x4 Truss beam table

Submitted by Anonymous (not verified) on Sun, 01/02/2022 - 14:03

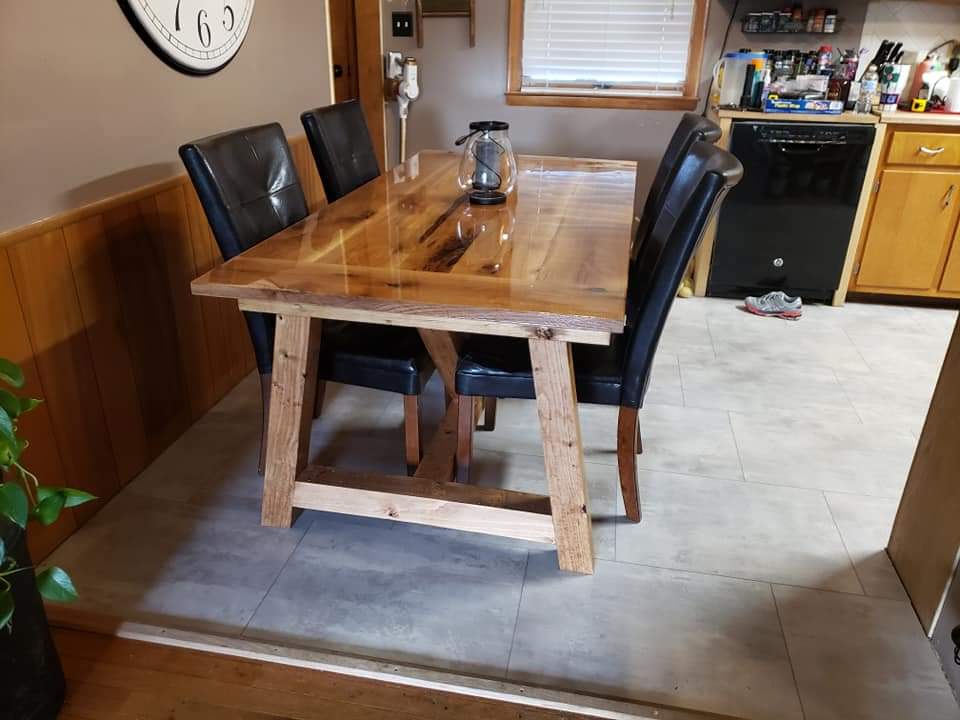
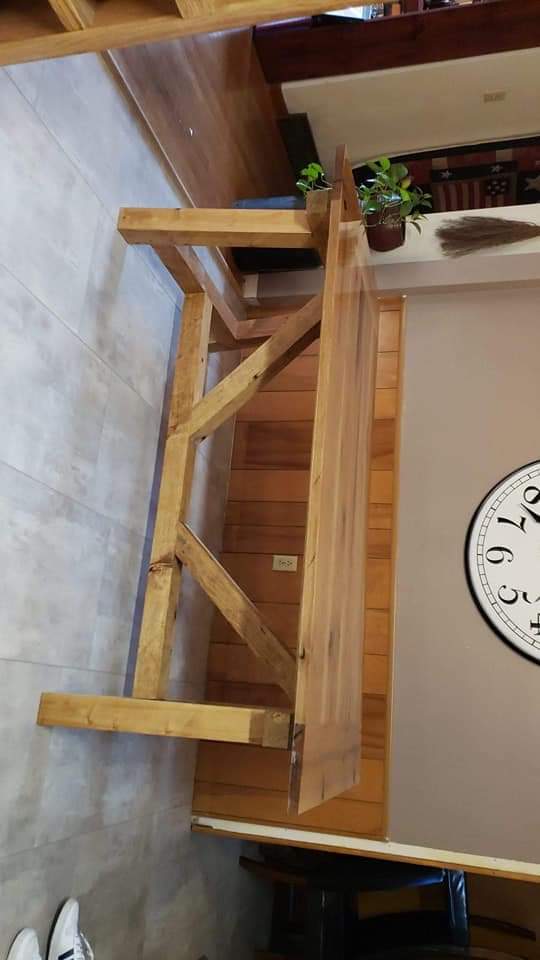
The plans were easy to follow. The family loves it! The top is made of 70+ year old rough cut oak.

Built from Plan(s)

Comments

Tips for Slowpokes

Submitted by melissa2 on Thu, 05/12/2011 - 14:33

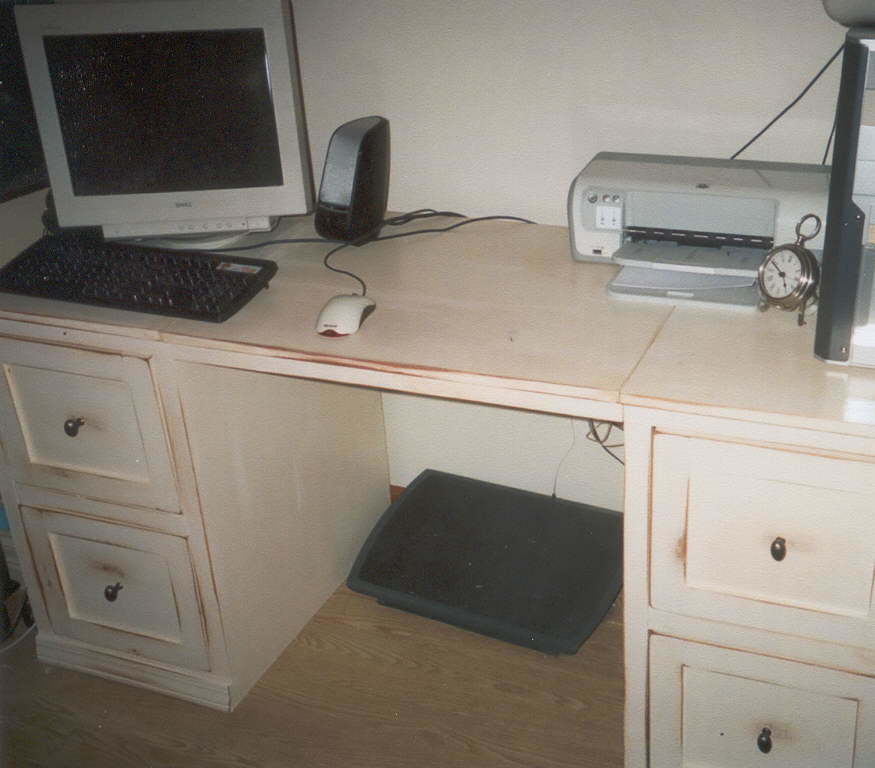
You probably read a lot of amazing posts here about how people using the plans can make something in a day or a weekend. They deserve kudos for their diligence! But I don't want you to get discouraged if you don't or can't work that quickly. I want to encourage those of you who work more slowly that you can still use these plans. What slows you down? Maybe it's lack of time, health concerns, or cost. I have made and even designed furniture in the past. But prior to this, I always had someone helping out with the building process, used a kit, or the project was small enough that it didn't seem overwhelming. I made this completely by myself . . . and that's why I think you can, too. And while this project took me almost four and a half months to complete, the end result is the same--a place for me to sit and type up these tips for you!

I hope the things I learned along the way may help encourage you to just take that first step toward creating a piece of furniture.

Beginning Tips for Slowpokes:

* Bookmark and print out the plans from the Ana White website, and keep them in a safe spot that you will remember over the months to come. Check the site regularly for updates, corrections, and tips that members share.

* Break up what you're doing into a bunch of smaller projects. The desk, for example, can be broken up into up to seven different projects (the center desk section, the two cabinets, and four drawers), with each being able to be completed partially or completely before moving on to the next.

* Get as many cuts done in stores as you can. You'll need to be careful here, especially if you gather pieces over time. Everyone cuts wood differently, woods have different dimensions (even when they shouldn't), and your pieces may not match up exactly. However, having pieces cut will generally make things a lot easier for you!

* Taking time off from building is okay! If you plan correctly, you may even be able to use partially-finished projects. I took a break before building the drawers, but still used my desk, complete with open shelving units on either side.

* Do what you can, even if it doesn't seem like anything. At times the most I felt I could do in a day was to drive three nails. But then, I was a few nails closer to being done!

Finishing for Slowpokes:

* Pick your paint (or stain) color and manufacturer wisely. Initially, I used some leftover barn red paint for the center desktop piece, expecting to get more of the same paint. After I had put on one coat, it dawned on me that the paint line had moved from one manufacturer to another. I searched around online and discovered that the paint colors changed in the move, not just the manufacturer. Oops. Some paint companies are really static with paint colors. If you plan to create the project slowly, it's really important to be able to trust that the paint you went with will be available in the future if you run out, so that you don't have to go through the trouble of color-matching. I switched to an older brand and a less-trendy color.

* Distressing is your friend! Creating a beautiful stained or painted finish is tough to do, and if you leave your project partially finished, you up the chances of it getting dirty, dented, or otherwise marred. Choosing a distressed finish means you don't have to be as careful, and any little mistakes will be more accepted. When I was painting one of my drawers, a big chip mysteriously fell out of the moulding. I looked at it in shock. Then I thought, "Well, it's distressed!" I could write a whole list of things that are wrong with my desk, including crooked drawer fronts and the fact that they're not flush with the cabinet. But distressing the desk makes it look like a homemade antique, and perfection isn't necessary.

* Write down ALL your finishing steps clearly, including paint colors, brands, and type (example: matte or semi-gloss). Keep this list in a safe place along with the printed-out plans so that you can make each part of the project look the same. Some day it would be my dream to have the entire wall unit of which this desk is just a small portion of. I now have confidence that any future pieces would look at least somewhat similar to the desk!

I hope that these tips have helped encourage you to get started on your dream furniture. Just remember that no matter how long it may take to have that dream fulfilled, the end result is the same!

Estimated Cost
Over $100
Estimated Time Investment
Week Long Project (20 Hours or More)
Finish Used
1) Paint on primer, and use a roller to smooth (with all paint coats); 2) Paint on Painter's Touch by Rustoleum in "Heirloom White"; 3) Sand; 4) Paint; 5) Spatter on black craft paint; 6) Sand edges down to bare wood, and some surface areas; 7) Put water in brown craft paint, and use as a stain in sanded-off areas, wiping off excess with paper towels. Use some to make stains on other areas; 8) Hammer in random spots with a meat cleaver; 9) Varnish with one coat of semi-gloss
Recommended Skill Level
Intermediate

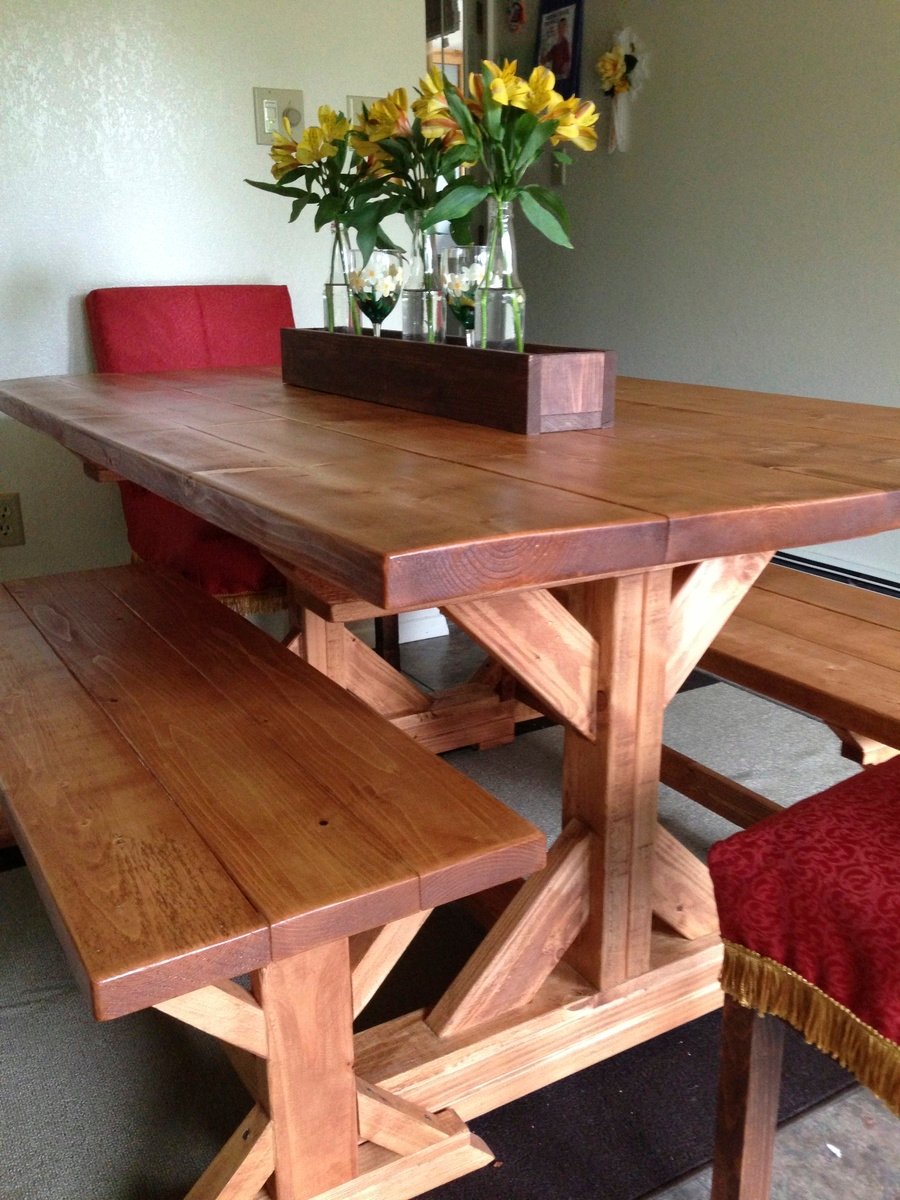
Fancy X Farmhouse Table and Benches

Submitted by LeaG on Mon, 07/08/2013 - 17:38

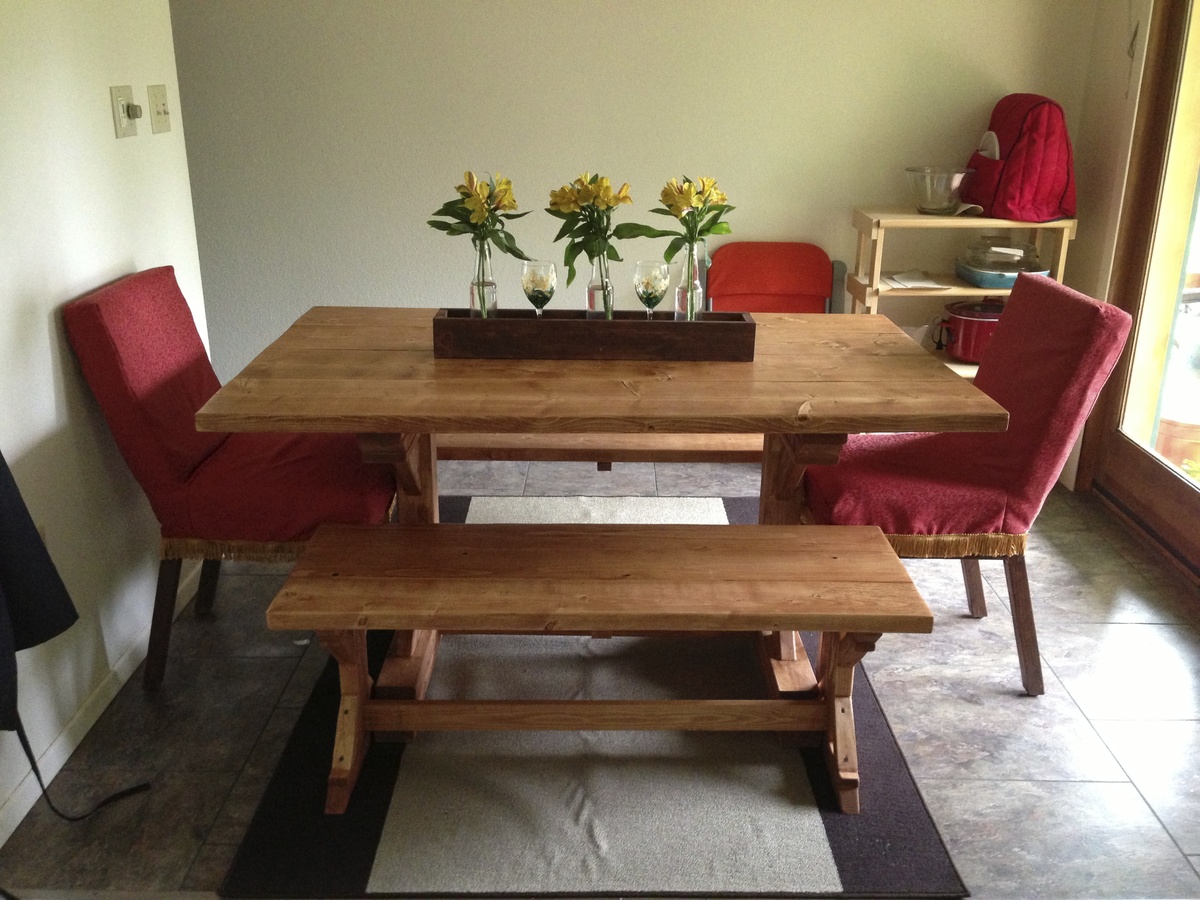
I was inspired to build this table after taking Ana's Adirondack Chair Class at Home Depot. Living in Fairbanks, AK means that the pickings are slim and pricy for quality furniture.

I shortened the table length to 5' to fit my space and made the benches 4' long and lined the legs up so they would fit comfortably under the table. I also made the chairs based on Ana's Parsons chair pattern.

Estimated Cost
About $250-300 Total
Estimated Time Investment
Week Long Project (20 Hours or More)
Recommended Skill Level
Beginner

Comments

Dollhouse Bookcase

Submitted by Beccyem on Thu, 07/02/2015 - 16:43

This sweet bookshelf was the perfect summer project. Our girls loved painting it and have already spent hours playing with it. We used High Gloss paint.
Here is a link for a video where you can see the kids painting it and how it looks in their room. https://www.youtube.com/watch?v=3tYXcWxQJ_U

Built from Plan(s)
Estimated Time Investment
Afternoon Project (3-6 Hours)
Finish Used
High Gloss- white base. Pink for skirting boards, roof and windows. Kids used a spray can for the pink accents and roof. Wood has lots of holes and cracks so we just used wood putty. Would be a great idea to use Chalkboard paint on the back, but we have not done this yet.
Recommended Skill Level
Beginner

Comments

Narrow Cottage End Tables v2.0

Submitted by RITWood on Fri, 01/19/2018 - 10:44

This is the second set of Narrow Cottage End Tables that I have built.  Like the first pair I built end a secondary shelf where the drawer would normally ride.  This time the secondary shelf is flush with the surrounding support.  I used as muched reclaimed wood as possible so instead of solid 1x material I glued up batten panels using pallet slats.  I let them run 'wild' on the backside; this will cause some fitment issues when mounting the drawer hardware.  Installing a thin cleat along the inside allowed for flush mounting the hardware.  The rope handle is 3/8 natural giving the pieces a 'nautical' feel.  I drilled the through holes 2/32 smaller in diameter then the rope diameter, or in other words the through holes are 5/16 as opposed of 3/8 of an inch.  Make sure to thread the rope from inside the drawer out then back in.  I used constrictor knots on the inside to secure the rope ends as well as providing a 'pull' for the handle.  

Built from Plan(s)
Estimated Cost
$15-$25
Estimated Time Investment
Day Project (6-9 Hours)
Finish Used
Minwax Jacobean penetrating stain, which needs to completely cure before applying the polcrylic, for the top and primary shelf. Off white Valspar latex for the body. Several coats of Minwax' polycrylic clear satin top coat.
Recommended Skill Level
Intermediate

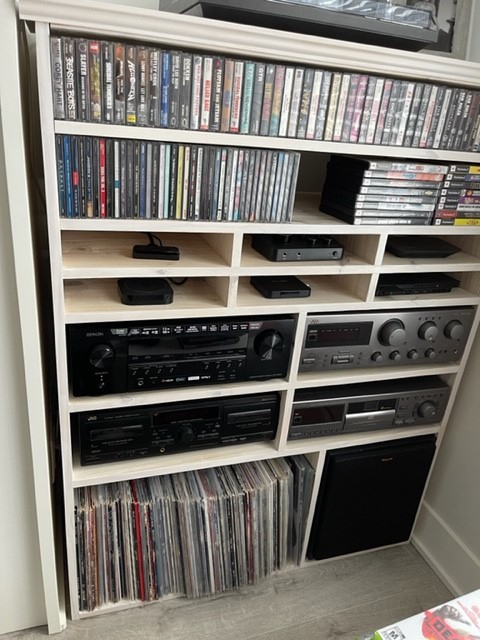
Entertainment Console- Need space for all those streaming devices?

I have a bunch of those streaming boxes, Apple Tv, Roku, a game console and from what I can tell, there is no entertainment console out there that accommodates them very well, so I made my own. I also have a bunch of retro cassettes and CD's that I wanted to display (the cassettes more for nostalgic reasons) and of course vinyl! so I made this very unique console to accommodate everything. The streaming boxes, karaoke, wifi box, game console all get there own little boxes which keeps them all able to connect easily the remotes and all the wires stay hidden in the back. I also put some light strips on it for some additional night time fun! I made this out of a material called Whitewood, which I've found here at Home Depot in Canada. Its really really cost effective and the boards are easy to work with and are nice and straight! Thank you Ana for giving me the confidence to design my own unique project!
Comments

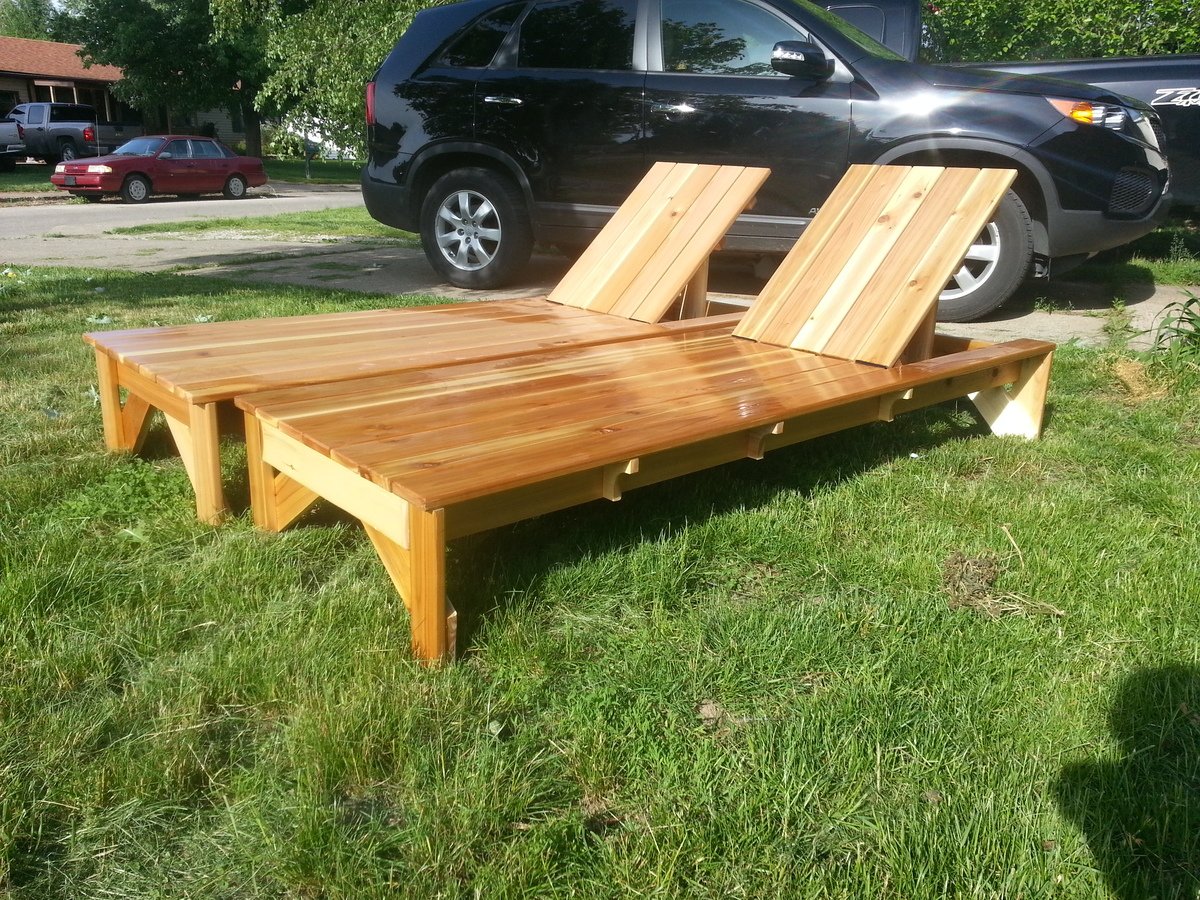
modified chaise lounge

Submitted by jrh413 on Wed, 07/10/2013 - 09:36

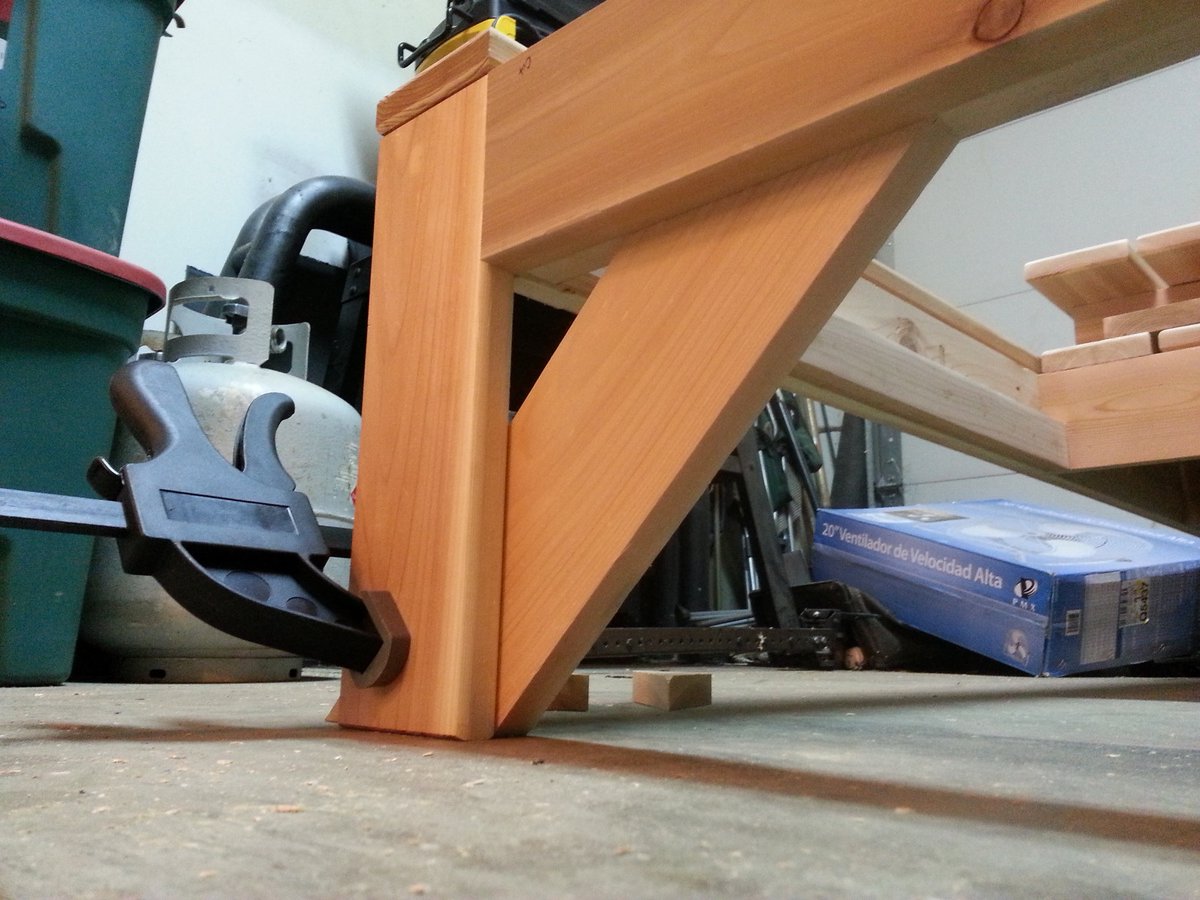
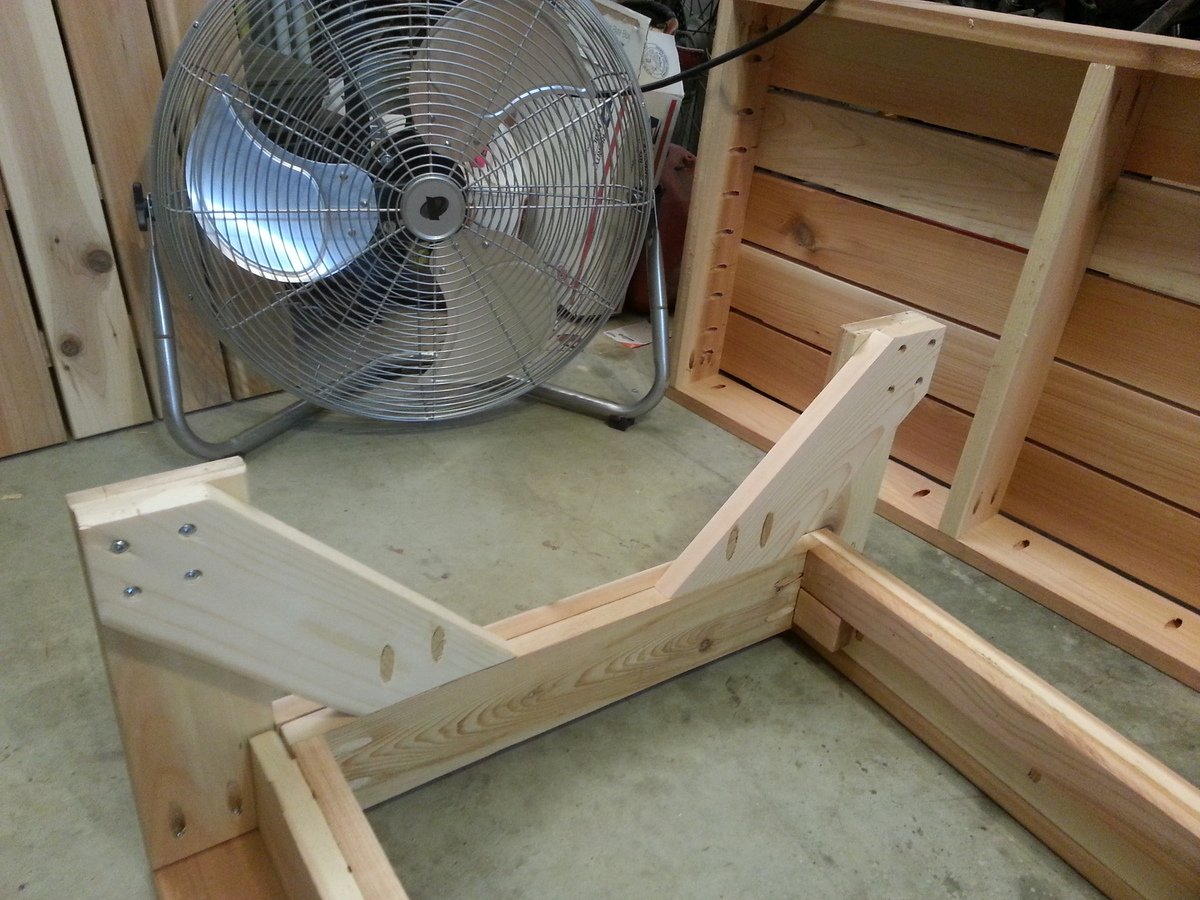
These are solid cedar. They also have several coats of polyurathane. They both got wet sanded and buffed for final coat. They were also modified with leg braces amd braces along side decking. Enjoy!

Built from Plan(s)
Estimated Time Investment
Weekend Project (10-20 Hours)
Recommended Skill Level
Intermediate

Comments

Loft Media Console

Submitted by kristyzed on Mon, 07/06/2015 - 17:05

This is the first time I attempted a project with doors, and was rather intimidated by that. I managed to get through it without a square and ended up with a square piece in the end. I installed shelves behind each door so that DVD cases would fit both on the bottom and on the shelf.

I customized the middle section to accommodate our cable box and PS3, while still allowing for storage of controllers in the bottom portion.

This was a fun project.

Built from Plan(s)
Estimated Cost
$140 for lumber and stain
Estimated Time Investment
Weekend Project (10-20 Hours)
Finish Used
MinWax Espresso stain
Recommended Skill Level
Advanced

Grandy Sliding Barn Door Console

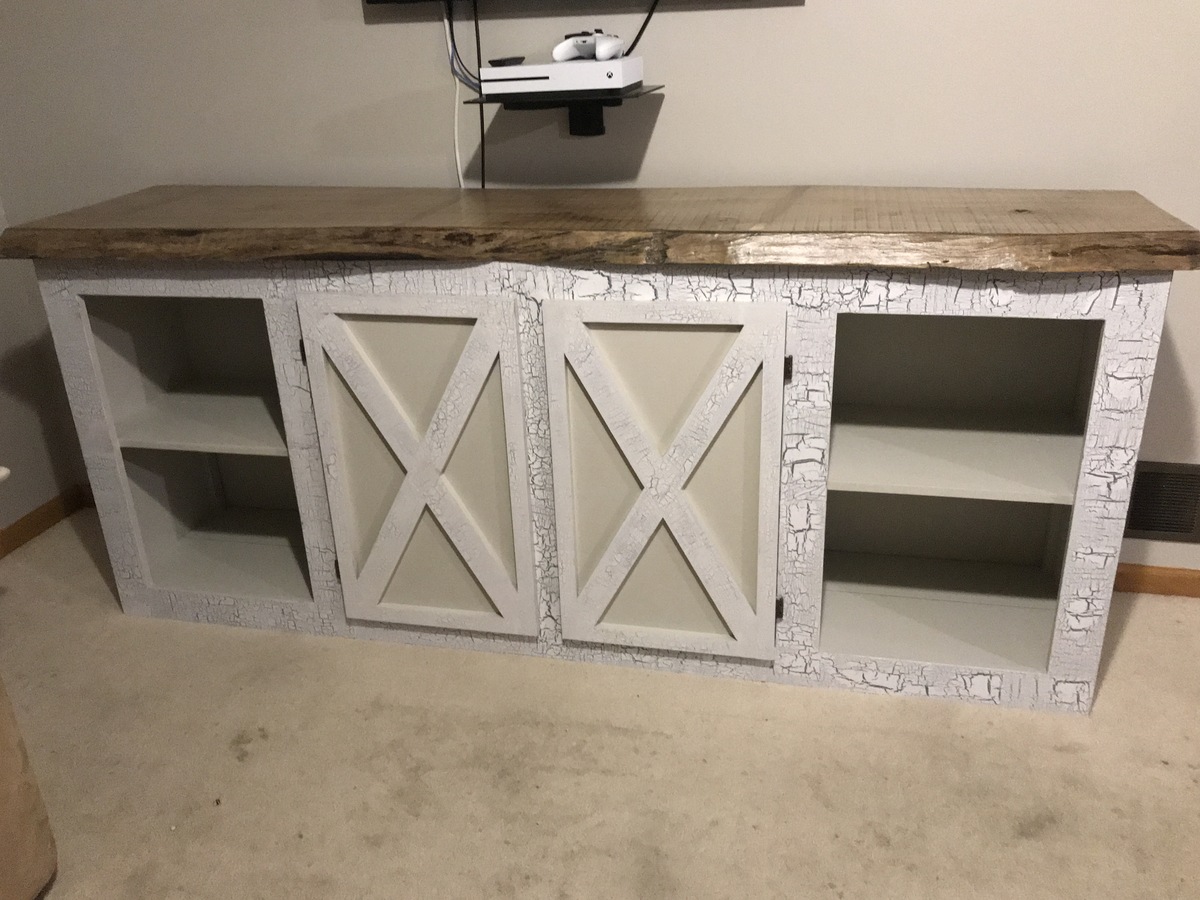
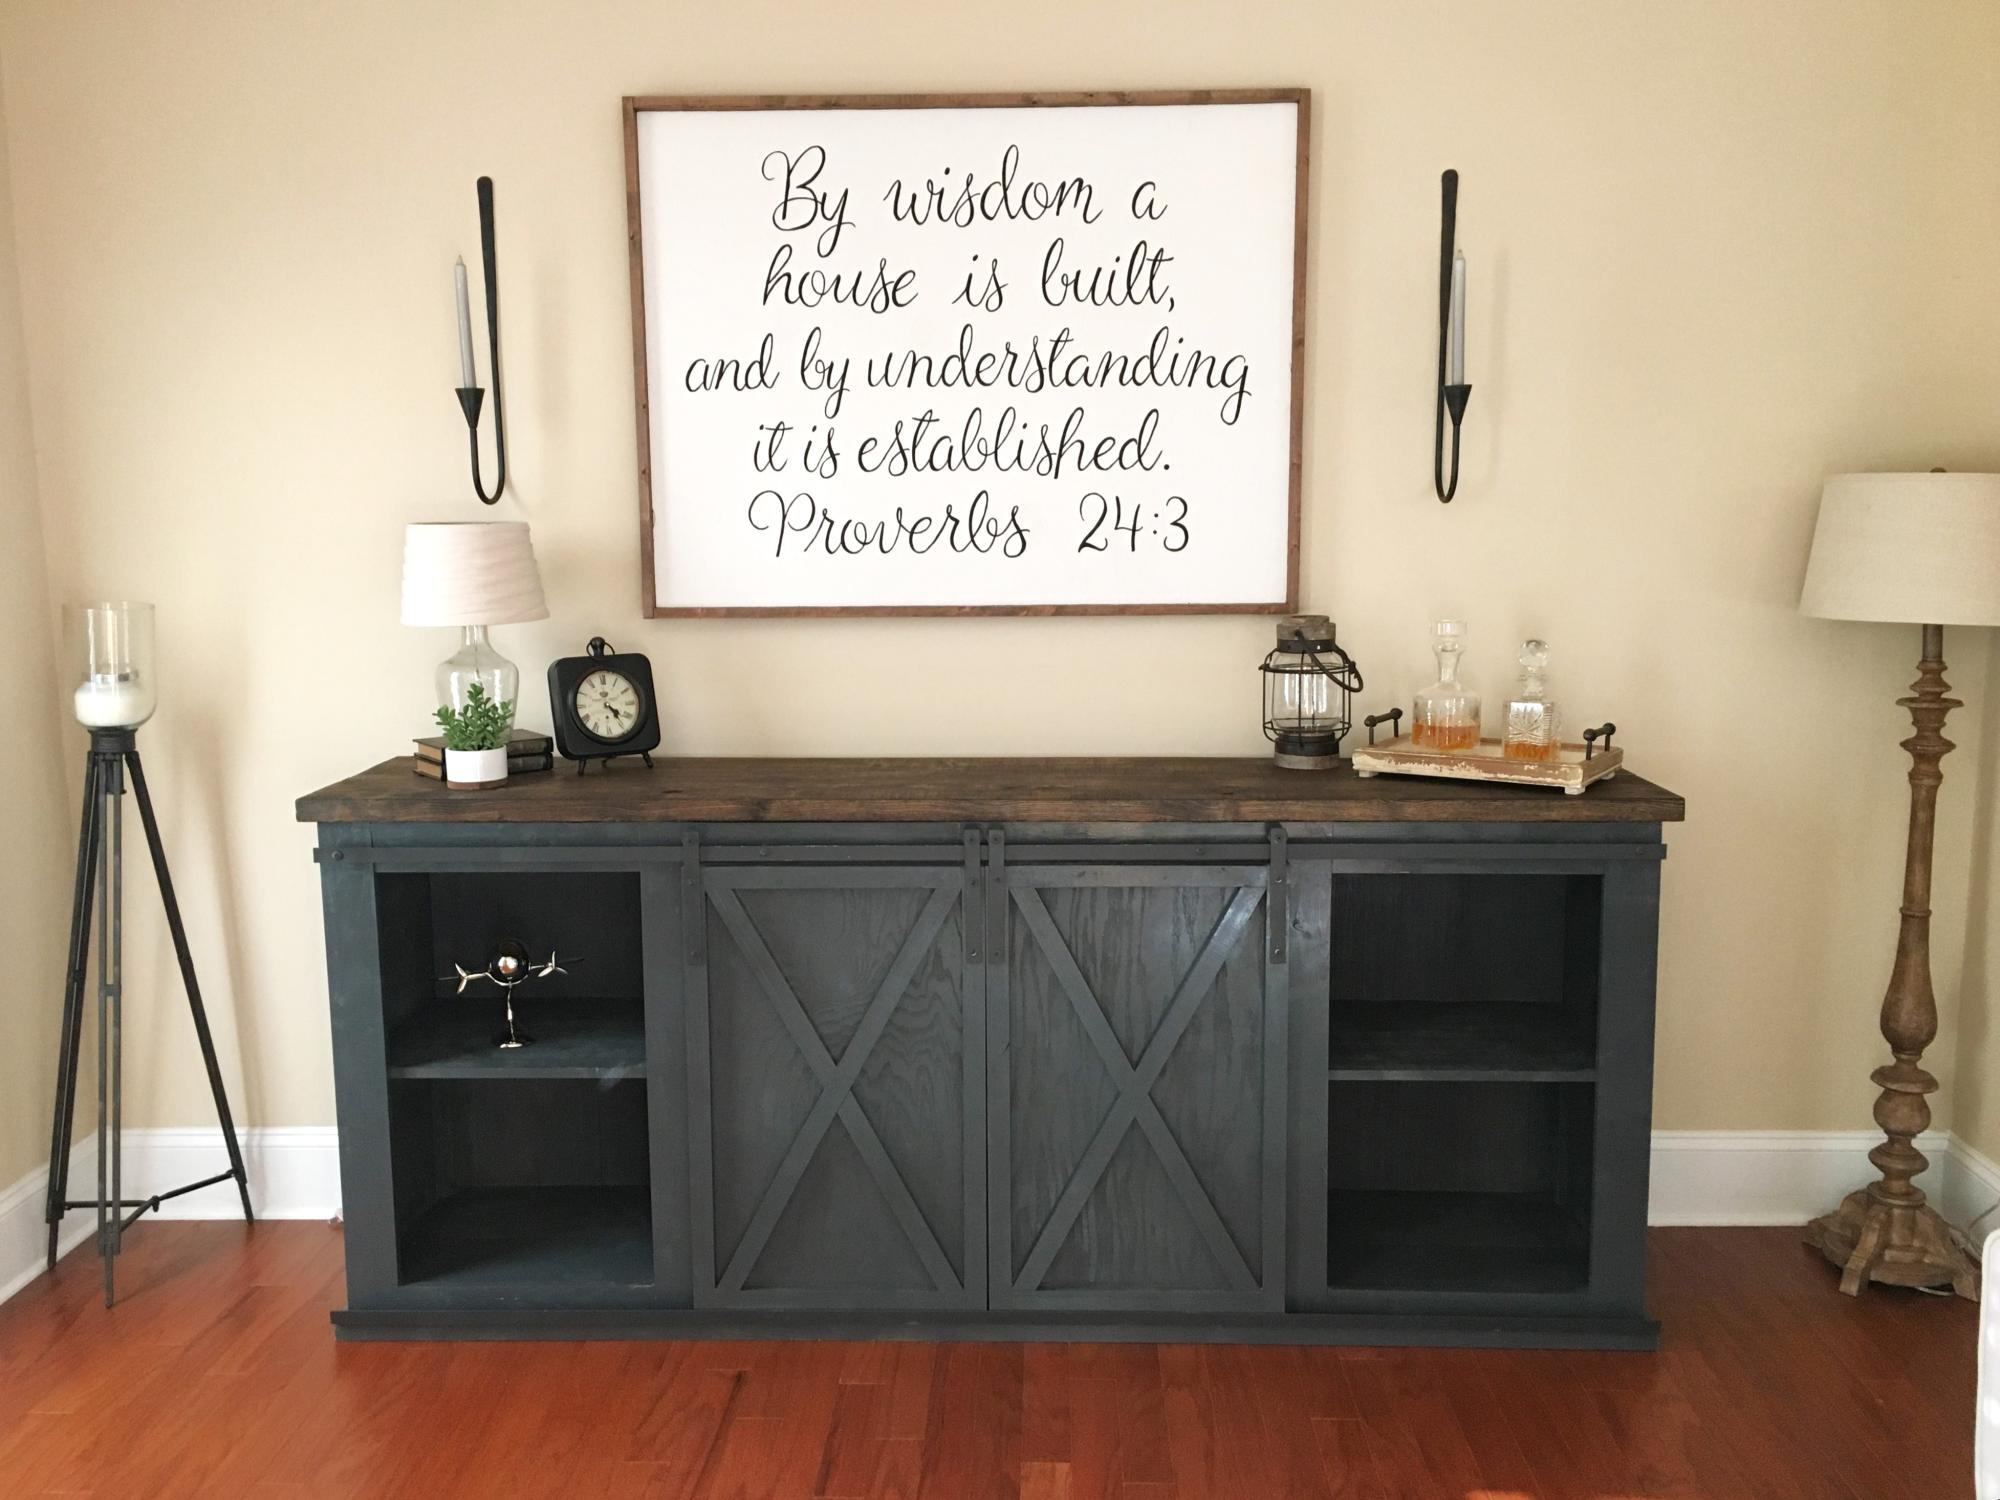
I pretty much followed the plans to the T. I did use 3/4" plywood for the middle shelf instead of the suggested wood. The hardware was the hardest part and mostly followed the previously posted DIY from Jamie's website with a few modifications. 

Built from Plan(s)
Estimated Cost
$250ish including all hardware, paint and stain.
Estimated Time Investment
Week Long Project (20 Hours or More)
Finish Used
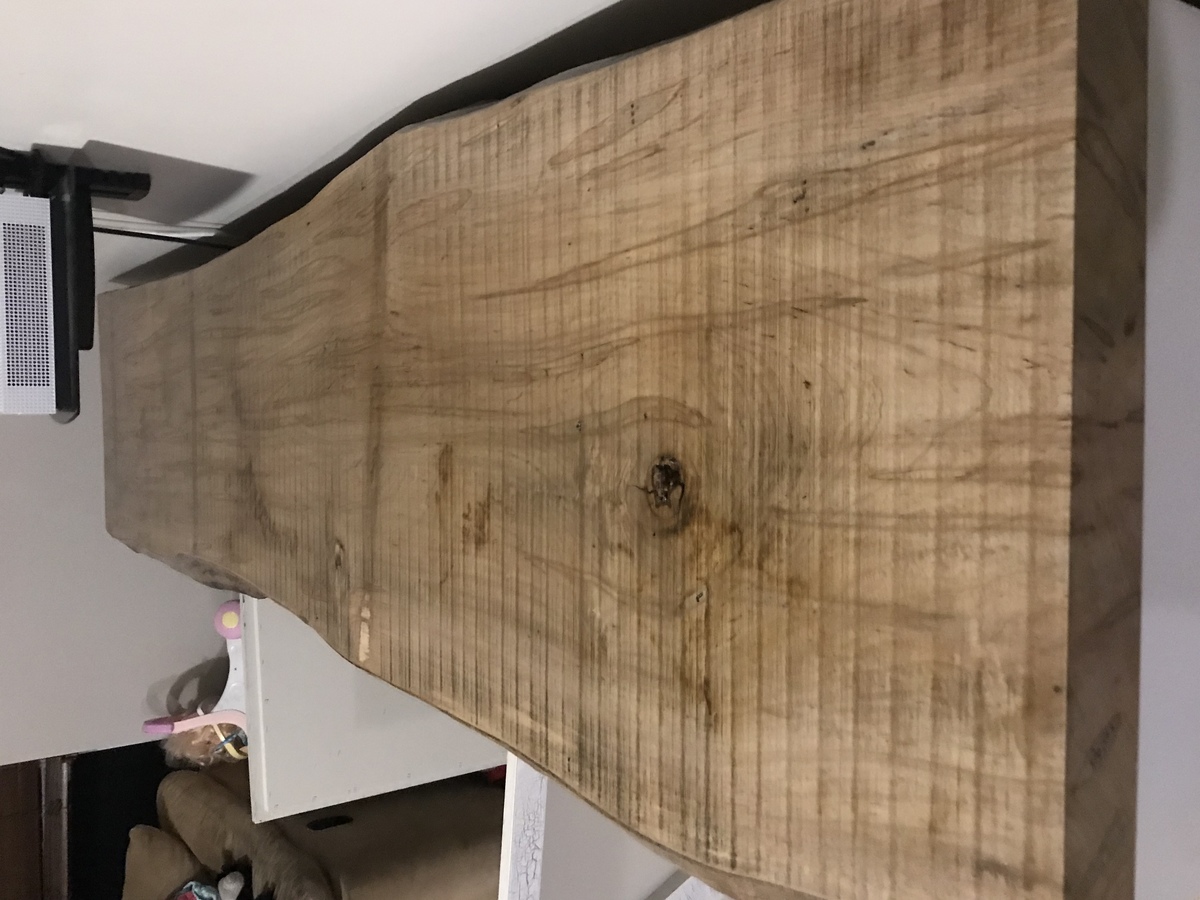
Dark Walnut on the top and charcoal spray paint for the body.
Recommended Skill Level
Intermediate

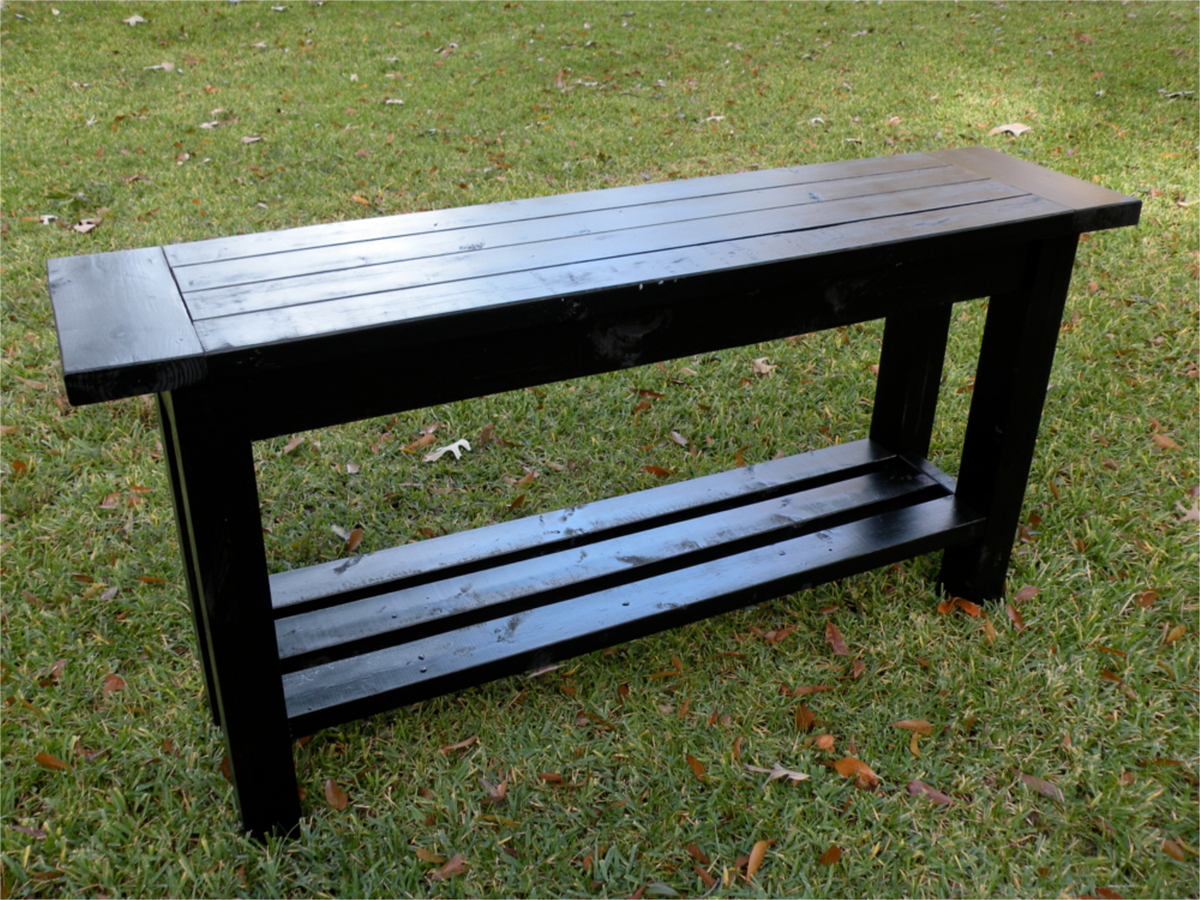
Tryde Console Table

I modified this to include another shelf on the bottom. Easier when built by two people.

Estimated Cost
$50
Estimated Time Investment
Day Project (6-9 Hours)
Finish Used
Glossy black paint and polyurethane.
Recommended Skill Level
Beginner

Comments

Drunknstein

Tue, 01/01/2019 - 22:41

How come there r no steps to follow for this plan. I’ve made so many of ur items and love watching all ur post to utube. Thank u for ur dedication to better urs and all of our crafts. 

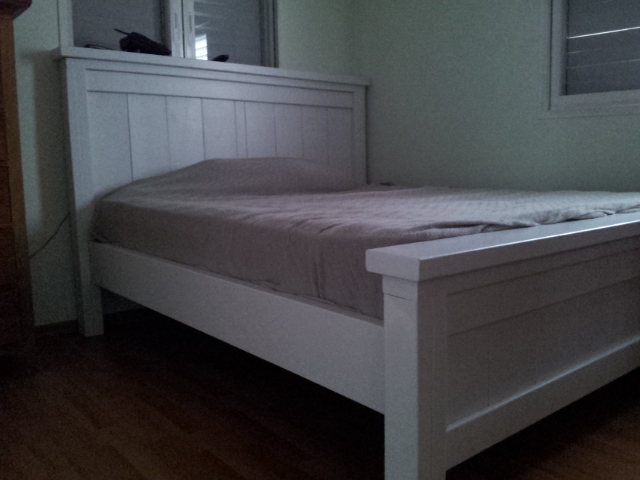
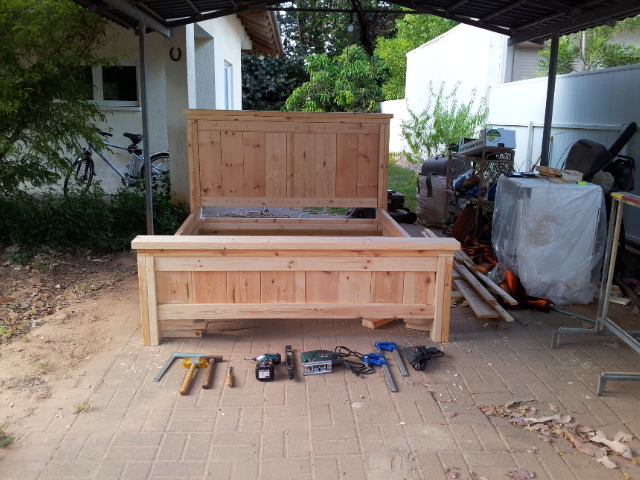
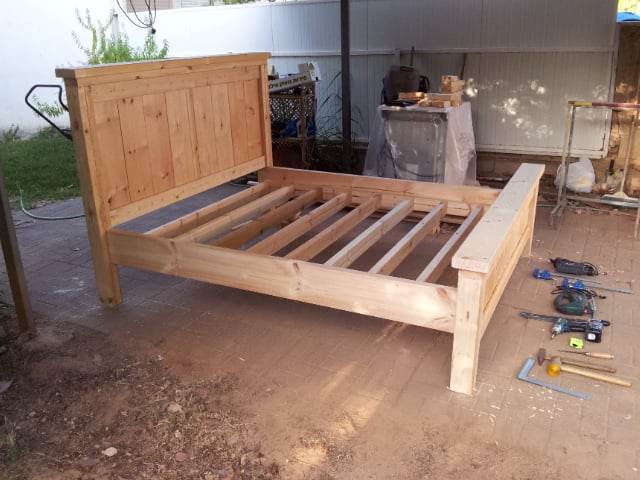
White Farmhouse Bed

Submitted by mtubin on Sat, 07/13/2013 - 07:40

I'm done building my first ever bed. It was a little expensive (Around 350$).
I had a lot of fun; I made some changing in the connection between the bed frame and the footboard.
I also had to convert the measurement to centimeter and to the European mattress measurement.

Estimated Time Investment
Week Long Project (20 Hours or More)
Recommended Skill Level
Intermediate

Comments