Community Brag Posts

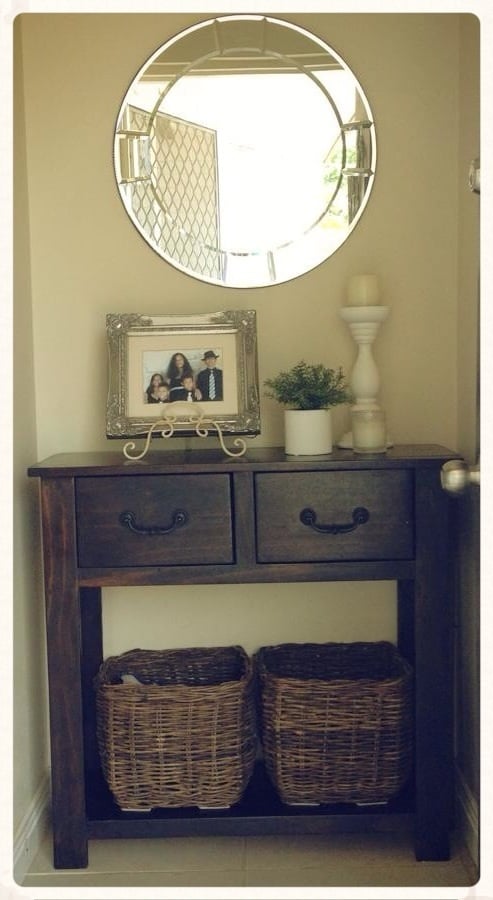
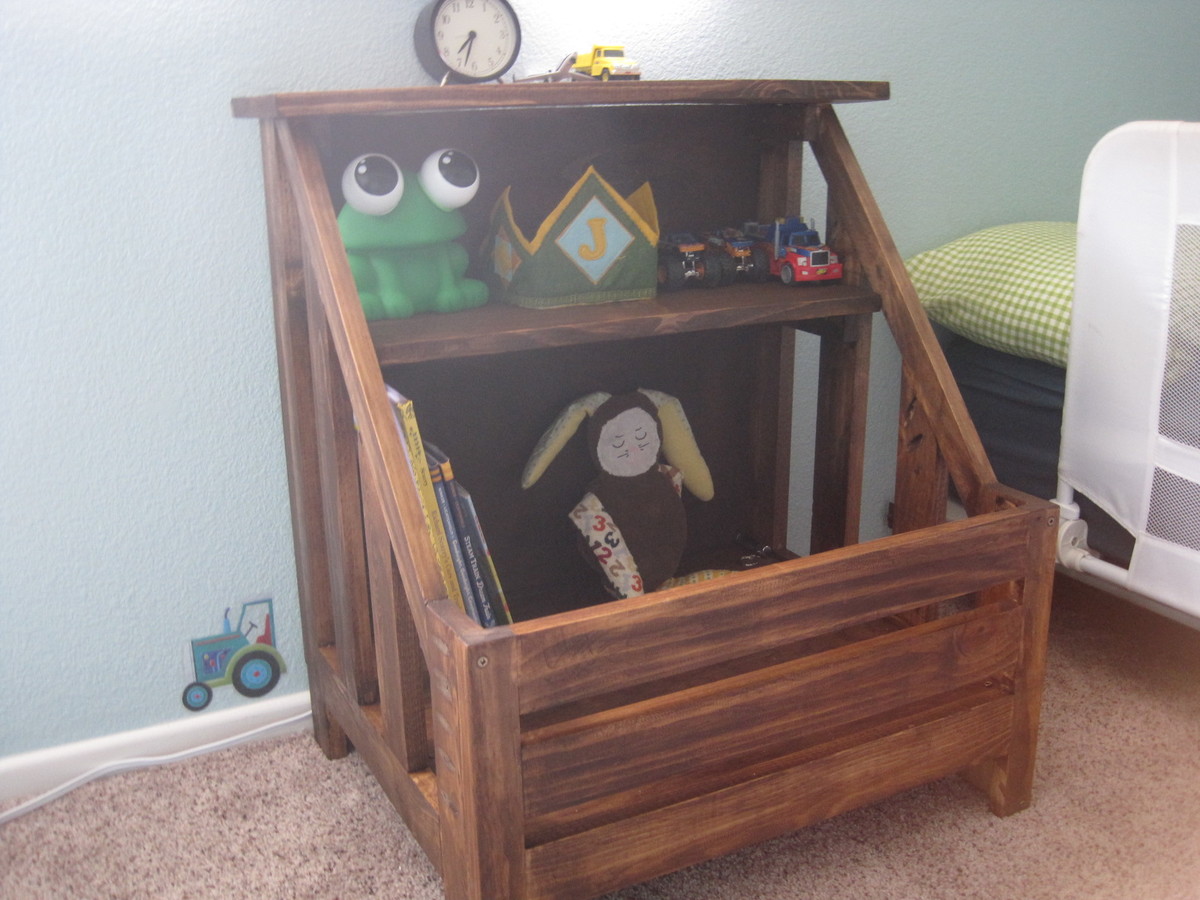
Kendra Console Nightstand/Shelf

Submitted by mamamea33 on Fri, 01/24/2014 - 10:25

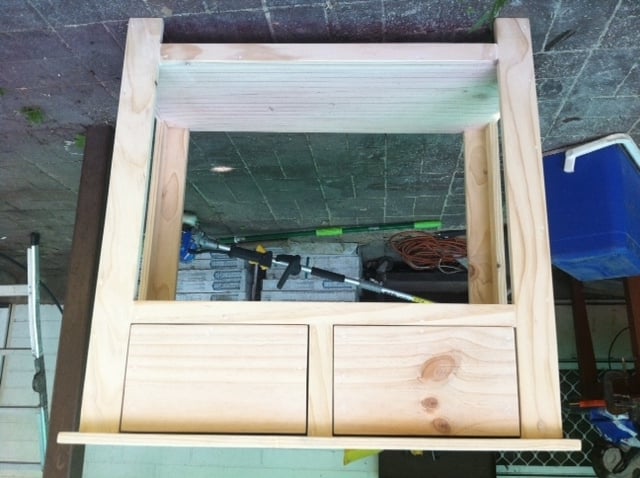
This was my third "solo" build - my husband has built several of Ana's plans, and I built a book caddy and a stepstool earlier in the month. I have always enjoyed sewing and fixing up our new-to-us house, but until 2014 I was afraid to try building so I left it up to my husband. No more! I brought both kids to the hardware store, selected my lumber, and got to work. We bought a mitre saw which has been AWESOME, so I've been using that and a jigsaw to make cuts. I would love to figure out the circular saw someday soon.

I had some issues with this plan here and there, but I can't be sure if it was an issue with the cut list or with my assembly. It wasn't anything I couldn't work around, though, and I'm really happy with the end result. I wasn't sure how to use the Kreg Jig on angled cuts, but once I figured that out the sides were very easy to assemble! Love that Kreg Jig.
Built from Plan(s)
Estimated Time Investment
Afternoon Project (3-6 Hours)
Finish Used
Rustoleum Ultimate Stain in Dark Walnut - two coats
Recommended Skill Level
Beginner

Comments

mamamea33

Wed, 01/29/2014 - 09:48

Thank you Gina! I am so happy I went for it. There was much deliberation. ;)

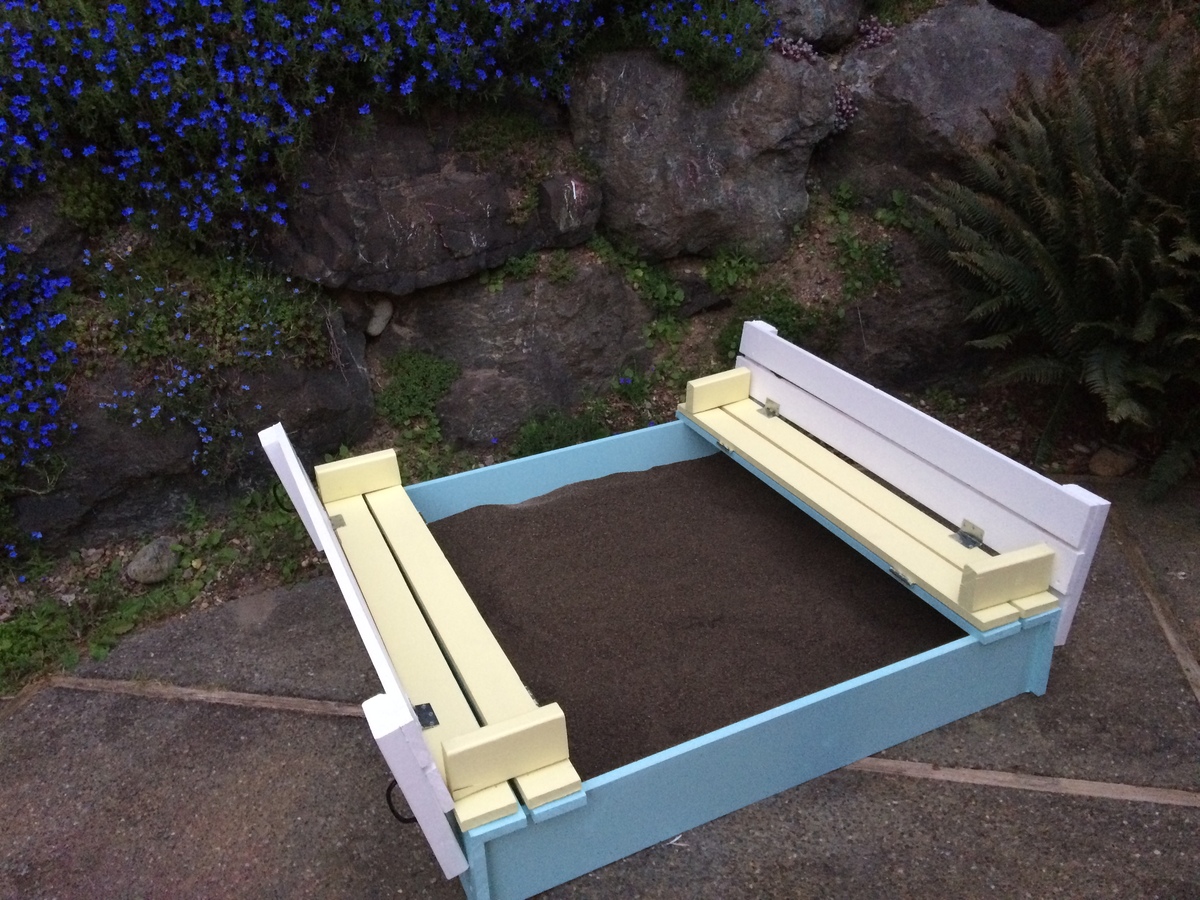
Sandbox

Submitted by Anonymous (not verified) on Mon, 04/18/2016 - 20:30

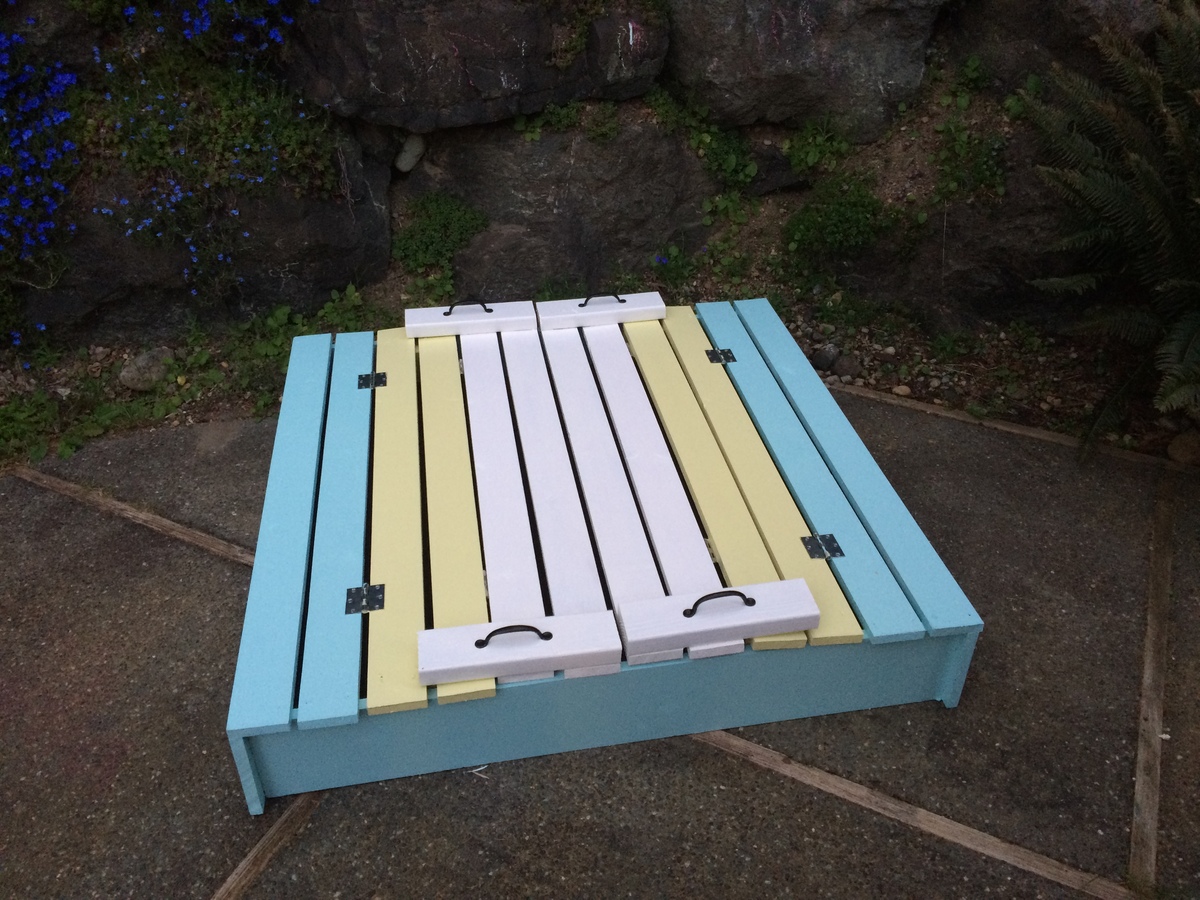
Sandbox with built in seats

Built from Plan(s)
Estimated Time Investment
Afternoon Project (3-6 Hours)
Recommended Skill Level
Beginner

Rustic X Console Table

Submitted by lslawson on Mon, 01/06/2020 - 03:42

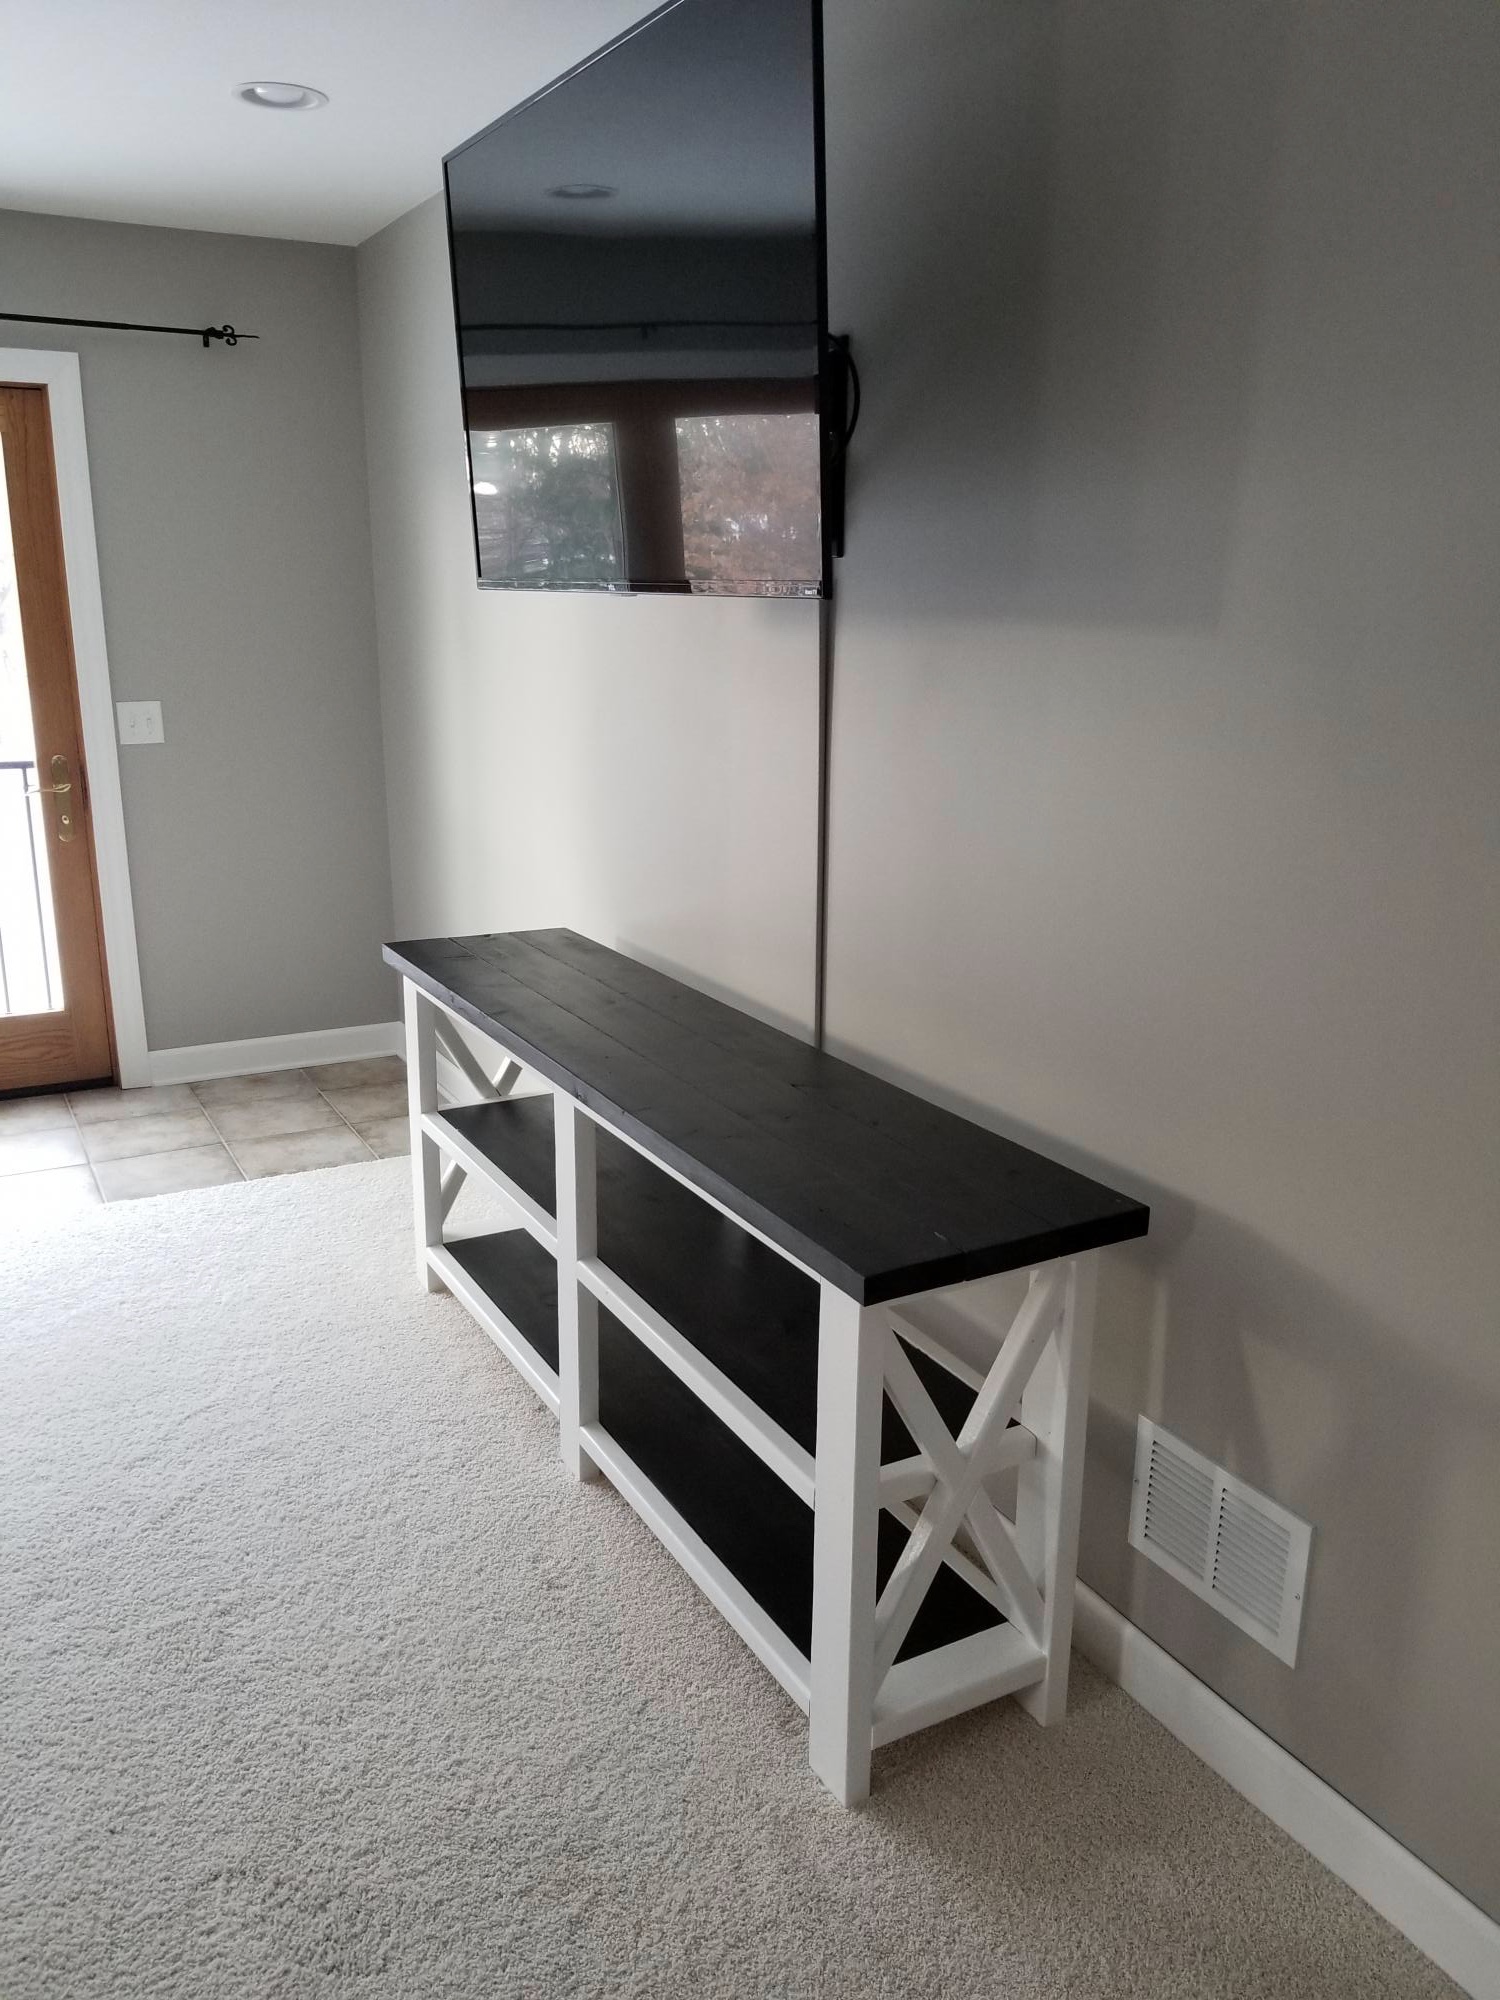
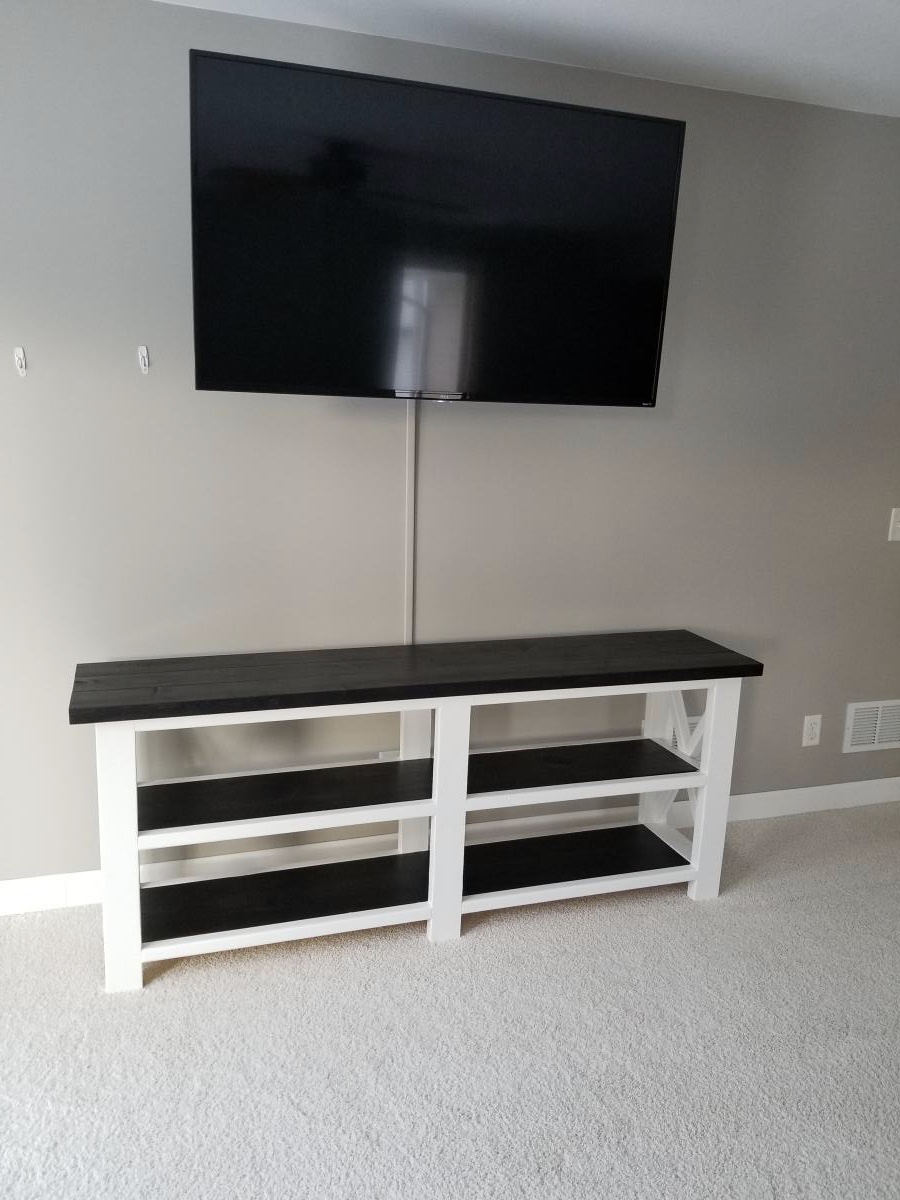
This was based on the Rustic X Console Table plan

Built from Plan(s)
Estimated Cost
60
Estimated Time Investment
Weekend Project (10-20 Hours)
Finish Used
Varathane Charred Wood Accelerator, white semi gloss paint. The only advice I will add is to sand and paint / stained before building the table.
Recommended Skill Level
Intermediate

Kids Adirondack Chairs

Submitted by Anonymous (not verified) on Fri, 09/08/2023 - 09:23

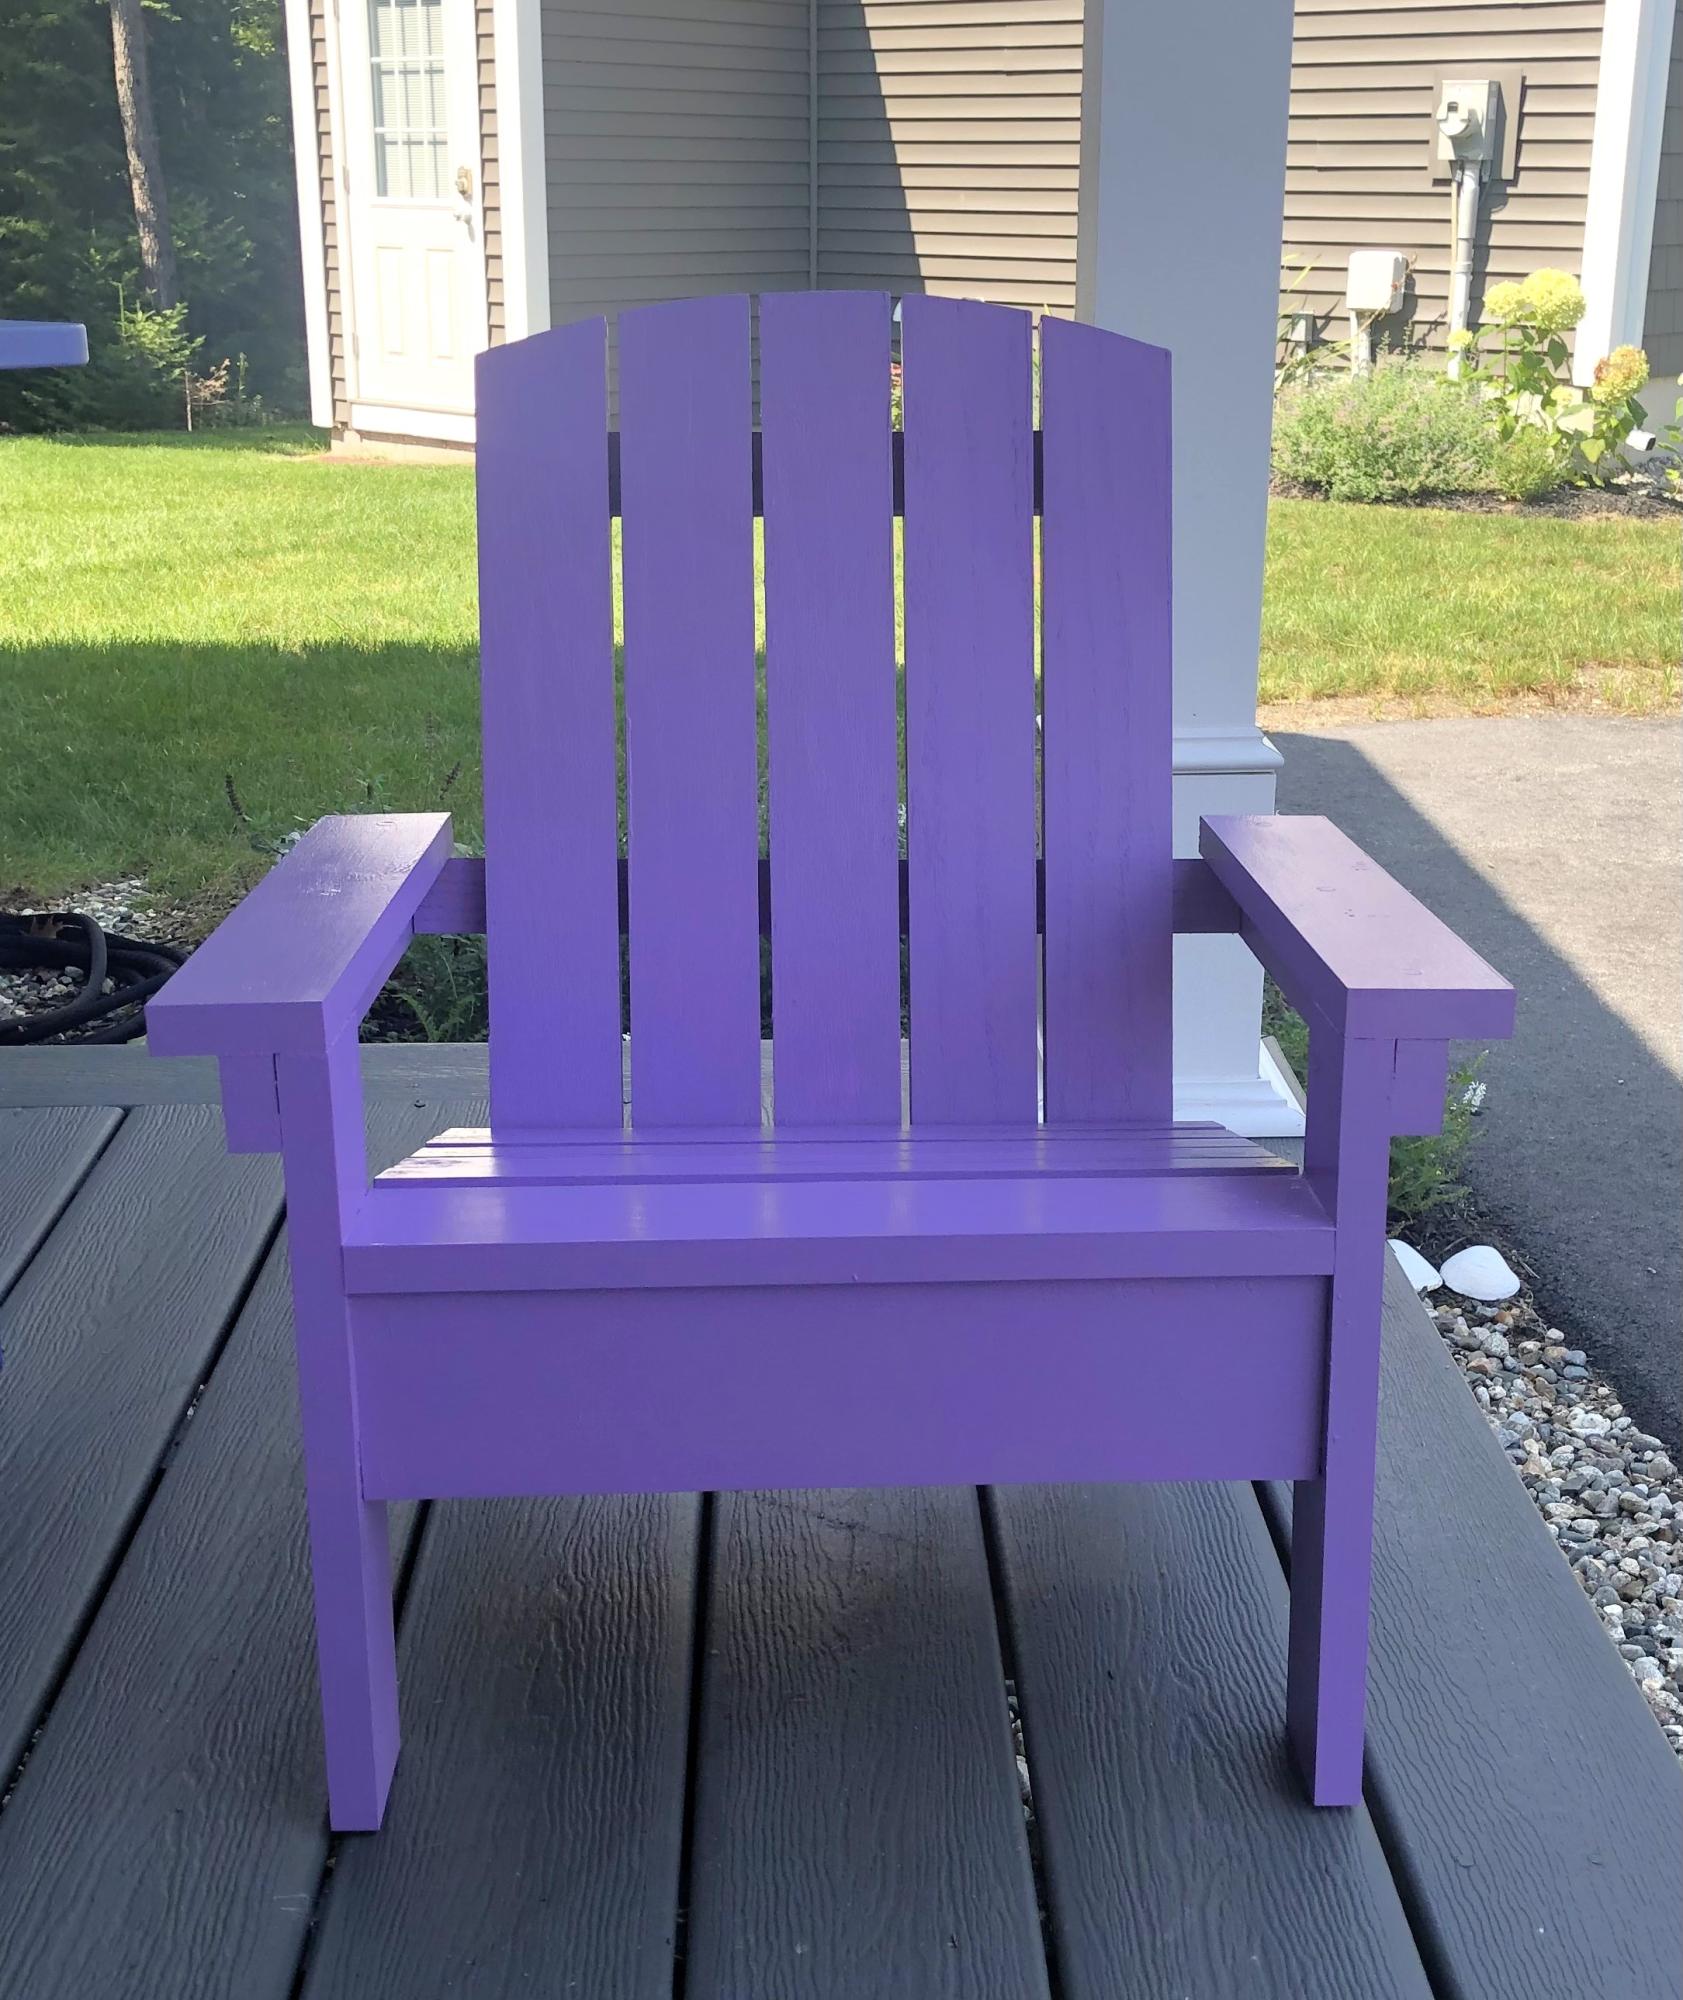
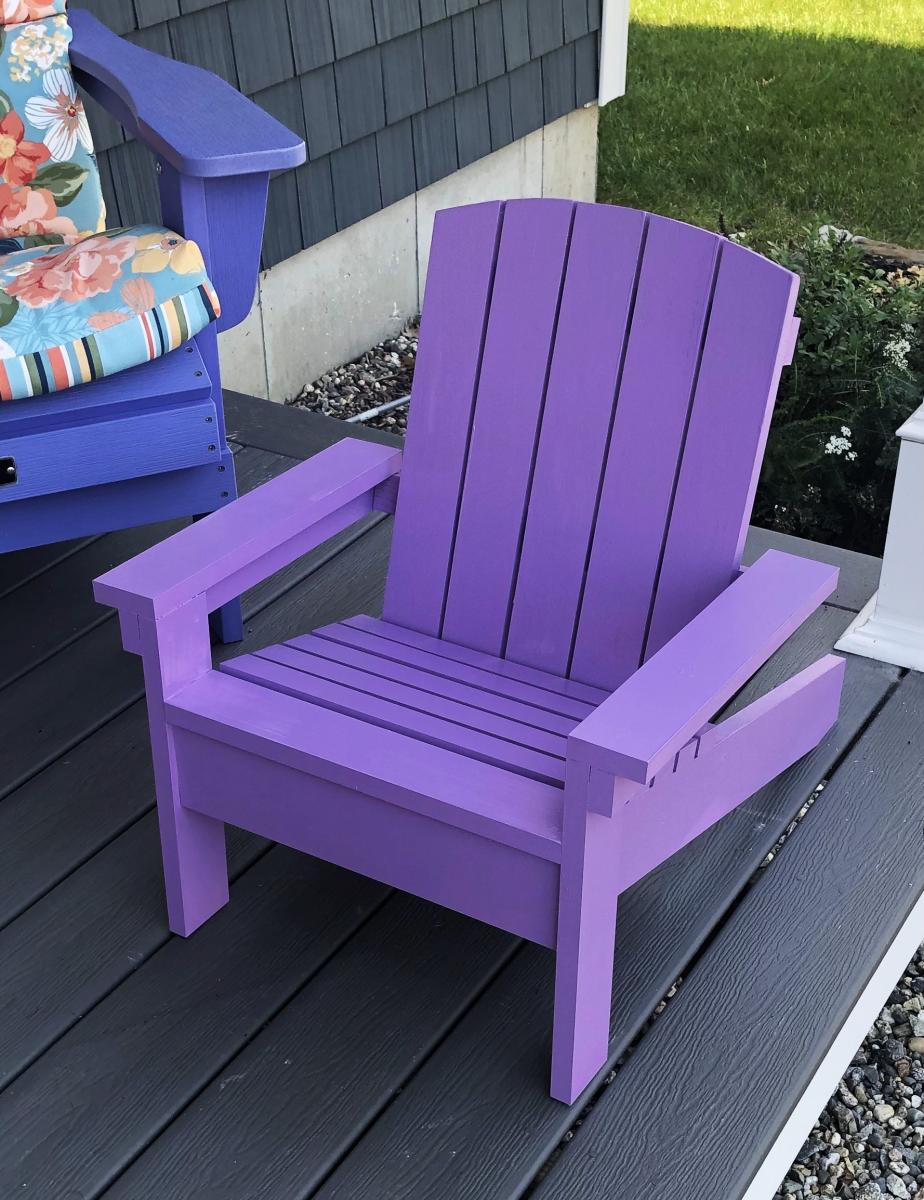
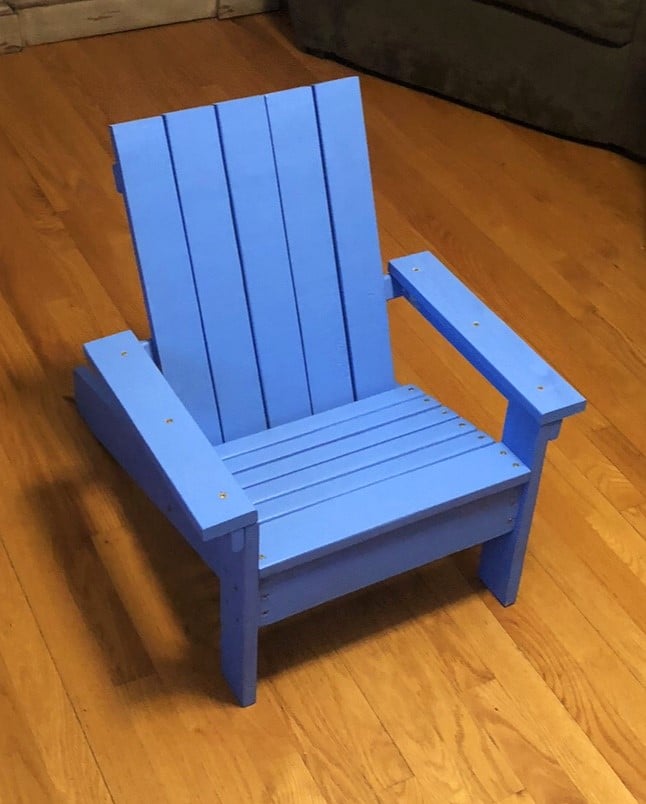
I made the blue chair first for our oldest granddaughter, I thought I wanted to curve the top, so I did for the next one for the younger granddaughter. Great plans, easy to follow. Thanks so much!

Bill Devereaux

Built from Plan(s)

Comments

Dress-Up Storage

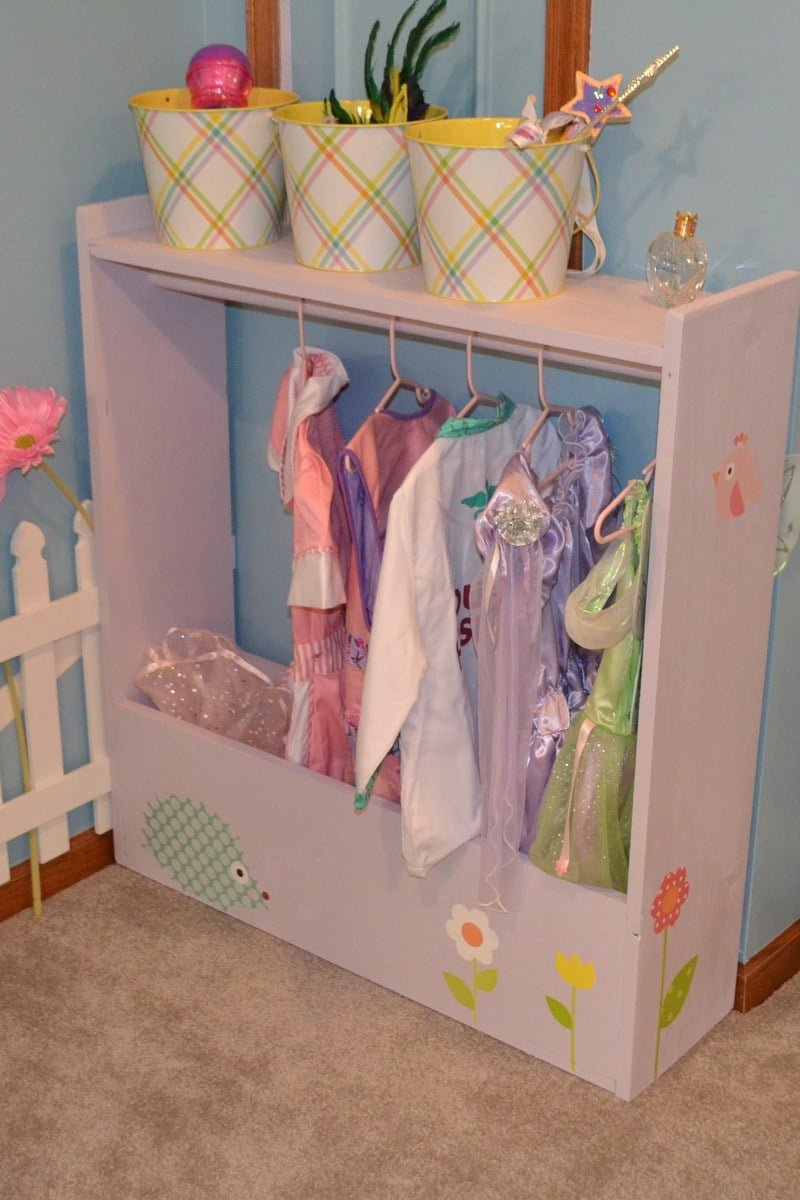
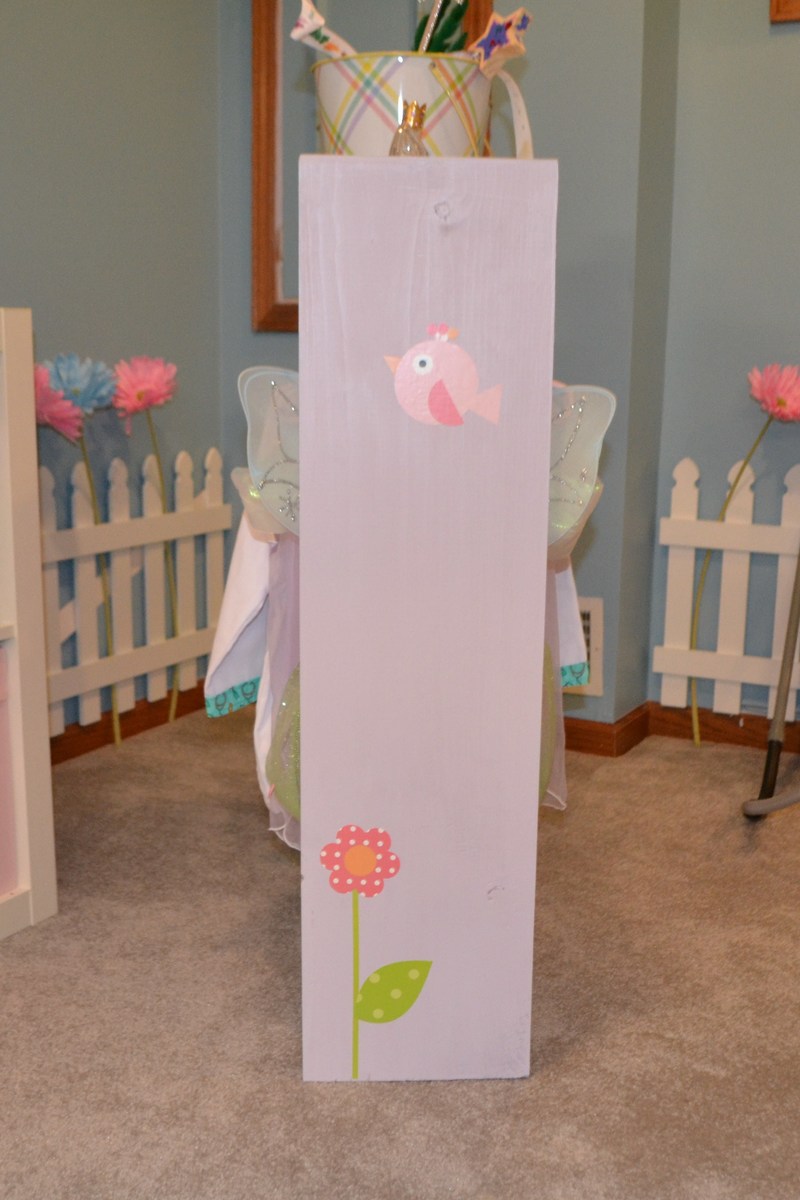
This was my first woodworking project, so I kept it simple. The one modification I made was to square the edges at the top, rather than rounding them out, as I just prefer clean lines. I used some leftover paint (Behr Foxgloves) and added a few vinyl wall decals that match the decal on the main wall of the play area. A few buckets on top store her jewelry and accessories.

I didn't add casters because we have rather thick carpet in the basement, but won't rule it out for the future.

Estimated Cost
$30
Estimated Time Investment
An Hour or Two (0-2 Hours)
Finish Used
Paint (Behr Foxgloves)
Recommended Skill Level
Beginner

First time using Ana's plans

Submitted by will on Mon, 01/27/2014 - 18:16

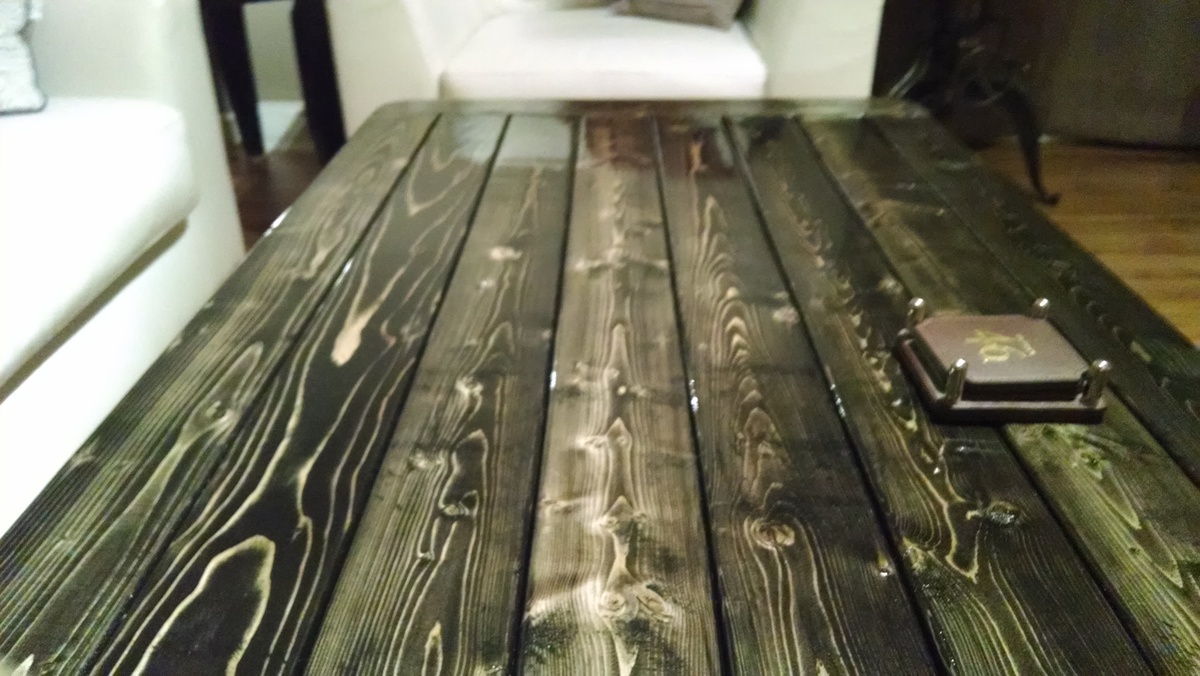
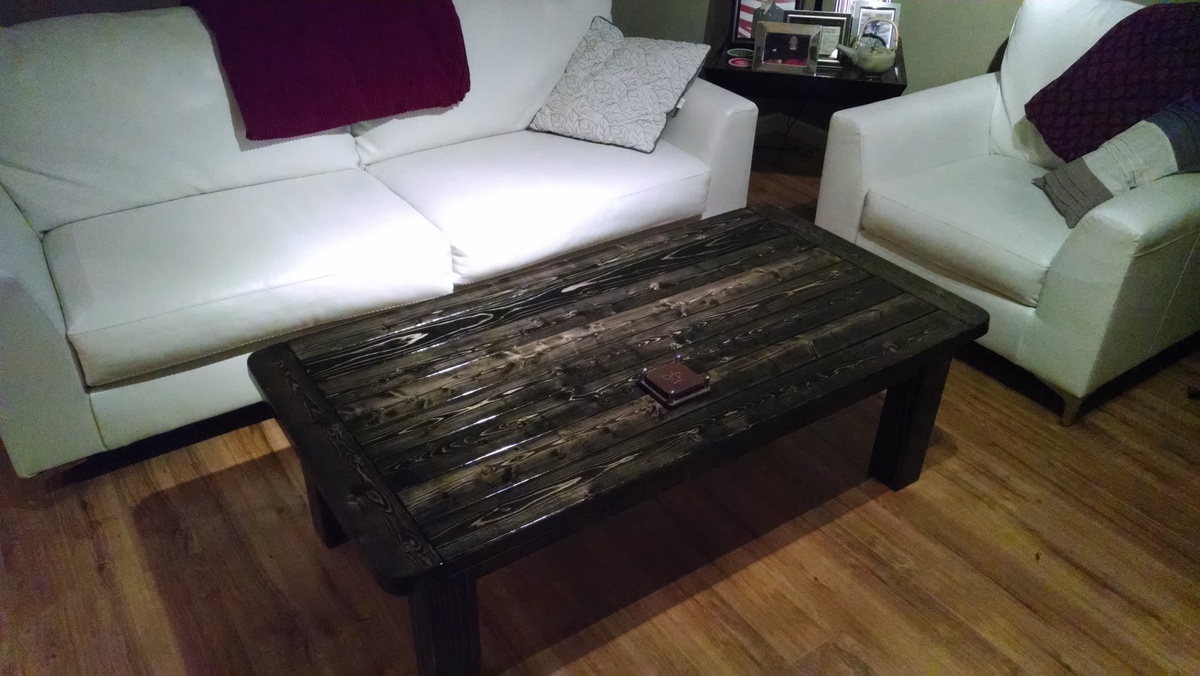
Less than $40 and fun with a Kreg jig.
Estimated Cost
less than $40
Recommended Skill Level
Starter Project

Comments

Lucky_Photo

Mon, 01/27/2014 - 20:25

This looks really good! What type of stain is this? What was the process if it was different from the "normal' method of applying stain?

will

Wed, 01/29/2014 - 06:36

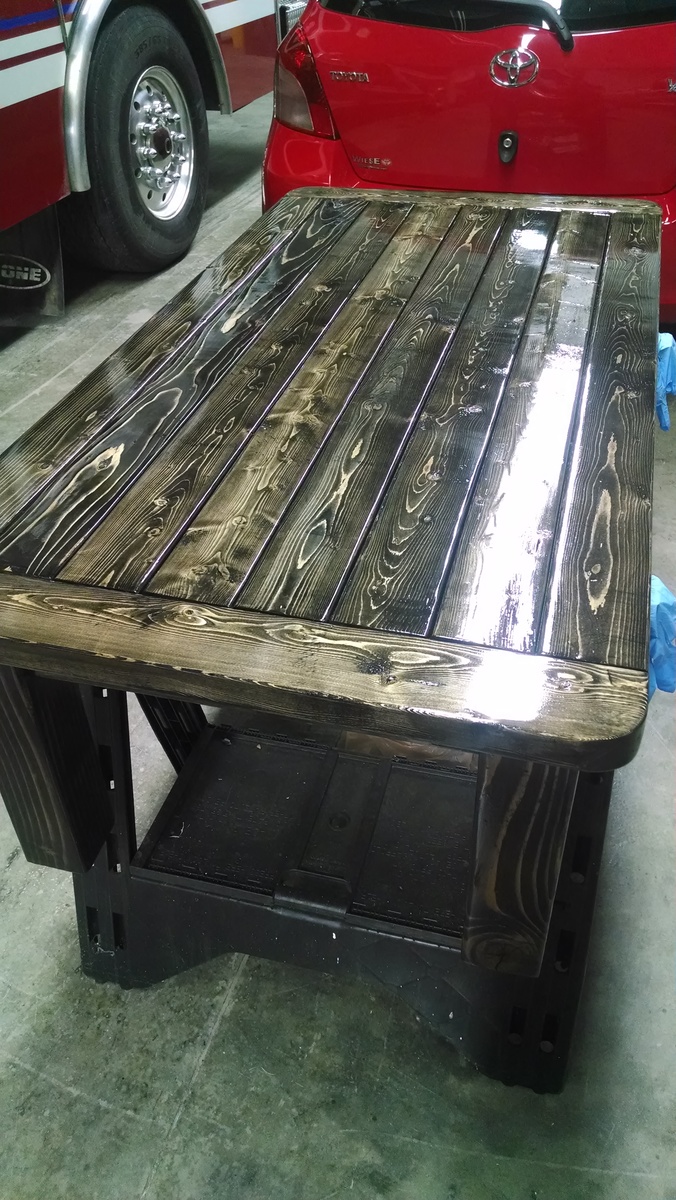
I used the Minwax poly/stain mix. Two coats of black and then two additional coats of clear gloss poly over that. It was meant for a friend, but I liked it so much in my living room... Well, lets just say I have to build her another one.

strouse6

Thu, 02/27/2014 - 14:12

Looks amazing - can't buy that look at any store. Oil based poly?

Cloud Baby Gym

Submitted by Anonymous (not verified) on Fri, 04/22/2016 - 10:47

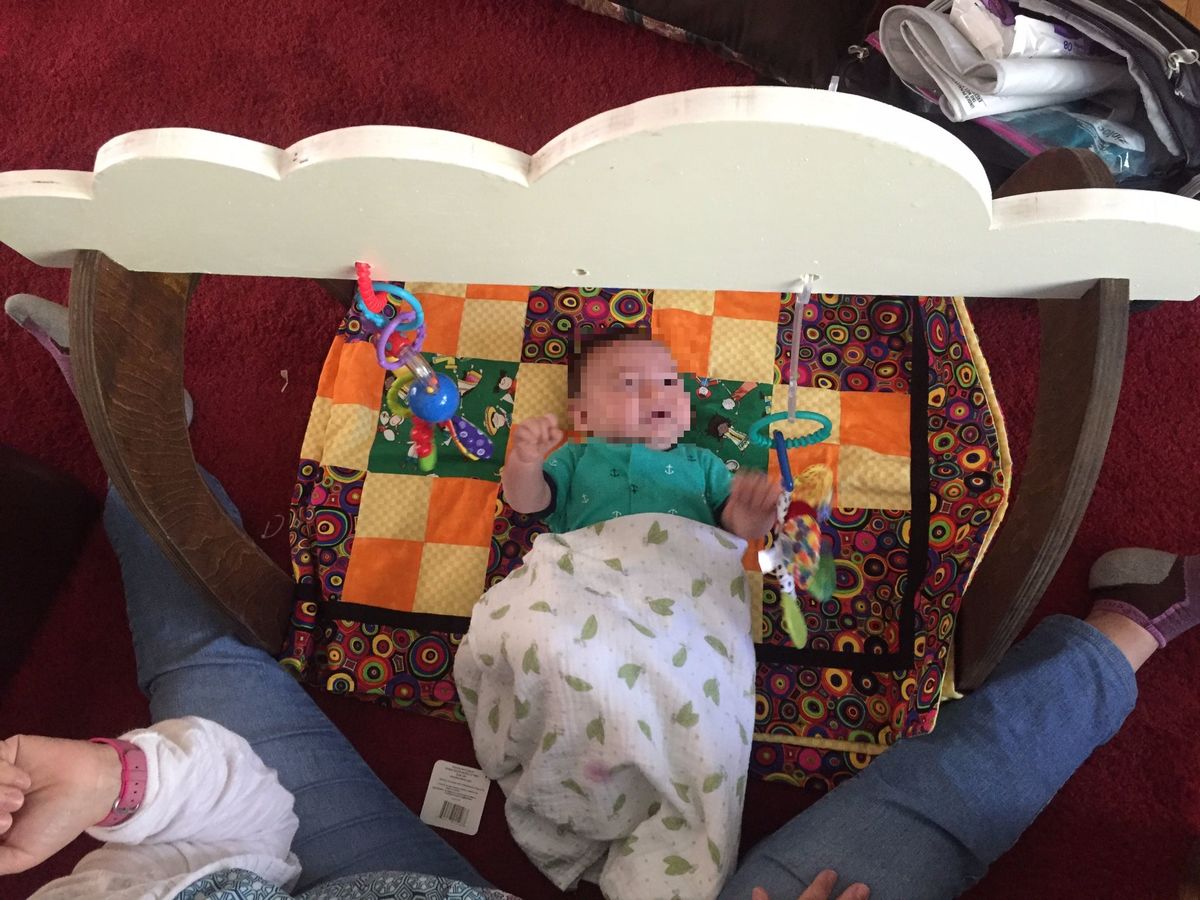
I based the side pieces on Ana's plan's measurements, but I was inspired by a different baby gym I had seen to make the top piece look like clouds. I also wanted the pieces to be able to disassemble. Instead of screwing the three pieces together, I cut notches with a band saw (could also use a jigsaw) so that they would fit together but still feel sturdy. I recommend drilling the toy holes close to the bottom edge so that this is compatible with store-bought toys.

Built from Plan(s)
Estimated Time Investment
Day Project (6-9 Hours)
Finish Used
Watco Danish oil in dark walnut & white spray paint
Recommended Skill Level
Beginner

Playhouse

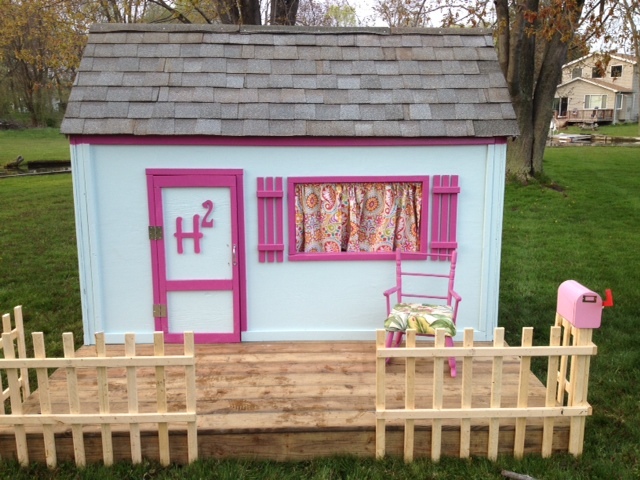
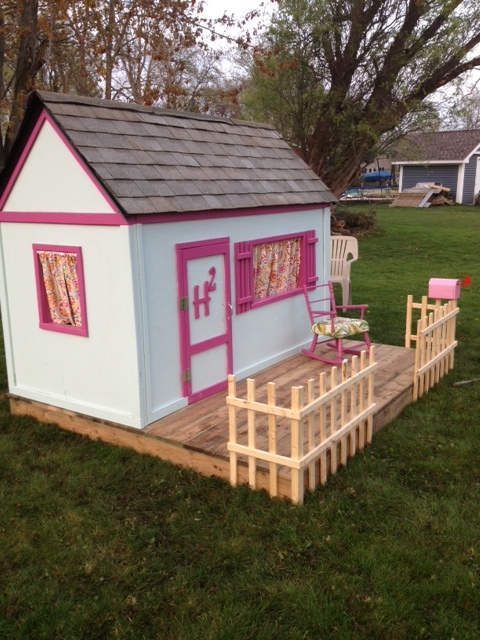
This was our first project and it was pretty simple! We are really happy with the results. We went a little further and lined the inside ceiling and used outdoor carpet inside as well. We saved money by using reminant wood for the deck and some old shingles that had been lying around. It was our first time roofing so it is far from perfect but it should stay dry. Overall our two little girls LOVE it.

Estimated Cost
$400-$500
Estimated Time Investment
Week Long Project (20 Hours or More)
Finish Used
Exterior Paint
Recommended Skill Level
Beginner

Comments

nikjwil

Sat, 07/07/2012 - 21:06

We just finished this project. I love the shutters, mailbox and curtains! What cute touches!

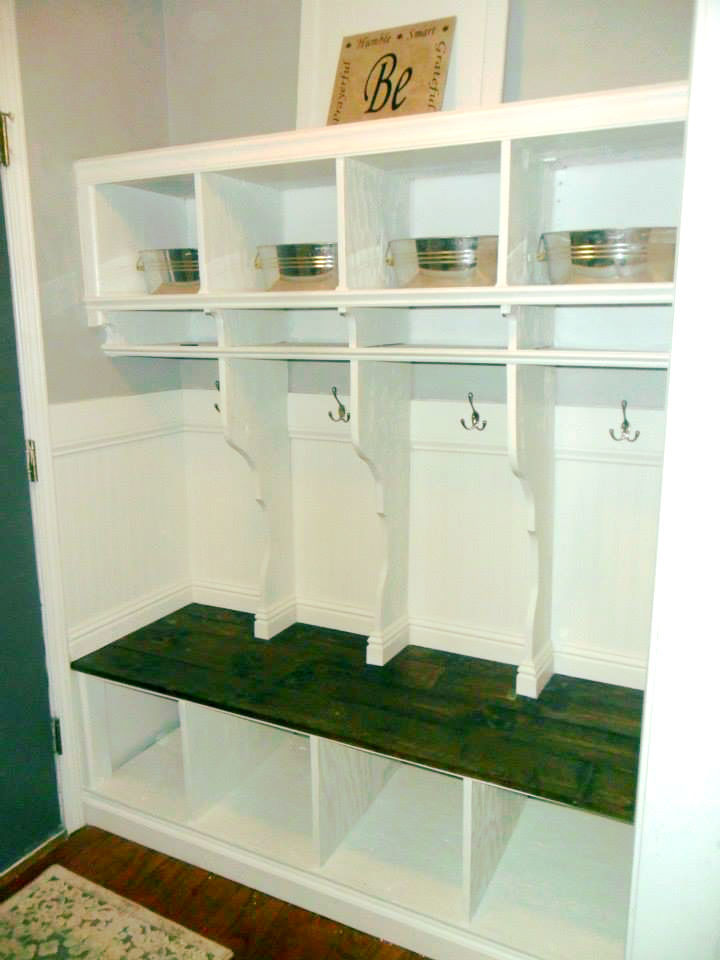
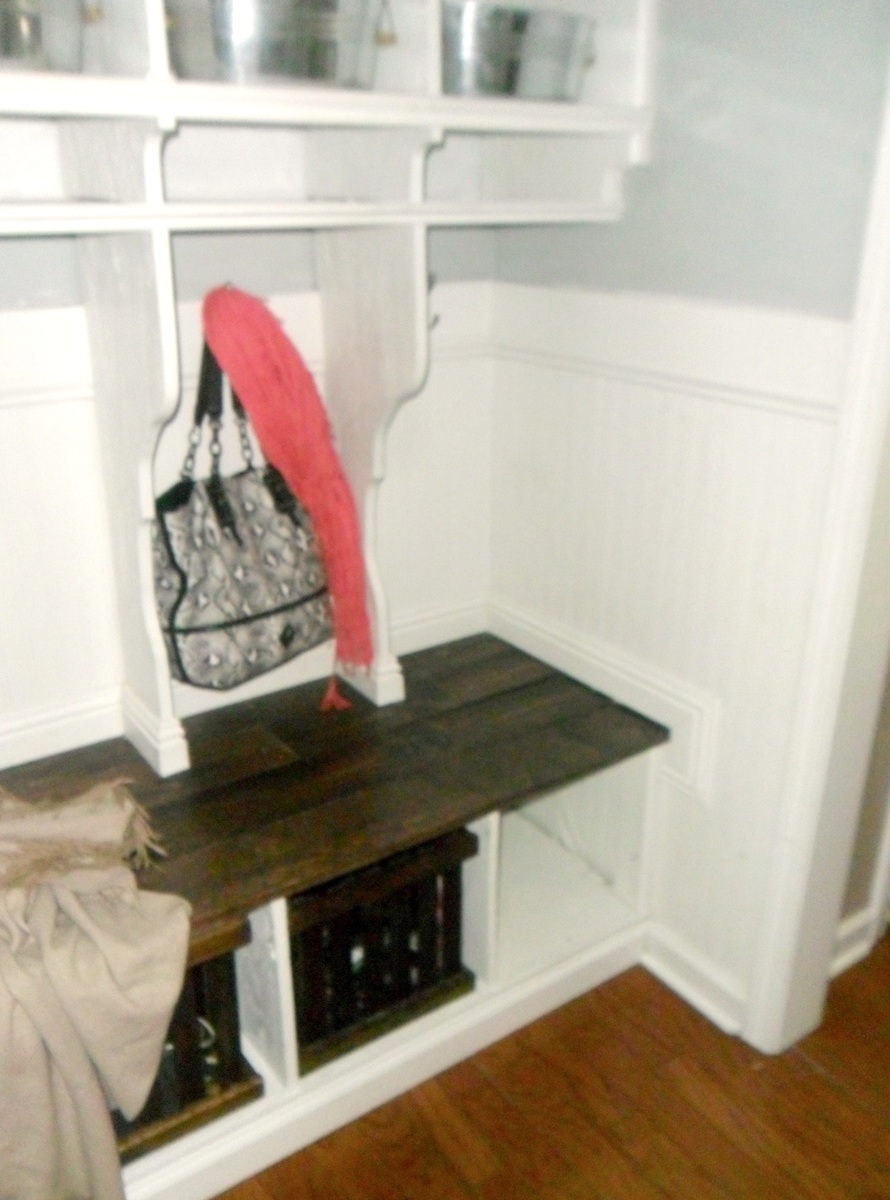
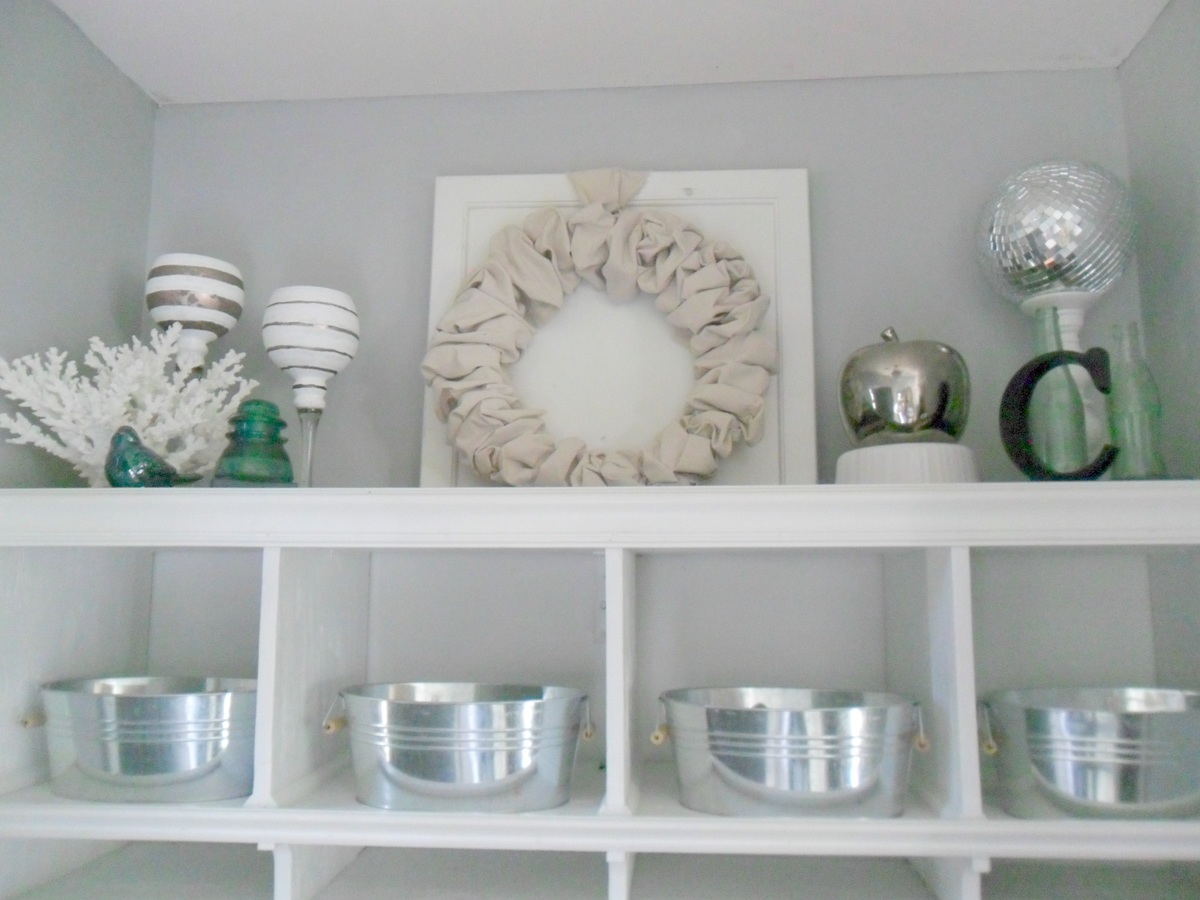
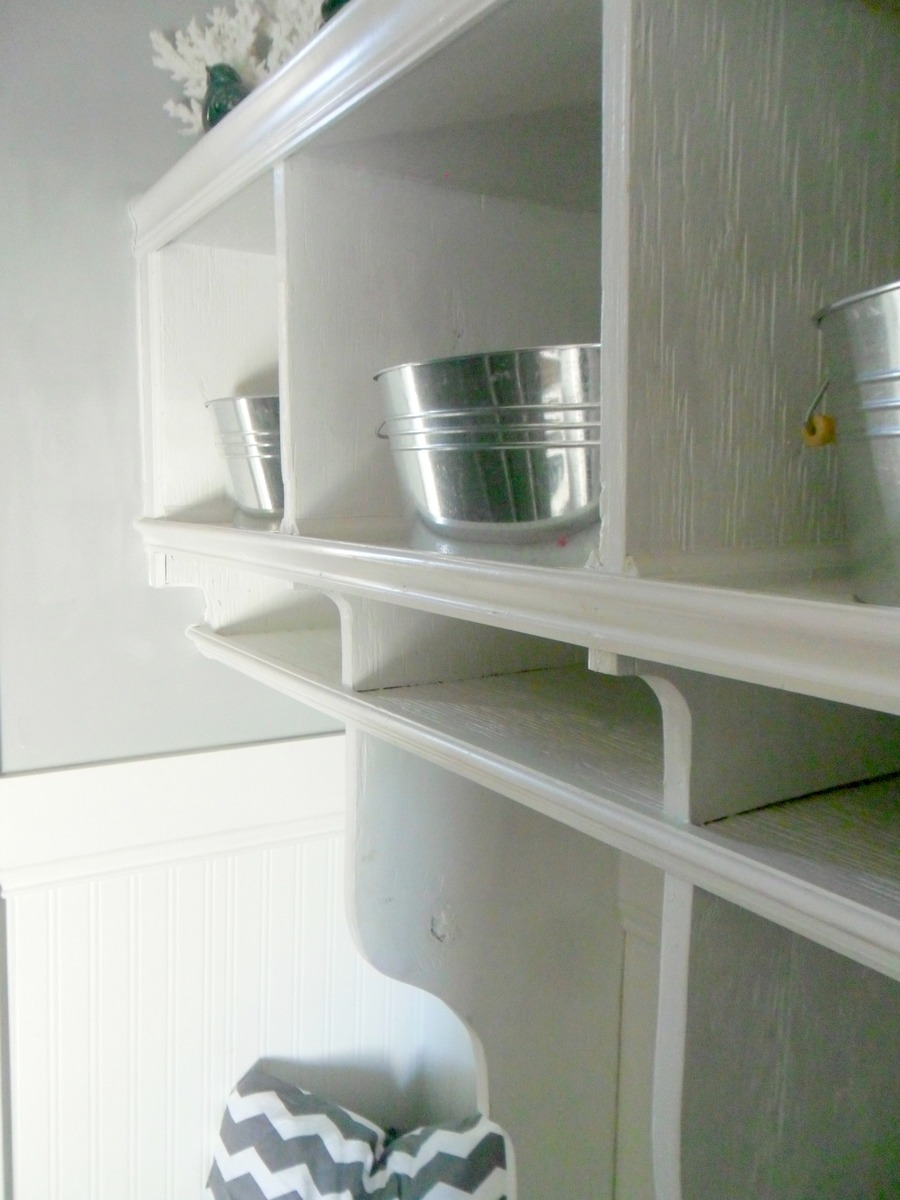
Diy mudroom entryway

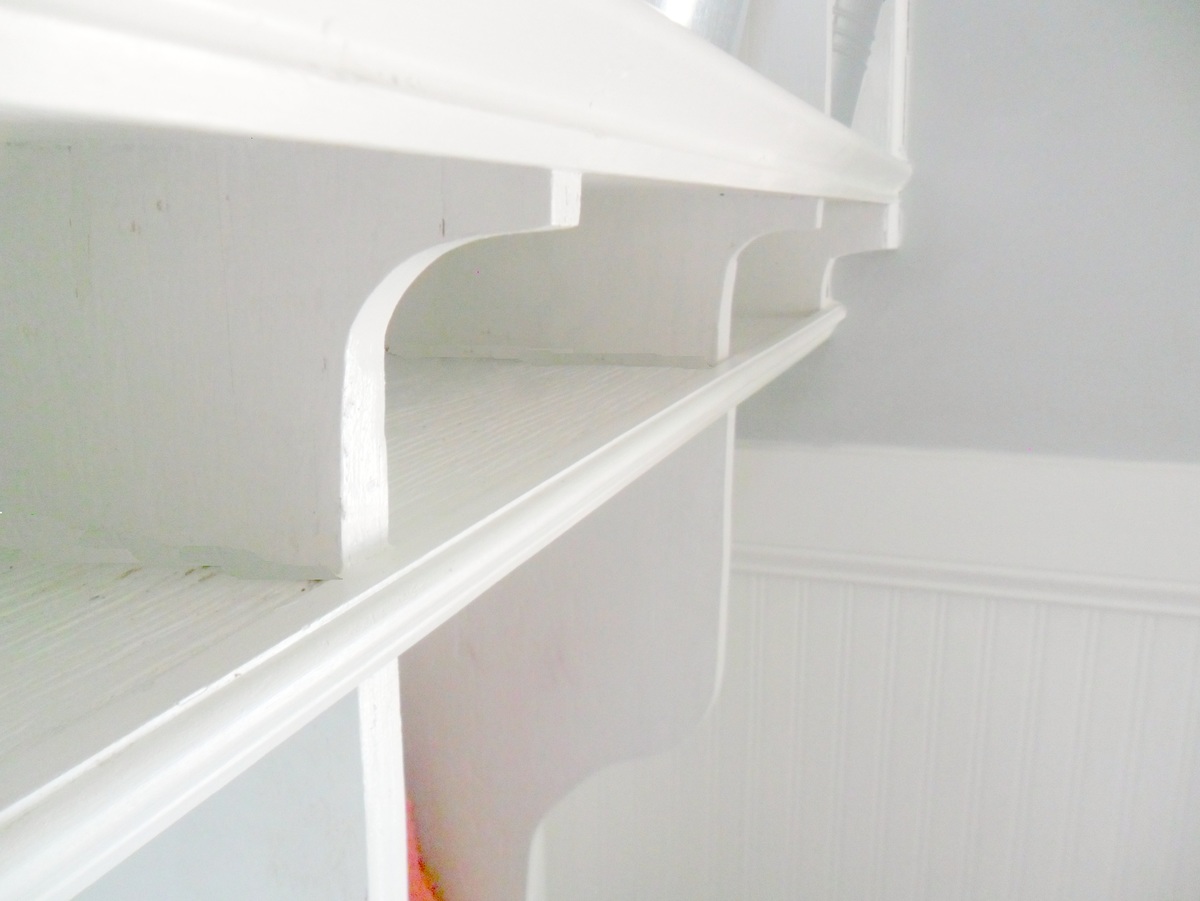
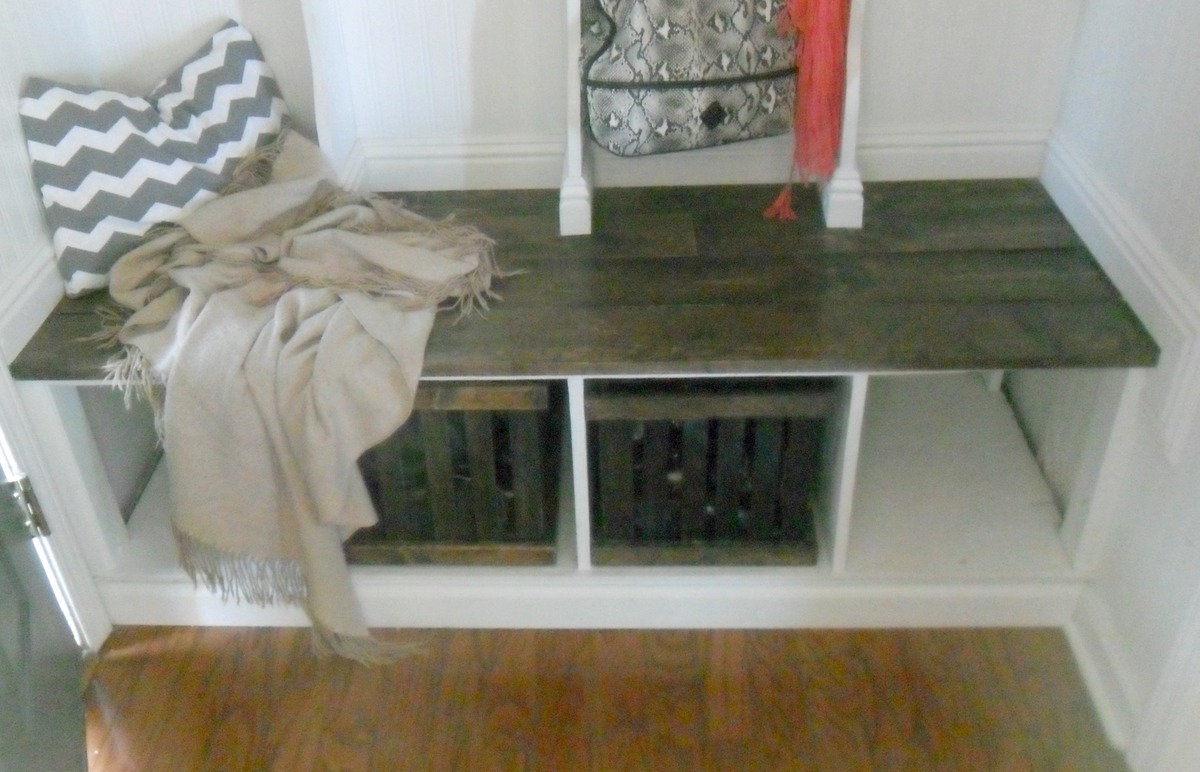
This was my very first building project. I needed a place for my kids to store their things as they went in and out of the house. I happened to have a perfect place to add built ins just inside my front door. Our house is pretty small and there wasn't much room anywhere else. It took me quite awhile, but I was able to learn from reading several Ana White plans and then I designed this myself. I learned how to use Google sketch-up in order to design it. I hope you enjoy checking it out!

Estimated Cost
150-ish
Estimated Time Investment
Week Long Project (20 Hours or More)
Finish Used
Generic white paint from Walmart, Gloss finish. Three coats. Minwax Dark Walnut stain for Bench. MInwax Polycrilic as a top coat for the bench.
Recommended Skill Level
Intermediate

Comments

tommybo76

Wed, 01/29/2014 - 20:06

I love the details used. Especially the seating area color choice, buckets for storage and extra shelf...what do you plan on using the smaller shelves above the hooks to store? One small suggestion, you might consider adding extra hooks on the side panels. I did this on my project and I think we've used every hook we have LOL! Fantastic job!!

In reply to by tommybo76

Anna at Home-h…

Thu, 01/30/2014 - 16:20

Thank you so much! You are right, that is something I actually have plans to do. We can always use more hooks! The smaller slots are for school papers. My kids each have a section (I have four kids). They are to take out any papers that they need me to see and place them in the homework slot...I will then either return it to the slot or trash it, if need by. I also use it to put anything I find laying around the house that belongs in their bookbags or that needs to go to school in (library books, etc). You can see the whole tutorial, if you're interested, here: http://www.home-heart-and-hands.blogspot.com/2014/01/diy-mudroom-and-ent...

Anna at Home-h…

Thu, 01/30/2014 - 13:26

Thank you so much! You are right, that is something I actually have plans to do. We can always use more hooks! The smaller slots are for school papers. My kids each have a section (I have four kids). They are to take out any papers that they need me to see and place them in the homework slot...I will then either return it to the slot or trash it, if need by. I also use it to put anything I find laying around the house that belongs in their bookbags or that needs to go to school in (library books, etc). You can see the whole tutorial, if you're interested, here: http://www.home-heart-and-hands.blogspot.com/2014/01/diy-mudroom-and-en…

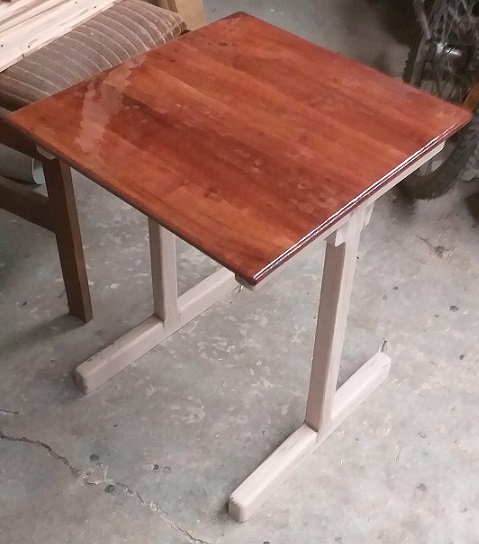
Bens table and chairs

Submitted by Anonymous (not verified) on Sat, 01/18/2020 - 14:19

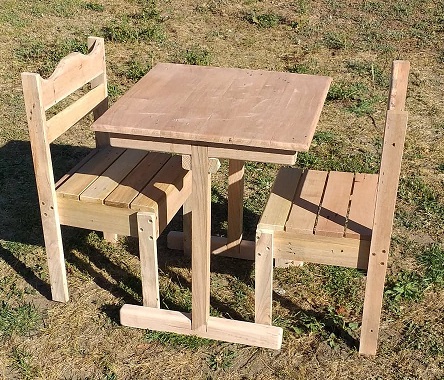
I took your plan for the Clara table to make Ben's table. I used your sizing but made Ben's table with pedestal legs. I then used your $4 chair plan as well.
Most of the timbers you use we in Australia consider exotic timber.
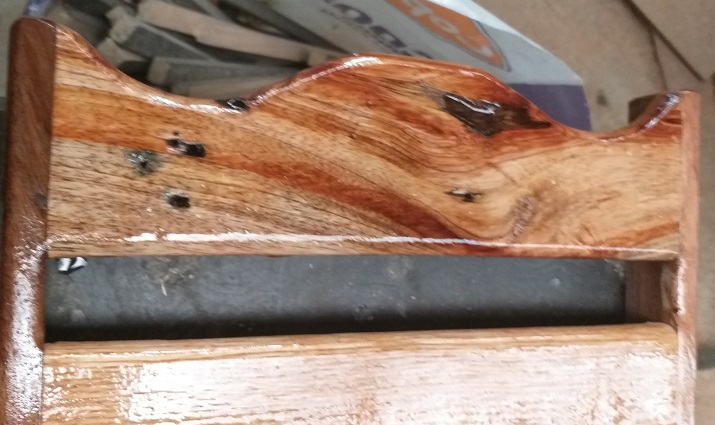
I used eucalypts. Tasmanian Oak for the table legs and Red Ironbark for the rest.

Built from Plan(s)
Estimated Time Investment
Week Long Project (20 Hours or More)
Finish Used
Lacquer

Entry table using Cottage Media Table plans

Submitted by KelleighW on Wed, 04/18/2012 - 15:17

I used the Cottage Media coffee table plans and modified the length and height to suit for the space I needed. Ana's plans were super easy to follow and am pleased with the end result.

Estimated Cost
$100
Estimated Time Investment
Weekend Project (10-20 Hours)
Finish Used
Chocolate Walnut
Recommended Skill Level
Beginner

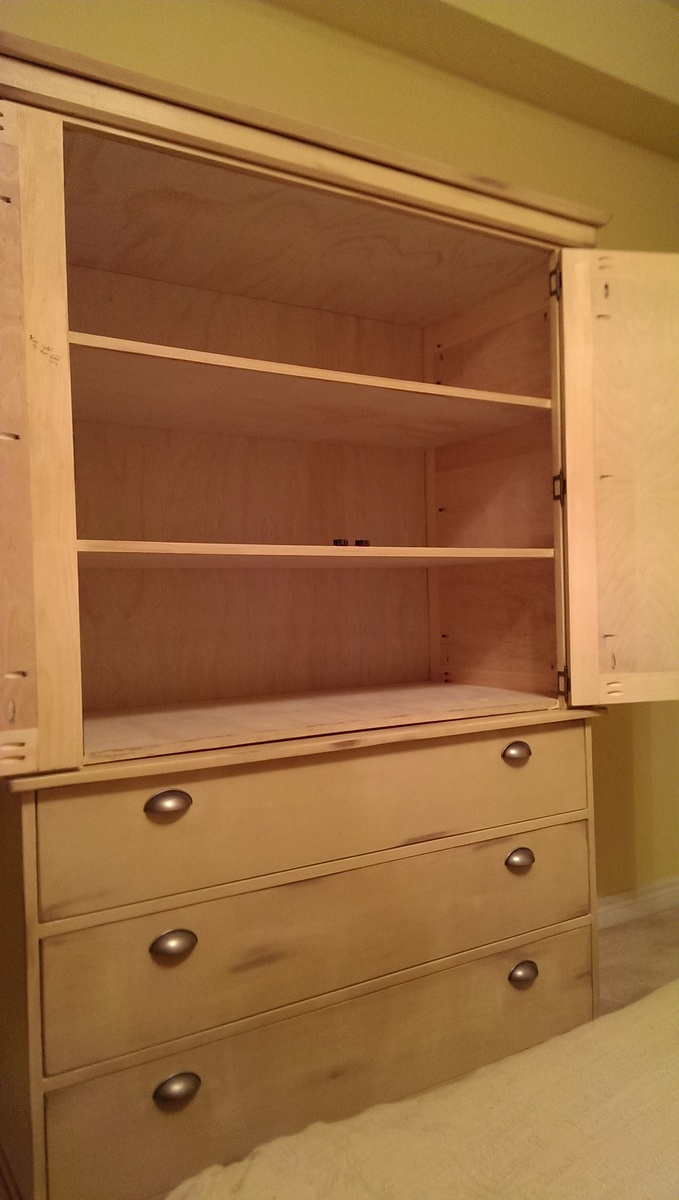
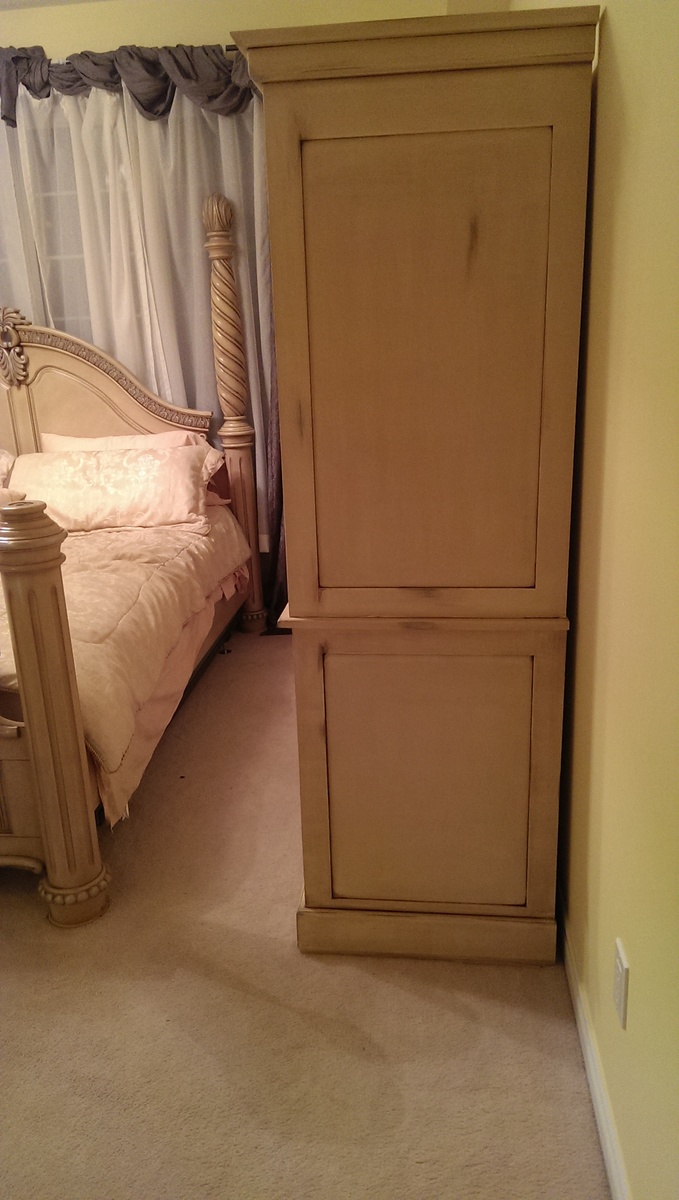
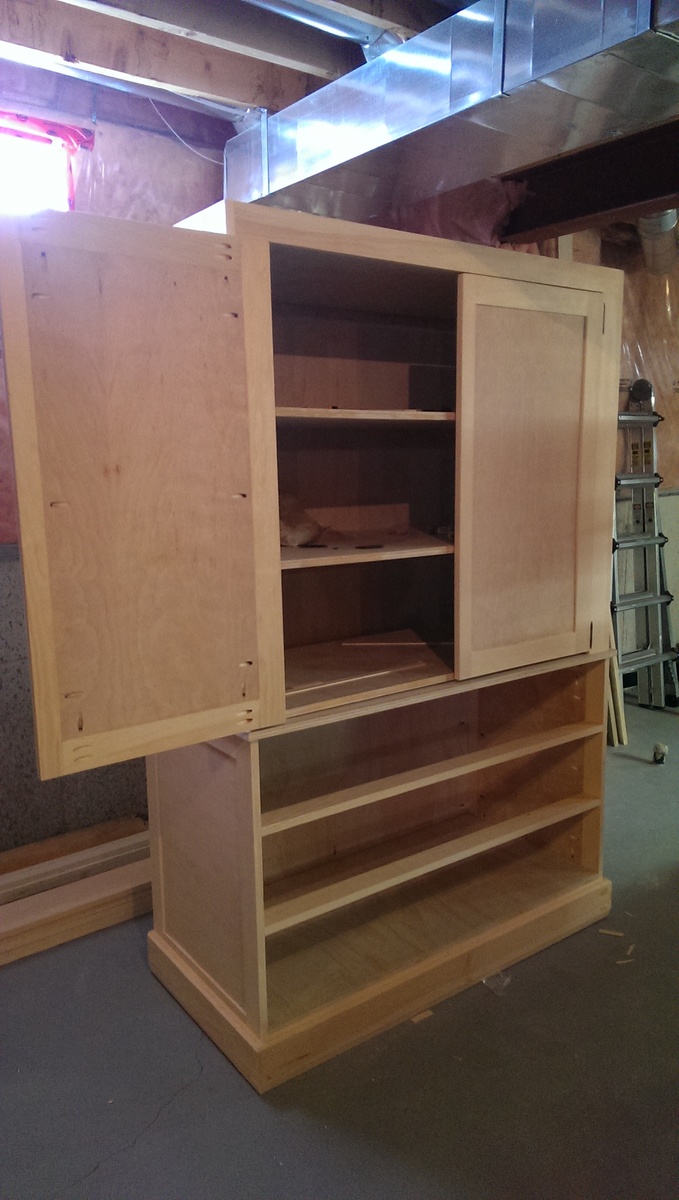
Antique Armoir

Submitted by George R S on Sat, 02/01/2014 - 19:11

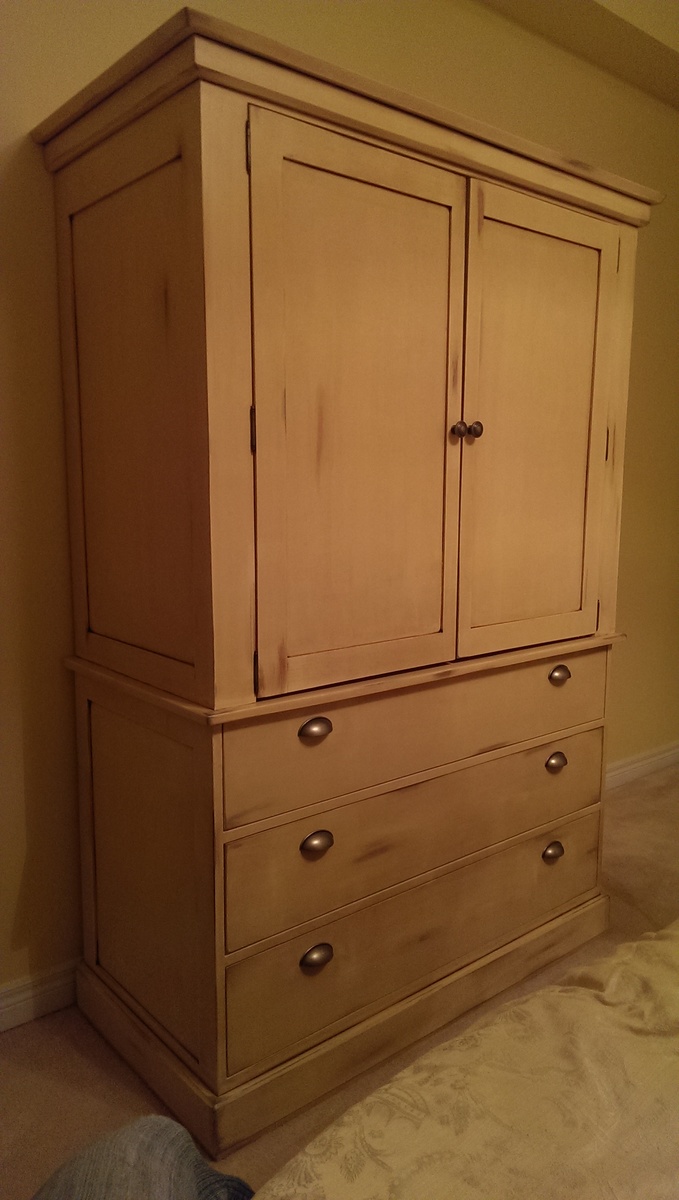
This is the first furniture project I have built from a plan found on-line - at Ana's Website. The plan was very easy to follow and I thoroughly enjoyed building this piece of furniture. I made some alterations to the upper cabinet as per shelving. I used an antique finish to match my bed. The match and design is perfect!
Estimated Time Investment
Week Long Project (20 Hours or More)
Finish Used
Behr primer and paint in one. Oil based walnut antique gel. Silver acrylic paint. Water based satin finish varethane.
Recommended Skill Level
Intermediate

Comments

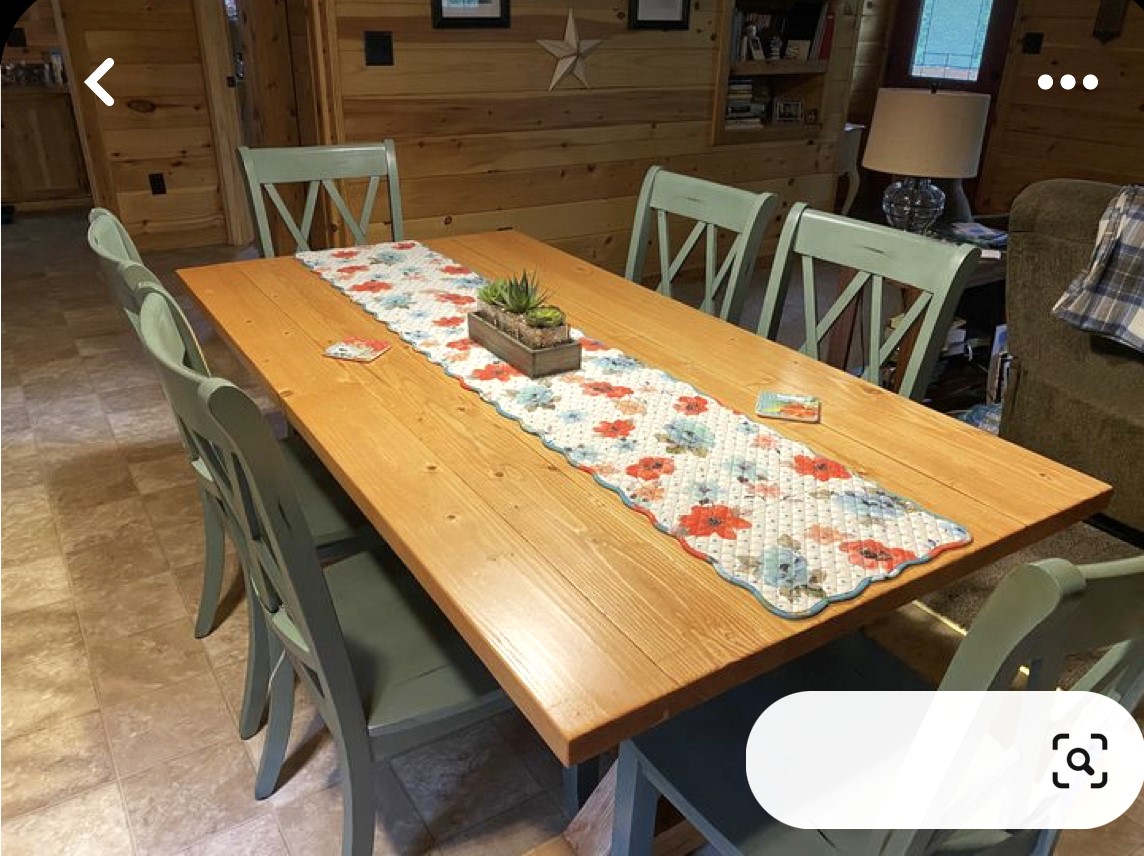
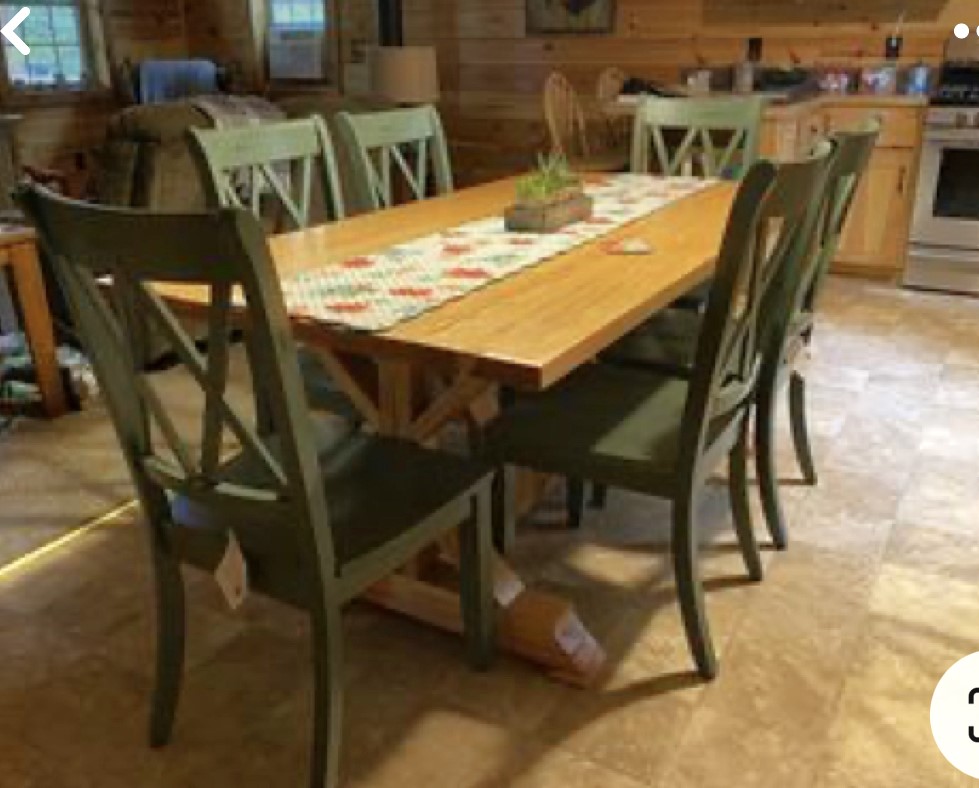
Truss table

Submitted by Anonymous (not verified) on Sat, 04/30/2016 - 17:41

I did modify a bit with the length and width. I also left the supports vertical instead angling them. Love how my table came out!

Estimated Time Investment
Day Project (6-9 Hours)
Recommended Skill Level
Advanced

Hutch with cabinet

Submitted by wgbeecher on Fri, 01/24/2020 - 09:29

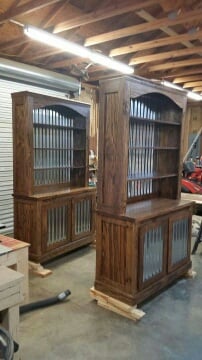
I saw this on Shanty2Chic and loved the plan.  I had a friend that wanted me to build her two of these with tin in the door and back.  The tin was a challenge but it all worked out.  She loves them.  Thank you for the plans.  I could not have done this without them.

Built from Plan(s)
Estimated Cost
150.00 each
Estimated Time Investment
Week Long Project (20 Hours or More)
Finish Used
Special Walnut Minwax
PolyWipe
Recommended Skill Level
Advanced

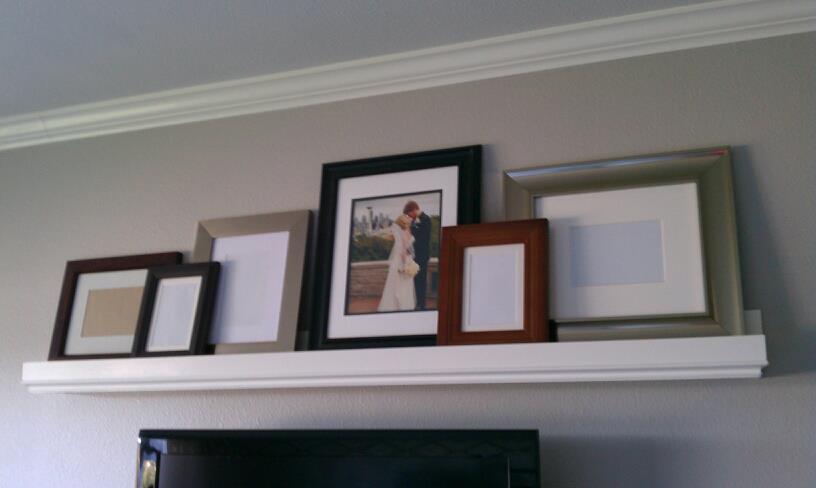
10 dollar ledge

10 dollar ledge with small trim on the bottom (now cost 20 dollars total)

Built from Plan(s)
Estimated Time Investment
Afternoon Project (3-6 Hours)
Finish Used
Primer and two coats of white paint (with floetrol) applied with paint brush
Recommended Skill Level
Beginner

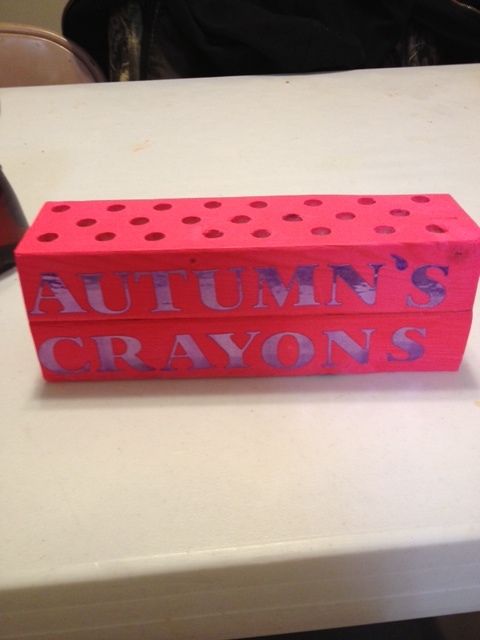
Crayon holder

Submitted by cookiecrab on Tue, 02/04/2014 - 18:56

Had left over 2x3's so I used those. The kids love them!! Easy to make. Cost $10 due to stickers and paint.

Estimated Cost
$10
Estimated Time Investment
An Hour or Two (0-2 Hours)
Finish Used
spray paint
Recommended Skill Level
Starter Project
Back