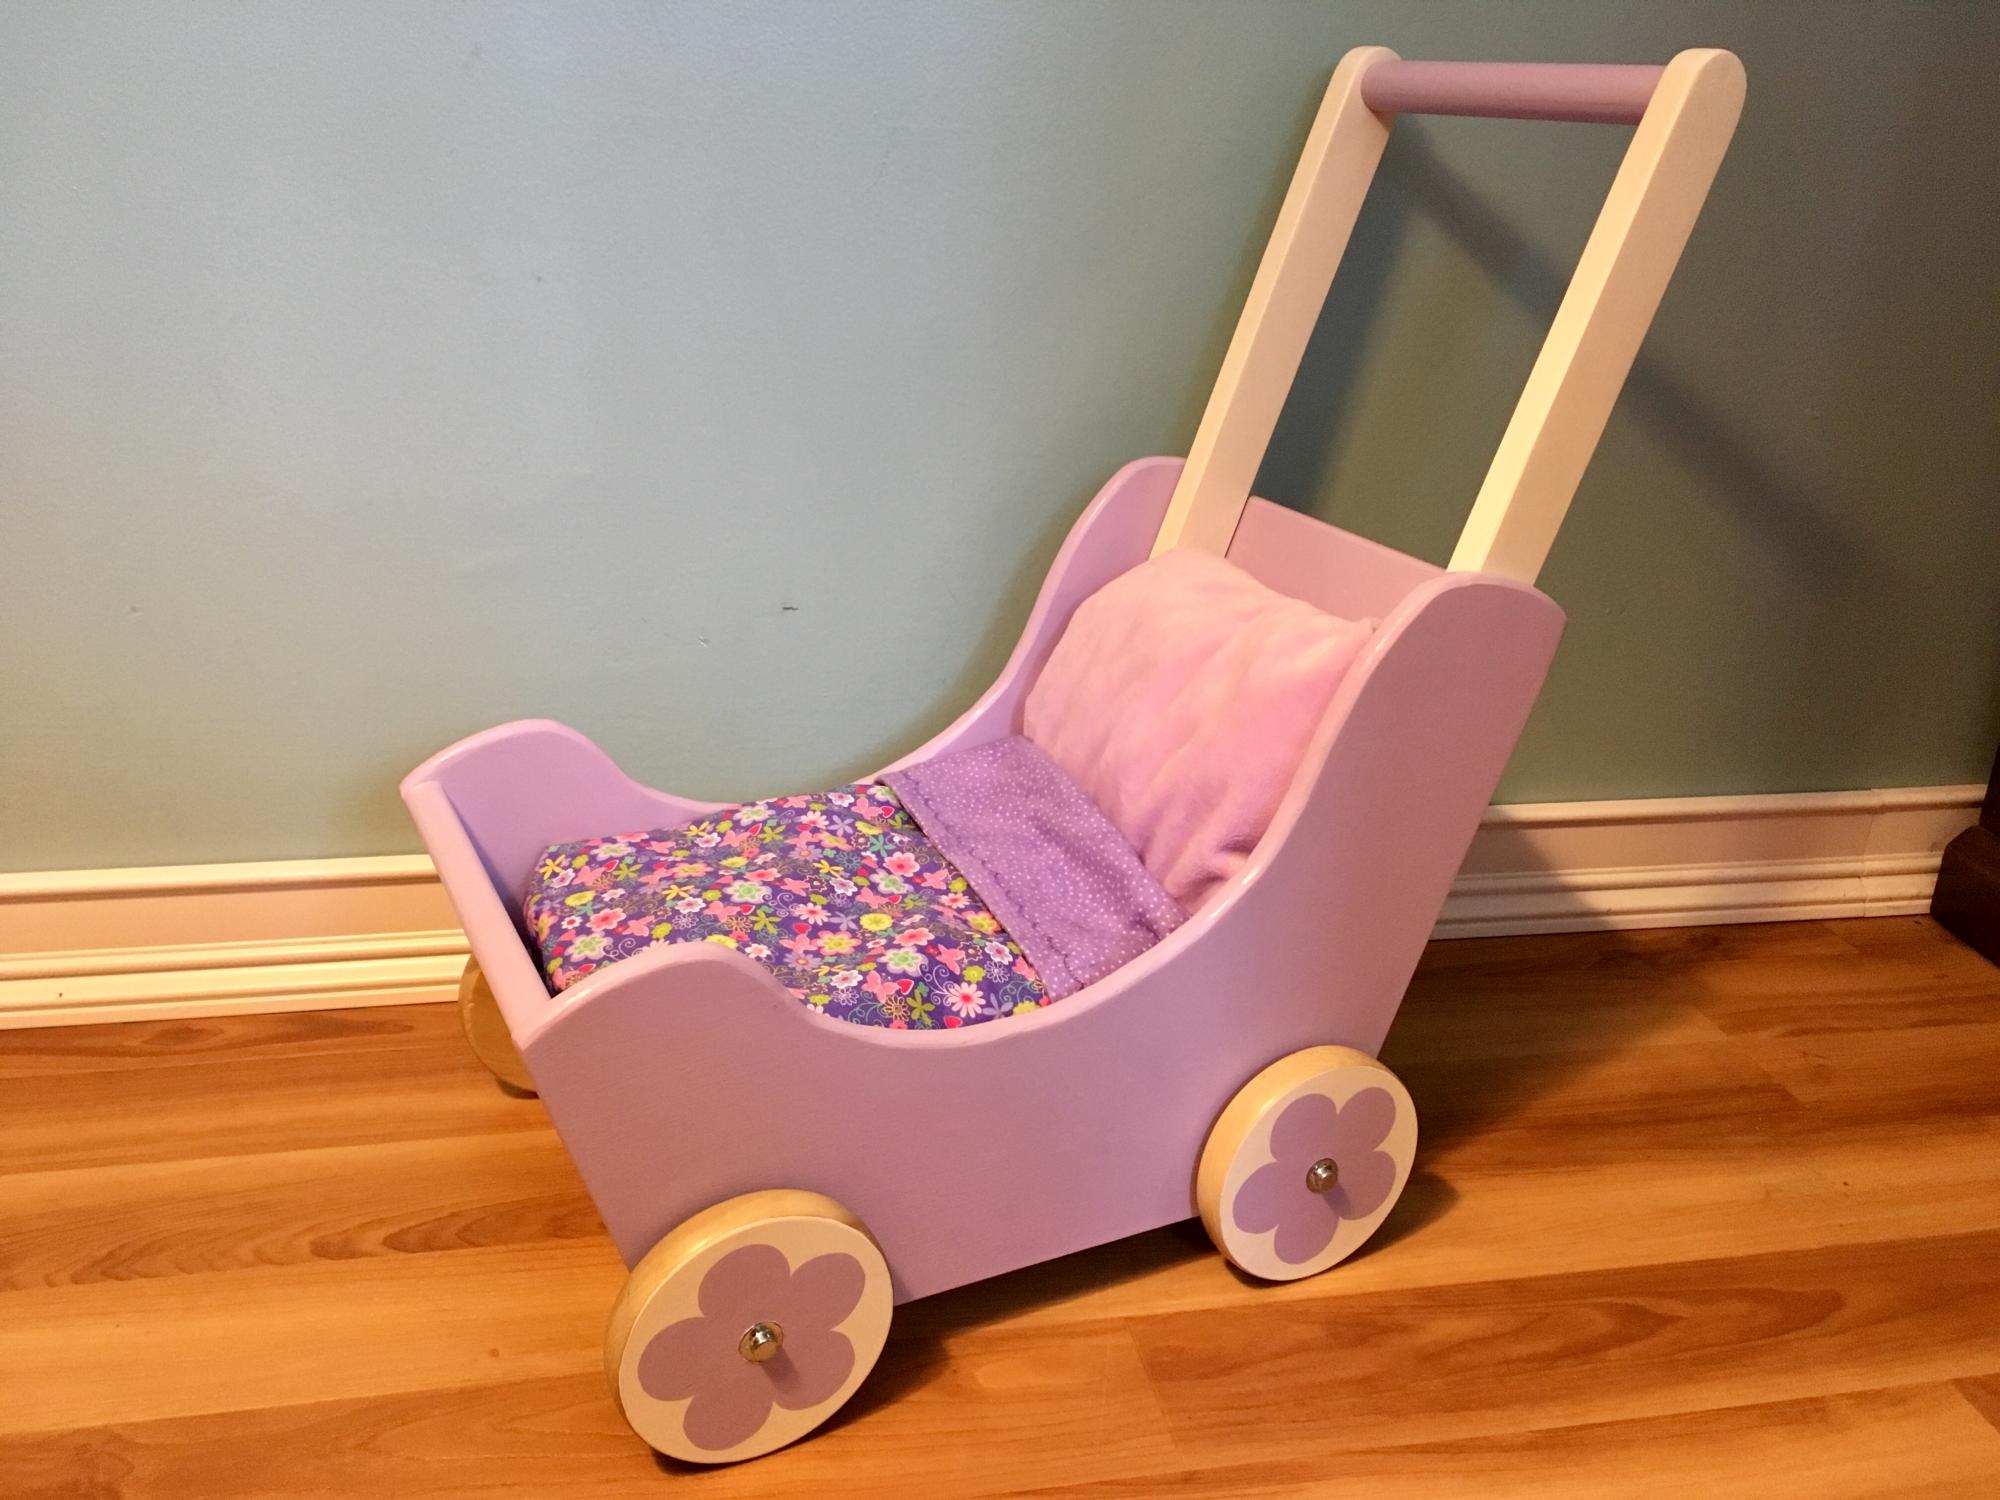
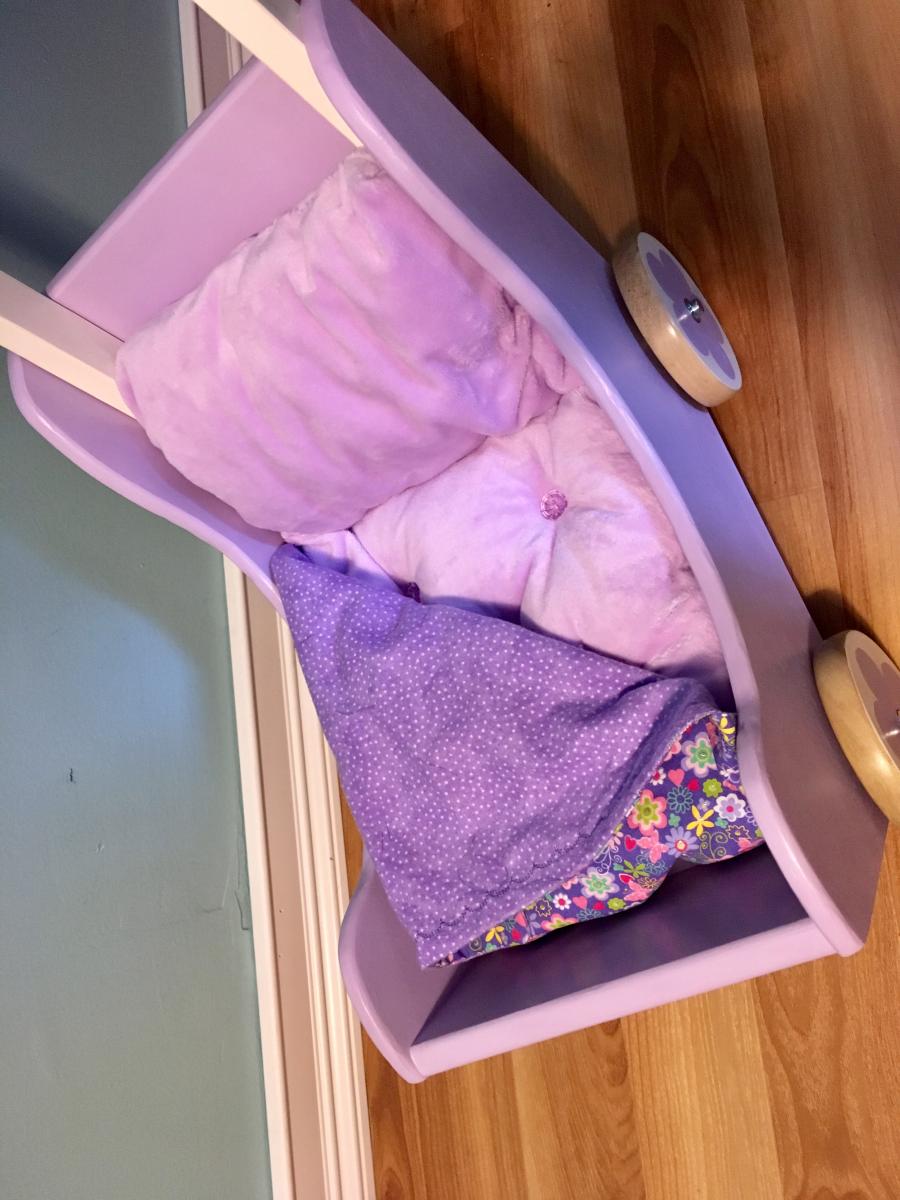
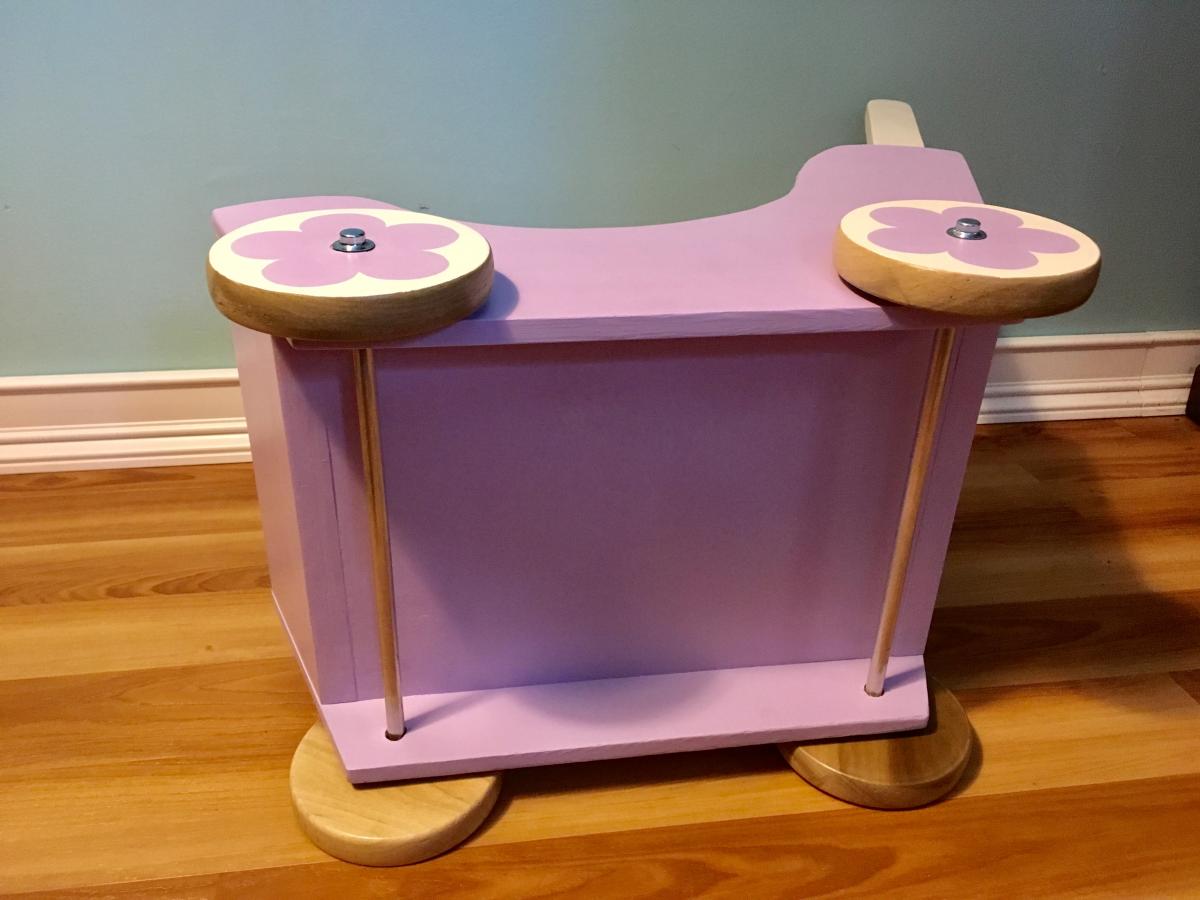
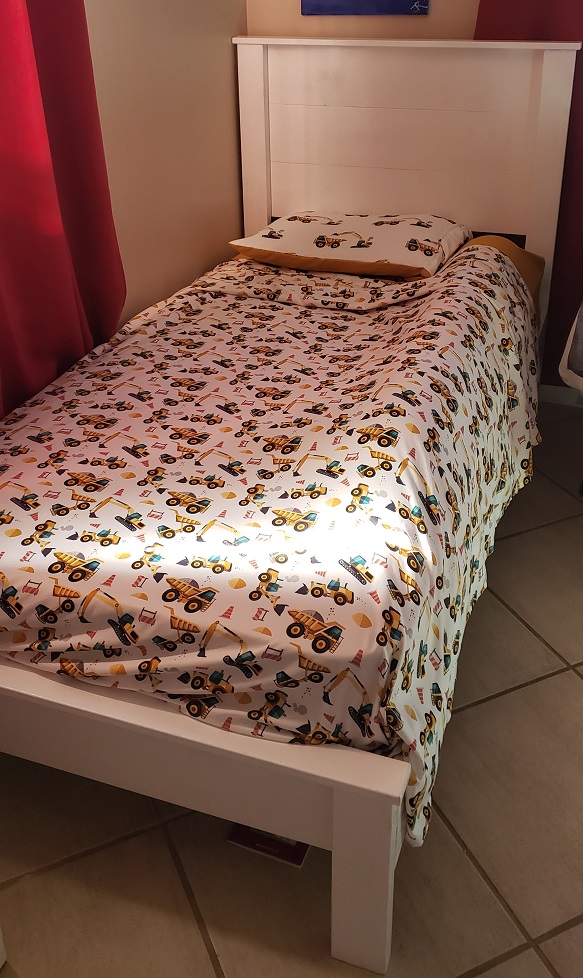
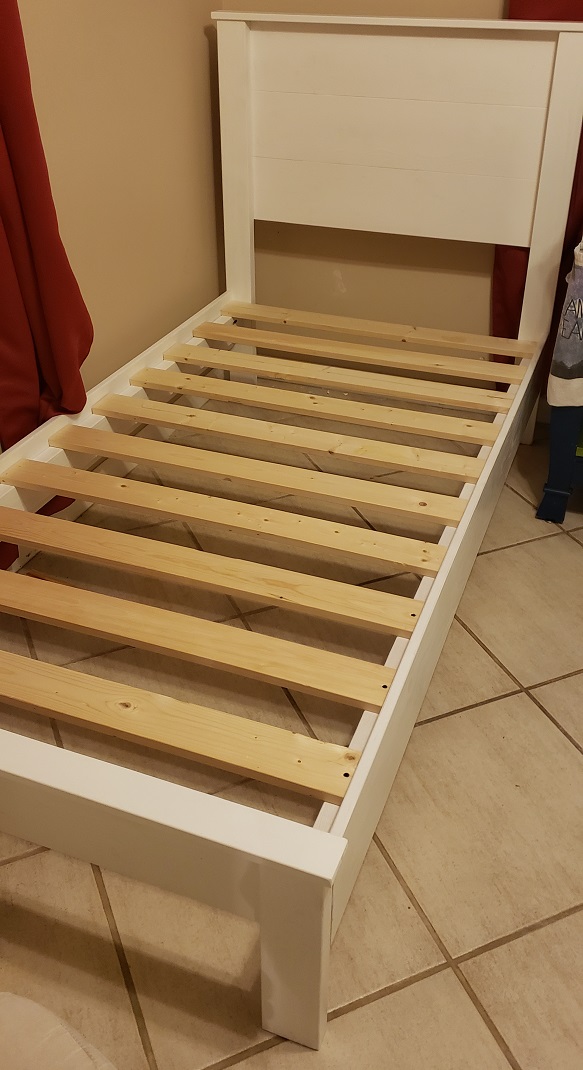
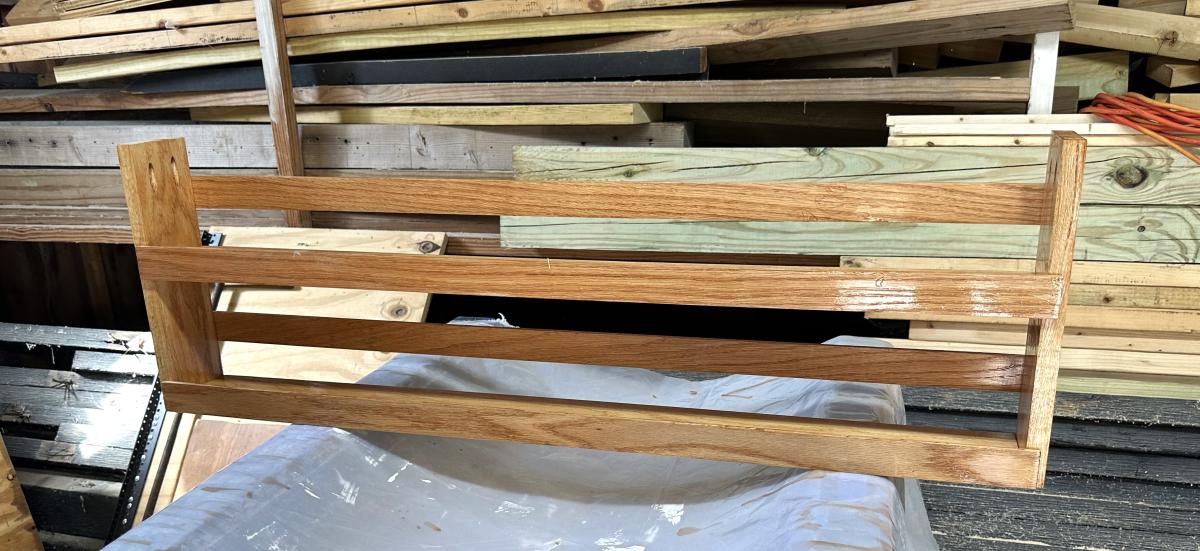
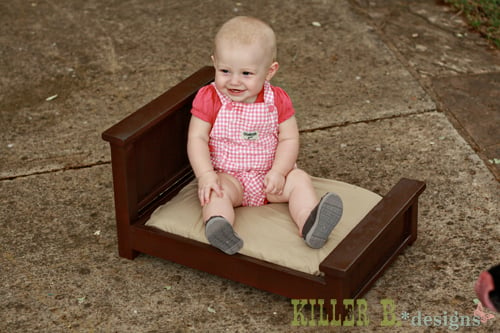
Community Brag Posts

Farmhouse Doll Bed

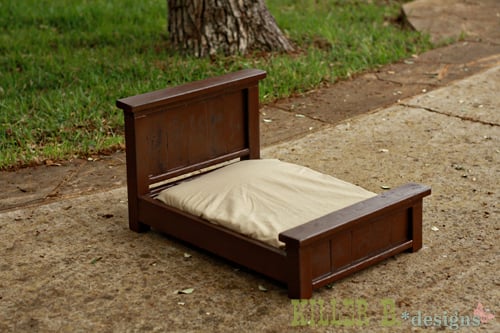
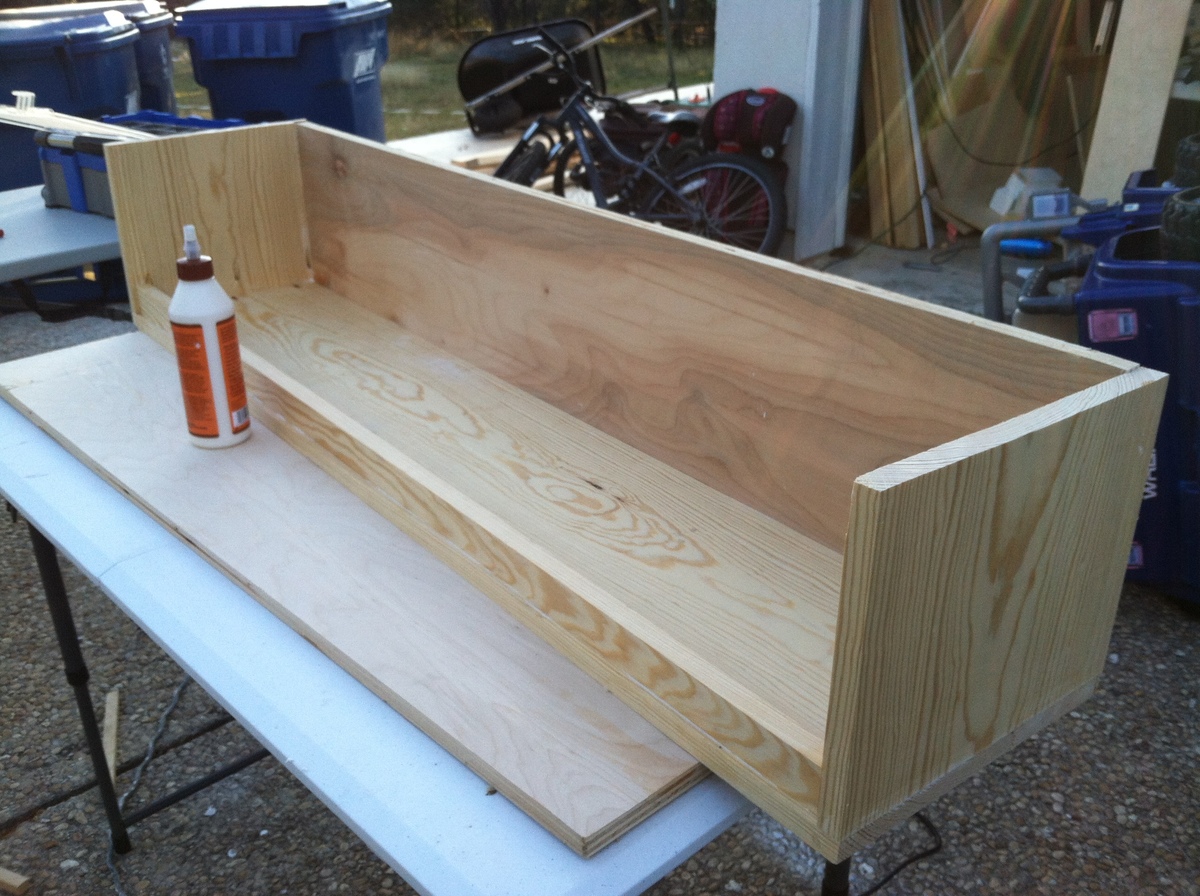
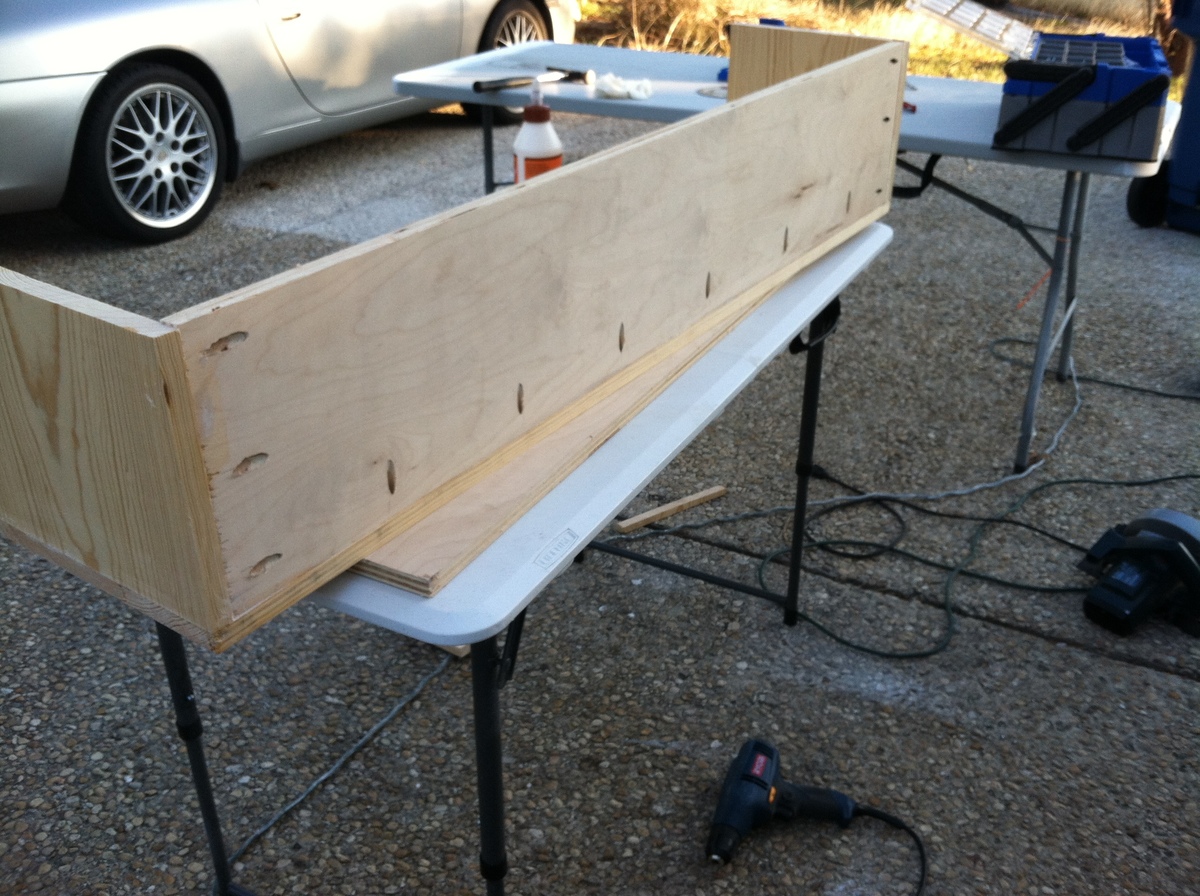
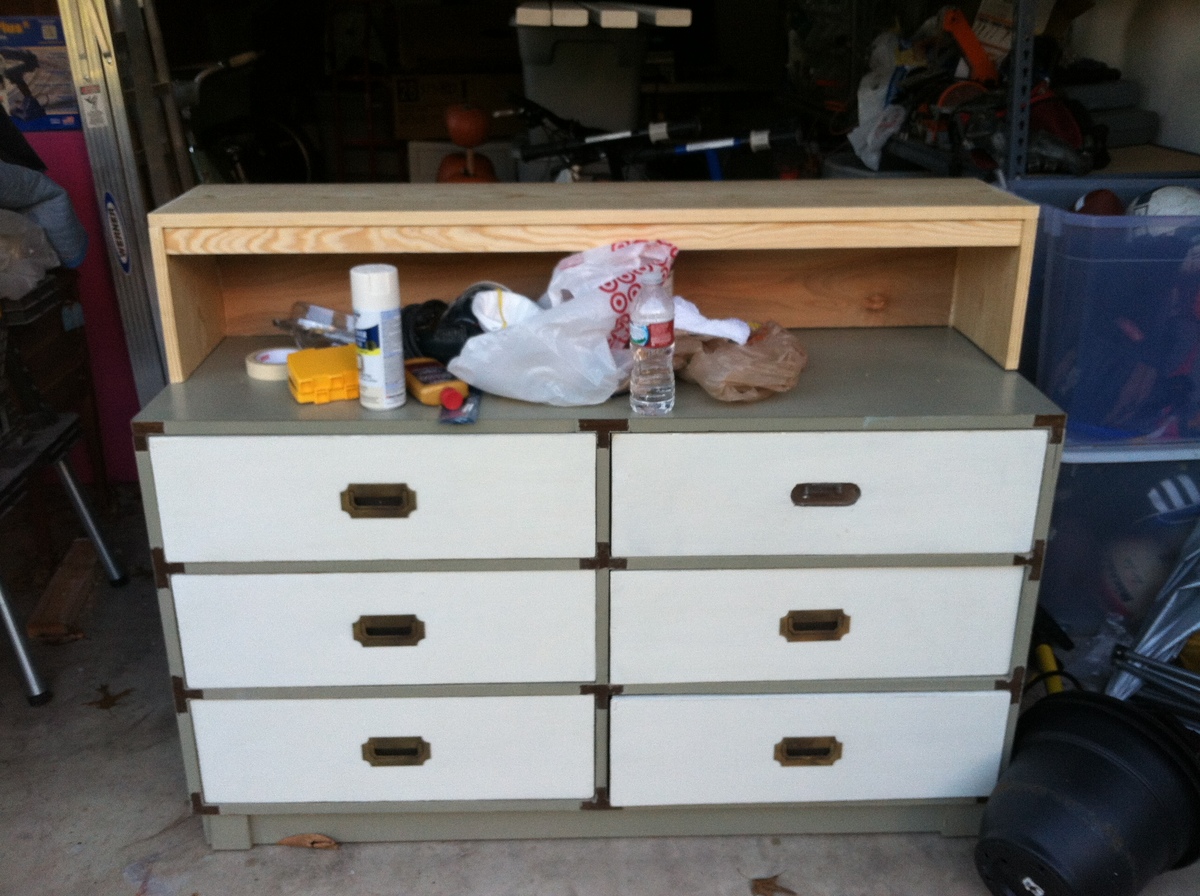
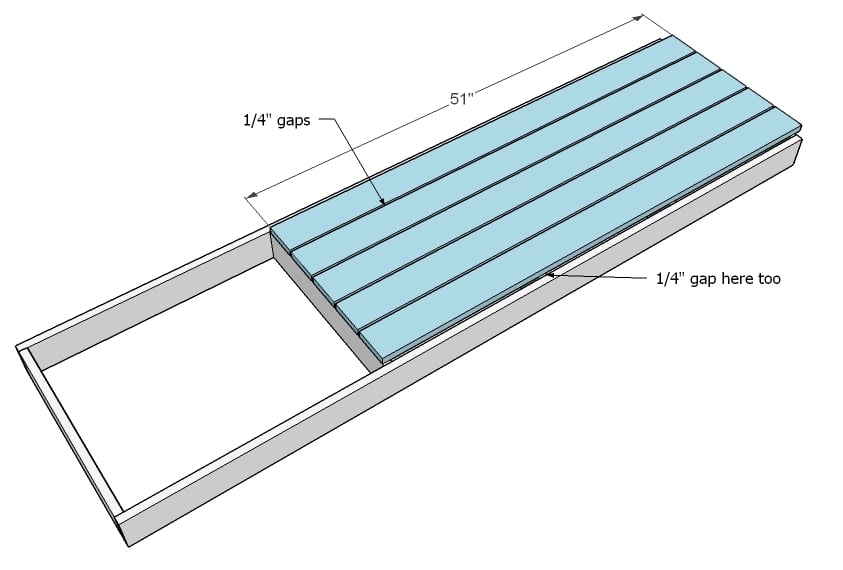
I built the Farmhouse Doll Bed for a friend with a photography studio who was looking for some newborn props. I used glue and nails for the headboard/footboard construction, and screws with 3/4" plywood for the bed portion so it would be very sturdy. I made the mattresses out of some spare 2" foam cut to size, and made a slipcover out of a pillowcase so it's washable.

Estimated Cost
free, from scraps
Estimated Time Investment
An Hour or Two (0-2 Hours)
Finish Used
Brown gloss spray paint
Recommended Skill Level
Beginner

TV Hutch for Existing Dresser

I bought a campaign dresser off of CL that I wanted to use as a TV stand, but it was too short. I searched Ana's plans for "Hutch" and figured out how she builds hutches, and made a simple hutch for the dresser. That's my favorite part about Ana's site...I'm gaining knowledge and experience to be able to build whatever I want!! I used 1 x 10 boards for the body of the hutch, 3/4" plywood for the back, and a 1 x 2 for the trim.

Estimated Cost
$20
Estimated Time Investment
An Hour or Two (0-2 Hours)
Finish Used
1 coat primer and then Sherwin Williams Duration latex in "Envy"
Recommended Skill Level
Beginner

Comments

Sweet pea bunk beds

Submitted by Anonymous (not verified) on Mon, 04/18/2016 - 22:49

Sweet pea bunk beds

Built from Plan(s)
Recommended Skill Level
Intermediate

Comments

Purple Doll Pram

Submitted by DIYMomof4 on Mon, 01/06/2020 - 06:08

I made this for a friends daughter.  I attached the wheels with 3/8" aluminum rods, washers, and axle caps.  It can be tricky to get the rods the exact length you need, but it allows the wheels to roll very well.  The wheels were cut with a 5" hole saw and then sanded smooth.  For sanding, I attached each wheel to my drill and spun them over sand paper.  This allowed the wheels to maintain their circular shape.   

Built from Plan(s)
Estimated Time Investment
Weekend Project (10-20 Hours)
Finish Used
Behr Ultra grape hyacinth, ceylon cream, and a varathane water based poly for the wheels
Recommended Skill Level
Intermediate

Arbor Press Workbench

Submitted by Anonymous (not verified) on Fri, 09/08/2023 - 09:35

Needed a small workbench to fit in a tight space, but still wanted something sturdy as it supports a 1-ton arbor press. Your plans were so helpful!


Comments

beach chairs for the 3 neices

Submitted by jaime6891 on Sat, 04/14/2012 - 09:24

This is my first project. I wanted to make something for my three neices for Easter. I thought this looked like a good starter project. I used spray paint, but I wish I would've used regular paint, as they got kind of drippy and I had to sand the drips off. I think they would've also been cheaper if I would've used regular paint instead of the spray paint. We also do not have a fabric store in the area, so I had to order it on-line and paid shipping. But I did love the fabric that I found.

I'm pretty happy how they turned out. Now I want to try something else!

Estimated Cost
$10 - $15 a chair
Estimated Time Investment
Afternoon Project (3-6 Hours)
Finish Used
rustoleum spray paint
Recommended Skill Level
Starter Project

Restoration Hardware Inspired Media Console

We got some new furniture and realized that the TV stand we currently have just wasn't going to work. We found a media console at Restoration Hardware that we really liked (http://www.restorationhardware.com/catalog/product/product.jsp?productI…). Well, we liked everything but the $1,300 price tag. With a couple sheets of 3/4 plywood, some 1x3's, 1x4's and 1x6's we built this for a fraction of the price. We even modified it so the two side doors have speaker mesh instead of solid panels so we can enjoy the sound without the eyesore of the speakers.

The stain is still drying so I don't have a final installed photo.

Estimated Time Investment
Weekend Project (10-20 Hours)
Finish Used
Once built, I beat it with chains, burned it with a torch and put one coat of MinWax Dark Walnut.
Recommended Skill Level
Intermediate

Comments

meggiefrue

Fri, 09/05/2014 - 11:23

I was curious if you had any kind of plans for this peice or if you could at least tell me what sizes of wood you used. I am very interested in building this!


Thnak you,


Meghan

szilvaierika

Sat, 03/14/2015 - 08:18

I am trying to build a similar style cabinet with the middle part coming out. Could you please let me know, since the middle section of the cabinet comes out, is the bottom and top cut out of one piece of wood? You can email me at [email protected]. Any help would be greatly appreciated. Thanks so much! Erika

shawnubis

Mon, 01/25/2016 - 08:33

I see several people have commented and asked for plans, but no one has responded :(
 

Jlplant

Sun, 10/16/2016 - 20:00

 Hello! This is a beautiful piece. Would love to see the plans, if they are available. Please let me know! Thank you! 

Kids Twin Bed

I built this for my second son who was tired of "being in jail", he's almost 3.  His older brother is now jealous!

Was a nice easy build - the hardest part was paint spraying for the first time!  I would cut the slats pieces about 1/4" smaller to give a bit more wiggle room when lining up the pieces, and make sure to keep the headboard and footboard square when lining up.

The cost was higher for me being in the Bahamas. I used fir for the frame and spruce for the planks, why, I thought it would save some money but didn't really.

I used pocket holes to attach the bed rails to the headboard and footboard.

Estimated Cost
$250
Estimated Time Investment
Day Project (6-9 Hours)
Finish Used
Wonder-Tones interior primer/paint
Recommended Skill Level
Beginner

Under Cabinet Spice Rack

Submitted by Anonymous (not verified) on Mon, 09/11/2023 - 13:06

I needed to clear out a shelf in my cabinet and add a spice rack so I could actually see everything. This came out perfect! Made of Oak and stained with classic oak. Very simple to build and hung with pocket screws

James Breadbox

Built from Plan(s)

Queen Farmhouse bed

Submitted by mediccac on Mon, 04/16/2012 - 21:19

This is a modified Farmhouse queen bed. This was the first thing I have ever made from wood by myself for my wife and I.

Built from Plan(s)
Finish Used
Milk white paint sanded to distress.
Recommended Skill Level
Beginner

Wine rack

Wine rack made from discarded pallet, with slots to hang glasses

Estimated Cost
Free!
Estimated Time Investment
An Hour or Two (0-2 Hours)
Recommended Skill Level
Beginner

Comments

Sandbox with built in seats/lid

6'x6' with 12'' Treated Sides, 1x4 and 1x6 SPF tops/seats and 2x4 Brace under Seats to accommodate the 6 foot span. Sanded and Painted.

Completed in 2 days, couple hours each day, sanded/painted all boards before assembly.

Built from Plan(s)
Estimated Time Investment
Day Project (6-9 Hours)
Finish Used
Exterior Grade Paint.
Recommended Skill Level
Beginner

Modern Farmhouse

Submitted by Anonymous (not verified) on Sun, 01/19/2020 - 07:50

Modern Farmhouse Bed Frame - with some added accents to match some other elements in the house - plan was so easy to follow and came together so well!! Thank you so much!!!!!

Built from Plan(s)
Estimated Cost
180
Estimated Time Investment
Weekend Project (10-20 Hours)
Finish Used
paint
Recommended Skill Level
Intermediate

Scaled down Planked Wood Sideboard

Submitted by hcharnock on Thu, 04/19/2012 - 06:02

I wanted two sideboards flanking the doorway in my dining room. I took these awesome plans and just scaled them down, building the middle portion of the sideboard only and ignoring the two sides. I used the exact measurements of the middle portion of the plan. Other changes were that I used 1x12's on the ends of the sideboard, instead of planks, and luan in the doors, instead of beadboard. My biggest advice to someone else building this would be to make sure that the unit is square as you build, if it is not, you will have some serious shim work to do with the drawer slides! (of course, I know nothing about this, haha!) It was a great plan and a lot of fun to build. Oh, and I also used my router to rout out a 1/2 inch deep groove all the way around the back side of the unit, that way I could inset my back into the piece and it would not be visible from the side.

Estimated Cost
$85 for both of the sideboards, but I already had the paint and some of the wood
Estimated Time Investment
Weekend Project (10-20 Hours)
Finish Used
I caulked seams, woodfilled holes, sanded with 120 grit, primed with Cover Stain, sanded with 220 grit, painted with Olympic Low-VOC white semi-gloss paint, sanded with 220 and painted again!
Recommended Skill Level
Intermediate

Comments

spiceylg

Thu, 04/19/2012 - 08:04

You did an amazing job! Great idea and looks fab! I'm trying to get up the nerve to build it full size. I've just done simple projects so the thought of doing doors and especially drawers makes me nervous as I'm real particular and get frustrated when things don't go as planned!

hcharnock

Thu, 04/19/2012 - 17:04

Hi! Thanks for the compliment. I have a Bosch Colt, handheld router that I used for all of the routing, on the back of the unit and also on the doors to inset the panels. Hope that helps!

Hillary (not verified)

Mon, 05/14/2012 - 23:02

Great work! I love that you routed the back. It's so nice not to see the back tacked on. In some applications it is no big deal, but for a piece like this, when you're walking by the side of it every day, I think it is much more polished not to see the back. And...I totally know what you mean about building square for that drawer!!

King Farmhouse Bed

My husband and I built this bed as our first ever project. It was so easy. It took about 8 hours plus painting time. I modified the original King plans by raising both the headboard and foo board 6 inches. This meant every vertical measurement was changed by 6 inches. I am also using a metal bed frame with box spring. We are next going to make the matching nightstands! Super excited to continue building my own furniture!

Estimated Cost
$150
Estimated Time Investment
Day Project (6-9 Hours)
Finish Used
Olde Century Paint:
Recommended Skill Level
Starter Project

Modified: Becca Trunk

Submitted by fallingday on Fri, 01/24/2020 - 15:45

A huge thank you for these amazing plans. I absolutely love this site! I had so much fun making this chest. Overall a very simple build. I struggled with the finish but eventually got it how I wanted it. I also ran into a snag while building the lid. I ran out of 1x6’s which resulted in the unique top you see in the picture made from scrap 1x4’s from other projects. On to the next project.

Estimated Cost
About $65
Estimated Time Investment
Day Project (6-9 Hours)
Finish Used
Minwax Dark Walnut
Recommended Skill Level
Intermediate

Laundry basket dresser with a drop-down ironing board

Submitted by getcz on Sun, 04/22/2012 - 18:35

I used Ana's Laundry Basket Dresser plans but I added a drop-down ironing board and and made the entire top surface ready to iron on. A swing-out leg under the ironing board helps to stabilize while ironing.

Built from Plan(s)
Estimated Time Investment
Weekend Project (10-20 Hours)
Finish Used
Laundry
Recommended Skill Level
Intermediate

Comments

Updated Tryde Coffee Table

This was my first building project, and I'm very happy with the results. It was a cinch to put together, too. My husband helped me cut the pieces after work one night and then I put it together that Saturday. I decided to do a two tone finish with the legs and apron painted because our local Lowes didn't have 2x4s and 4x4s in the same type of wood, so I was afraid there would be too big a difference in the way they take stain.

Built from Plan(s)
Estimated Cost
$60 including lumber, screws, paint and stain
Estimated Time Investment
Day Project (6-9 Hours)
Finish Used
The legs and apron are spray painted with black Valspar gloss paint, and the top was stained with Minwax Kona stain. I did the painting and staining prior to attaching the top to the bottom and then gave it three coats of poly to help with durability.
Recommended Skill Level
Starter Project
Back