Custom Spa-like Vanity
chunky-leg vanity for spa-like bathroom.
I helped my 3 grands make this for their mom for Mother's Day. They loved it and she was over the moon!
wanted a big table for christmas, this is over 8 foot, and we couldn't afford a table like that so having seen the site thought i'd try and build one. thanks for the plans absolutely great
first project, no real woodwork experience but competent diy-er
made mainly out of reclaimed wood, the top and side apron are made of old scaffold boards and the main brace a chunk of wood form my neighbours shed.
i did have to buy some 2x4s for the legs and the cross braces
sides painted and the top waxed, looks a bit patchy in the photos but the finish is good.
all in all cost about £70
We like to fly the flag in our family so 4th of July is a big deal for us. I built three sets of crates to share, each with a little difference but all three with red white and blue stain from HD.
Easy to build and the instructions/plans were perfect. Nine crates required four cedar picketts.
We modified Ana’s plans only slightly and we love our outdoor furniture we are going to make a second couch and a couple of chairs as well!
I made my bench a little shorter (54") and did not need the center support. I also cut the top and bottom of the leg horizontals 3/4" shorter so the legs tucked under the bench top more. It was a great bench and looks good with the Fancy X Farmhouse Table I also followed from Ana White.
Mon, 02/29/2016 - 19:11
In case there is any questions, this is my adaptation of the Alaska Bench.
2 - 2x12x8
2 - 2x3x8
2 - 4x4x8 (cedar, fur is cheaper and will work fine also)
16 - 5/16x4 lag screws
16 - 5/16 washers
3x10 feet 1/4 hardware wire
20 - 3inch wood screws (outdoor rated, deck screws or the like)
you will have left overs if you buy extra lags you can make some other boxes depending on how high you want these, or set them on ground without legs. and use the wood screws
Made 2 of these for my coffee shop in Puerto Rico. Easy instructions. Thank you!
Javiel Cardona
This was my first project, and Im pleased with the outcome. I made two different styles, and its hard to pick which one I like best. These are so versatile, thinking of making a silverware caddy and also one for the bathroom with handtowels, soap, etc. Candles would also be pretty.
We needed extra storage in the living room and I didn’t want to pay mega bucks for our cabinet guy to make something I thought I could do.
Its four ft tall, 3 ft long and 16 inches deep. I added 1x3’s to the sides and 1x4’s to the bottom.
I bought the Kreg shelf pin jig and it was super easy to use. Plan to use it again on a bigger project.
Next is a fireplace and TV surround.
Thanks Ana for the easy to follow plans!
This was my first project. It took me a weekend to build and prime. Since I chose to use a crackle finish, waiting time between coats extended the total time to one full week. My husband and I were supposed to make this hutch together, but I became obsessed and did most of it alone! I adjusted the size a bit to make it larger, so I could fit big pieces on shelves and in cabinets. Thanks for the plan Ana!!
Fri, 04/13/2012 - 14:47
Wow, this is sooo beautiful! The finish is just awesome. My Hubby hates to paint, and he saw this multi-step finish and said you must have the patience of a saint! :) Congrats on such a stunning first project!
Mon, 10/01/2012 - 23:33
Very Nice! What did you do to make it "bigger"...did you make it deeper or wider? Just curious, because I would like to try and make a bigger version as well. Did you still cut the shelves on each side at a 45 degree angle? Thanks!
Barn door console I turned into a coffee bar. Great storage space. Love the way it turned out.
Dee
Thu, 11/09/2023 - 11:47
Fabulous build, so much storage and beautiful too!
http://ana-white.com/2010/09/pb-kids-caroline-craft-table
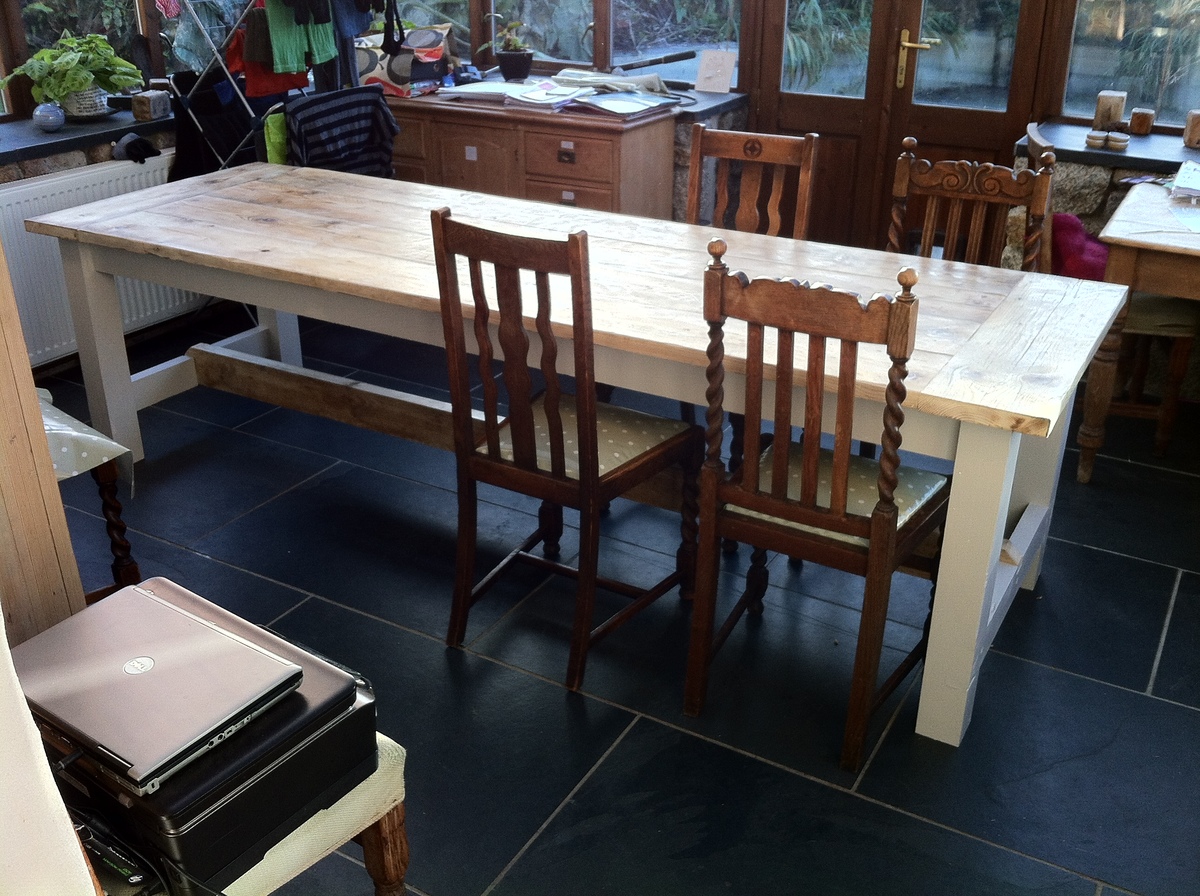
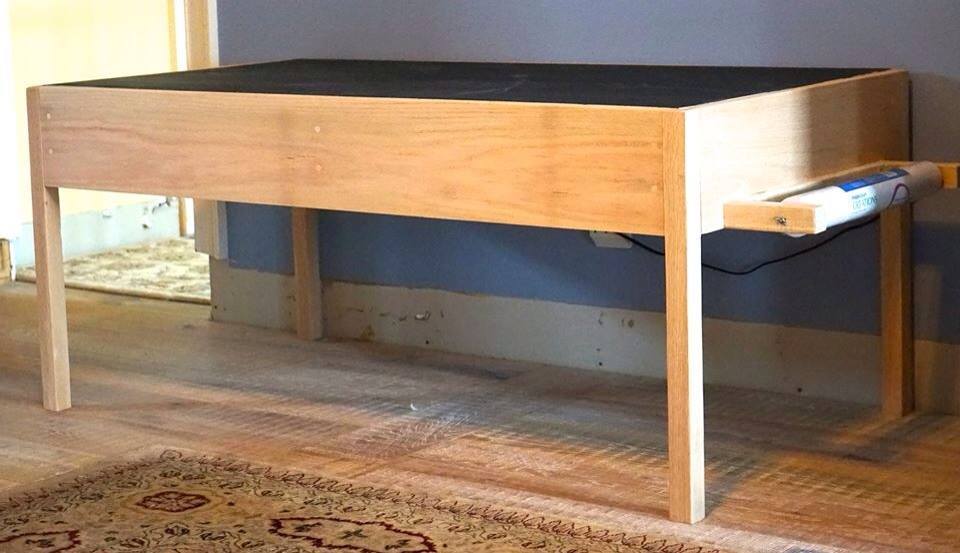
*** apologies for the missing baseboard in the photo- we are in the midst of a remodel ***
We wanted a high quality table so we researched the Parker Play Table ($1200) and the Carolina Craft Table- ($600).
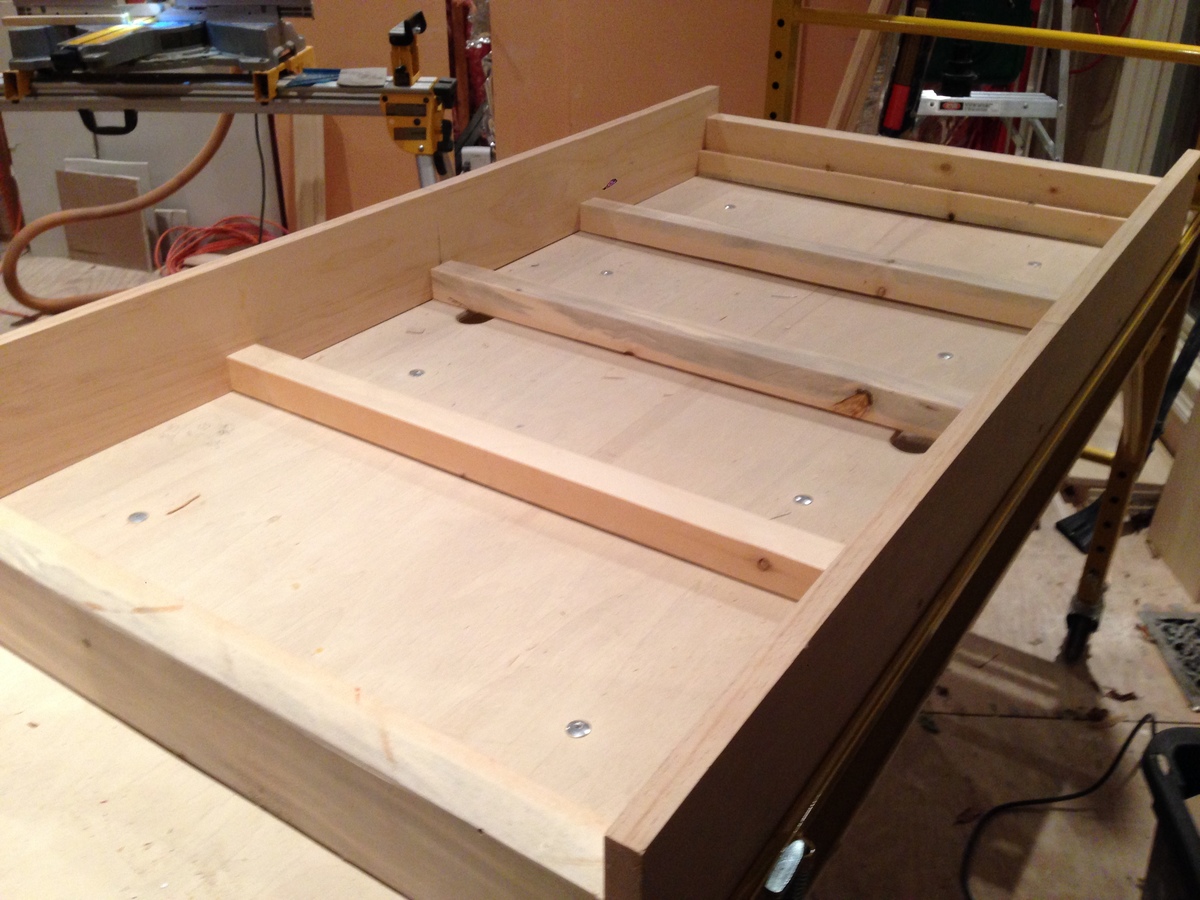
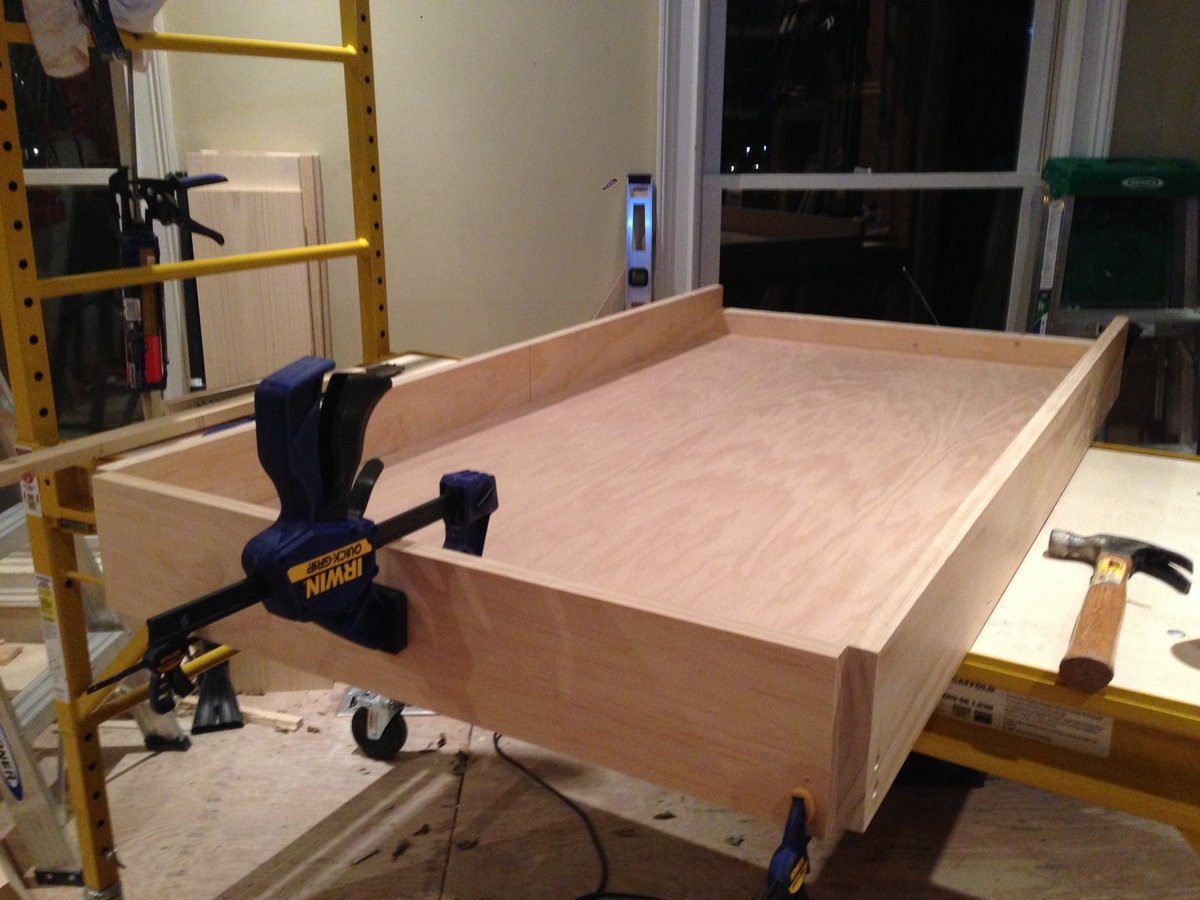
In the research i found the plans for the Carolina table on this site- and modified them a bit (we wanted the removable storage top).
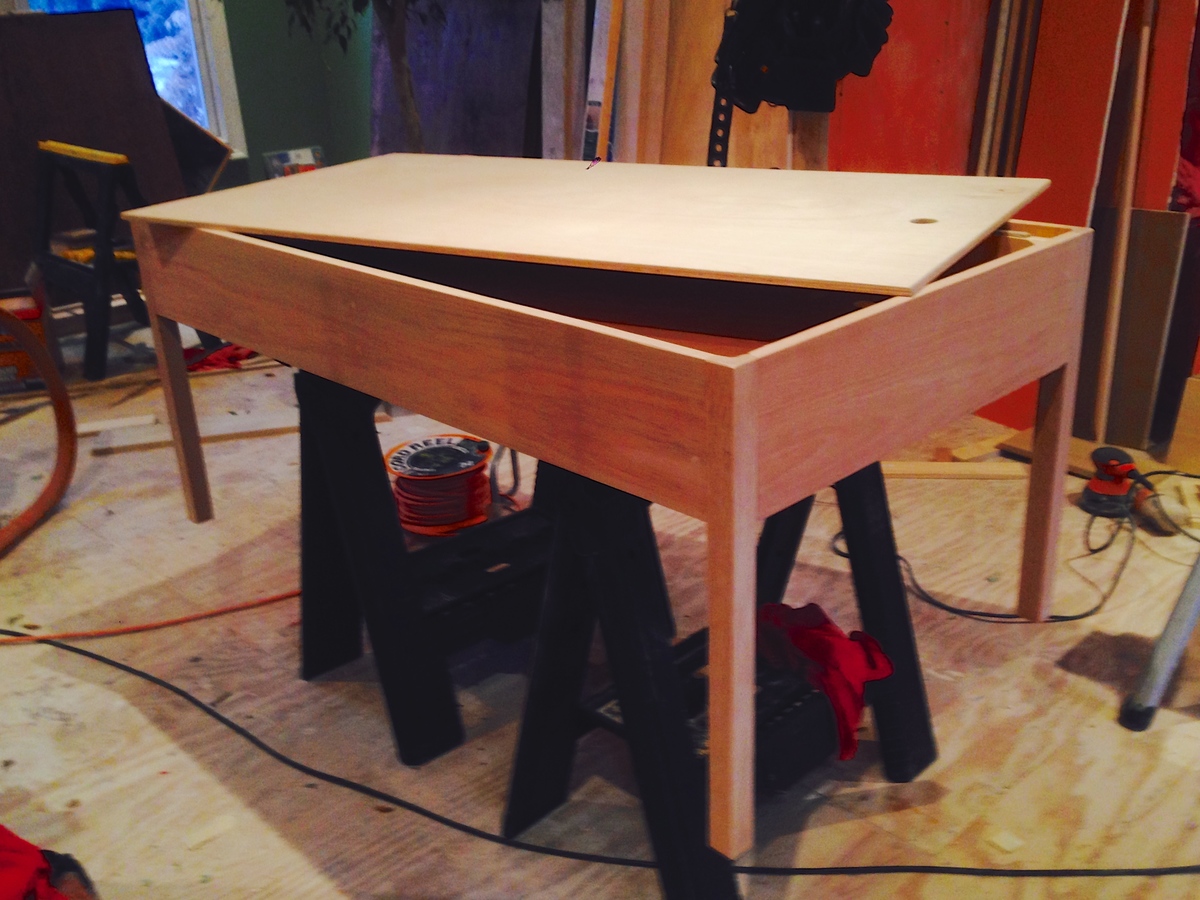
We painted the top with White board on one side and Chalkboard on the other.
The table has 22" legs and they can be changed out with a second set of legs when our daughter gets taller.
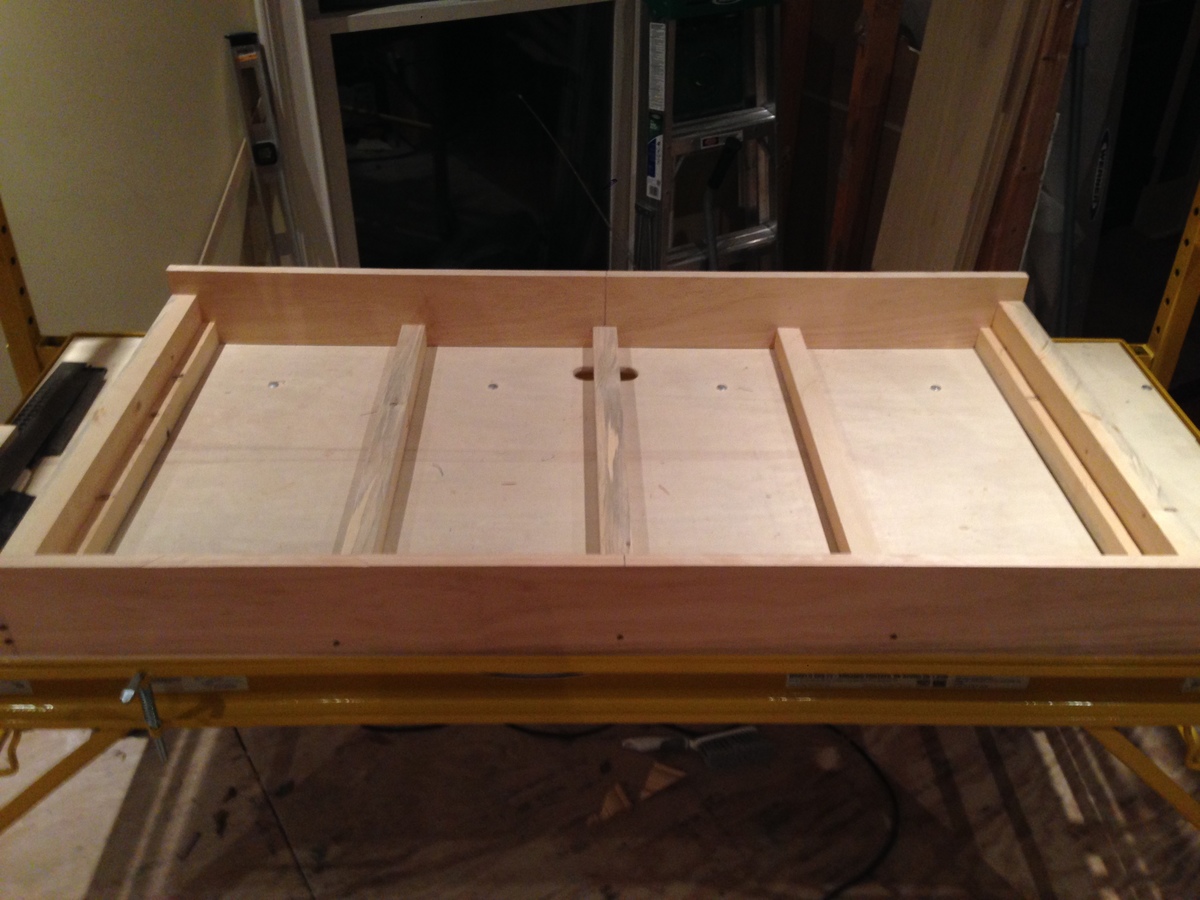
There is plenty of storage for all the art supplies in the unit and a art paper dispenser on the end.
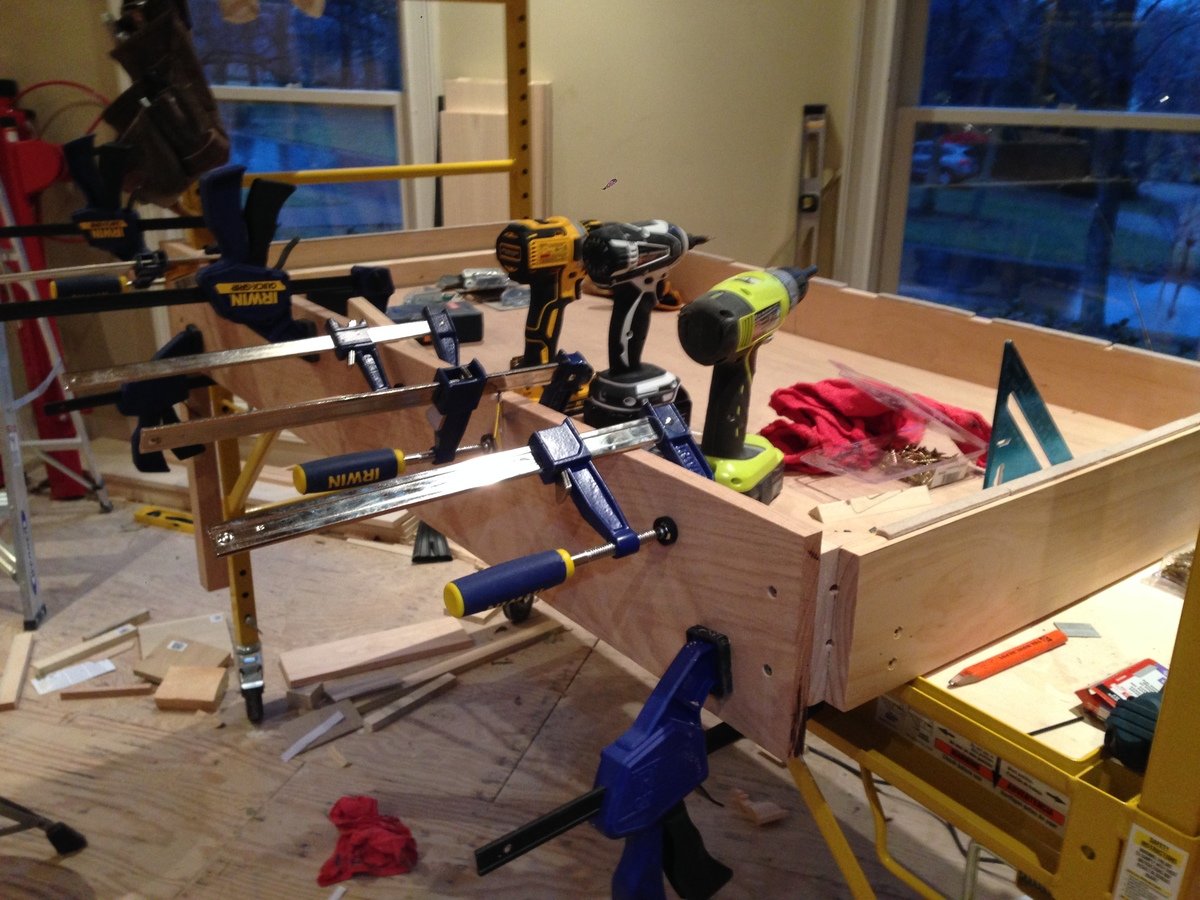
The unit is made of poplar on the inside and the legs and facia are all red oak- a very dense and beautiful wood.
All exterior screws are counter sunk and hidden under face grain wood plugs that are surface sanded. i chose to do no finish as the wood grain is beautiful- although i may do a timber oil or tung oil at some point -
the project took about 2 days total time- $150 in supplies (including paint) and the piece feels substantial..... like it will be used for my daughters children.
you will want to have access to a table saw and some clamps, wood plugs and a countersink bit for your drill
My first big project. Great for beginners.
This media center was my hubby and I's very first project! It was definitely a learning experience and its definitely not perfect, but we love it! We love how much it looks like the pottery barn version and that WE MADE IT!!!
This project took us quite some time to complete..... and its still not 100% done as we still need hardware for the 2 outermost doors but are having a hard time finding ones similar to the pottery barn ones that aren’t going to cost us a fortune..... My hubby and I put this together piece by piece as we had time (which seemed to be few and far between). If you had uninterrupted time to work on this , one could probably start and finish it in a weekend. But because of lack of uninterrupted time and the learning curve of this being our first project it took us months to finish.
We got the TV base (the bottom middle piece) done first and we were so excited about it that before attempting the rest of the project, we painted it and set it up in the living room :) We were so excited to get the rest of the media center made but my hubby got busy with work and was unable to help me. I got antsy, so antsy in fact that finished the rest of the project COMPLETELY on my own!! And I am SO PROUD OF IT!!! I made and painted the rest of the media center except for the doors because i (not sure why) was completely intimidated by the doors so I procrastinated making them, so the media center sat in the living room for a month or 2 without doors or the adjustable shelves on the towers lol. Last week I finally got up the courage to make the doors and they (to my surprise!) really weren’t that bad!! I painted them and the adjustable shelves and finished assembling the media center. Its now finished and decorated except for some of the door hardware!!! SO EXCITED!!!
Since this was our first project we hadn’t bought a Kreg Jig jet (we have since bought one) and I HIGHLY recommend getting yourself one. It would have made this project so much easier.
We modified Ana White’s excellent Mud Kitchen plans, adding a third section and scaling the whole thing slightly larger to be a better size for our 4 and 6 year old grand daughters. It was so much fun to make and accessorize!
These built-in bookshelves were my first project, and were loosely based on the Willy bookshelf plans, although I changed the dimensions, set them on a 2x4 base, and added trim to the sides and molding on top.
Sat, 08/11/2012 - 05:58
hello,
Just wondering how the sides and middle part are built. They look like thicker than 1/2 in.Is it a trim or a 1x2? or did you use some 2x4 too?
I am looking at building a bookcase too but i wanted something more massive than 1/2 in. like yours.
Thanks
Great job!! looks awesome
Tue, 08/21/2012 - 05:31
I made the two bookshelves separately so I could move them in my house easier. Each has 1x12 sides (so 3/4" thick), and and that's 1x2 trim over the side and middle.
Thanks!
Ana White inspired chaise lounge......
I saw this storage shed plan and loved it. I did make a few changes because I needed a 4' x 8'. I also built a shed floor to secure it too so I built the shed frame using 2x4's.
I also put the lower ends of the side walls in the rear to assist with water runoff.
Because I wanted the option to add shelves on the left side I decided to put one larger door on the right front only and added some contrast by vertically placing the pickets on the opposite side. I'm presently waiting for my shingles to arrive. After that I'll stain it. I really enjoyed putting this together, learned a lot.
My next project will be the outdoor sectional. I'll be making 5 pieces, 1 corner and 5 armless pieces. Can't wait to start.
Happy building,
Keep Safe
Wed, 08/03/2016 - 06:03
I absolutely love this shed and the way you altered the design with one door. Can you please send me the measurements you used for this project? I would love to build this for my yard!
My version of the outdoor sectional couch.
My mother wanted something to match the table she got for under her TV, and I found the plans here for the x-style coffee table and small end table to be very fitting. The crosses were pretty difficult with just a hand saw, but with the help of my brother in law we got these done in a few days.
Comments
BERobinson
Tue, 02/09/2016 - 07:39
//
//