Community Brag Posts

Loft bed for son

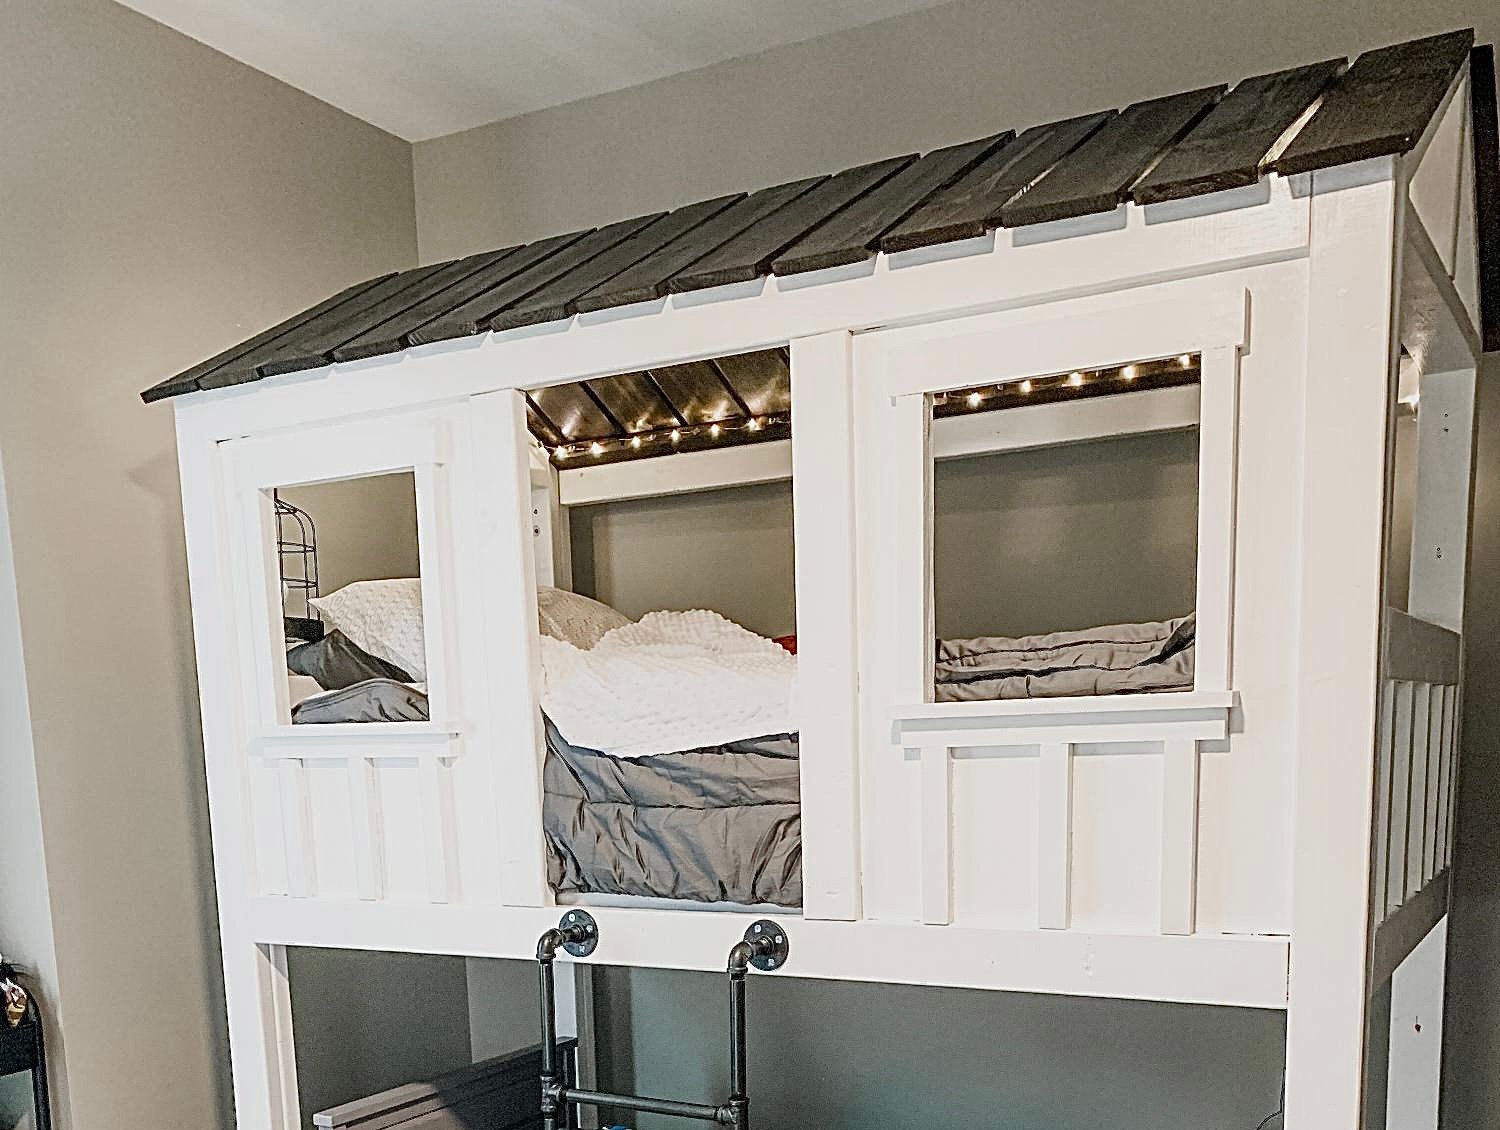
I've built a few bookshelves and cubbies before, but nothing on this scale.  I built this in my basement this past December as a Christmas present for my three-year-old son.  The plans were easy to follow.  I believe I spent about $150 on lumber.  The bed is very sturdy.  My kids love it!  Now the the other kids want their own special daddy-made bed :)

Built from Plan(s)
Estimated Cost
$150 on lumber. $50 on wood putty, stain, sand paper, etc. Way better than the $1100+ similar model at the local furniture store!
Estimated Time Investment
Weekend Project (10-20 Hours)
Finish Used
min-wax water based stain protected with water-based polycrilic. It all dried way too fast and didn't give me time to correct errors. Next time I will use oil based.
Recommended Skill Level
Intermediate

Comments

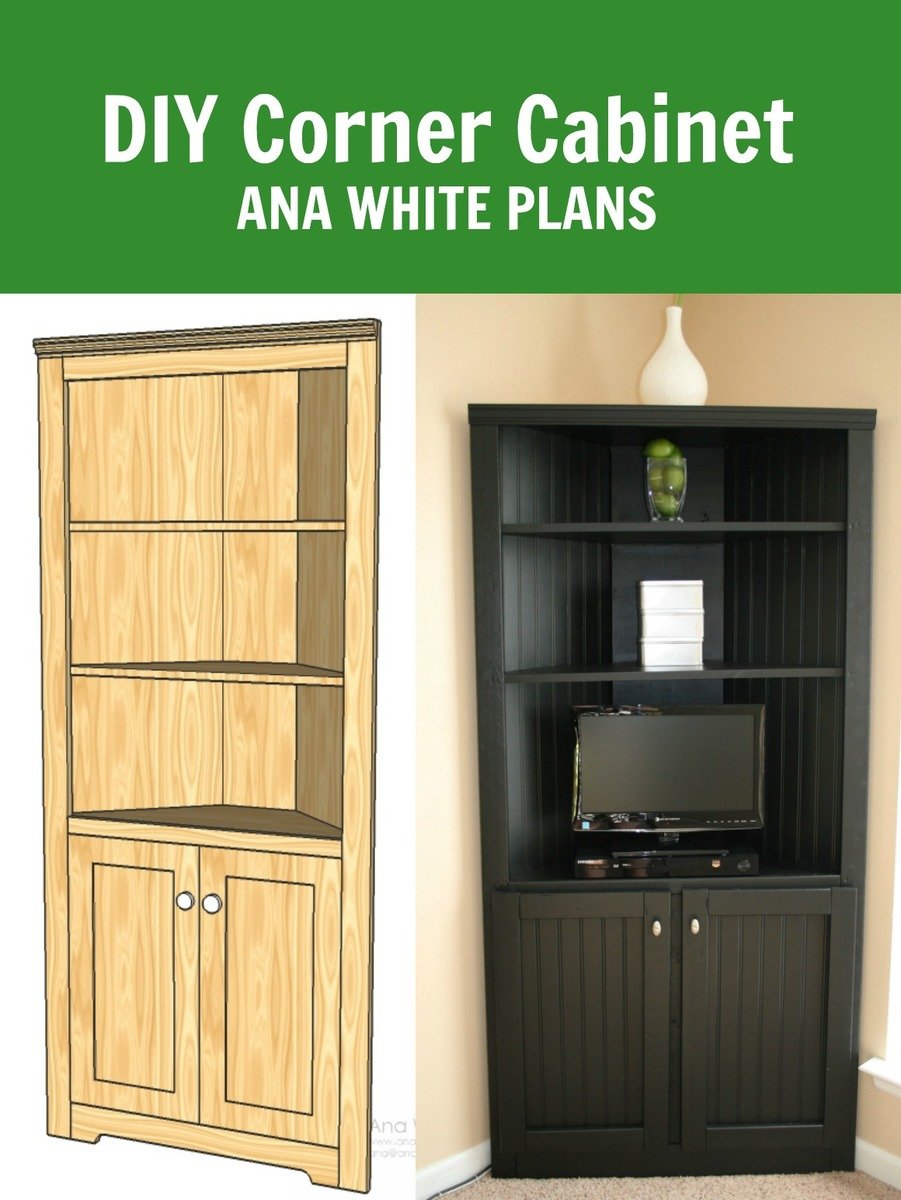
Corner Cabinet Storage Shelf

Submitted by sssmile14 on Sun, 07/24/2011 - 19:32

We built this corner cabinet shelf in three days (only because it is over 100 degrees here, so we had to wait until 9:00 at night to work on it) for our office space. We love, love, love it and can't believe how nice my corner cabinet turned out. Only our second building project ever. :)


Built from Plan(s)
Estimated Cost
80.00
Estimated Time Investment
Afternoon Project (3-6 Hours)
Finish Used
Kilz Satin Paint- Black
Recommended Skill Level
Starter Project

Comments

kellerkb

Mon, 06/03/2013 - 21:20

Hello, I would appreciate help finding the plans for this project! Thanks!

cerberus456

Tue, 08/02/2016 - 14:54

I do cedar. Thank you very much for the drawings. This site is to become one of my favorites.

Greetings from Xalapa Veracruz Mexico


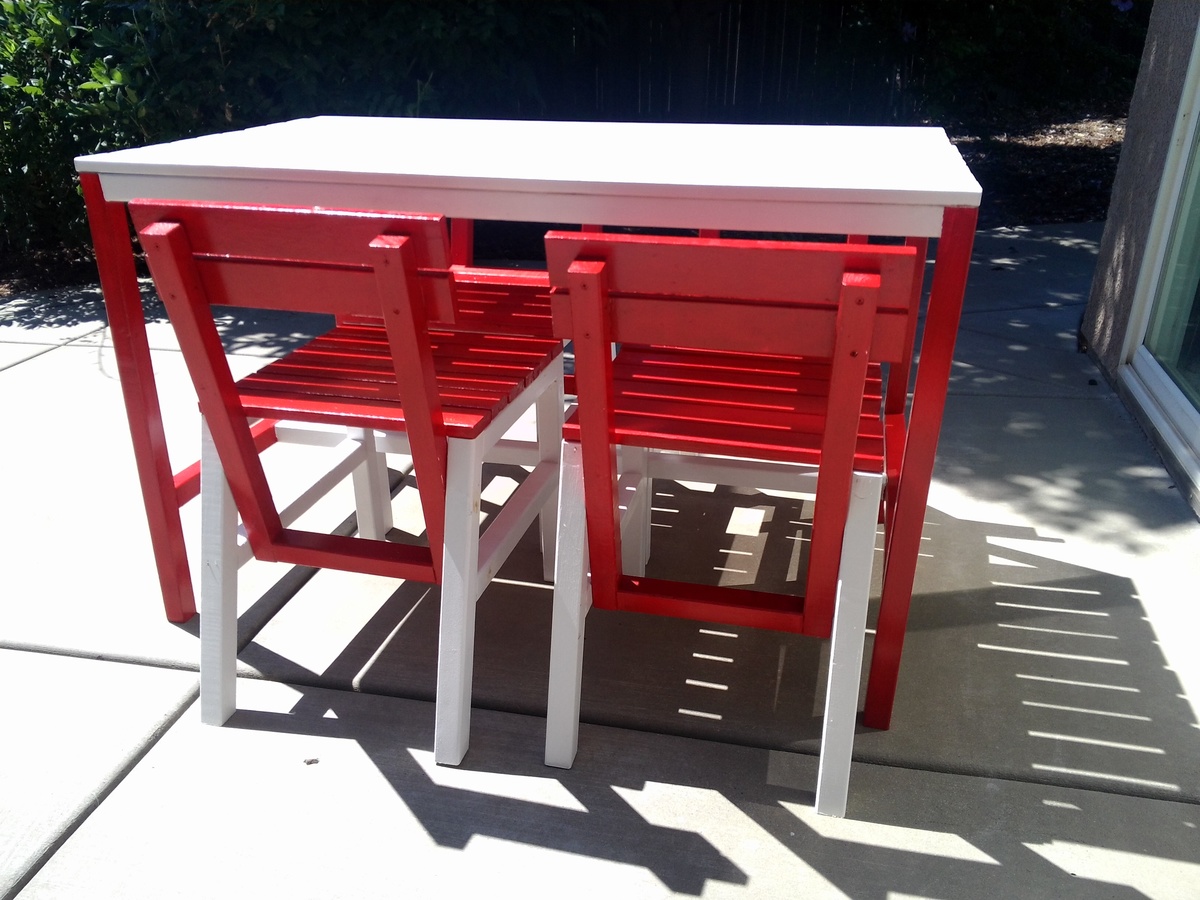
Harriet goes outdoors, dressed to impress!

Submitted by E.A.Y. on Tue, 08/27/2013 - 14:26

It took me a long time to finish the chairs, although the table was a snap. The time consuming thing was my desire for two paint colors. Painting is not my strong suit. But I got it done, just in time for our annual Labor Day house party.
I cut the lumber using our radial arm saw. I sanded with an random orbital sander, and used really great cordless drill and driver. My husband likes to buy good tools, but hardly ever uses them.
I had never used pocket screws before: I love them and found it very necessary to use the face clamp and right angle clamp Kreg sells to prevent splitting. My assortment of speedclamps were not getting the job done.
For the table, I tried masking off the white when I painted the red on the legs, which did not go so well as there was annoying paint-creep under the tape. I also decided that the red paint needed two coats to look good (it actually seemed to do better on bare wood then on primed wood.) So that took more time.
I finally bought a really good paint brush and that made a huge and positive difference.
I had intended to paint the chairs' slats red, but the back frame white, and the side supports red. To do this I intended to paint individual pieces and assemble the painted pieces, but the splitting (before I invested in the specialized clamps) was heartbreaking after all the sanding and painting. So I took a month off from the project, ordered clamps, recut a few pieces, and simplified my paint scheme. Much better!
I'm looking forward to starting my next project (NO paint!)

Estimated Cost
$70 (USD) for lumber, $37 paint, $25 for screws (leftovers)
Estimated Time Investment
Week Long Project (20 Hours or More)
Finish Used
Benjamin Moore exterior soft gloss in red and white
Recommended Skill Level
Beginner

Comments

Elijah's Washer & Dryer Pedestal

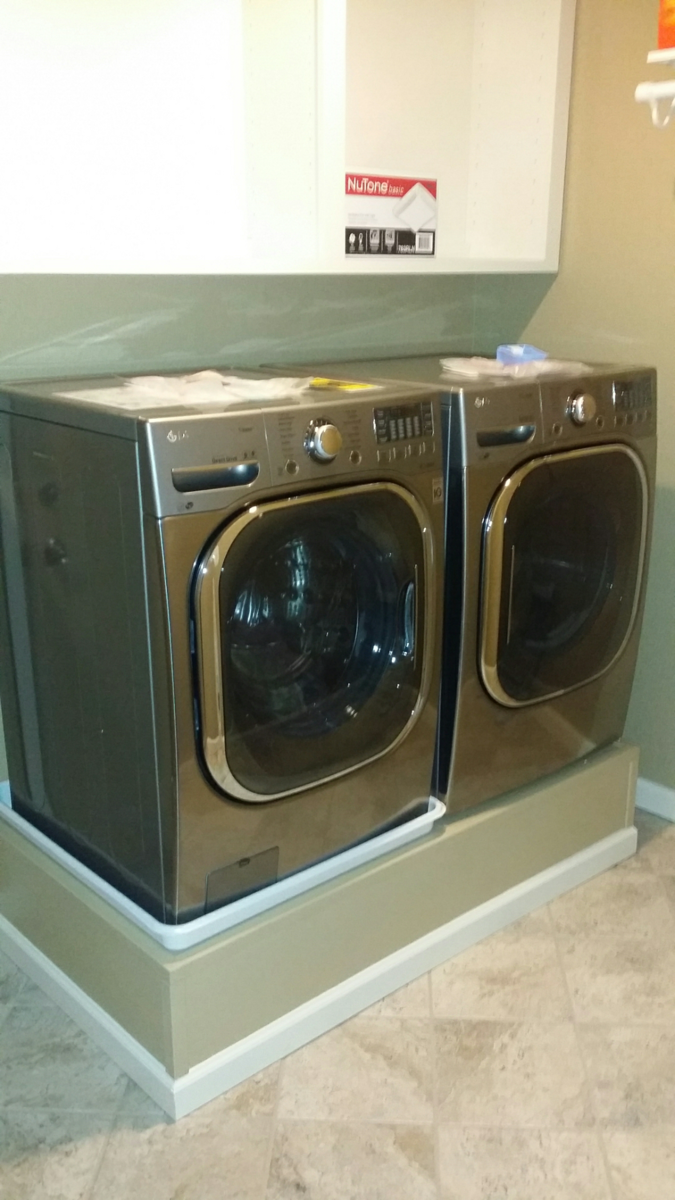
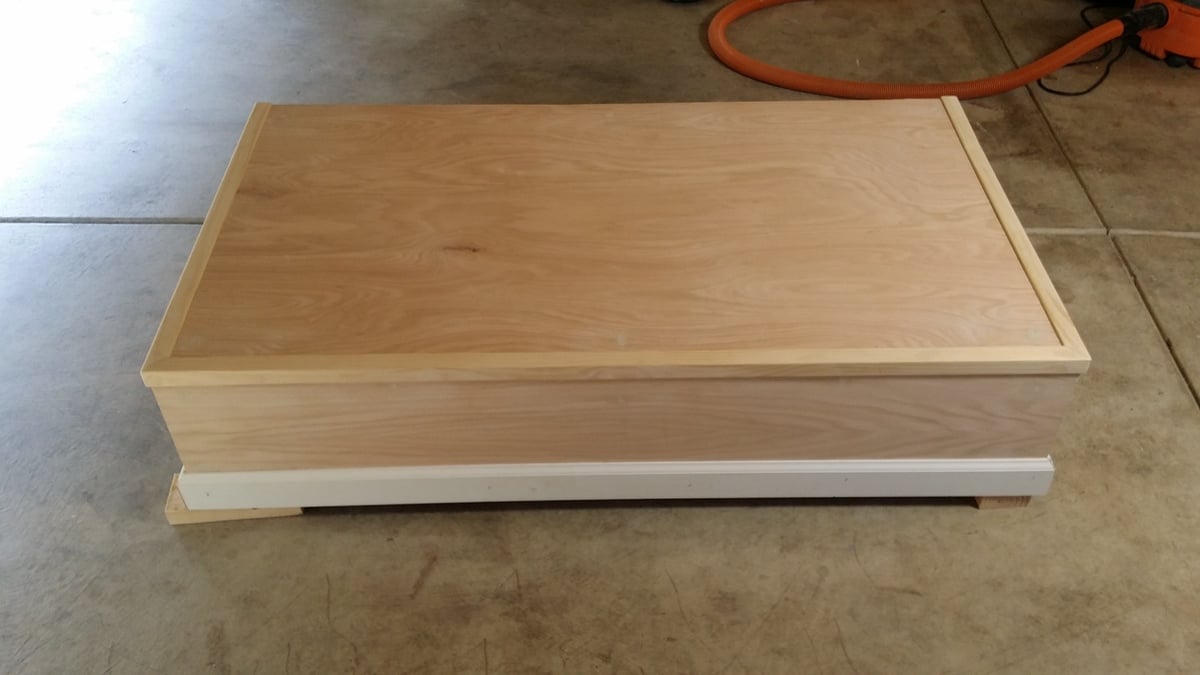
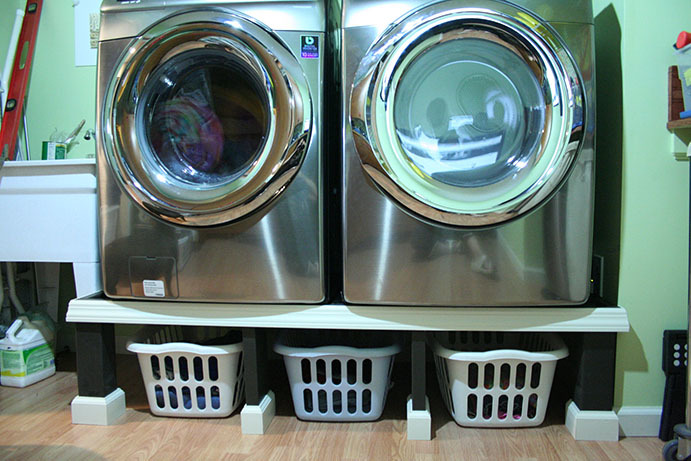
I got this Idea from Sausha's washer dryer pedestal post.  Before then i didnt know people even built pedestals for their washer and dryer.  Just purchased new front load washer and dryer and they wanted 250 bucks extra for each pedestal.  That is 500 bucks and is absolutely rediculous.  So i opted out of those and thought to myself maybe I can build something instead.  So I began my search online and stumbled across this post which seems to be the most popular pedestal build on the web.  I think sausha's build is fantastic and absolutely beautiful though I went another way with mine.

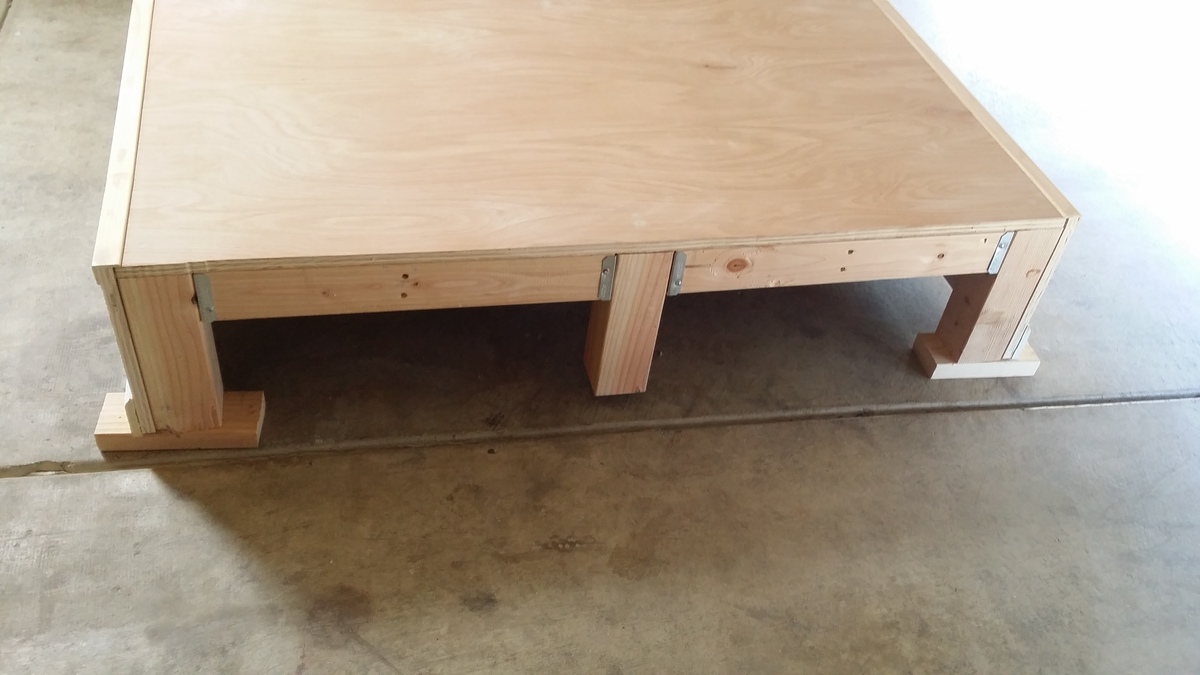
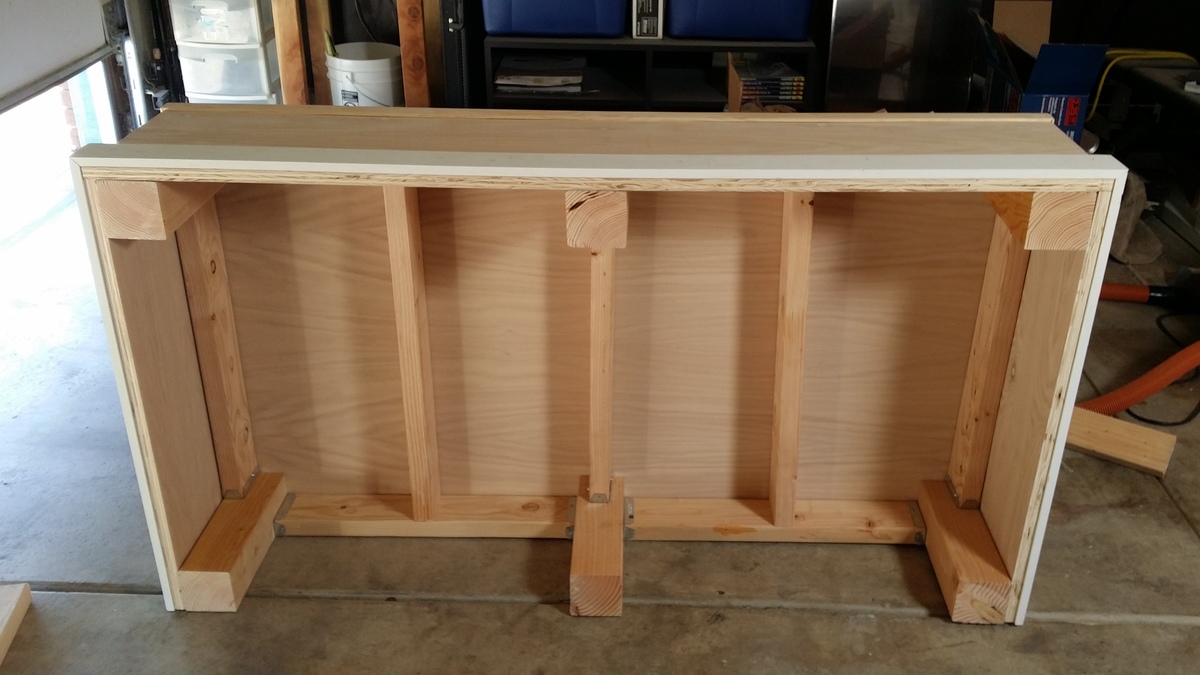
I tend to like to overbuild things.  Especially in this case, seeing as the washer weighs a beastly 200 pounds by itself.  I figured with clothes and water it would be about 235 pounds just for the washer.  I noticed that with the aluminum drawer pedestals that you can purchse with the washer and dryer the support is only where the legs from the washer and dryer will sit.  That was all I needed to get on my way.  Purchased some regular old douglas fir 2x4's, 4x4's, and a 4'x8' sheet of 3/4 inch plywood.  I opted to use fence post brackets to tie everything together because I didnt feel like driller pocket holes in each 2x4 when you were not going to see them once its all said and done.  The fence brackets are not structural so they lack ridgidity untill you tie everything together with the legs, slats, and top.  Cut the top from the 3/4 plywood sheet and used the left over plywood to cover the front and the sides.  I left the back open as it is not seen anyway. 

Total size of the pedestal is 56" wide x 31" deep x 12 3/4 inches tall, but you can build it as wide, deep or as tall as you need it.  When i was done putting it together.  I tested it by jumping up and down on it and I weigh 230 pounds.  So this thing is quite strong.  I finished it up by covering the edges where the plywood meet with Edge moulding and the bottom with baseboard to match my laundry room.  I used Behr premium plus ultra paint on most of it and, behr alkyd paint for the baseboards.  Gave the top a couple coats of General Finishes High Performance Polyurethane.  Which isnt neccessary but I opted to do so because of the weight of the washer and dryer and the General Finishes High performance dries harder than most other polys that I have used.  I only used it on the top though. 

Taking into account that I used the paint and baseboards left over from renovating my laundry room.  This project cost about 150 bucks.  200 if you have to purchase the paint and moulding.  Quite easy to do and though I made the cutes I needed with my table saw.  This can be done with a circular saw and a drill.  No exotic tools are needed.  Will post finished pictures when my washing machine and dryer are delivered on friday and they are sitting on top of the pedestal. 
Estimated Cost
150 give or take a few bucks.
Estimated Time Investment
Day Project (6-9 Hours)
Finish Used
Paint
Polyurethane
Recommended Skill Level
Beginner

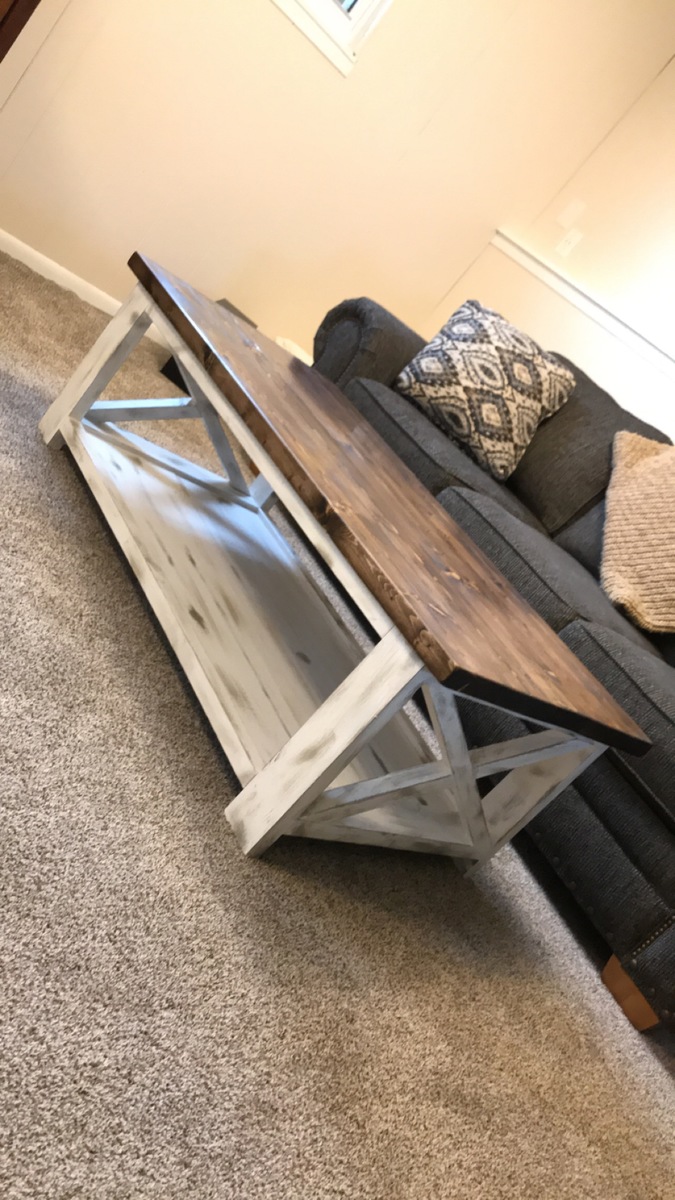
X coffee table

Submitted by Anonymous (not verified) on Tue, 01/08/2019 - 18:13

Ran on the wood through planer to get rid of that rounded edge stud look on the wood. Fun little project.

Estimated Cost
$55
Estimated Time Investment
Afternoon Project (3-6 Hours)
Finish Used
Behr white veil base with gray paint brushed to distress on base. Miniwax jacobean with semi gloss waterbase on top
Recommended Skill Level
Intermediate

Modern Farmhouse Bed

Submitted by Anonymous (not verified) on Sun, 01/15/2023 - 13:37

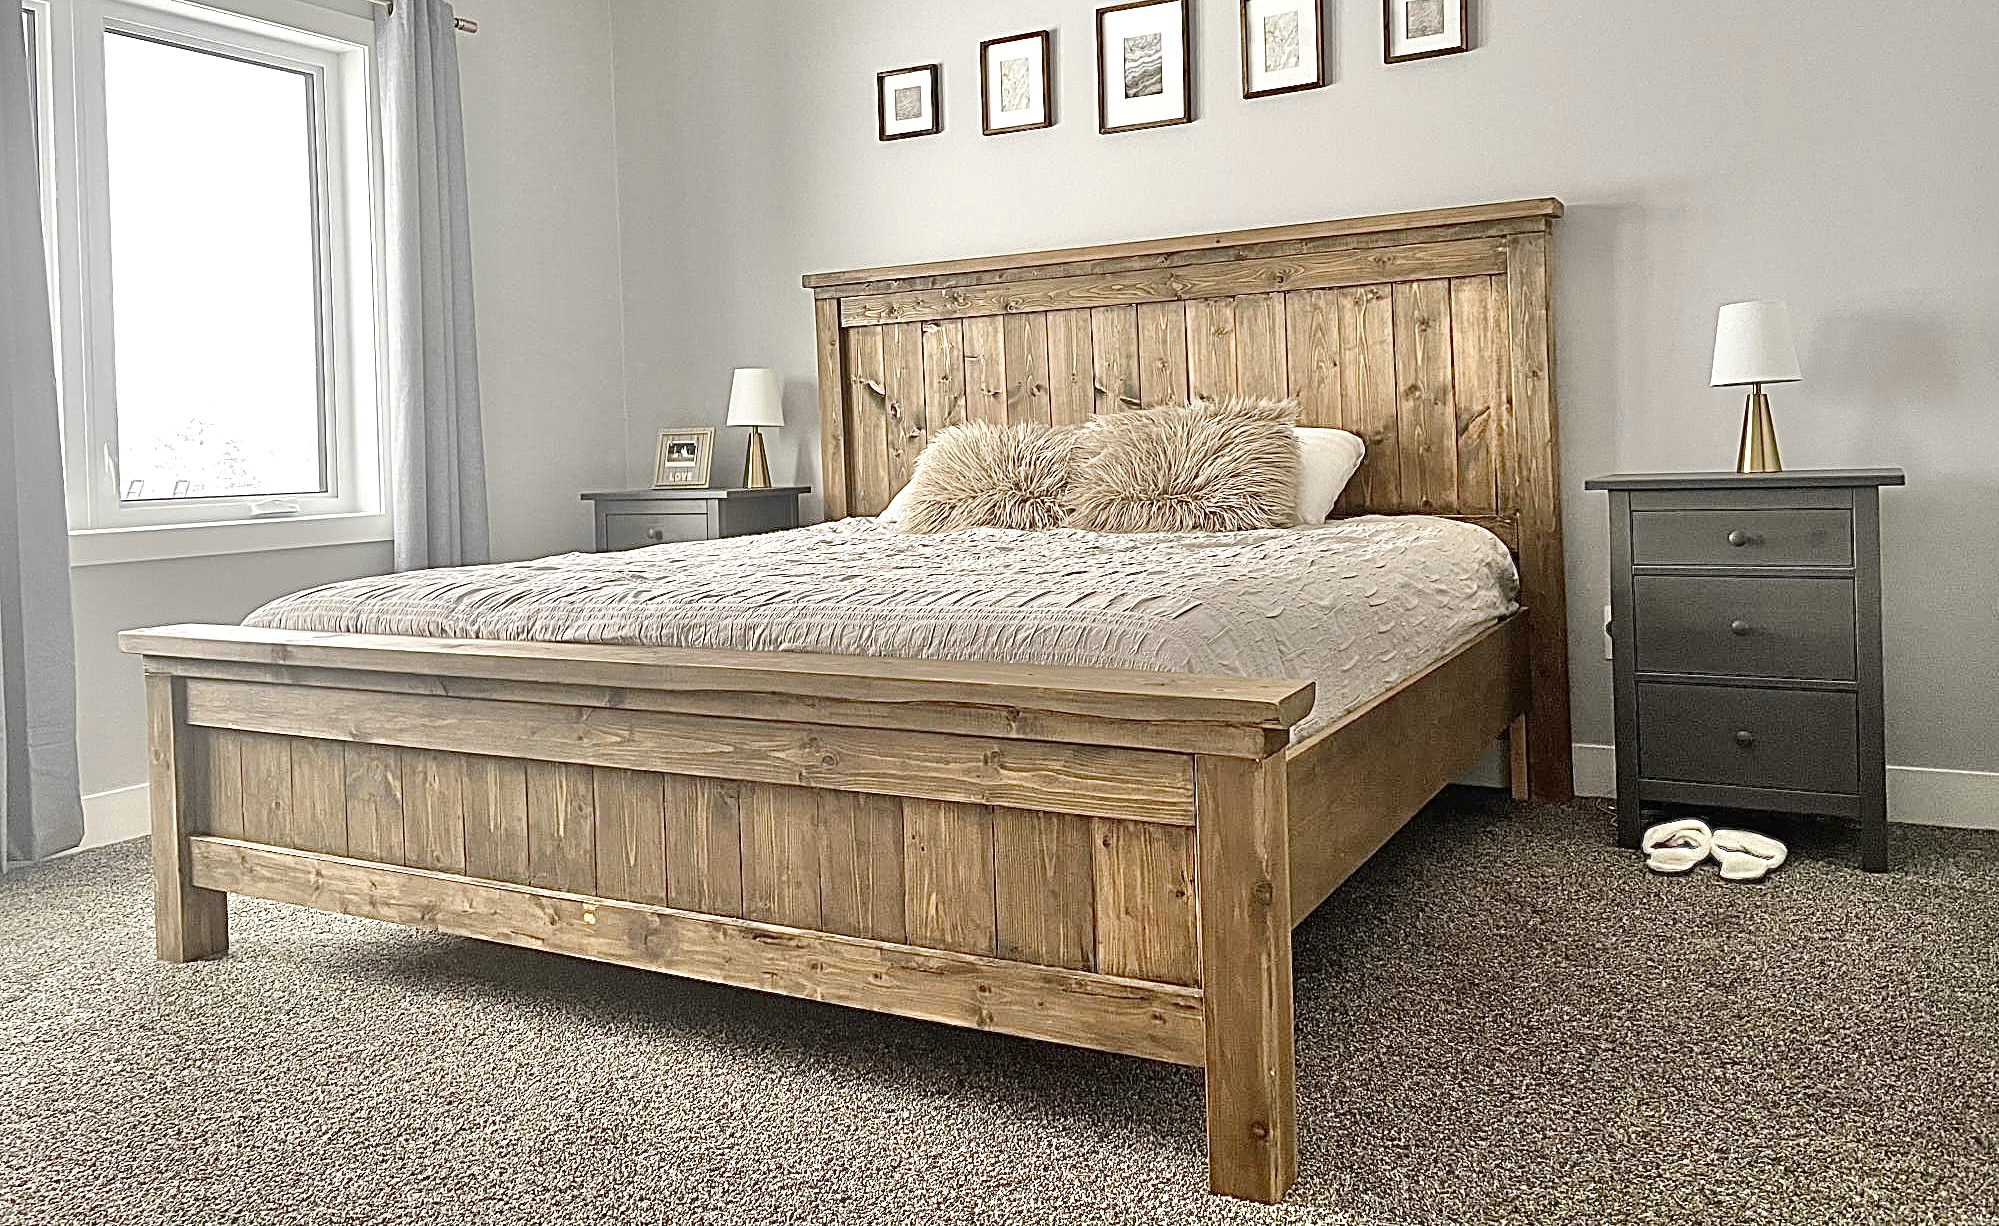
My husband and I had worked on this bed together, and we are so happy with it! We went with taller side tables that we purchased, and just stained the wood instead of painting it.

Comments

Benjamin's Deck Chair

Built this for my 2 yr old son. It's adorable!
The only trouble we have is that when he climbs in it wants to tip forward, a weight or stake into the ground on the back cross brace would probably solve it.

Estimated Cost
Scraps!
Estimated Time Investment
An Hour or Two (0-2 Hours)
Recommended Skill Level
Starter Project

Nightstands

Submitted by DCecil43 on Mon, 07/08/2019 - 19:11

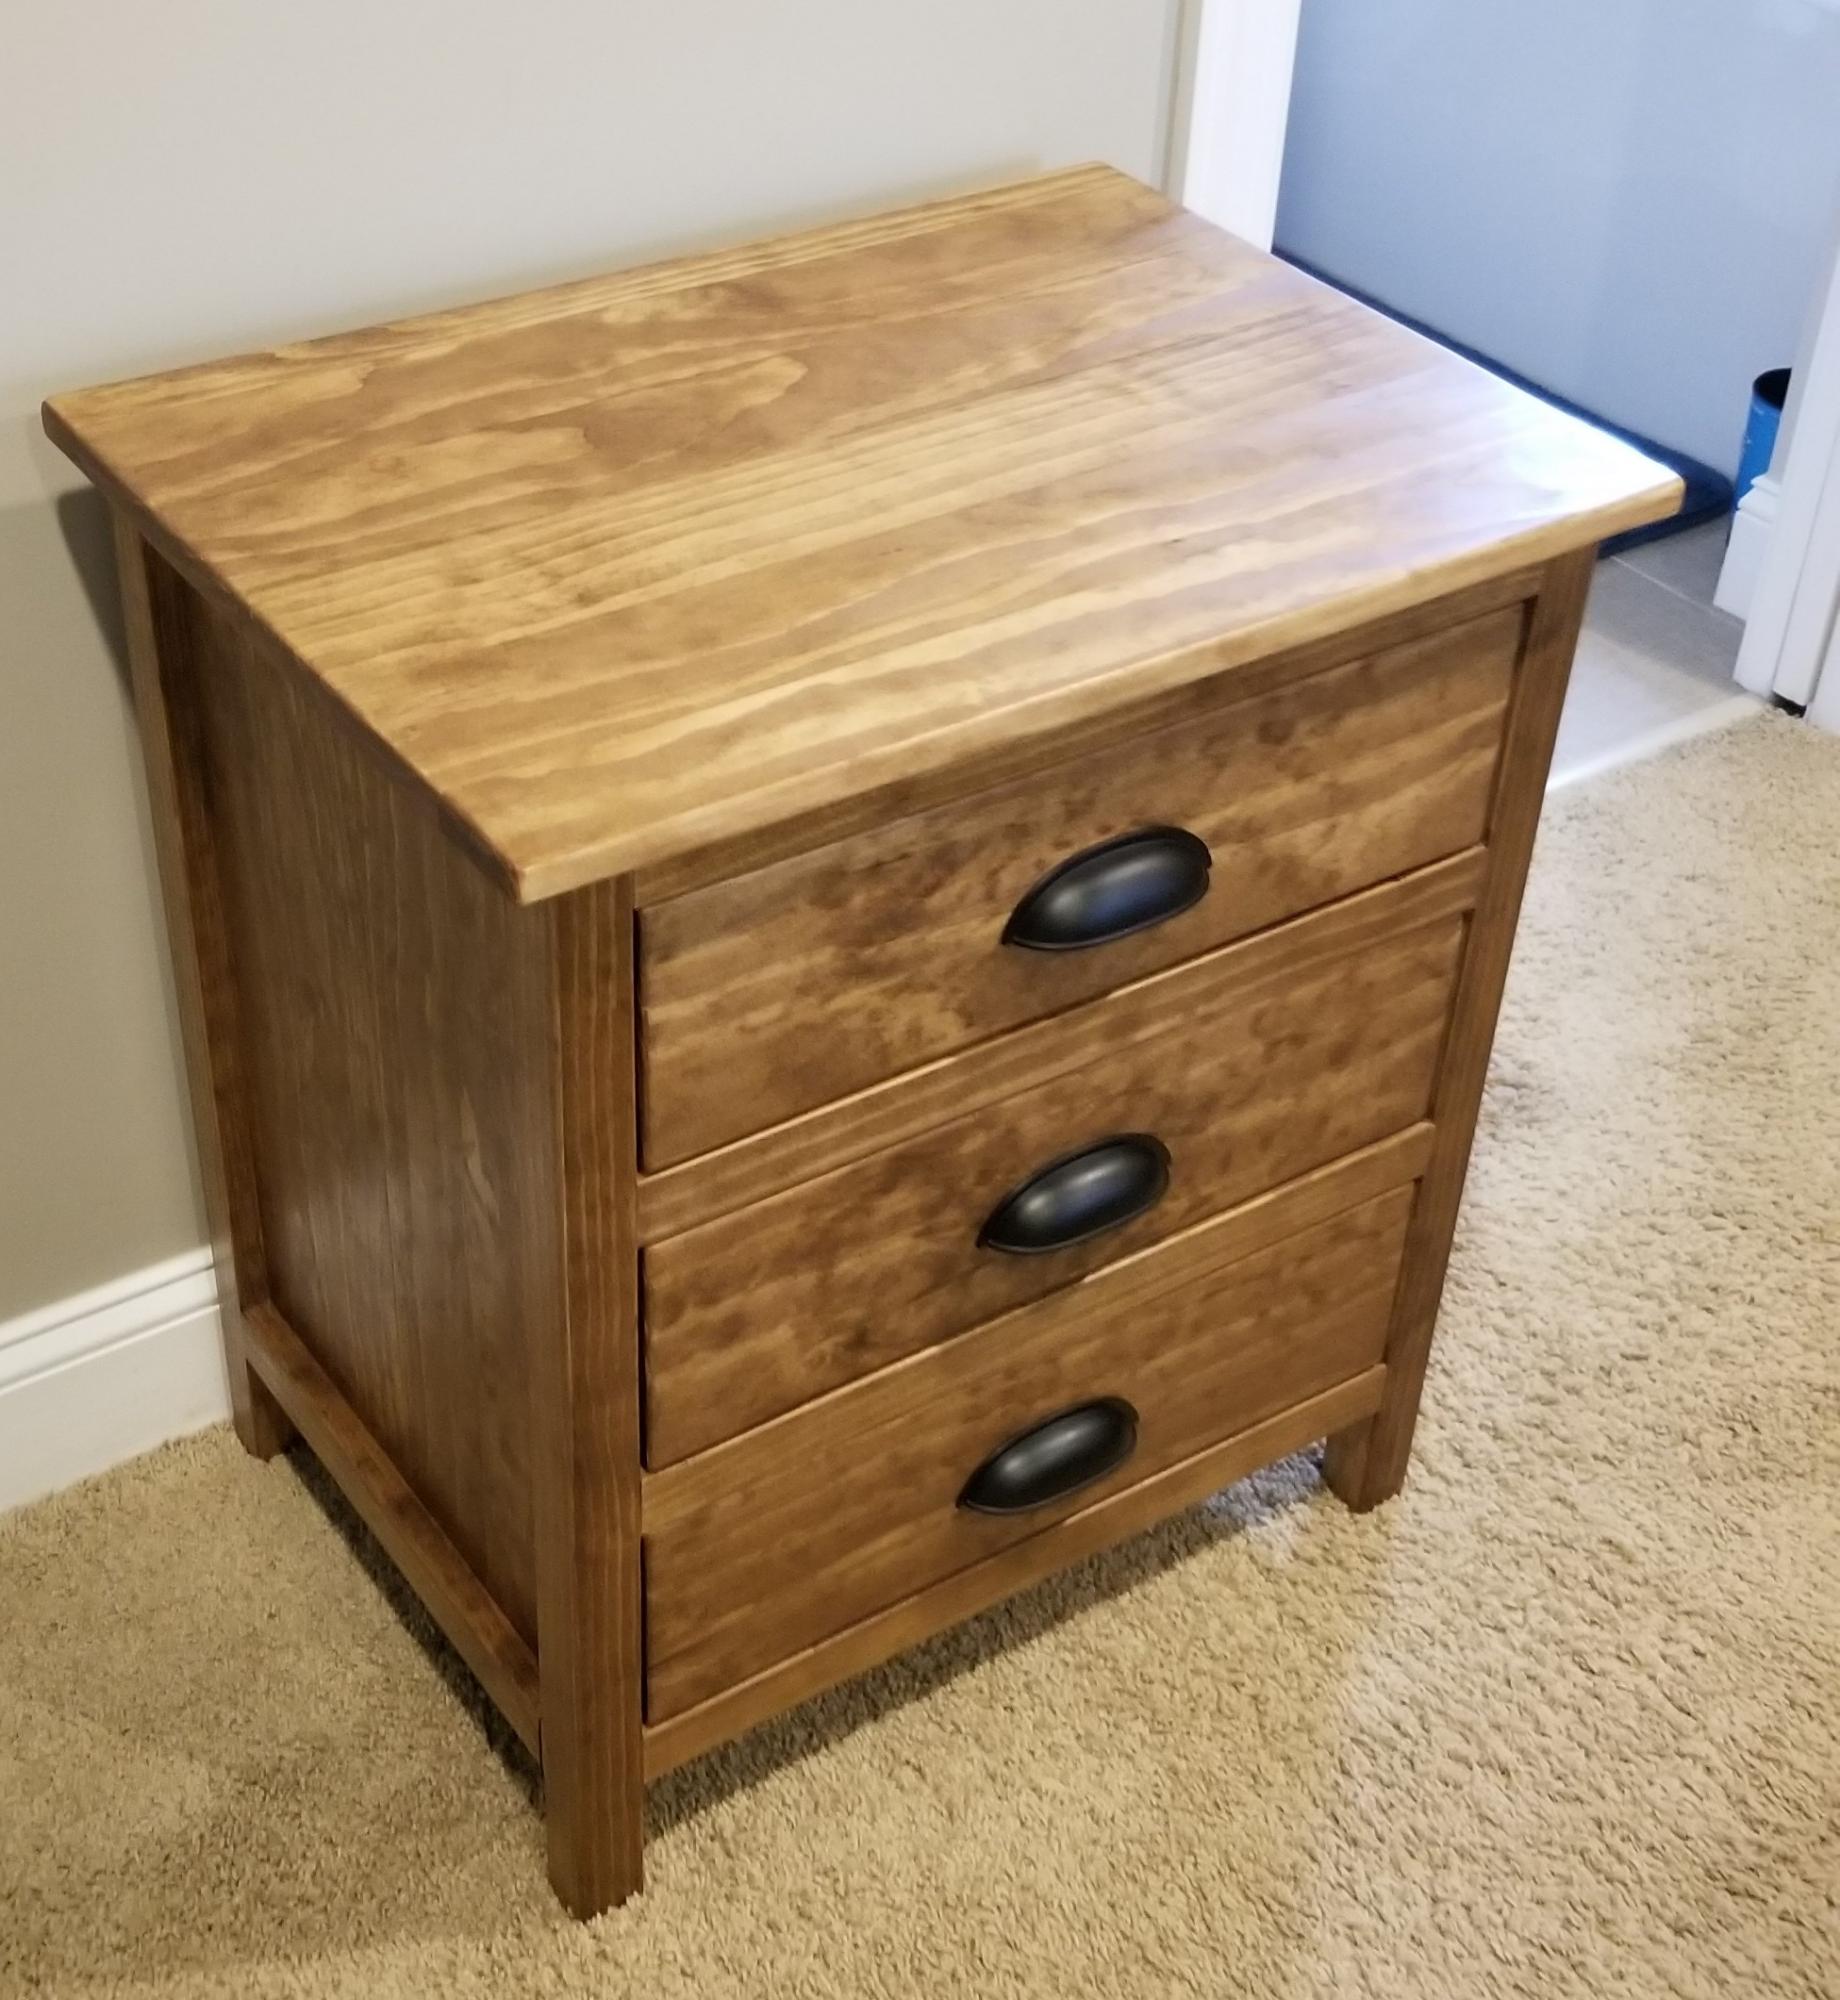
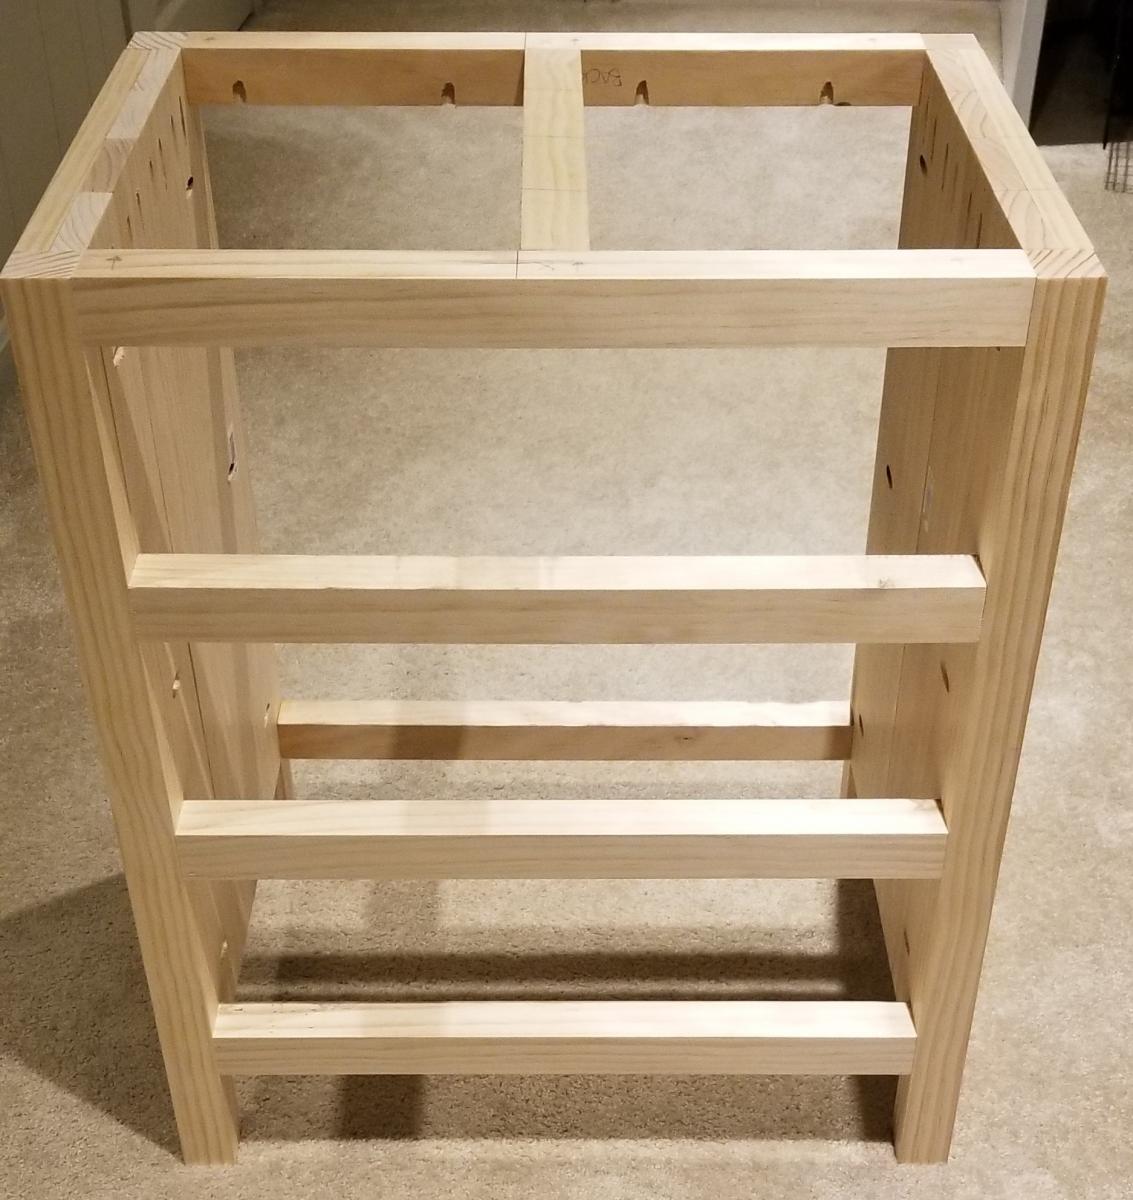
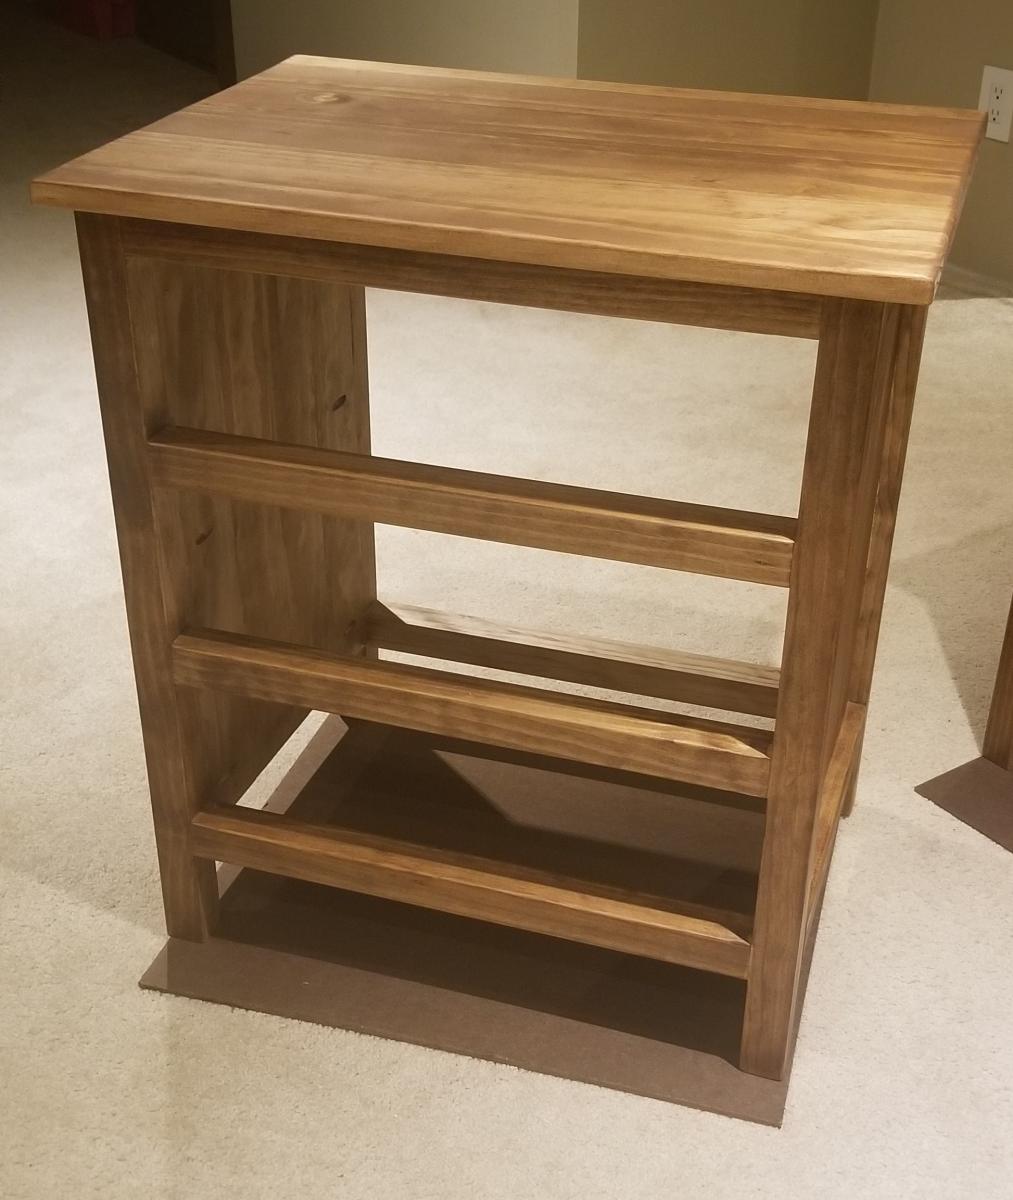
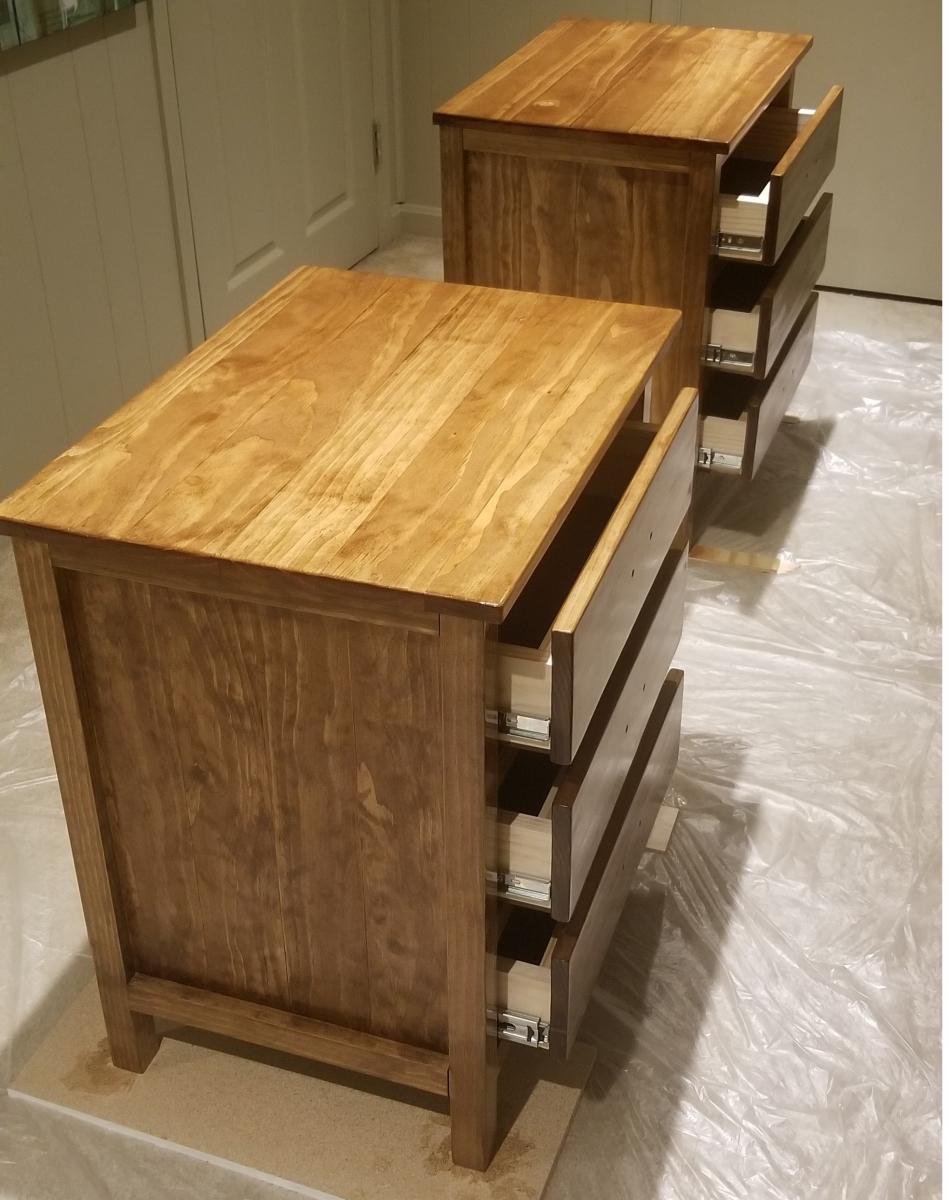
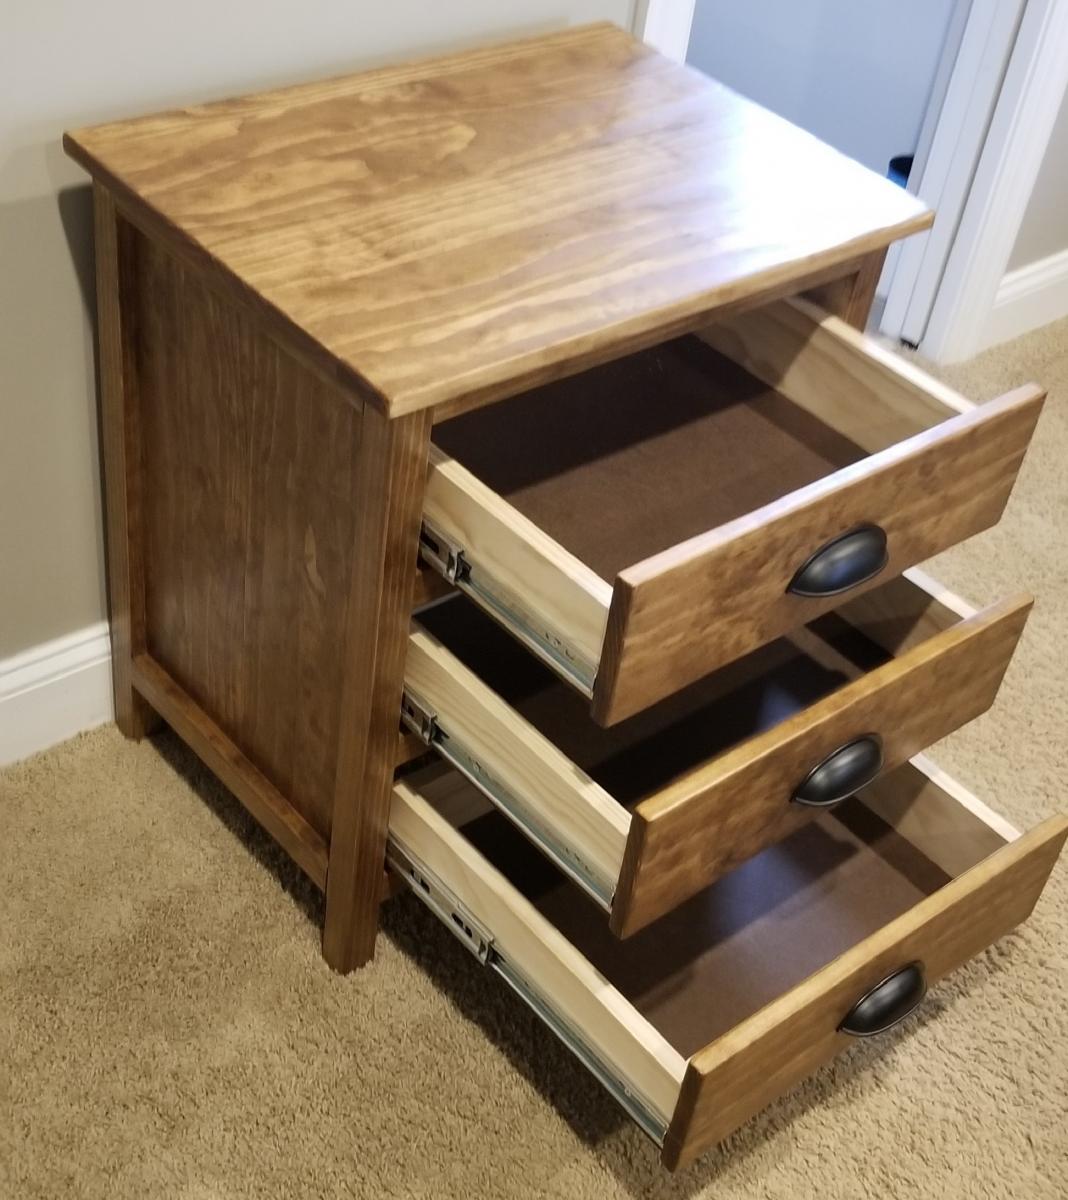
I used one of the plans found on the site but modified it by making mine 8 inches wider.  They are slightly higher as well to match what I replaced in our master bedroom.  This was actually the first project that I took on after looking at bedroom furniture for over a month and realizing how expensive cheap furniture is.

Estimated Cost
$300
Estimated Time Investment
Weekend Project (10-20 Hours)
Finish Used
Minwax Early American Stain and Minwax Satin Polyurethane
Recommended Skill Level
Intermediate

2x4 Sectional , table, and chairs

Submitted by Anonymous (not verified) on Fri, 04/14/2023 - 04:57

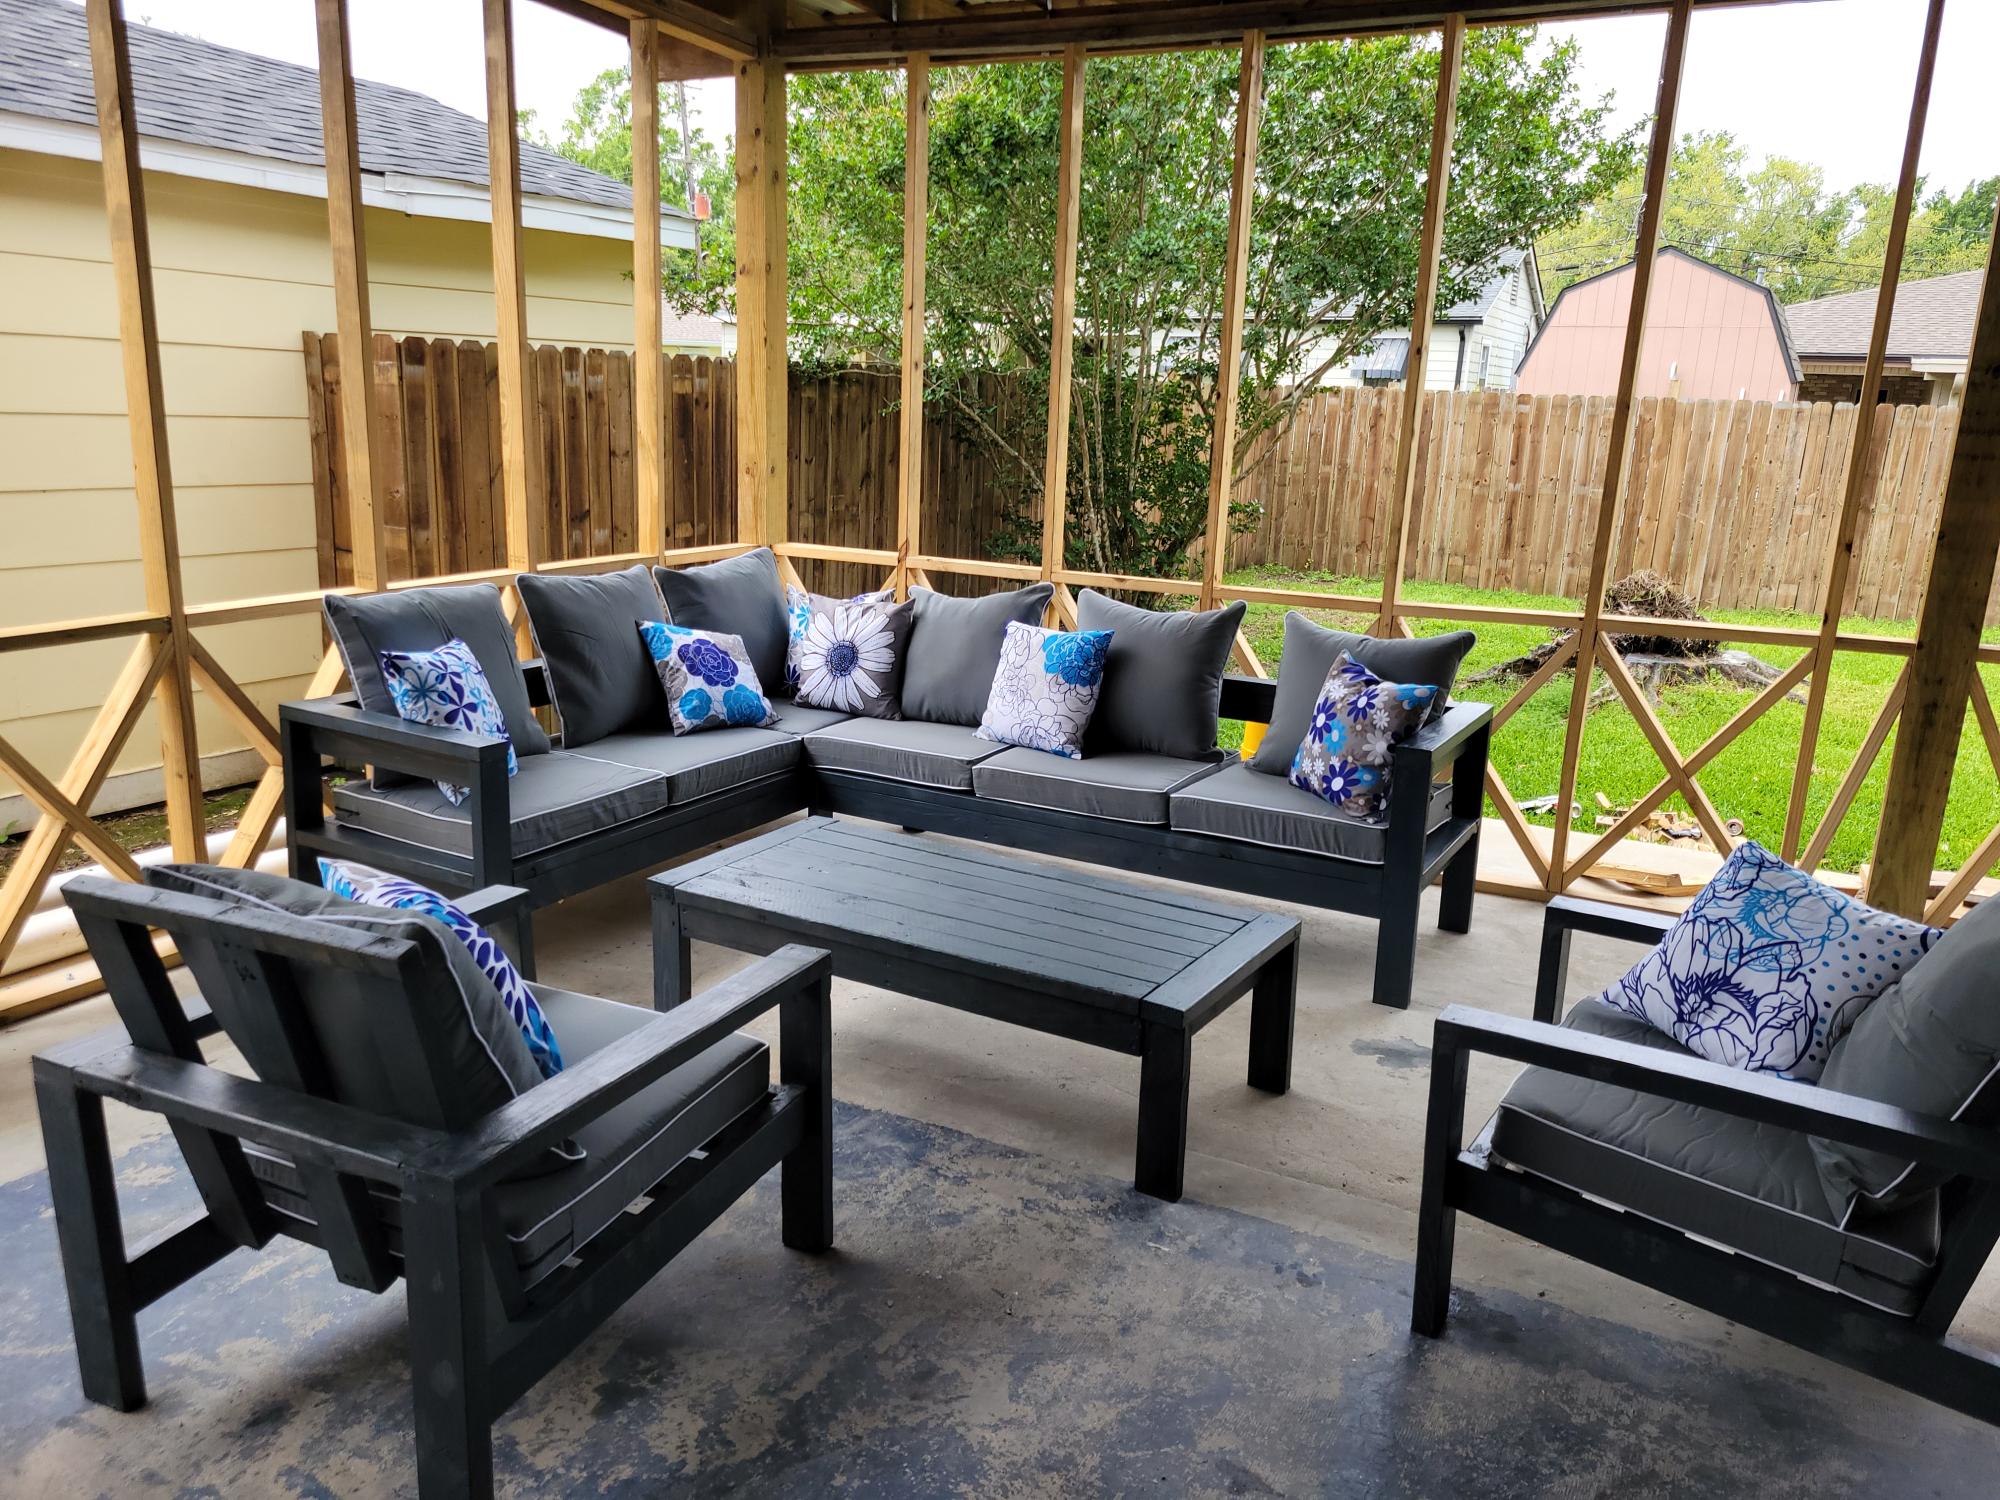
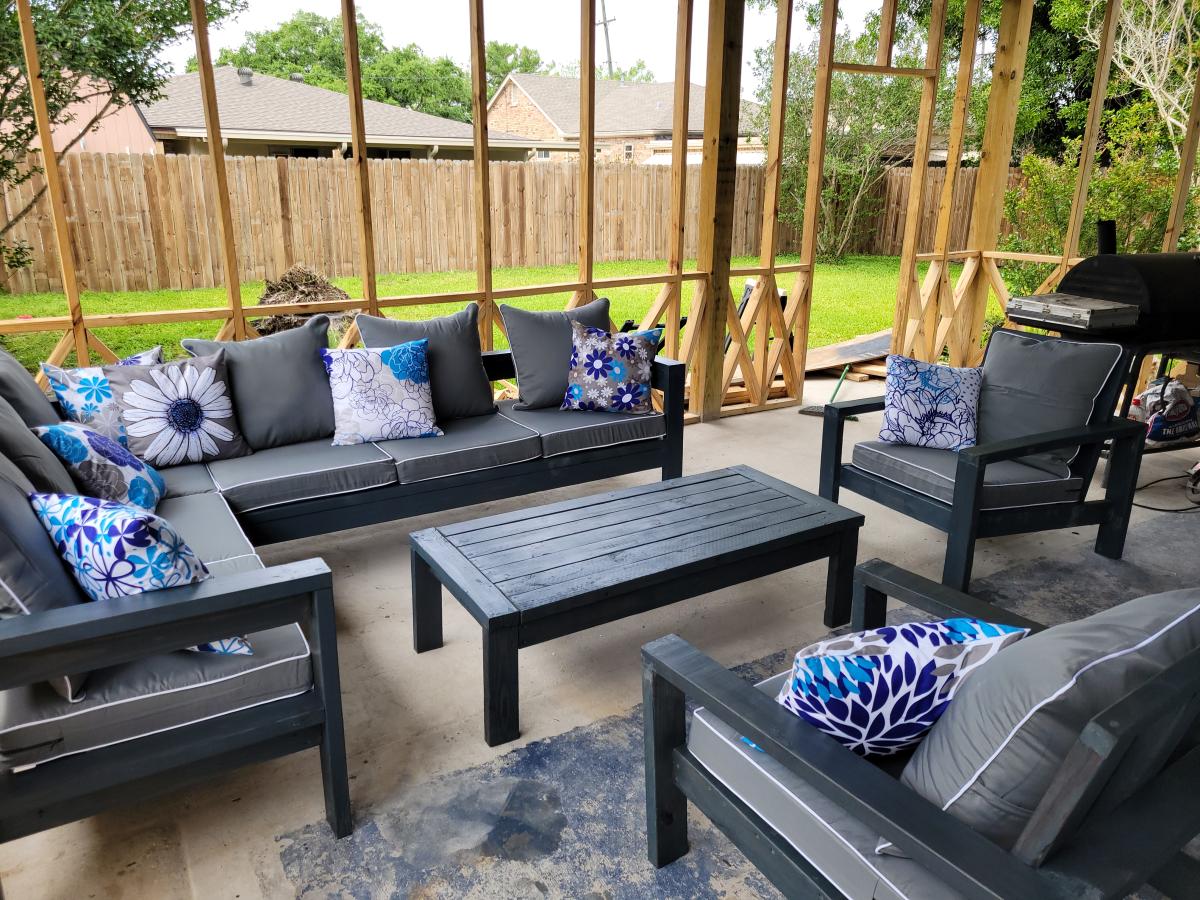
Your easy to follow 2x4 proje ts turned out amazing. My outdoor set is complete. The chairs, also, came from your plans. I built all of it by myself in one weekend. Thank you

Comments

First Project

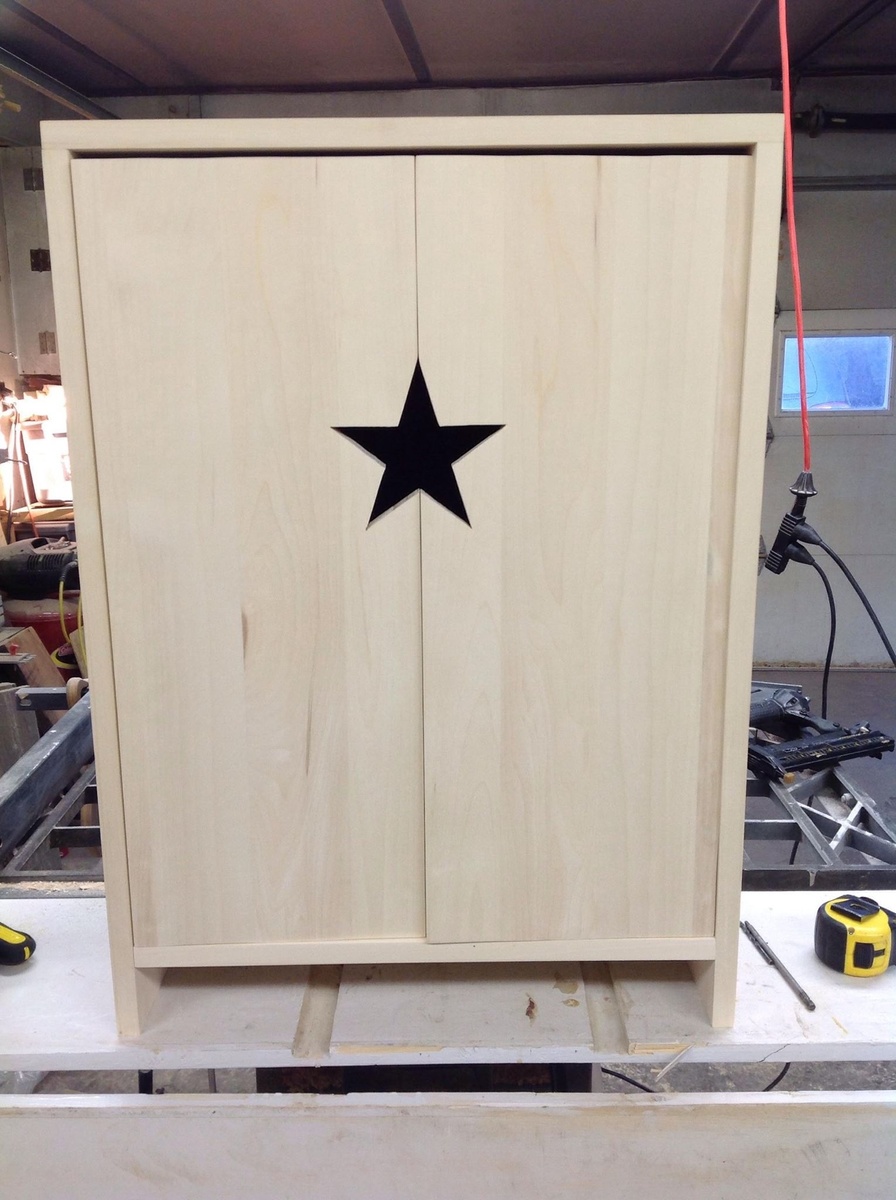
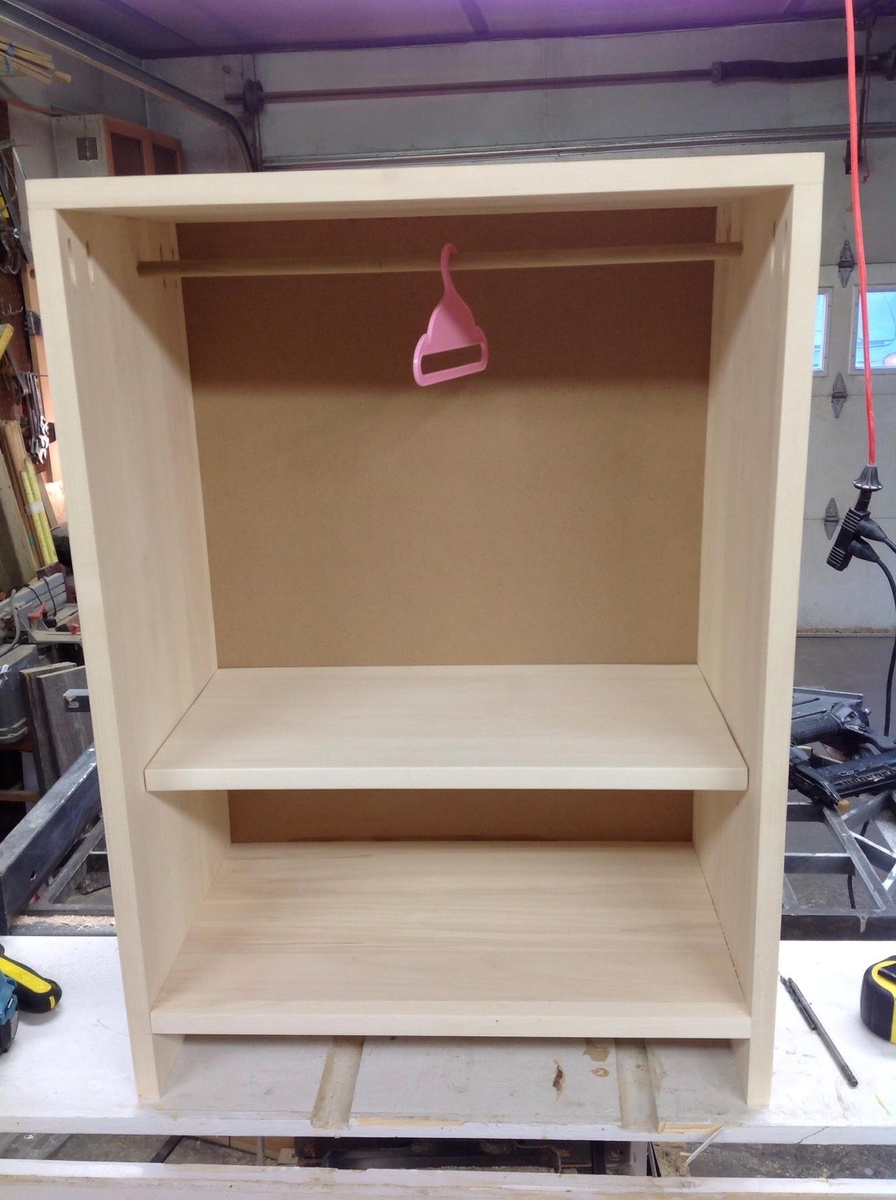
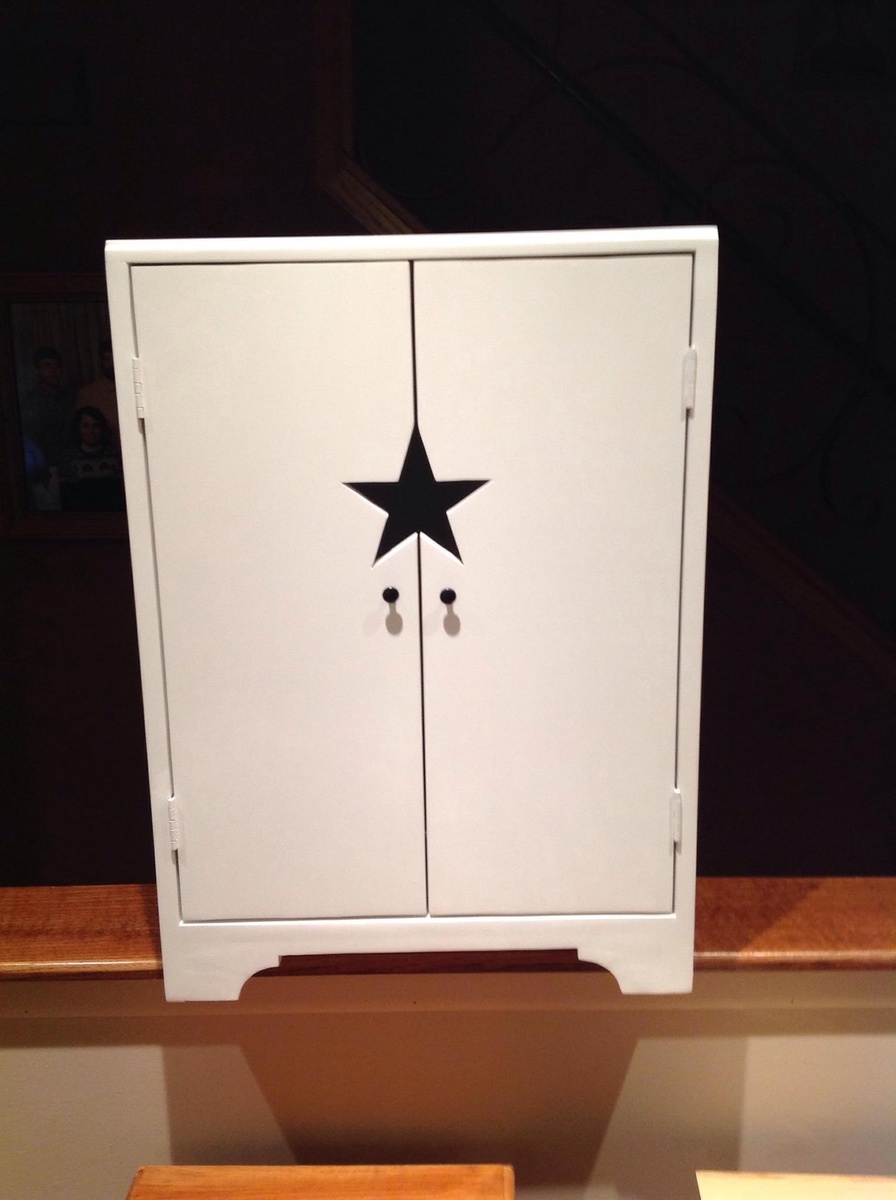
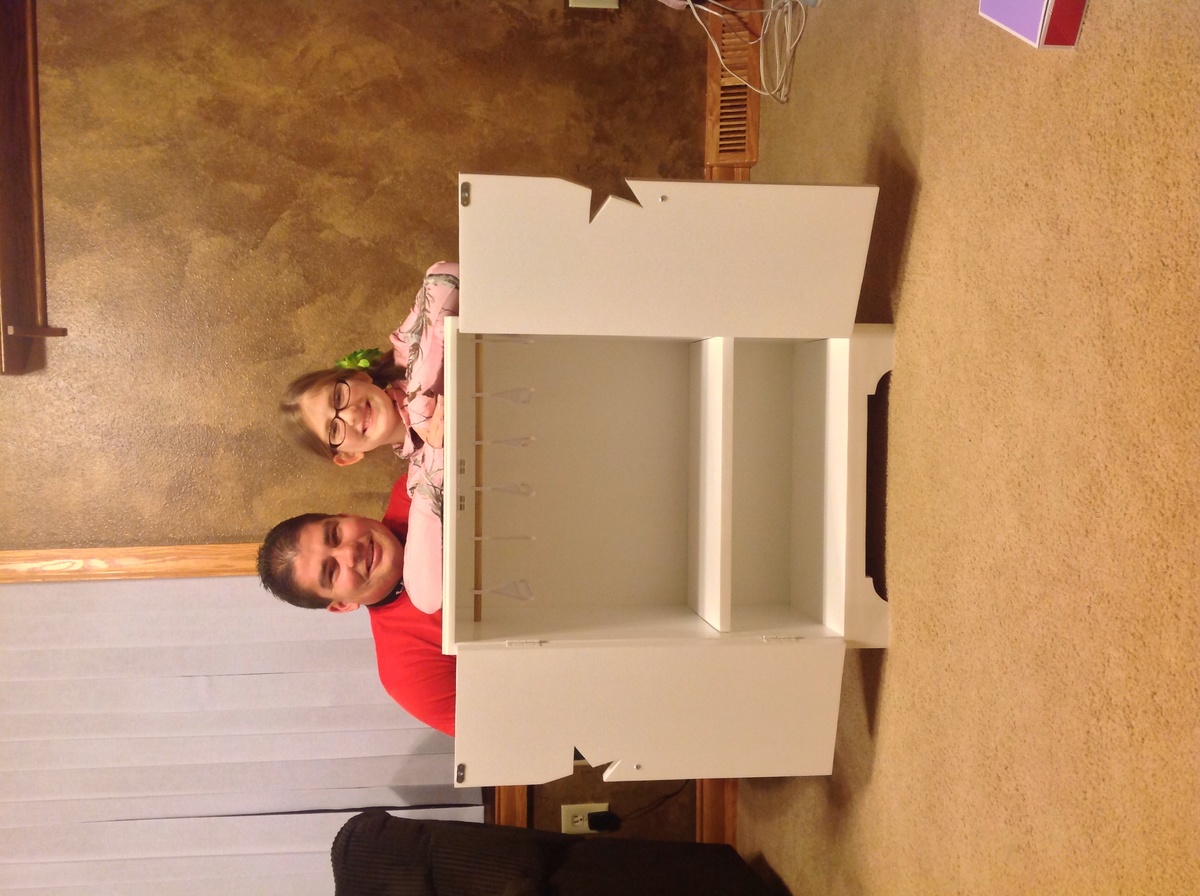
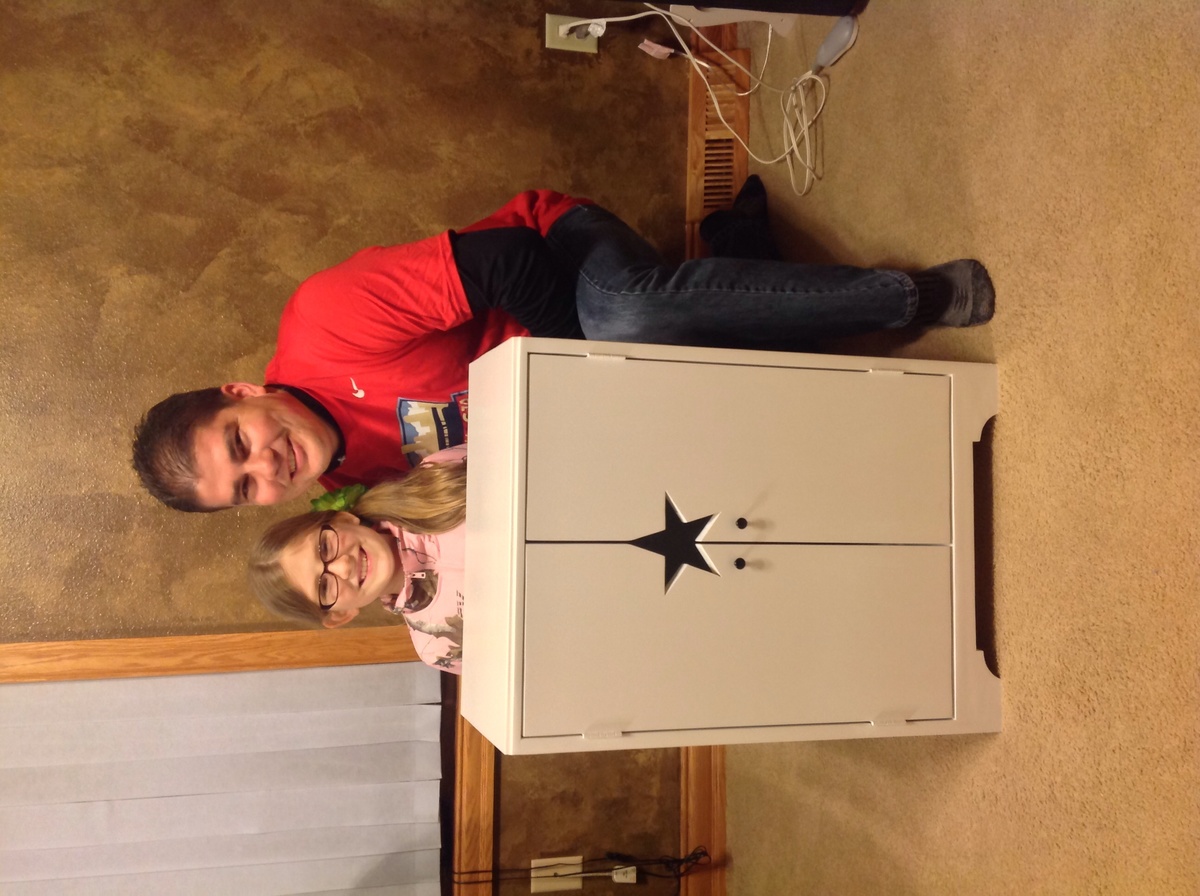
My 11 year old is a girlie girl and has been asking my wife and I for the American Girl Star Armoire cabinet for 2 years. I found a similar plan here on Ana-White's Plan page. I decide to use a little nice quality wood (Aspen) instead of just a clear pine wood. It turned out nicer than even I could have expected.

My daughter got this for her 11 Bday this past Sunday and has already filled the cabinet with all her special AG Dresses. I added my own twist by putting a 1/4" Chalkboard back on it so she can use it to play school with her AG Dolls.

I have a couple people interested in making one for them for Christmas. :)

My next project will be one of the bunk-beds featured on Ana's website.

Estimated Cost
$72.00 (Material & Hardware ONLY)
Estimated Time Investment
Afternoon Project (3-6 Hours)
Finish Used
My friend has a "cup gun" sprayer and the cabinet has 3 coats of white paint.
Recommended Skill Level
Beginner

Comments

bhammond

Fri, 11/15/2013 - 17:19

Beautiful cabinet, and what a treasure for your daughter! How did you make the star so flawlessly?

Nice work!

Redwood Farmhouse Table and Bench

Submitted by nkukona on Mon, 07/22/2019 - 05:35

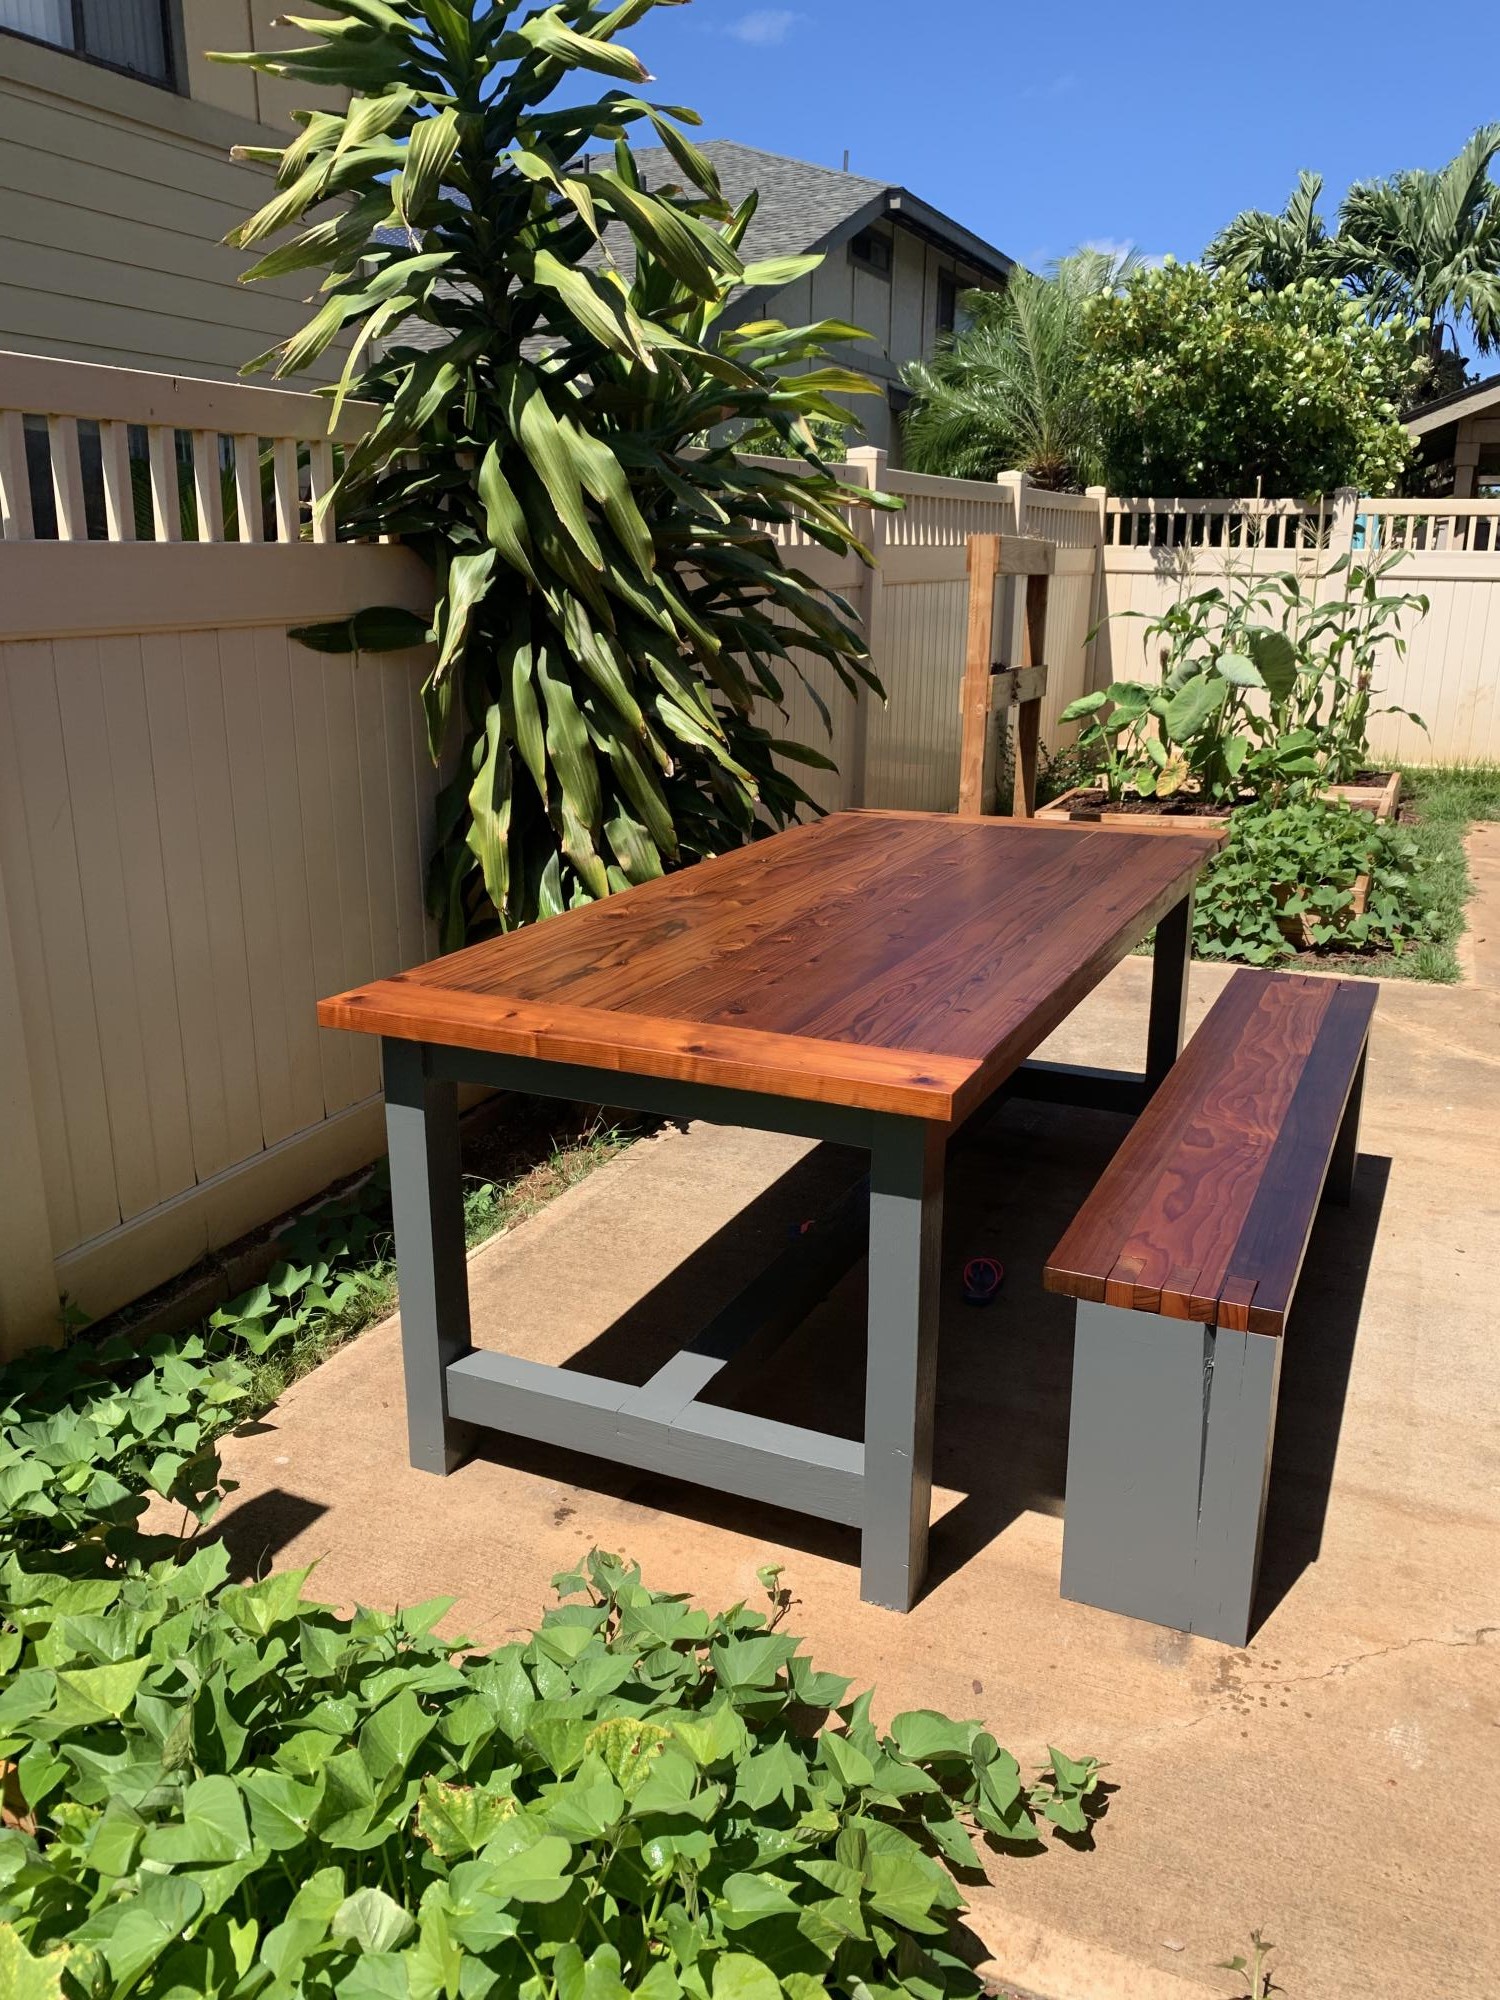
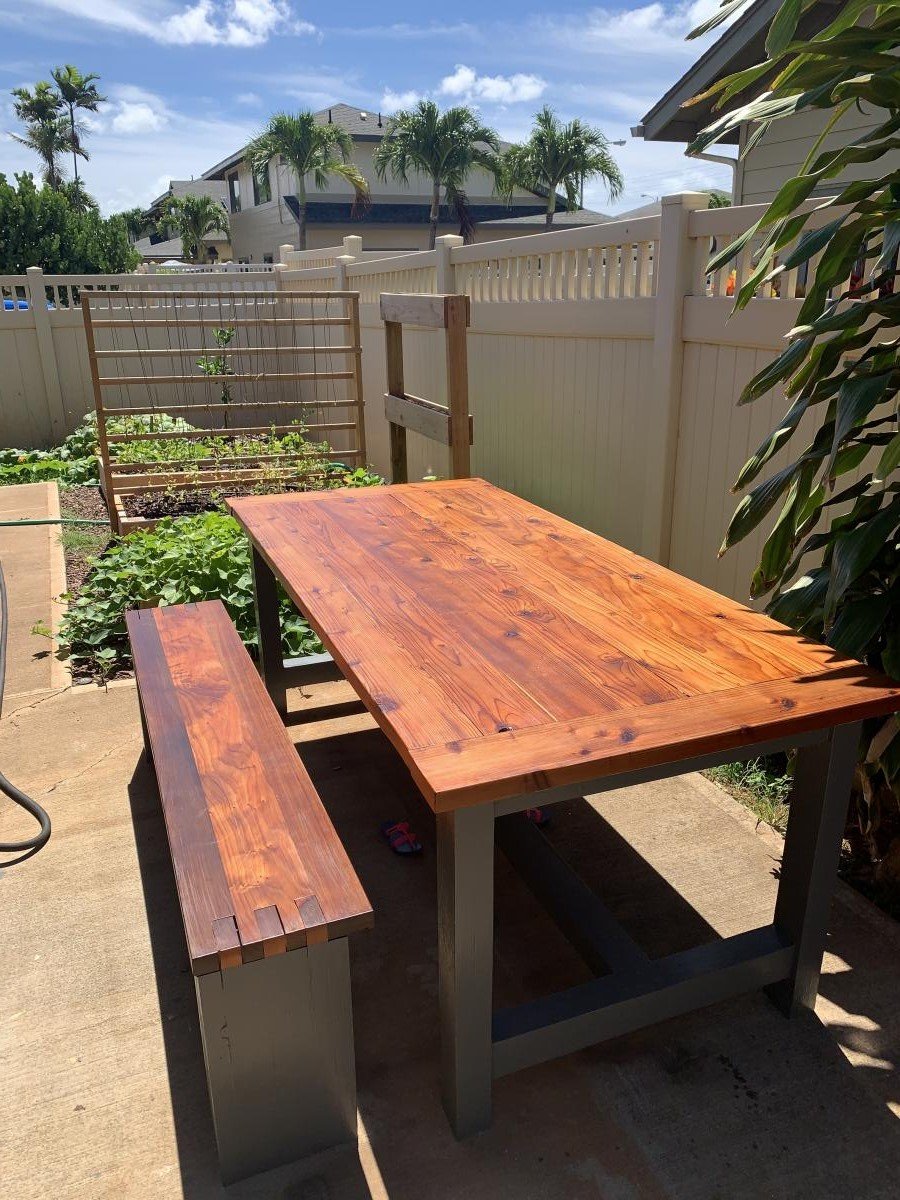
Farmhouse Table and Bench. Made from all redwood. Table is all new wood, and half the bench was from reclaimed redwood. Used Danish Oil and Spar Urethane to finish the tops, and paint to finish the legs.   

Estimated Cost
Not sure, but redwood cost a lot more than pine. Maybe $400 or so.
Estimated Time Investment
Week Long Project (20 Hours or More)
Recommended Skill Level
Beginner

Comments

Modified washer/dryer pedestal

Submitted by KaraBoo on Wed, 02/03/2016 - 09:32

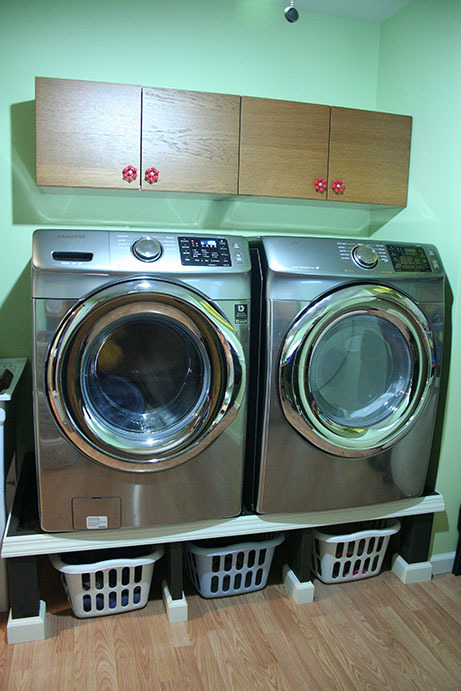
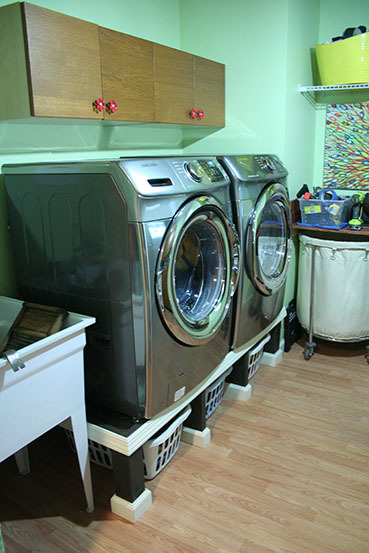
I loved the idea of building a washer and dryer pedestal for extra laundry basket storage underneath! Sashua's is beautiful so I took her idea and modified it a bit to work for me. My washer is very, very heavy and I was worried that if there was no support under the weight in the middle, it would start to bow and sag. The original plan also put the washer too high for me to have been able to use without a step stool. So in my modification I screwed cleats into the 2X4 frame of the laundry room wall, placed the 3/4" plywood on top of it and screwed it in. In the front, I used 4X4's as the two corner leg supports and then added two 1X6 supports in the front center, creating three laundry basket bays. I placed it directly onto the floor as opposed to building the bottom base. This saved me money since I was able to buy half the lumber and also allowed me to lower the height of the platform while leaving enough space for my baskets. The top of my platform is approximately 14 1/2" high, which is just low enough so that I can see into the soap filling compartment at the top of the washer. Being that I'm only 5'2" I would have needed to use a step stool to use my washer at the original 19 1/2" plan height. I framed the top edge of the platform with 2X2's, to ensure that my washer or dryer never walked off the edge. Finally, I added some trim along the front edge and around the legs and that's it!

Estimated Cost
$60
Estimated Time Investment
Afternoon Project (3-6 Hours)
Recommended Skill Level
Beginner

Comments

Codding58

Mon, 02/15/2016 - 12:25

I REALLY like this modified version, I think it looks GREAT!    when you say you screwed cleats to the back wall, are you talking a 2x4 across the back fastened to the studs, or what did you use?    I think my wife would love this version, and I may just have to get started on one myself.   yes

Playhouse with Steps and Slides

Submitted by Hafidz on Fri, 01/06/2012 - 14:06

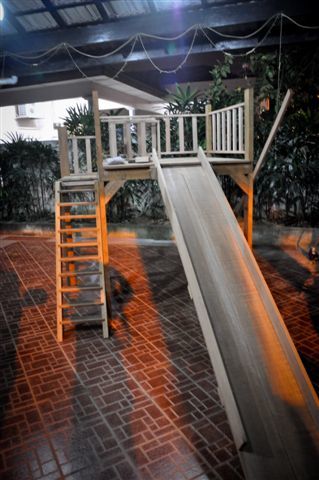
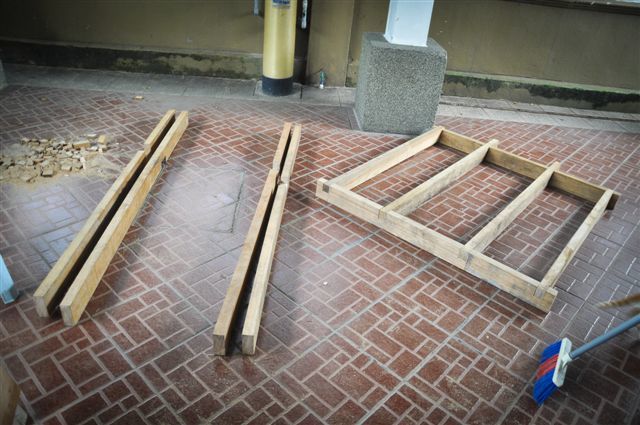
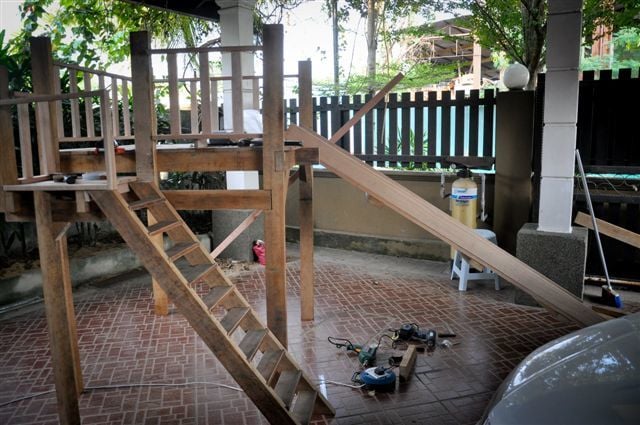
It's my first woodwork project and I went ahead on building a slide with a playhouse underneath. Took some of the ideas from Ana's playhouse deck plan. It took me awhile to figure out how to build the slides and steps though. The project is intended to cater for my 1 year old daughter. As you can see, the playhouse is not "there" yet as there's no wall surrounding the structure beneath the slides (there will be some soon enough). As this playhouse will someday be put under direct sunlight and heavy rain, choice of wood takes into account the tropical weather that we have here in Malaysia (I might have to put some heavy coating on that Meranti though).

Dimension wise it's a 4'X4'X4' structure with 1.5' steps attached at the side. The railing are about 1.5' high.

Built from Plan(s)
Estimated Cost
MYR 700
Estimated Time Investment
Week Long Project (20 Hours or More)
Finish Used
No finish applied yet.
Recommended Skill Level
Starter Project

Comments

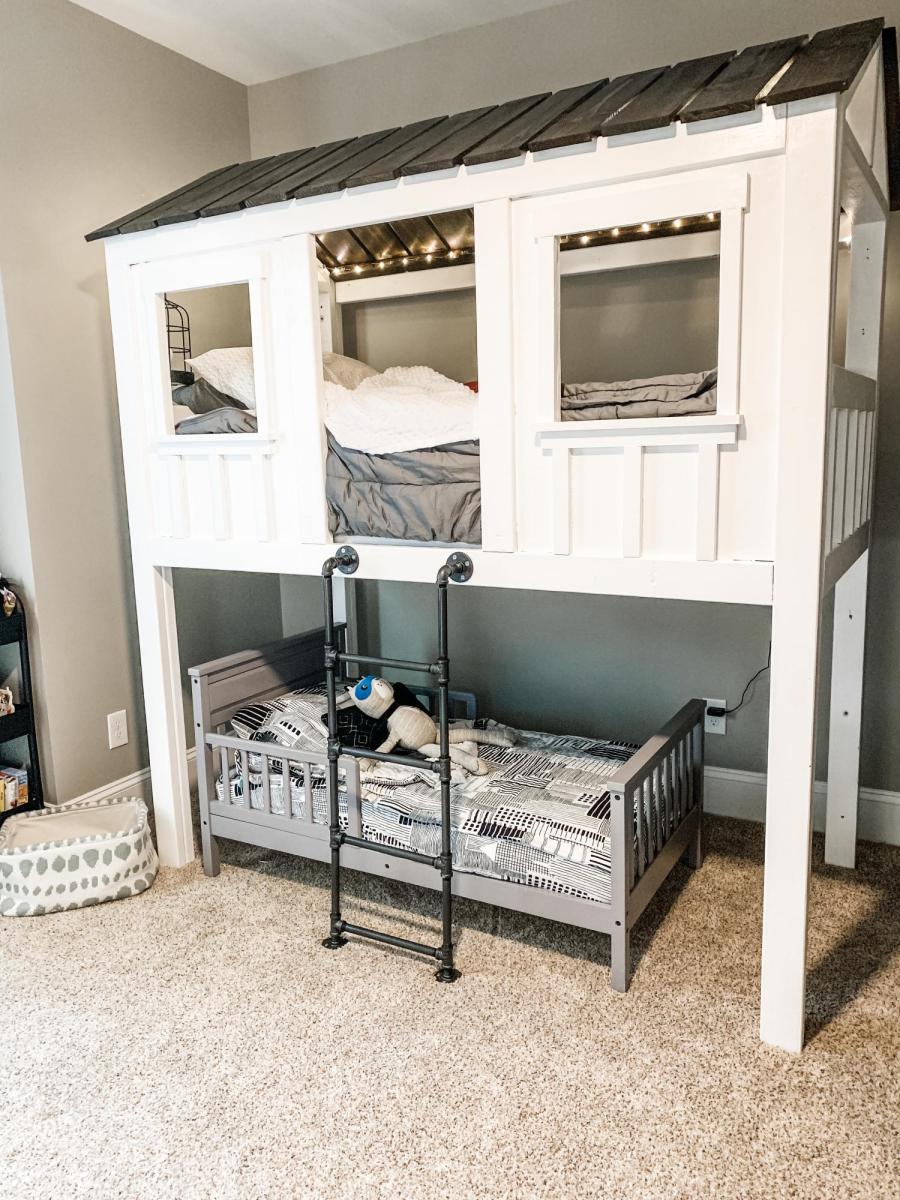
Cabin loft bunk bed

Submitted by Anonymous (not verified) on Wed, 10/02/2019 - 08:49

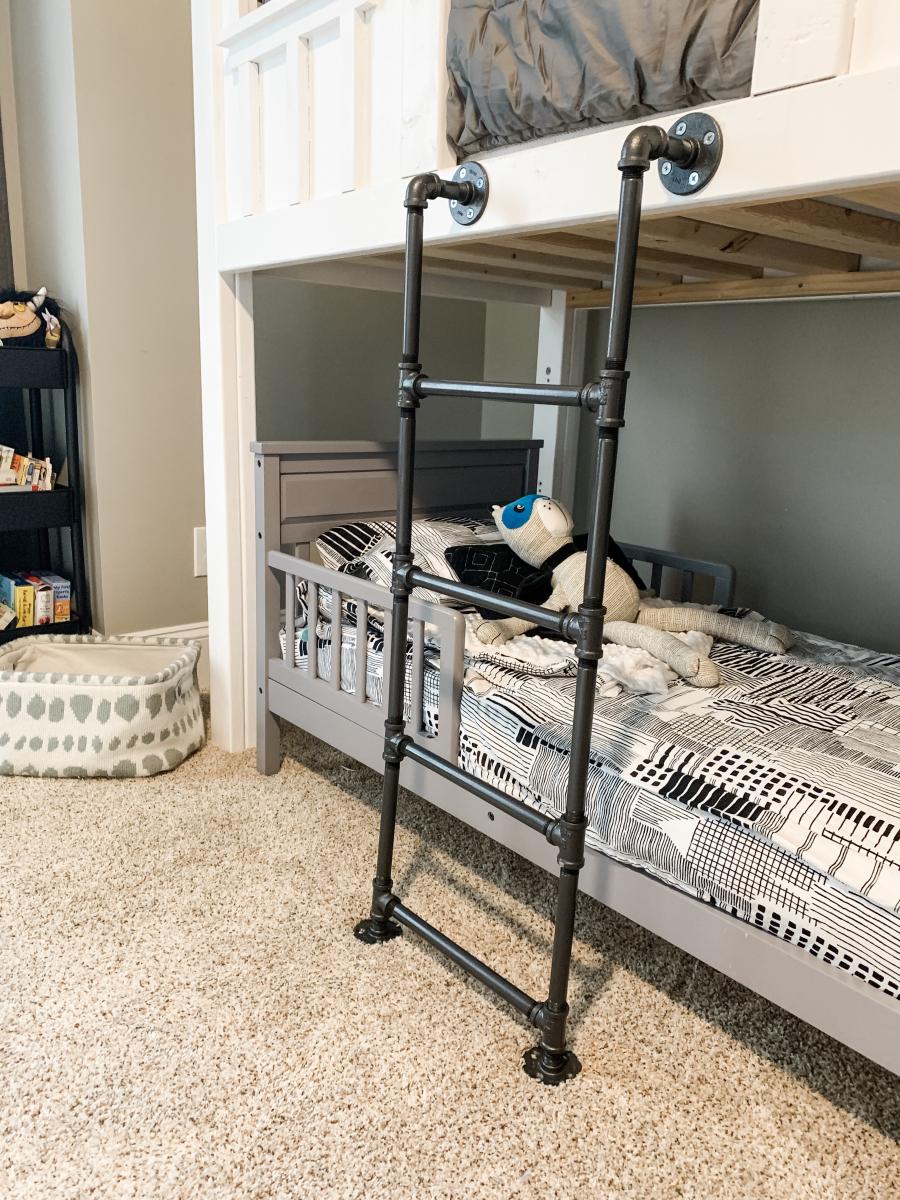
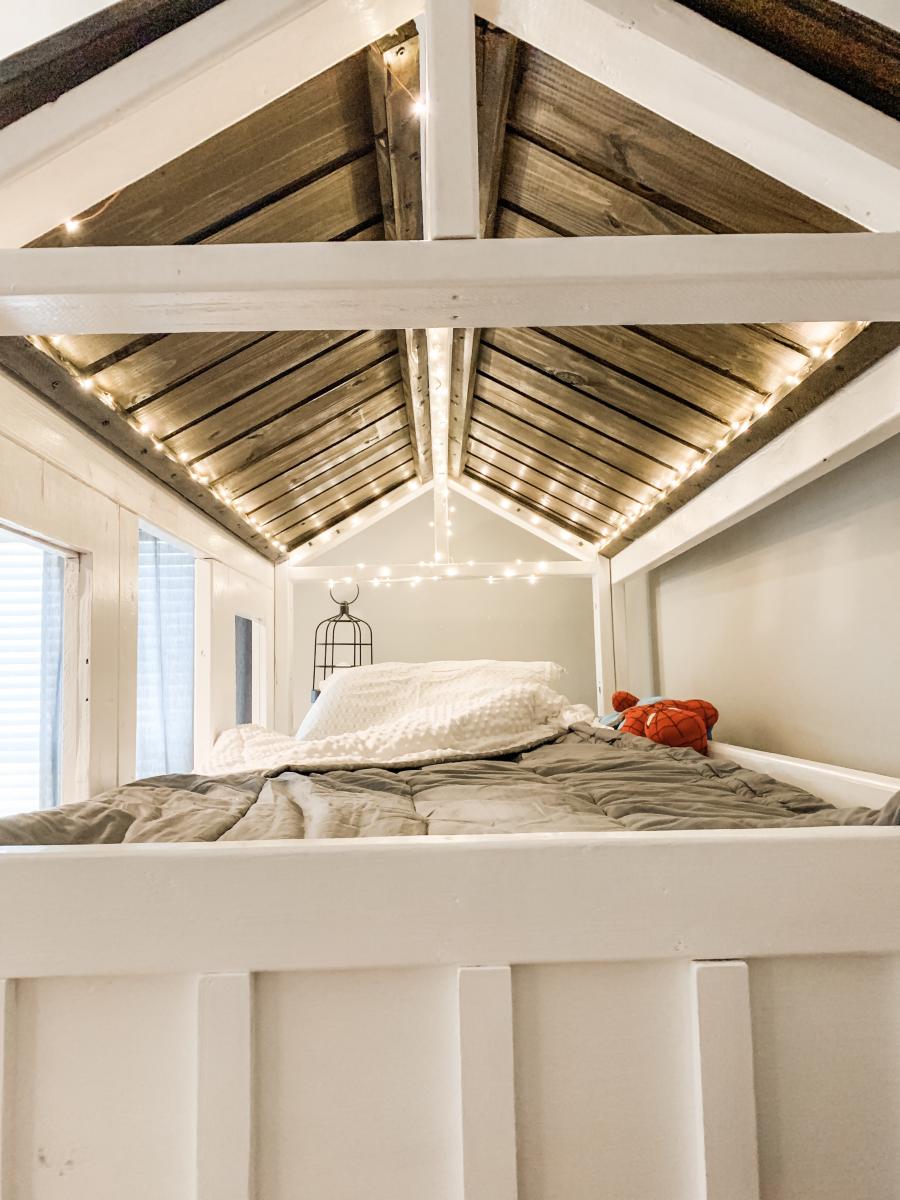
Elevated loft bed for my two boys! Easy build with the plans from Ana White! I modified this version and elevated it so I could fit my youngest underneath. It was my first time using a Kreg Jig and I’m obsessed now. I would recommend buying top quality wood and increasing all numbers by 2-3 inches to make getting the mattress in easier. I would also recommend a lower profile mattress than I used. Happy Building!

Built from Plan(s)
Estimated Cost
$300
Estimated Time Investment
Weekend Project (10-20 Hours)
Finish Used
I used SW marshmellow and stained the roof walnut. Ladder is made out of steel piping that I spray painted (with primer) black.
Recommended Skill Level
Beginner

Comments

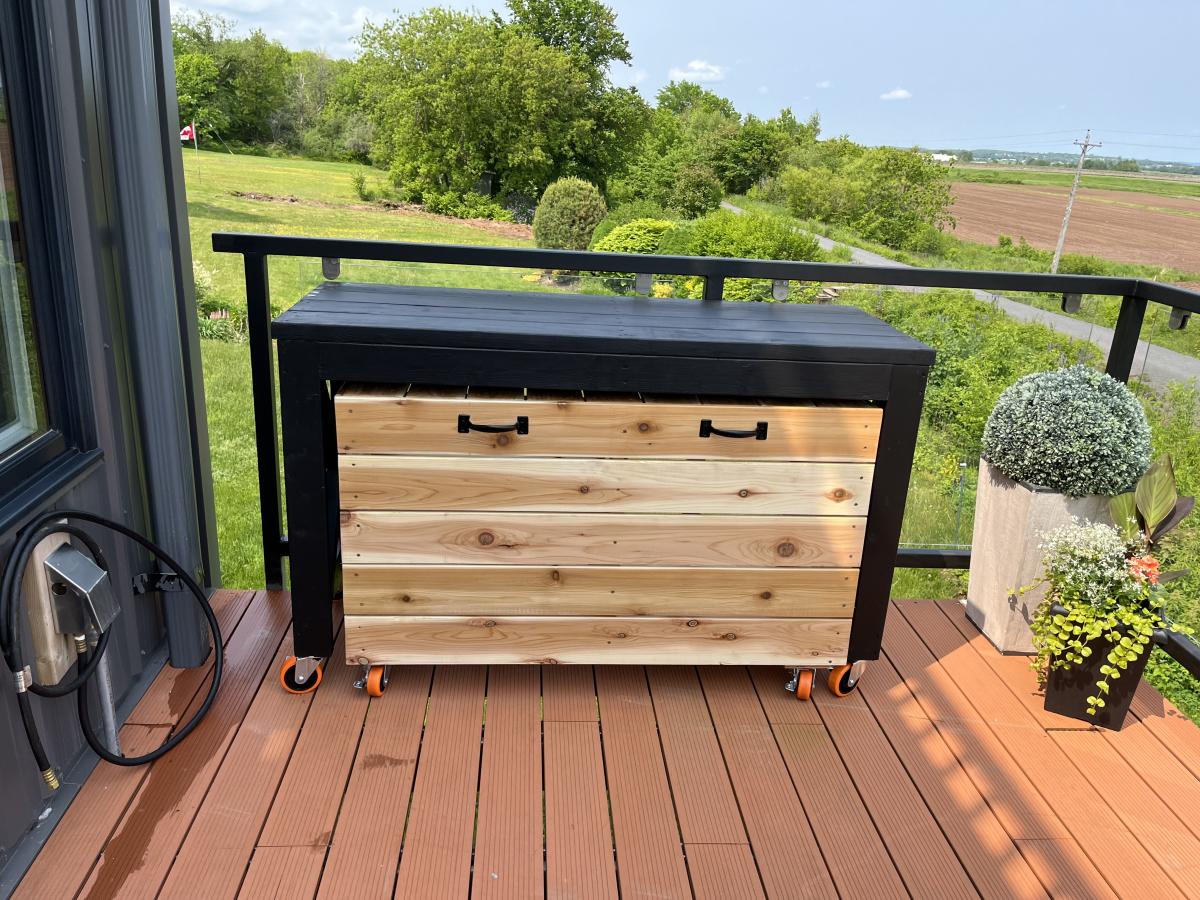
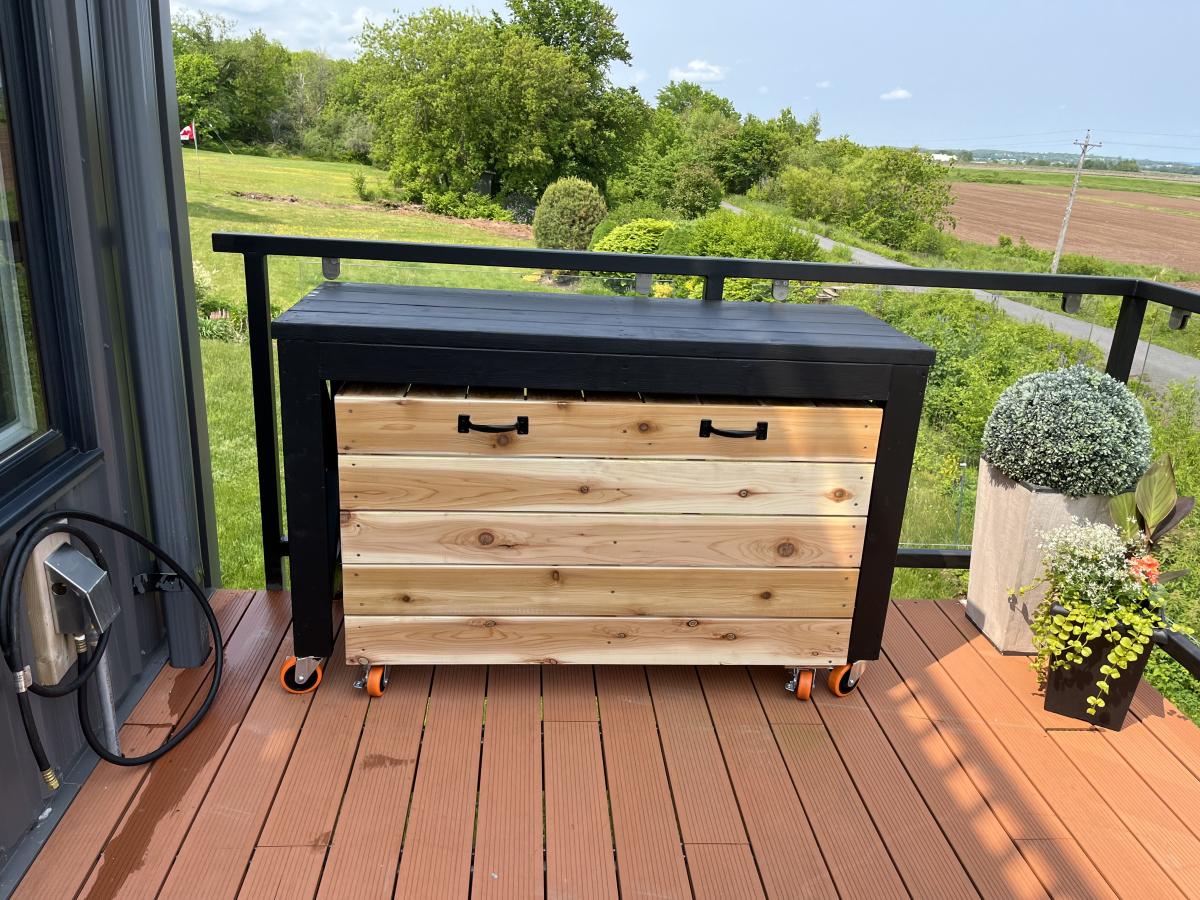
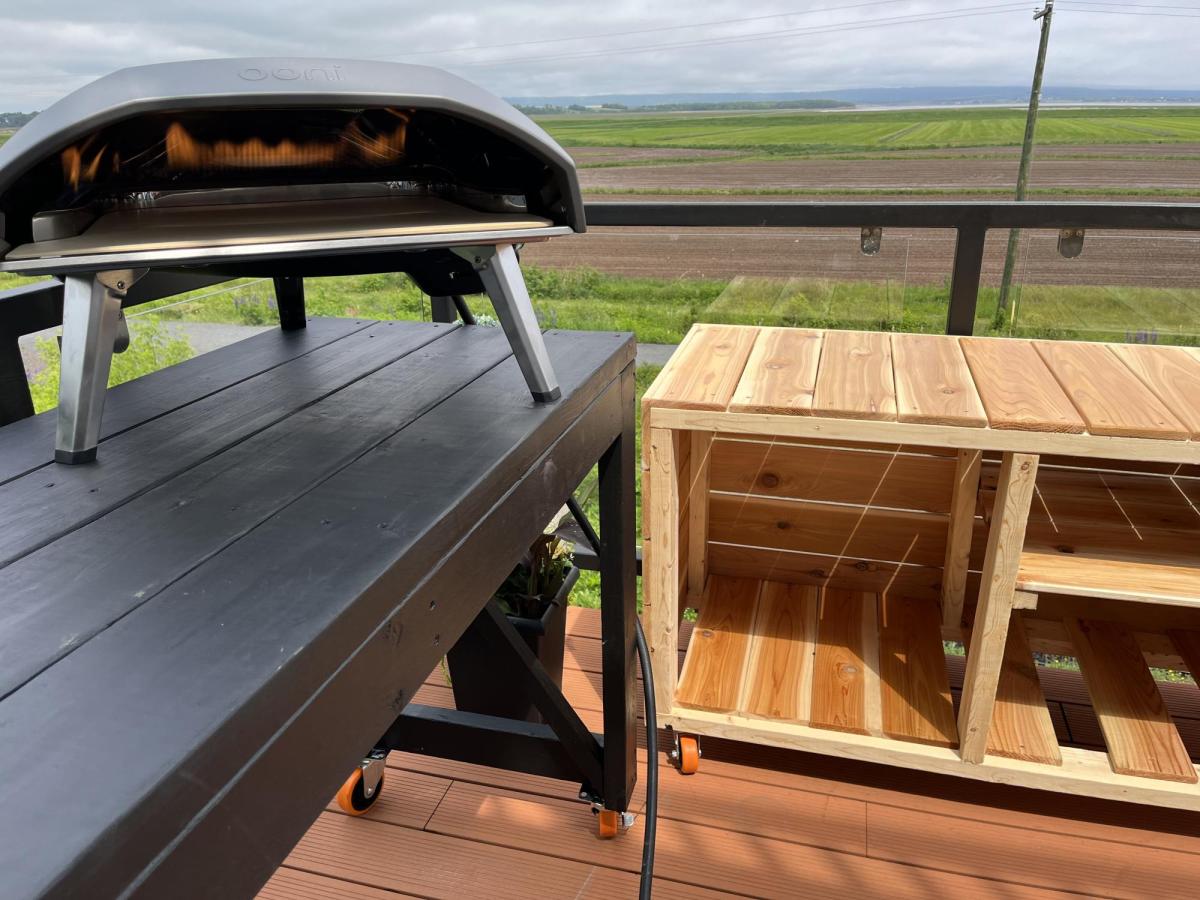
Pizza Oven Cart

Not quite big enough for Pizza Oven, but love the plans!

Comments

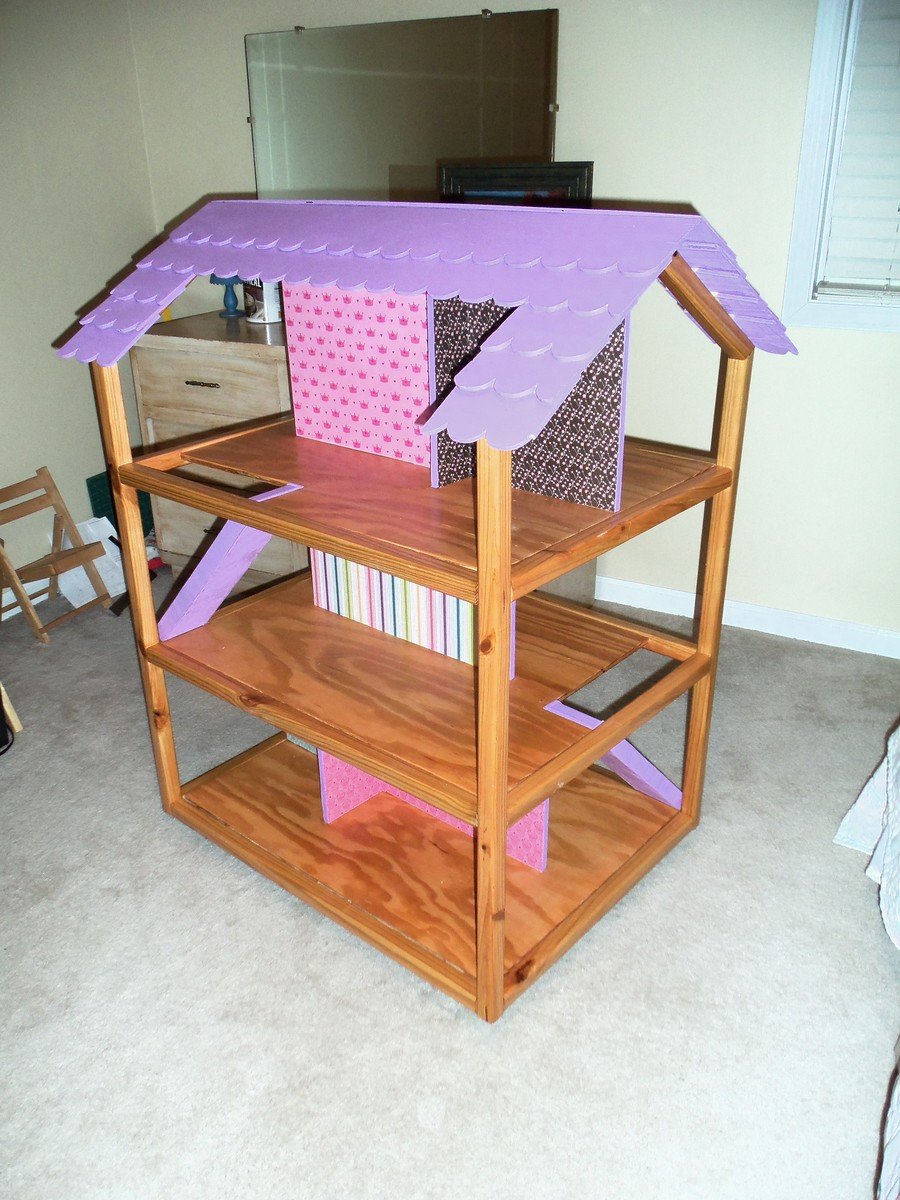
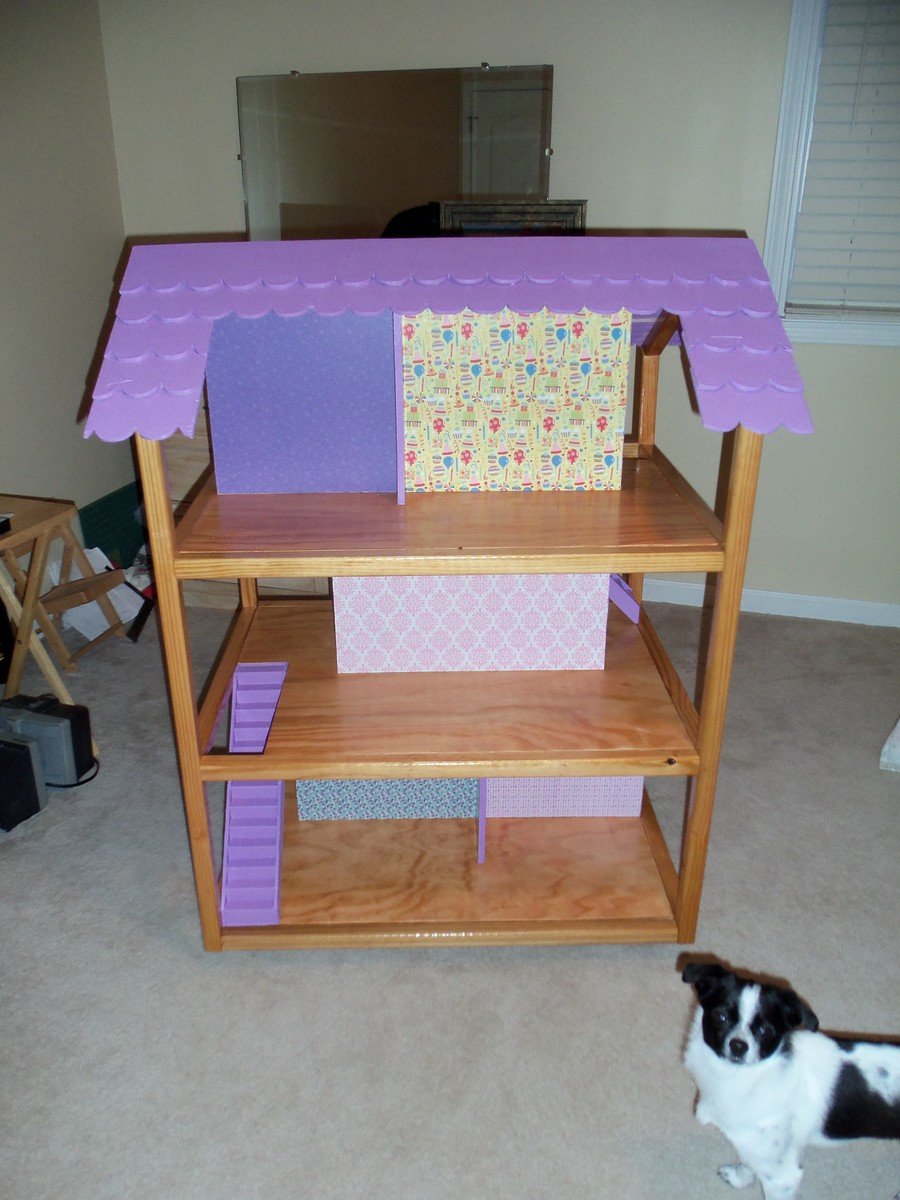
Dream dollhouse just in time for Christmas!

Submitted by DKlein10 on Wed, 12/11/2013 - 05:14

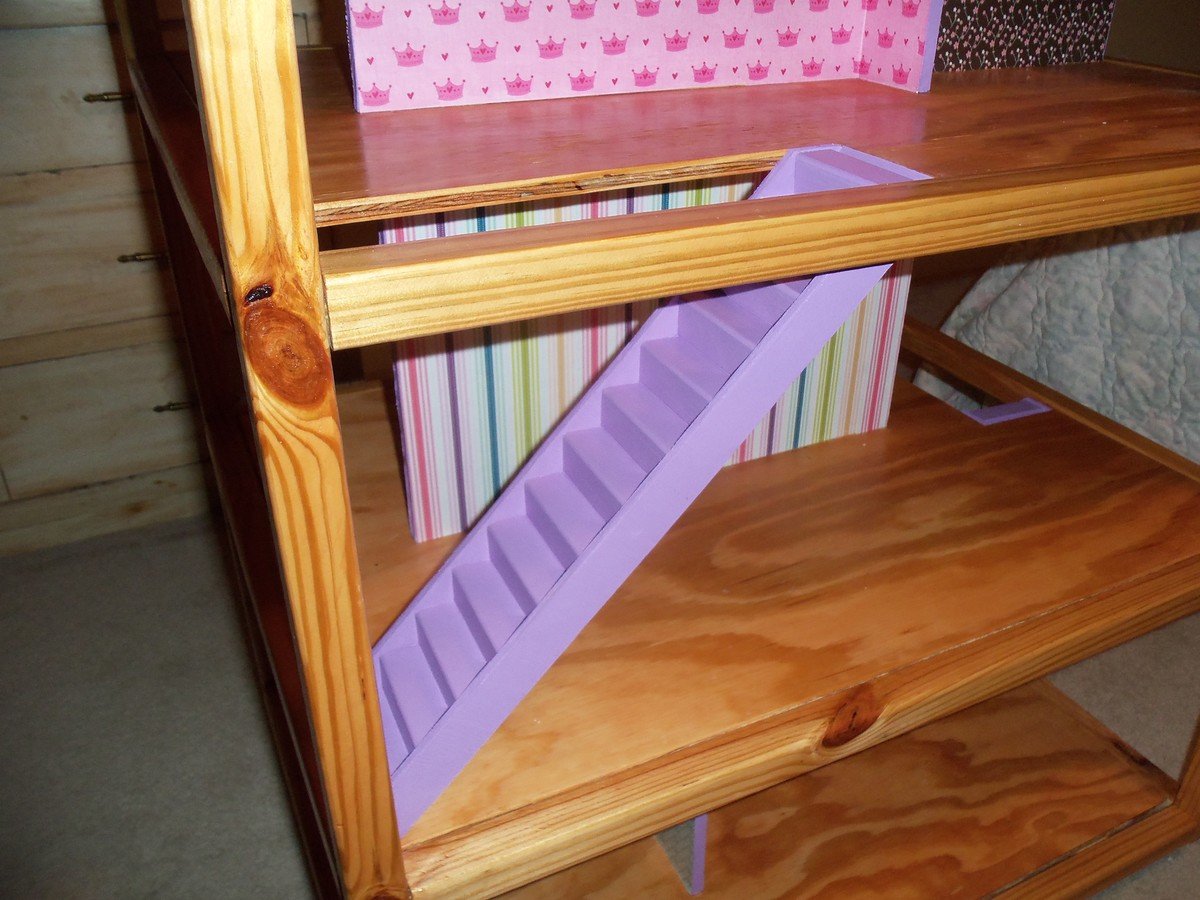
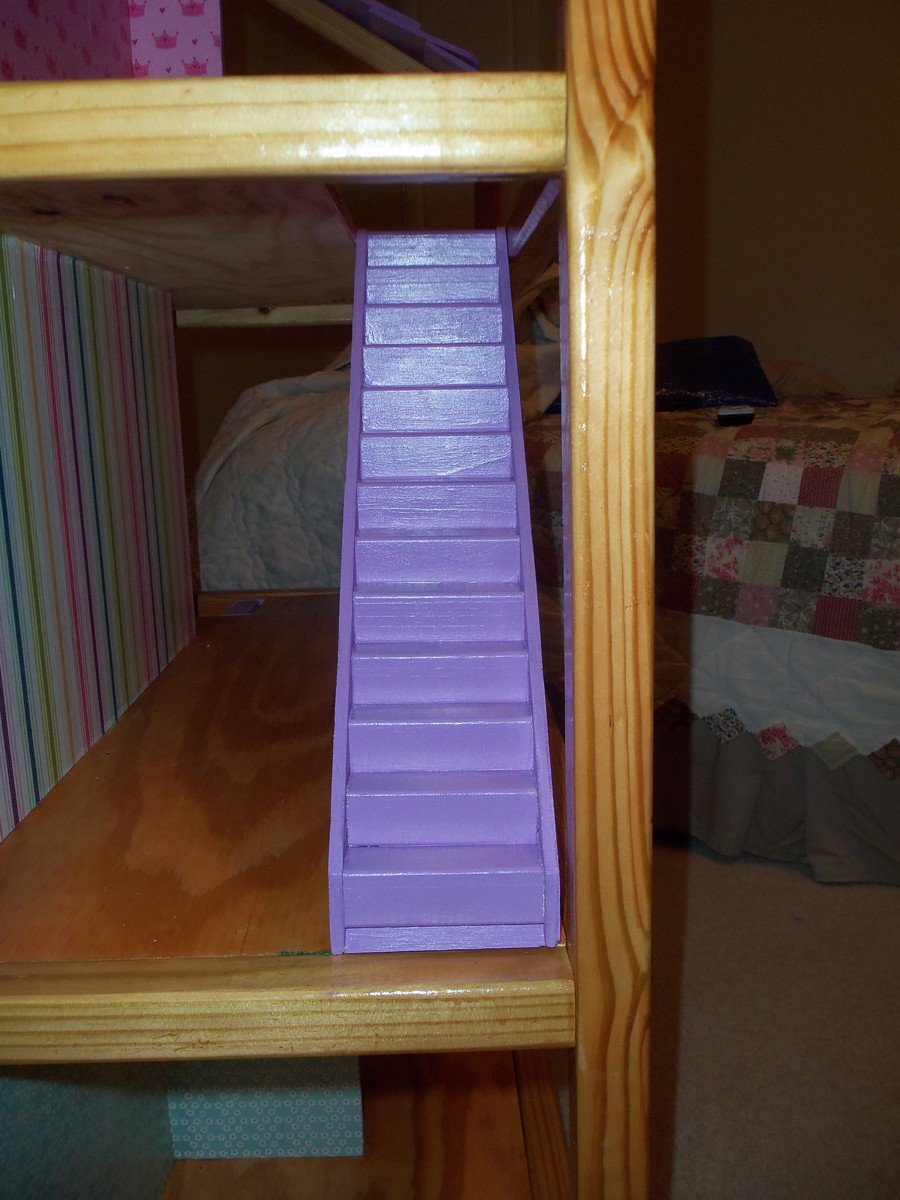
This project took me a while to do just because I had to fit the time in to complete it. Plus I changed the stairs up from the plan because I didn't like how they turned out. They seemed to sag in the middle when you pushed down on it like a kid would when walking the dolls upstairs. I then tried the 2"X4" method suggested somewhere in the posts but that didn't turn out well either. So I searched online and found Wayne of the Woods website here: http://www.wayneofthewoods.com/dollhouse%20plans.html
Scroll down and find the stair plans I adapted to fit the dollhouse I built. I used scrap 1/4" plywood and 1 1/4" (I think) "L" trim/molding. I think I'm most proud of those stairs! :)

Estimated Cost
$75
Estimated Time Investment
Week Long Project (20 Hours or More)
Finish Used
Golden Oak, I believe.
Recommended Skill Level
Beginner

Comments

Cassandra Roberts

Sat, 12/21/2013 - 14:18

This is beautiful! It's exactly how I envision ours turning out when its done, but gender neutral. THANK YOU SO MUCH for the stairs idea, I really didn't like either other option.
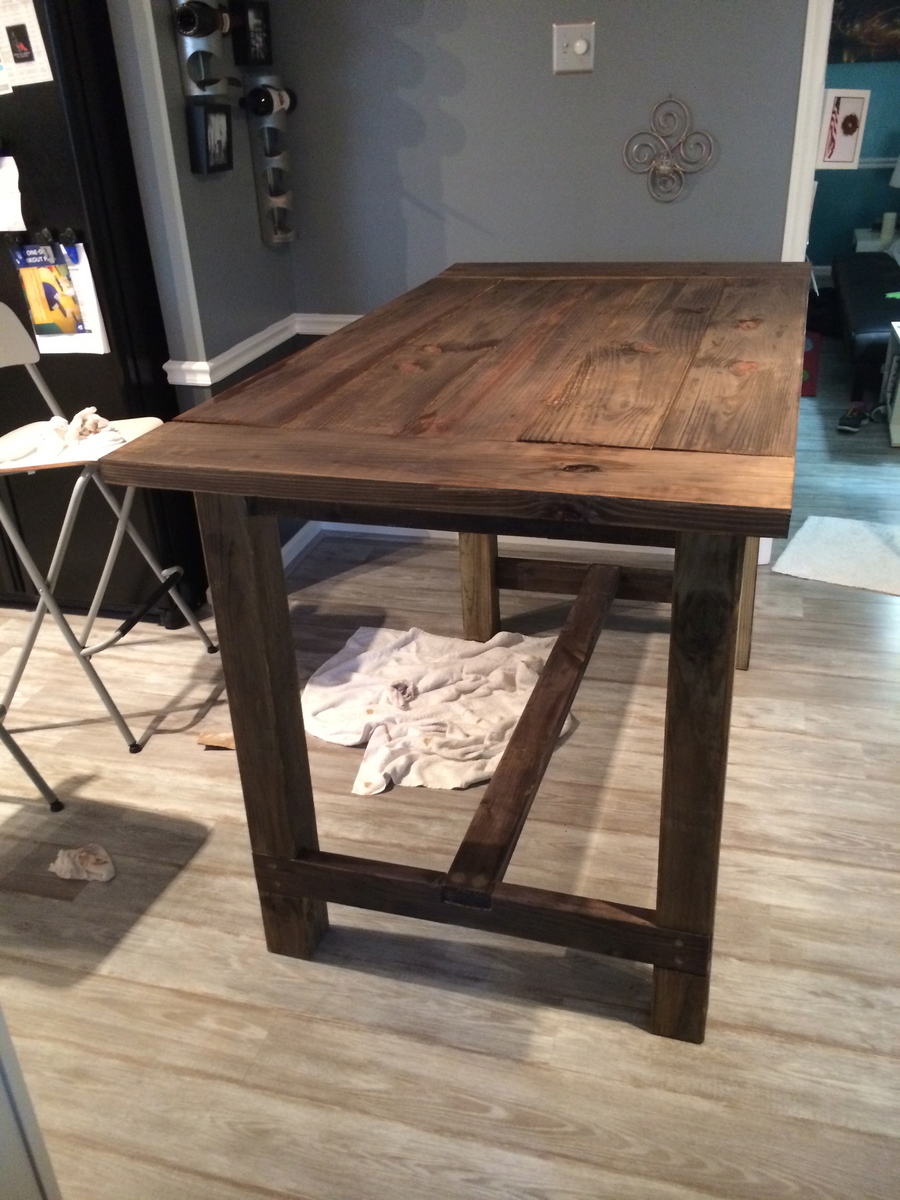
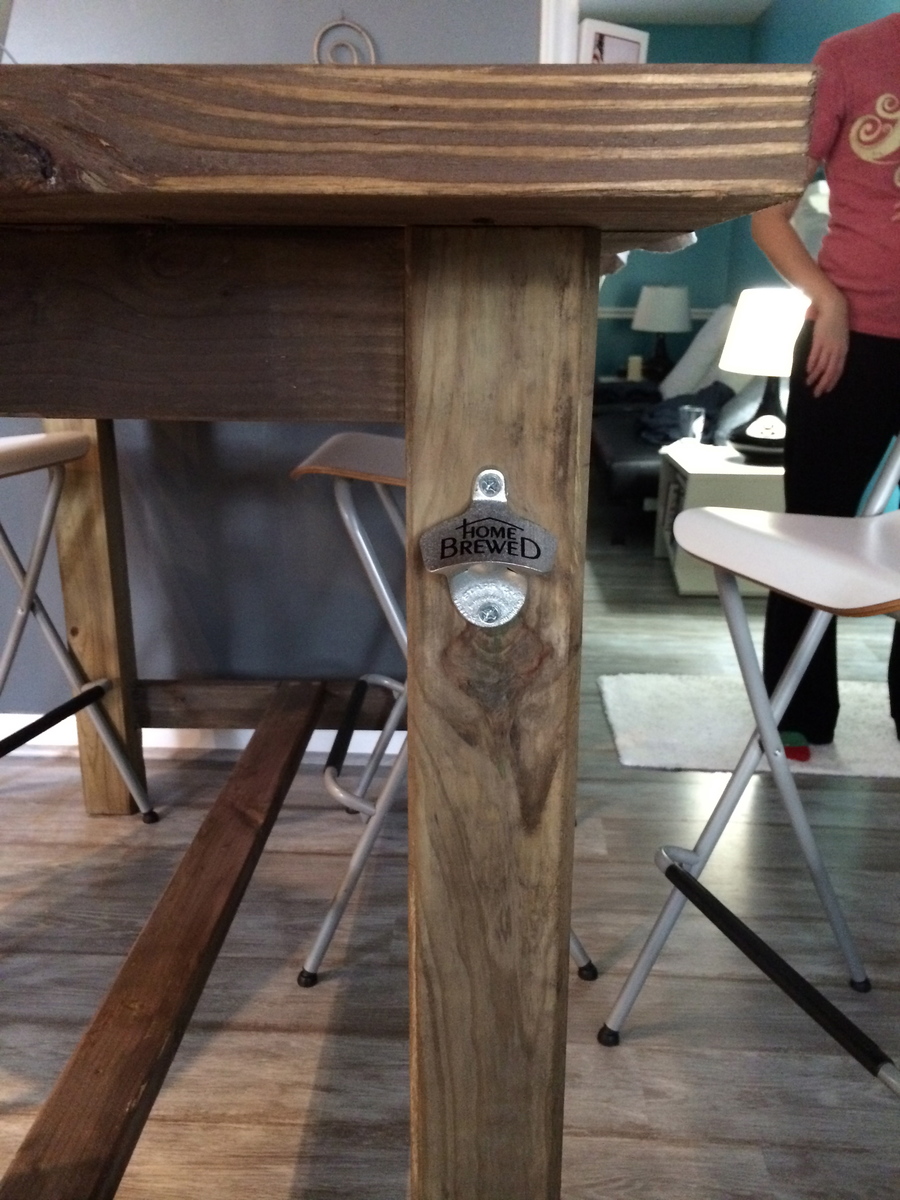
Farm House Bar Table

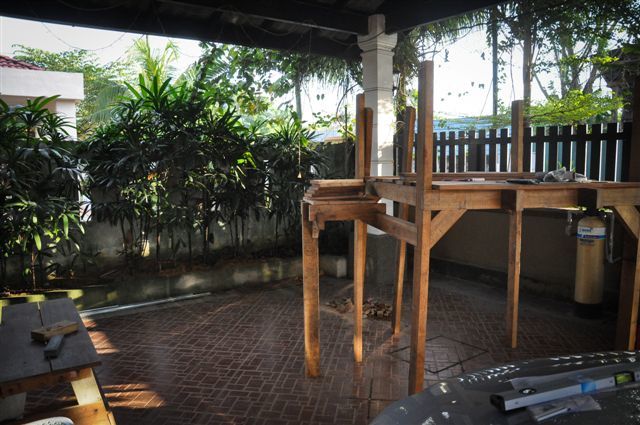
Modification of Ana White's Farmhouse Table adjusted to bar height.

Estimated Time Investment
Weekend Project (10-20 Hours)
Recommended Skill Level
Beginner

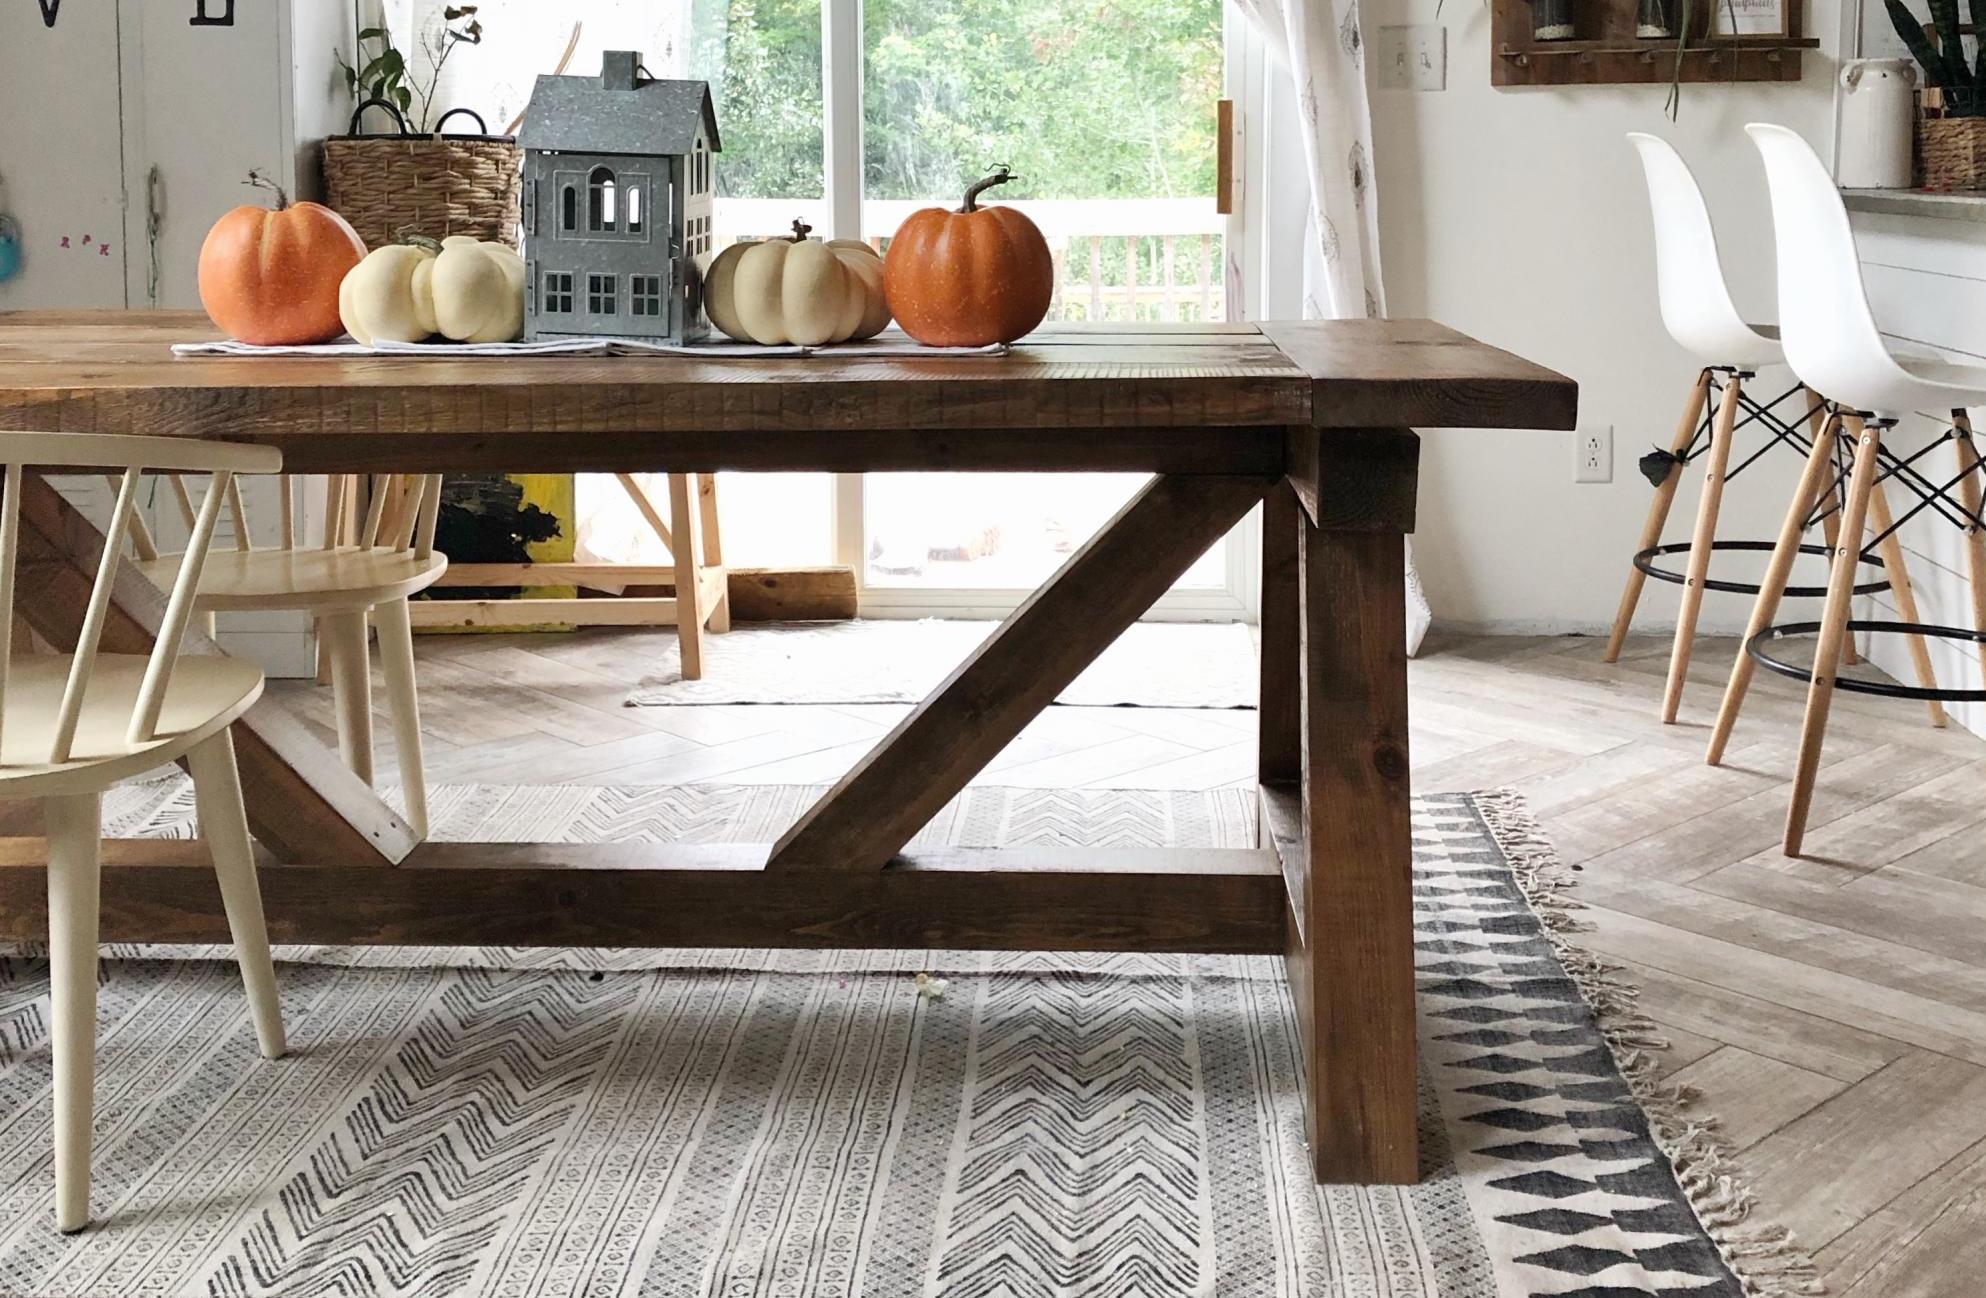
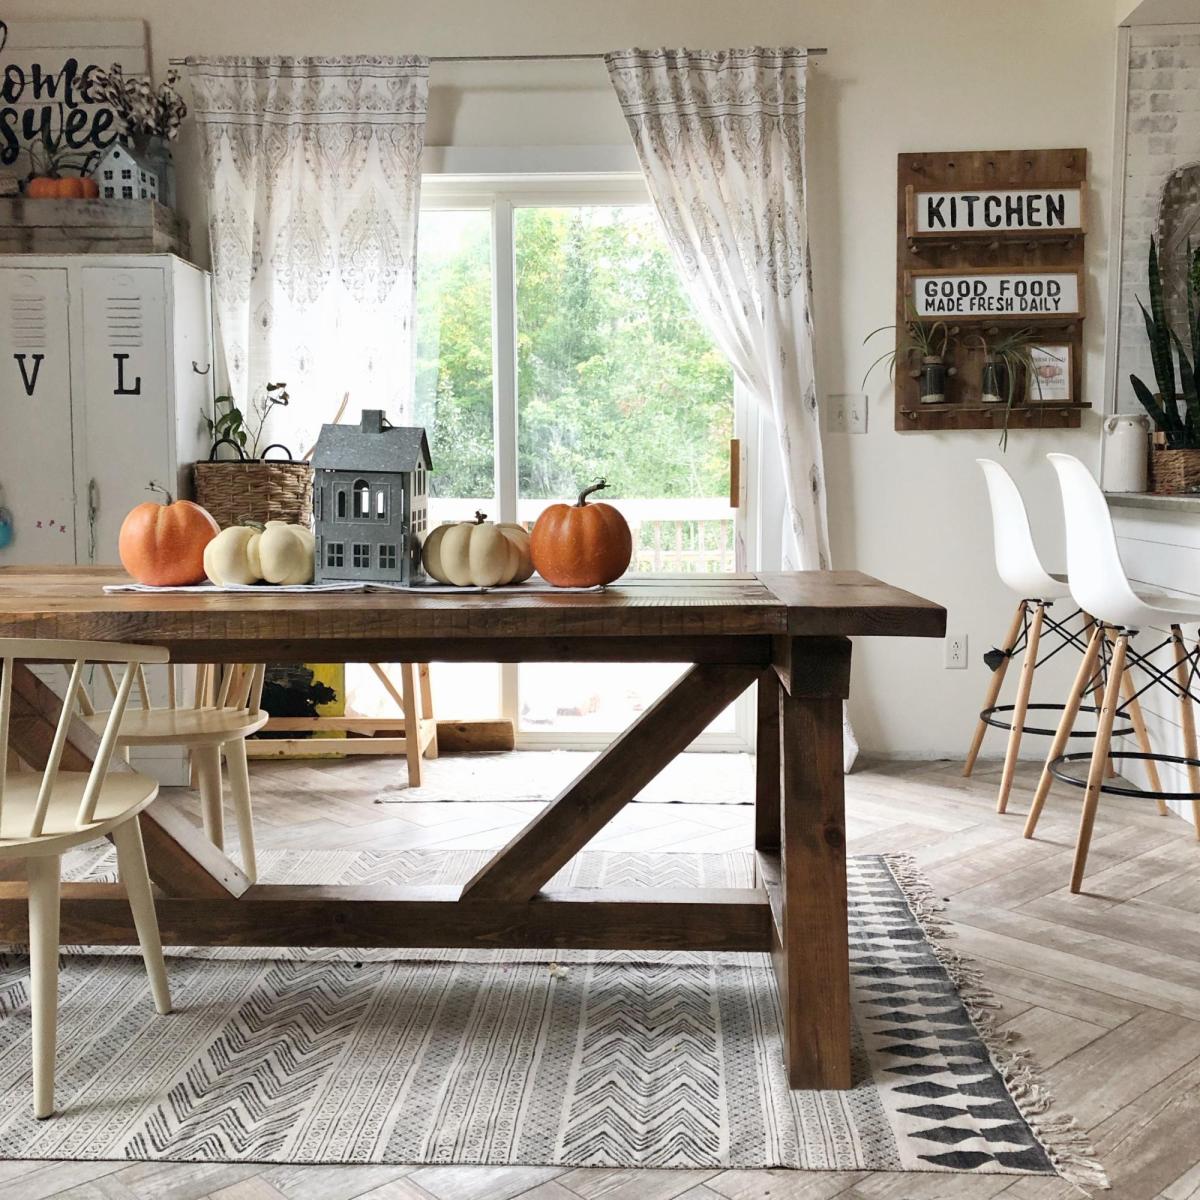
From Logs to Famhouse Table

Submitted by Anonymous (not verified) on Sun, 10/13/2019 - 18:45

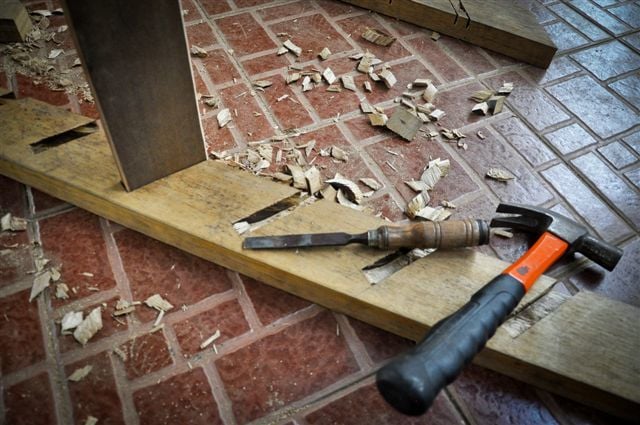
So this DIY Farmhouse Style Table has been on my “make it” list for a while now. And what better time to make it than now, since we just got a saw mill. Check out the blog link below to read all about it.
Built from Plan(s)
Estimated Time Investment
Weekend Project (10-20 Hours)
Finish Used
Minwax Early American Stain
Minwax Polycrylic Clear Sealer
Recommended Skill Level
Intermediate
Seasonal And Holiday

play table (24" x 36") with storage bins

I modified Ana's plans to make a smaller size play table (24" x 36") and built the frame using pocket hole joinery.  I've included free plans for the smaller size in my blog post.

Estimated Cost
$100
Estimated Time Investment
Afternoon Project (3-6 Hours)
Finish Used
2 coats clear satin poly
Recommended Skill Level
Beginner

DIY Campsite Outdoor Storage and Grill Station

Submitted by Anonymous (not verified) on Thu, 08/31/2023 - 11:28

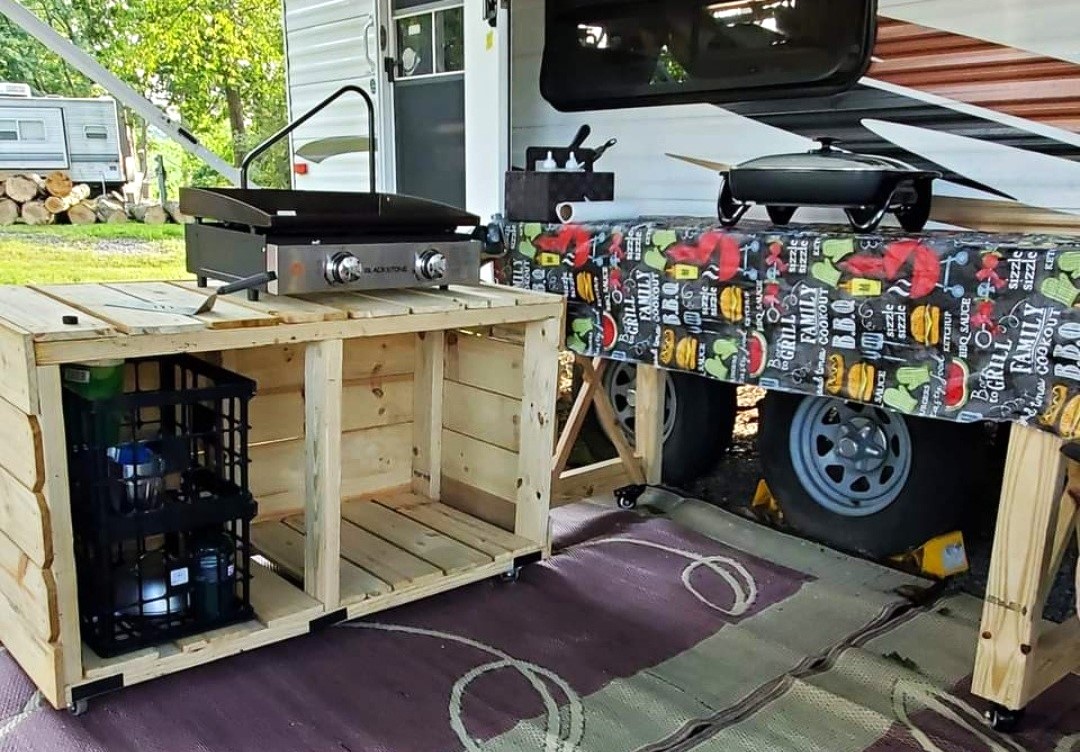
We made the grilling station to keep at our seasonal campsite and it's absolutely fantastic! We have since added some L brackets and 2 shelves, and this is where we store our extra cases of water, soft drinks, outdoor cooking utensils plus an air fryer! Super easy plans, with well written instructions for even the novice (me and hubs) diy builders!

Ali W.