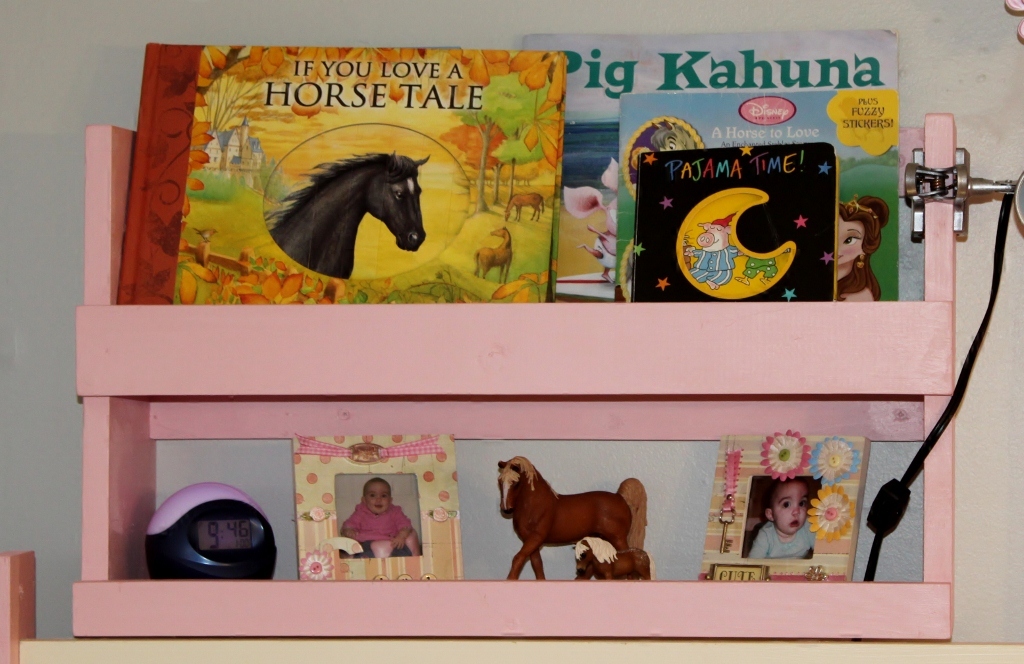
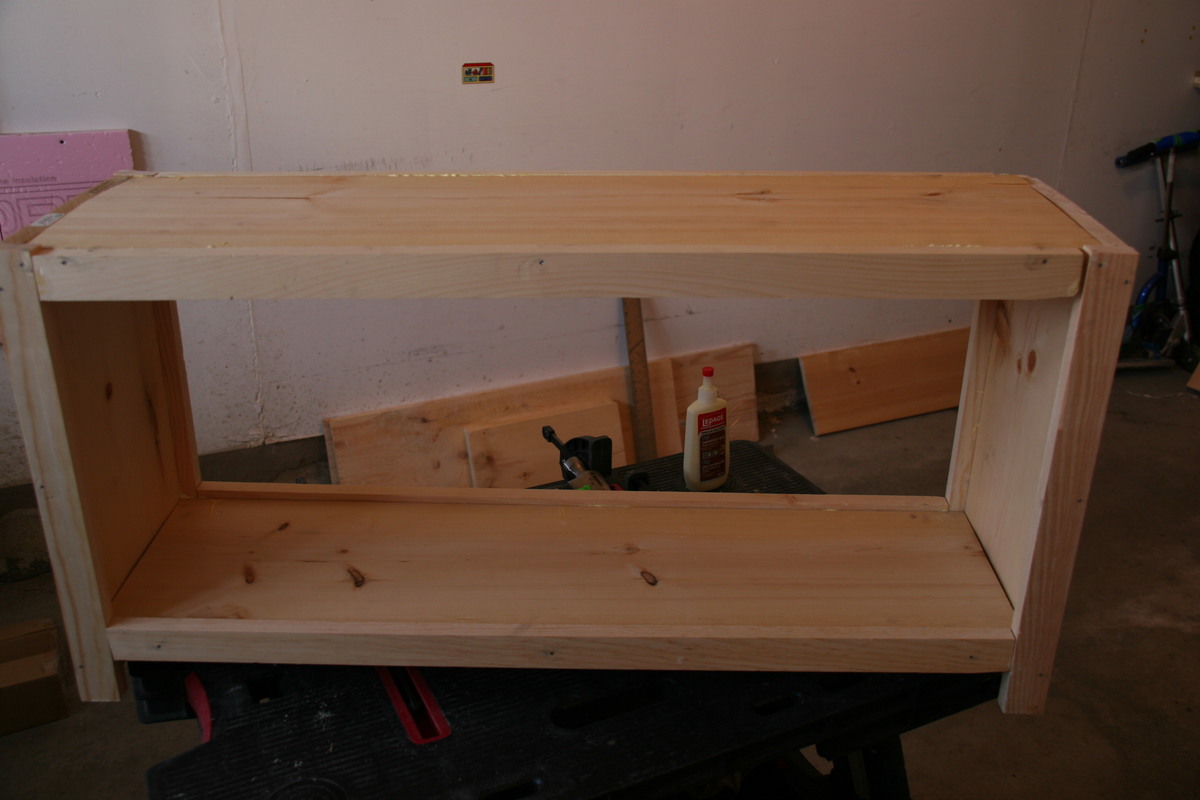
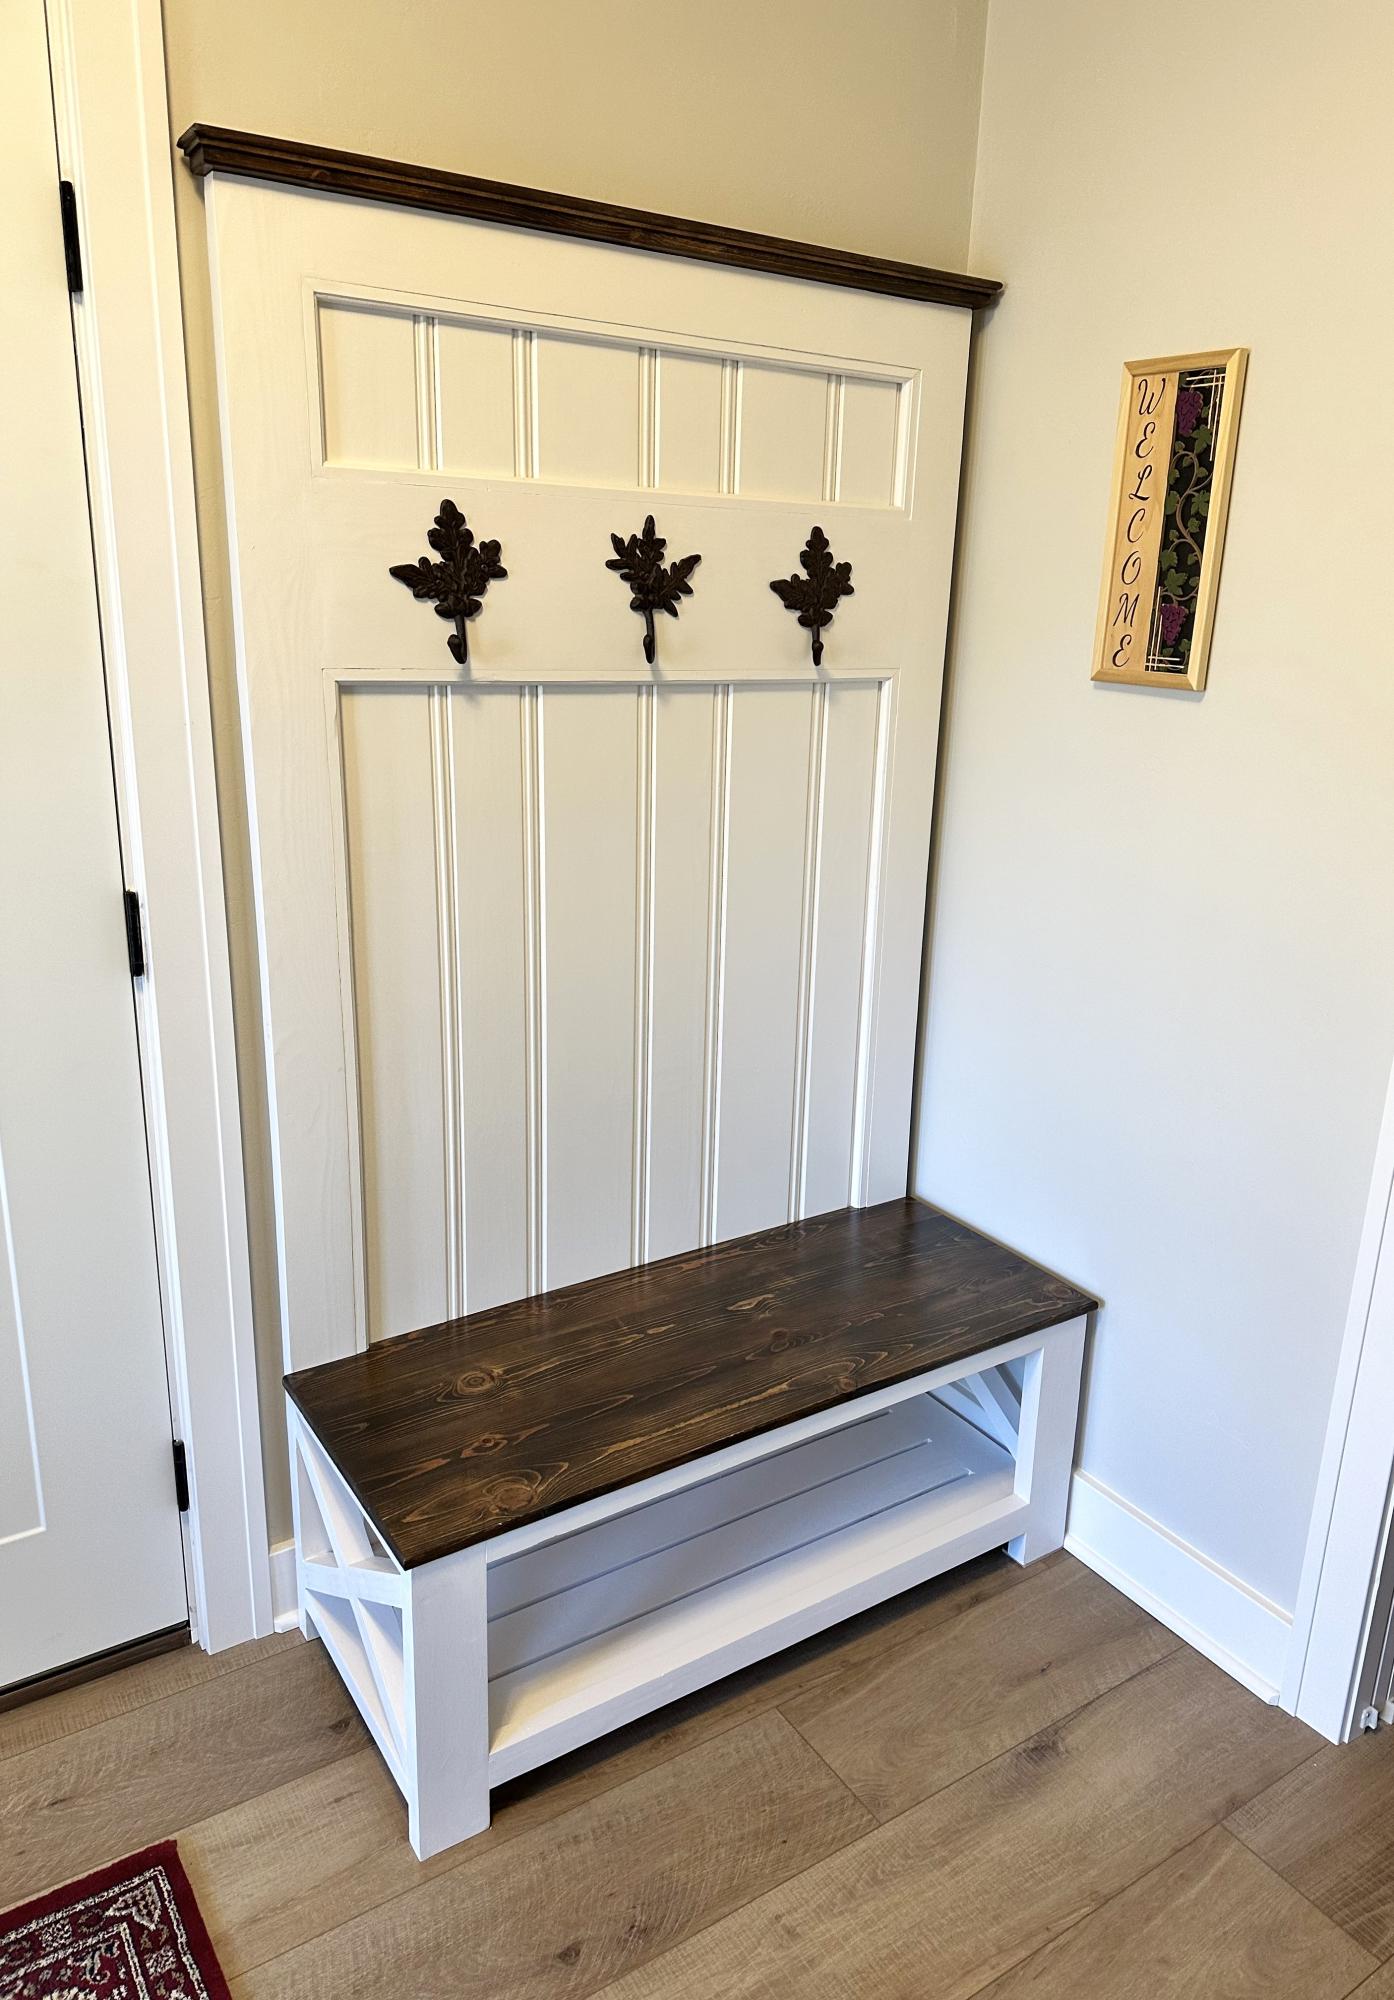
Bunk Bed Shelf Organizer
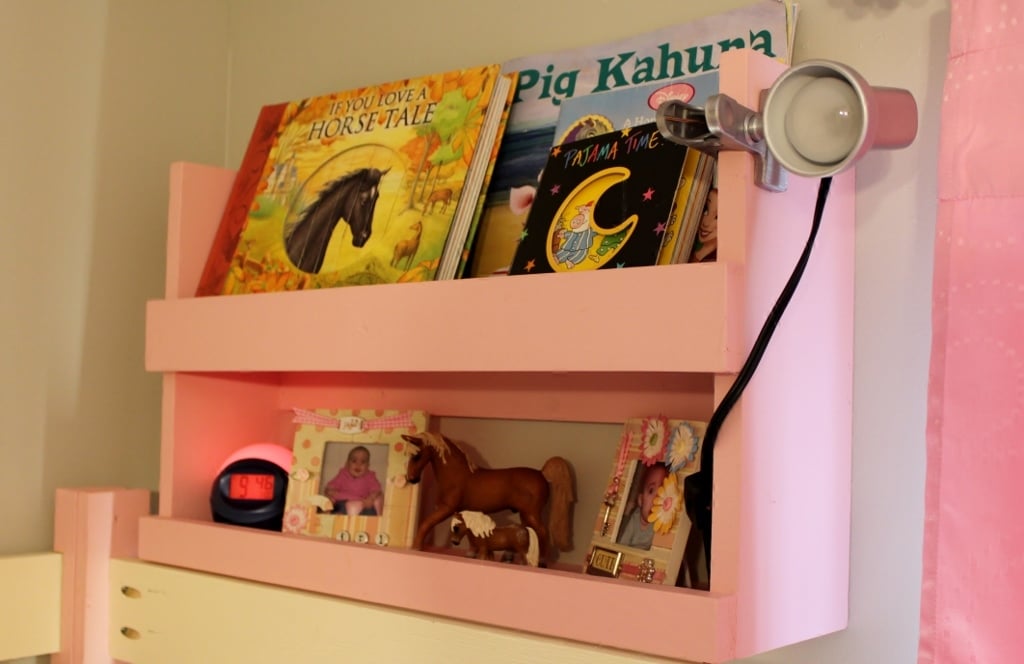
I had just finished my daughter's playhouse loft bed when I saw this plan. It was super easy to build and I used all left over wood from the playhouse. I used 6-inch boards for the sides and shelves since that was what I had left over. Other than that, I followed this plan exactly. Thanks for posting!
Built from Plan(s)
Estimated Time Investment
An Hour or Two (0-2 Hours)
Recommended Skill Level
Beginner


Comments
Momsicle3
Thu, 04/16/2020 - 17:25
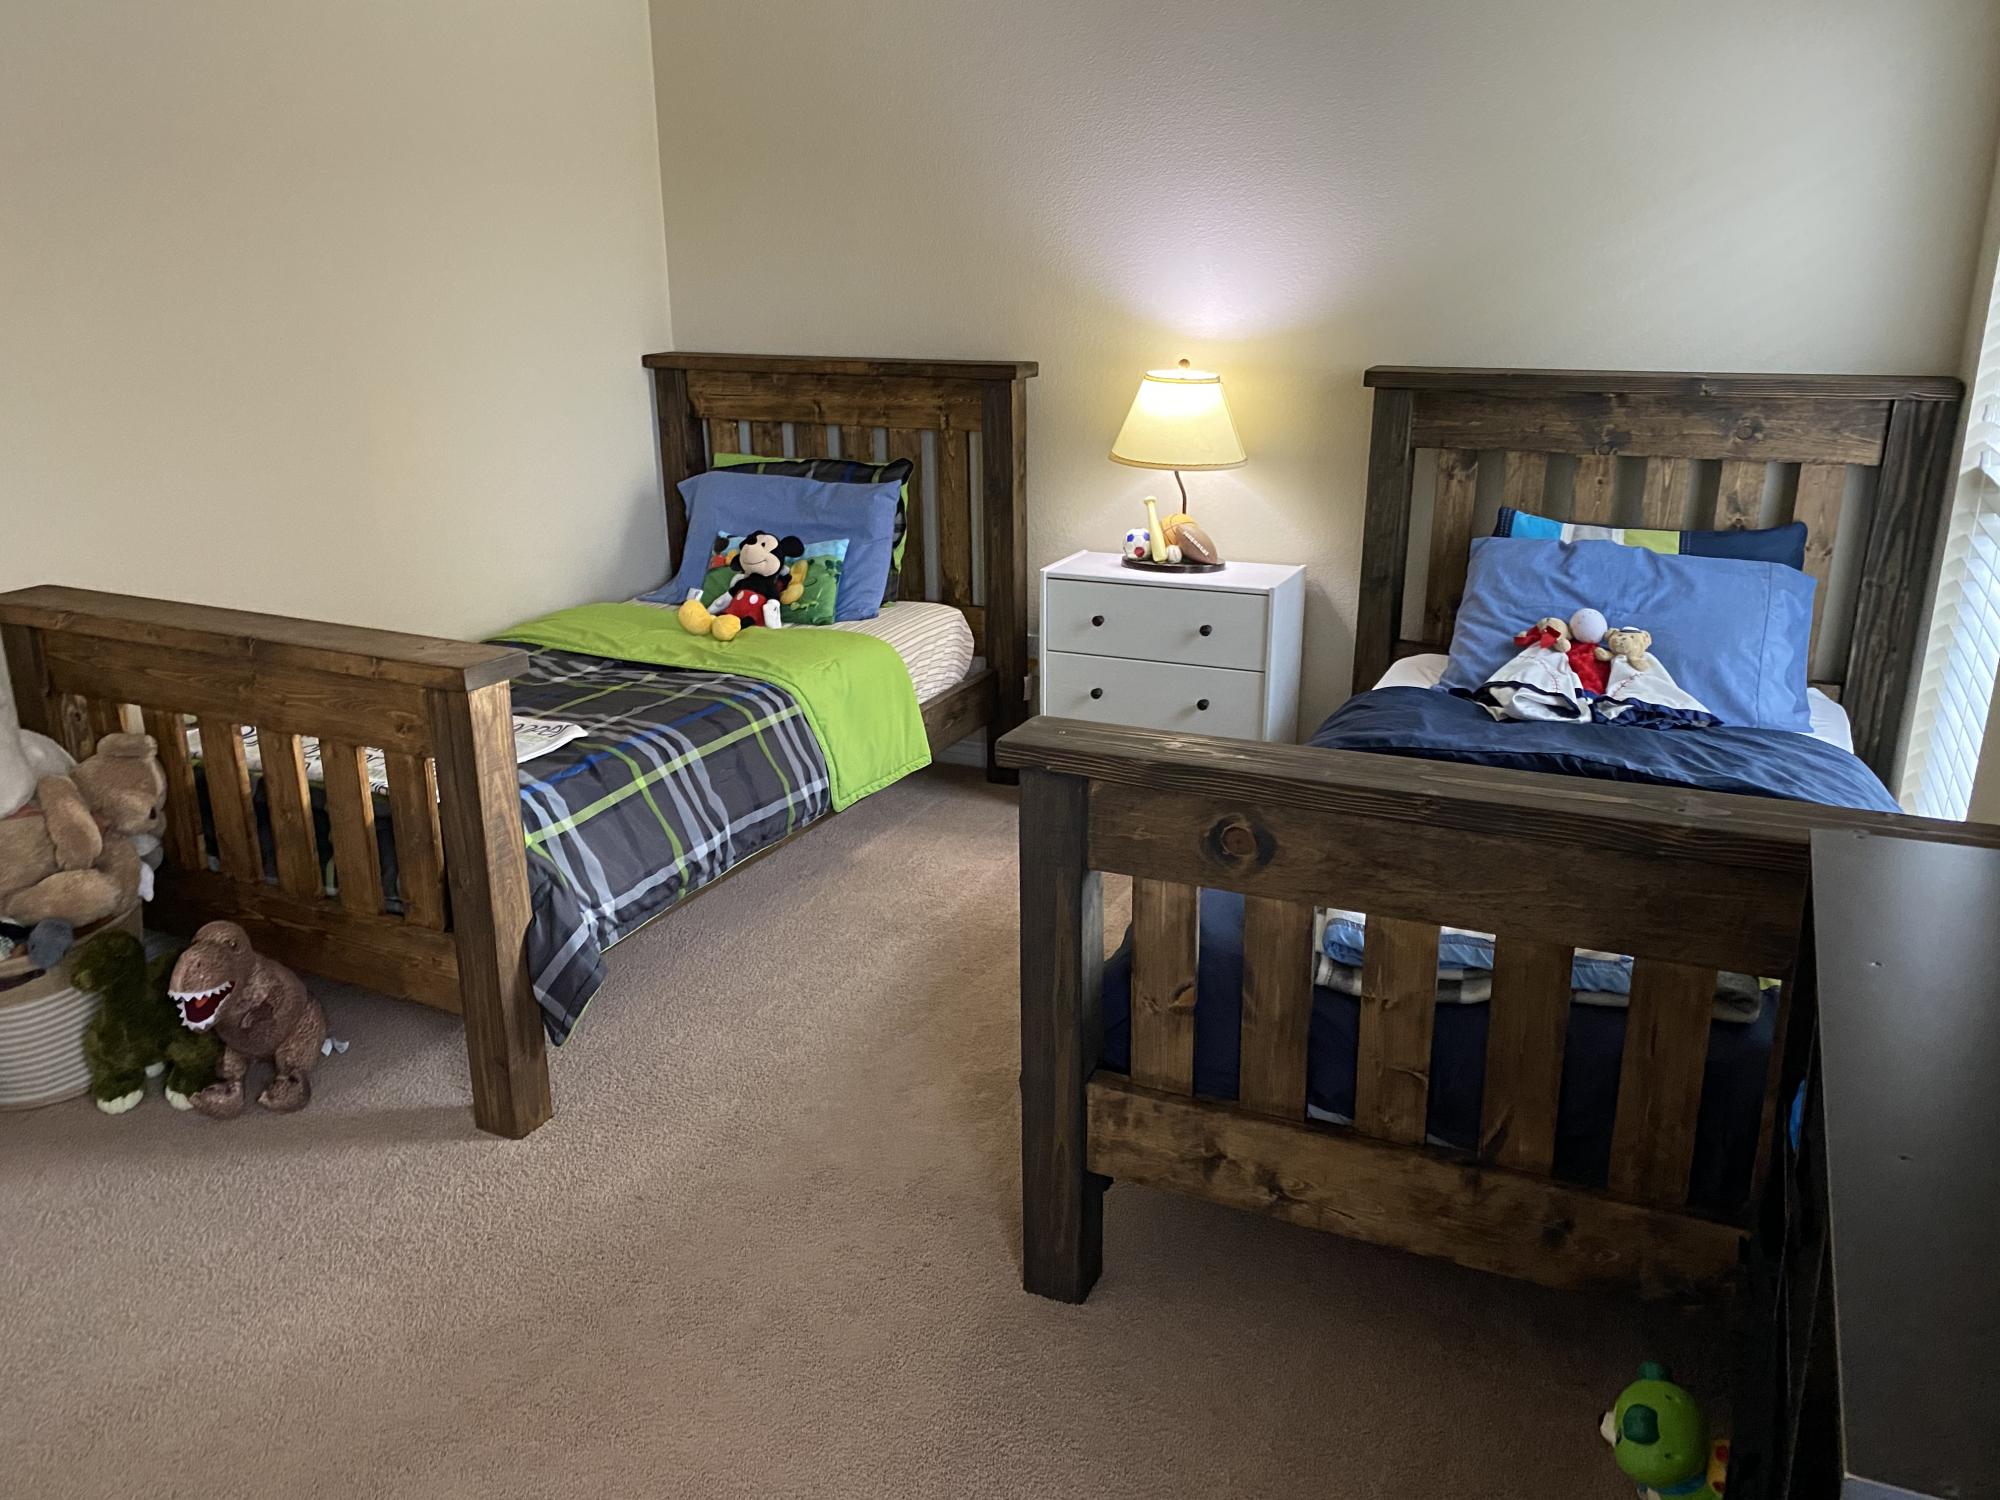
Perfect little light
Where did you find that light? It's the perfect size!