Community Brag Posts

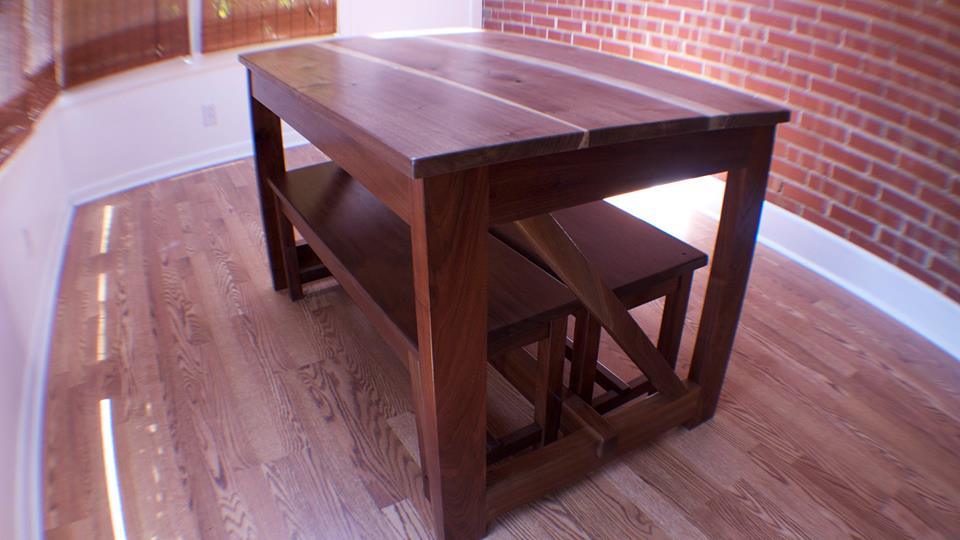
Walnut Dining Table

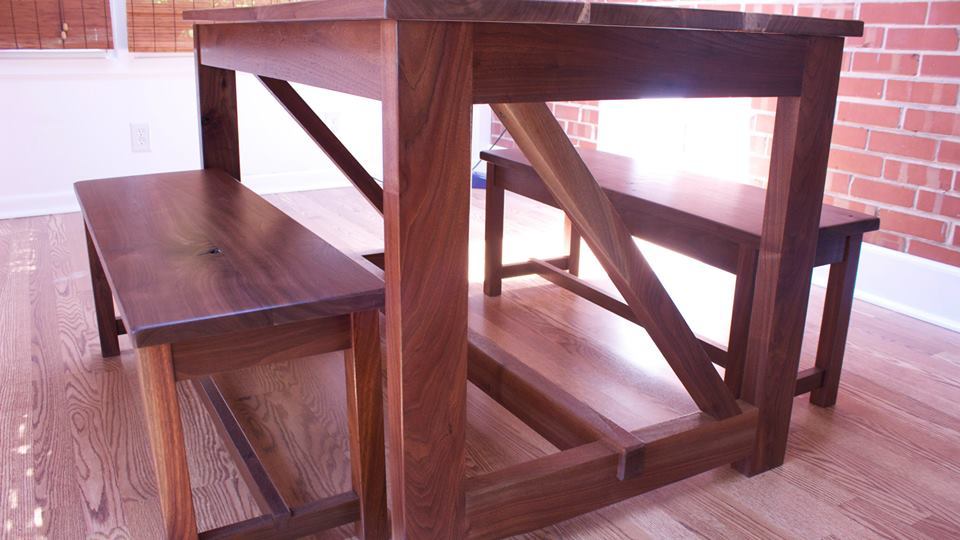
This table was a lot of fun to make it wasn't too hard. The hardest part was cutting the dados. If you have a table saw, it's not as hard. I hope you watch the video of how it was made.
http://youtu.be/ymz3Zim79Lo?list=PLRGcaQeW9svX5lRtTc9w2LrOzEFoez3j0

Estimated Time Investment
Weekend Project (10-20 Hours)
Finish Used
Shellac and Polyurethane
Recommended Skill Level
Intermediate

Kids Home School Desk and Chair

Submitted by Anonymous (not verified) on Thu, 08/27/2020 - 12:42

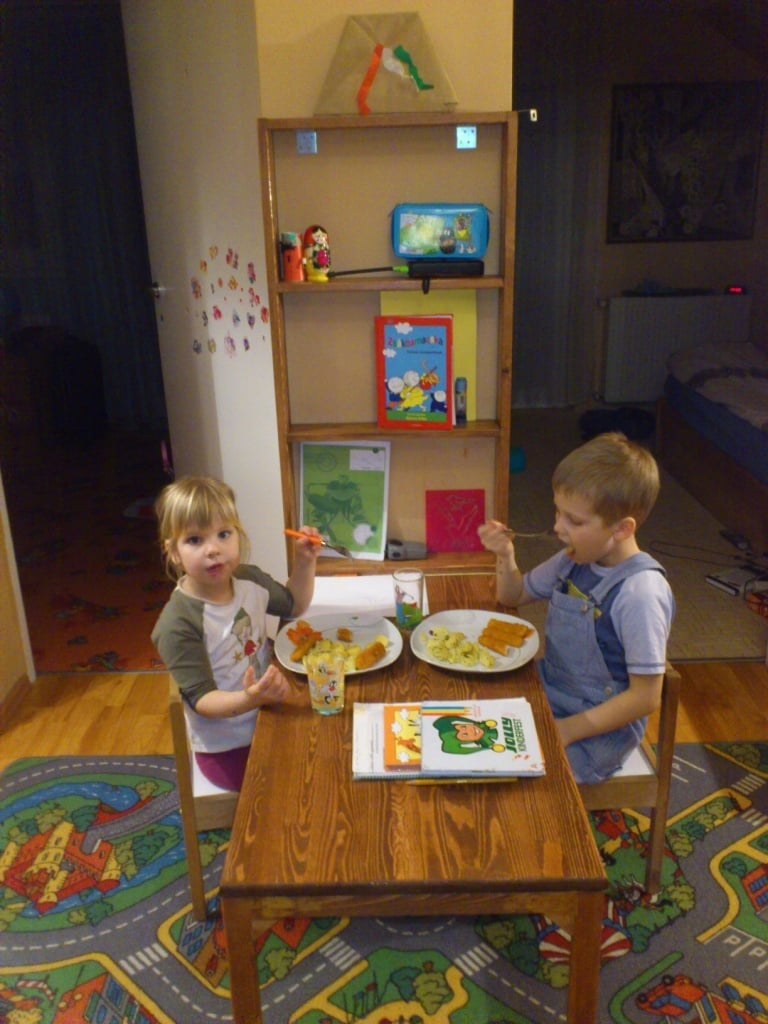
We have the covid home school season in effect here in Texas. I built this for my grandson who is in kindergarten. He really likes it and I enjoyed building it. The table is made from pine primarily 2"x 3" boards and a 2' x 4' panel desktop. It is 25" high and 24"W x 48"L. I used the Ana White X Design for the frame.
The chair is 30" high with the seat being 15" high. It is 12" wide by 14 1/2 long. I made the rear legs from a 2" x 6" boarded ripped at 2 1/2 inch wide and the back rest angle at 6 degrees off center. The front legs from 2'' x 2".
I installed adjustable threaded glide felt pads to both the chair and table legs.
I painted and distressed for the older used look.

Estimated Cost
$40 with my 10% military discount for material.
Estimated Time Investment
Weekend Project (10-20 Hours)
Finish Used
Sanded 120 grit and used Glidden white for frame that I had from an old job. Dark wax tabletop.
Recommended Skill Level
Beginner

Beginner Farm House Table w/ pocket holes

Submitted by Anonymous (not verified) on Wed, 09/02/2020 - 19:28

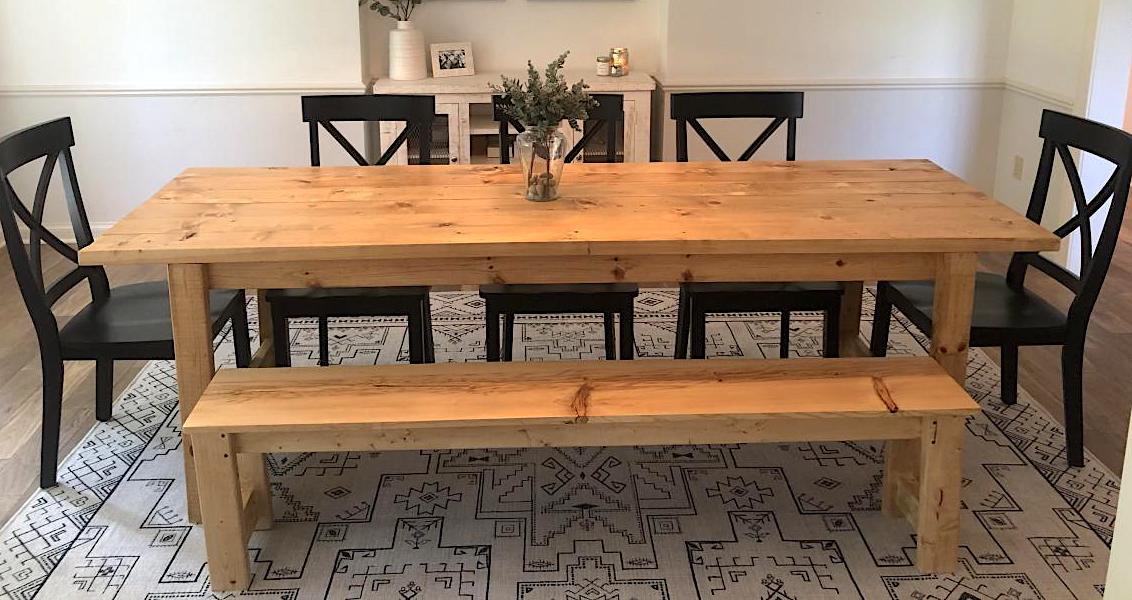
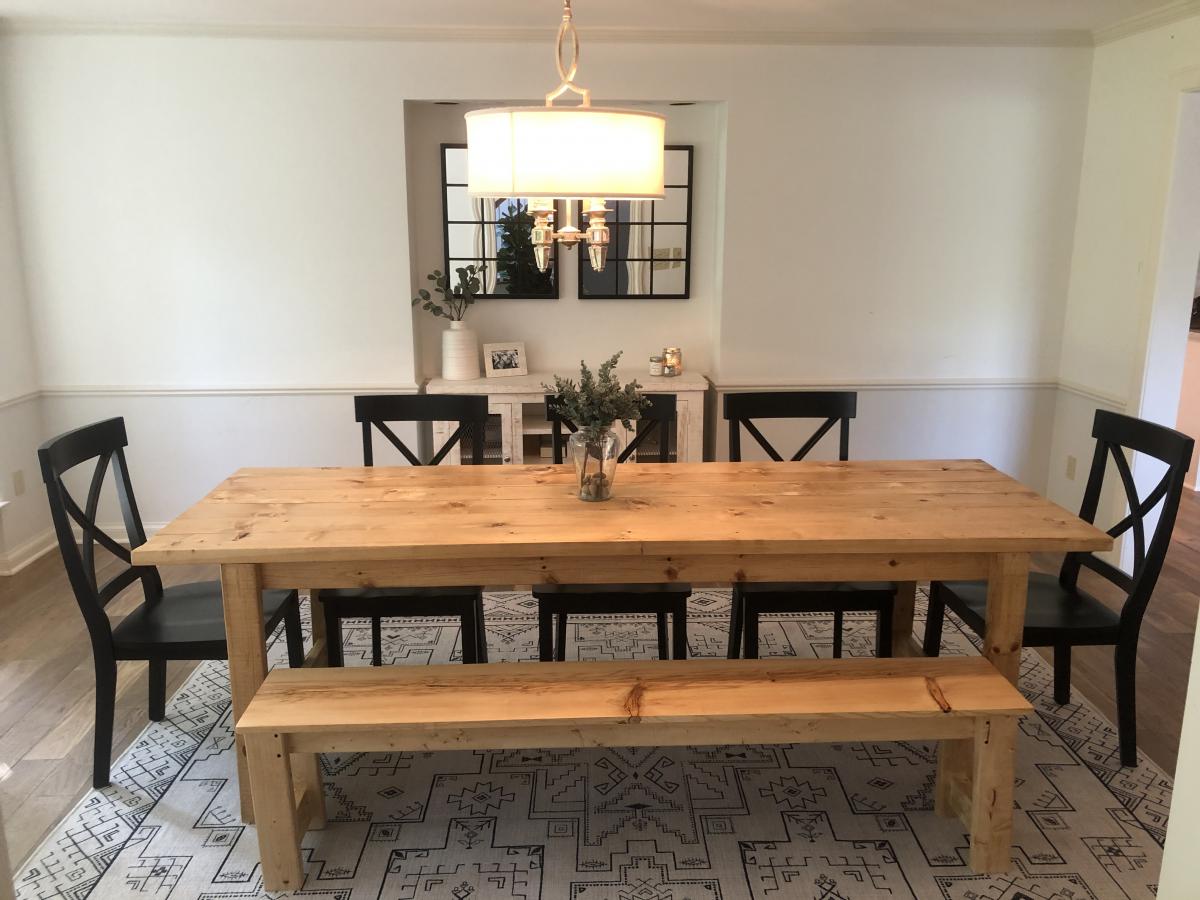
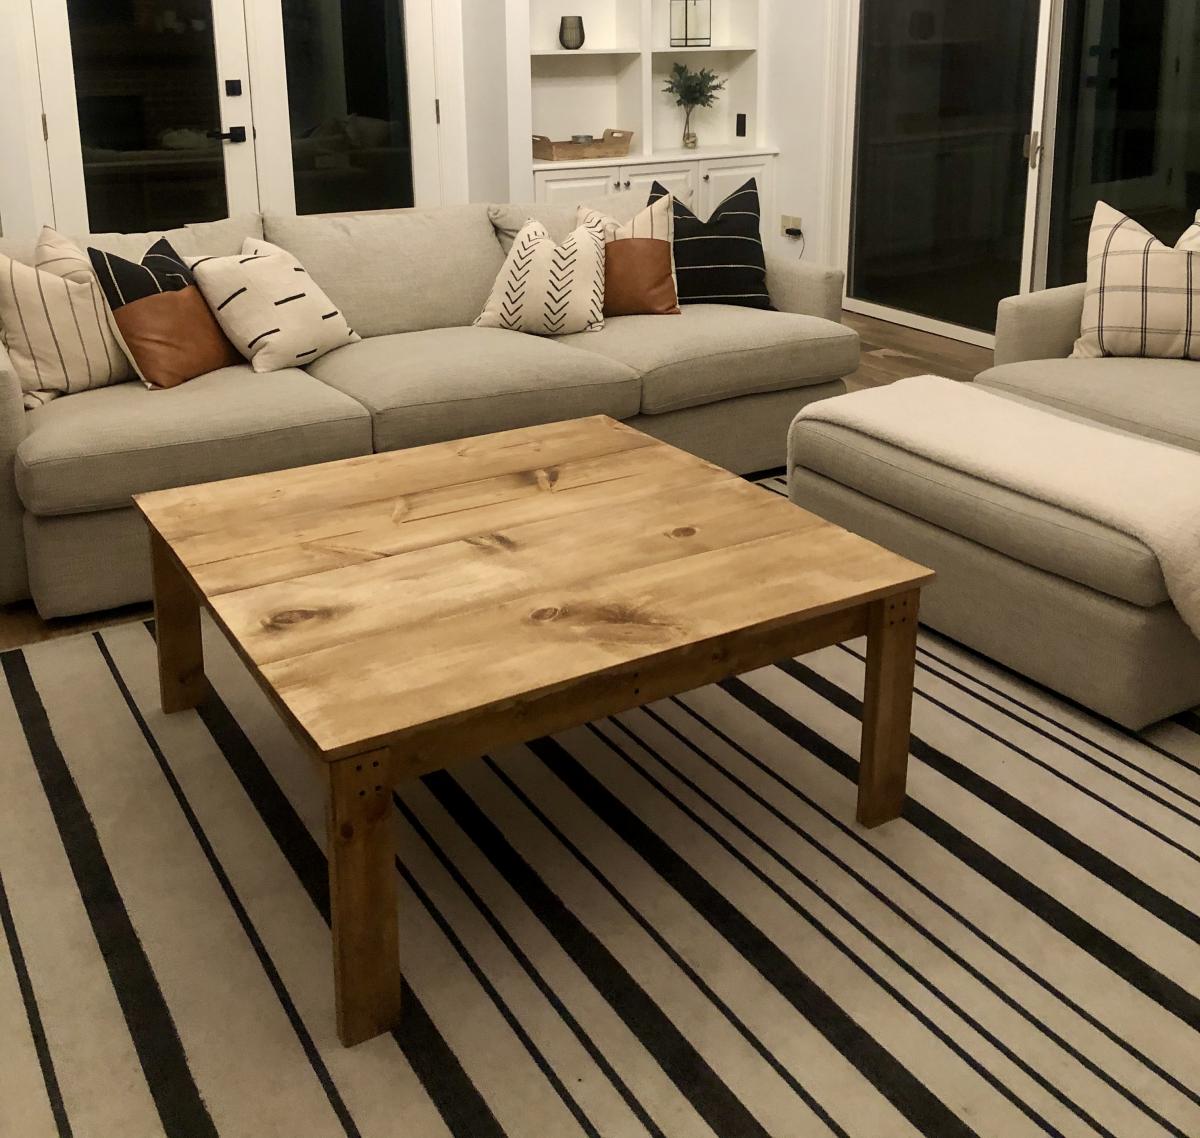
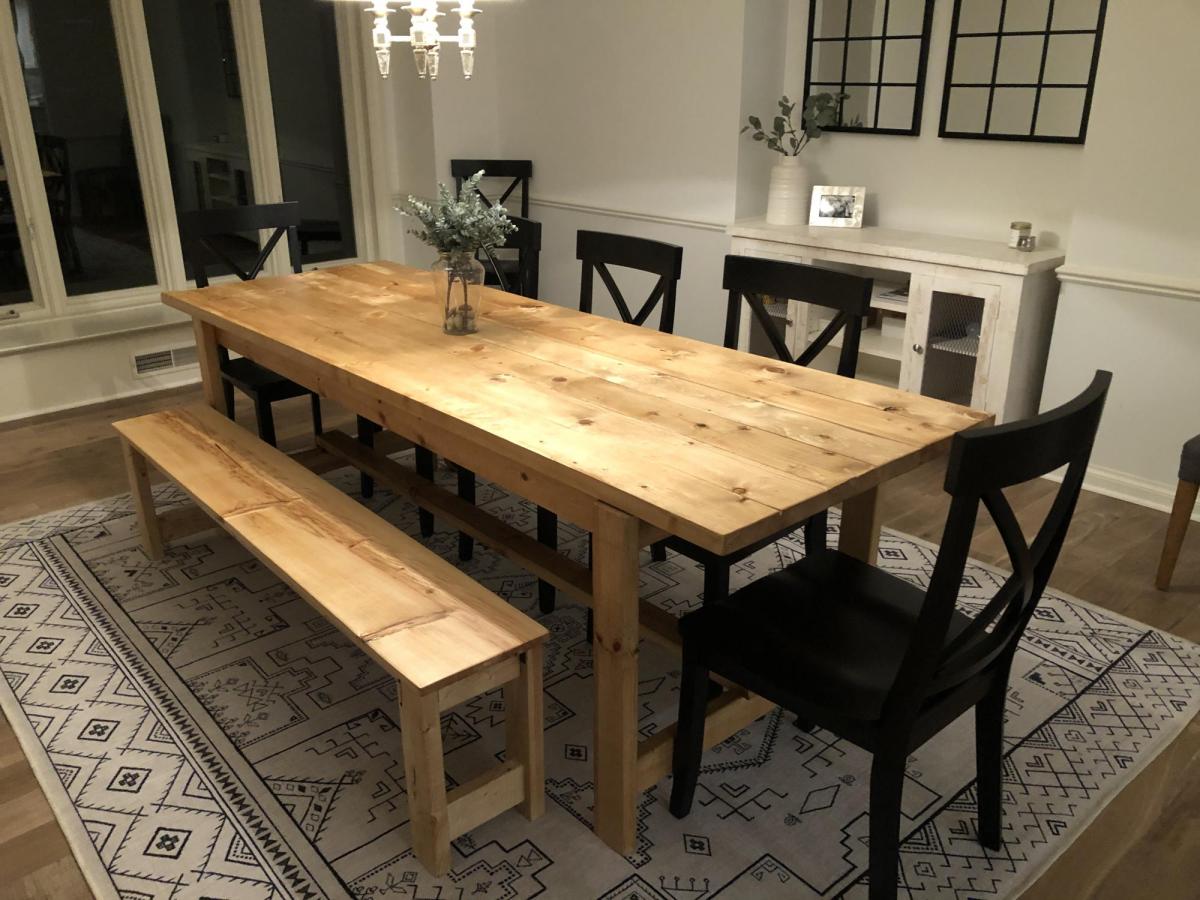
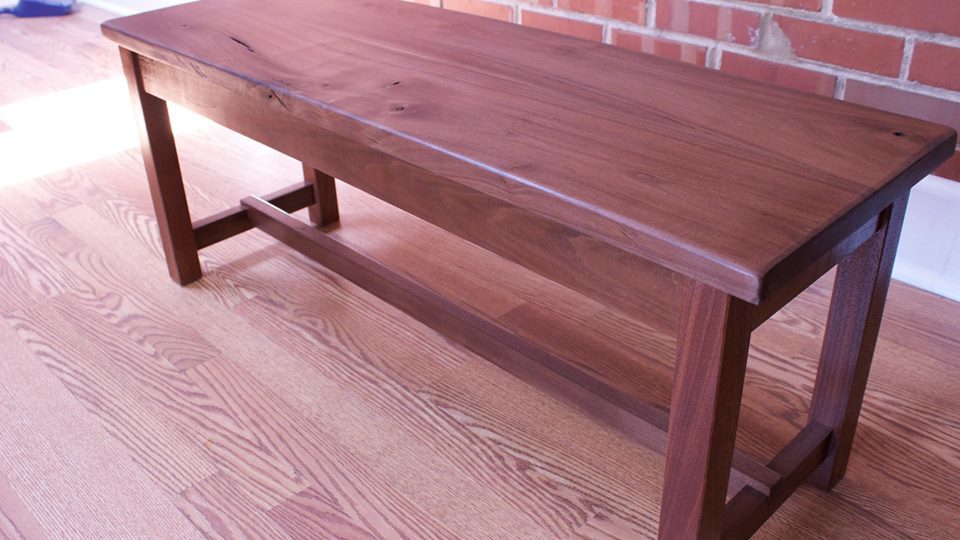
Love this! The farm house table and bench (1st photo) were my first 2 wood project ever. They came out great so I decided to make a coffee table using modified dimensions (2nd photo) and used poplar for the table top instead of pine. Poplar took to the stain I used really well. The farm table is Danish Oil, Light Walnut and the coffee table is in Danish Oil Dark walnut. I used wipe on Poly to finish both tables and I used matte black wood screws for an accent on the base of the coffee table. Everything else was assembled with a compact circular saw and pocket holes w/ a Kreg Jig. Thanks for the plans!

Estimated Cost
$200
Estimated Time Investment
Weekend Project (10-20 Hours)
Finish Used
-Danish Oil Light Walnut - 2 coats (dining table)
-Danish Oil Dark Walnut - 1 coat (coffee table)
-Wipe on Poly, Gloss - 2 coats (both)
-Sanded all wood w/ orbital sander prior to assembling (I find it easier to get all the splinters, scratches, and stamp marks out if I do it before assembling)
Recommended Skill Level
Beginner

Comments

2 Story American Girl Dollhouse

Submitted by Anonymous (not verified) on Tue, 12/27/2016 - 11:57

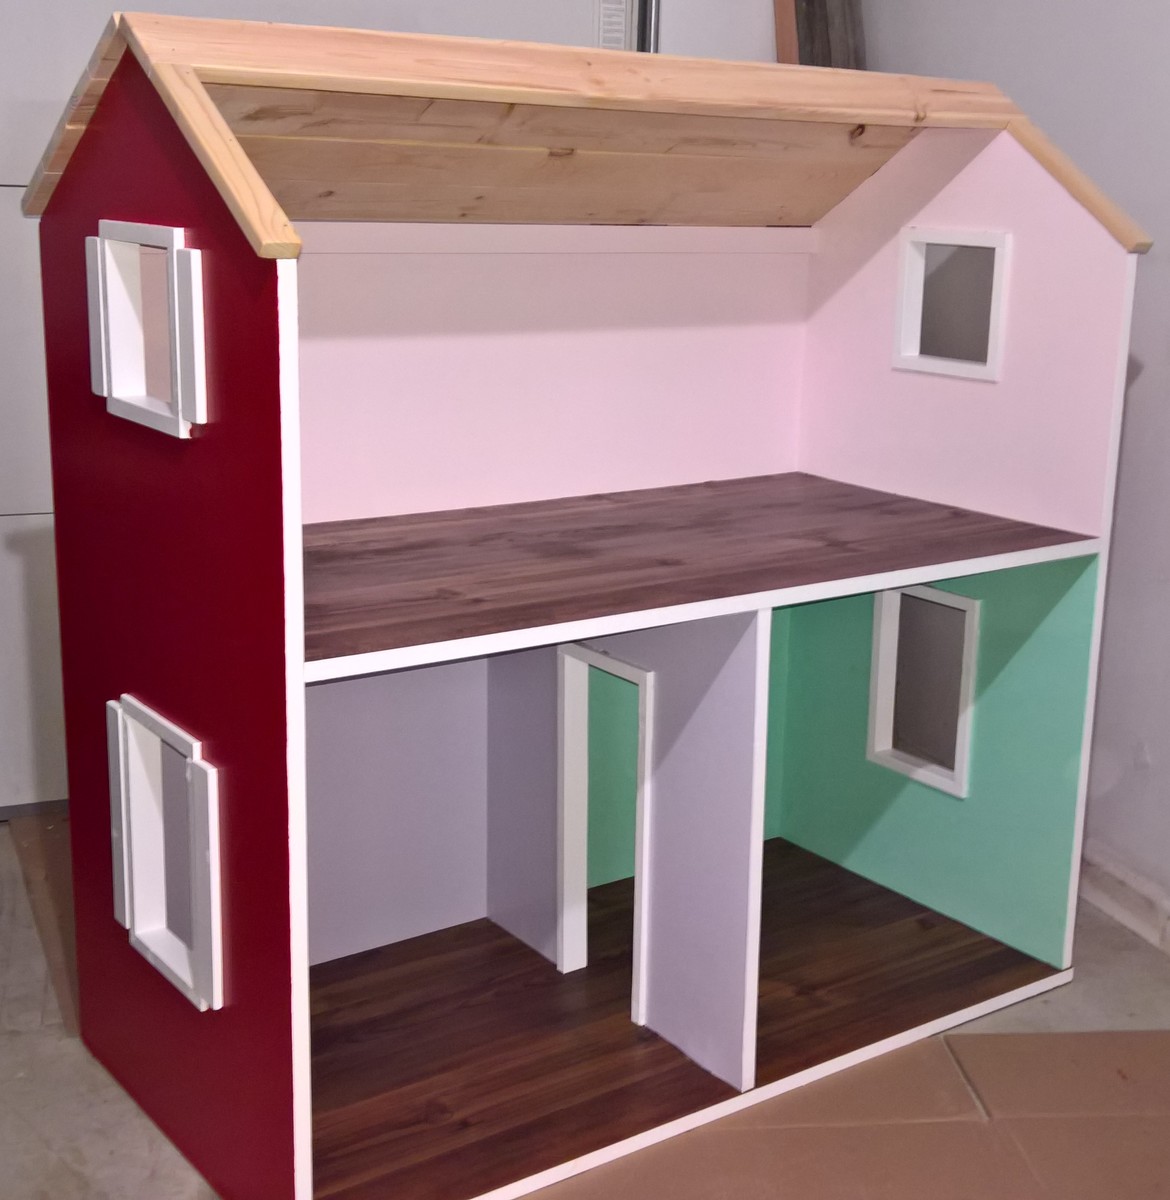
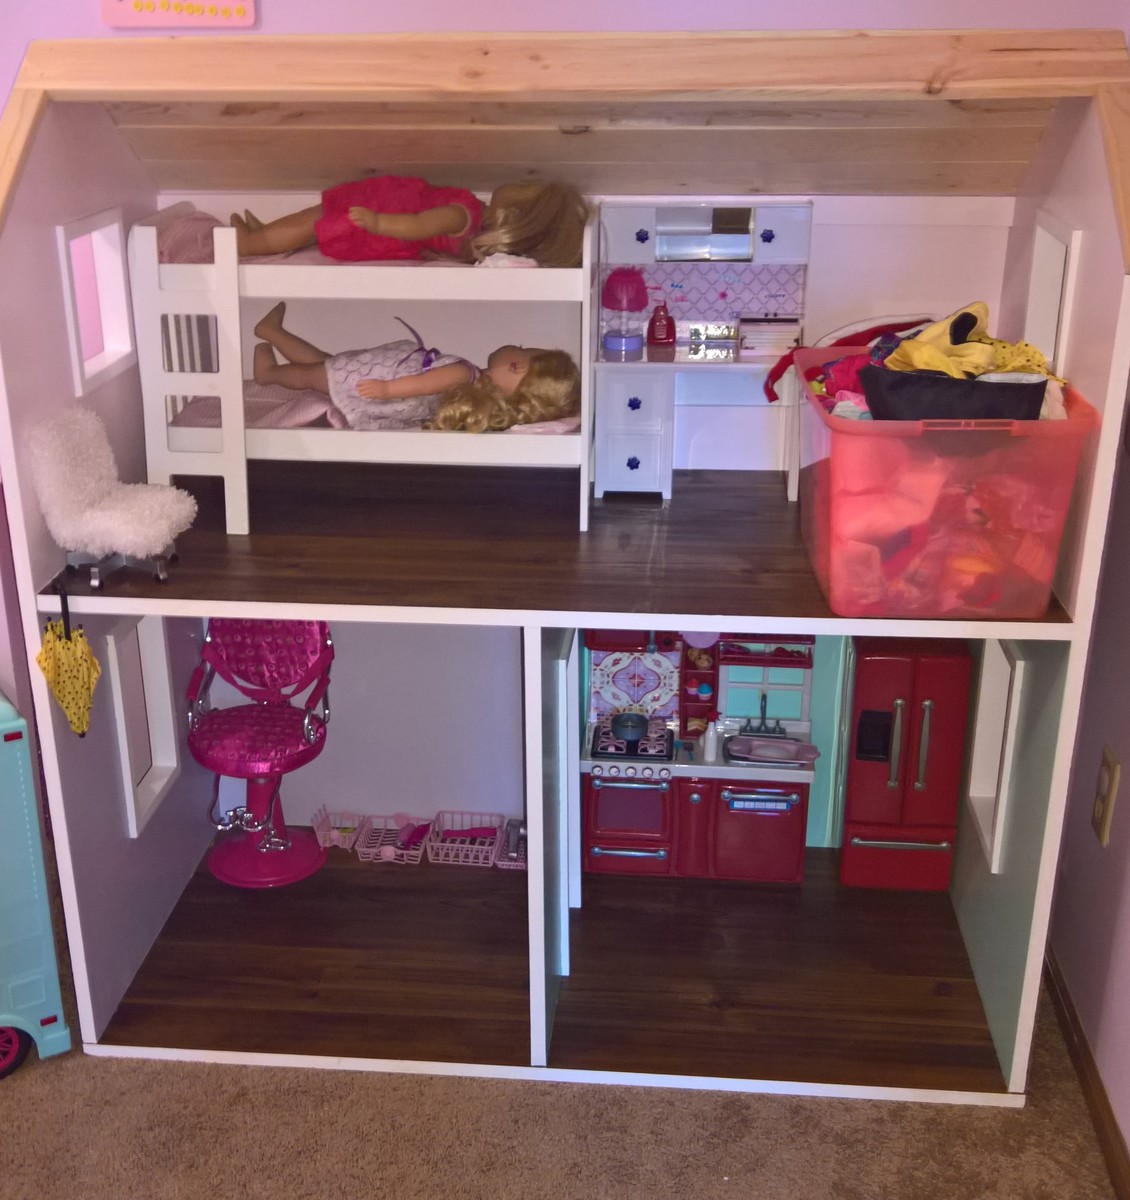
I built this as a christmas present for my daughter.  Three stories was a bit too large, so I modified the plans a bit and cut out the bottom floor.

Estimated Cost
Wood cost around $100 and paint was another $30.
Estimated Time Investment
Week Long Project (20 Hours or More)
Recommended Skill Level
Intermediate

Cedar Compost Bins

Submitted by AmyJM on Fri, 12/07/2012 - 18:27

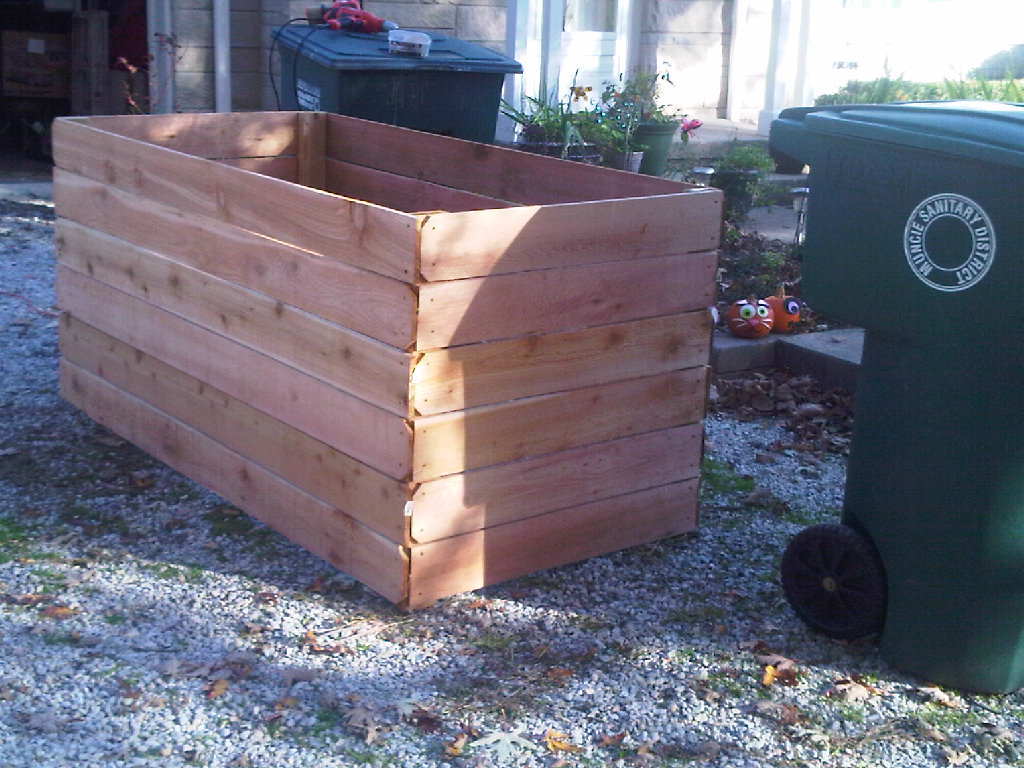
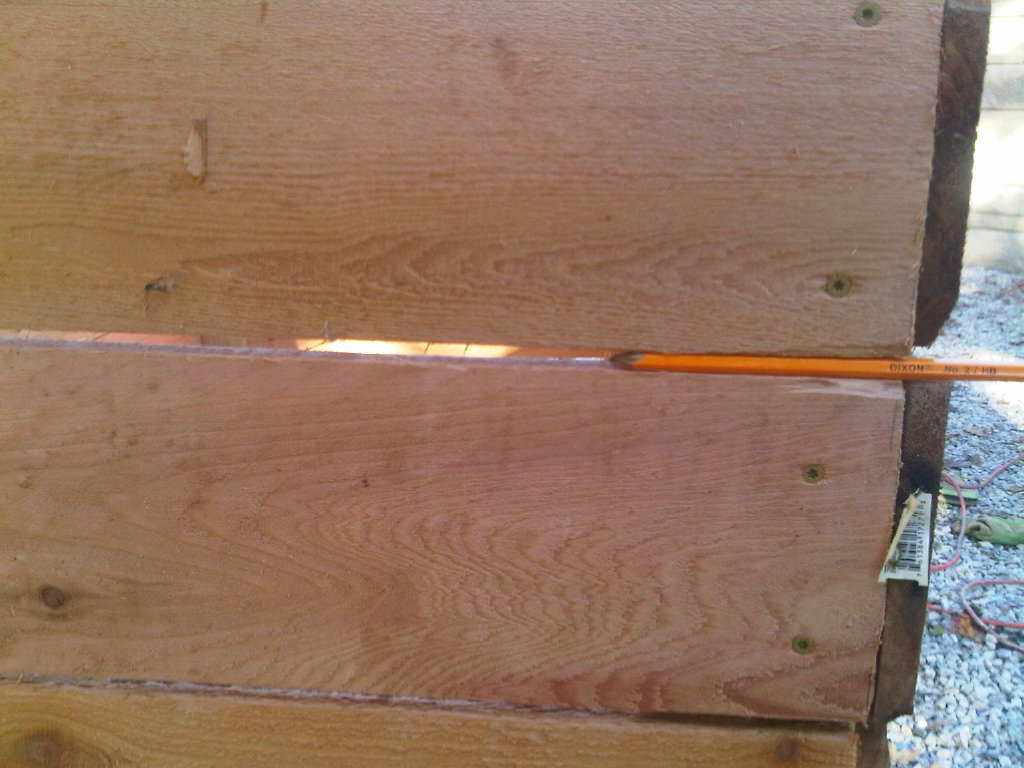
For this project, I used 6 foot cedar fence posts and 8 foot cedar 2x4s. I used a pencil to space the boards and allow extra air flow. More space between boards is acceptable - even to the extent of dropping off one full board and putting an inch between each side rail.

Another option is to make your sides interlocking layers, one or two boards high - http://cedarstackingcompostbin.blogspot.com/

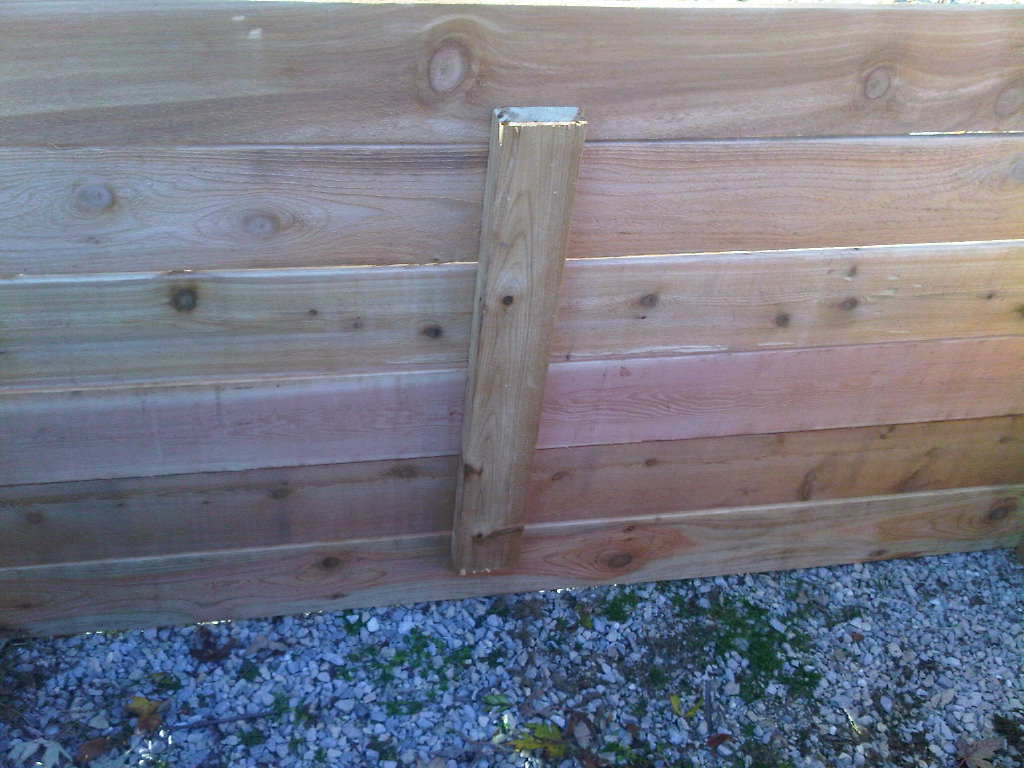
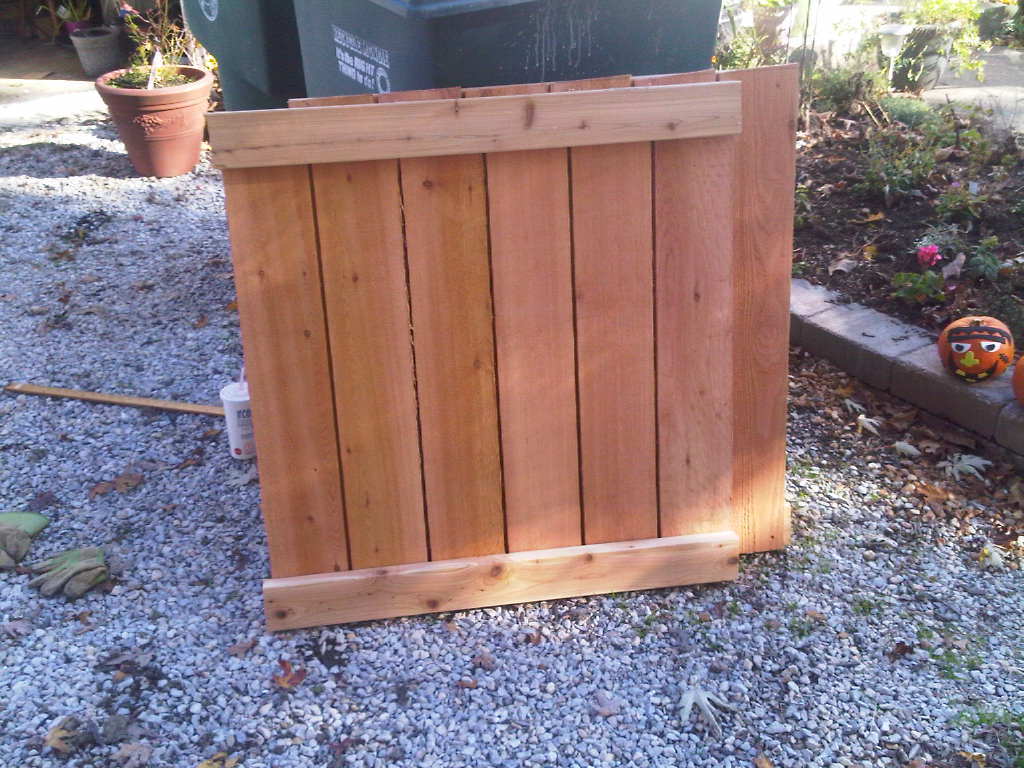
Since I am composting large amounts of leaves and grass clippings, mine is made in one piece. I don't turn my pile often - when I do, I can either lift the whole thing up or move the pile from side to side. I cut the 2x8x8 posts - cut a 3 foot length off of each end. Save the 2 foot center piece to brace the long sides. Affix your 1/2 (3 foot side) and full fence (6 foot side) boards to the 2x4, leaving the desired gap between each board. Affix each board with 2 weather proof screws - I used coated deck screws.

Attach the vertical posts to the inside of the cedar fence boards, including the short 2 foot boards that are just long enough to brace the long sides. I alternated the dog eared sides, so that each corner had one flat and one notched board.

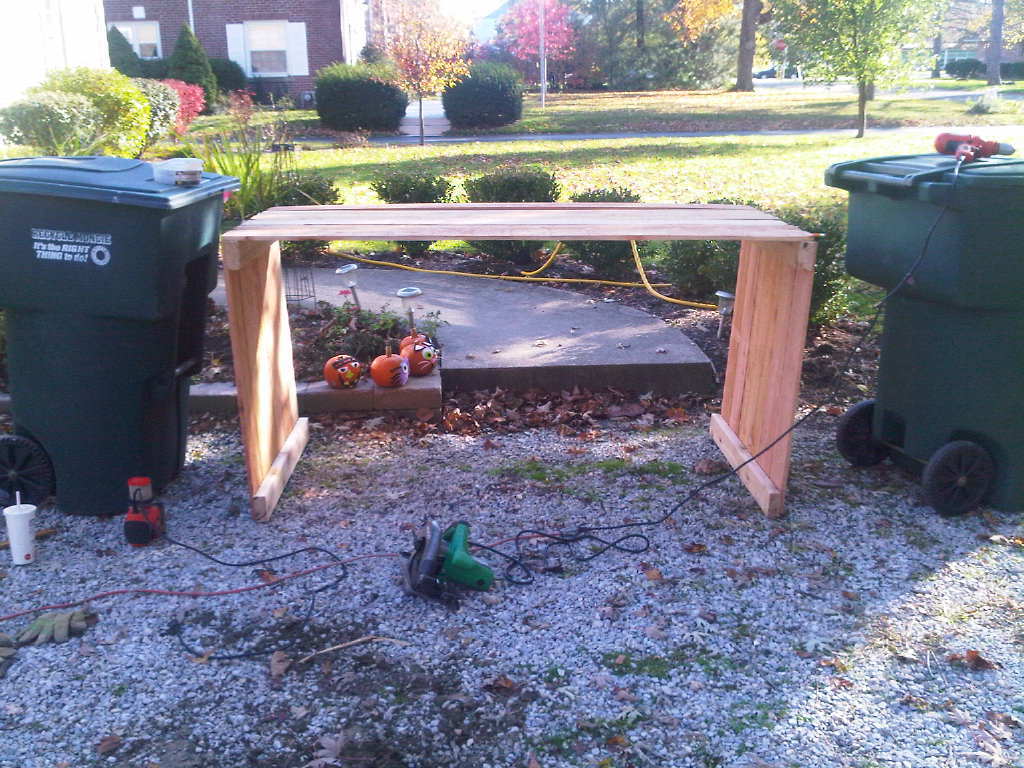
I used 24 cedar fence posts and 16 feet of cedar 2x4. Note, I was able to do this all along. The trash cans acted as supports - no clamps or saw horses needed.

Estimated Cost
$70
Estimated Time Investment
Afternoon Project (3-6 Hours)
Finish Used
Light sanding, no stain
Recommended Skill Level
Starter Project

Comments

AmyJM

Fri, 12/07/2012 - 18:43

This is a little heavy when finished. I can easily flip it over to turn the compost, but after building it and tiring my arms out with the cutting and drilling, it was a long haul to the back yard to position it. You might be happy with a 3x3 bin, in which case, I suggest making it 1 board shorter and leaving wider spaces - if you think through the math, you can probably get it down to 10-12 cedar fence posts and 1 longer 2x4. Cost would be about $35 that way - cheaper than most compost bins.

Outdoor Deck Tables

Submitted by Scott-F on Sun, 10/11/2020 - 18:34

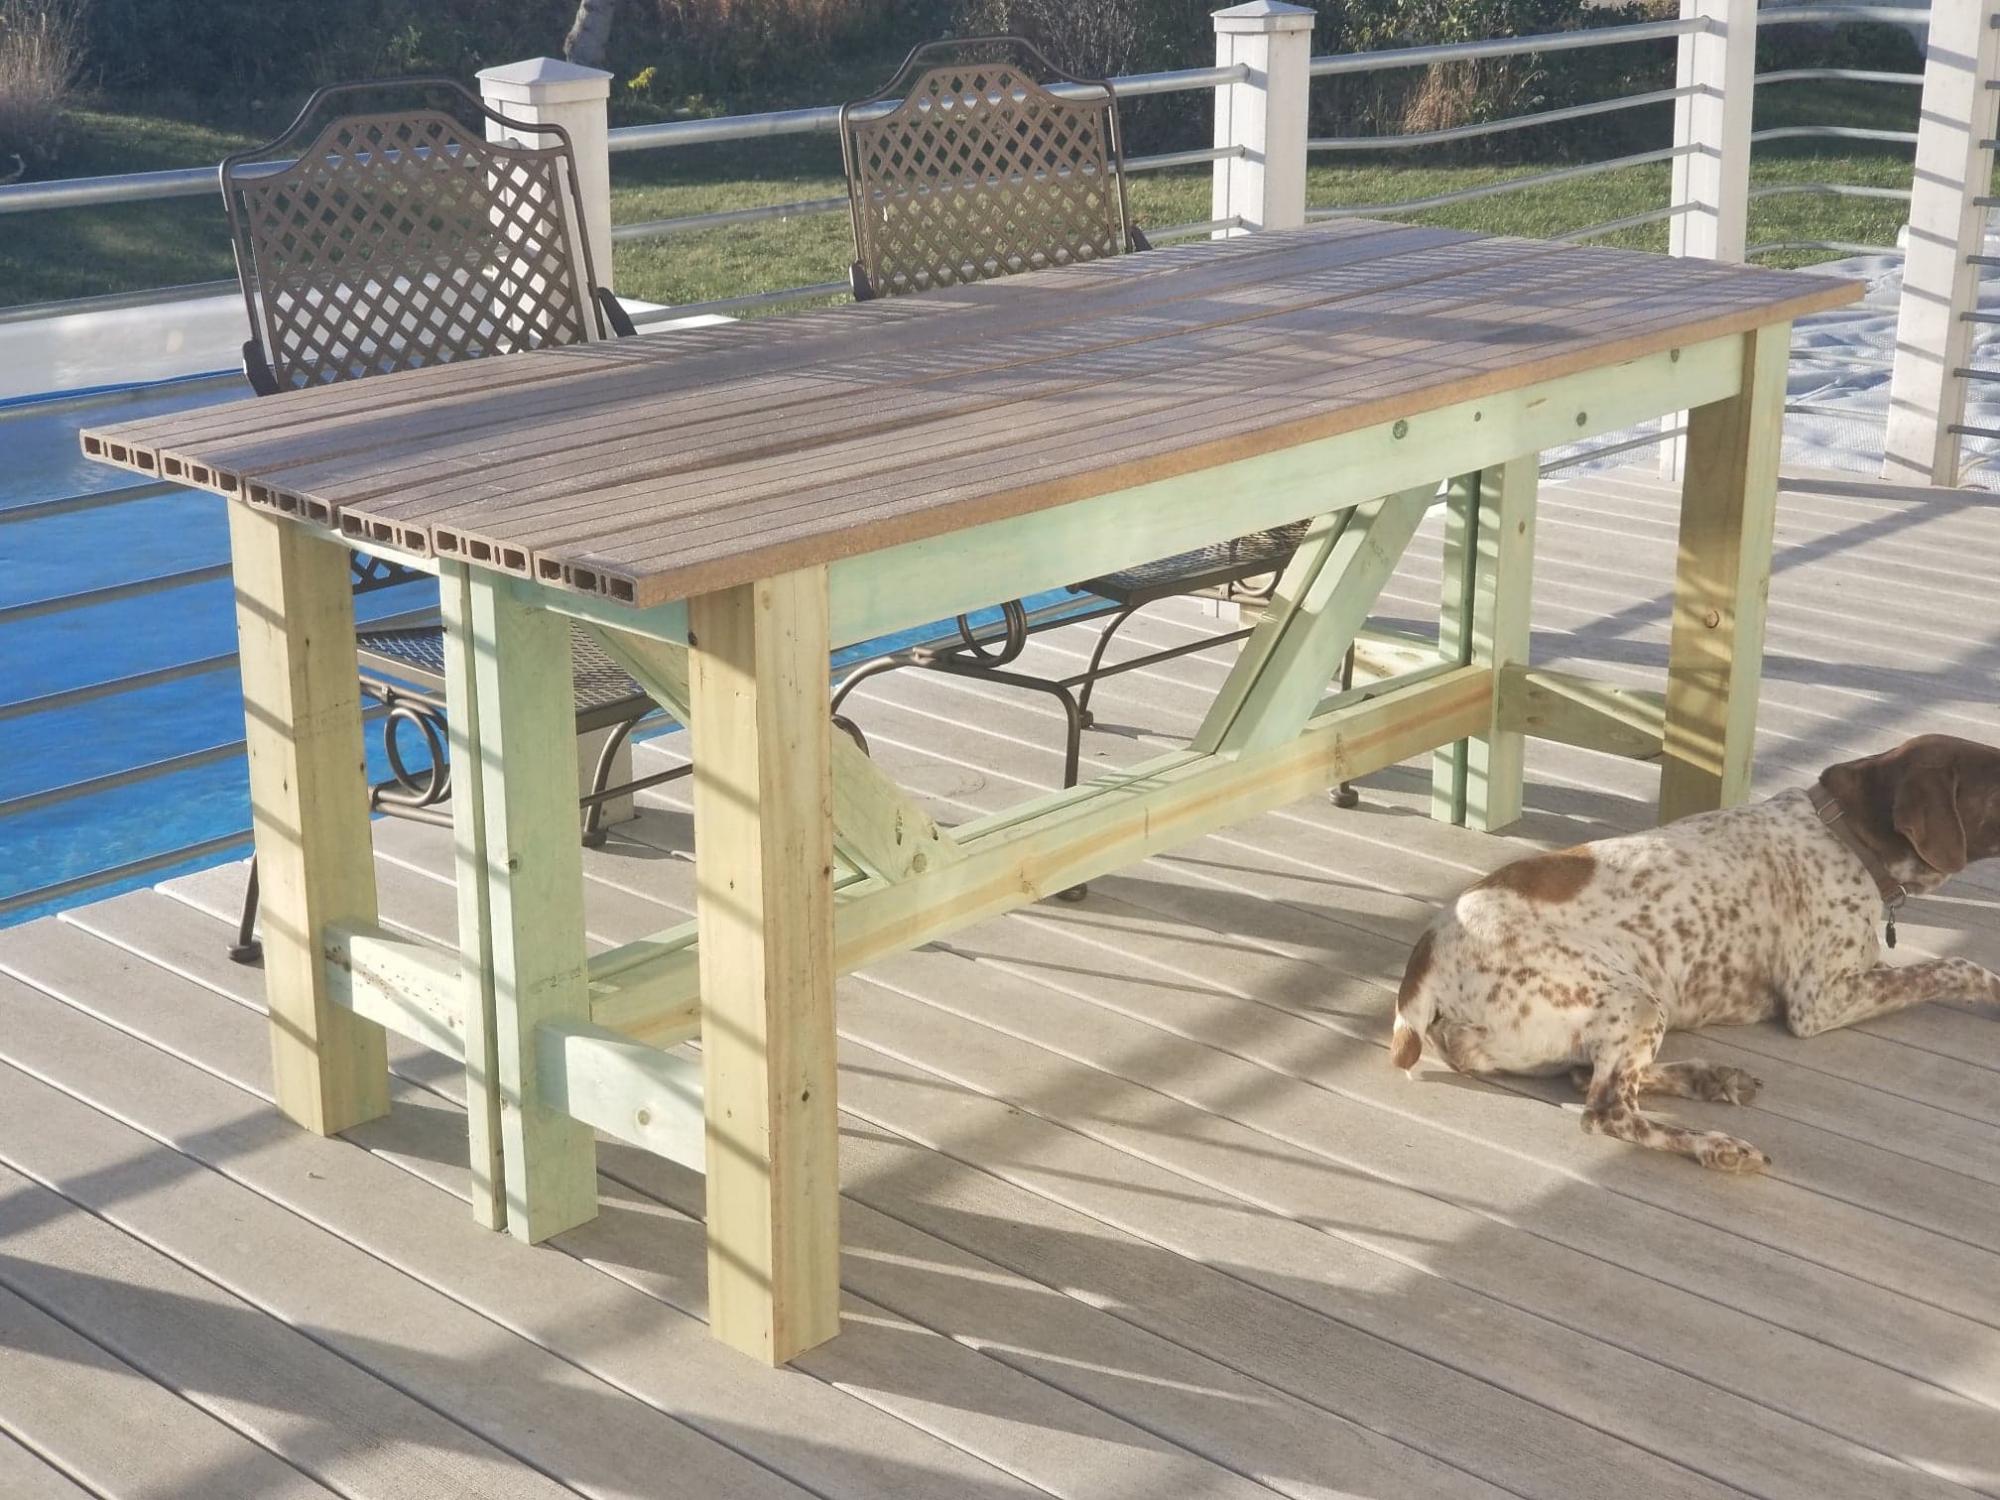
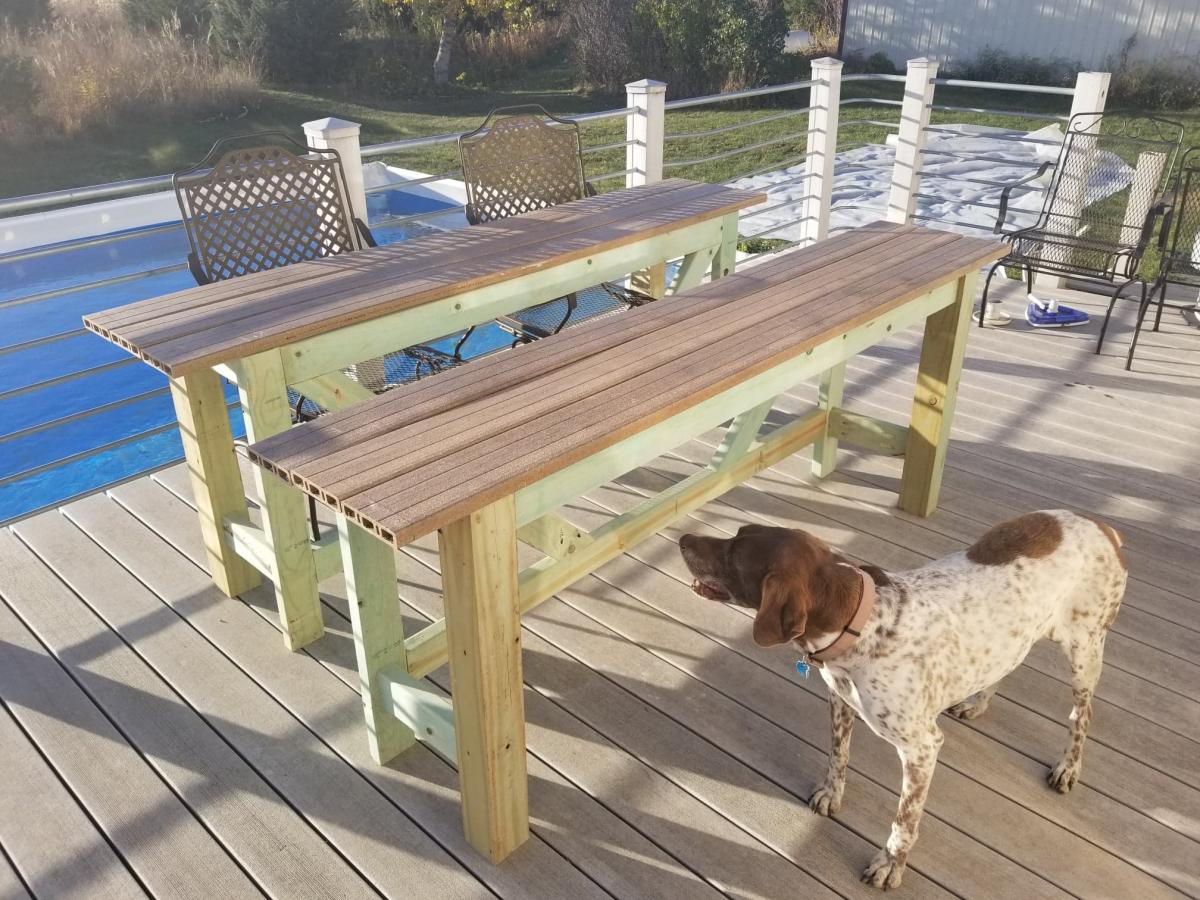
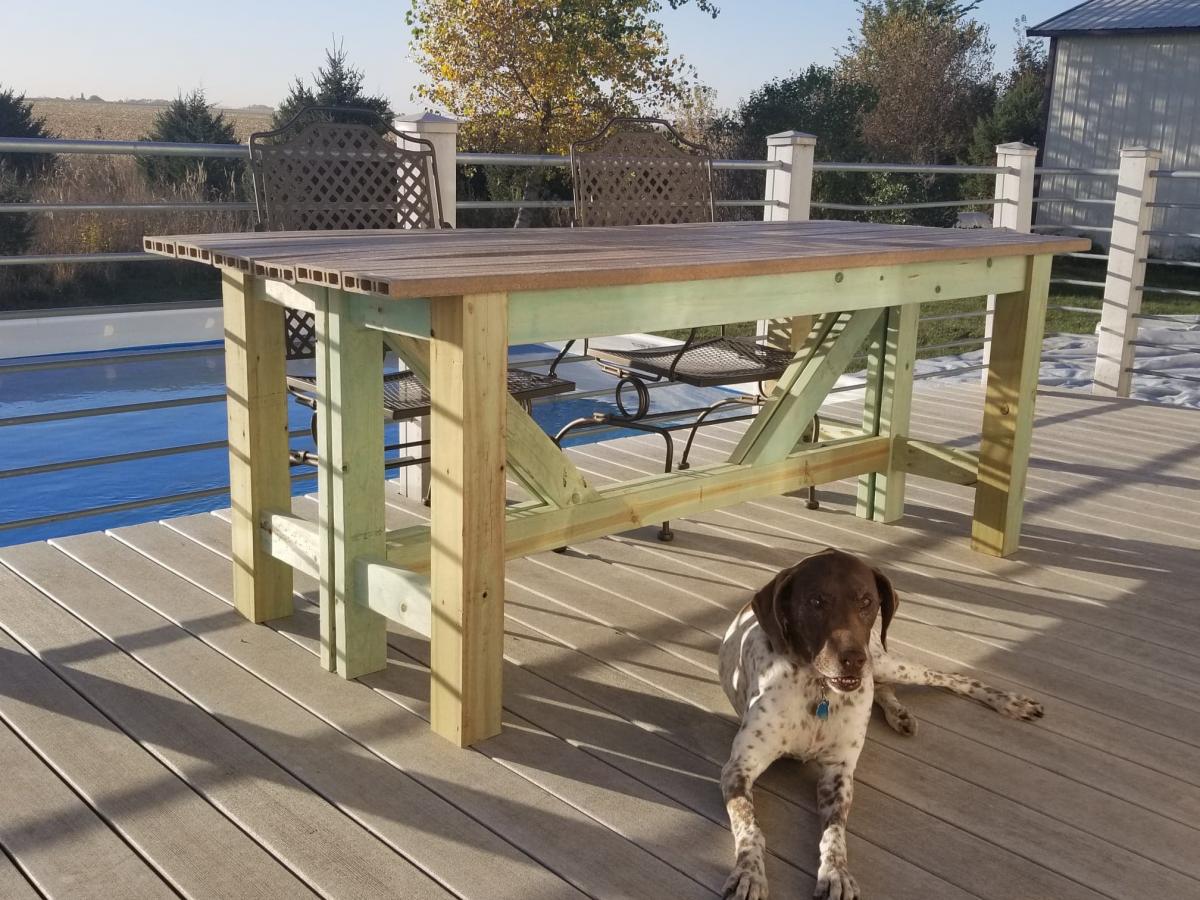
My wife and I were looking for a dining table for our deck. We looked at a few to purchase but could not decide. I wanted something that would not take up a lot of deck space. When the Facebook post for the "Outdoor Bar Table" came up, it inspired me to try to build a similar table. I already had purchased a Kreg HD pockethole jig for a project I never got to (At least yet), so I figured construction would be pretty simple.

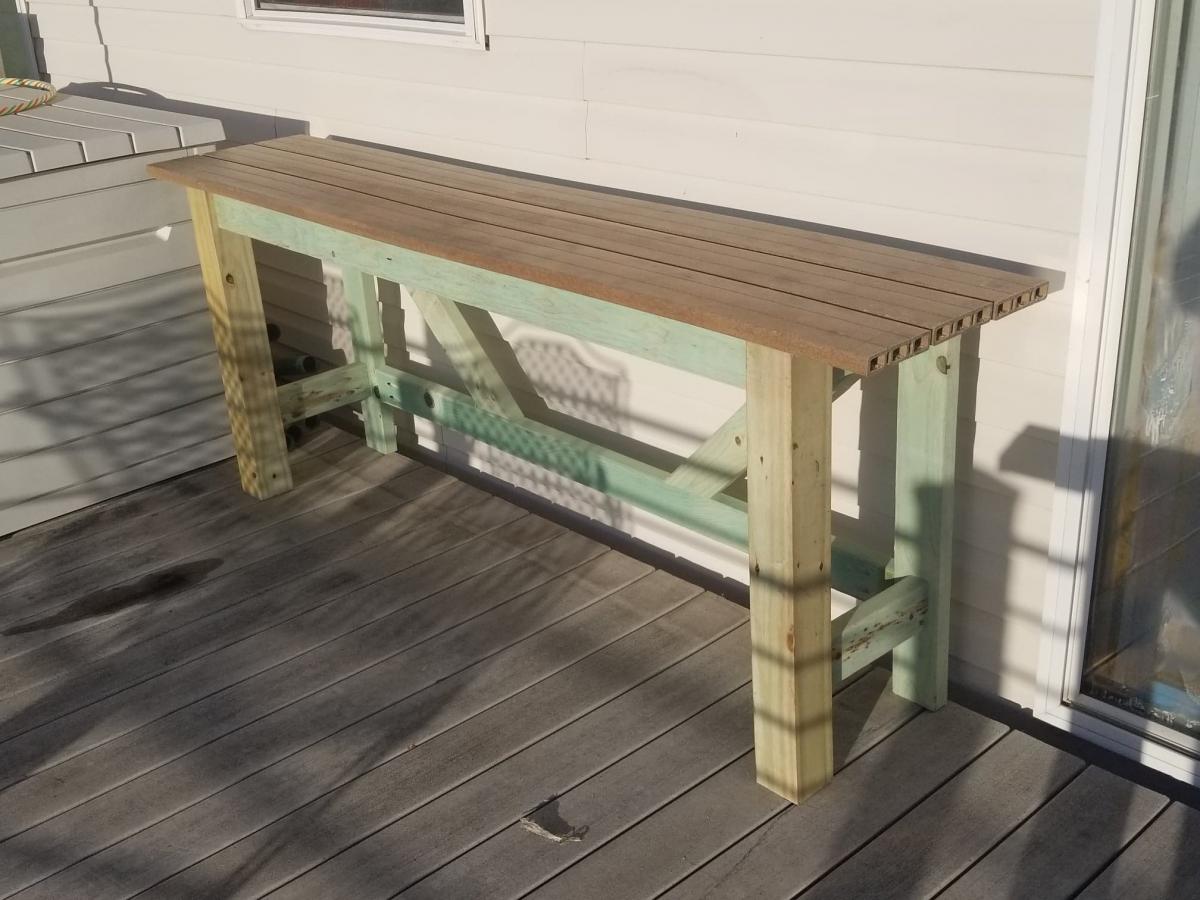
I should say my tables are loosely based off of Ana's plans, they served as a good reference. I lowered the table to 30" to match our existing deck chairs. I decided to actually build 2 half tables, so that when we were not using the table they could be set to the side of the deck. The back of each table is constructed with 2x4s so when the tables are put together it maintains the 4x4 look.

For the tabletop I had extra composite deck boards that I never used for the deck, so the depth of each half table was based on using 3 deck boards, with a 1/4" gap between each deck board. I used the same hidden fastener method I used on the original deck, so the deck boards are secured from under the table.

This being my first pocket hole project, there are a couple of small mistakes. 1) On the 45 degree trusses cut all 4 at the same time, then did the pocket holes. I missed the fact that I needed to drill 2 of the pocket holes on the opposite side. 2) I built the 2nd table back on top of the 1st table back so they matched. but I got mixed up when assembling the 2nd table so the pocket holes that should have been on the side facing the other table back, are facing the opposite side.

I did use Treated lumber for the table frame, and some of the pieces were still pretty wet, so we will wait until next year to paint the base.

We really like how they turned out, and that we still have almost all of our deck space when the tables are in the "Stored" locations.

Built from Plan(s)
Estimated Cost
$85
Estimated Time Investment
Afternoon Project (3-6 Hours)
Finish Used
None as of yet, Plan on painting after treated wood dries out
Recommended Skill Level
Starter Project

Comments

Henry Bookshelf

Submitted by ctay on Wed, 10/22/2014 - 19:36

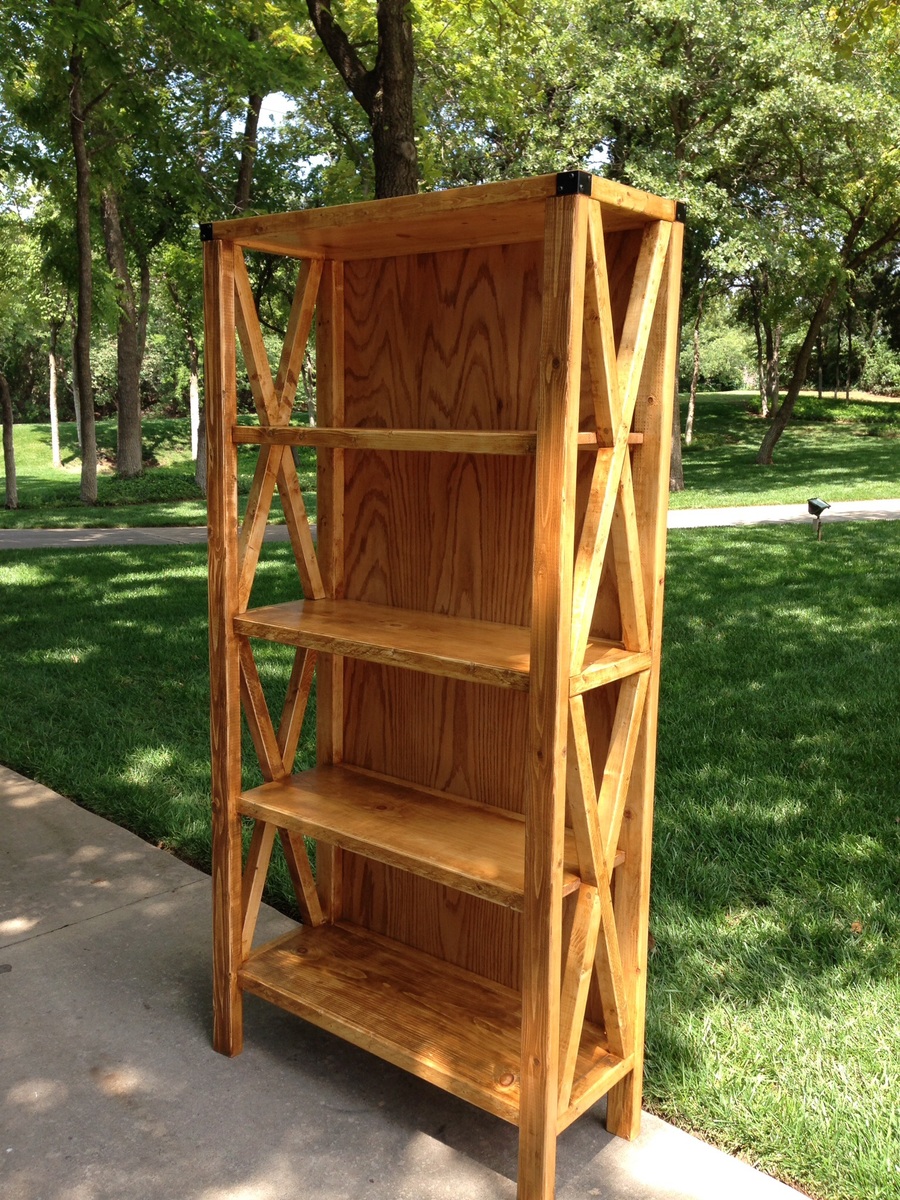
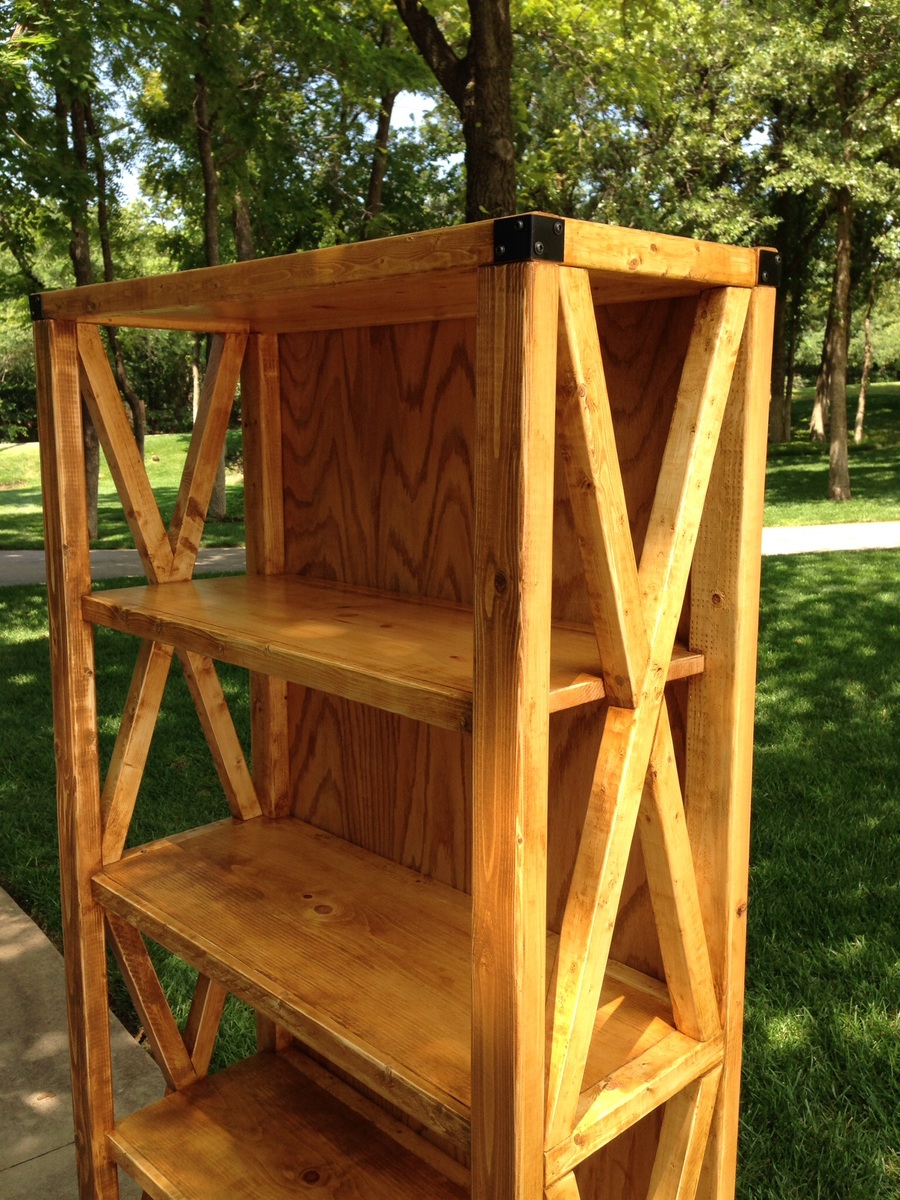
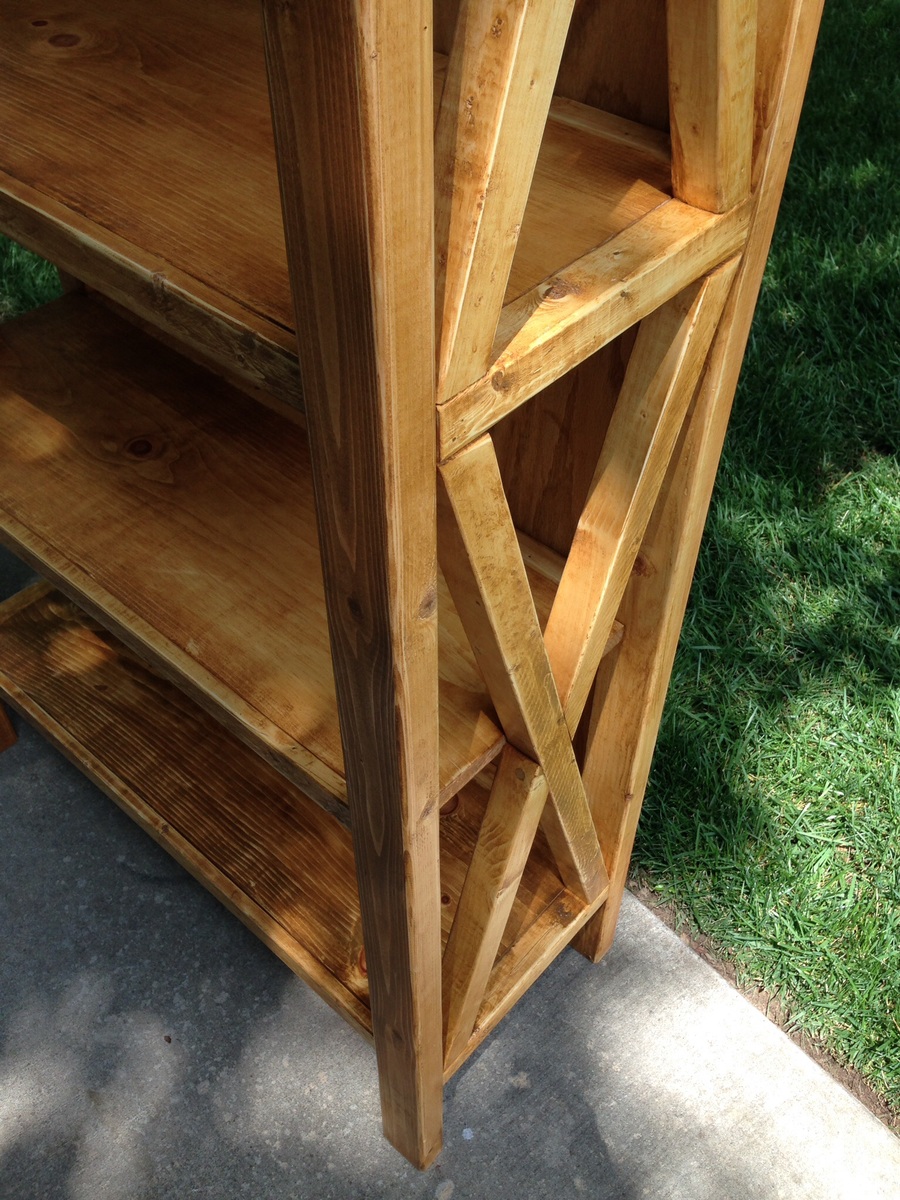
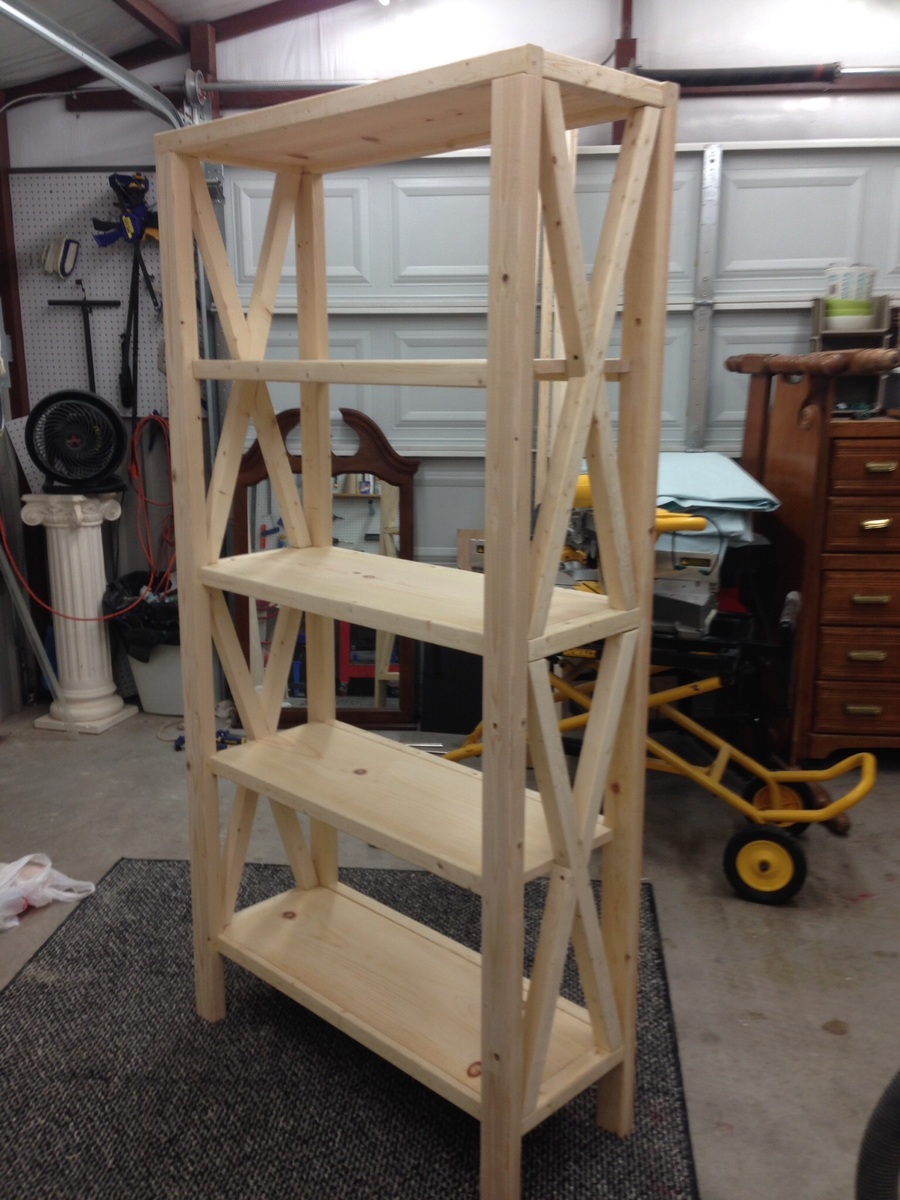
Built this bookcase for my daughter, only modification was to add the X's on the side. She needed to be able to store all of her books on it.  Love it!  I now have another family member that wants one just like it!

Built from Plan(s)
Estimated Cost
Under 100.00
Estimated Time Investment
Week Long Project (20 Hours or More)
Finish Used
Rustoleum Wheat color with general finishes poly clear coat in semi gloss.
Recommended Skill Level
Intermediate

Room divider cubbies

Submitted by Massielita on Fri, 01/04/2013 - 17:52

My twins share one pretty large room. They are 11 years old now and getting old enough to want more of their own personal space. This 5x5 cubby shelf was perfect to be used as a room divider!

My challenge was that I typically work in the basement, but their room is on the 2nd floor. I didn't have anyone that would be able to help me carry this massive creation up 2 flights of stairs, so I had to build this "on site." Unfortunately, their room is carpeted (poorly), so I brought up some old subfloor panels that I had to have a more flat surface to work on. It wasn't ideal, but made it possible.

It also took me much longer than it would take most people since I was limited to working only during nap times. It probably could have been done in a day or two if I had the opportunity to work continuously.

Built from Plan(s)
Estimated Cost
$125
Estimated Time Investment
Weekend Project (10-20 Hours)
Finish Used
Red paint
Recommended Skill Level
Beginner

Washer/Dryer Pedestal with Flush Front Drawers

Submitted by Anonymous (not verified) on Mon, 02/06/2017 - 18:24

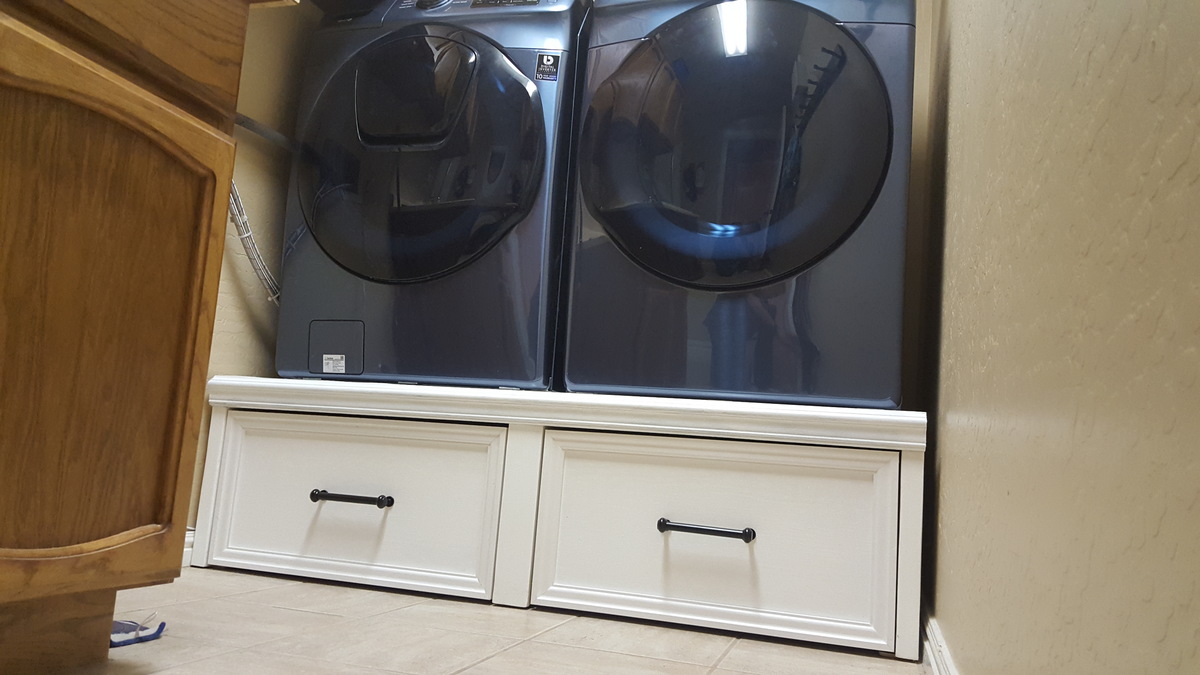
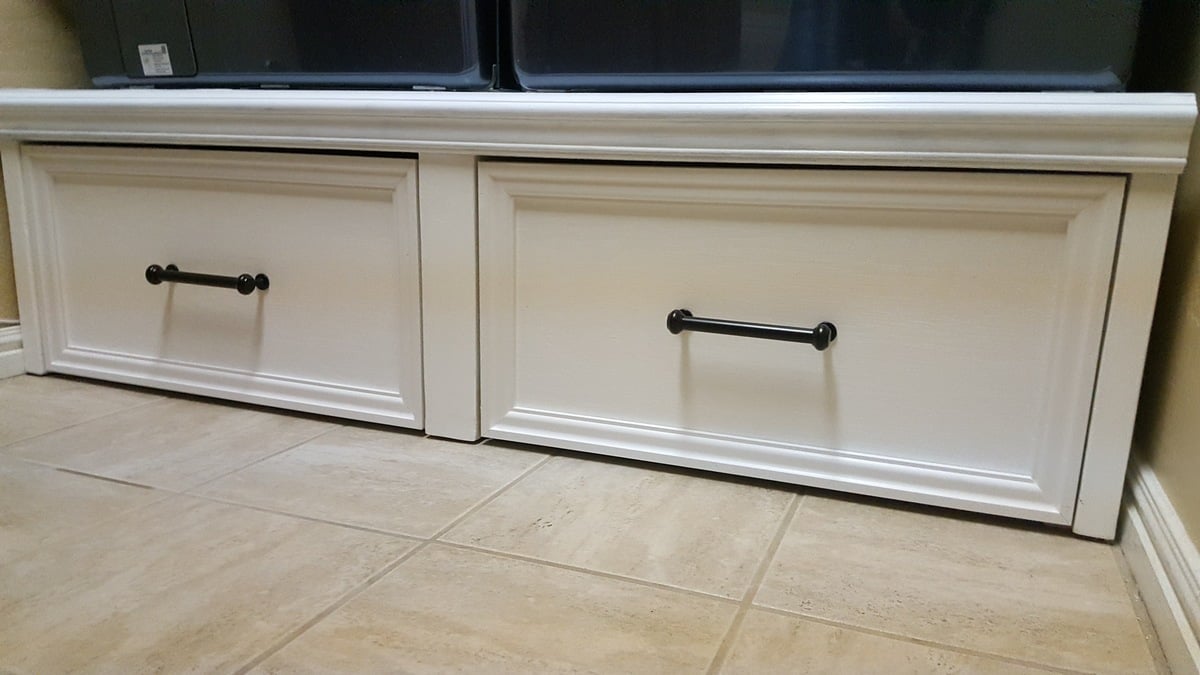
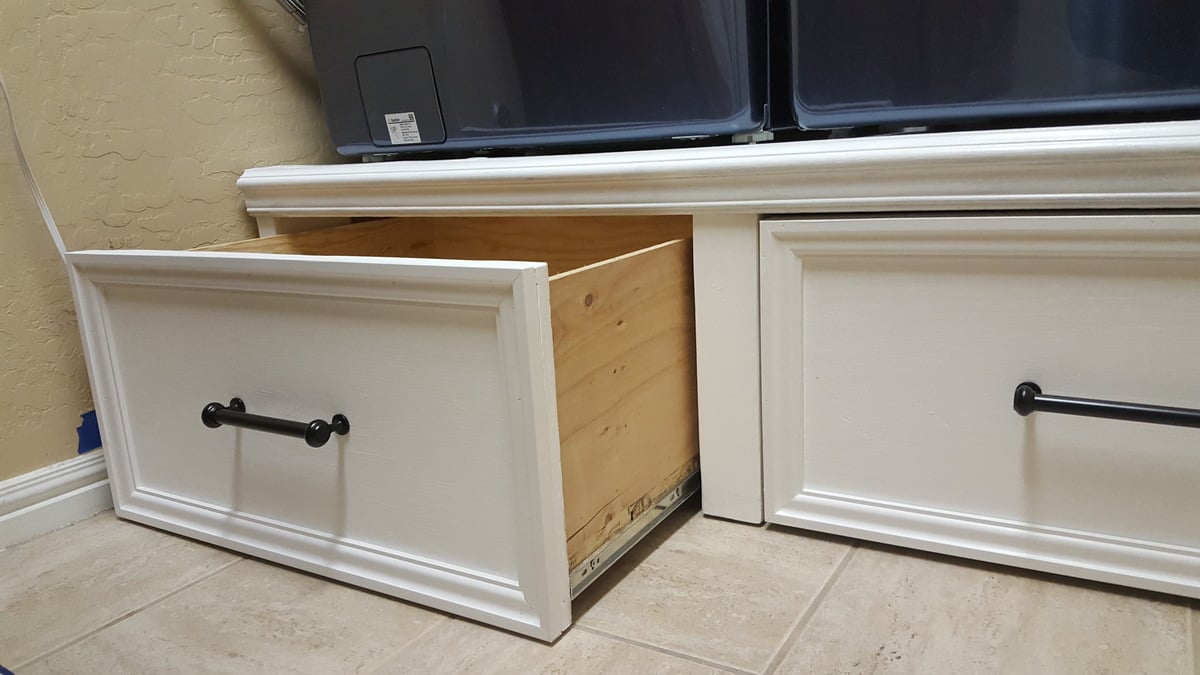
Thank You Dmccoy for the plans used for this project.  Great idea using the 2×6s for strength and stability! I built this Pedestal and placed furniture slides underneath to allow for sliding out for cleaning and access.

Estimated Cost
$130
Estimated Time Investment
Weekend Project (10-20 Hours)
Finish Used
First 2×4s, 15/32", and 23/32" Plywood
Recommended Skill Level
Beginner

Comments

Loft Bed

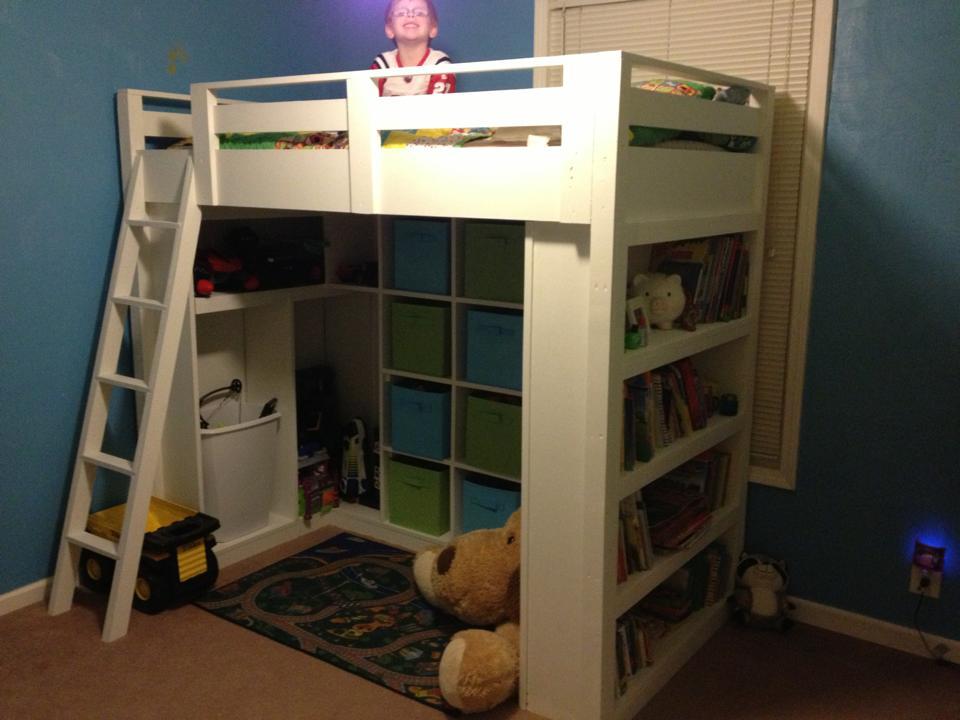
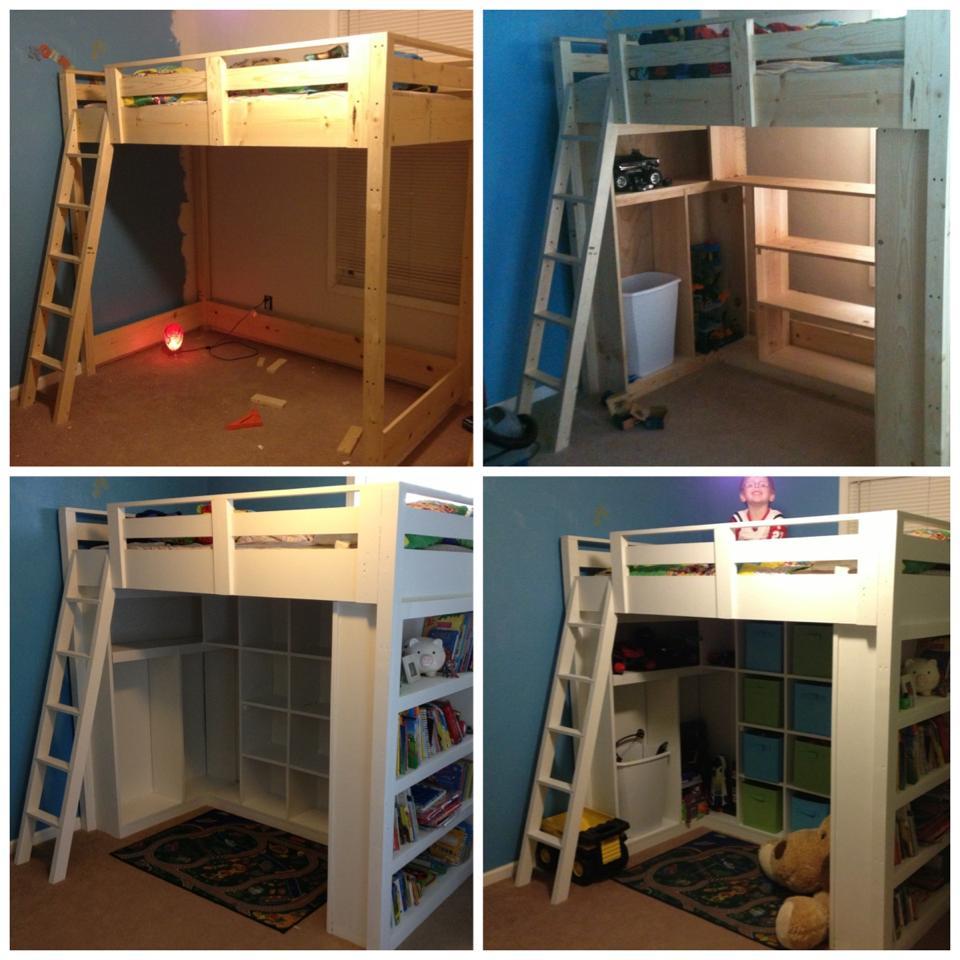
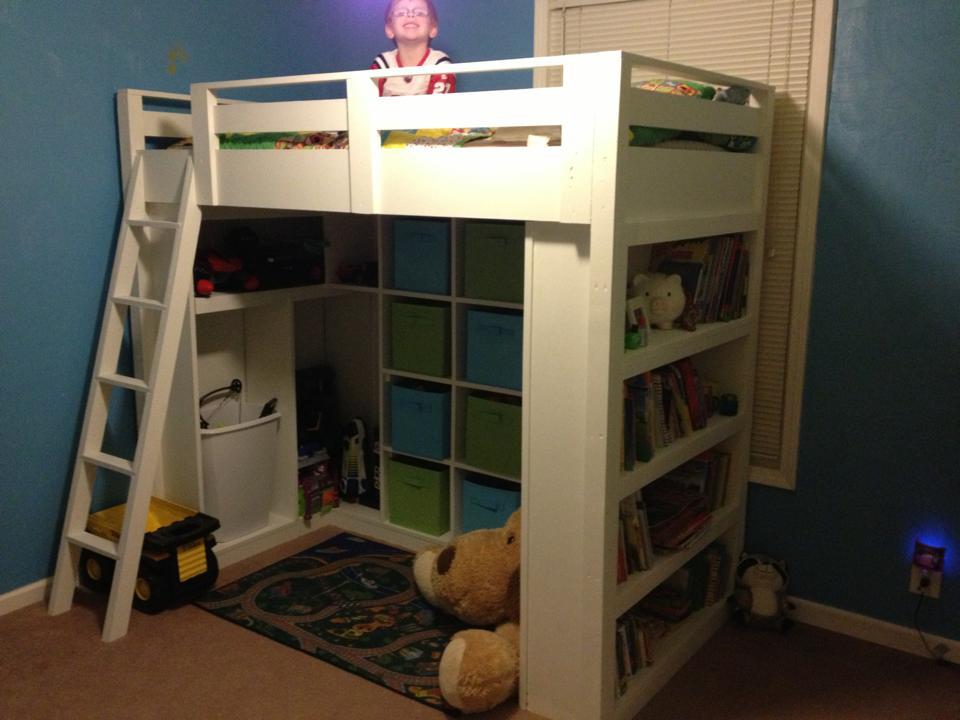
We have a small house. Okay, a TINY house. We just added a new baby to the mix, had a 5th birthday and Christmas, and suddenly, every room seems more cramped. We knew we needed more storage in our oldest son's room, and this seemed like the best solution!

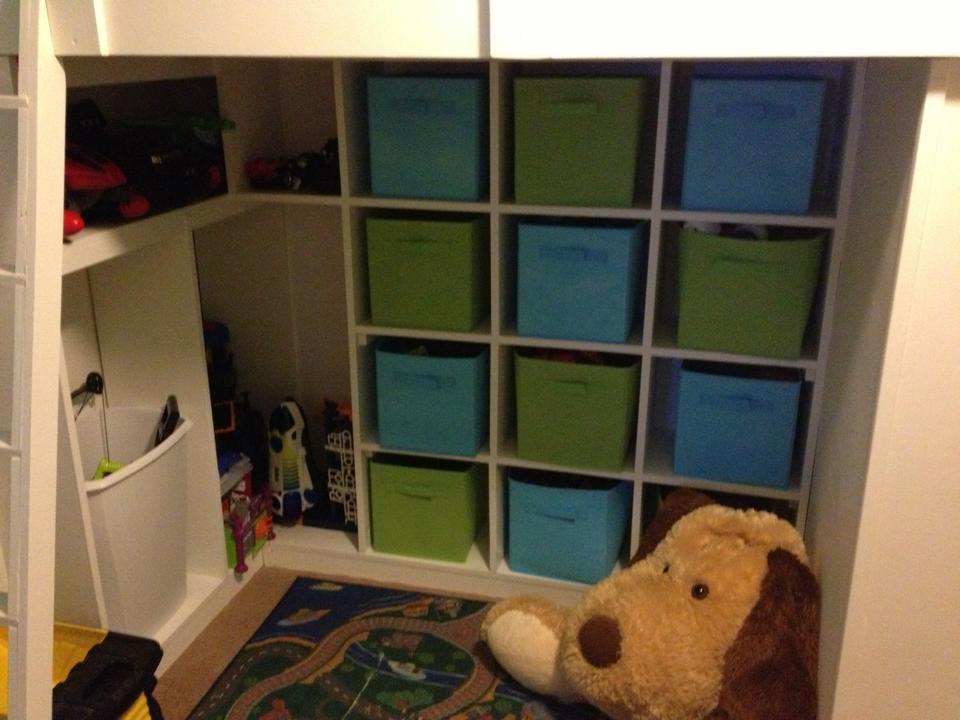
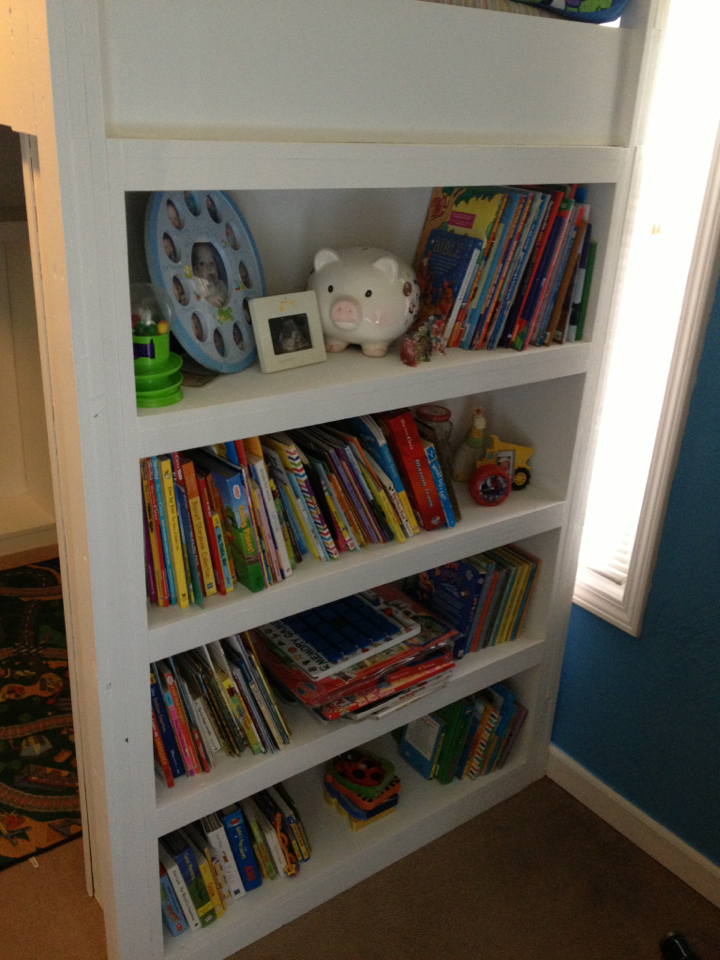
We used the plans for the bed to a T, and then did the bookshelf on the end to match. We then created a custom plan for shelves underneath, just the right size to accommodate the blue and green fabric bins you see. We also left some spaces for bigger toys, and added a hamper to keep taller toys (swords and such) organized.

We loved the look of the bed painted white in the picture, and since his walls were already practically the same color blue (and a green accent wall), we decided not to stray far from the original design.

Our son loves the bed, and we are thrilled with all the space he has in there now!

We estimated about $350 on the bed, that included the wood, screws, 2 gals Valspar paint, paint accessories, and the fabric bins and hamper.

Estimated Cost
350.00
Estimated Time Investment
Weekend Project (10-20 Hours)
Finish Used
All the boards are 1x's except for one 2x2 for mattress support. We used Valspar prime and paint, used two coats to cover the knots and imperfections in the wood.
Recommended Skill Level
Intermediate

Comments

Plate Rack

Submitted by Anonymous (not verified) on Fri, 11/13/2020 - 12:47

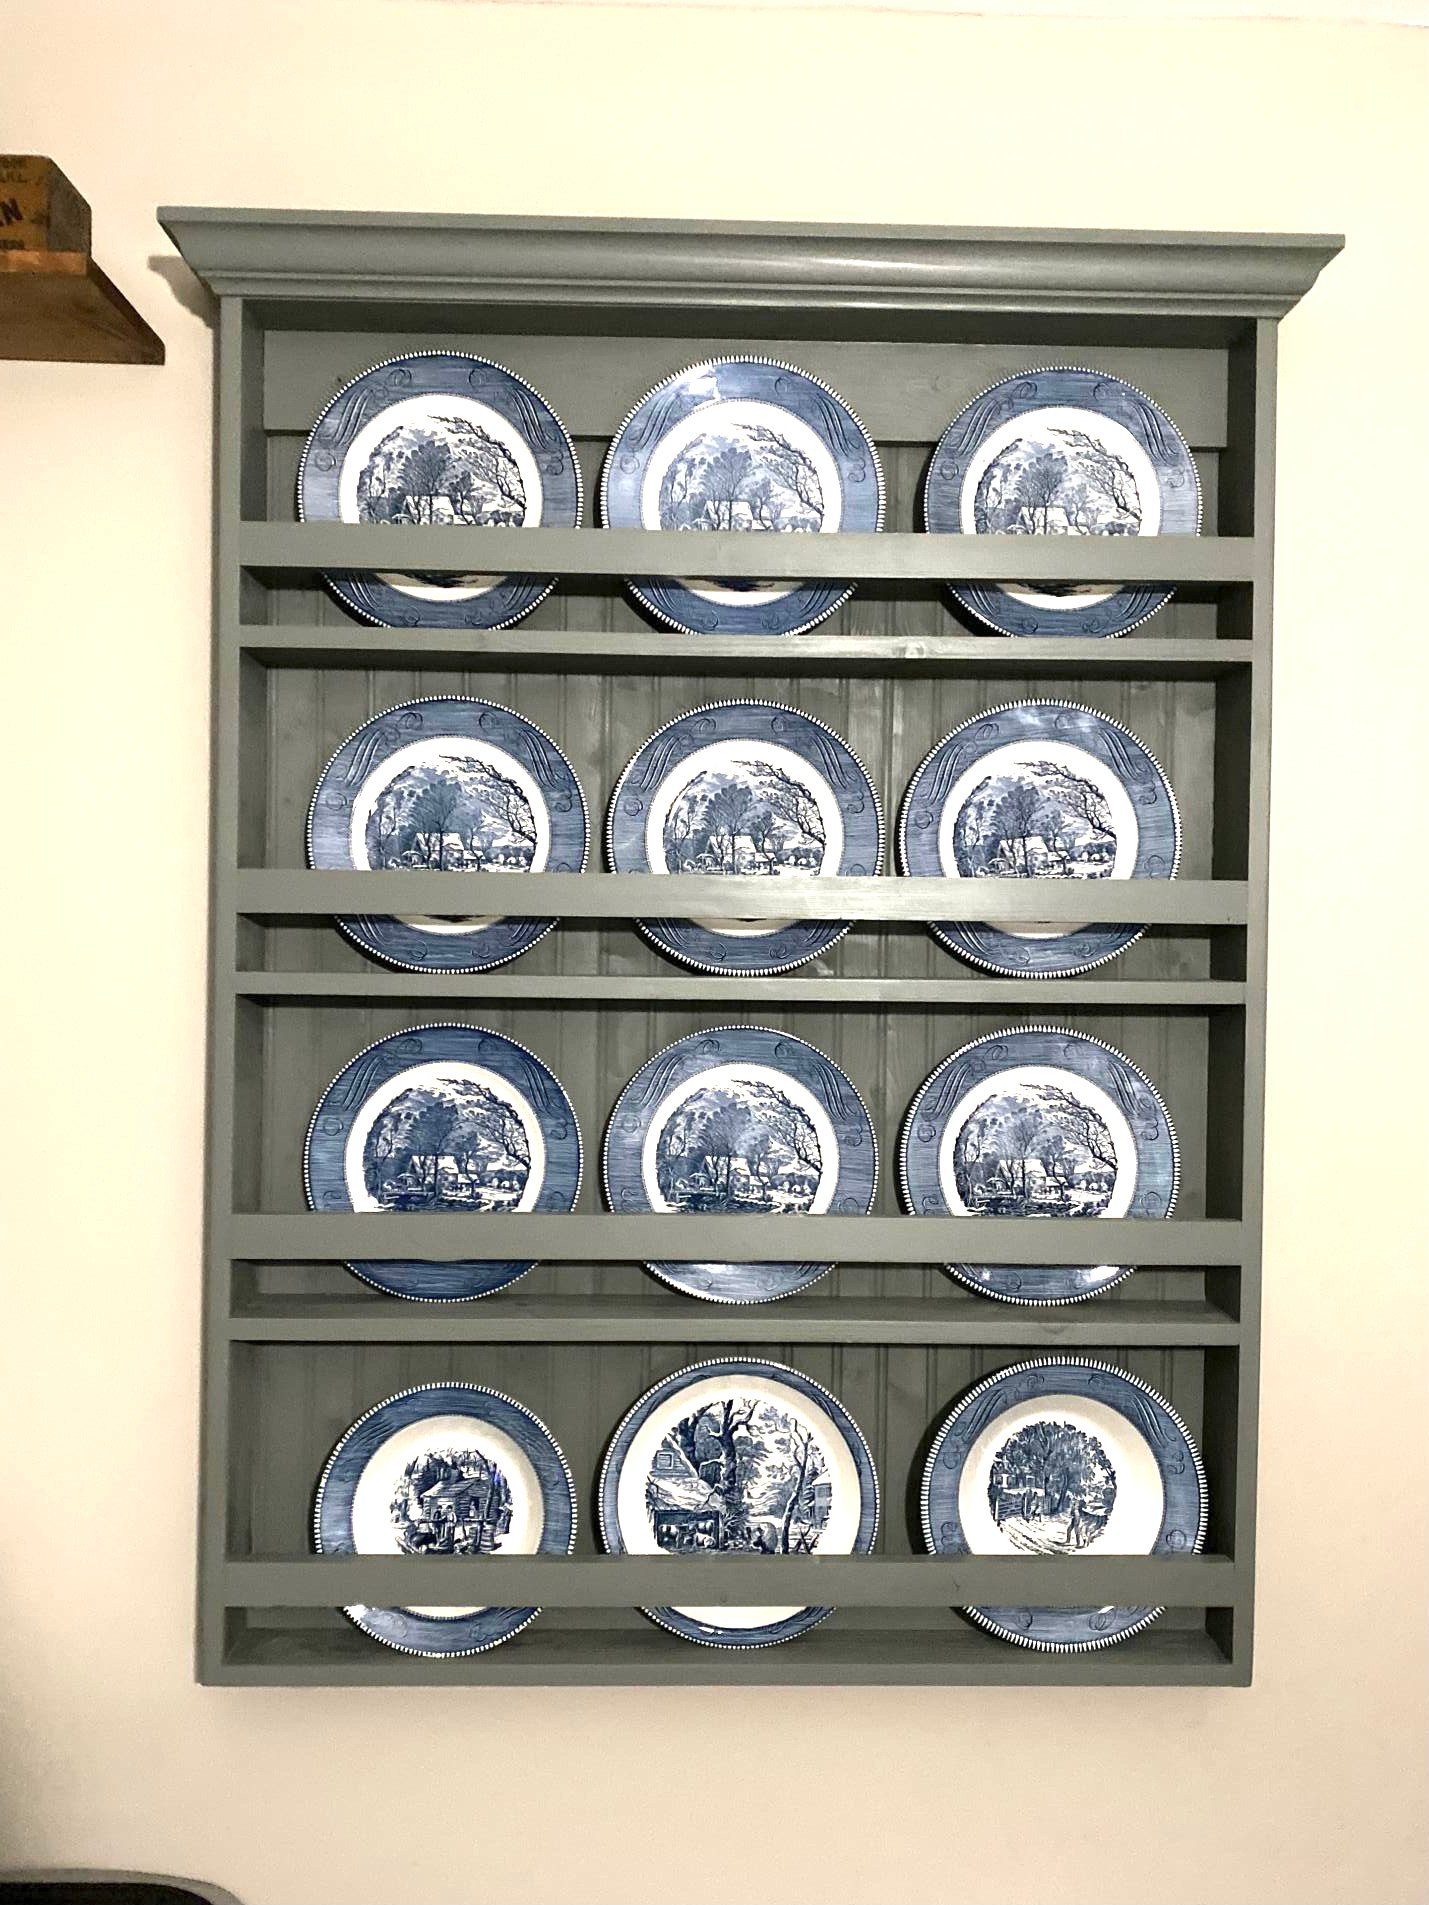
I was browsing Etsy for a plate rack and my Hubby said that he could just make me one. So I knew just where to go for the plans! He added crown moulding to the top, bead board to the back and painted it to match our cabinets. I love it! I use it to display his late mother’s Currier and Ives Plate collection. Thanks Ana!

Estimated Cost
$65
Estimated Time Investment
Weekend Project (10-20 Hours)
Finish Used
She twin Williams custom blended paint color
Recommended Skill Level
Beginner

Table

Submitted by Anonymous (not verified) on Sat, 02/18/2017 - 20:16

Here is my try at your table. I skipped the x's on the sides. 

Estimated Cost
$50
Estimated Time Investment
Afternoon Project (3-6 Hours)
Finish Used
Minwax stain in Dark Roast
Recommended Skill Level
Beginner

Rustic Sideboard / Buffet Table

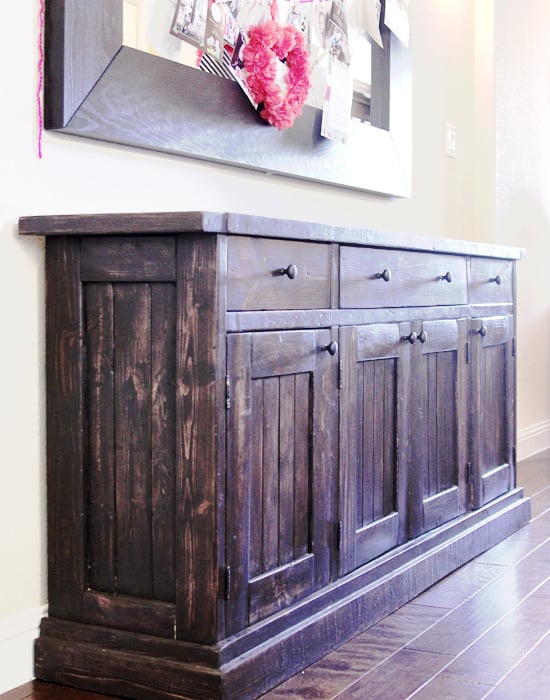
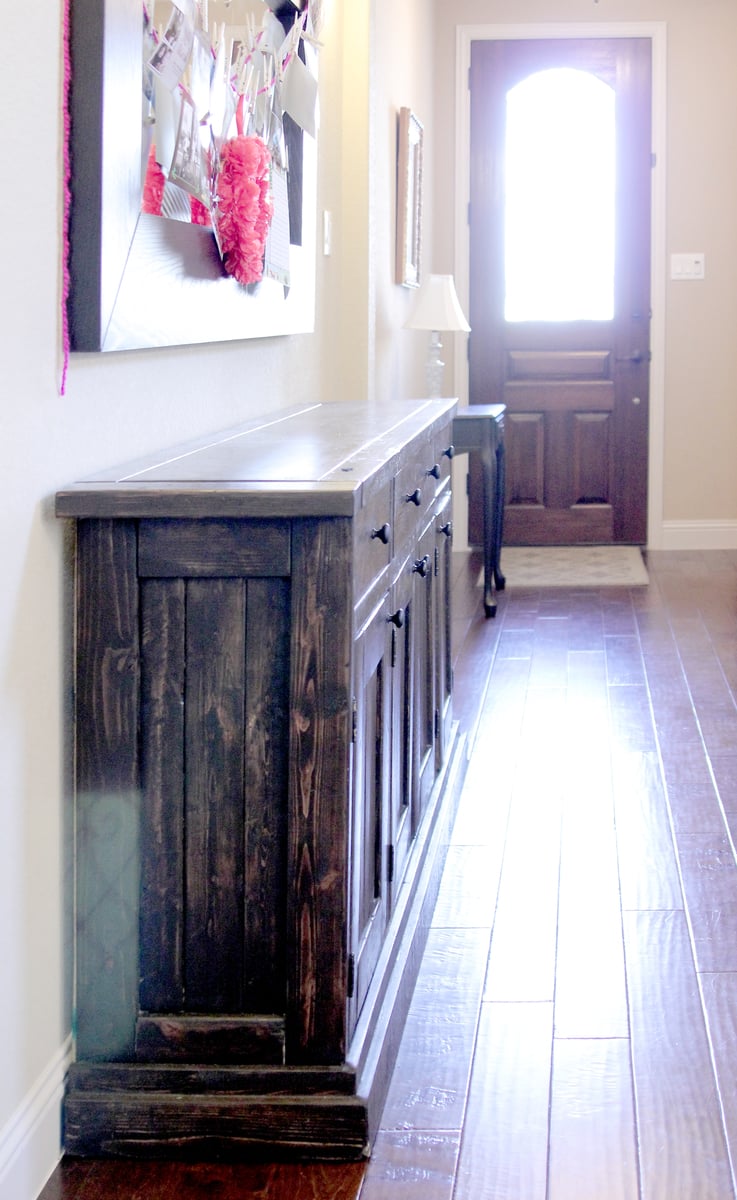
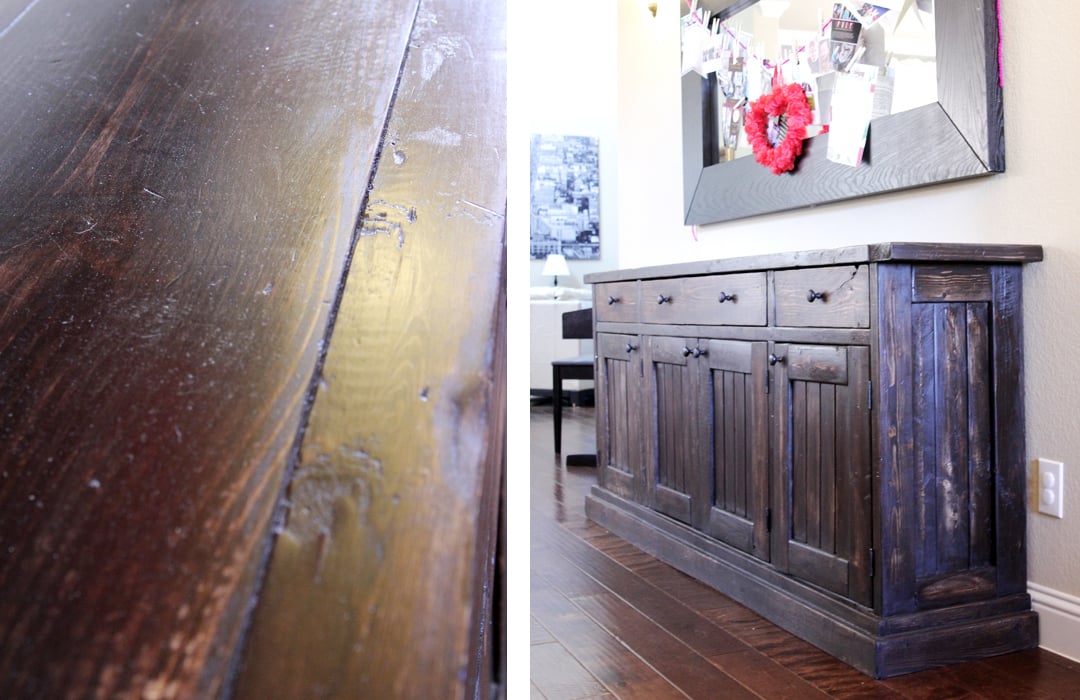
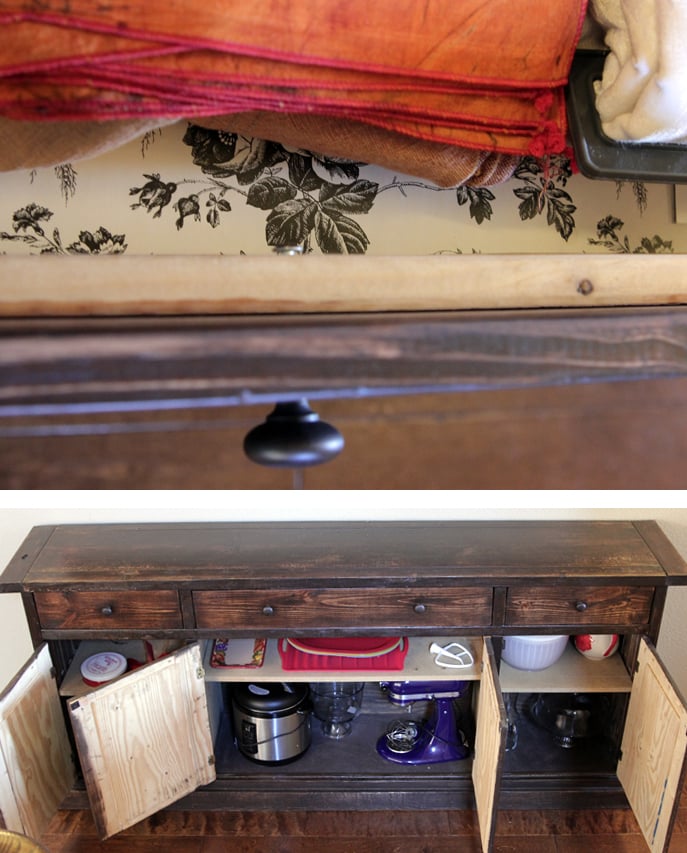
This was our second project (though I'm proud to say that I was able to put the bulk of it together all by myself...and that's because of the miracle of the Kreg Jig pocket hole kit!)

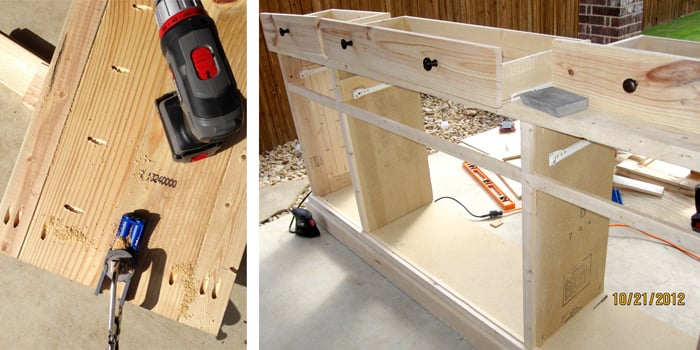
First I had to modify the plans so that the sideboard wasn't as deep (about 16" deep...so just a couple/few inches off the original plans). Then we bought the wood. My husband helped me cut most of the pieces, and then I started drilling pocket holes. It felt like it took forever! But once that was done, I was able to put it together so quick...like an IKEA furniture! BUT! I really should have checked for SQUARE better than I did, b/c once it REALLY started coming together, things were a little off kilter... Thank goodness my husband had the patience to SAND THE HECK out of the bottom of the poor thing to level it back out. :P

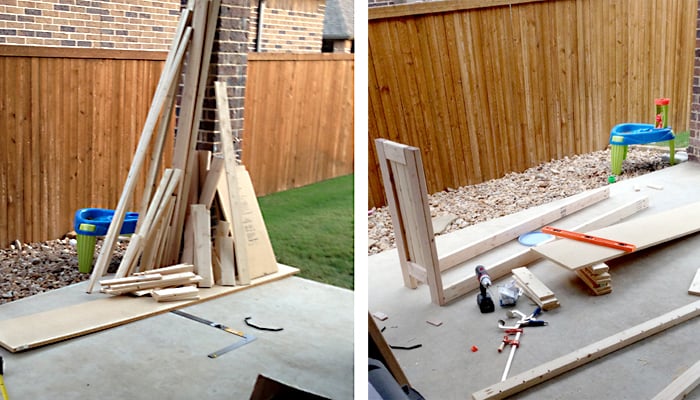
The door fronts took forever...and the drawers took a while to fit in correctly (all of which my hubs did). We had left our lumber on the patio, and the second day it got rained on. It might have helped if our lumber didn't get wet (to help keep things straight and square).

The things that took the longest: squaring, leveling, doors and drawers, and the base molding (I ended up using a 2x4 and 1x2 to build my own base along the bottom...we wanted to stain the wood instead of paint it, and didn't want to pay the $$$ for paintable molding).

I used the same Rustoleum Dark Walnut stain that I had used on our Farmhouse Table...but I didn't shake it enough before using it, then left it on longer than I should have, so it is much darker than our table. Eventually may want to paint over it since it was so hard to get stain in all the nooks and crannies.

I didn't think to stain the inside of the doors. I will have to go back and paint it someday. We used particle board for the bottom and inside shelf (much cheaper than plywood). I tried staining the bottom piece, but it just soaked in the stain. So I used some dark brown spray paint instead. Worked like a charm. Planning on painting/covering the shelves one day, too.

OH! AND, I couldn't find the wider "bead board" (or whatever it is that everyone else used on their sideboards), so we used plywood as a backing, then attached some thin Poplar boards on the front for the appearance of planked boards. VERY painstaking. Would recommend a different method for that part.

(Timing: We started building this around the beginning of November, brought it in and used it before it was finished...then finished it a couple days before Christmas. Just the other day I added some drawer liners).
Built from Plan(s)
Estimated Cost
$200-300 for lumber.
Estimated Time Investment
Week Long Project (20 Hours or More)
Finish Used
Rustoleum Dark Walnut
Deft Clear Satin, 1 coat.
Recommended Skill Level
Intermediate

Comments

hillarylouise

Wed, 02/06/2013 - 15:20

I saw your comment on my blog and had to come take a peek! It sounds like it was a challenging project, but you did a fantastic job. Beautiful!

Changing Table / Dresser

Submitted by Ben W on Mon, 12/22/2014 - 09:09

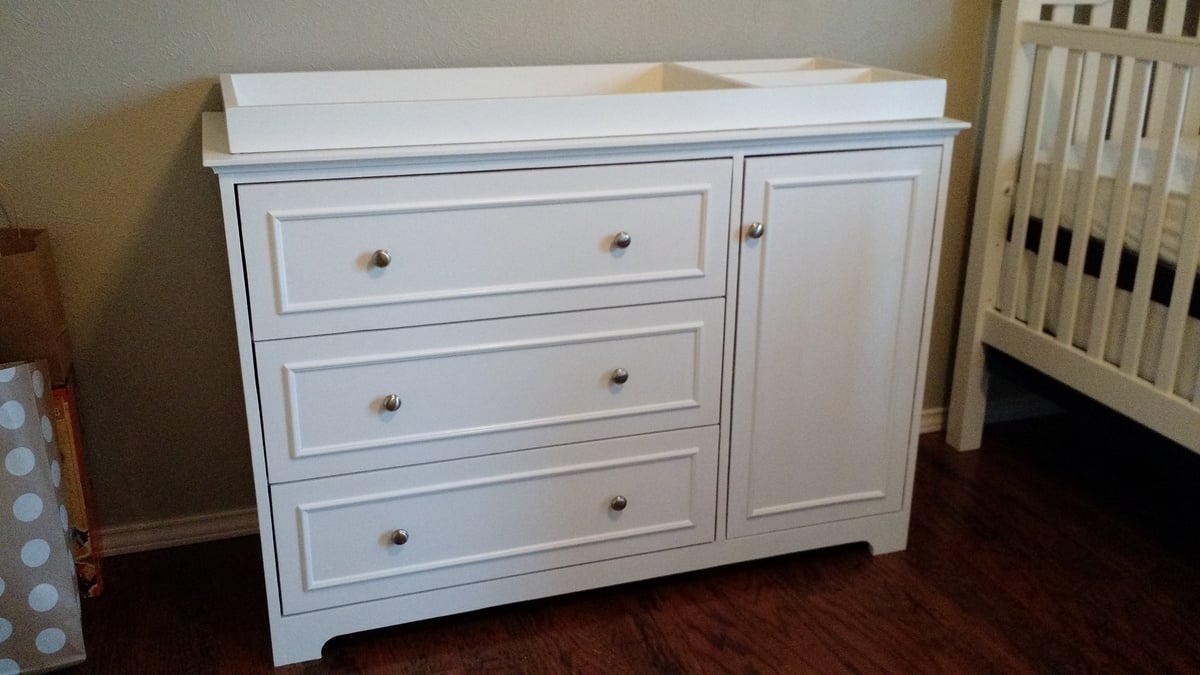
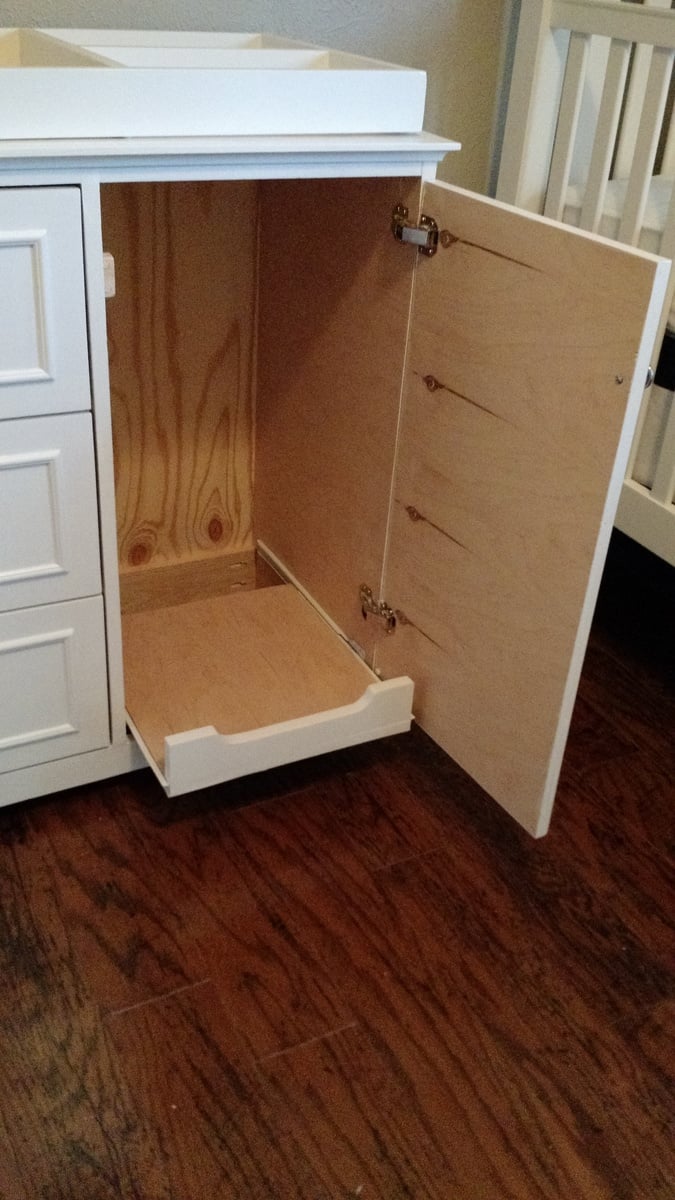
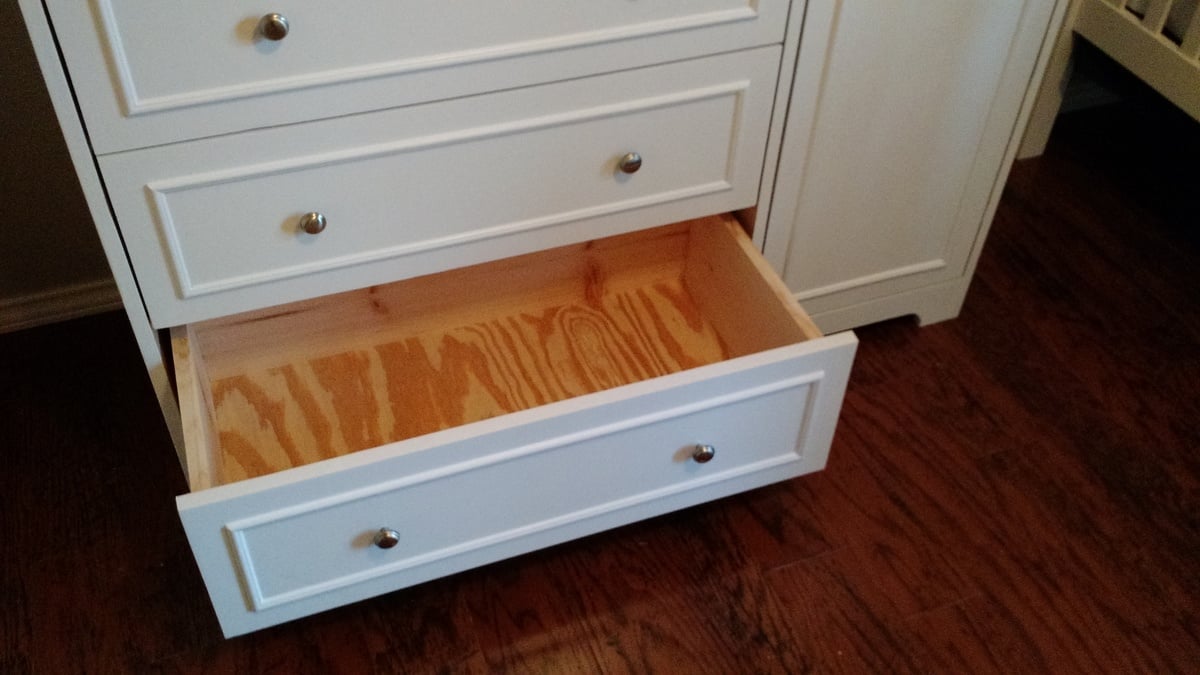
I wanted to build a dresser & changing table combination for our son, who is due in January. I liked the Fillman (Pottery Barn's Fillmore) dresser plan, but also wanted to incorporate some ideas from Pottery Barn's Larkin Hi-Lo Changing table ($1100 - yikes!), namely the side cabinet, so I made a few modifications.

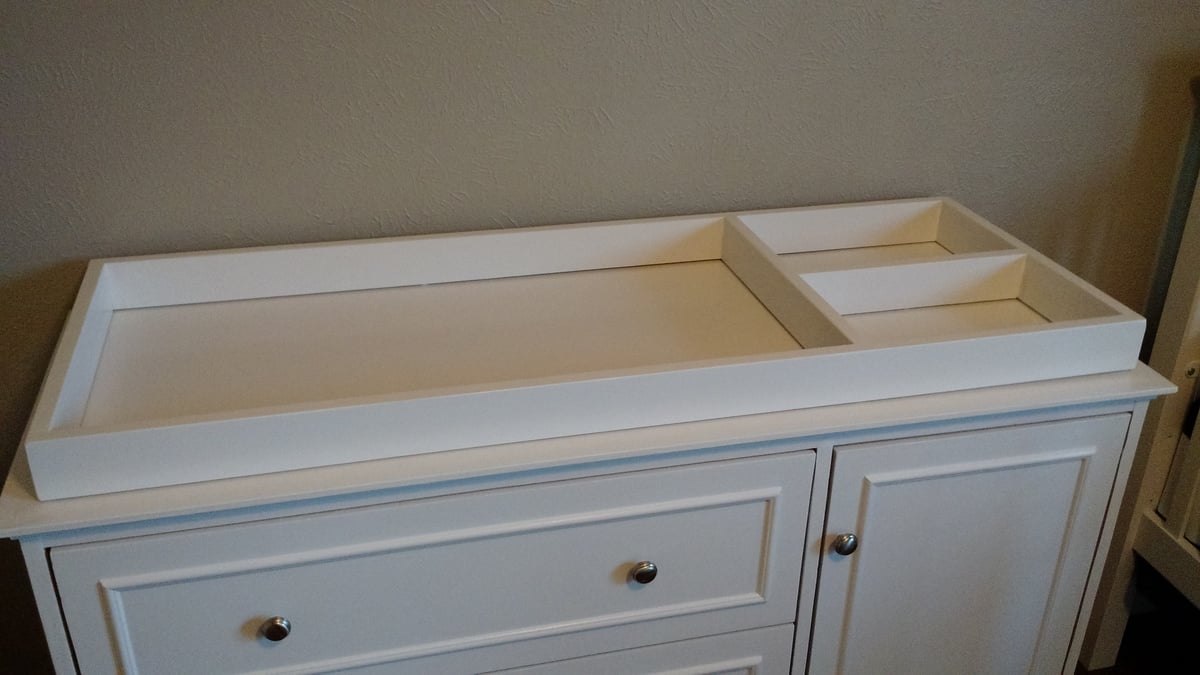
The side cabinet has a pullout shelf to accomodate a diaper pail or hamper. The changing table topper is removable so that this can continue to be used as a dresser when we no longer need the changing table.

I have built a few pieces from or inspired by Ana's site before, but none have been as rewarding as this!

Estimated Cost
$150
Estimated Time Investment
Weekend Project (10-20 Hours)
Finish Used
Sherwin Williams ProClassic Enamel (semi-gloss) in Snowbound.
Recommended Skill Level
Intermediate

Comments

Linda7

Mon, 12/22/2014 - 10:26

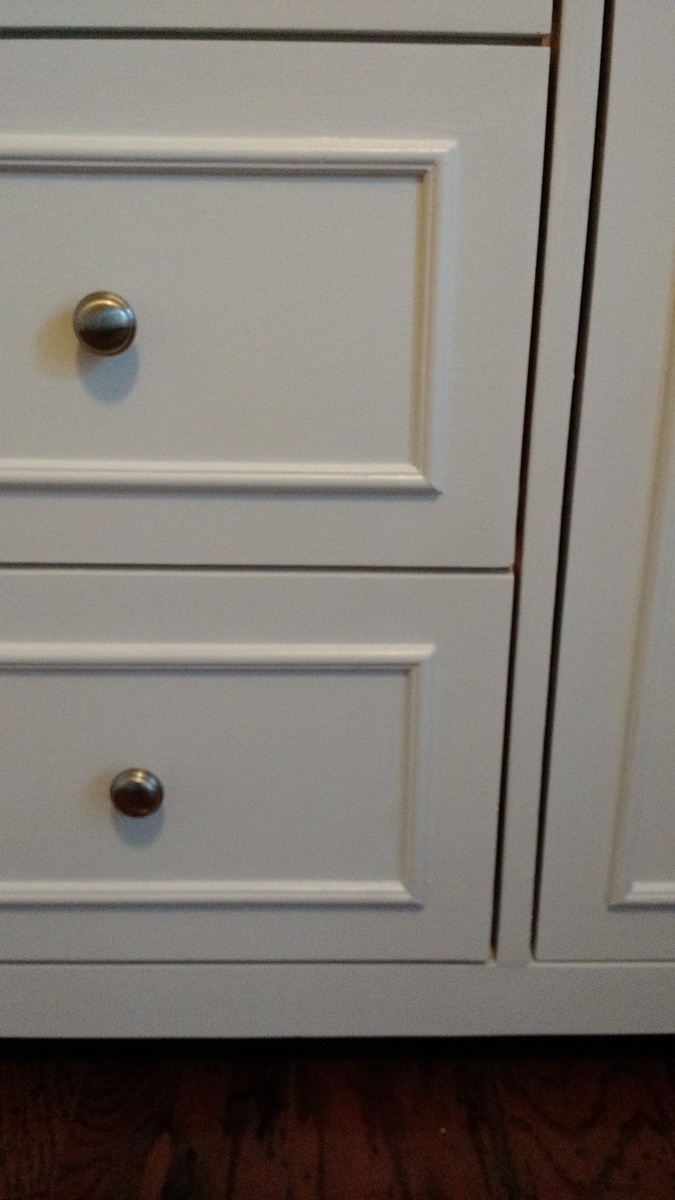
Beautiful build. Your modifications make this table very versatile, and I noticed that your spacing all around the drawers and door is so even. This should become a family heirloom.

Cottage Bench Turned Laundry Hamper

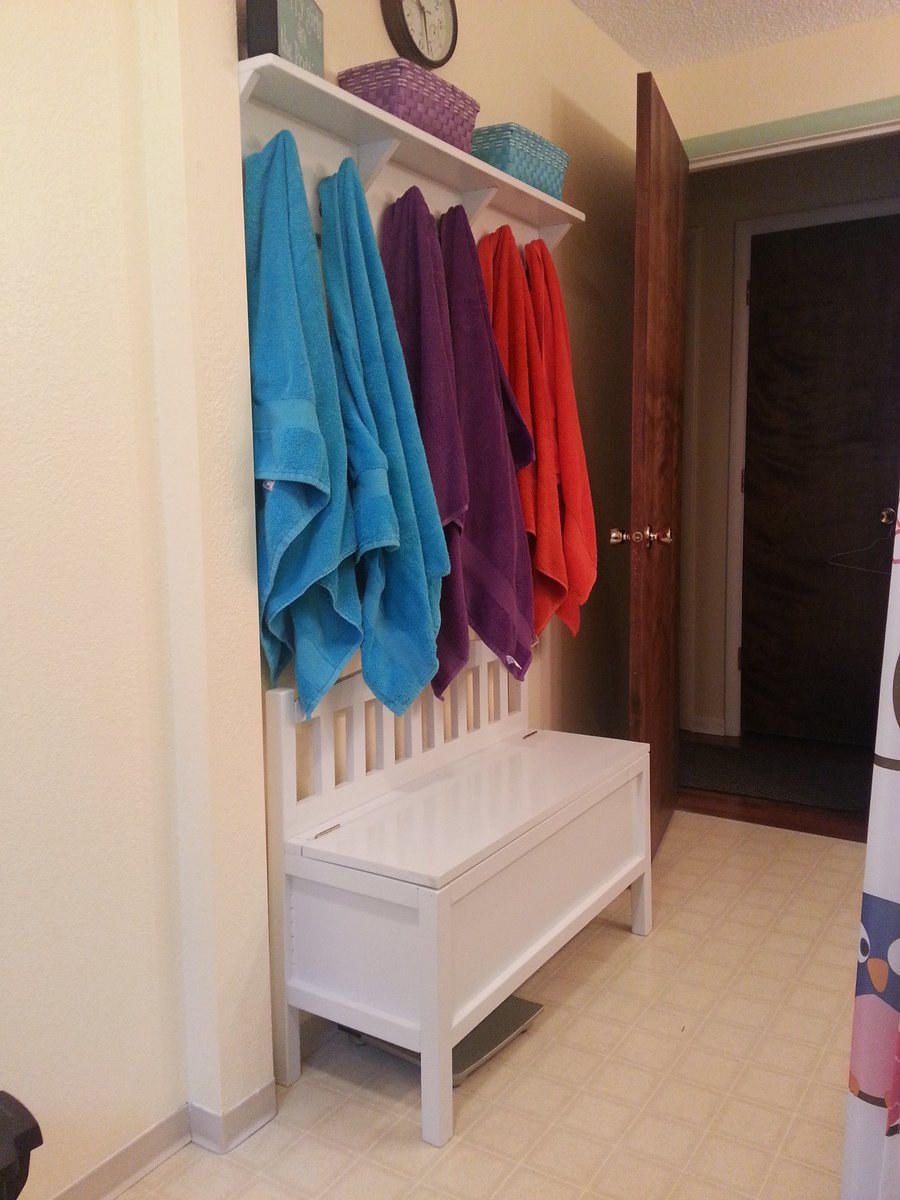
This bench was the perfect size for a long wall in our bathroom!  My husband added a solid front panel and used peg board to create a vented back panel.  Then he made the seat hinged.  Now we have a great bench that doubles as a laundry hamper with two compartments.  I absolutely love it!

Recommended Skill Level
Intermediate

Comments

Flip down kids table

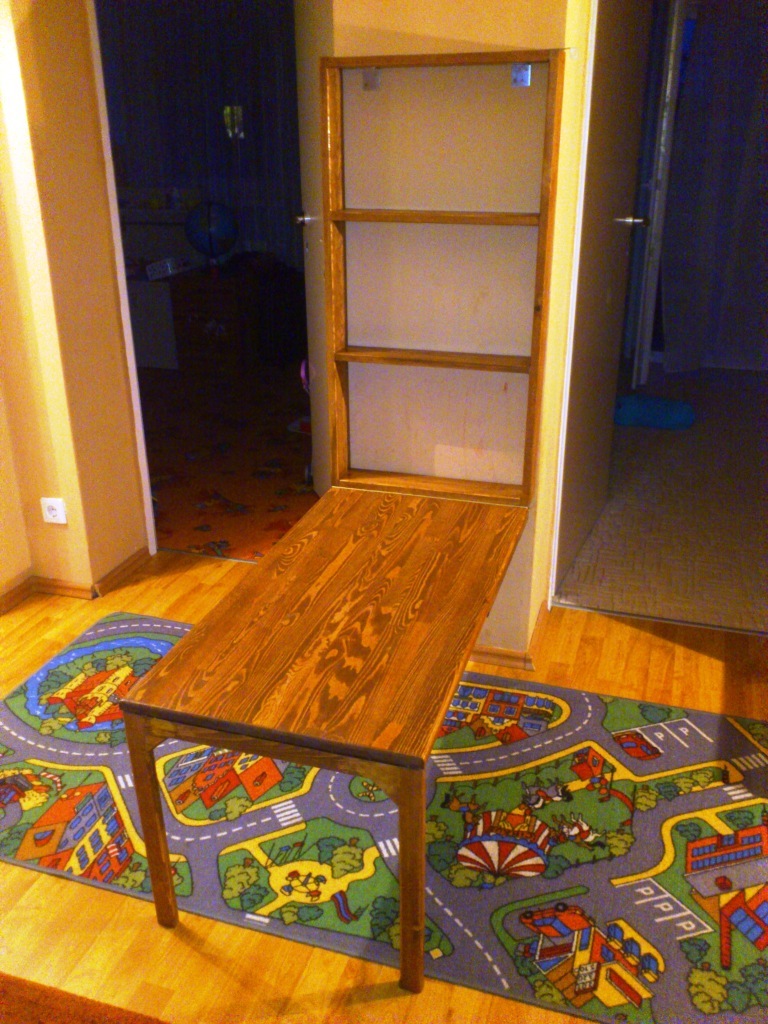
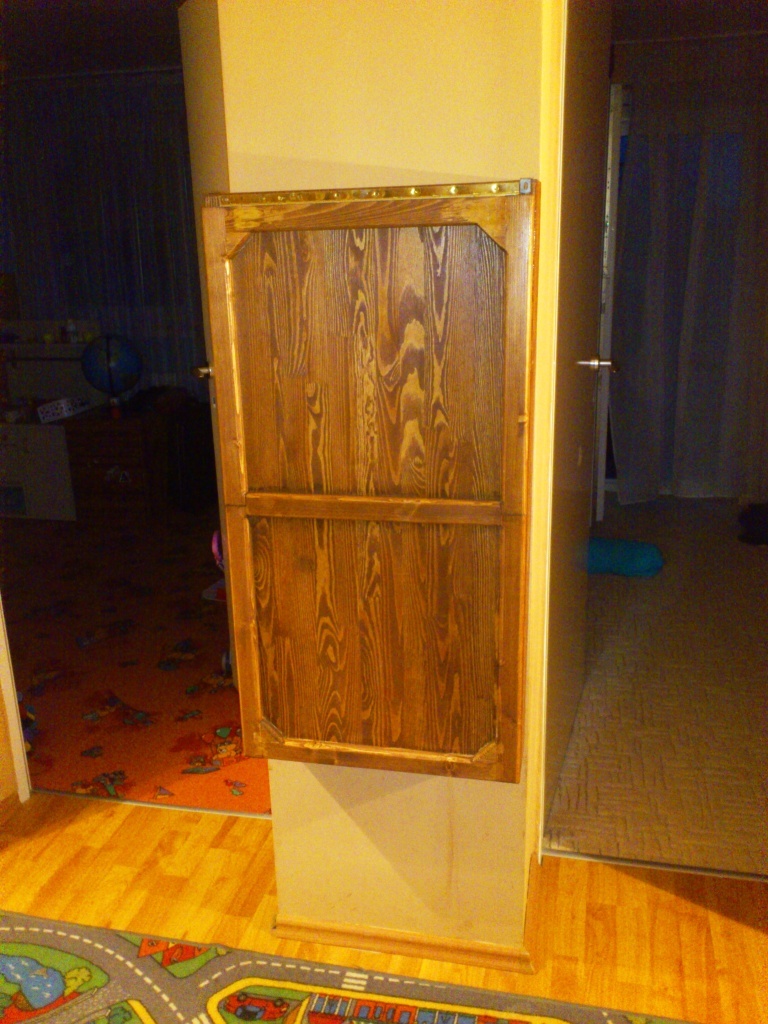
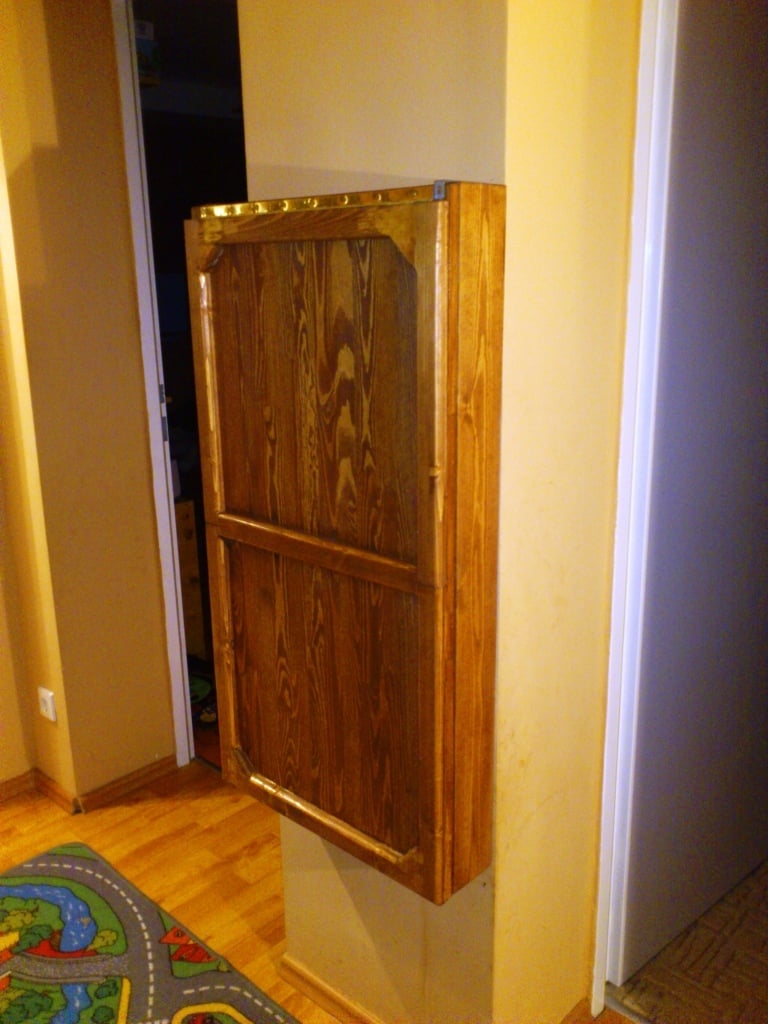
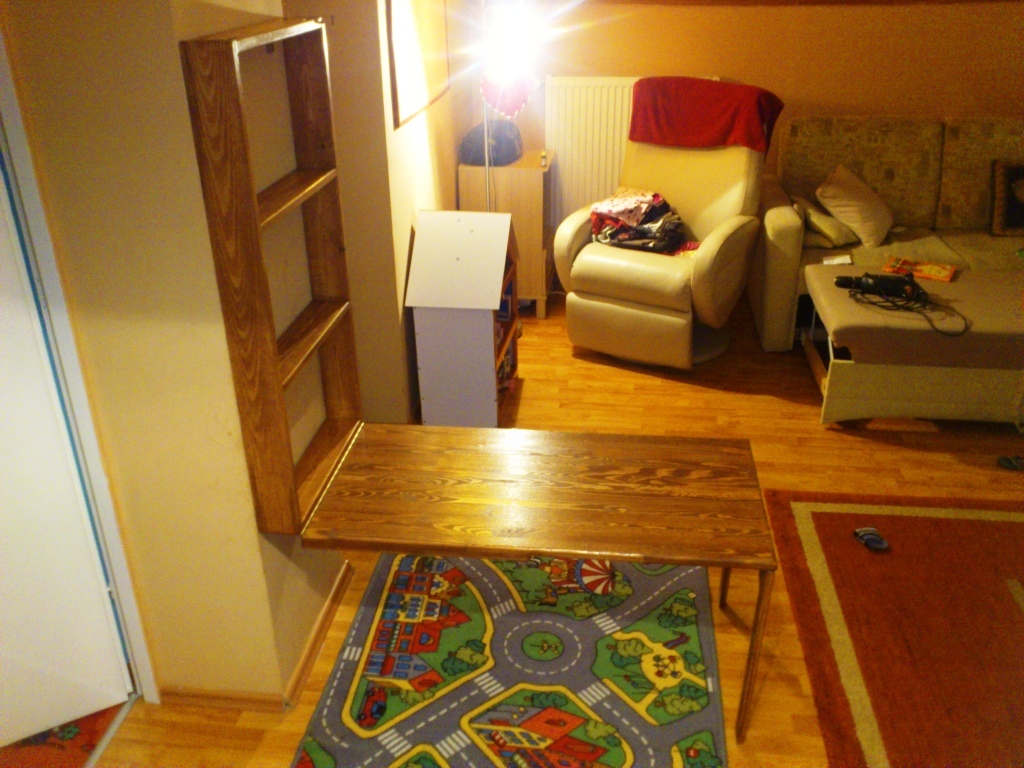
Submitted by EDanido on Thu, 03/21/2013 - 04:22

I saw this plan a couple of months ago, and knew right away that this is what we need for our kids - their old table was always filled with papers, crayons and they never had enough space to store whatever they did.

I made the table longer so that it would be enough for both of them, and added foldable legs to support the table top.
Since I didn't find the right hinges for the legs, I used a piece of 1x1 with wood dowels which are attached to the inner side of the legs when unfolded.

Built from Plan(s)
Estimated Cost
$ 40 - but I had to buy the wood for the table top twice...
Estimated Time Investment
Weekend Project (10-20 Hours)
Finish Used
Walnut stain
Recommended Skill Level
Beginner

Comments

sawdust

Fri, 03/22/2013 - 16:08

Well, I now know what I'm doing tomorrow! I'm going to make a small hinged one to go in our entryway because we have nowhere to put stuff while we're getting our shoes on. Yours looks great!

Twin Over Full Bunk Bed

Submitted by sapperstan on Mon, 04/01/2013 - 14:47

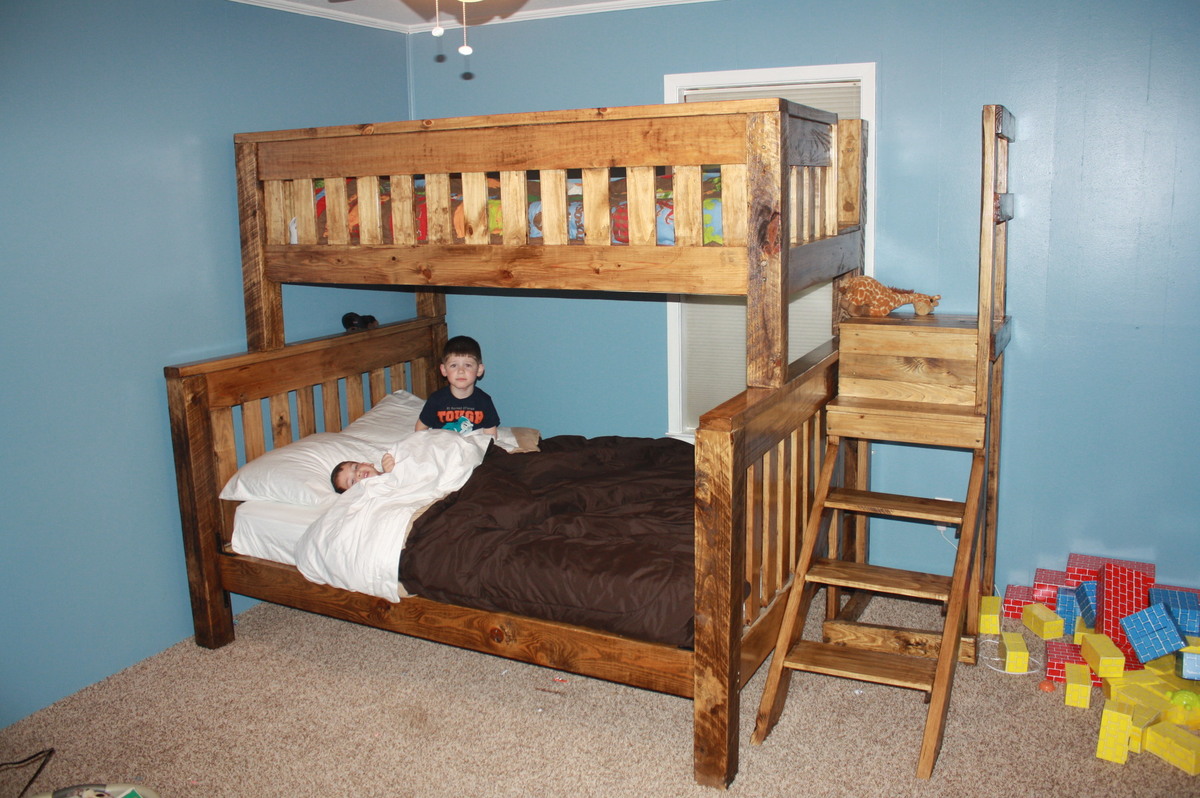
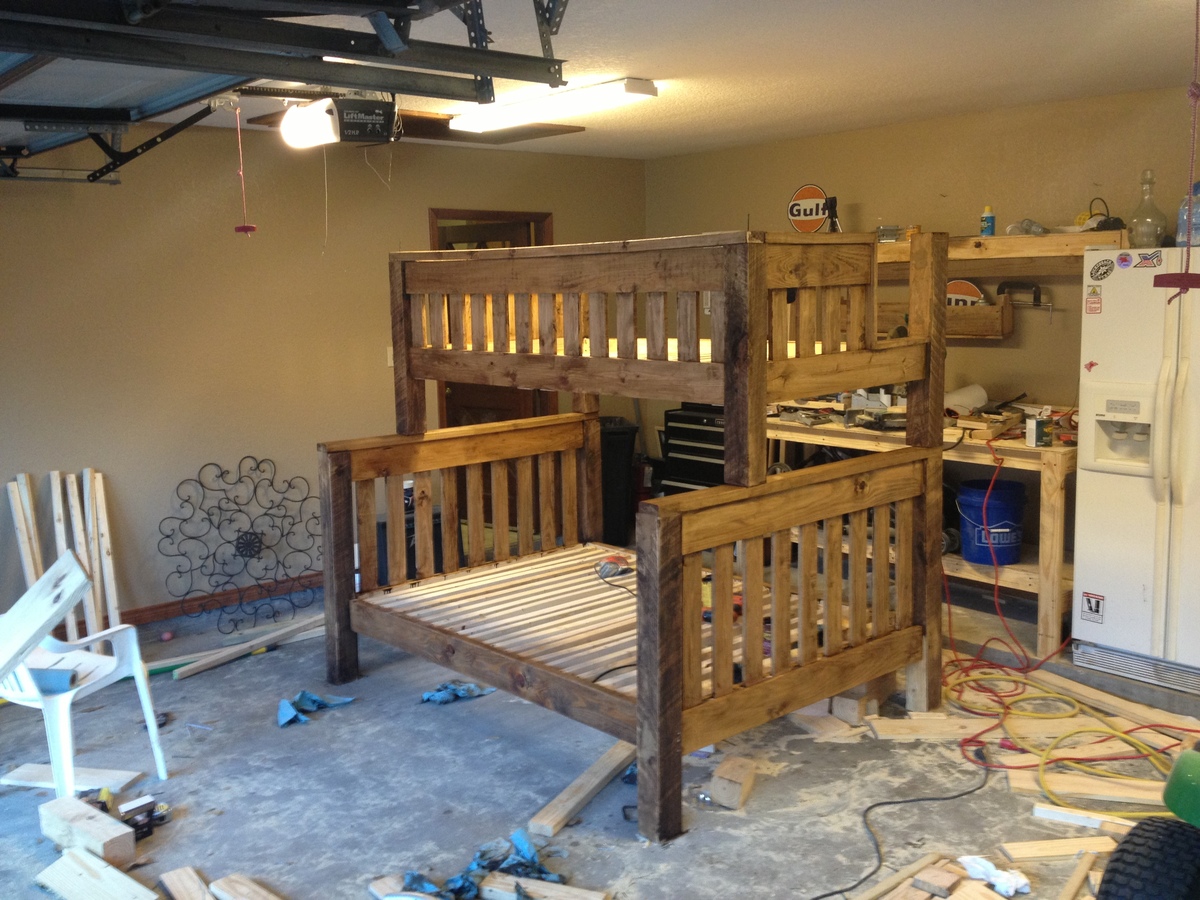
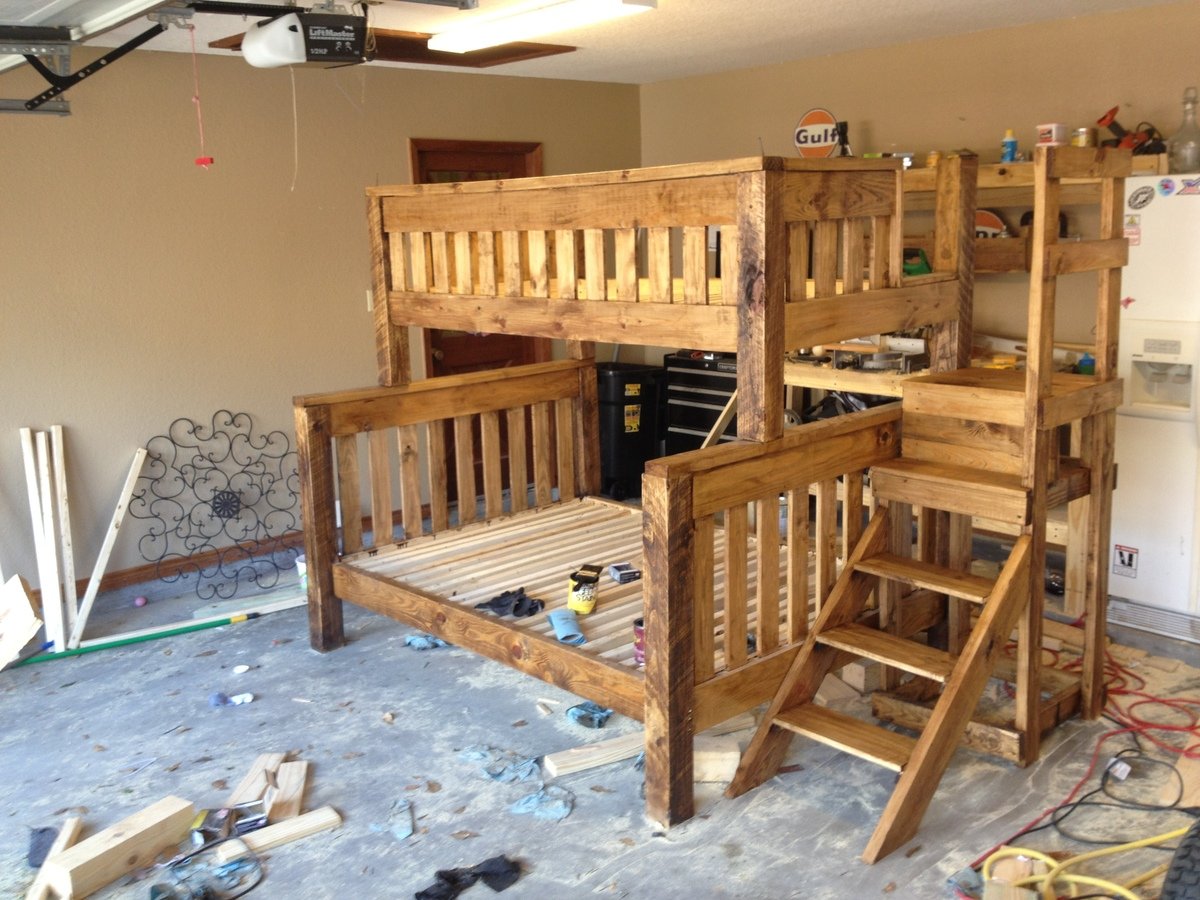
My 4 year old kept asking for a bunk bed, so my wife and I went to the furniture store and saw we would be paying close to $1000 for a junkie bunk bed. We told him it cost too much and left it at that. Then he started bringing us pennies, dimes and all the change he could find to pay for the bed. So I found this website and decided to attempt to build him one. I started building it after work on Monday, continued for a few hours every evening and finished Saturday morning. It turned out amazing, and both the boys love it. It is extremely sturdy, and will last beyond my lifetime. It's just a good quality design. Total Cost was about $300. Not bad for what we would have been paying for a lesser quality bed. Changes I made: I added the railing on the front of the upper bed to match the headboards and railing on the back side because my wife is a worrier. I also designed and built the stairway and bolted it to the lower bed. I am no professional carpenter, a novice at best. Most people with a little carpentry knowledge can build this. Thanks Ana, we all love it!

Estimated Time Investment
Weekend Project (10-20 Hours)
Finish Used
Sanded with 220 grit
Applied wood conditioner
Applied Minwax Aged Oak gel stain
Applied Polyeurathane for protection
Recommended Skill Level
Intermediate

Comments

spiceylg

Tue, 04/02/2013 - 05:17

Wow, you did a wonderful job! What a sweet story with your son bringing you any change he found. Adorable. I'm sure your sons are so proud of you and it means so much more than just store bought. In looking at that first smaller picture of just the top part, it looks like a view from the back side of a day bed. You can take apart the bunk beds when they get older and you have one full bed and one day bed. Awesome!

Baseball bat headboard w/ farmhouse style footboard.

Submitted by jbayer80 on Sat, 04/06/2013 - 11:21

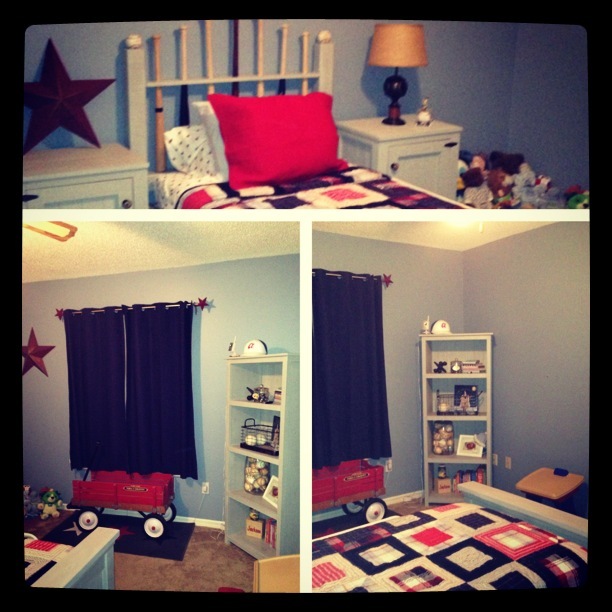
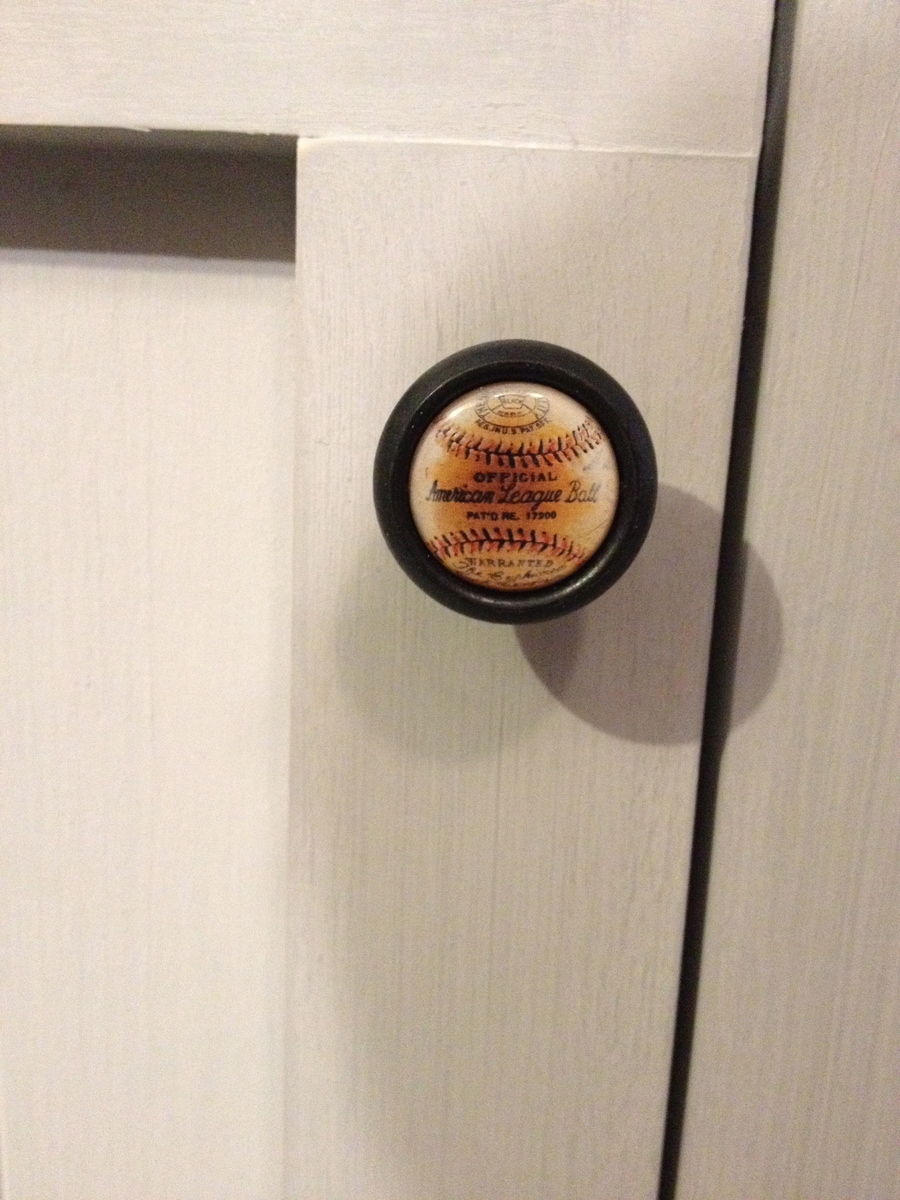
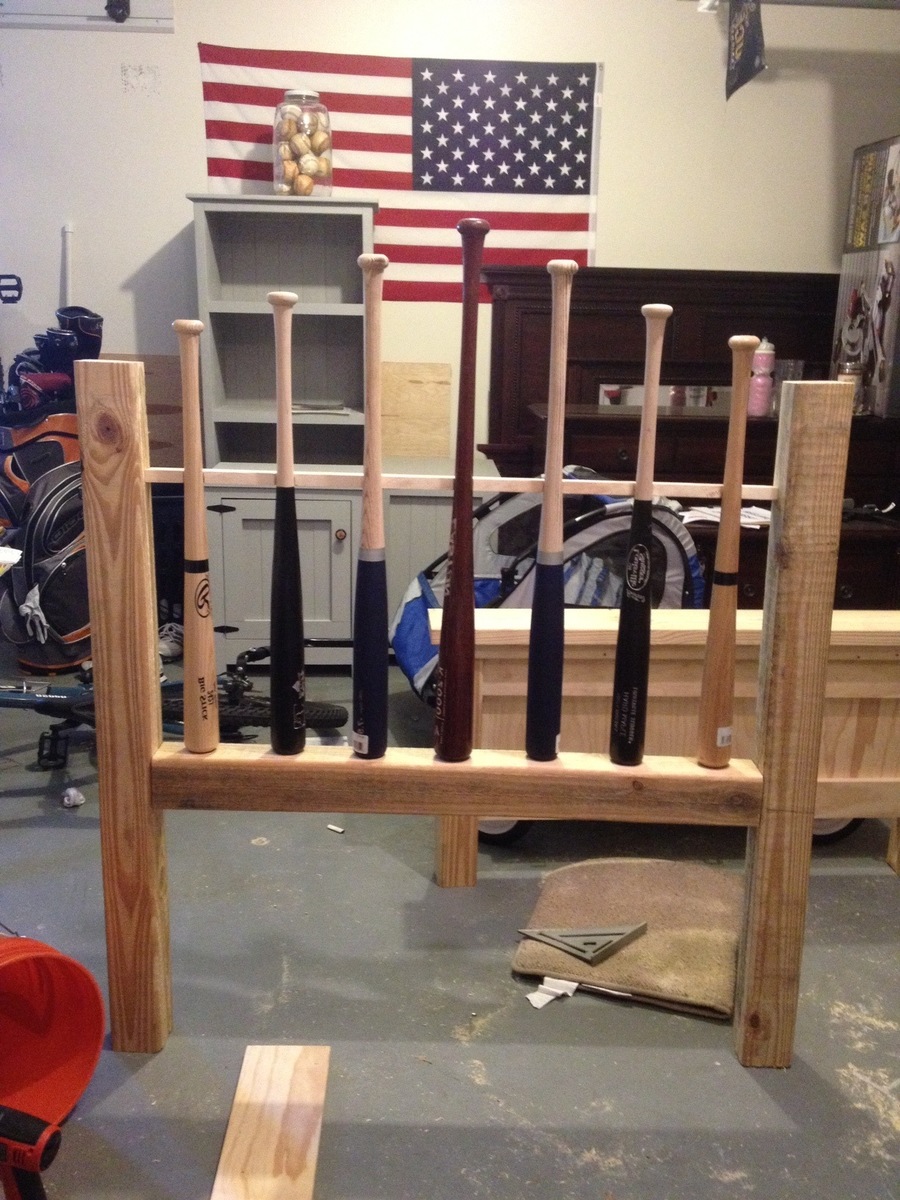
I found a baseball bat headboard that I wanted to make for my son...thankfully I found this website that has helped me so much. I BUILT every piece of furniture my in sons room, crazy!

I had a blast doing and have no plans on stopping.

Estimated Cost
$250 for everything
Estimated Time Investment
Week Long Project (20 Hours or More)
Finish Used
AS chalk paint. @ $36 a can, I will be making my own from this point forward.
Recommended Skill Level
Beginner

Comments

mrpaulperry

Wed, 07/31/2013 - 07:54

That looks awesome!

What site did you use to build the headboard?

Where did you get the wood bats? I'm struggling to find a cheap option for those.

Thanks

In reply to by mrpaulperry

jbayer80

Sat, 01/18/2014 - 20:52

There wasn't a plan for the headboard. I found a picture a few years back and knew I wanted to make it for my son. I can take measurements of everything and let you know but I got the bats then just did what looked best.

I searched high and low for bats in local stores and online. I ended up finding the best and cheapest online. I did my best to find old, used bats but couldn't find all the right sizes for what I wanted so I just got new bats.

kpmcmullin

Wed, 08/19/2015 - 14:50

Hi- do you have the plans and measurements you used to make this headboard and bed? Thanks!

Rustic Modern Platform Bed

Submitted by Anonymous (not verified) on Tue, 05/23/2017 - 12:48

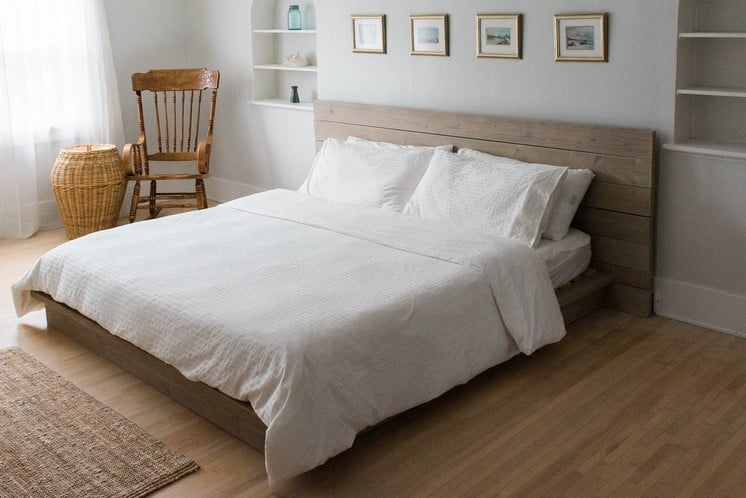
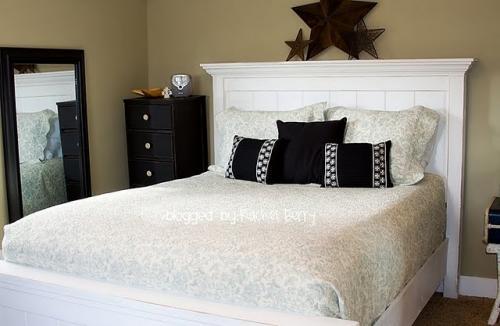
We loved this bed much! And others loved it so much that the people who purchased our home requested to keep the bed frame as well. I guess we'll be building it again. We used a vinegar/steel wool solution to oxidize the wood and then sealed it with a natural finish (rubio-monocoat 'cotton white'). Thank you for these plans!
Finish Used
vinegar / steel wool + rubio monocoat cotton white,
Recommended Skill Level
Beginner

"Cube" storage unit

Submitted by kds199 on Fri, 10/14/2022 - 09:49

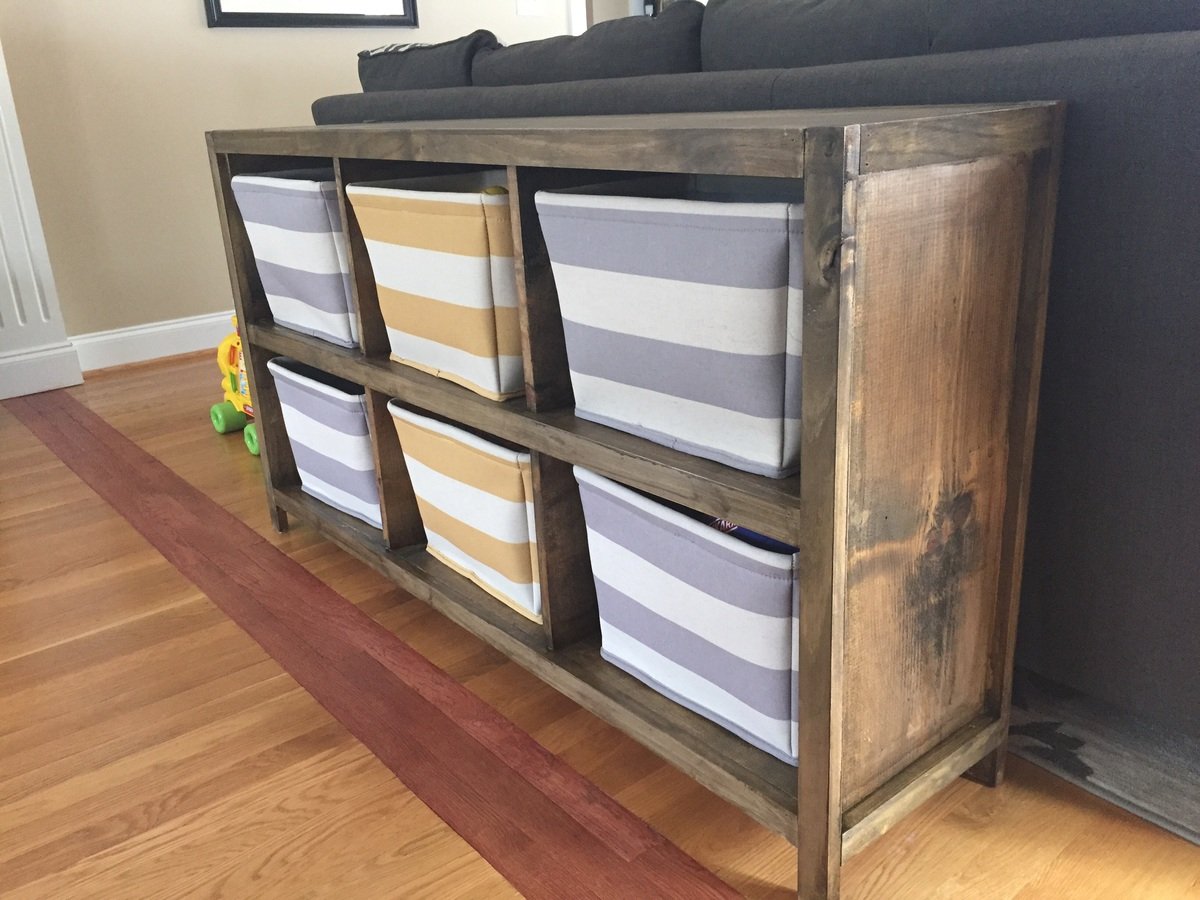
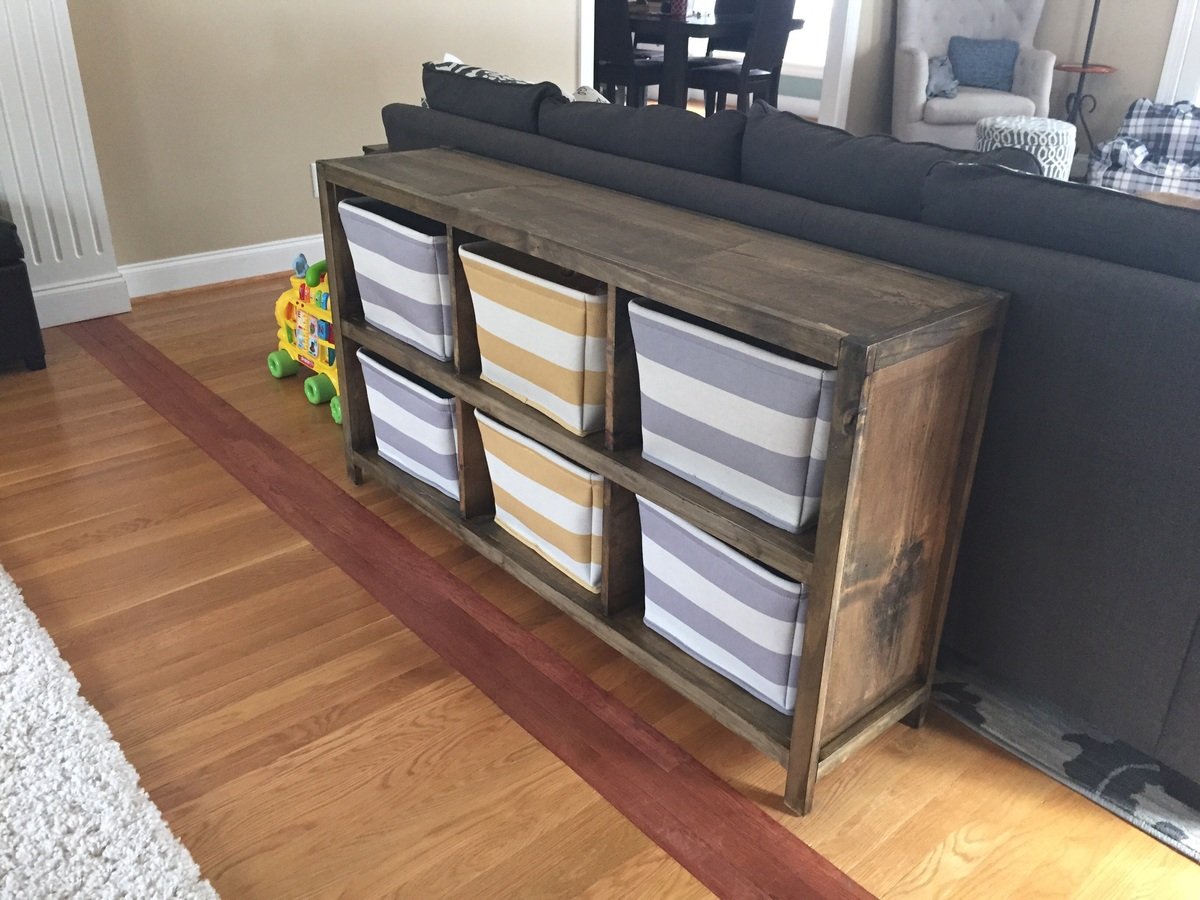
My wife and I wanted a nice way to hide more of our son's toys in the living room that didn't look tacky. We actually bought the cubby bins before even deciding what to make. (From target of course.) I made the bookcase out of wood shelving that already looked kind of beat up when I bought it knowing that the wood stain wood bring some character to it.
I only changed the plans slightly by making the legs flush with the inside so I could trim the ends and customizing the size of the cubby openings to fit the bins. (Mine aren't actually cubes.)

Built from Plan(s)
Estimated Cost
$60
Estimated Time Investment
Afternoon Project (3-6 Hours)
Finish Used
2 coats of stain...minimal sanding to keep the surface looking rough
Recommended Skill Level
Beginner