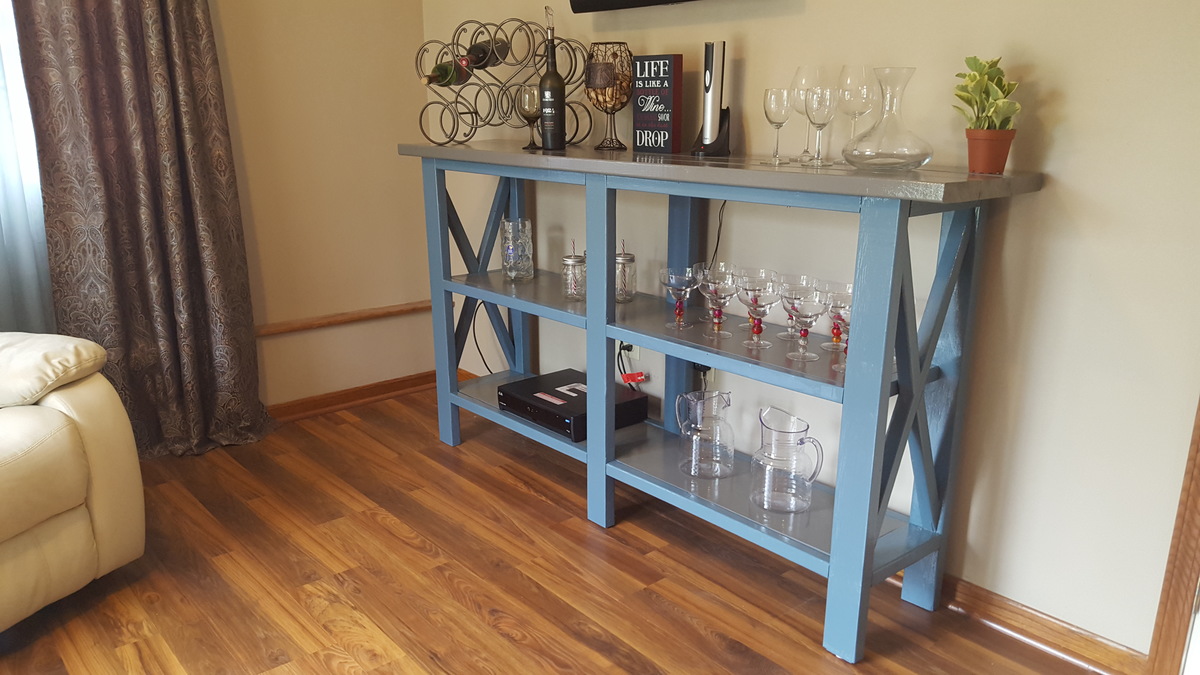
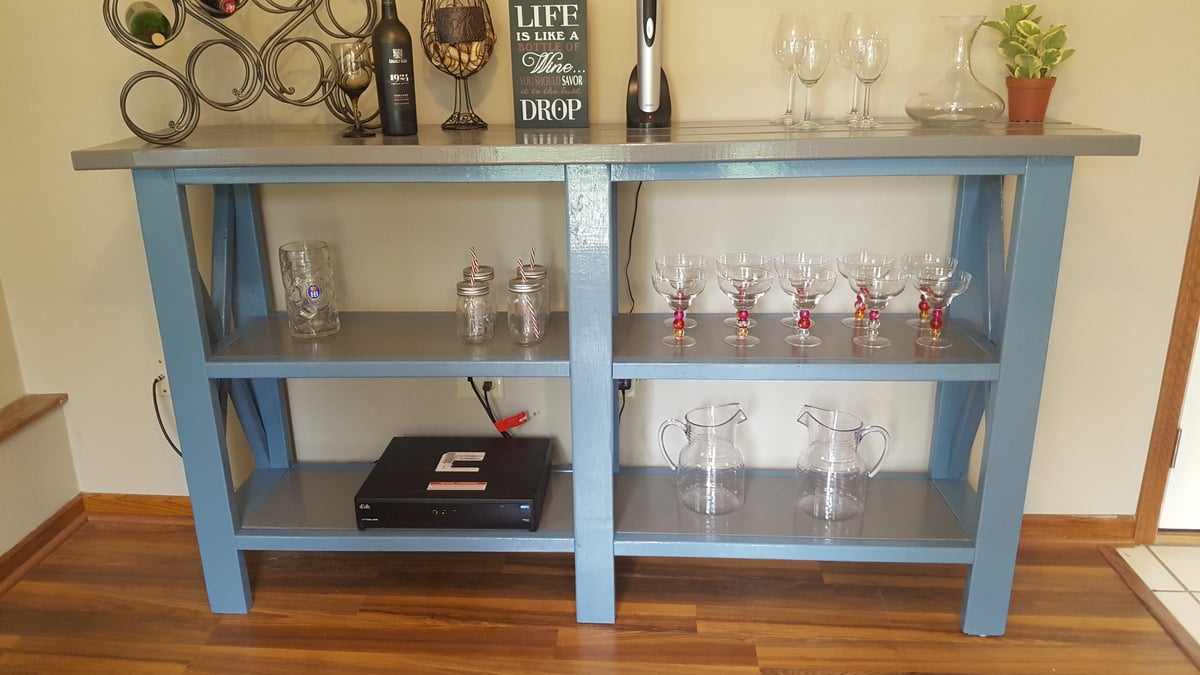
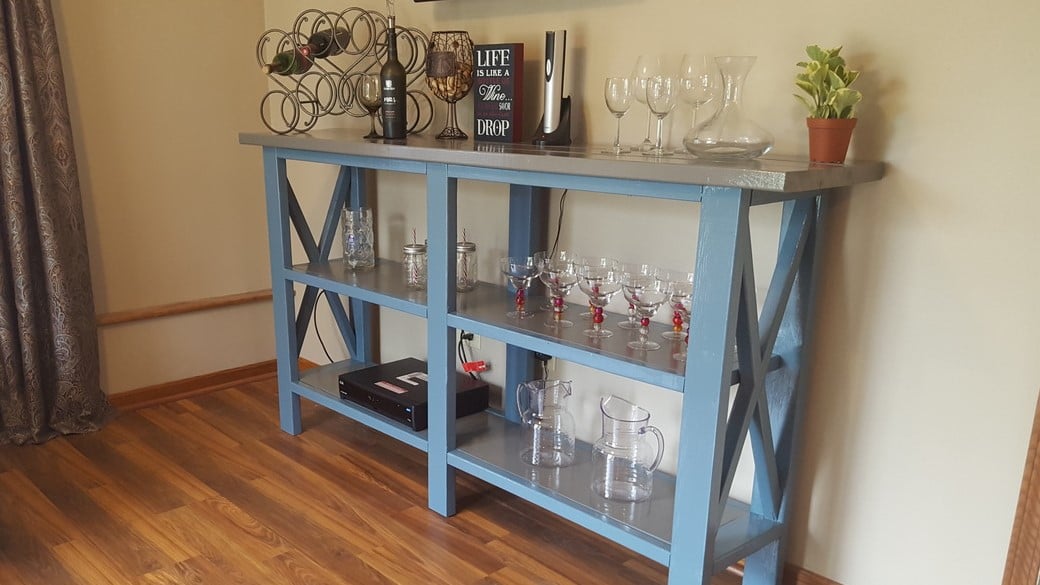
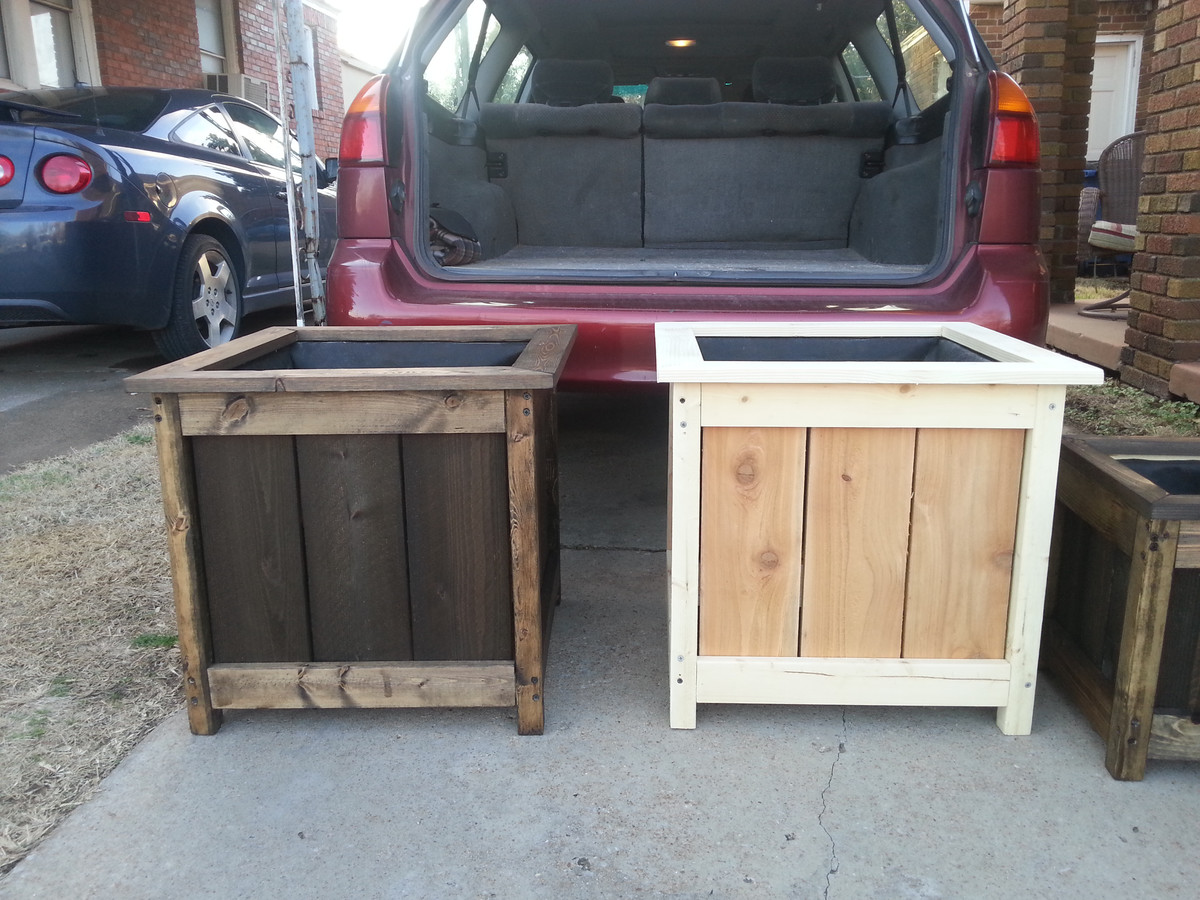
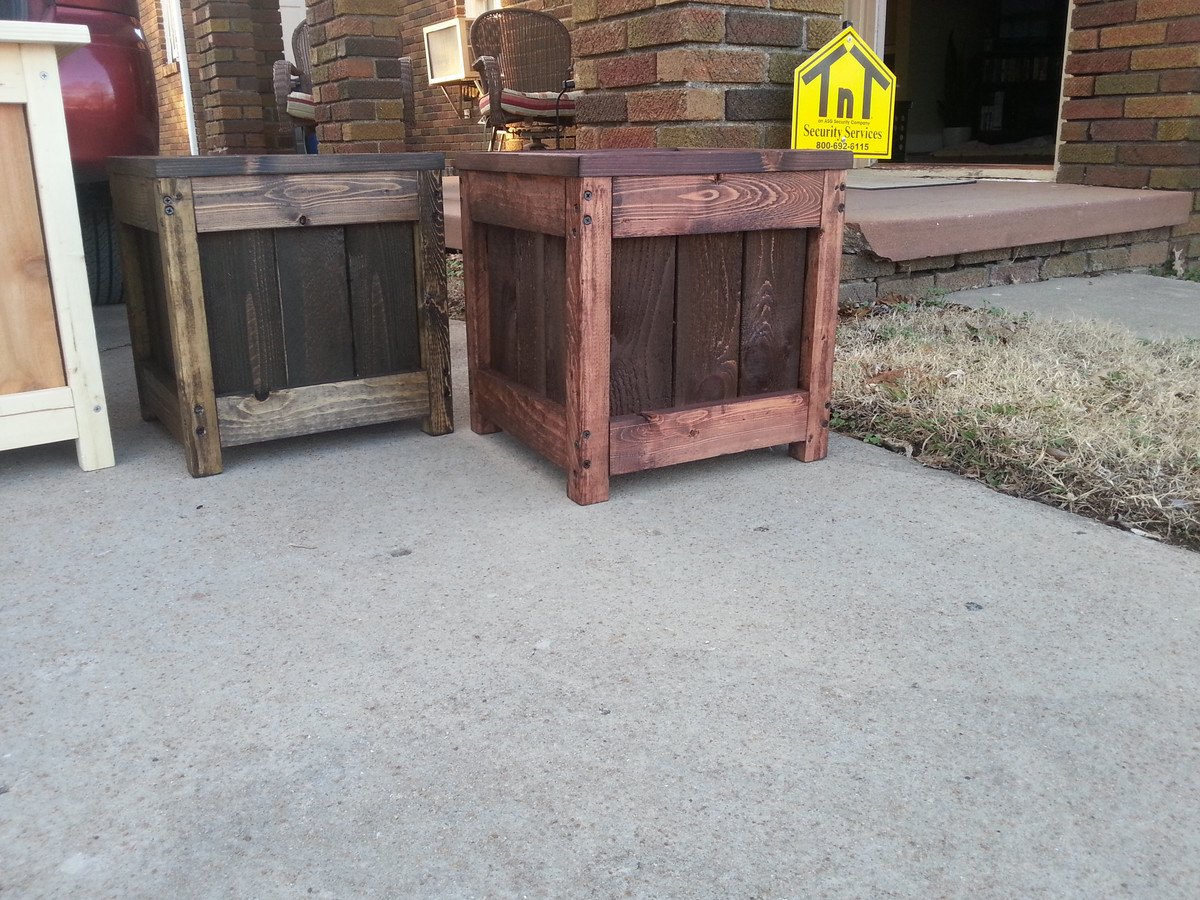
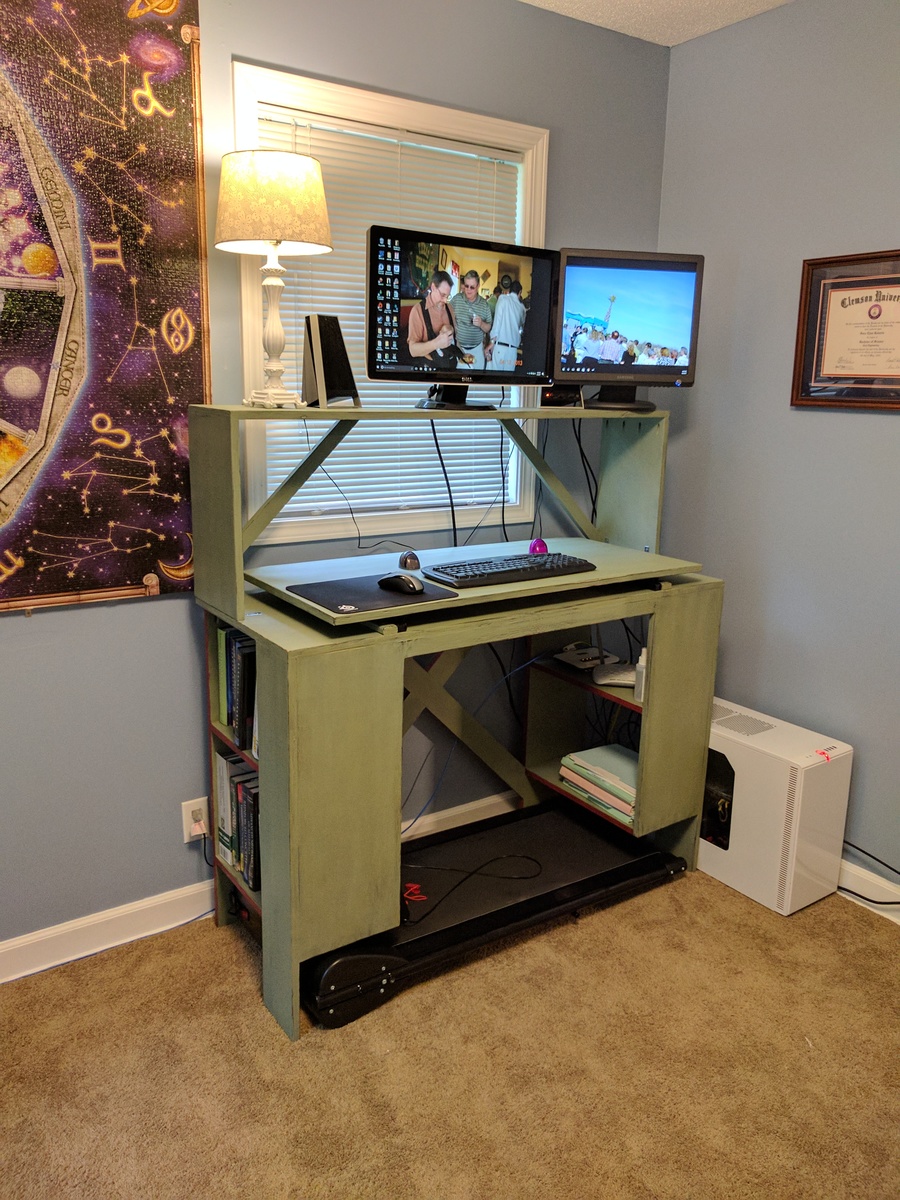
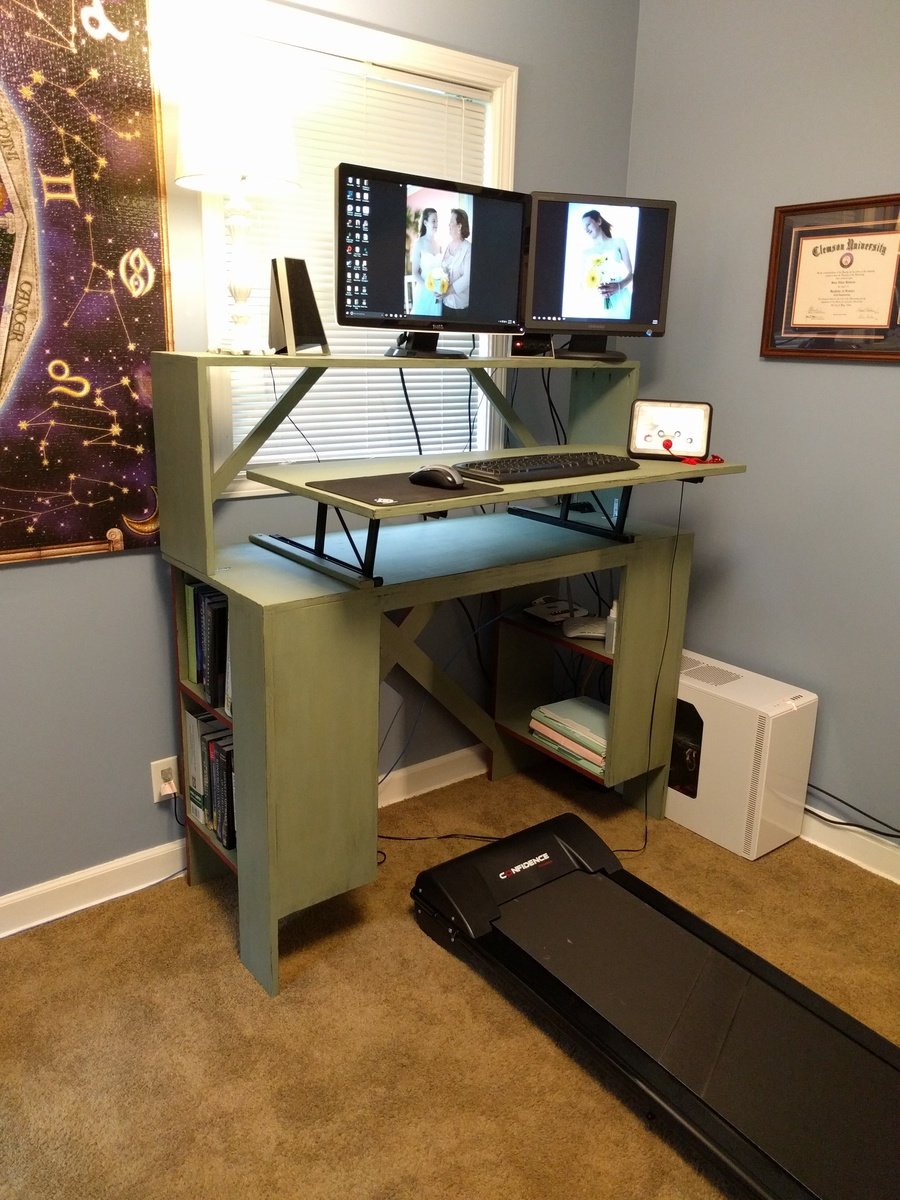
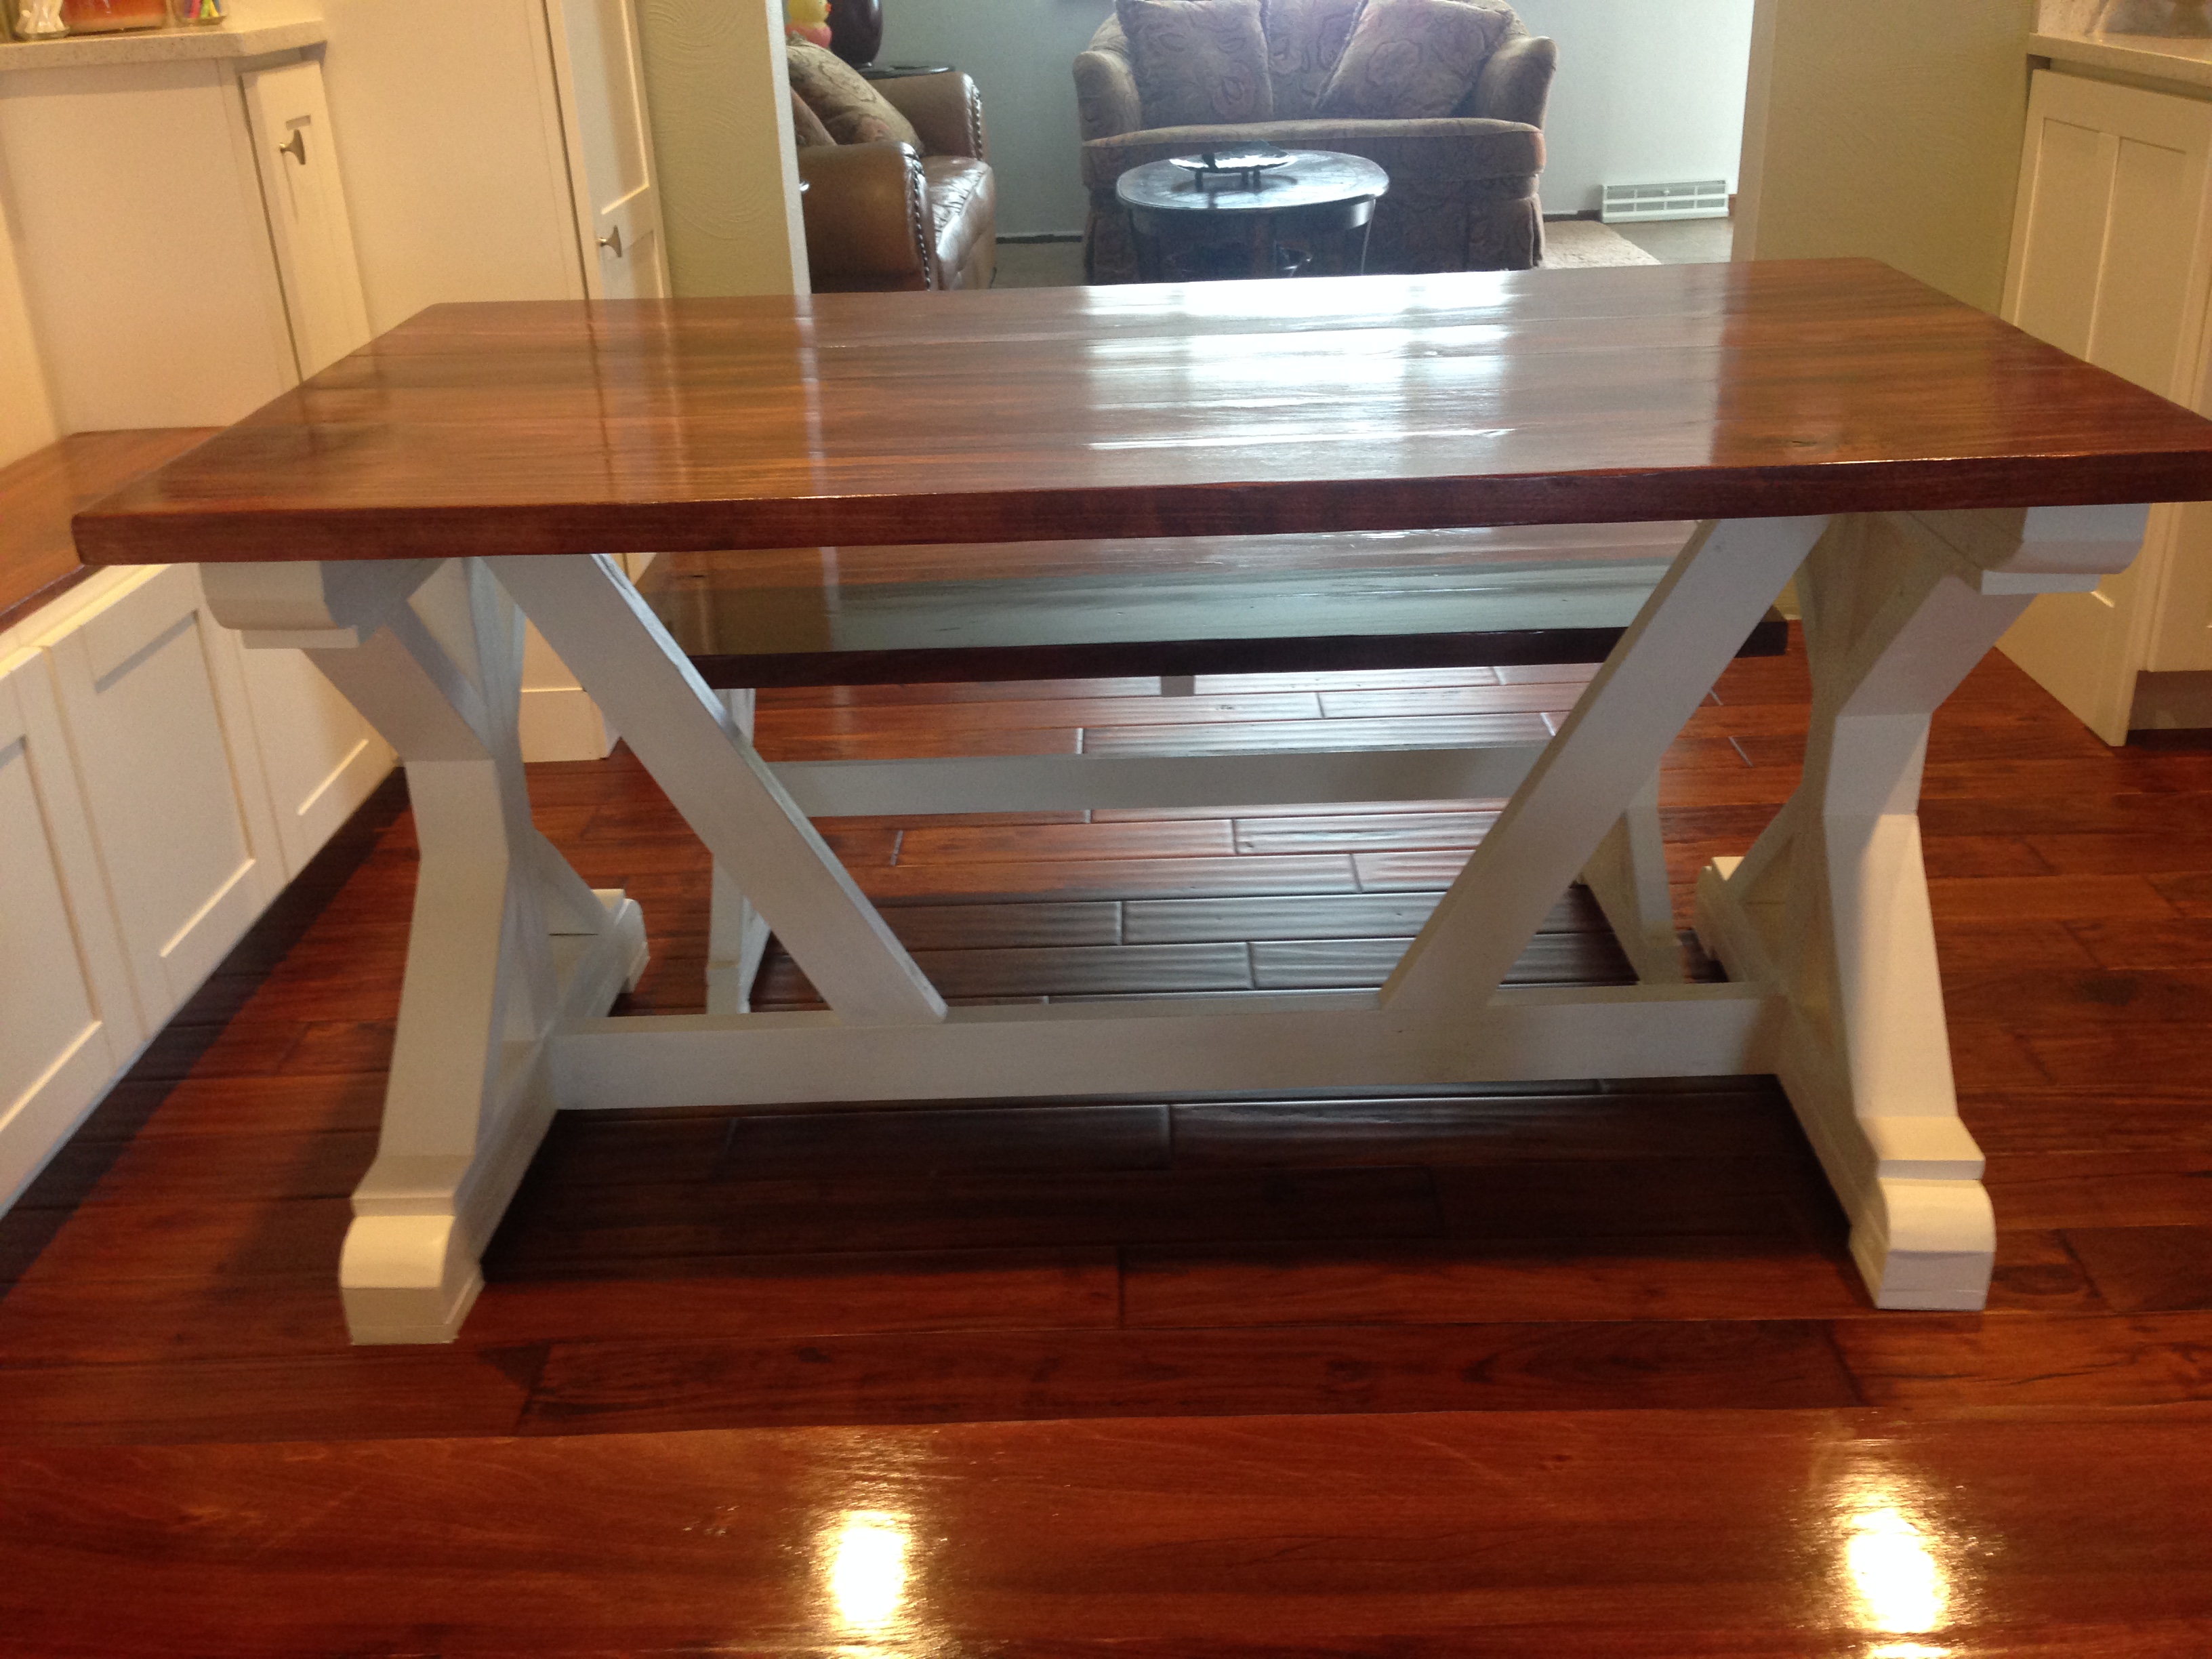
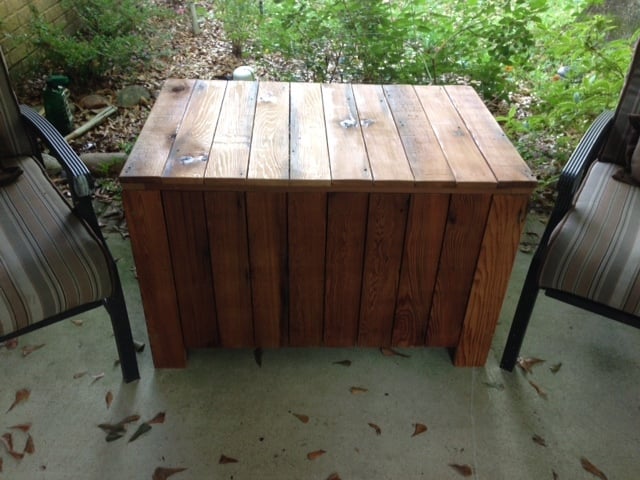
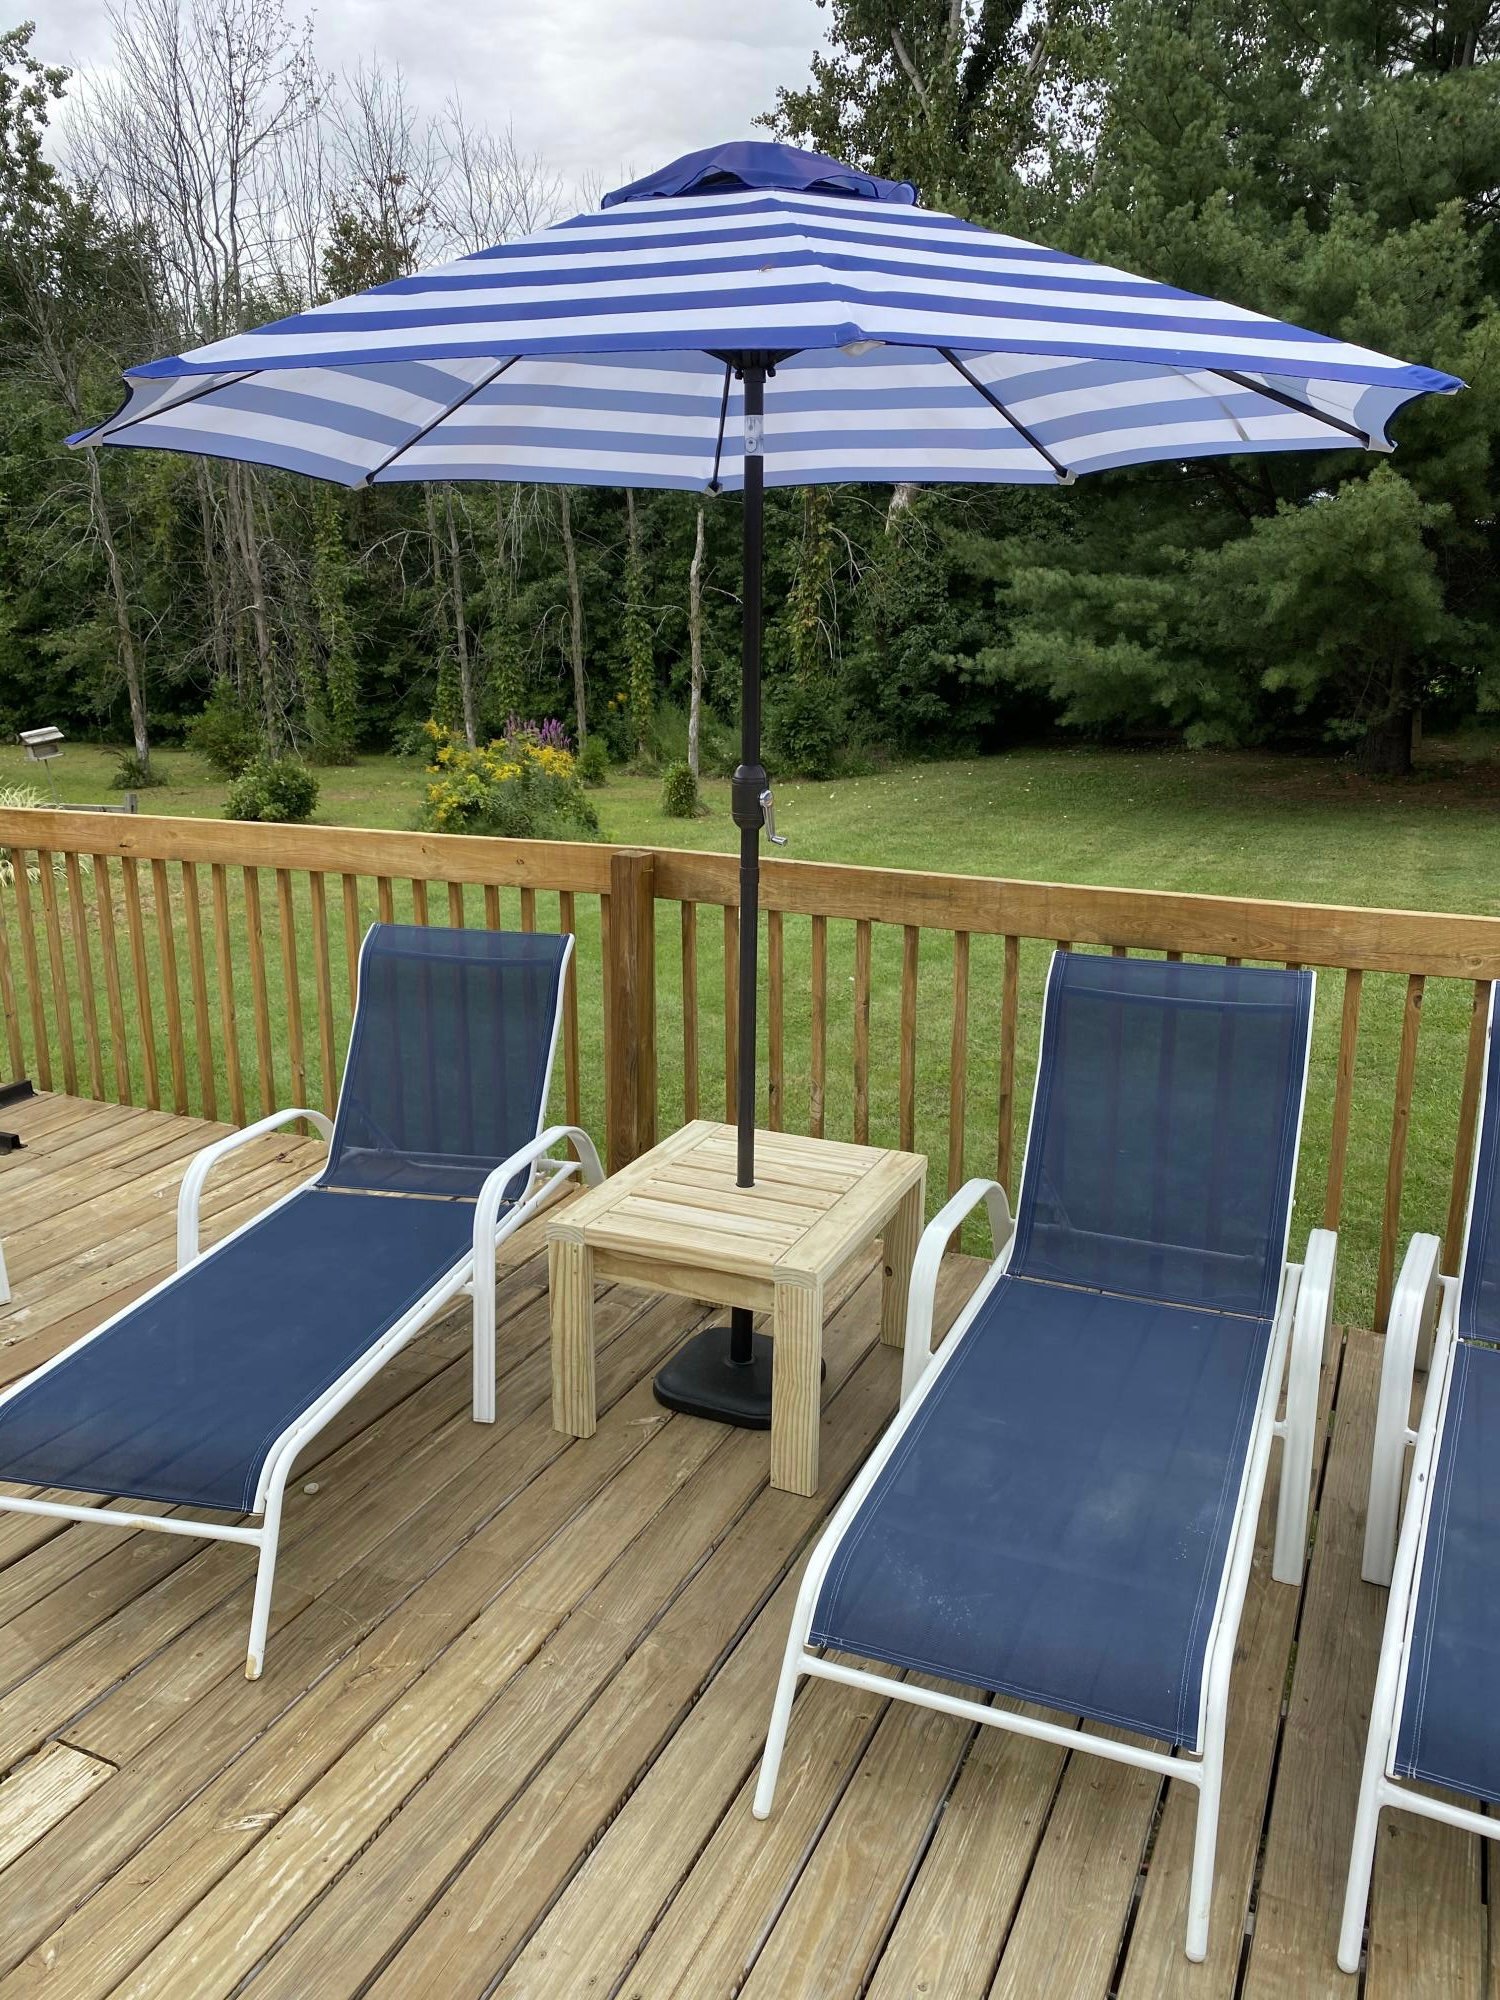
Community Brag Posts

Potting bench

Submitted by Anonymous (not verified) on Tue, 01/12/2021 - 10:46

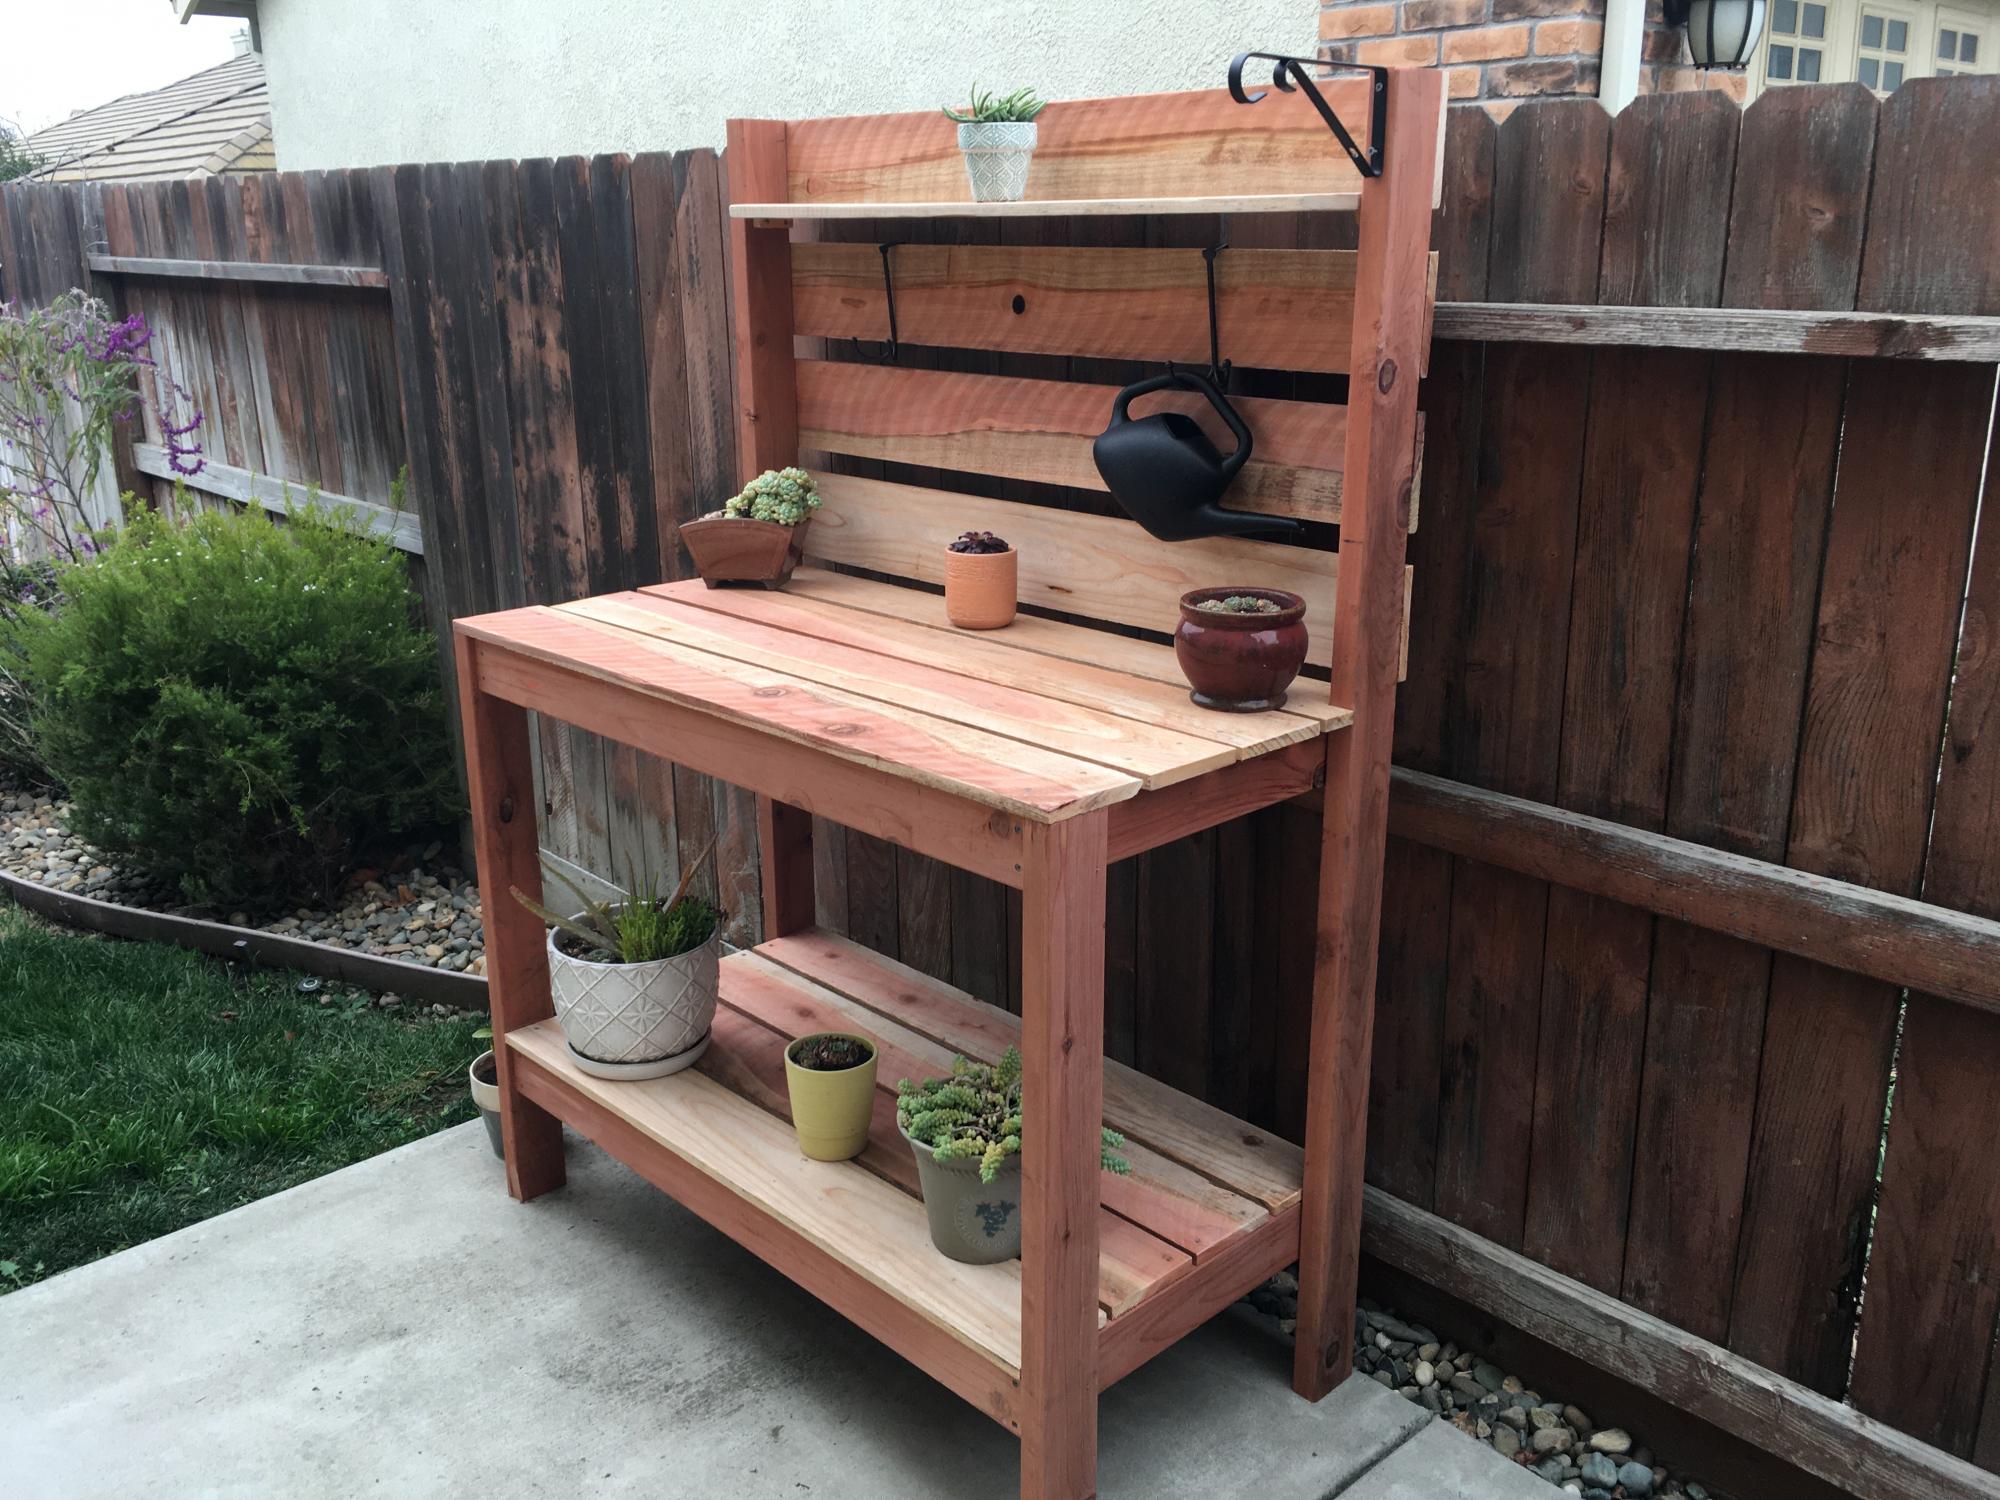
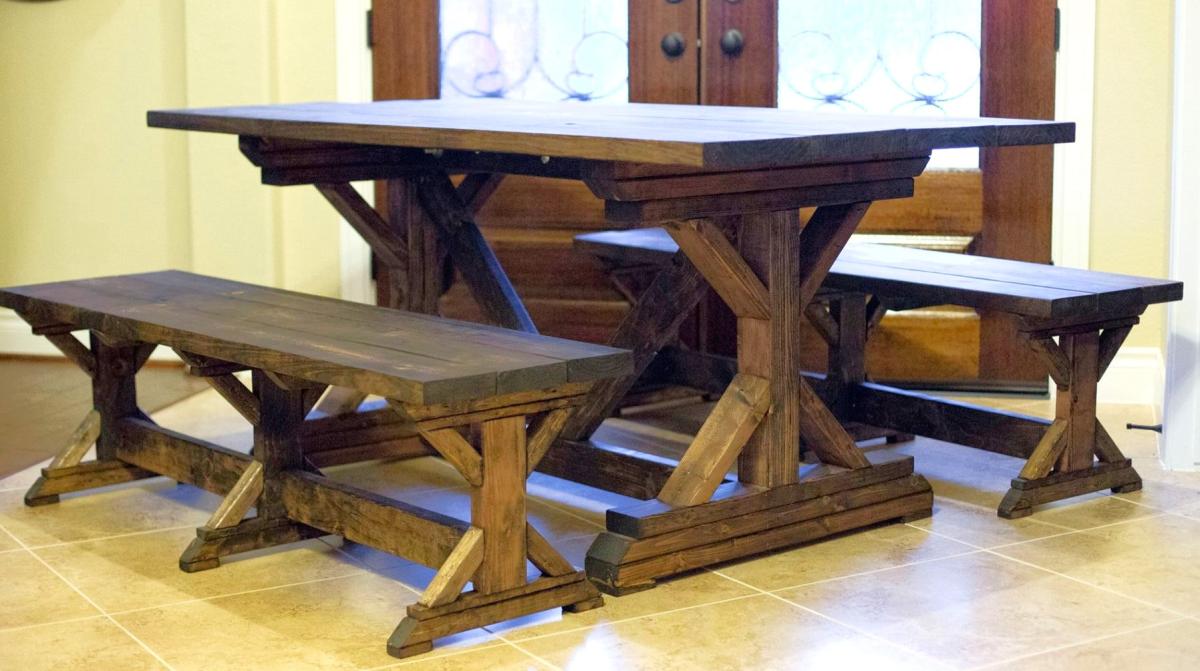
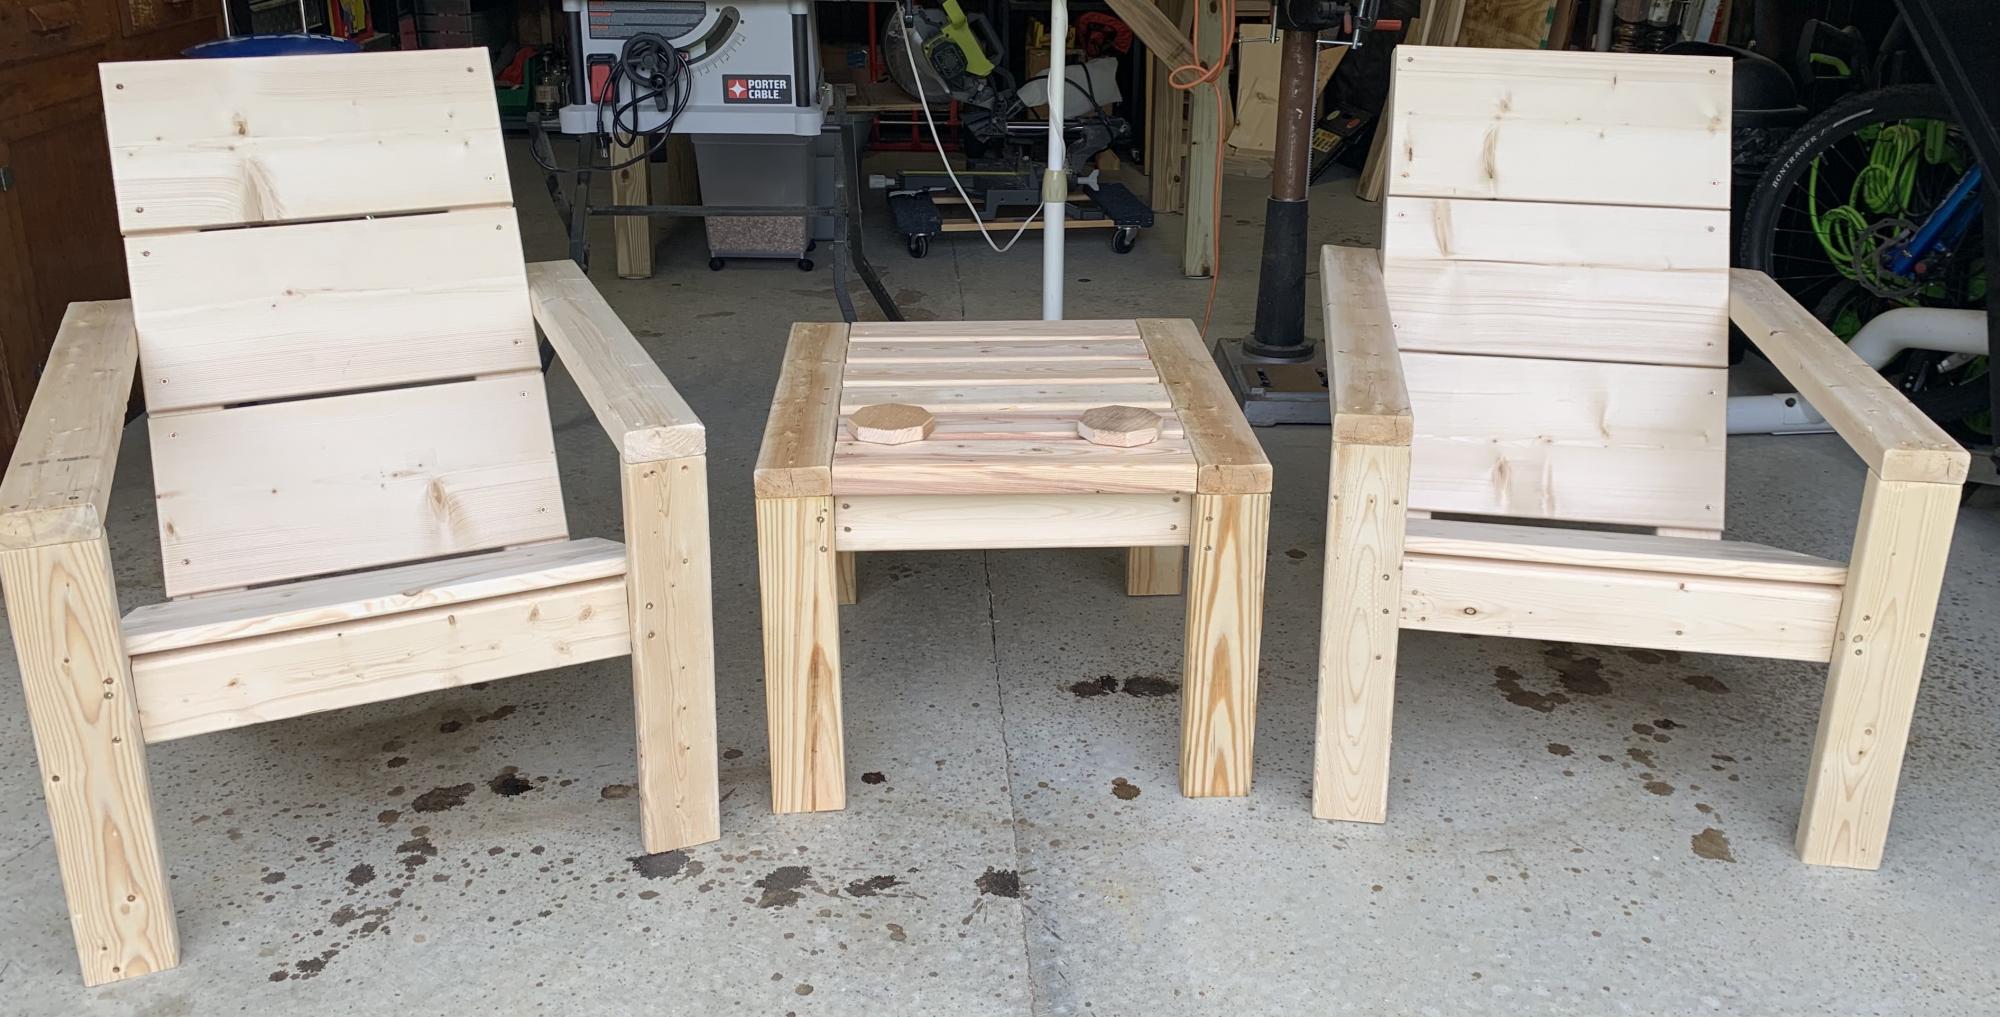
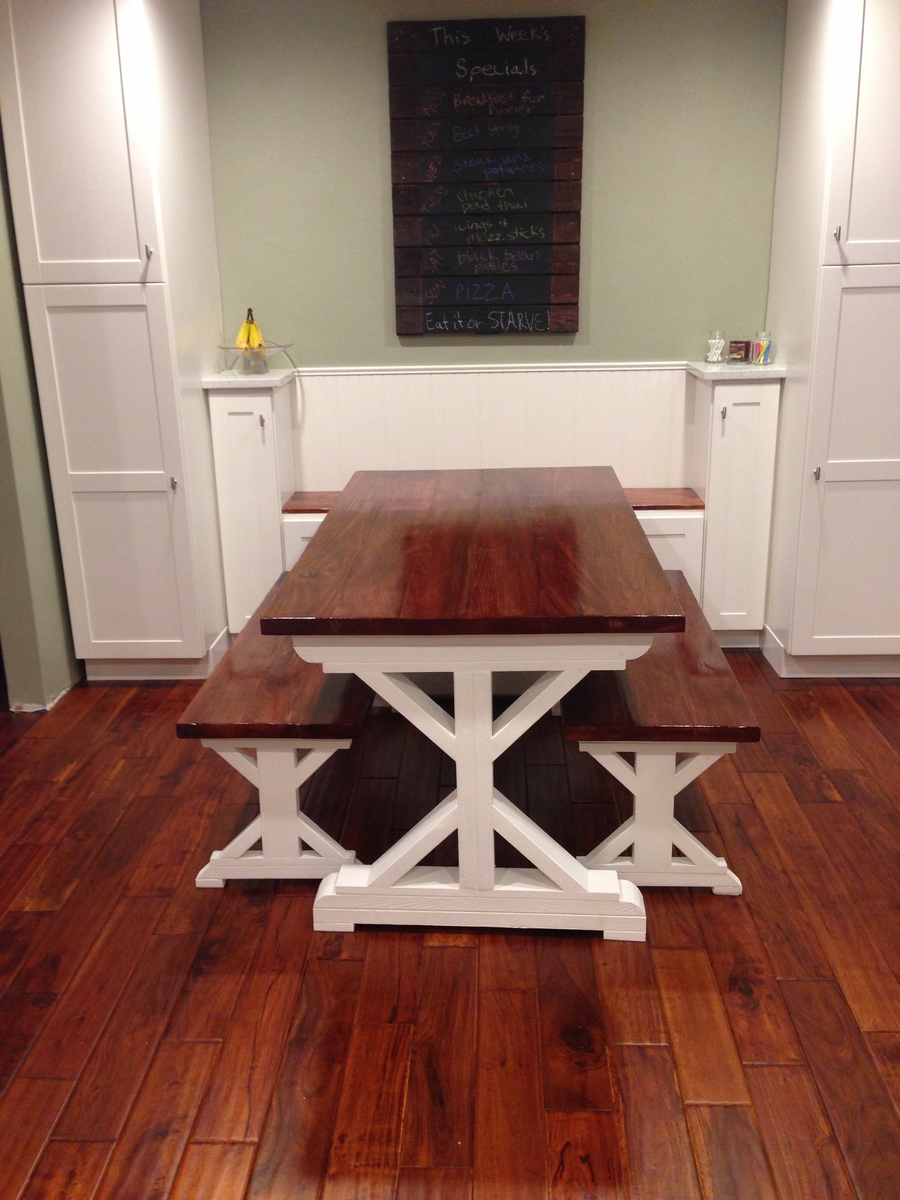
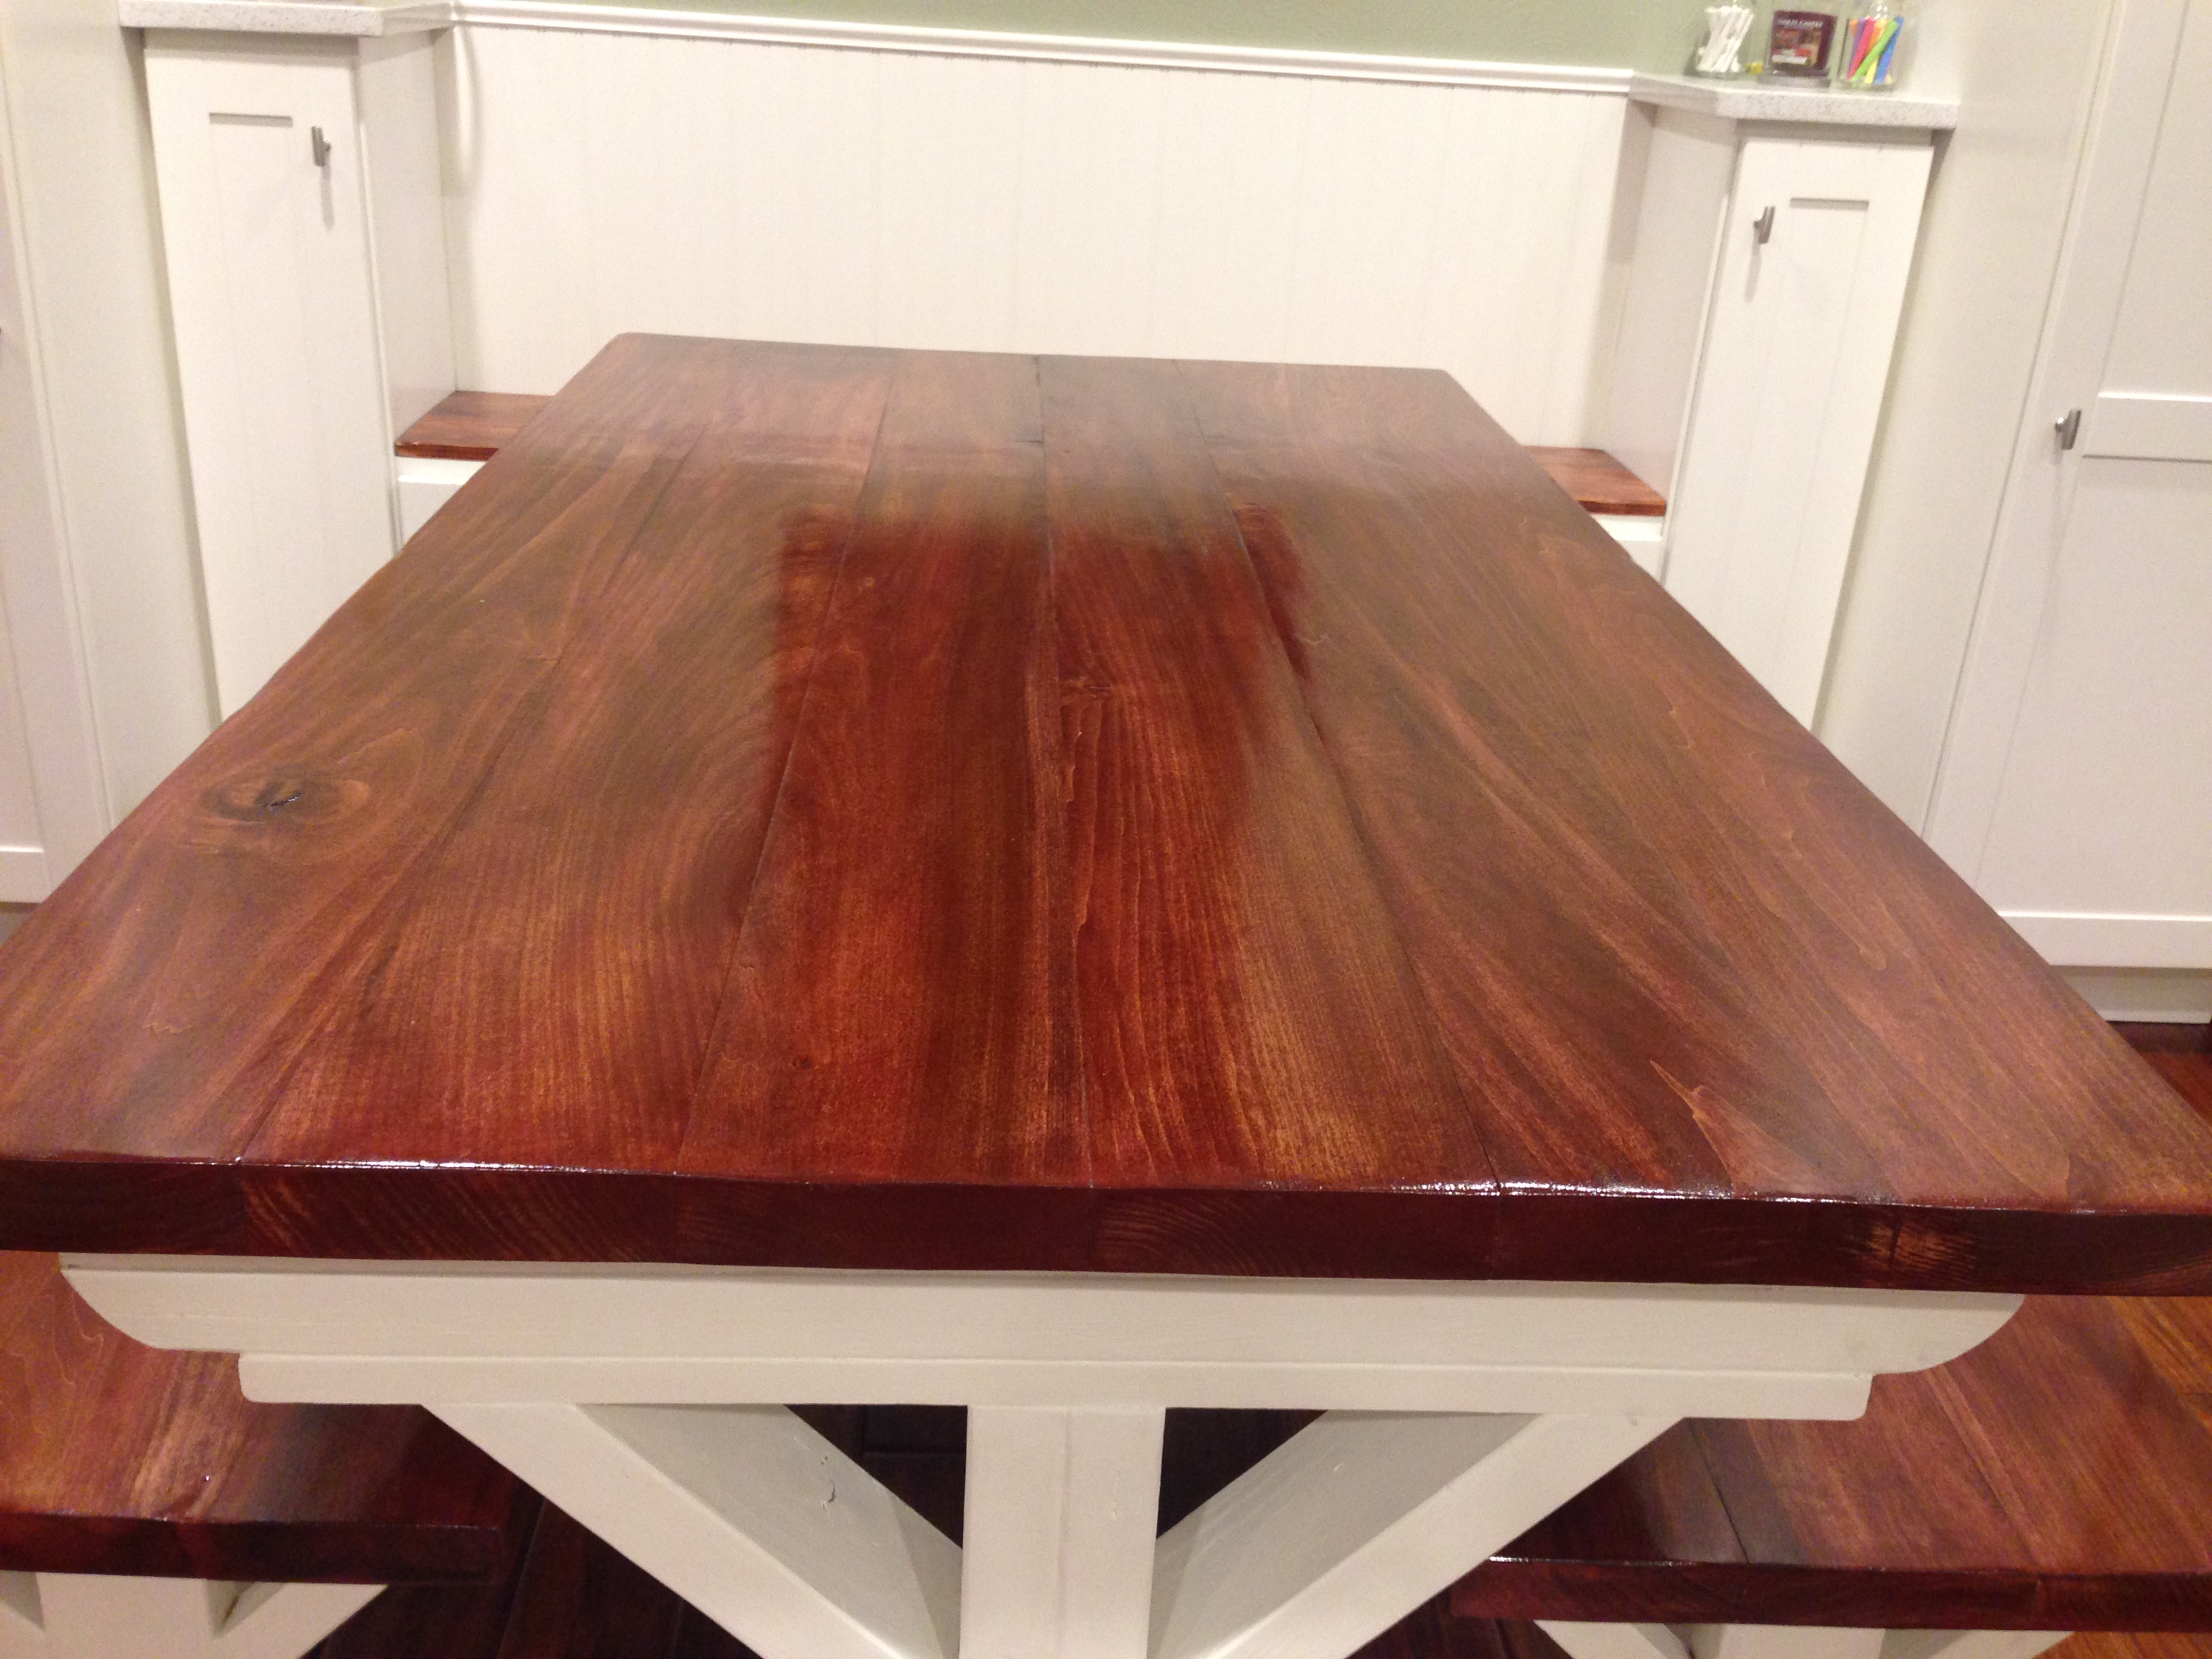
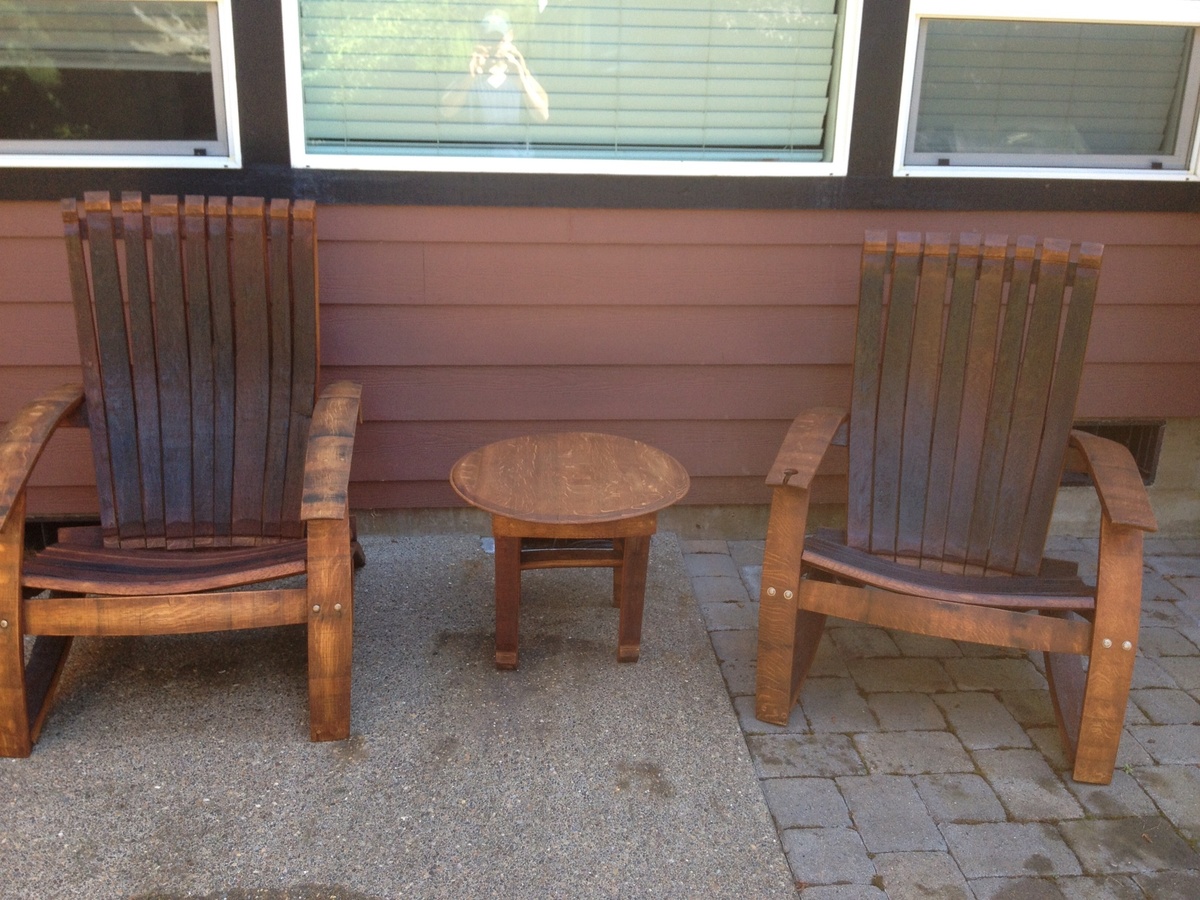
I used redwood lumber, 2x4s and 1x6s only. I wanted the bench to be a little taller so I used 2x4x10s for the legs to make work surface 38” high and total height 66”. To get the most out of the 8’ 1x6s I made the bench 48” wide. I also had to adjust the depth since I did not use 1x4s. And finally, I sanded the 1x6s because they were rough sawn.
Very fun project! Once I figured out the adjusted cut list the whole project came together in a matter of a few hours.

Estimated Cost
$100
Estimated Time Investment
Afternoon Project (3-6 Hours)
Finish Used
Light sanding, No finish.
Recommended Skill Level
Beginner

Recycle Twin Bed

Submitted by LARMO on Thu, 03/14/2013 - 09:16

This was my bed handed down by two other siblings growing up a number of years ago. It is a Jenny Lind which I cut the foot board in half, attached to the head board, used the side rails for the frame on the front and sides and attached with my Kreg Jig. The underside frame was from left over pine trim from a window project and the seat was from leftover paneling from a bathroom remodel. I painted the bed with a satin black spray paint and left the seat as is.

Estimated Cost
1 can of spray paint 3.99 all other material left from previous remodels
Estimated Time Investment
Afternoon Project (3-6 Hours)
Finish Used
satin black spray paint
Recommended Skill Level
Intermediate

Comments

spiceylg

Thu, 03/14/2013 - 10:47

I have a twin head and foot board I got at Savers (thrift store) a few months ago to do just this. Just have to get my other projects out of the way (and out of the hubby's way as well) first. Great job!

agarrigan

Thu, 03/14/2013 - 13:28

I also have this type of project on my TTB list, using an old waterfall style bed frame. I already cut it apart and everything. Seeing how well your's turned out might just give me that little push I need to get mine finished. Thanks for sharing!

birdsandsoap

Sat, 03/16/2013 - 16:51

This turned out great. I did my first curbside stop and pulled an old crib out of someone's trash pile last summer. I just happened to be borrowing my mom's truck at the time...If I owned a truck, there would be no stopping my hoarding! Your bench turned out excellent. I plan on making mine a bench too. My husband has been complaining about the old crib leaning against the house in the driveway for a while now. Yep, better get started.

Rustic X TV Console modified to 42" Dry Bar

Submitted by Anonymous (not verified) on Sat, 04/22/2017 - 08:34

My wonderful husband and father built this dry bar for me using the Rustice X TV console plans.  They modified plans to so it is 42" tall, 6-1/2' long, and shelving is wider and centered.  I love it.  Thank you for sharing your plans.

Estimated Cost
$175
Estimated Time Investment
Weekend Project (10-20 Hours)
Finish Used
Paint and polyurethane finish.
Recommended Skill Level
Beginner

Cedar Planters

Built these for Christmas presents for the family. Used the 5 1/2 in wide pickets for the big ones. Used the 3 in wide pickets for the small ones, and cut everything else to scale. I don't have a kregg jig so I just screwed them in from the sides. Doesn't look quite as nice, but is plenty sturdy. I also added the mitered top like many others have.


The dark ones are Java Bean stain, the one is raw (obviously), and the other is Red Mahogany stain.

Built from Plan(s)
Estimated Cost
~$20 a piece, the smaller ones were slightly less
Estimated Time Investment
An Hour or Two (0-2 Hours)
Recommended Skill Level
Beginner

Emma's cabin bed

Submitted by jiffyone on Sat, 05/13/2017 - 18:38

Made this for my granddaughter and worked on it 40+ hours. I borrowed the removable window boxes and shutters off another plan to girlie it up. If I were to make it again, then I would add an extra 2 inches on the sides, front and back to make it easier to make up the bed. It's so adorable and I can't wait for her to see it. 

Built from Plan(s)
Estimated Cost
$400.+
Estimated Time Investment
Week Long Project (20 Hours or More)
Finish Used
Paint from the big blue store.
Recommended Skill Level
Intermediate

Dining Room/ Home Office

Submitted by kristen on Sat, 02/21/2015 - 11:33

I didn't really follow any specific plan from Ana to build this project (I've become better at creating my own plans after putting together several of Ana's project plans--I owe Ana big time for getting me started in building!), but I did study her kitchen cabinet plans in order to put this together.  Up until now I've done mostly stand-alone projects and this was more like a small kitchen plan than anything I've done before.  This took a LOT of time to complete, but it has been a fantastic addition to our home for organization and aesthetic appeal. 

It is constructed of plywood and pine faceframes.  I used a Kreg Jig to construct most of it, including the drawer and door fronts.  The desktop has a 3/4" plywood base with a pine edge-glued panel on top of that with a pine edging. 

The estimated time investment was way more than 20 hours!  It took every minute of free time for 2.5 months to complete this.  But I was working alone, so you can cut that down significantly with help ;)

The link to my blog about this project contains links to all the posts I wrote up during this build. 

Estimated Cost
Approximately $900
Estimated Time Investment
Week Long Project (20 Hours or More)
Finish Used
White paint with a satin polycrylic topcoat. Sand well before the first coat and then with 220 grit sandpaper between each coat of paint (1 coat primer, 2 coats white paint). Sand with 320 grit between each coat of topcoat for 3 coats. I did use a HVLP sprayer (Woodcraft's $35 version with a large air compressor) but I have finished other projects using a foam roller and foam brush that gets really close to the spray finish--it just takes longer.
Recommended Skill Level
Advanced

Comments

Michael K

Mon, 02/23/2015 - 03:52

The time and effort you put in to this project was well worth it! I'm inspired.

Standing/Walking Desk w/ Bookshelves

Submitted by SaraLodise on Sun, 06/04/2017 - 15:34

Standing/Walking desk with side bookshelves built in. Desktop folds up and out so keyboard is at correct level for my height while walking on treadmill. When folded down, keyboard is at acceptible level for standing on ground. Desk designed so that the small walking treadmill can slide under and be out of the way when not in use.


Lifting Hinges used are Woodtek Coffee Table Lift Mechanism:  https://woodworker.com/coffee-table-top-lift-mechanism-lr-mssu-164-228…


Estimated Cost
Lumber: (1) 23/32 Plywood 4x8, (1) 23/32 Plywood 4x4 = $45...Lifting Hinges: $57...Finishing: 2 pints of General Finishes Milk Paint + Acrylic Topcoat = $56...TOTAL = $160
Estimated Time Investment
Weekend Project (10-20 Hours)
Finish Used
1 coat of General Finishes 'Lamp Black' Milk Paint...
2 coats of General Finishes 'Basil' Milk Paint...
Sanded w/ 120 grit to achieve a distressed look...
1 coat of General Finishes 'Yellow Ocher' Glaze Effect for patina...
1 coat of General Finishes 'Flat on Flat' Acrylic Topcoat on high traffic areas
Recommended Skill Level
Intermediate

Small Chicken coop

Submitted by Anonymous (not verified) on Wed, 06/07/2017 - 12:04

We built this to go right next to our stairs. The run has hardware cloth on 3 sides and then the side touching the stairs opens up to under the stairs so they have a bigger run.

We extended the floor so that it went all the way to the nesting box. We will be adding a nesting box to the wall by the cleanout doors rather than where the plans put the nesting box. We like that this gave us more square foot per chicken on floor space. Due to this change though we had to use interier hinges so the floor could slide in and out easily. We also added a door to the bottom so the coop could be locked seperately from the run. 

I wanted to turn the space where the planter box is into a storage space and may still do that later to store food, clean out supplies, and first aid supplies. We'll see! 

Estimated Cost
$500 This includes Cedar wood for all exterior wood, hardware cloth to cover everything and have a 12 inch apron under the coop, two colors of stain, shingles, big boxes of screws (we had a million leftover), hinges and locks with keys. We definitely went the expensive route but I think it will last us a long time and hopefully we've created a Fort Knox!
Estimated Time Investment
Weekend Project (10-20 Hours)
Finish Used
Cabot Stain Newberry Blue and Navajo White
Recommended Skill Level
Intermediate

Farmhouse Dining Set

Submitted by Nor7 on Wed, 03/18/2015 - 10:22

This was a bit more work than I anticipated but I think it turned out great. The quoted buy list was a little off so I had to make an additional trip to the hardware store.

I used the Fancy X Table plan and the Fancy X Bench plan to make this set. Since I wanted it only 6' long I had to do some modification to the plan but not much.

I also designed the table top into two pieces that fastened together through the center piece so I could take it apart easily and fit it though a standard door.

Estimated Cost
$120 (since there were two benches and the table). I found the wood in my area to be a little more expensive than quoted on the plan. Particularly the 2x10's.
Estimated Time Investment
Week Long Project (20 Hours or More)
Finish Used
MinWax - Dark Walnut. To get the finish even I had to invest ALOT of time into sanding. I had to use 60 grit in some spots to even out the factory cuts but most of it I was able to go over with just 220 grit. DON'T FORGET TO SAND THE ENDS!
Recommended Skill Level
Intermediate

Comments

MrCoffee

Wed, 03/18/2015 - 13:35

Wow, this table and bench set came out awesome. I love the finish. What you ended up creating having only spent $120 is incredible when you think about how much these things cost in a furniture store. Good work.

Adirondack Chairs and End Table

Submitted by Anonymous (not verified) on Mon, 10/04/2021 - 15:15

Hubby’s first Ana White project! Love these! Just need to stain.

Comments

New Kitchen, New Table!

We just finished our complete kitchen remodel, from tearing down walls to new cabinets, appliances, hardwood floors, and countertops. I assembled the cabinets and installed them myself, along with tiling the backsplash and nailing down the floors. So I though I'd try my hand at furniture building. It was my first time building anything like this and I thought it turned out pretty nice!

I used left over boards from the removation for the bases of the table and benches and 2x6 poplar boards for the tops. I made some adjustments in the size since we're only a family on 3. Since I made the table shorter, I changed the 45 degree cuts on the cross braces to 30 degrees so they would fit. 

Estimated Cost
$300 just because I bought high quality poplar with the edges planed so they would fit together with no gaps
Estimated Time Investment
Week Long Project (20 Hours or More)
Finish Used
minwax sedona red
zar merlot
minwax red mahogany
in that order, but I found that the stain effects poplar differently than it does pine
3 coats of brush on polyurethane sanded with 220 in between coats
Recommended Skill Level
Beginner

Comments

Wine oak barrel Adirondack chair

Submitted by Medickep on Thu, 05/30/2013 - 12:11

I got some oak barrels from a local vineyard and decided to try making some adirondack chairs. It was harder than I thought it would be, but well worth it!! The stain was a little darker than I thought it be, but it's rubbing off on me!

predrill, predrill, predrill, and learned a valuable lesson in predrilling, as solid wood under strain cracks easy when using 2 1/2" deck screws!

I need to whip out the nice camera and stop using my cell phone for finished products!

Estimated Cost
Around 100.00 dollars per chair (depends on cost of barrel!)
Estimated Time Investment
Weekend Project (10-20 Hours)
Finish Used
I used Cabot's Australian timber oil. Not the cheapest product out there, but they actually recommend one coat only and no sanding necessary for future coats. Once it stops beading water, just clean the chair and than reapply! It penetrates deep and forms a wax protective layer that repels water! This is why I chose not to varnish the item!!
Recommended Skill Level
Intermediate

Comments

spiceylg

Fri, 05/31/2013 - 05:16

I never heard of using wine barrels in this way! I love it. It came out fabulous!

Medickep

Fri, 05/31/2013 - 05:34

Thanks you. People make a lot of stuff out of wine barrels. Chairs, stools, Tables, candle holders, and even serving platters!

Joni

Fri, 05/31/2013 - 06:57

This is awesome! Very cool design. It looks very comfortable! Thanks for the tip on the Australian timber oil; I never knew what would be the best finish for an outdoor piece.

Joni

Fri, 05/31/2013 - 07:03

This is awesome! Very cool design. It looks very comfortable! Thanks for the tip on the Australian timber oil; I never knew what would be the best finish for an outdoor piece.

Medickep

Sat, 06/01/2013 - 11:38

It is very comfortable, especially with a glass of wine. I chose the finisher I did because I live in Oregon with a lot of rain!!

Why does everyone's post, including my own show up as duplicate?

Medickep

Sat, 06/01/2013 - 11:38

It is very comfortable, especially with a glass of wine. I chose the finisher I did because I live in Oregon with a lot of rain!!

Why does everyone's post, including my own show up as duplicate?

acd4476

Sun, 07/21/2013 - 17:05

Awesome chairs! Beginning to think I need to make some as well. Did you have plans for this project or follow a generic adirondack chair plan?

Customized Corner Desk

Submitted by DTeague on Mon, 03/14/2011 - 21:21

This was my first build I have wanted to get this particular desk from Pottery Barn but don't have the space for it.  I used the corner desk plans but on one side I used the plans for the legs used on the smaller desk. Since it wasn't too big I made the desktop one piece.  All in all it was pretty straightforward.  The only problem I had was when I put the legs on the wrong side, I didn't realize until after I had used wood filler and painted. 

Estimated Cost
$175.00
Estimated Time Investment
Weekend Project (10-20 Hours)
Finish Used
For the desktop I used Red Mahogony Minwax Stain and Minwas Wipe-on poly. For the base, used a Benjamin Moore paint for Metal and wood in black.
Recommended Skill Level
Beginner

outdoor sofa from reclaimed wood

Using Ana's plan as a guide, I built two of these sofas to fit an outdoor cushion I already had. I used wood from our old deck -- a great way to re-use and save money, too!

Estimated Cost
$110/sofa (lumber was free)
Estimated Time Investment
Weekend Project (10-20 Hours)
Finish Used
None, although eventually I will probably seal it with outdoor PolyWhey by Vermont Natural Coatings.
Recommended Skill Level
Intermediate

Cedar Deck Box

Submitted by tsmonkey on Mon, 06/03/2013 - 19:09

I used cedar siding that was removed from a home remodel. I had to rip all the wood down on a table saw to work with the plan. I was glad to put this good wood to use for my recycle bin and it looks good on the back porch. I had to change the plan a bit to fit my bin.

Estimated Time Investment
Weekend Project (10-20 Hours)
Finish Used
Gloss Spray Varnish
Recommended Skill Level
Intermediate

Outdoor 2x2 end table

Submitted by Anonymous (not verified) on Sun, 11/07/2021 - 04:19

I made the end table a little taller than the instructions and the top boards further apart for rain to fall thru, then drilled a hole so it can be used as an umbrella stand too!

Built from Plan(s)

Comments

Wood Glue Caddy

Submitted by Smokeydog on Sat, 05/30/2015 - 16:04

This has probably been done before but here it is for consideration by my fellow woodworkers. If you're anything like me I get pretty impatient waiting for wood glue to work its way out of the tube. So using some scrap wood, I drilled 1.5 inch holes in a small 1x4 board and elevated it about 3 inches. A small board under the glue tubes catches any unwanted drips. Makes a perfect caddy for my glue tubes and no more waiting for my glue. Its always ready to go!

Estimated Cost
1.00
Finish Used
No finish
Recommended Skill Level
Starter Project

Comments

L-shape Modern plywood desk

I constructed this desk all from birch plywood. It features a pull out keyboard tray, modern drawer finger pulls, and full extension drawer slides. The plywood was finished with a hand-rubbed danish oil for a natural wood appearance.

Estimated Cost
$150.00
Estimated Time Investment
Afternoon Project (3-6 Hours)
Finish Used
danish oil
Recommended Skill Level
Starter Project

Simple Stackable Outdoor Chairs for DIY Wedding

Submitted by OurWolfDen on Sun, 07/07/2013 - 14:43

For our wedding we wanted to make seating for our guests. We ended up making 16 chairs total over several weekends. We also made the pergola.

Built from Plan(s)
Estimated Cost
about $350
Estimated Time Investment
Week Long Project (20 Hours or More)
Finish Used
White paint
Recommended Skill Level
Intermediate

Comments

JoanneS

Sun, 07/07/2013 - 16:27

These are so lovely! Congrats on your DIY wedding, the setting is beautiful. Popped over to your blog, your new siding and floors look super too. :)

Adult Slingback Chair

I originally started making this for a friend, but I think I may decide to keep it! I didn't purchase any wood or paint for this project - I had a lot left over from a previous project and was able to rip down other boards to 1x2s. The fabric was another left-over... I bought WAY too much to make cushions for the outdoor sofa as I decided I didn't need so many sofa pieces in the end. The only elements I purchased for this chair were the hardware and 1 can of primer... so it turned out to be under $10!

Estimated Cost
Under $10
Estimated Time Investment
Afternoon Project (3-6 Hours)
Finish Used
Primed with Killz spray primer and used less than a bottle of Rustoleum dark grey spray paint. (I ran out before doing the adjustable height piece, so I just used some old black I had sitting around.)
Recommended Skill Level
Beginner