Shabby Chic Farmhouse Table
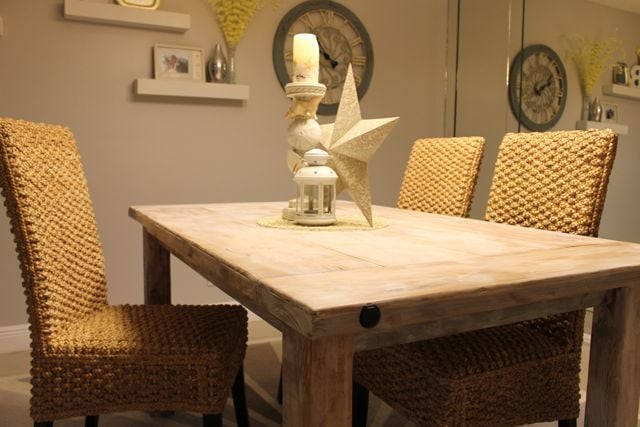
Finally got a chance to try my hand at whitewashing and I just love the outcome!
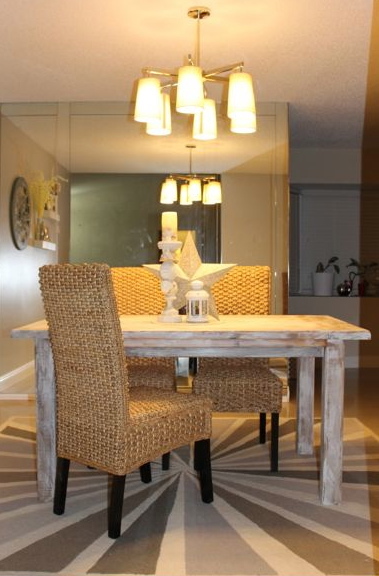
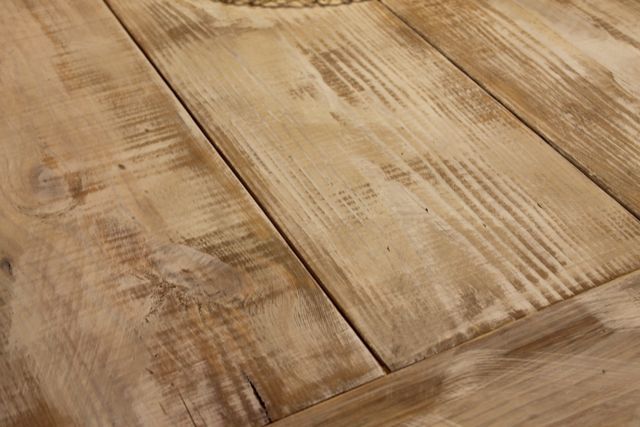
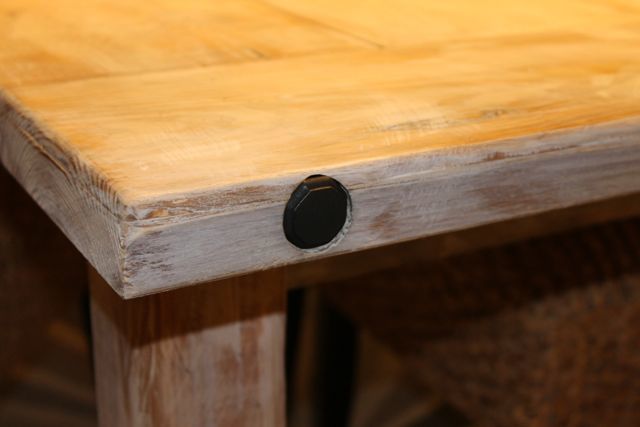

Finally got a chance to try my hand at whitewashing and I just love the outcome!


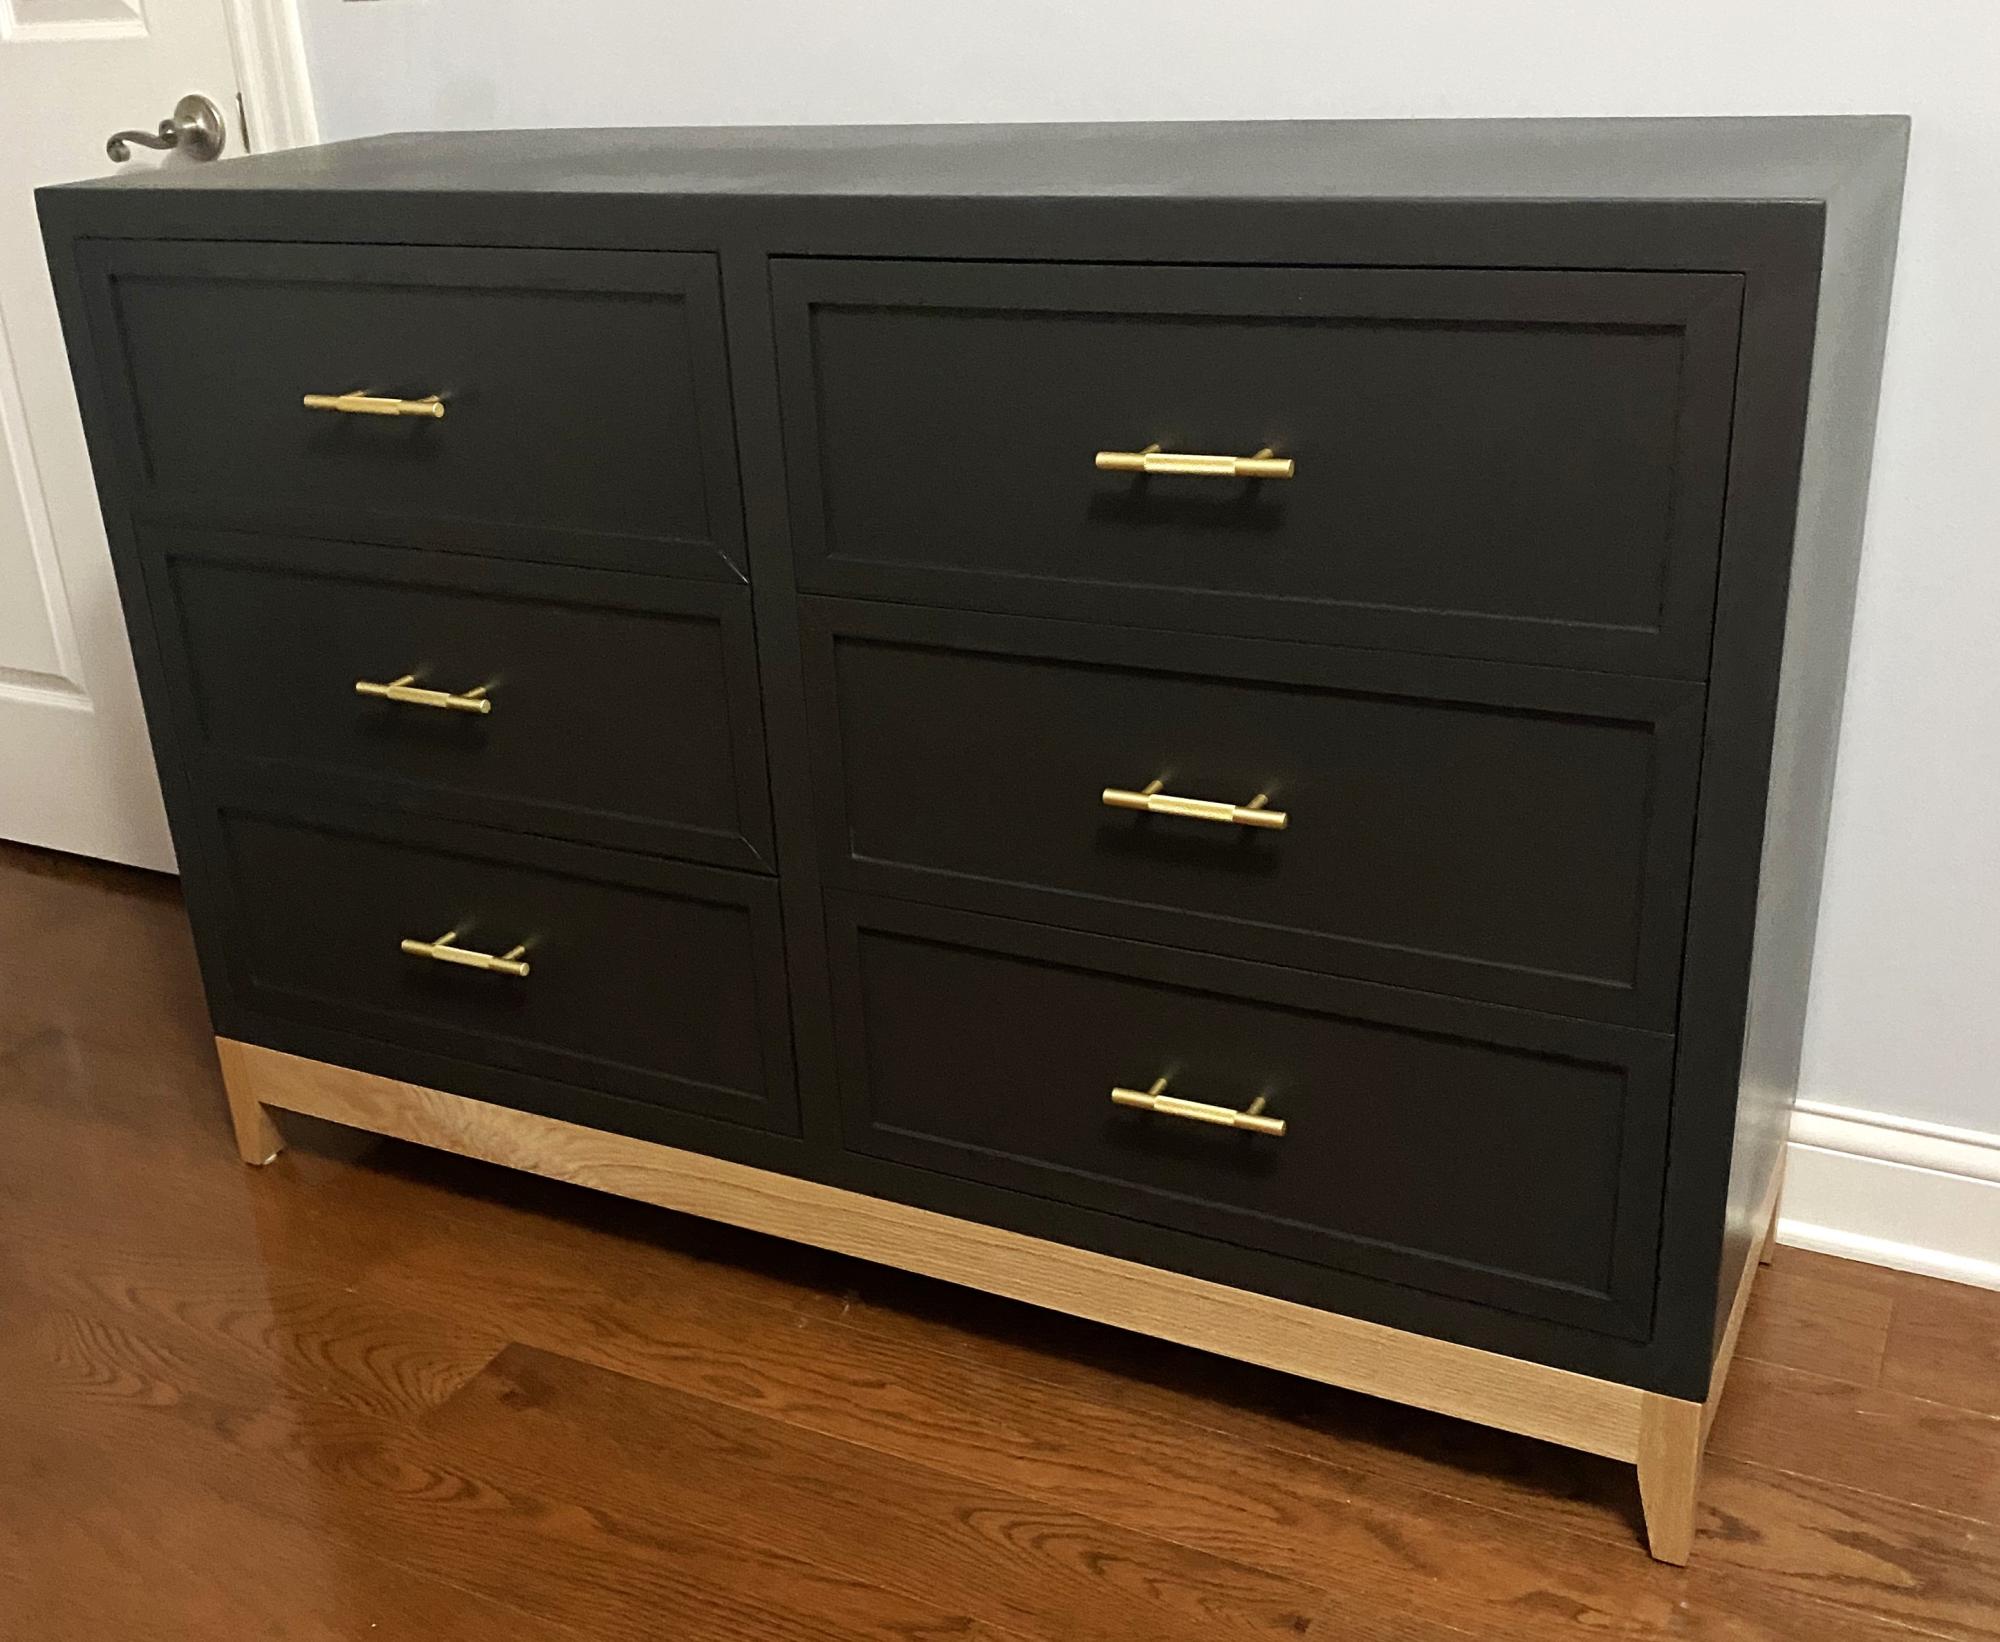
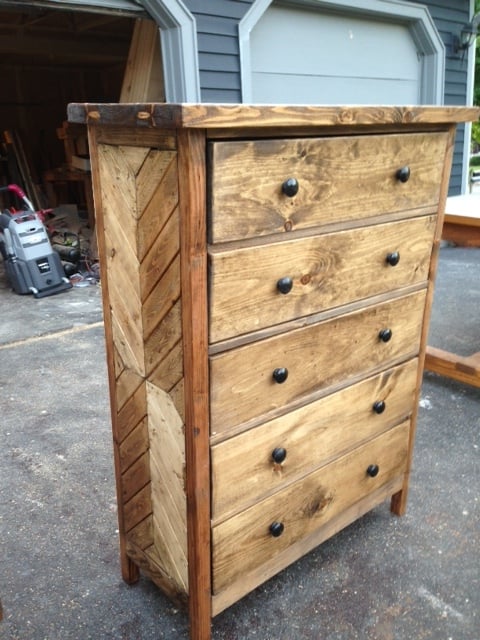
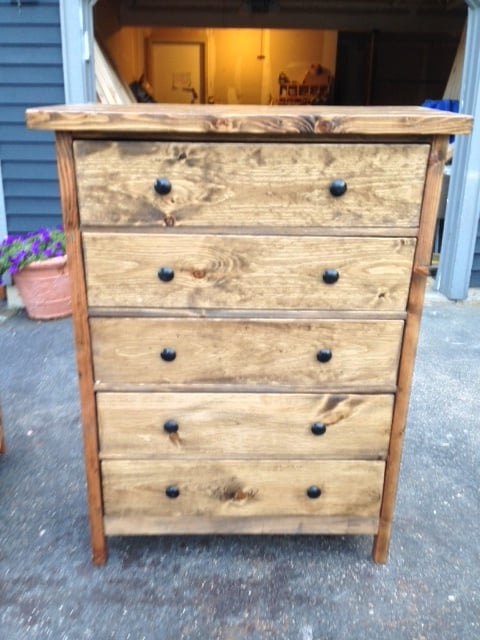
Built this dresser for my daughter’s room and added a modern base!
Kristen Kobeszko
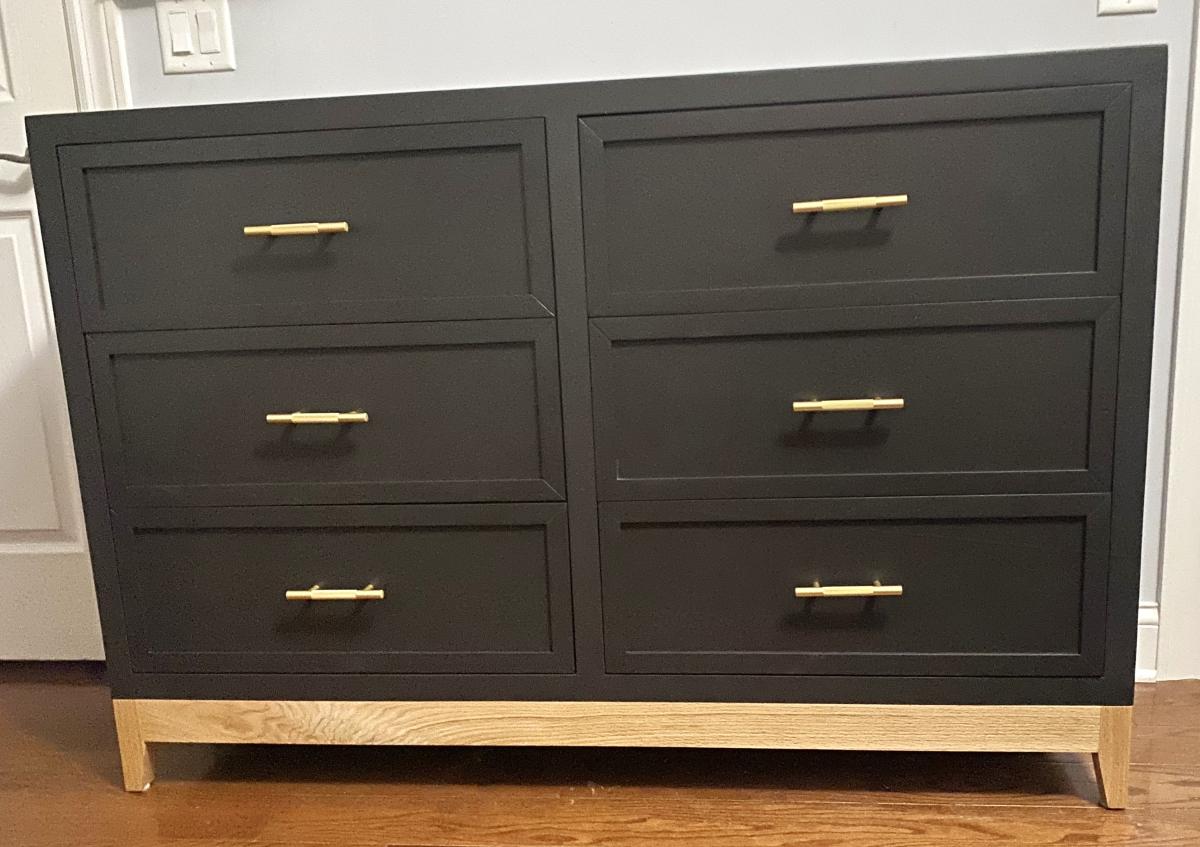
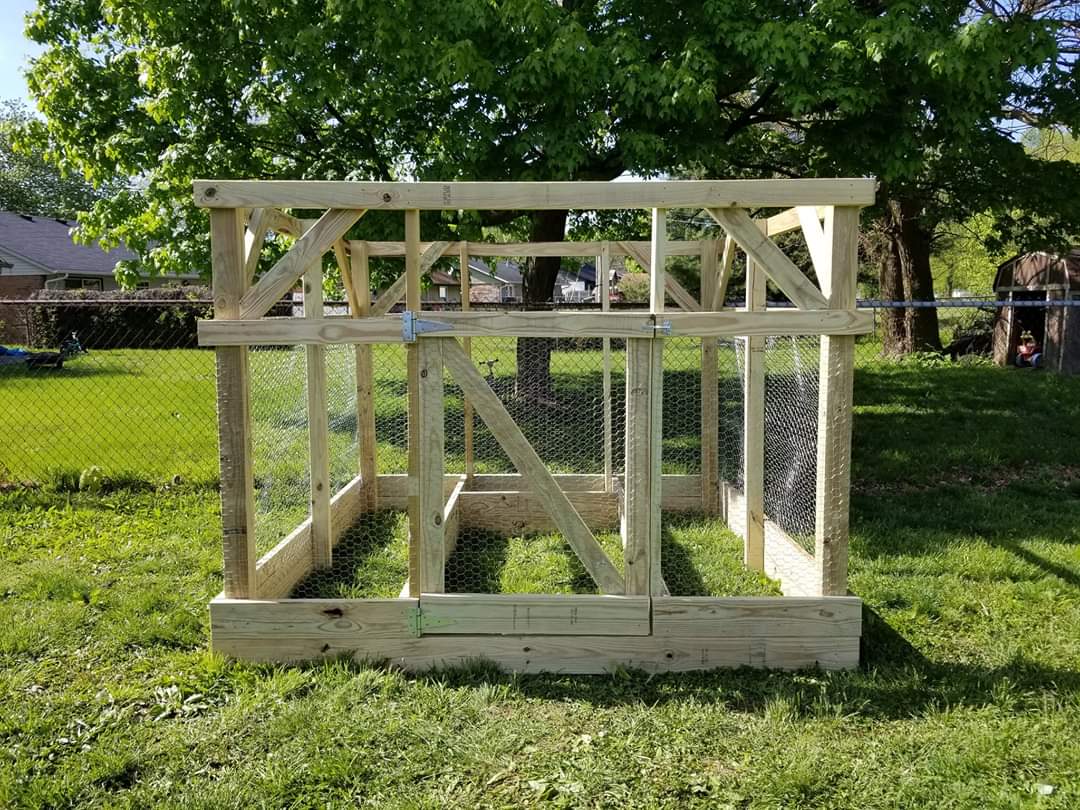
We decided that we wanted a raised garden and found the plans here on Ana's site that we really liked. The plans were really easy to follow and it only took about a day and half for our kids and myself to build for my wife. Only issue I had was the door... that is getting it square but I figured it our later after looking at it long enough. The two 2 x 4's the door sits in between were not level. So I have got to adjust them and the door in the coming days to correct it. Other than that we absolutely love it! Thank you for providing the plans to all these projects. This is the second thing that I have made from this site. I will be making another post later on regarding the other project! I might add I have never done anything like this ever and honestly I think it turned out great :-)
I put an ad in a local classifieds for free wood. Got some heavy oak beams I had local carpenter saw to make the leg posts. The top boards are construction scaffolding boards. All will be sanded and stained some more, top boards sanded and varnished, bottom boards and posts stained and some holes filled w epoxy and it is good to go.
This was a really fun project. We stood on top of the boards to make them bend down when screwing them in from the top as well as bottom, as the middle board is cracked and bent. I love the table as it is now but it will look even better when the boards are even more worn and grey from the elements. Thank you Ana White!!!!!!!! we can't wait for a book of yours' to come out for a European audience, as we Europeans have a hell of a hard time to convert the measurements! This means we improvise a lot. The tables in your book help, but the local wood we buy in many different countries and stores.. have different measurements!!!!
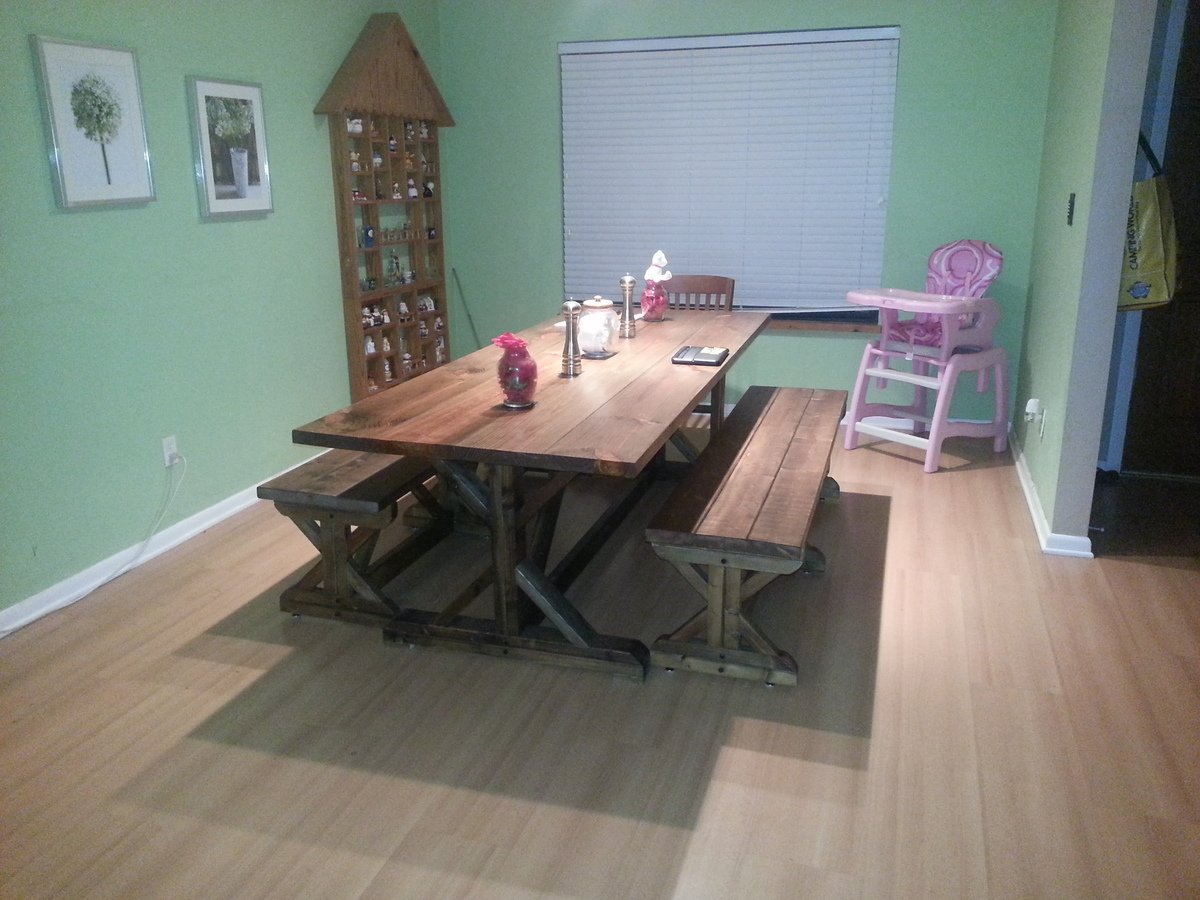
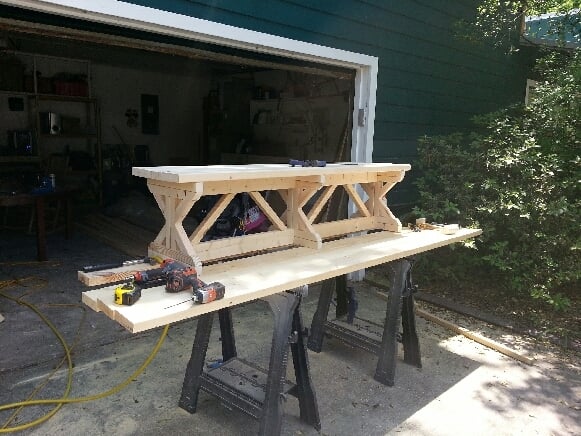
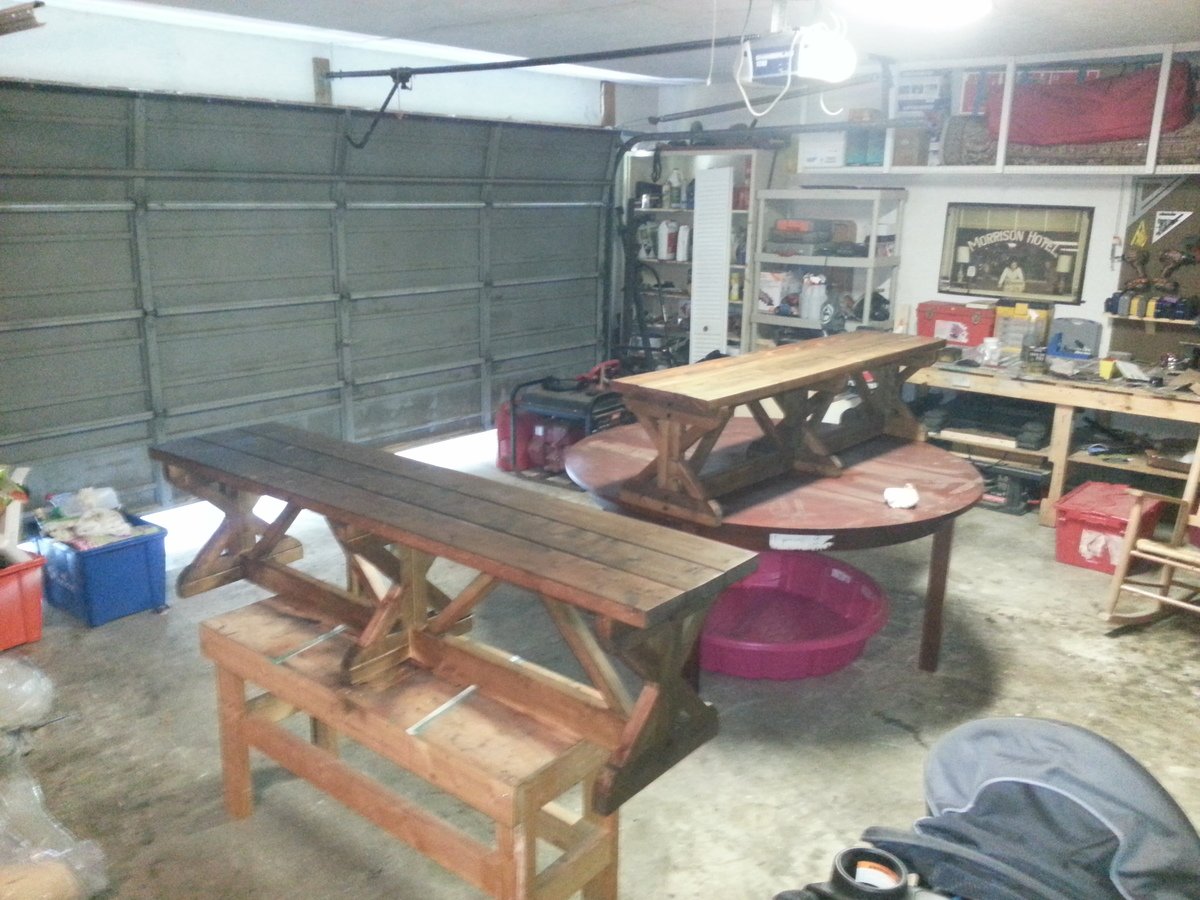
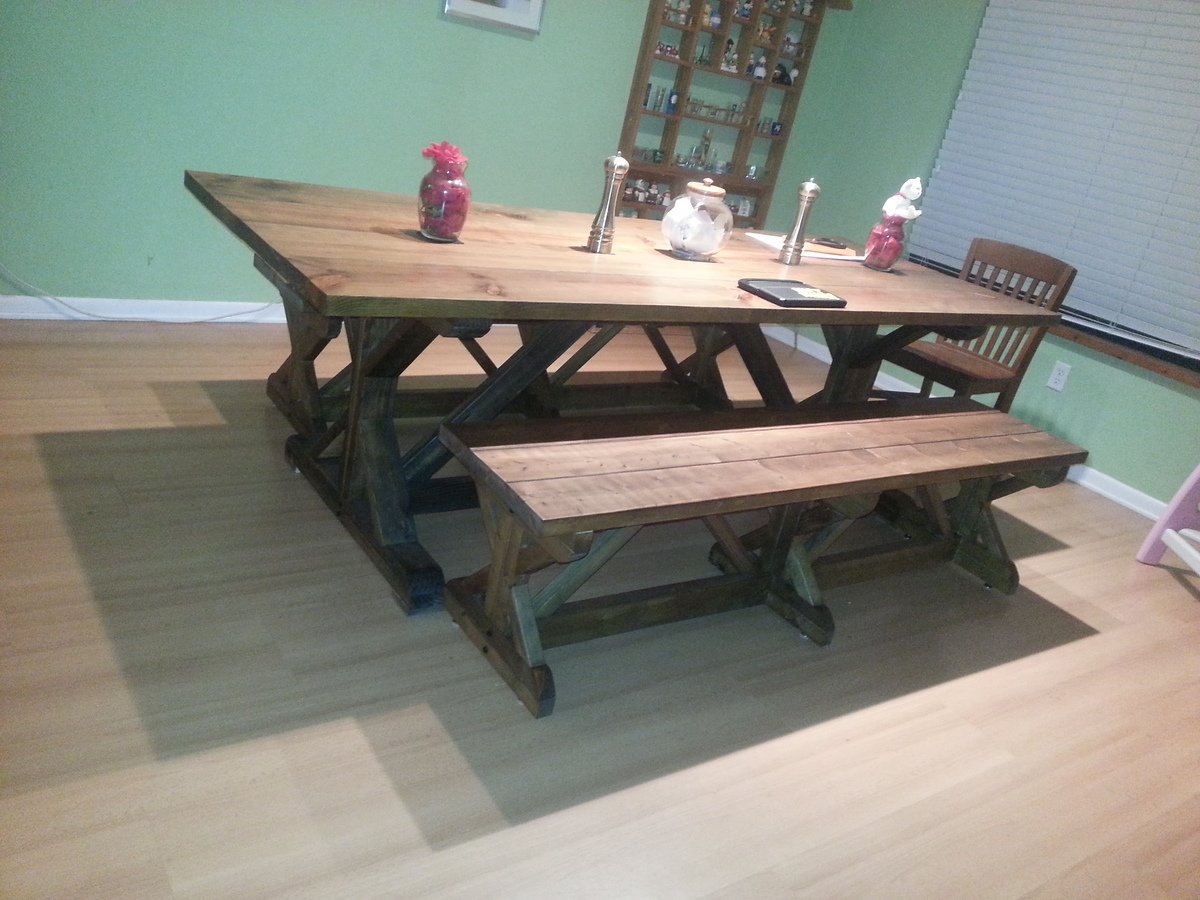
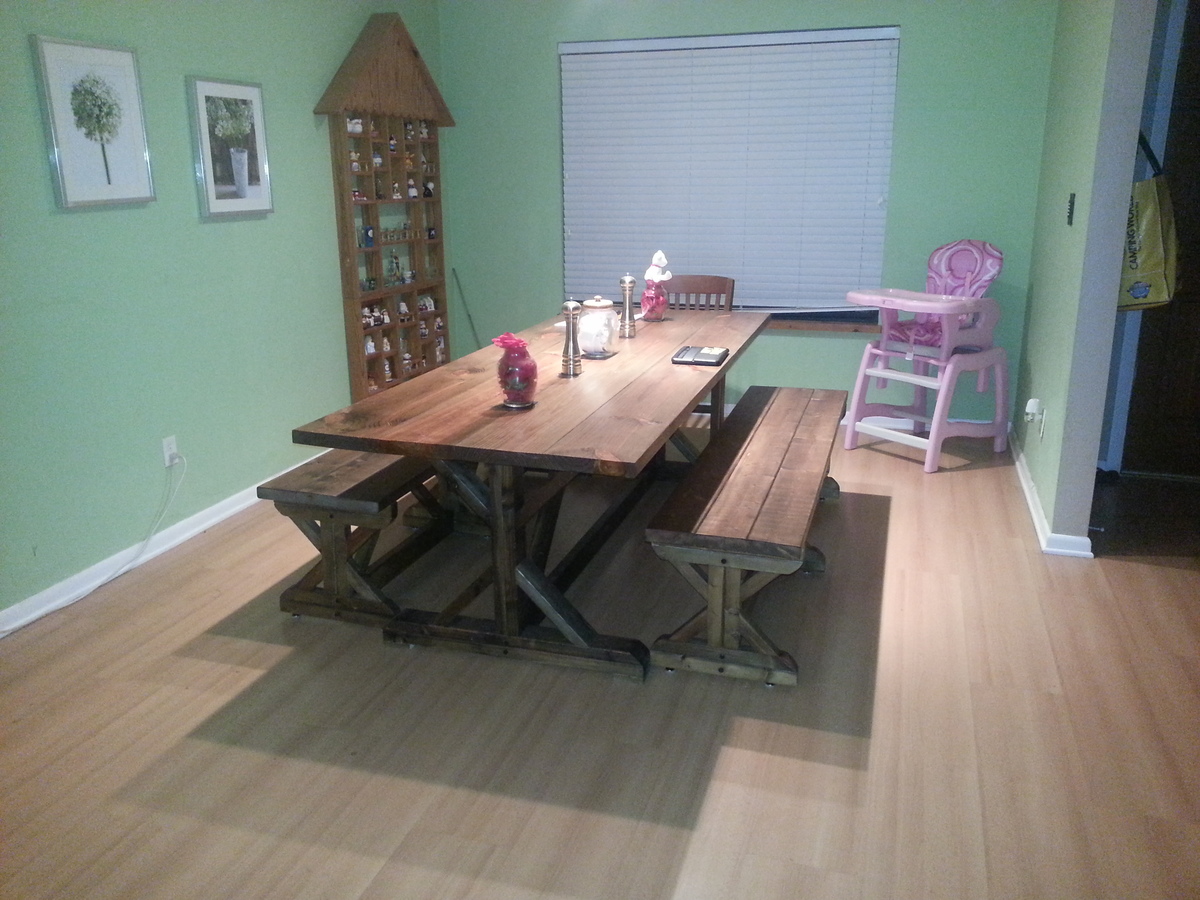
I built the table some months ago and my wife loved it so we decided to build a set of benches to go with it. I gotta say though i will never build these suckers again. Man there were so many cuts!!! The stain was steel wool, vinegar and tea bags and i used a rub on polly. The funny thing is I built both of these benches for a total of 30 bucks! I found all the wood laying around. I hope you all enjoy. Sorry about the horrible pictures I guess if I am going to be uploading pictures on here a better camera other than my smartphone is in order.
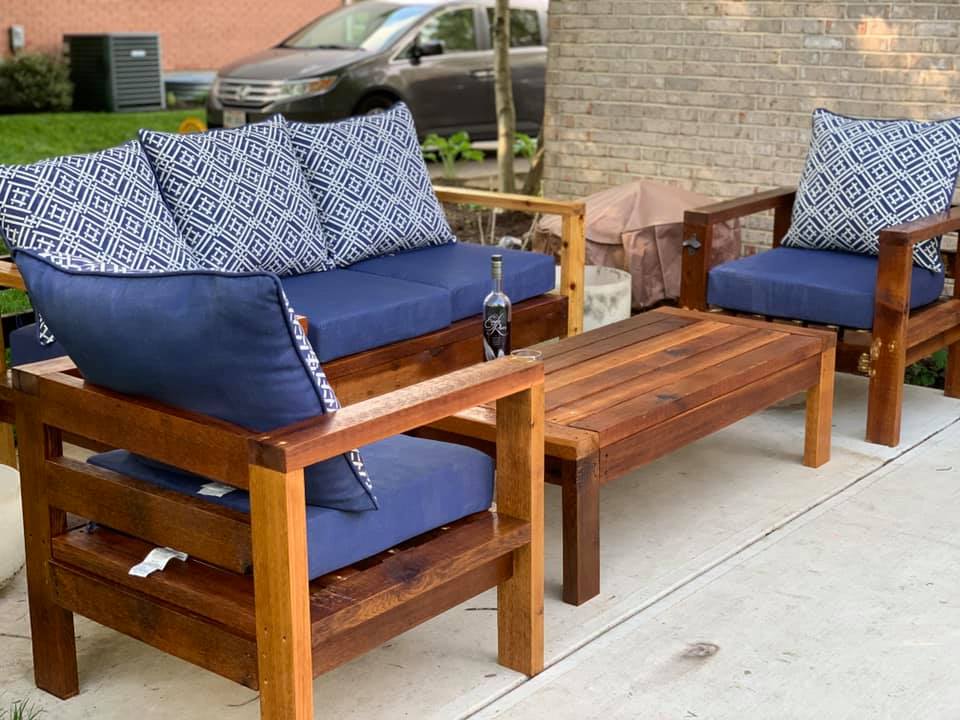
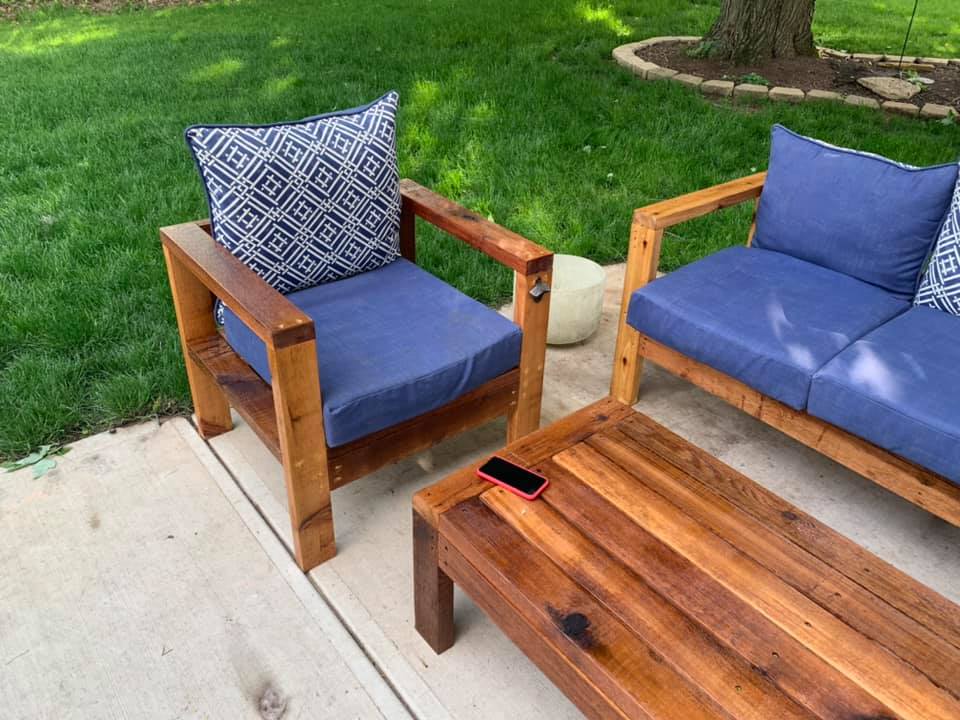
Been working from home for the past two months due to the health crisis. To stop from going crazy from being at home with my wife and four kids, I decided up pick up a hobby - here's where my homie Ana enters! I didn't want the sectional for my patio, but certainly the couch, chairs and table. The only mistakes had were my own (using wood putty, not sanding it well), but the plans were spot on. The only real issue I ran into was the cedar wood I used wasn't 1.5 x 3.5, but 1.75 x 3.5. This caused me to make additional cuts were I otherwise would not have needed it. Other than that, just remember to make the longest cuts first... I ended up needing to buy about five additional boards because it.
We perviously had a larger garden farther back in the yard, it was on the ground which is very hard and rocky. It was tough to till and maintain, so it was taken down a few years ago.
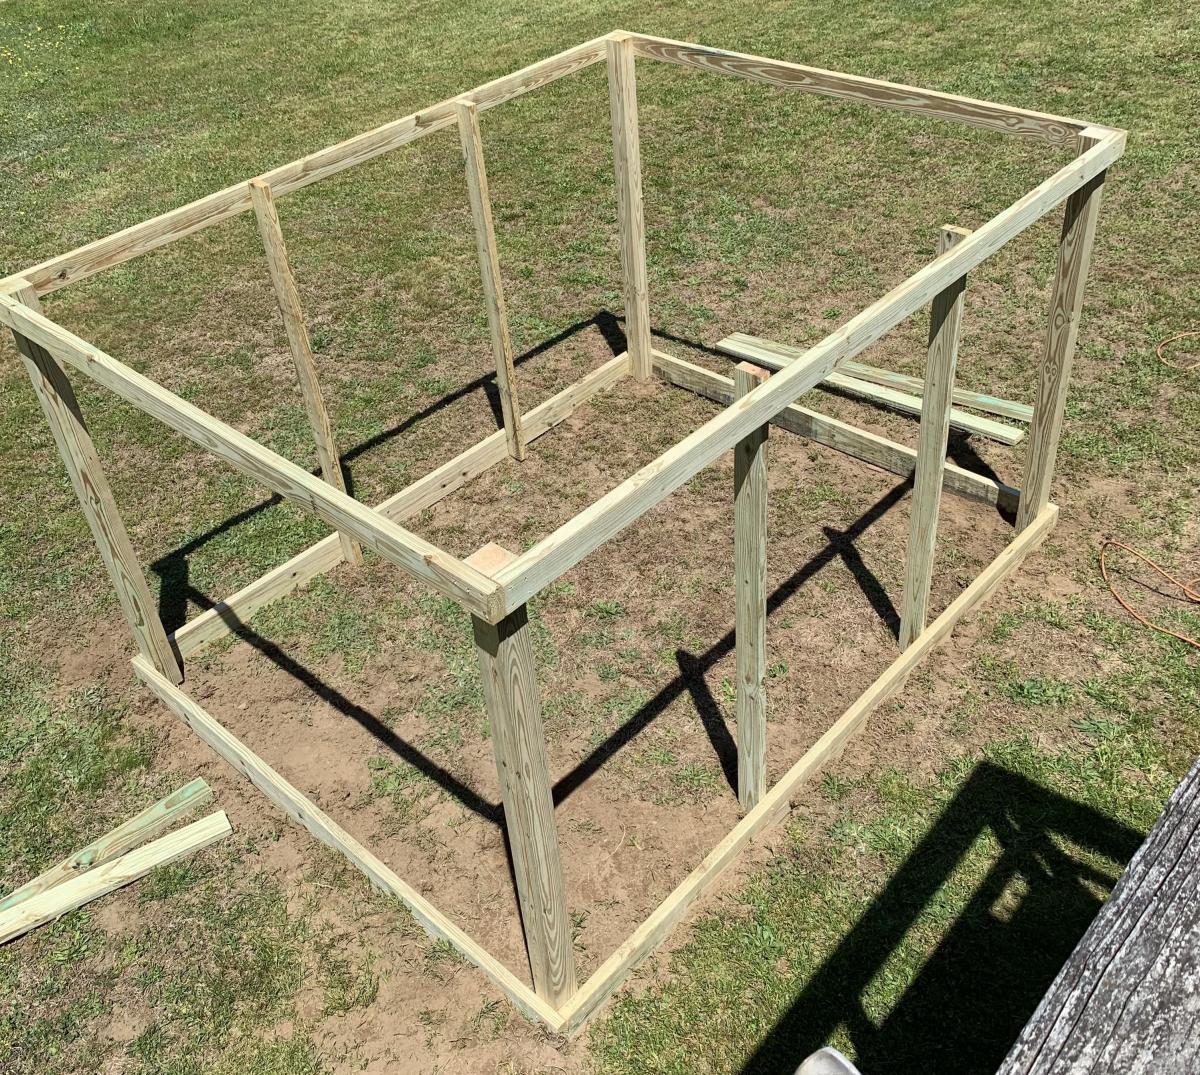
My wife and teenage daughter have green thumbs and have planted herbs and tomatoes in pots over the past few years, but this year they wanted something more substantial. After an online search we found this plan.
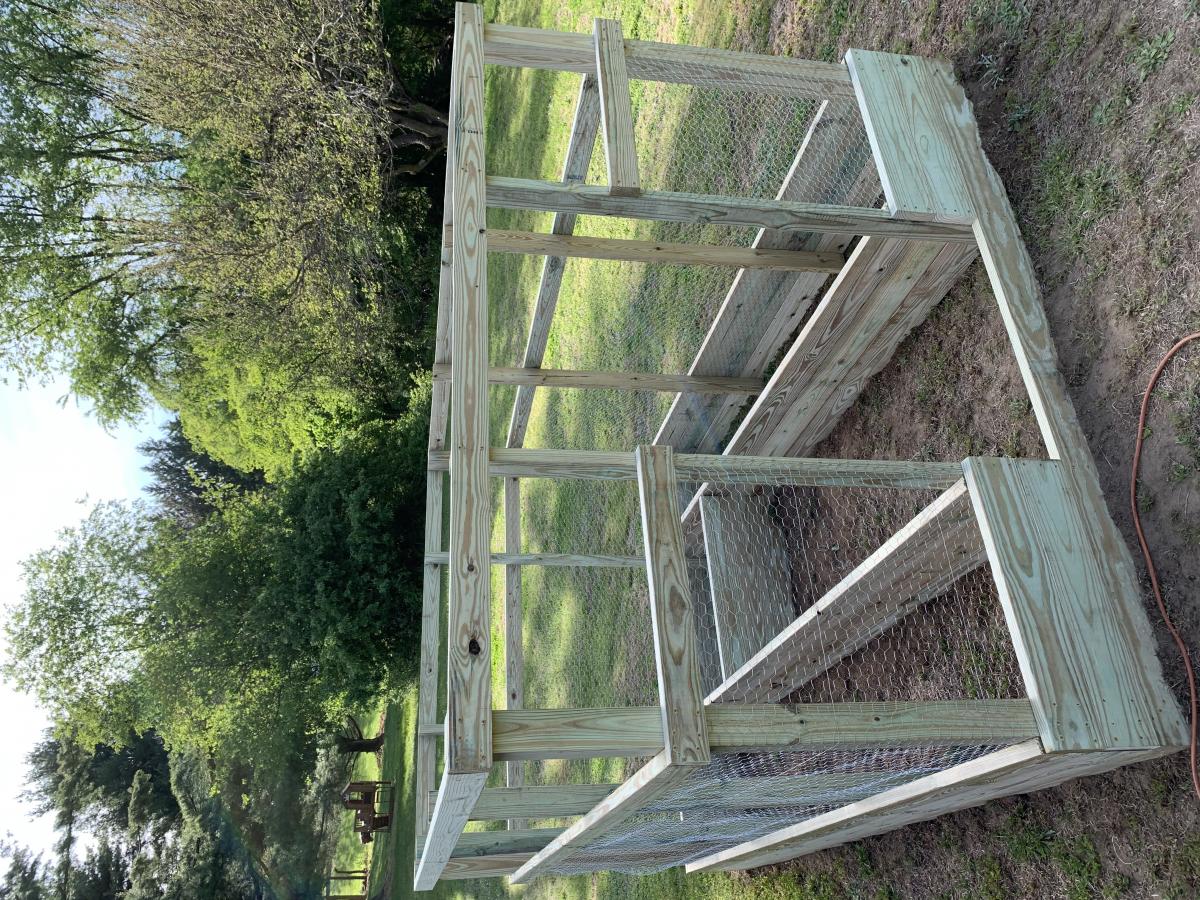
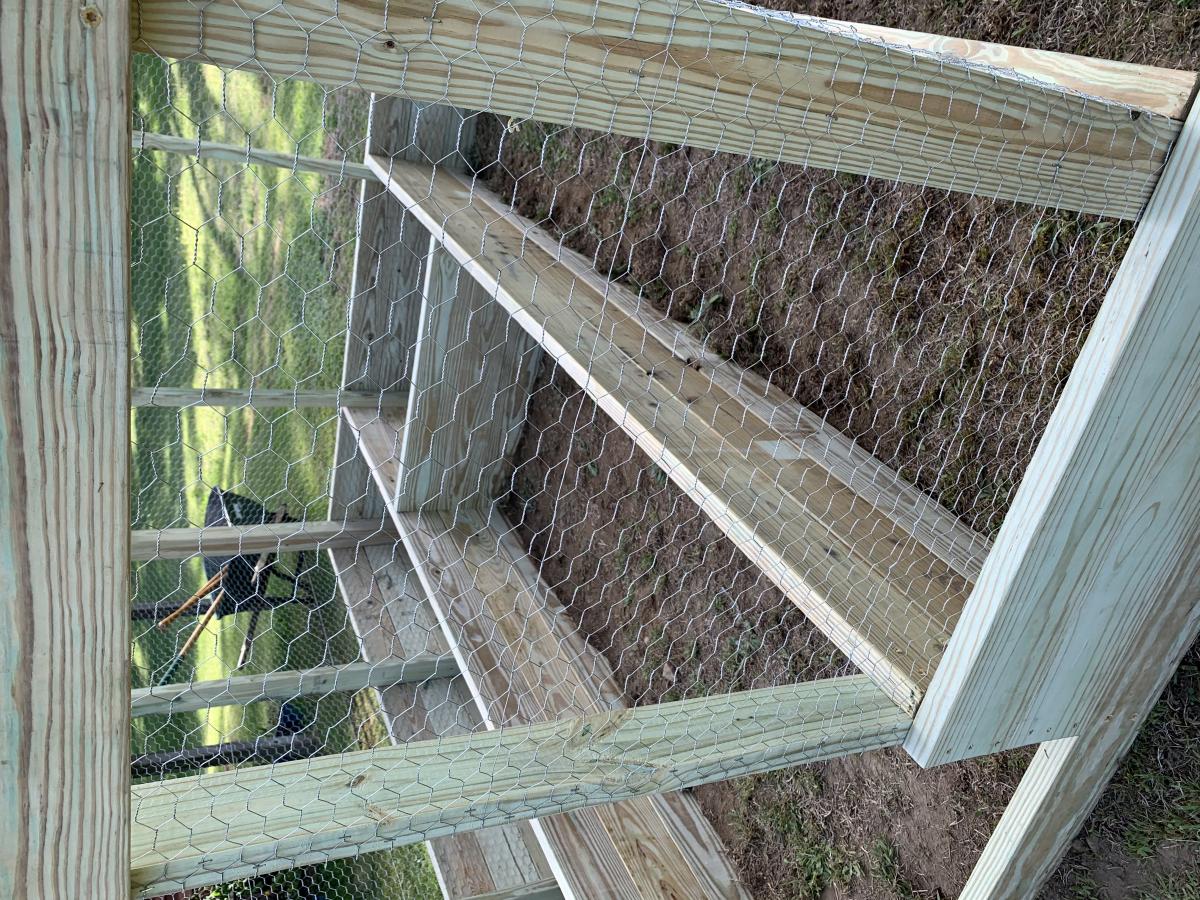
It was a bit small for what the girls had planned, so with a little bit of tweaking, we changed the depth of the enclosure to 10'. It was pretty easy to do. Also the girls wanted the beds to be a bit deeper, so we made them three 2x6's deep instead of two
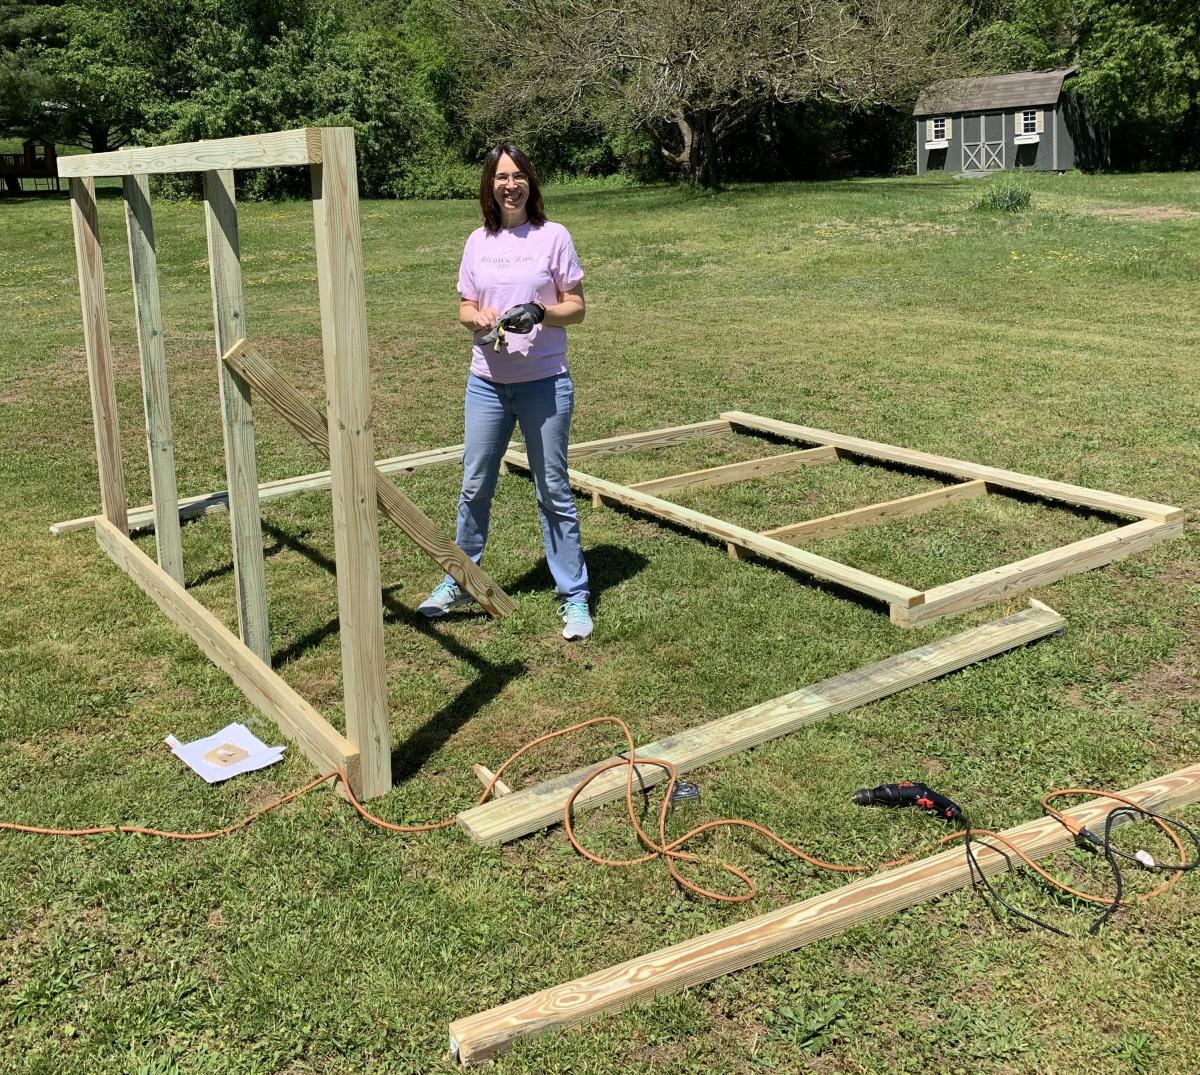
It was built by my wife and I in one weekend, well actually the truth is we built the entire enclosure, minus the door on Saturday about 10am and finish up about 5:30pm. I built the door the next day and we hung it together.
Just an FYI, I have quite a bit of woodworking experience and have a workshop with table saw, band saw and much, much more. I did use the table saw for most of the cuts, with the exception of the gate support which I cut using the band saw.
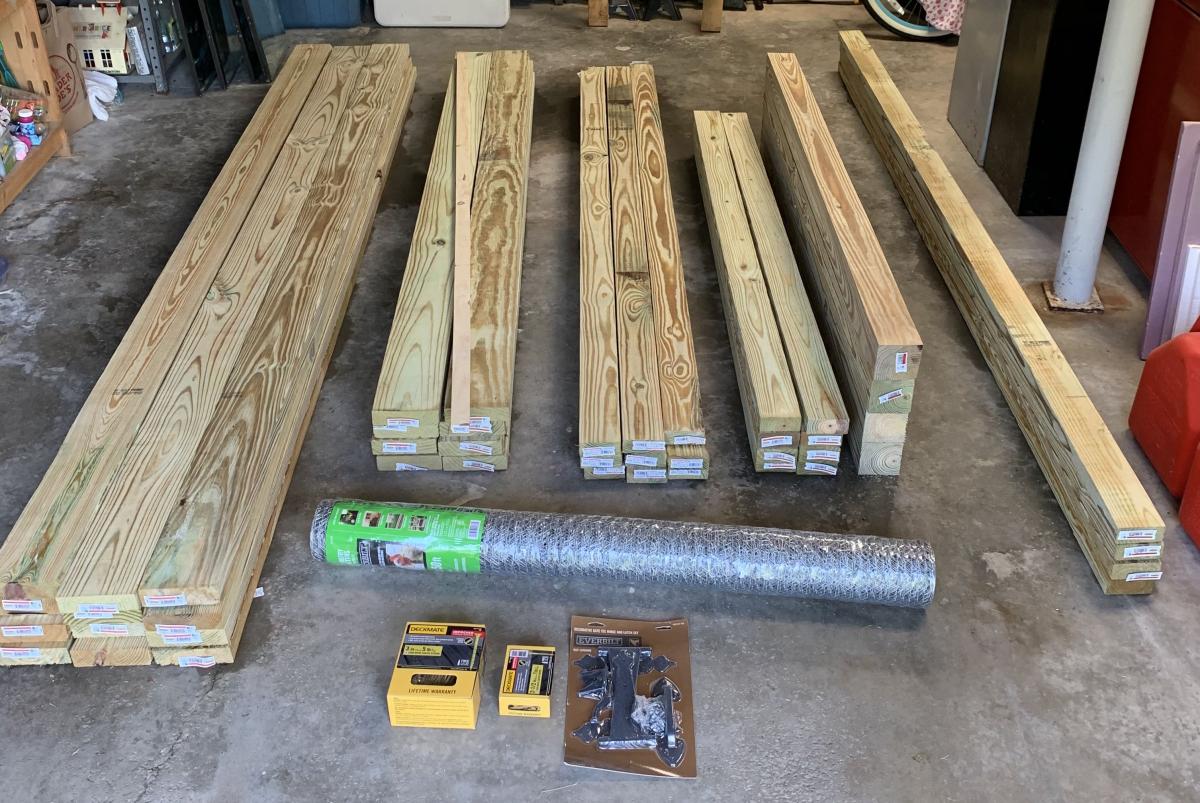
One caveat, if you have the lumber yard cut any pieces for you, make sure all the lumber is the same length. It's kind os a nit picky thing, but none of the lumber was exactly the length shown on the labels. If you want all the joints to be "perfect" I suggest measuring and cutting all the pieces to the correct length to match the plans.
We also used an industrial hand held staple gun to fasten the chicken wire.
The cost of all the materials, including two sets of work gloves came out to $447.92 from Home Depot in 2020.
We are now waiting for a delivery of the top soil to fill the beds. Since we used weatherguard lumber, we are going to gat plastic sheeting and line the beds.
It was a fun project and my girls are looking forward to planting all their seedlings.
For fun we made a time lapse video, which I have uploaded to Youtube. If you watch closely, you will see that we started the build in one area of the yard and moved it because the ground sloped much more than we originally thought.
https://www.youtube.com/watch?v=h7vvBLy034U&list=WL&index=112&t=0s
I hope that our experience may help others in some small way.
Thank you Ana for making these plans available!!
Sat, 05/30/2020 - 18:27
Love the added length! Thanks so much for sharing photos of your build!
I have been trying to attract more birds. I built and put up some more birdhouses, added a bird bath, and wanted to add some more feeders. I found this quick and easy plan and I had to build it.
This took me less than an hour to build. I bought my picket from Menards when it was on sale for $1.18. That's not a bad price for a bird feeder!
You can see the steps I took to build this on my blog.
http://jaimeofalltrades.blogspot.com/2014/05/make-bird-feeder-for-under…

Sun, 03/01/2020 - 17:05
I can tell just from looking at this wood it was treated with a copper based chemical (note the green/blue blotches) while cedar is a good natural resistant wood these can sometimes be treated a well check for those greenish blotches around the Heartwood lines, chemical won't penetrate the tree sap in the wood and builds up along these lines. *I've worked in the pressure treated industry as a chemical tech for 3 years, and industry as a whole for more than 7.
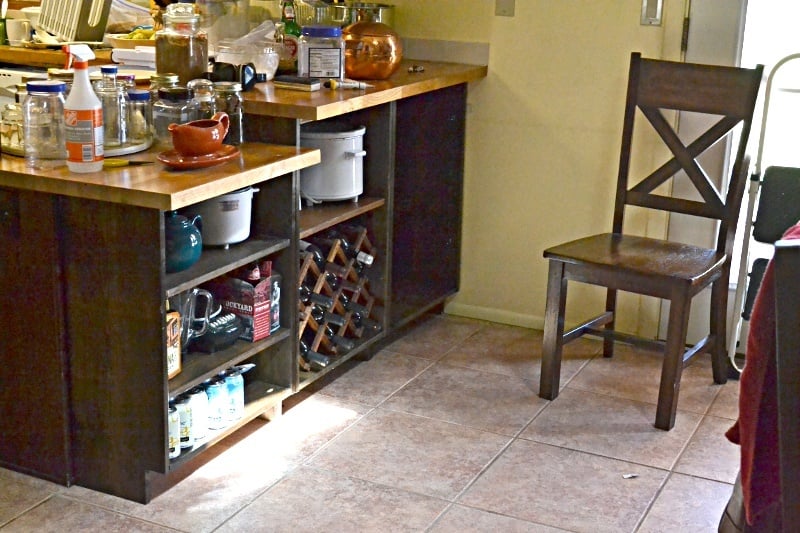
Added kitchen and dining room storage by building bookcases / shelf units to fit under the peninsula breakfast bar overhang. It's the simplest possible "box with a toe-kick", loosely based on Ana's plans for a bookshelf and the closet master system.
Much of the "working time" was stain and finishing time. Actual cutting and assembly time was under 3 hours.
No dimensions: every breakfast bar is different.
1 - The boards were cut to fit under the overhang, with 1/8 or less clearance. Top and bottom of unit is between the upright pieces.
2 - Width of units was also cut to fit. One unit is the width of the lower section of countertop (appx 23 in), the taller section was divided into 2 equal units (appx 21 in)
Shelves were cut about 1/4" narrower than the insiude dimension of the unit, to allow for insertion and the shelf pegs.
3 - Toekick space cut to match the cabinet on the far side of the peninsula. Used a circular saw and then a hand saw to finish the corners.
4 - Drilled pocketholes in the top and bottom boards.
5 - Used Rockler's jig for drilling shelf pin holes in the 6 uprights. Oops! I should have drilled every possible hole. I drilled every other hole and don't have the shelf flexibility I really need.
6 - Stained and topcoated everything, let it dry.
7 - Assembled each shelf unit, using corner clamps and a carpenter's square to make sure it was square. The bottom shelf is screwed at the same level as the toe-kick.
8 - Slid units under the overhang, shimmed them firmly under the countertop.
9 - Added shelf pegs and shelves
DONE!
Doors could be added, using the hinges for inset doors on frameless cabinets.
==========
NOTES:
The units are backless. I considered nailing a 1/8 hardboard back onto them, but because the finished back of the peninsula is visible behind them, and they are shimmed into place to prevent slouching it was not needed.
Cost is low because we had some 1x12 boards in the attic. Already had the tools and stain from earlier projects. 3 1x12 x 6ft boards were new, the rest were salvage.
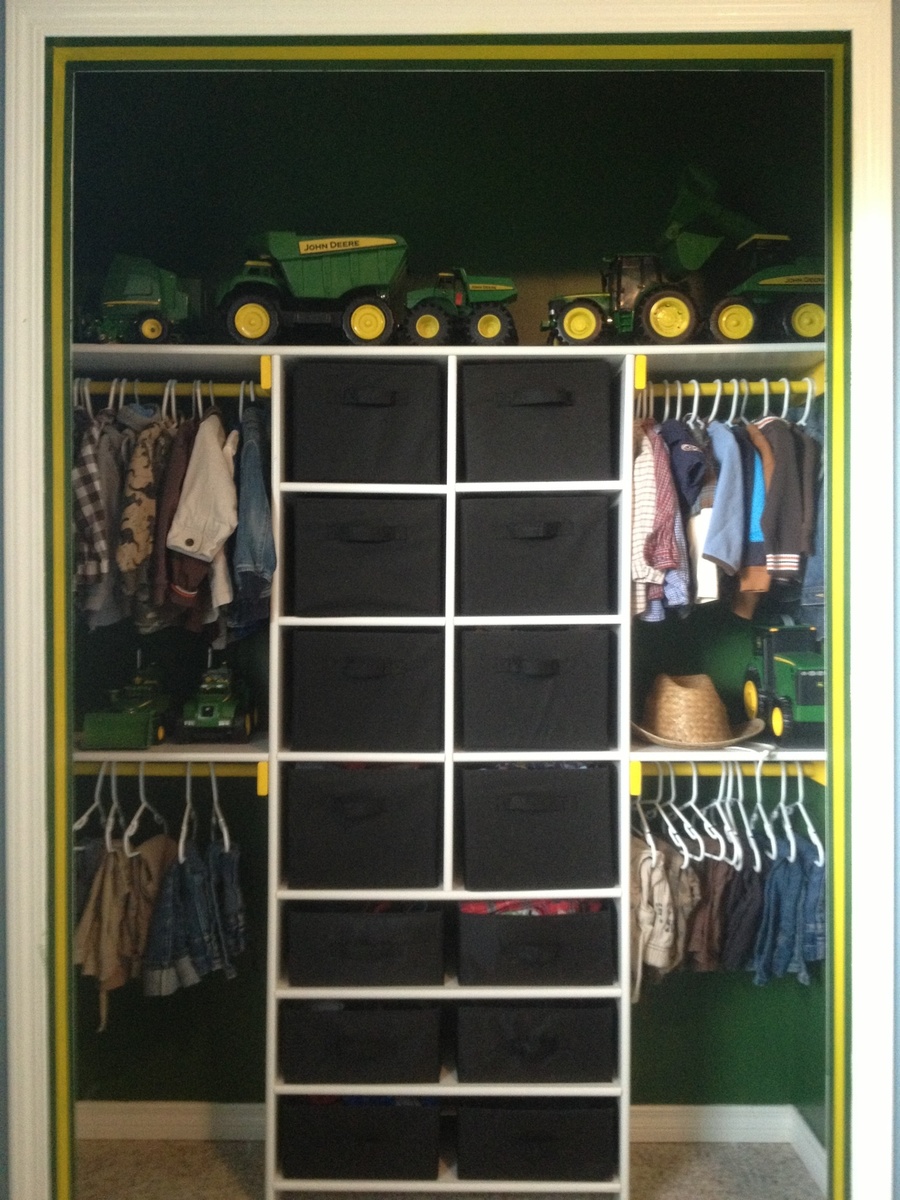
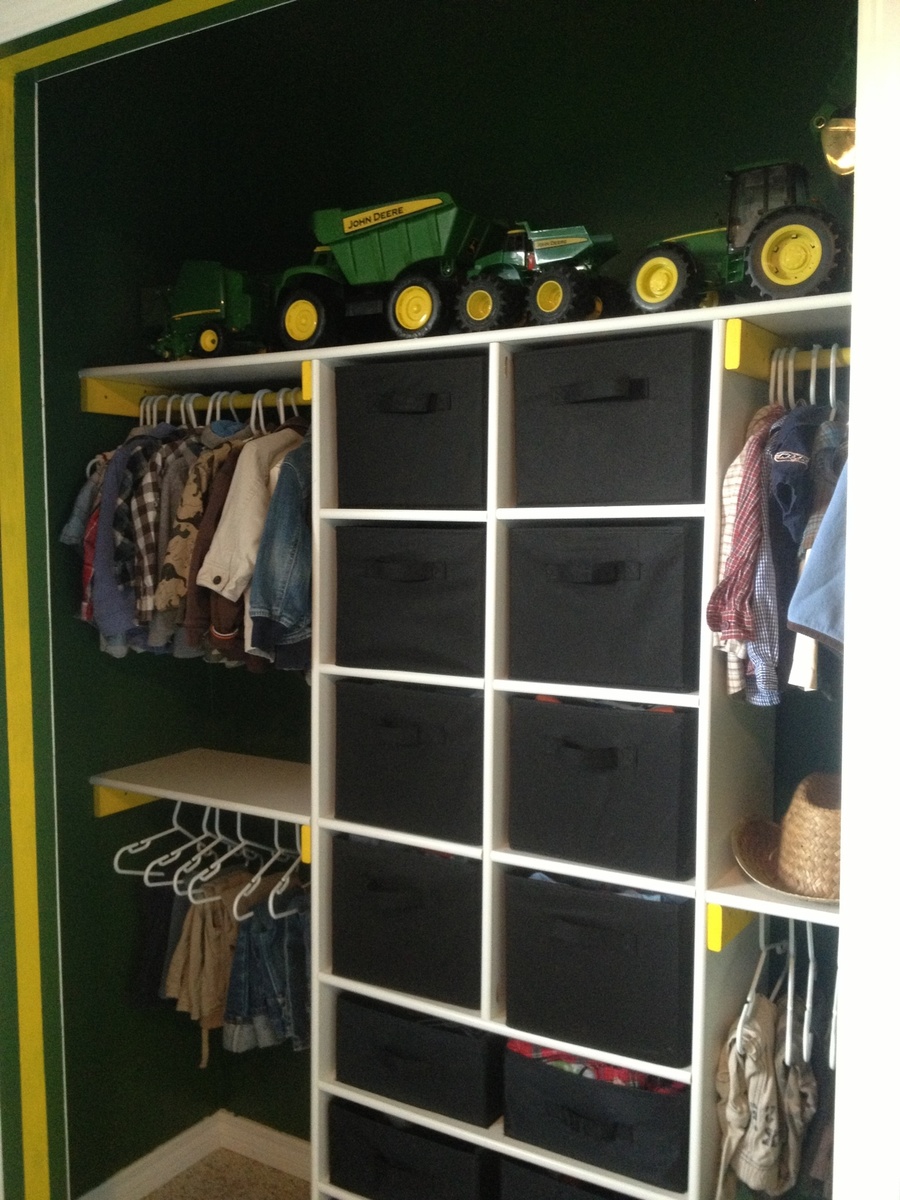
With a new baby boy on the way, my big boys (1 & 3) are moving into a big boy room. They requested a tractor room so here's the first project, the closet.
Sun, 02/15/2015 - 15:26
I love how you have done their room! It is so awesome! Is there anyway I could get your plans for this closet? I am new to building and my ocd wants it to be perfect. Thank you so much in advance!!
Please e-mail to: [email protected]
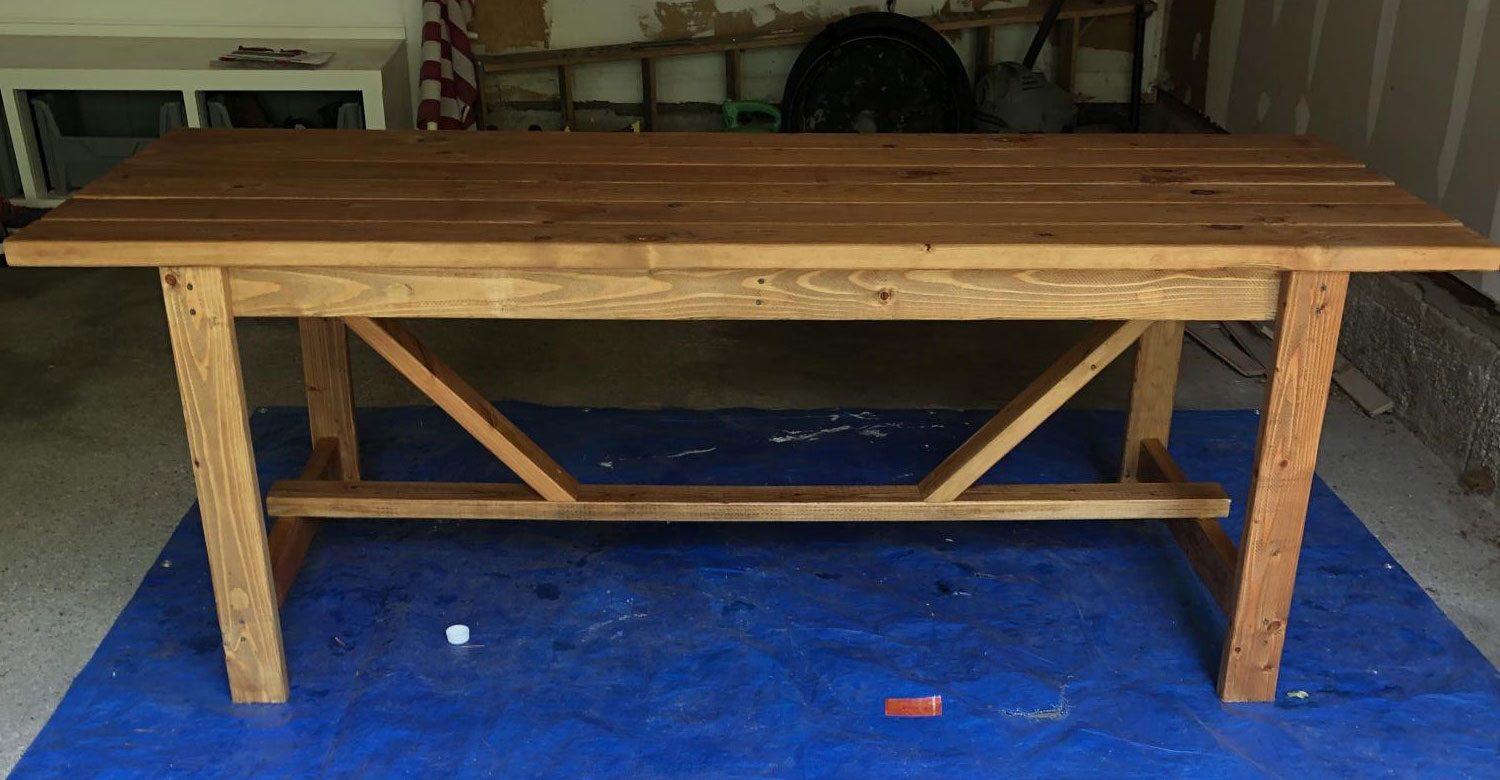
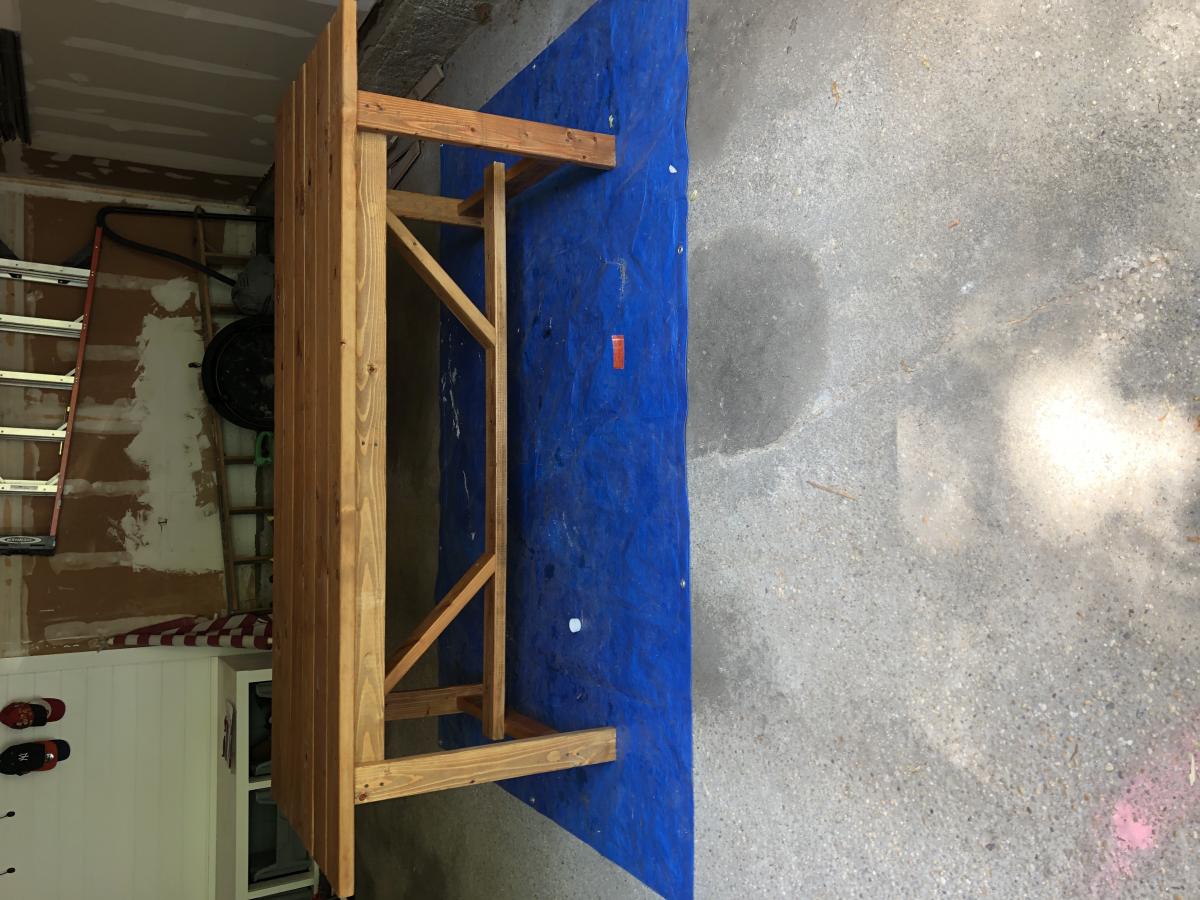
Used watco danish oil. Table will be used outside not sure how the danish oil will hold up by itself. May add polyurethane or if it falls apart I’ll build new next years. Also added diagonal supports at the bottom because it swayed a bit
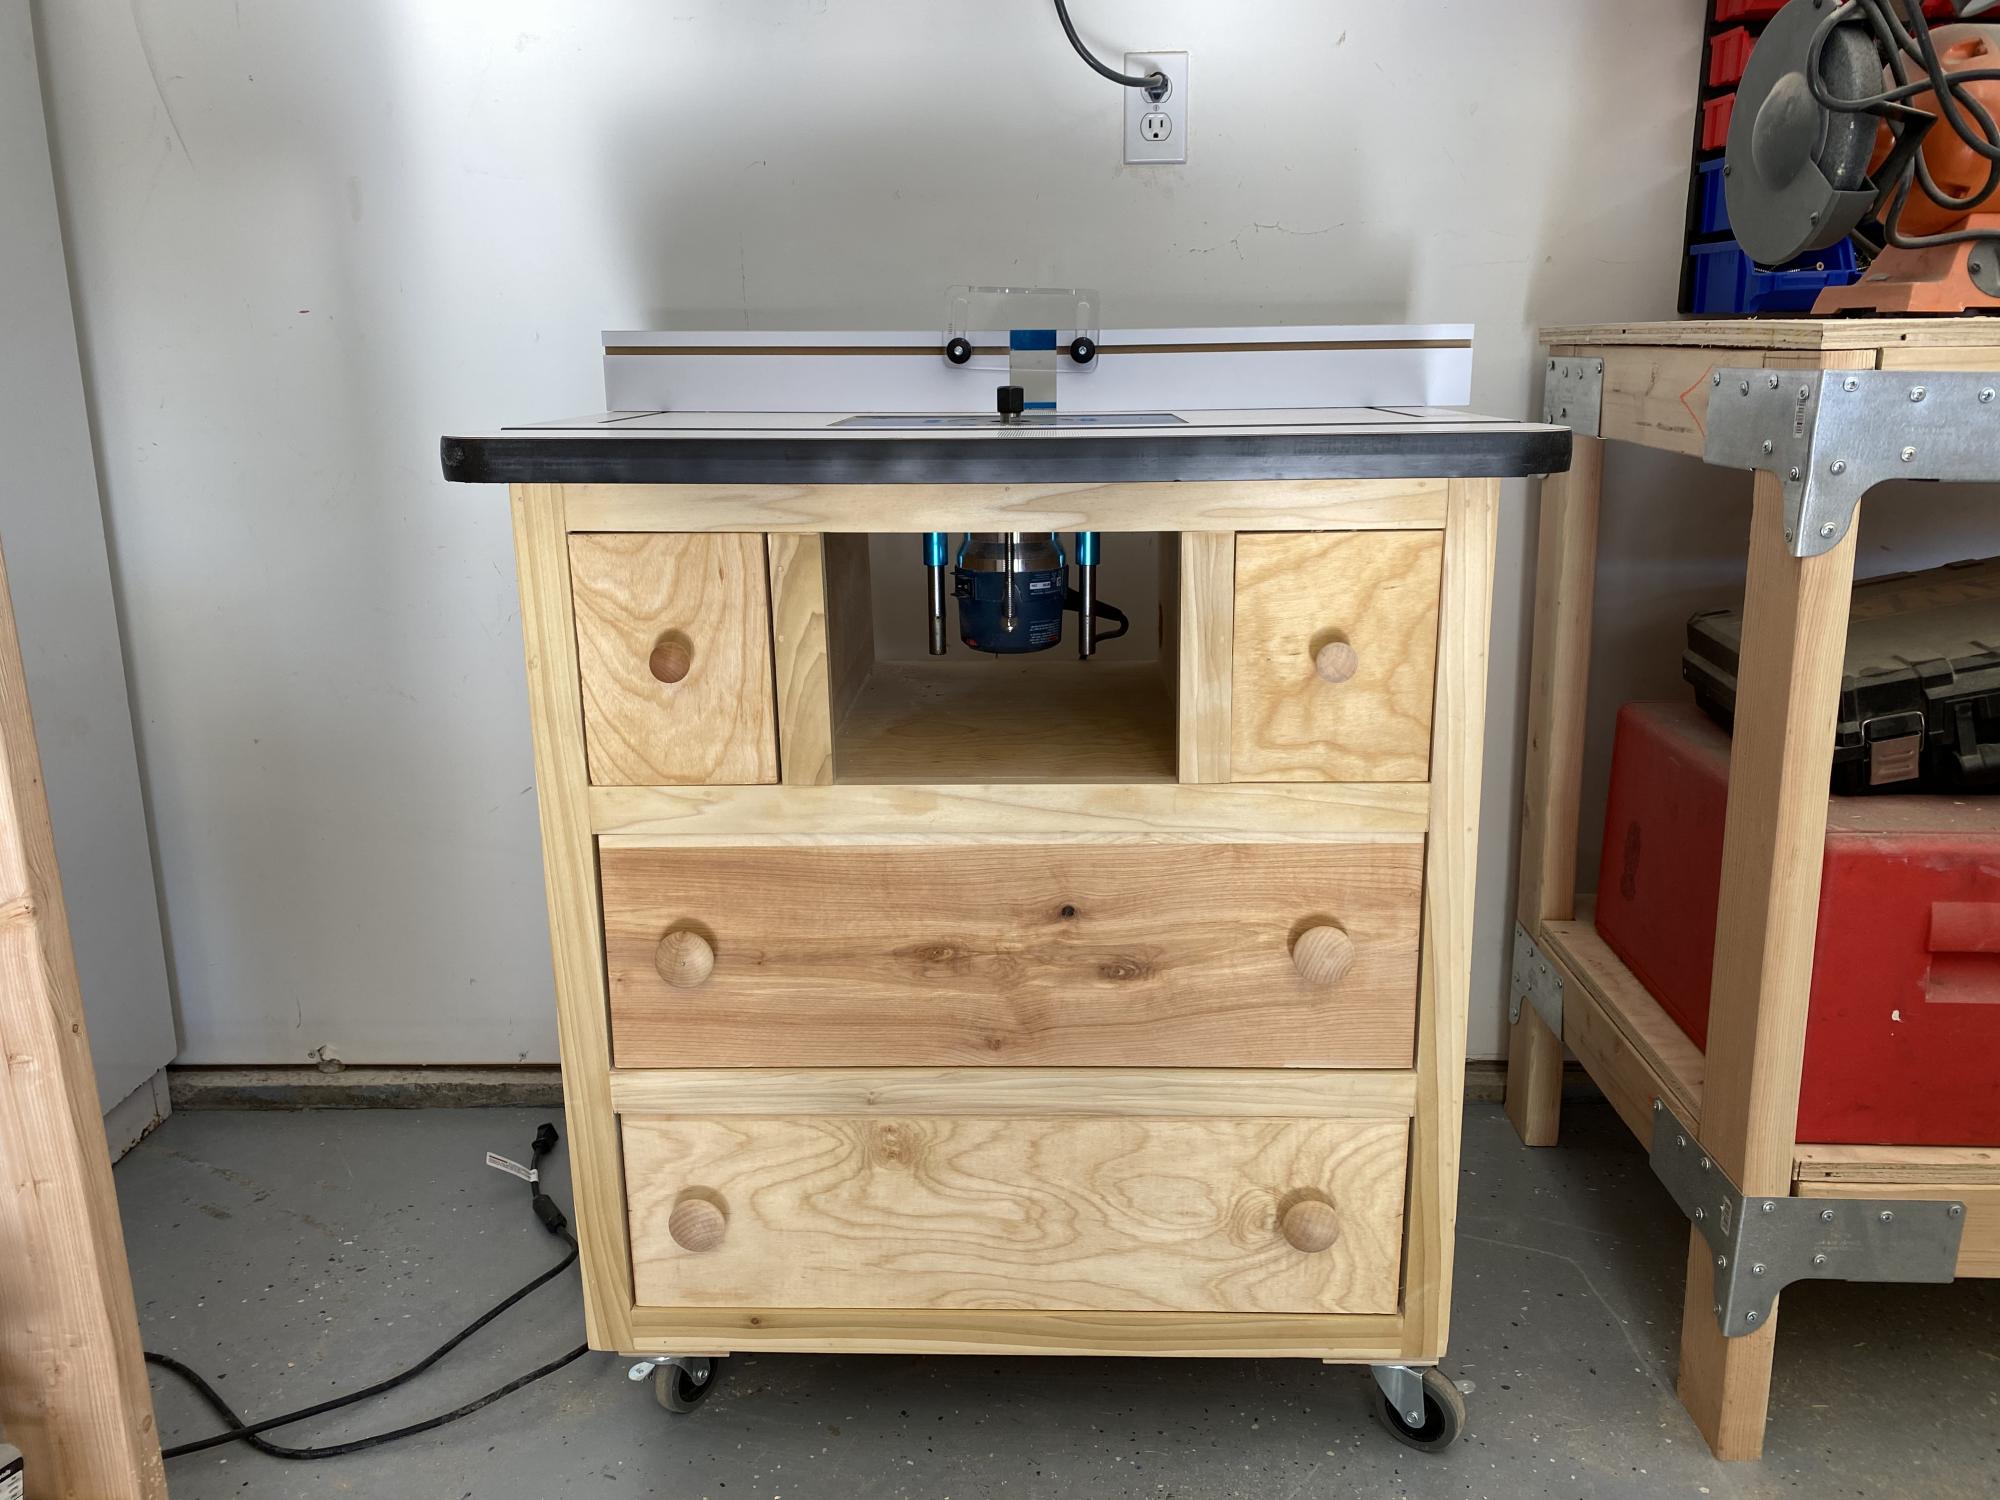
As a beginner woodworker I was searching for a router table project and came across this one. I constructed it entirely out of birch plywood. I will admit is was a challenge for me as I had never done drawers before. The biggest challenge was the small drawer for bit storage. I used a Rockler table top and it worked perfect. Overall I’m pleased with the way it turned out and have already used it in several projects
Modern Comfort Outdoor Sofa and Loveseat to go with the Simple Outdoor Dining Table and Benches that I made 2 years ago. I love that the "Modern Comfort" plans don't require angles or a miter saw. I used a circular saw for all of it!
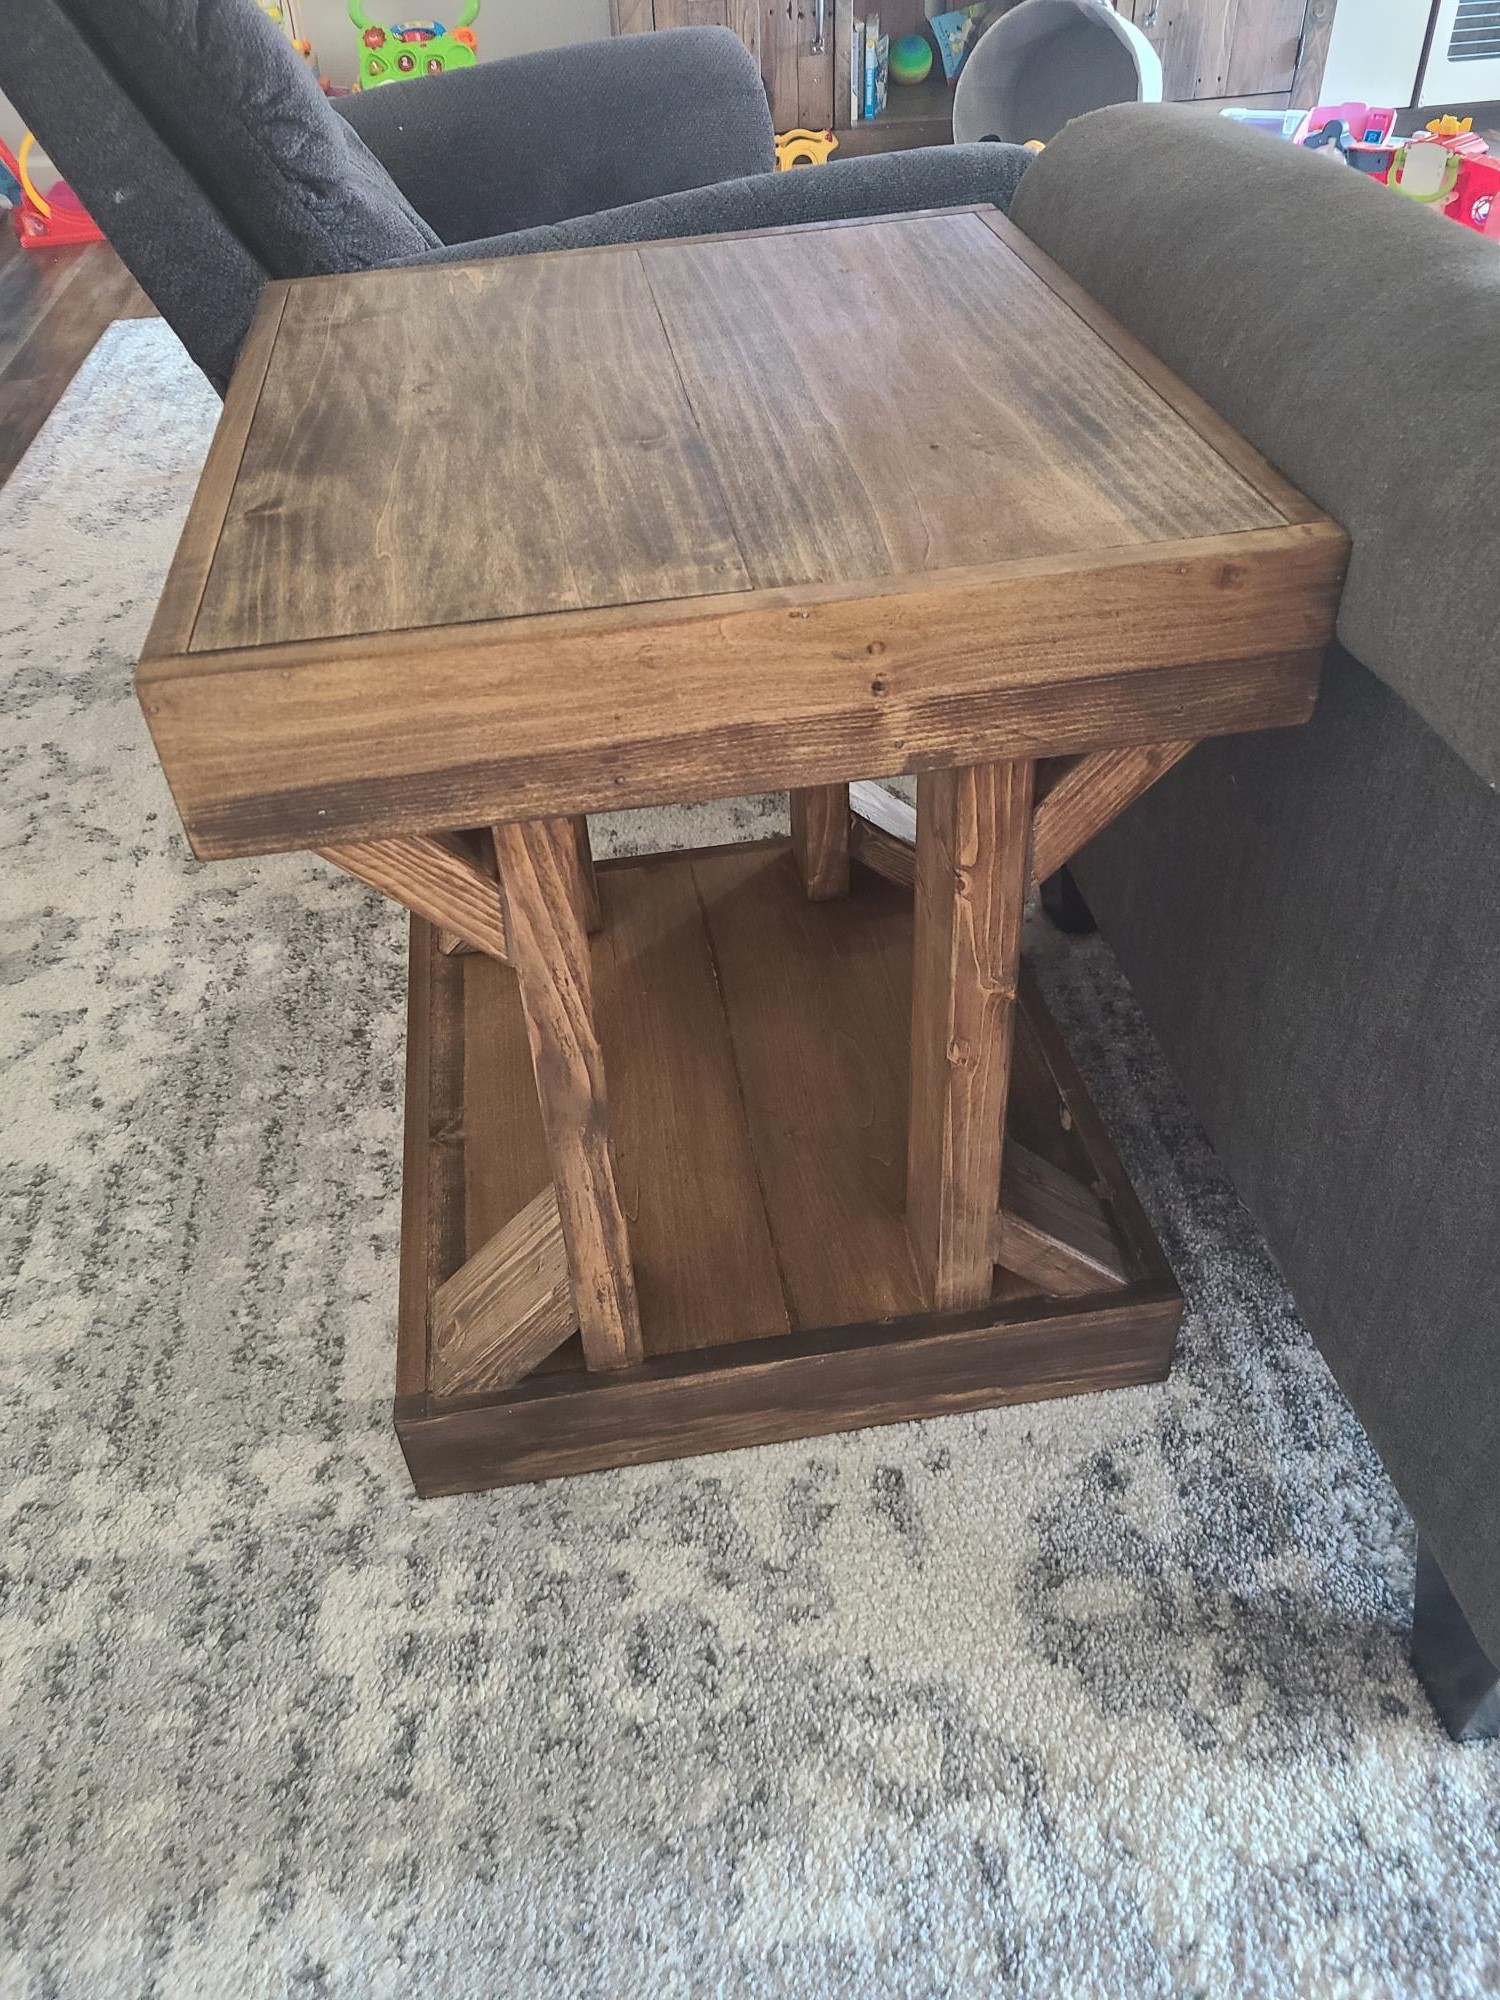
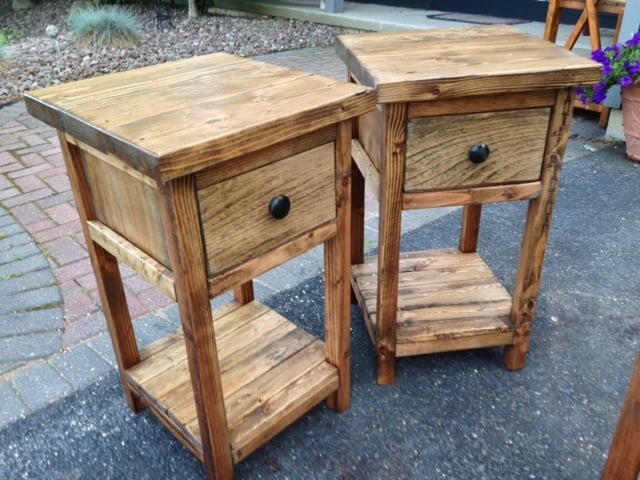
My first project since getting a miter saw! I'm so proud of how they turned out. We needed sturdy side tables so our toddler can't pull them down onto herself & these fit the bill. I dont have a brad nailer so had to pound in the nails by hand, which made it take a lot longer.... overall for me was a week & a half long project with 2 littles to care for at the same time. I used walnut stain, 2 coats. Can't wait to do another project!
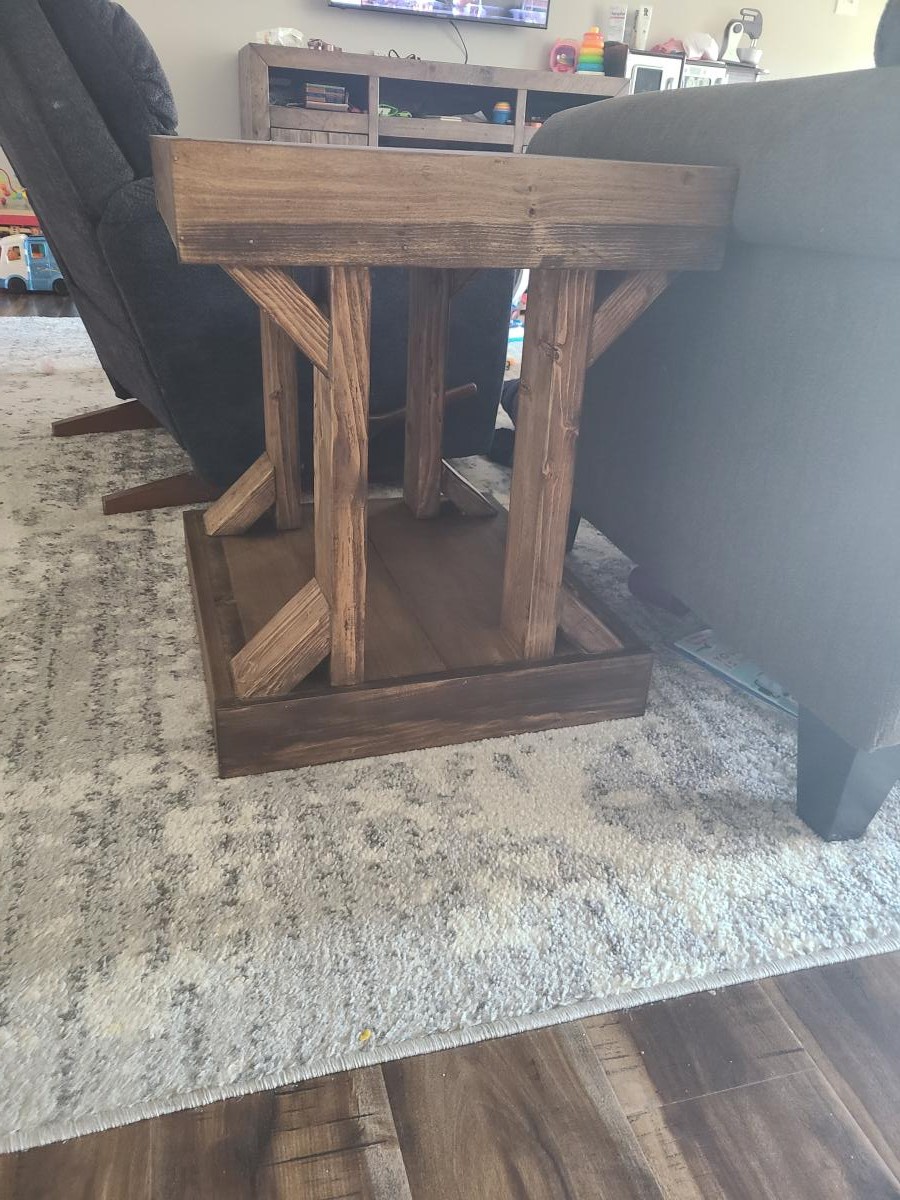
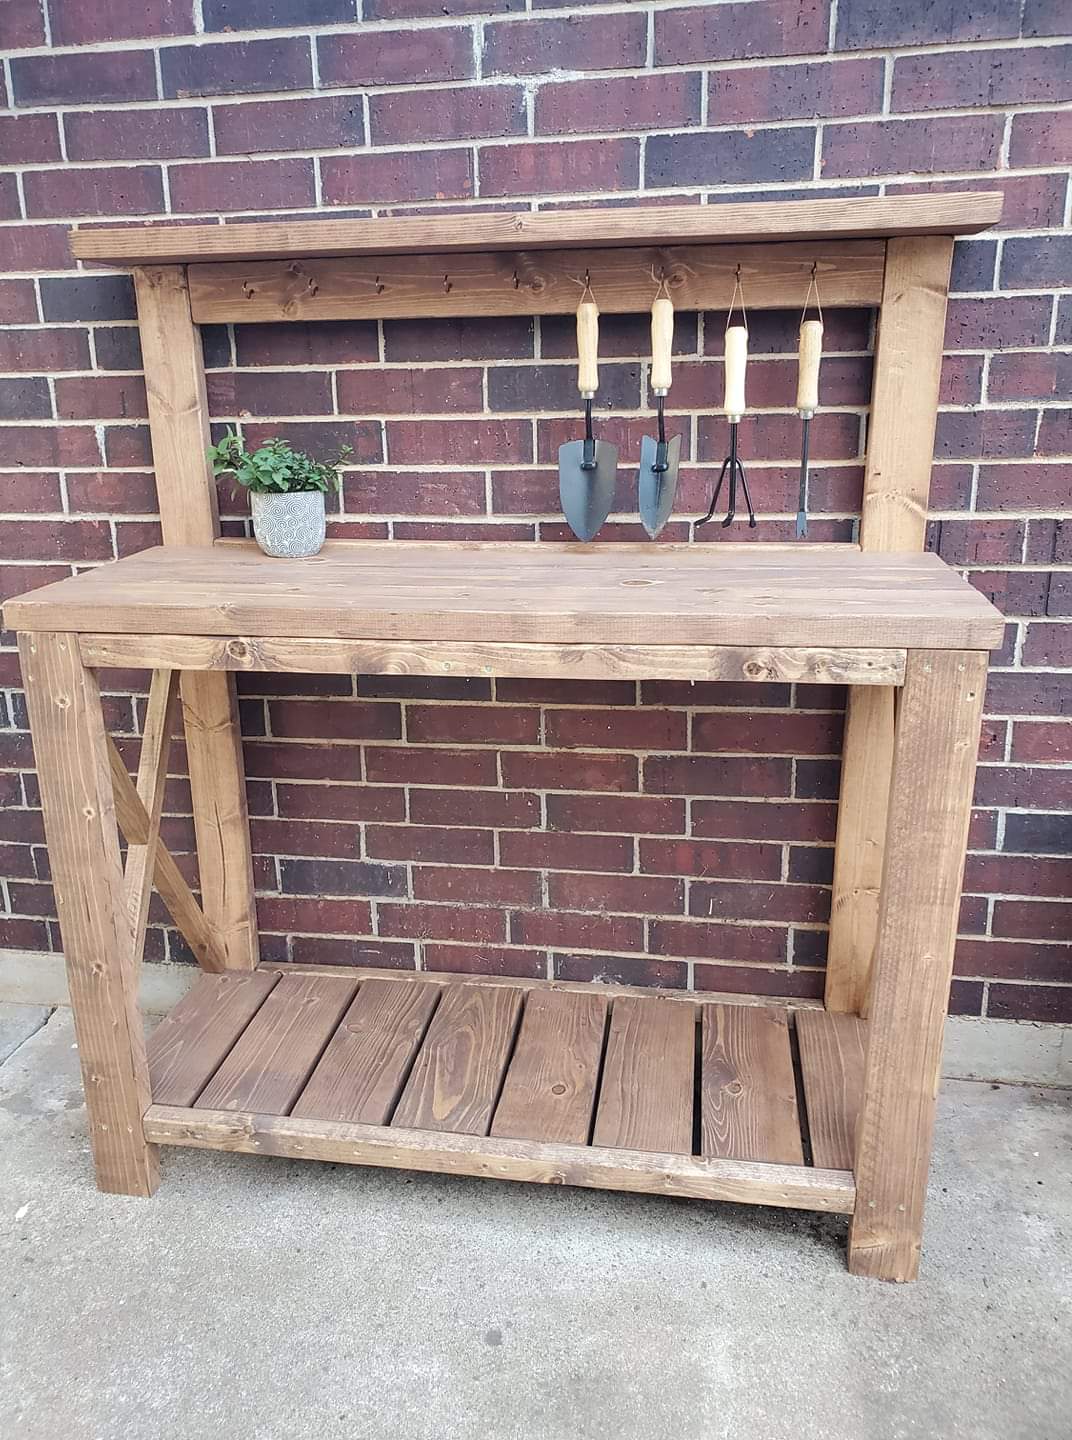
Took a few tries to get those side rails right just eyeballing the angles but finished product looked great!
modified all 3 plans to sizes I needed
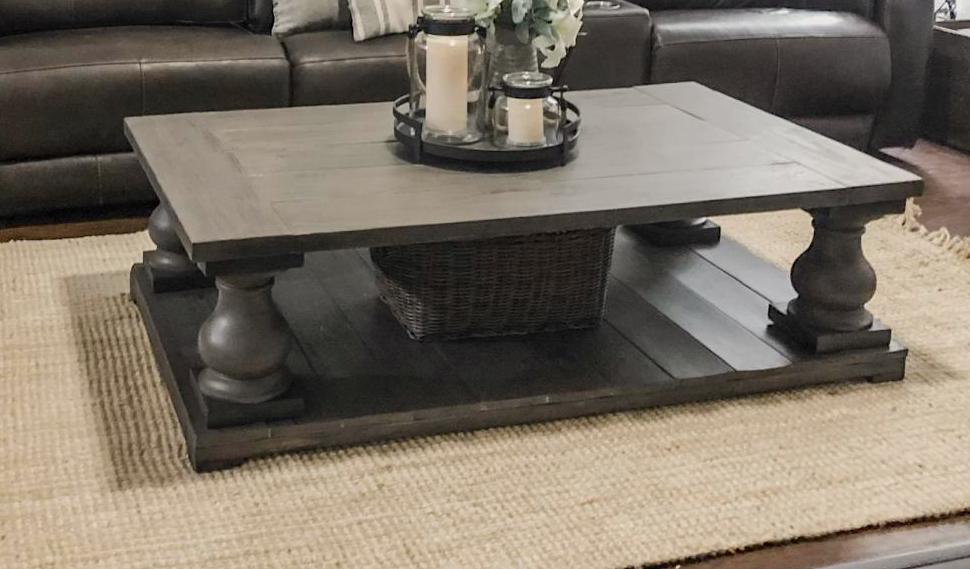
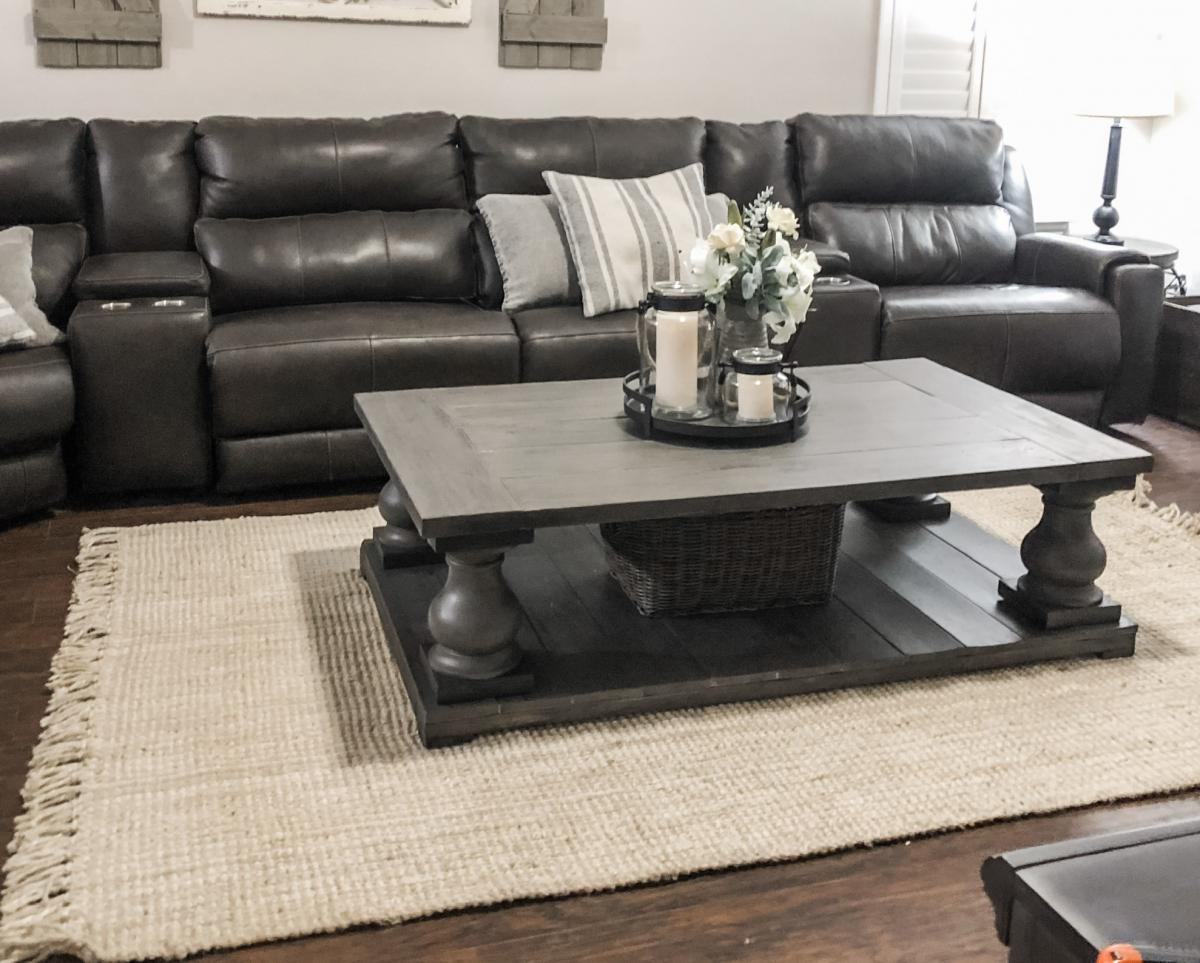
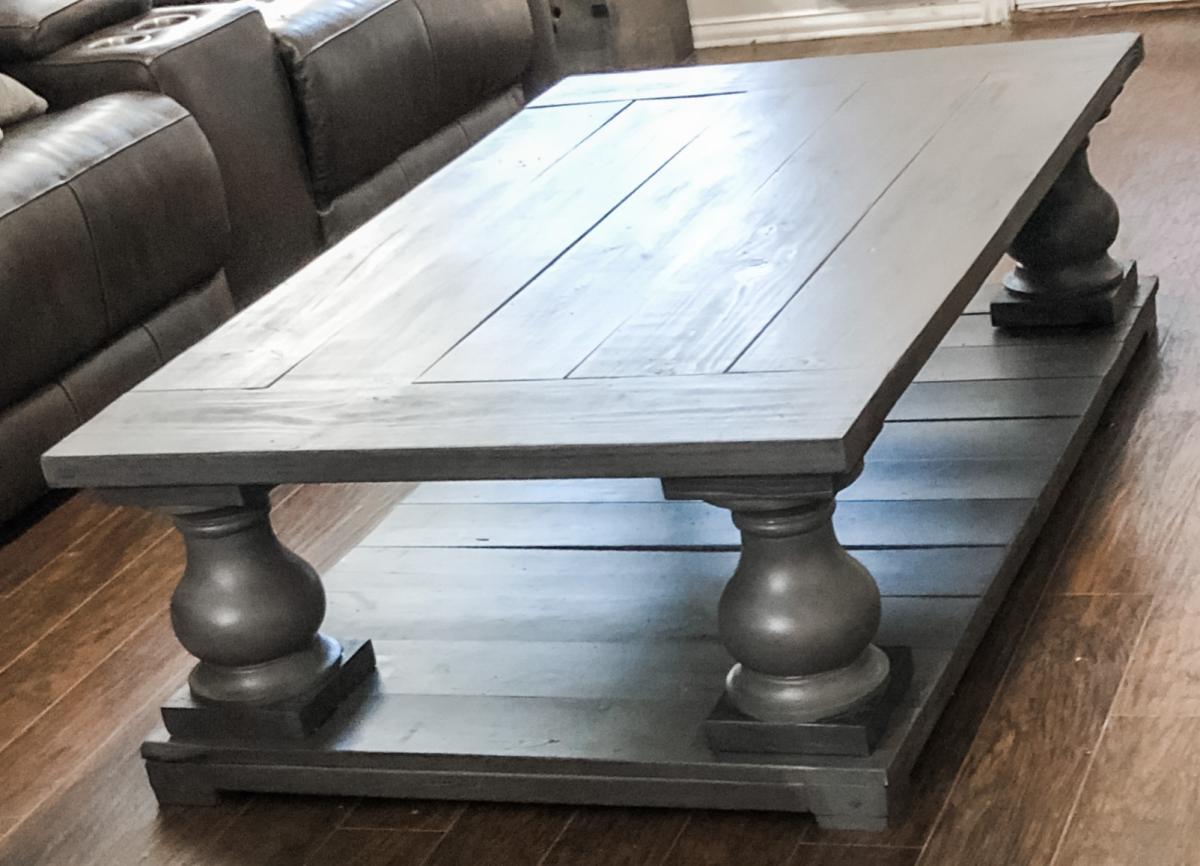
Love this table! Created from Ana Whites Balustrade Coffee Table plans. Looks just like the table from RH.
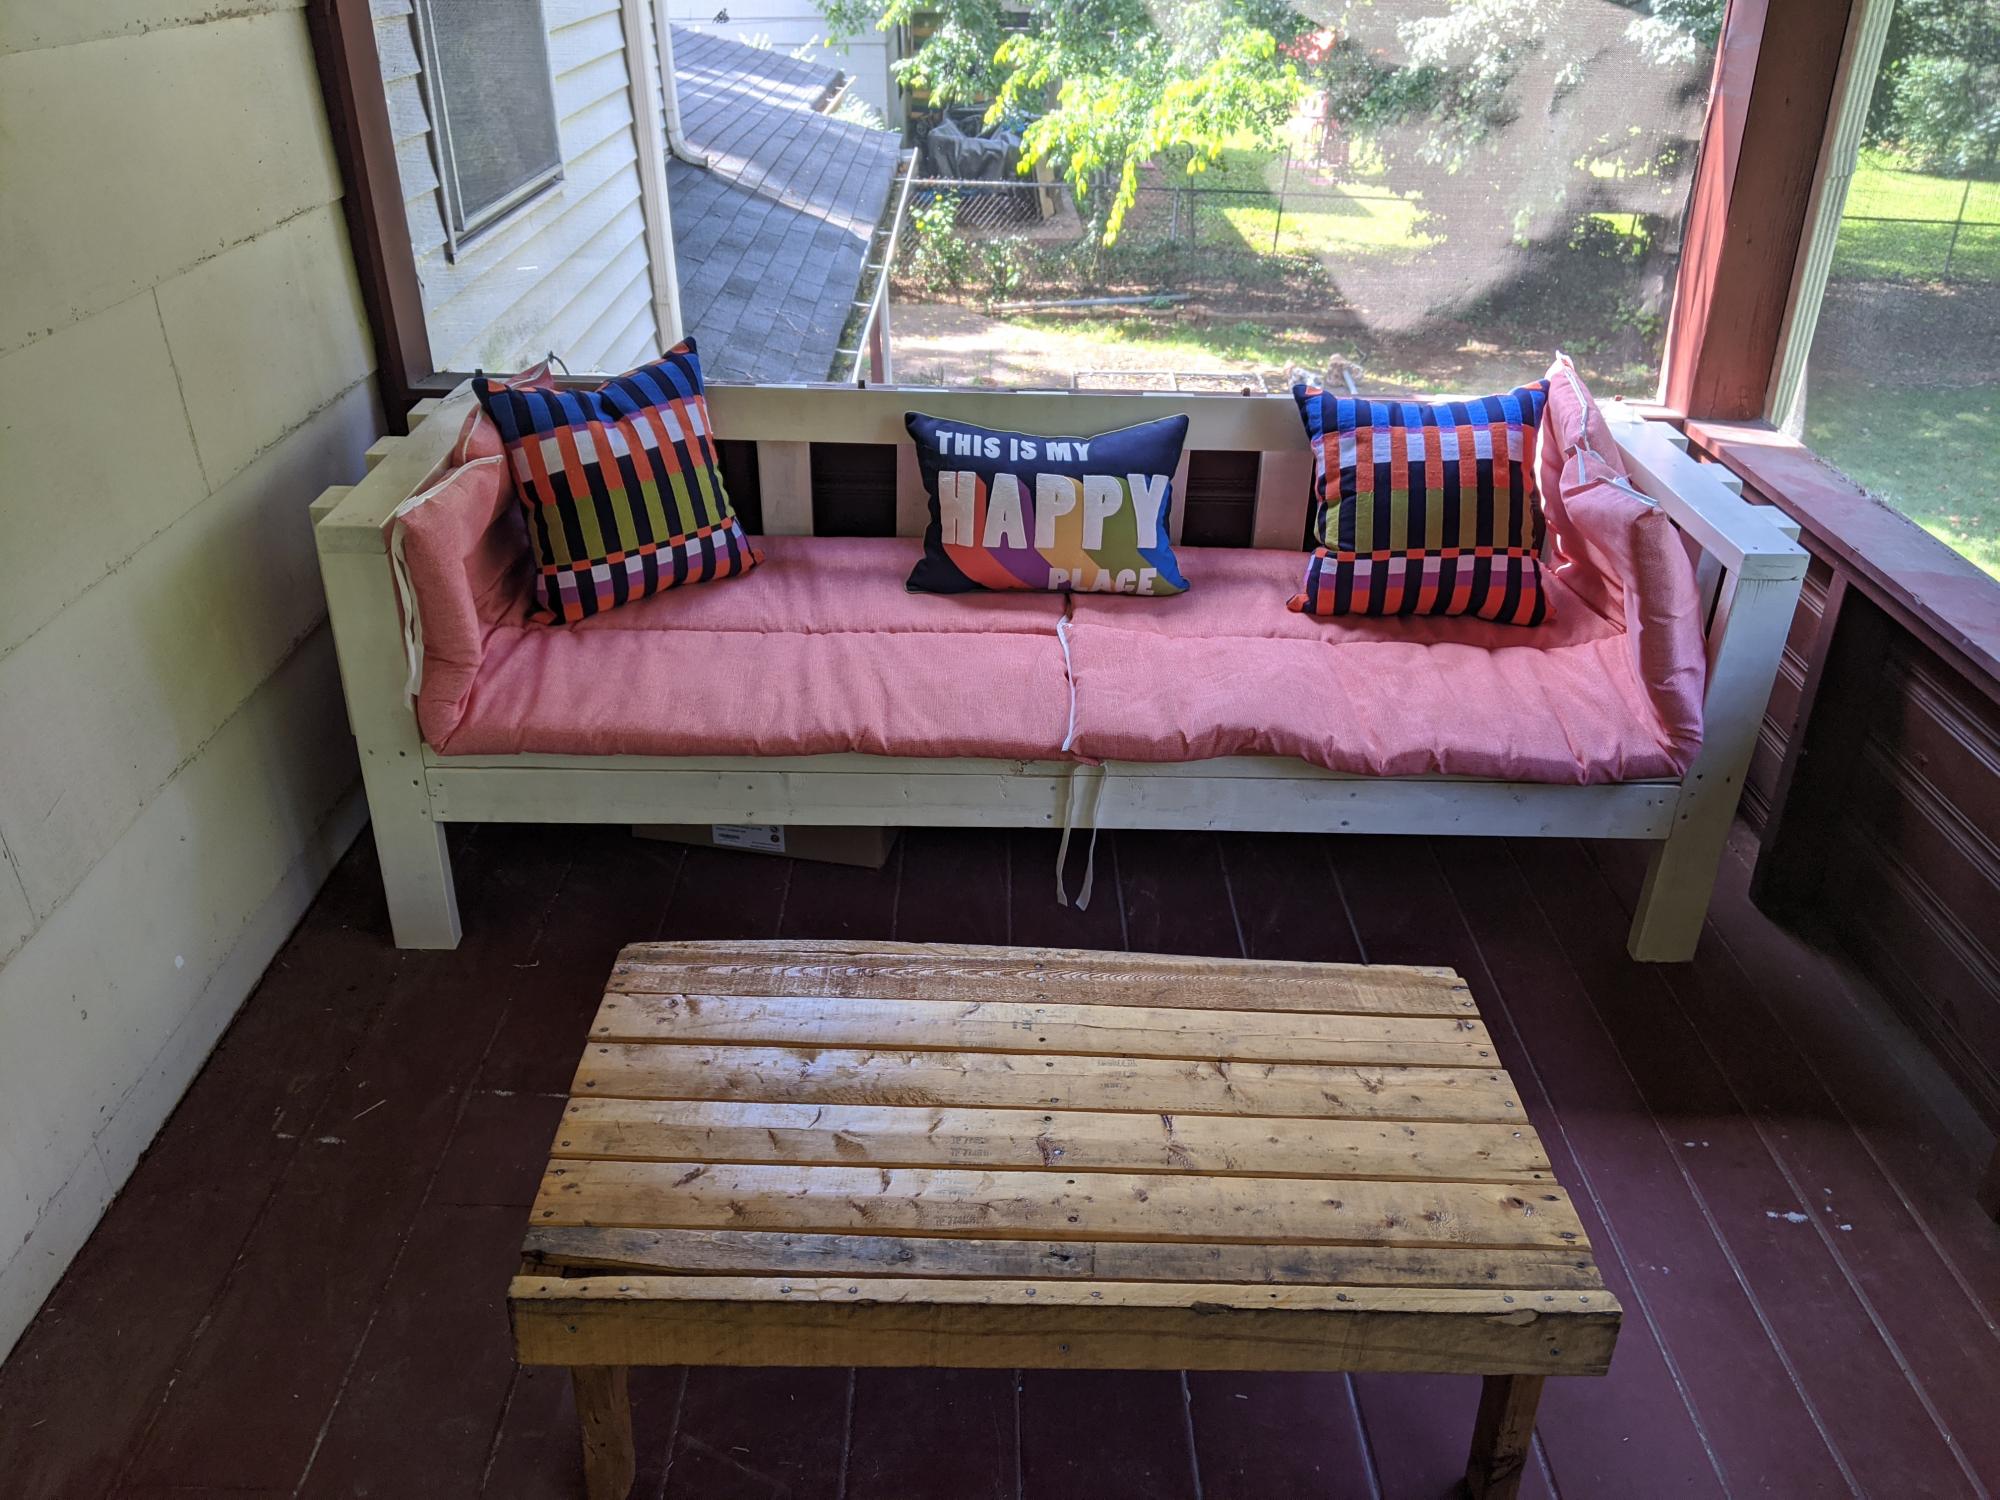
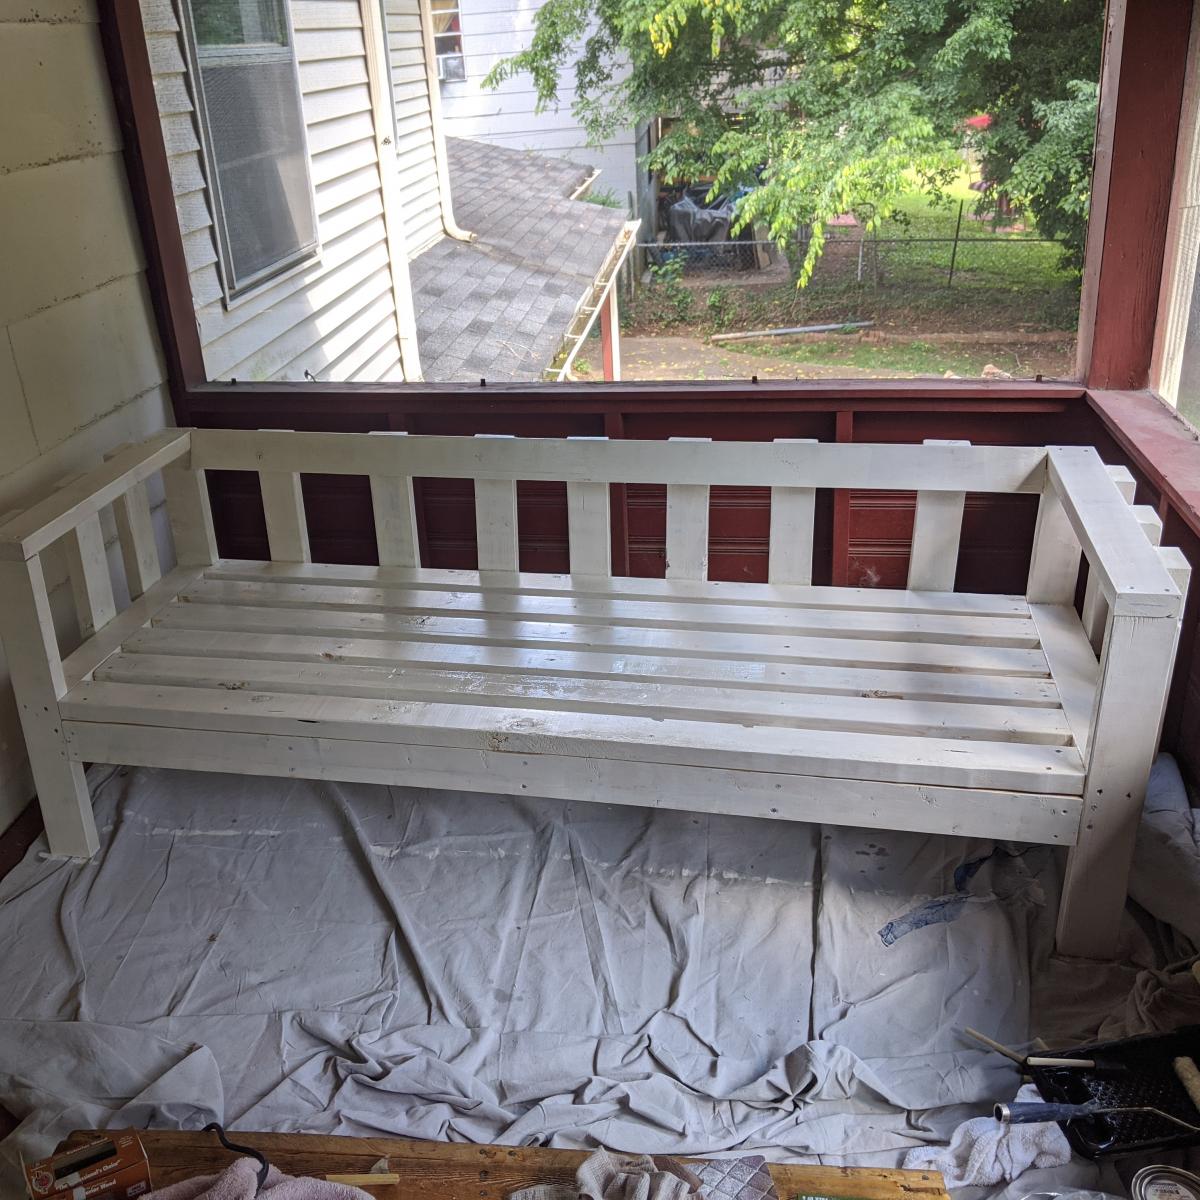
This was my first solo woodworking project since 7th grade shop class in 1997. This was so easy to put together! I added "slats" from left over lumber to keep my pillows from squishing out. Thanks Ana White for creating easy to follow instructions! I've now got the woodworking bug!
Comments
Brooke B. (not verified)
Sat, 11/17/2012 - 13:12
What were the final
What were the final dimensions of your table? I've been wanting to modify the plans so it will fit in our space as well. Thanks so much!
johnzaci
Wed, 07/24/2013 - 06:49
Shabby Chic frame house table
Hello I ahve seen your post here. I liked it, but one thing which i want to make sure that, these same things i found much expensive here on the http://www.biglovestyle.com/
I am not confirm what makes you to keep low:(
By the way, I am a little bit late to read your post. :(
Last Sunday me and my wife has changed all the old furniture and replaced it with the new.
I hope next time i will go to your shop first:)