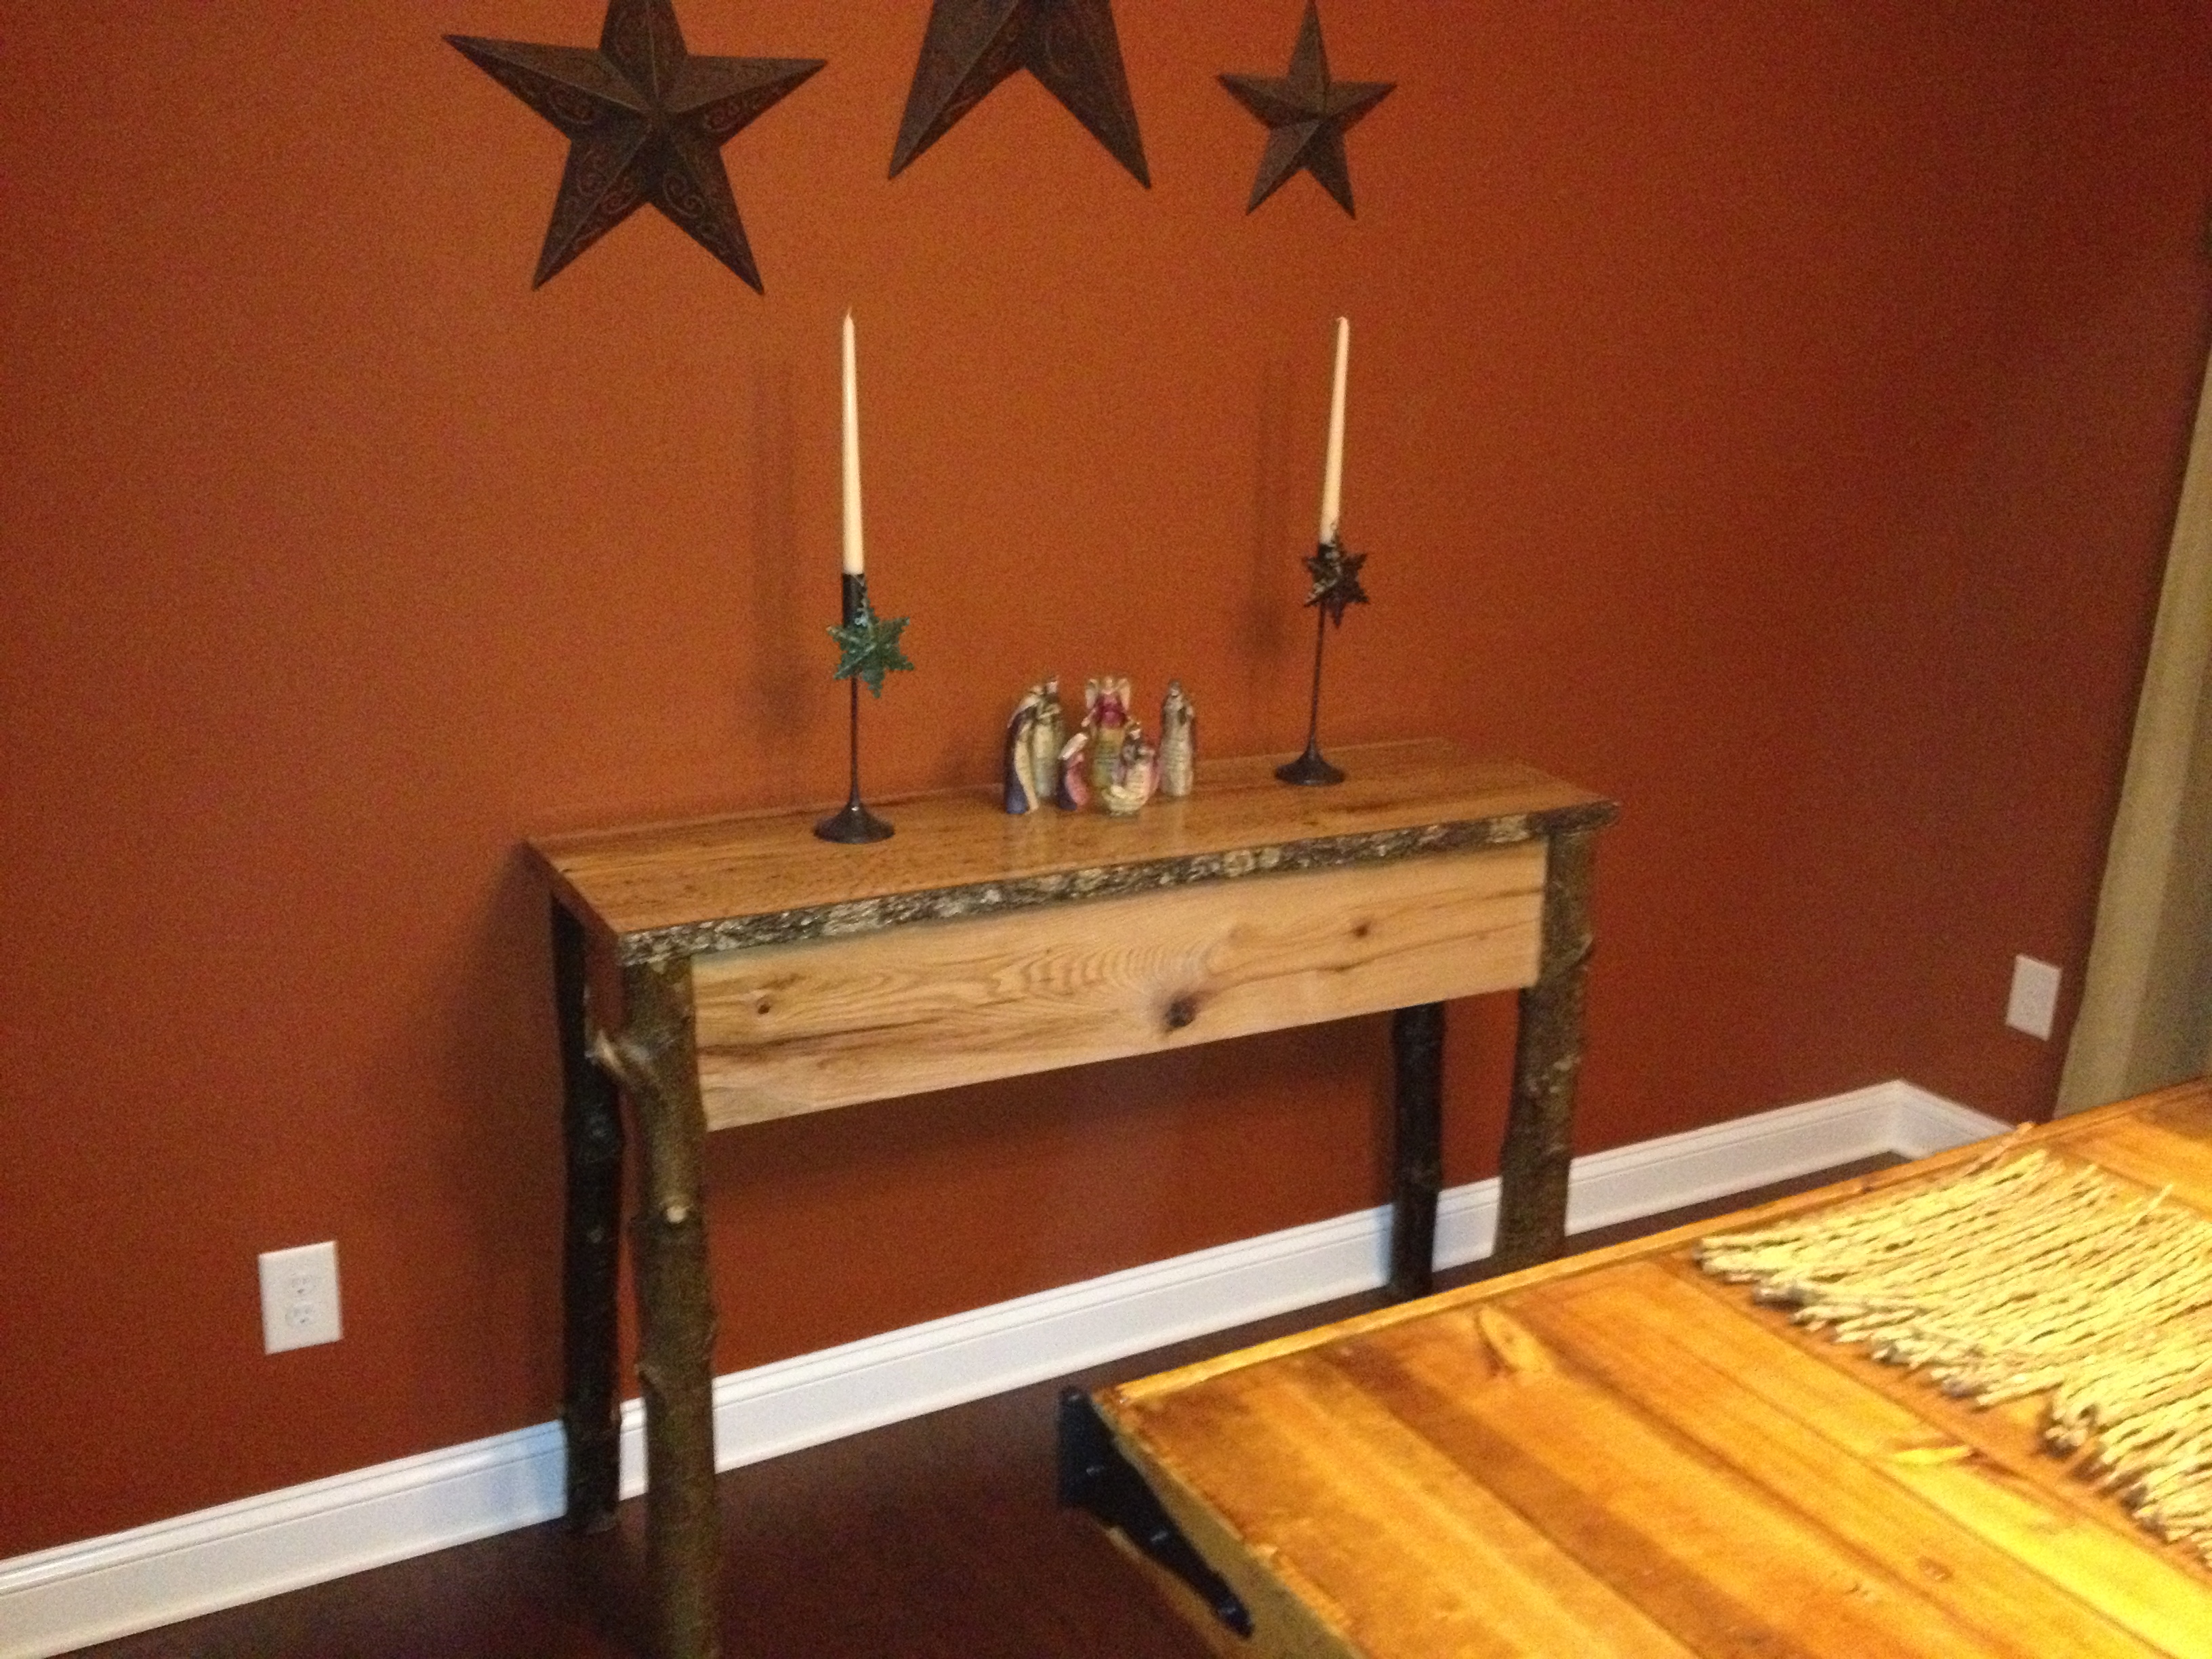
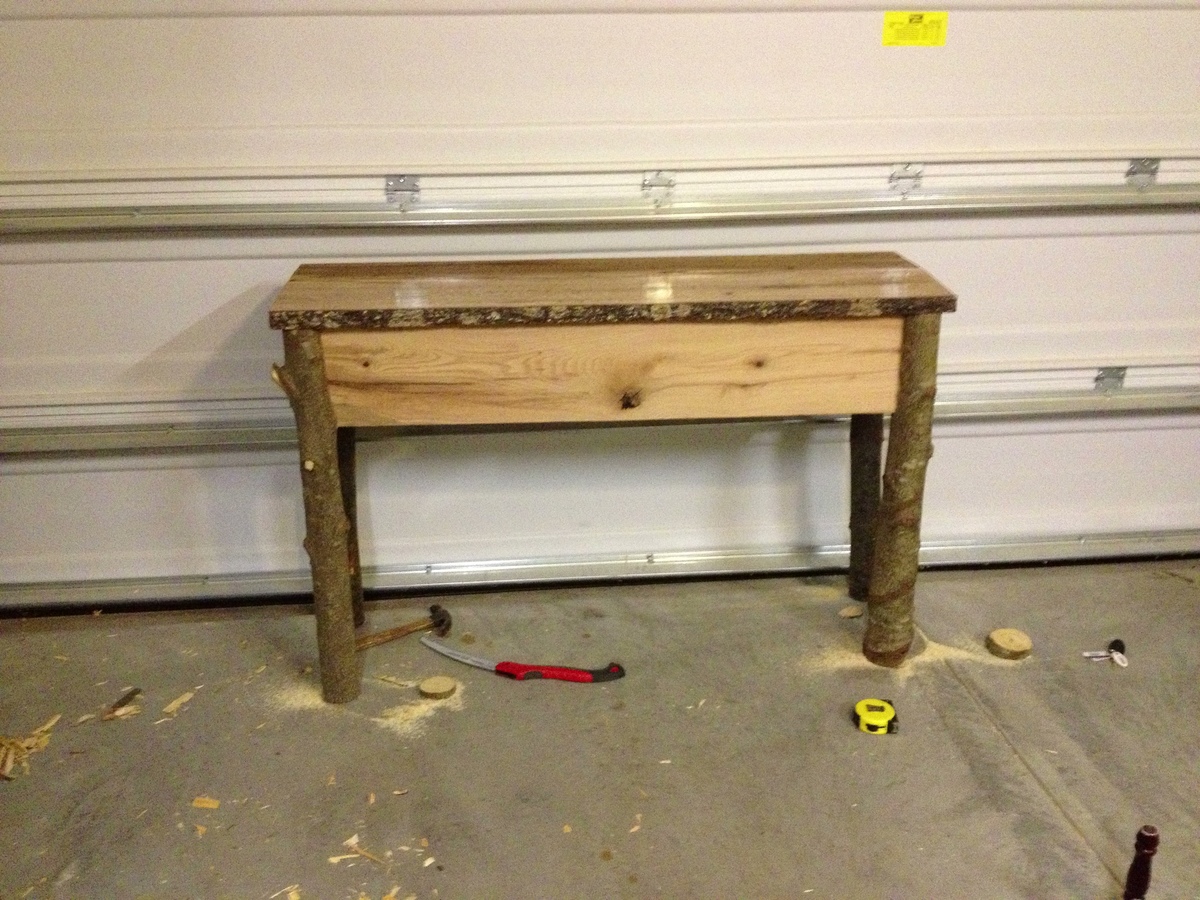
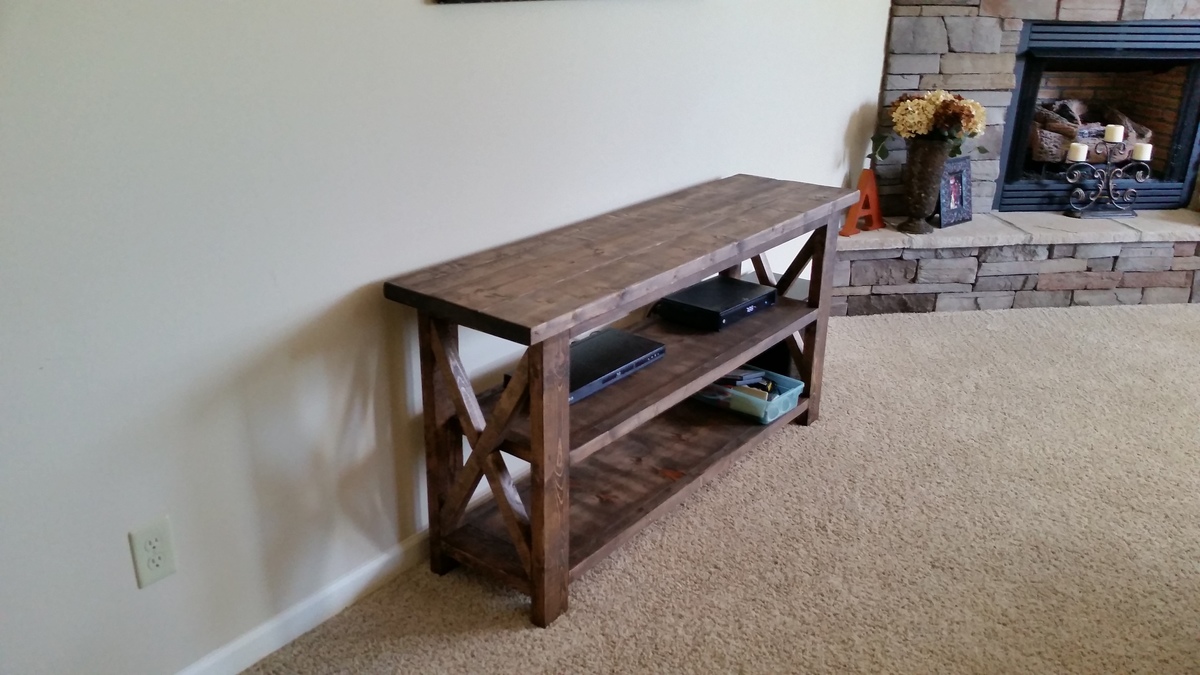
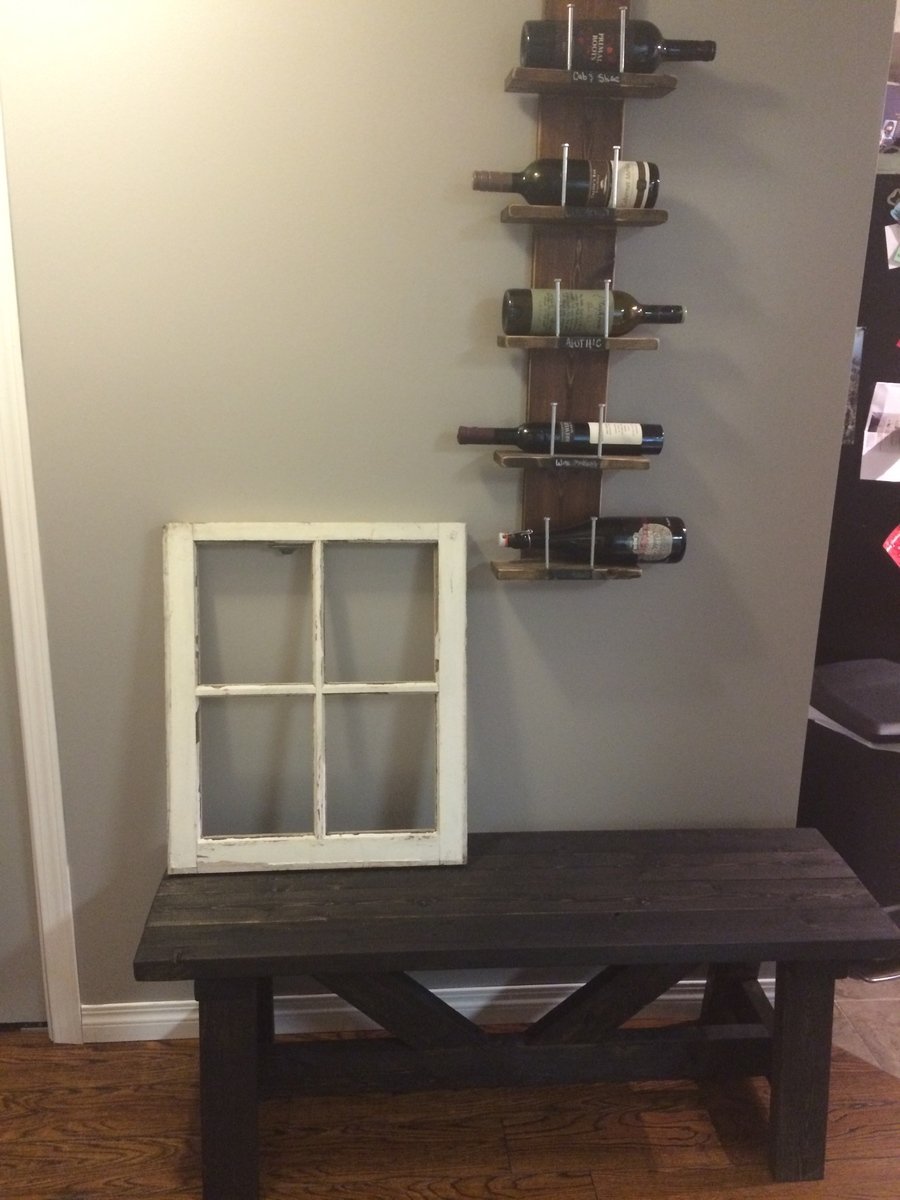
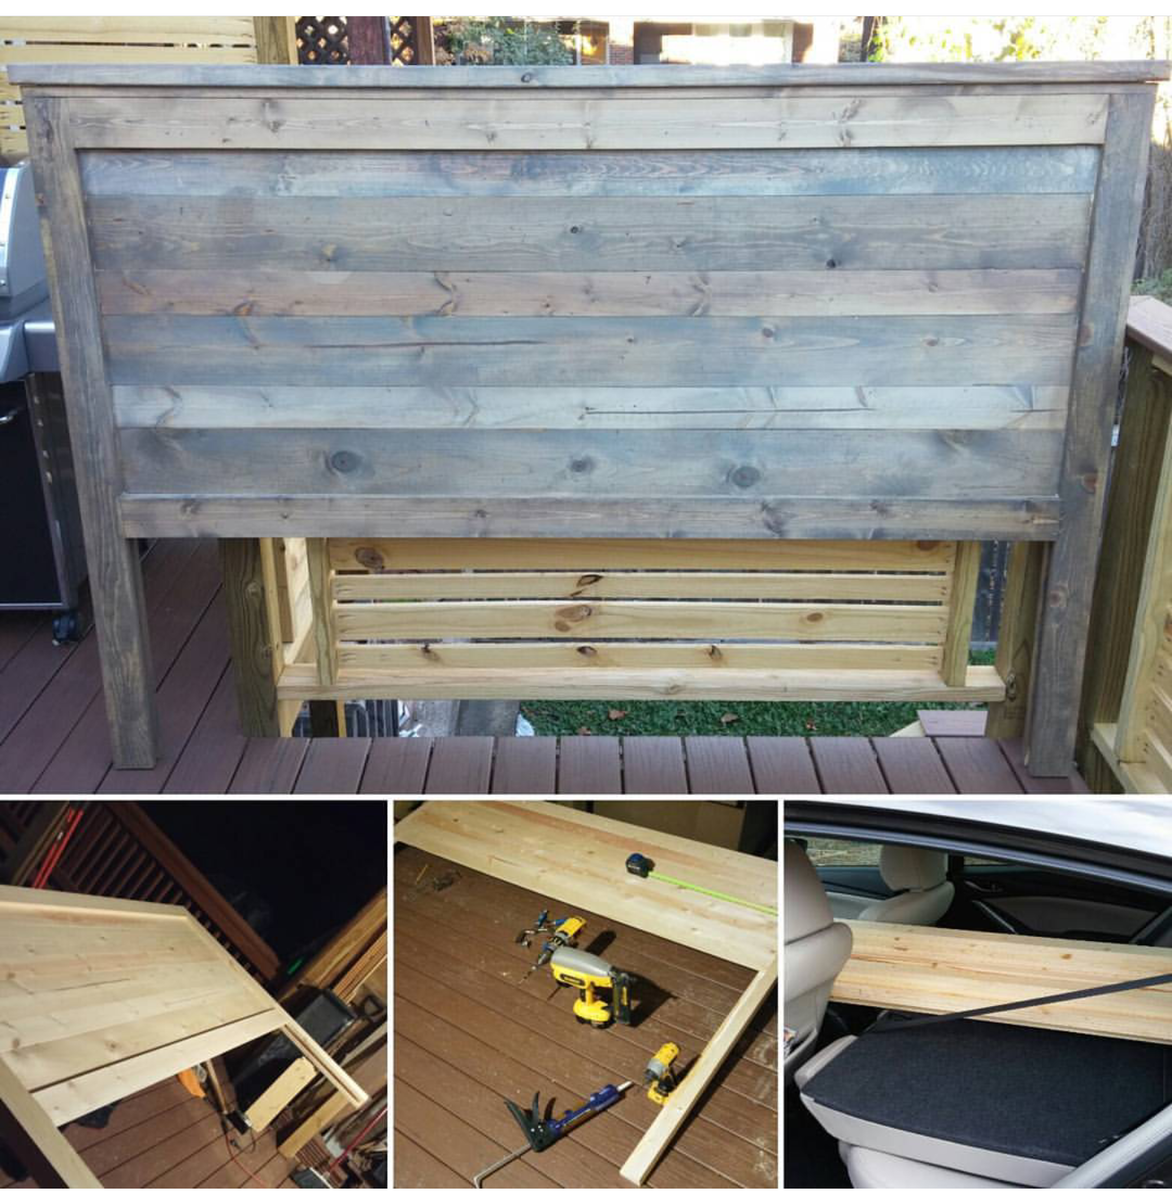
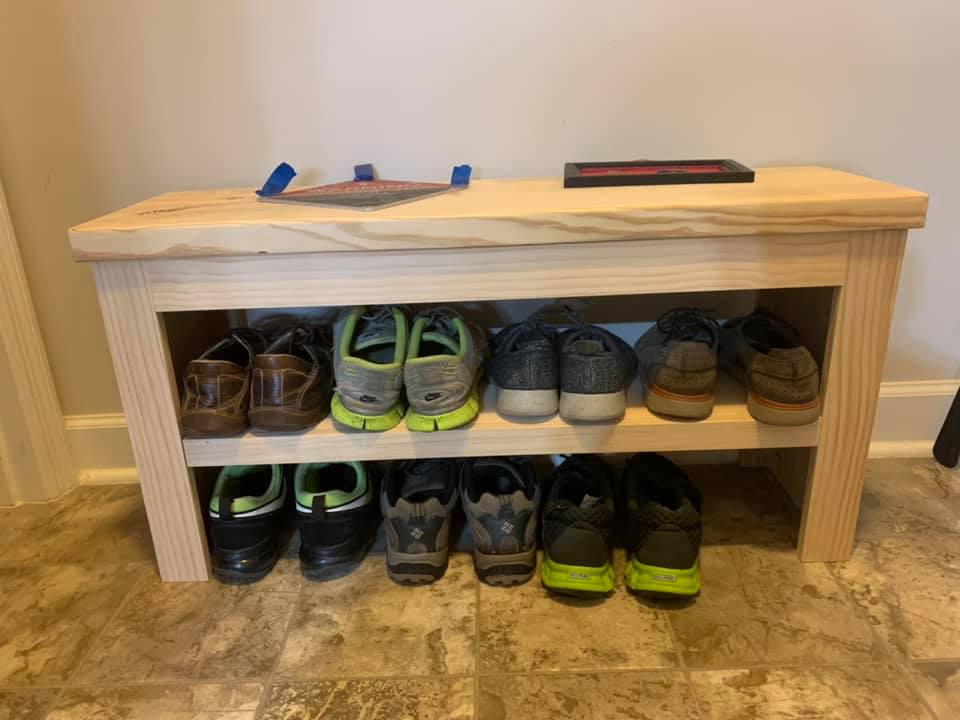
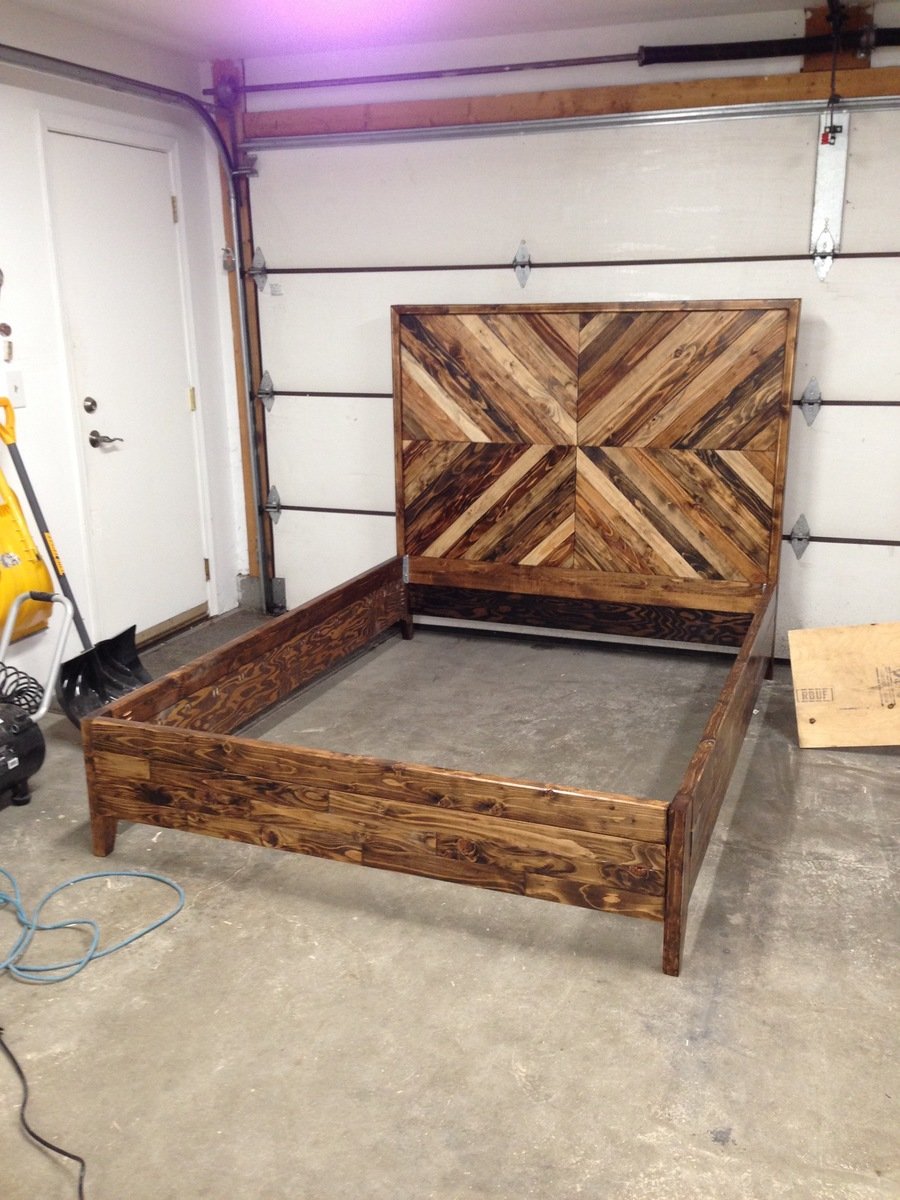
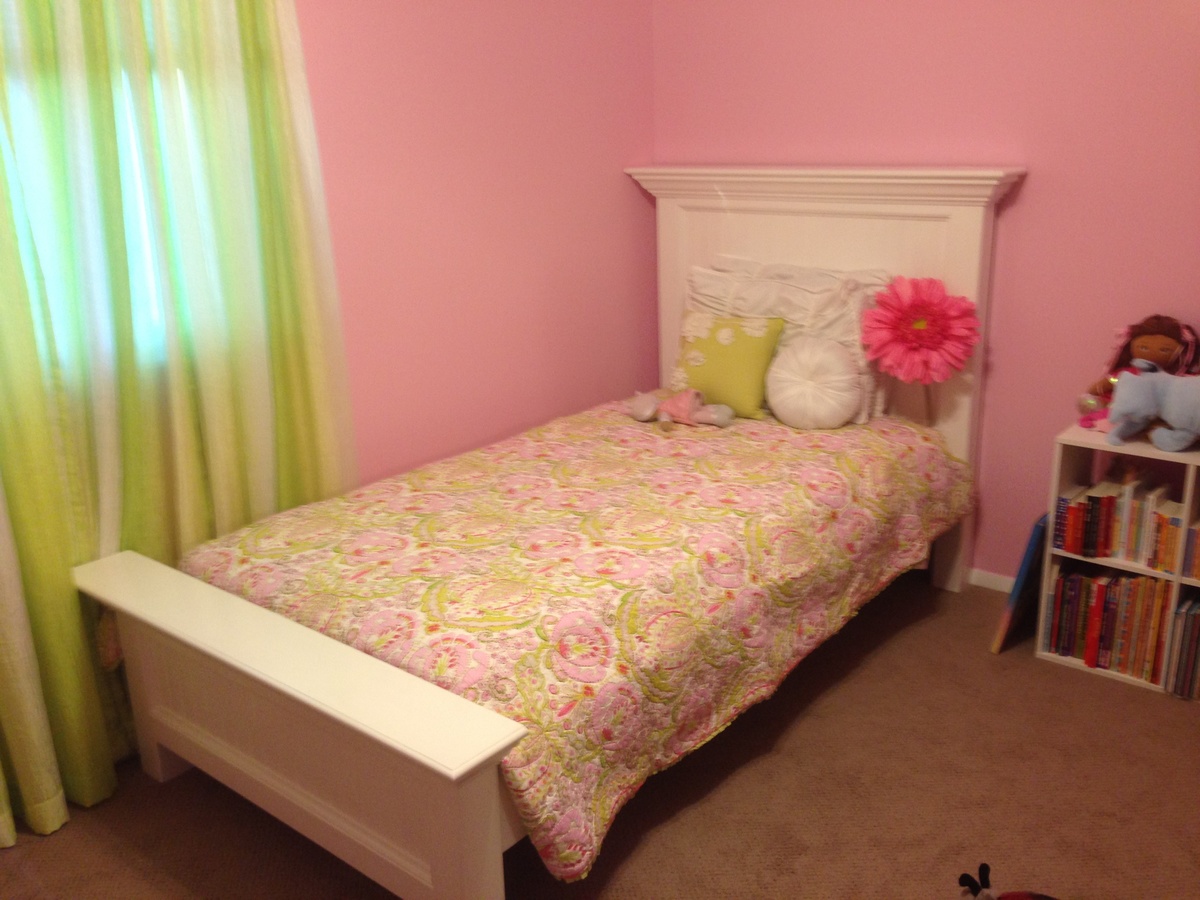
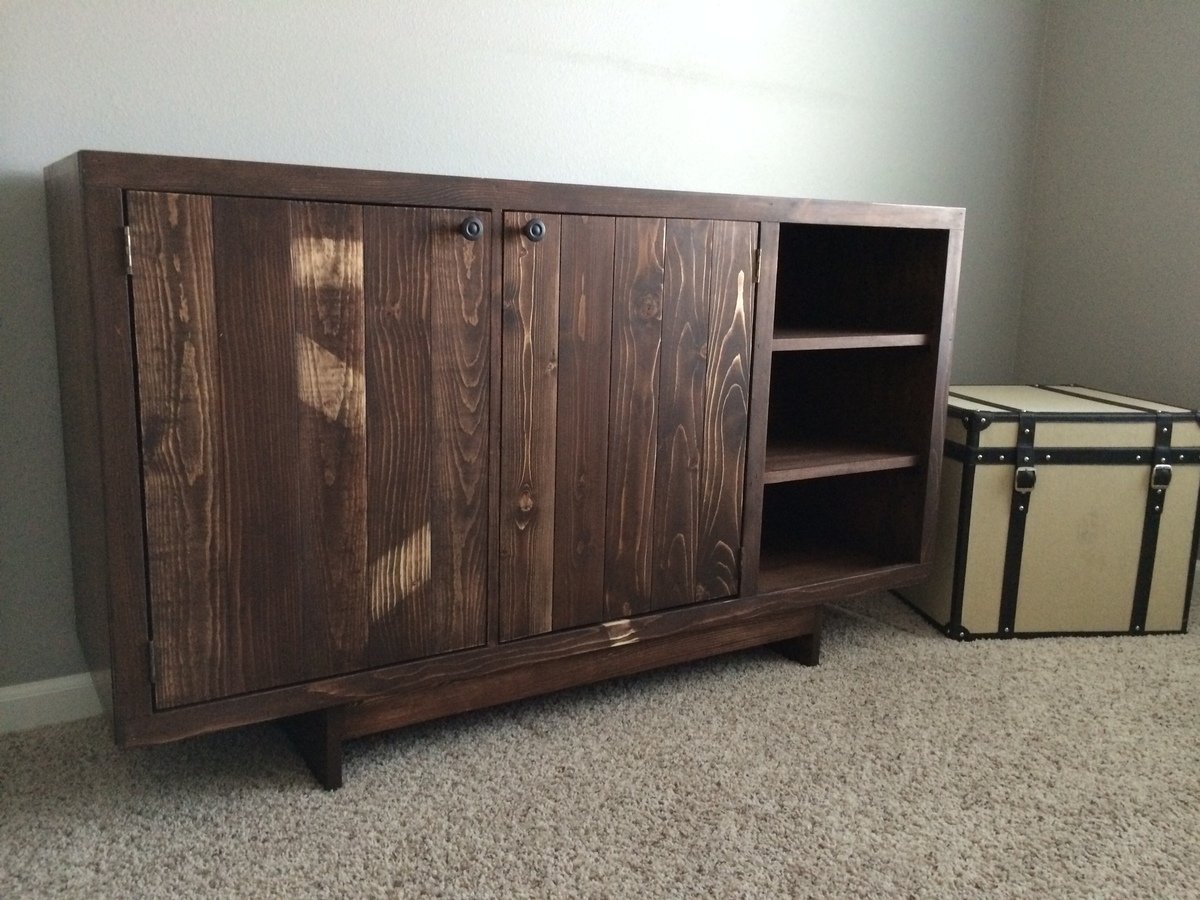
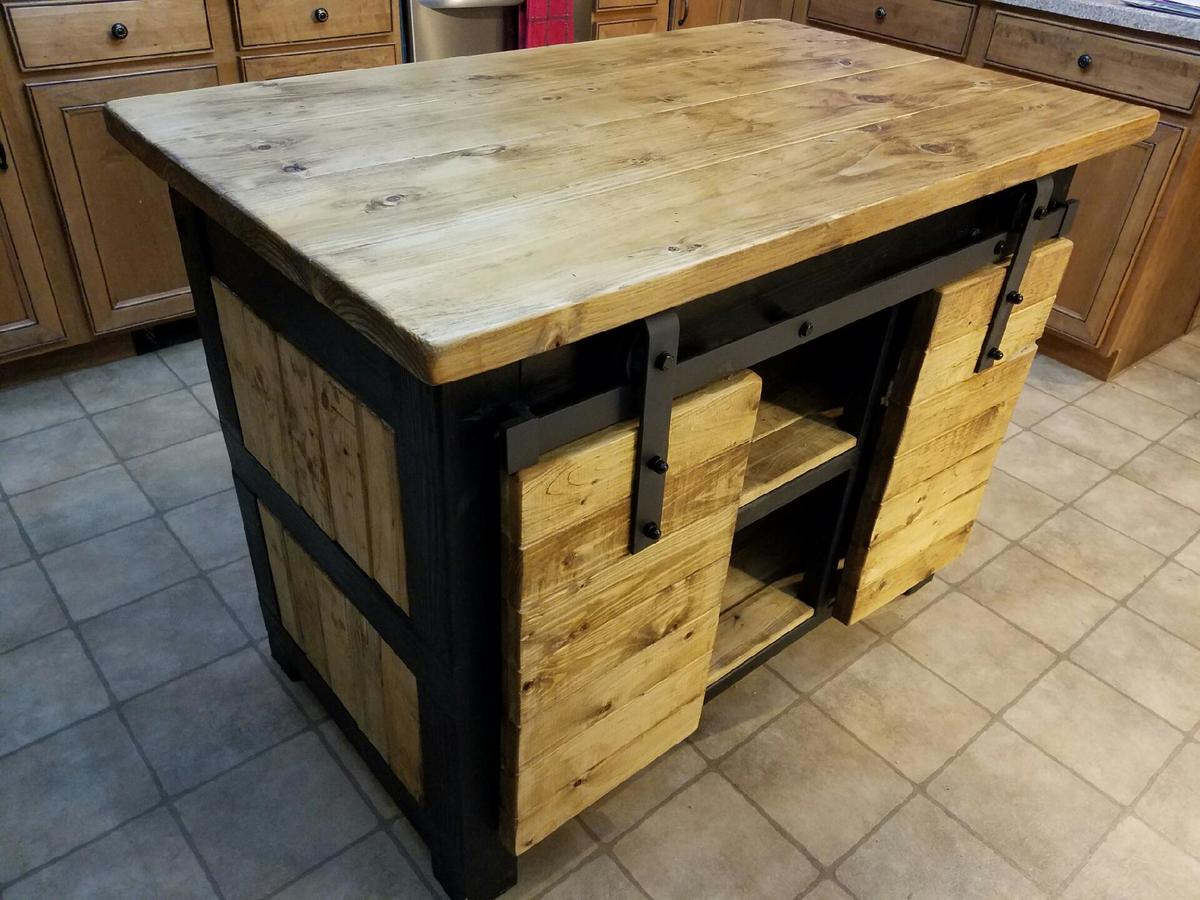
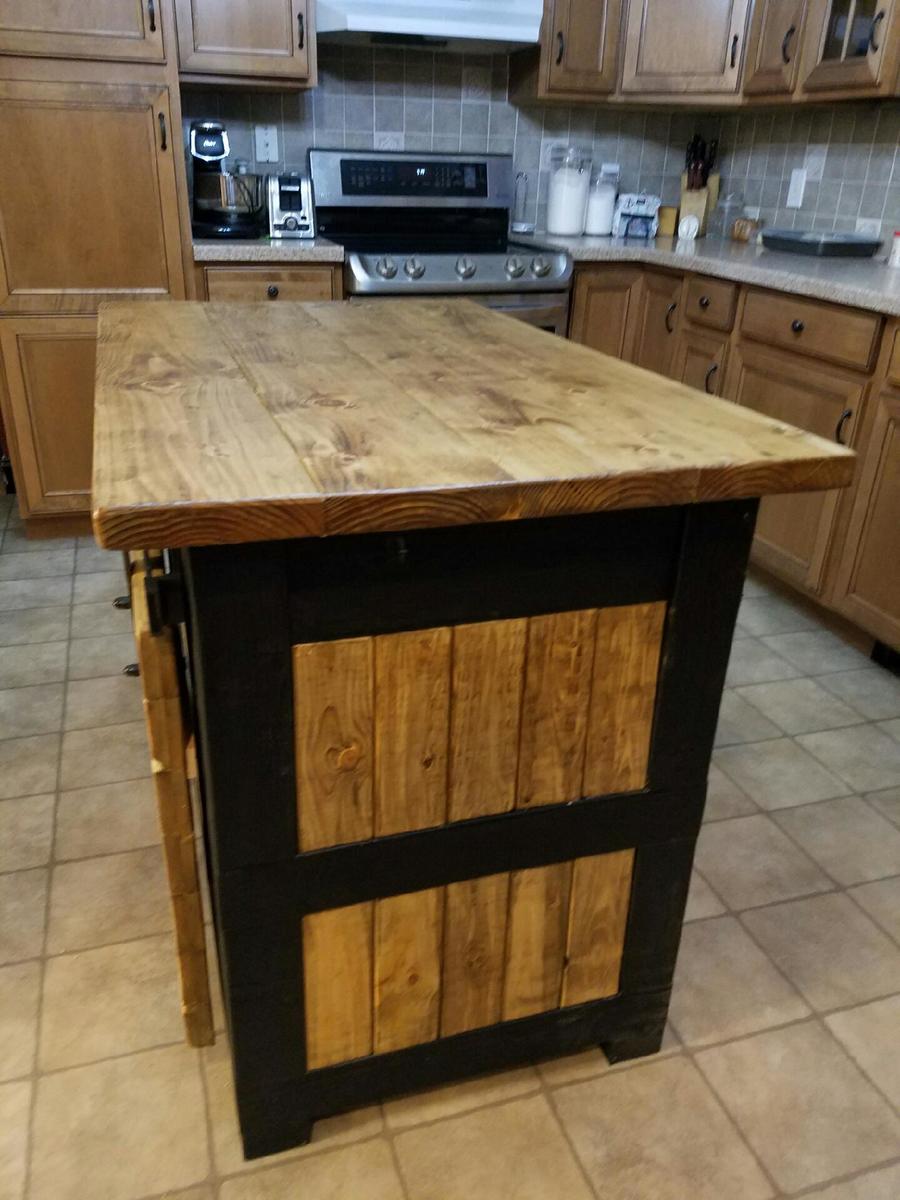
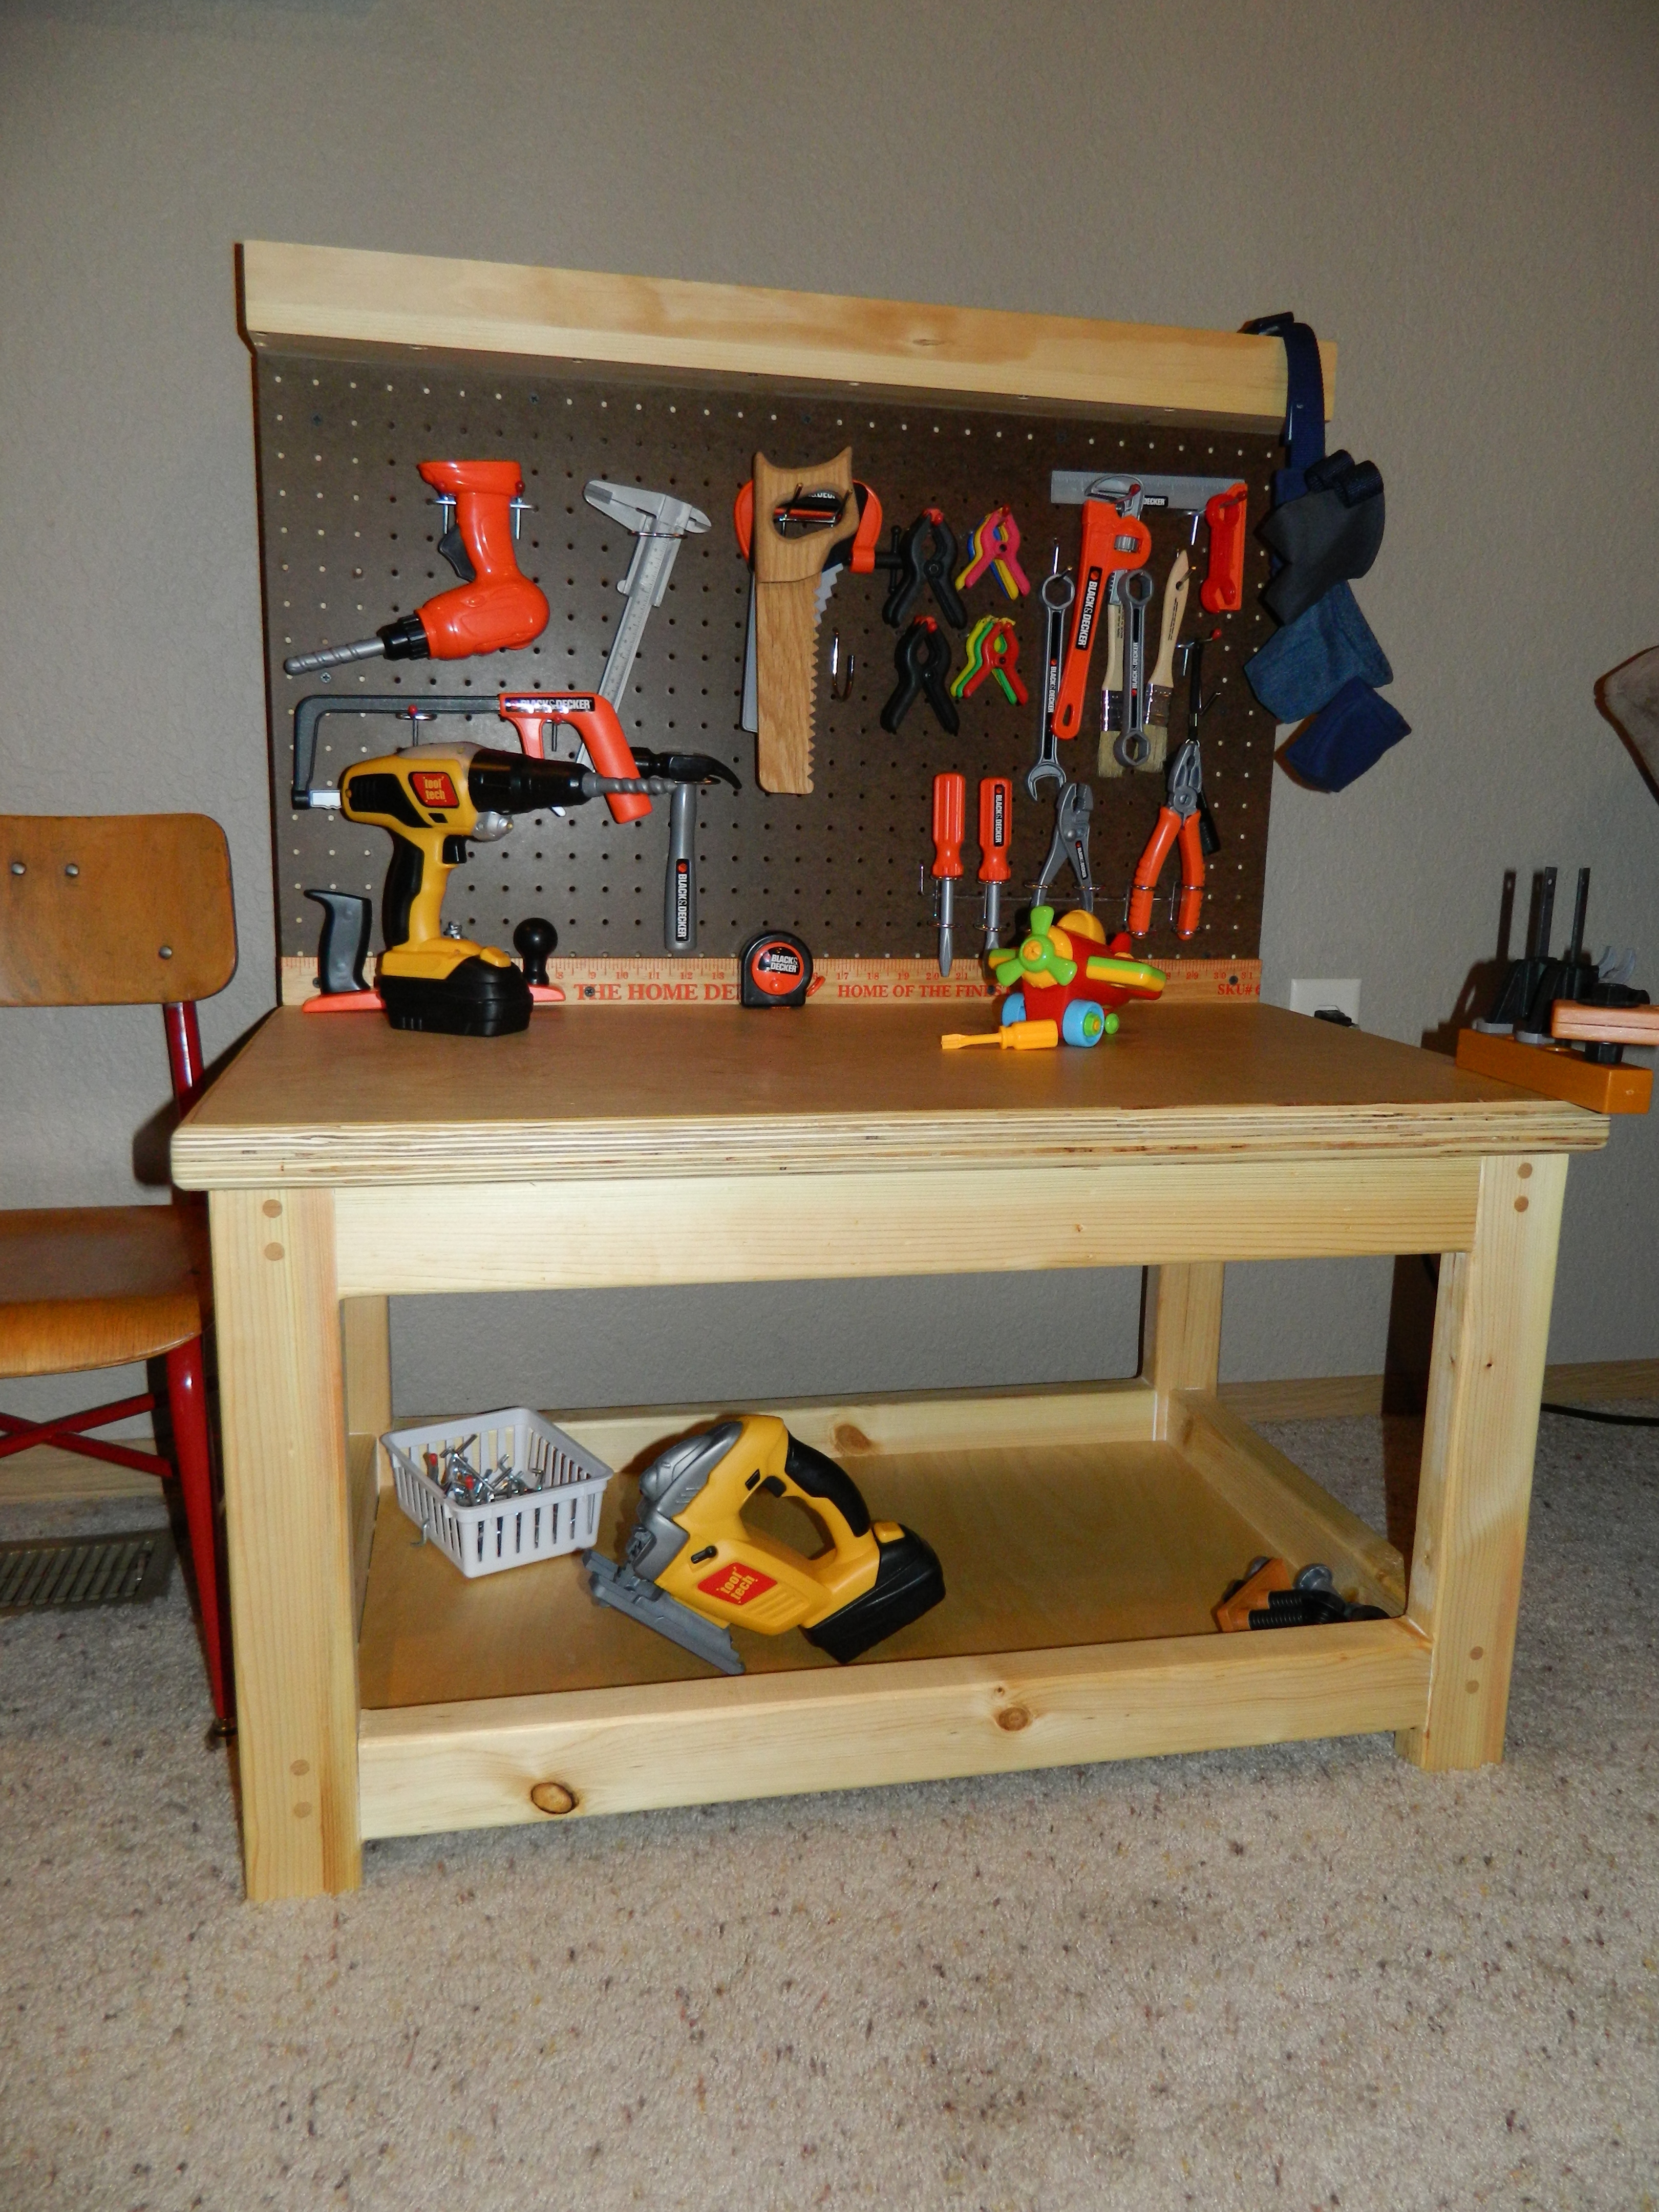
My wife and I decided to build this with the same intent as Ana, to use as a changing table for our baby due in January 2015. We haven't built the topper yet but we're thrilled with the console table!
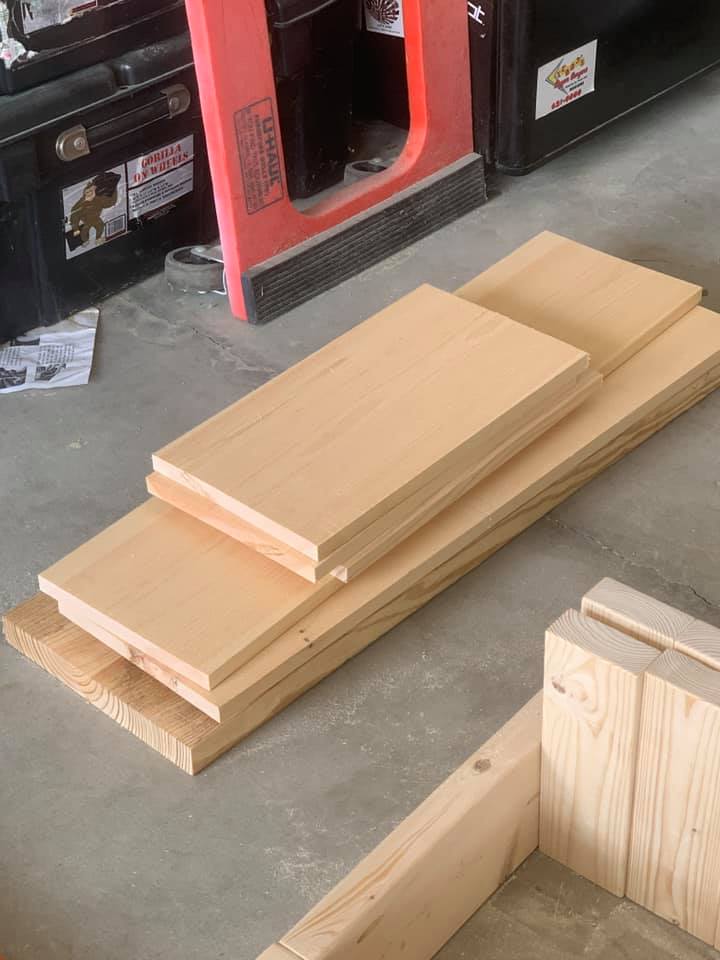
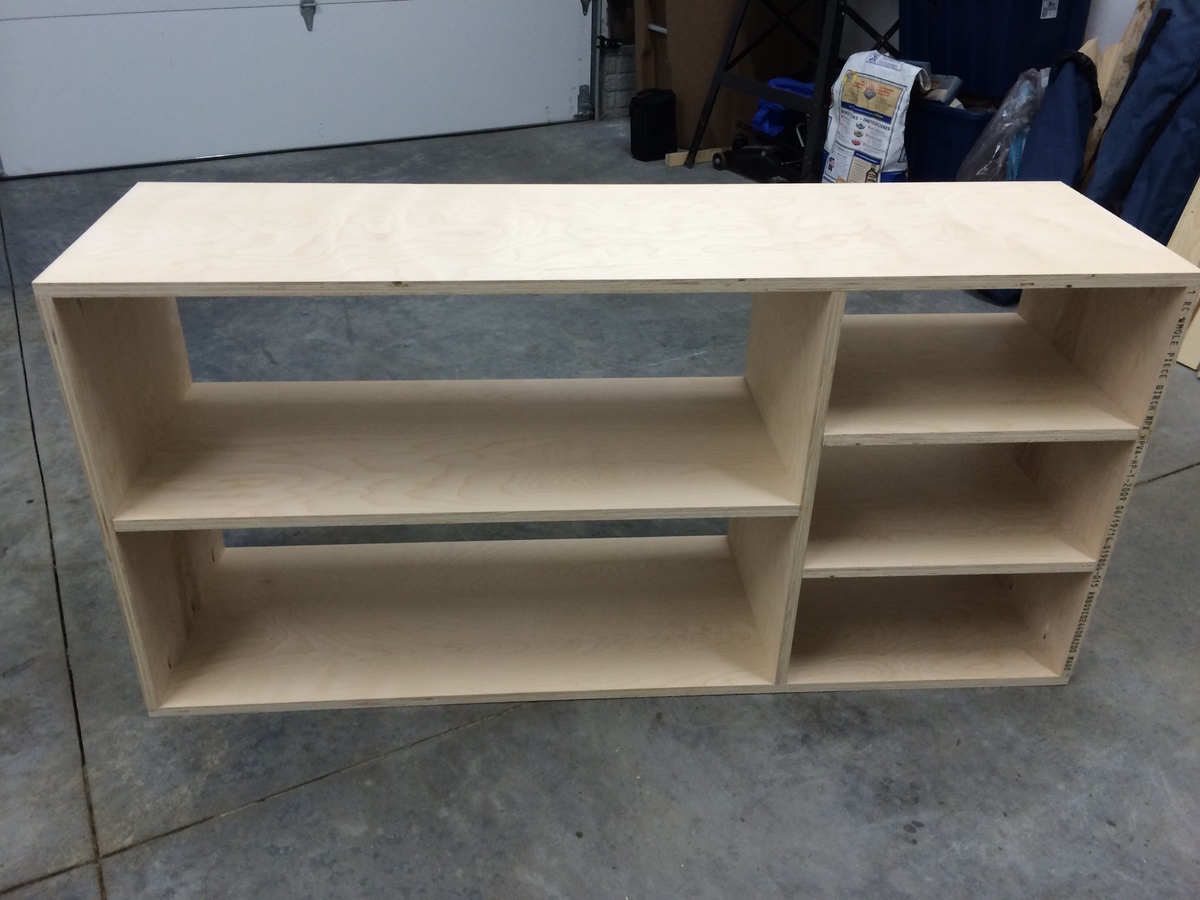
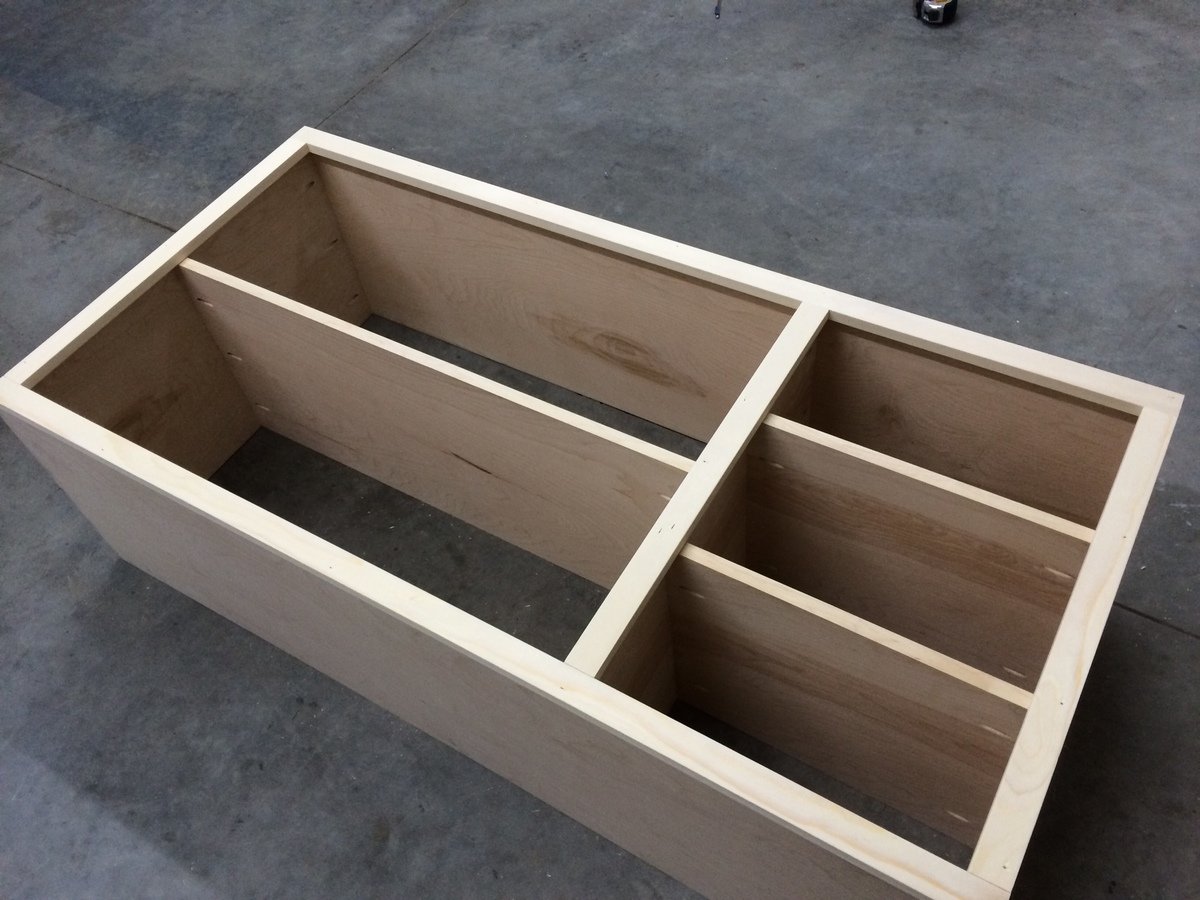
We did a lot of research on lumber before purchasing and ended up going through a local lumberyard, Gilcrest-Jewett for all but the pine 1x's which were purchased from lowes since the lumberyard didn't stock them in as many varying lengths and would have to mill them all from 1x4's. We used white birch purebond plywood. I understand Home Depot also carries this brand and may have been a little cheaper but the lumberyard cut all the pieces. Since we don't have a truck, hauling two 4x8' sheets of plywood wasn't an option and they can be super accurate with their wall saw. Totally worth it.
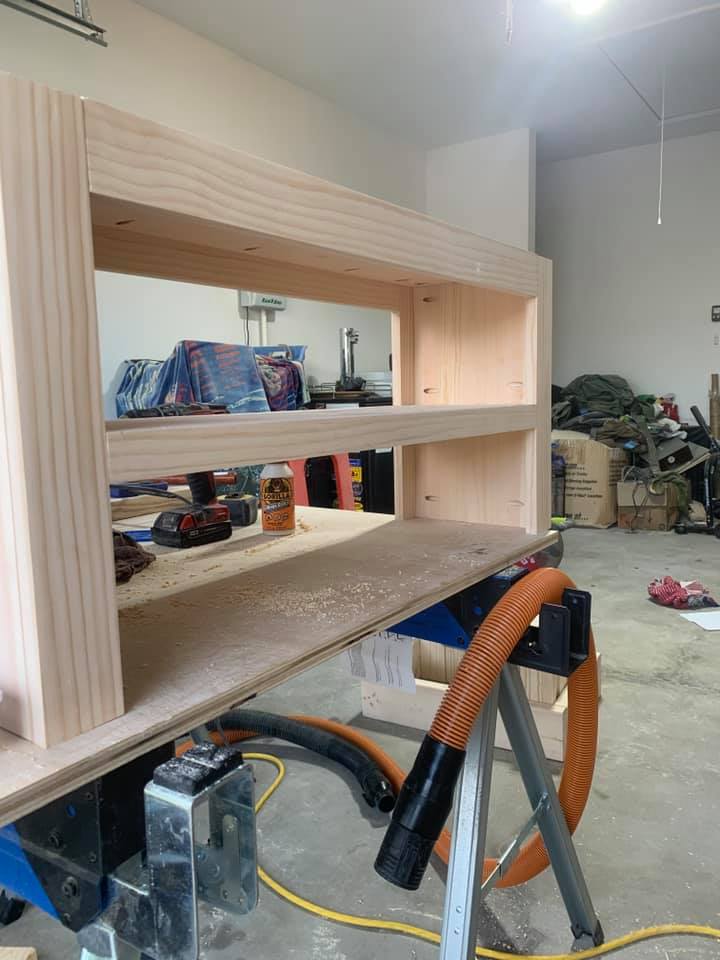
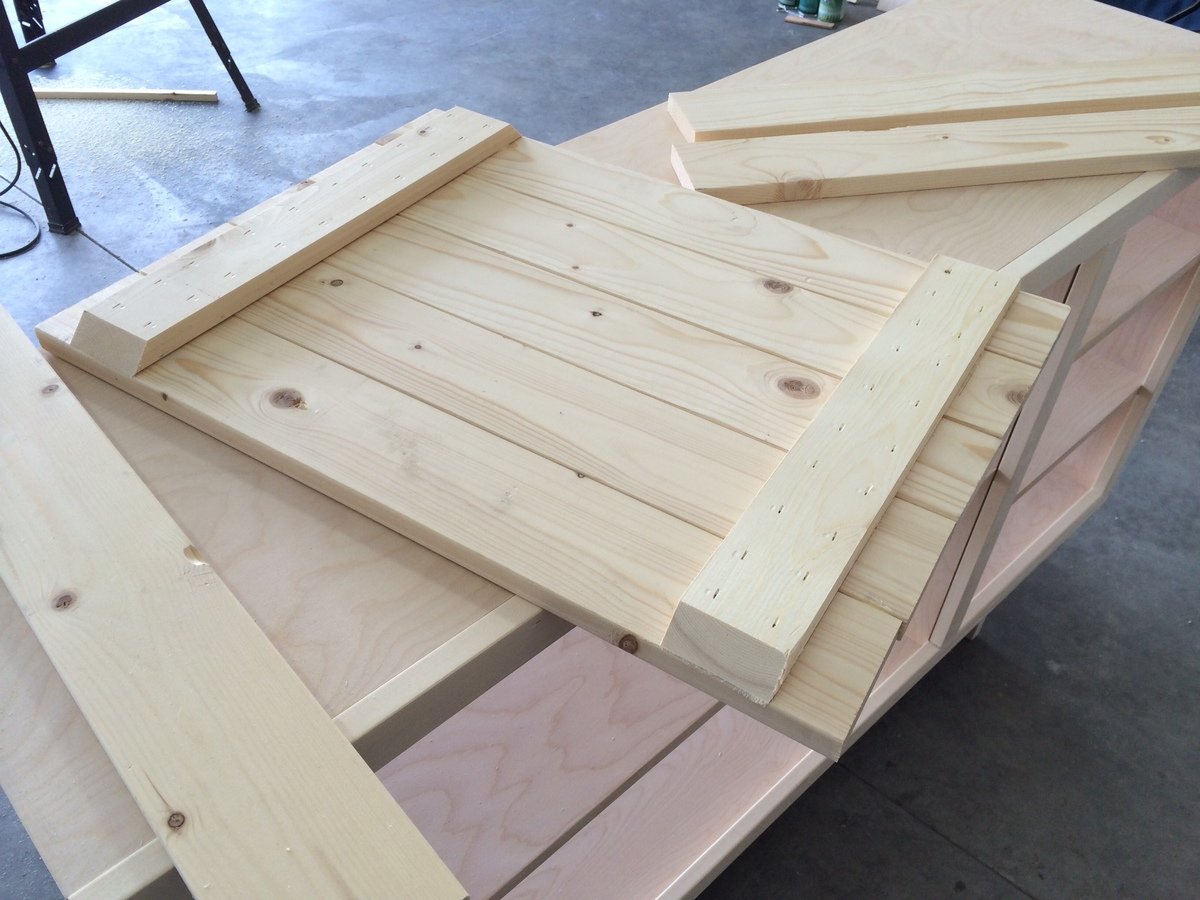
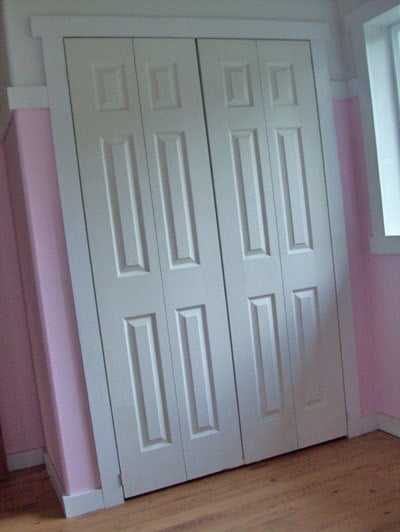
The instructions for the doors say to use glue and nails but we took it a step further and secured each board to the one before it using pocket holes, in addition to the glue. We then covered the pocket holes with the 1x3's, securing with 1 1/4" finish nails.
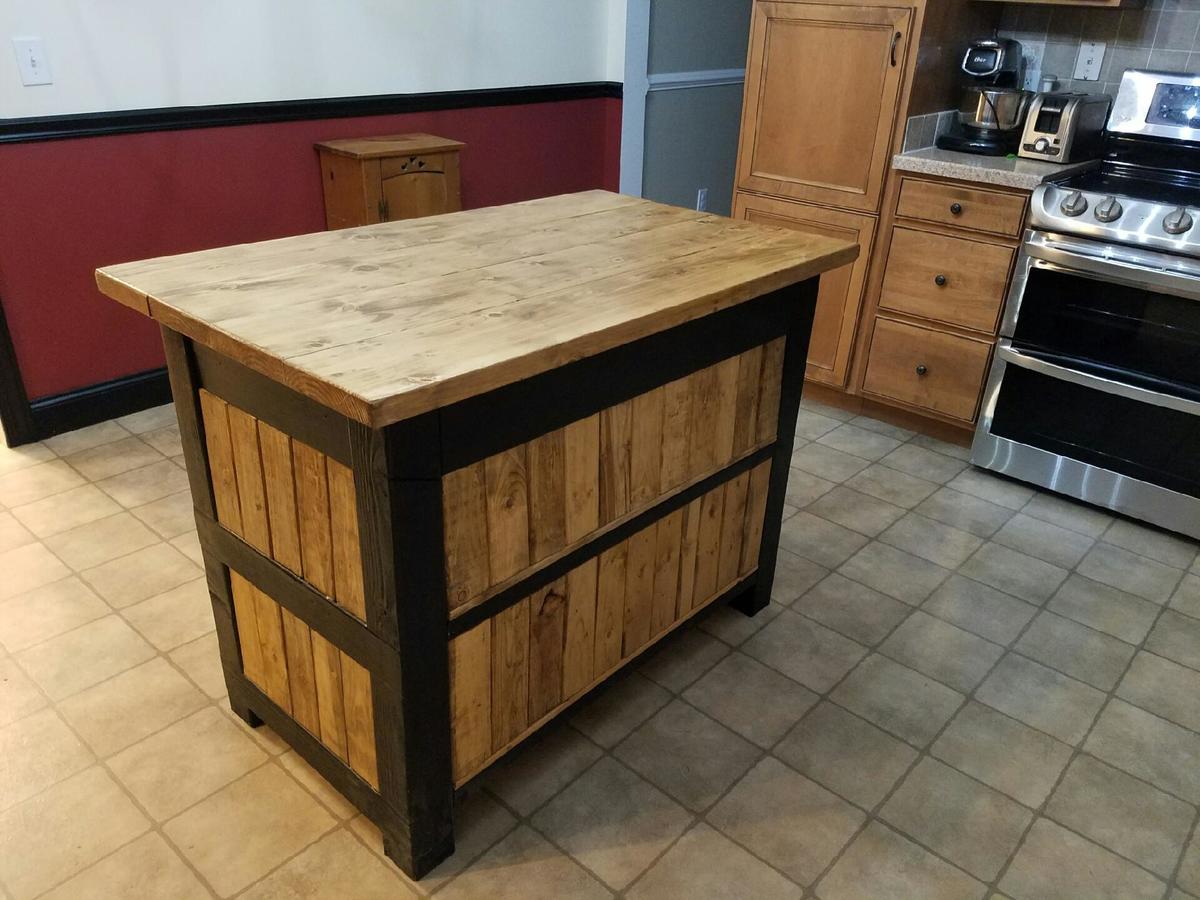
This was our first experience with edge banding and it really makes everything look so much more professional. If I were to give any tips, I would say to put it on the fronts of the shelf before putting the 1x2" frame in place so you can hide it, and also that I found it to be easier to use my sheet sander to get the edges off instead of a razor blade as the instructions suggest.
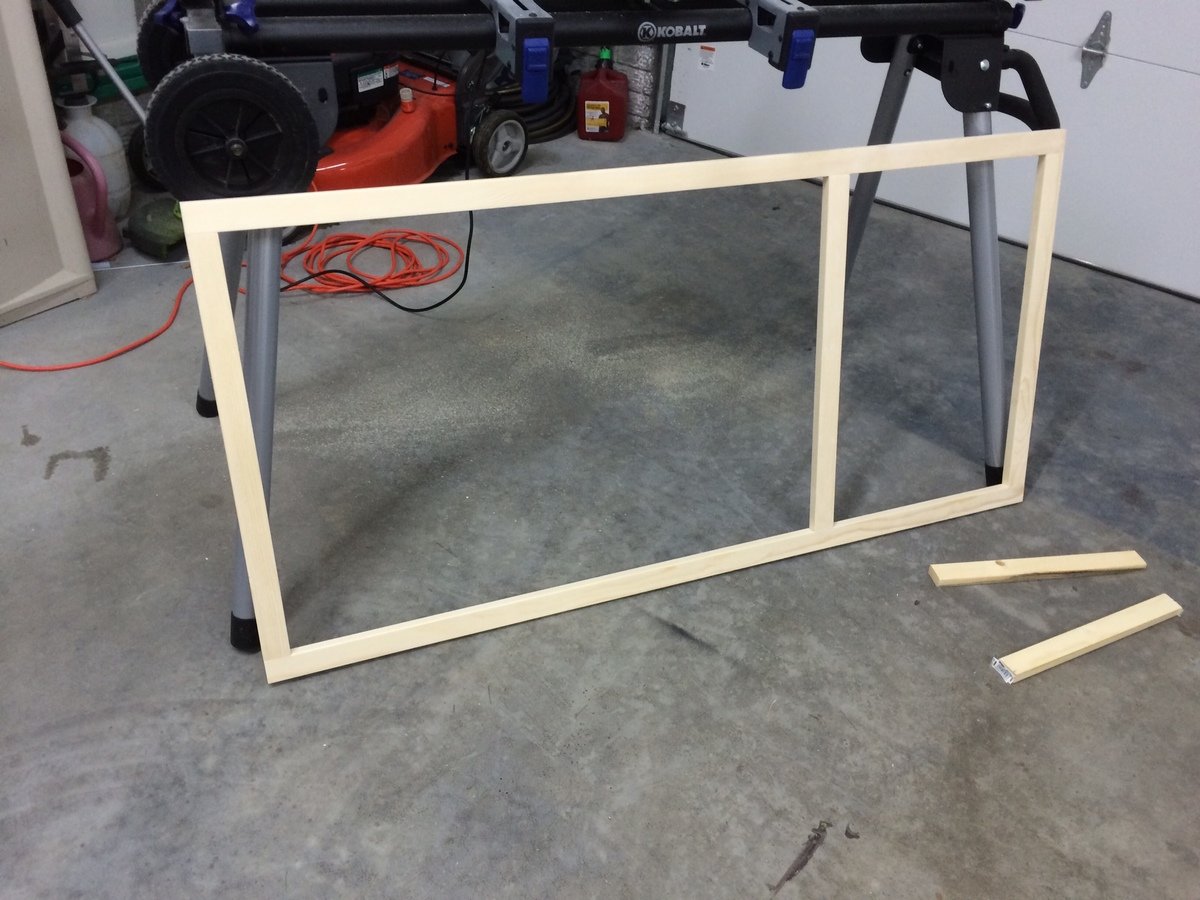
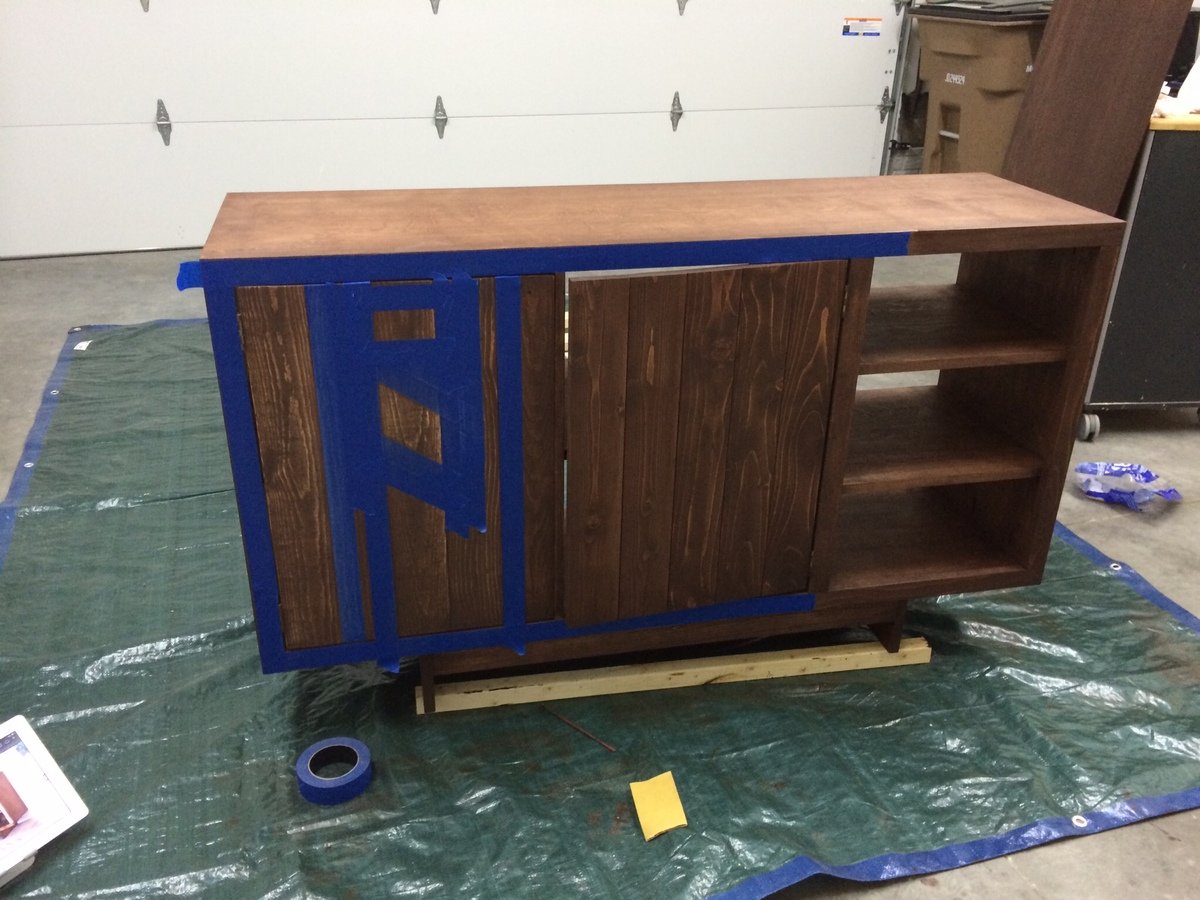
This was also our first experience with doors. I found that paint sticks work well to achieve that perfect gap around the edges. I should have measured and not assumed but we ended up having to add a piece in the middle of the two doors because the 1x3's (typically 2 1/2" wide) were just under 1/8" too narrow. Make sure you measure those boards before putting it all together.
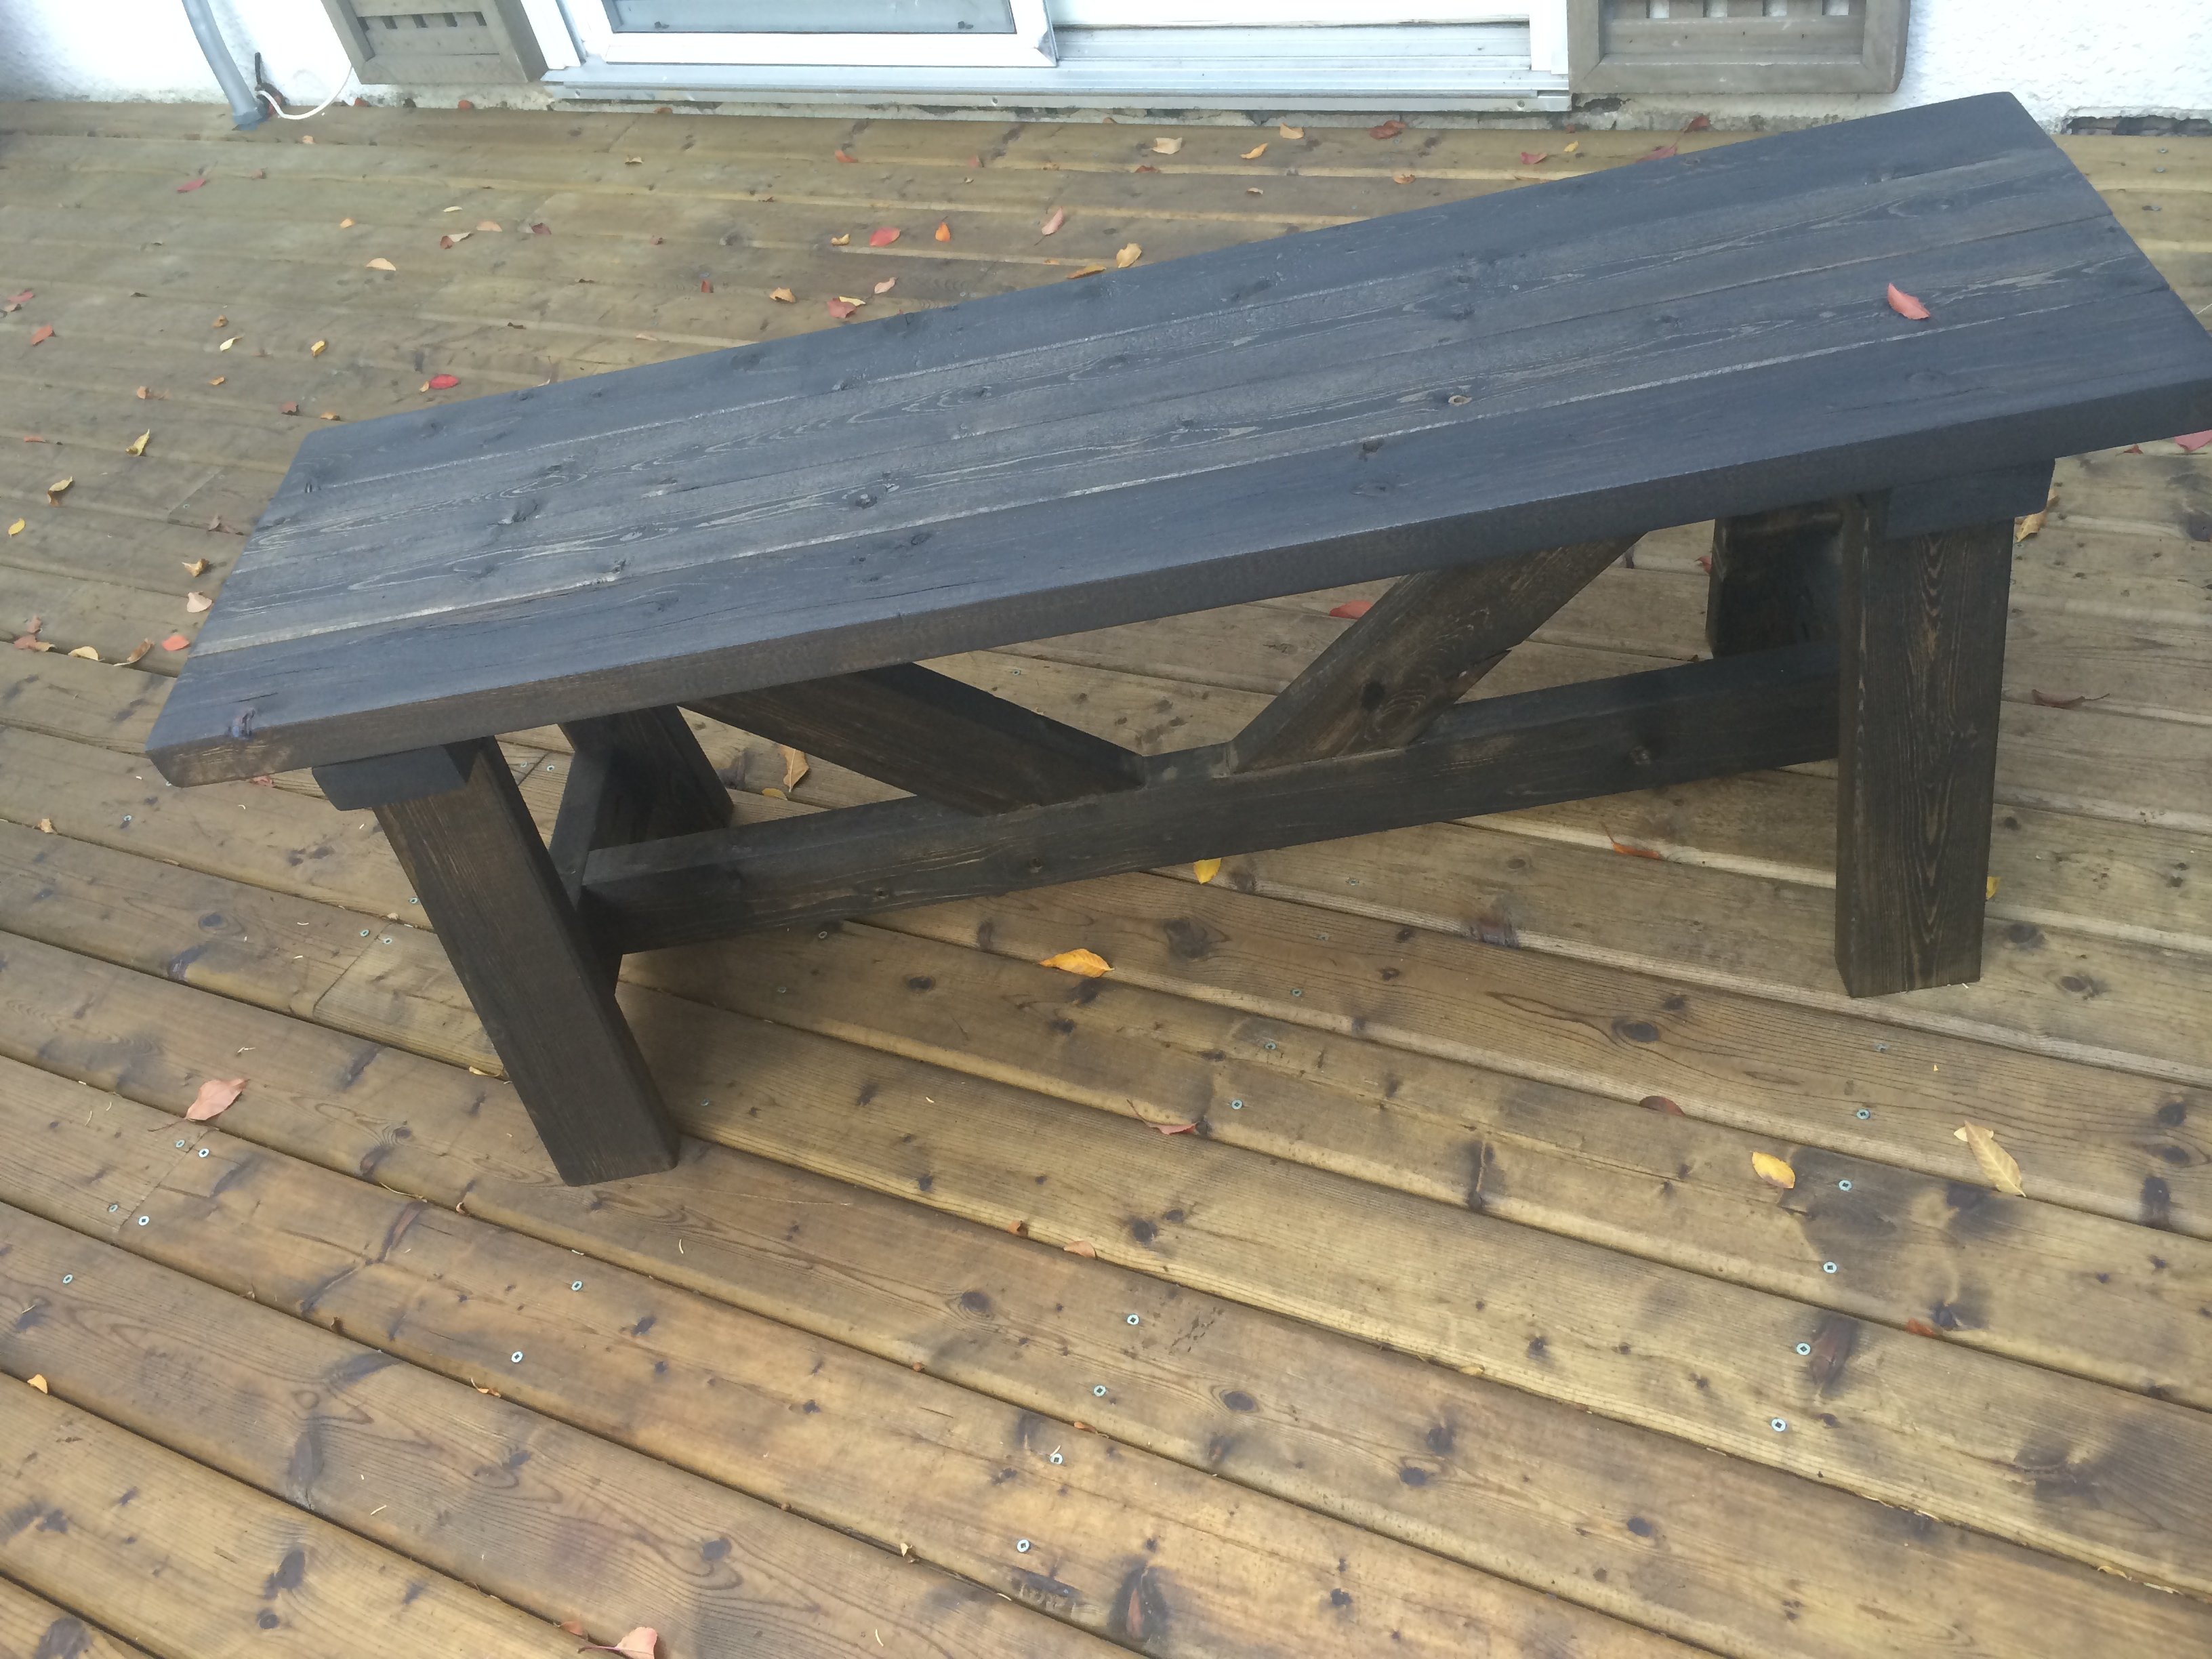
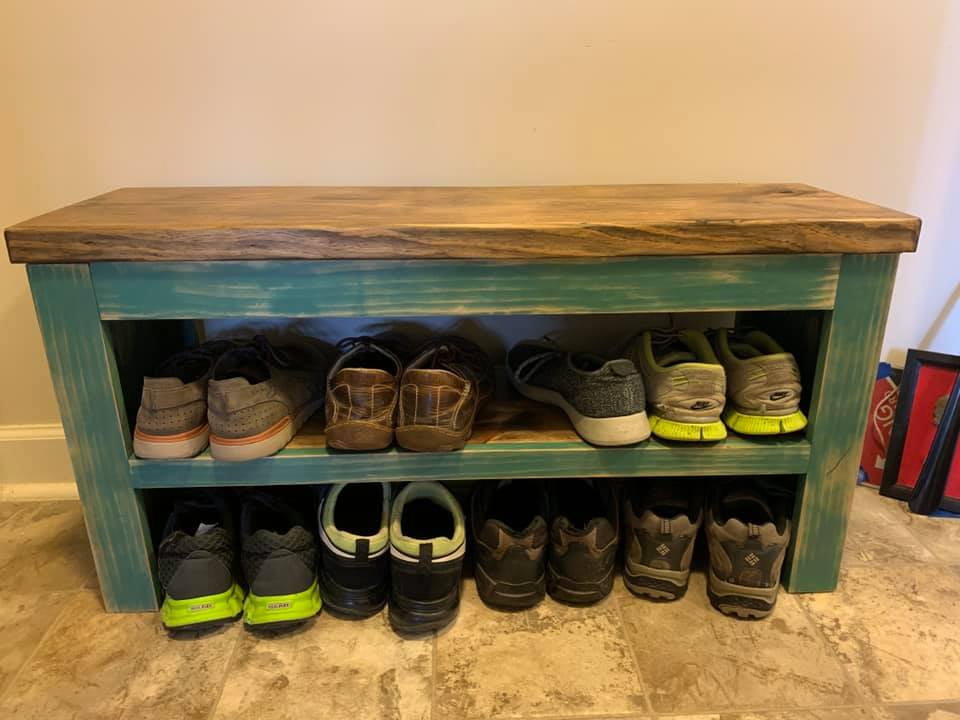
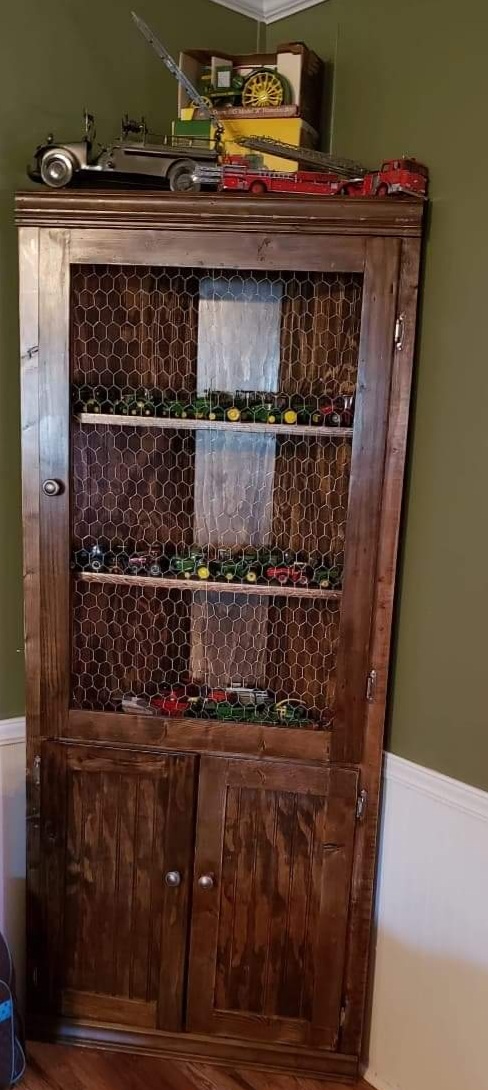
In the end, we're thrilled with how this turned out. It's a real solid piece of furniture that's made to last. We actually looked at this piece at a West Elm and the floor model felt flimsy and thrown together. Great plans, thanks Ana!


Comments
sgilly
Mon, 12/10/2012 - 13:19
Beautiful
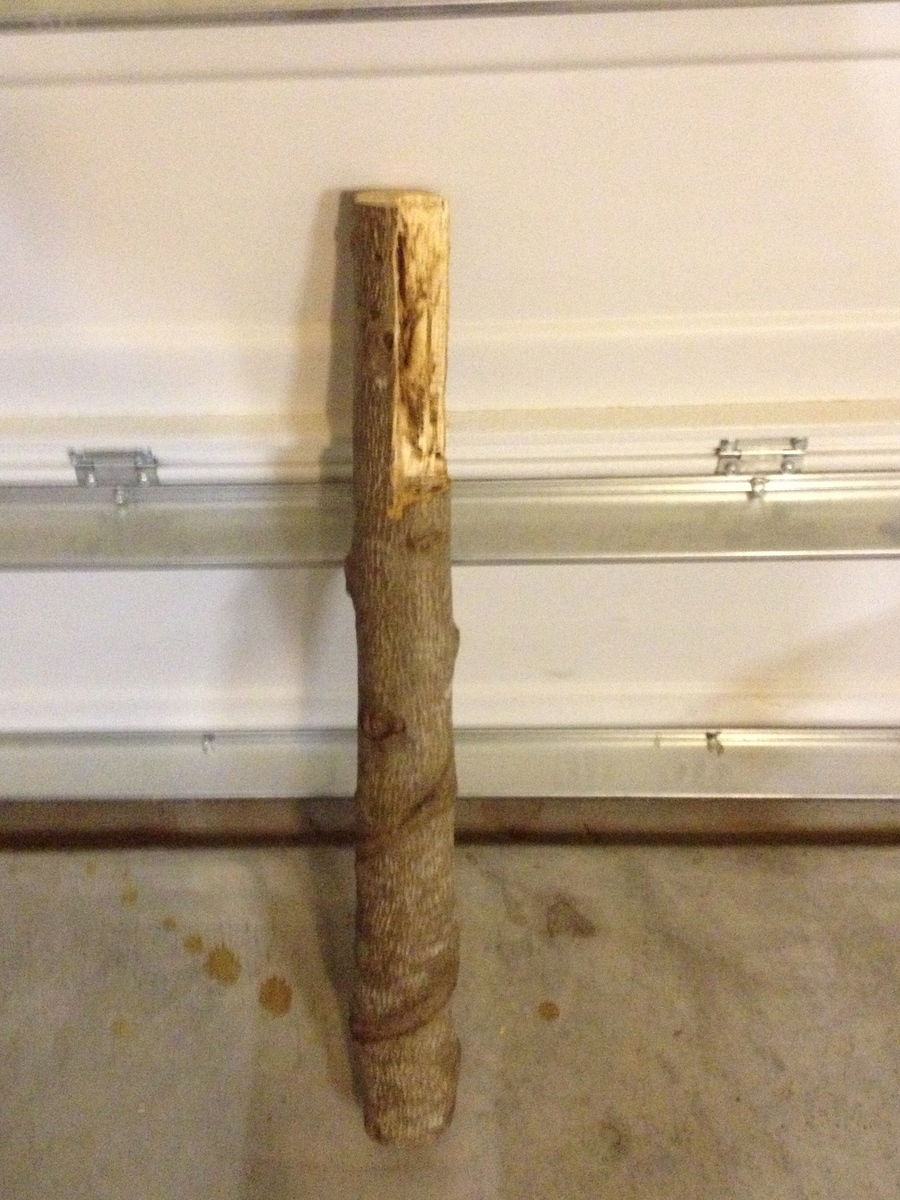
Love the use of branches and the rustic charm of the table.
Pam the Goatherd
Mon, 12/10/2012 - 21:19
Beautiful! Did you let the
Beautiful!
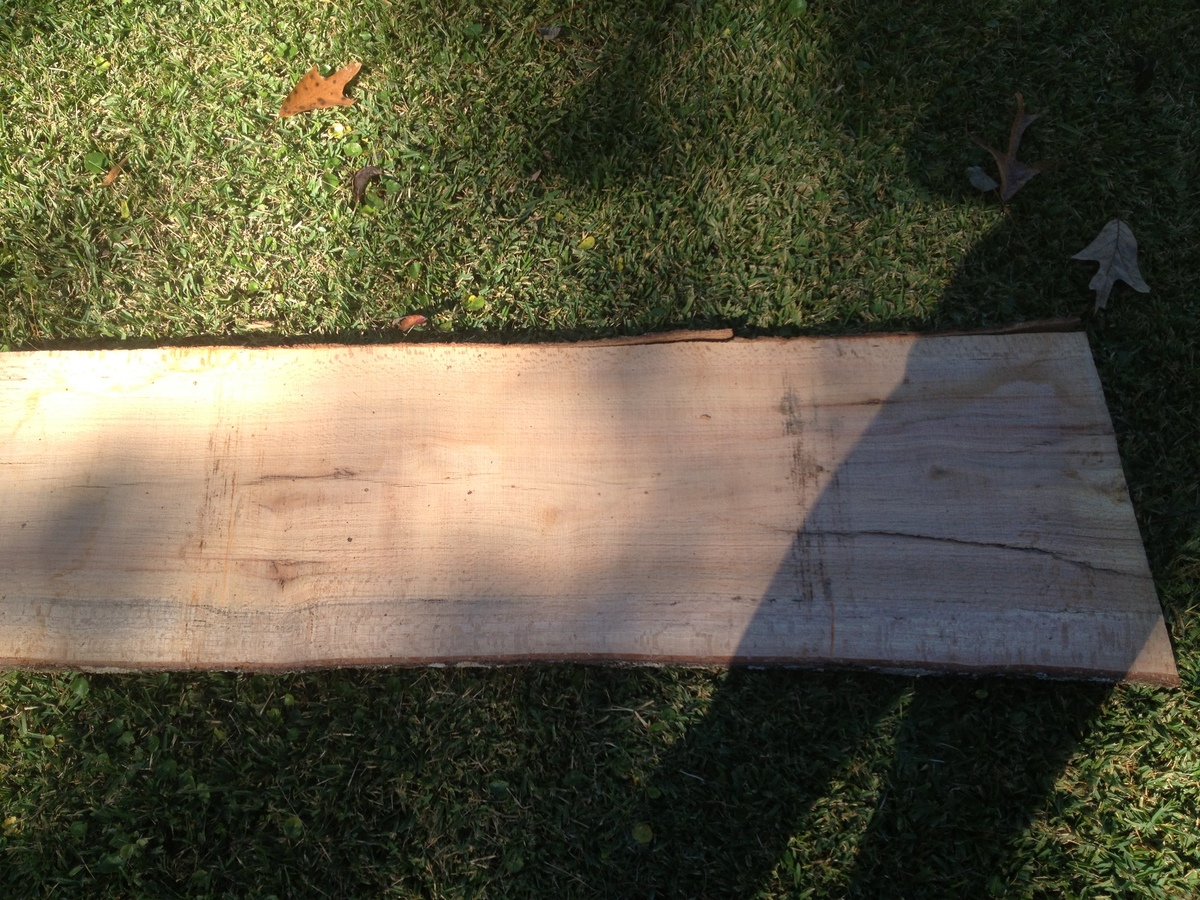
Did you let the wood dry naturally or was it kiln-dried?
Wounded Marine
Tue, 12/11/2012 - 06:47
It was dried naturally.
It was dried naturally.
sgilly
Tue, 12/11/2012 - 09:51
Therapy
It's more like therapy for me, too. I'm glad you find it helpful. From a very grateful widow of a Vietnam vet, I thank you for your service.
dmcarwin
Tue, 12/11/2012 - 10:23
Love it!
Great job, I love the rustic look and the top is amazing!