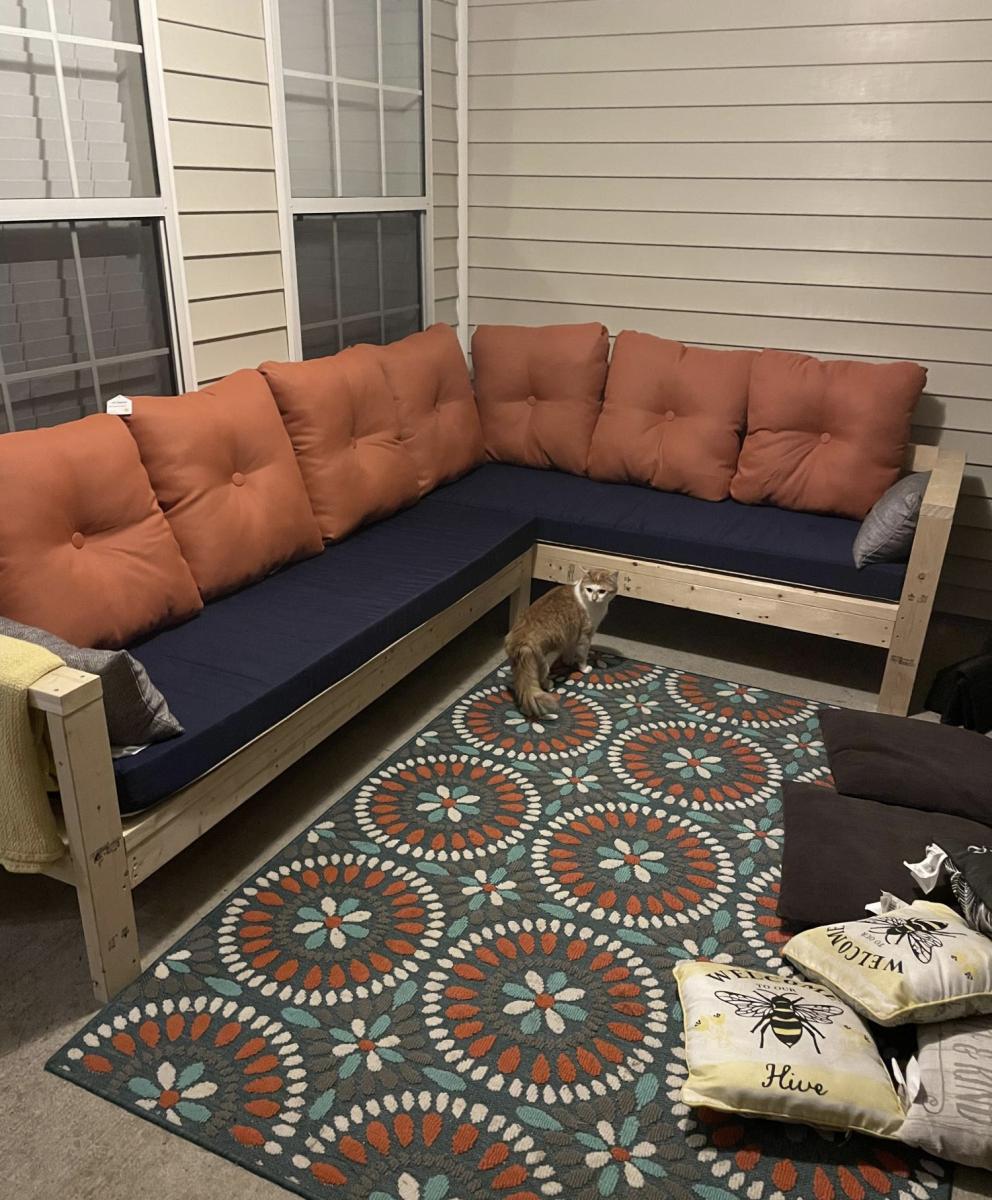
One arm 2x4 outdoor sofa
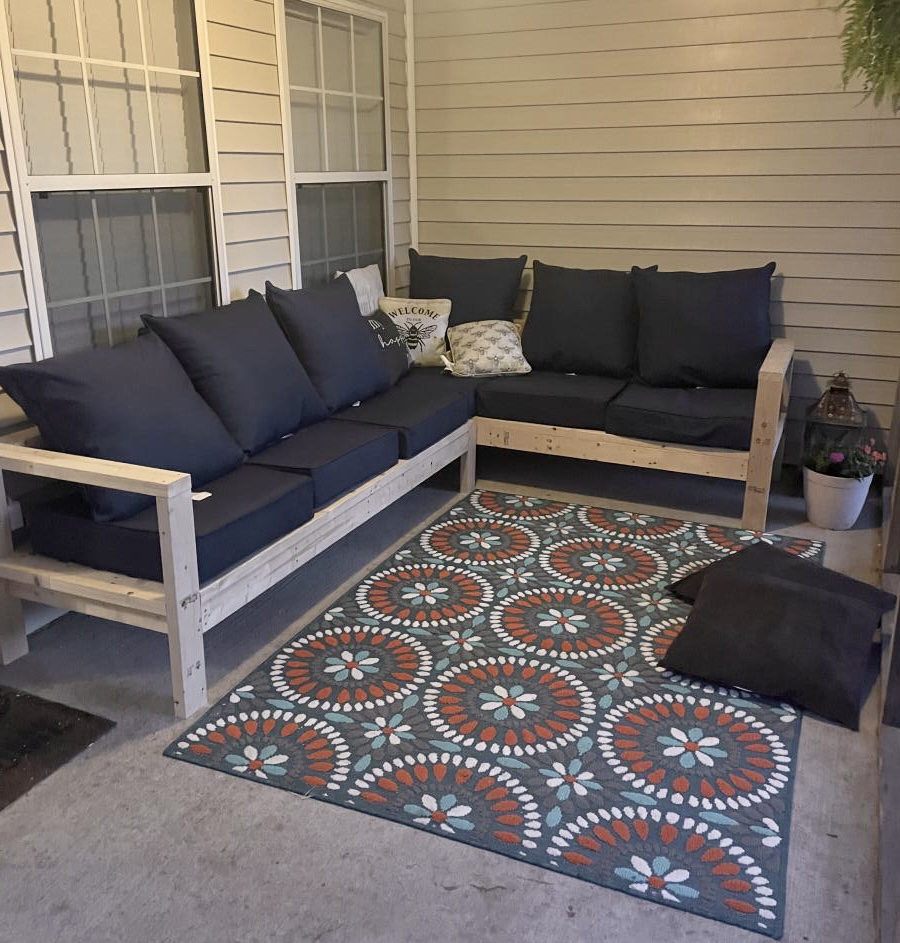
This was so super easy. We are so in love with this. Thank you Ana for making DIY so much fun!

Built from Plan(s)
This was so super easy. We are so in love with this. Thank you Ana for making DIY so much fun!
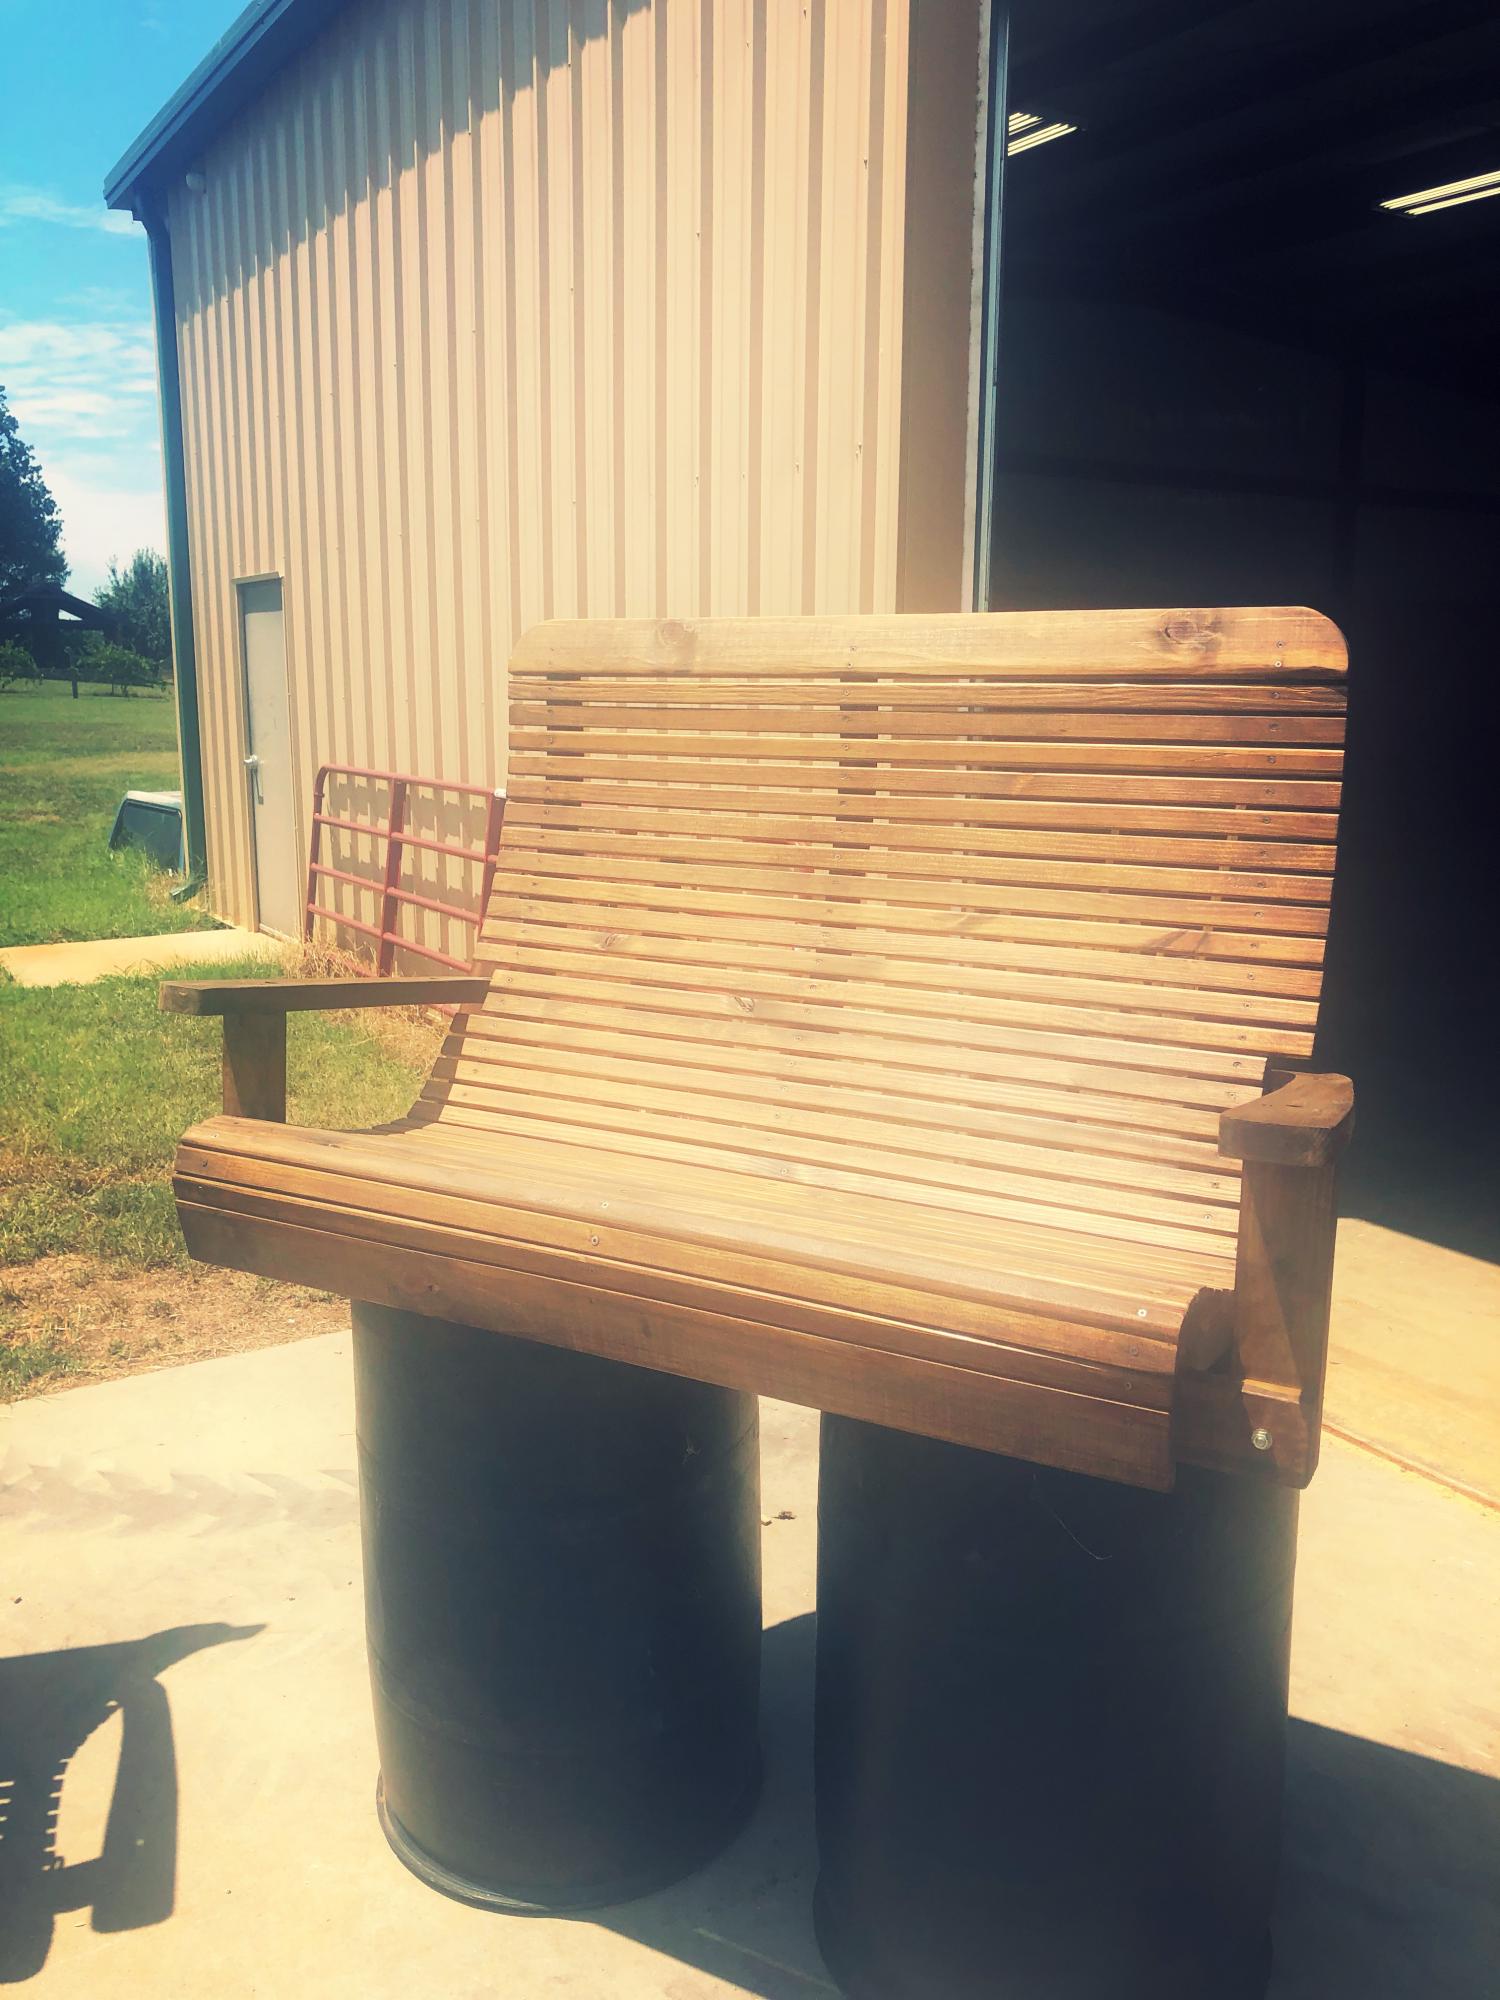
it was an old swing on the family farm. I saved it from the burn pile and remade it. Have made five so far. All hav even 5ft wide, but one was 7ft. Amazingly comfortable swing!
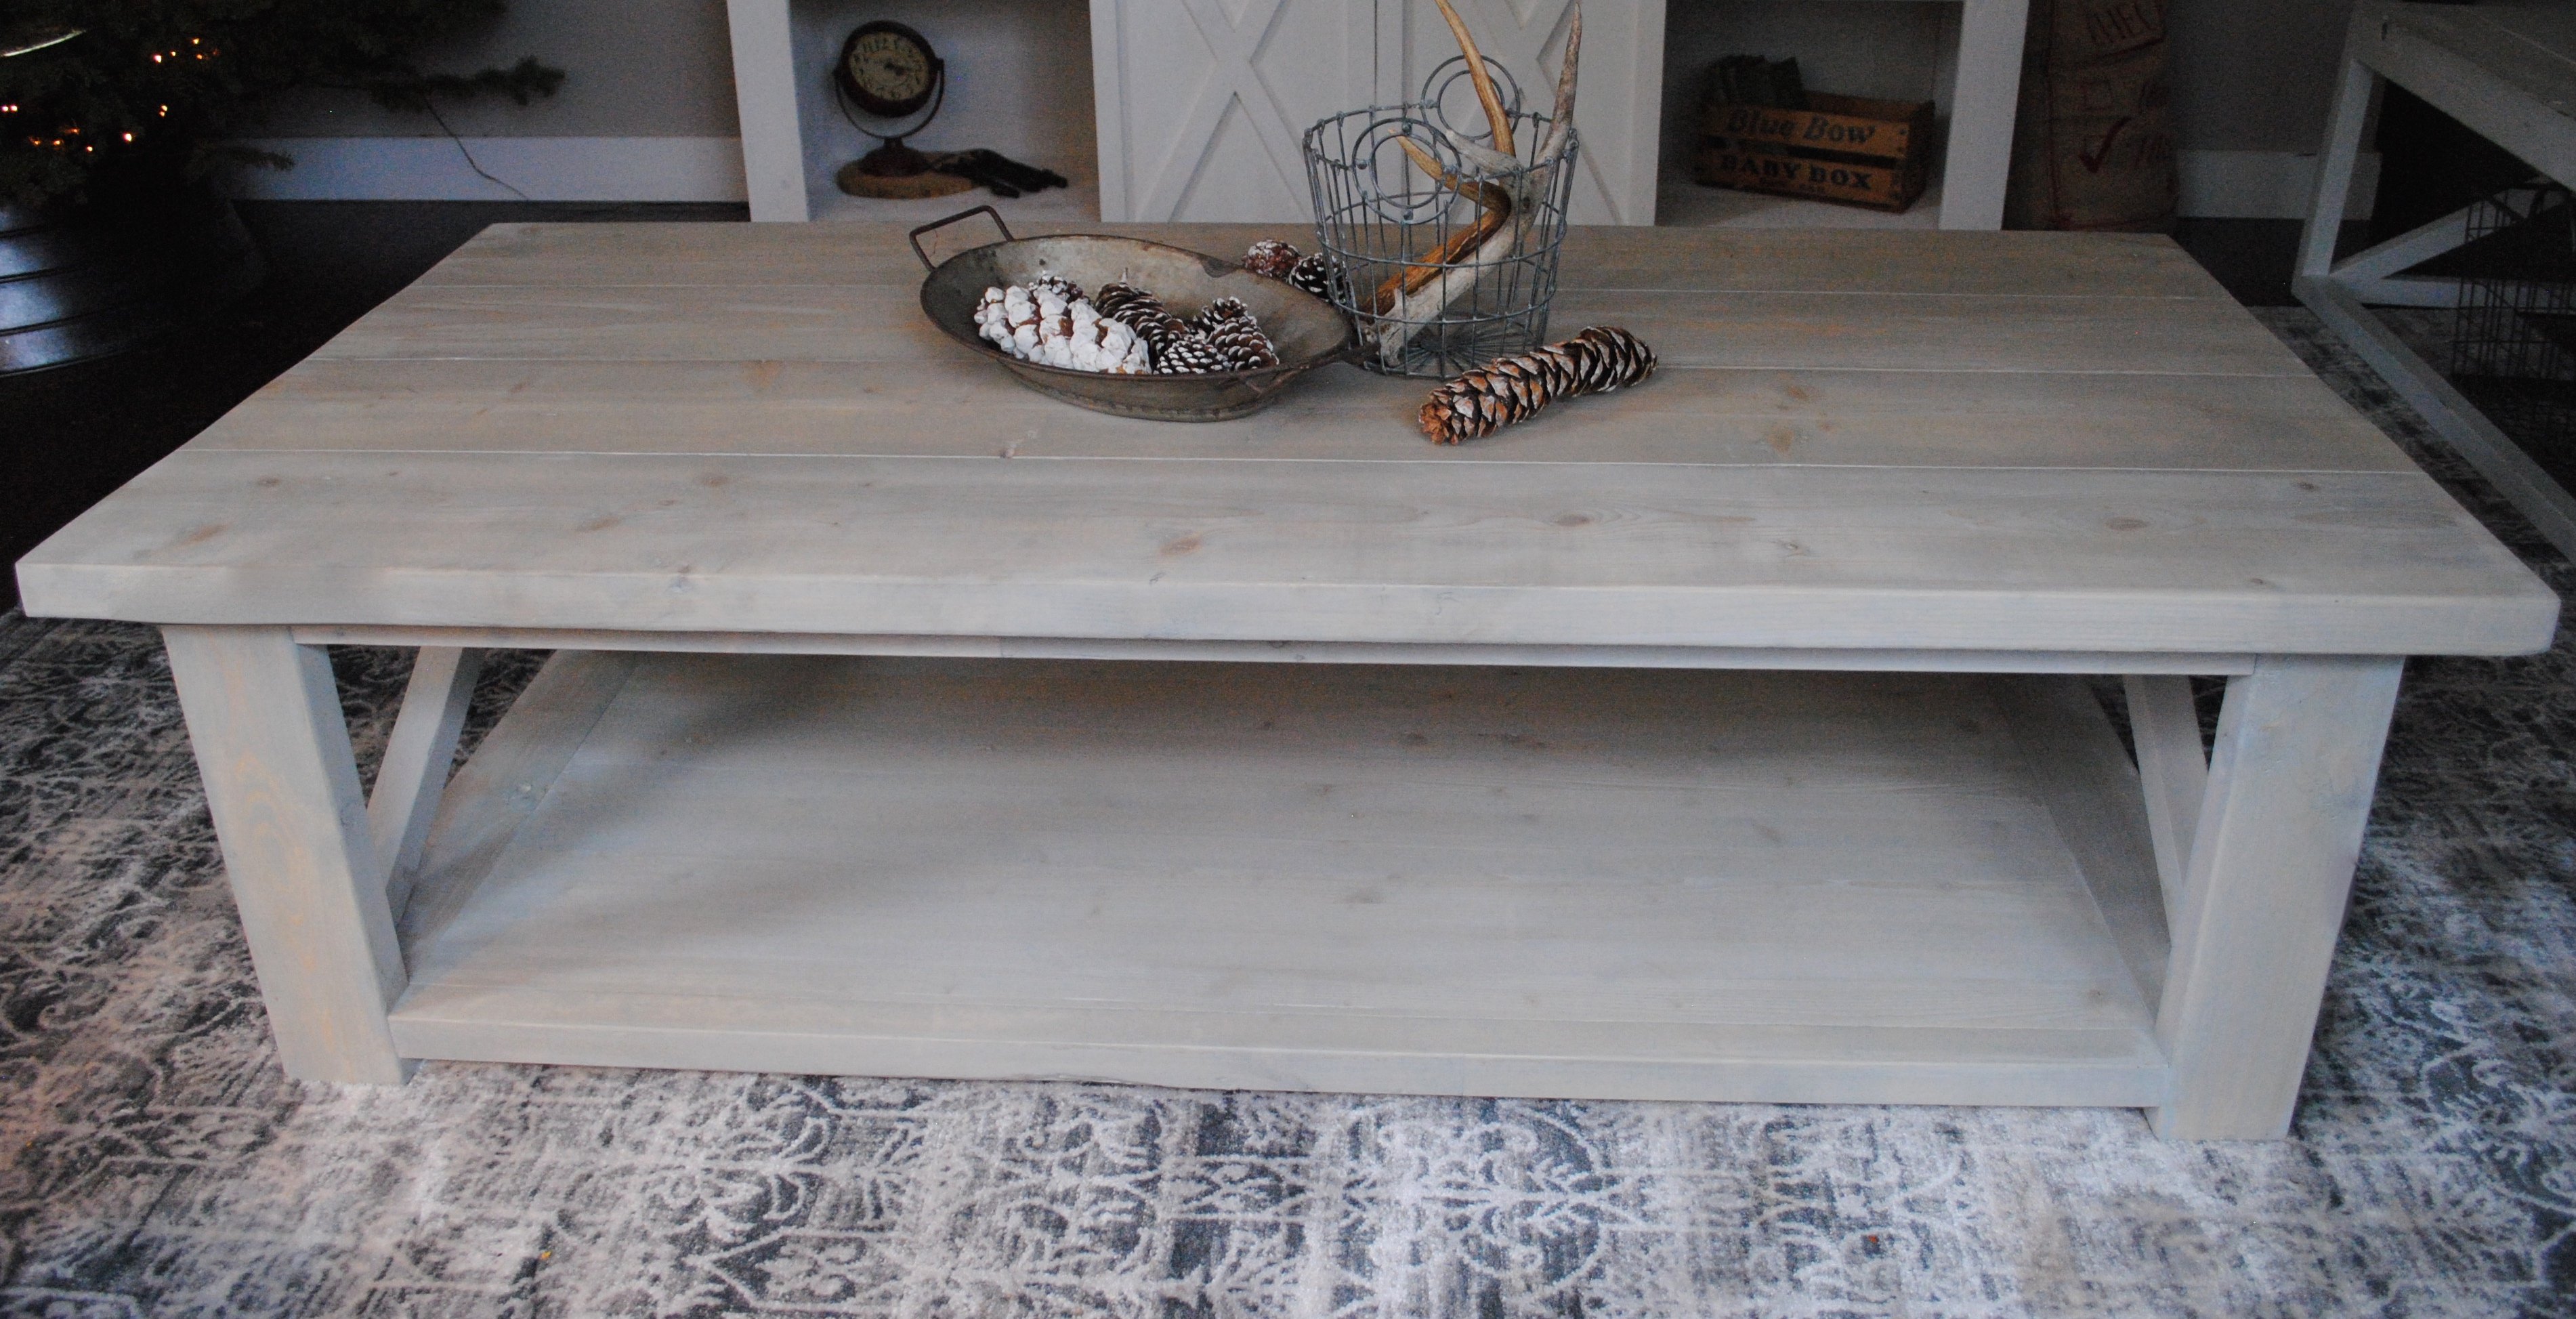
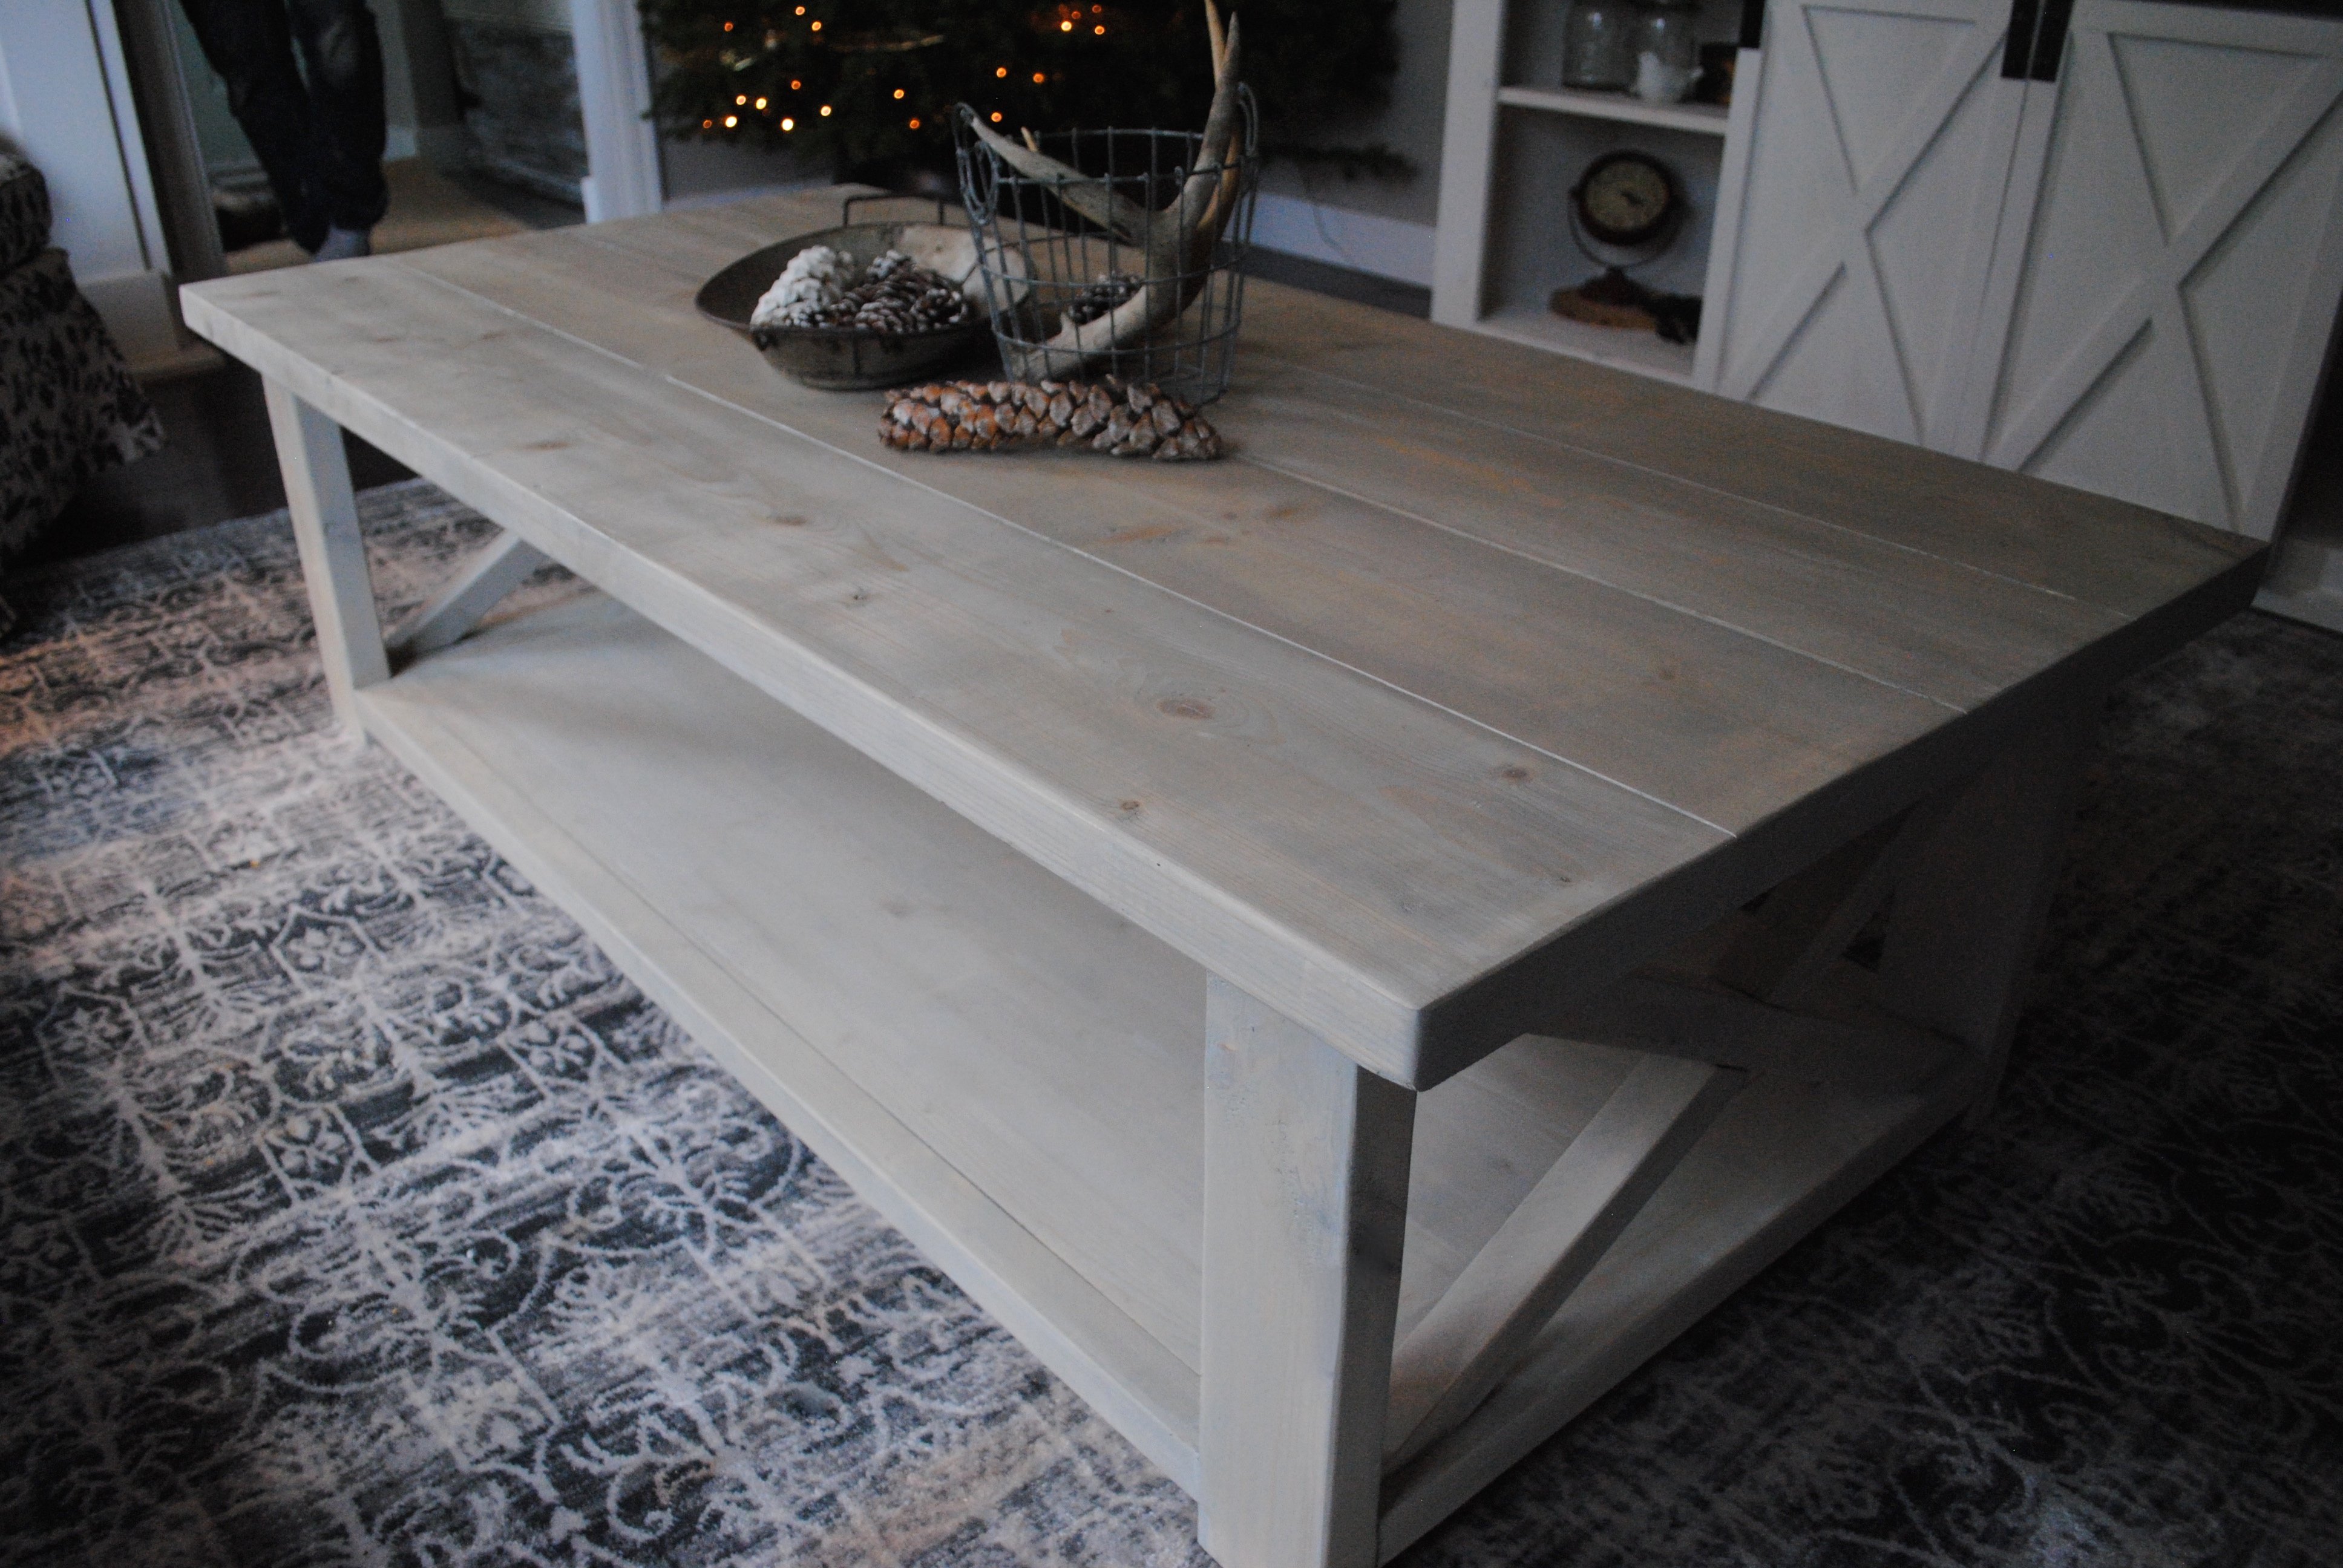
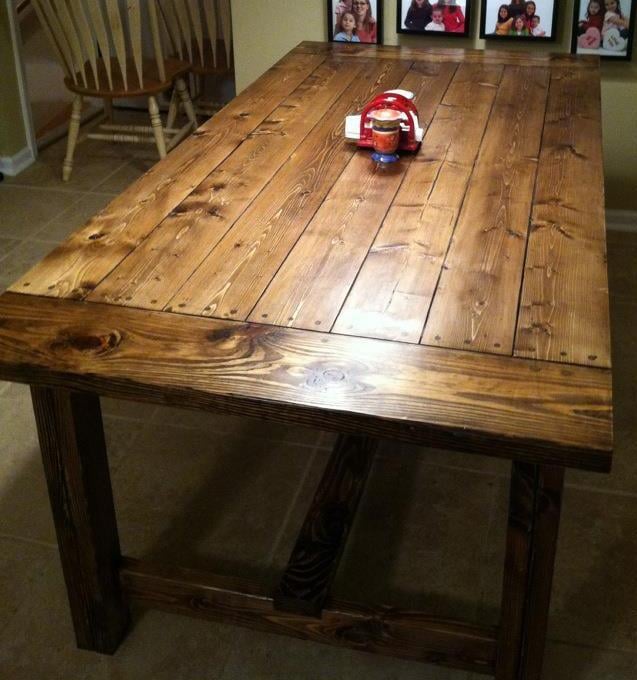
We've built so many of these coffee tables, but this one has got to be my favorite. Isn't the stain so dreamy?
I think the biggest thing about this coffee table is to finish it properly. We like to plane our boards down so it gives it a bit more of a seamless look - but real rustic lovers don't need to do this.
We sanded the coffee table down with 120 grit paper & then stained this table in Sunbleached Oak by Varathane. It's literally the most stunning color. Blends with almost any decor.
Once that was dry, we applied two coats of polyurathane
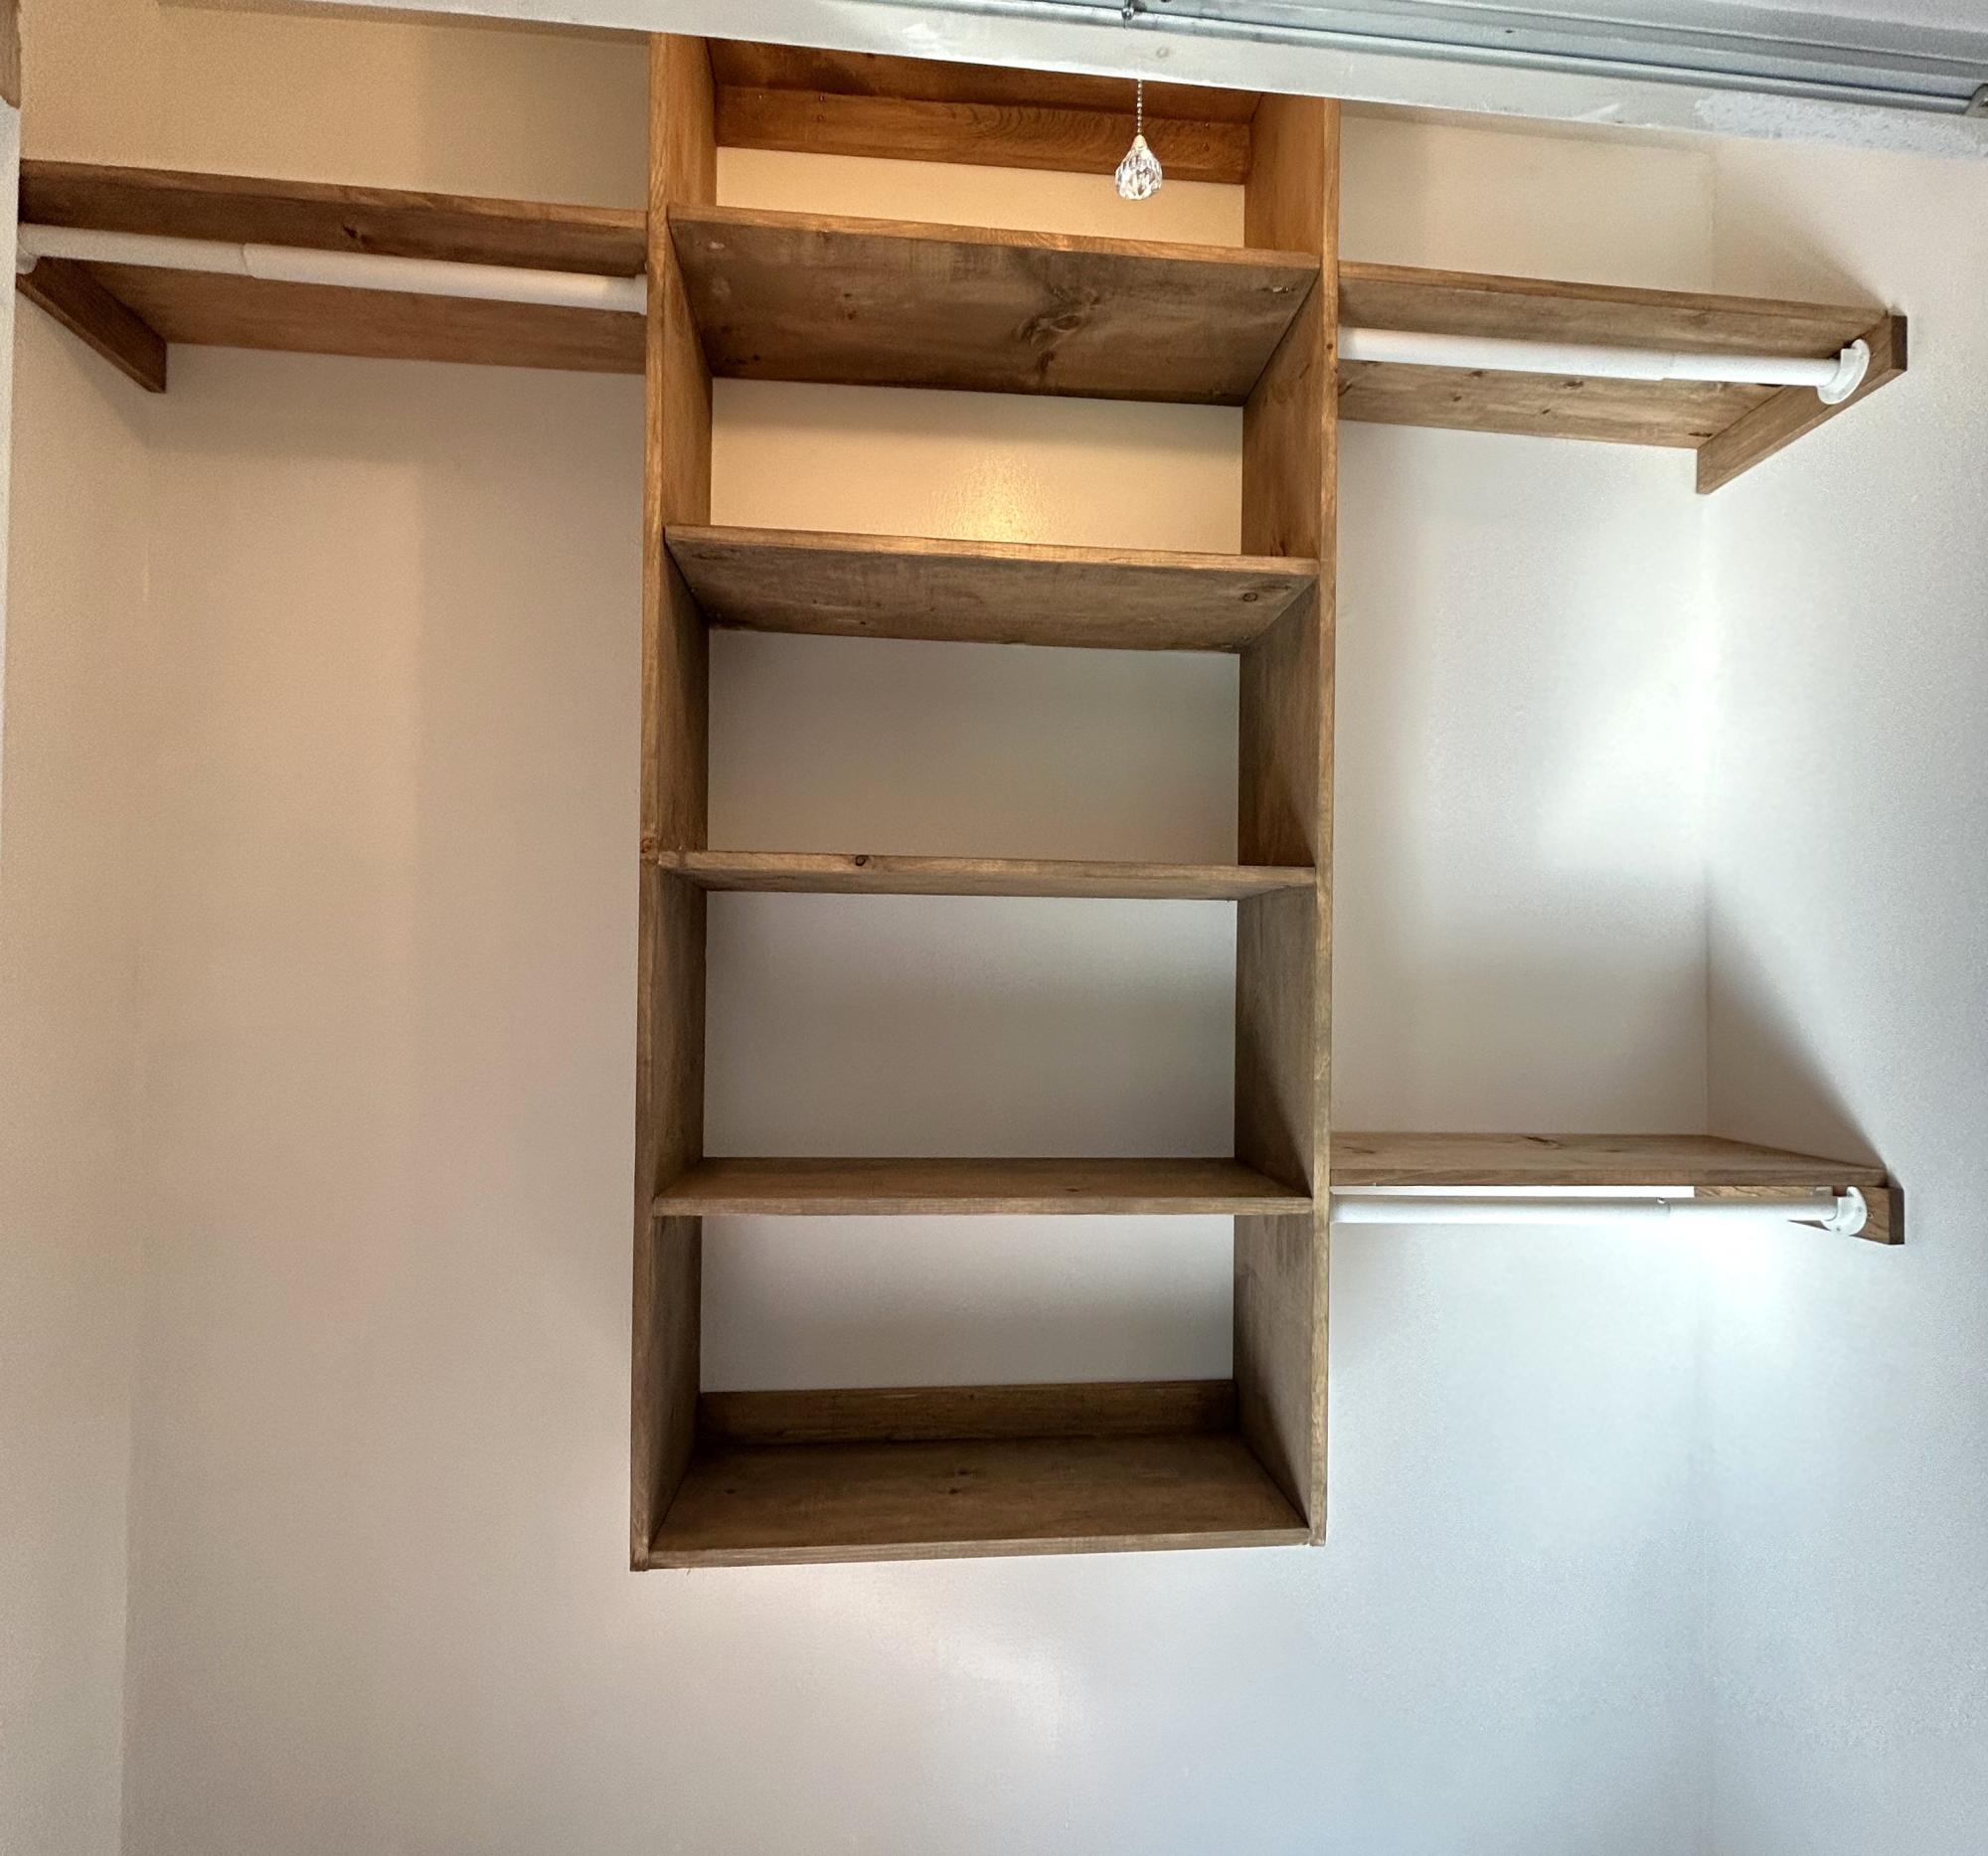
Closet by Joanie

I've always loved the Xs in this table. I needed to make mine a little shorter, and I took out the middle shelf because I didn't need so much shelf space. But I love it. Thanks so much for the great plans!!
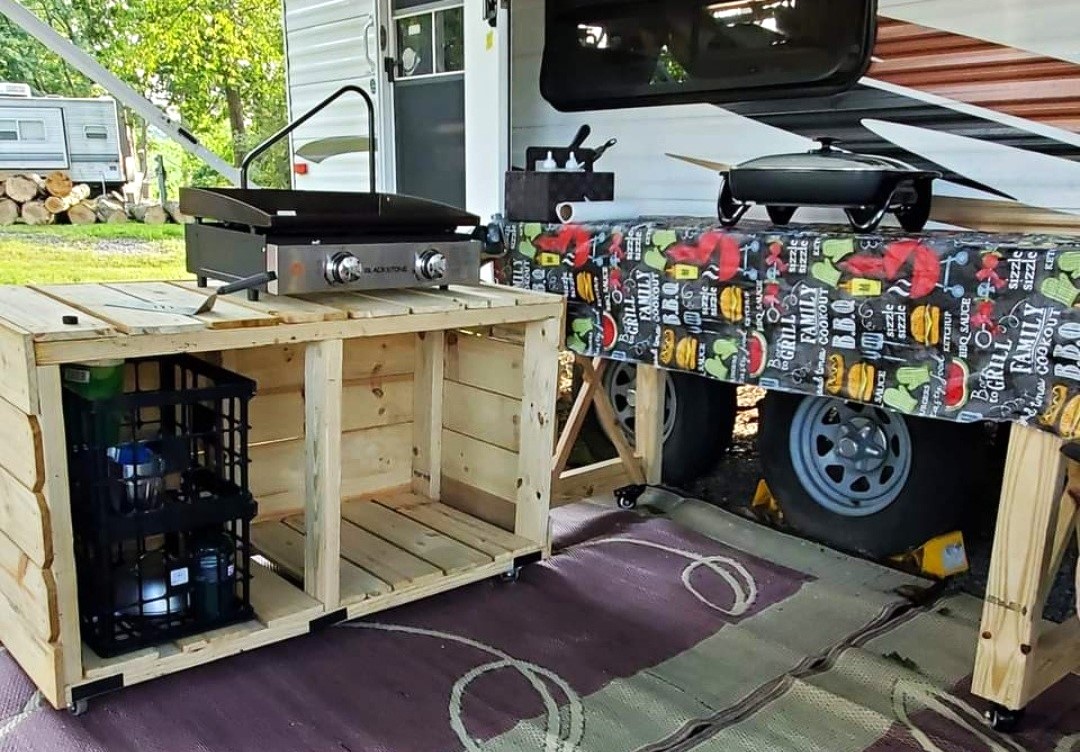
We made the grilling station to keep at our seasonal campsite and it's absolutely fantastic! We have since added some L brackets and 2 shelves, and this is where we store our extra cases of water, soft drinks, outdoor cooking utensils plus an air fryer! Super easy plans, with well written instructions for even the novice (me and hubs) diy builders!
Ali W.
My first build! Didn't want the X's so I put a straight piece on each end.
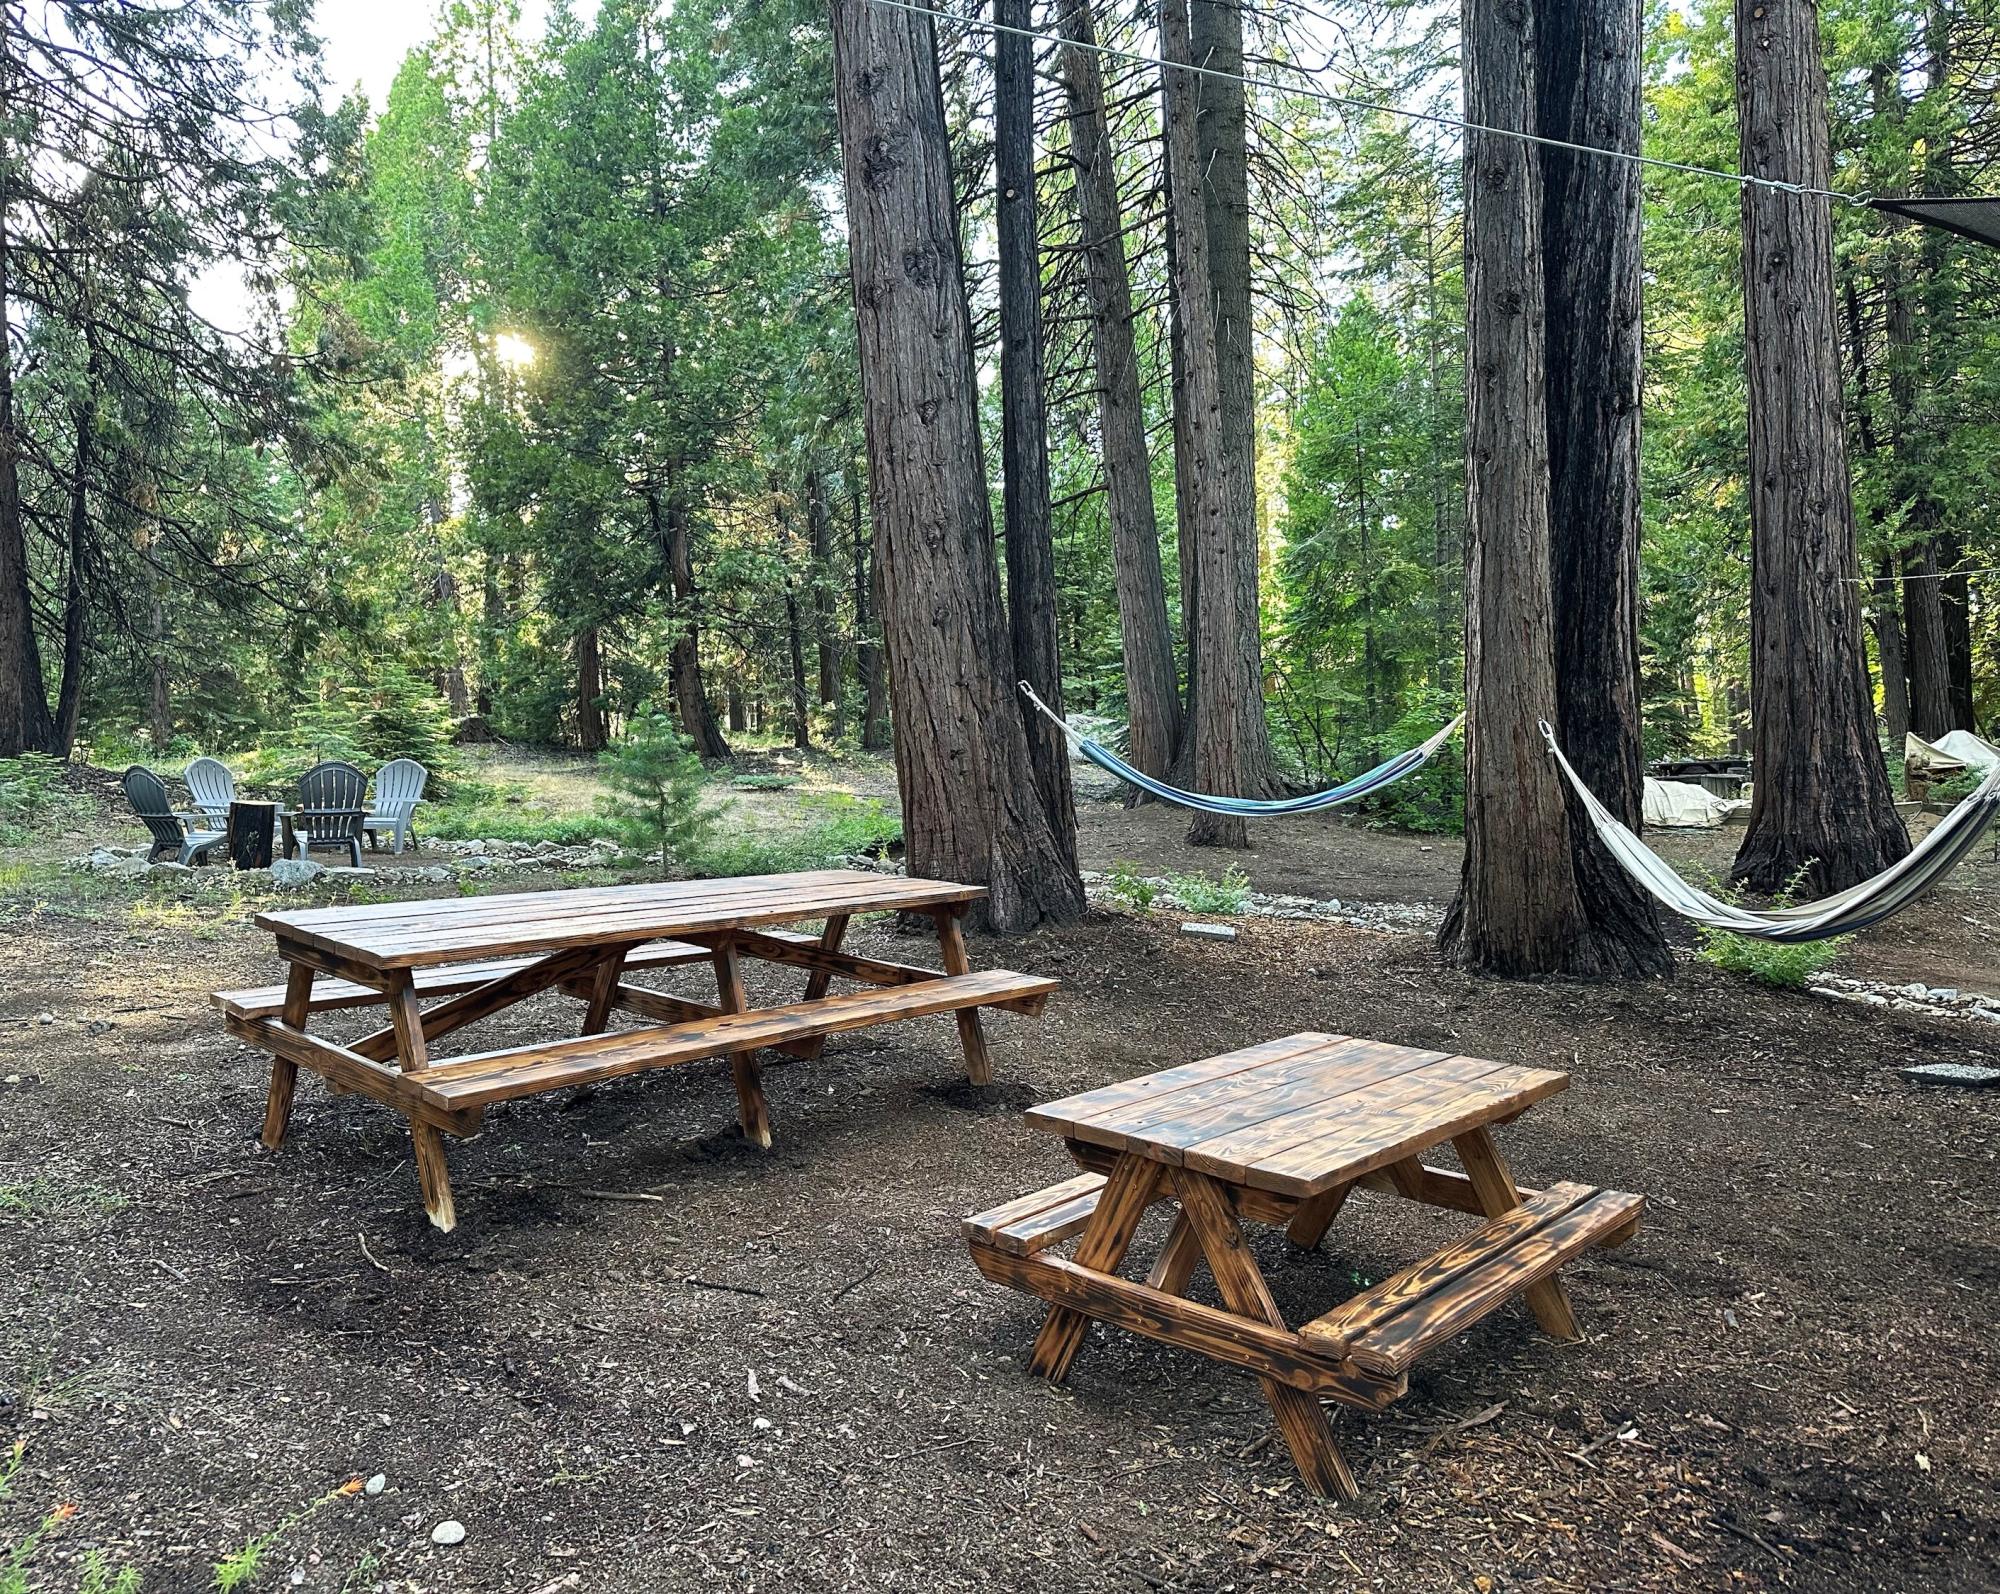
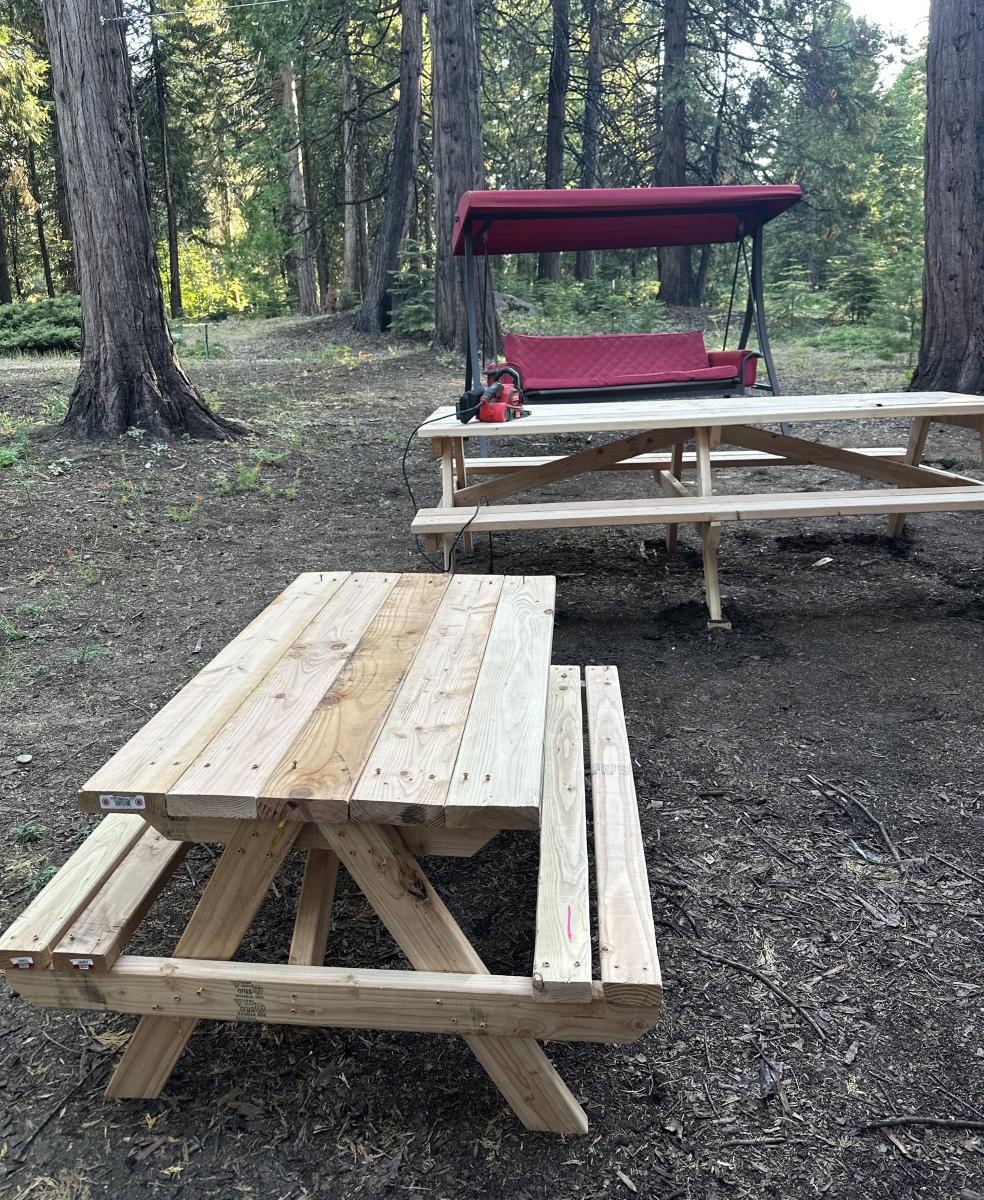
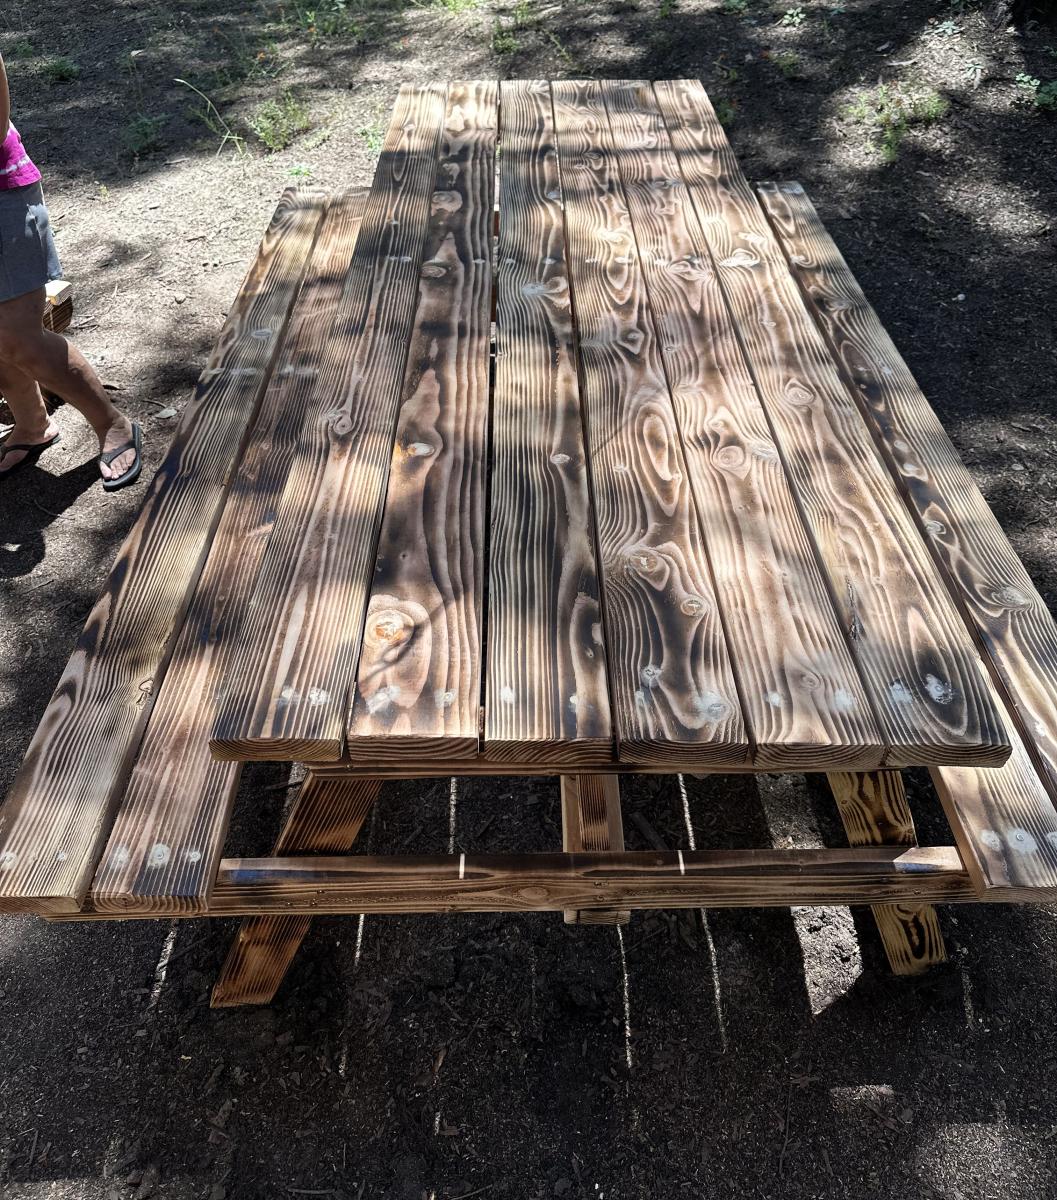
We have an Airbnb at a nearby lake. We built the large and kids picnic tables so our guests can enjoy the outdoors!!
Elaine Freitas
Farmhouse table from plans. Shortened length to 6.5 feet to fit our area. Good plans.
Sun, 06/10/2012 - 16:30
Love it. Planning to make one for our new house once we get settled.
Mon, 07/30/2012 - 12:40
Great job!!! On my list to make and I too will be making it to fit my dining area. Love the stain!!
Wed, 11/07/2012 - 09:06
I ALSO Love the "Filled" hole look! I'm going to be building this table this weekend, any suggestions on getting that look?
Fri, 02/15/2013 - 07:21
New to the site, can anyone help me get to the plans for this table? I love everything about it.
Fri, 02/15/2013 - 10:40
Just go to the blue bar above Ana's picture at the top of the page where it says "plans" and type in the kind of table you're interested in. Prepare to drool over all the gorgeous furniture and projects!
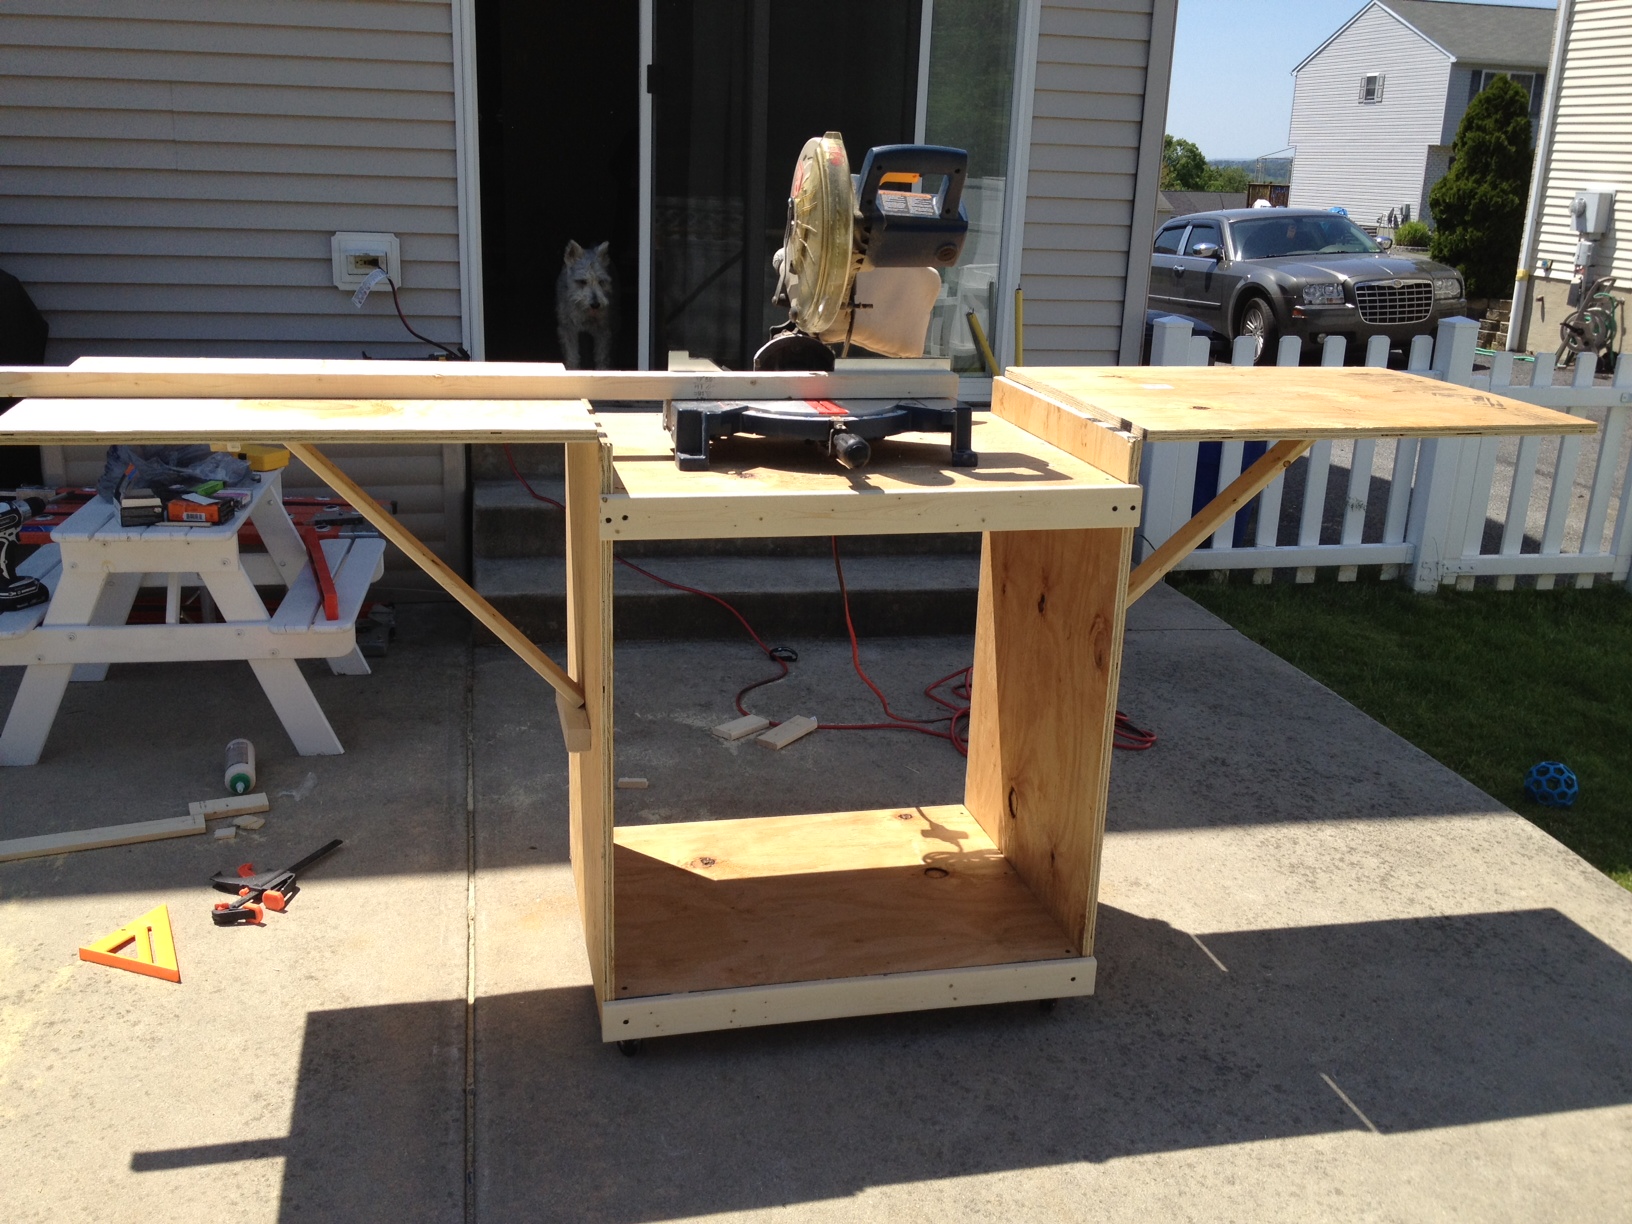
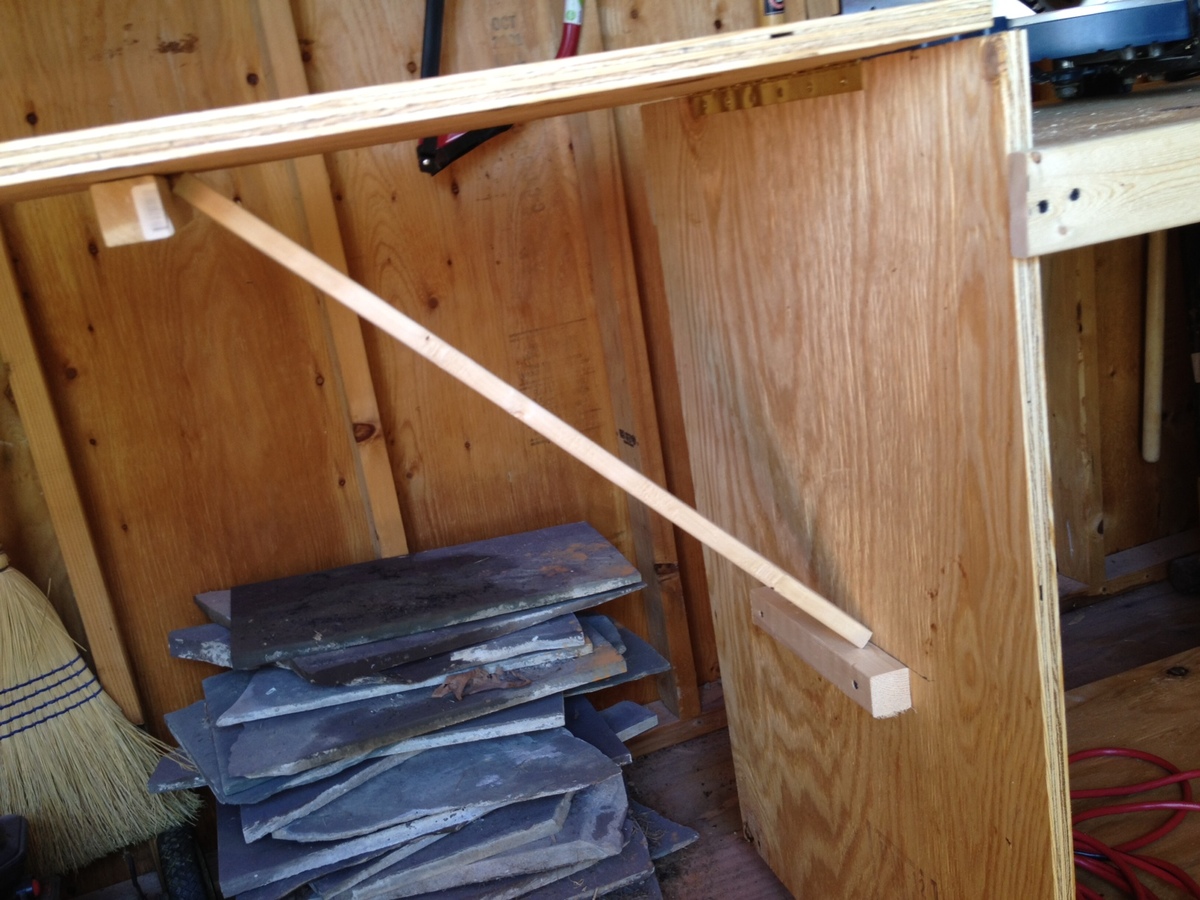
Coped the design almost to the "T." I loved this design because I only have a small shed to work out of and this stand for my miter saw was much needed.
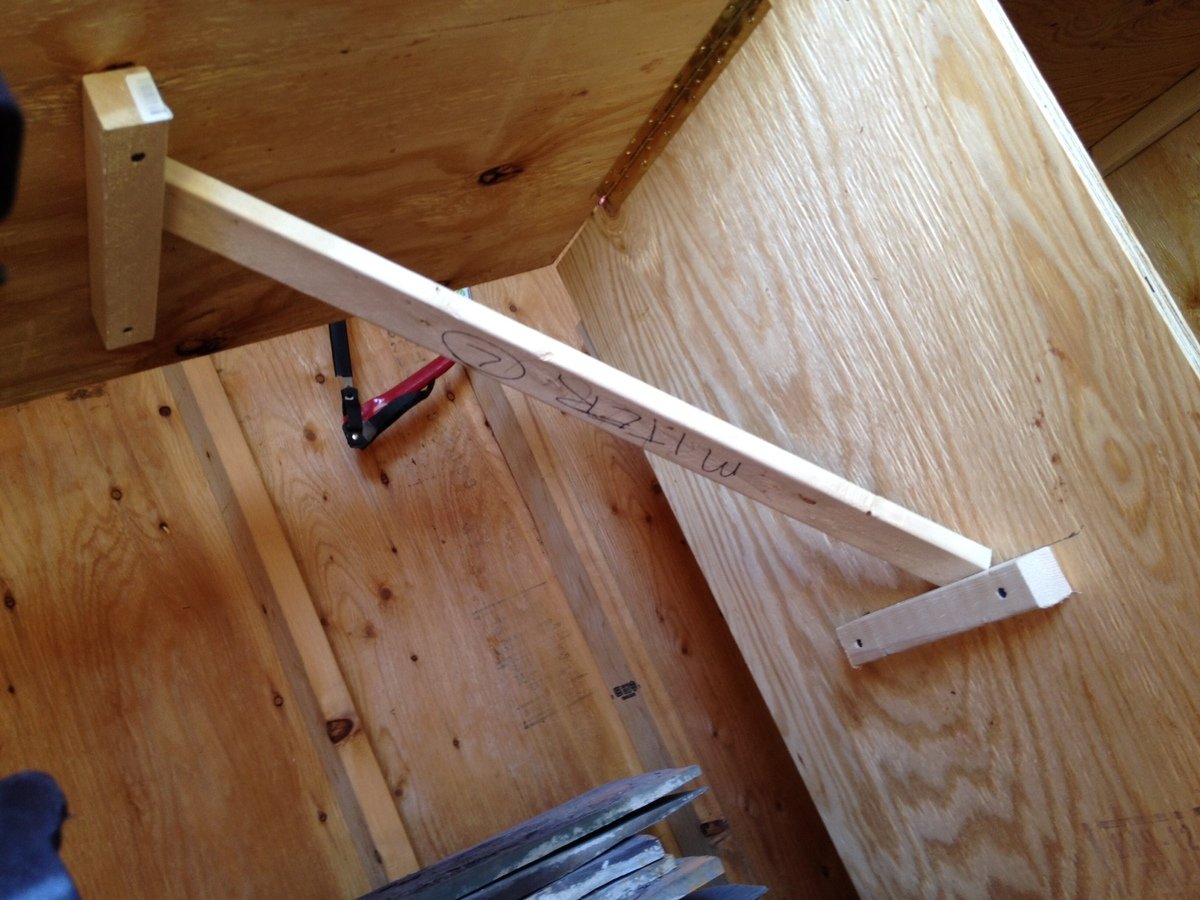
The major difference between the original and my design are the folding arms. I was working within a very small budget and couldn't afford the fancy folding arms so I was able to do a little creative thinking and decided to go with a removable piece of 1x3 that is wedged under the arms with a block installed on the "leaf" and the main table. I used the old pythagorean theorem to figure out how to make it a level 45 degrees. With a little playing around I have both arms completely level and the stand is perfect!! I am excited to get some other projects on the way now that I have somewhere other than the ground to work with my miter saw.
I didn't use any pocket holes, but am picking up a Kreg jig set from someone this upcoming week and am looking forward to putting that into some use on my next projects!
Fri, 05/18/2012 - 18:26
What a great way to save some money! If you have time, could you add a close up pic of how the 1x3 fits on the folding arm to hold it? Cute dog!
In reply to Nice modification! by Crystal @ 29 R… (not verified)
Sun, 05/20/2012 - 11:25
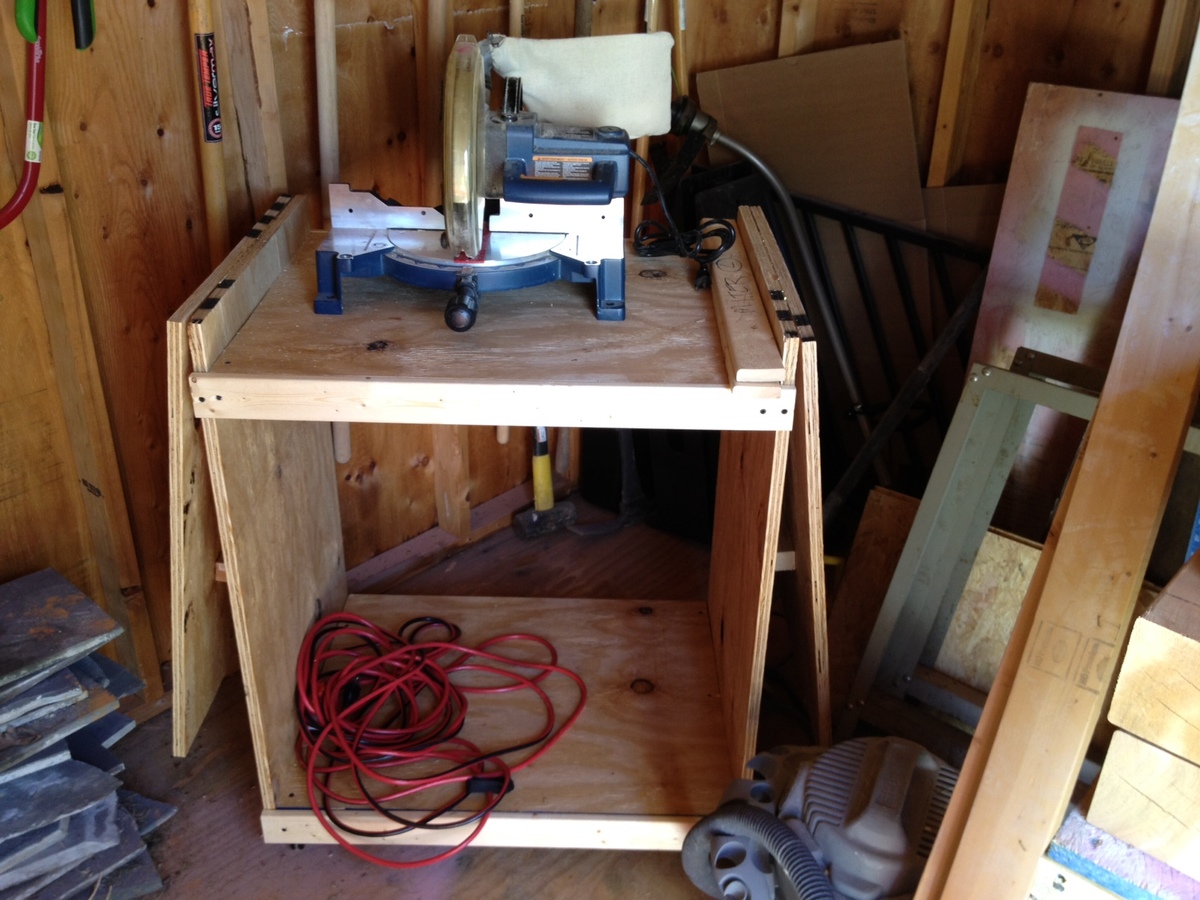
Added a few pics, let me know if you want any others!!
Fri, 05/18/2012 - 19:04
I would like to see a close up too if possible. I am wanting to make the saw cart plus two more carts with the middle flush with the top so I can push the two together to use for a workbench. How much weight do you think your sides can hold the way you set them up?
In reply to I would like to see a close by stephanier (not verified)
Sun, 05/20/2012 - 11:28
I honestly am not too sure how much weight it would hold. I havent seen any bowing or pushing yet. I have used this so far to cut a piece of 4x4 12ft long made of cedar for my next project and didnt have any problems. I think if I need more weight holding strength, I think I would just change out the 1x3 and maybe use a 2x4 in there. I am also not a 100% sure how much weight the hinge can hold, maybe someone else reading these posts can be a little more helpful as far as that goes.

Was a good project that I built for my son's new home.
I found a few errors in the instructions such as:
A) 2 - 2x4 @ 30 1/2 should be 30 1/4
B) 8 - 2x6 @ 32 15/16 both ends at 30 degrees off square, parallel to each other) should be cut at 34 15/16 blank sizes then cut the angles to acheive the finish size of 32 15/16
C) 8 - 2x6 @ 36 3/4 (both ends at 90 degrees off square, parrallel to each other) should be (both ends at 22 1/2 degrees off square, NOT parrrallel to each other)
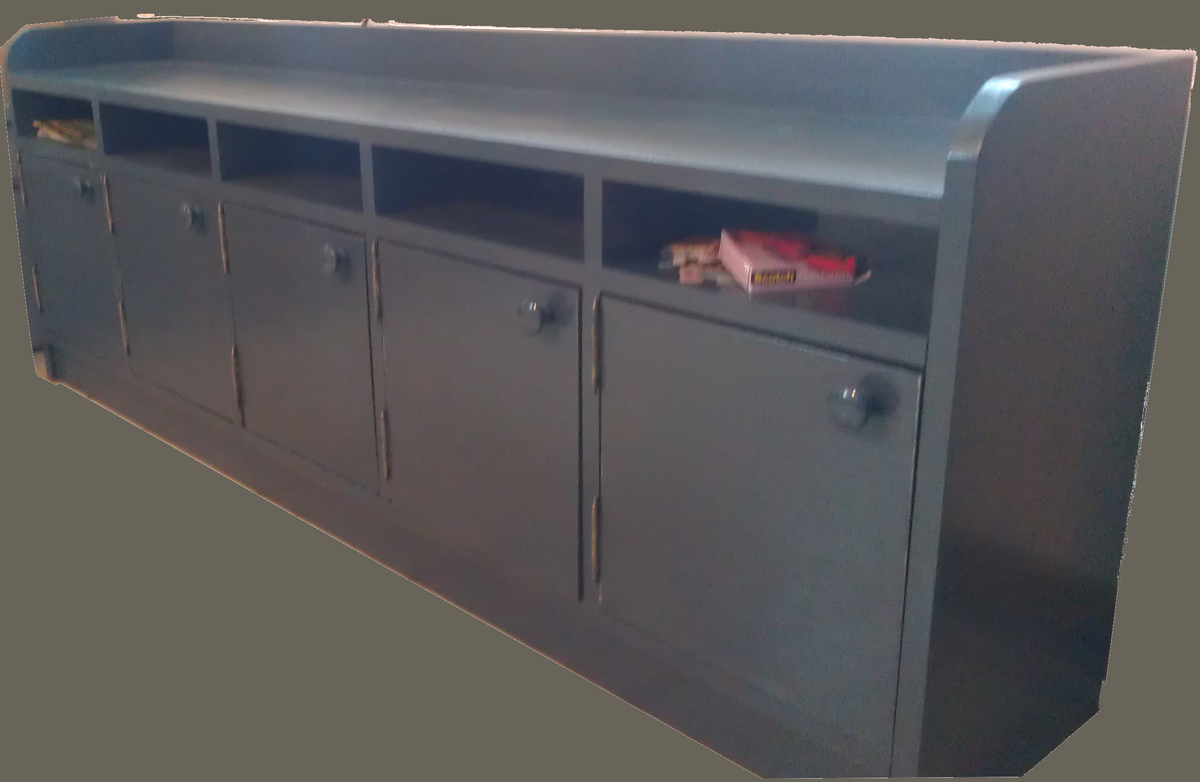
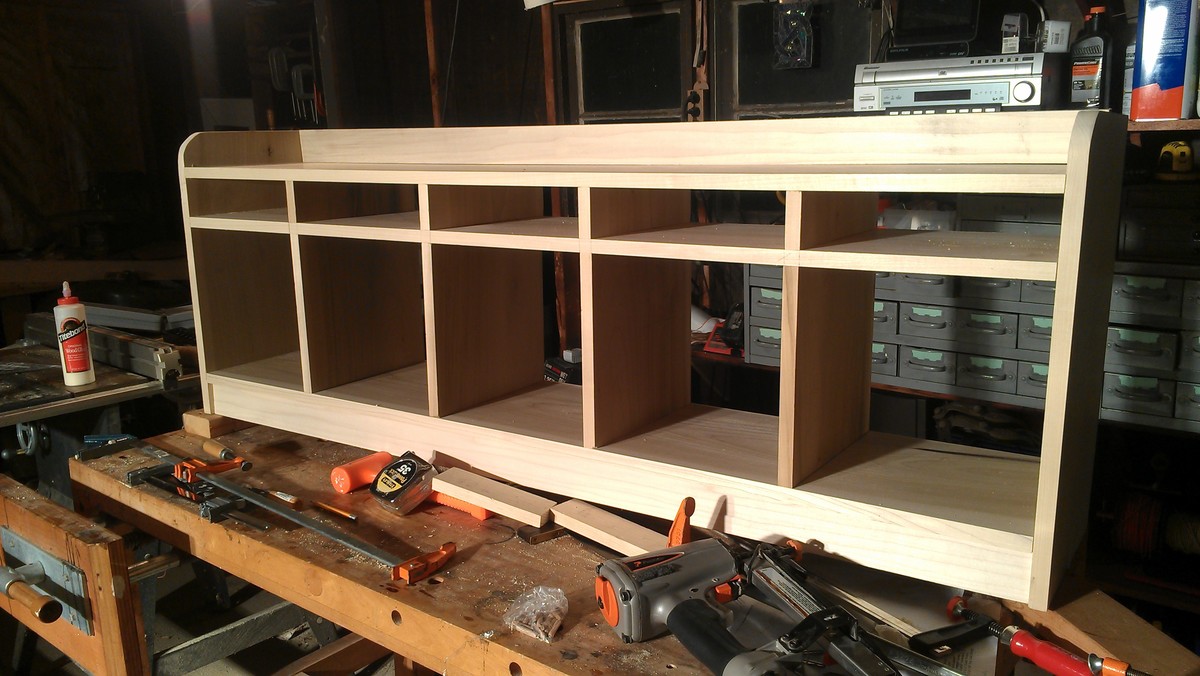
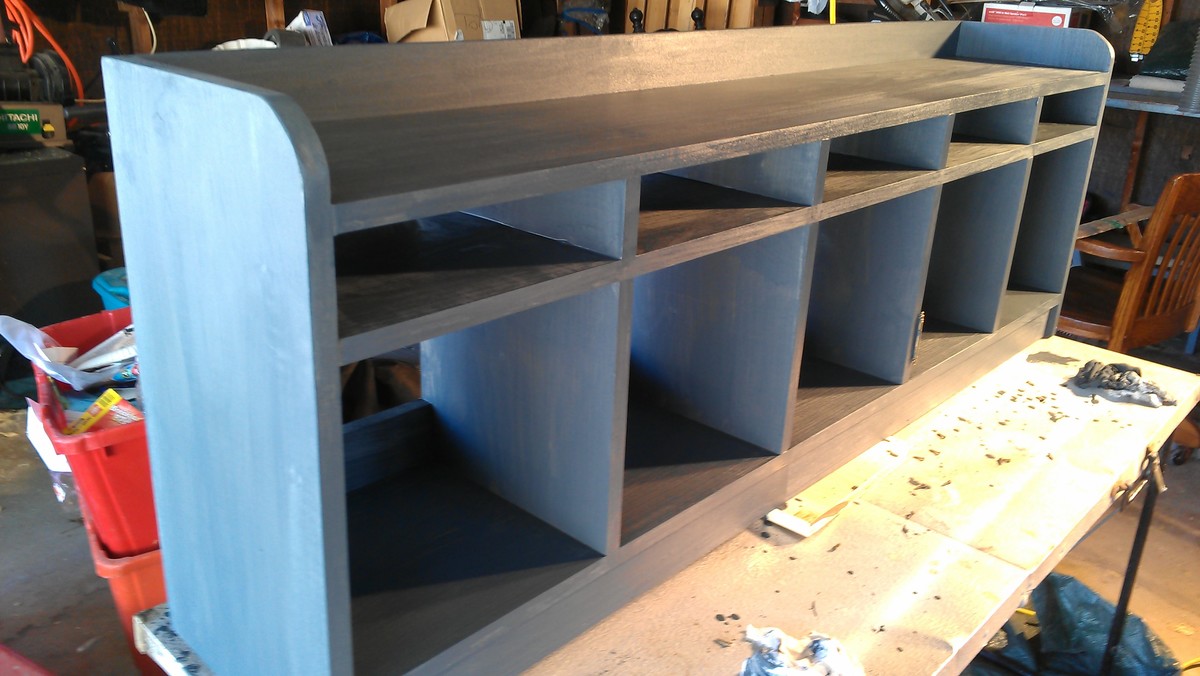
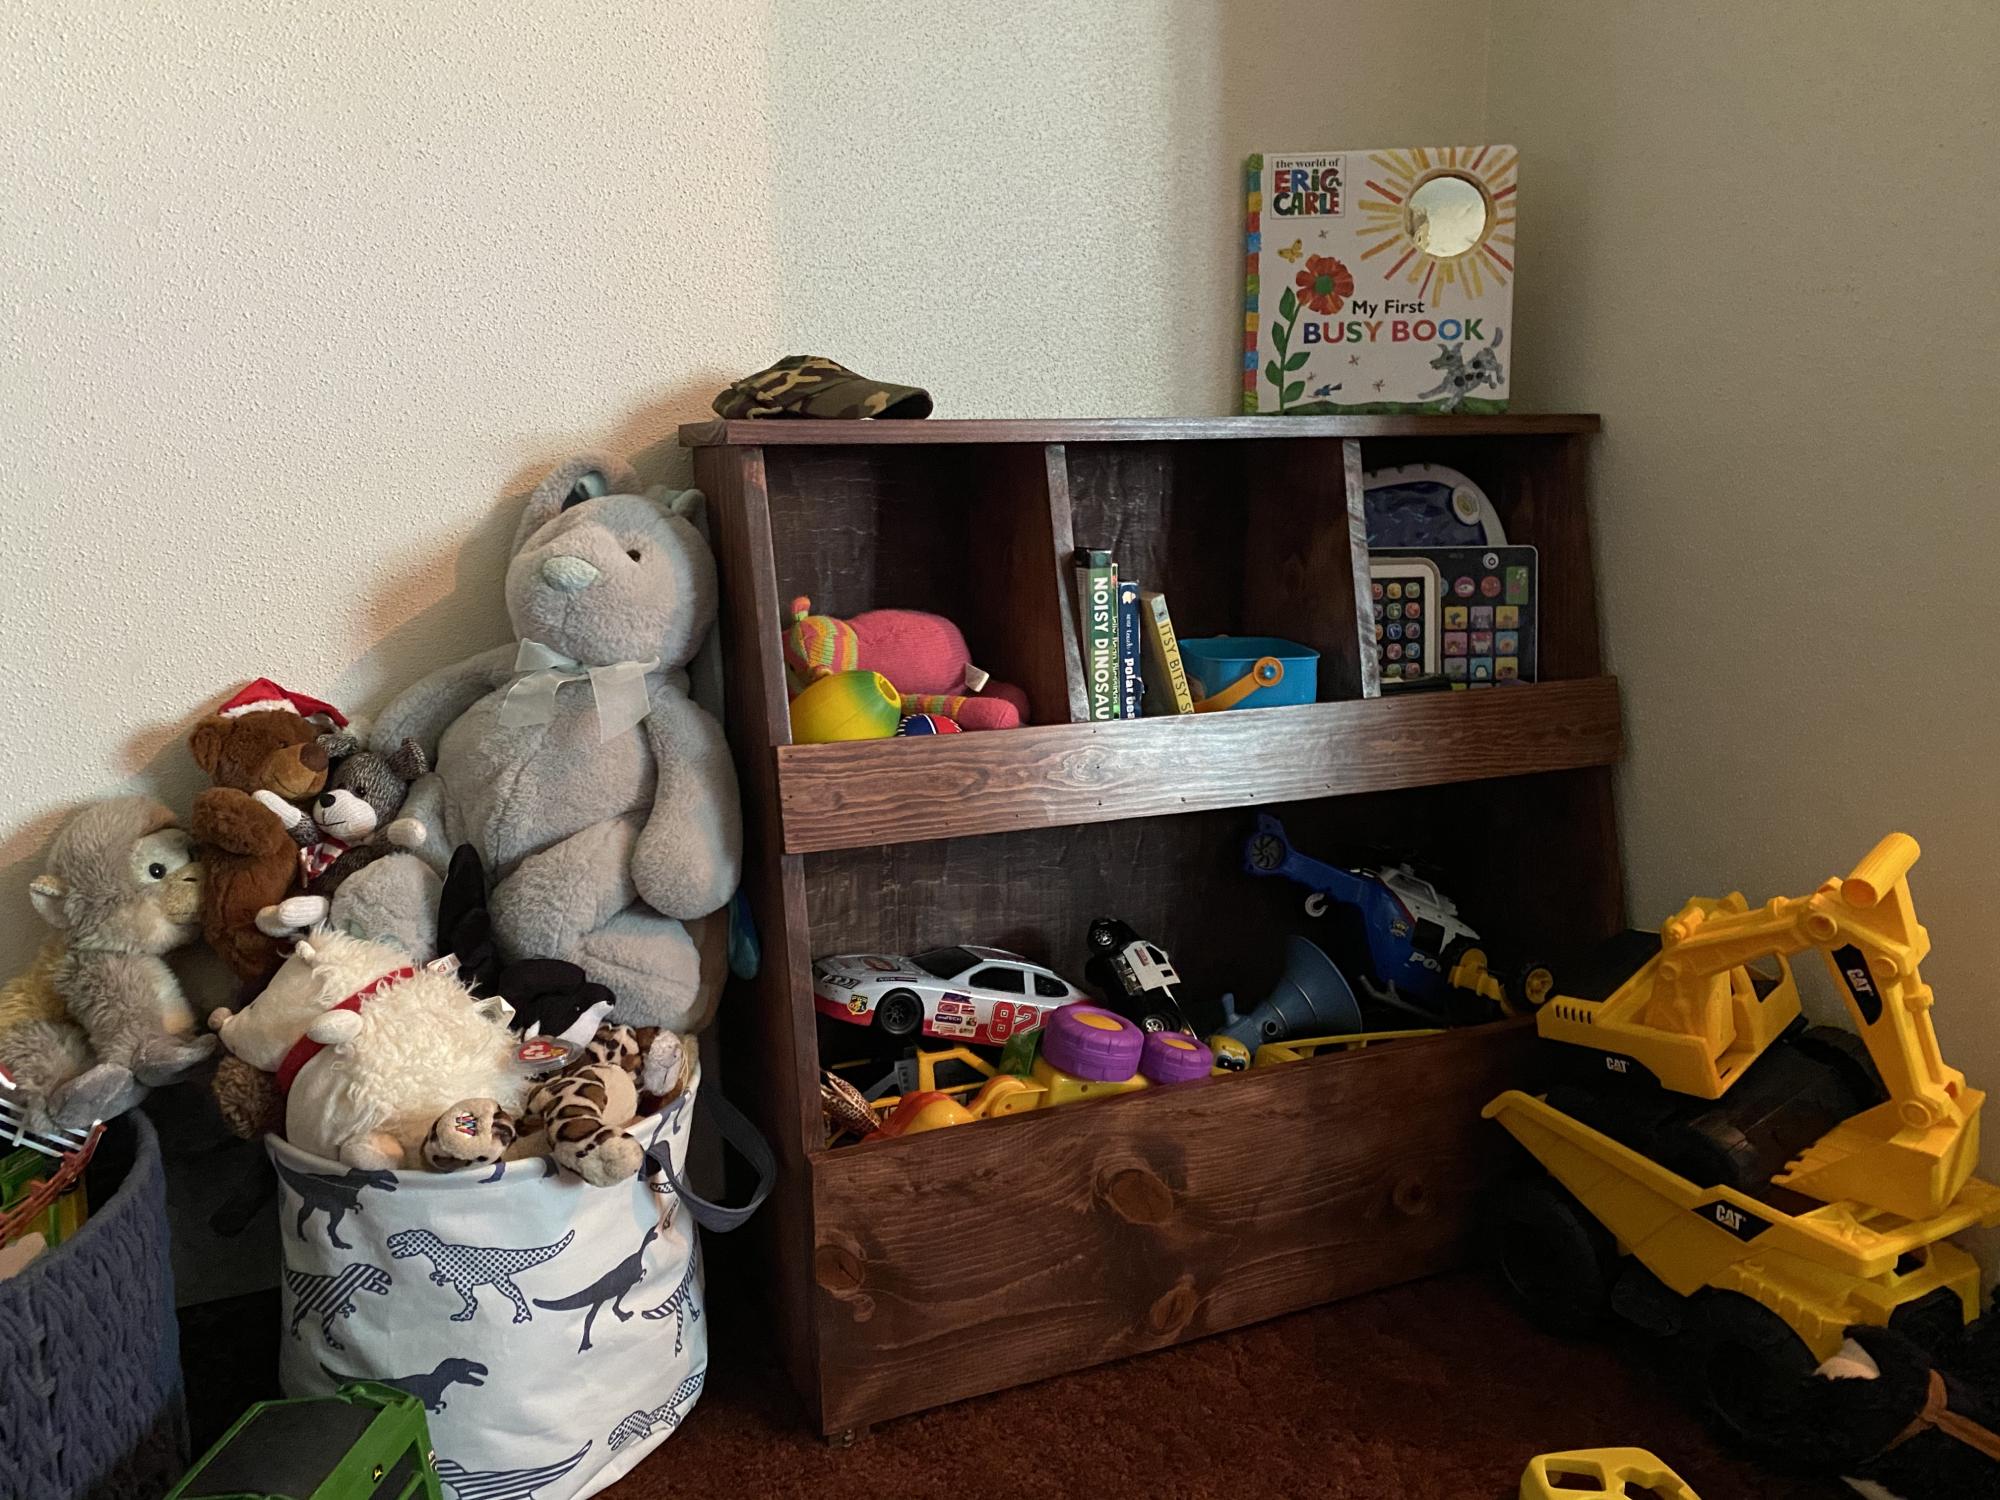
We saw this cubby bench and thought it could work for us... but there's 5 of us.
So we redrew the plans to add two more cubbies.
I also like the idea of being able to hide everything, so we put doors on.
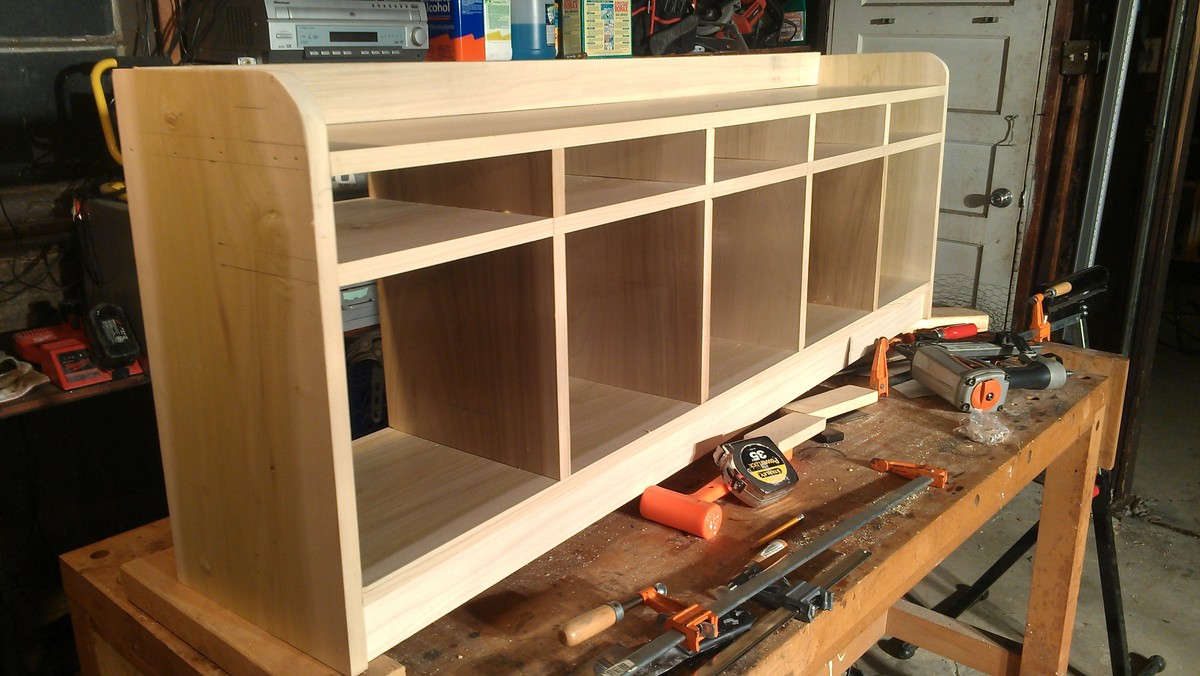
The issue I had was cutting 1x12 material with the chop saw. Cutting with the circular saw (even with a guide) can sometimes leave you with an "almost" square edge. Even with a 12" saw you can not make the cuts on a 1x12. You need a sliding saw for that.
One option is to cut the boards over sized by 1/4 in and then use the table saw to get a square edge with the miter gauge or rip fence.
I only worried about this due to putting doors on the cubbies. It's your using baskets you don't have to be so exact.

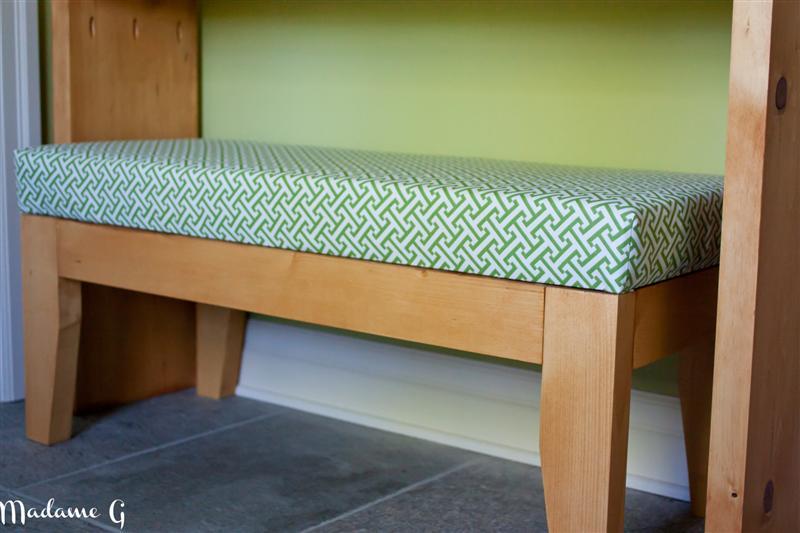
This is my second build and i really like it. I used pine and Waverly Cross Section Green to cover the foam. The plan is realy easy to follow and i used killer B method for the upholstery part. http://ana-white.com/2011/03/upholstered-bench. With two kiddos, it took me a couple of weeks to finish it but its a day project if your have more time than me! The only problem i had was to find high density foam. I finally find it at an upholstery shop but it cost me more for the foam then for the rest of the project. I used varathan oil base stain in light wallnut. I will finish it with a coat of vanish soon. Sorry for my bad english, my first language is french! Genevieve alias MadameG

Wed, 06/06/2012 - 09:32
Genevieve, I always enjoy your posts. Your English is good - better than some people who grew up speaking it here in the US!
I have a daughter named Genevieve. Her father thought Genevieve Bujold was beautiful and wanted to name his little girl for her.

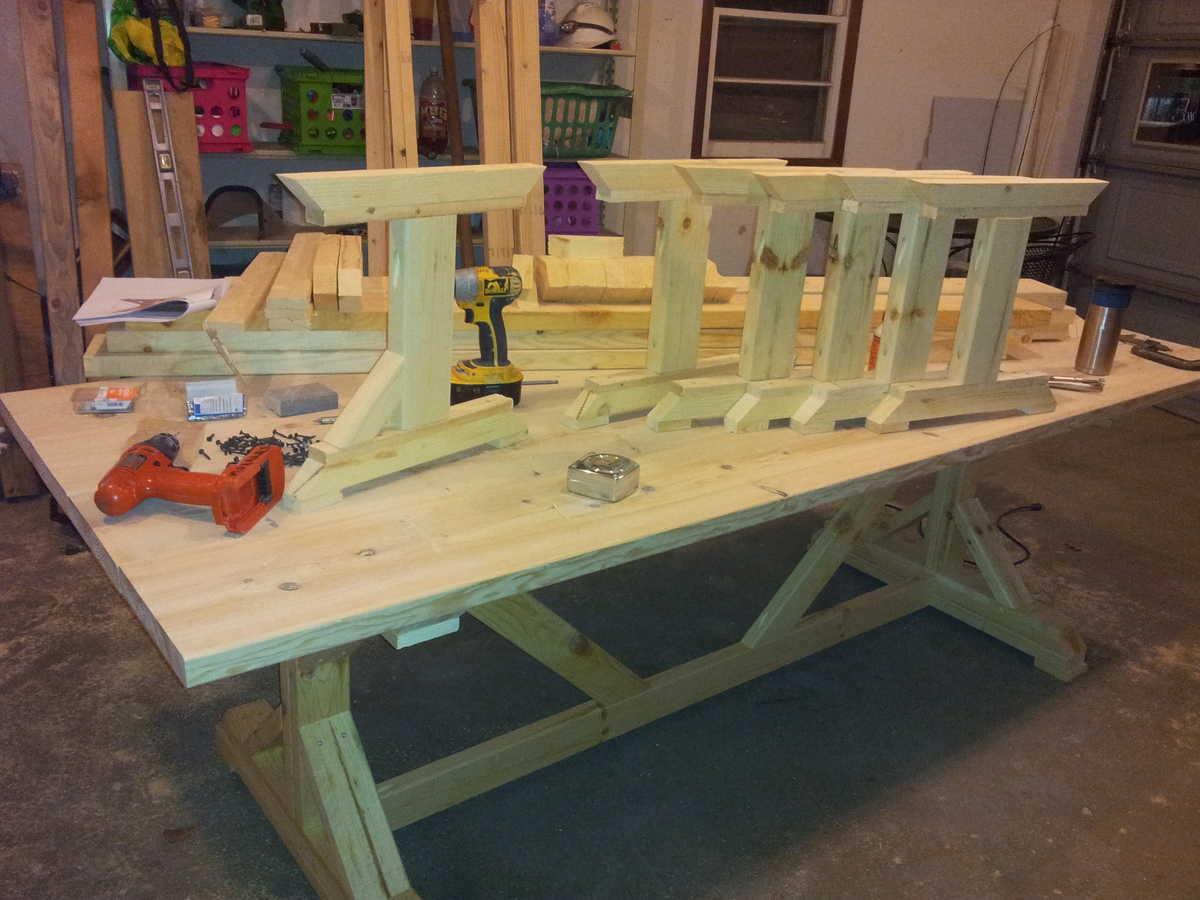
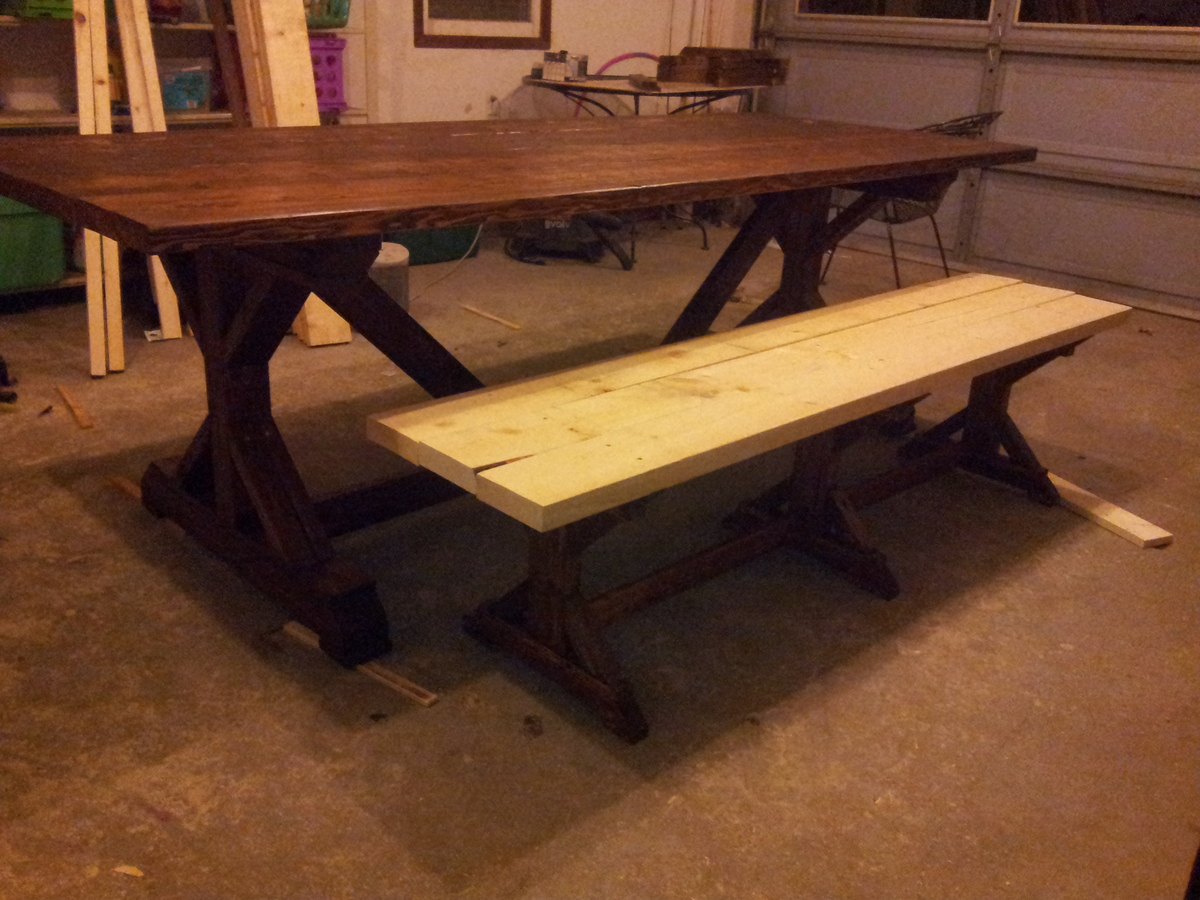
Well this is a project I made from plans from this site and we love it ! Is my first peace of furniture I've ever made and I think it was Farley easy my wife saw the pictures and ask me if I would make it & I was like I'll try and it turned out beautiful everyone who's seen it love it very sturdy actually it was completed right on time for thanksgiving day. I want to thank Anna and whoever posted those plans we love our big table and matching benches : )
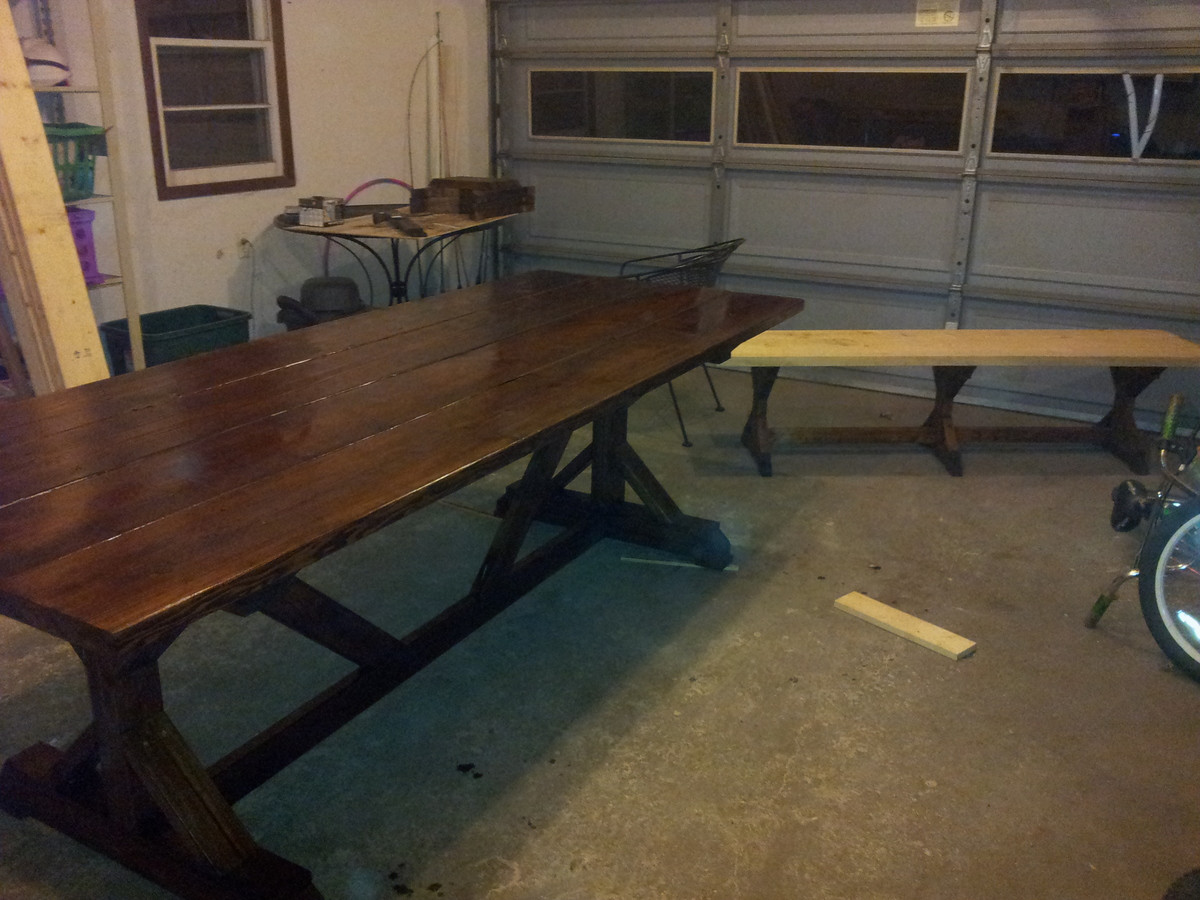
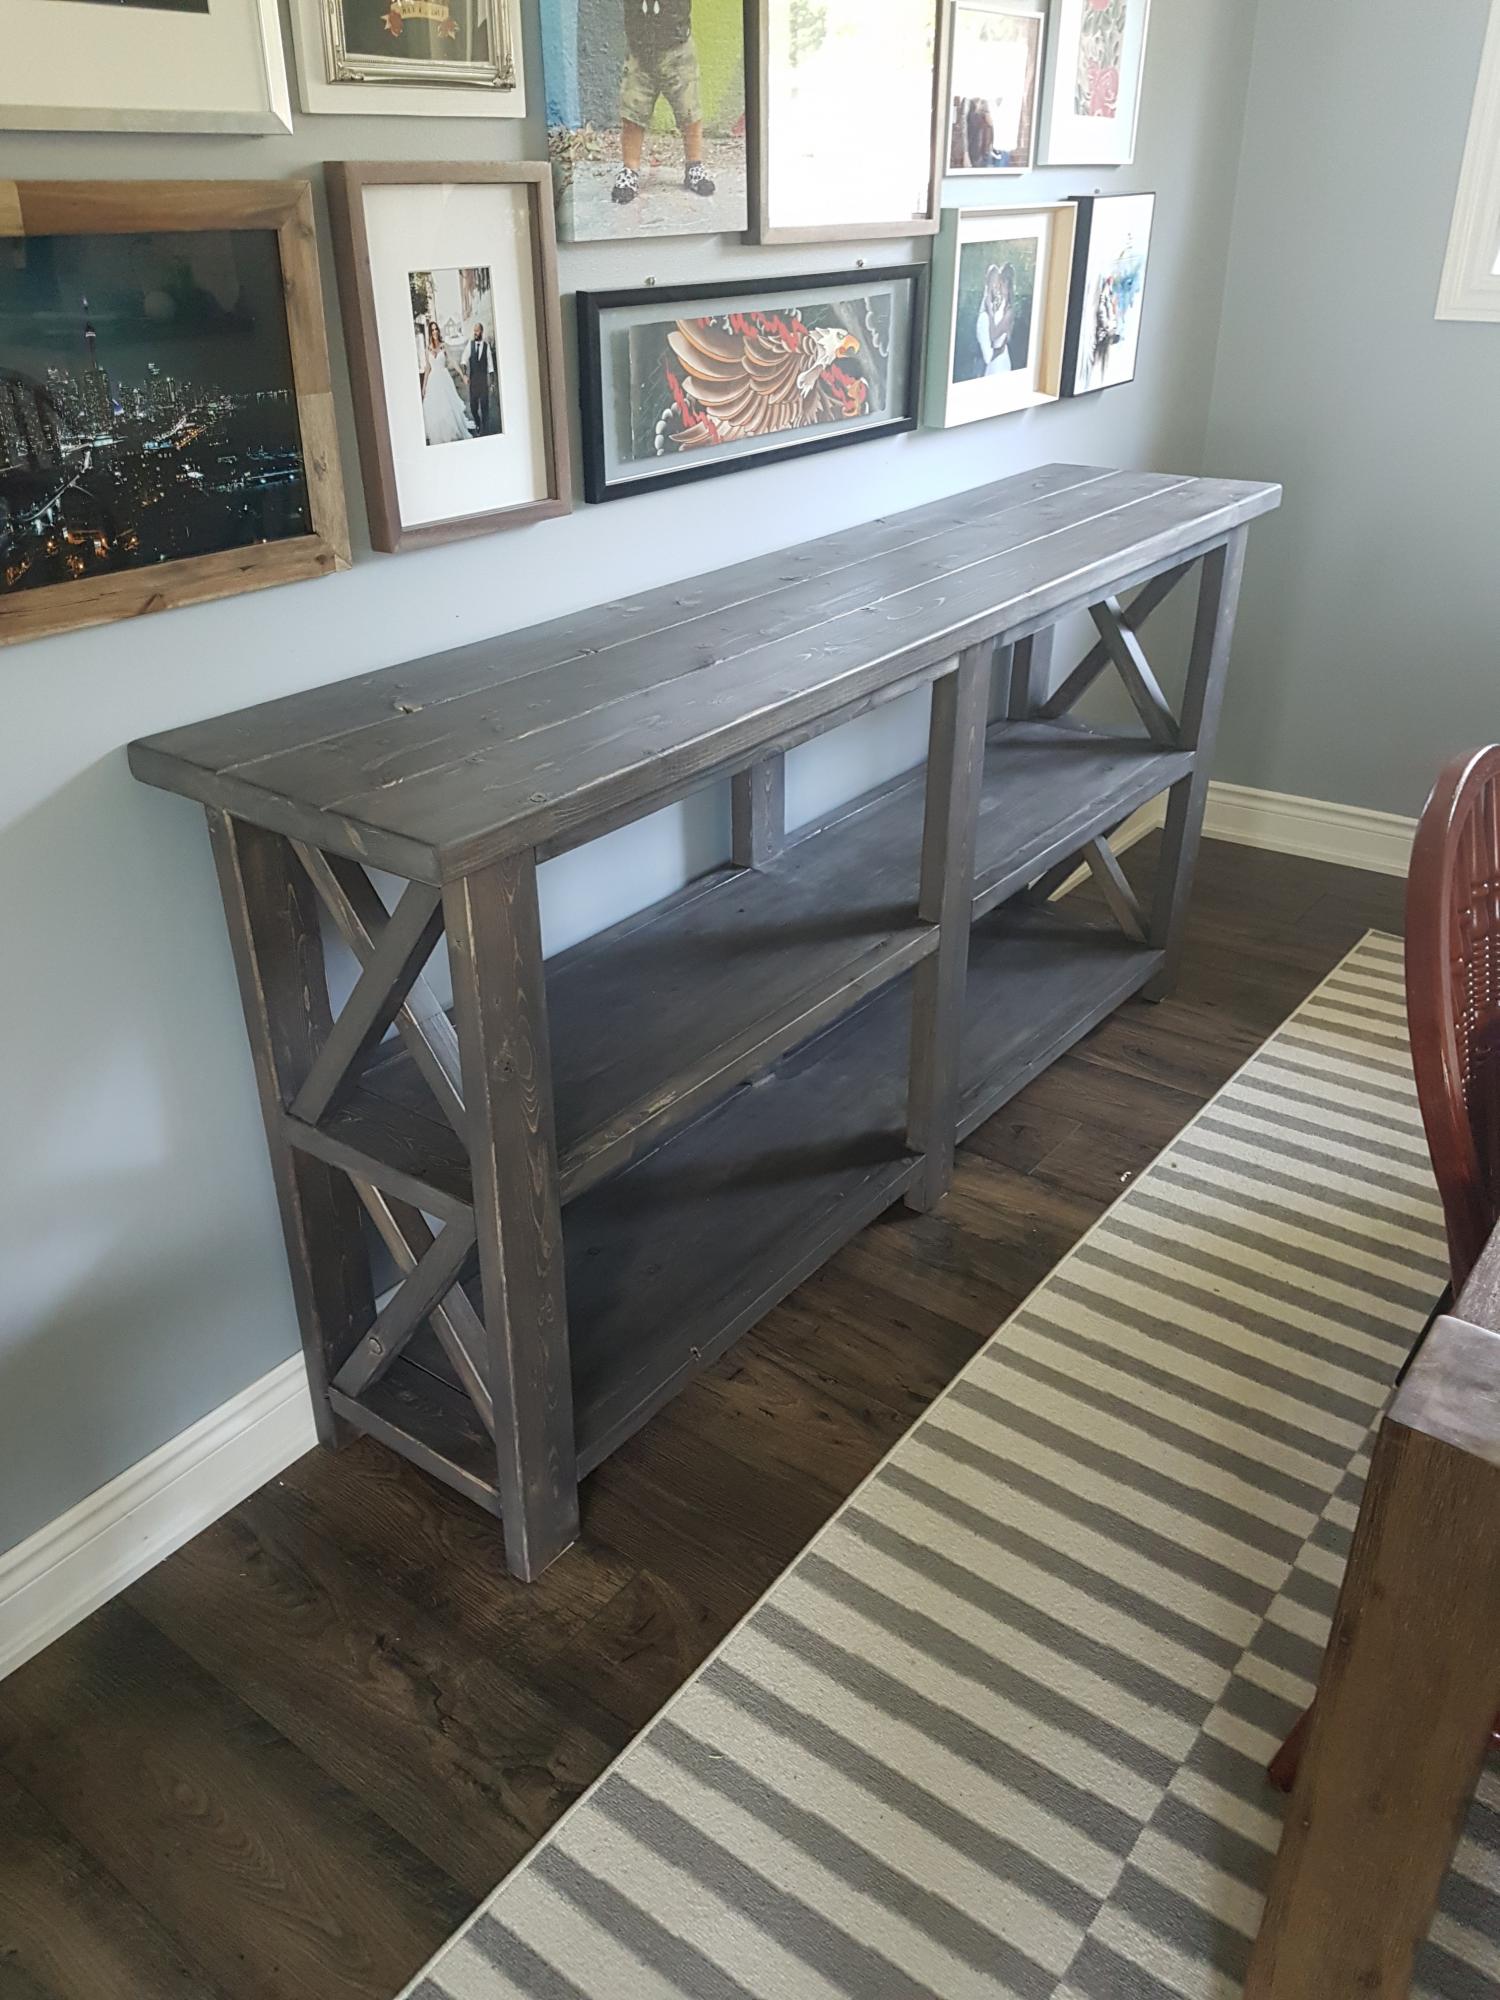
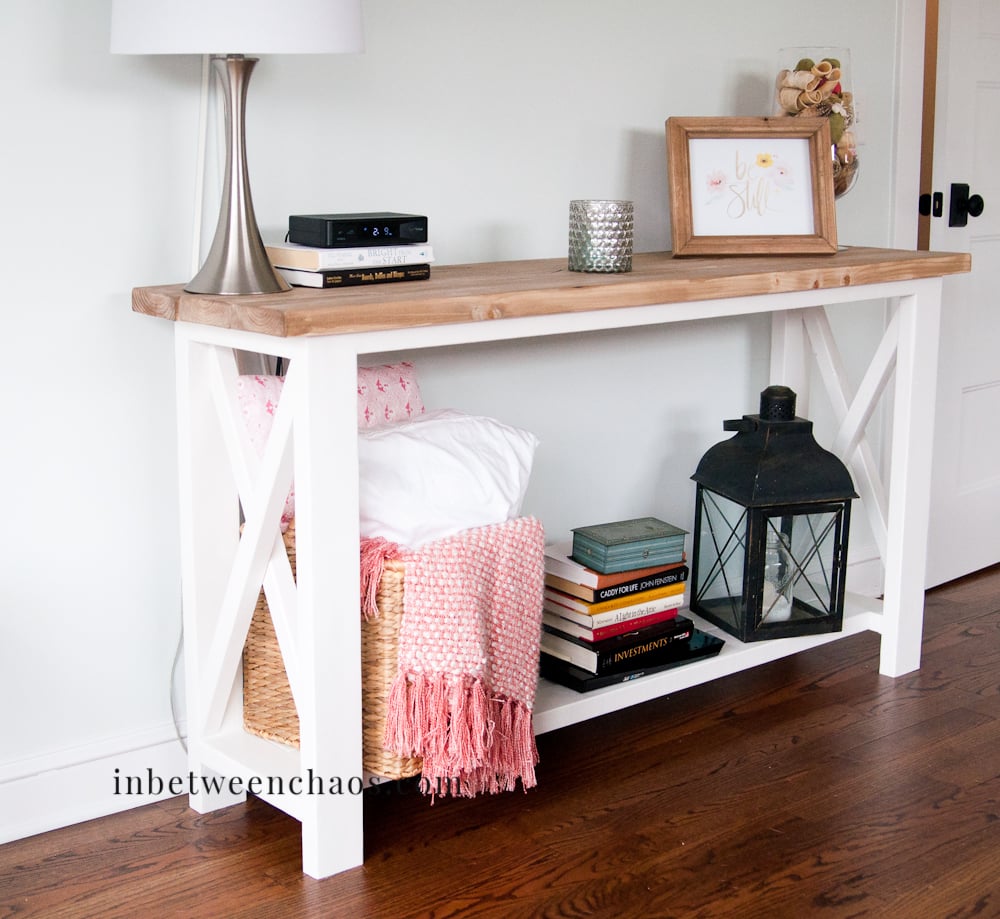
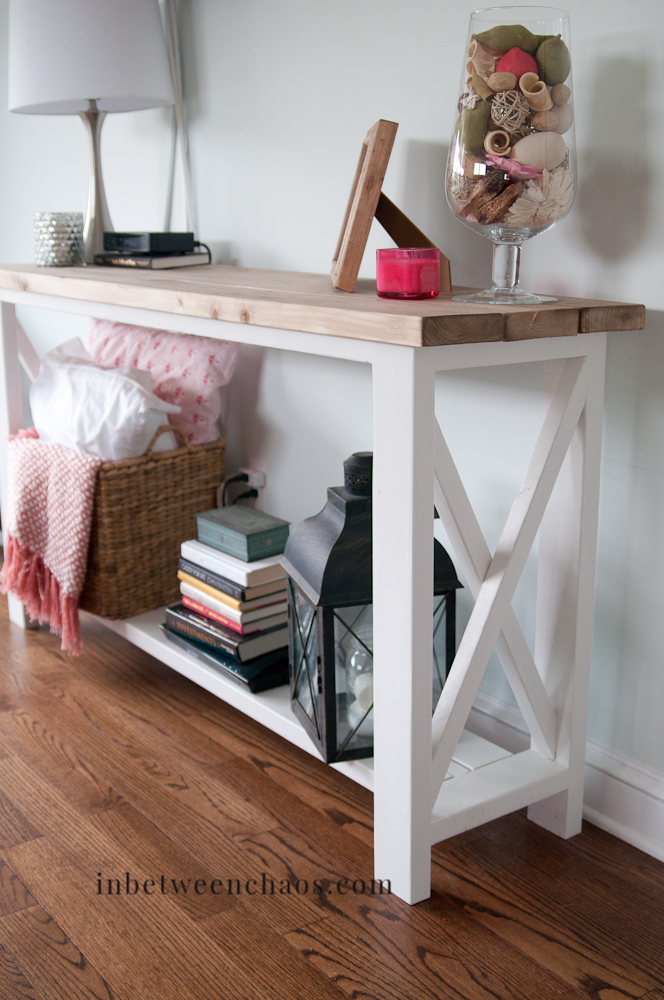
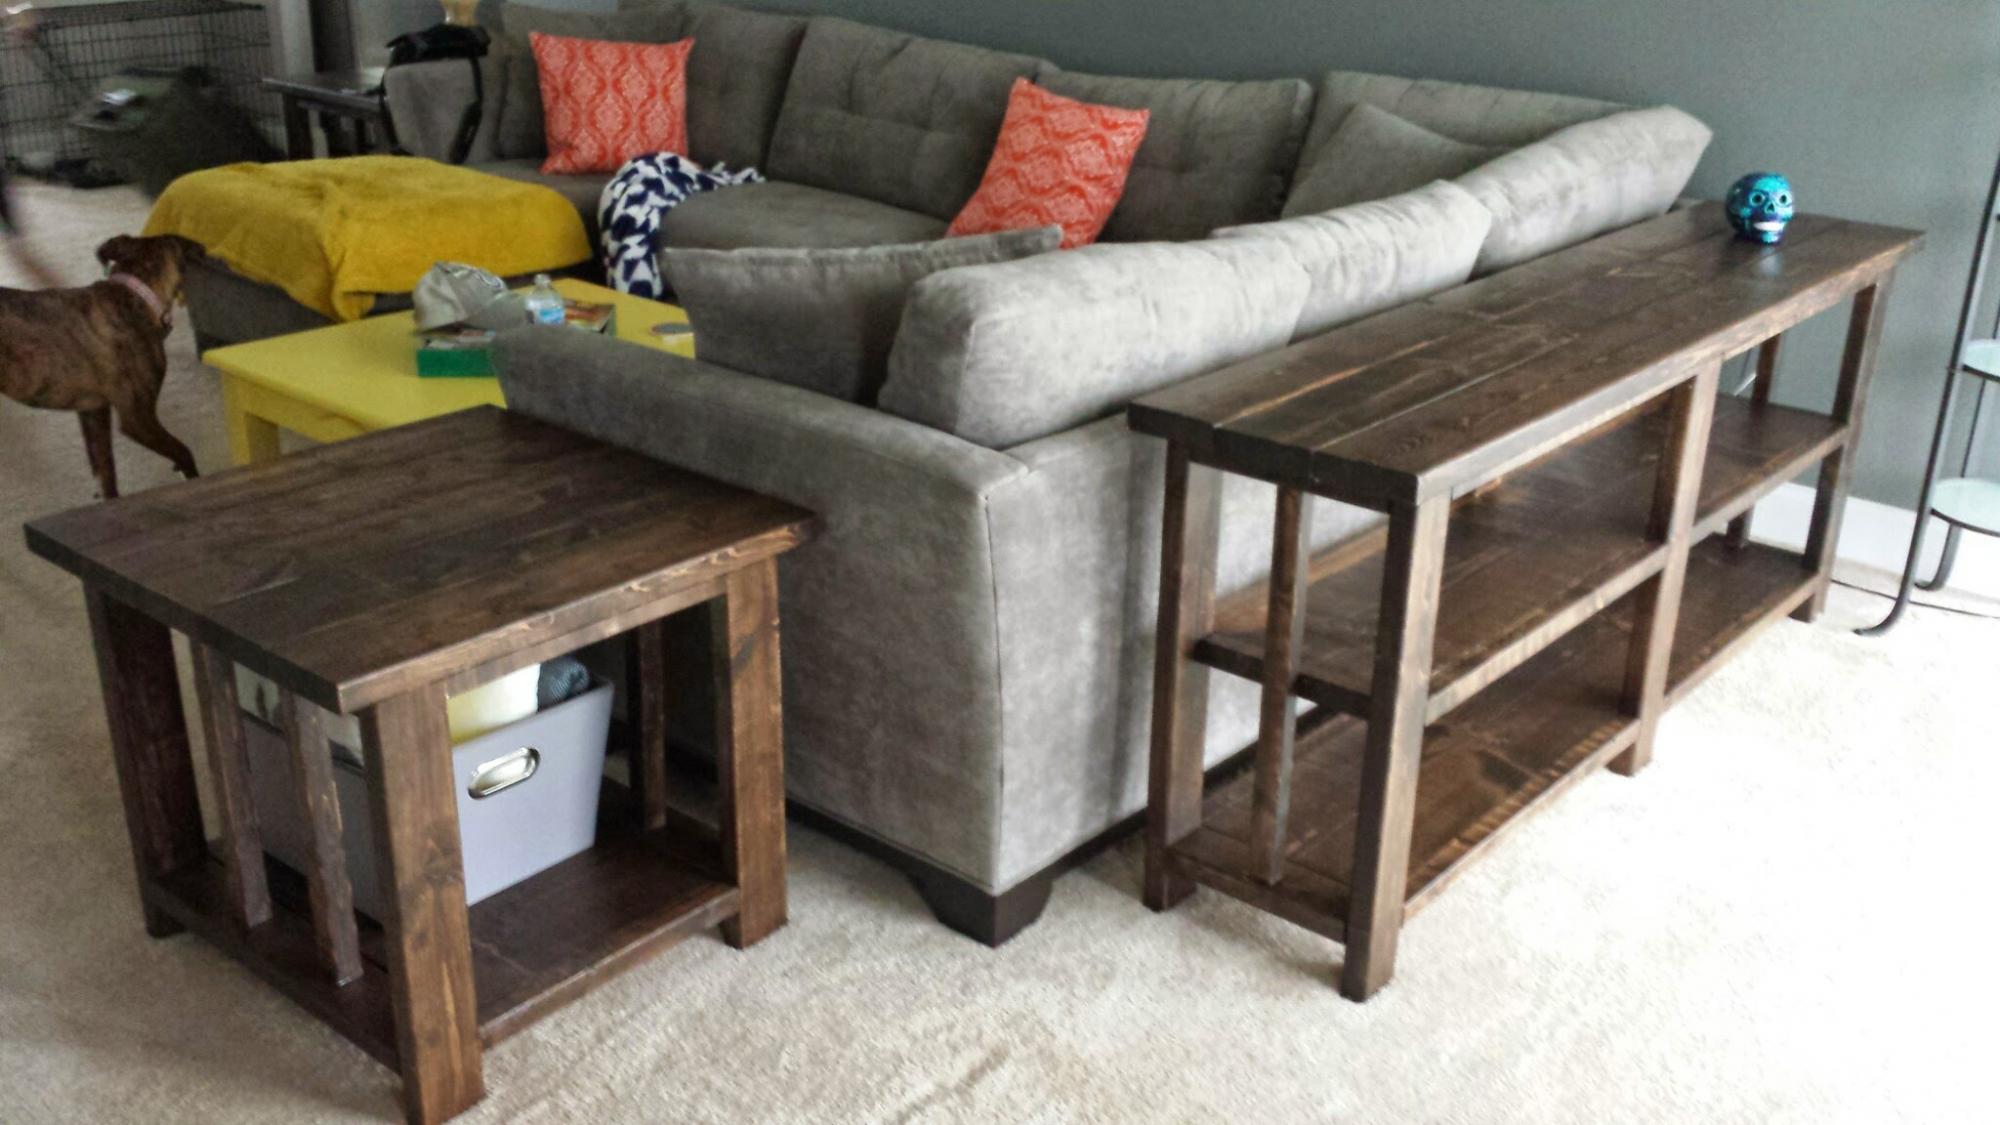
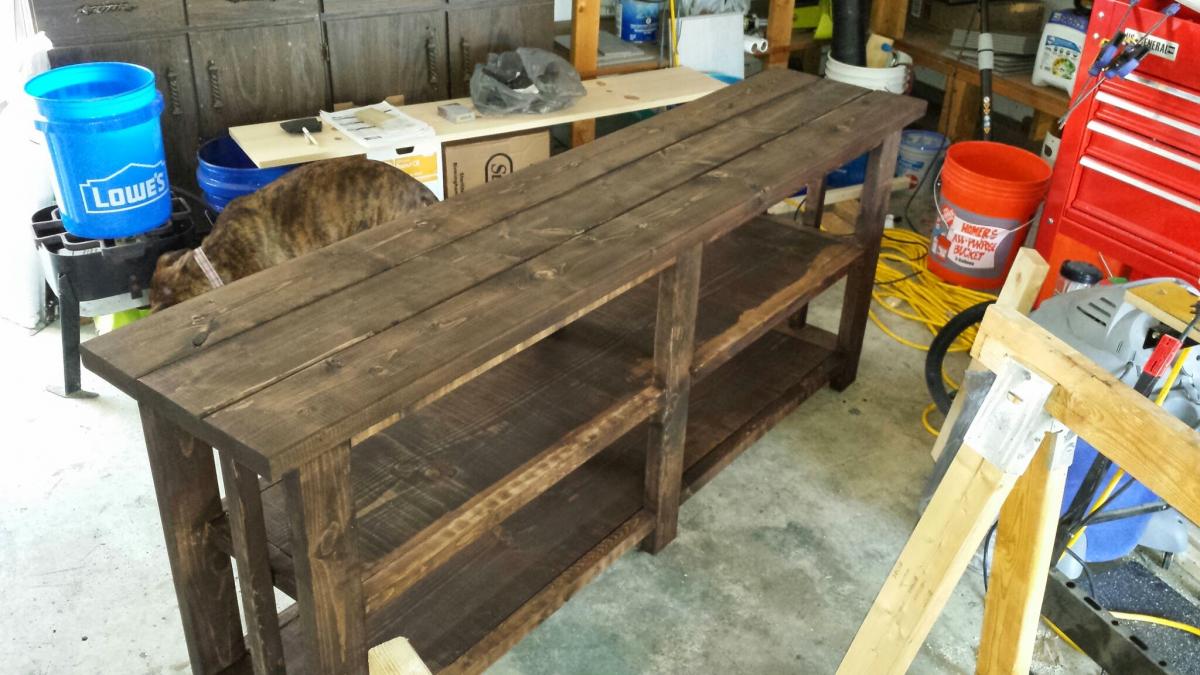
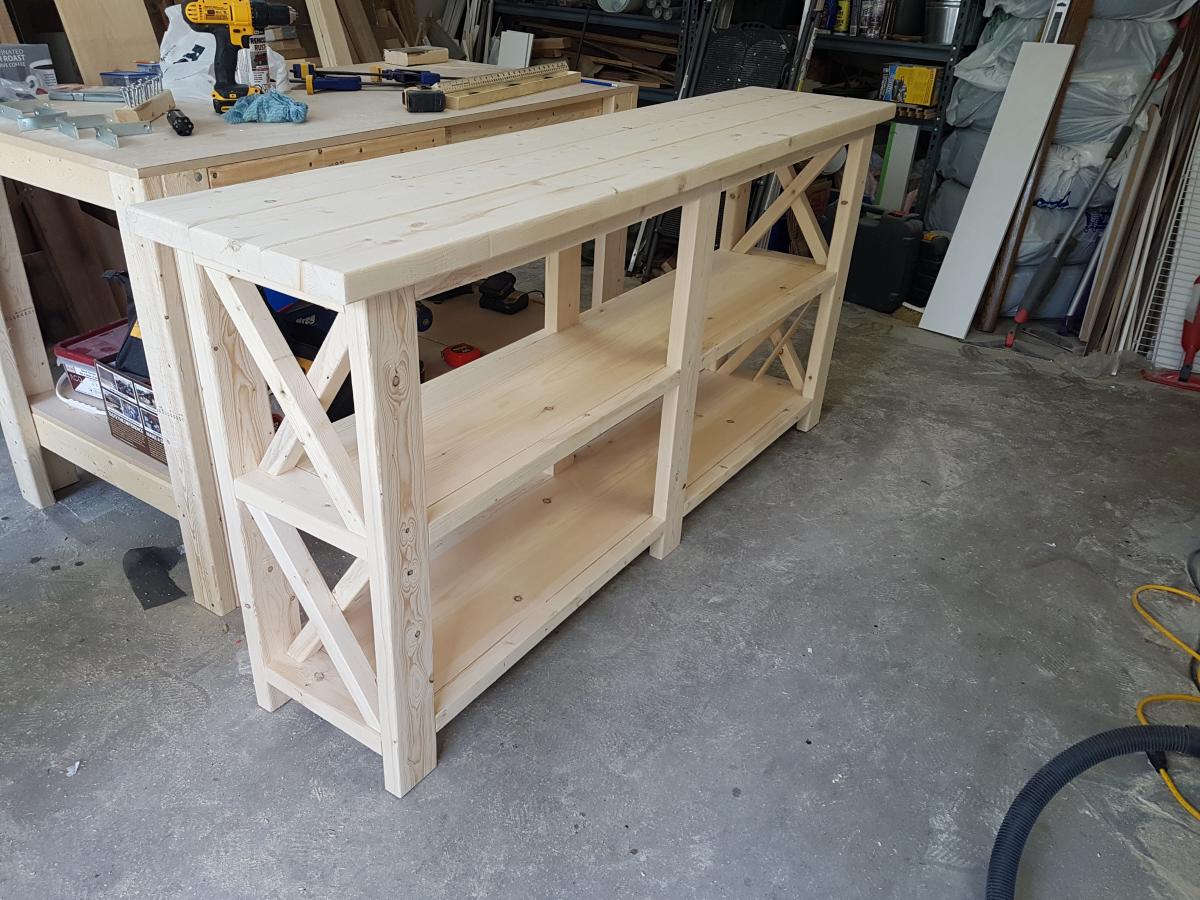
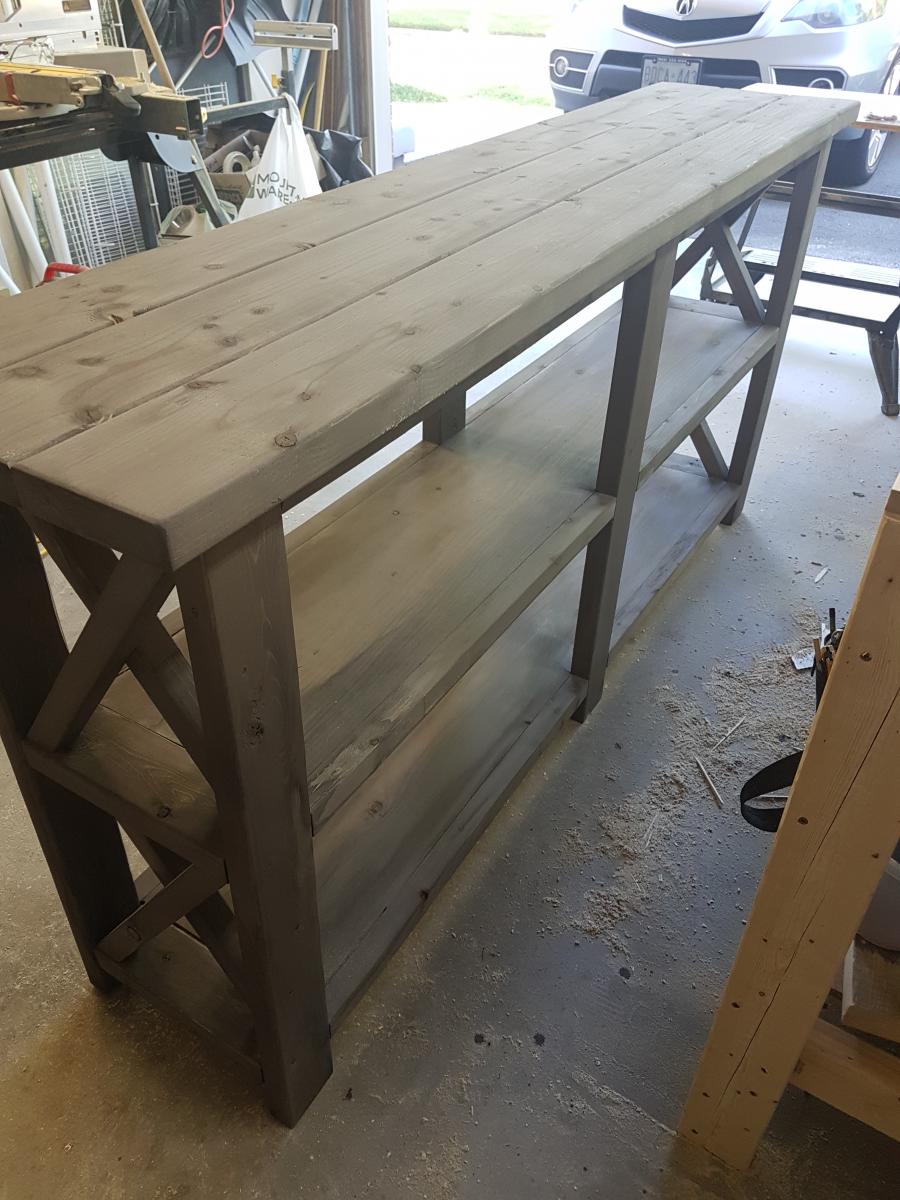
Only slightly modified version of the Farmhouse console table.
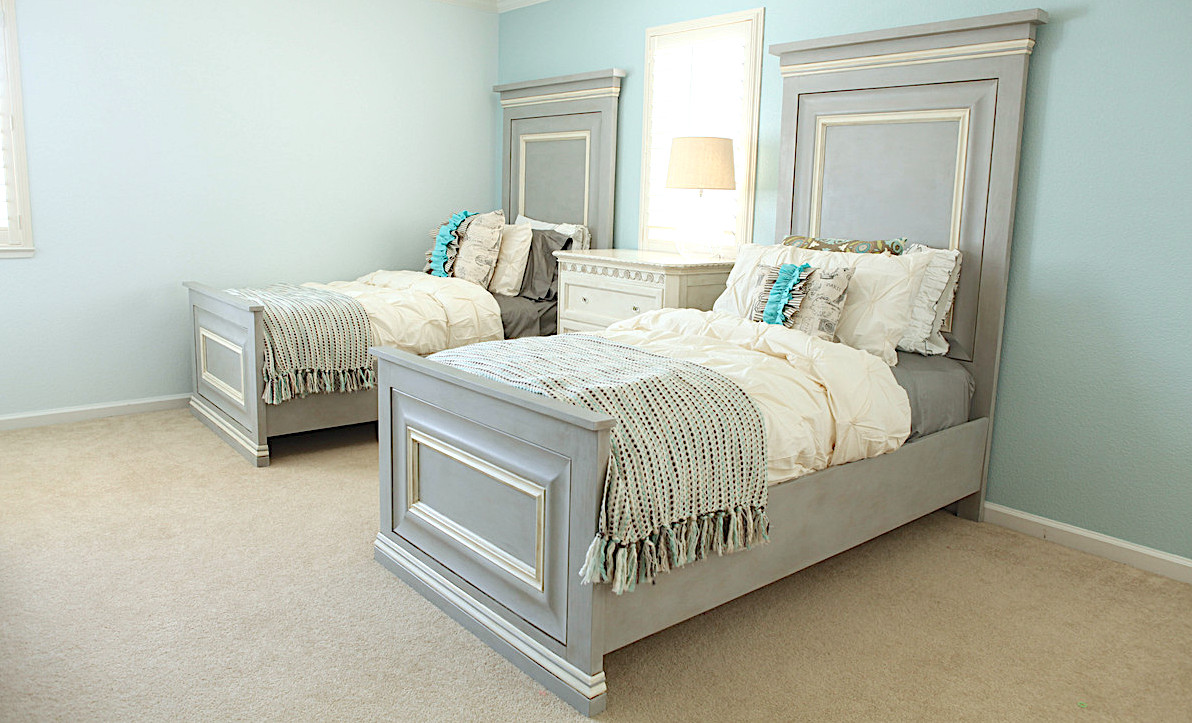
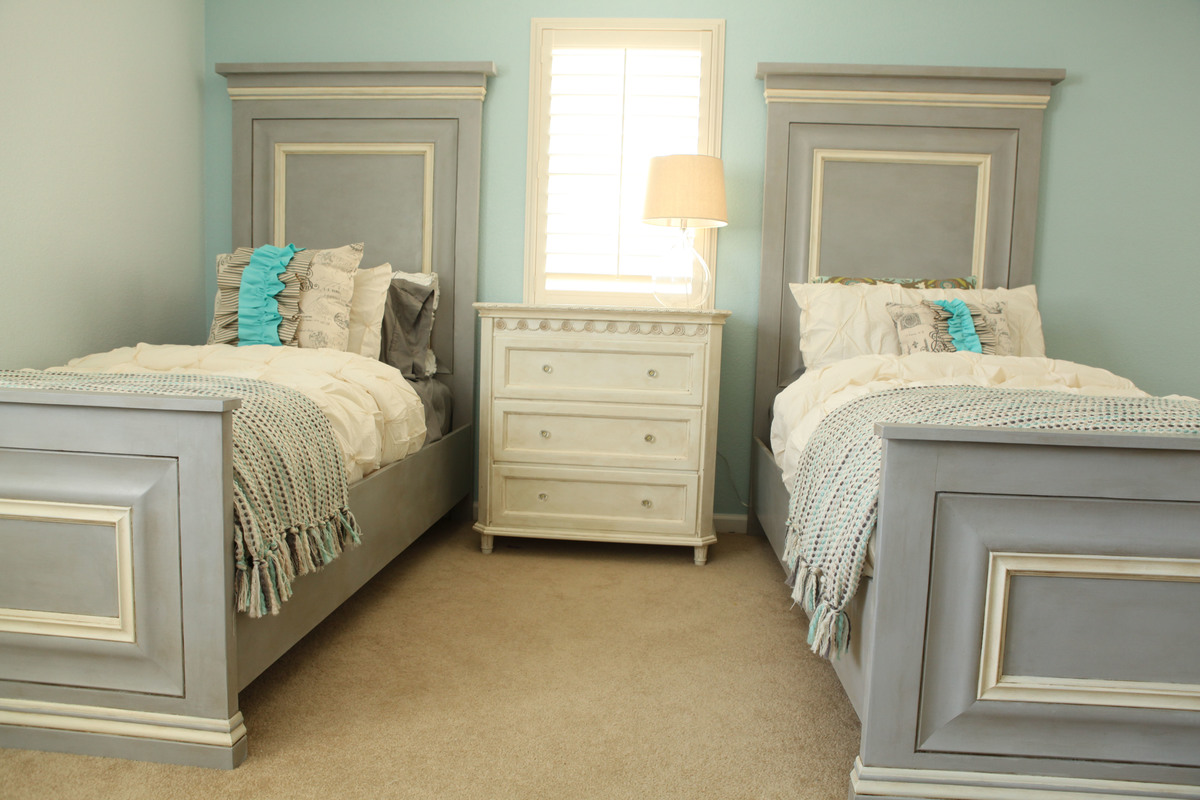
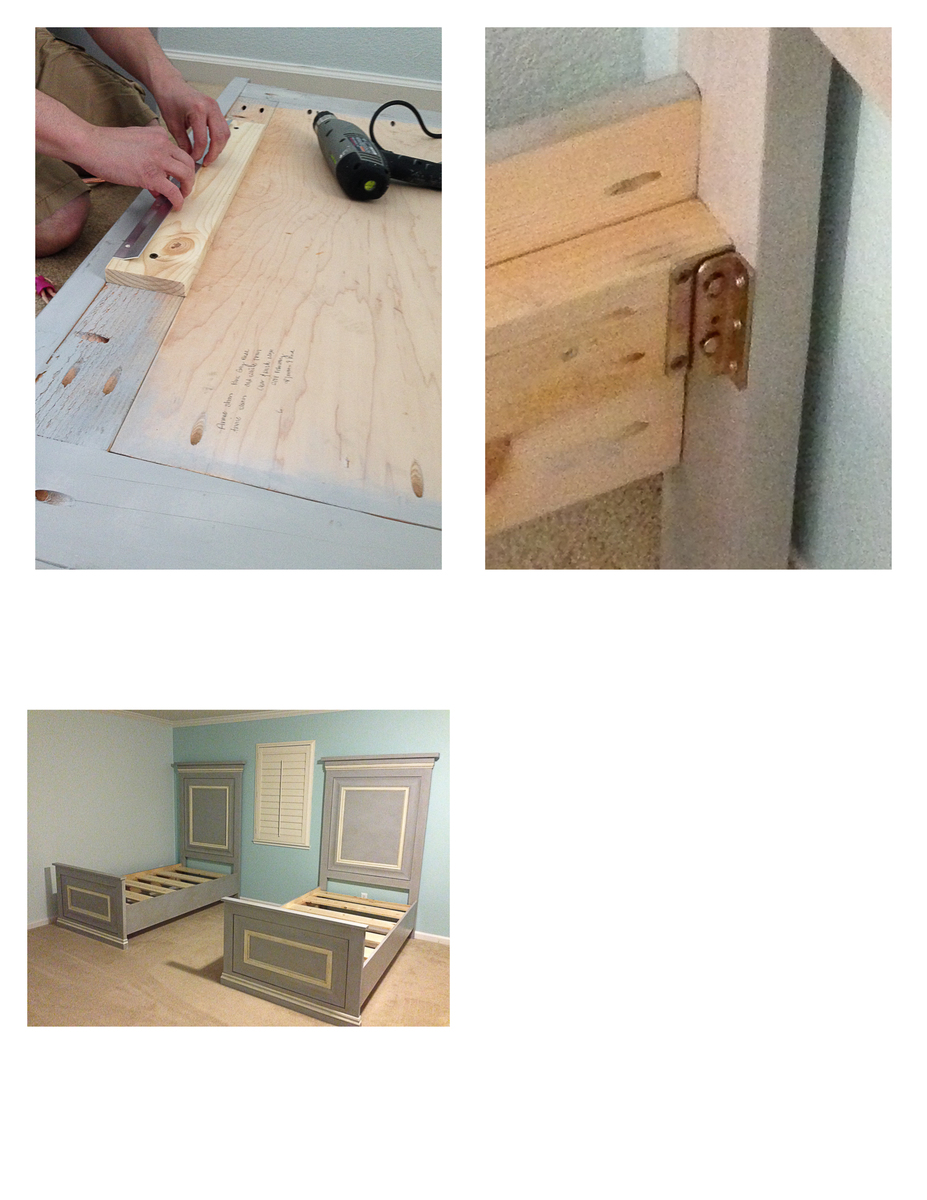
Thank you so much for these awesome plans. When I saw the original twin panel bed, I knew this was exactly what I wanted to build for my two daughters. I love super high head boards, and these are exactly that. I am in love. I did make some changes to the plan. I went with taller side rails, and used metal bed rail brackets. The brackets were super important. We move every few years being in the military, and I wanted something that would with-stand time and moves. I am also quite impressed how solid these beds are. I could never find anything this amazing in a store. I would also like to thank my husband for his help. It was our first build, but definitely not our last. Thank you!


Wed, 06/11/2014 - 17:27
Thank you for your very nice comments:
Here is some info, let me know if I can help further more.
This is what we used for the base molding and the headboard molding at the top. http://www.homedepot.com/p/House-of-Fara-5-8-in-x-4-in-x-8-ft-MDF-Base-…
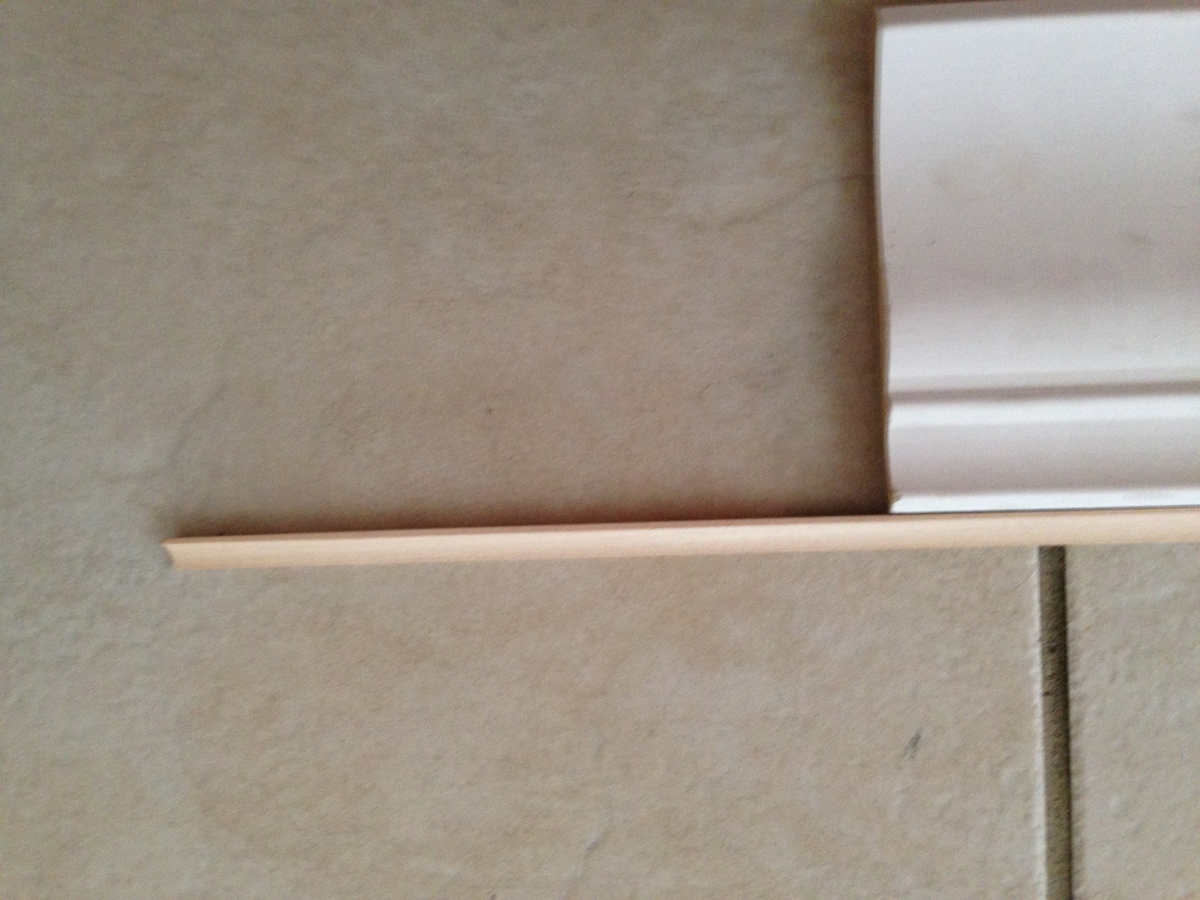
For the the inner molding we used two pieces of molding: This is the style (link below) we used, but ours was a little bigger, 5 1/4 inches. Couldn't find it on the home depot website, but this is exactly the same style.
The addition molding below is a finishing molding that we had to use since the above molding was not flush to the back board. It finished really nice. Glad we added this addition dimension. You can easily skip using it with different "above" molding.
http://www.homedepot.com/p/American-Wood-Moulding-LWM47-9-16-in-x-4-1-4…
http://www.homedepot.com/p/American-Wood-Moulding-WM100-11-16-in-x-11-1…
For the side rails we also used 10 inch boards. I thought it made the bed look more proportioned. I will add additional pics of the molding, so re-check pictures. Again, let me know if you have further questions.
Wed, 06/11/2014 - 17:27
Thank you for your very nice comments:
Here is some info, let me know if I can help further more.
This is what we used for the base molding and the headboard molding at the top. http://www.homedepot.com/p/House-of-Fara-5-8-in-x-4-in-x-8-ft-MDF-Base-…
For the the inner molding we used two pieces of molding: This is the style (link below) we used, but ours was a little bigger, 5 1/4 inches. Couldn't find it on the home depot website, but this is exactly the same style.
The addition molding below is a finishing molding that we had to use since the above molding was not flush to the back board. It finished really nice. Glad we added this addition dimension. You can easily skip using it with different "above" molding.
http://www.homedepot.com/p/American-Wood-Moulding-LWM47-9-16-in-x-4-1-4…
http://www.homedepot.com/p/American-Wood-Moulding-WM100-11-16-in-x-11-1…
For the side rails we also used 10 inch boards. I thought it made the bed look more proportioned. I will add additional pics of the molding, so re-check pictures. Again, let me know if you have further questions.

Mon, 07/20/2015 - 18:51
I'm in awe!! Thank you so much for sharing, I just saw your beds and had to comment and say thank you for sharing and beautiful job! Ana

In reply to Your Bed is Beautiful!!! by Ana White
Sat, 11/28/2015 - 15:53
Thank you! You are the one made it possible. We truly feel inspired when we look at your page. Thank you for sharing all your plans. You are the best.
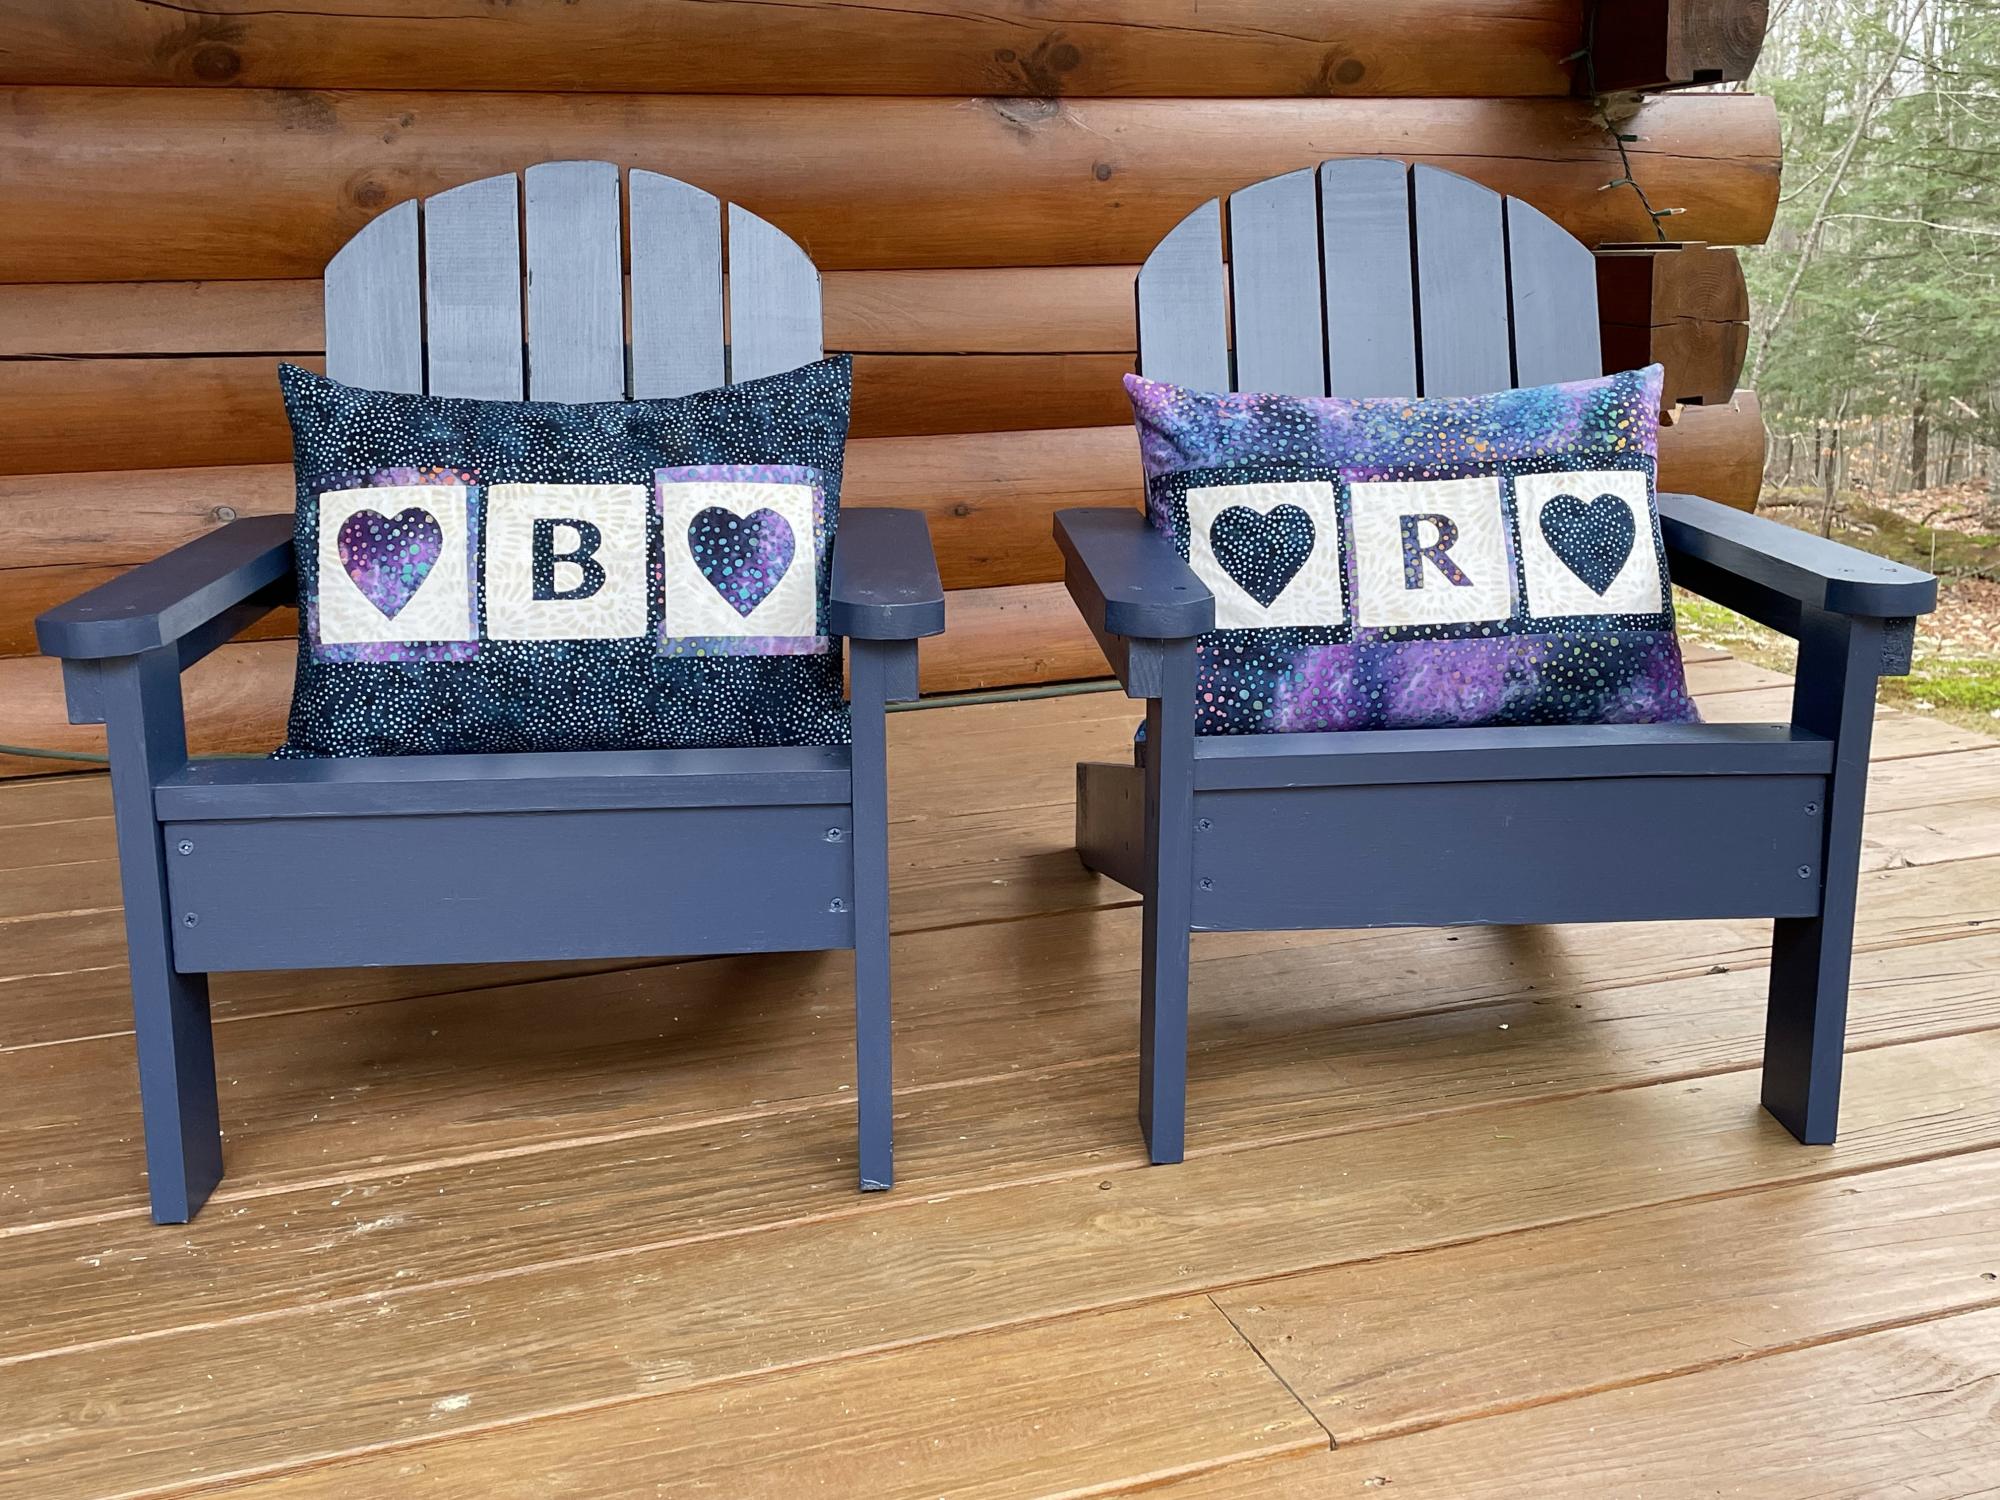
I used your plans to create this pair of grandchild Christmas gifts. They were a huge hit!
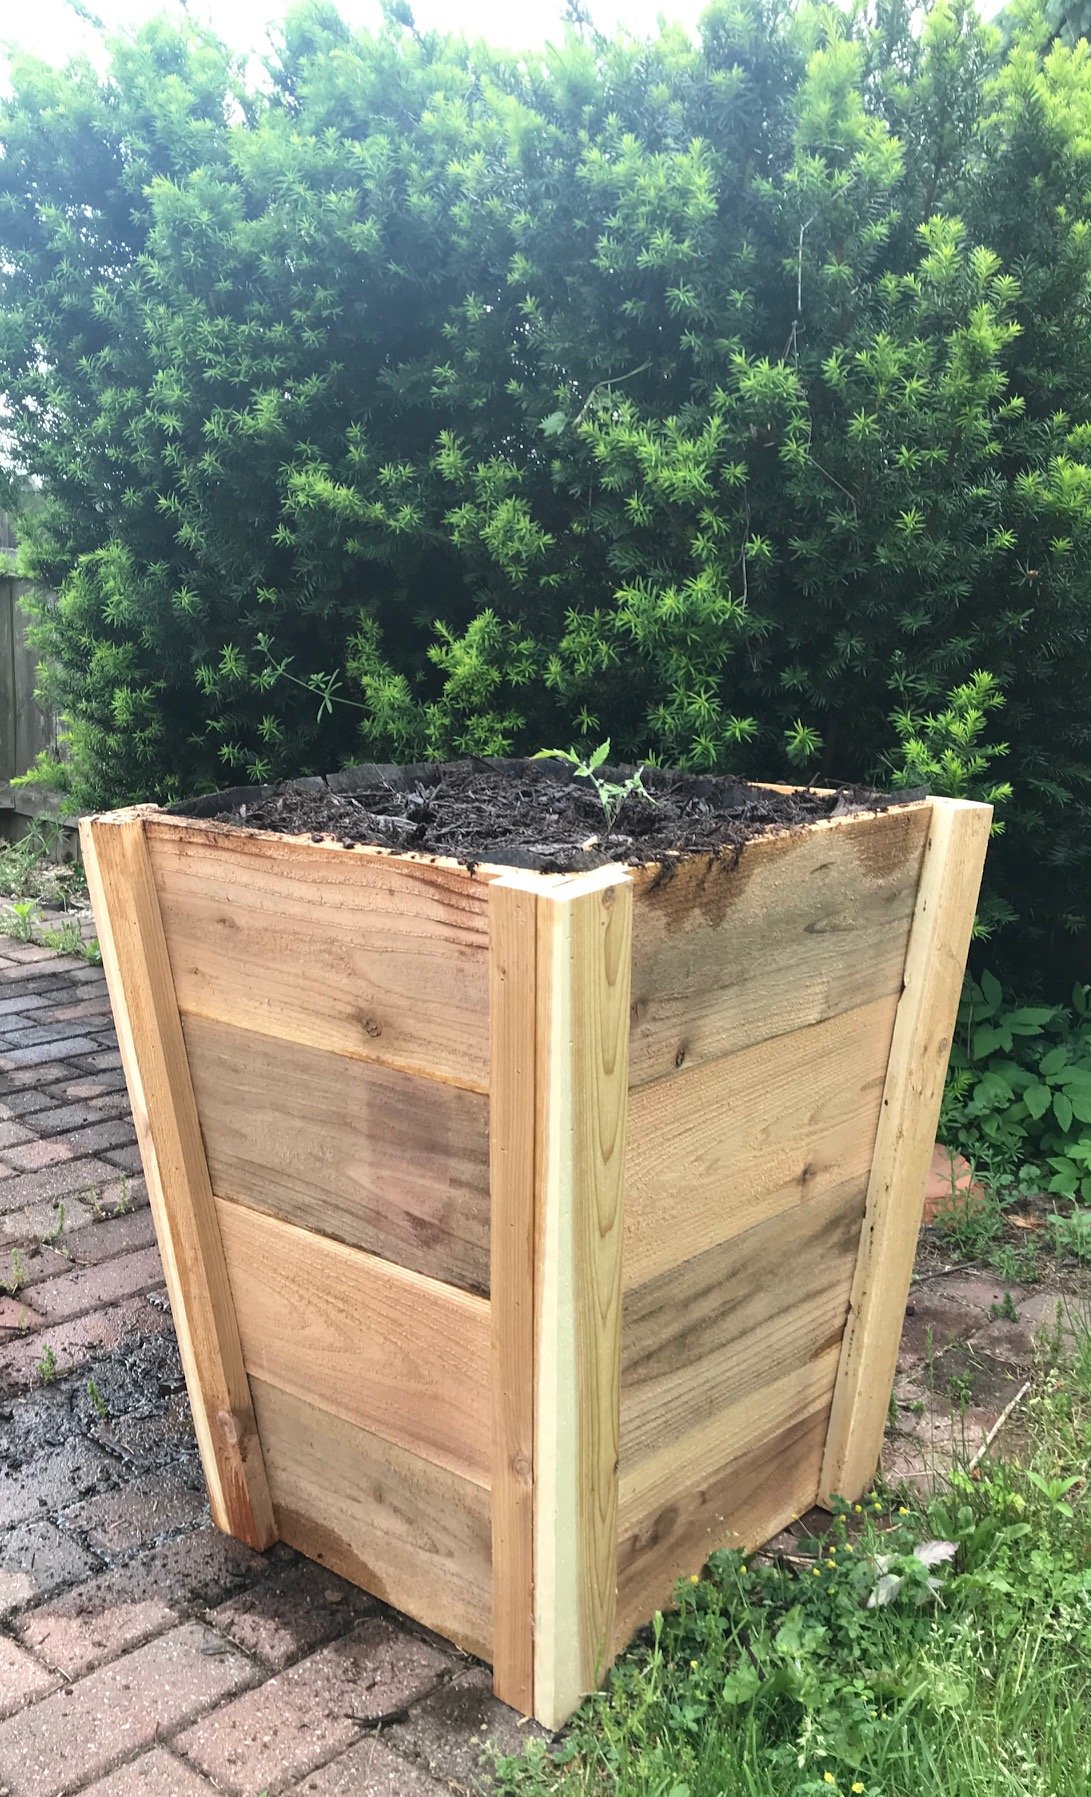
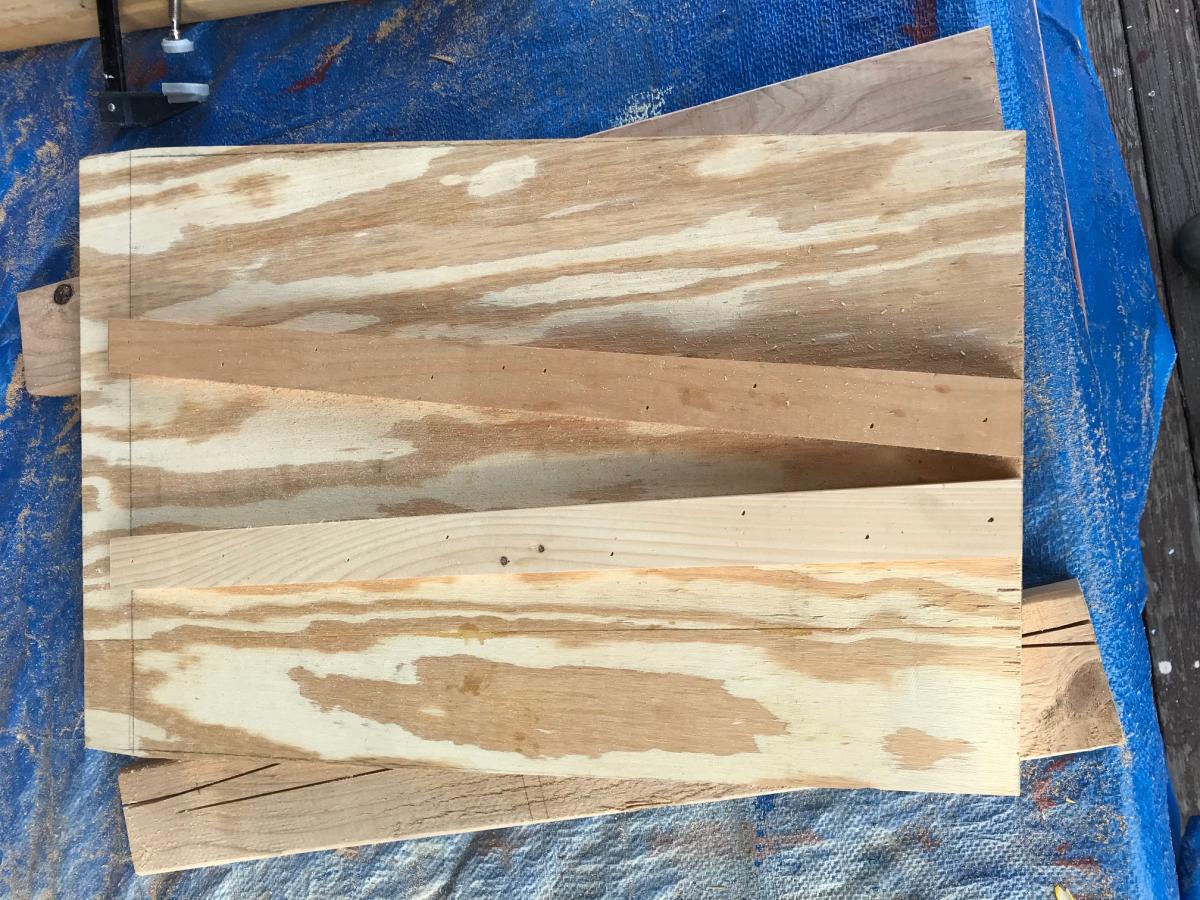
I love the way these planters look and knew I wanted to make them. My freehand circular skills aren't great, so I attached the pickets together with a furring strip and used a template (second picture) to make the cuts. I used screws to attach the furring strips so that once the trim pieces are attached, the furring strips can be removed - or not. This method takes a little longer but it allowed me to make uniform parts. It's also easier to align the sides of the planters since the pickets are already attached to one another - i.e. one unit. I've made two, have a third, shorter one in progress and plan to make more!
This design turned out to be perfect! It was super simple and easy to build! Easy to follow plans! Great beginner project!
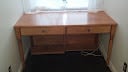
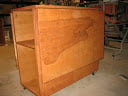
I have a friend who makes beautiful quilts. She's been doing this by sitting on the floor to cut her fabric and plopping her sewing machine on a wobbly folding table. When she decided to turn her guest room into a dual purpose sewing/guest room she asked me to build her something that would fit into a niche under her dormer window.
The built in table has two large drawers for sewing notions and is supported at the back by a shelving unit with adjustable shelves. She plans to store items that she seldom uses here. They will be accessible, but out of the way and barely visible when she has guests using her room.
I suggested that I also build Anna's sewing table for small spaces so that she use that as a night stand when not in use as a cutting table.
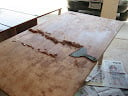
I usually don't finish projects I build for others - I'm just not good at it! But, my friend asked me to put a finish on it. She picked out the Minwax polyshades product, and I have to tell you that it was a nightmare! (You can read about that here: http://thewidowsworkshop.blogspot.com/2012/06/lessons-learned-again.html)
I ended up using a stripping product to remove that finish. The final finish, just a stain and rub on poly, turned out beautifully!
Installation was also a challenge, but using brute force - and a hammer! - I was able to fit it between those very out-of-square walls!
She's happy, I'm happy to be done!


Comments
Ana White Admin
Thu, 05/18/2023 - 09:22
Excellent outdoor seating!
Way to go, so happy you enjoy it! Thanks for sharing.