Community Brag Posts
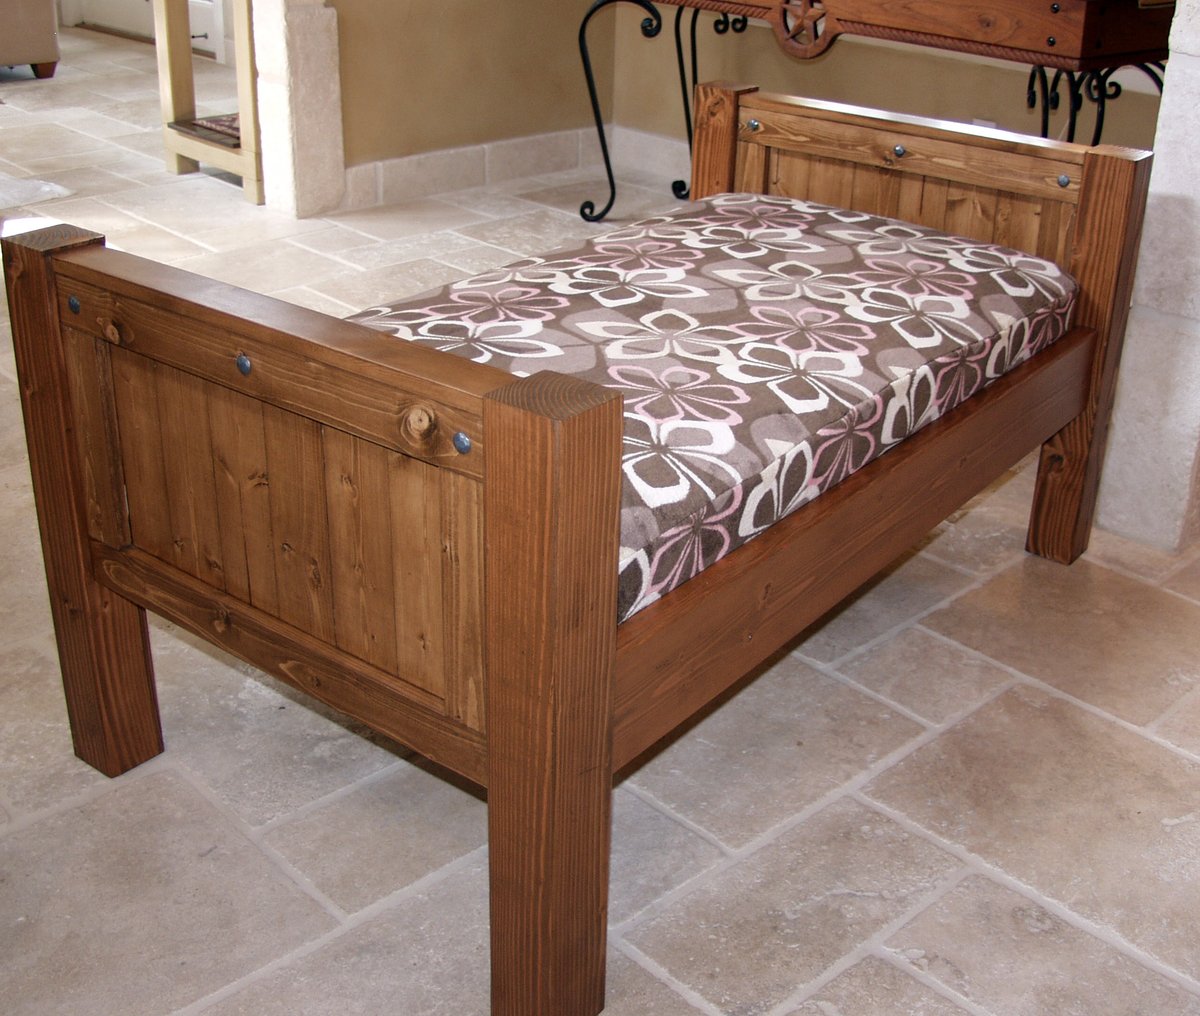
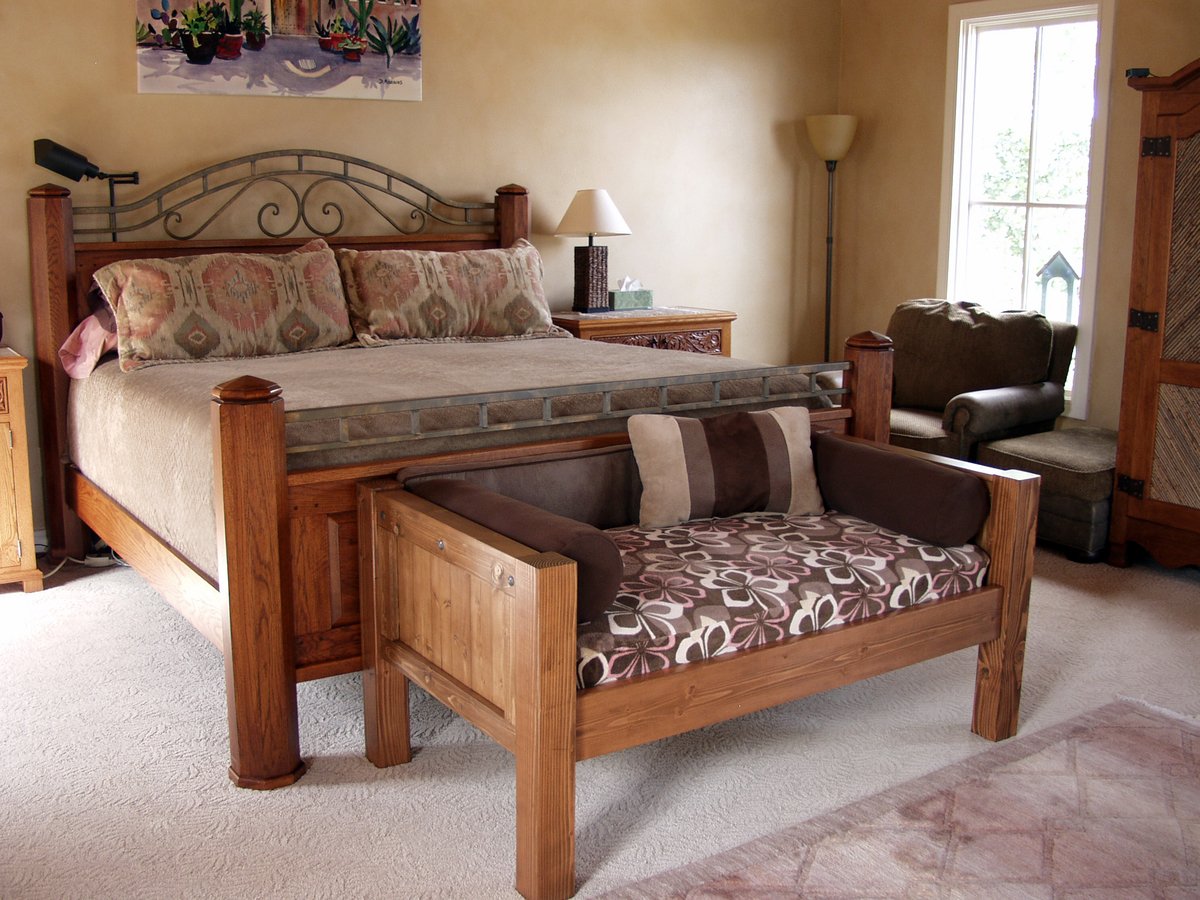
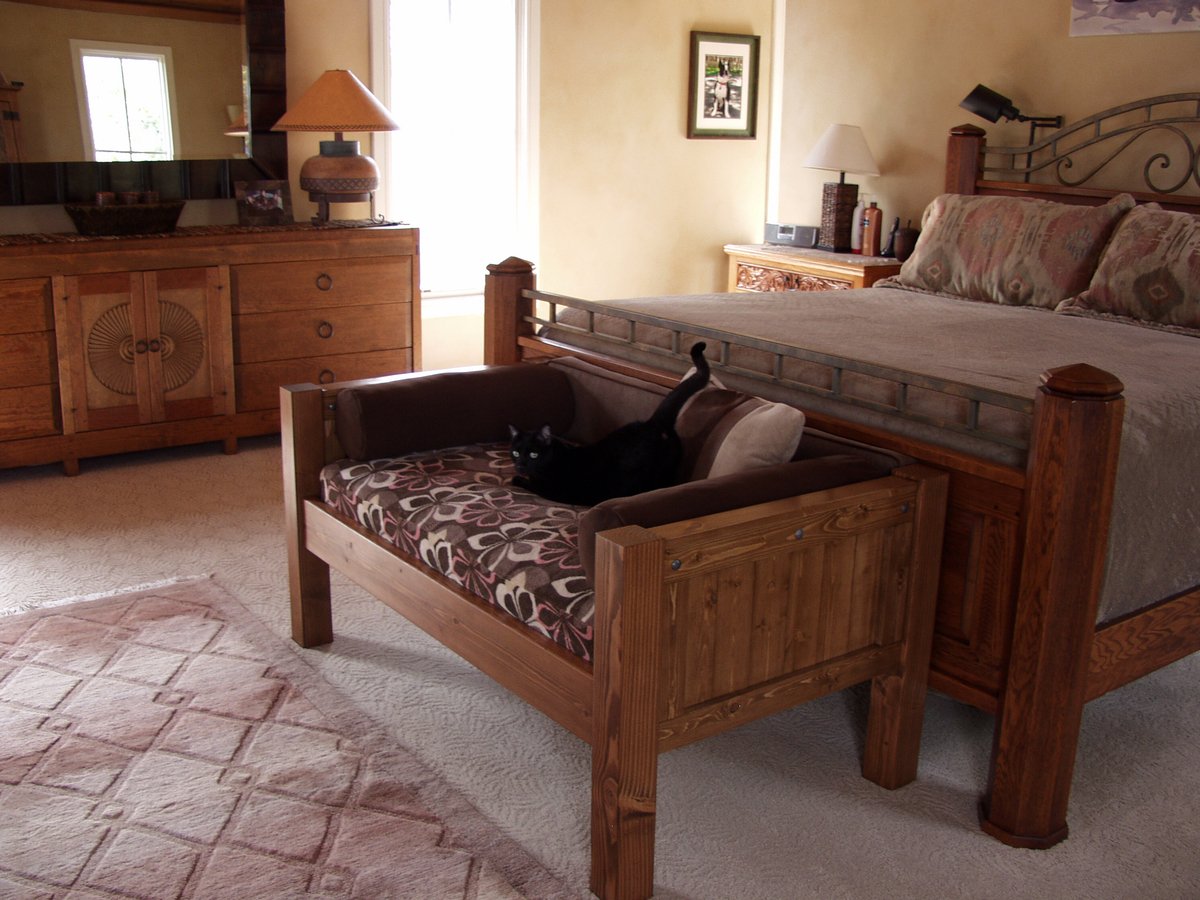
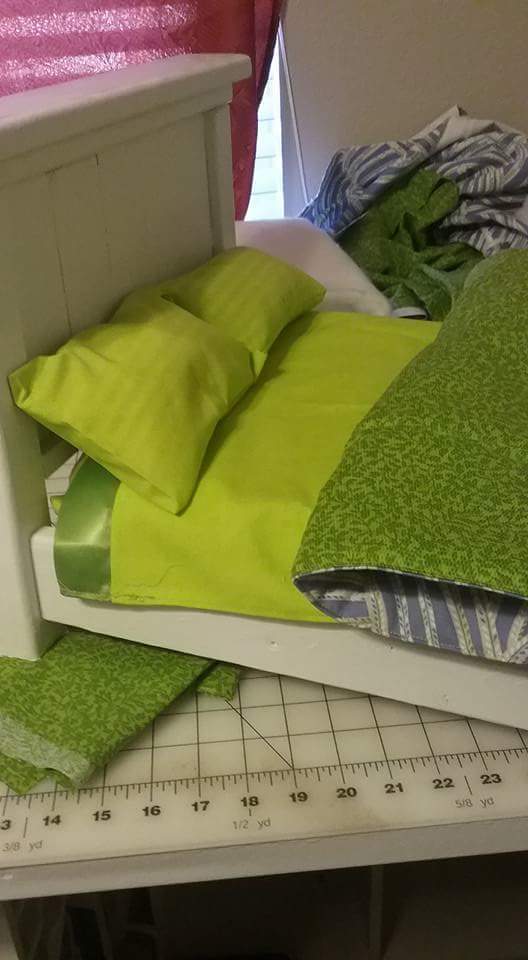
Petra's Doggie Day Bed
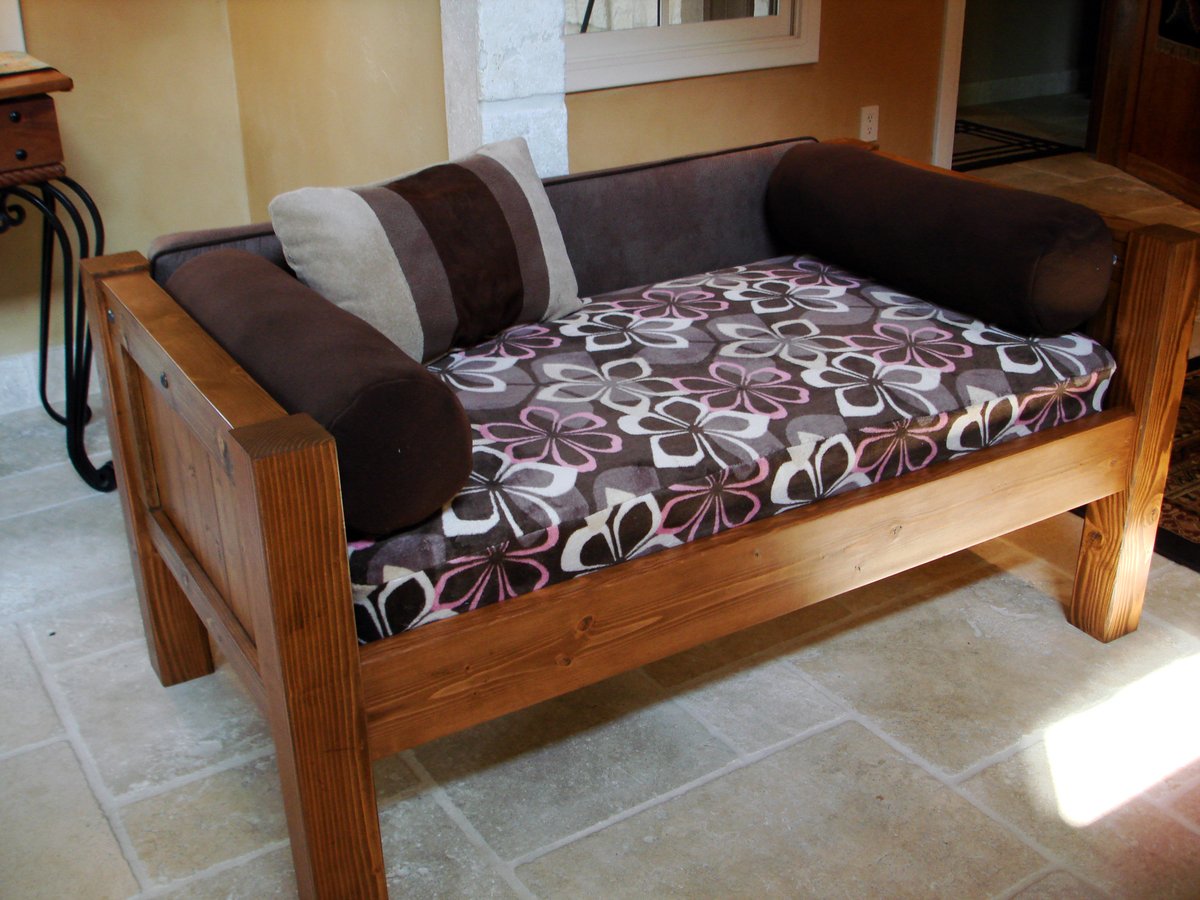
Yes, my husband and I share our bedroom with 6 dogs and an occasional cat (or 4). Our older dog (Petra) has slept on our bed for over 10 years, and she's getting too old to jump anymore. We didn't want her to feel like she was getting kicked off the bed, so I made Petra her very own bed at the end of ours so that she wouldn't feel left out. I was inspired by MurdaRae's dog bed (http://ana-white.com/2012/06/doggie-daybed), and thought it was genius to use a toddler/crib bed. So I went looking for plans on Ana-White, and came up with a mixture between a couple of twin bed plans. I love that the plans are easy enough to modify my sizes, and come up with exactly the custom solution that I need. This was my first big project using Bri-Wax. The last one was kind of a disaster when the wax changed the stain color to something not-so-great. With this project, I learned to wait at least 2 weeks before attempting to wax it. I was blown away with the results. It is a beautiful subtle satin finish that feels great to the touch. Plus, I can easily touch up all the dog fingernail scratches that will inevitably occur. When I re-assembled the bed in my bedroom, I actually nicked it in a few places. No problem -- slap on some more Bri-Wax! My Bri-Wax was 11 years old, and pure liquid. I tossed it in the fridge (per Bri-Wax's recommendation), and it was as good as new. The only real problem I had with this project was leaking sap from one of the 4x4s. I'm still fighting this today. In talking with Rustoleum/Zinsser reps, they said that no sap could penetrate their "Seal Coat" shellac product. After 5 coats, the sap is still penetrating, but only if I turn it on it's side or upside down. I'm still baffled. I made the mattress cover out of a dog blanket, and made the cushions from some remnant fabric (suitable for dogs and weekly washing), so this was a fairly inexpensive project. It was a success because Petra slept in her bed from the fist night and loved that she had all the room to herself, and no boston terrorists (I mean terriers) attempted to bother her.


Built from Plan(s)
Estimated Cost
$65 for Wood, $60 for Crib Mattress, $7 for stain, $9 for Decorative Clavos
Estimated Time Investment
Weekend Project (10-20 Hours)
Finish Used
Combination of Minwax Water-based stains: 6 parts Colonial Pine: 1 part American Walnut, followed 4-5 Coats Bri-Wax (Light Brown)
Recommended Skill Level
Beginner
Comments


Sun, 08/26/2012 - 10:24
Looks great!
It matches the woods in your bedroom so well and looks great! Also, I love the bolster pillows around the edges. That is something I need to make for our dog bed. Thanks for sharing.
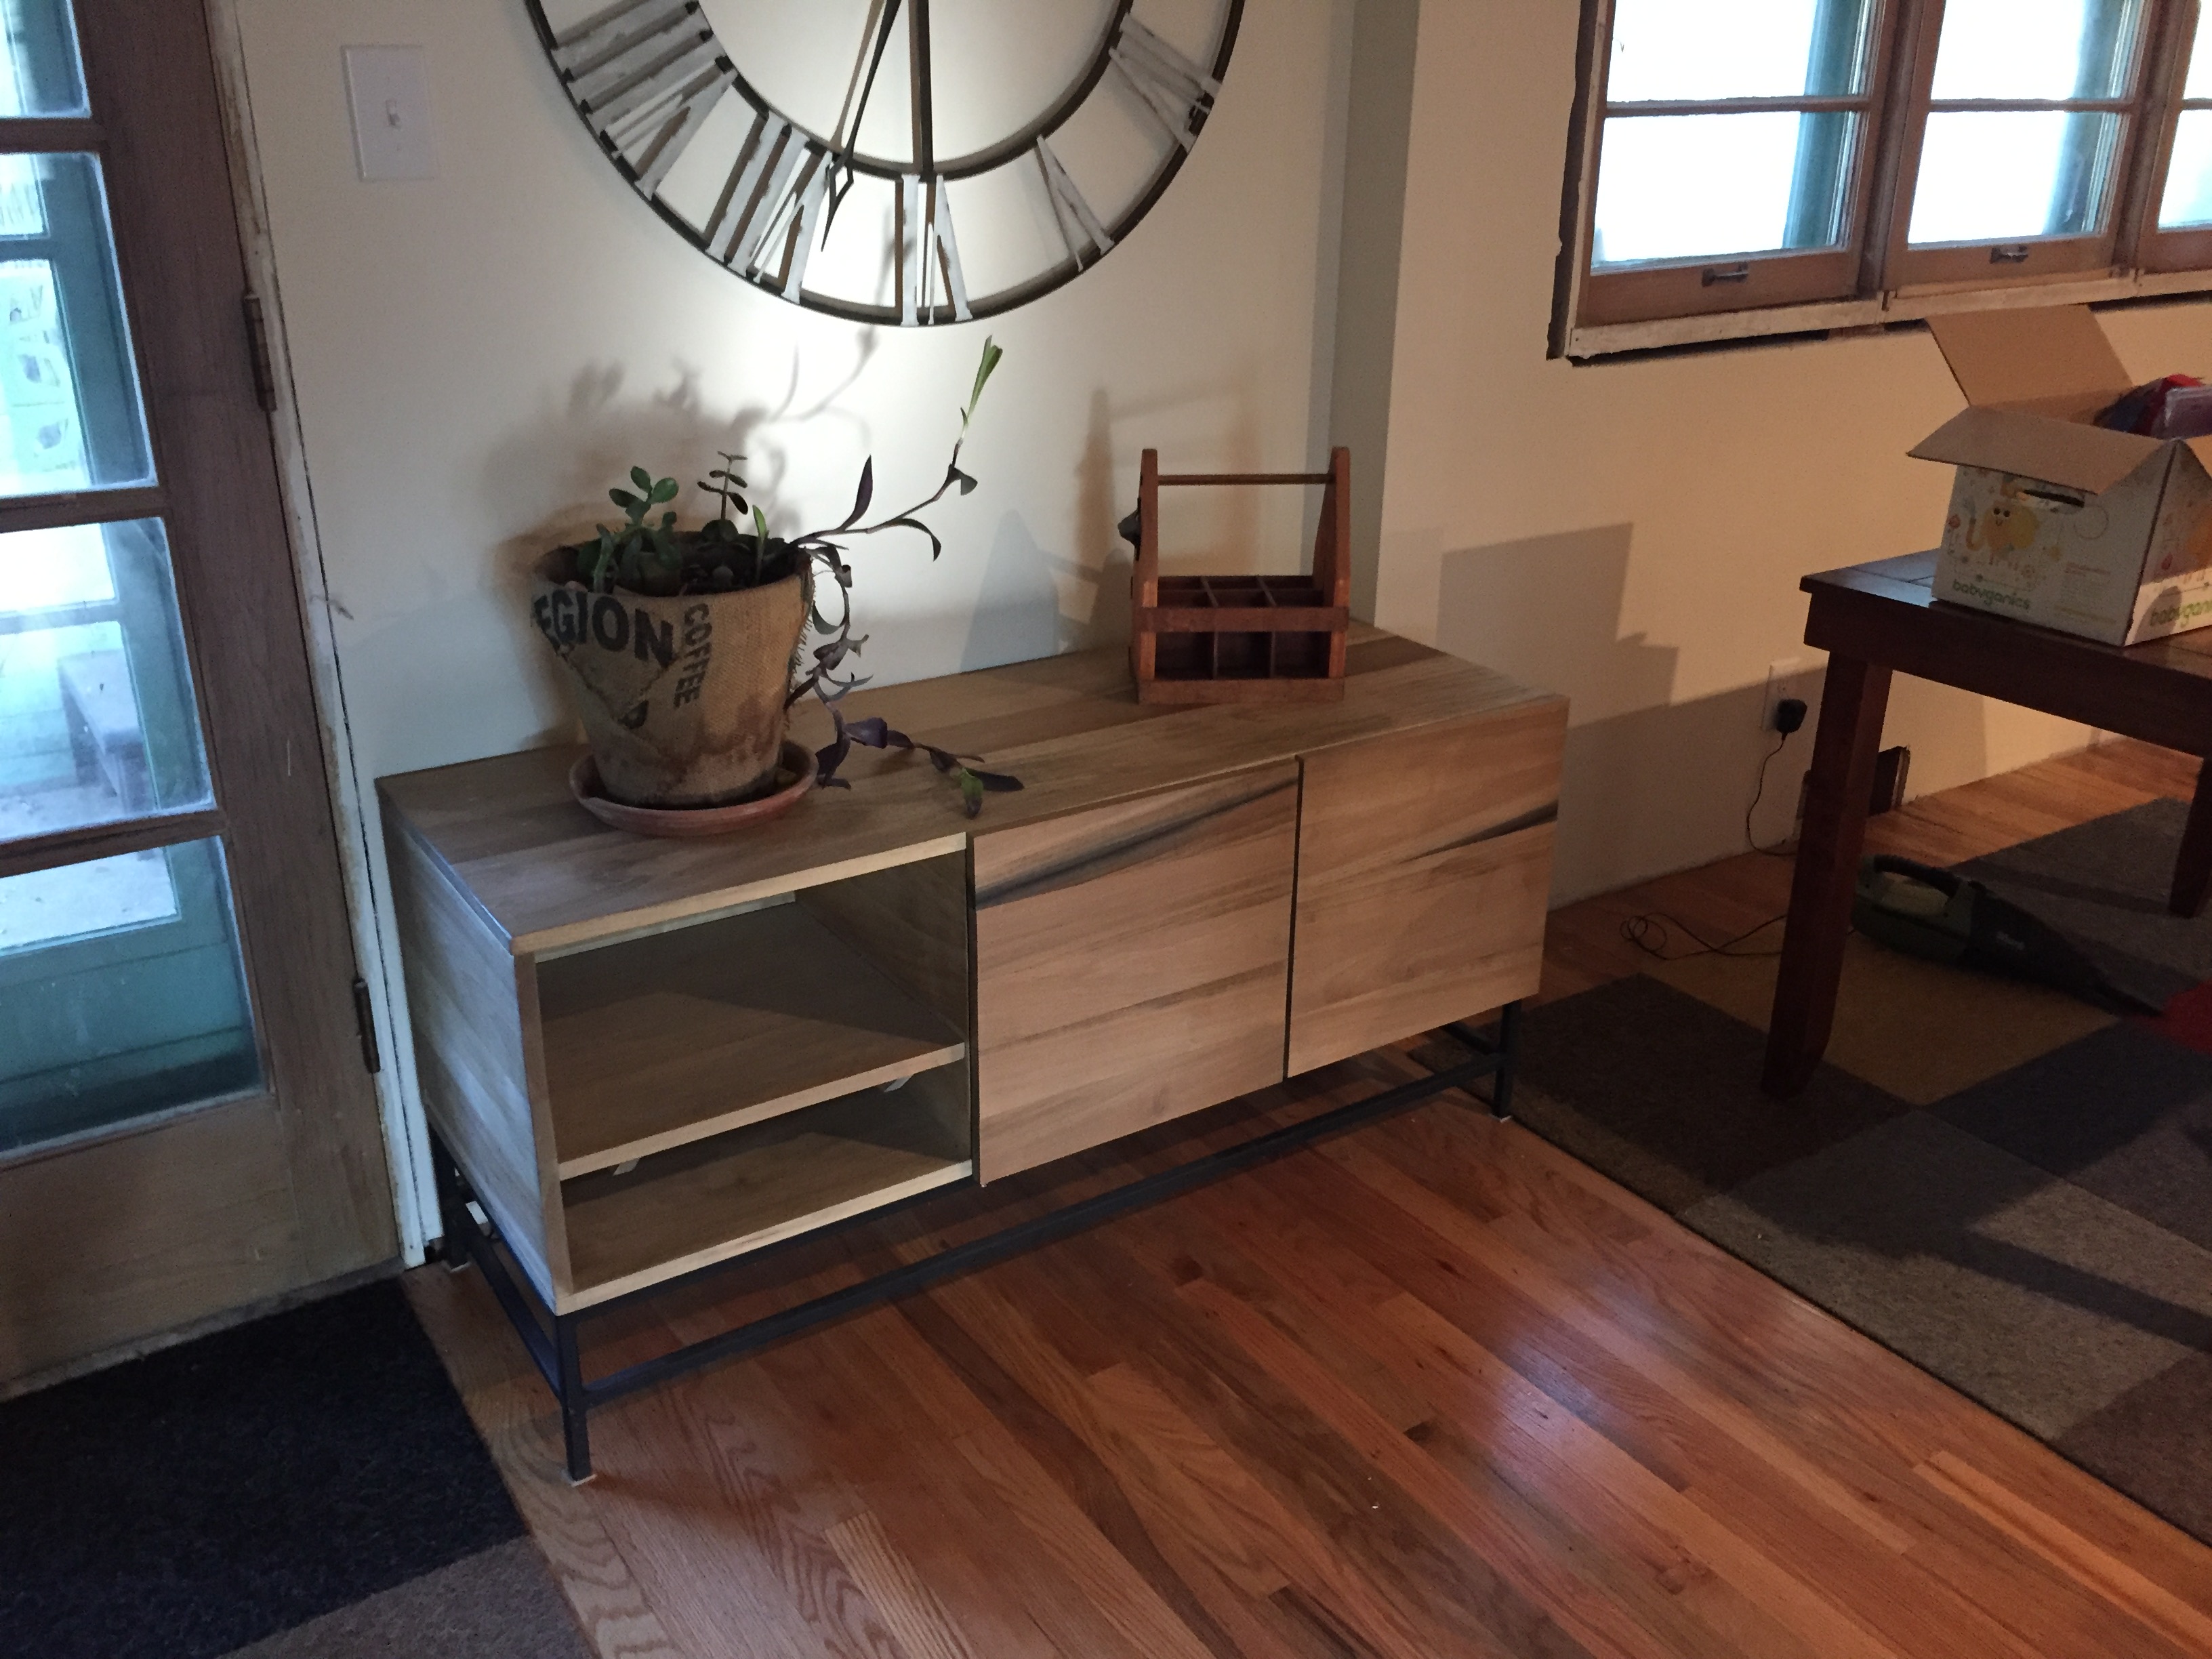
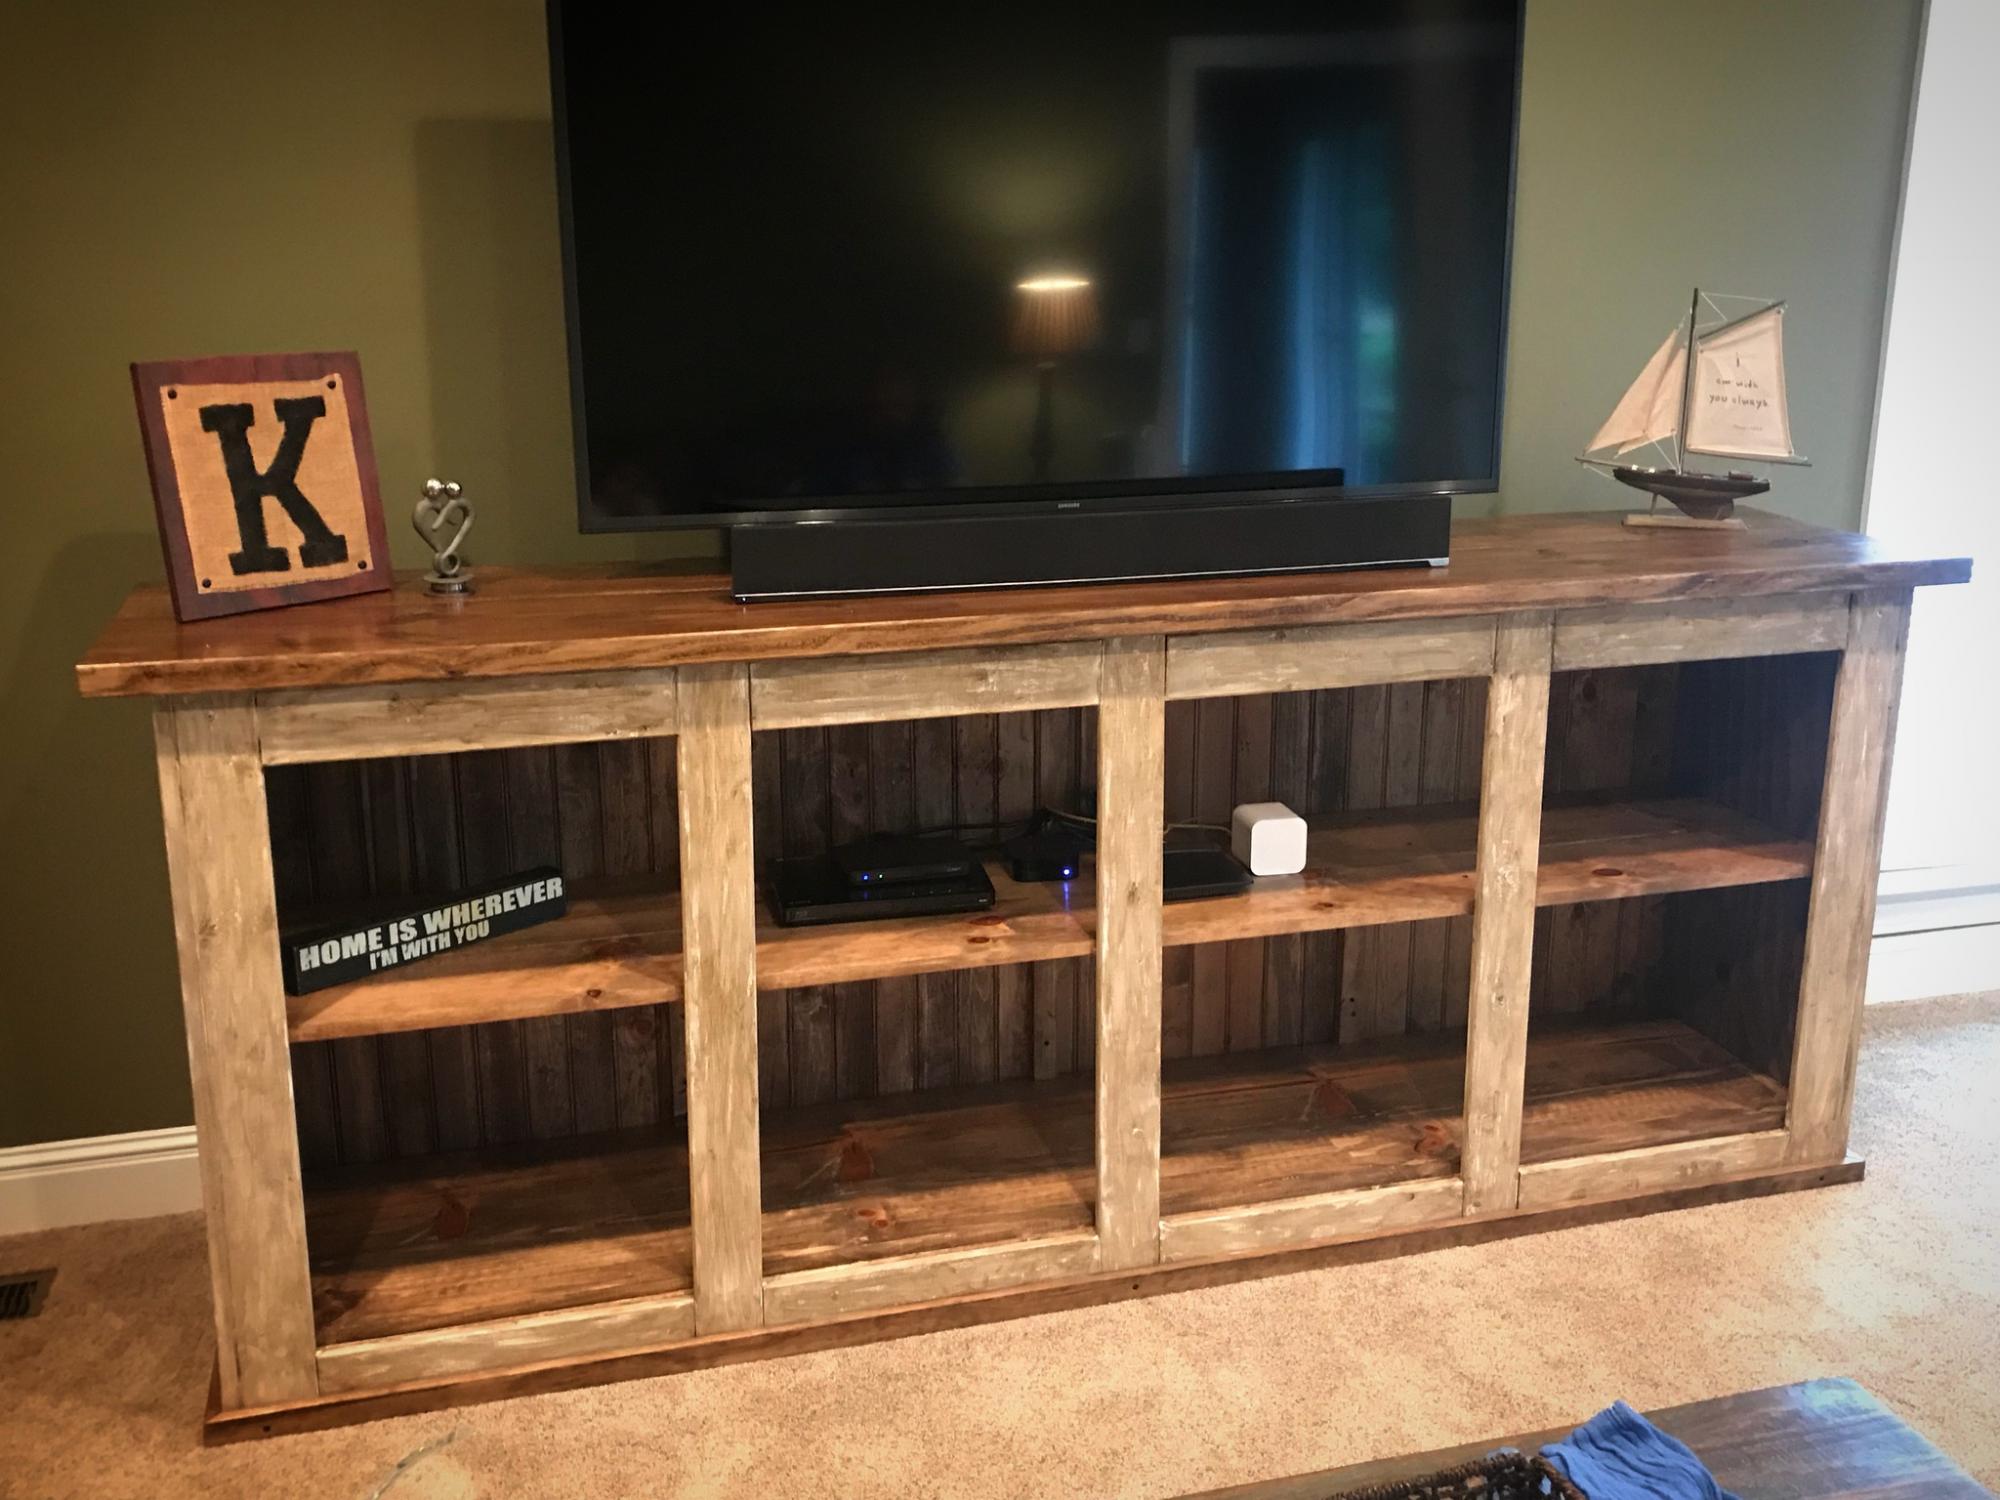
West Elm Knock Off TV Stand
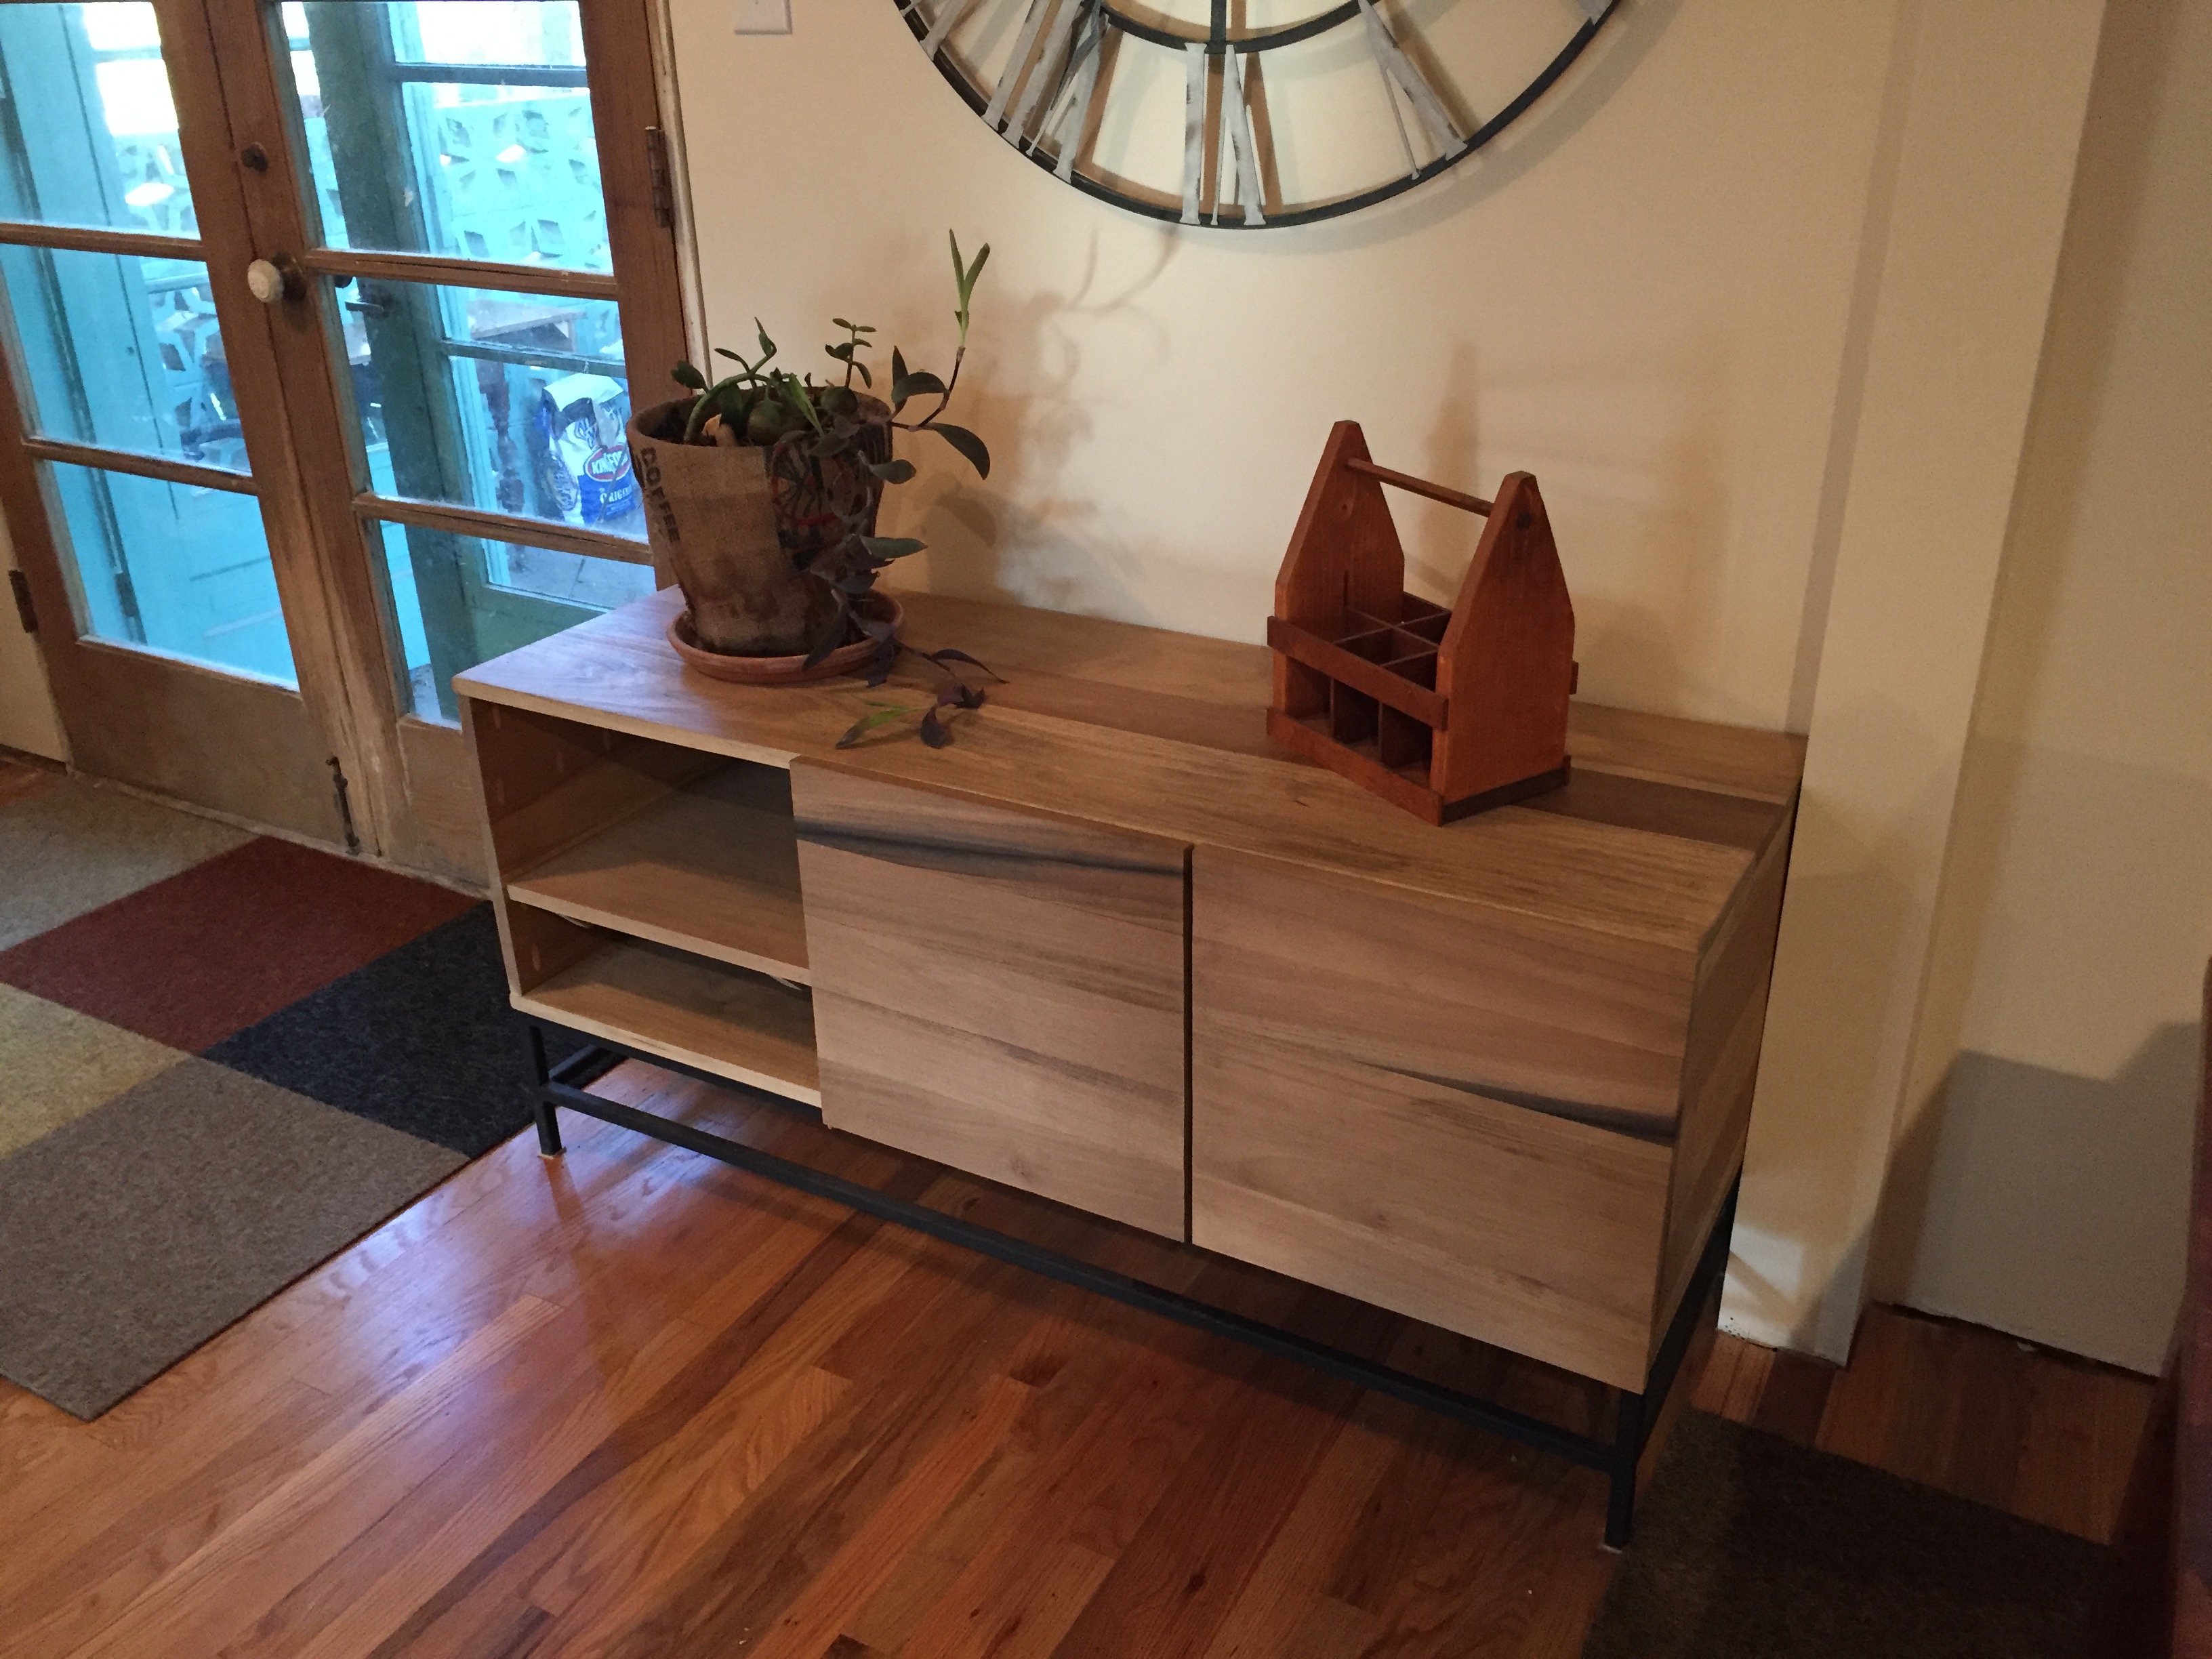
I did not have any plans for this. I had the dimensions from the West Elm Website so I did my best to match that. My sister asked me if I could build this for her and I saw it as an awesome challange. I used euro style hinges for the doors and the left side shelf is sitting on wood strips nailed in the sides. There is also a shelf inside the cabinet. I built the stand and she stained it.
This was my second time welding. I used a Mig Welder that my buddy had. It was a little intimidating at the very beginning but Mig welding is super easy. You can grind the welds down fairly easy too. I sray painted it all with a flat black spray paint. I think it turned out really well. I had a steel shop her in town cut all the steel to the sizes I needed. All I had to do was weld and paint.
Built from Plan(s)
Estimated Cost
$150-$200
Estimated Time Investment
Week Long Project (20 Hours or More)
Finish Used
She used a mixture of a few stains.
Recommended Skill Level
Advanced
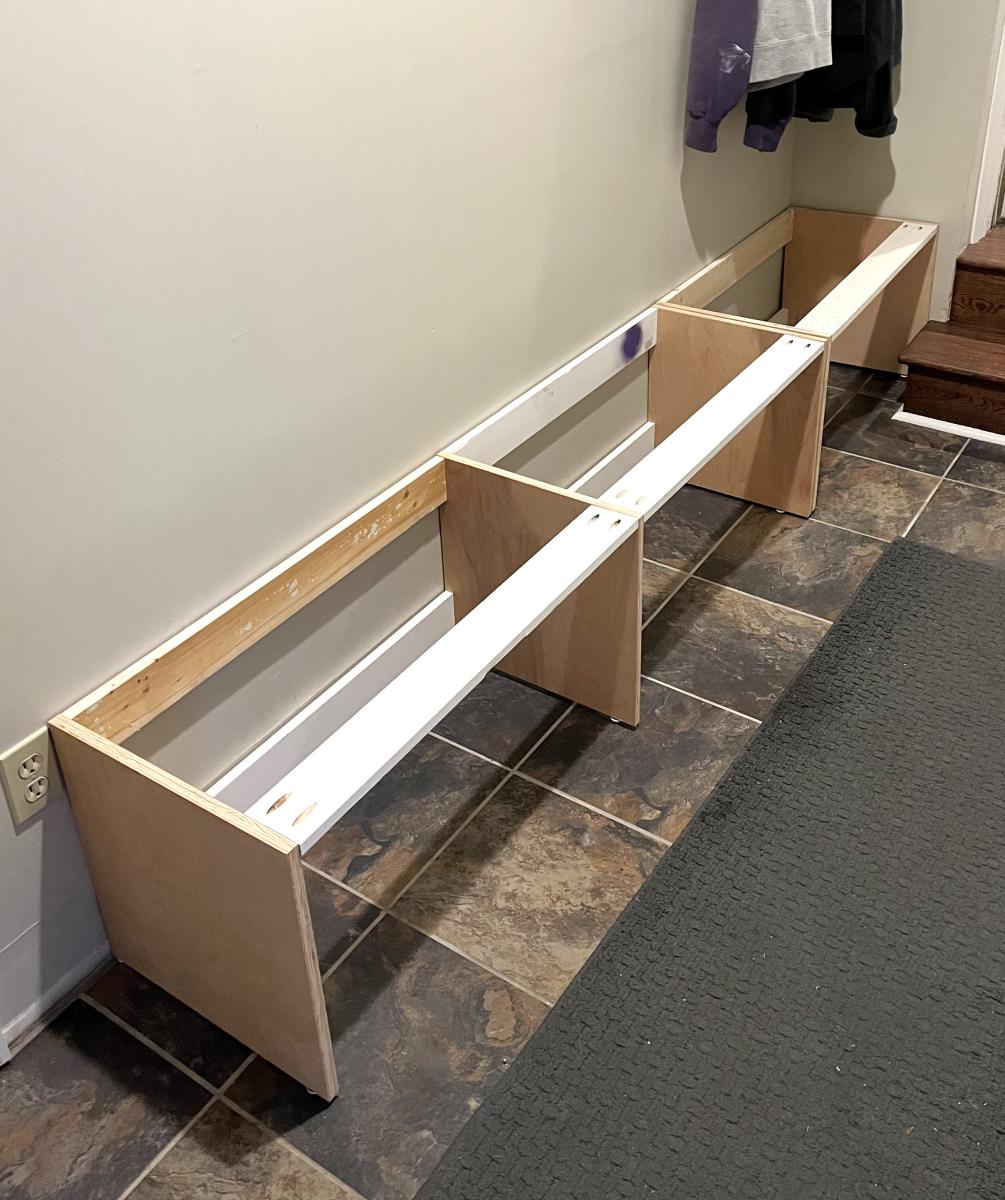
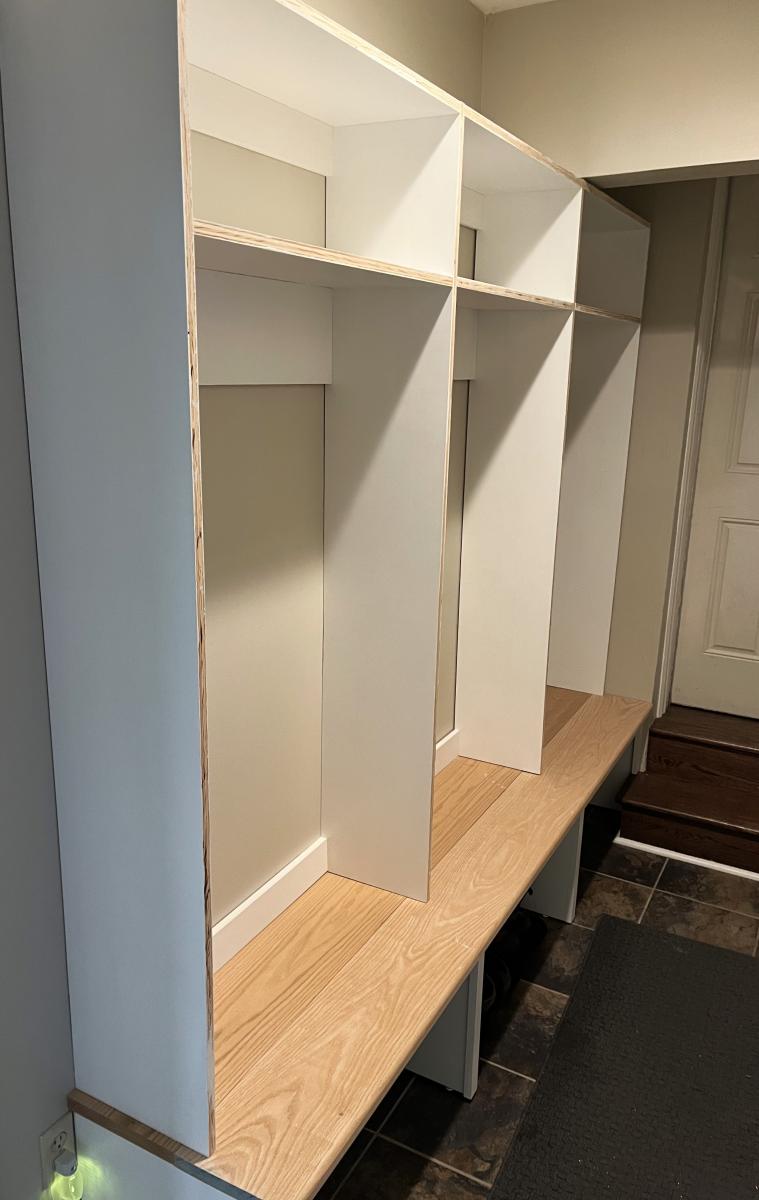
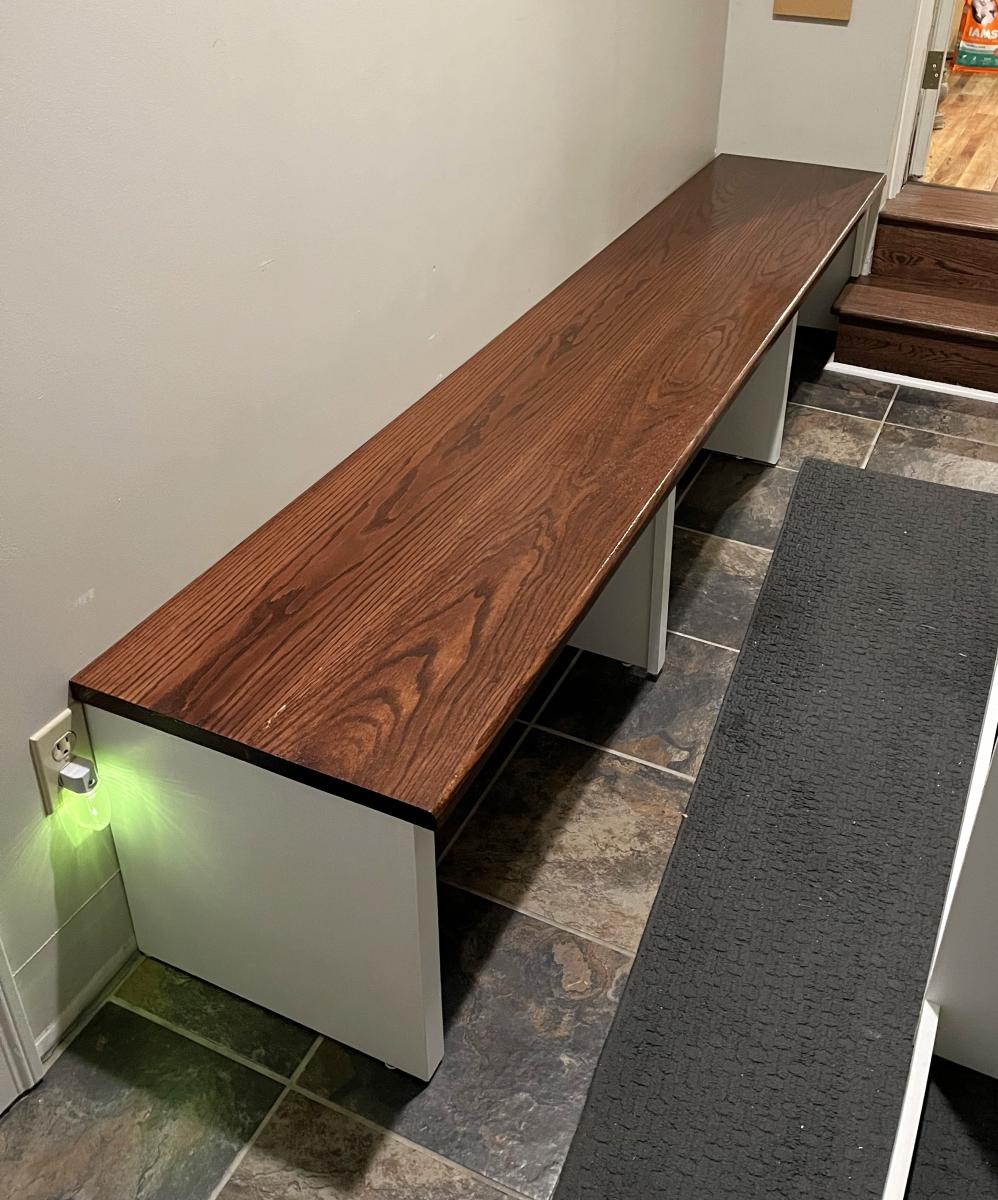
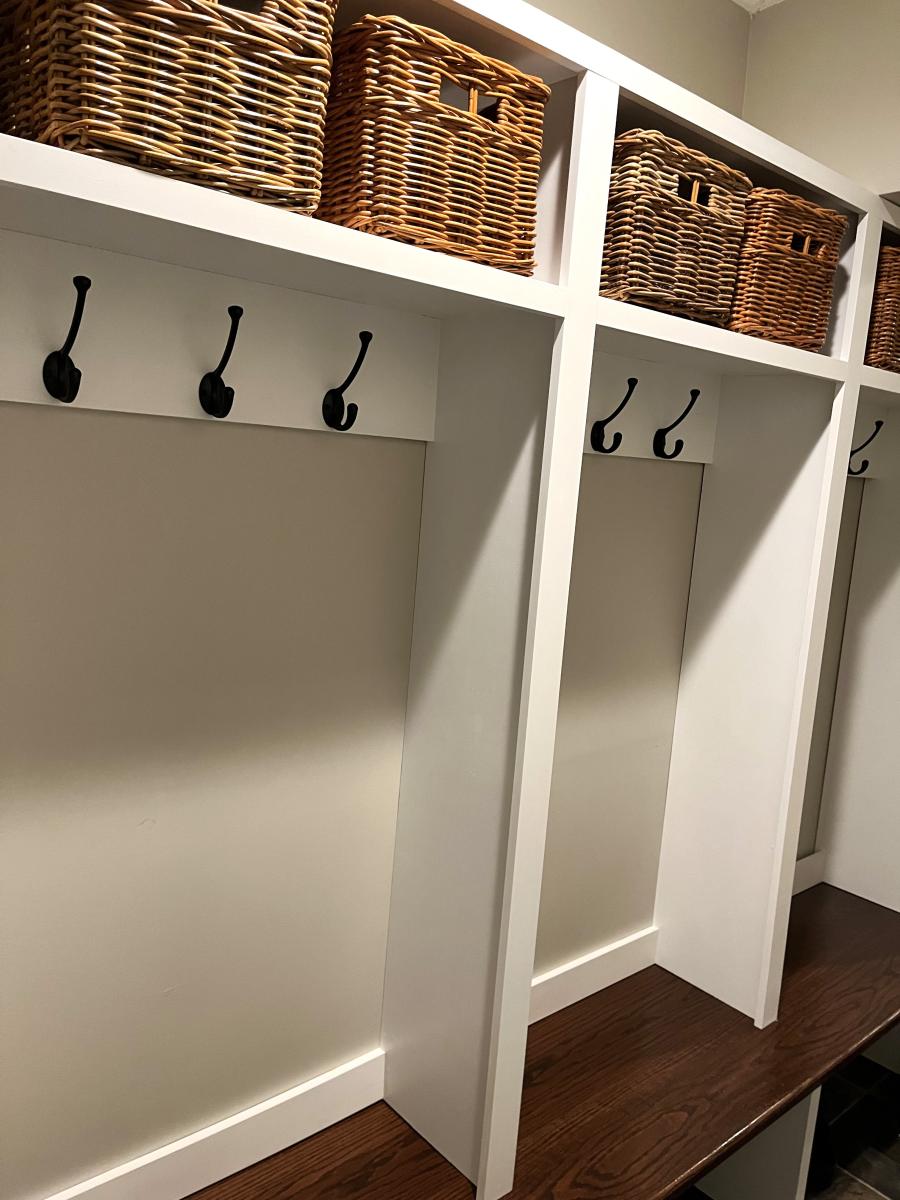
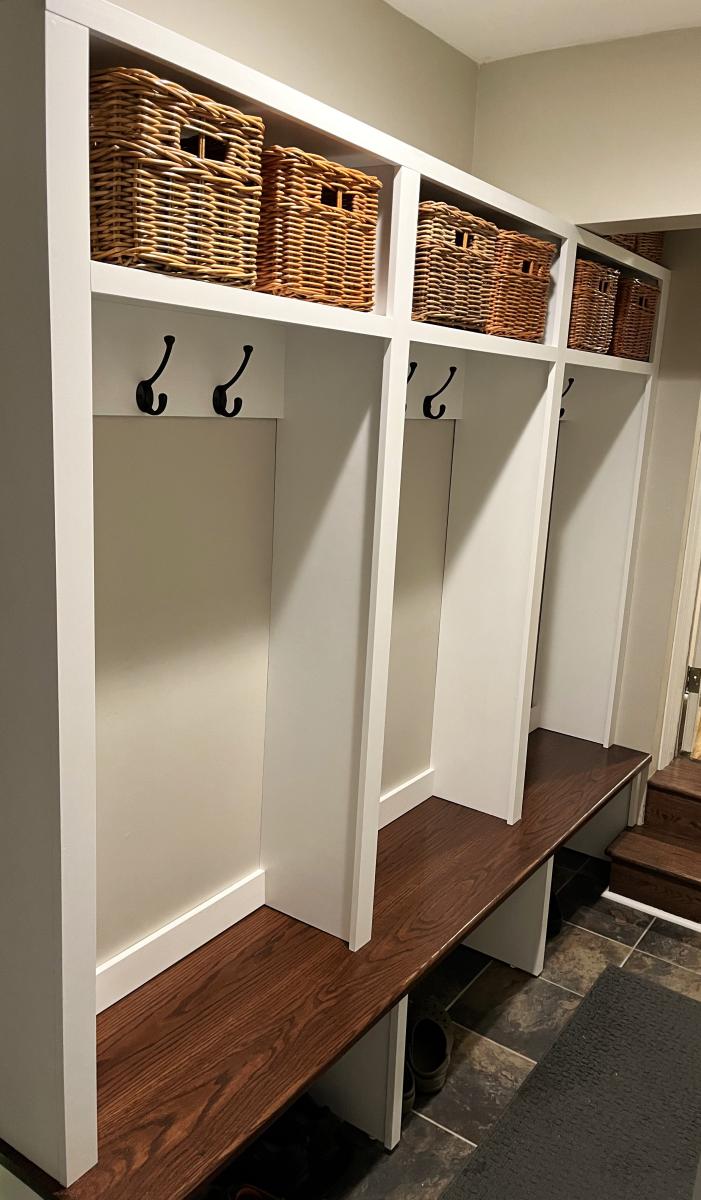
Mudroom Storage Lockers and Bench
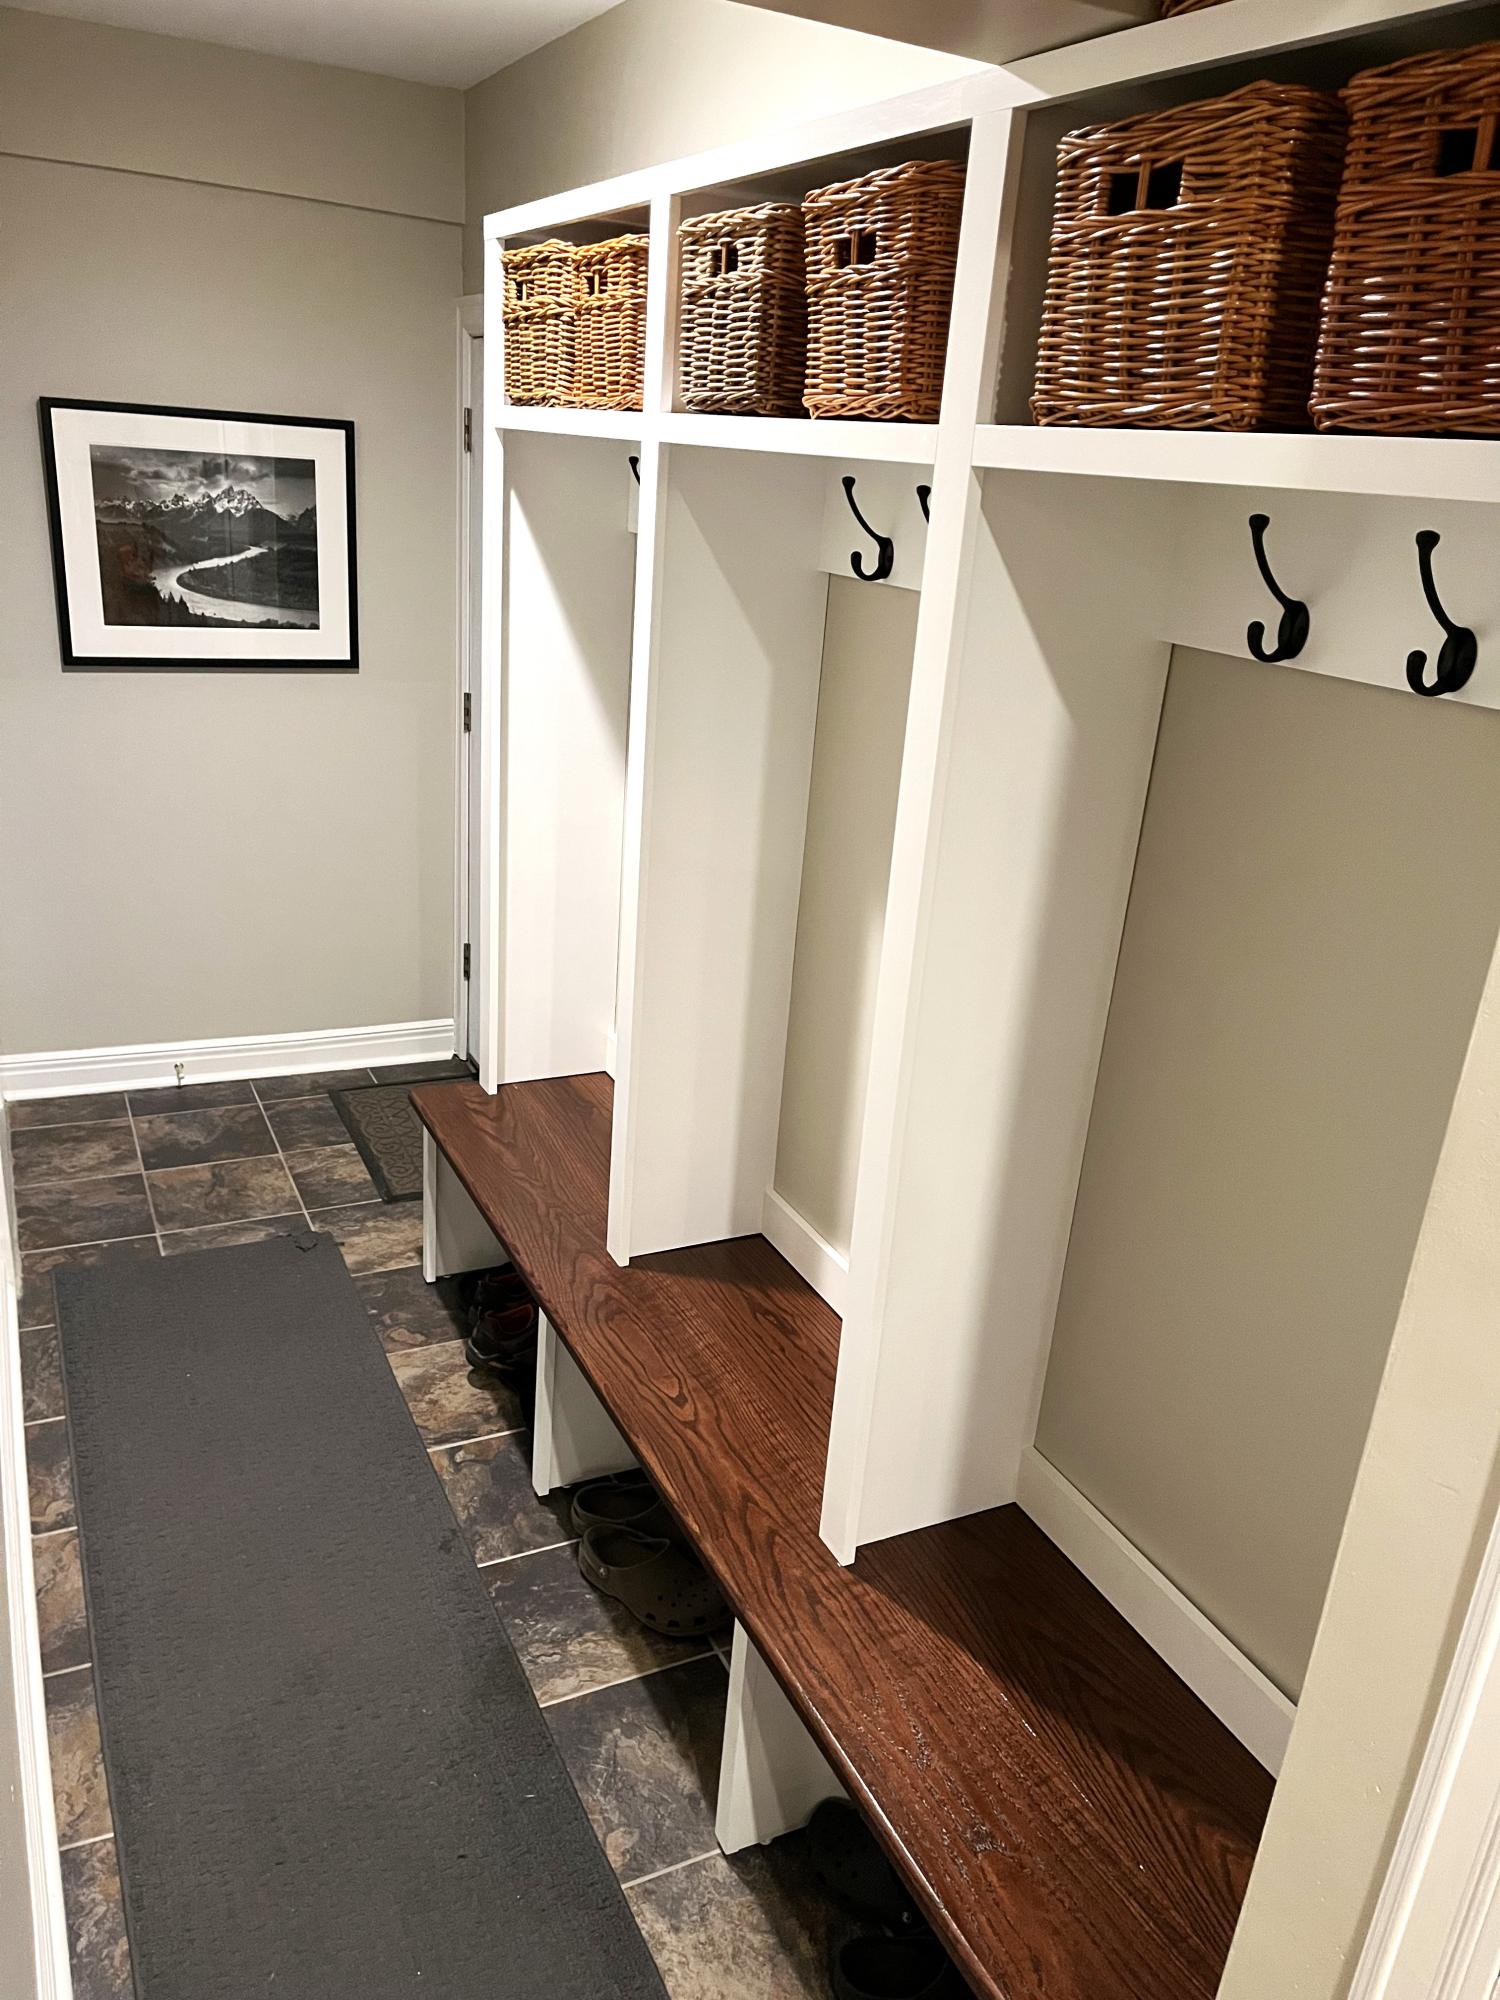
I really appreciated your garage/mudroom project guidance. I stumbled on it as I was trying to figure out how to design my project. I basically copied yours!! 😁
You also turned me on to pocket hole joinery. Previously I have used a biscuit joiner and find it very challenging. Thank you, I am a convert!
Don Arrowood
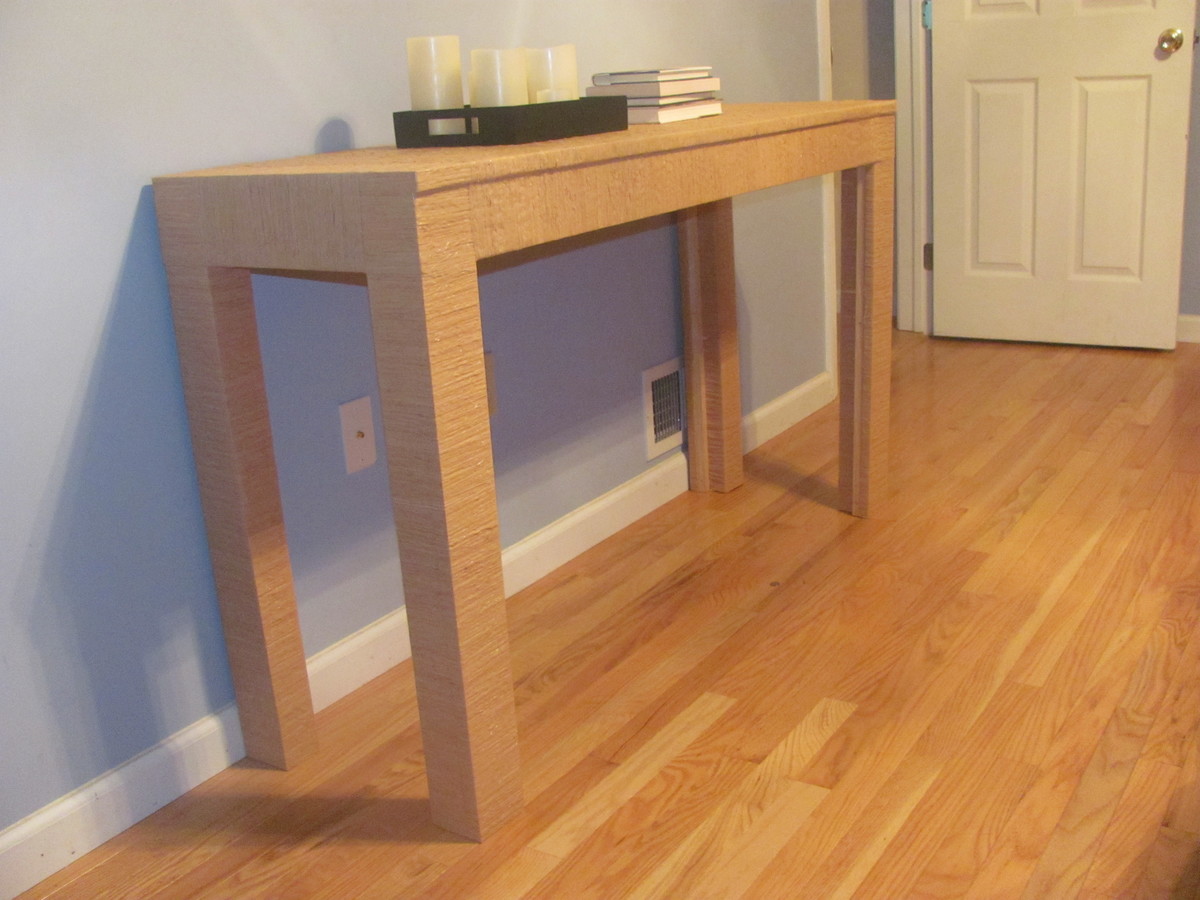
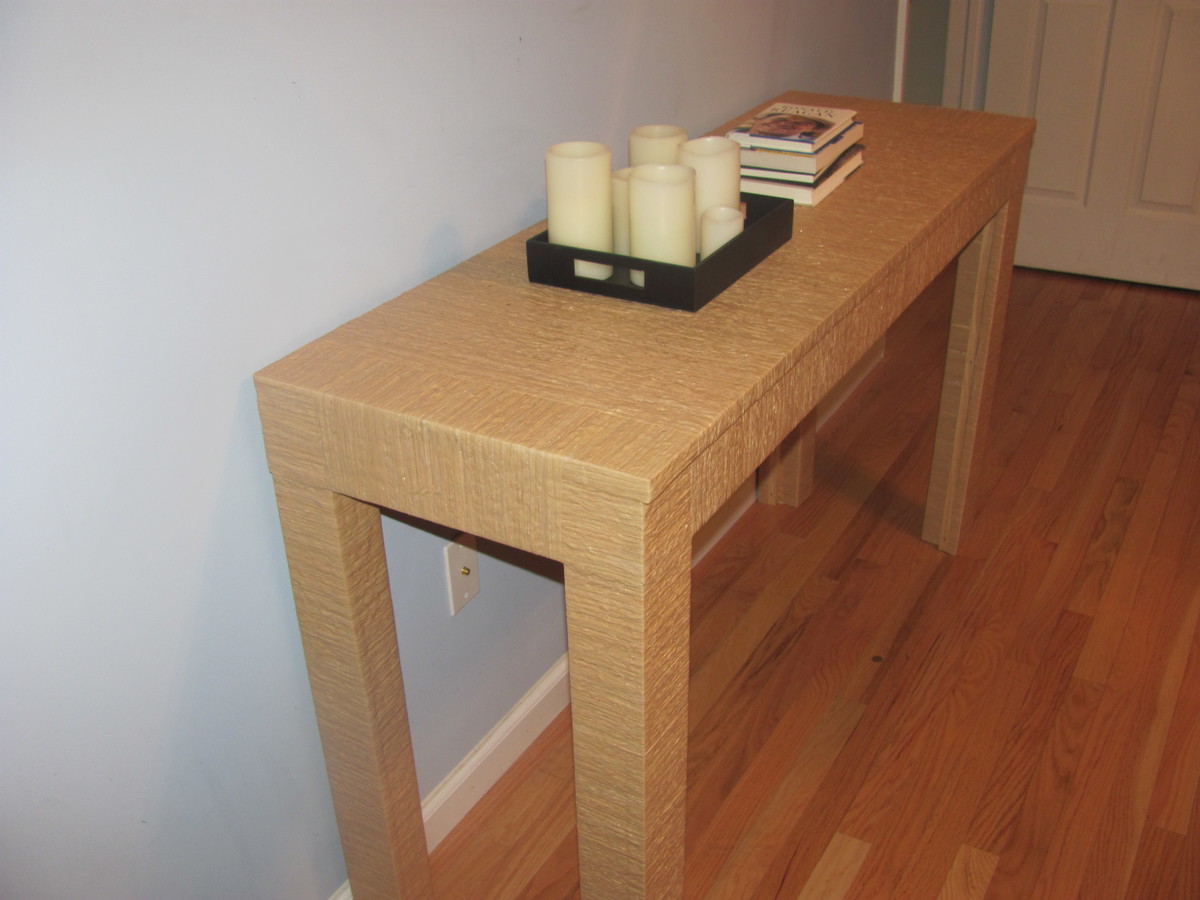
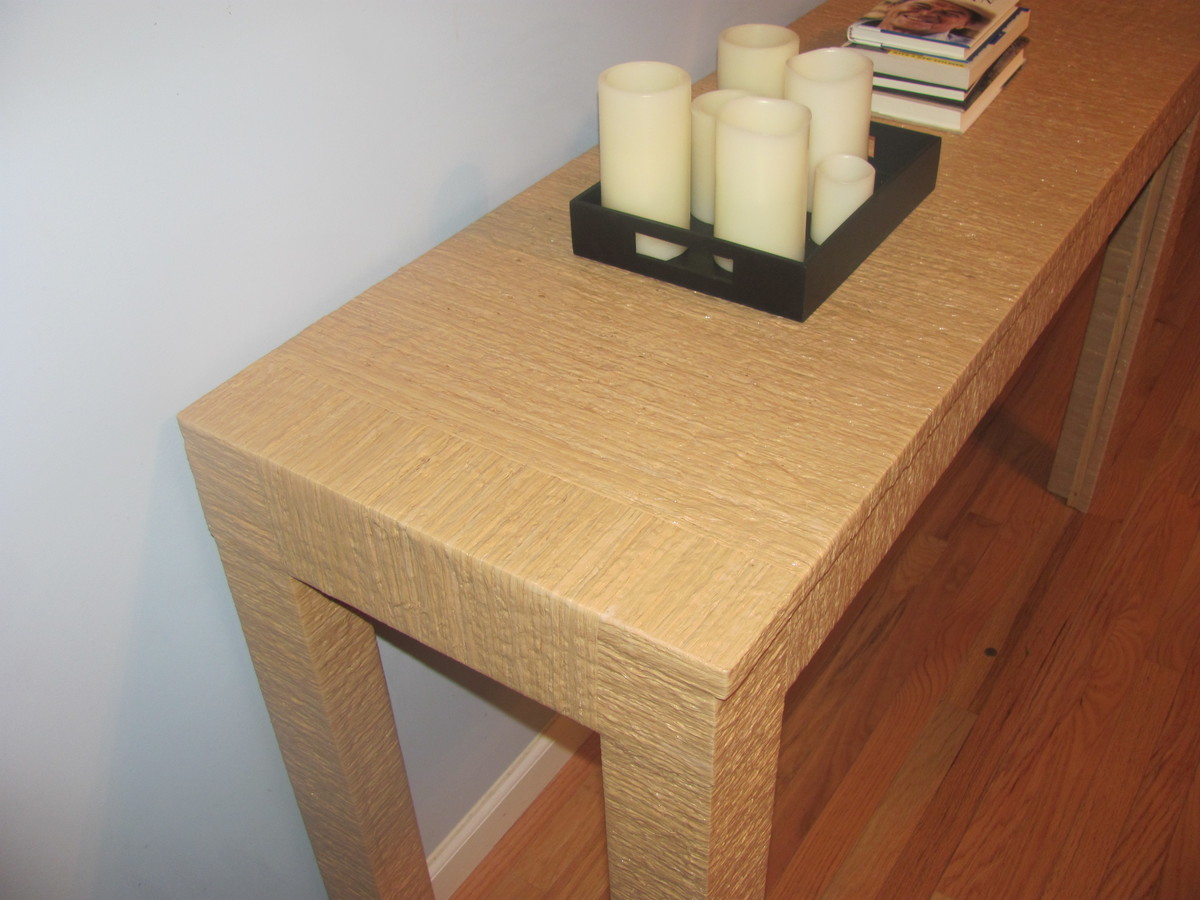
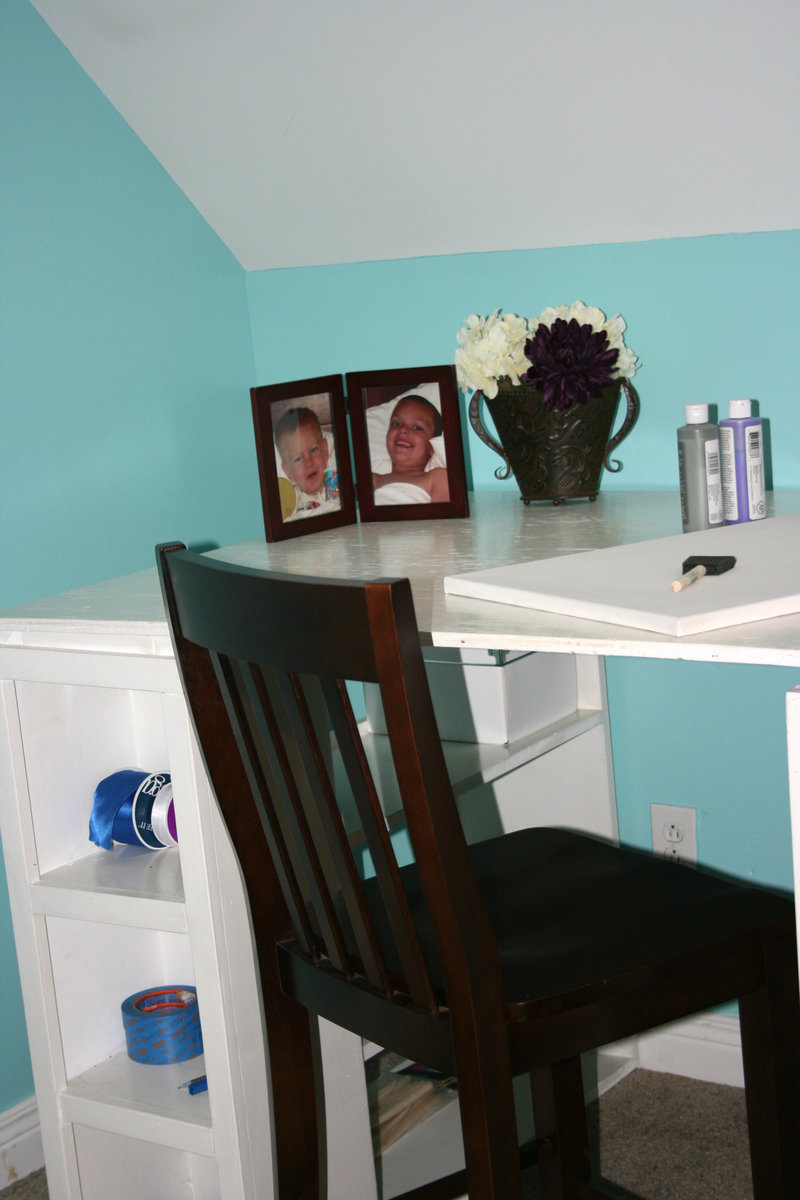
Parson Console Table
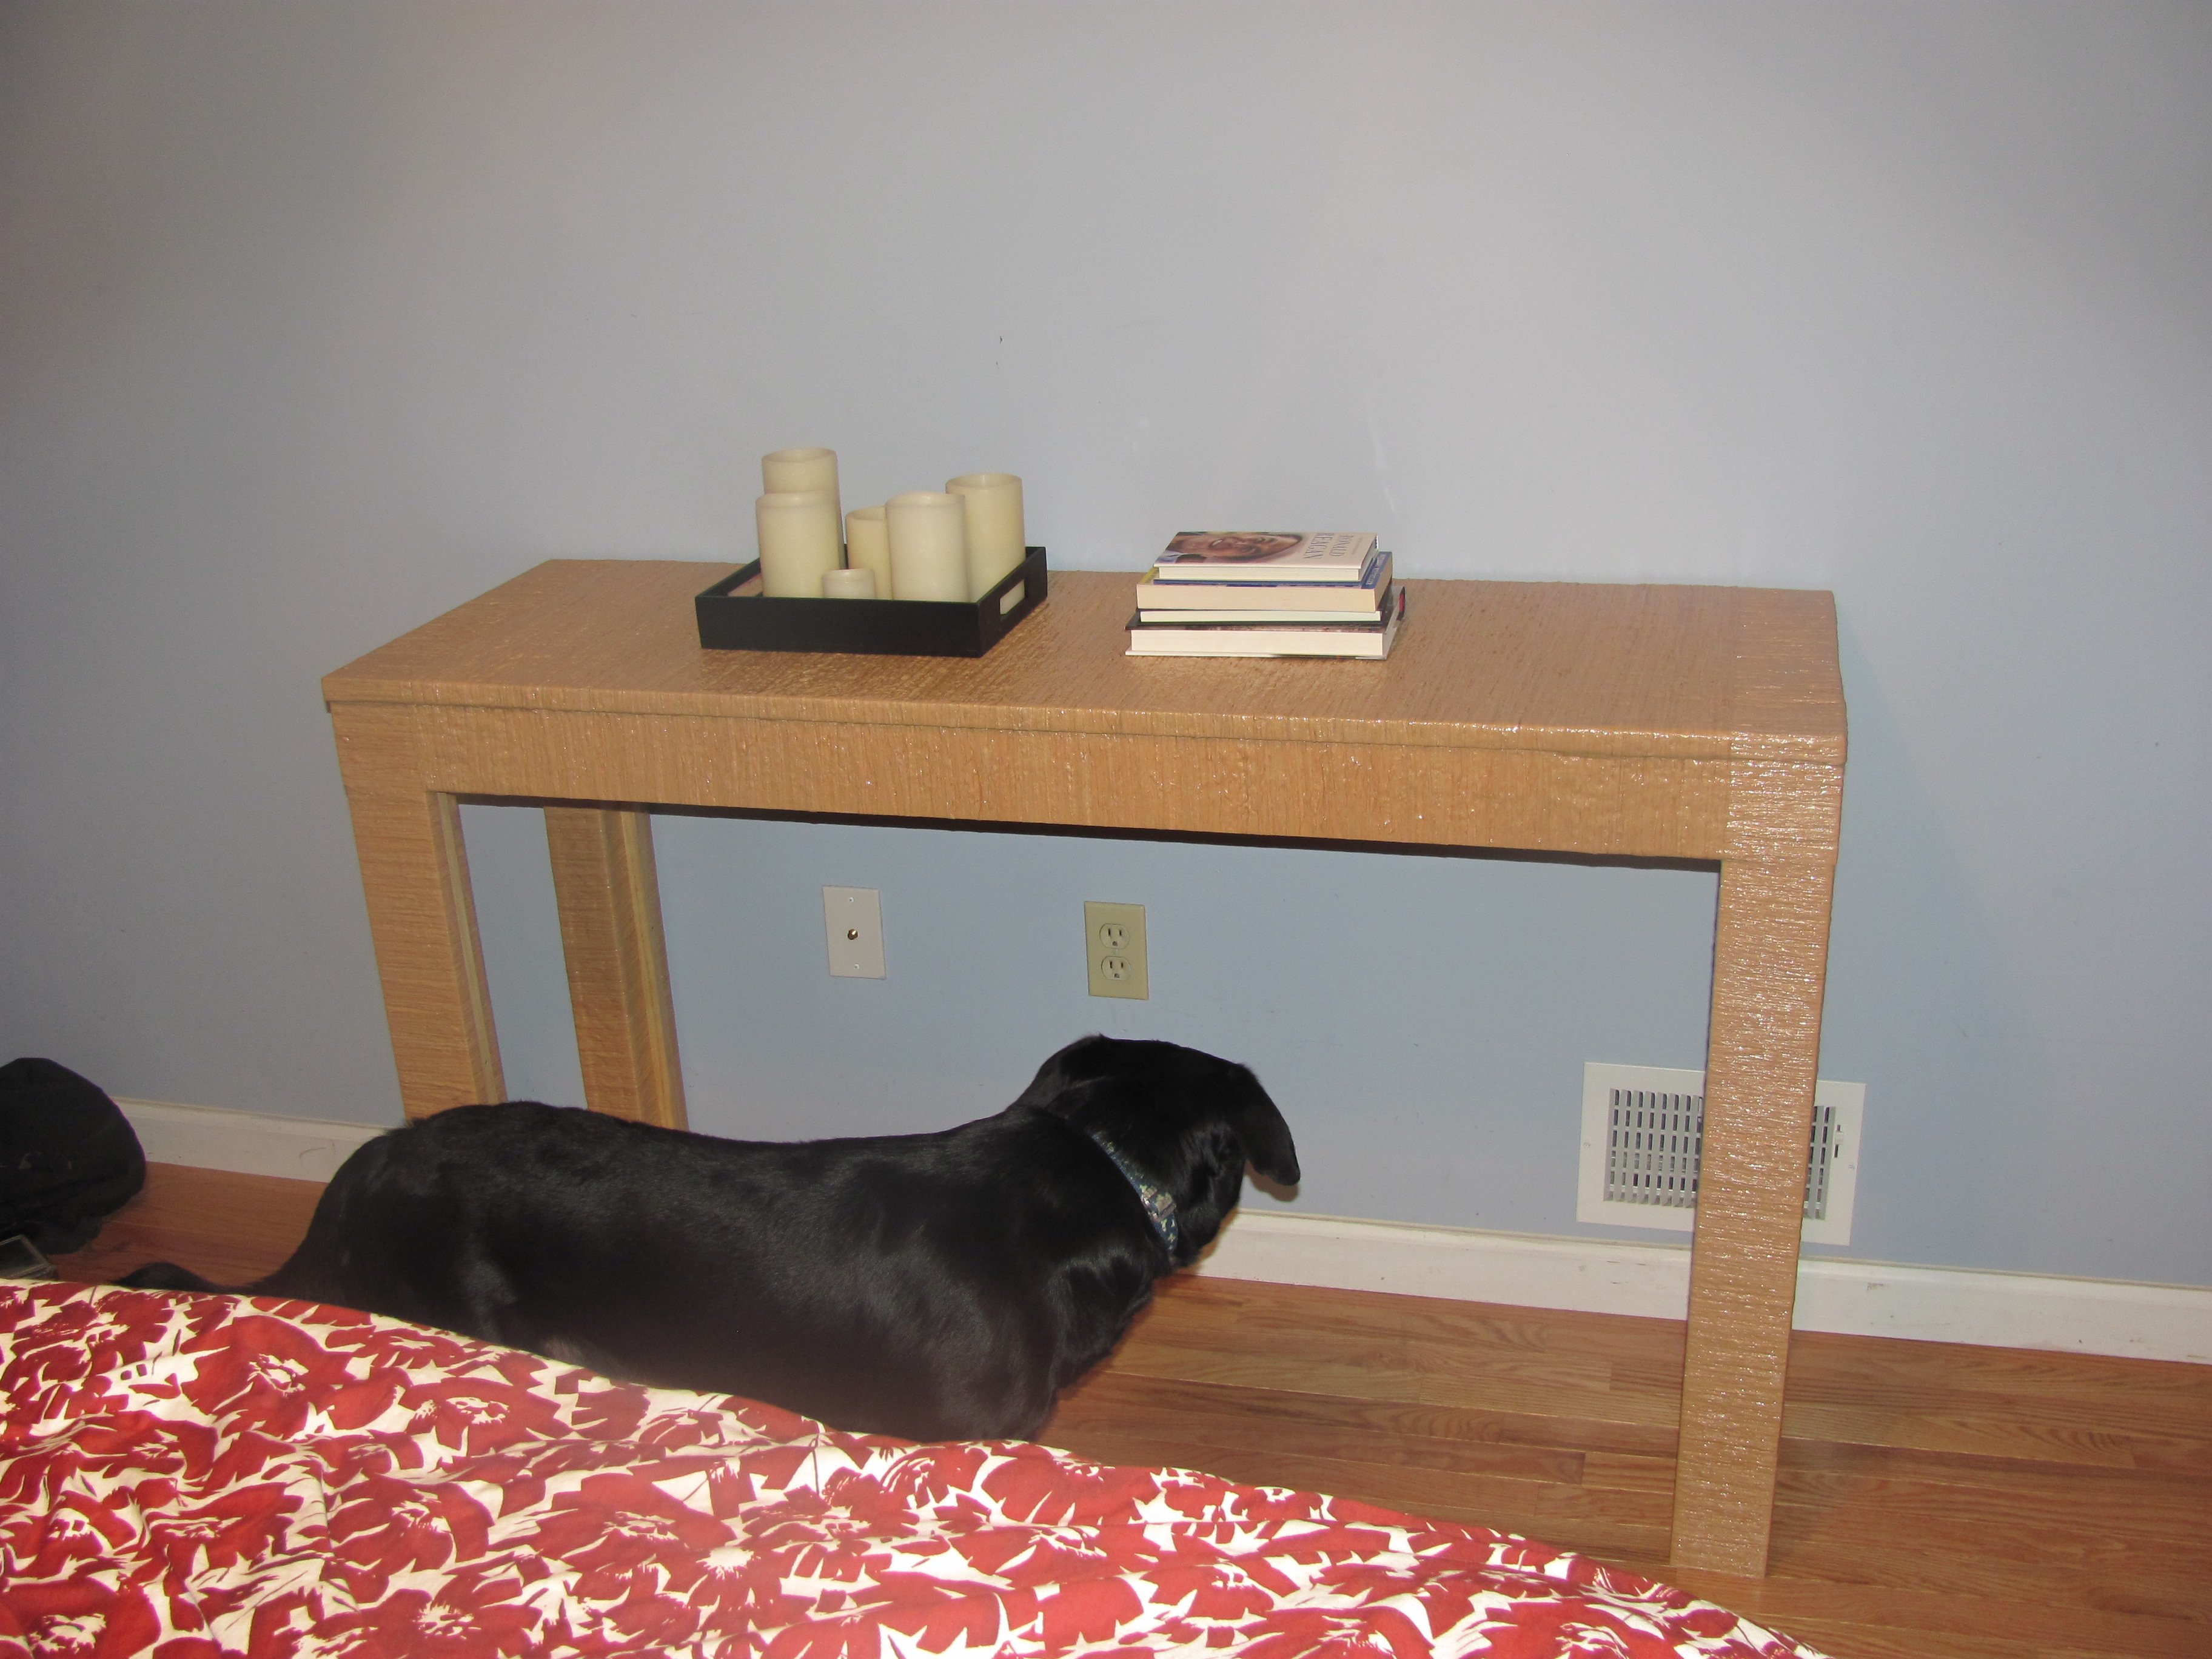
Thank you so much for the plan. I created a console table by adjusting the dimensions (finished table is 54 x 18 x 30) and omitted drawers. Used Modge Podge to adhere raffia to table (this was the most time consuming part of the project). Finished with a clear coat of polyurethane. Based this project on a table I originally saw in the HGTV Green Home 2010 master bedroom. http://hgtv.sndimg.com/HGTV/2010/03/03/GH2010-105_03-master-bedroom-wid…
Built from Plan(s)
Recommended Skill Level
Beginner
Comments

Sat, 06/22/2013 - 13:45
No, thank YOU...
I'd been wondering on how to attack the covering of my desk with fabric. I'd toyed with the idea of Modge Podge but was not quite sure on its adhering capabilities. Around here, it gets so humid that the adhesive on my 3D Command strips melts and things fall off the walls. How has it held up thus far? I'm attempting to cover mine in upholstery fabric.
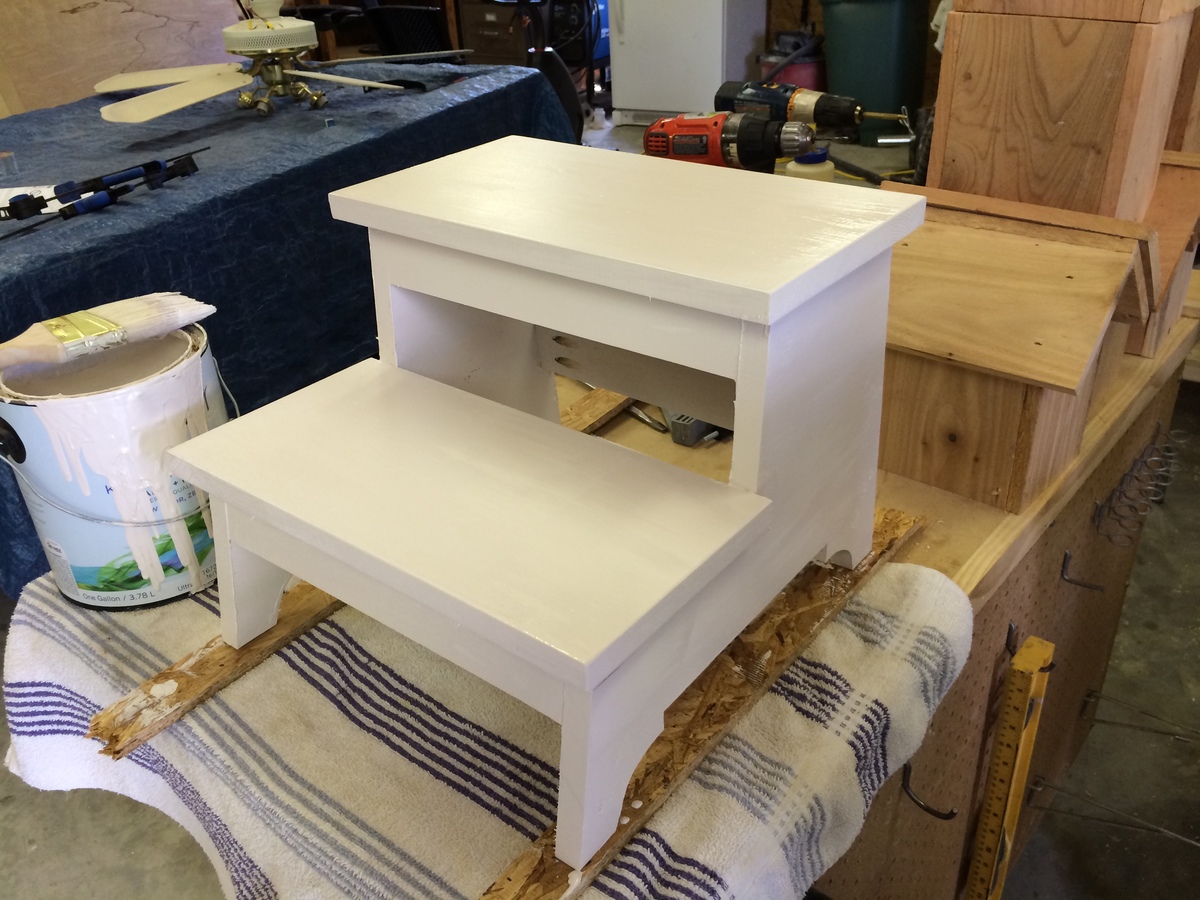
The Two Step
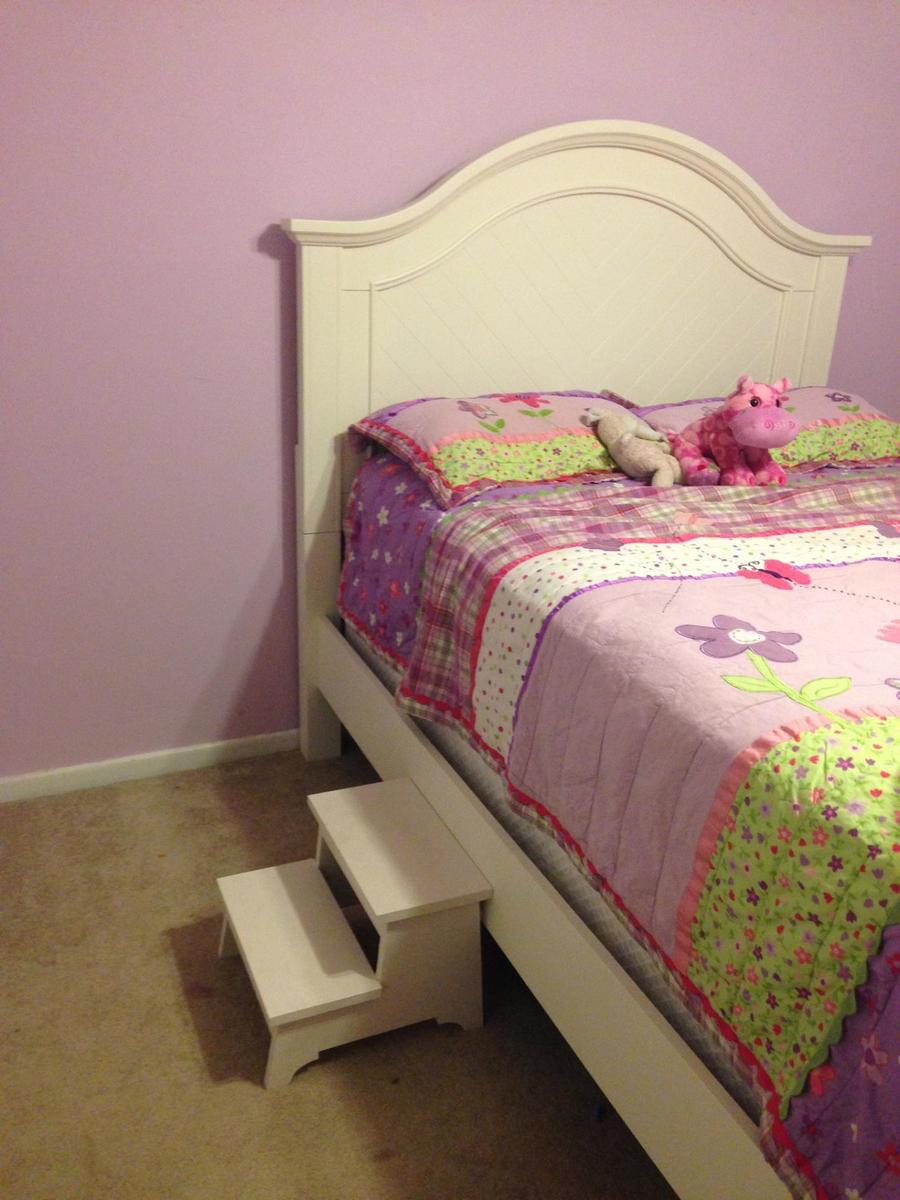
I can't take credit for the bed, just the steps. After my friend purchased a new bed for their daughter, she needed some helping getting into it. The plans for these steps were great and easy to build. Very sturdy and lightweight for kids to move around.
Estimated Cost
$20
Estimated Time Investment
An Hour or Two (0-2 Hours)
Finish Used
White latex paint. 2 coats.
Recommended Skill Level
Starter Project
Made by mj
First ever project. Just testing my skills and all materials were low grade. Next project will be better grade wood
Estimated Time Investment
Weekend Project (10-20 Hours)
Finish Used
First project will use better quality wood on next one
Recommended Skill Level
Starter Project
Comments

Thu, 09/22/2016 - 09:04
Fabulous Smart First Project
You are smart to start small! Great job, can't wait to see what's next!!!!
TV stand from grandy barn door console
This was my first major diy project and I made a lot of mistakes! The plans were very easy to follow even for a beginner. This took me awhile but I was very happy with the outcome!
Built from Plan(s)
Estimated Time Investment
Week Long Project (20 Hours or More)
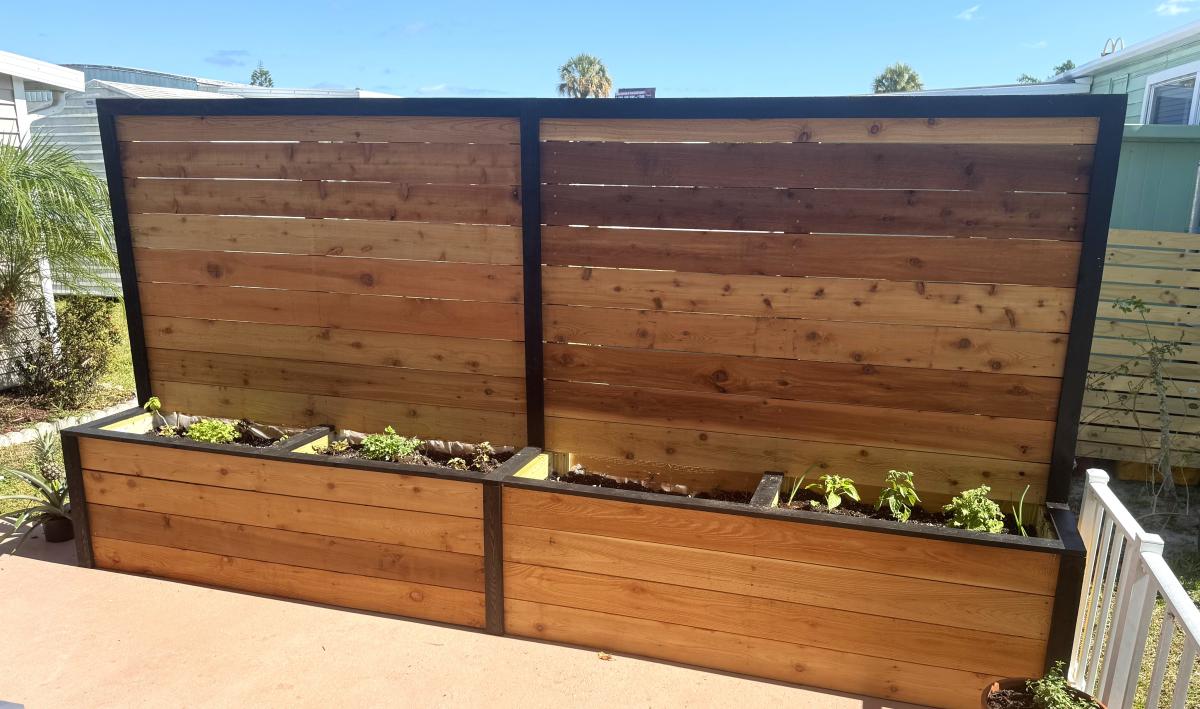
Double Pirvacy Planter
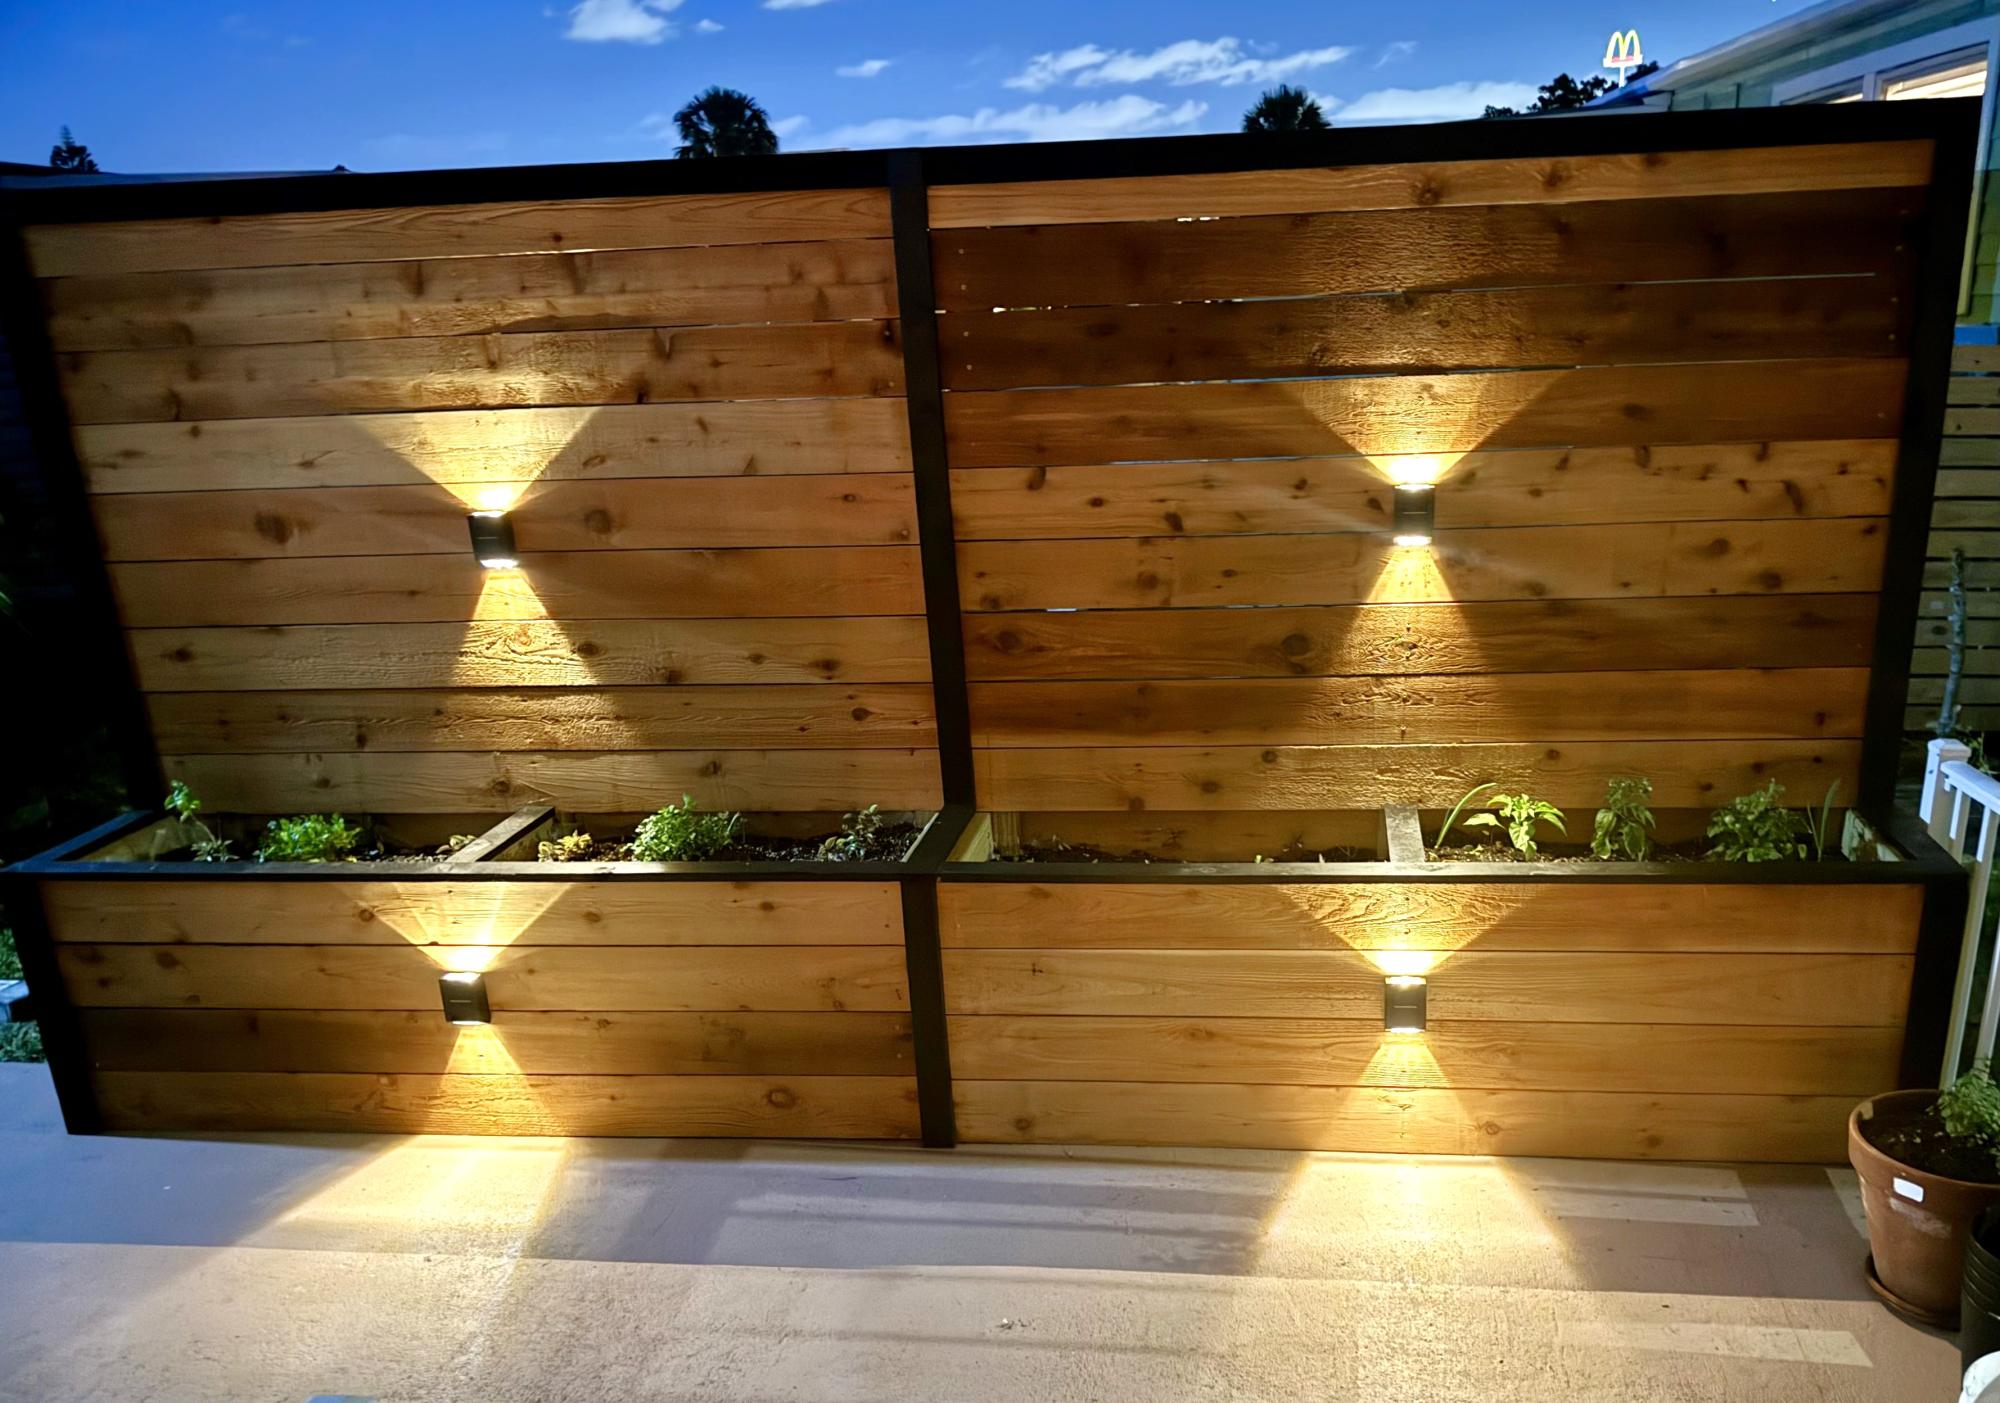
Used your plan as a start and improvised from there. Thanks
Built from Plan(s)
Window Bench With Storage
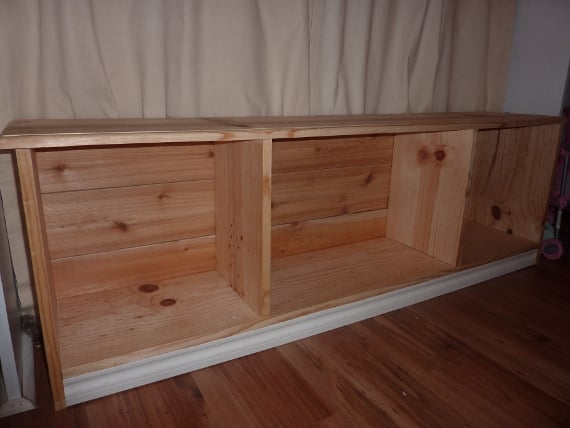
Our daughter's room has built-ins on either side of the window. I always wanted a window seat to sandwich in between, but couldn't find one with the right dimensions.....THANK YOU ANA WHITE! I used her Entryway Bench plan and just changed the length and depth to fit the window. I didn't add the side and back supports on top, but I bullnosed all the edges to make it look more finished.
I built this in one afternoon and even used cedar fence planks (left over from my husband's fence project) for the backing....love the extra charm of those planks!
We also had some molding left over, so I worked that in to the bottom for a little extra detail.
Haven't painted it yet....just enjoying it's usability until I decide on a color. It's super durable. My three year old sits on it (to read), stands on it (to spy on the neighbor's cats) and tosses those baskets in and out all day long.

Built from Plan(s)
Estimated Cost
$35
Estimated Time Investment
Afternoon Project (3-6 Hours)
Recommended Skill Level
Beginner
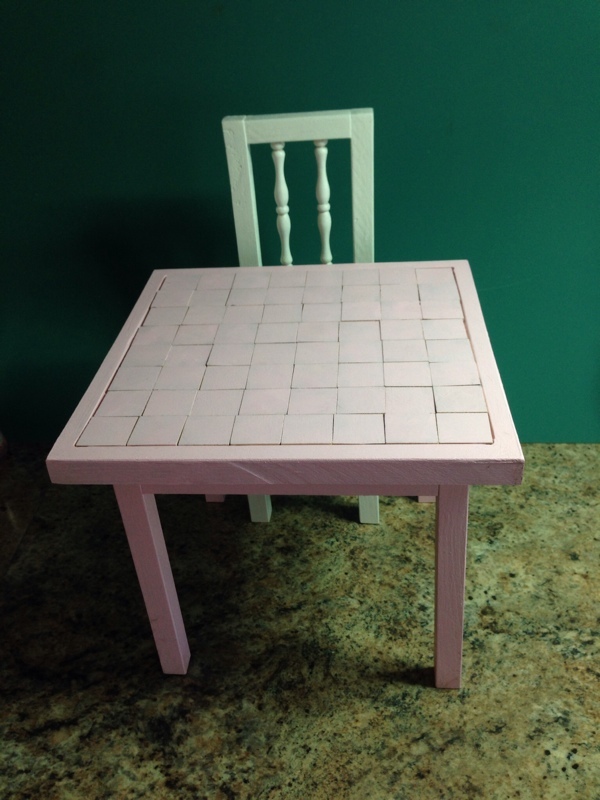
Doll Table on One Side Checker Board on other side
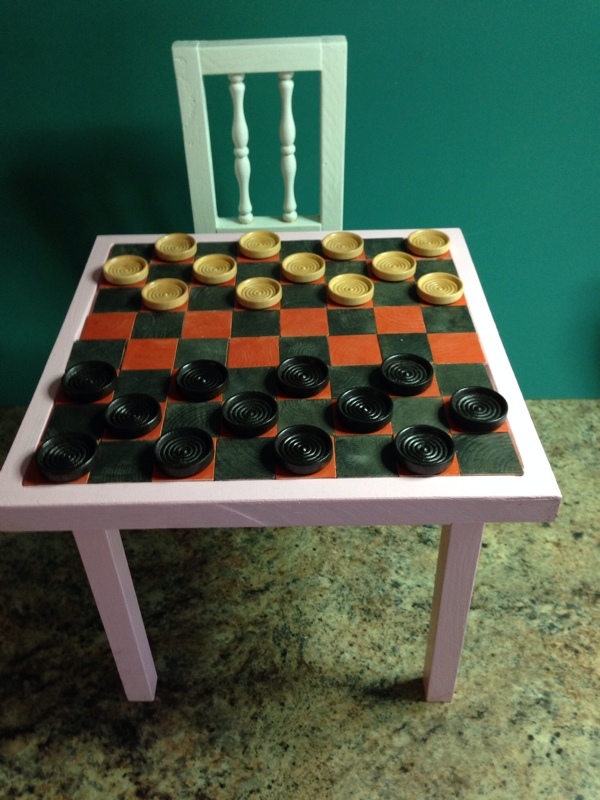
I have come across several tables and chairs for doll furniture and decided I wanted to make something a little different.
I made a basic table and used 64 1 1/8 inch squares.
32/32 painted red/black and the other sides painted pink.
table is pretty popular around town so I decided to test Ebay and my website www.funwithdolls.com and I actually started selling a few.
Wayne
Estimated Cost
20.00
Estimated Time Investment
Afternoon Project (3-6 Hours)
Finish Used
buy the squares and checker pieces, it will save you lots of time.
Recommended Skill Level
Beginner
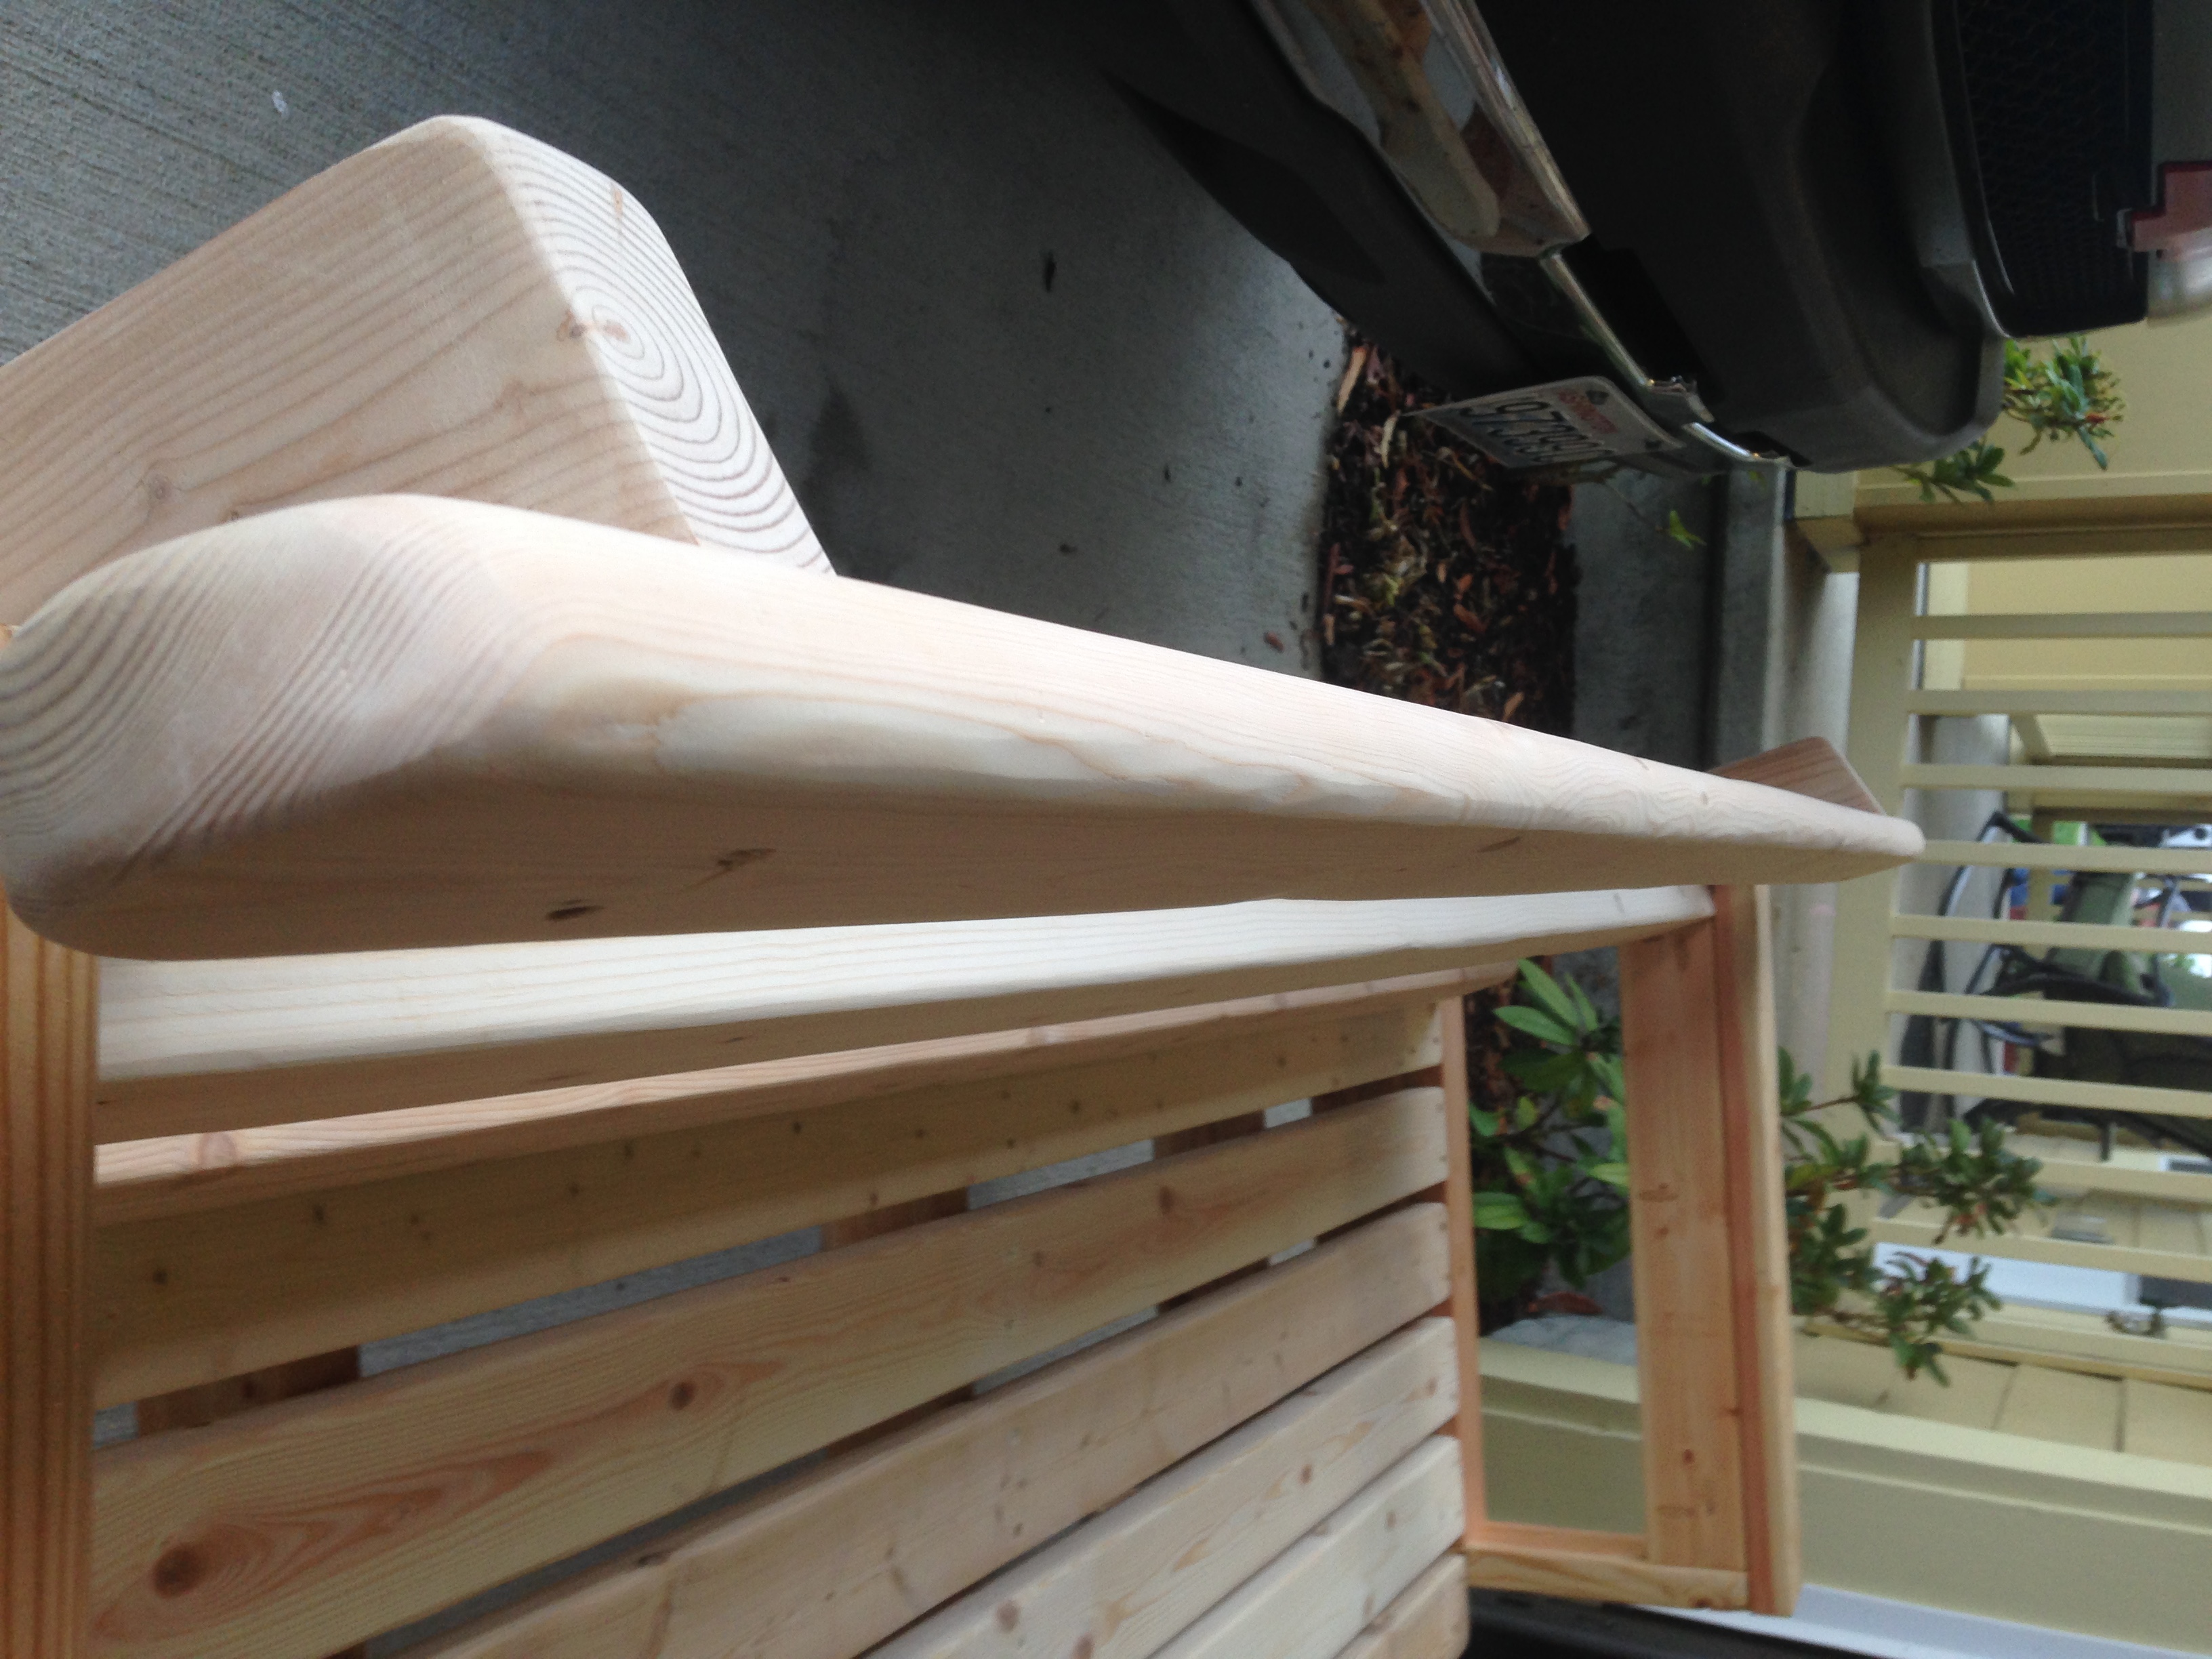
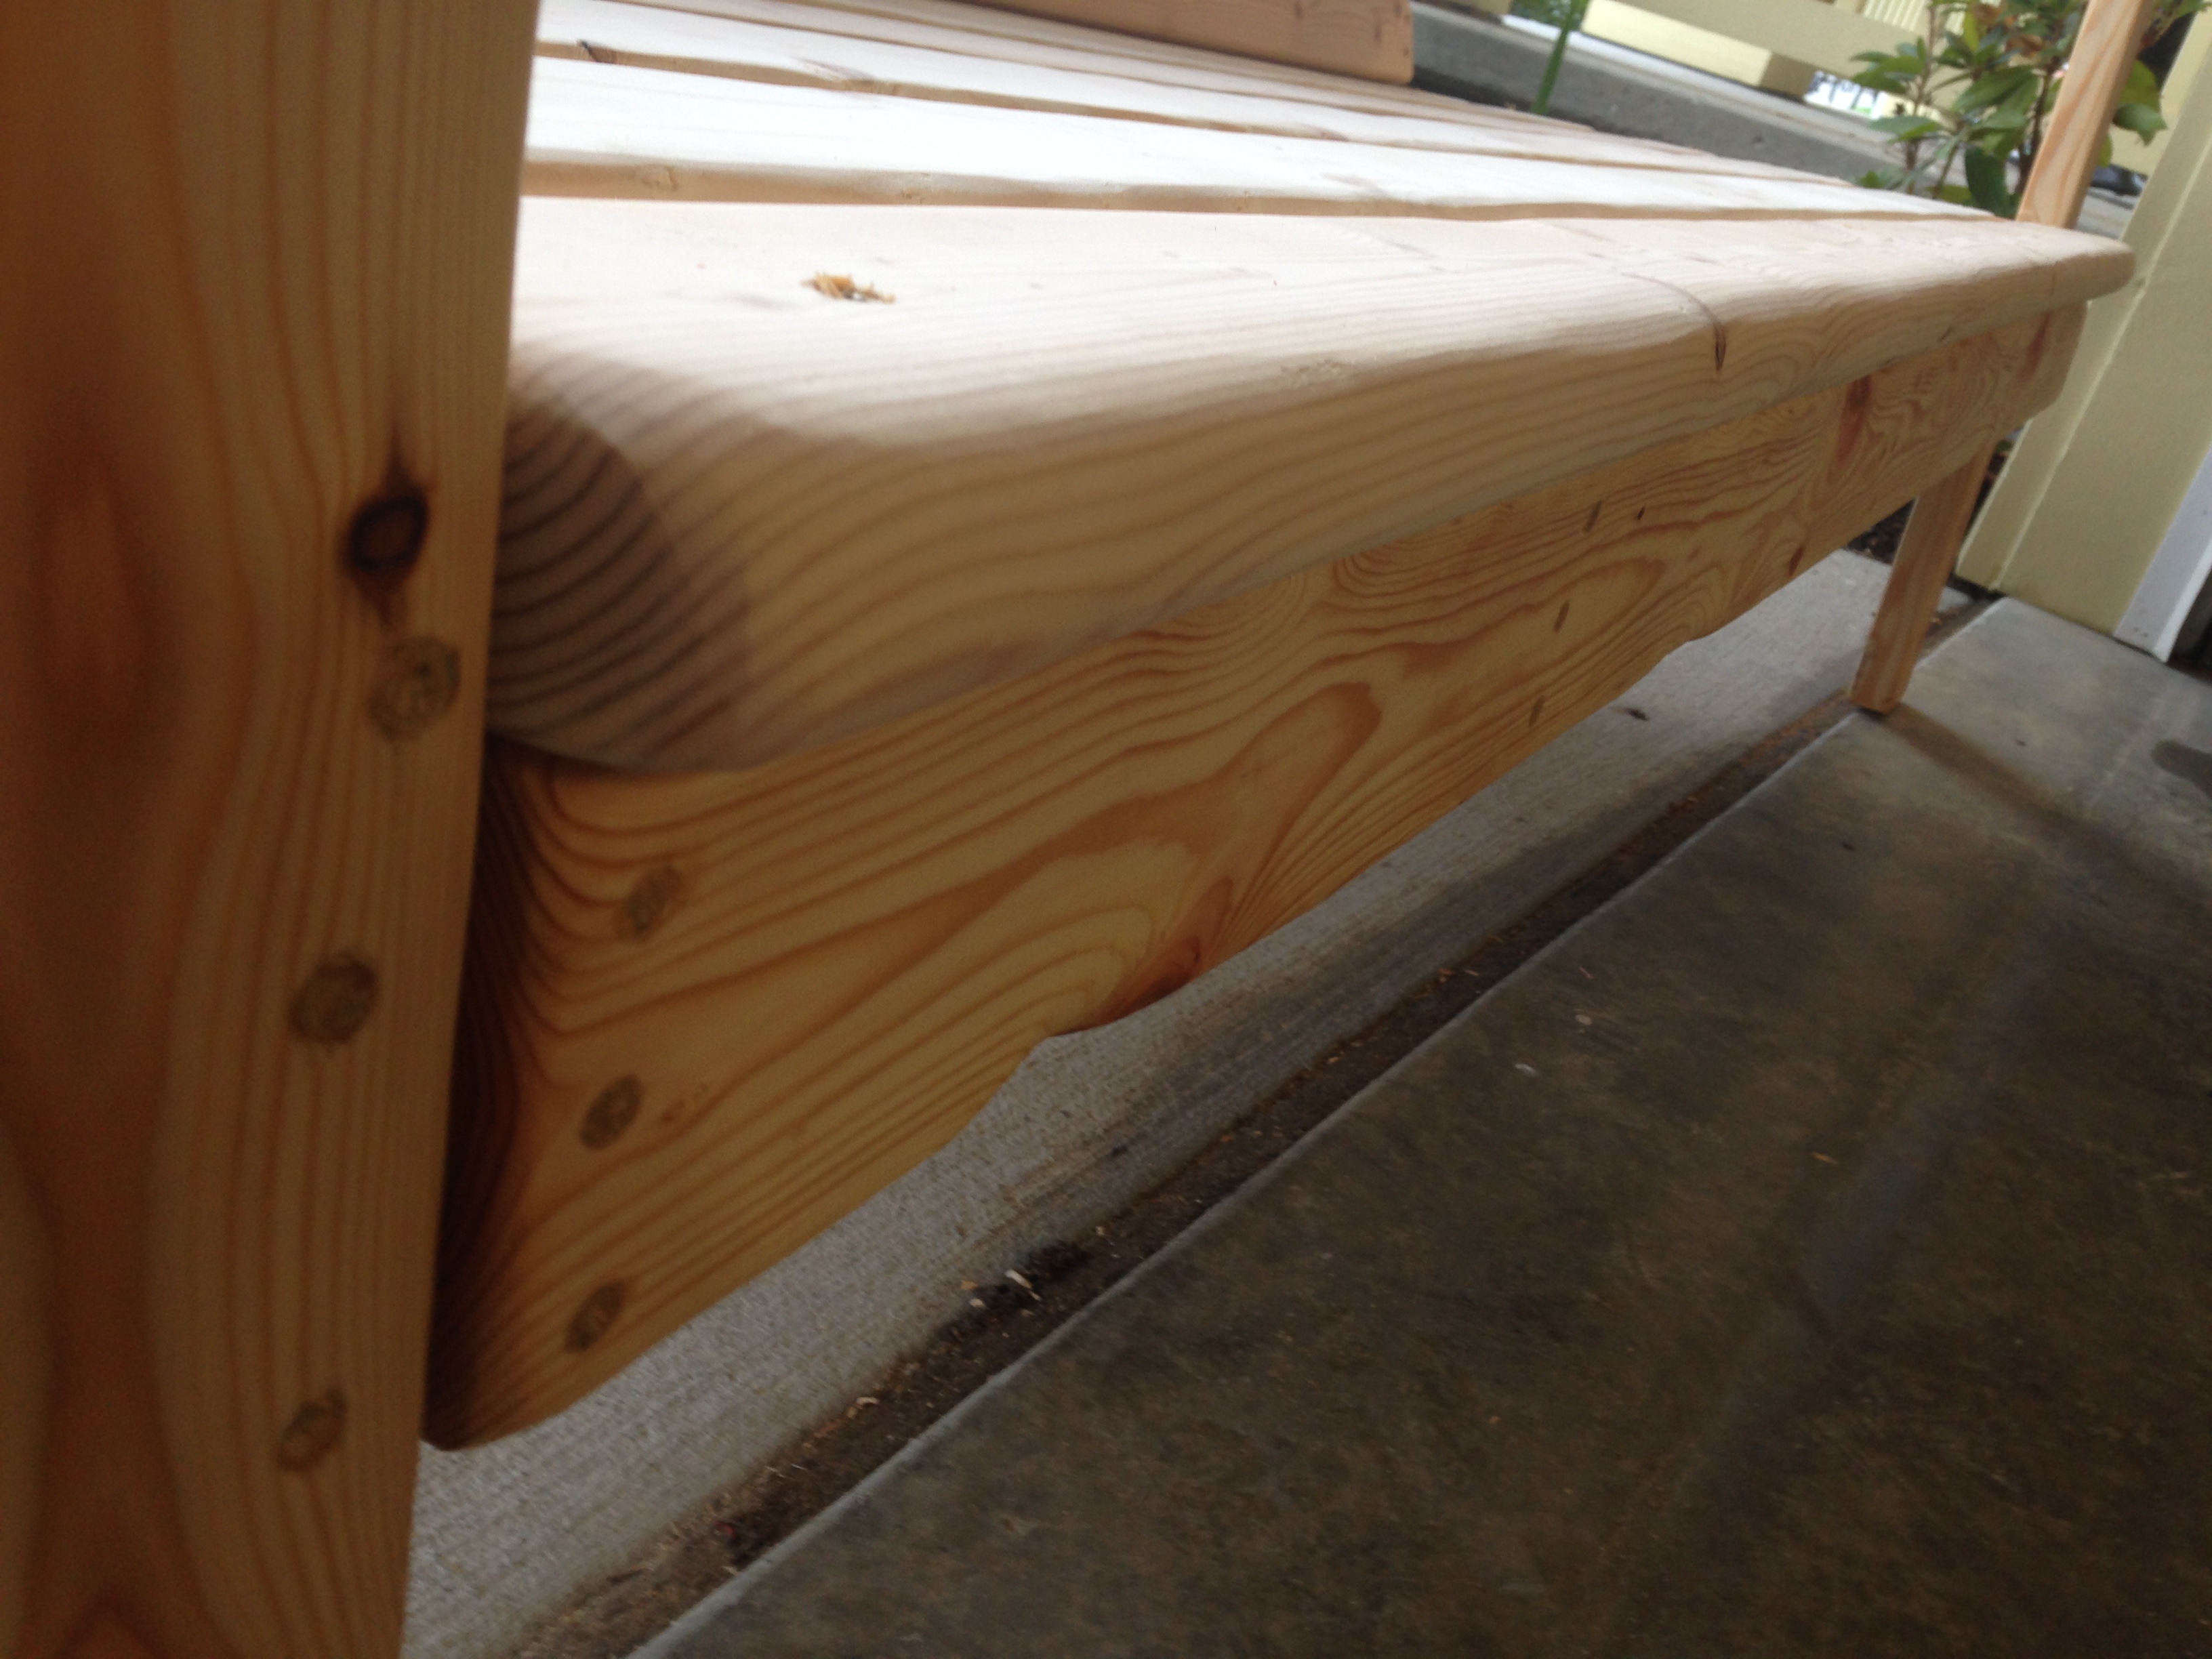
Sectional
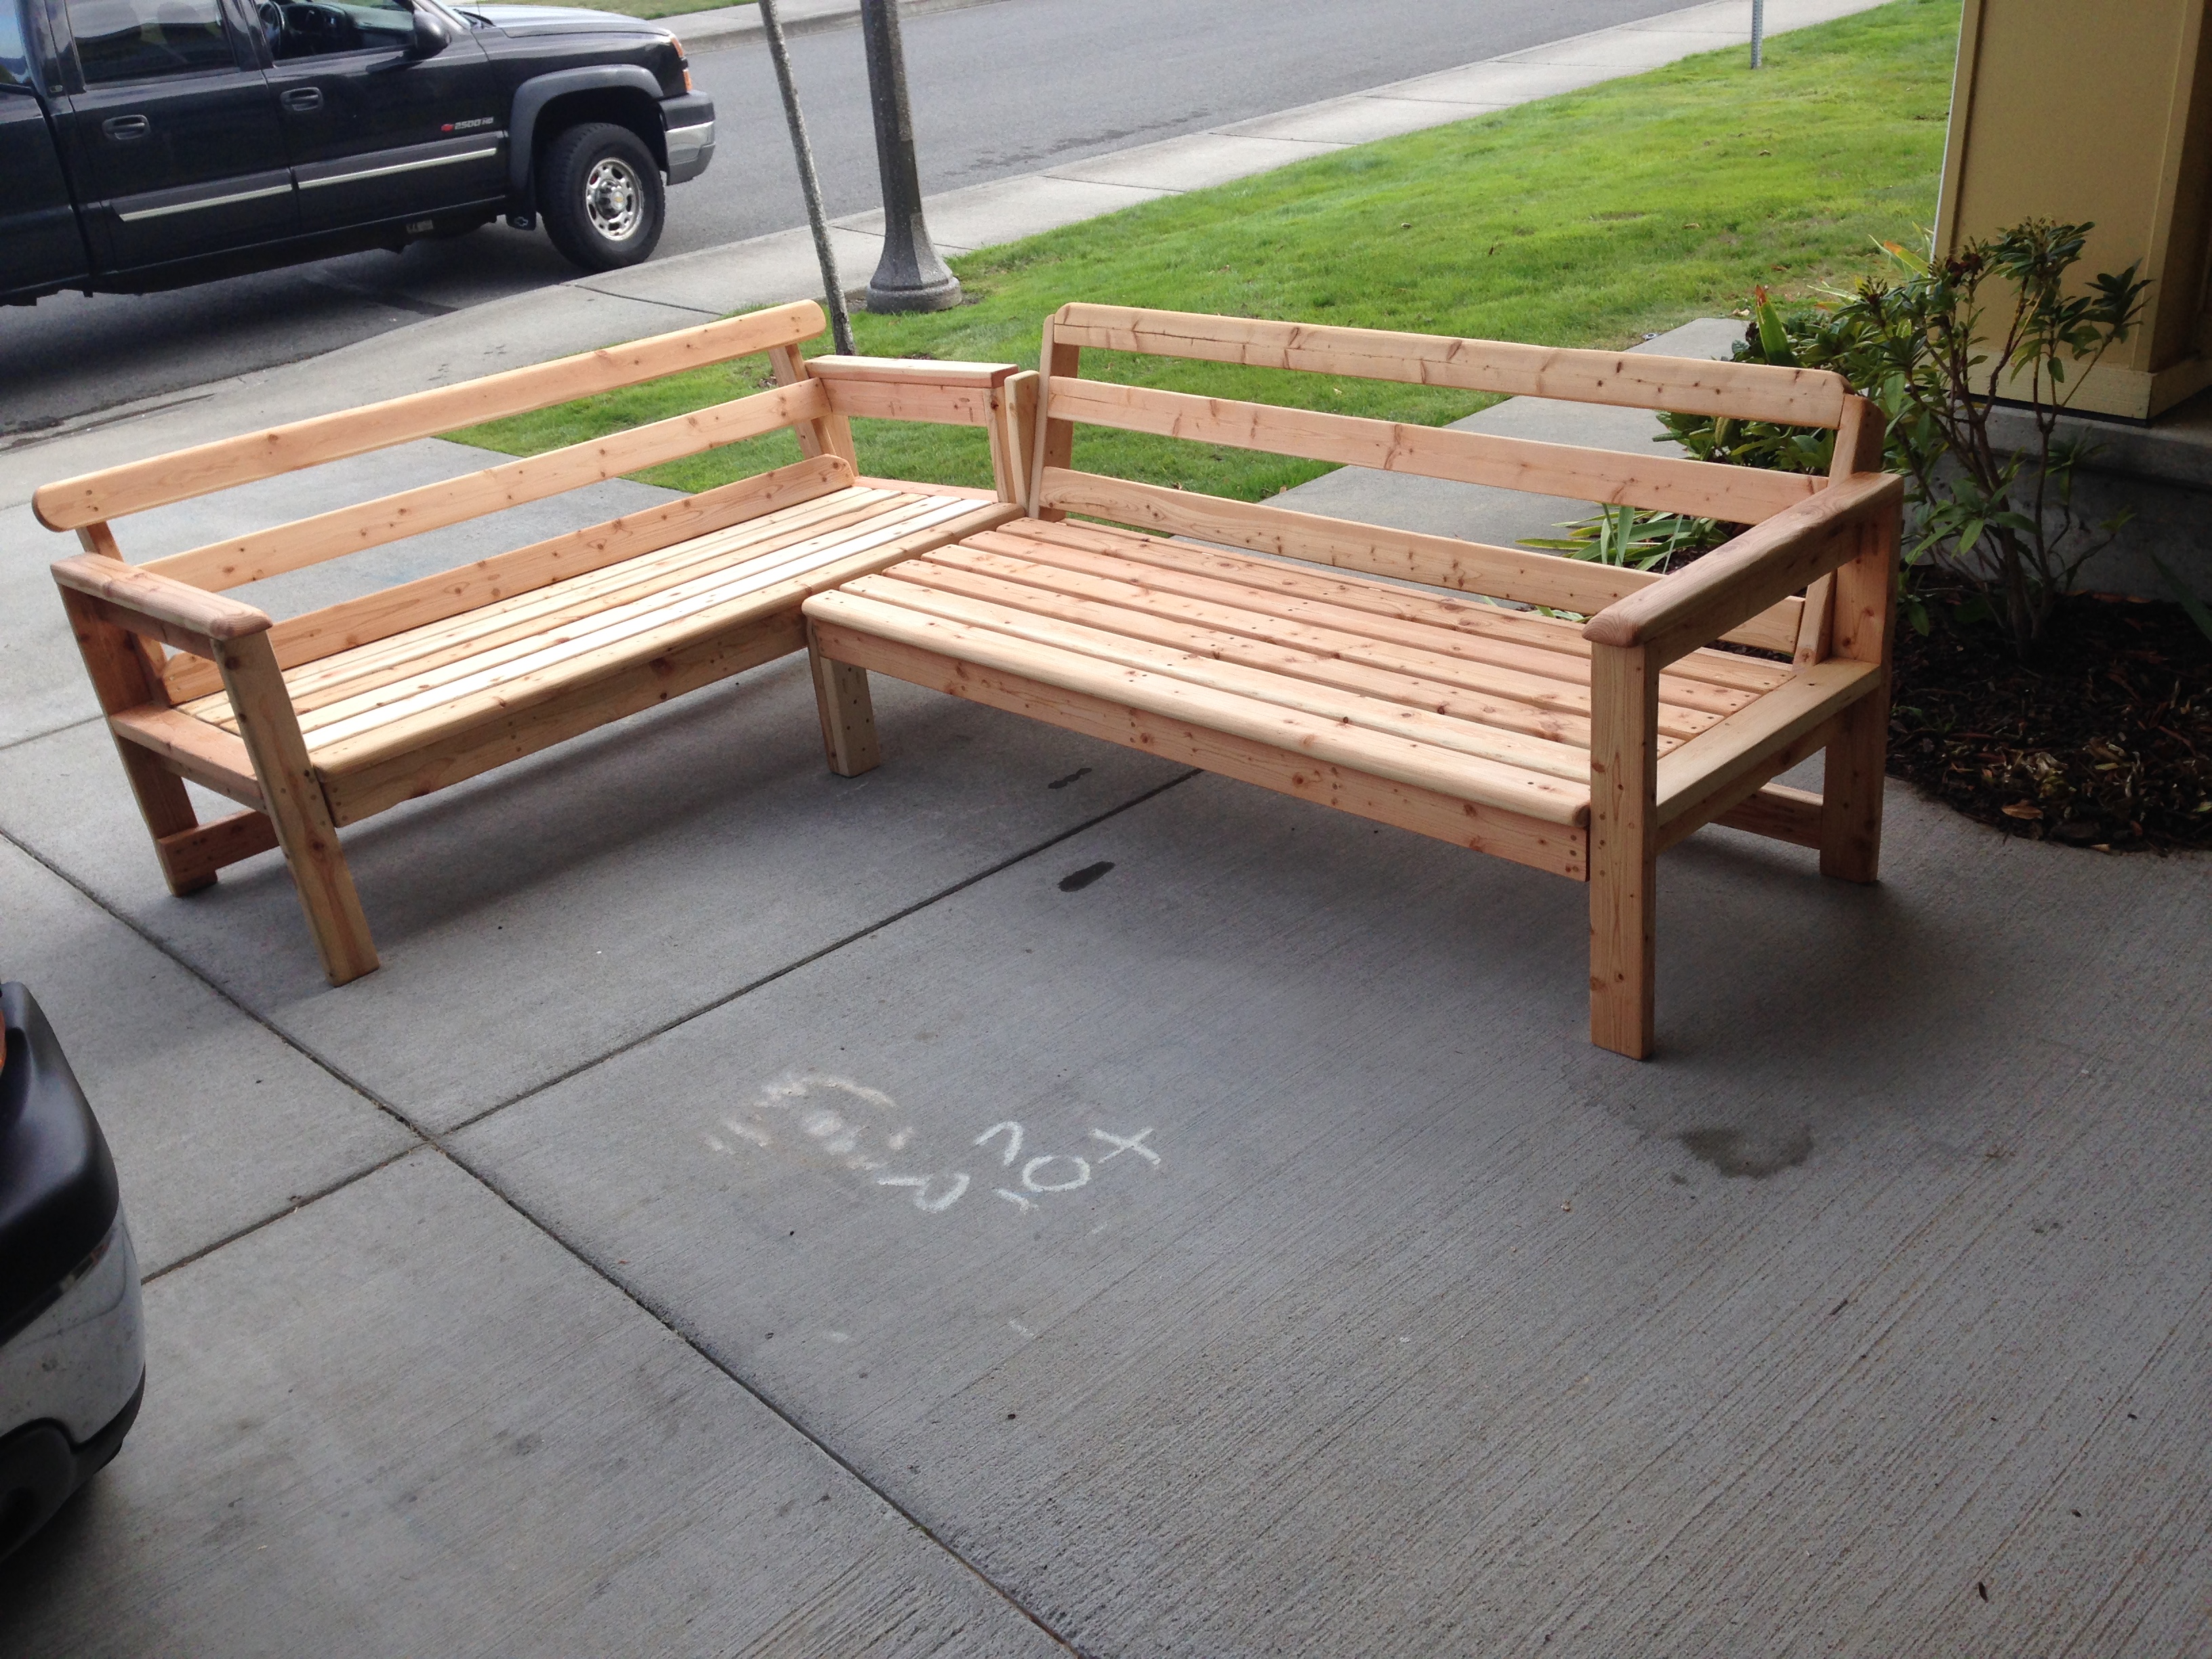
Mostly the same. Made smaller spacing for the seat (used 1x4 for spacing) and gave it a back (18" 15% miter) hand formed the front seat board and a bit of an overhang also hand formed the tops of the seat backs and armrest idea was it would be comfy with or without cushions. Ow and it's all construction grade lumber that I water sealed. Thanks for the idea!

Estimated Cost
$126.00
Estimated Time Investment
Weekend Project (10-20 Hours)
Finish Used
Thompsons clear water seal applied as I was assembled
Recommended Skill Level
Intermediate
Comments
Sun, 09/25/2016 - 09:33
I bet it's super comfy with
I bet it's super comfy with the leaning back! Great job thanks for bragging!
2x4 Outdoor sectional
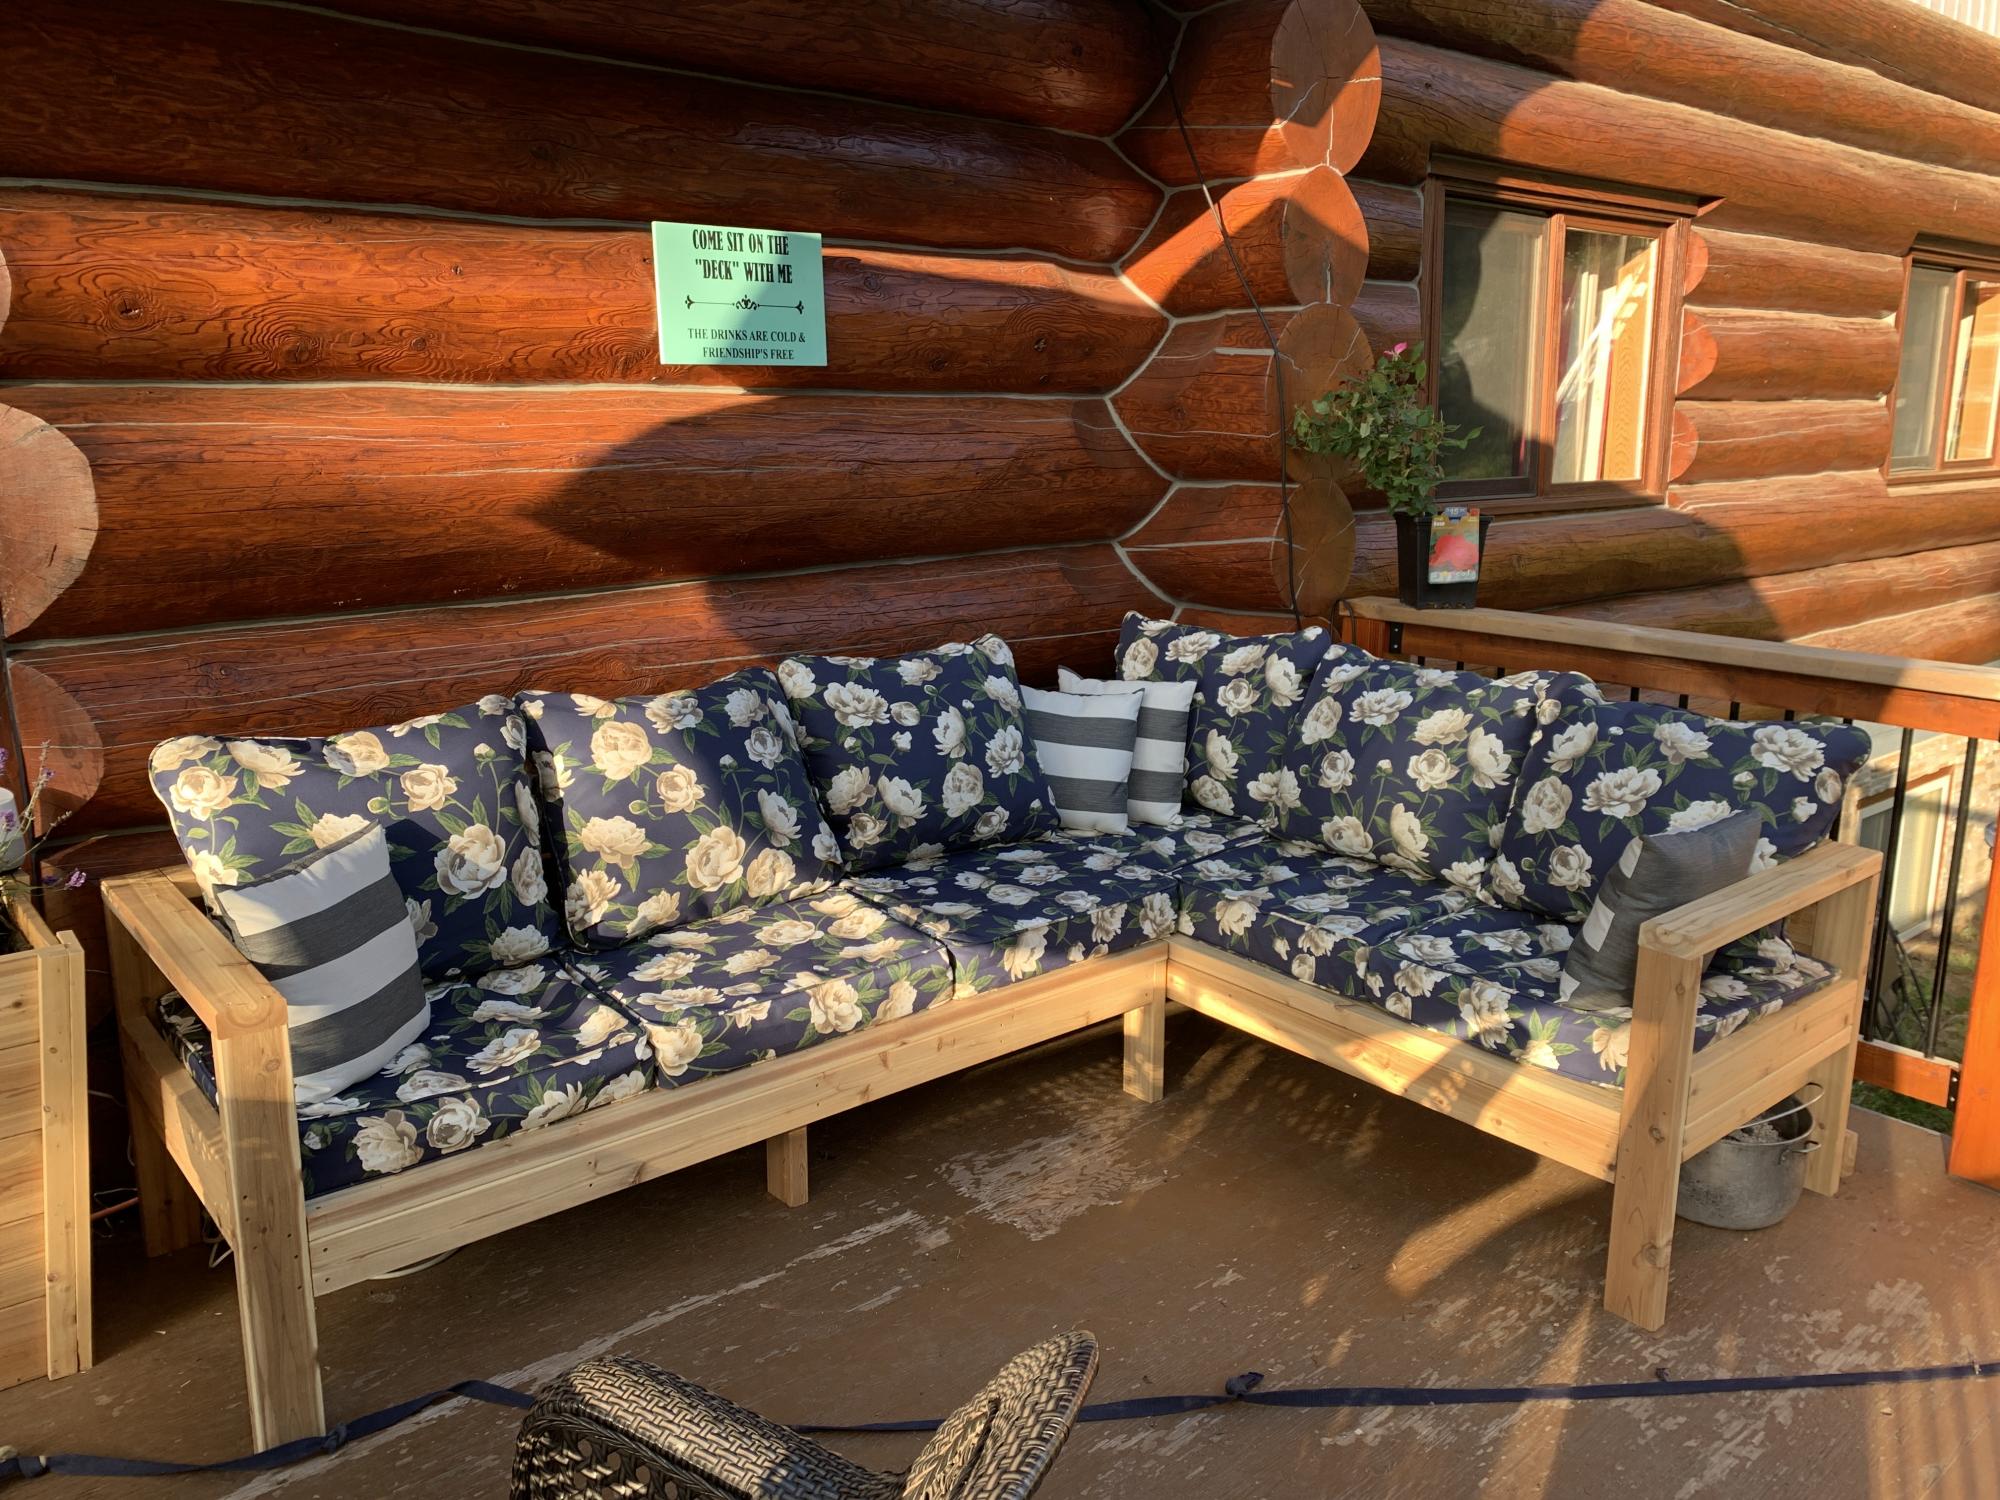
Loved this project. The third one I have completed from Ana’s projects. Took about 3.5 hours to complete both. I used 2x4 cedar. I did add an additional piece on the back of both sectionals as I found the cushions I bought would slip down the back.
Built from Plan(s)
Estimated Cost
$350 without cushions
Estimated Time Investment
Afternoon Project (3-6 Hours)
Recommended Skill Level
Beginner
Play Table and Chairs for Kids
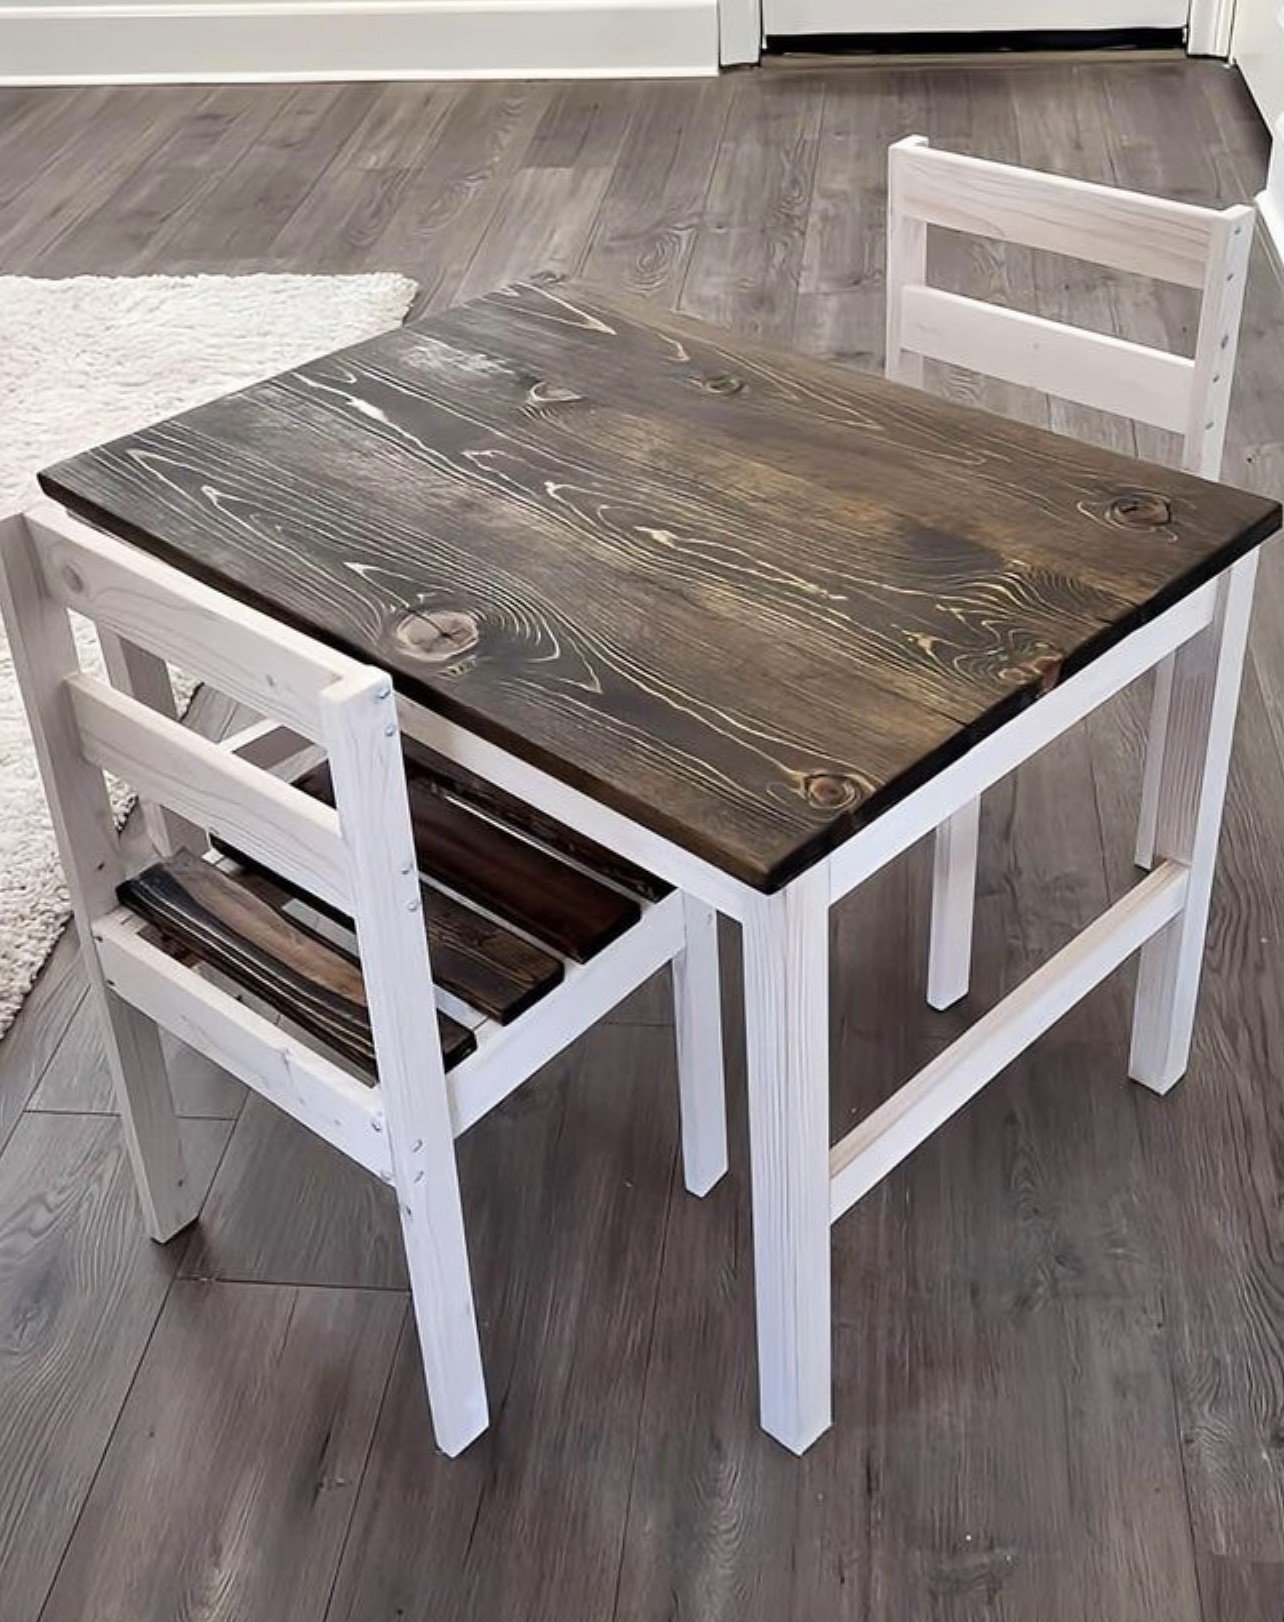
Super easy to build ,thanks for the instructions!!!!!!
Built from Plan(s)
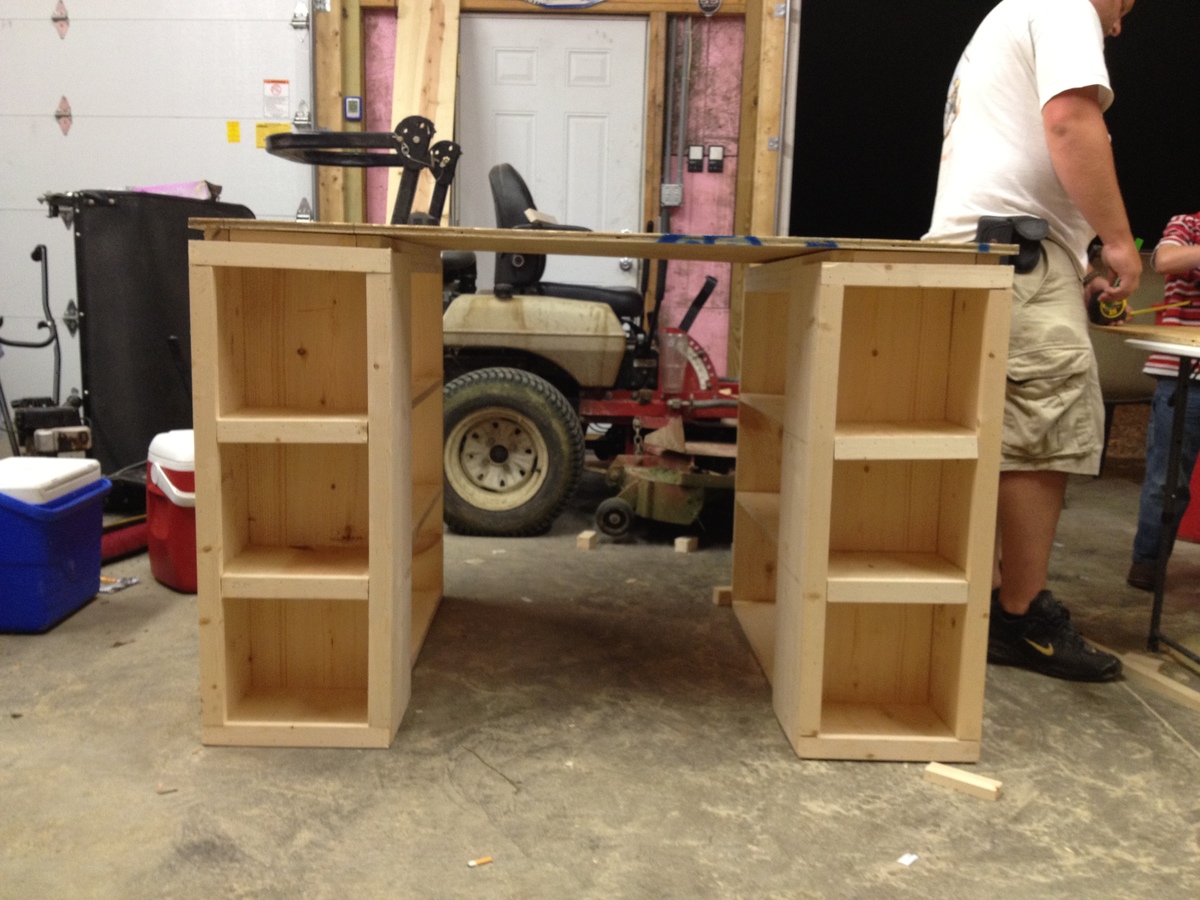
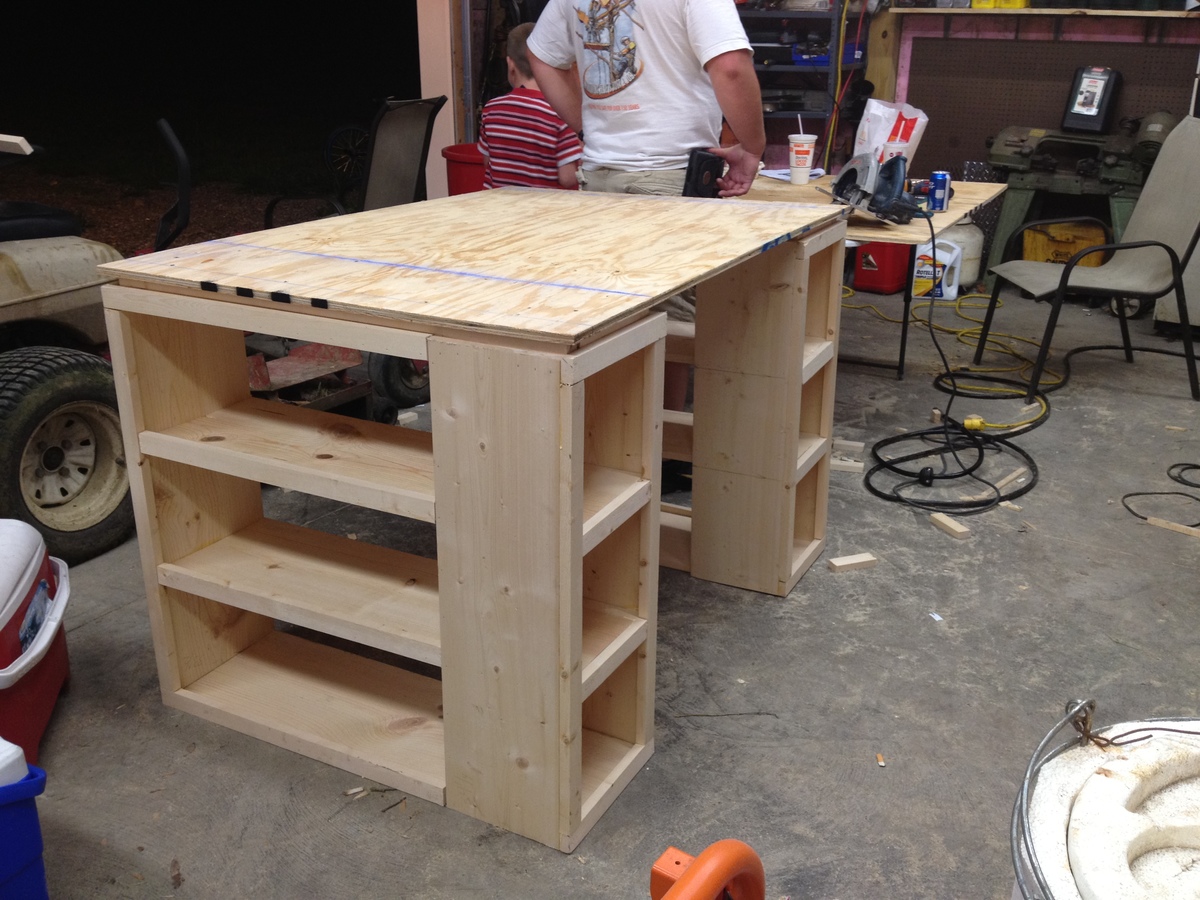
Craft Table by Southern Chic Love

This is my very first Ana White build! I needed a table to go into my craft room and stumbled upon Ana White. What an AMAZING site! After browsing and finding many projects i would like to give a whirl i finally decided on this modern craft table. My husband and I have worked together on many different projects and decided we would try this one. The plans were very easy to follow although we did make a few mistakes along the way. I painted it white and finished with several coats of poly. All in all we love it and have a list of other builds to do next.
Make sure to check us out at SouthernChicLove.Blogspot.com!

Built from Plan(s)
Estimated Cost
$100-$150
Estimated Time Investment
Weekend Project (10-20 Hours)
Finish Used
I used basic laytex white gloss paint finished with several coats of poly.
Recommended Skill Level
Beginner
Subway Tile Bookcase
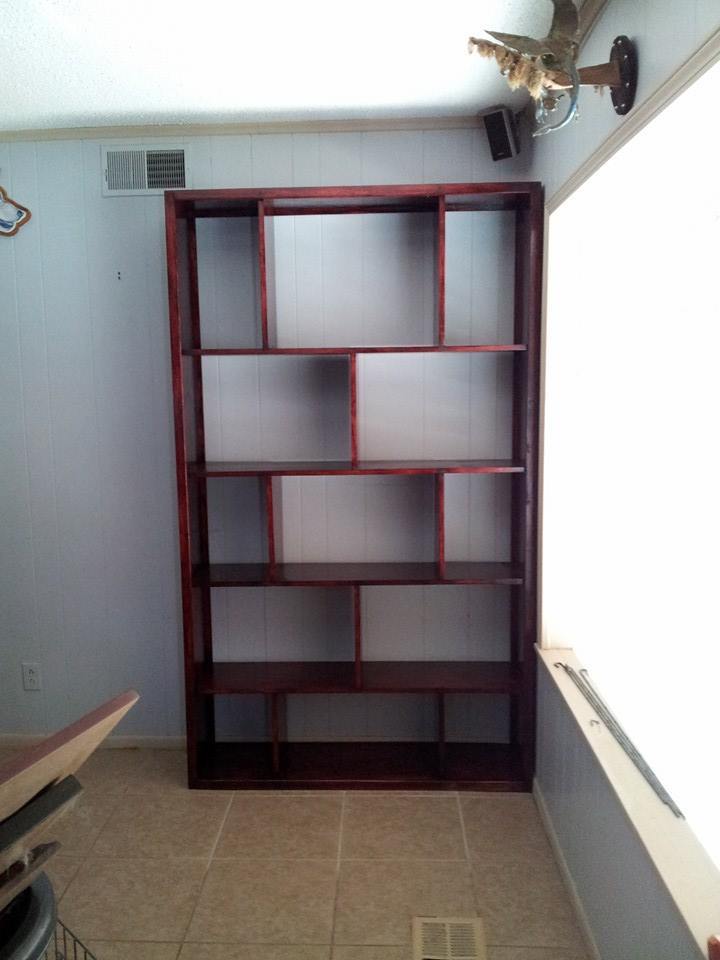
Modified Subway tile bookcase. 7' tall by 4' wide.
Built from Plan(s)
Estimated Time Investment
Weekend Project (10-20 Hours)
Finish Used
minwax mahogany
Recommended Skill Level
Beginner
Loft Bed

This project was for our 4 year old daughter. We wanted to get her a loft bed, but I wanted to make sure the rails were really tall so she didn't fall out. So, I took some inspirtation from loft beds on this website as well as looking at pictures of beds you can buy. I also added the drawers within the stairs because I wanted to utilize the storage potential. That was the most difficult part as I'm not particularly experienced in making and installing drawers. Off to YouTube tutorials I went and it turned out quite nice. I had to build it in three different parts to get it in her room. It's the actual bed portion, the stairs, and the side wall. Once I got it together, I left the screws showing that I connected it with, which I hate, but when we have to move it out of there, I didn't want to go through a ton of trouble. I used Kreg pocket holes for all of the vertical bed slats which caused a ton of work plugging the holes, cutting off the excess, sanding, and then sanding again and again. But, it was well worth it. We have made her a cozy little nook underneath the bed and added a light since these pictures. Overall, it was a fun project


Estimated Cost
$500-$700
I used maple plywood for the walls which shot the price up a LOT
I used maple plywood for the walls which shot the price up a LOT
Estimated Time Investment
Week Long Project (20 Hours or More)
Finish Used
White paint
Recommended Skill Level
Intermediate
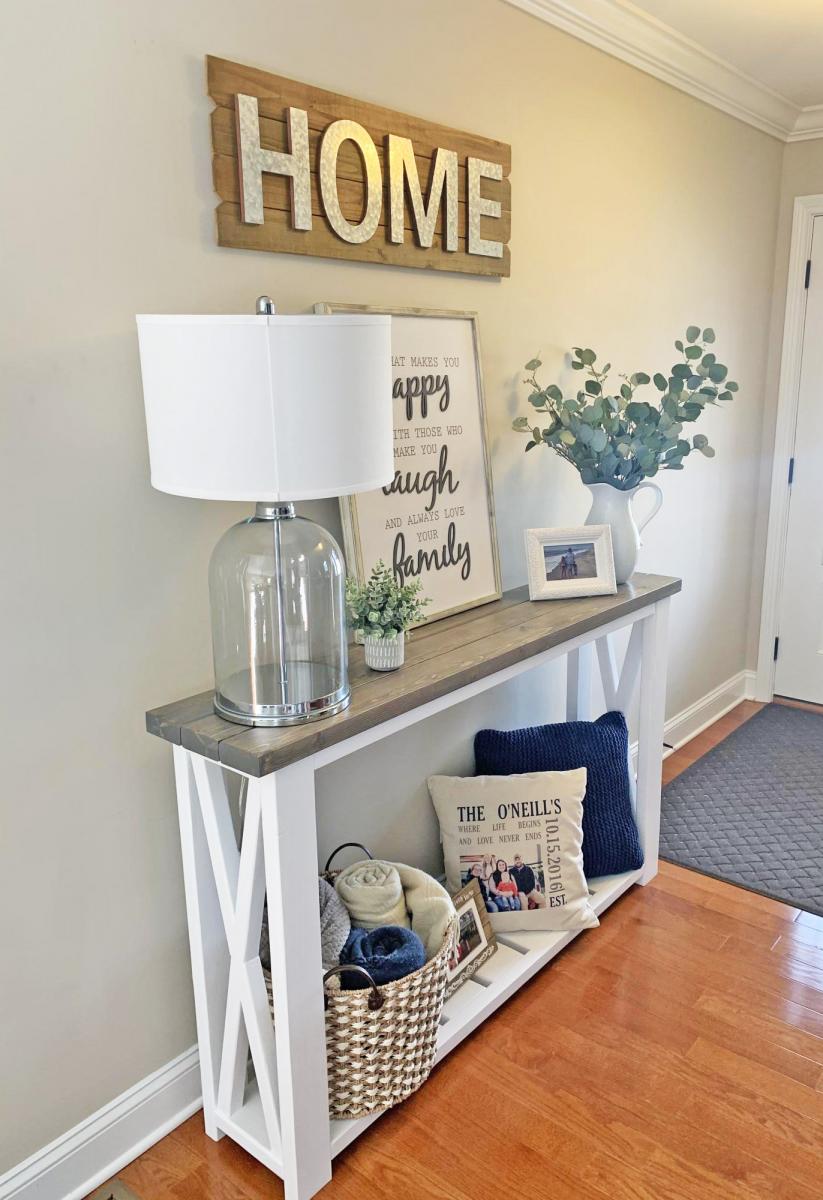
Farmhouse Console Table
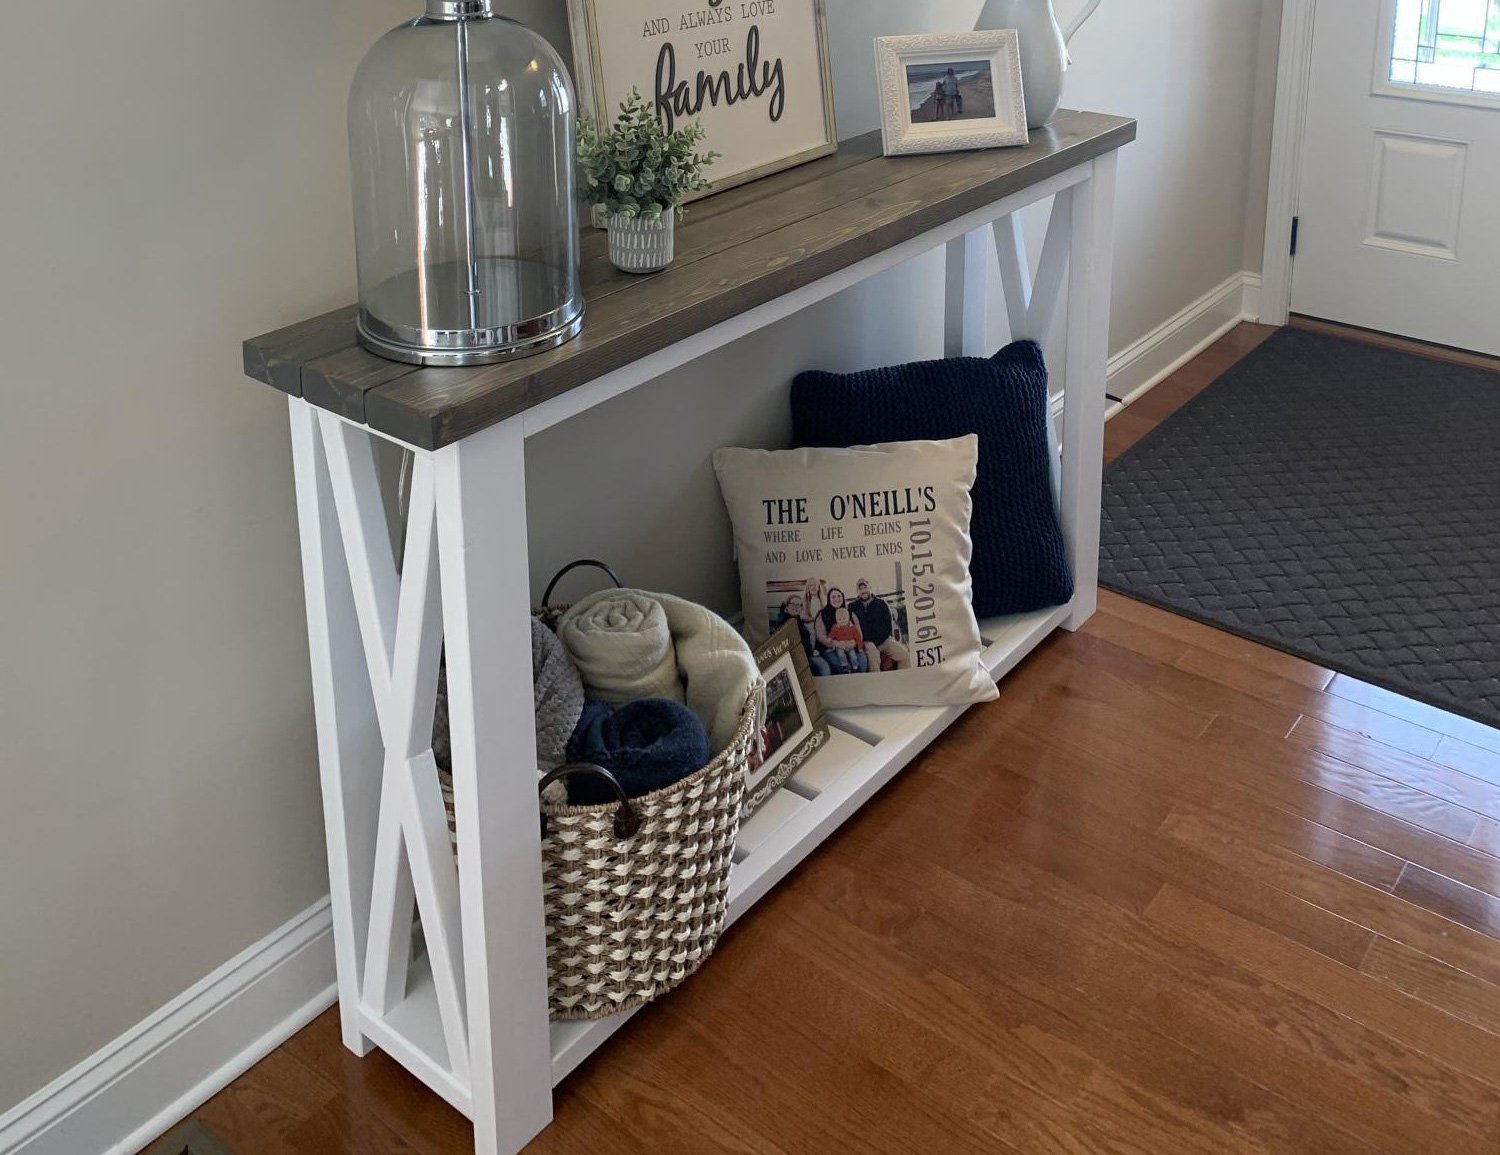
Modified the size to 60” length , 12” depth , 36” height . Went with satin white frame , Minwax classic grey stained top with 3 coats of poly clear coat satin (quick dry).
Built from Plan(s)
Estimated Cost
$50
Estimated Time Investment
Weekend Project (10-20 Hours)
Finish Used
Minwax classic grey with poly 3 coats quick dry
Recommended Skill Level
Beginner
Comments
Mon, 09/07/2020 - 23:07
Do you happen to have a…
Do you happen to have a revised shopping/cut list for this table? Thanks!
Lemonade Stand
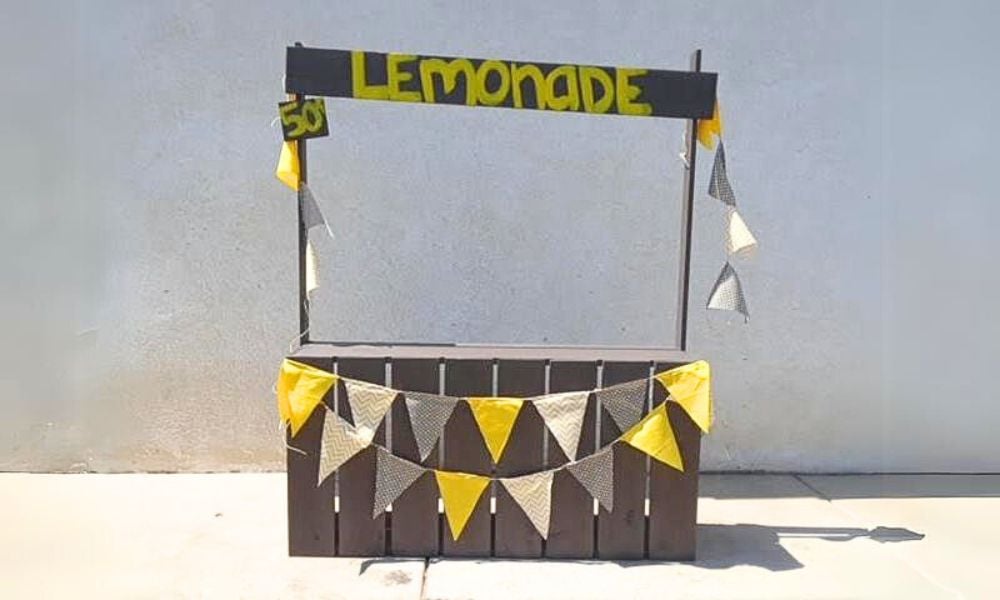
Lemonade stand built from plans here
Built from Plan(s)
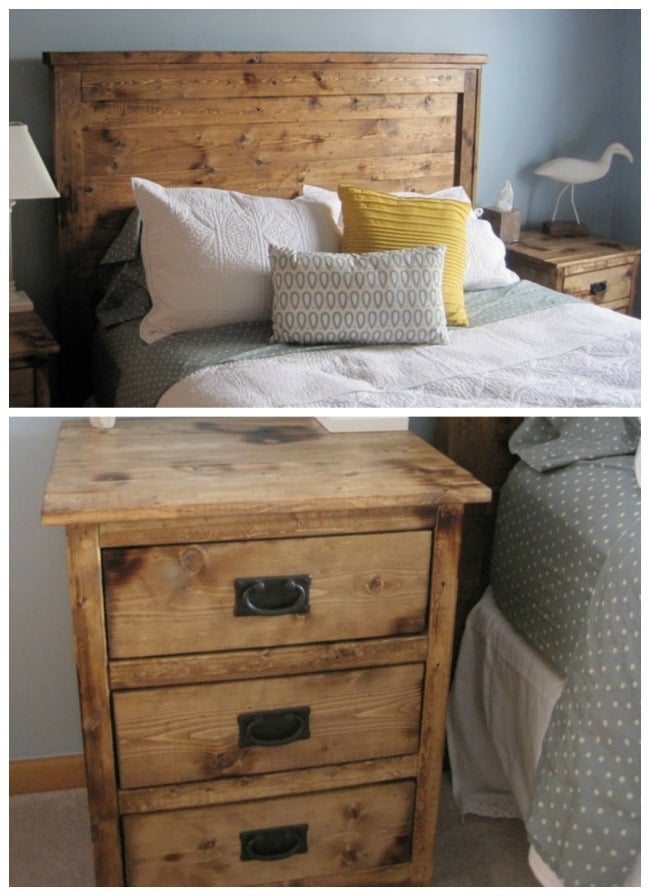
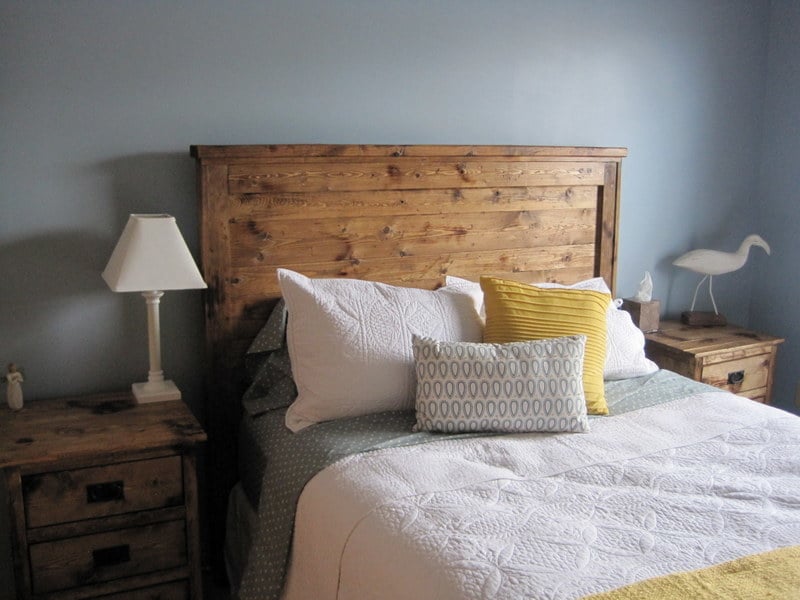
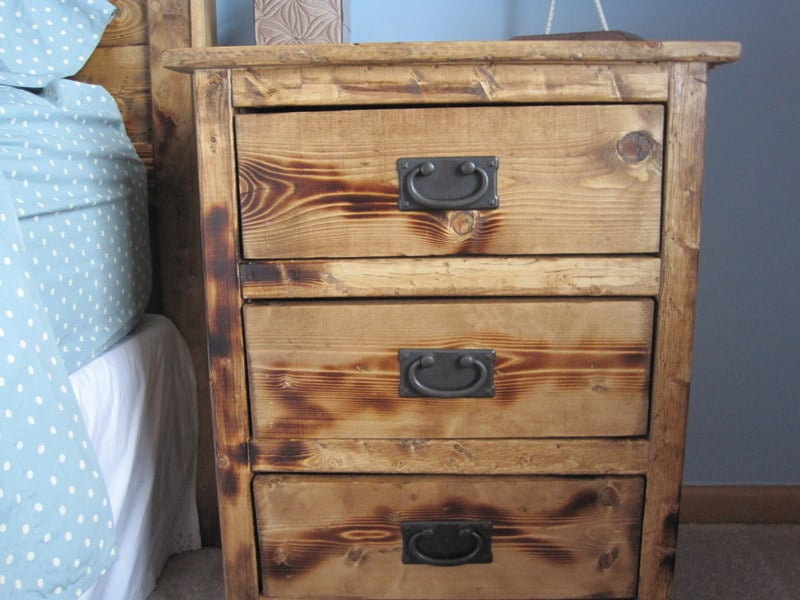
Planked Wood Bedside Tables with drawers

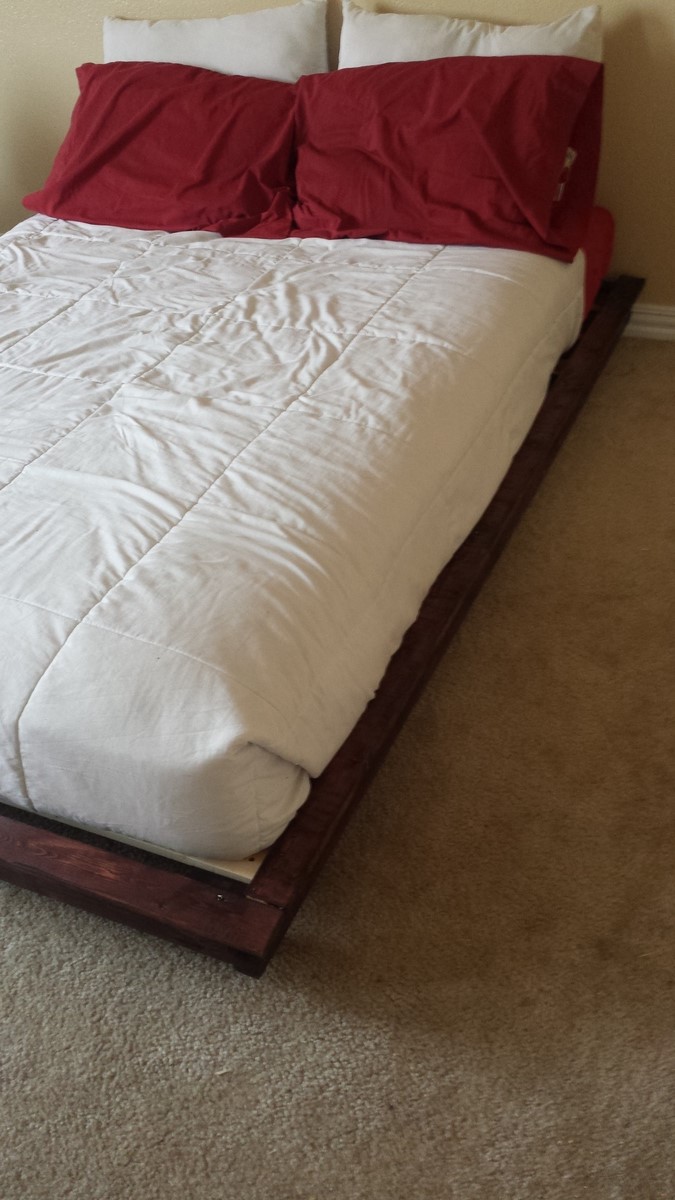
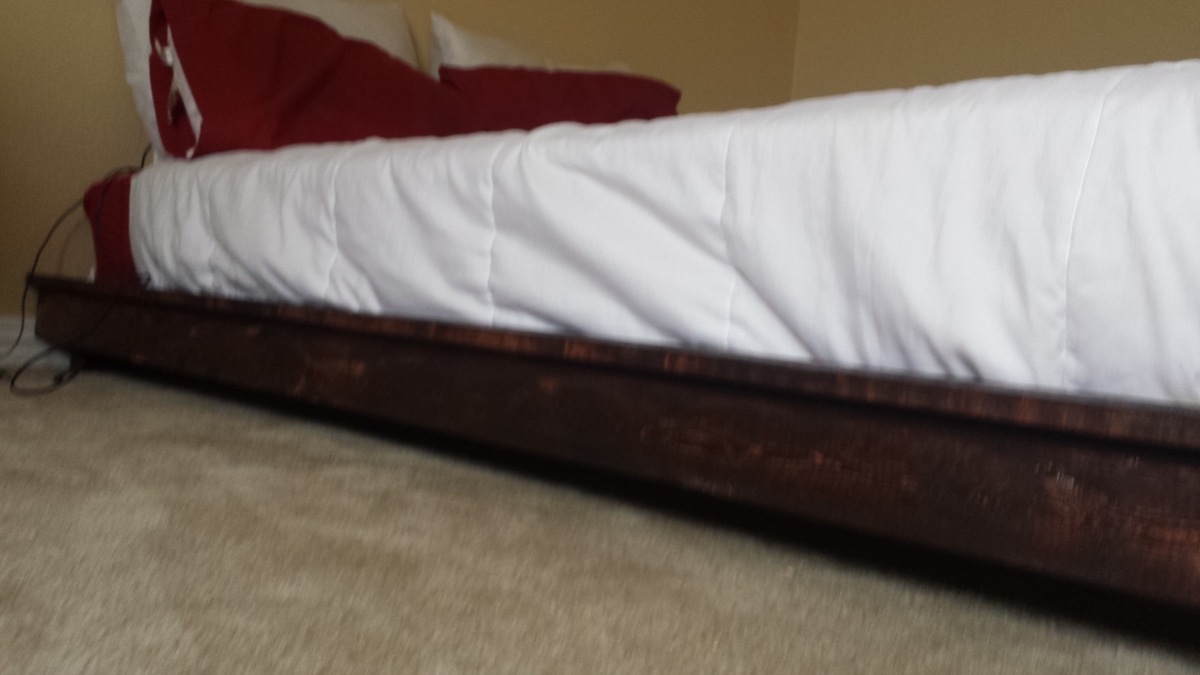
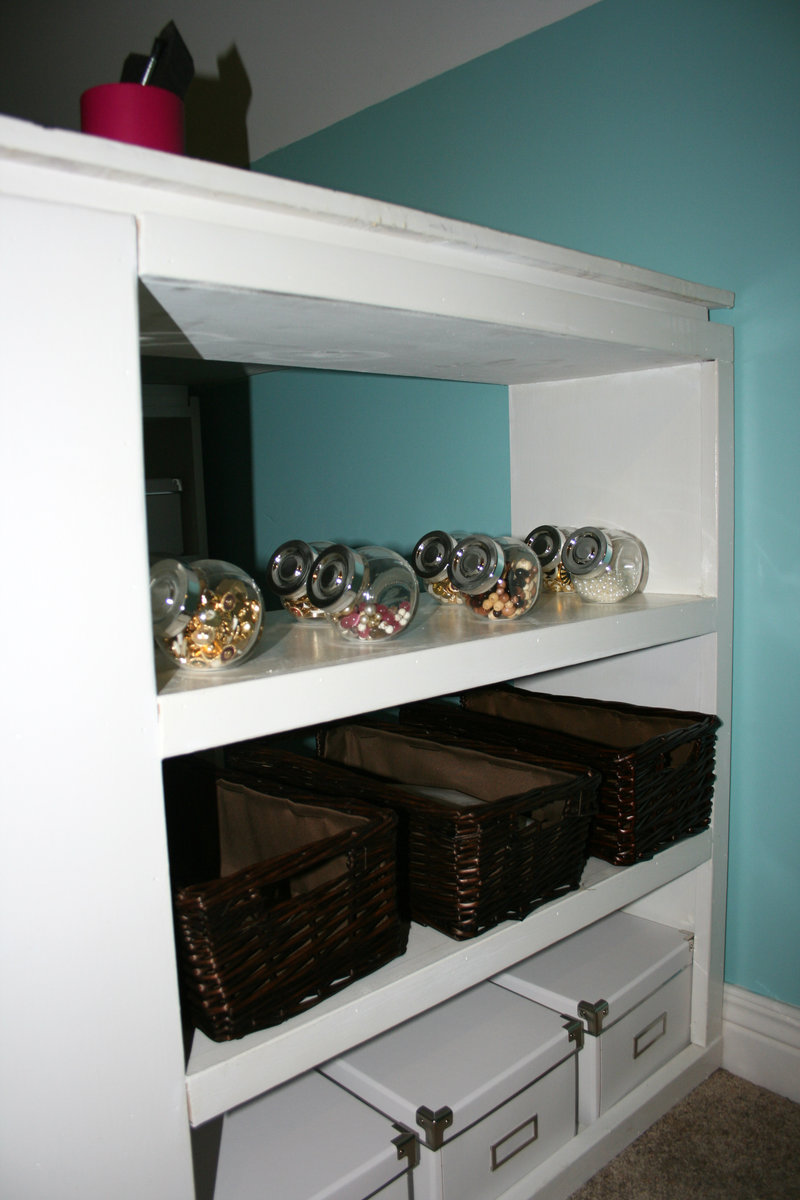
So after my husband and I conquered the headboard, we decided that we were geniuses at furniture making and we would just build the two side tables. Well, the two side tables are much more difficult than the headboard. The side tables are definitely do-able but make sure that you leave plenty of time for them. We built most of them on a Sunday and then finished them up in the evenings the rest of teh week. We do not have a Kreg Jig and were able to build them without it; however, if you have a Kreg Jig it would make thing 1,000 times easier. We did end up buying a miter saw because we were building the Old style Workmen's Bench bar at the same time (crazy, I tell you). It is CRITICAL to make sure that your inside drawer measurements work. If you are off just by a little, your drawer pulls are not going to fit. We ended up buying bottom mount drawer pulls. The drawers are a little less stable and can hold less weight (up to 35 pounds) but it worked for us. I think the real key to finishing this project are choosing the right drawer pulls. I really believe that spending a little bit more on the drawer pulls makes the piece look more expensive. We spent about 6.50 a drawer pull but they look really nice in person. TIPS **Stain drawer faces off, then attach hardware, then attach to drawer base **If you are going to use wood filler (I wouldn't), make sure that you use the least bit possible - the stain does not take to it the same
Built from Plan(s)
Estimated Cost
175.00
Estimated Time Investment
Weekend Project (10-20 Hours)
Finish Used
Provincial from Minwax, left on for about 10 minutes and wiped off (after prepping wood with pre-stain), clear coated. For the inside of the drawers, we used Minwax Natural - next time I would go a bit deeper and do Honey for the inside; distressed with creme brulee torch, chain from hardware store, drill bit and hammer
Recommended Skill Level
Intermediate
Comments
Tue, 09/11/2012 - 03:15
You're brave!
This plan is what I wanted, but I chickened out. Yours looks fantastic!