Scrappy armoire
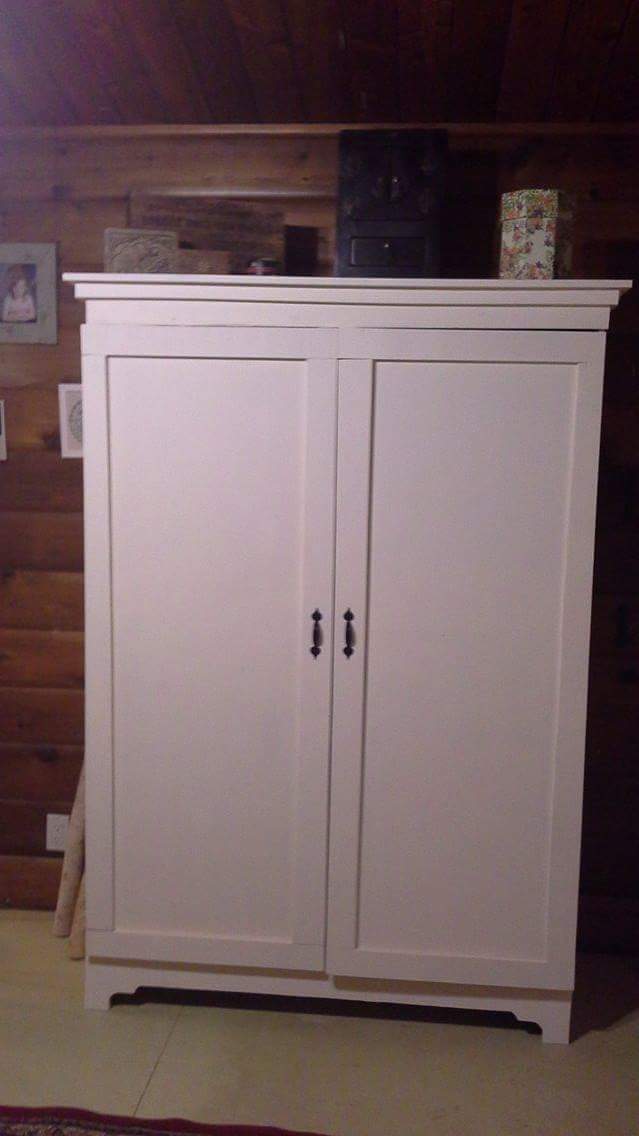
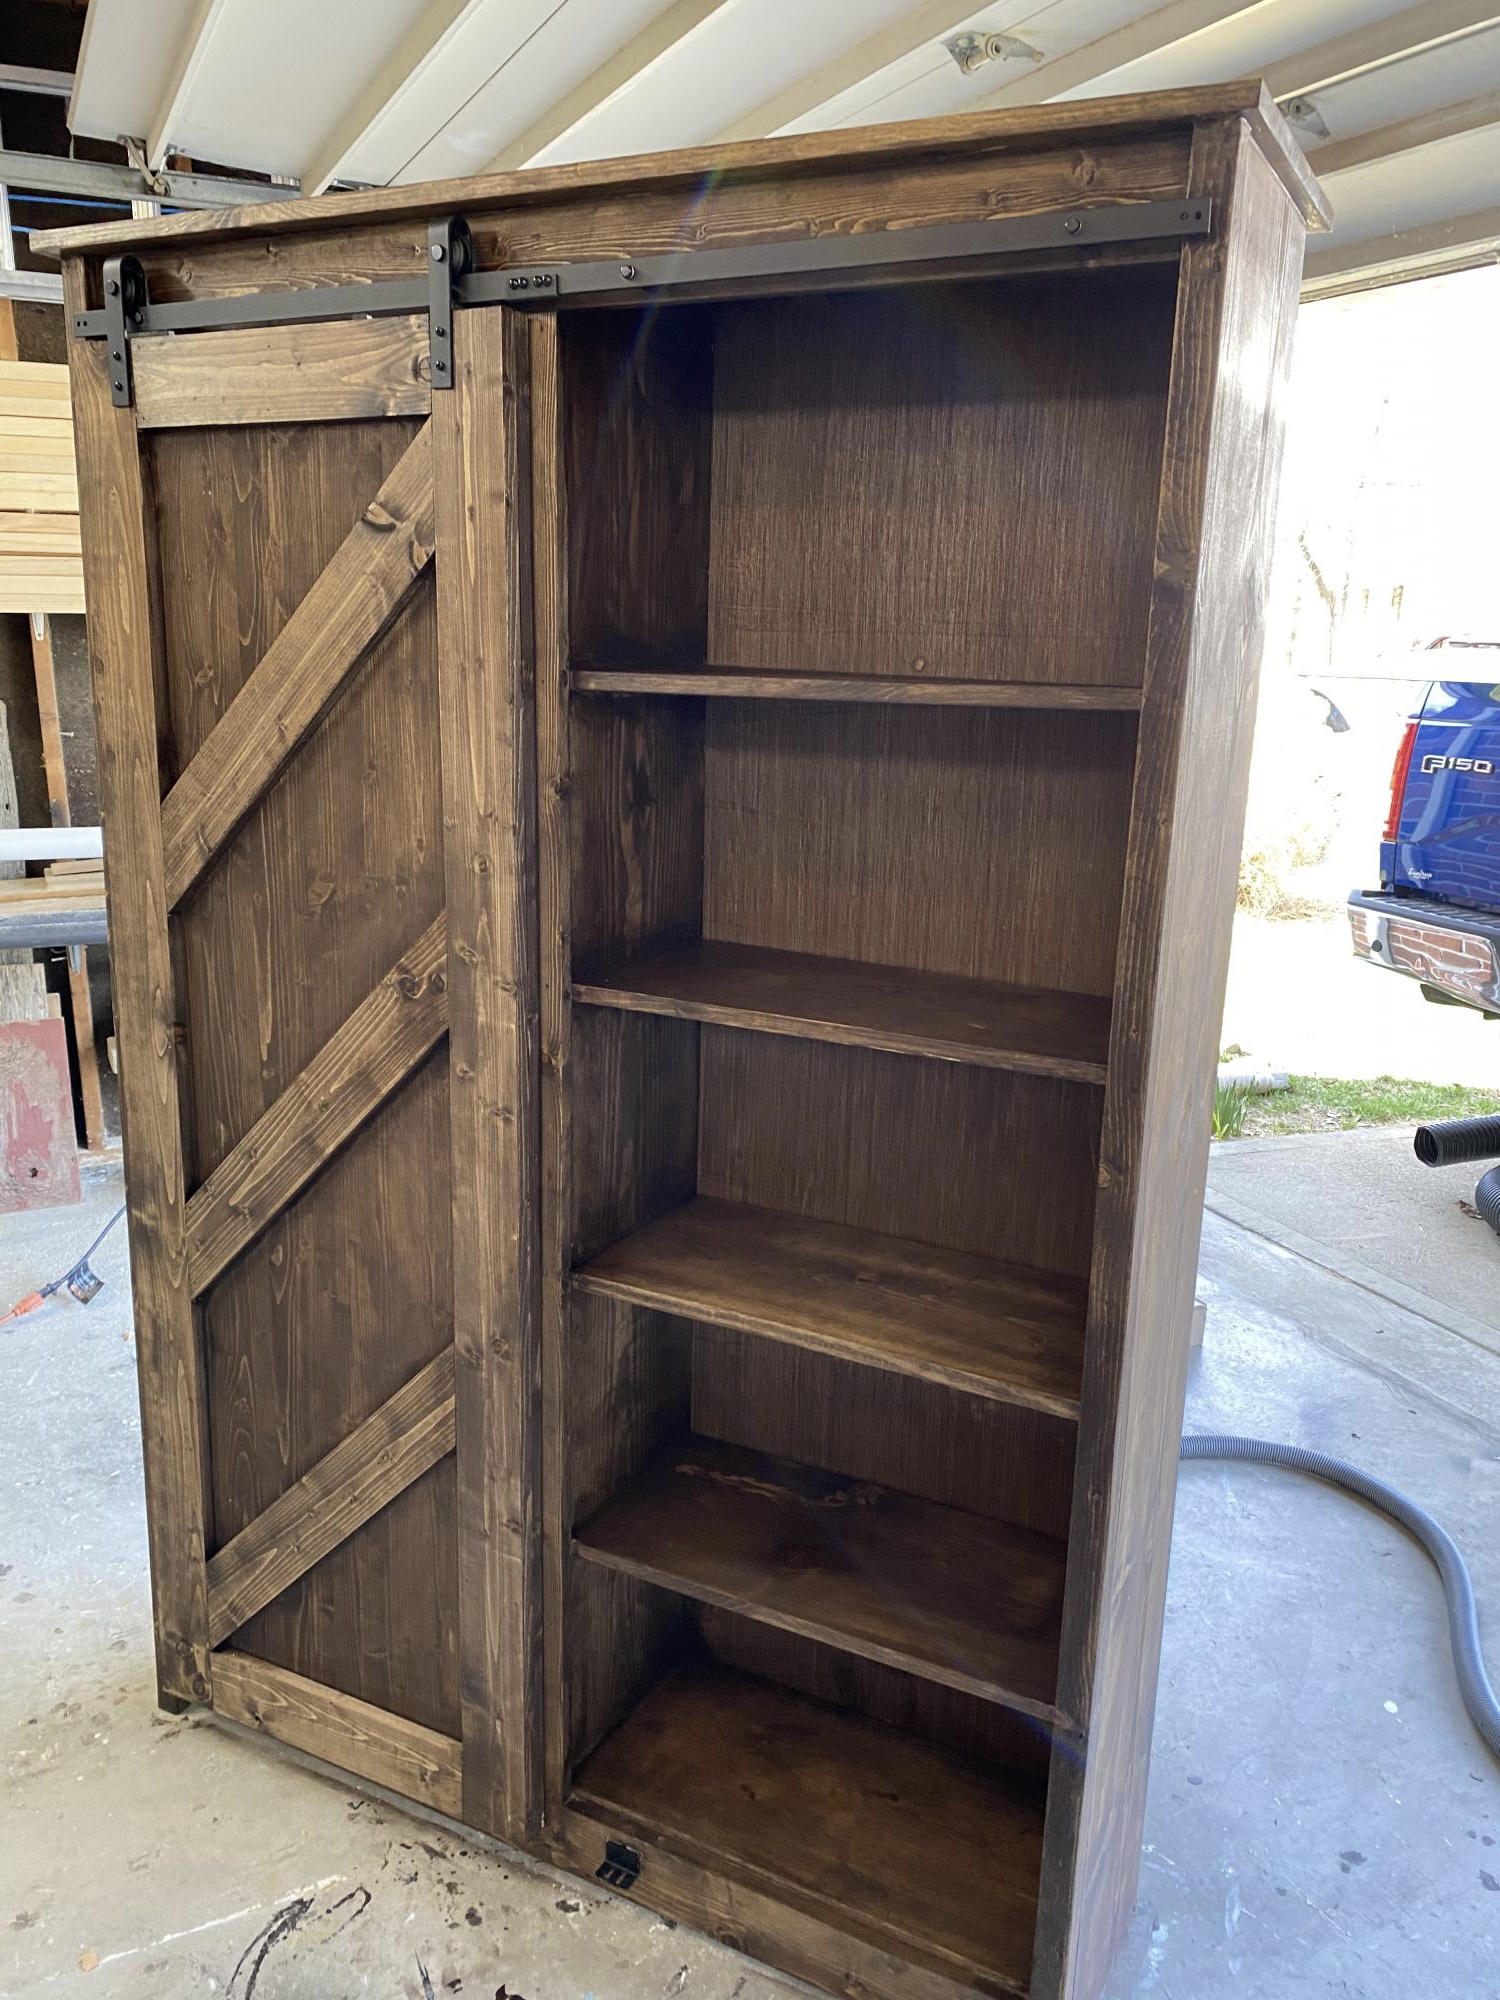
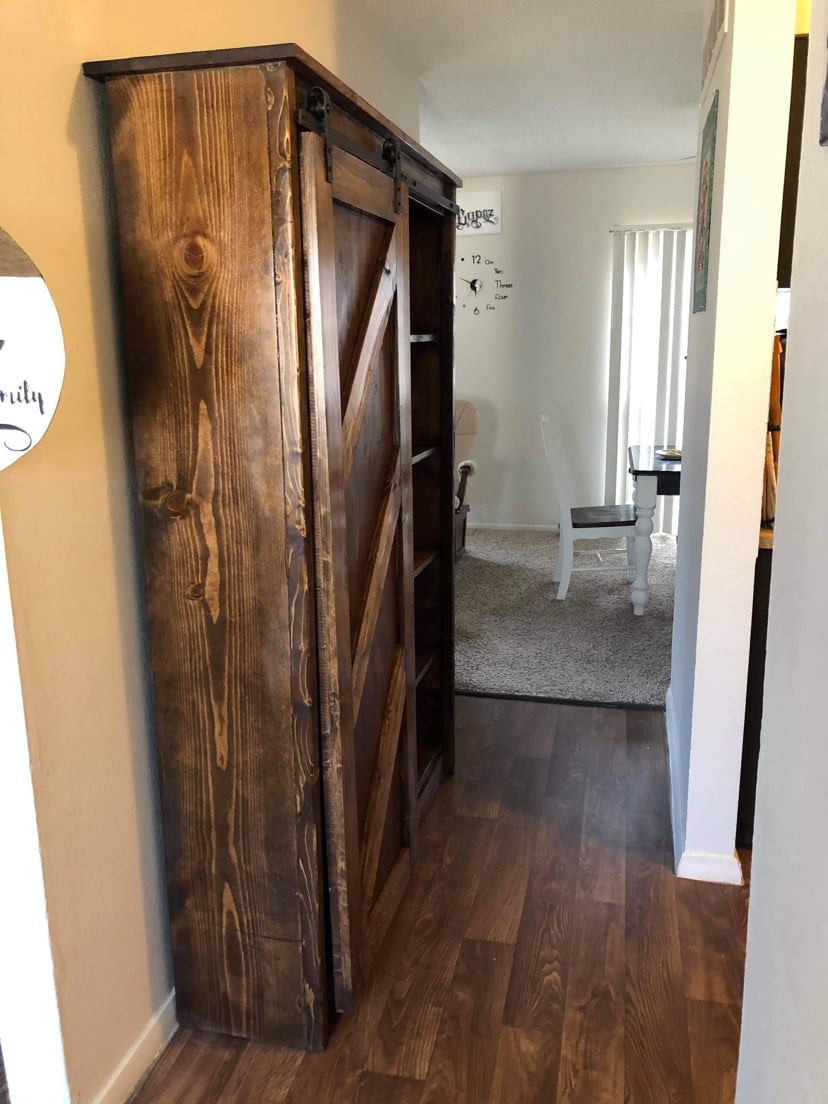
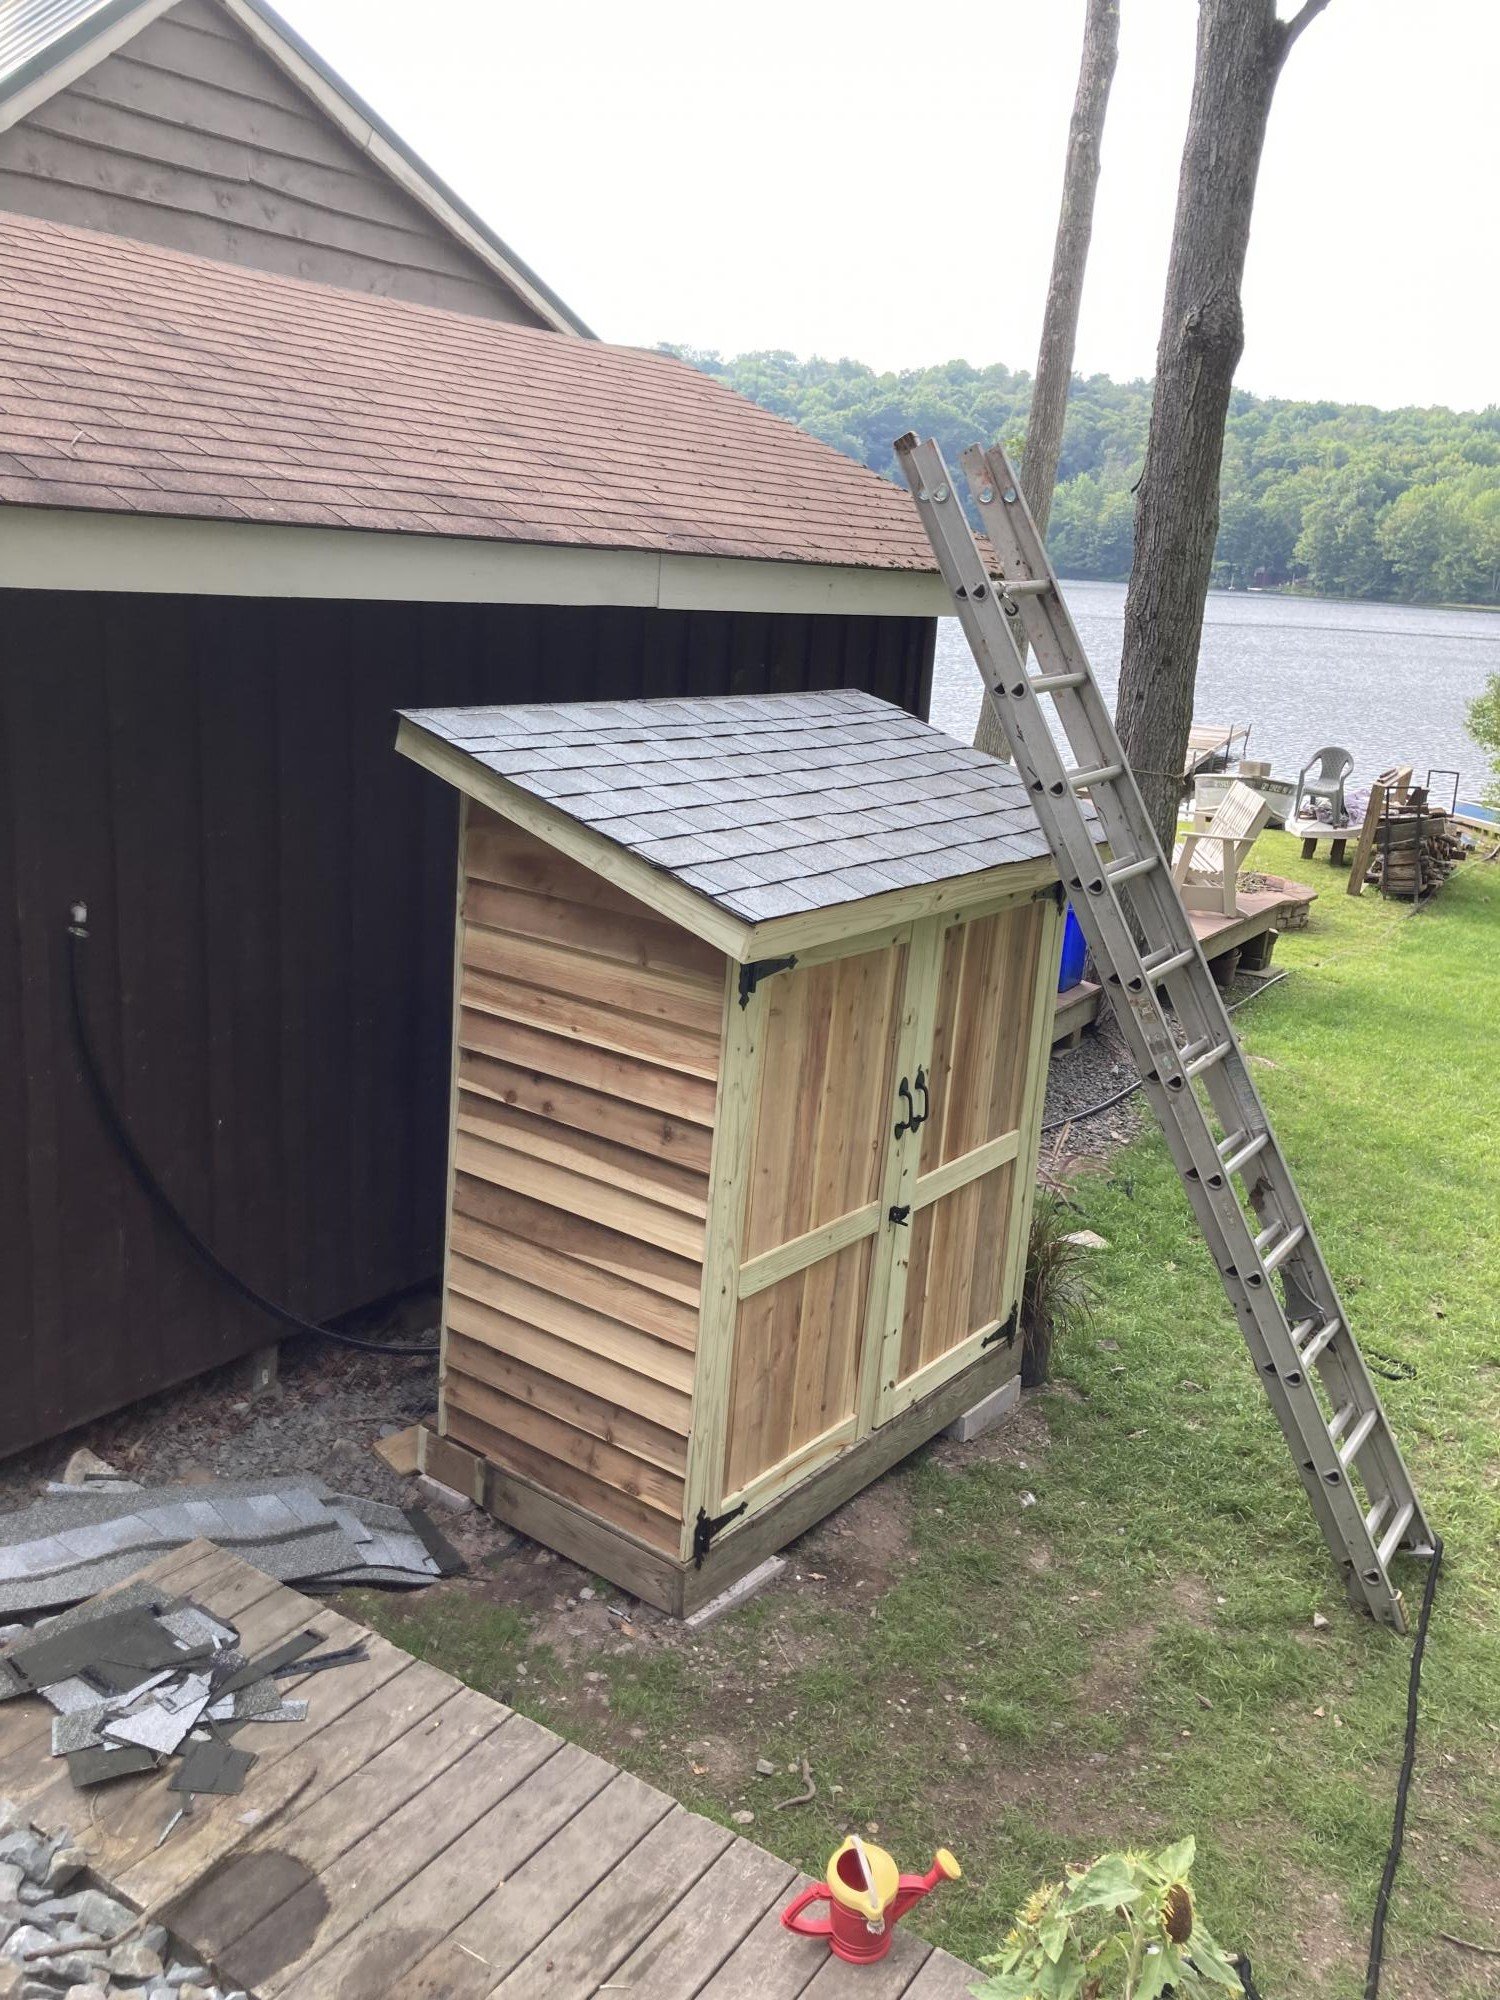
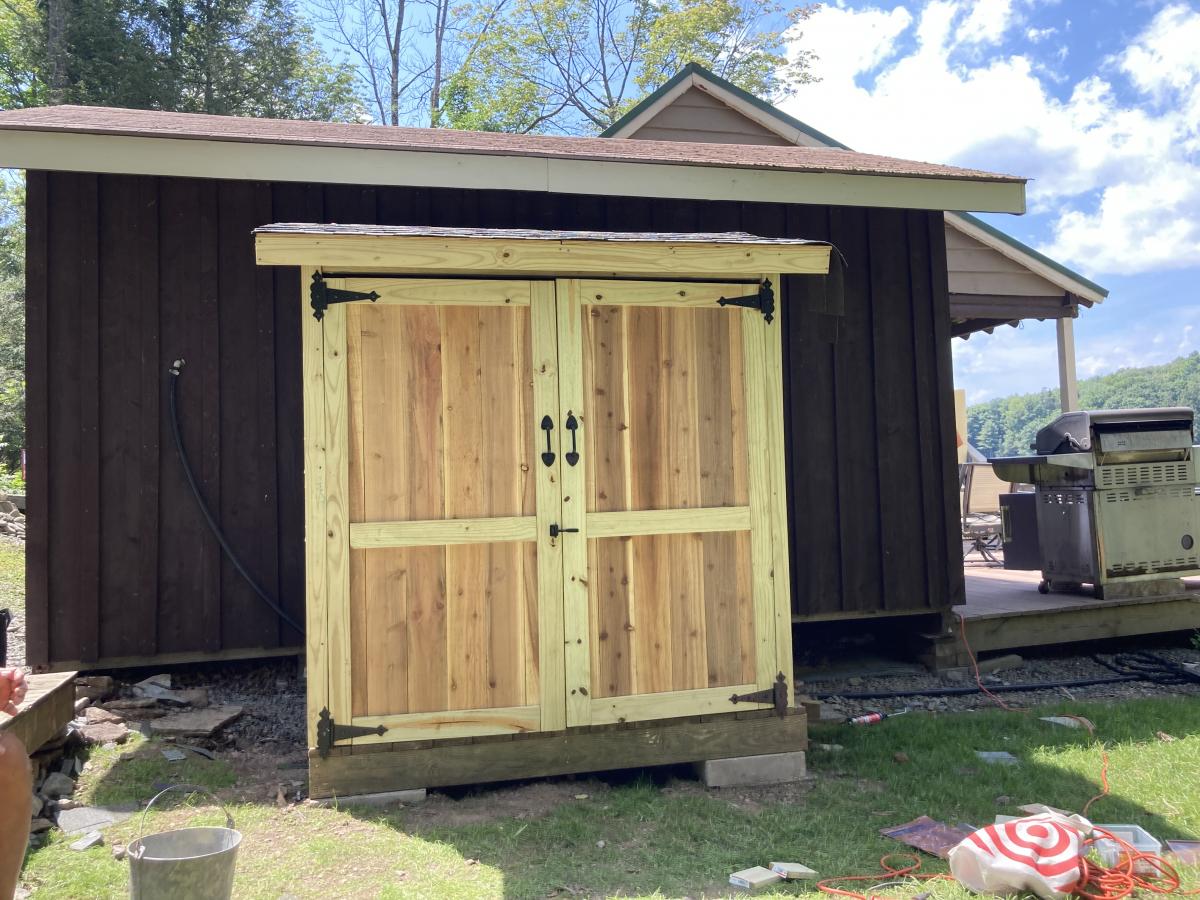
Made this out of a ton of scrap wood I had laying around. On the downside it made the project more difficult, but on the upside all I had to buy was hinges and handles...

Made this out of a ton of scrap wood I had laying around. On the downside it made the project more difficult, but on the upside all I had to buy was hinges and handles...
I loved this table the second I saw it and knew I had to build it. The only modification I did was adding an additional 2x10 to the table top to increase the width. It is a pretty substantial table but the table top is a really good size (makes folding laundry awesome!).
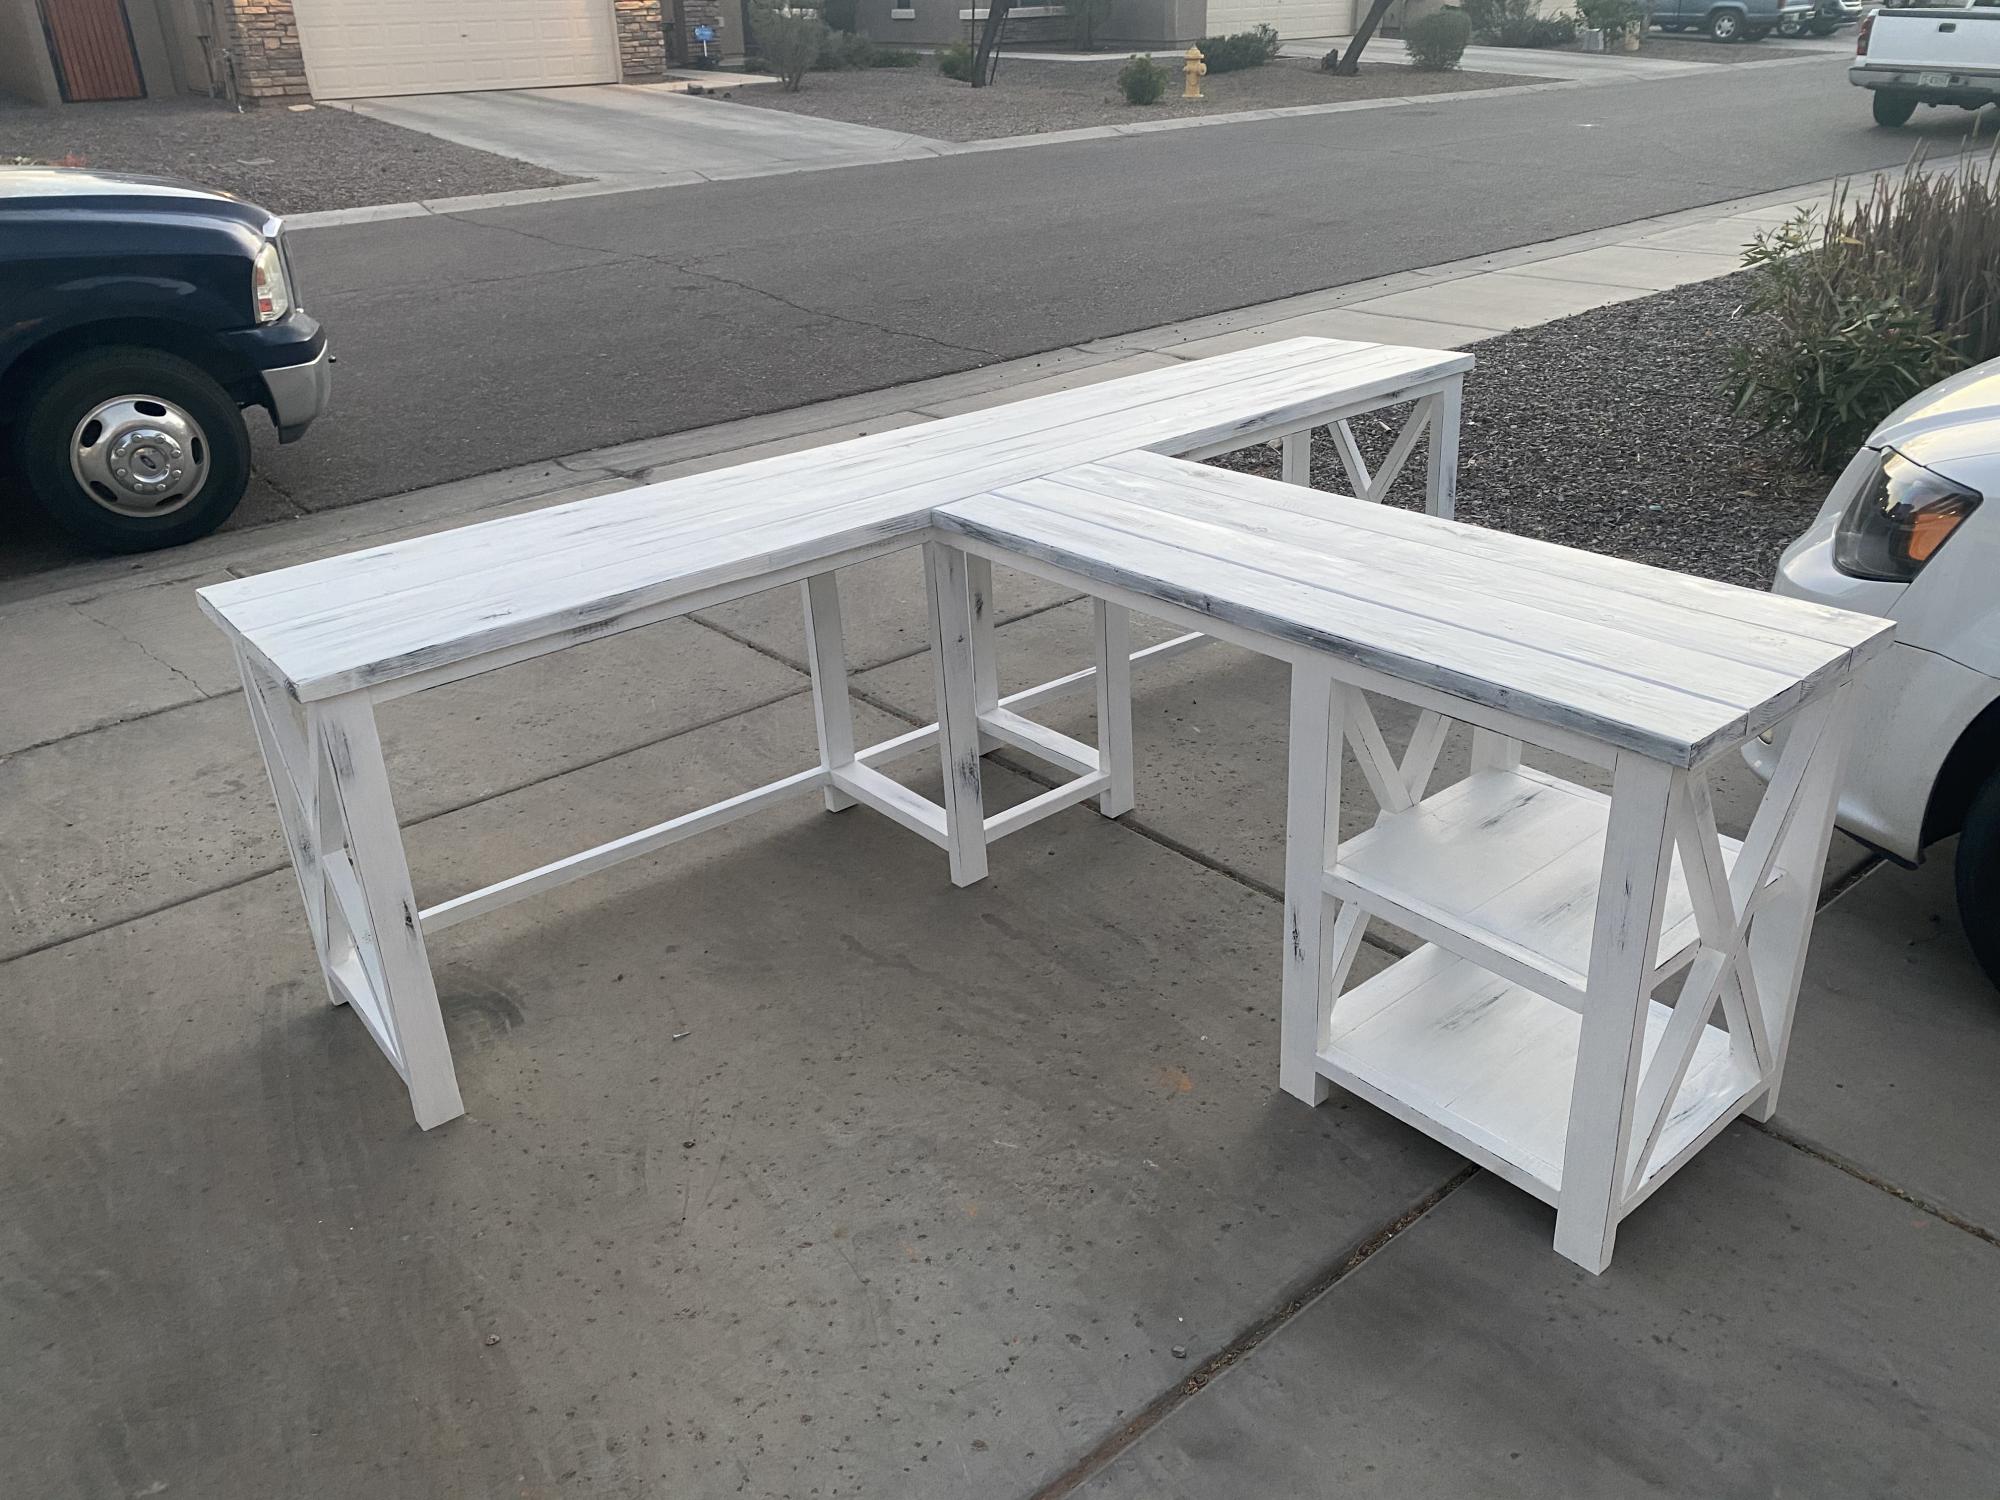
A friend wanted a T-shaped desk, but I couldn’t find plans for it, so I was inspired by these plans to build this!
Tue, 12/28/2021 - 14:22
Do you have plans for this desk? I want to make the t shaped desk and I have been looking for something like this. I love how you modified it
Fun project!
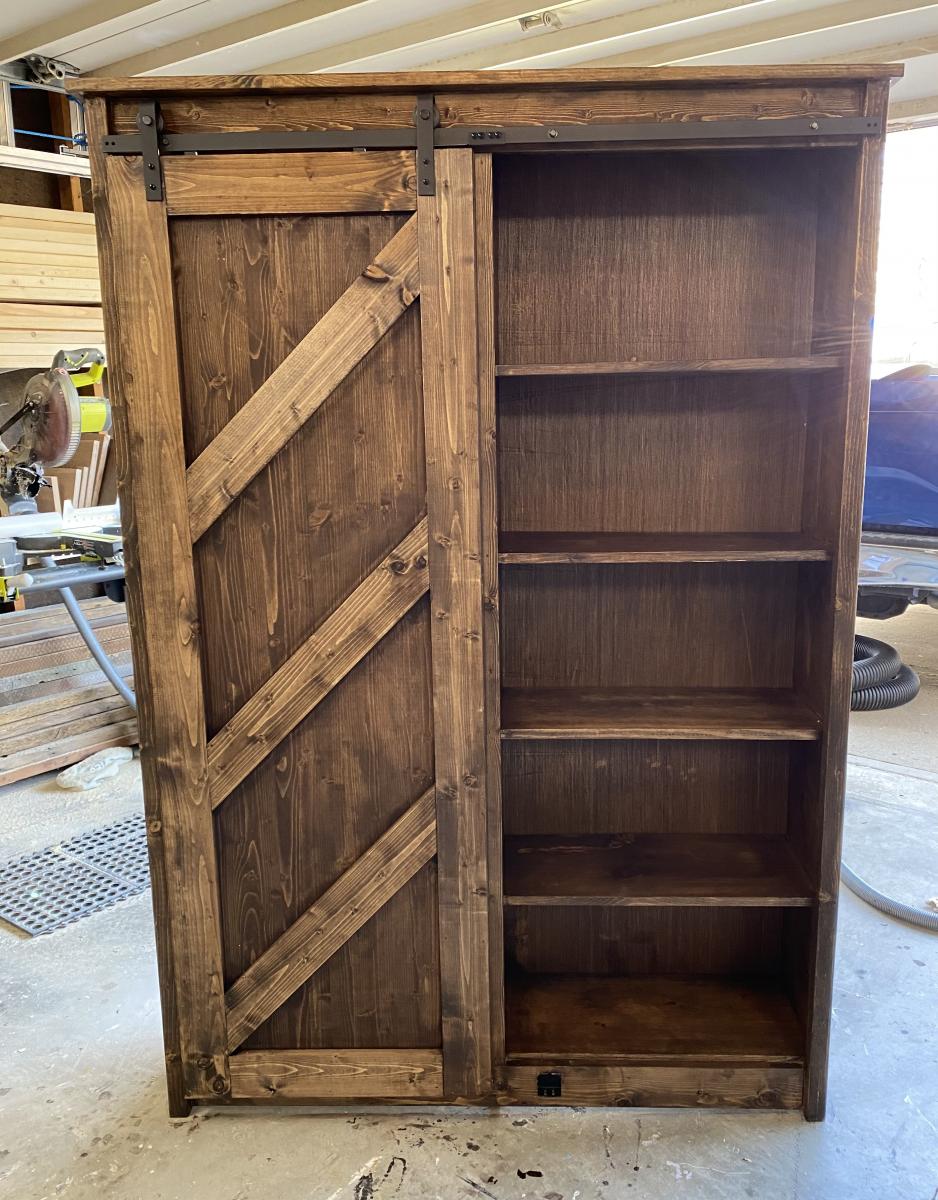
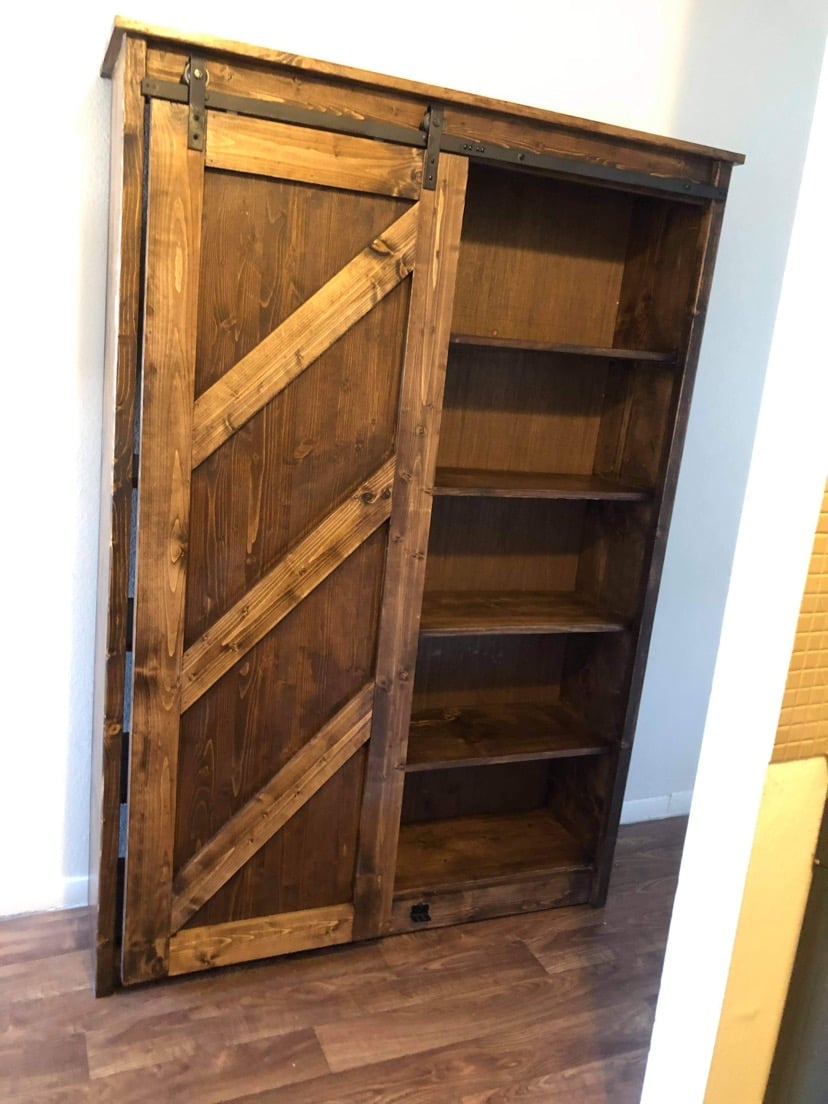
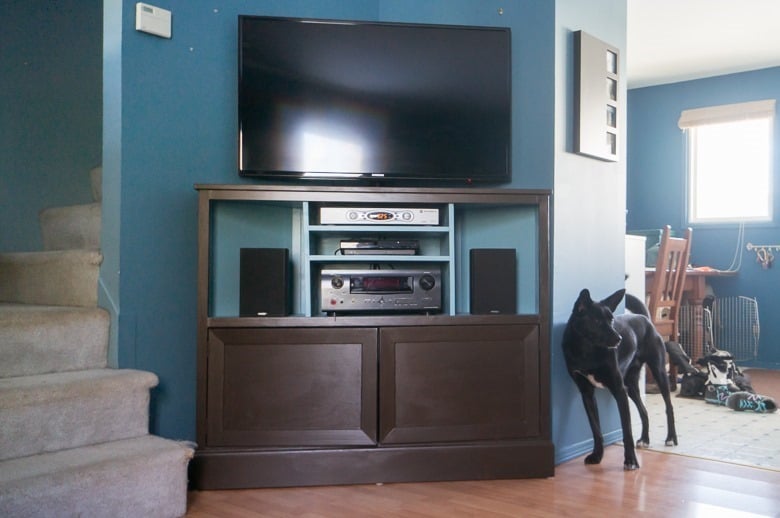
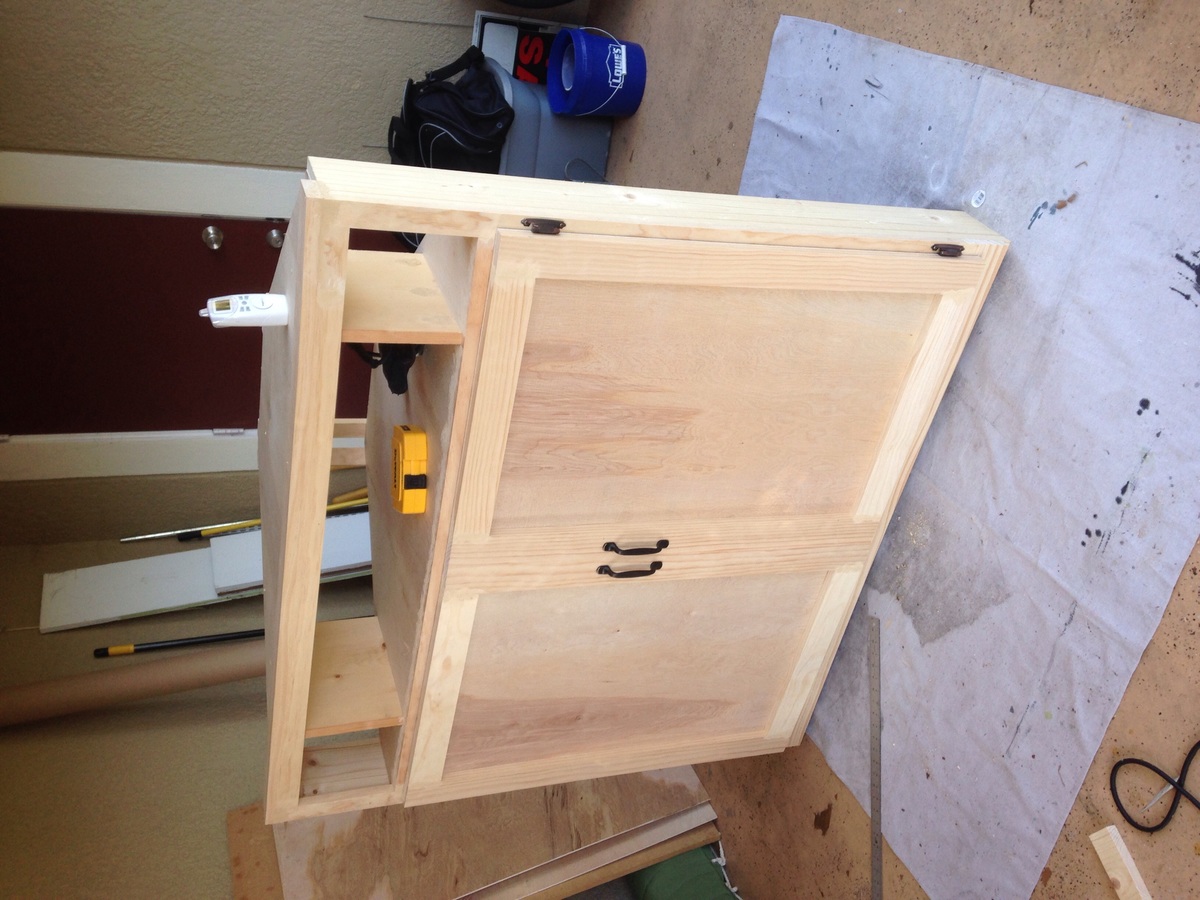
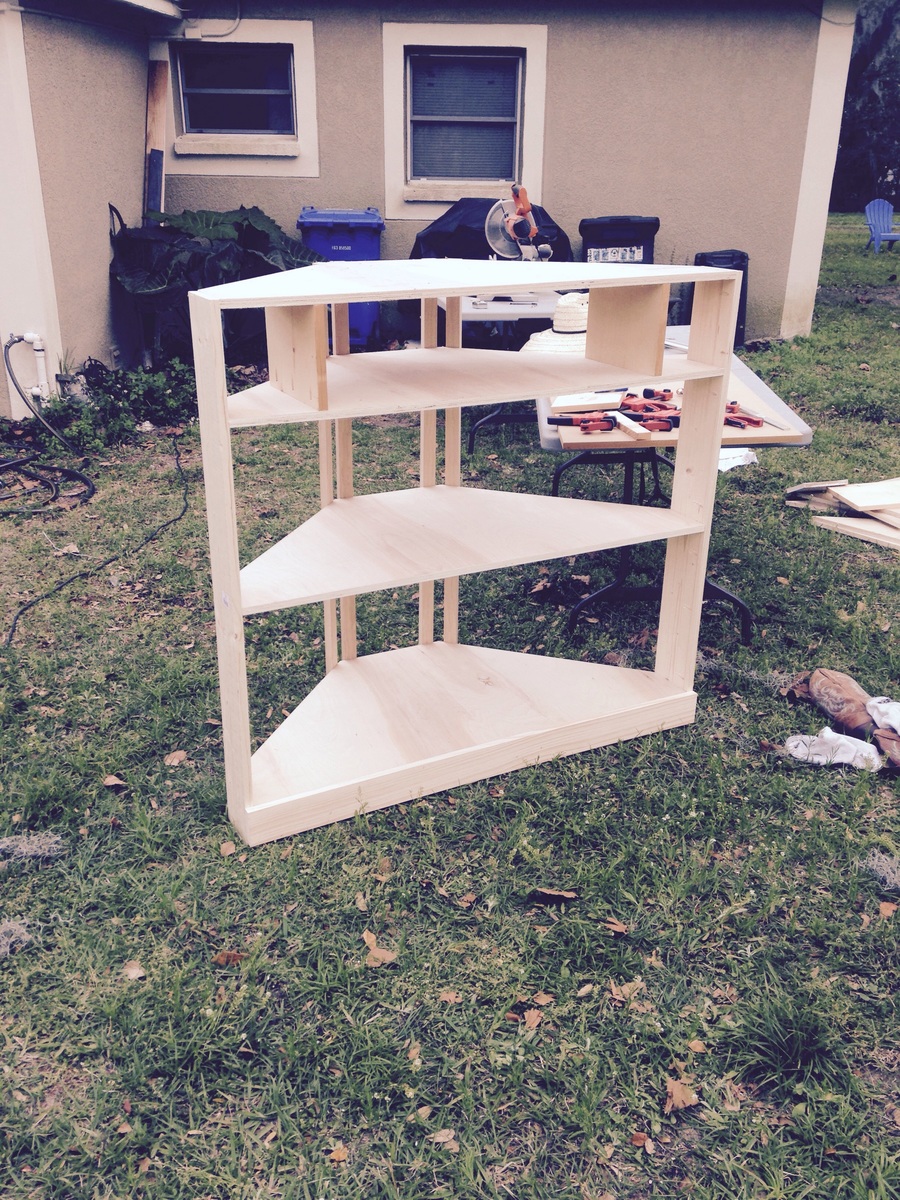
My husband and I wanted to store our bicylces on the main level of our home, but to do that we need to move our tv and it's components to a corner. We didn't see any premade consoles that we liked, so I searched around on the web until I found Ana White's design!
Feel free to visit our blog to see the unit come to life in detail :)
My dream bed is finally done. Blood, sweat and tears.....not really, but after making a few mistakes along the way, I can finally say it's done. I am happy to report that it only cost $300 -- a whooping $ 1895 savings from Restoration Hardware's Maison Bed Collection. I am in love with my new chic bed. I will be posting my tutorial for the Chestwick Bed - King size - very soon. In the meantime, thanks for looking.
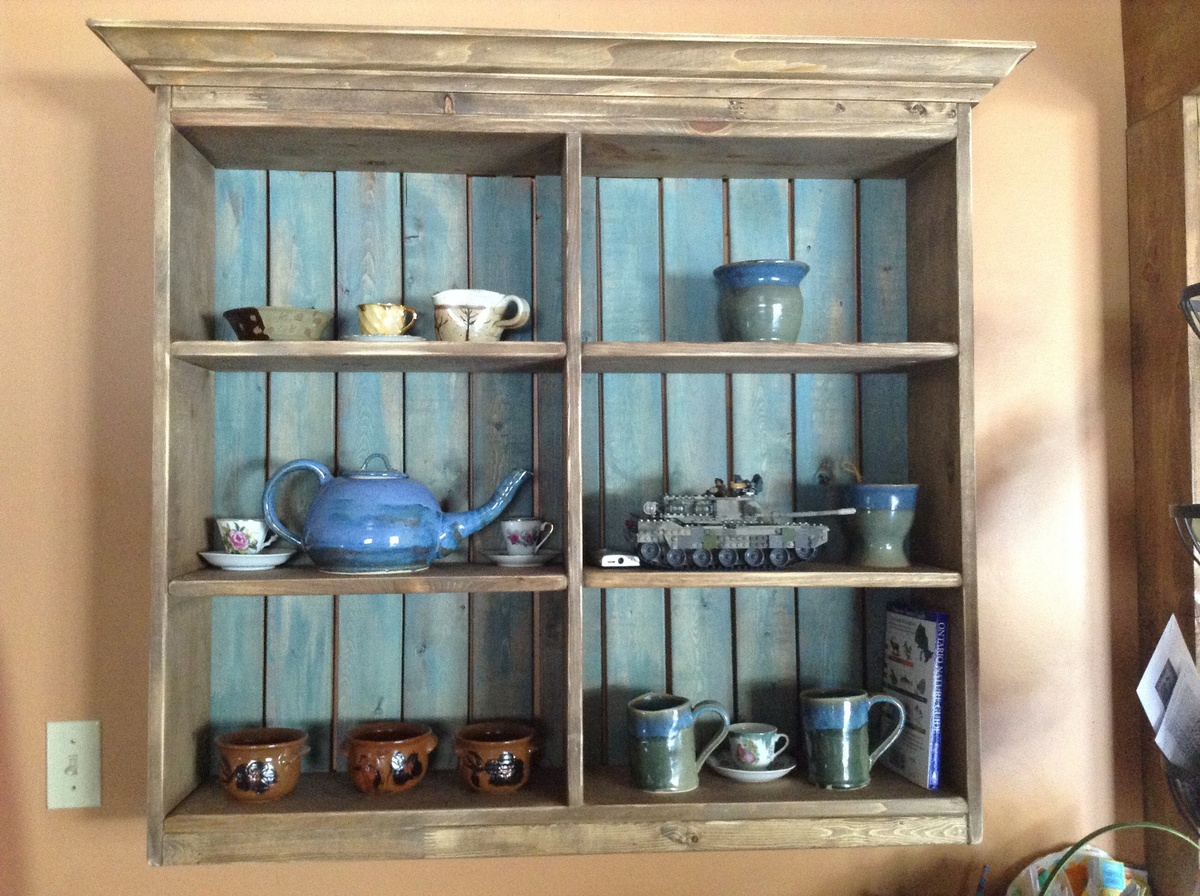
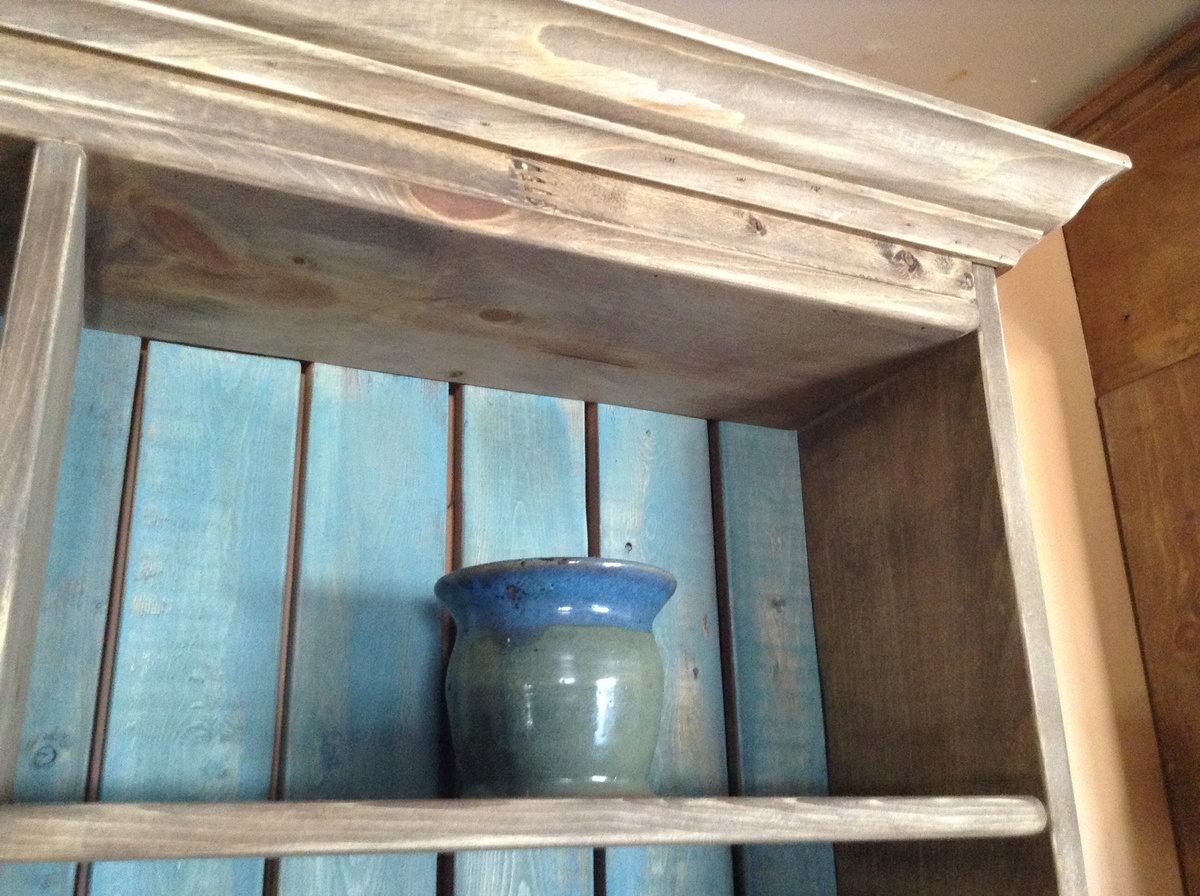
3x4foot wall unit for displaying pottery and your kid's Lego sets that took you 3 hours to put together. Back boards have been washed with diluted blue green latex paint and then stained with Minwax Special Walnut. The main frame is just stained, distressed and then waxed.
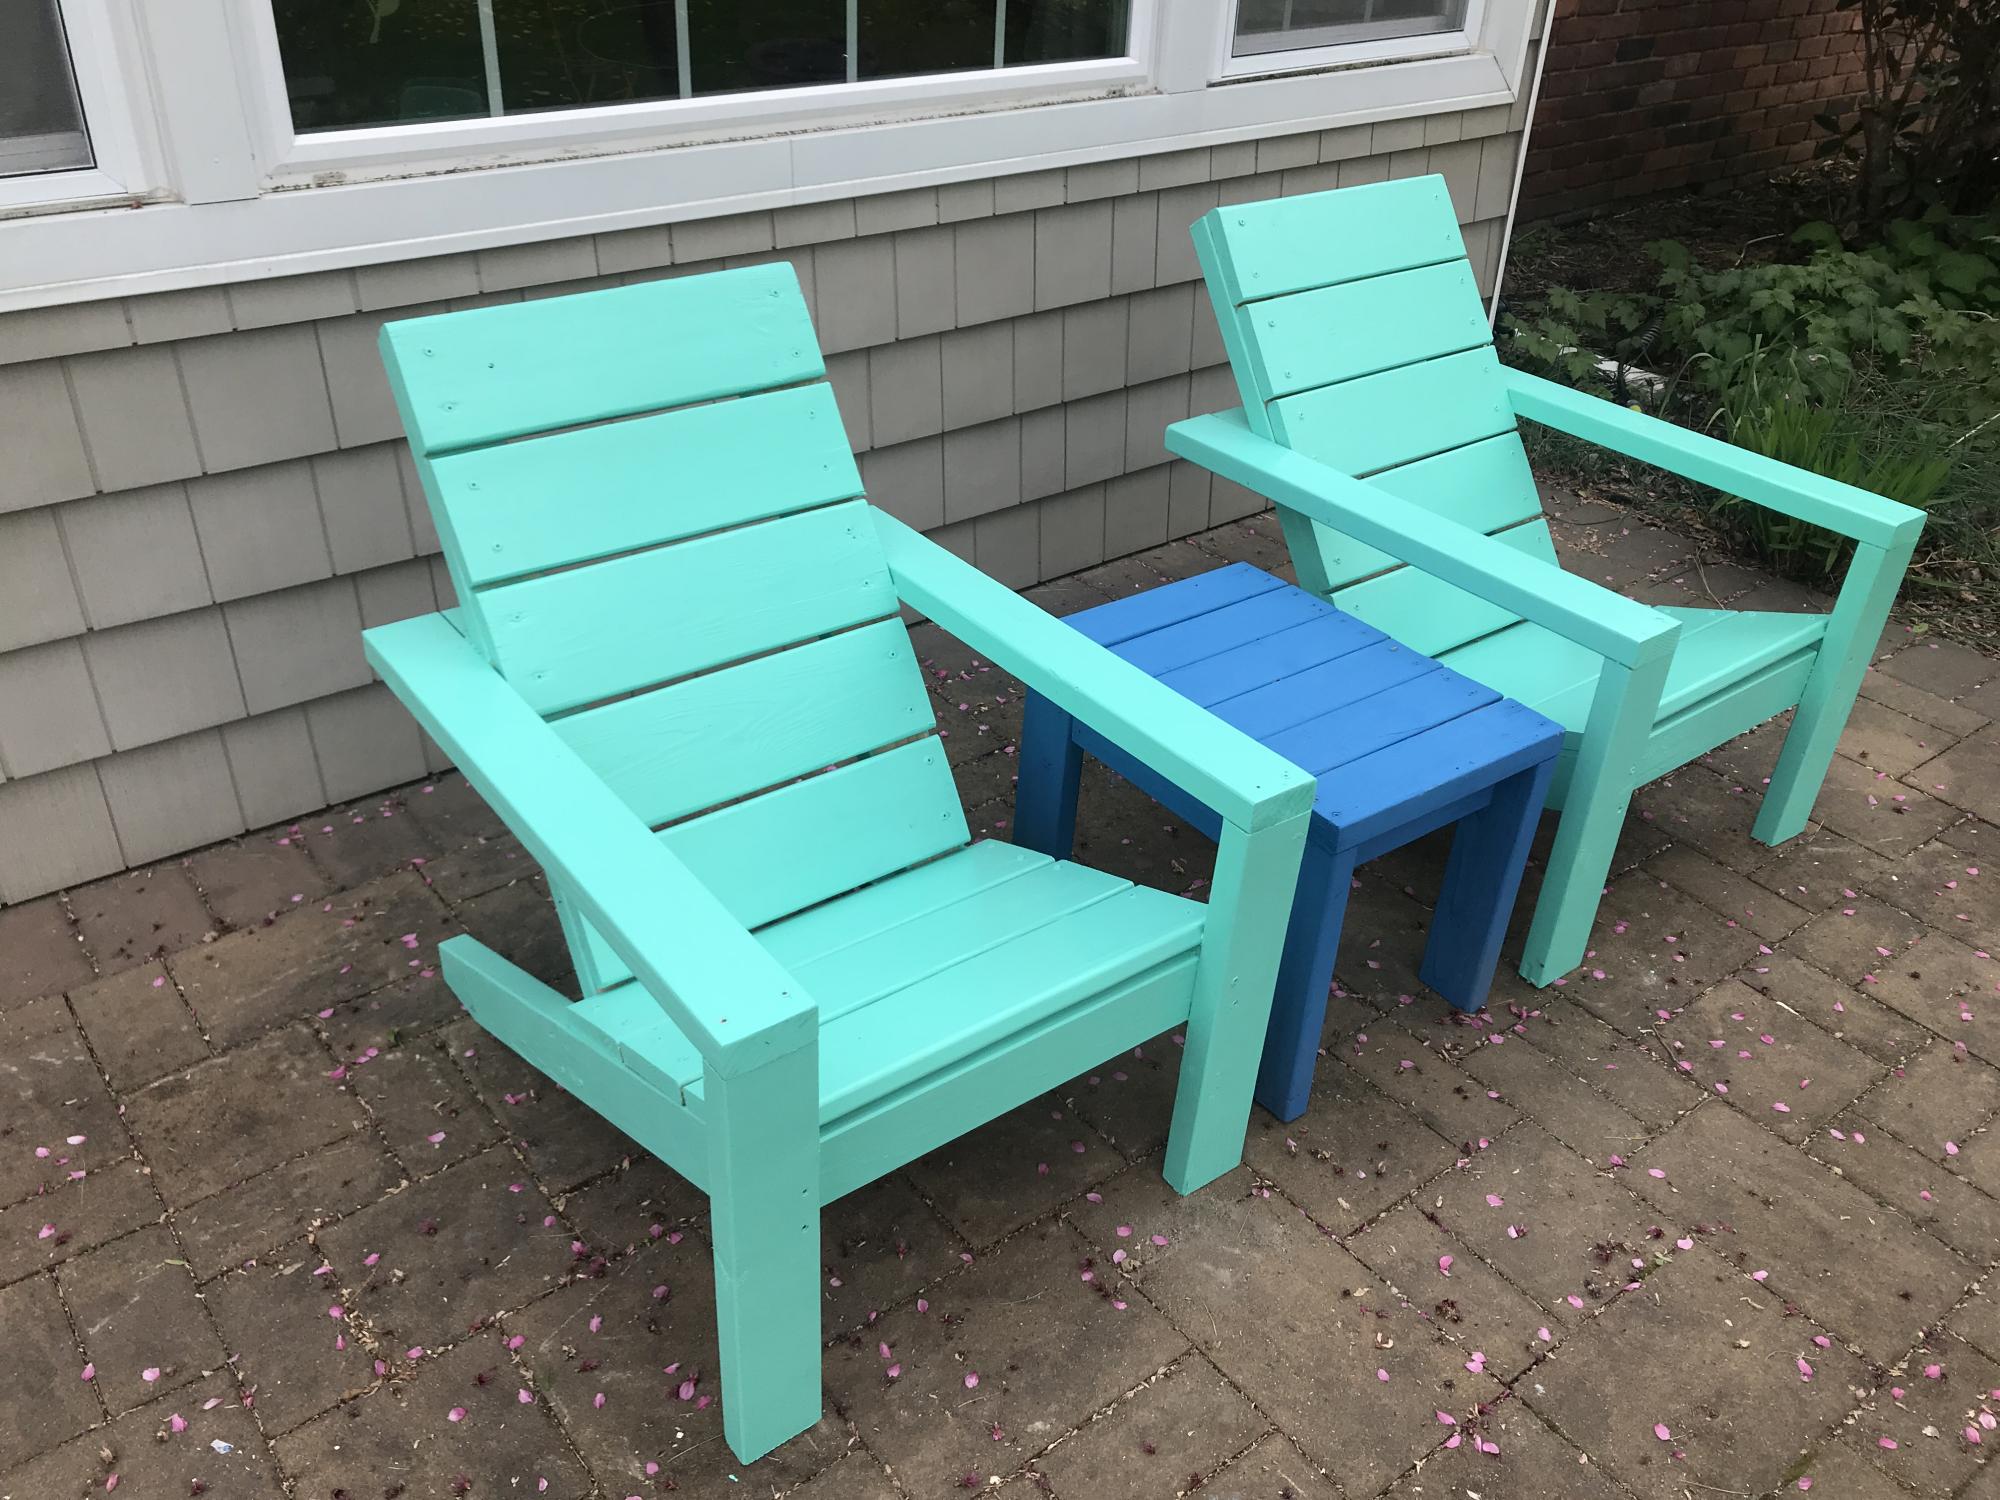
I'm a mom of two kids and new to wood working. The video instruction and the plan were so comprehensive! Thank you Ana, you inspired me to do more wood projects. I feel so accomplished and got so many comments on my new chairs. They are really really comfortable. My husband, who has a stiff back, loves the chair as it is also comfortable for him.
Mon, 05/24/2021 - 09:25
I am so happy you built them, and love the color choice! Happy building:)
Wed, 03/16/2022 - 11:54
Love it! Can you tell me what you used for the finish? Stain or paint and what brand? How is the finish holding up?
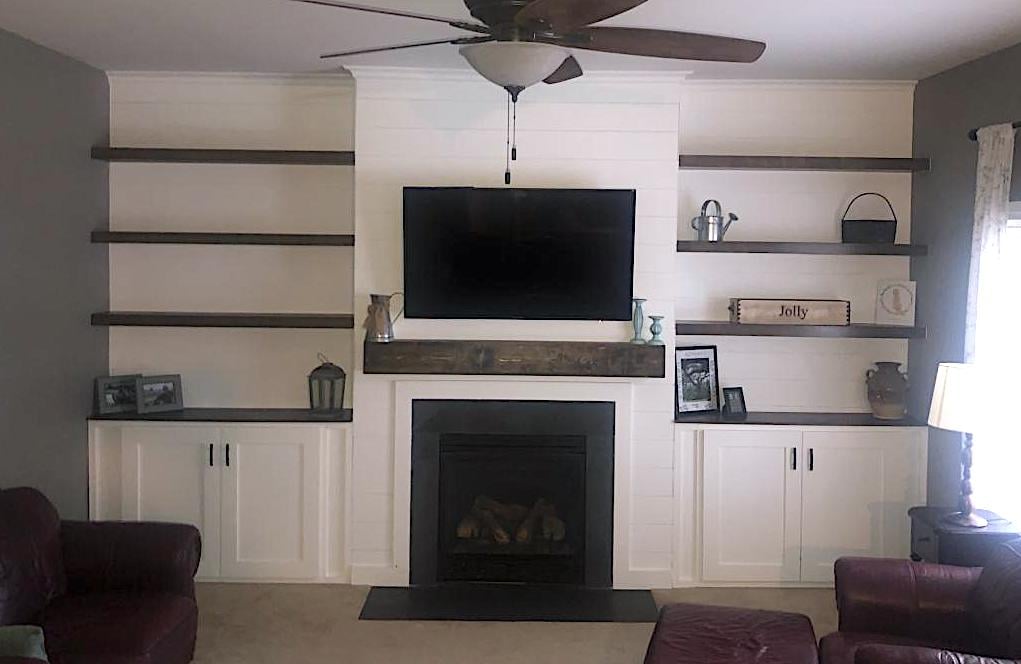
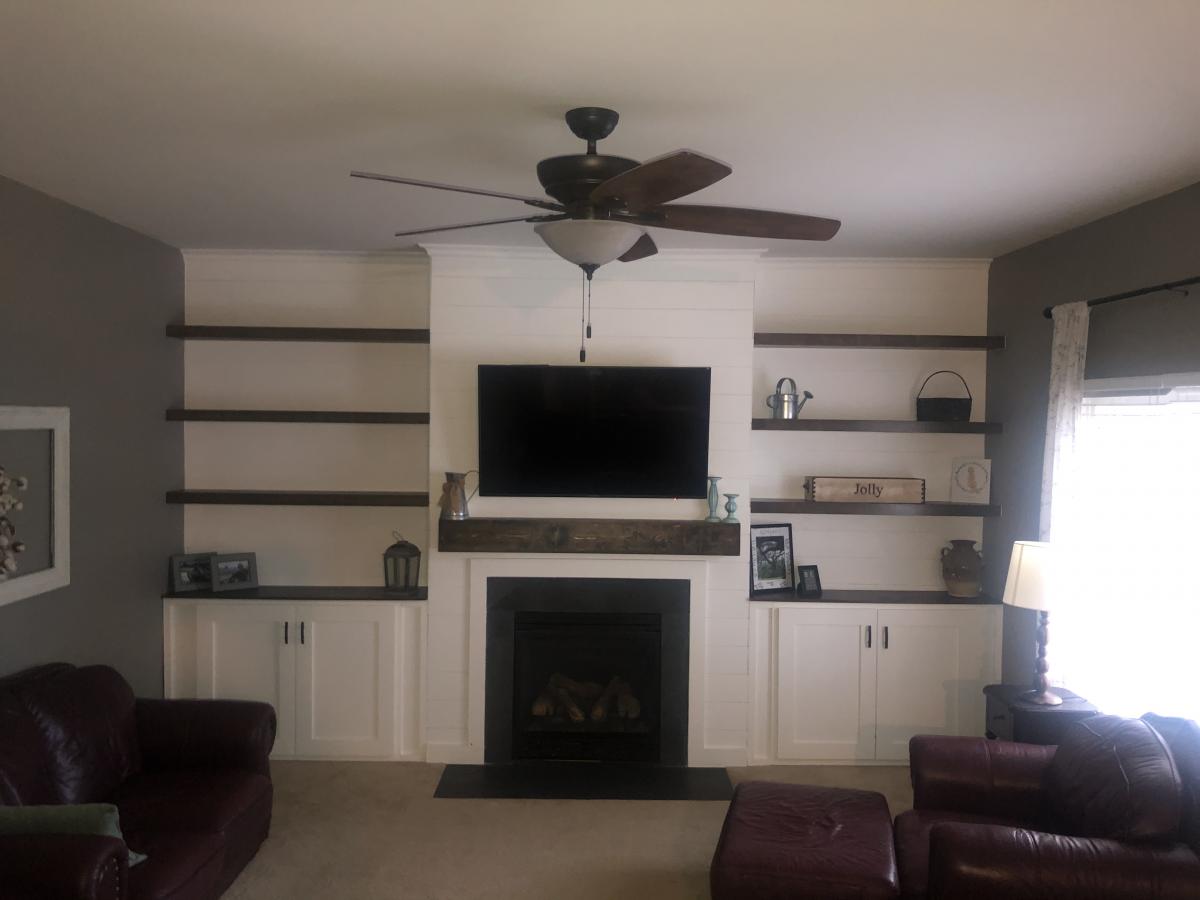
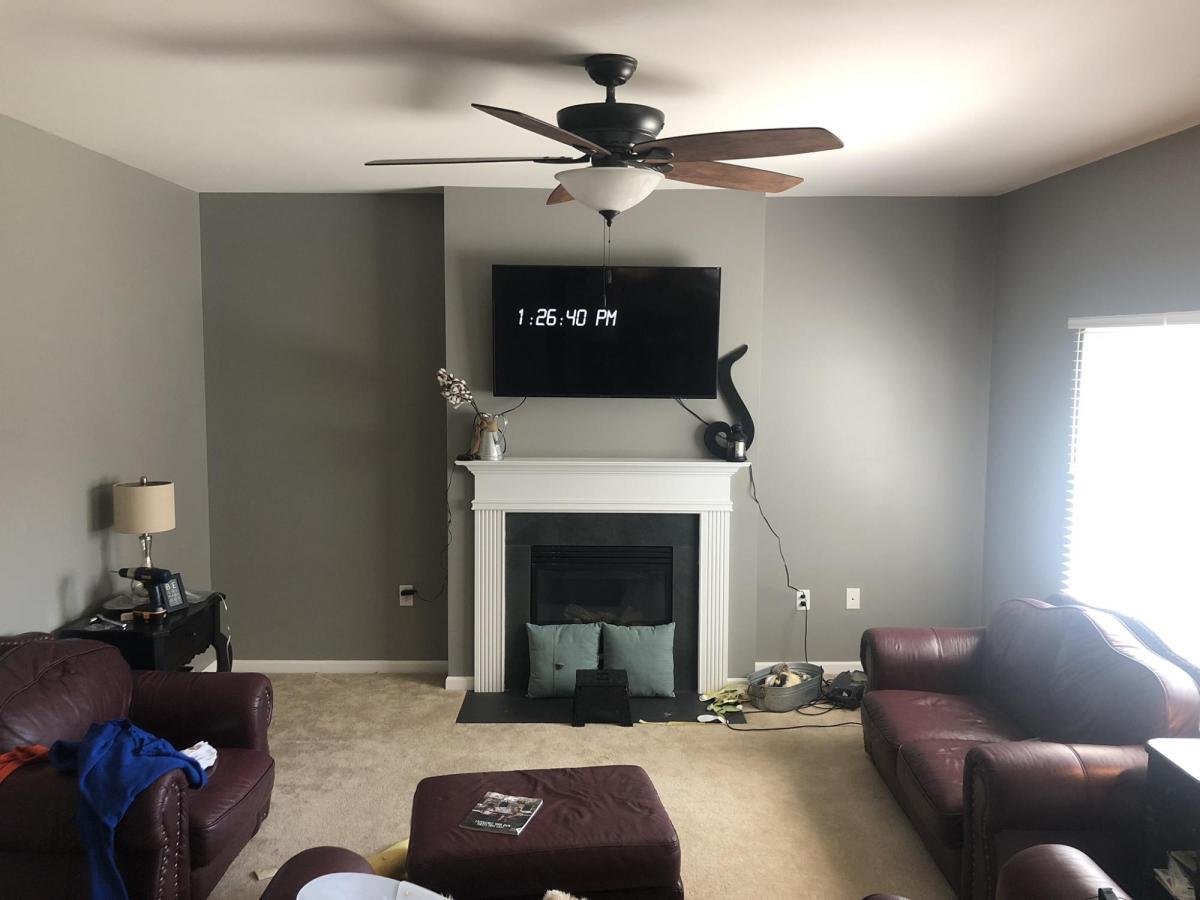
We have lived in our home for 2 yrs now and have been trying to figure out what we wanted to do with the plain boring wall with cords handing from out behind the tv due to no power outlet on that wall. We finally decided to do the whole wall in shiplap but the the cost of lumber going through the roof I went with 1/4 underlayment that I had ripped down to 6in strips at my local hardware store. I cut them down to size with my miter saw the painted them white before I attached them to the wall with 1 1/4 brad nails and used nickels for my space in between each row. The cabinets are 36 in tall. The carcass is made fro 3/4 in MDF and the face frames are made from 1x3 pine and attached with wood glue and brad nails. Cabinet doors are made from 1x4 pine for the frame and 1/4 underlayment for the center. I used my hand router to route out a 1/4 deep groove for the center to drop into the frame I used wood glue and brad nails to attach it to the frame and filled in any gaps with paintable caulk. They are attached to the studs in the wall with 3 in wood screws. The mantle is made from 1x6 pine boards and attached to a wall bracket made from 1x6 that are attached to the wall in each stud with 3 in wood screws. The mantle is attached with wood glue and 1 1/4 brad nails. The shelves were made out of 1/2 Poplar 4x8 plywood sheet ripped down to size. The wall brackets are made from 1x2 pine attached to studs with 3 in wood screws. And the shelves are attached with wood glue and 1 1/4 brad nails. I added 3 1x2 spacers to each shelf between the top and bottom board to prevent them from sagging before attaching the face of the shelves with wood glue and 1 1/4 in brad nails. This project took about a month to complete because I worked on it during free time. Also this was the first major build I have ever done so I was also learning along the way. Some parts were frustrating but most of it was fun and a great learning experience. Also this project evolved as I was building it. My wife loves the finished product. Now it’s time to find my next project.
Sun, 05/30/2021 - 11:05
What a beautiful space you created, thank you for sharing!
Tue, 12/05/2023 - 11:47
Surprisingly makes your living room appear so much larger compared to the before picture! Thank you for sharing your photos with us and congrats on a great result!
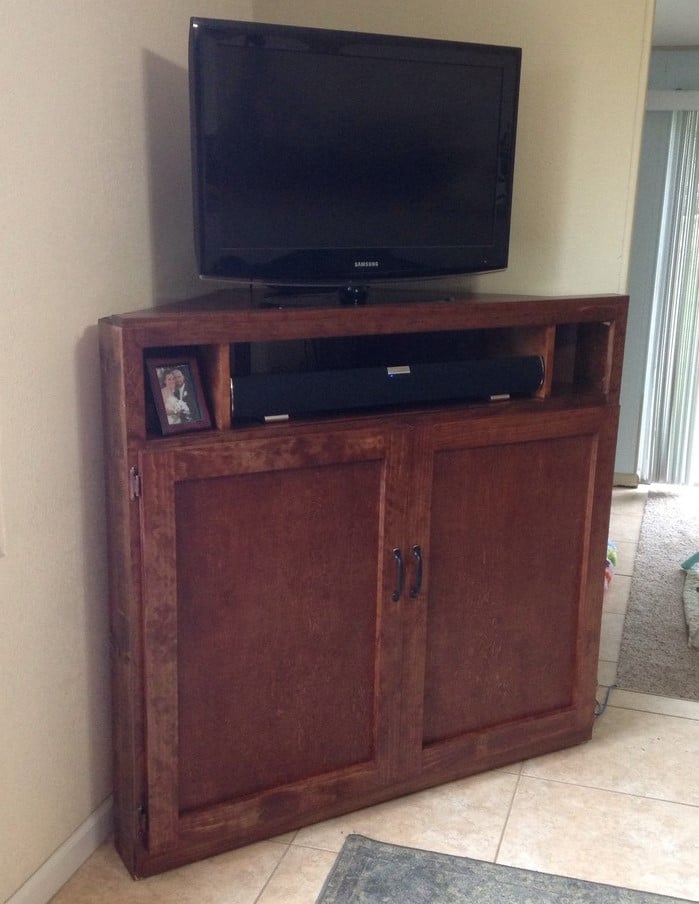
We just recently had our first child and decided we needed to protect our electronics a little better from the soon to be mobile baby. Turned out great! I highly recommend leaving the back off until the piece is completely stained or painted. It takes up less floor space and the tv is totally out of reach of little hands. We customized the shelf heights to fit the sound bar and computer perfectly. I was so excited when I stumbled across these plans looking for a new tv stand. Everything I found either wouldn't fit my computer Or didn't have doors. Love it!
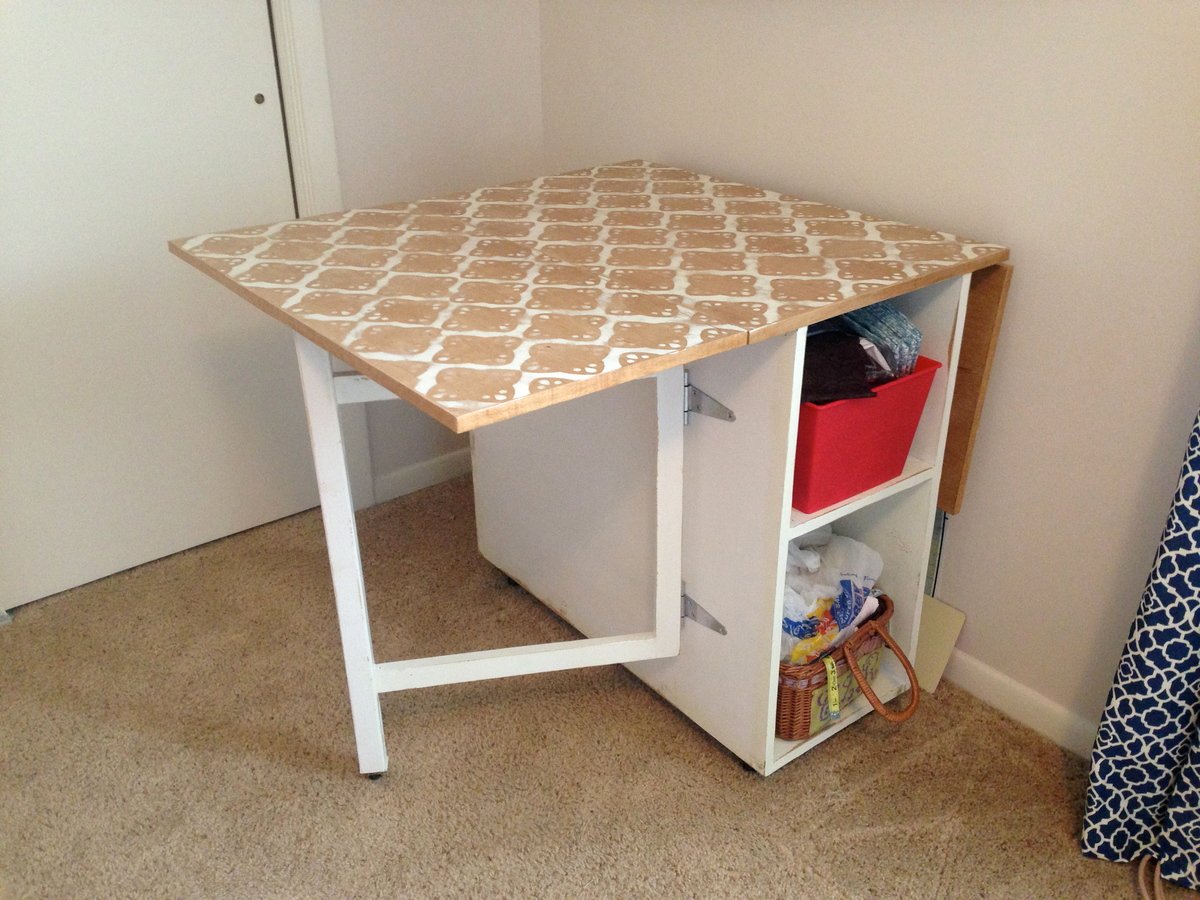
My husband and I built this table as our first project. We followed all of the dimensions from Ana's "Small Sewing Table" project here: http://ana-white.com/2010/10/plans/sewing-table-small-spaces?page=1 The only thing we changed was the size of the table top and the legs. We were worried about putting my heavy sewing machine on top of the leaf called for in the plan, so we created gate legs to support the leaves. Since the legs were going to be folded up in between the base and each leaf, we extended the center portion of the table top to accommodate the change. After it was assembled and stained, I decided that I didn't like the solid color, so I stenciled on a pattern with white latex enamel paint (what I had on hand) and continued to paint the base. After lightly scuffing it up with the sander, I layered 3 coats of poly on top. It has held up well, even after many large quilt projects! I just LOVE my sewing table!


Fri, 08/05/2016 - 13:41
Hi there. Could you please tell me what the brackets are you used with the gateleg? Do you remember where you got them? Thank you!!!
Fri, 05/26/2023 - 16:59
Hello I was wanting to know how to make the Gate-Legs for this project? Like the measurements and such. Thank you.
Sun, 05/12/2024 - 08:40
How heavy of sewing machine can this hold? My machine is 32 lbs. Would it be able to sit and be used on the “leaf” side of the table ?
First shot at using plans from Ana, and thought it was great! Can’t wait to try another!
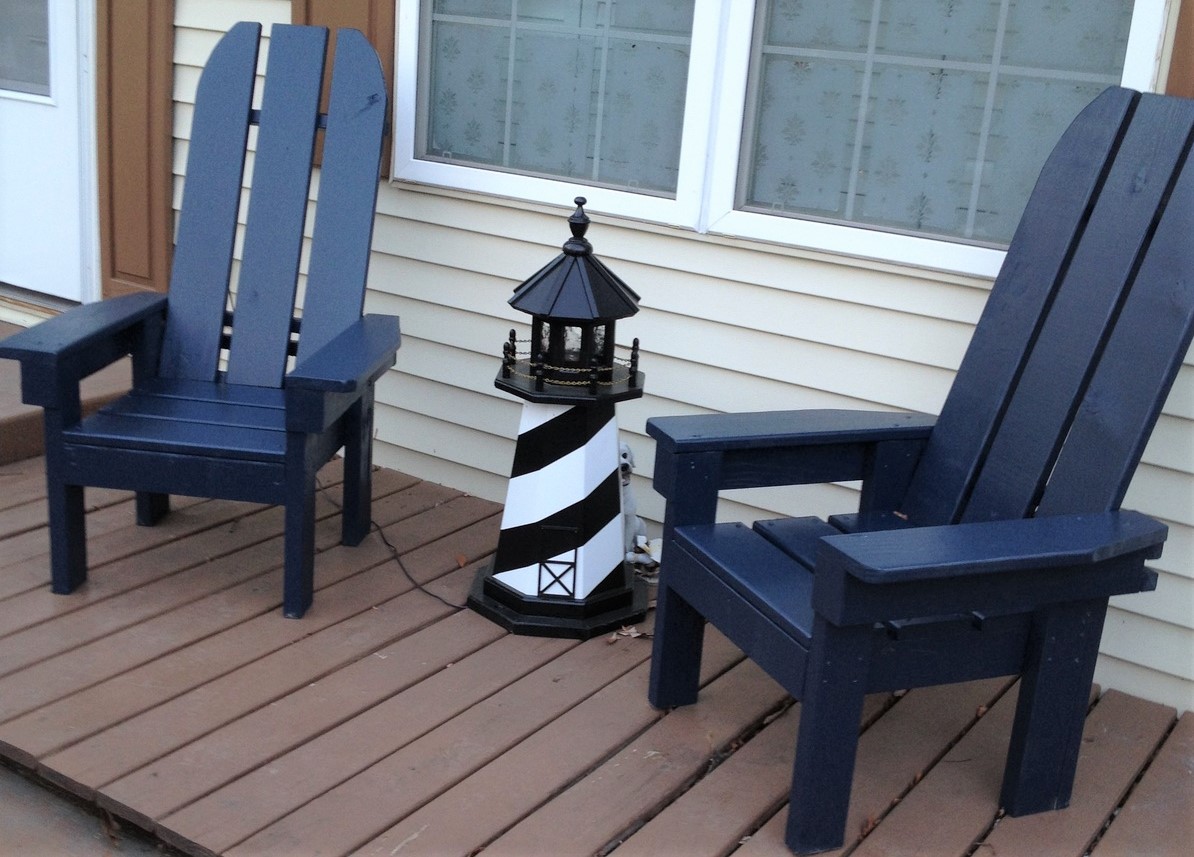
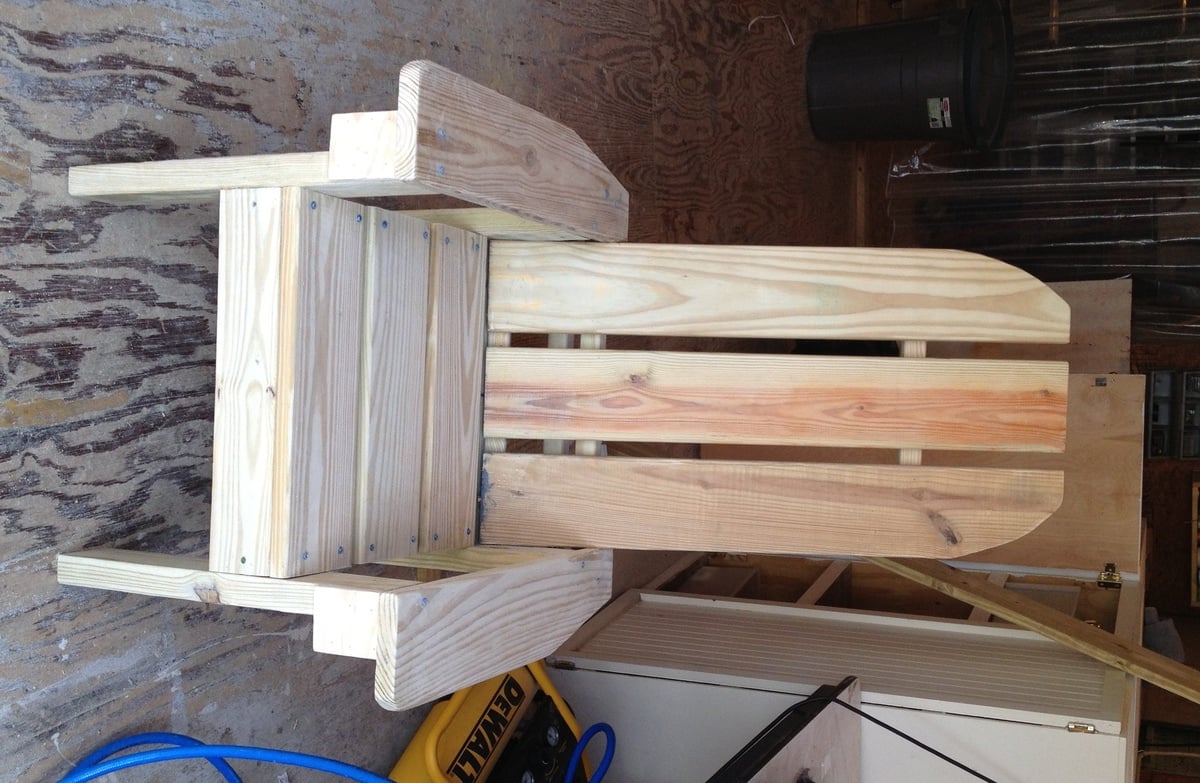
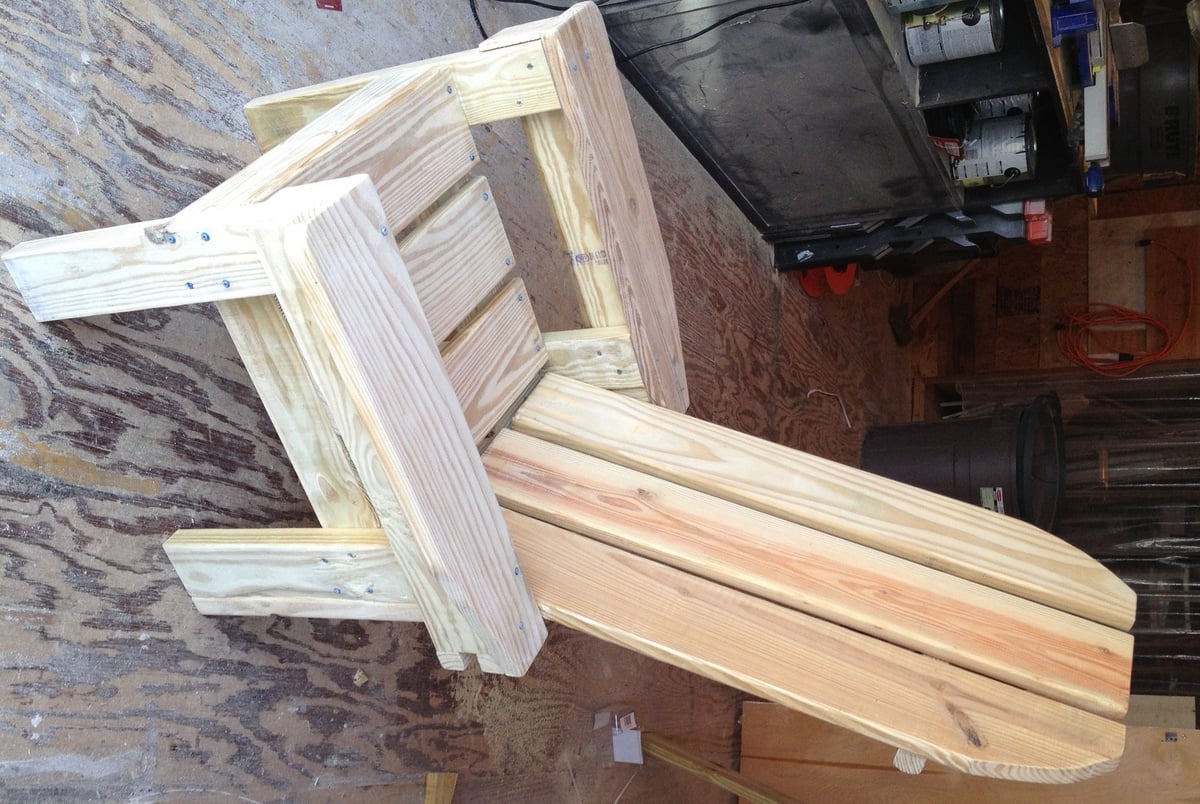
These sturdy chairs are a wonderful replacement for plastic deck chairs! They are nice and heavy, and won't blow over in a storm! This project is a mix of Ana's Adirondack Chairs and the Simple Outdoor Lounge Chair. I combined ideas from the two plans to use the extra lumber we had left over from an outside project from last year. Left-over lumber included some 2x4 for the bottom frames, some 5/4 decking board for the seat, back, and arms, and a few balusters at the back. Most of the lumber was left over, so I only had to spend $20 for 2 boxes of Kreg screws and 2 pc 5/4 x 8 decking board. Finished with some left over exterior latex semi gloss paint. This was a fun weekend project - built the chairs on one day, and finished the sanding and painting the next day. My next project is a little outdoor table to go with them, and I have a few scraps left over to use for that. These chairs have received lots of compliments, and we've given Ana's web site name to several admirers. Ana, thank you for your wonderful plans!
Sun, 09/28/2014 - 18:15
Hi Mepaganjr,
I used the plan for the Simple Outdoor Lounge Chair
http://ana-white.com/2010/05/plans/simple-outdoor-lounge-chair
as my guide for the seat part, and the slant of the back,
and used Ana's Adirondack Chair
http://ana-white.com/2010/05/furniture-plans-adirondack-chair-ana.html
as the inspiration for the tall chair back and front legs. I did several adjustments to fit the mixture of sizes of 2x and 5/4 scrap wood that I had available. I traced a paint can lid to make the curve on the top of the chair backs.
A great plan that has a similar seat and legs is the Adult Adirondack Chair, which is in Ana's book, The Handbuilt Home, on page 174. That's a great plan because it only uses six 1x4's an one 1x2. If I hadn't been using up the mixed scrap lumber, I would have used the Adult Adirondack Chair plan.
Happy building! :) Joanne
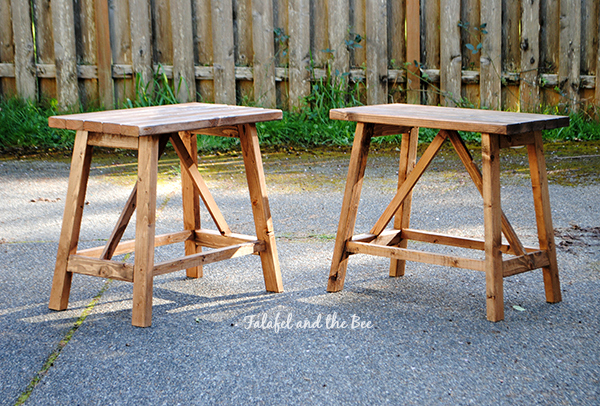
My husband and I built these end tables together. The construction took about 3 hours.
In reply to Just Beautiful! by Ana White Admin
Thu, 03/26/2015 - 20:27
Thank YOU so much!
We had fun building them.
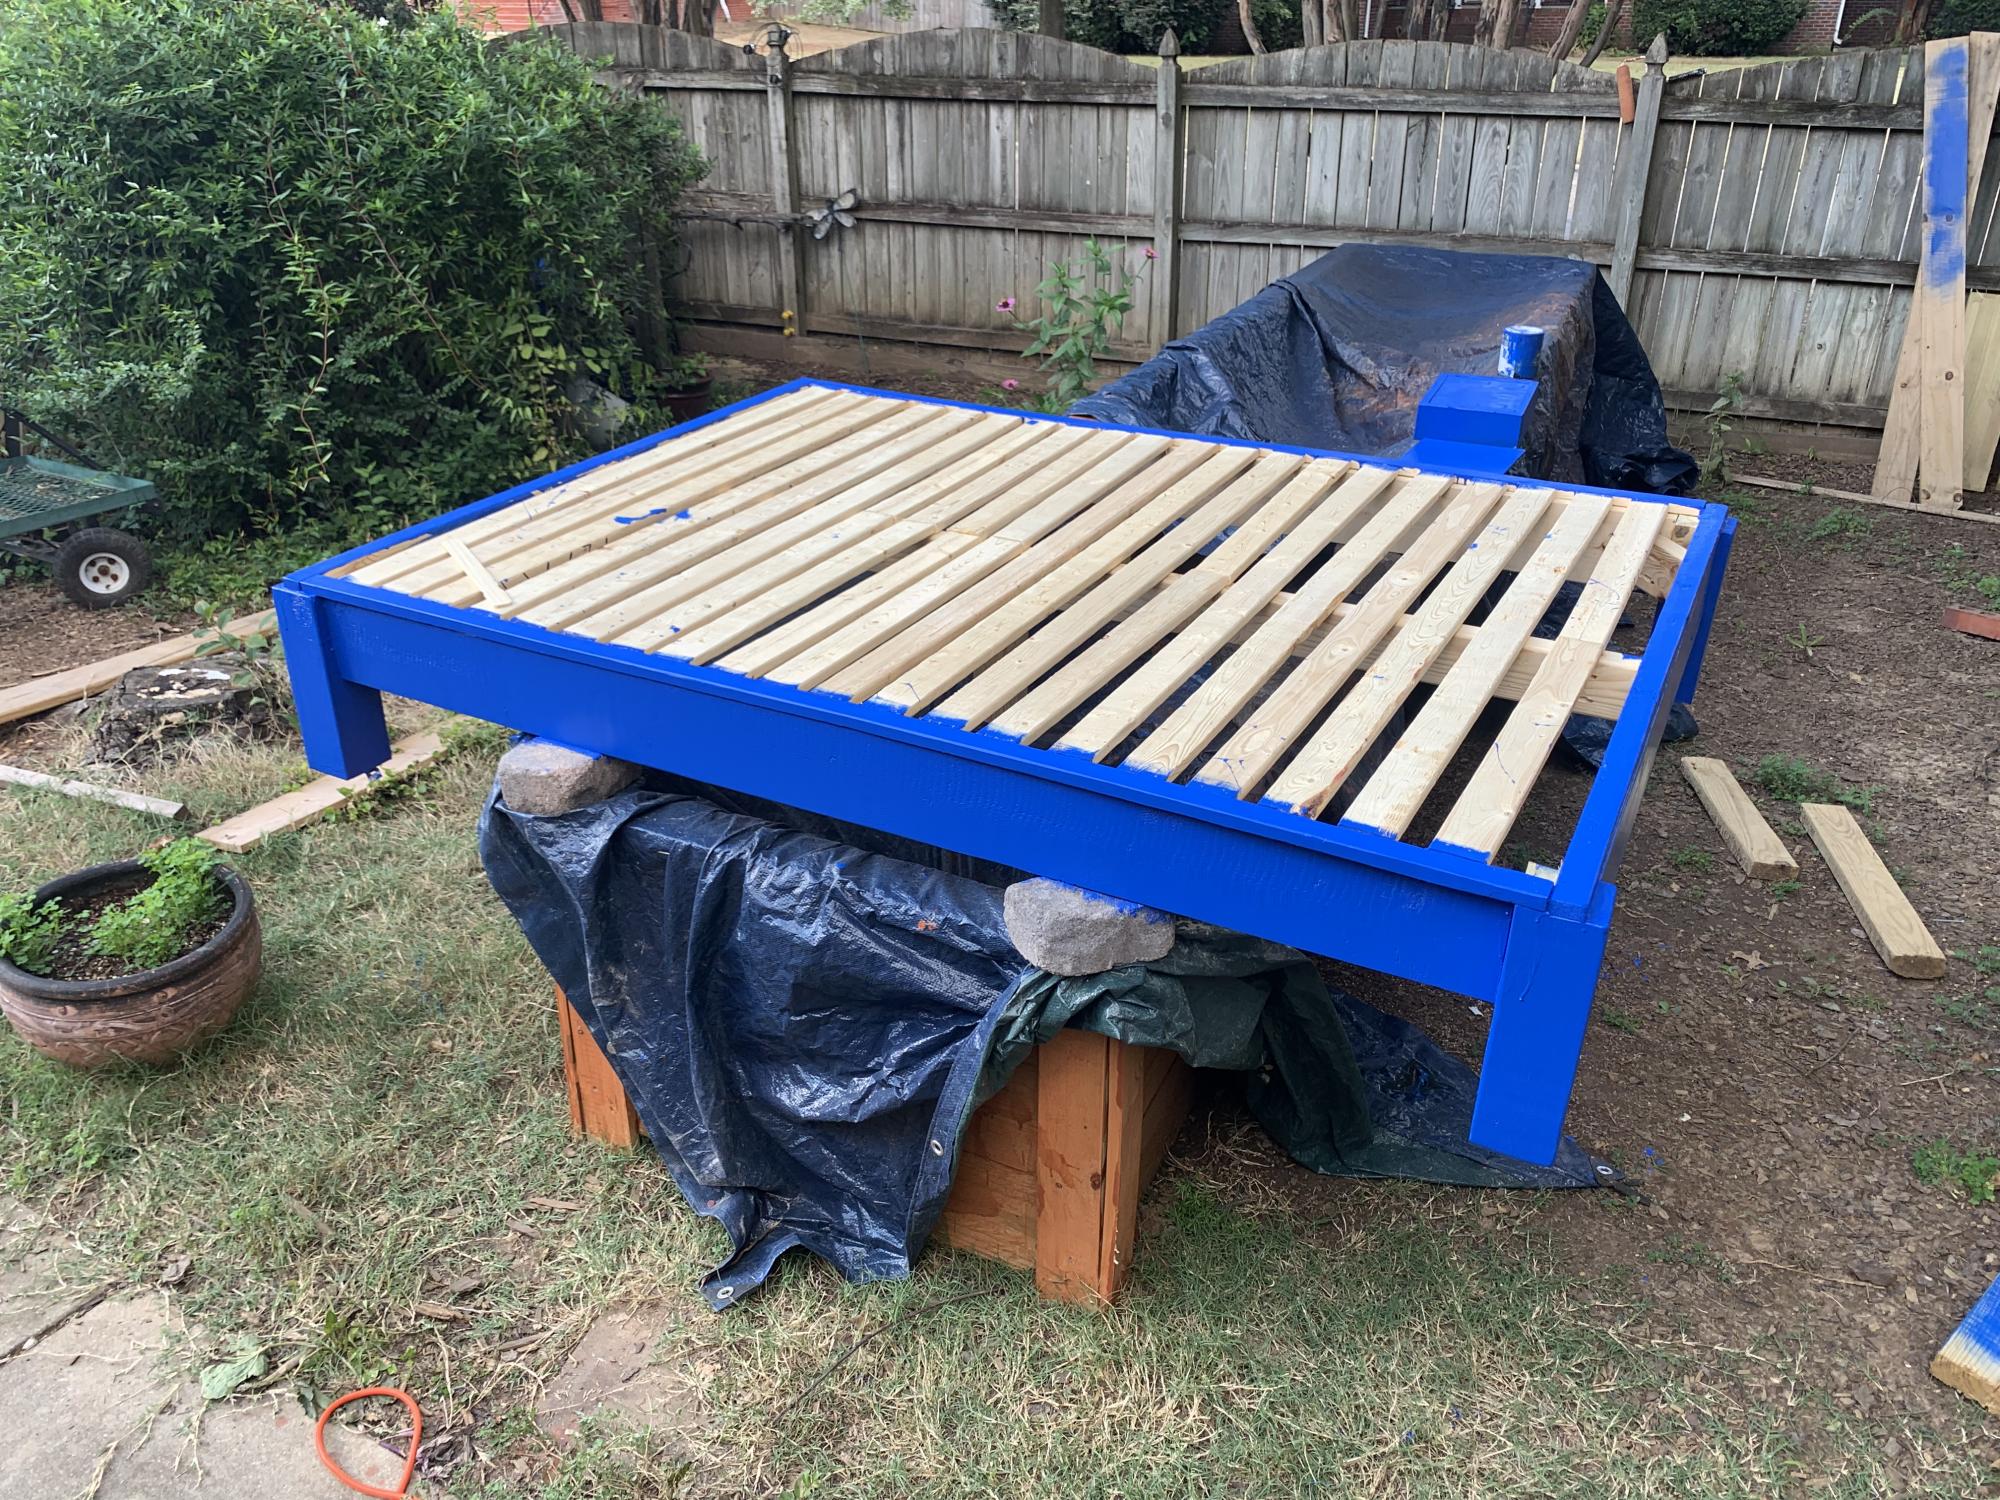
Loved your plans for building a bed frame- easy to follow.
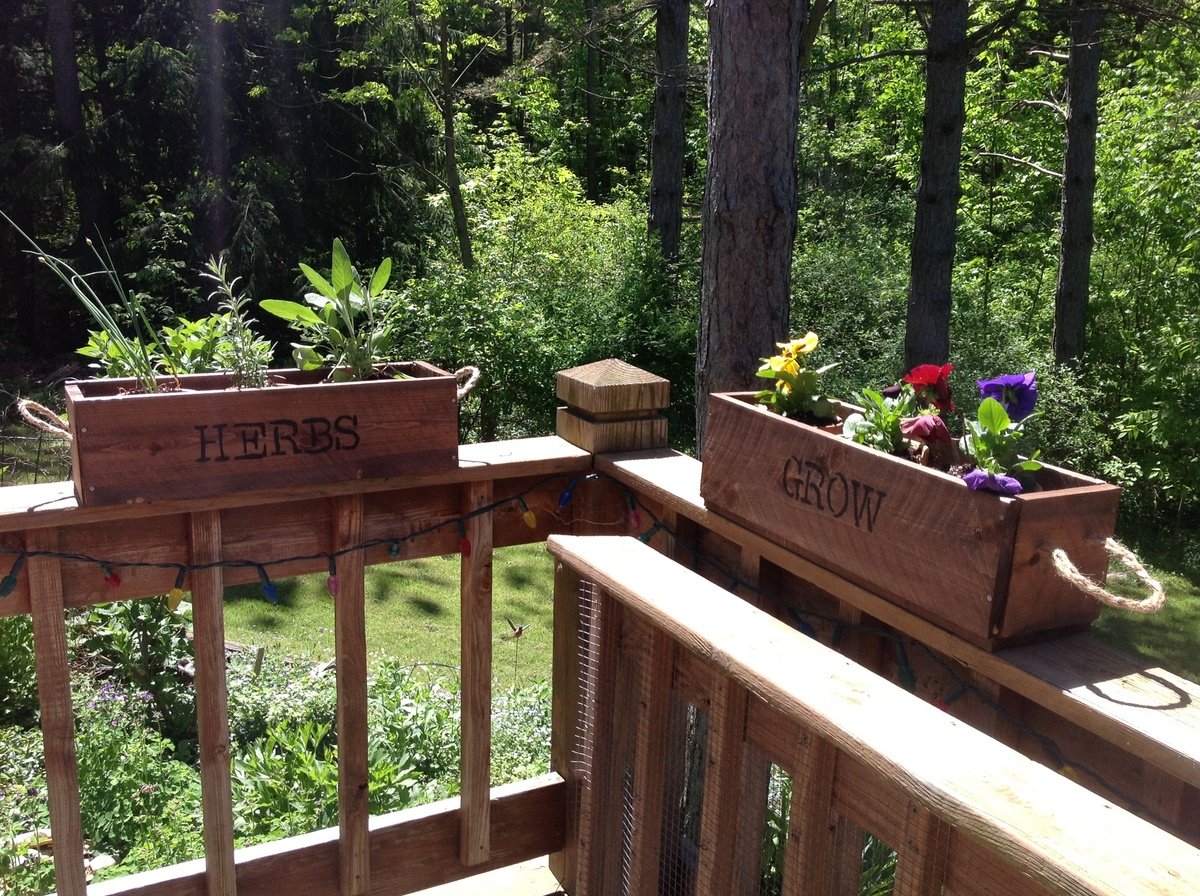
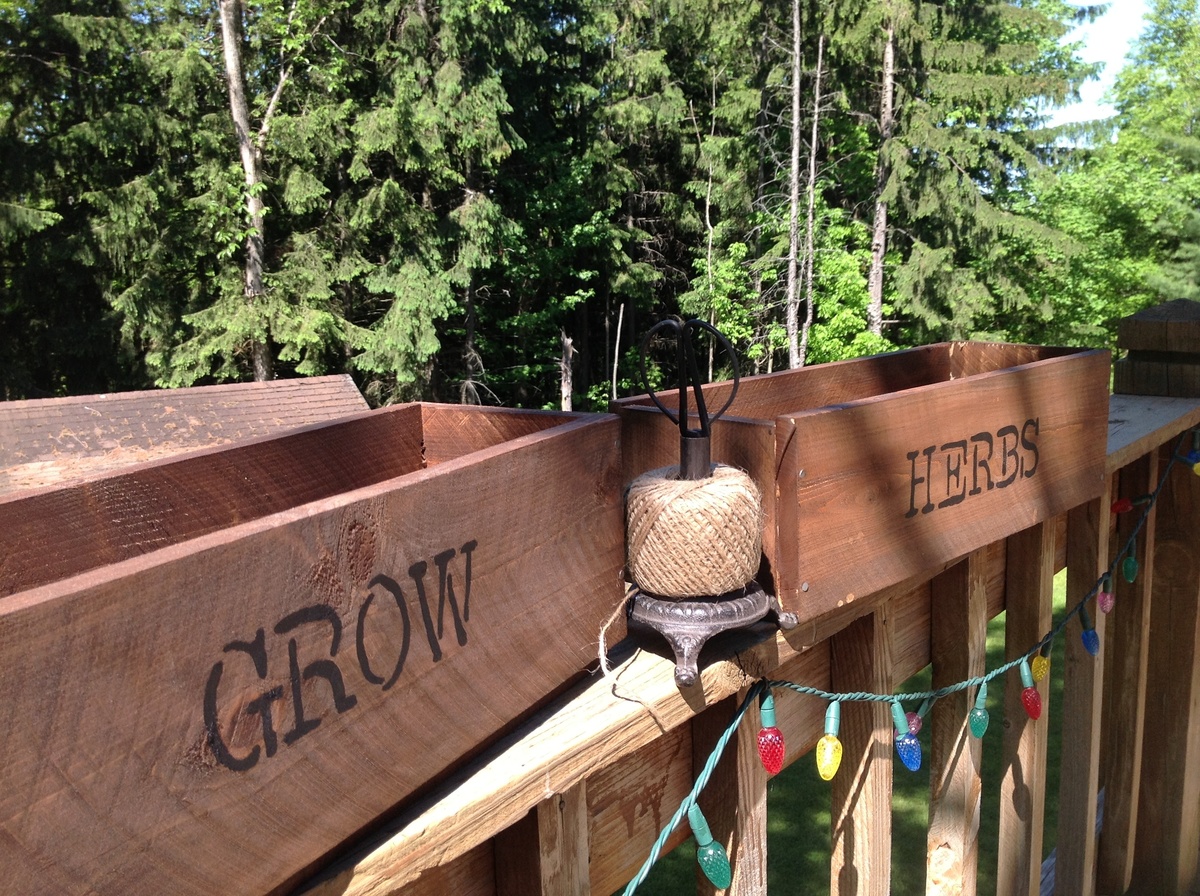
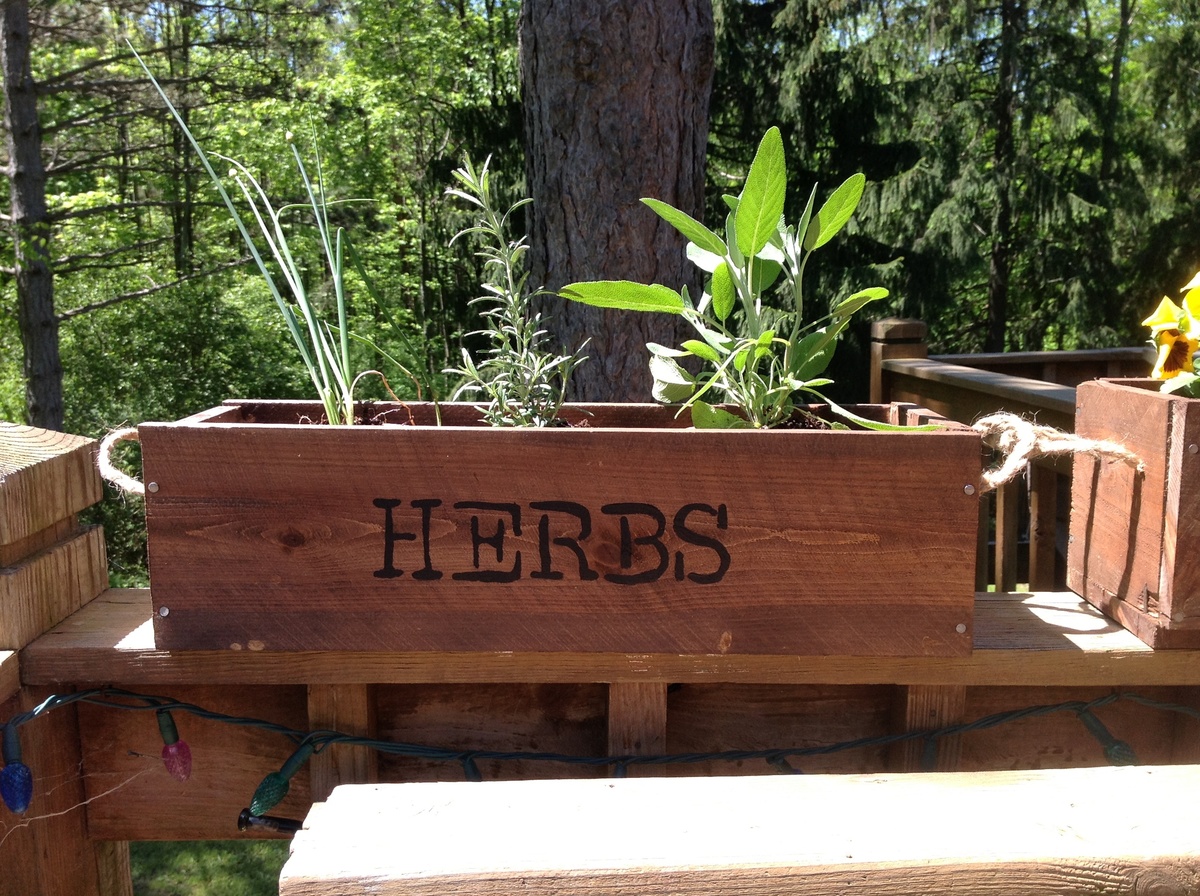
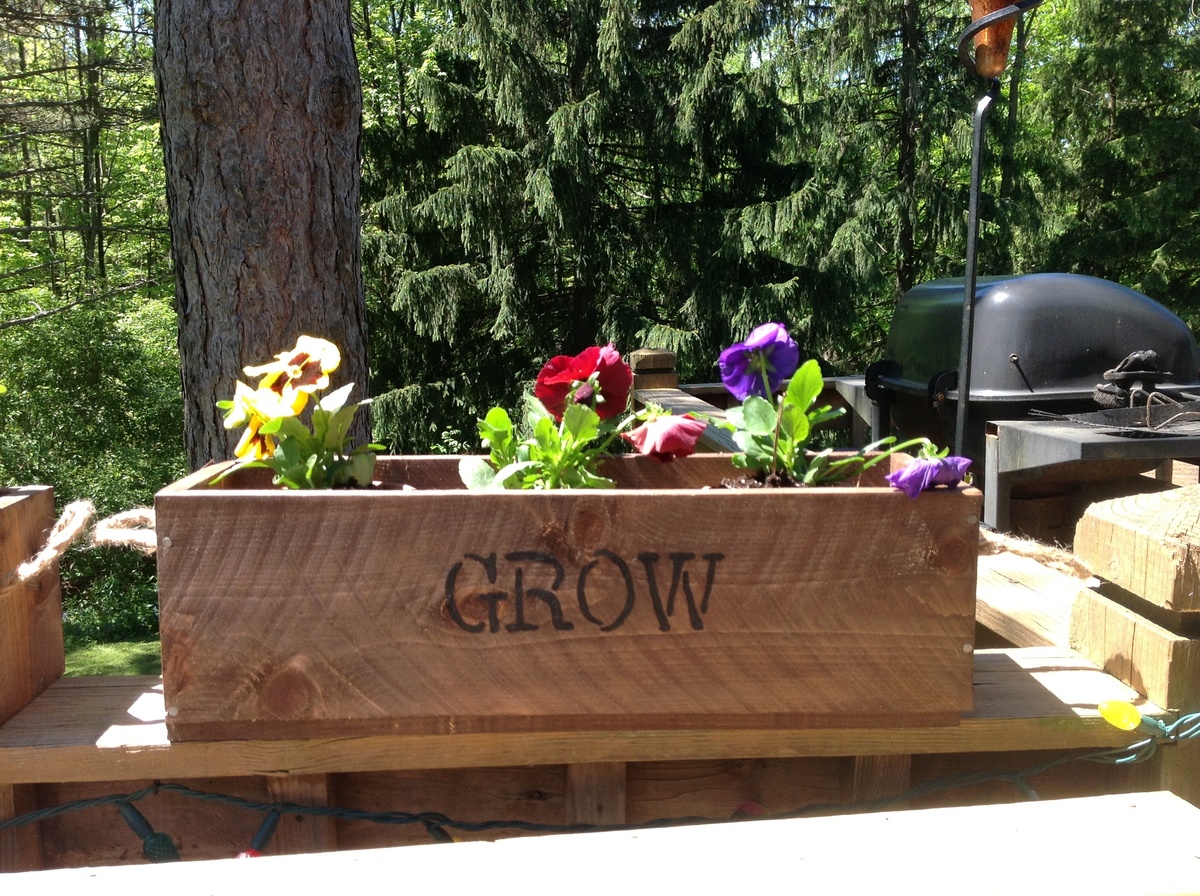
My very first woodworking project. I learned a lot. Most importantly, to watch my cuts more carefully. Also, a good stain and stencil dress up anything. I used braided jute for handles and love them!
Sun, 05/26/2013 - 22:47
I love your herb and flower planters! Now I'm inspired to do some up for my deck as well! Nice job!
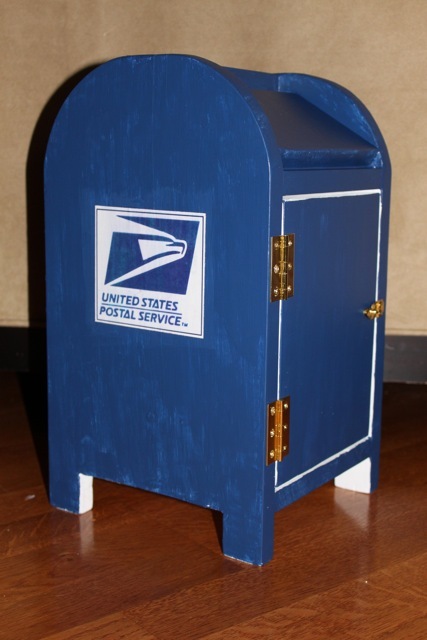
I used Ana's plan to make this mailbox for my daughter. I altered the plan a bit from the original. The hardest part was cutting the curve at the top sides, and putting on the door with a toddler helping! This piece is VERY LOVED by my daughter, and gets LOTS of play!
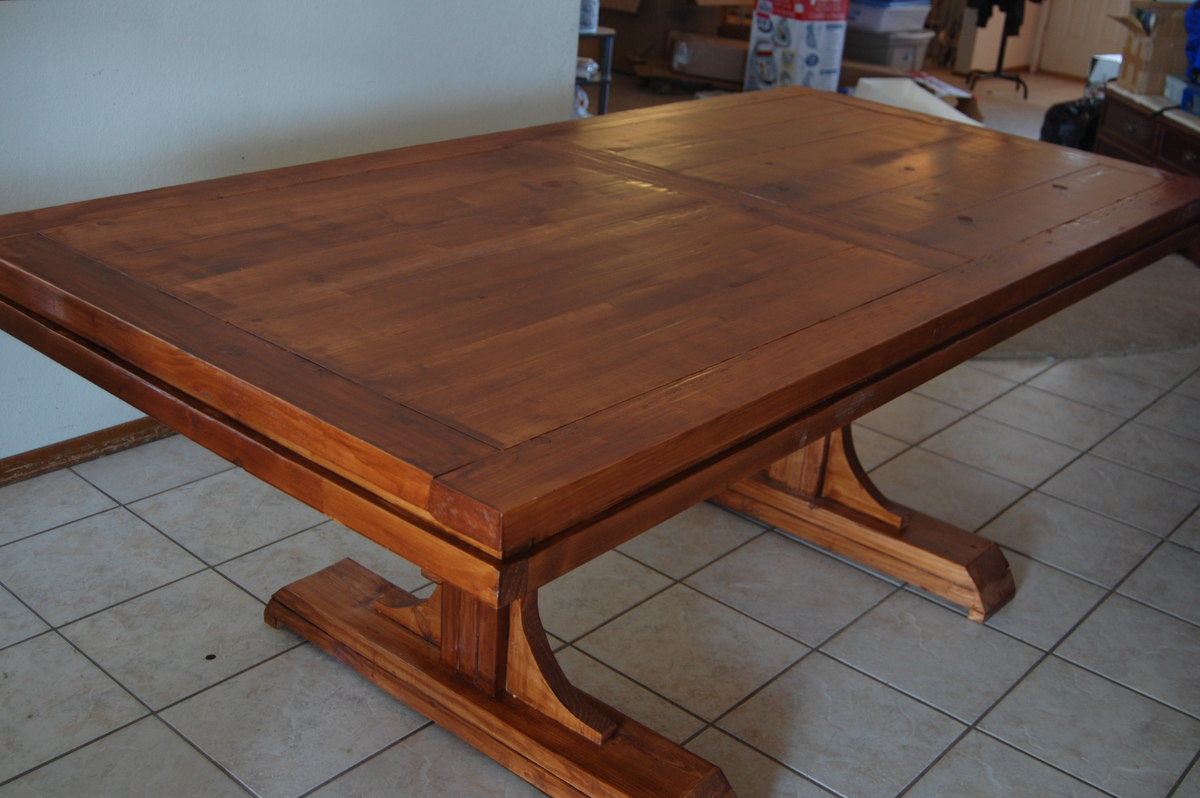
I used the Triple Pedestal Farmhouse plans, but that table would have been much too large for the space we have for a table; so I shortened the length a bit and only used two pedestals.
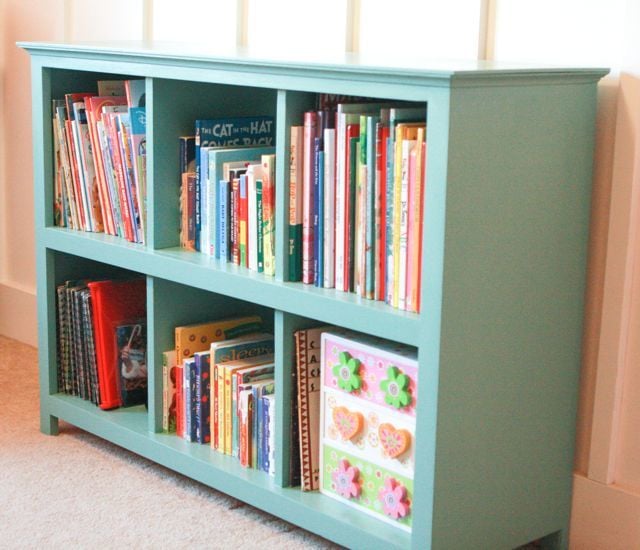
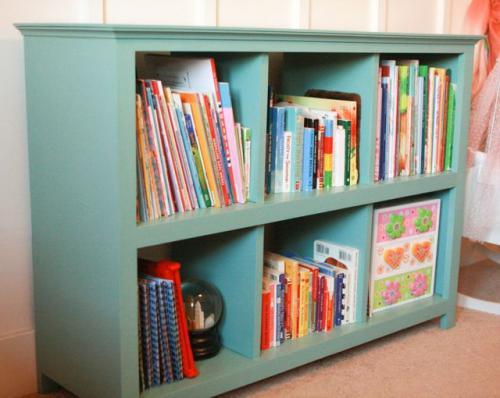
When I find clothes I like, I buy more of the same. Apparently this habit applies to furniture, too. This fall I built two cube bookcases for my 8 year old's bedroom. Last weekend, I built another, this time for my 6 year old. What can I say? The first two worked out so well I needed another!
For this bookcase, I had the lumber (at least the big boards, not the 1x2s) cut at Lowe's. The cuts were precise and square -- everything I want in a cut!
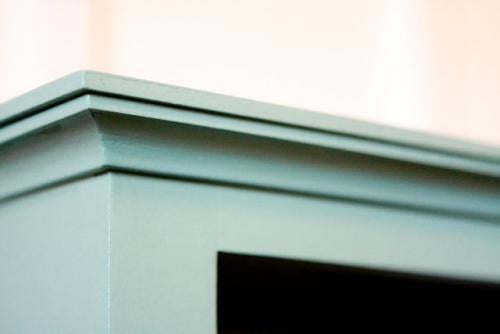
Just as I did with the first two bookcases, I used the Kreg Jig to put this one together and then I topped it with 1/4" MDF, attaching mitered cove molding underneath. At some point this winter I realized that my miter saw was out of square. I'm not good at fixing mechanical things, so my husband did me the favor of squaring the saw for me. Wow, what a difference! My cuts are so much more precise now that the saw is square again. Whew!
One change I made from the first two cube bookcases I built was in the finish. Instead of building and then finishing, I painted the surfaces that would end up on the inside of the bookcase before assembling the whole thing. Last time it was a bit of a nightmare getting into all the corners and inside tops of each cube. Painting the inside ahead of time was much simpler. Once the unit was put together, I sanded and painted the outside, touched up the inside, and then added two coats of poly to both the inside and the outside.


My wife and I were expecting two grandbabies (a boy and a girl) in the Fall (about 2 to 4 weeks apart). We were asked by one of our Daughter's-In Law to make a changing table. We decided to do it for both grandbabies. These photos represent the result of the inspiration we got from Ana White's changing table design on her website. We liked the basic design but wanted it to have a shiplap look. We also wanted the top drawer to be a full drawer across the top and the middle shelf to be a pull out shelf with a drawer front. We were ecstatic with how they turned out, and so were the parents!


Fri, 10/08/2021 - 10:38
Congratulations on two grandbabies! Love the color choices, wonderful job grandma and grandpa:)
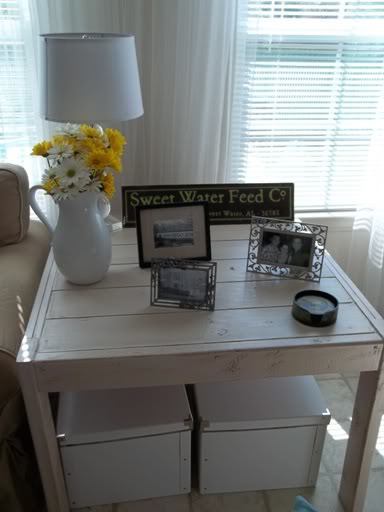
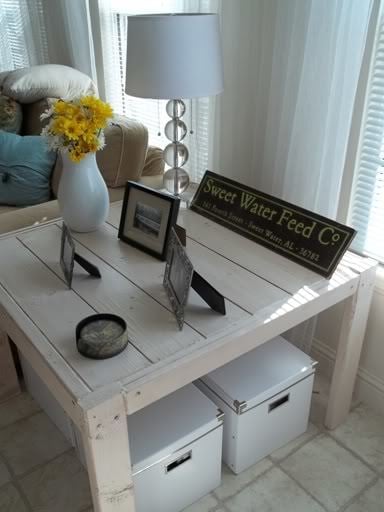
I loved the square modern farmhouse table when I saw it, and knew I wanted to use it as an end table in our living room. I had this really awkward space that my couches created when their corners met. It had been filled by 4 TV trays acting as a larger end table--all I did was cover it with a table cloth to disguise what it really was! ;)
I have a coffee table that is similar looking (with a slated top) so I knew it would compliment it! I may still go back and repaint it to something a little more colorful or to make the white more crisp, but overall I love it!
The table is very heavy and sturdy! At the time I built this, I was under the impression our local Home Depot didn't carry pine boards, so I bought Douglas Fir instead (turns out they do carry pine, they just have it in a different section). Definitely increased the cost a bit, but I have no regrets.
It took me about a week to put together, but I also work outside the home. Had I had a whole weekend to devote to it, I think it would have been done in one or two days.

