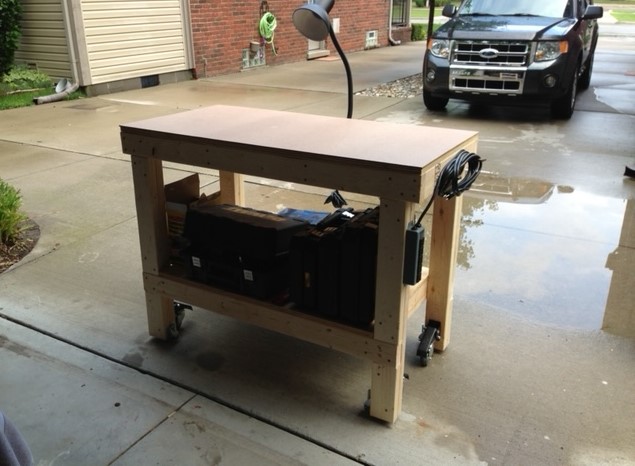
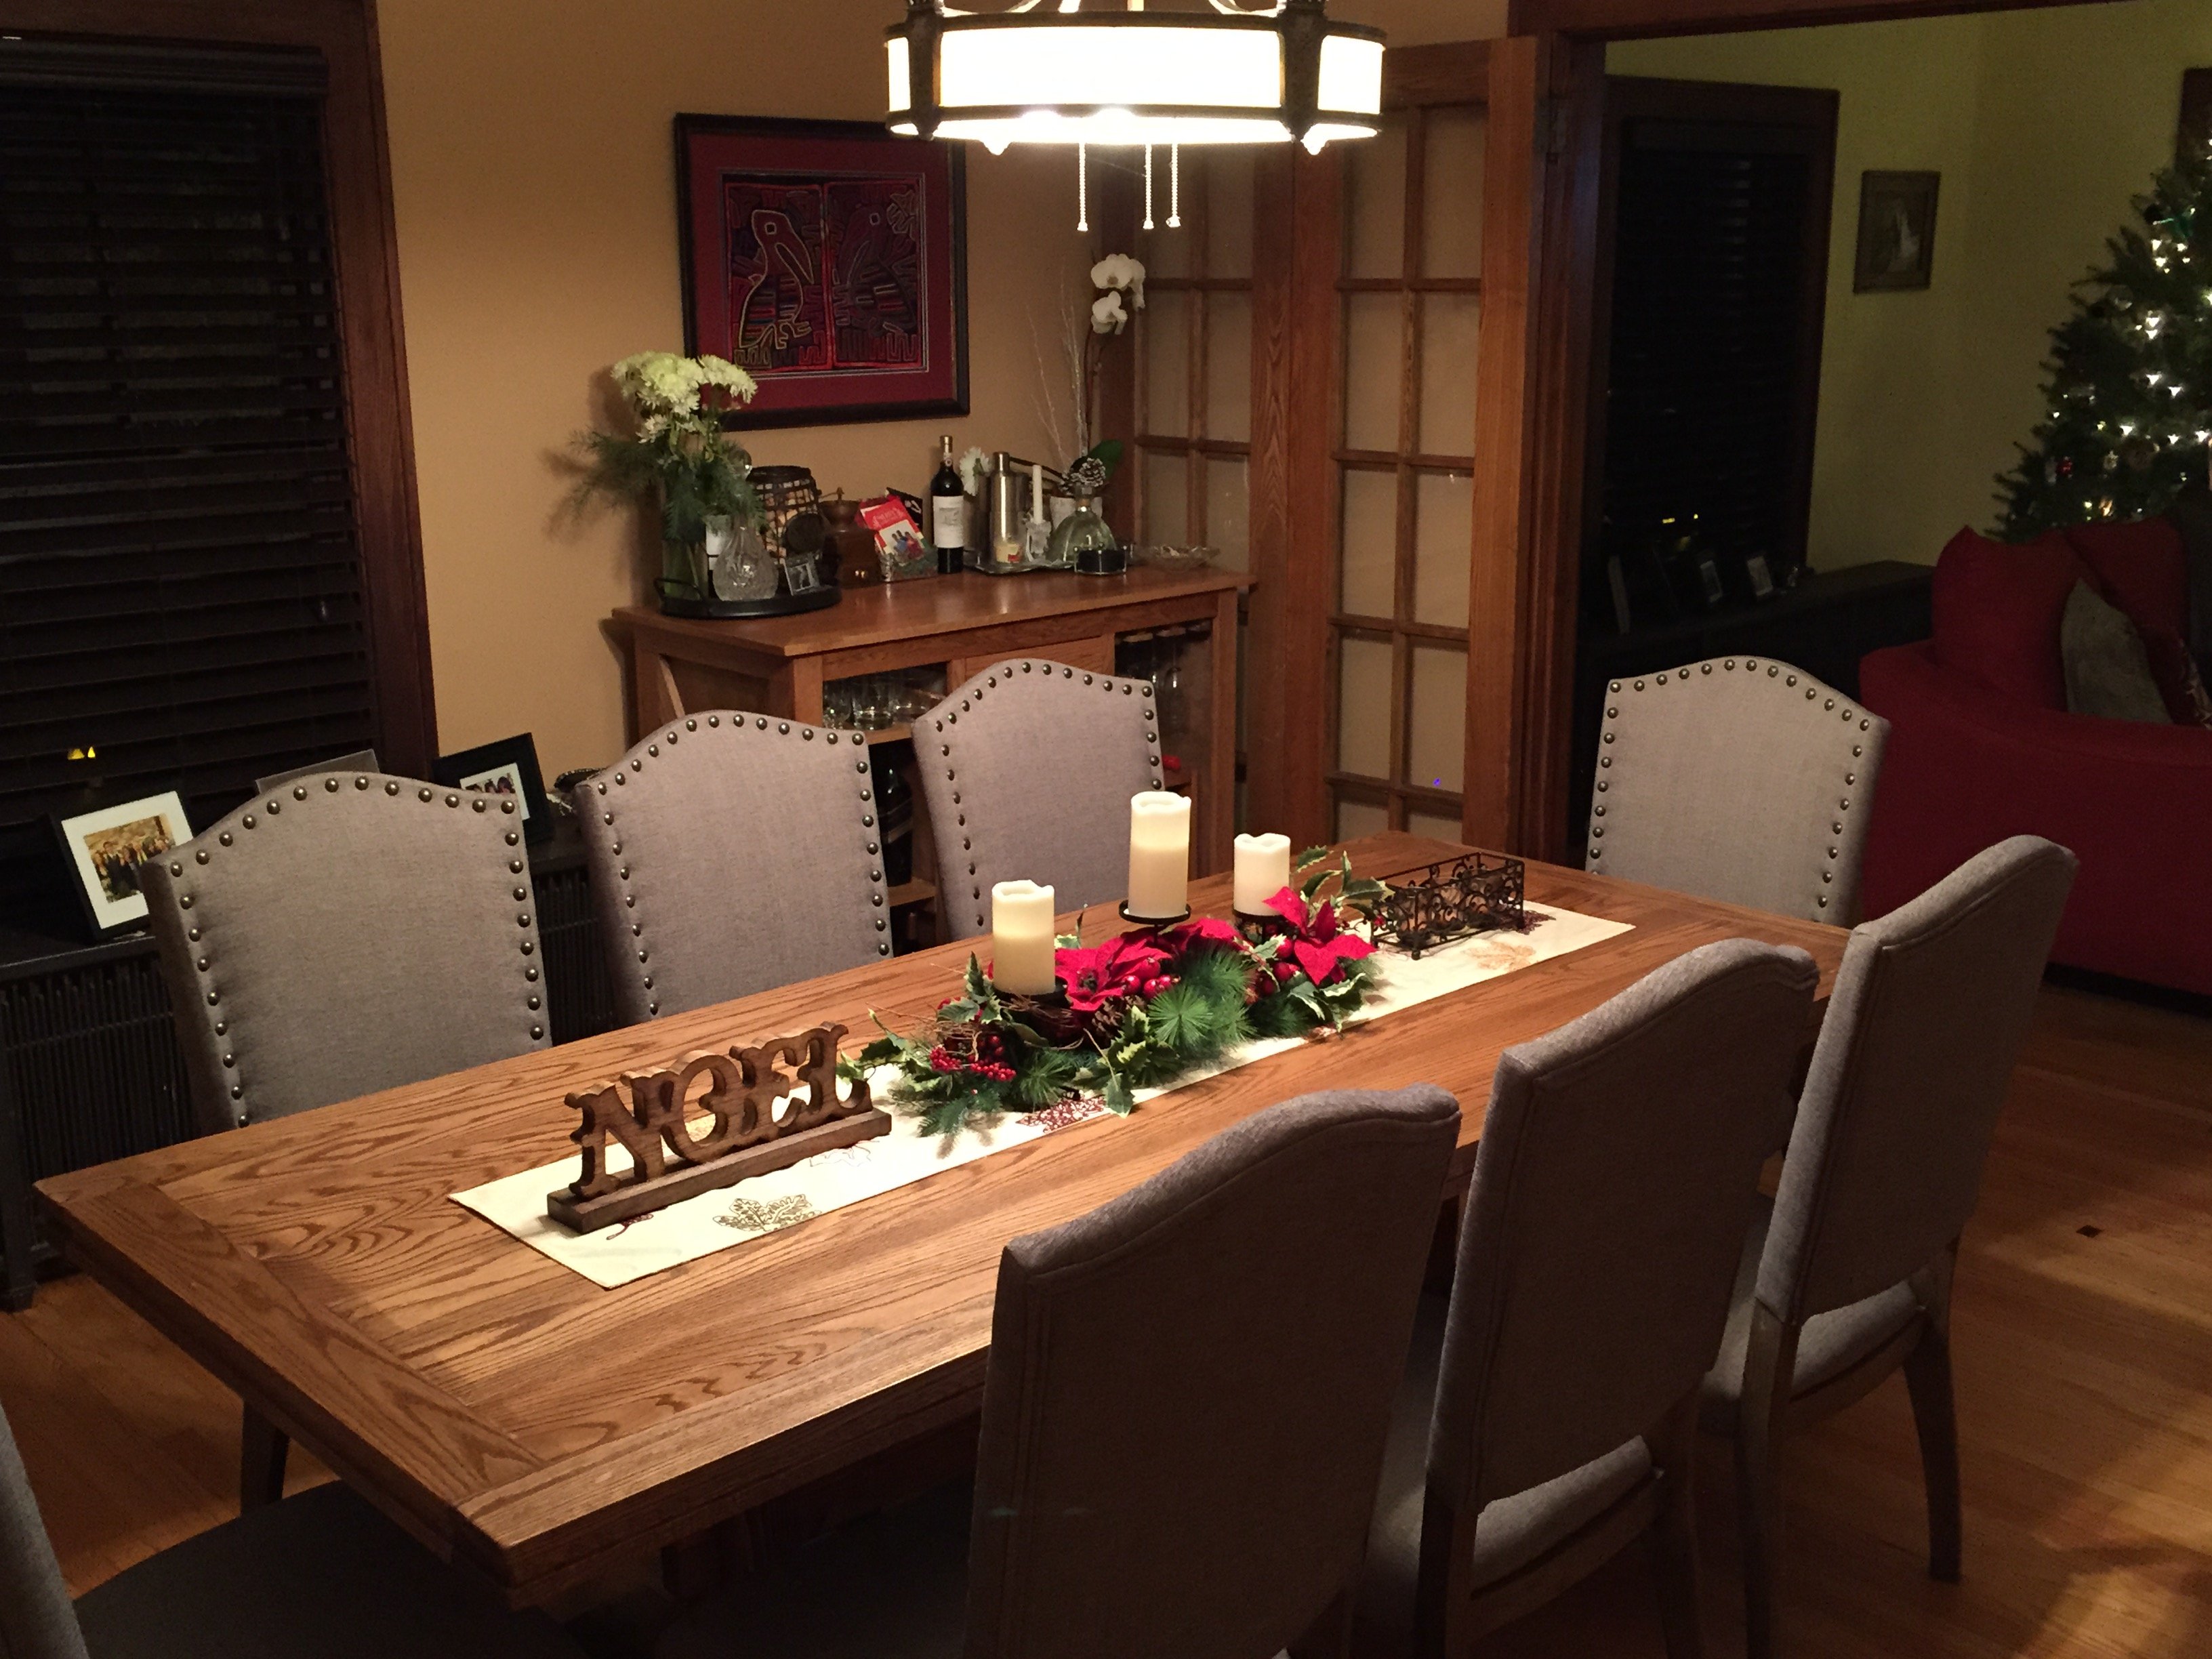
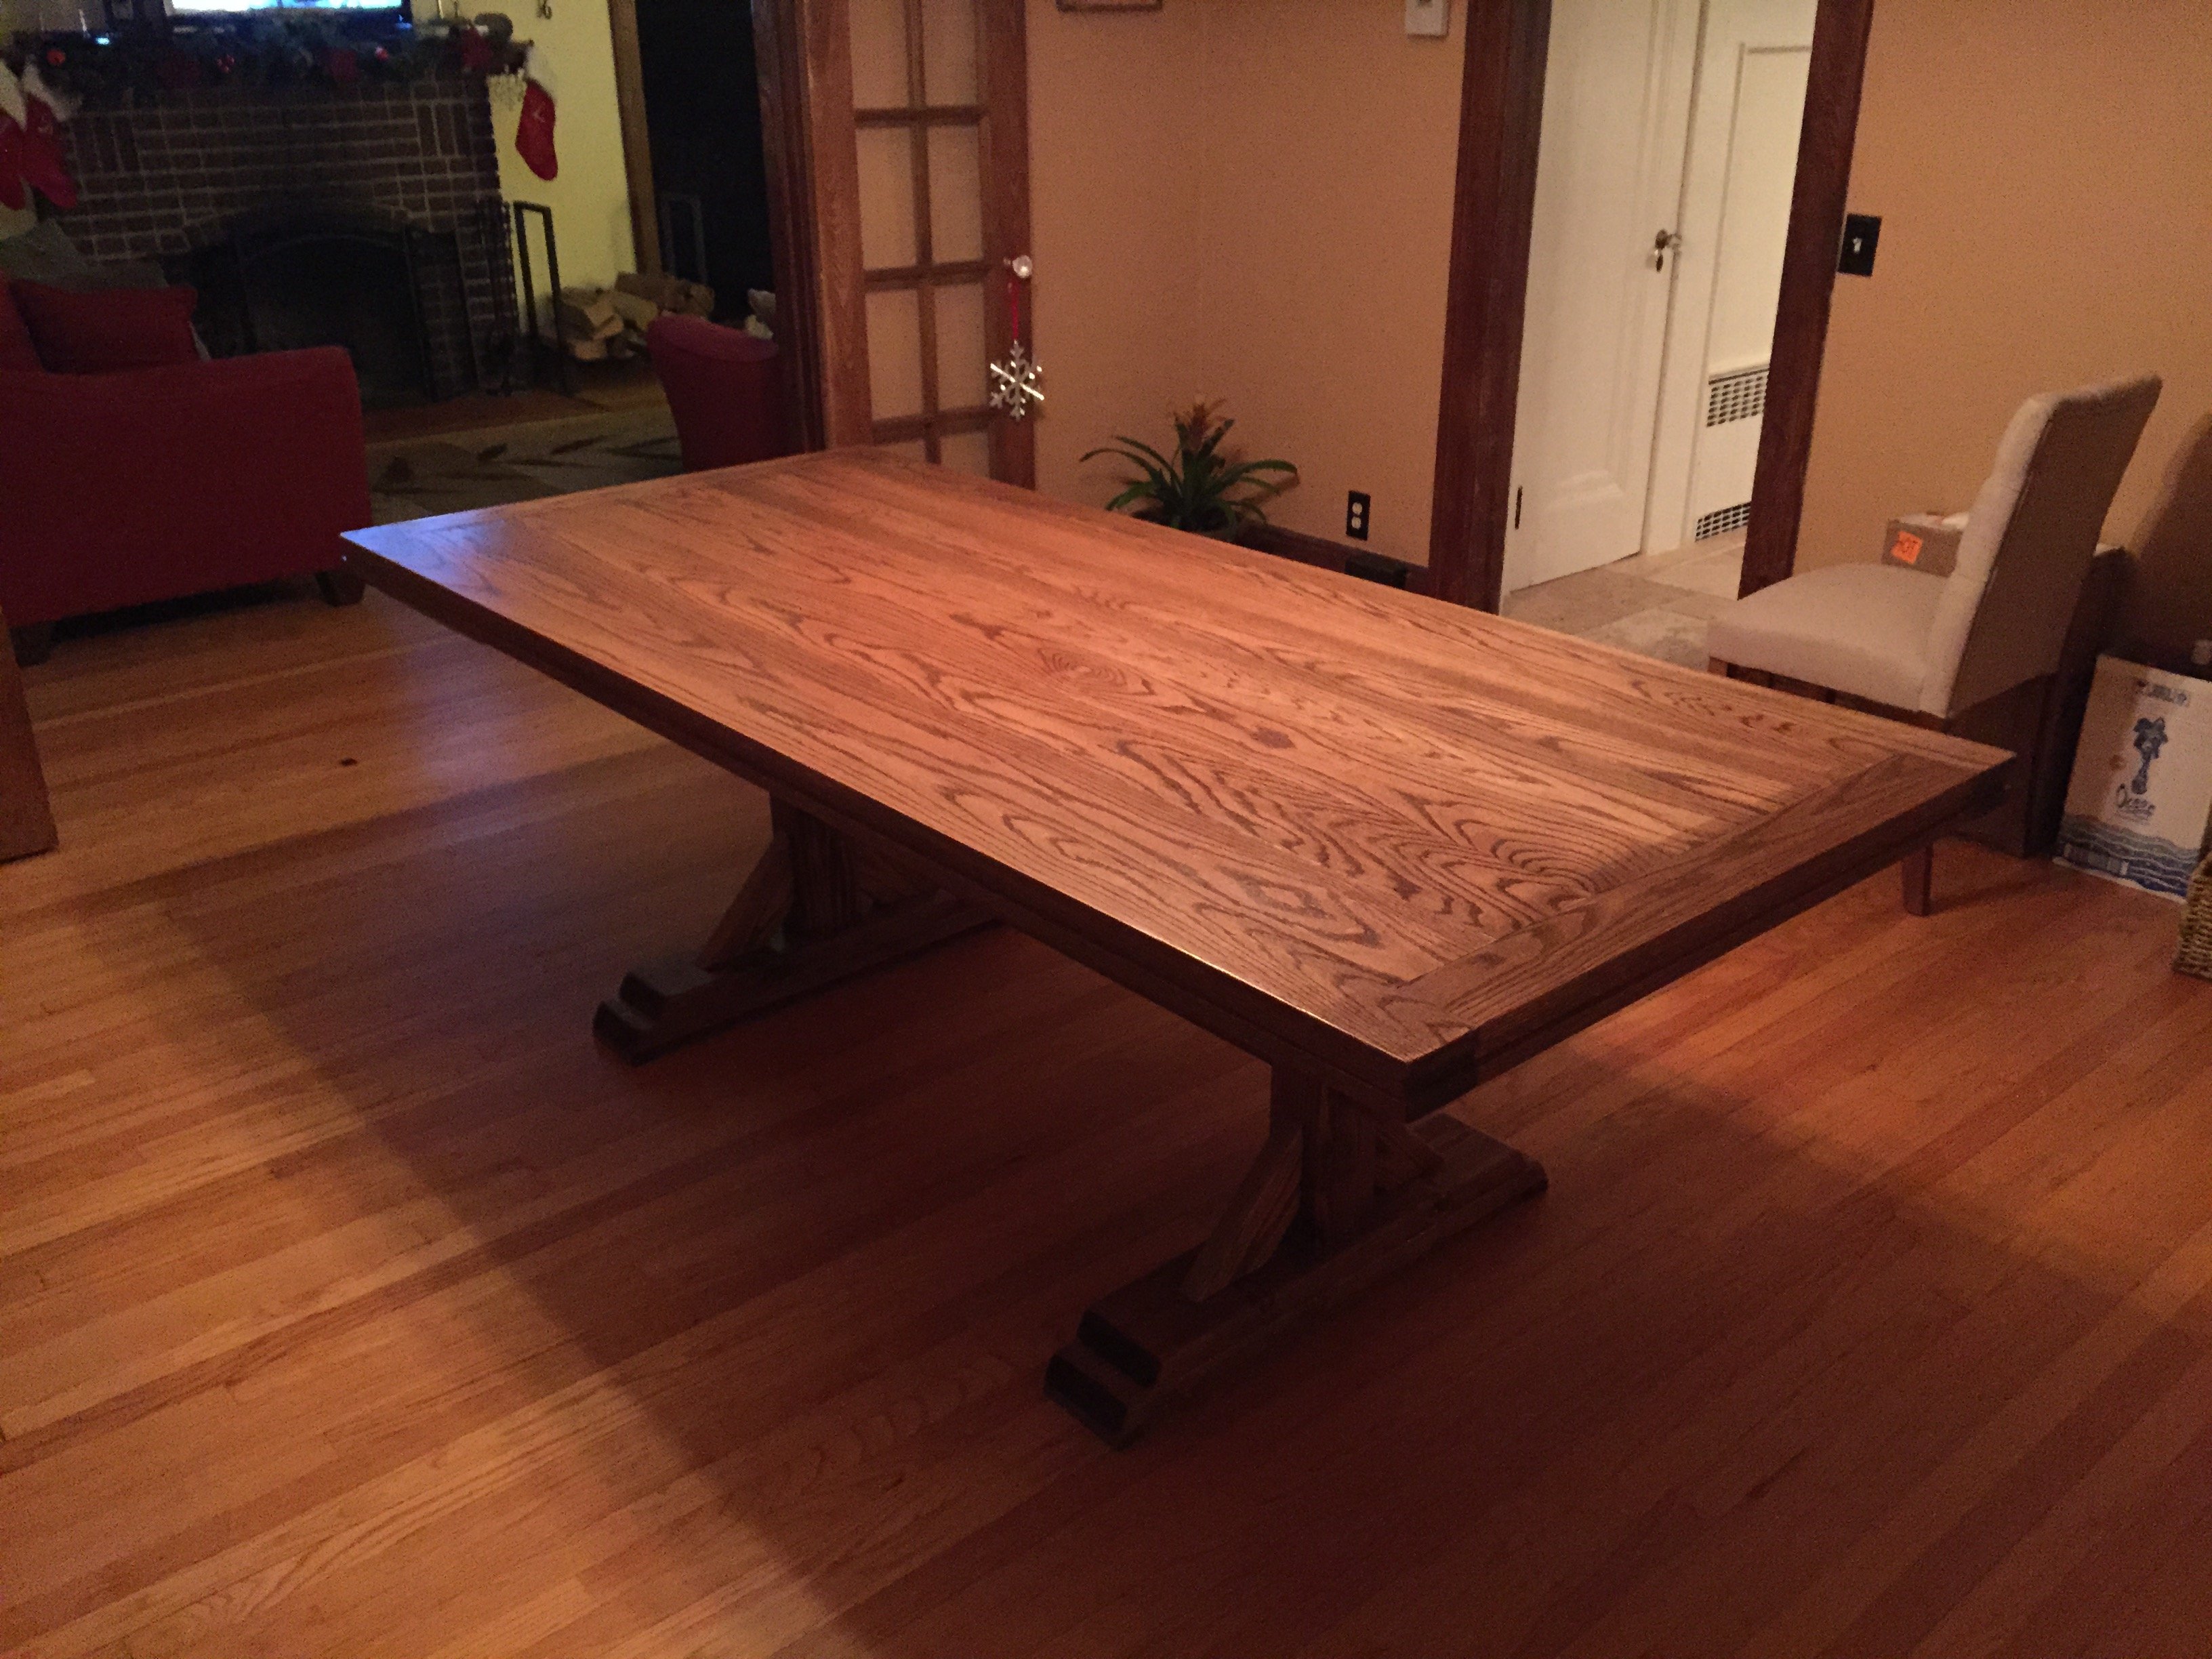
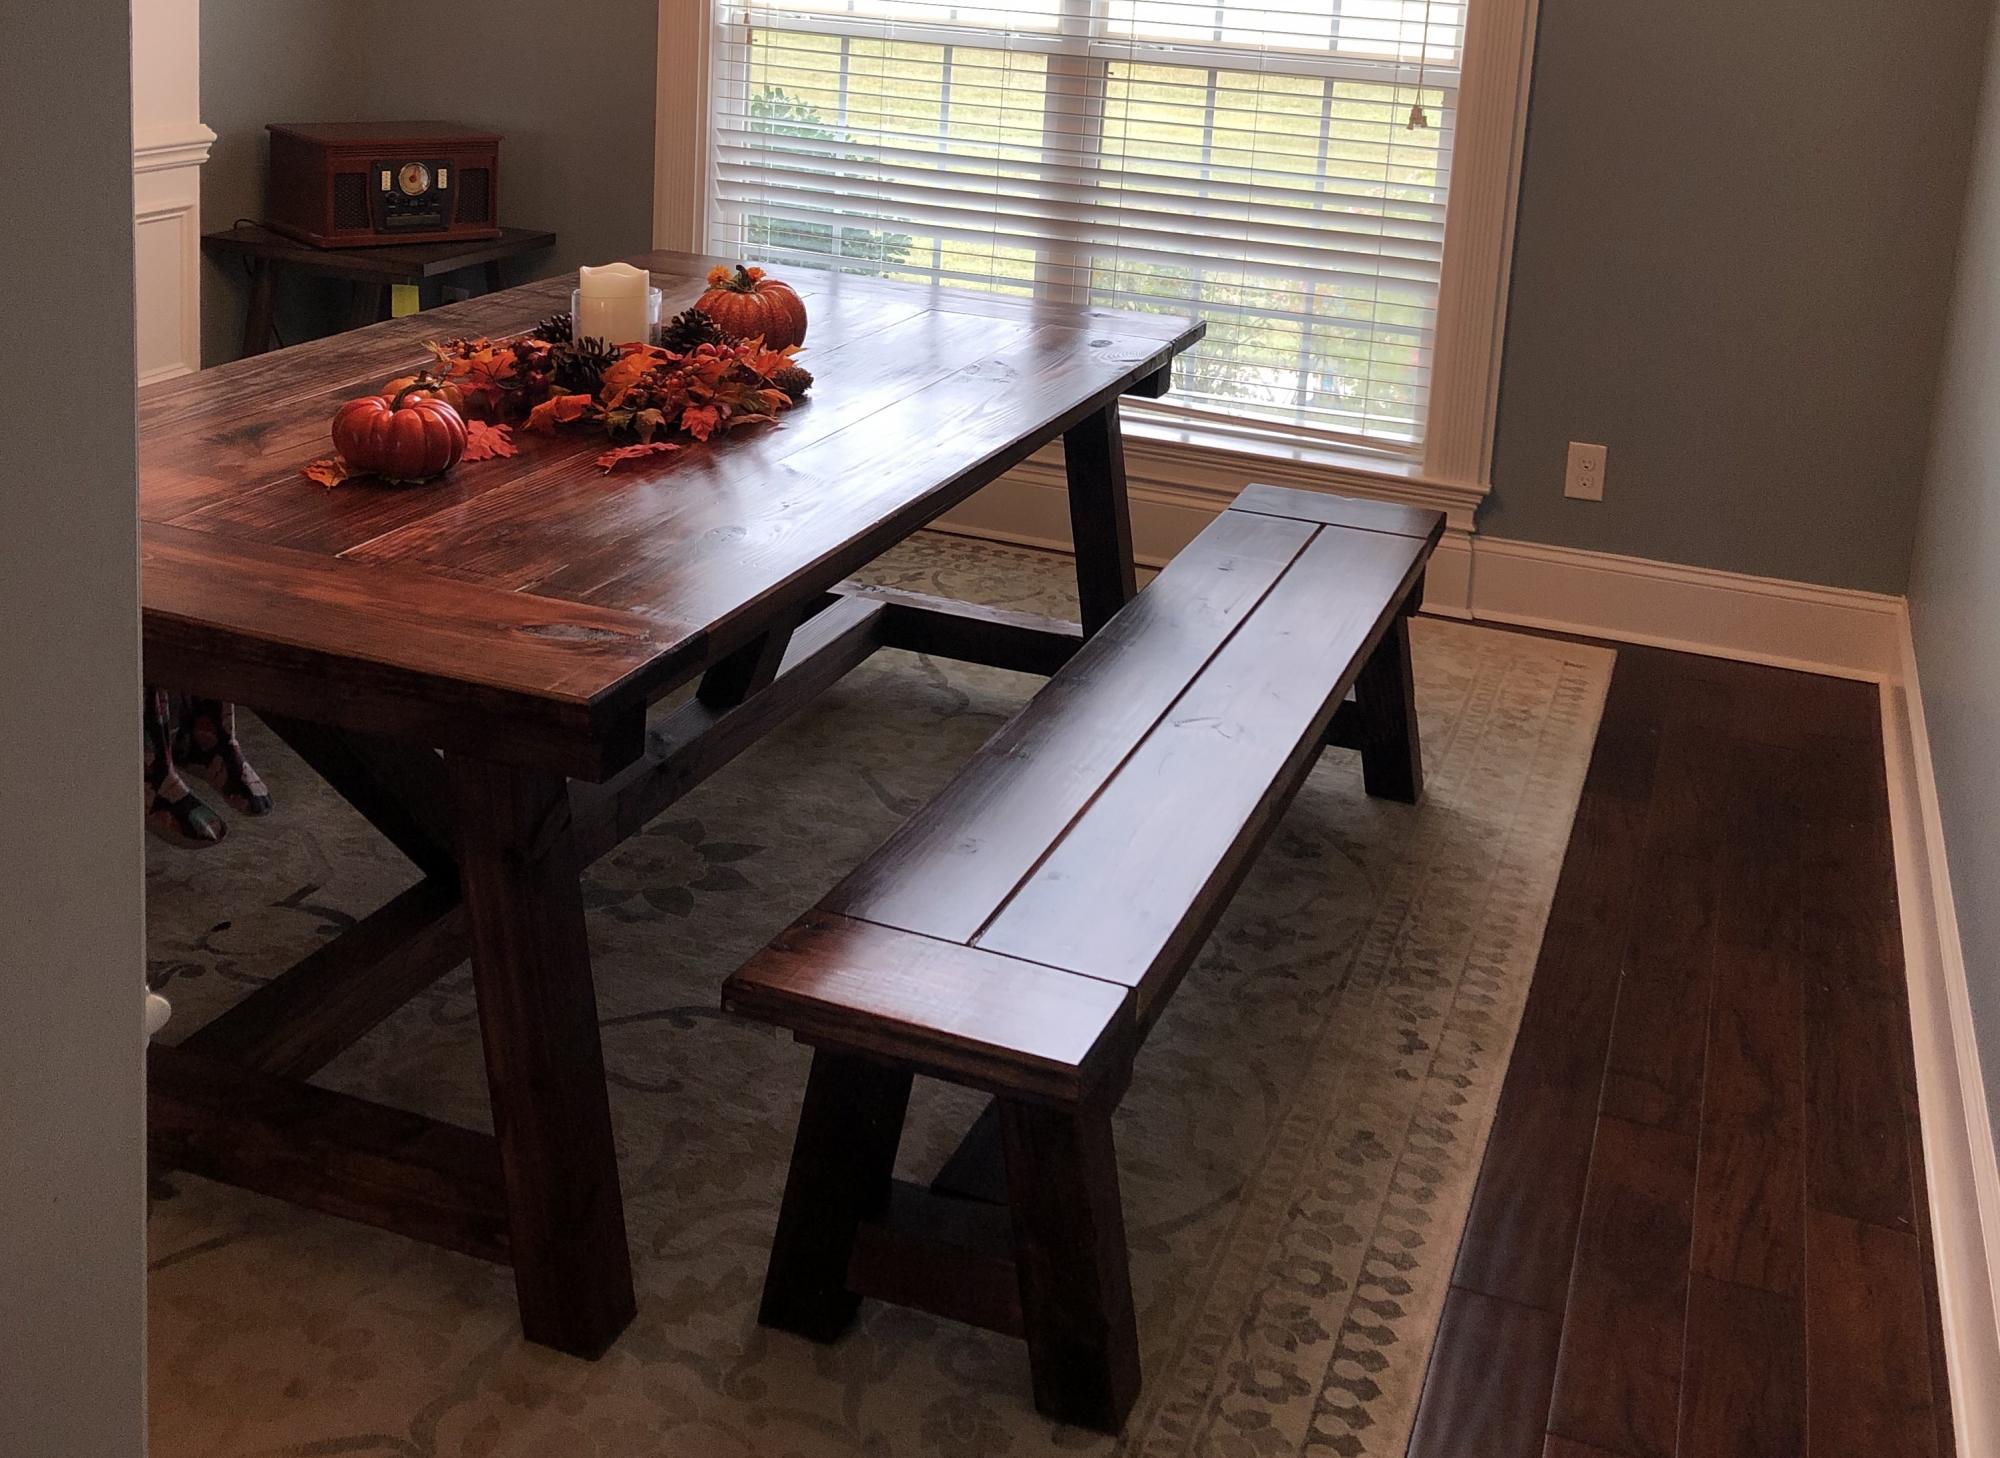
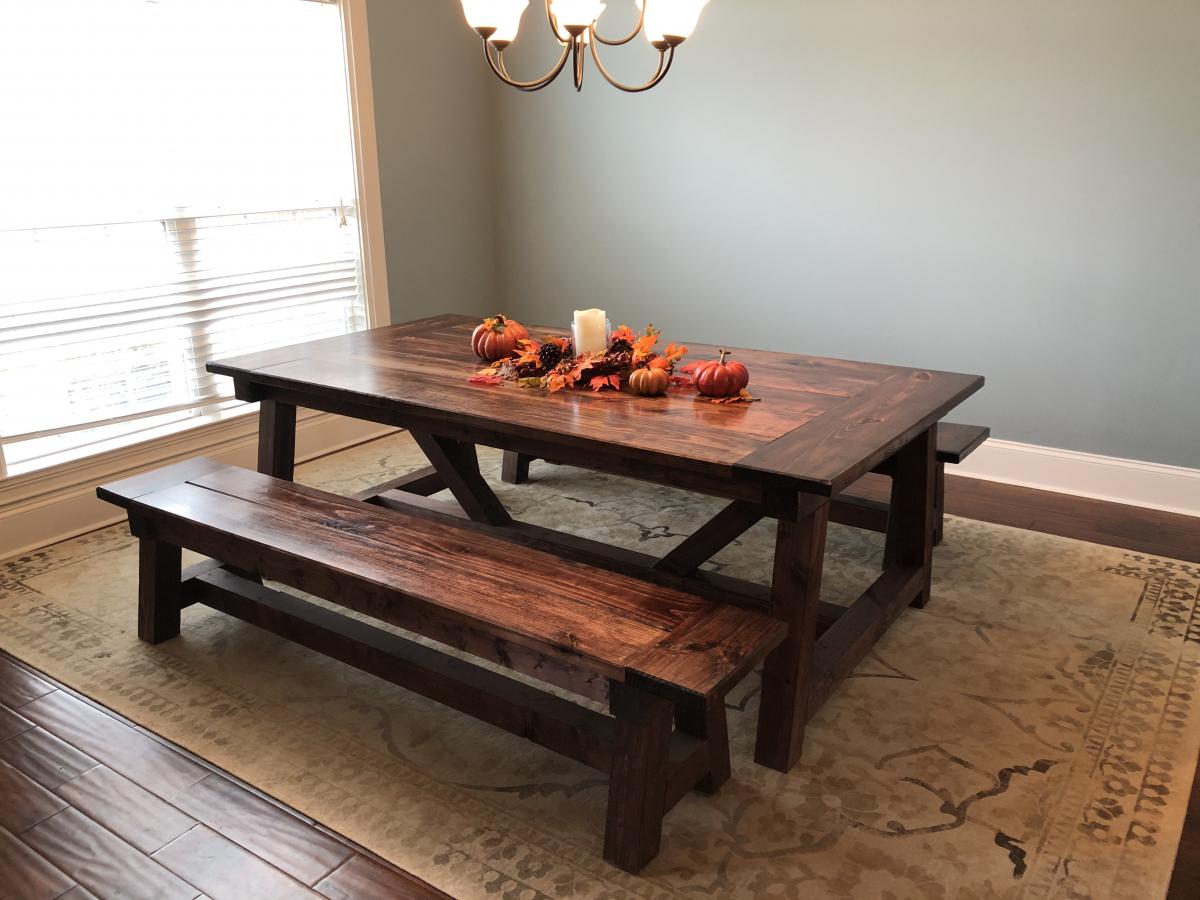
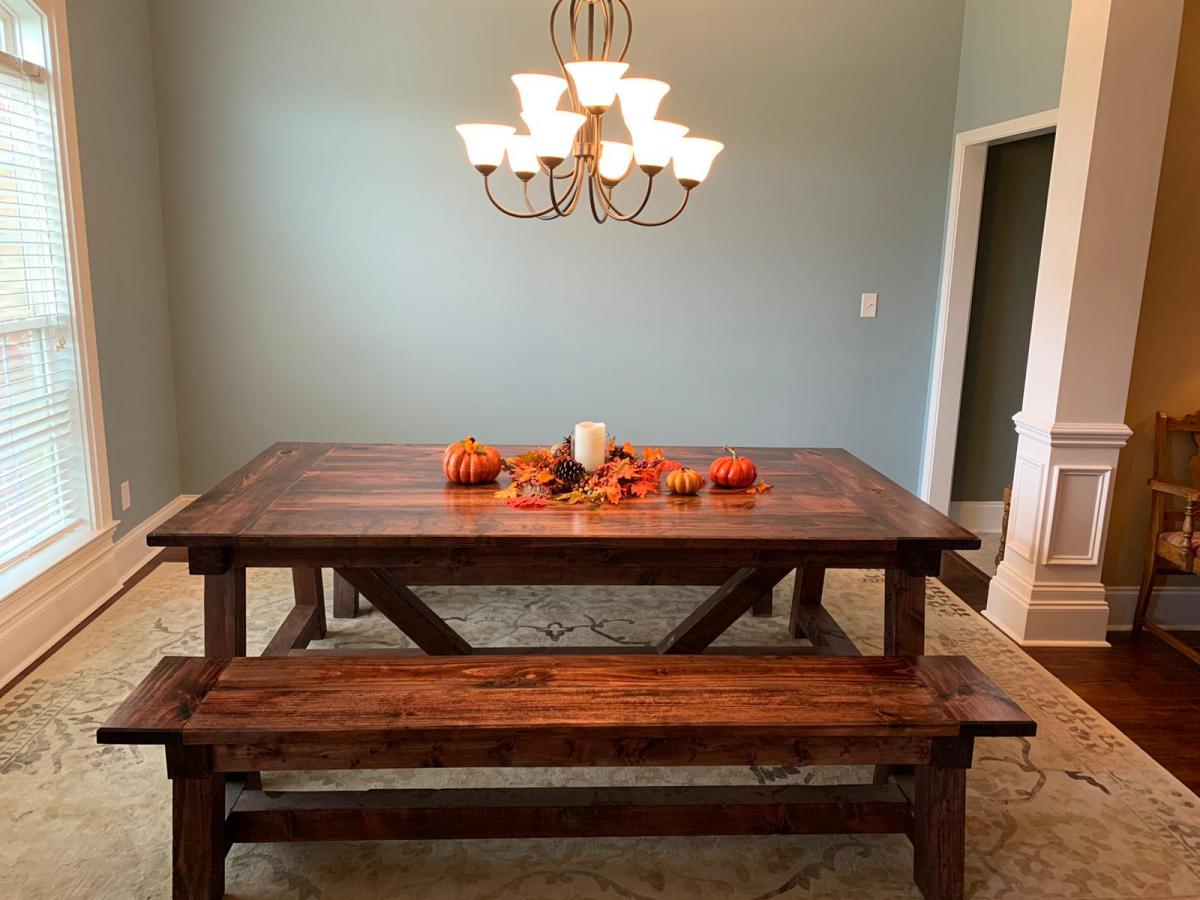
This is the third time I've used Ana White's plans--and while each has been solid and doable, I think I'm getting better. This project was based on Ana's amazing 4x4 Truss Table, and enlarged according to DIY Pete's 2x10 version. The final tabletop dimension is 87"x46" using 5-wide 2x10s. I added cross struts centered under the tabletop so that boards 2 and 4 are screwed to their neighbors as well as braced from beneath.
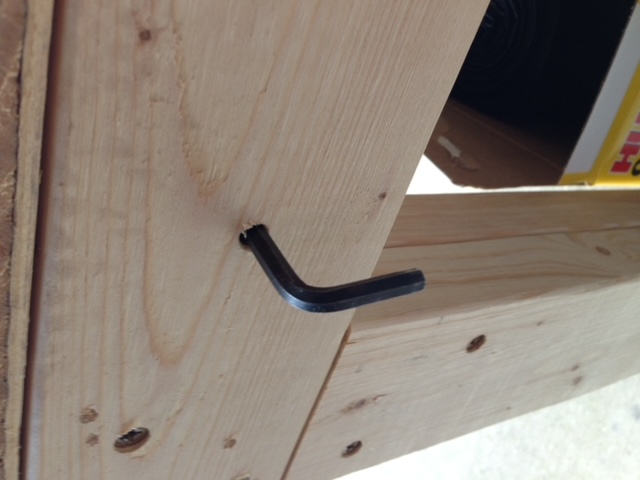
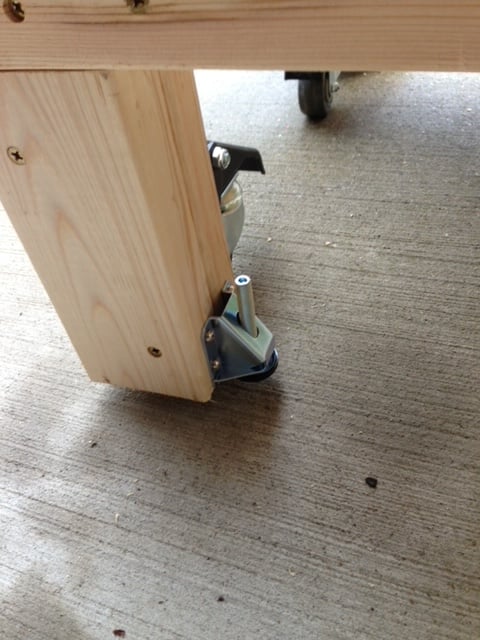
Pocket screws throughout, except the diagonal braces which are held together with 1/4"x6" countersunk wood screws.
Solid, tasteful, and built to last--my family wants to spend time around the table in ways they did not before. Ana's awesome!


Comments
Ana White Admin
Thu, 12/29/2022 - 11:16
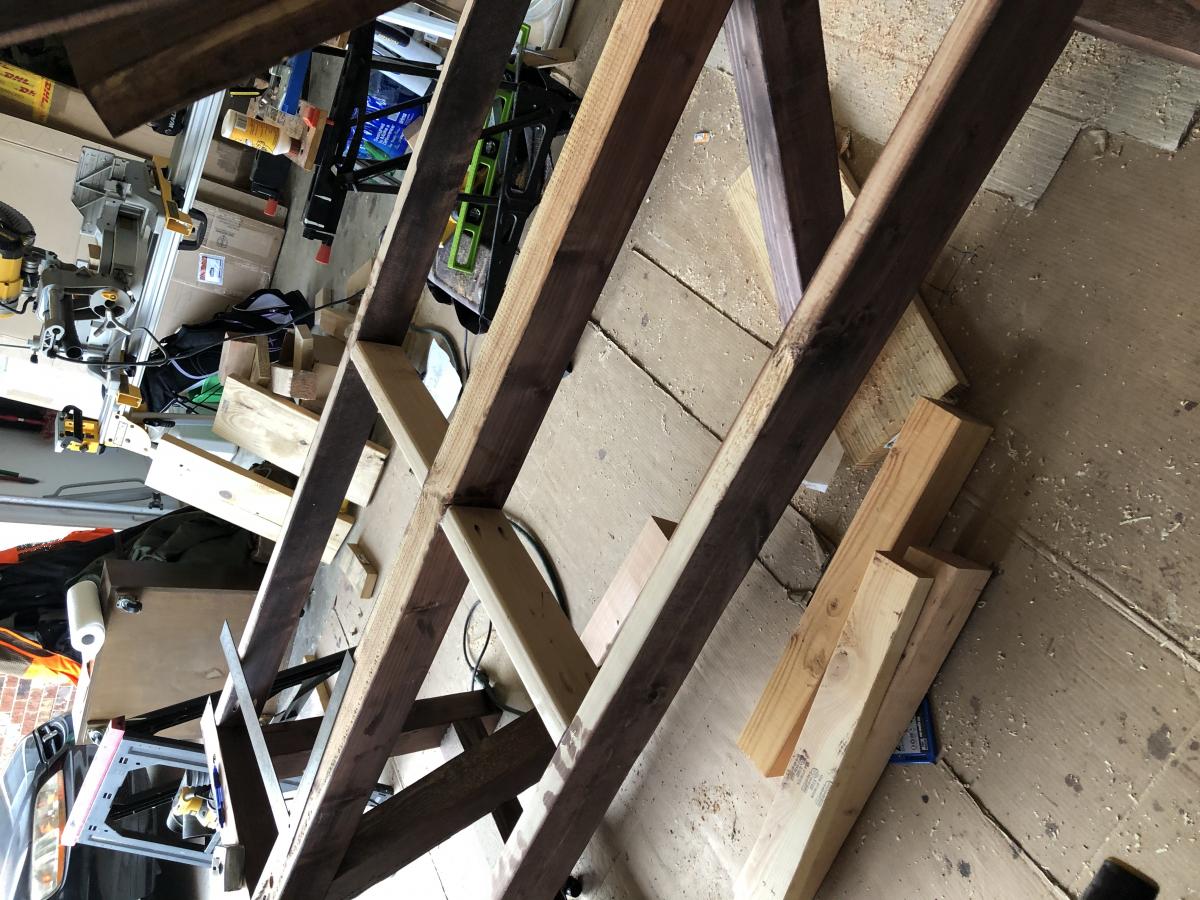
Sweet work bench!
Love the additions, everything you need in a workbench! Thanks for sharing.