Community Brag Posts

Cedar picket shed for mower

Submitted by pilot1910 on Fri, 08/29/2014 - 21:36

I loved the plan for the cedar picket shed. It was tall enough to block my neighbor's view, so I shaved 20 inches off the height. It is the perfect size for a mower. We made a floor out of 12 inch blocks. The ground we have here packs very well, so I think it'll be good for a long time. We also have a lot of wind, but this thing isn't going anywhere!! It is solid. I also like the fact that it takes a stain right along with the fence and there is no painting involved! The hinges you recommended were great.

Estimated Cost
about $300
Recommended Skill Level
Beginner

Pie Chest

Submitted by Cveith3 on Sat, 12/24/2016 - 16:35

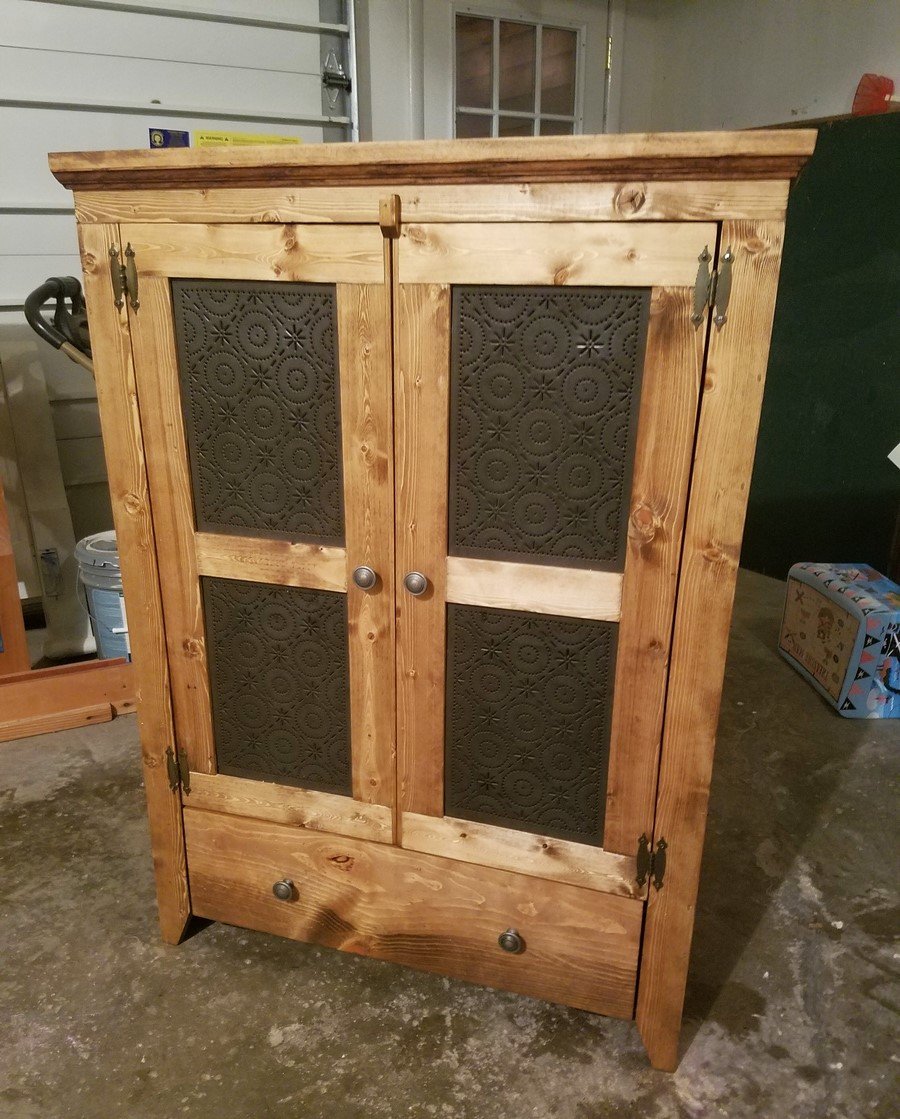
This project was built for my mother as christmas gift.  Very easy to do, I based it off of Patrick's jelly cupboard plans and ana whites pie Chest idea.  I modified mine  to allow for a drawer/door at the bottom.


http://www.ana-white.com/2015/10/DIY_furniture/pie-safe


http://www.ana-white.com/2011/12/plans/patrick039s-jelly-cupbard

Built from Plan(s)
Estimated Cost
$125
Estimated Time Investment
Weekend Project (10-20 Hours)
Finish Used
WATCO Danish oil
Dark Walnut
Recommended Skill Level
Beginner

Factory Cart Coffee Table

Submitted by Anonymous (not verified) on Sat, 12/31/2016 - 16:33

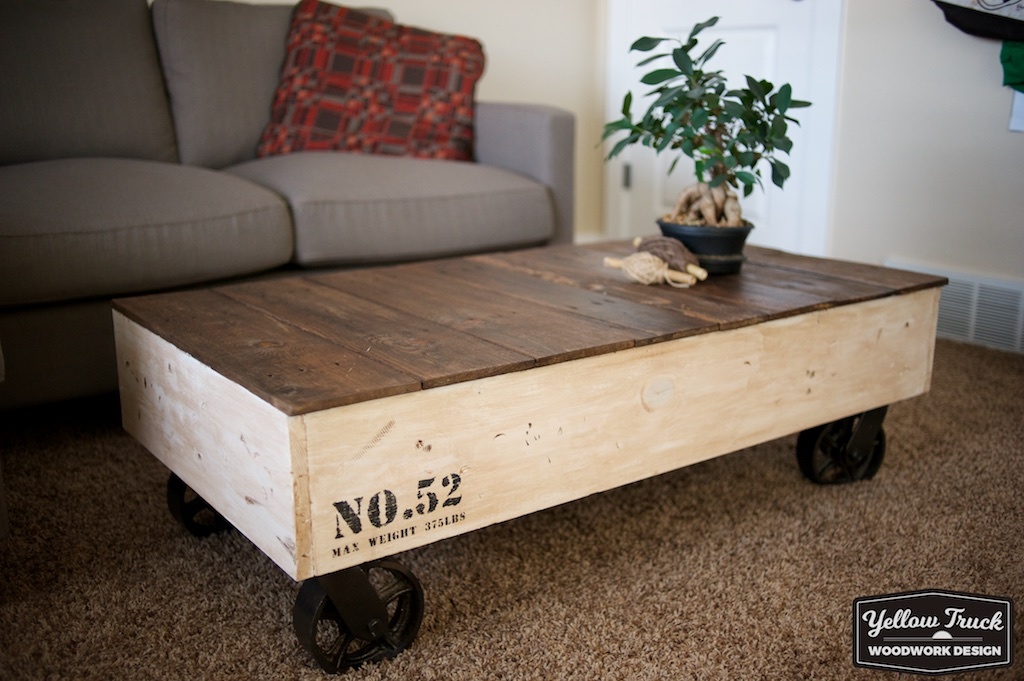
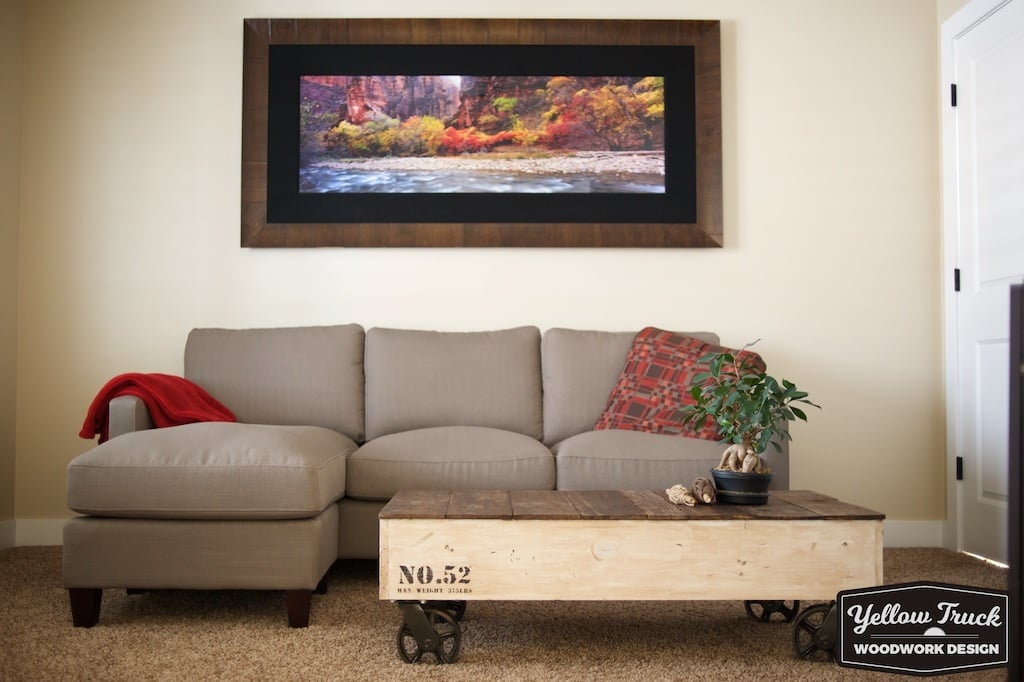
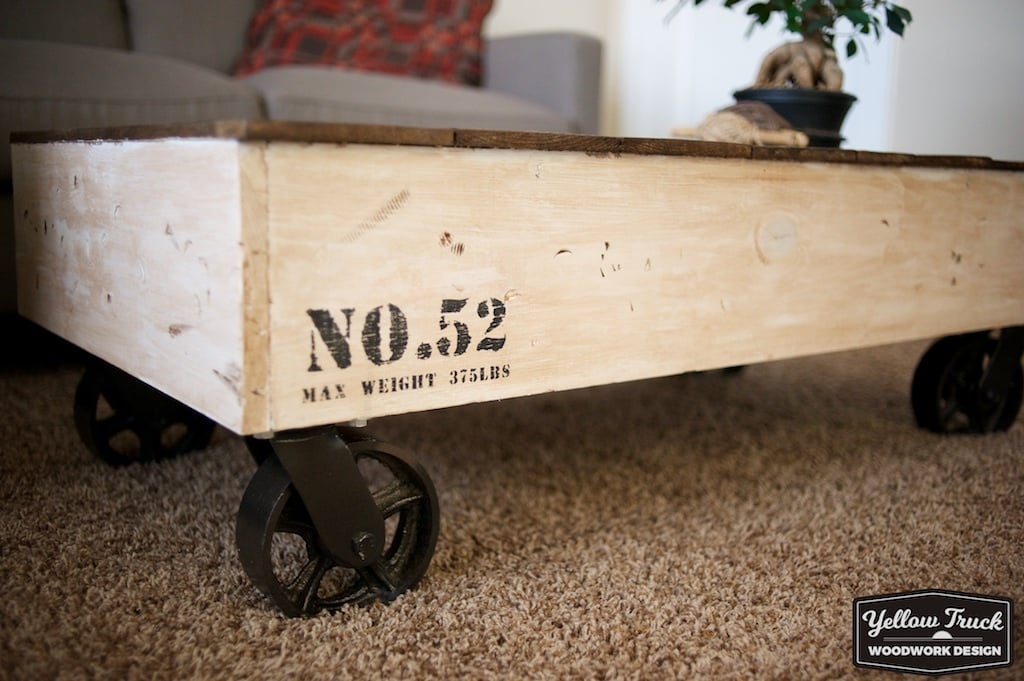
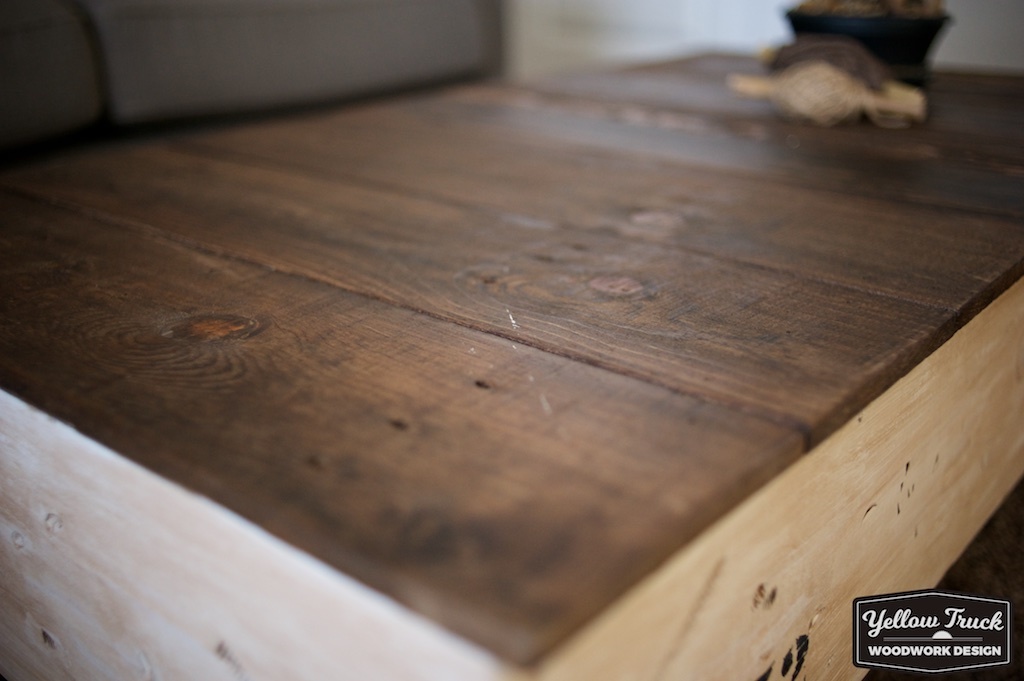
I built this last weekend and had a blast with it.  The design was from Ana's Factory Cart Coffee table, but I built it a little bit different.  The side boards are from 1x8 pine instead of 1x6.  I wanted it to be a little bit taller.  I ended up getting the casters from Home Depot. They were $25 each.  However I saved some cash on the top by using wood from a pallet that I sanded down and stained.  The overall cost was about $120 with $100 of that being just the casters.

I did the No.52 and max weight by creating a stencil and painting it with black paint and sanding it down.

Built from Plan(s)
Estimated Cost
$120
Estimated Time Investment
Afternoon Project (3-6 Hours)
Finish Used
The painted section is chalk paint with a brown wax. The stain is minwax Early American
Recommended Skill Level
Beginner

Comments

Chevy for Grandson #1

A fun project to make ending with a functional product to boot!  I went all out making sure that each truck/shelf would coordinate with each grandson's theme/decor in their bedrooms.  Luca, who just turned 2, got a new Chevy Corvette Racce Car Bed for his birthday and I built the gas pump book case/cabinet to match.  Therefore, for Luca I went with the Red and white to match his bed & bookcase/cabinet and added painted on logos and lettering for his vintage Chevy truck.

Built from Plan(s)
Estimated Cost
$75 which includes the necessary supplies listed, as well as, additional items needed to personalize' each day.
Estimated Time Investment
Weekend Project (10-20 Hours)
Finish Used
Rustoleum apple red
Recommended Skill Level
Beginner

Fancier 18” doll bunk bed

Submitted by ewebrat on Mon, 09/21/2020 - 19:35

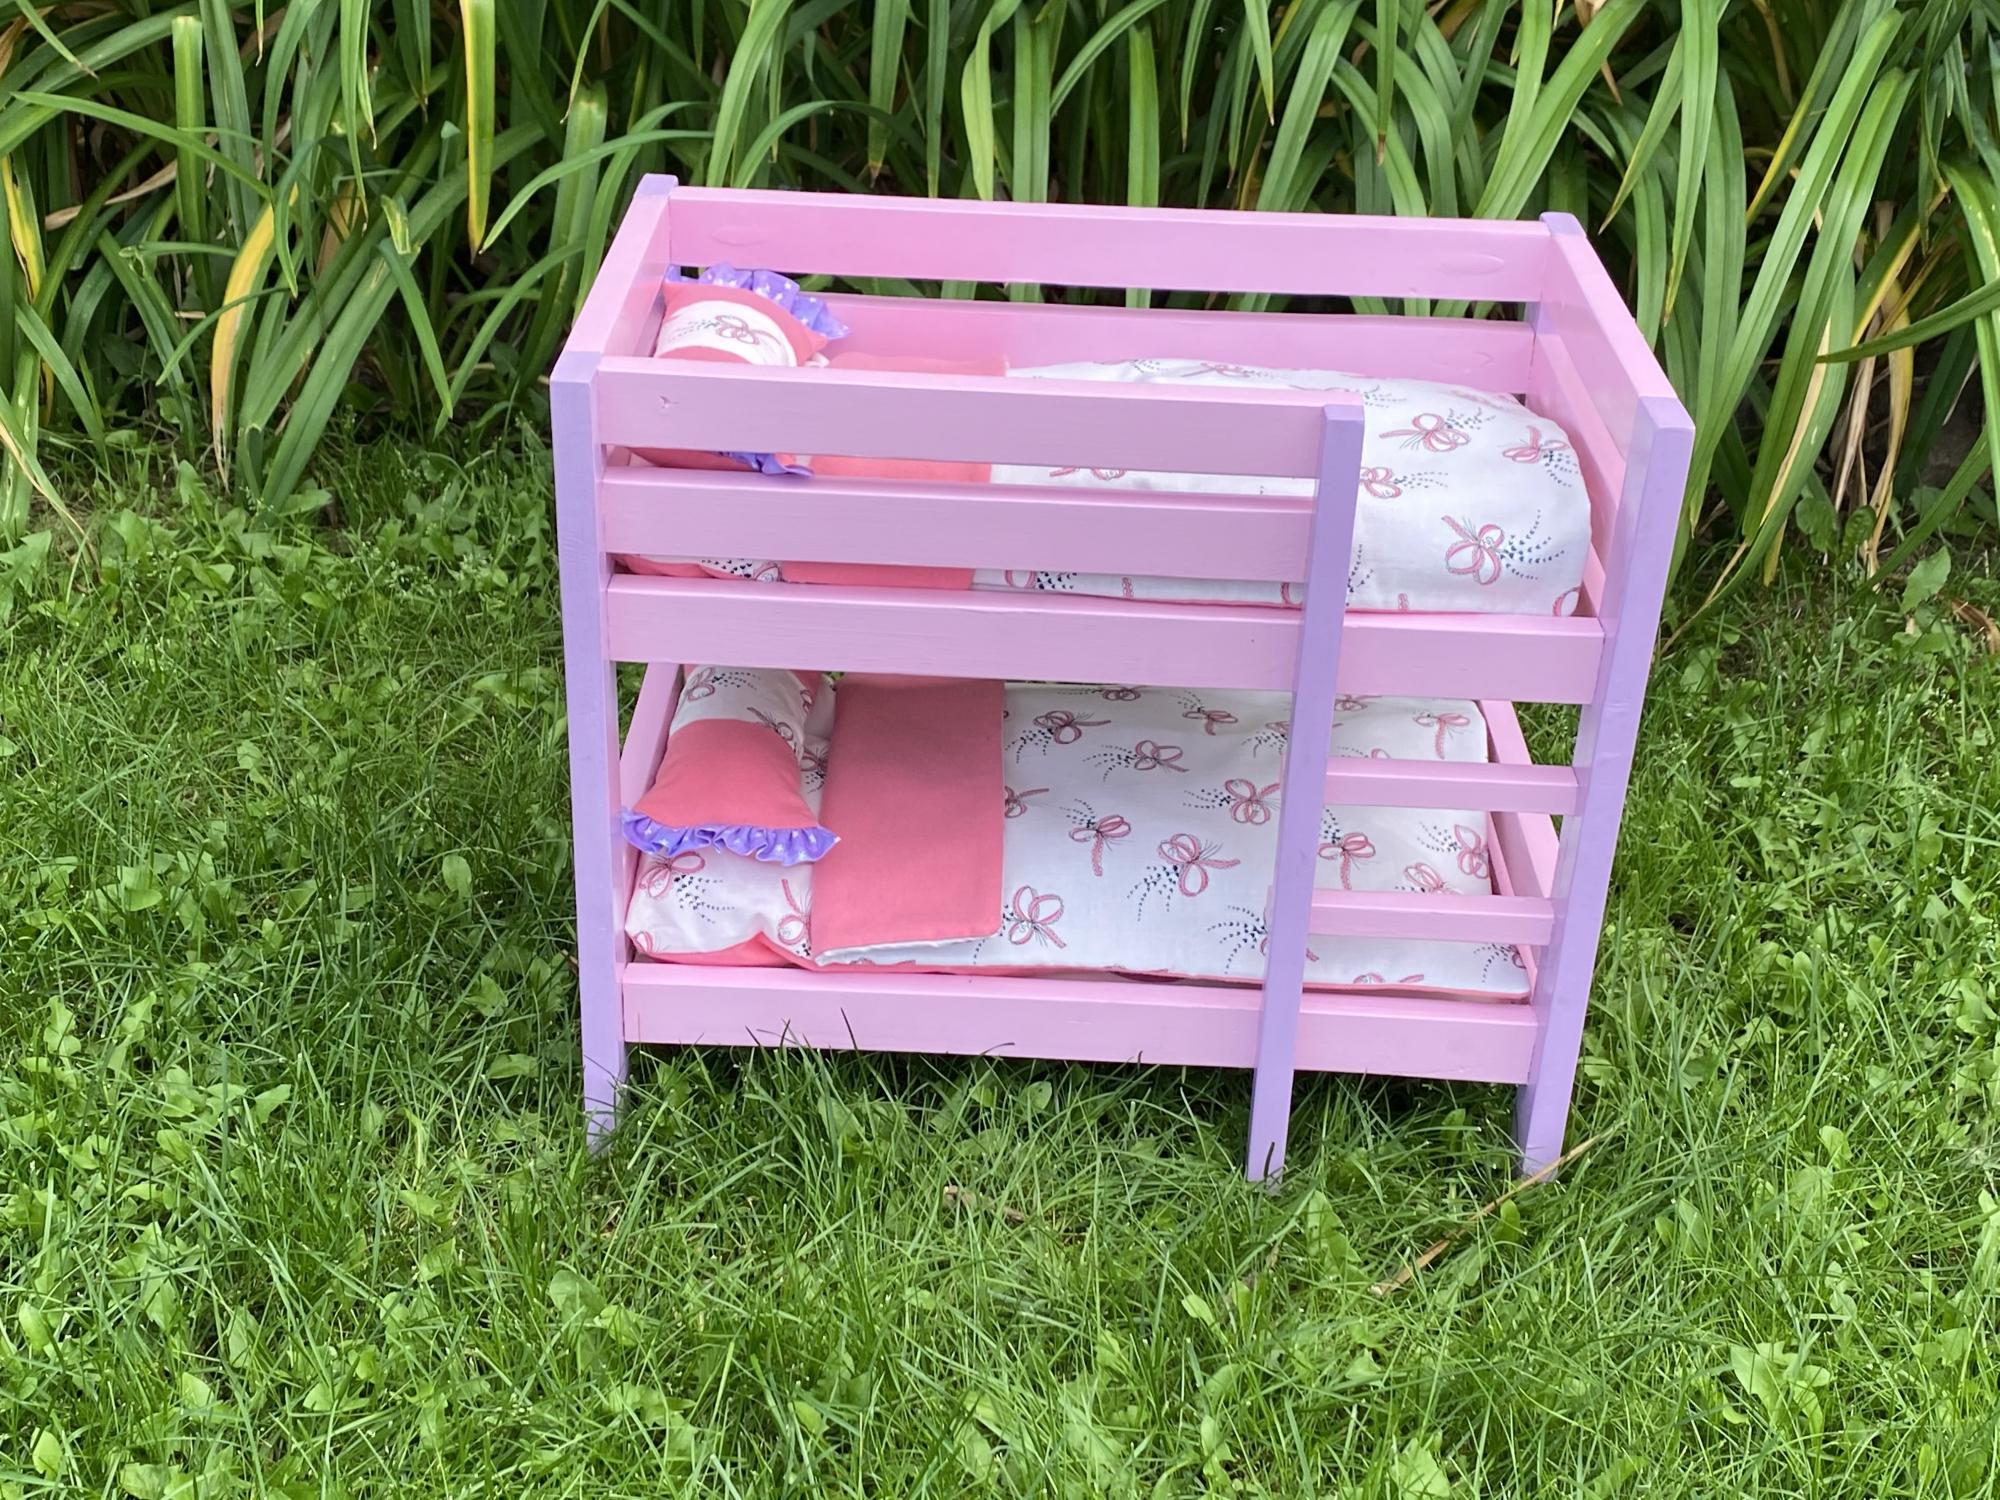
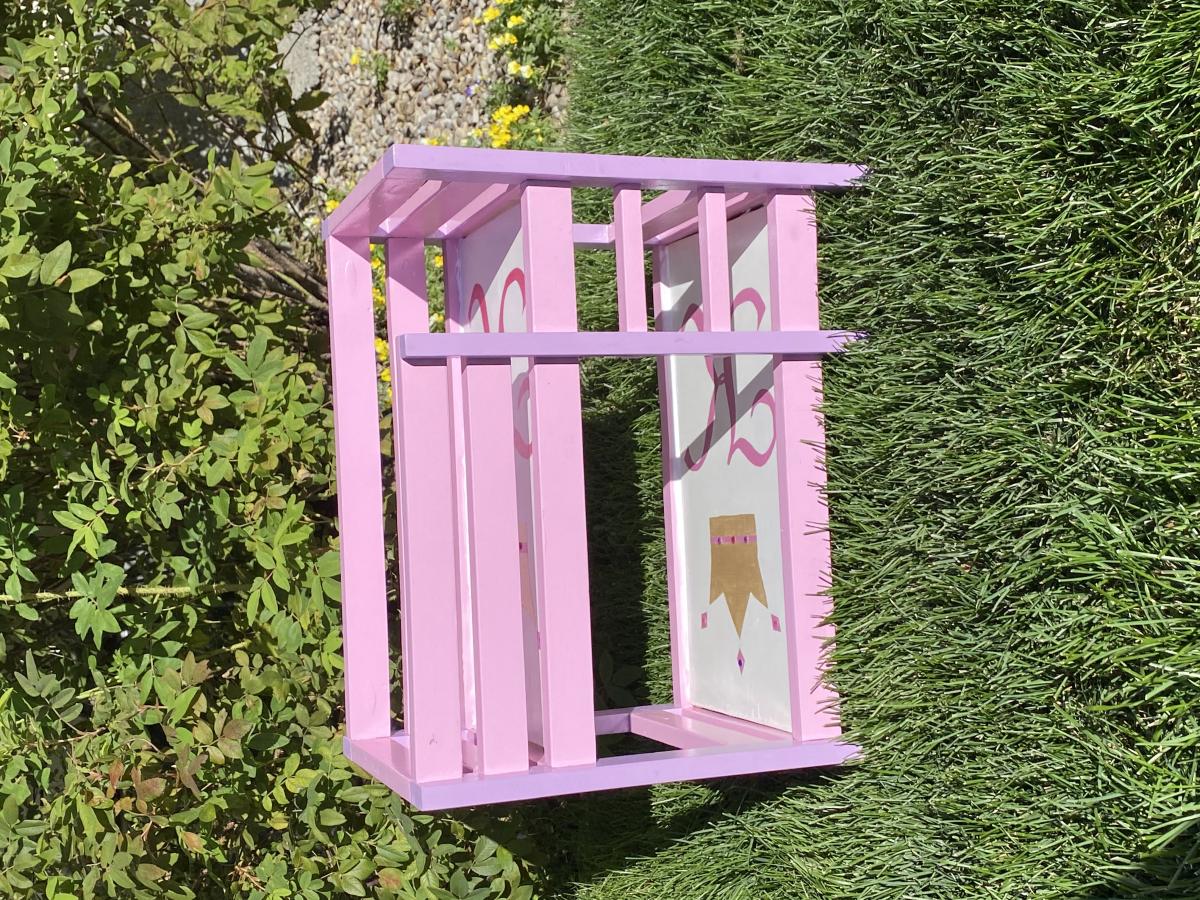
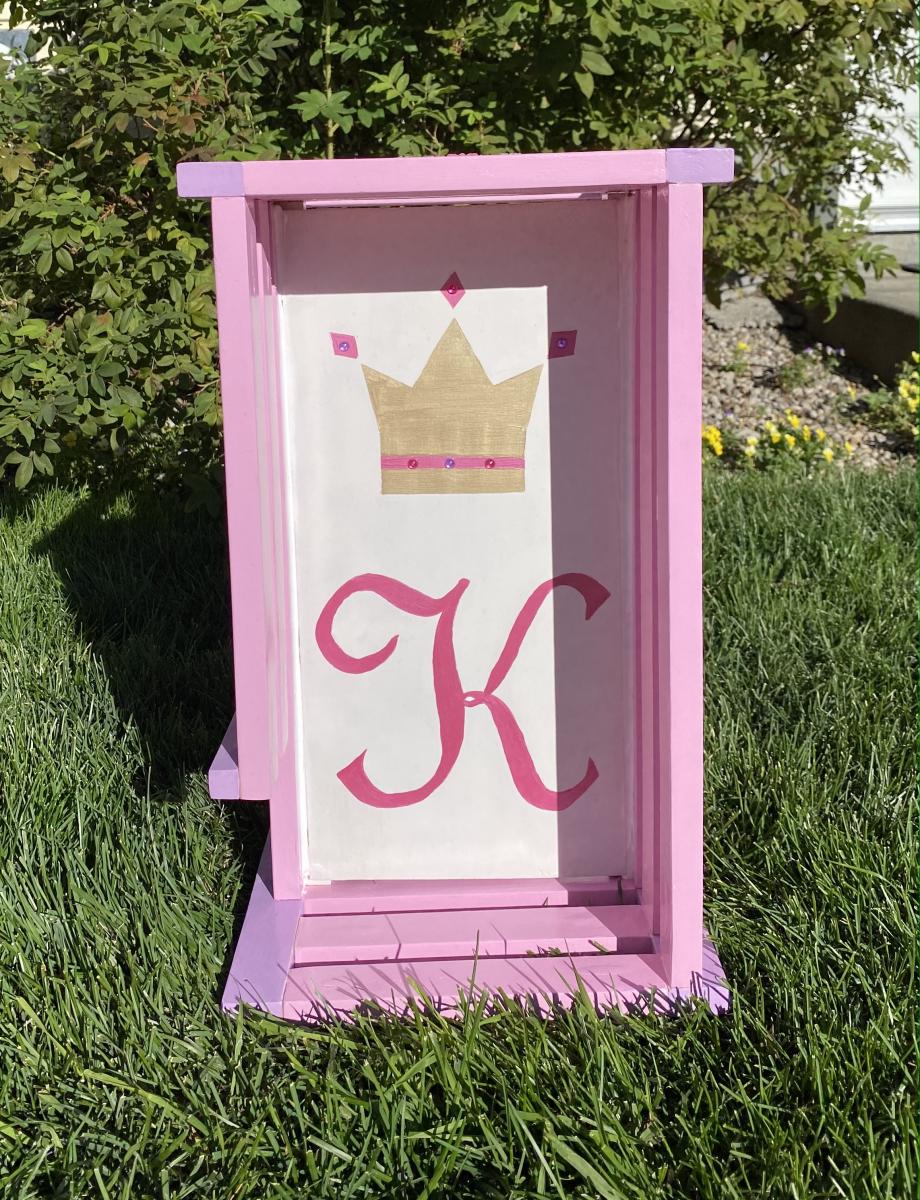
Second bunk bed, made for my great-niece’s third birthday. She has a one year old sister as well, and their names both start with “K”. Bedding created by Great Gramma; there were little Purple Heart pillows that matched the ruffle. I definitely benefitted from my experience in building the first one. Thanks Ana!

Estimated Cost
$30
Estimated Time Investment
Afternoon Project (3-6 Hours)
Finish Used
Satin finish interior latex paint, craft paint, varathane water base gloss coat
Recommended Skill Level
Beginner

4x4 Truss Table with Benches

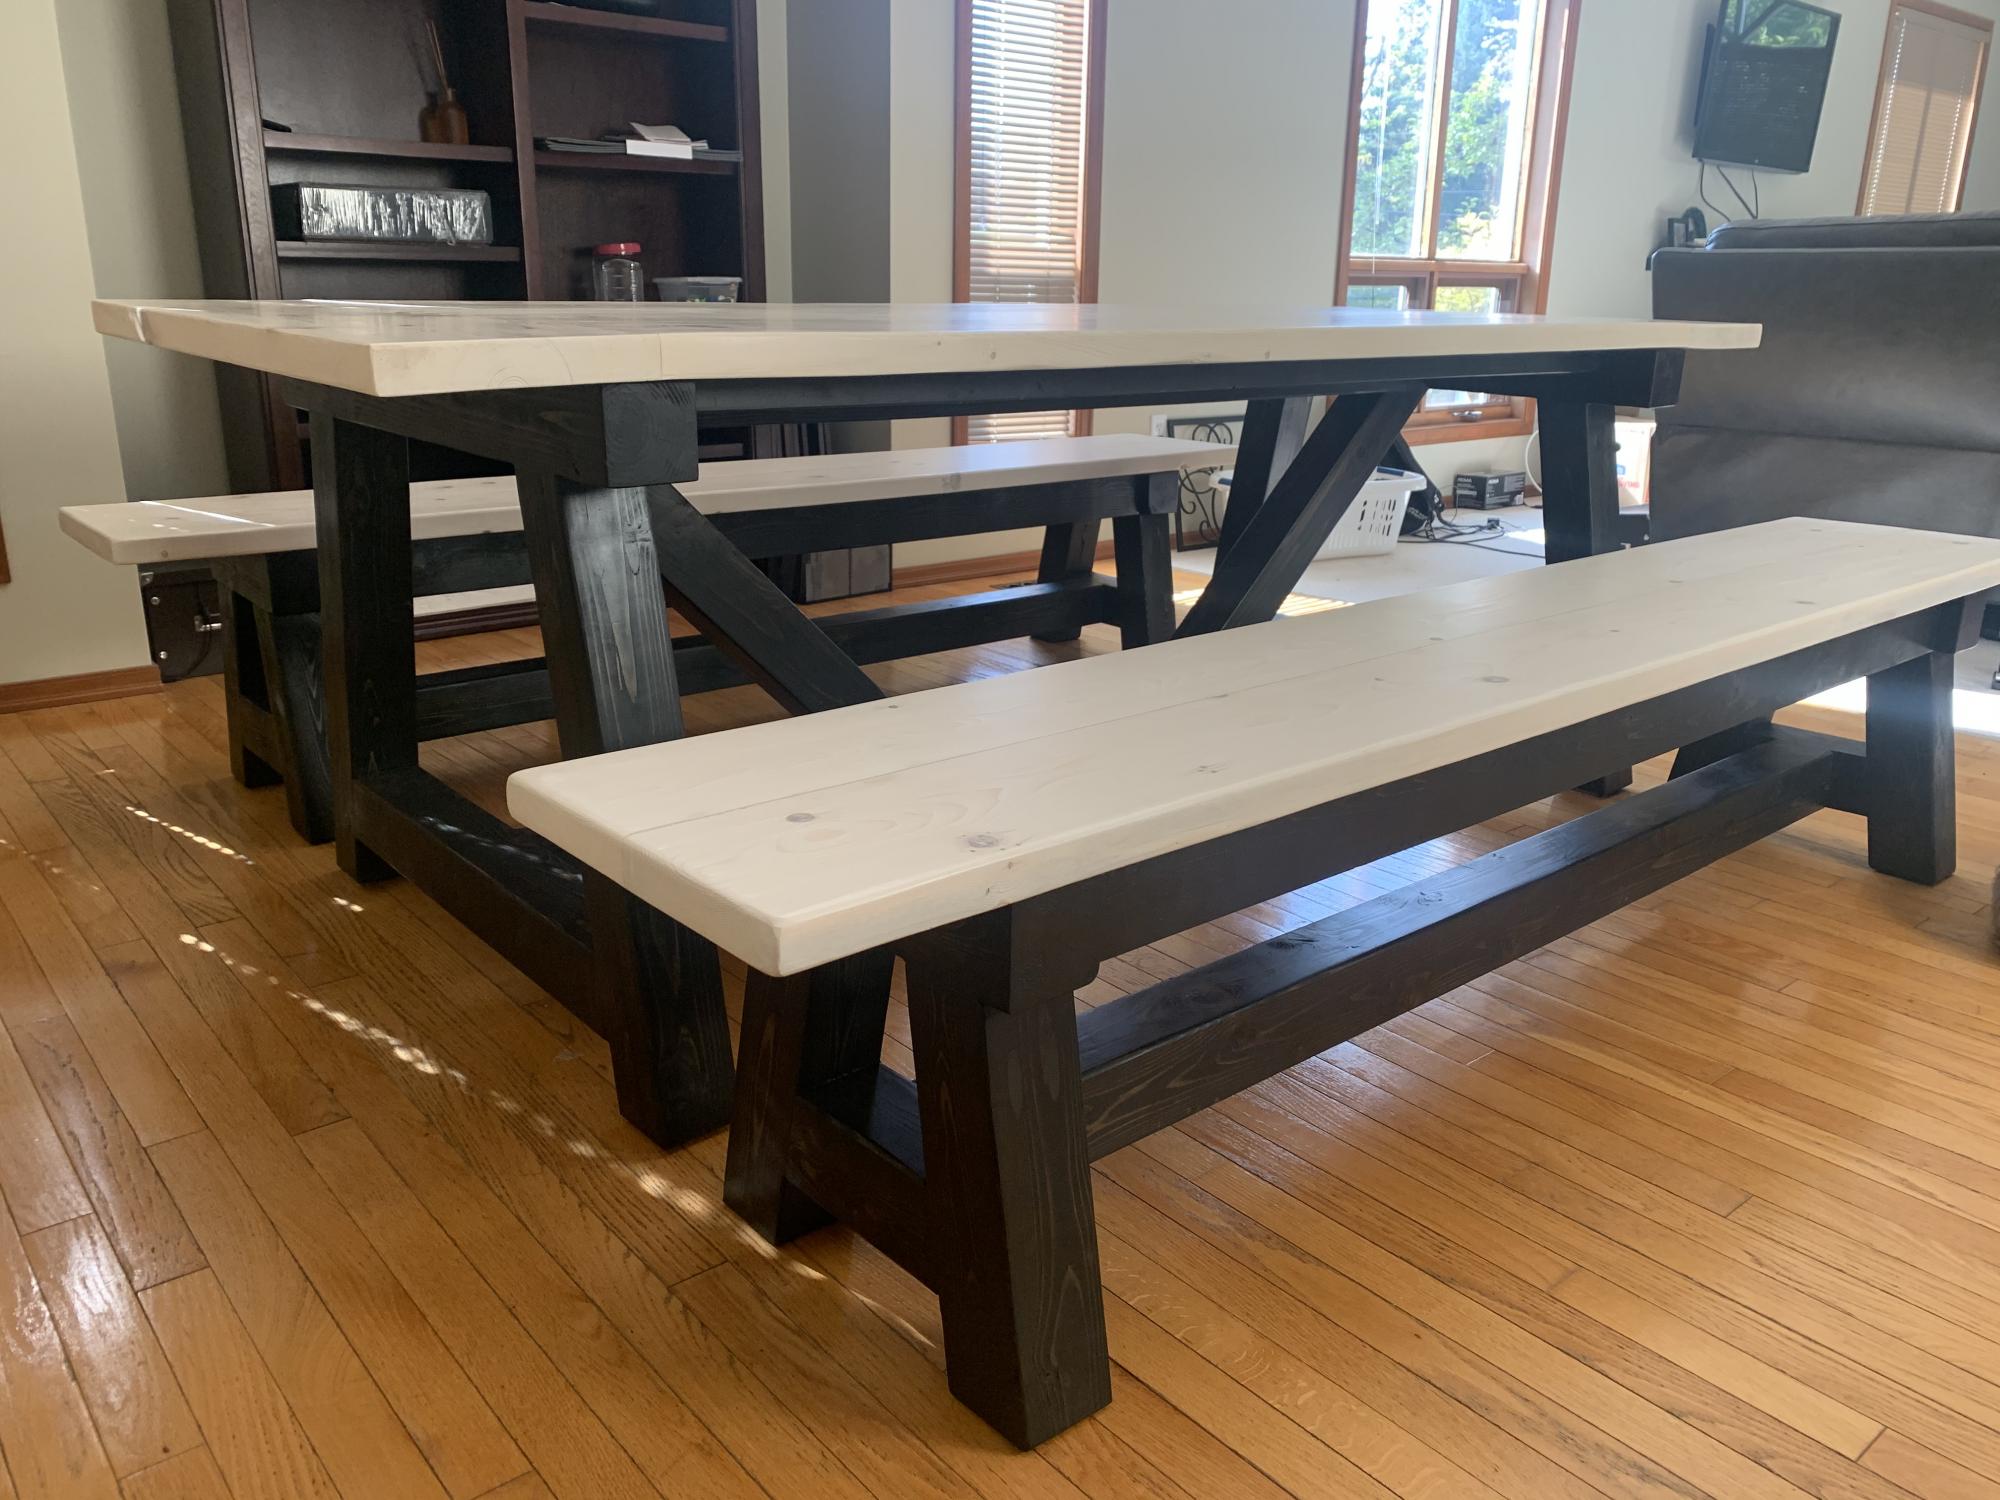
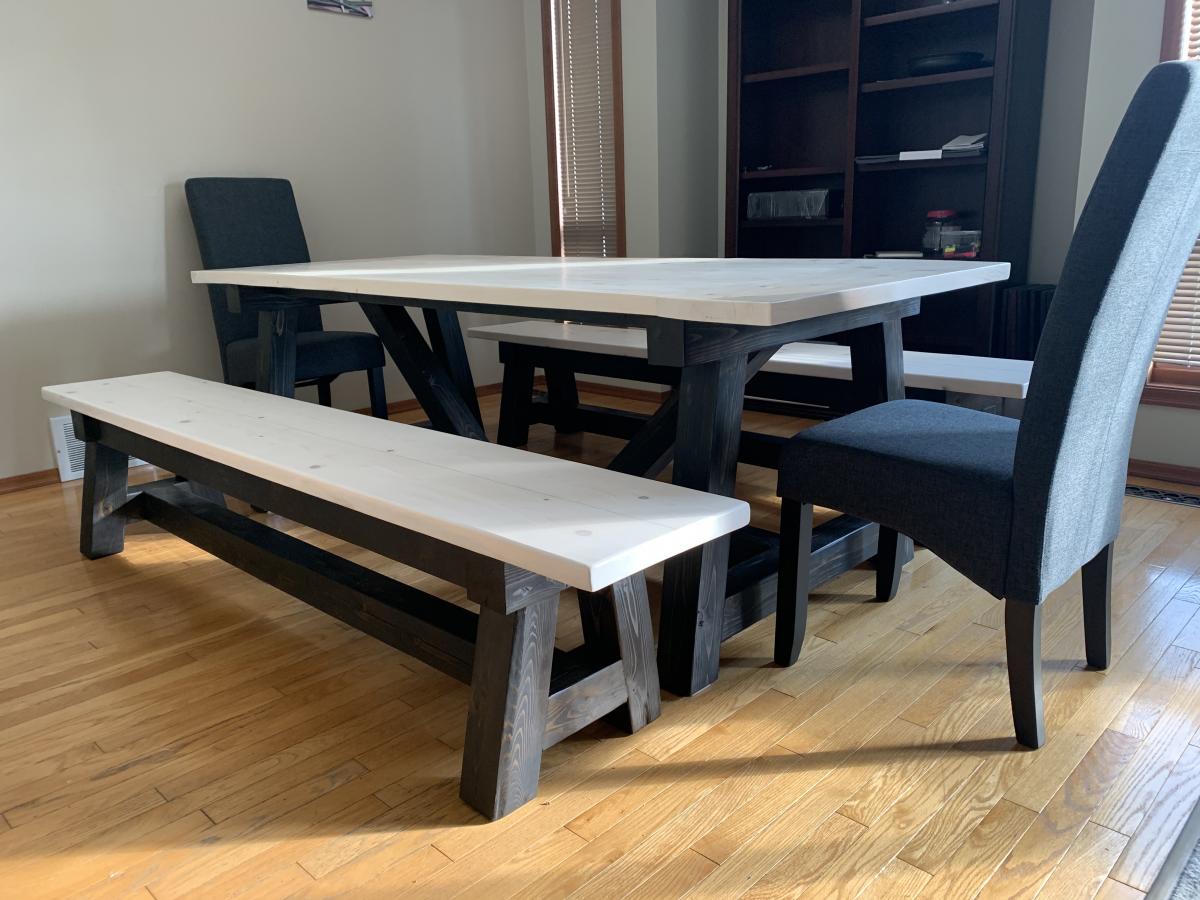
My first furniture project. Made the 4x4 Truss table and matching benches. I used cedar for the 4x4’s as they are the only kind of untreated 4x4’s available here other than knotty pine for $9 a foot. The rest is spruce as that’s what most dimensional lumber here is. The only changes I made were to the pocket holes. I didn’t feel 2 on 1 side would be a tight enough joint so for the table I put them where the plans called for them and then 2 more on the opposite side. I filled in the visible pocket holes with 1/2 dowels and sawed them off flush

Estimated Time Investment
Week Long Project (20 Hours or More)
Finish Used
For the bases I used Varathane Ultimate Ebony stain and minwax fast drying polyurethane spray in satin.

For the tops I use Varathane Ultimate White Linen stain and Varathane Diamond Finish Soft Touch polyurethane in matte. I applied polyurethane with a brush. Very light sanding with 220 between coats to remove any dust particles that settled and with 400 after last coat. Final sanding was very very light. Just ran the rubber block sander over with the grain to remove any imperfections. This product really is aptly named. The matte finish is beautifully soft to touch.

I believe in the US the Varathane stains I used are branded Rust-Oleum.
Recommended Skill Level
Intermediate

Comments

Dining Room Banquet

Submitted by DC_Idaho on Fri, 10/23/2020 - 10:18

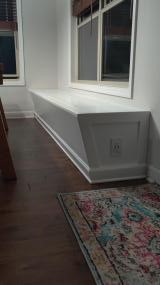
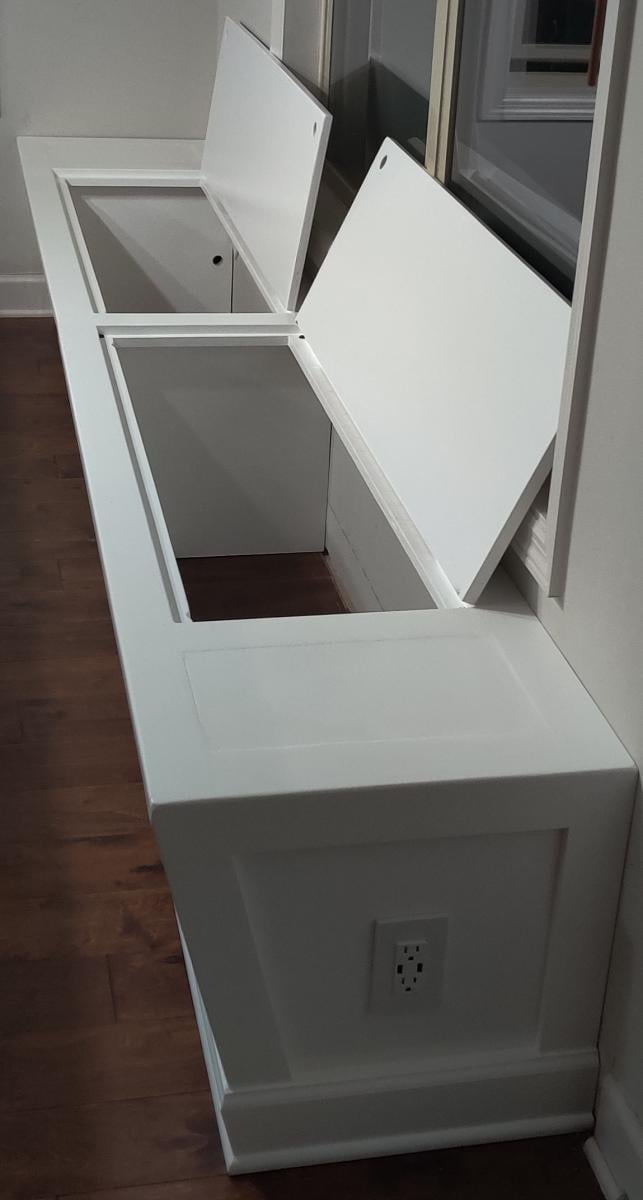
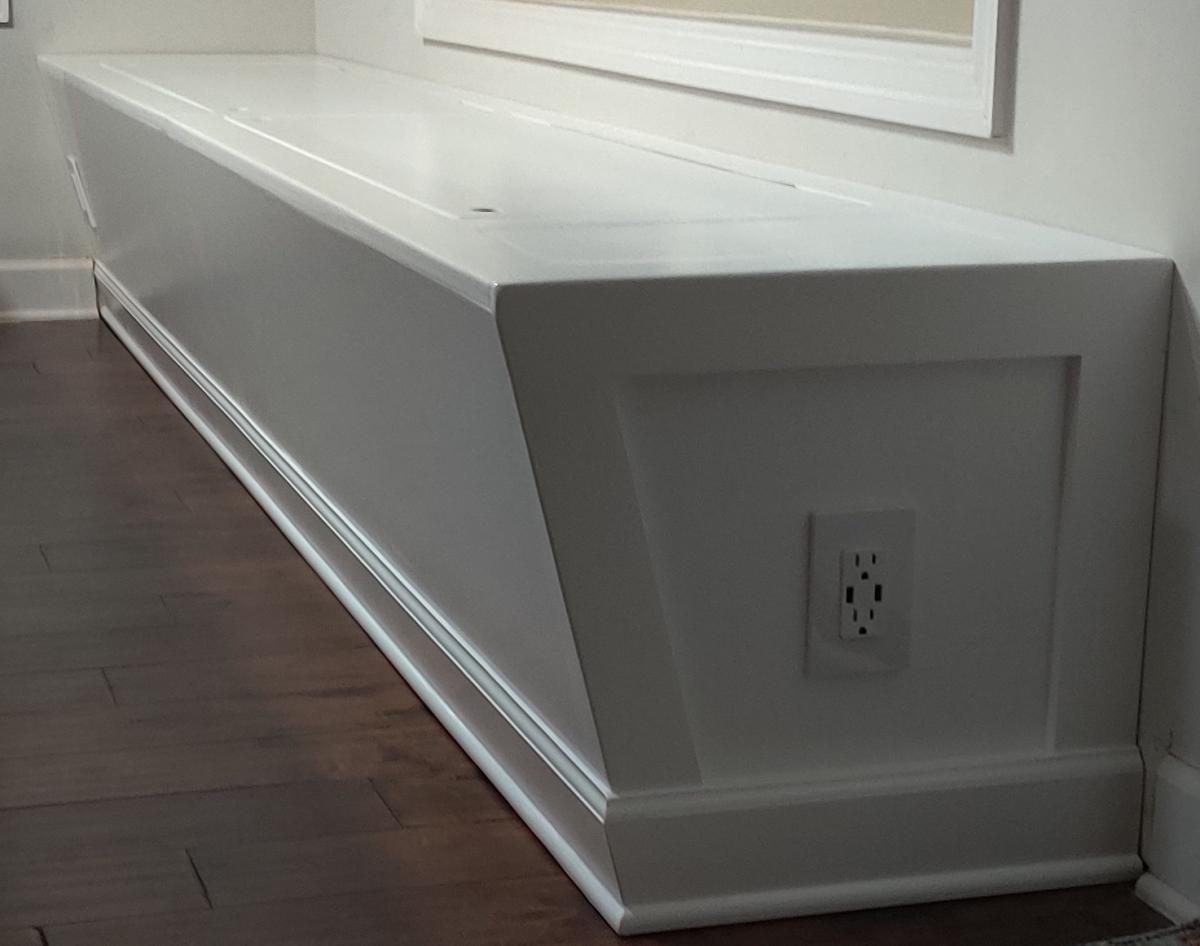
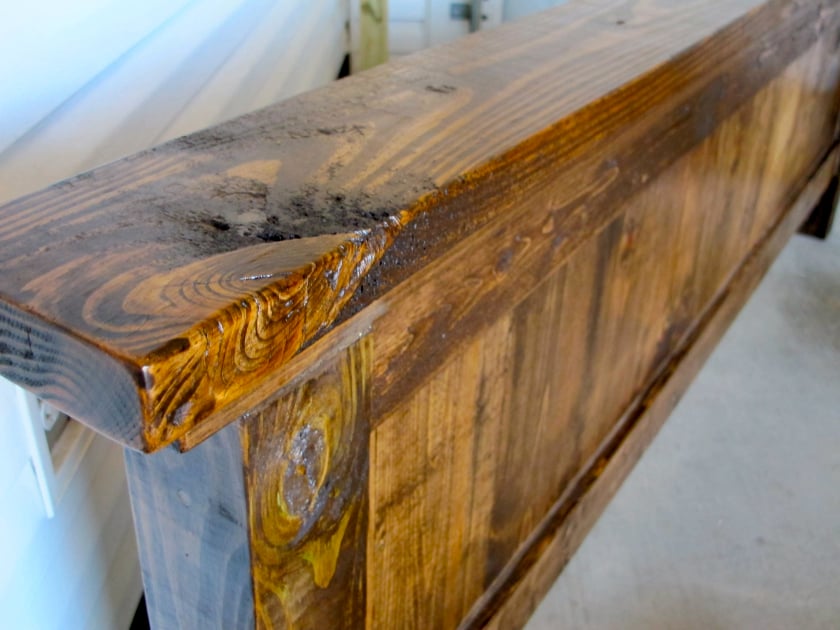
I took part of your built in dining bench idea and made my own custom bench. I made a farm house dining table for a family and once it was built and delivered she asked if I could build her a banquet. I had never done anything like it before, let alone install it permanently in some ones house. Because of the way I made the table I couldn't use a straight front face bench, I had to put an angle on it to allow for the table to be up close to the bench. This bench is 10' long, has two USB electrical outlets built in, and two 43" storage compartments. I enclosed the two ends of the bench for the wiring of the outlets so that no wires were exposed.

Built from Plan(s)
Estimated Cost
$350
Estimated Time Investment
Weekend Project (10-20 Hours)
Finish Used
White Paint
Recommended Skill Level
Intermediate

Comments

Christmas Tree Shelf

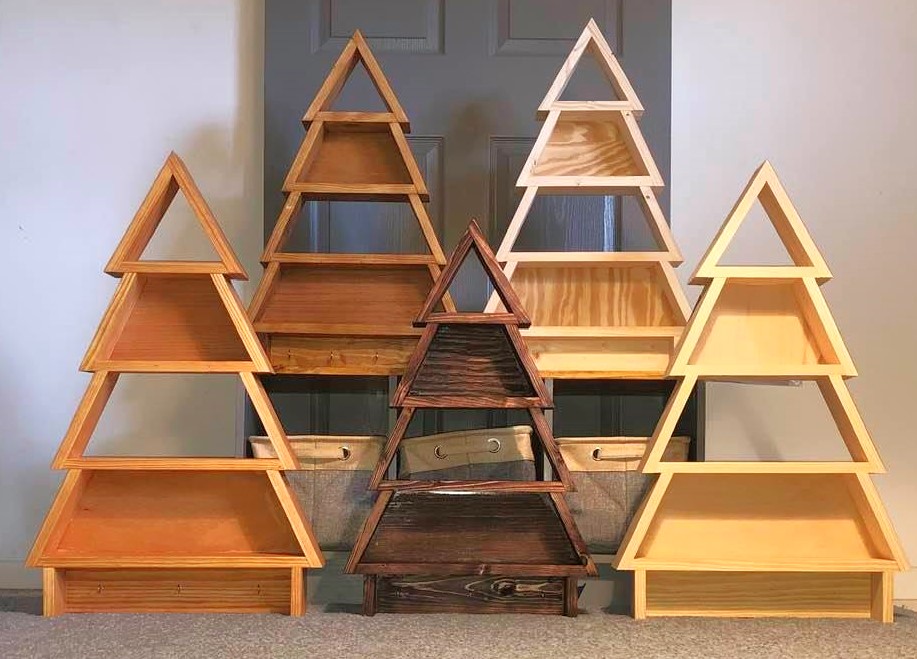
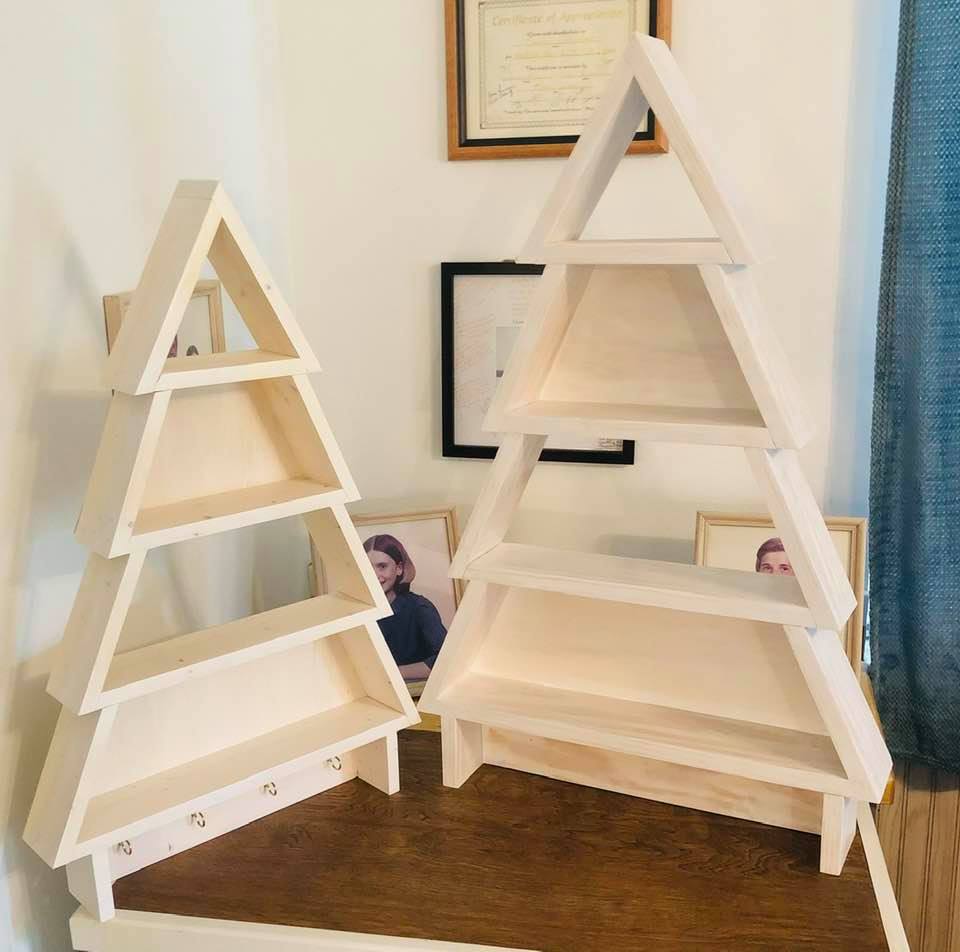
After building myself a Christmas Tree shelf for 2019, friends and family wanted me to build them one for 2020. Three people wanted a smaller tree so I scaled down the plans and used 1x4's ripped to 3 inches. I also included cup hooks (3 or 4) and an aluminum french cleat hanger I found on Amazon for about $5 each when you buy three.

Built from Plan(s)
Estimated Cost
$10-$15
Estimated Time Investment
Afternoon Project (3-6 Hours)
Finish Used
Various stains. Including mahogany, pecan, oak, special walnut, and white. Three clients wanted theirs unfinished.
For a top coat I used spray lacquer on one of white-washed trees and clear Krylon on another. No top coat was applied to the other trees.
Recommended Skill Level
Beginner

Comments

Seasonal And Holiday

Guest Room Addition

Submitted by AKMan279 on Wed, 12/16/2020 - 09:36

This project took me a couple weekends and turned out great.

Estimated Time Investment
Week Long Project (20 Hours or More)
Recommended Skill Level
Intermediate

Comments

Flip down art desk

Submitted by Nphartw on Mon, 01/28/2013 - 14:23

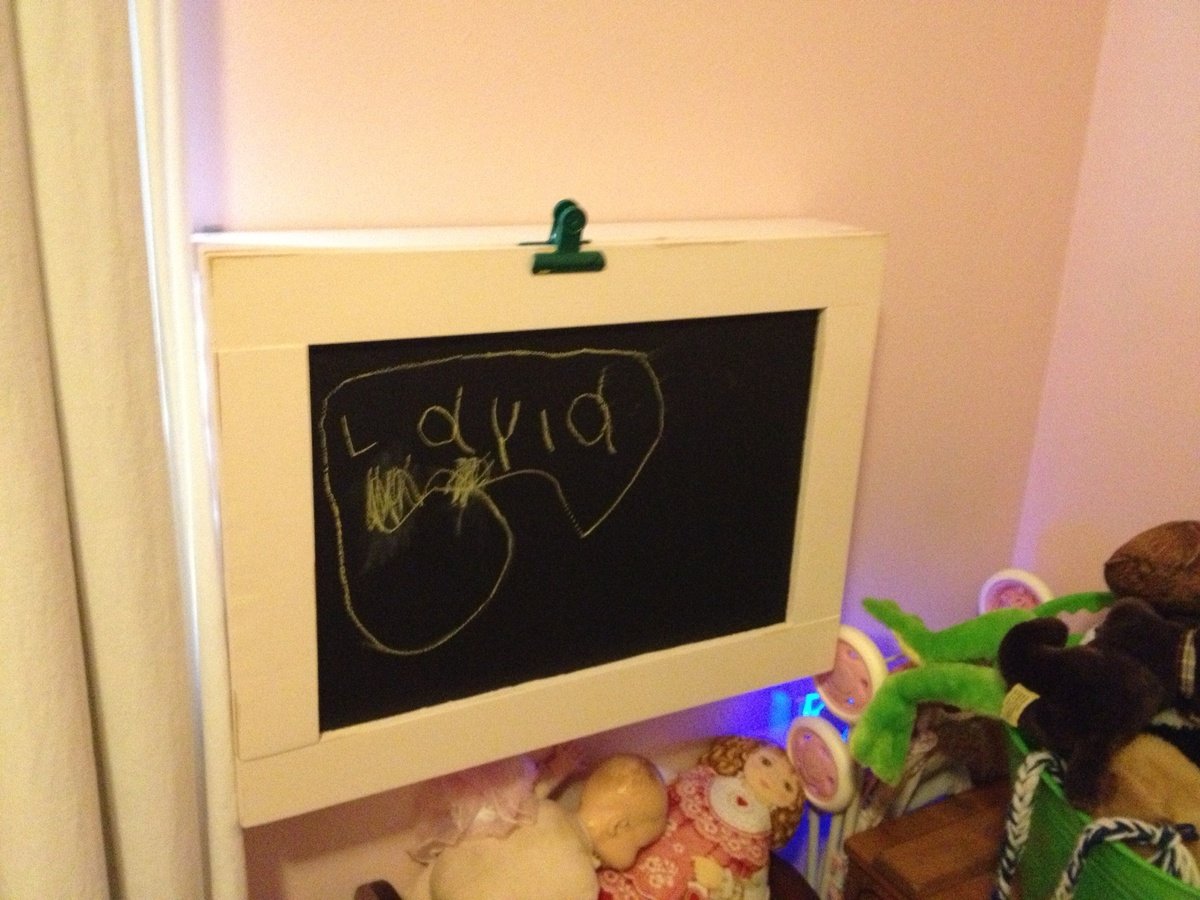
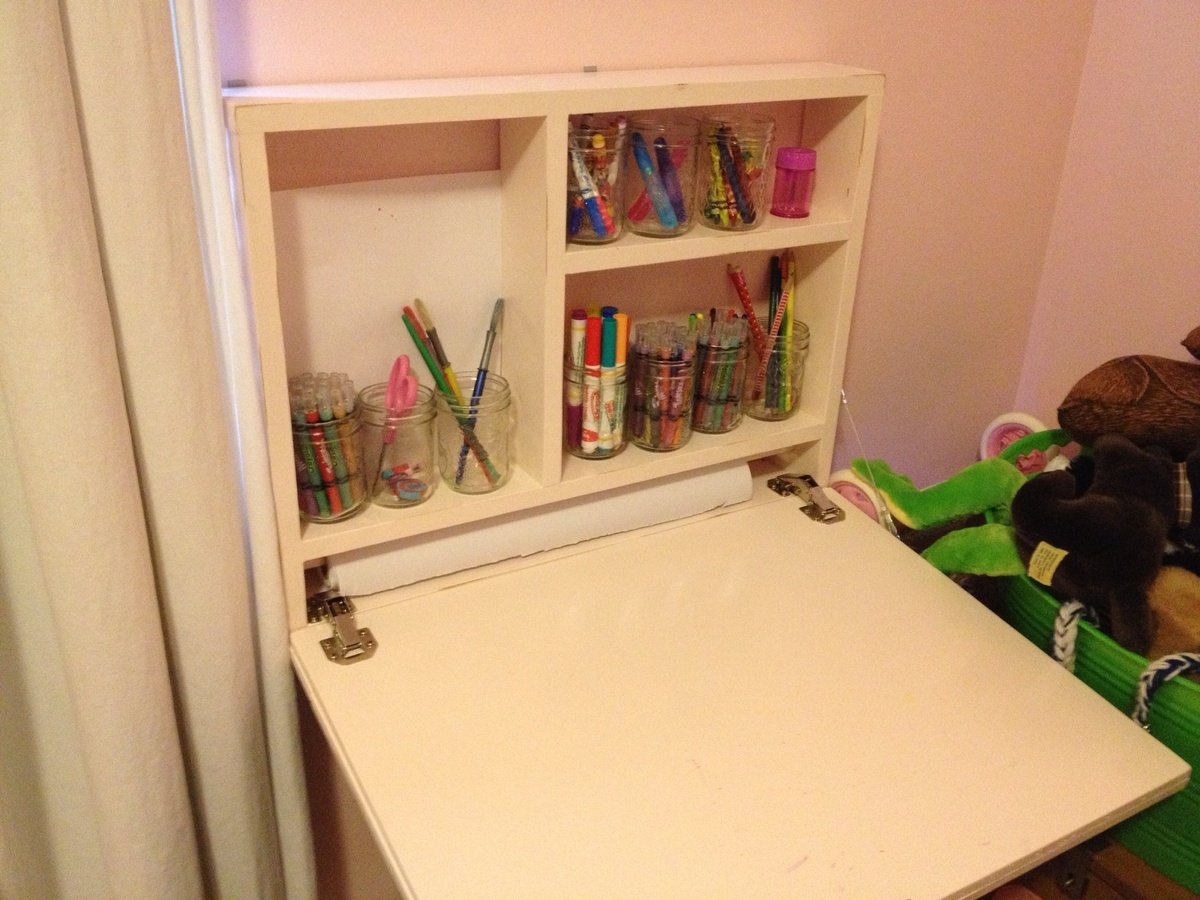
This is our first project. My wife was searching the Internet for a small desk to buy/build after we decided it was time for the little one to have a dedicated art station. She was previously using a small chair in her room. Followed the plans with the exception of making it 18" tall instead of the 16" the plan calls for.
Overall it was very easy. But definitely attach the hinges before finally assembly of the bottom frame. That took about an hour to put 4 screws in with fingers, screw bit, and a wrench.
I built and my wife painted.

Thank you Ana White and everyone for their follow up comments.

Nick

Built from Plan(s)
Estimated Cost
$50
Estimated Time Investment
Weekend Project (10-20 Hours)
Finish Used
Behr paint and primer in one.
Recommended Skill Level
Beginner

Clothes Line Picture Frame

Submitted by jzacharuk on Tue, 02/05/2013 - 21:33

This was a fun little project. Not only did we get to use Ana's new picture frame plan, but we also tried out the whitewashed stained finish.

Estimated Time Investment
Day Project (6-9 Hours)
Recommended Skill Level
Beginner

Cedar Chest

We have considered buying a cedar-lined chest to store blankets, towels, etc. for many years.  However, we couldn’t find one that came close to matching the Knotty Pine bedroom set that we had in our master suite. 

Hence, our design criteria was quite simple; match the bedroom set and have a chest sturdy enough to support our Beagles as they peer at the squirrels outside the window.

We used plans / ideas from several different chest designs which were readily available on the internet.  Most of those plans were using hard woods such as oak.  Those plans called for a hard wood framing with ¼” oak plywood for the panels.  Since we needed to use Knotty Pine to match the bedroom set, we used 1” Knotty Pine for framing and Knotty Pine ¾ ply w/ Kreg Screws and copious glue to strengthen the construct.  We finished it off with locally available 3/8” cedar T.G. planks.  It is very heavy and very strong!  This project was done entirely w/ Kreg Screws and no router rabbeting for the panels.

We learned the following while doing this project:

·      When using soft woods, always put the power sander on the wood before you start the sander.  Otherwise, you can get scratching / sander burns that don’t present themselves until staining begins.

·      While very strong, ¾” plywood is very heavy!

·      When using plywood, it is recommended that you stain both the visible and non-visible sides of each piece where glue is not to be applied.  Otherwise the chance for delaminating increases dramatically.

60 hours work and $350 to build.   
Estimated Cost
$350.00
Estimated Time Investment
Week Long Project (20 Hours or More)
Finish Used
Minwax stain and hand-rubbed varnish.
Recommended Skill Level
Intermediate

Comments

84' patio sofa

Submitted by anrtist on Sun, 02/10/2013 - 08:28

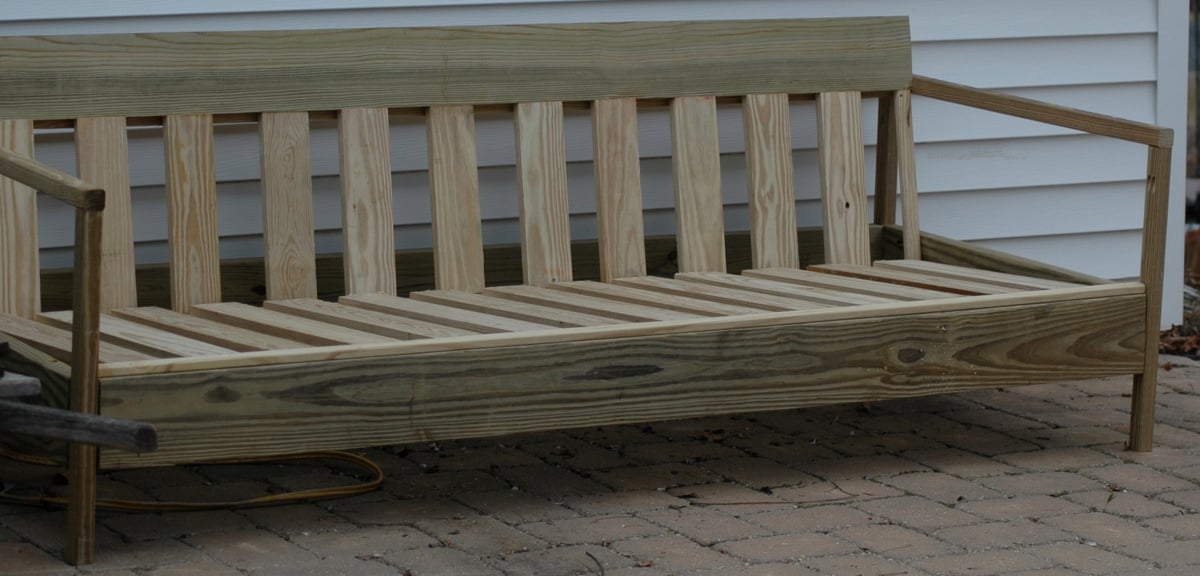
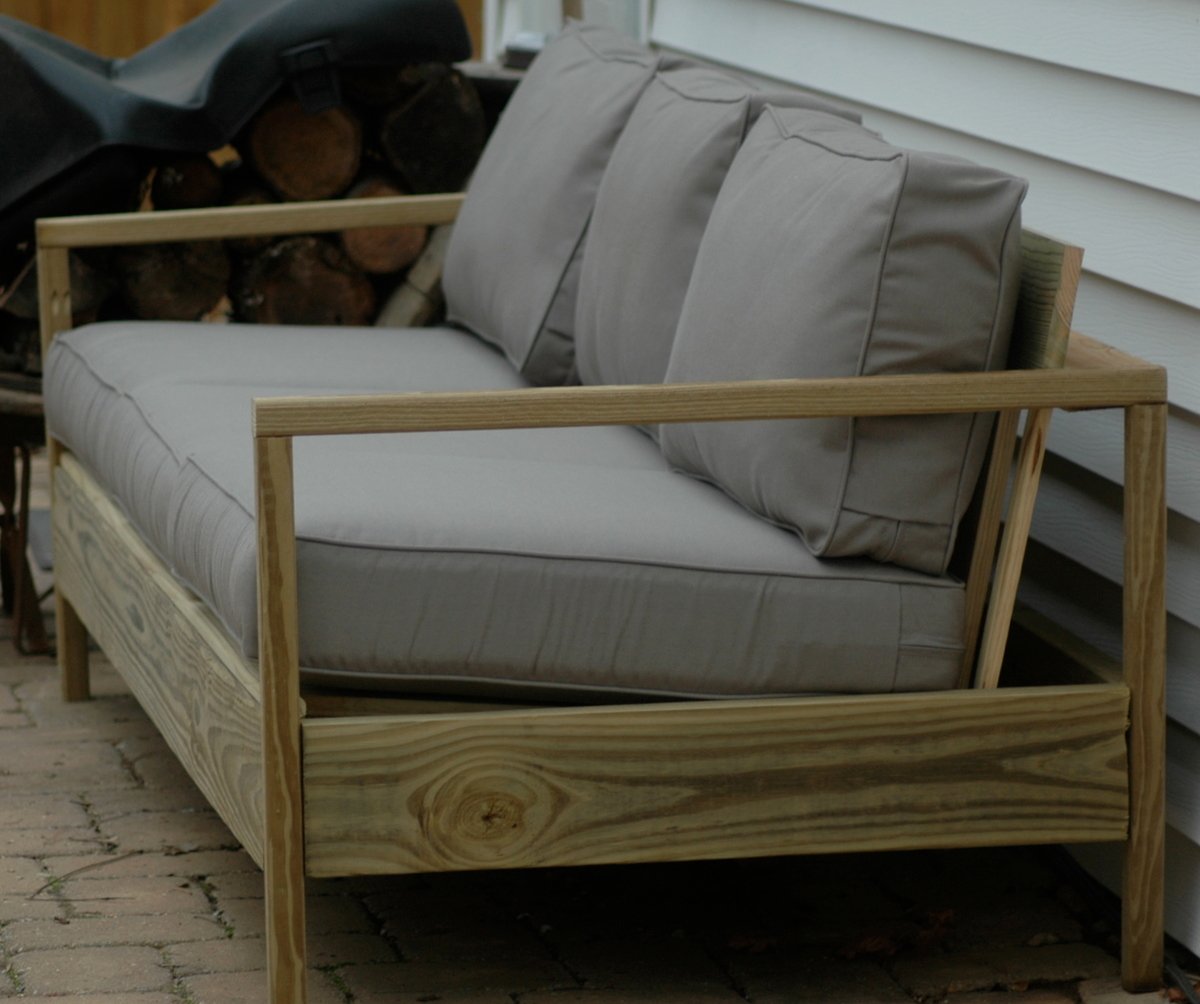
Wanting nice seating for the patio, I could not afford the sofa I wanted from Restoration Hardware. Since I have more interest and willingness than money, I looked on-line for a DIY design. Fortunately, I found Ana's site and her plan. I lengthened her sofa design to fit the RH cushions and went to work. Thank you Ana for easy to follow plans, especially thanks for the cutting & shopping lists! I had your plan by my side during the entire process. Now, I'm ready to build a footrest bench to place in front of it. (I did order the RH cushions... on sale, but still expensive!) I am 71 years old.... you never have to stop becoming, it is a choice!

Estimated Cost
$105 plus cushions.
Estimated Time Investment
Day Project (6-9 Hours)
Finish Used
sanding only, I want a weathered look.
Recommended Skill Level
Beginner

Comments

Built in closet desk

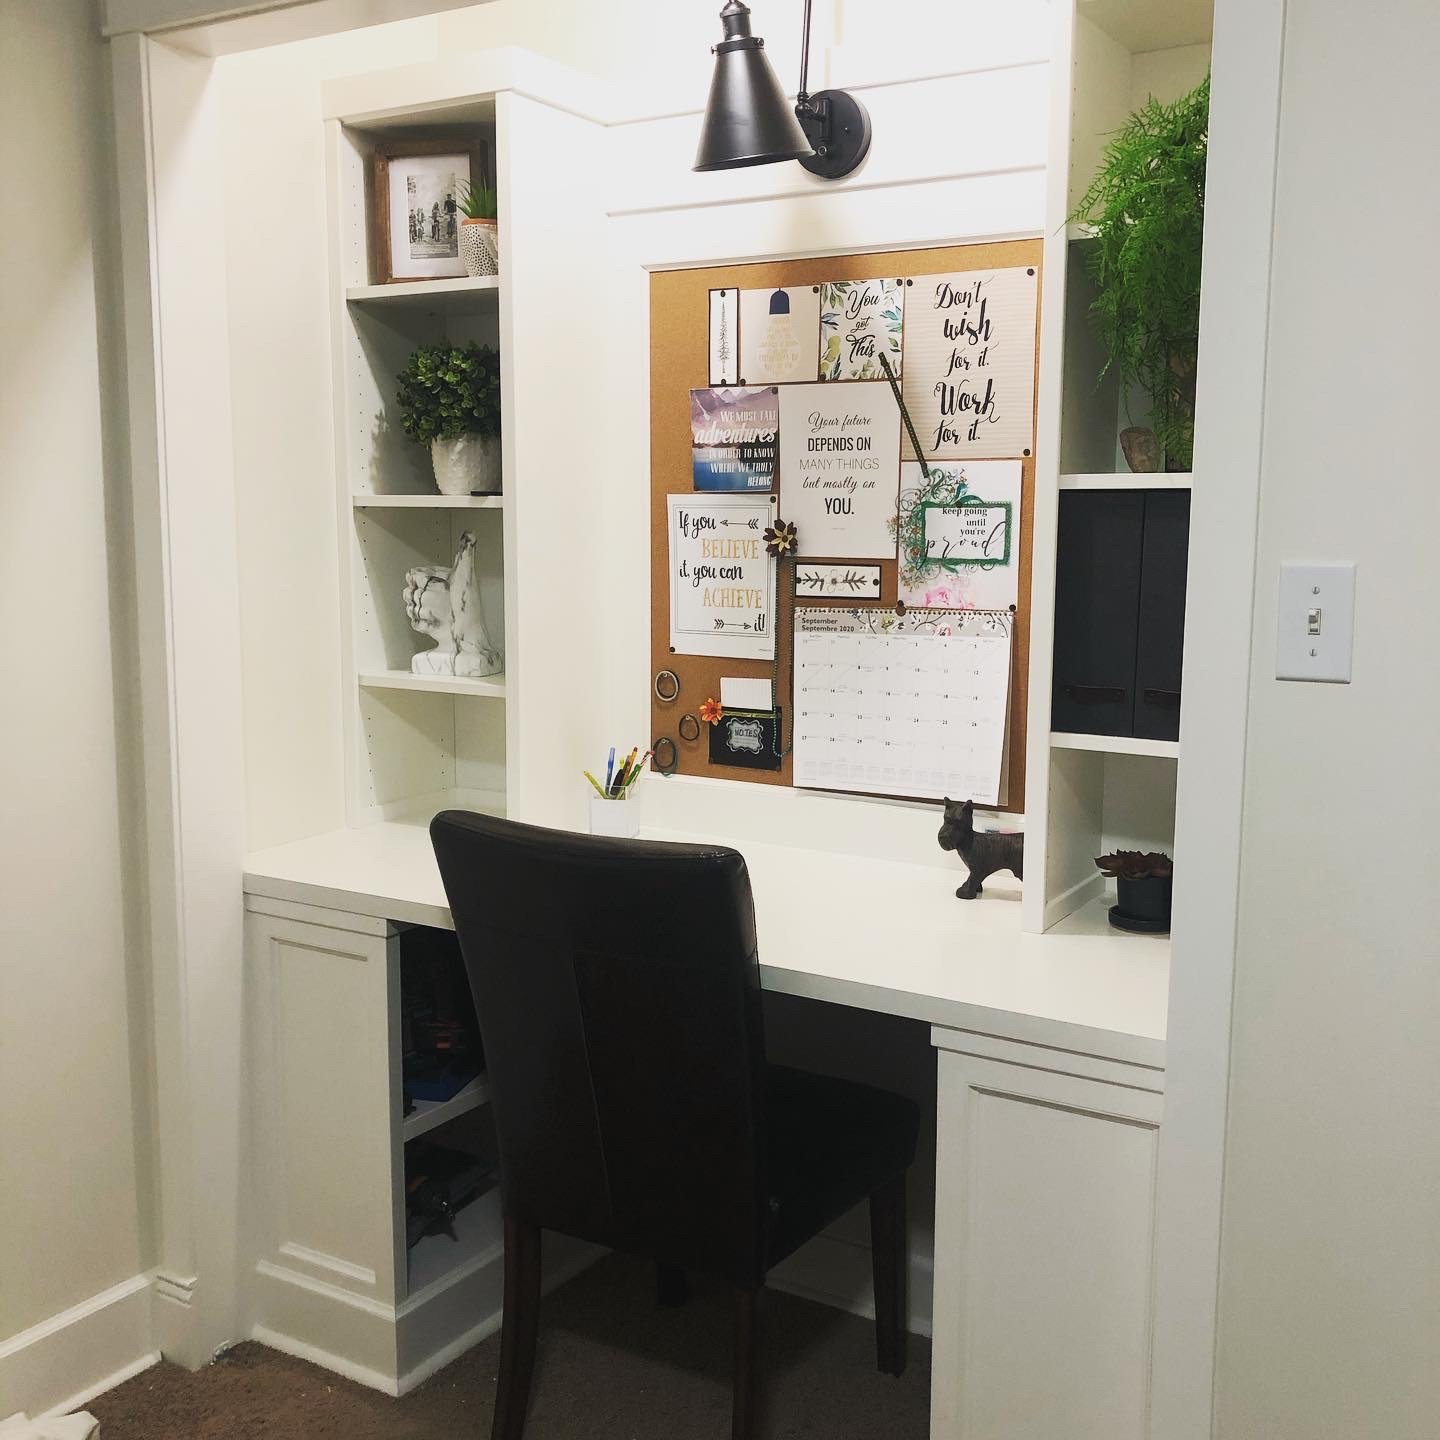
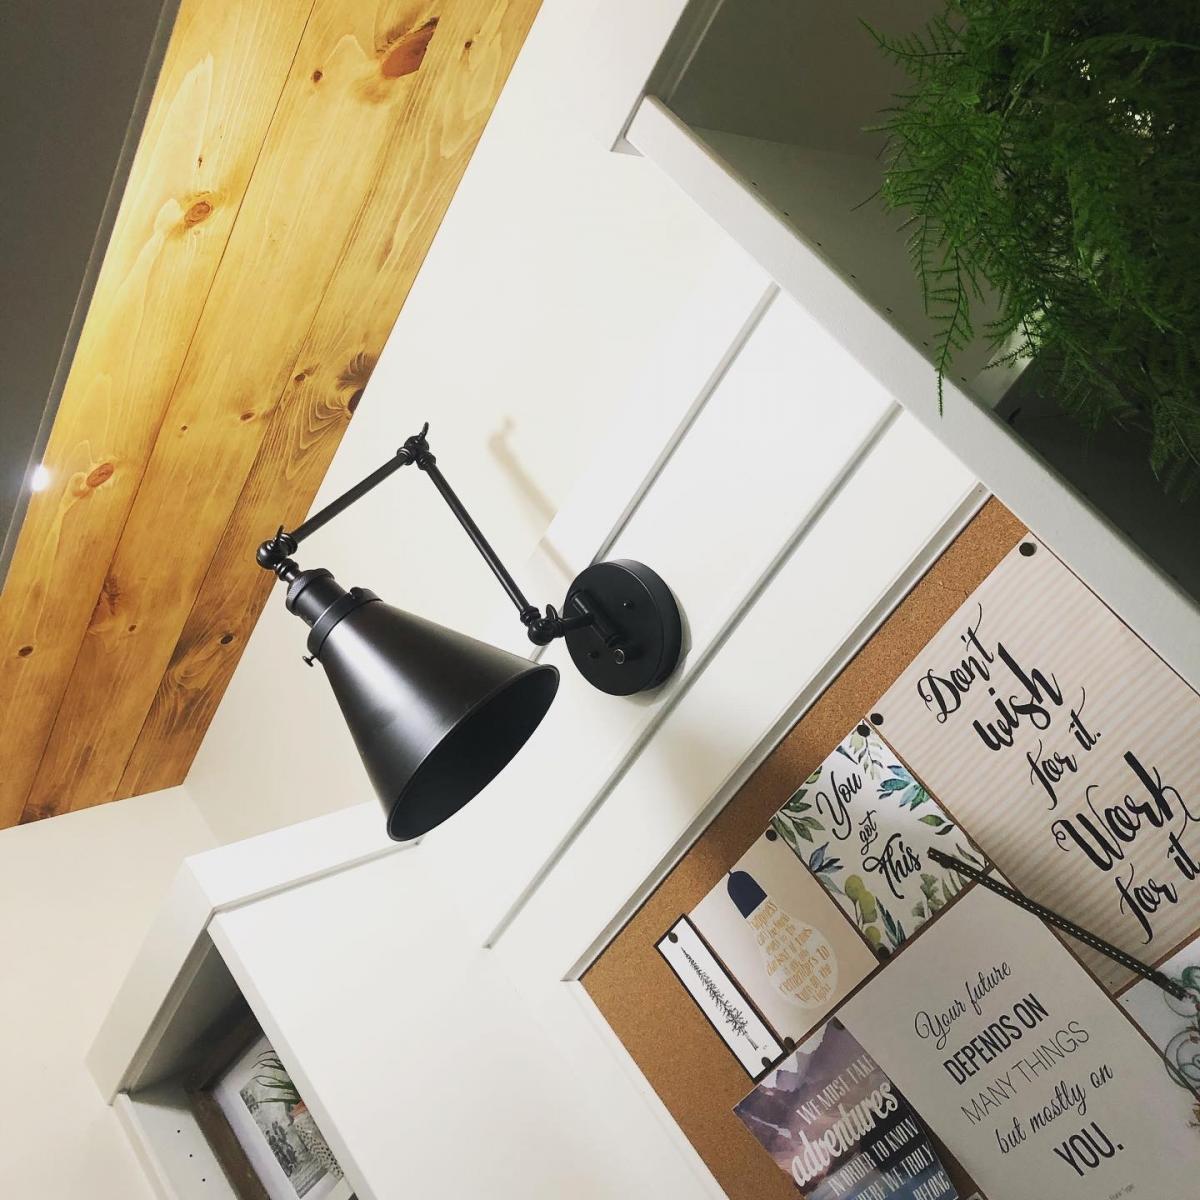
This made over closet has become so well used during remote learning!

Built from Plan(s)

Comments

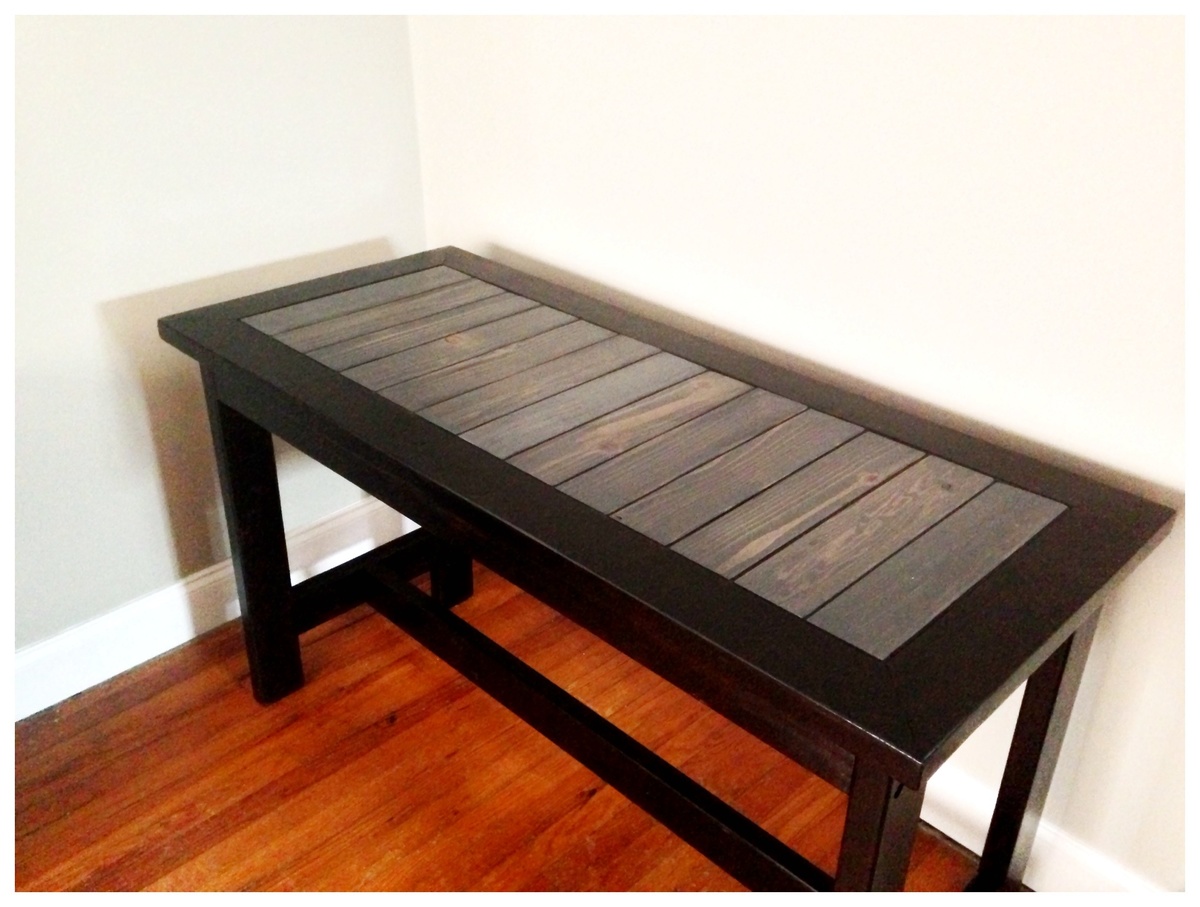
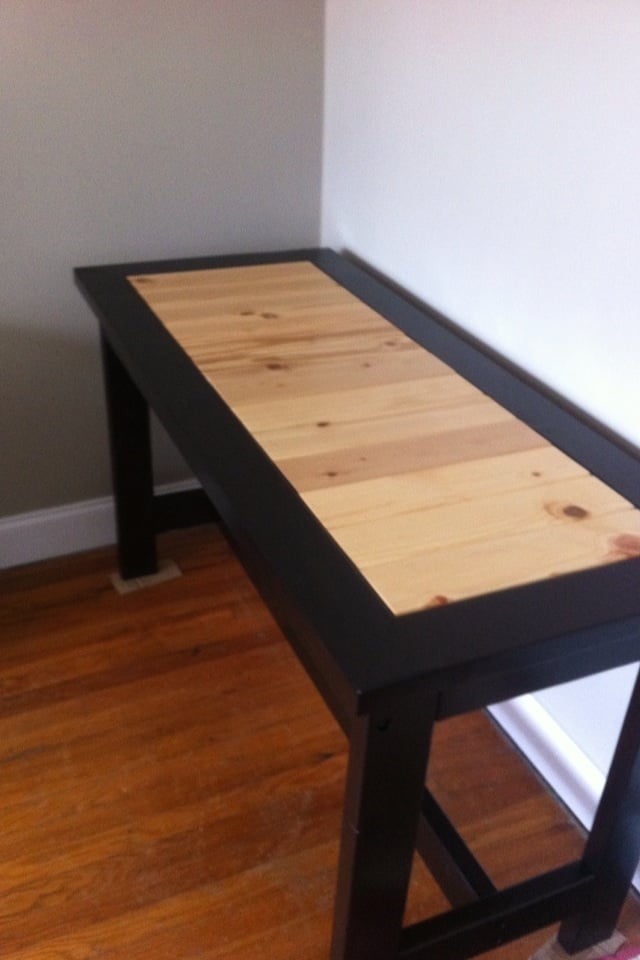
2x4 Casual Desk Tweaked

My new fav stain. Minwax Expresso Polyshades in satin.
Followed the 2x4 desk design but had so many scrap pieces of 2x4 (from other projects) , ended up changing the direction of the table top.
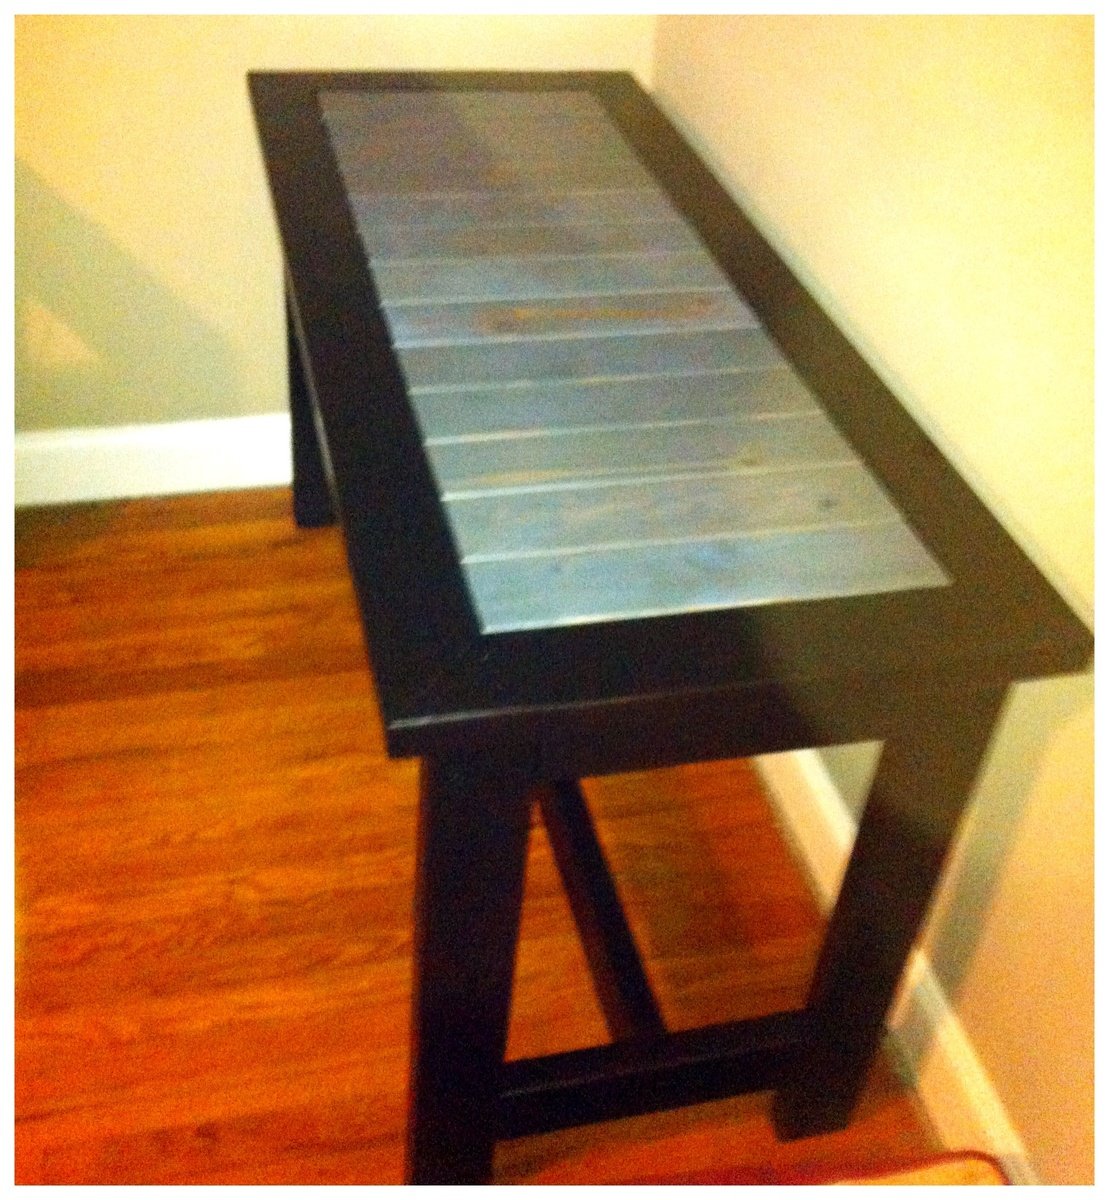
Finished with Minwax gray and even though it looks blue , I like it...
Going to make some benches to match , weather pèrmitting :)
Didn't take long to build , just a couple of hours - staining was the killer. Needed 3 coats to get that rich dark even look.

Built from Plan(s)
Estimated Cost
$40
Estimated Time Investment
Weekend Project (10-20 Hours)
Finish Used
Minwax products
Recommended Skill Level
Beginner

Comments

Benchwright end table

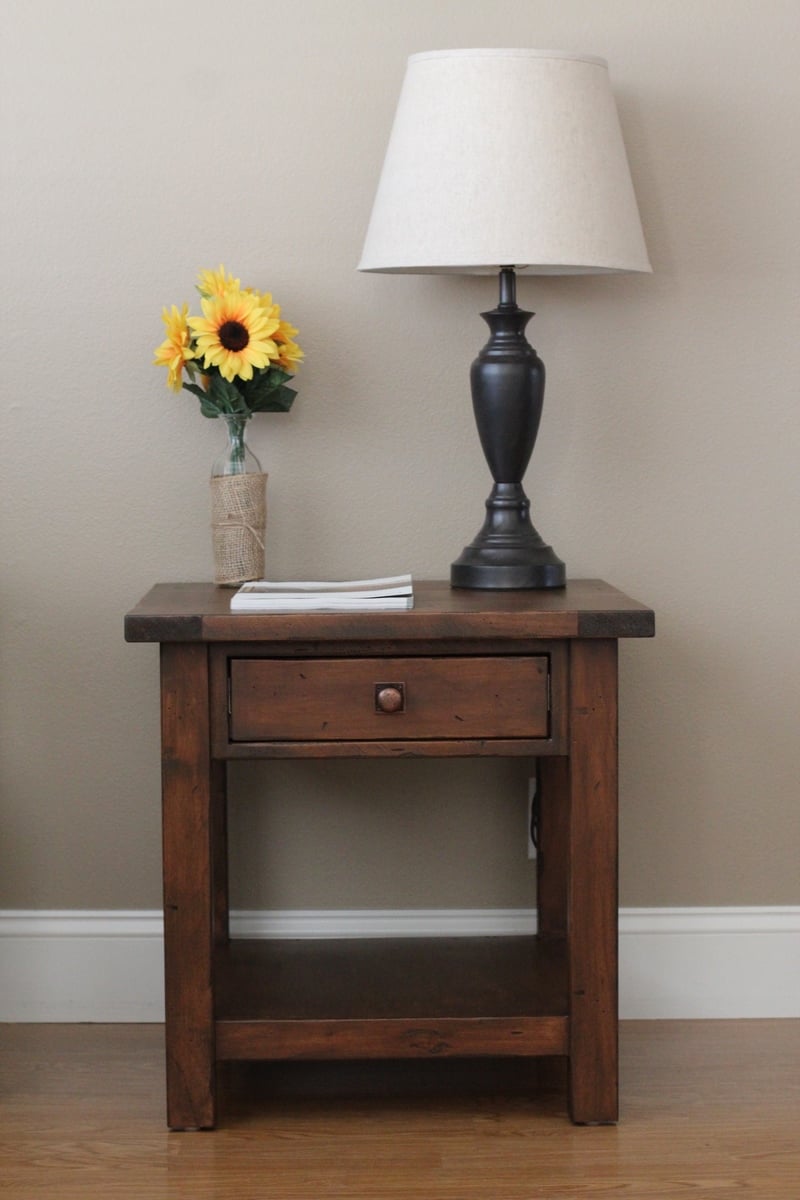
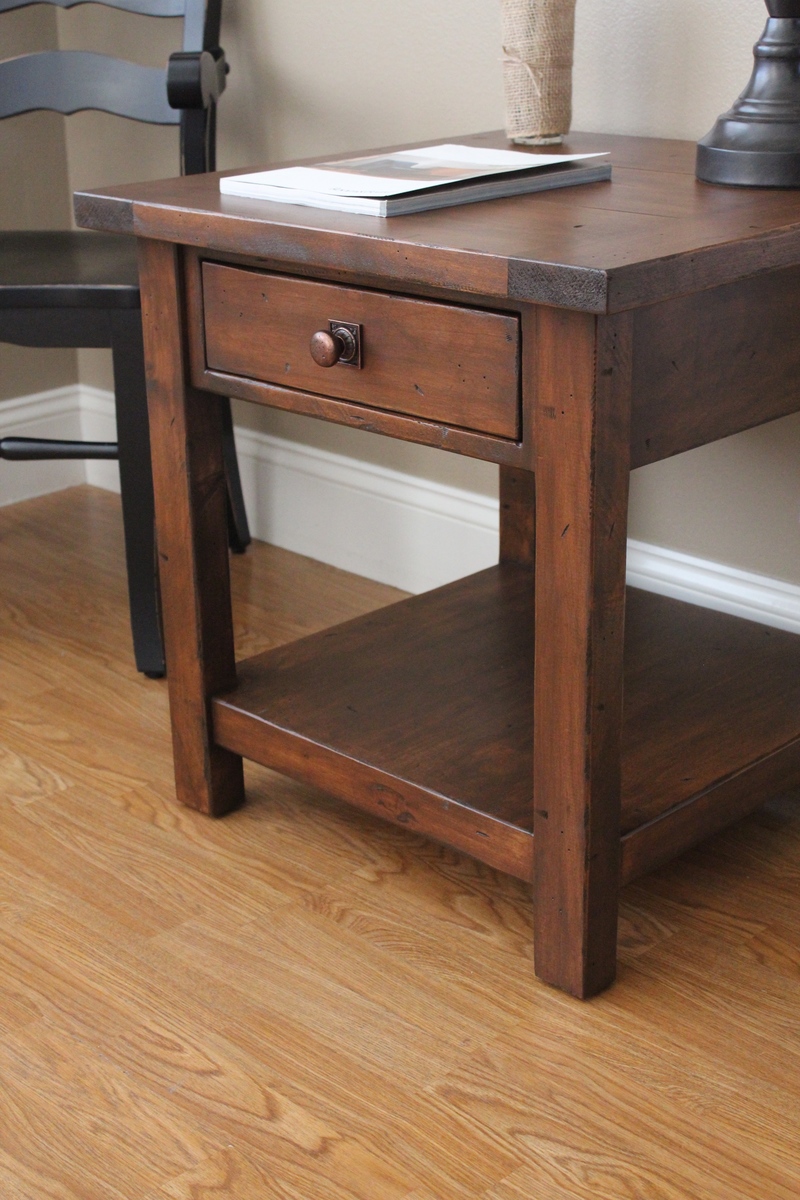
I took the plans for ana white's benchwright coffee table and created this end table.  This is an exact replica of the Pottery Barn benchwright end table.  The wood was distressed by hand and finished with dye, dark walnut gel stain and three coats of satin poly. 


- Brad 

Built from Plan(s)
Estimated Cost
$200.00
Estimated Time Investment
Weekend Project (10-20 Hours)
Finish Used
Transtint dye, antique walnut gel stain, water based poly
Recommended Skill Level
Intermediate

Comments

marenras

Mon, 02/09/2015 - 14:33

Your finish work is phenomenal. Closest I've seen to pulling of the PB finish. What color transtint do you use? Any other finishing tips? I've build a couple of knock off PB pieces, but haven't nailed the finish yet.

In reply to by marenras

timberandsoul

Mon, 03/09/2015 - 22:10

Hi. Thank you for the compliments. First of all, using Alder vs douglas fir or pine plays a big difference in the finish look, but start with pine and see where you get using this process. I first mix de-waxed shellac with a few drops of medium brown transtint dye. It MUST be de-waxed shellac. Experiment with the amount of dye added. I spray one coat of that shellac and dye mixture on the wood. The shellac seals the wood allowing for even stain absorption and a non-blotchy finish. The dye obviously darkens the wood. Then I apply one to two coats of gel stain. I like general finishes antique walnut color. At the next step I sometimes add a glaze, and sometimes I don't, it just depends on what I am seeing. Lastly I seal the wood with a water based poly. Good luck!

colleenps

Tue, 03/31/2015 - 10:04

I love the finish you've done on these, and like someone else said it is the closest to PB I've seen yet! I am trying to fix a horrible stain job I did on a project and had a quick question. When you said you sprayed the shellac and dye, do you mean with a spray bottle? Also what kind of de-waxed shellac did you use? I've never used shellac and I see they have flakes and premixed stuff. Thanks!

timberandsoul

Thu, 04/09/2015 - 15:25

Hi There. Sorry for the late response. The spray the shellac with the dye using a HVLP sprayer. Google HVLP sprayers. They are very cheap and will help out tremendously. I don't recommend using shellac flakes, they can be challenging for a beginner. I use premixed shellac. I use de-waxed shellac because you can apply polyurethane over it. If you plan on applying shellac as a top coat instead of poly you don't have to worry about de-waxed.

juliekayg

Thu, 03/24/2016 - 11:41

This is absolutely beautiful and what I've been looking for to match my Benchwright coffee table!! Do you remember the dimensions you used?

dbender49

Fri, 01/21/2022 - 09:26

I really like your take on this PB table. It looks like you changed it significantly from the console table plans from which you derived it, and I have a couple questions. First, the legs do not look like 2x4s; what are the dimensions you used? Second, the bottom shelf is much thicker than the 1x12 from the plans; what lumber did you use? And how is this bottom shelf attached to the legs? Square-notched to fit around the corners of the legs?

DIY Farmhouse Bed

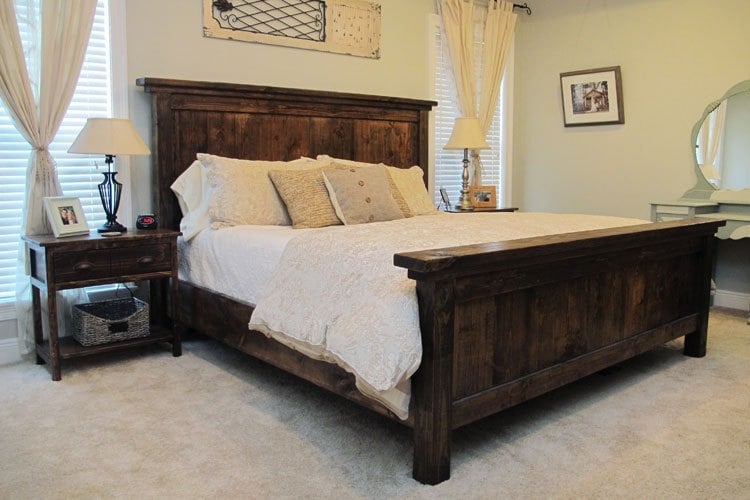
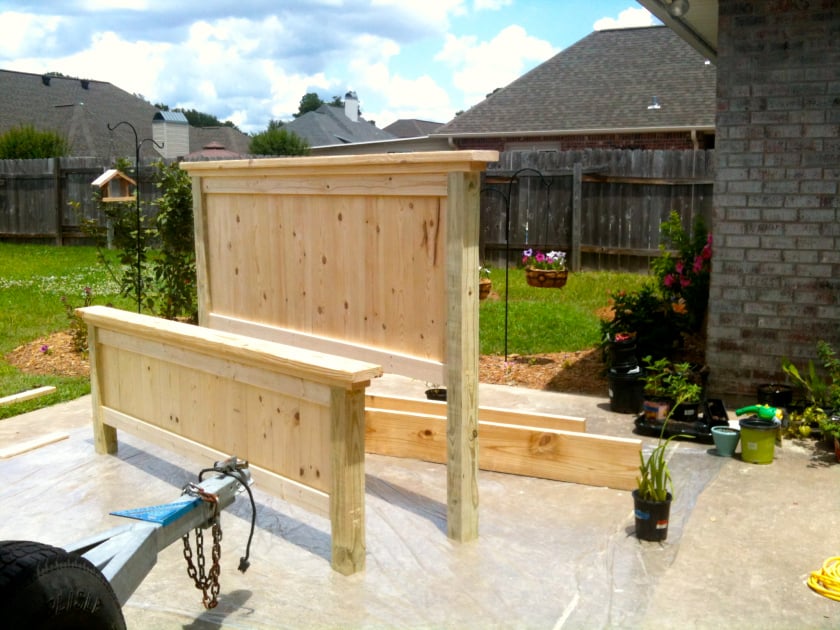
We built this Farmhouse Bed in 1 weekend for less than $200!

Estimated Cost
Less than $200
Estimated Time Investment
Weekend Project (10-20 Hours)
Finish Used
Rustoleum Dark Walnut Stain applied with a brush and immediately wiped off using a lent-free cloth. Sealed with Minwax Satin Spar Urethane.
Recommended Skill Level
Beginner

Comments

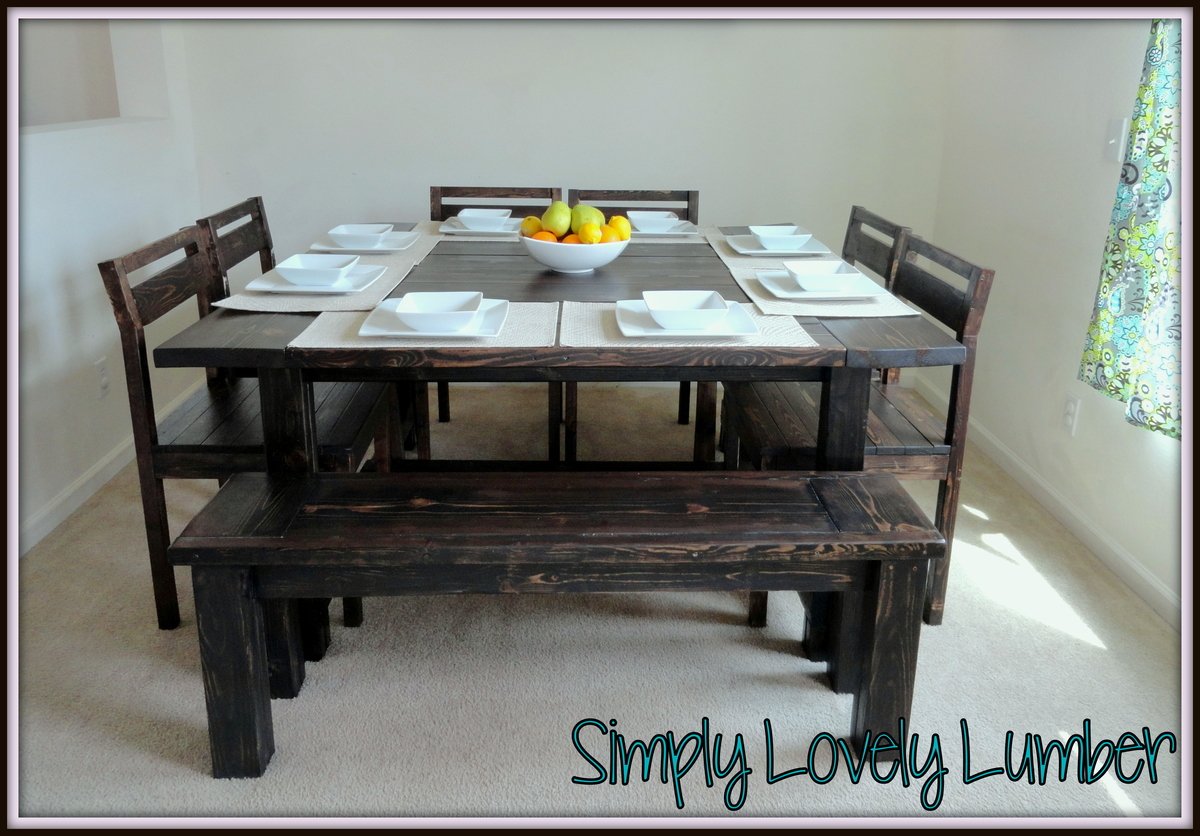
Farmhouse Table Squared

Submitted by sraper2 on Sun, 04/07/2013 - 20:53

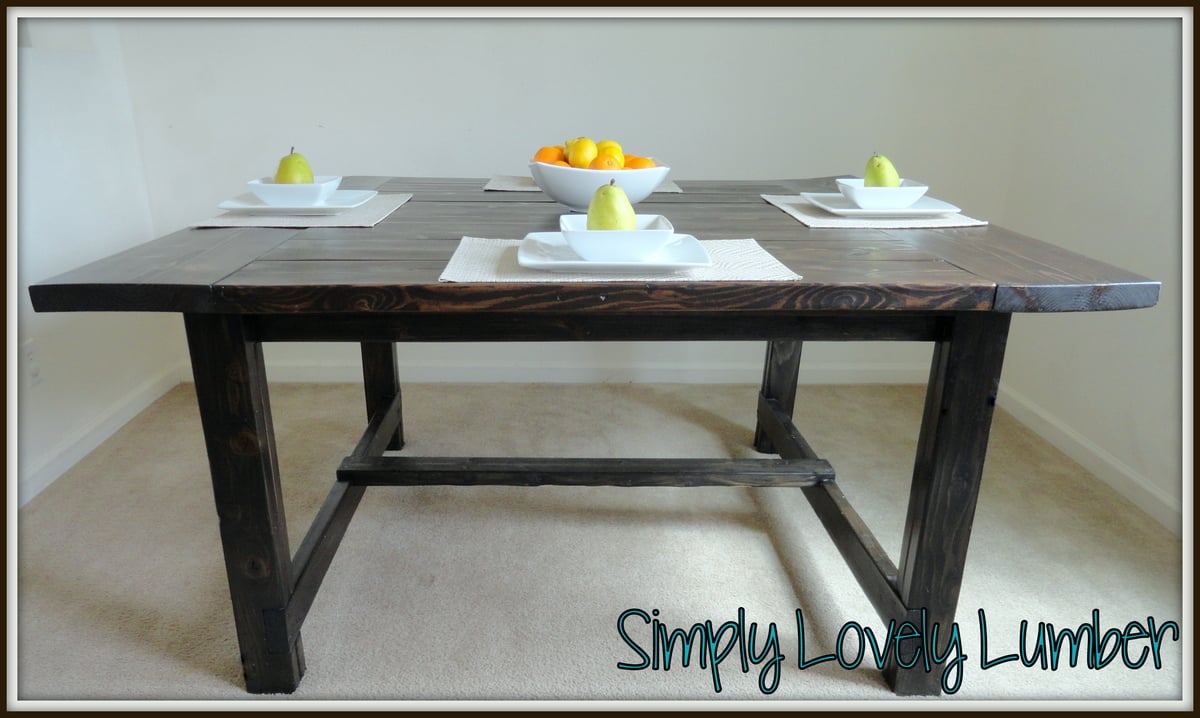
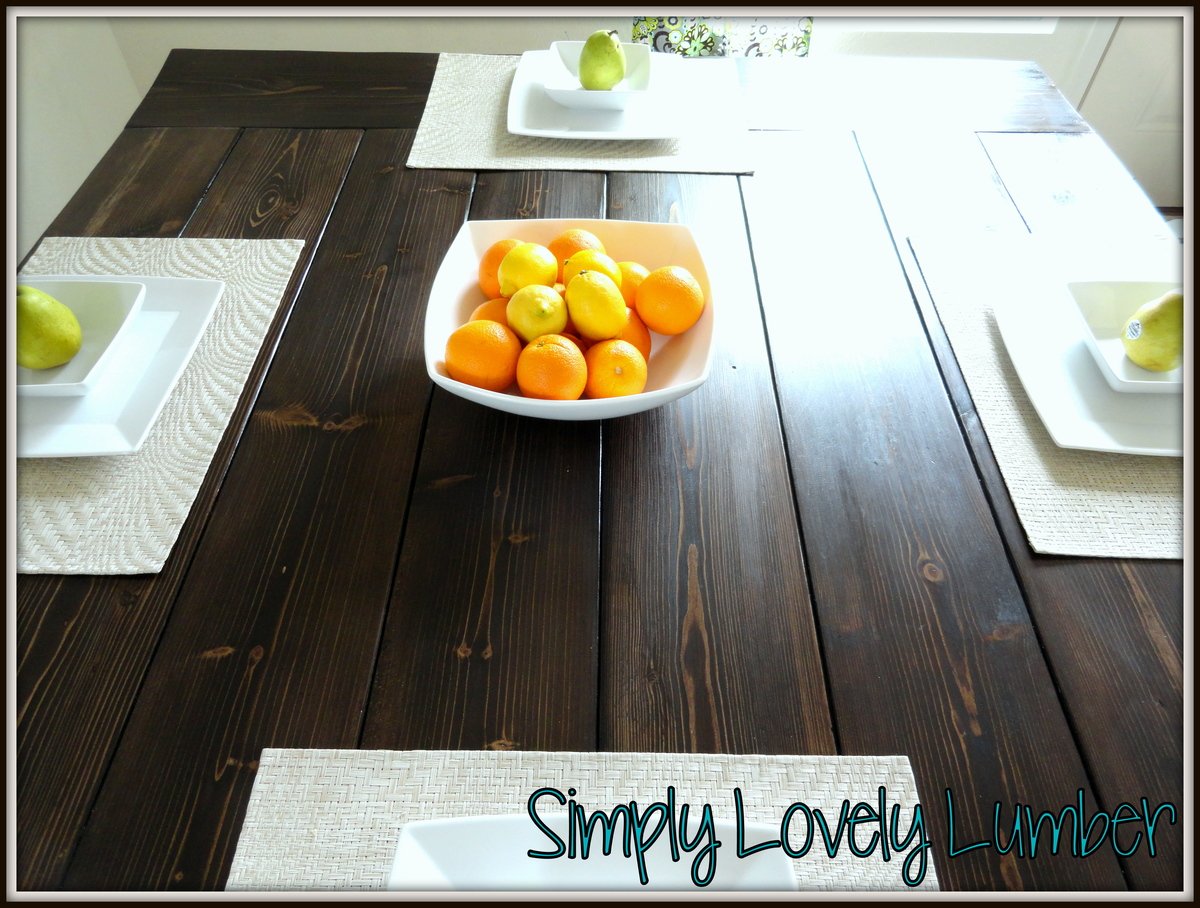
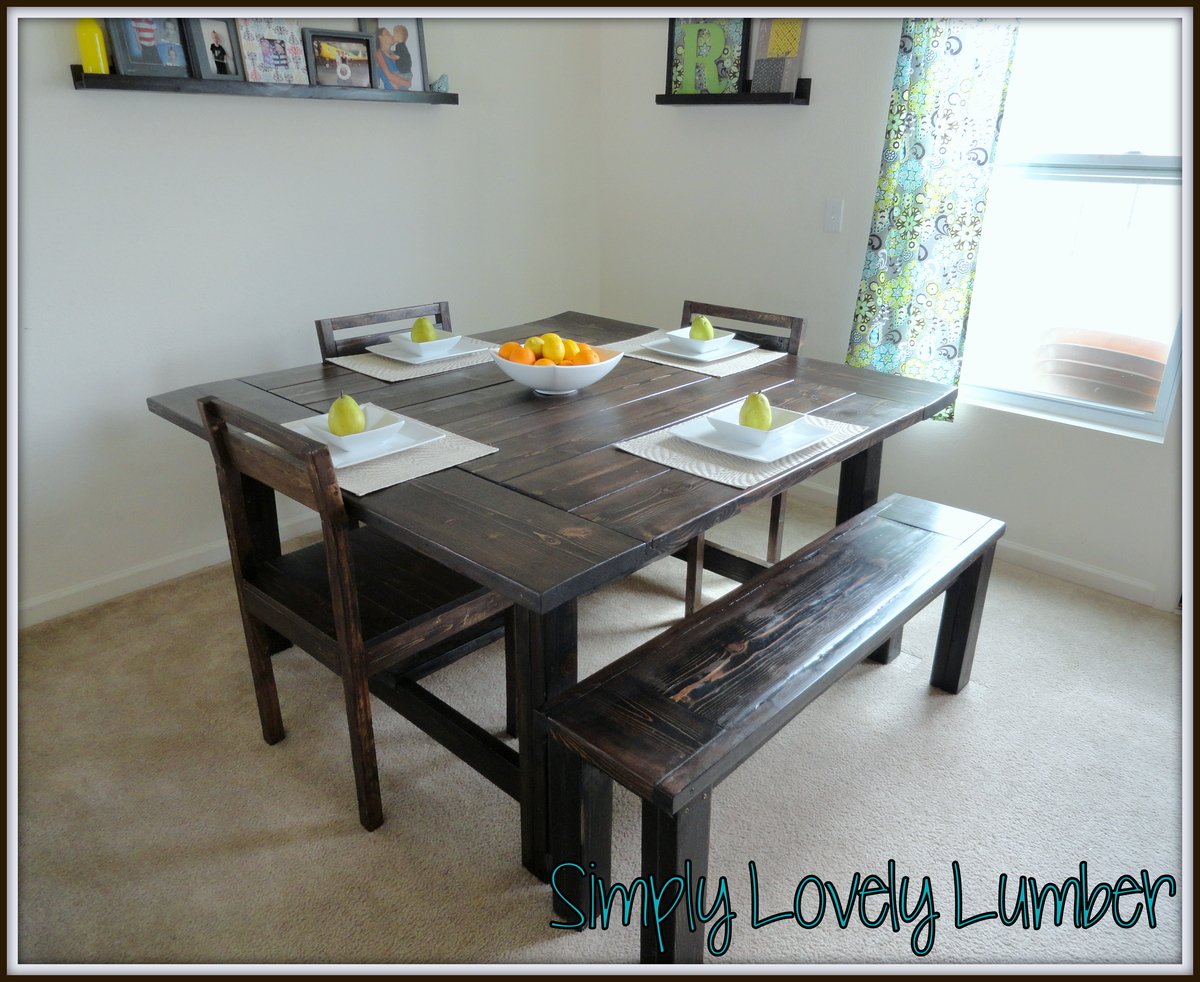
I used your plans for the table but changed the table dimensions to fit my space. My table is square and measures 58"x58". I also changed the chairs to have a straight back and then the top is is cut at a 6 degree angle. I love them so much!!!

Estimated Time Investment
Week Long Project (20 Hours or More)
Recommended Skill Level
Intermediate

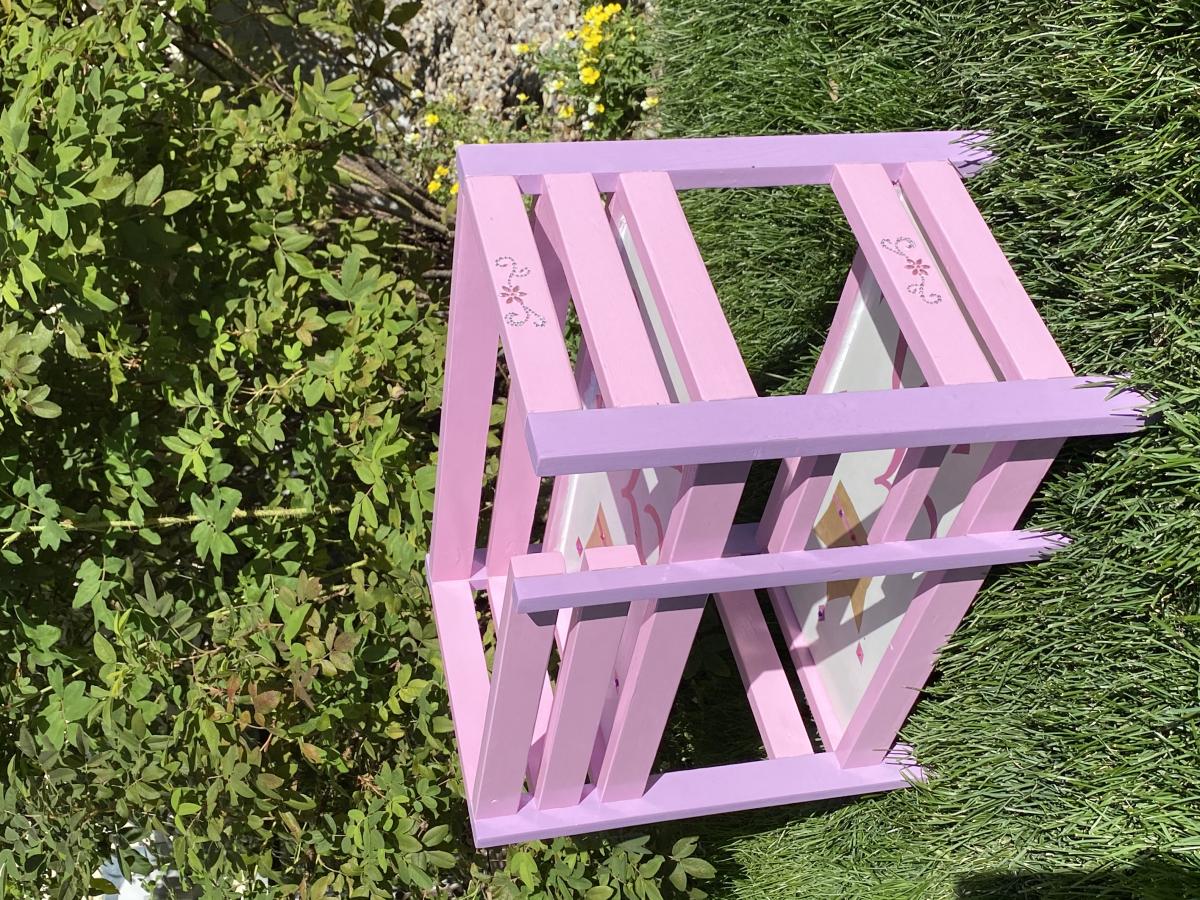
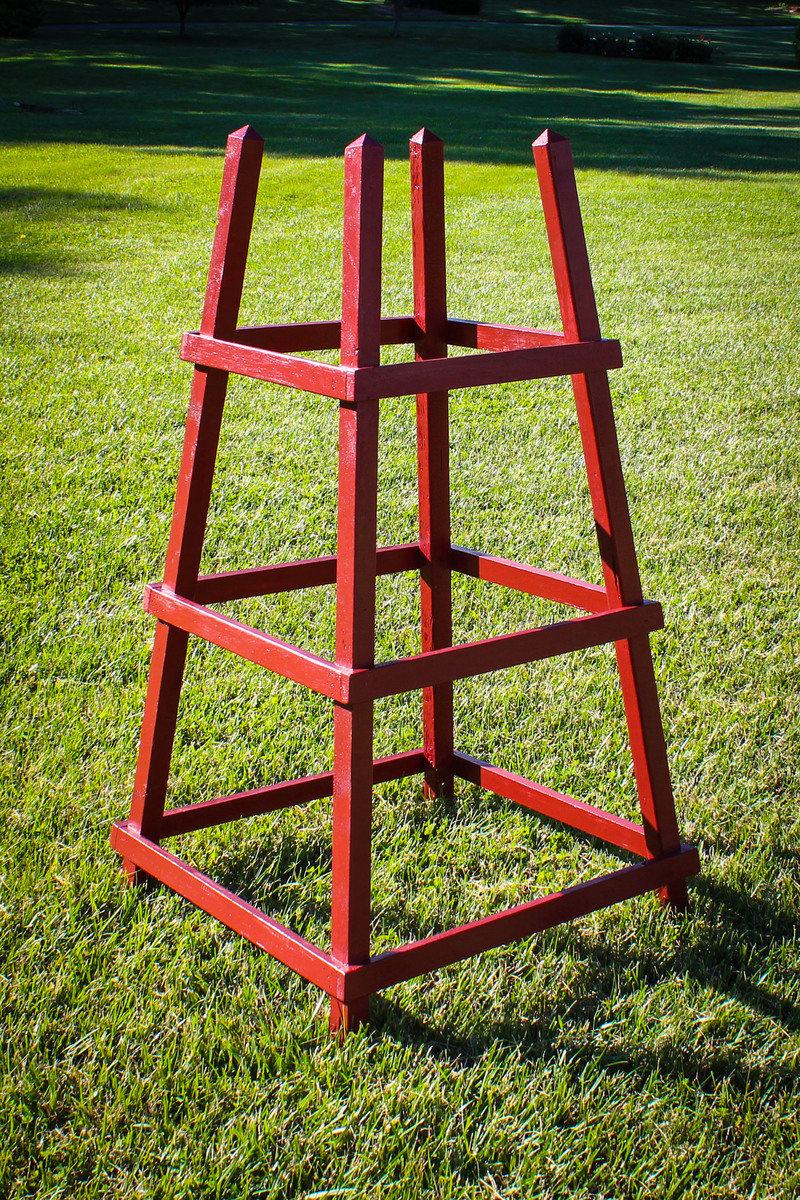
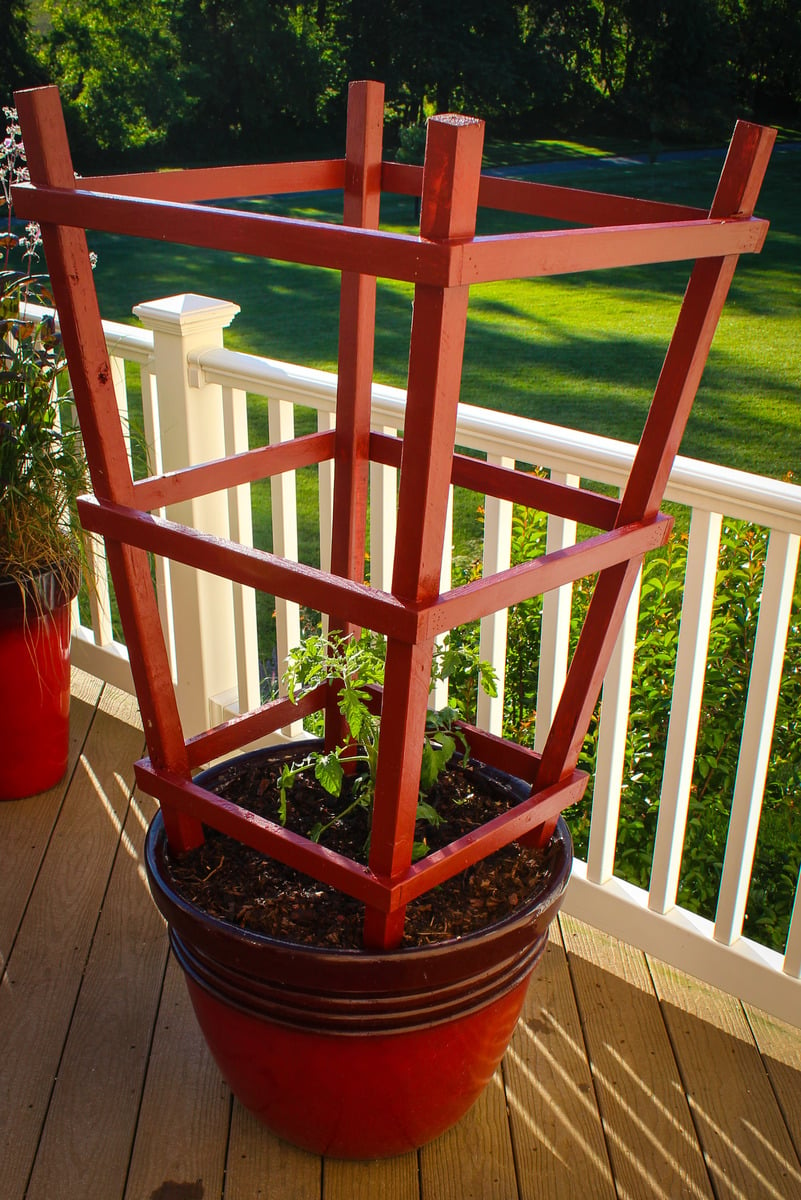
Obelisk Trellis

Submitted by mtairymd on Fri, 06/02/2017 - 13:39

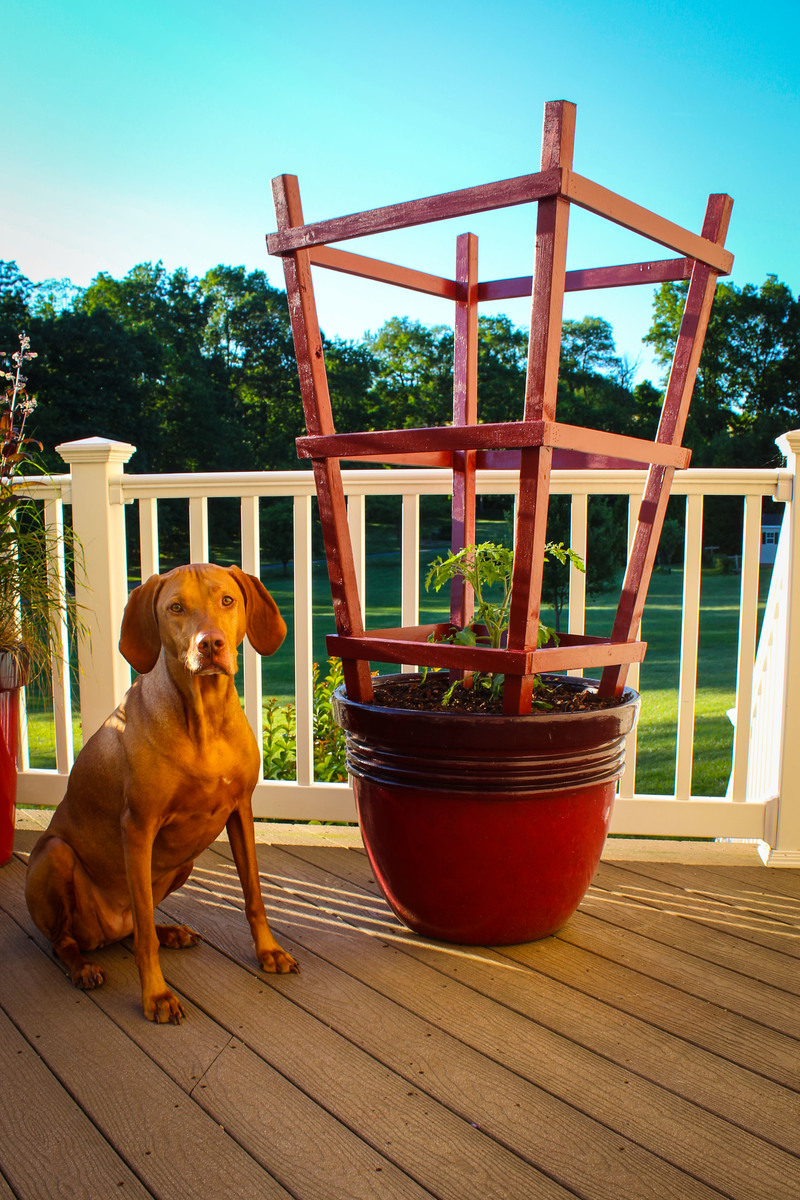
Each year I try something new in the garden. This year, I was looking for a different way to cage tomatoes. I have metal wire cages that are pretty flimsy and always seem to tip over after the tomato plant reaches 3 feet tall. This is my try at a wooden trellis in the shape of an obelisk. Mostly, it is for decoration but having the obelisk shape does allow us to stack the cages together for winter.

Estimated Time Investment
An Hour or Two (0-2 Hours)
Finish Used
Paint
Recommended Skill Level
Beginner