Greenhouse
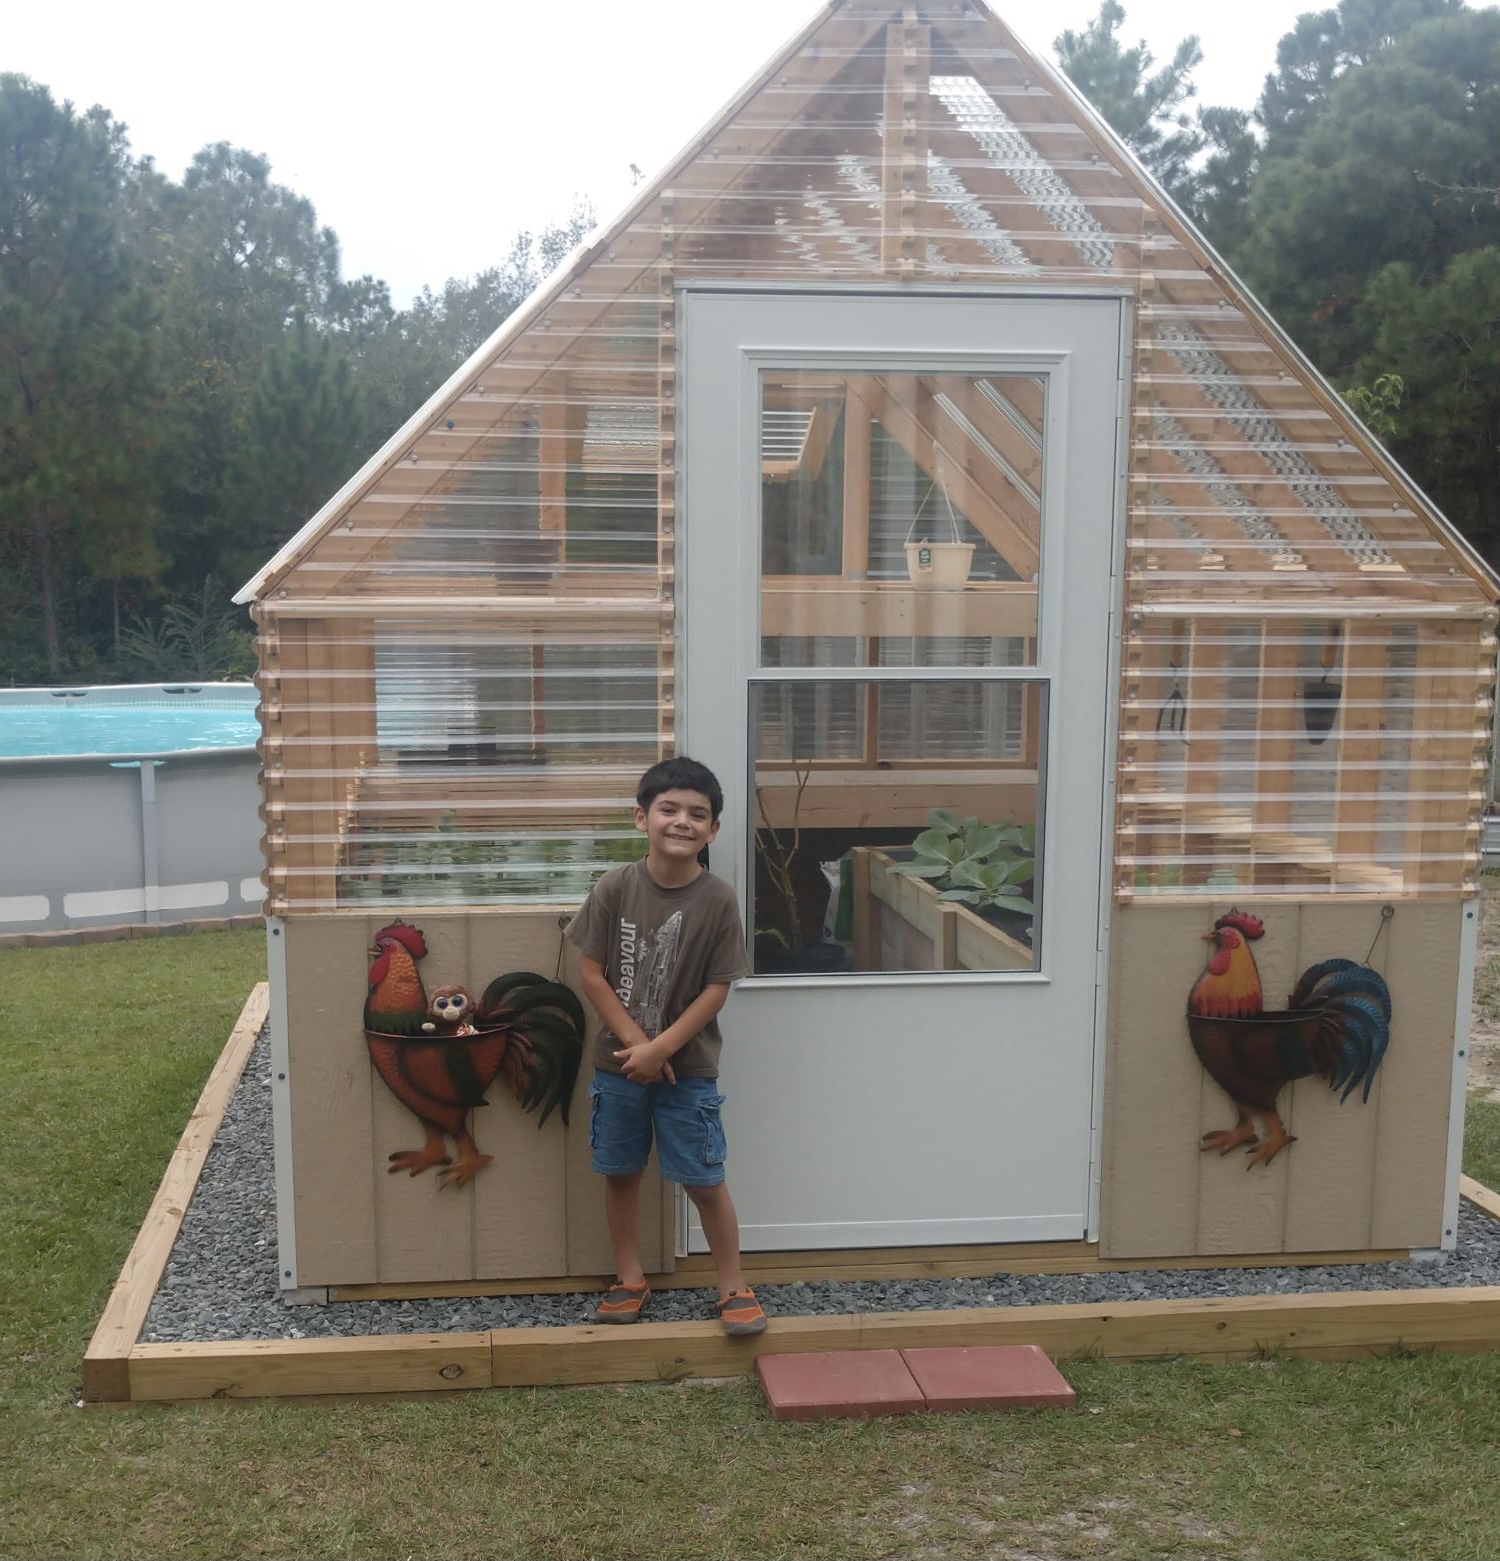
Built the greenhouse from Ana Whites plan
She did the plan really well..
Built from Plan(s)
Built the greenhouse from Ana Whites plan
She did the plan really well..
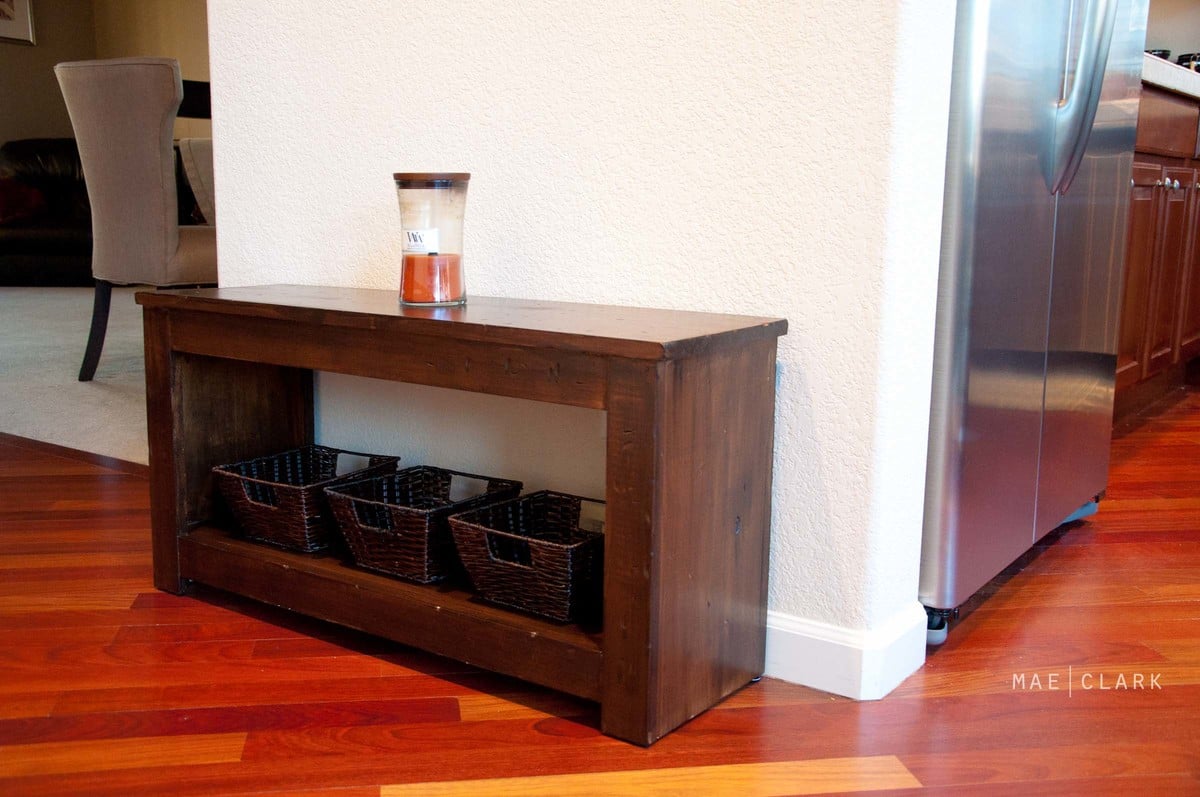
My first project! A friend of my husband's came to visit for a weekend and was nice enough to show me how to use my handy dandy new air nailer. We had the bench put together in 15 minutes! And so began a beautiful friendship with furniture building...
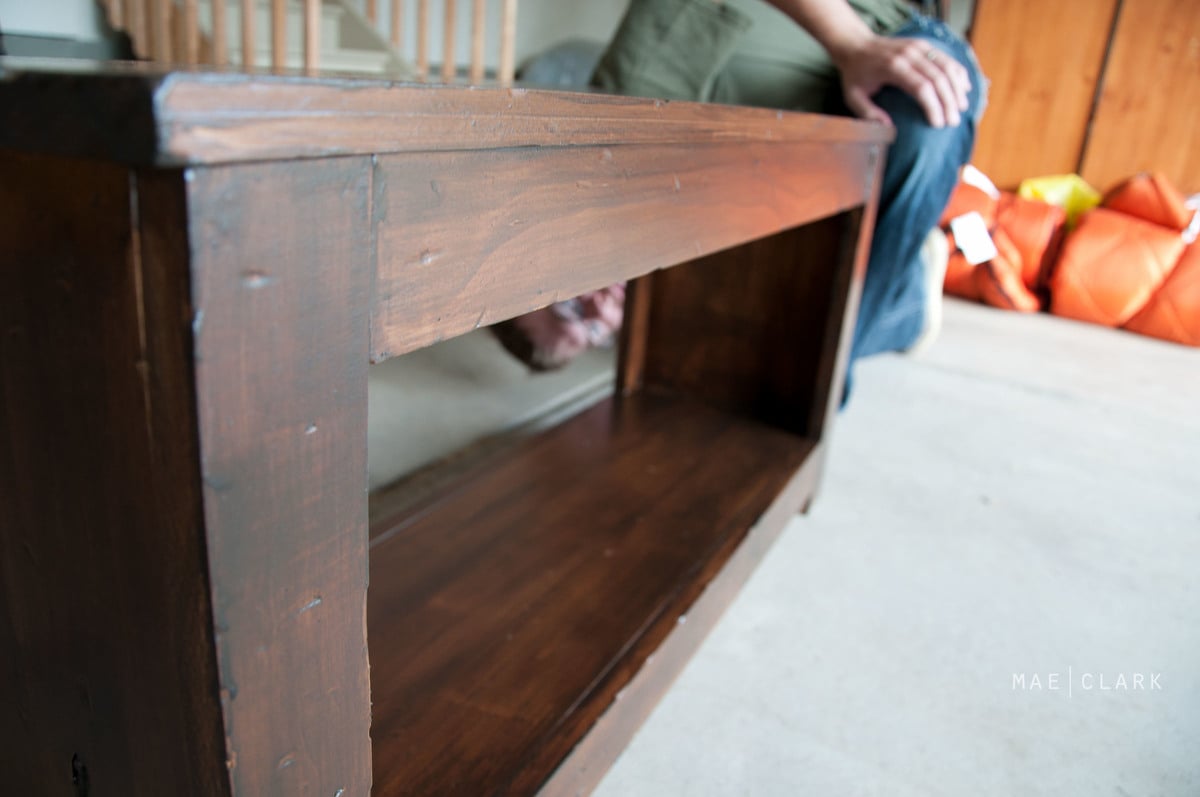
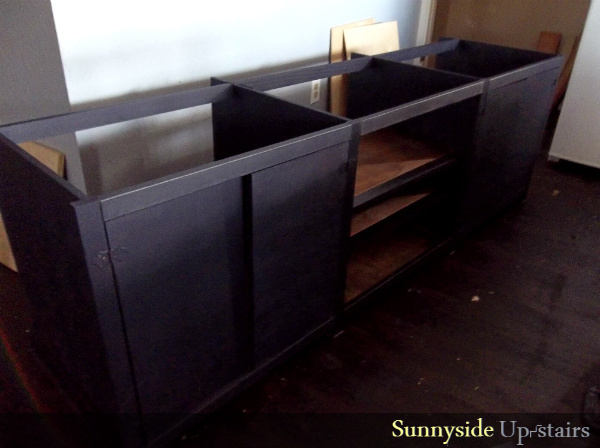
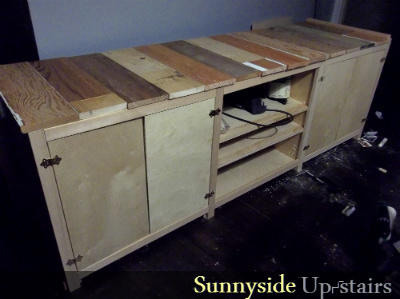
Last winter, our friend's boss built our kitchen cabinets. We've had cuts of plywood leftover, sitting in our garage since then.
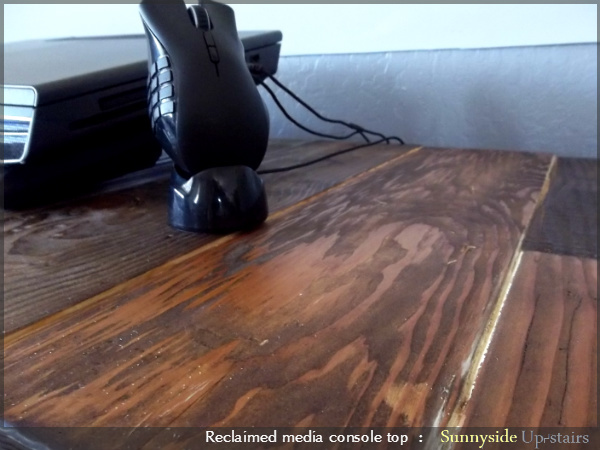
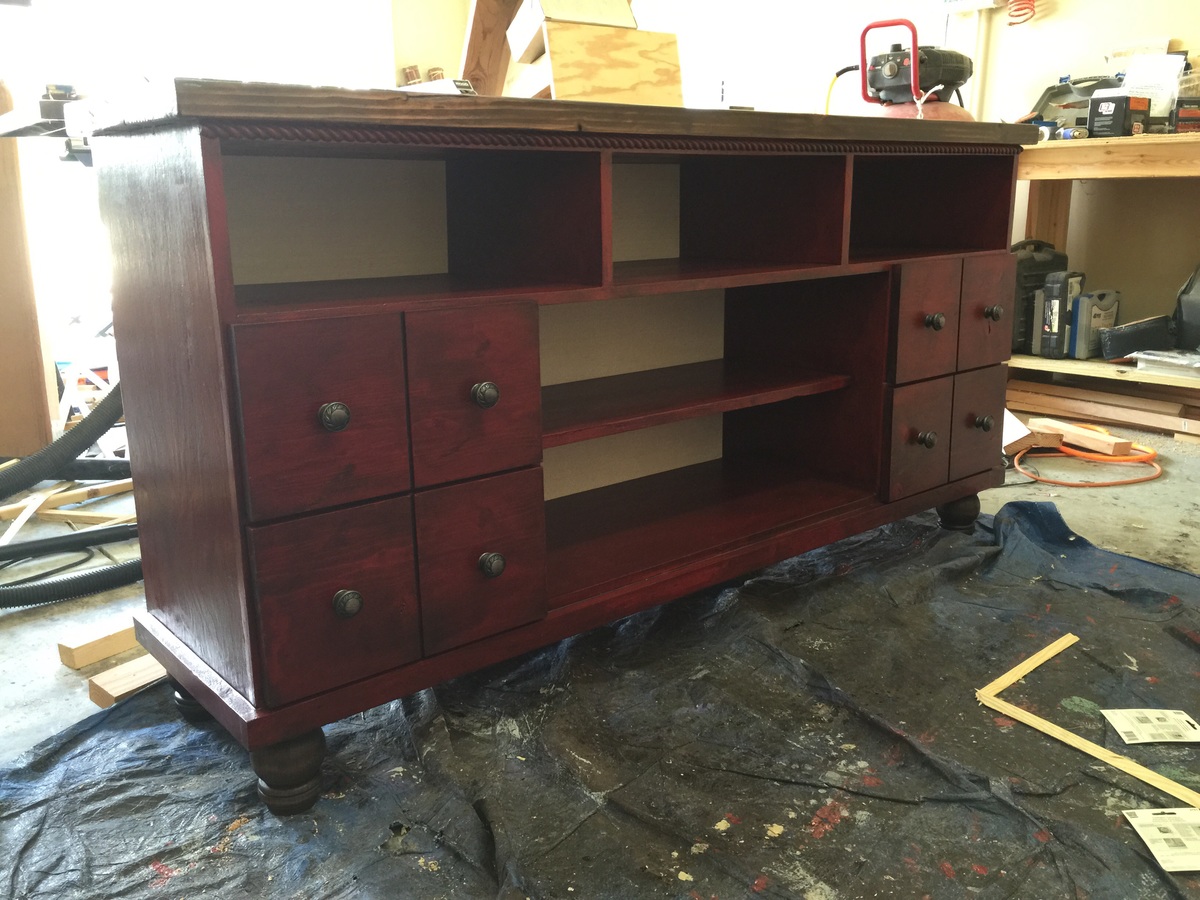
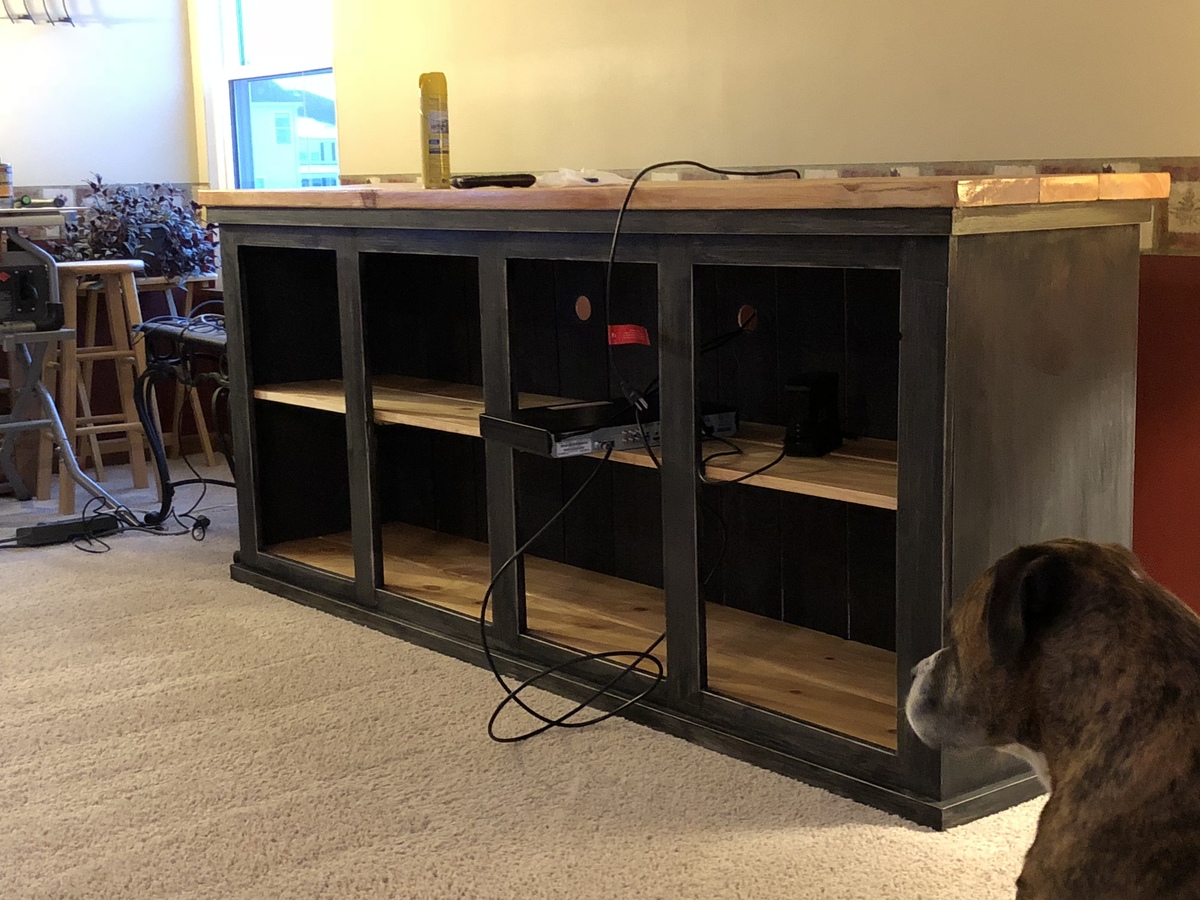
Our home needed a media console, so I thought to give building one a shot now that I own a circular saw and am only slightly afraid of it. I didn't follow a plan, honestly, but I did look at Ana's Classic Storage Wall, Extra Wide Media Unit as inspiration.
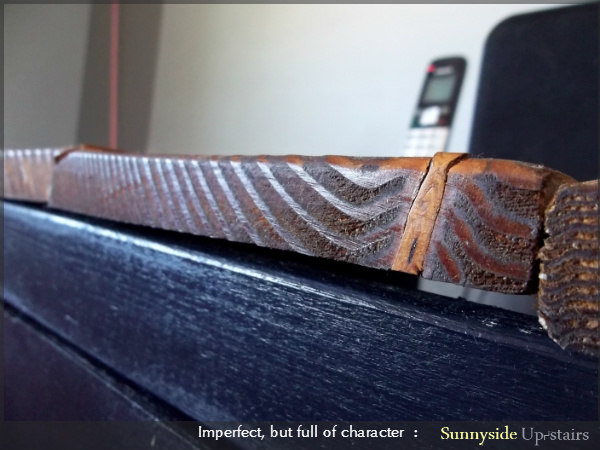
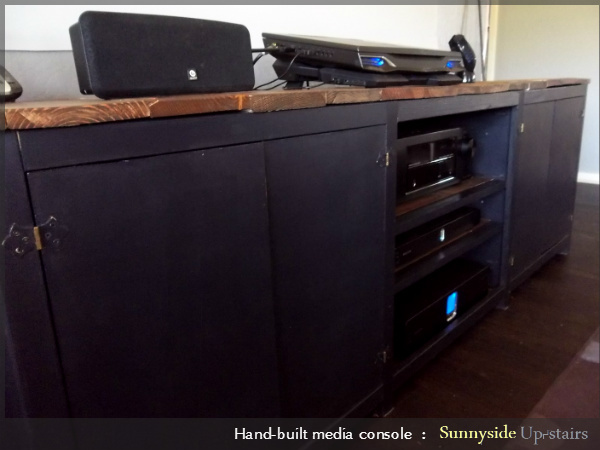
The console is actually a slate-indigo-black, called Napoleon. The top is made of reclaimed 1x6s that I mixed and matched with scrap 1x6s and gave one coat of Dark Walnut. We ordered handles for the doors and it needs another coat of paint (we ran out of the quart we had on hand), but we love it!

Tue, 07/09/2013 - 16:30
Love this! The reclaimed wood top is fab, and the color looks perfect. I checked out your blog - your apartment is looking awesome!

Wed, 07/10/2013 - 02:18
Thank you for your kind words. :) Our apartment wouldn't be furnished today if not for ana-white.com. The motivation I've gained by learning and sharing back here has been key to keep me building the things we need, the way we want them. =D You've built so many things; I'm so impressed!
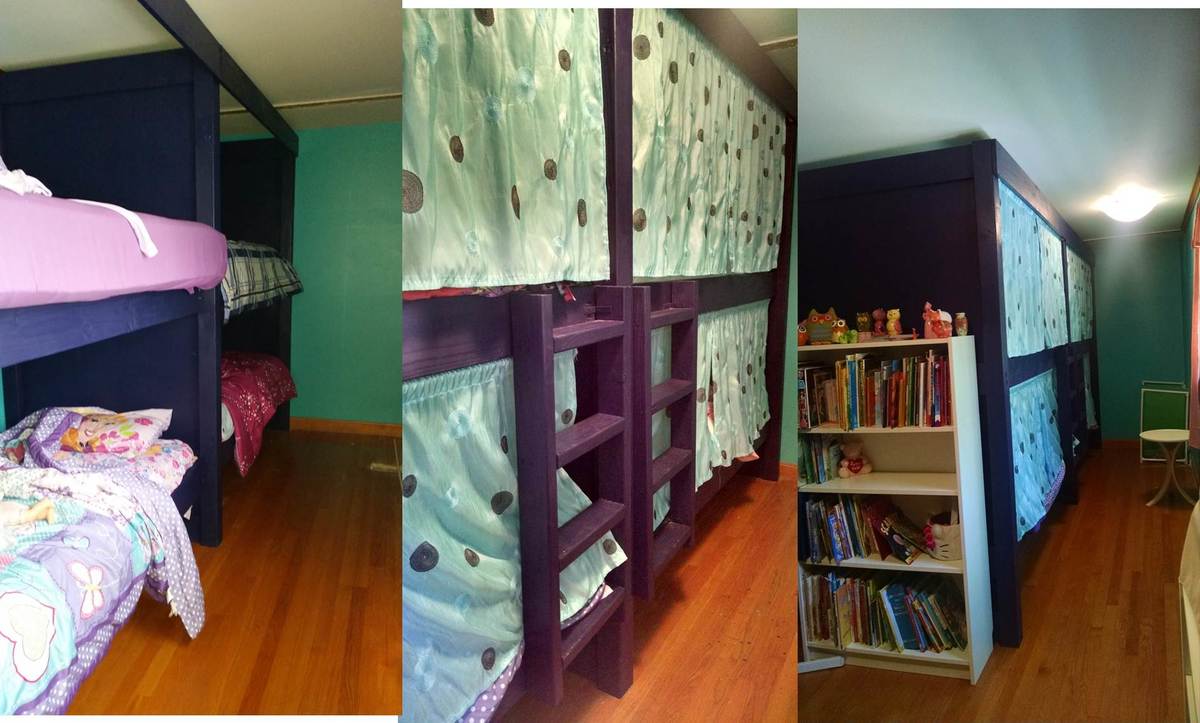
We used the Build a Simple Bed plan and the Bunk Bed from Simple Bed. I modified the plans to build a double bunk bed. We needed a way to fit up to 6 small children in a long, narrow room. Although we haven't built the trundle beds yet, each bunk will also have a trundle bed. The kids especially love their "privacy" curtains!
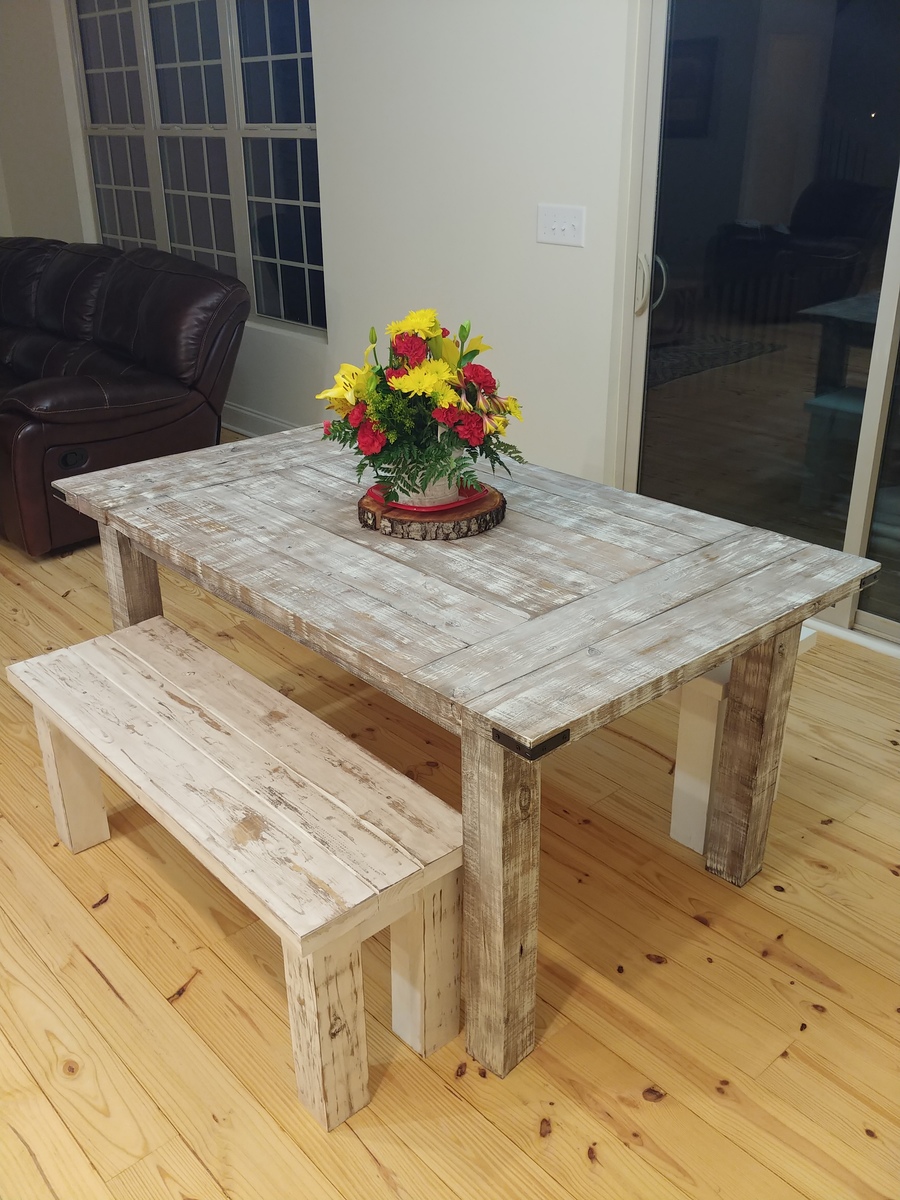
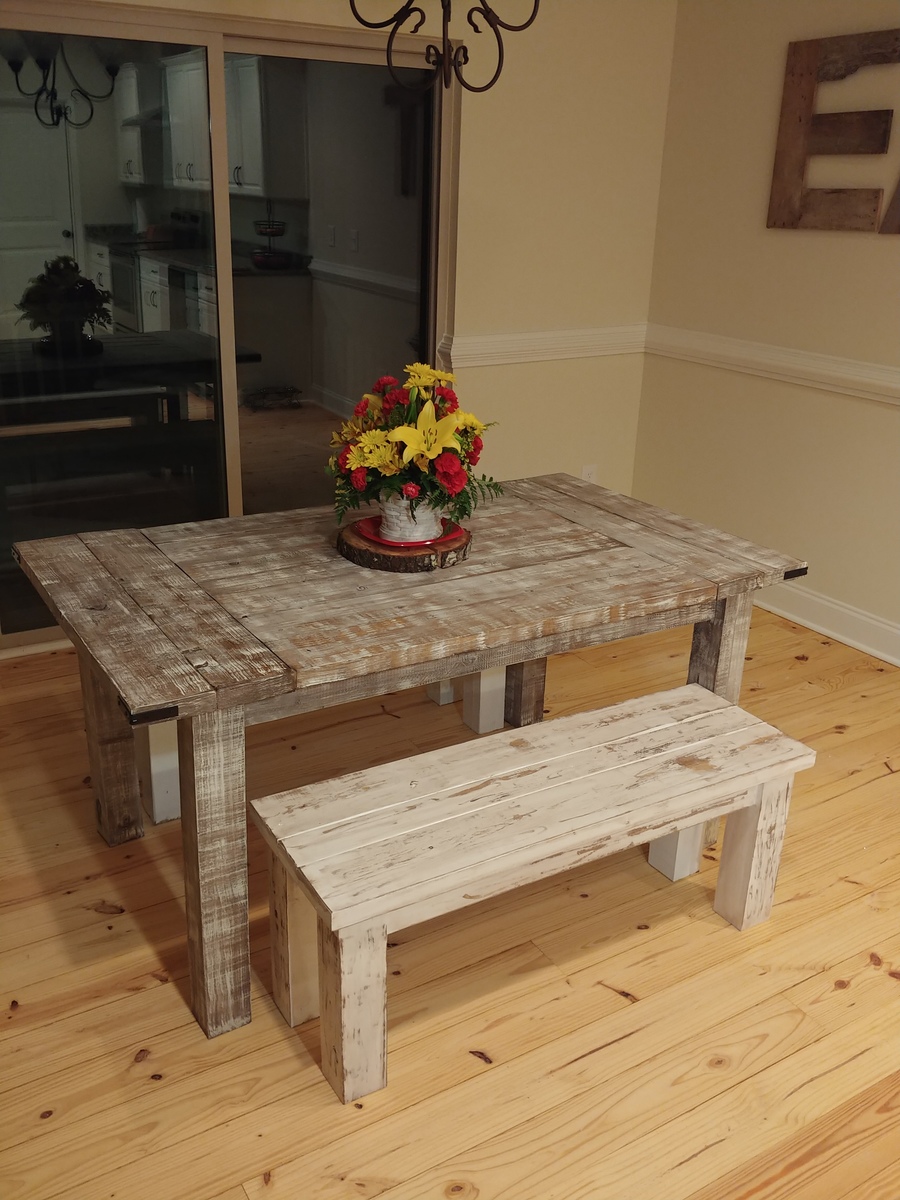
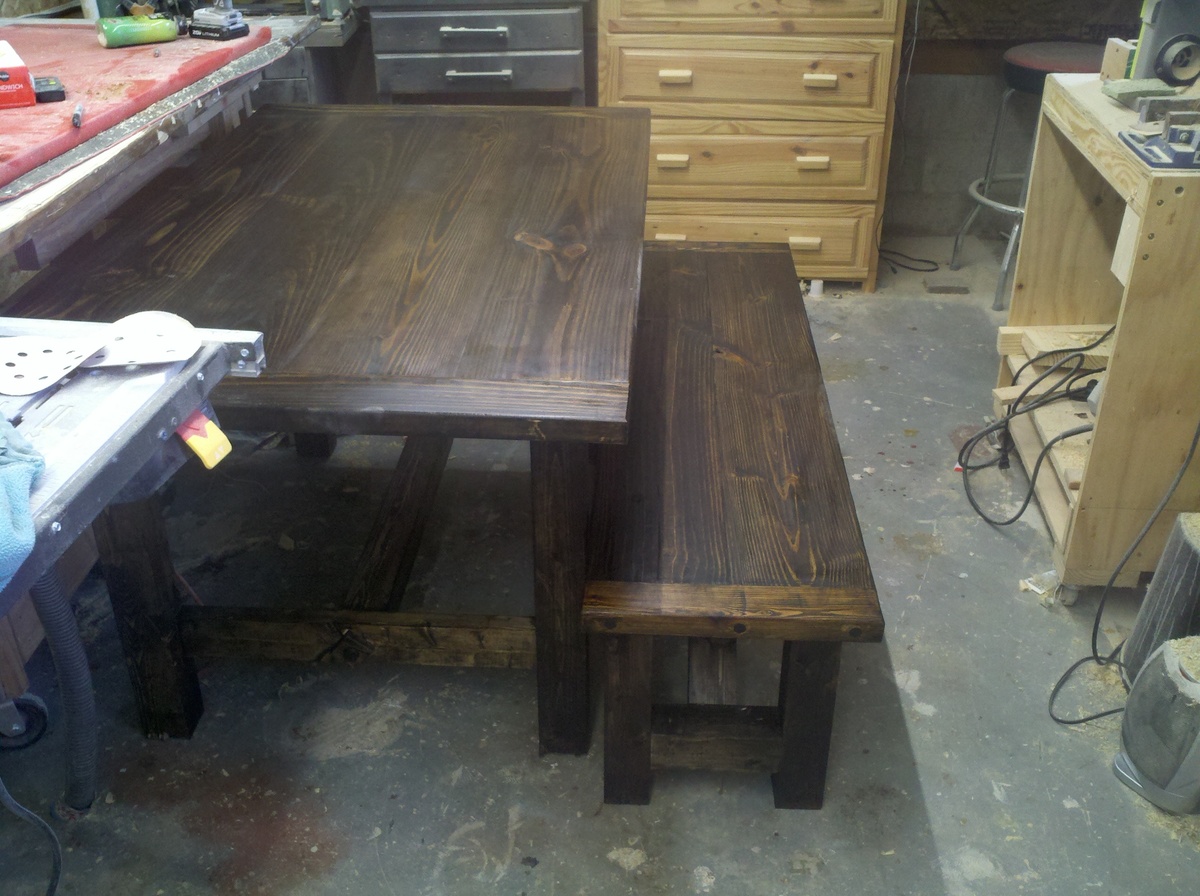
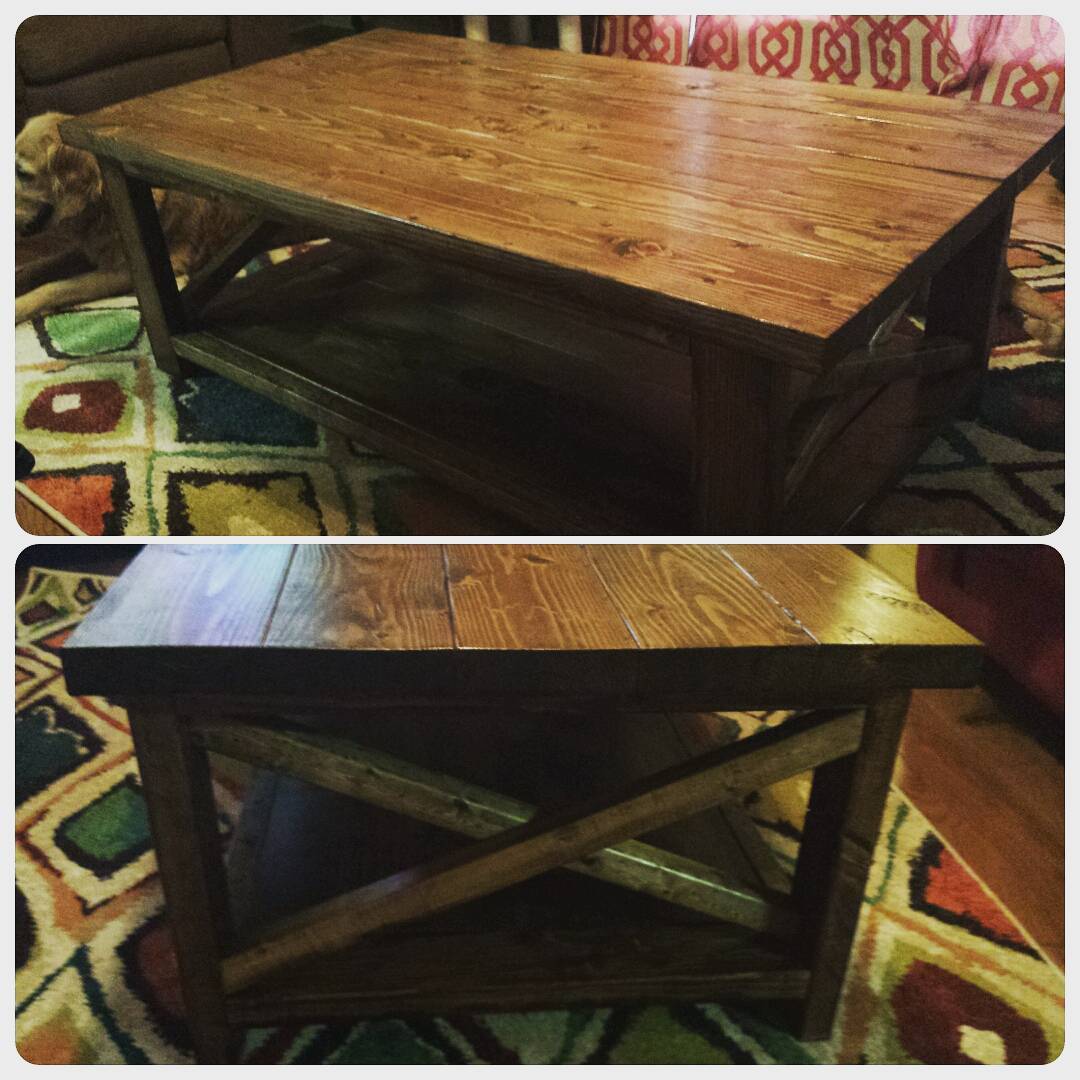
I built this table and two simple benches, inspired by the farmhouse table plans. I modified the plan slightly, in that I didn't add the center 2x4 on the bottom, or the two 2x4's between the legs. I also added a second "bread end board," and customized the corners with some "L" bracket accessories. It took me a week to build everything, then add the finish. It would have gone quicker, had I had time to do it all at the same time, but I had to make time after work to do everything. All, in all, this is probably a weekend job, at most.
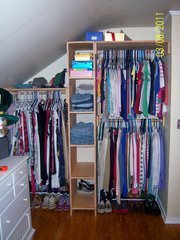
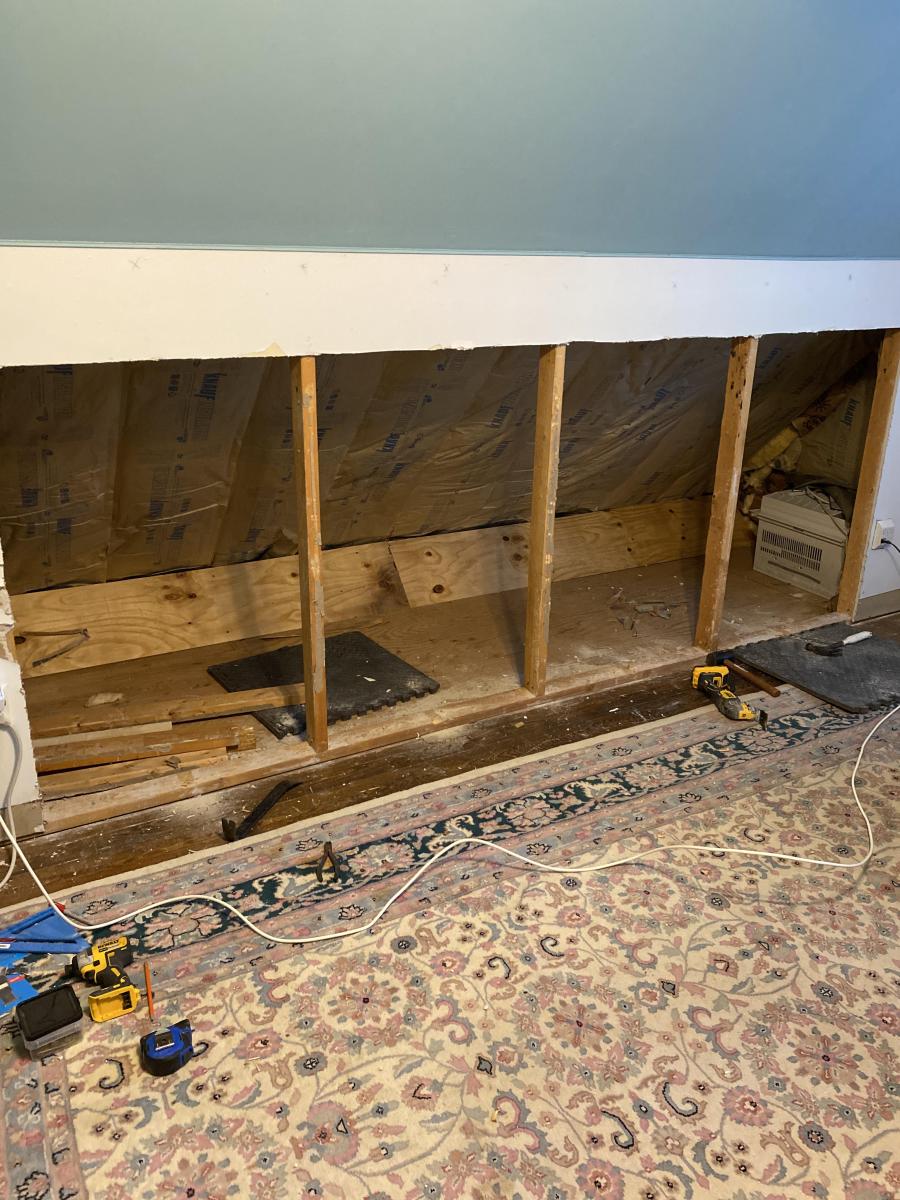
Our master bedroom unfortunately had no closet, so for almost 2 years we had been using 4 store bought (cheap) racks that would break under the weight of the clothes and keep having to be replaced. There was however, a big nook in one wall of the room that could definitely be some kind of closet. I sat down and drew up a plan of what I thought would fit, but then had no idea how to go about building it. The plan sat in a drawer for months until after asking a friend about a shelf her husband built she sent me a link to this site and told me that's where she got the plans. I found the closet system plans and they were so close to what I had drawn up I was blown away! IT was no problem modifying the measurements to fit our space. I am SO happy with the results, all I need to do now is wait for some dry weather so we can paint!
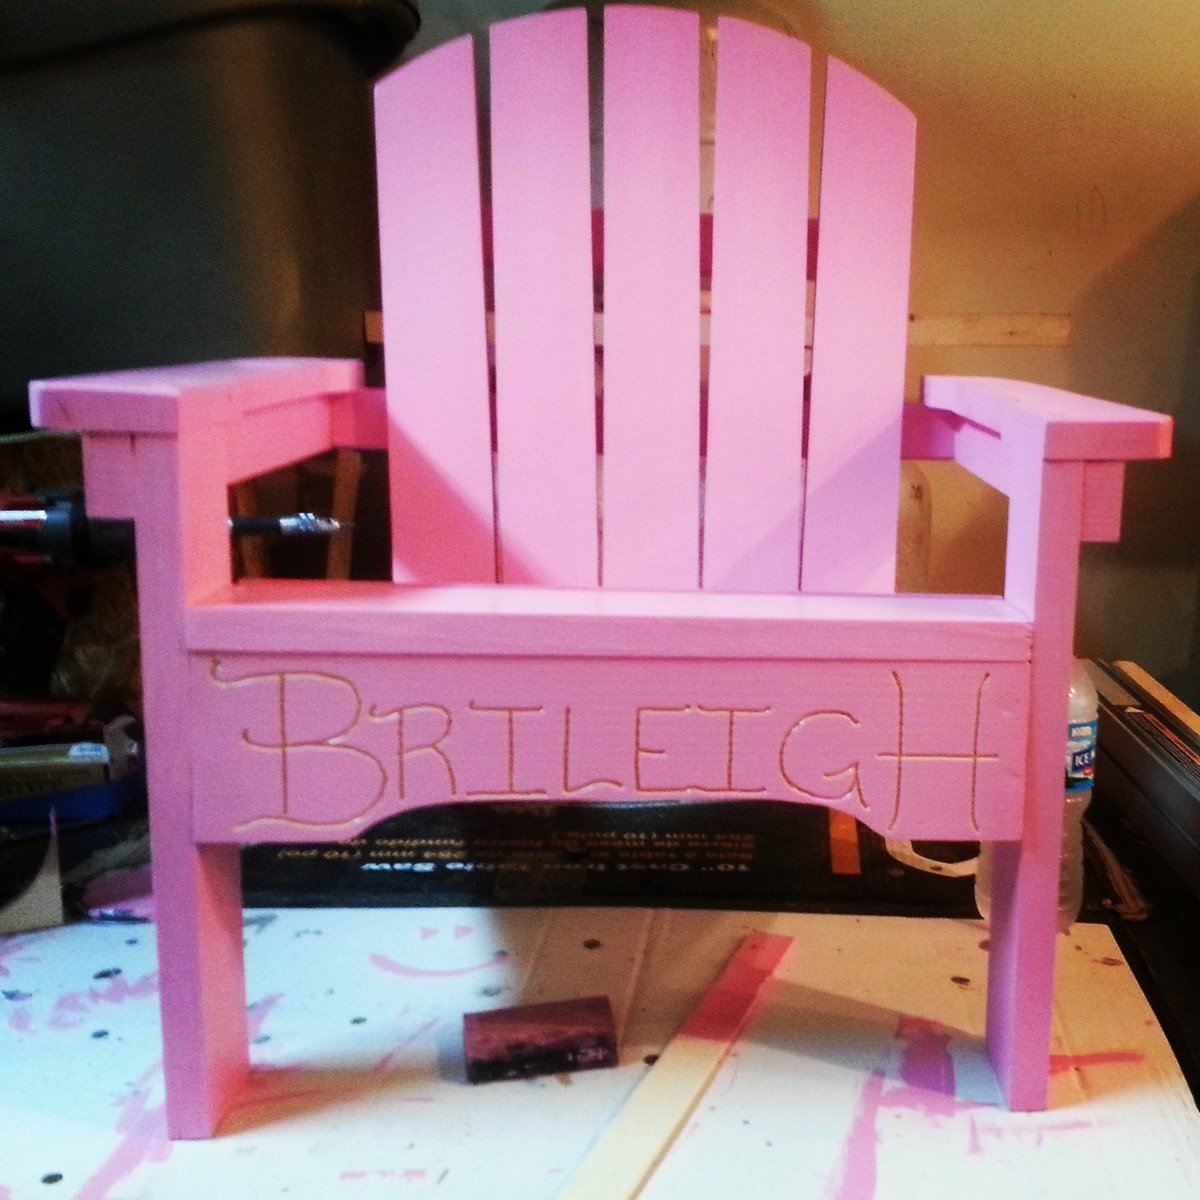
Modified back to match my adult chairs. Armrests are also cut out like adult chairs you just cant tell in picture. Also put an arc on faceplate. Then i couldn't resist routing her name into it. Enjoy!

This console is perfect as is or it can be customized to your needs. Very sturdy.
This table was inspired by the pocket screw table. only I did not use pocket screws. it is constructed using loose tenon construction and dowels. Notice the middle stretcher and the wooden nut and bolt that holds it together
After seeing your knee wall project I decided I could modify it to work for me. first I insulated the angular wall to provide a conditioned environment. (wife wanted to store Christmas decorations. Then removed existing sheetrock, removed every other vertical 2x4 and had the opening size I wanted . Currently working on sheet rocking the interior and will then begin to work on the doors. Waiting on hinges. I think my wife likes it so far. I'll upgrade with photos when done. thanks
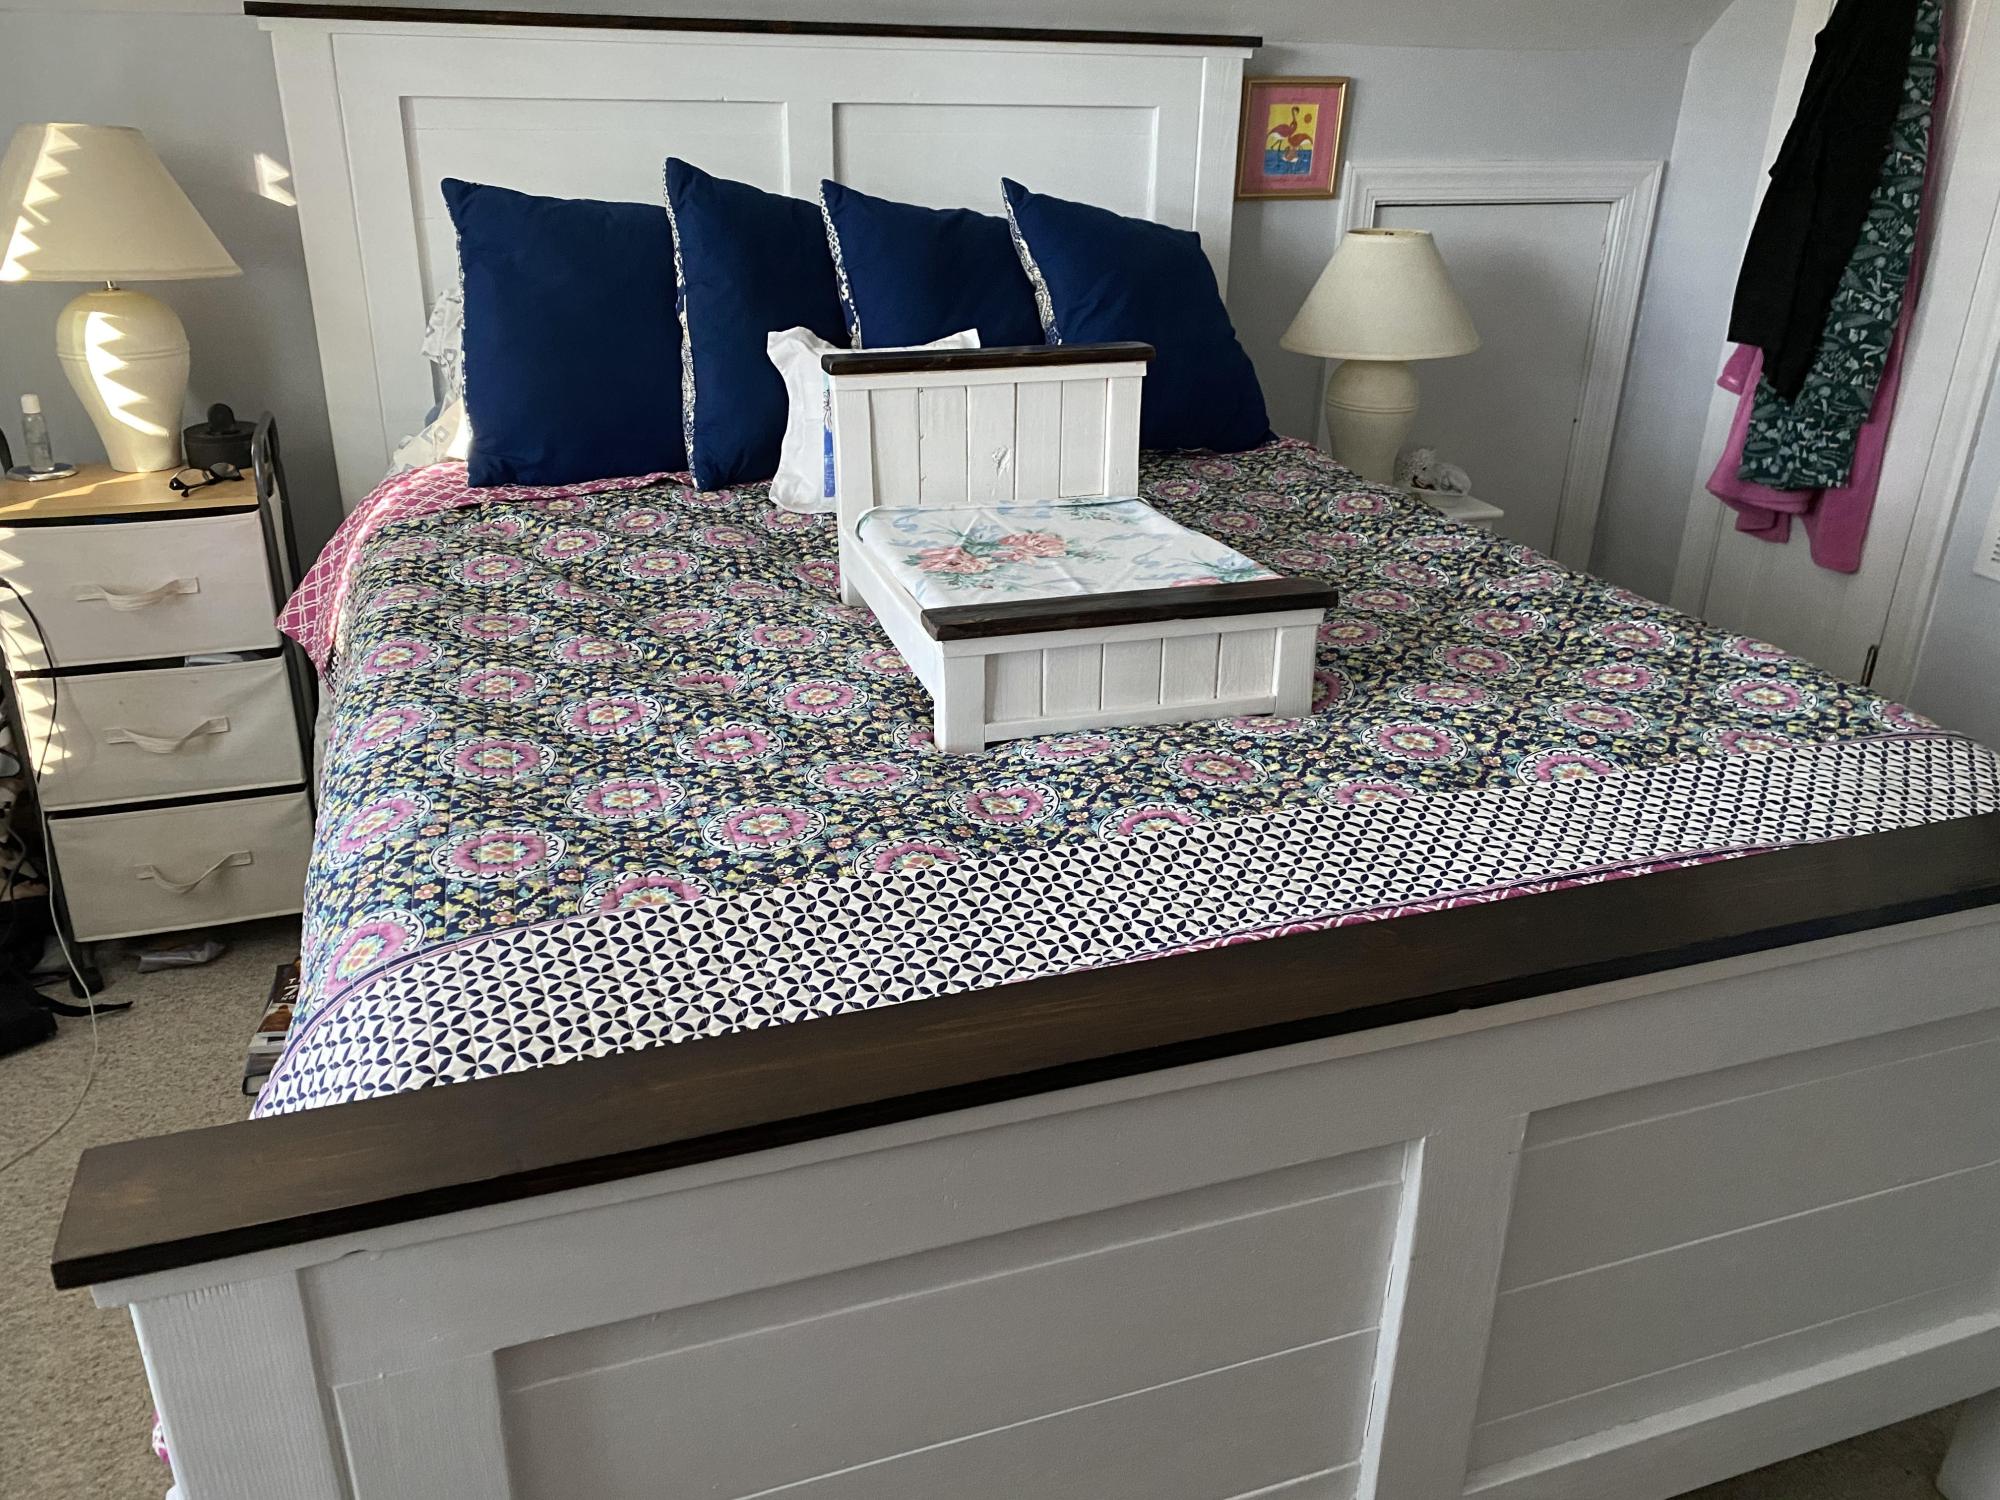
the small bed was from one of your plans (american girl bed) and then we just changed dimensions and made our master bed (Queen). That was a fun project.
Thanks for sending plans, we look forward to them.
George, Mechanicsville, Virginia
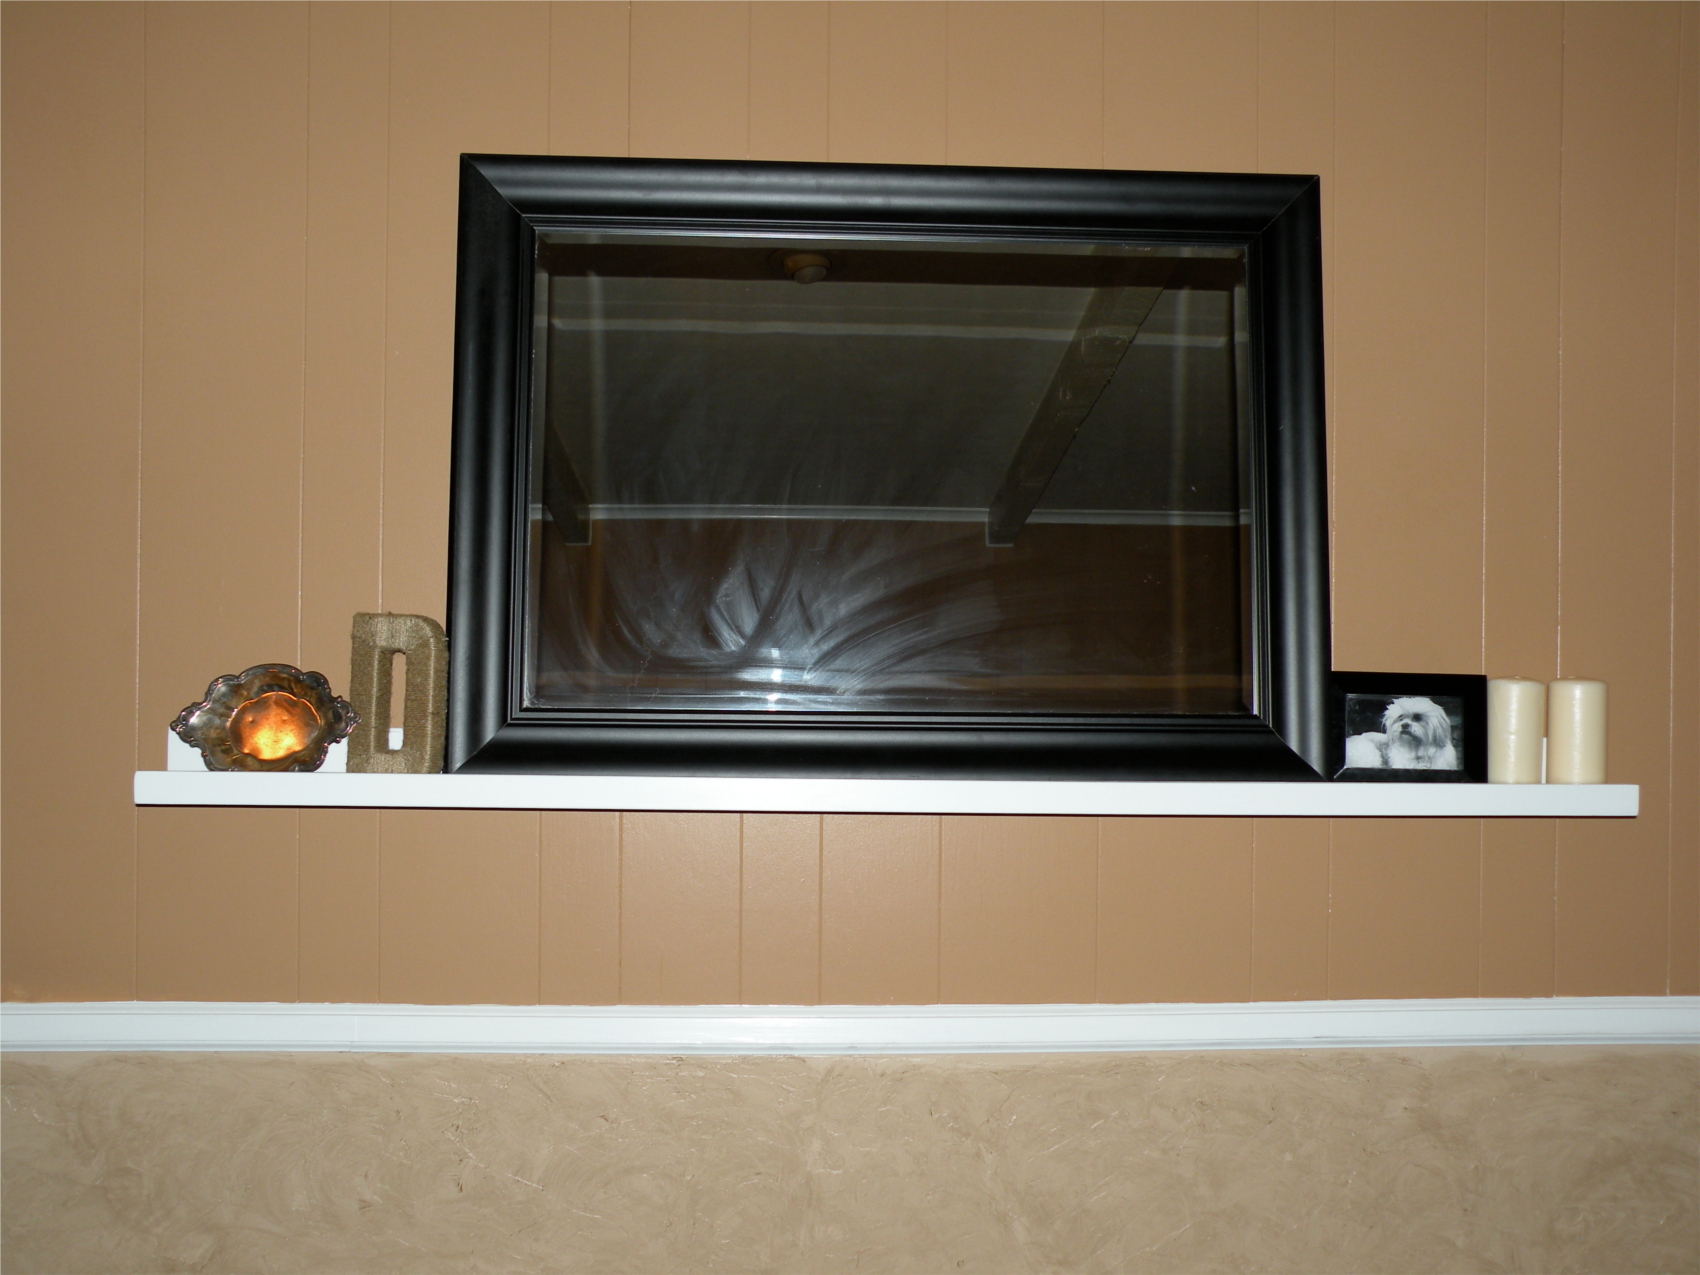
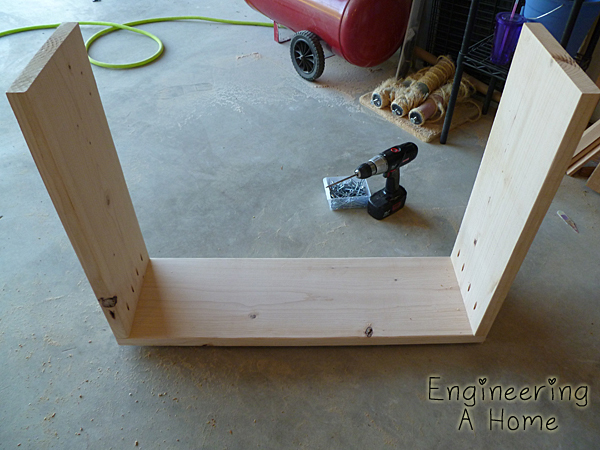
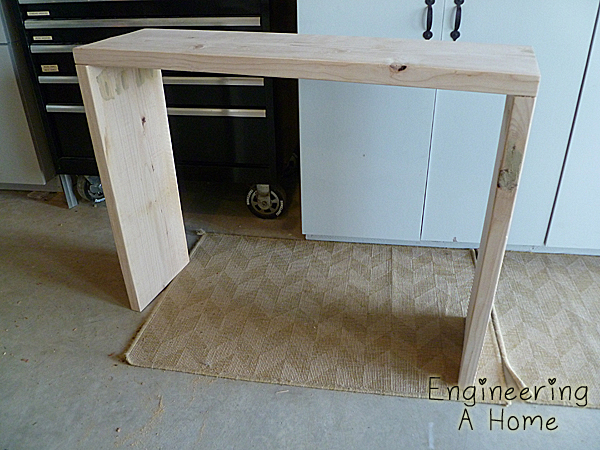
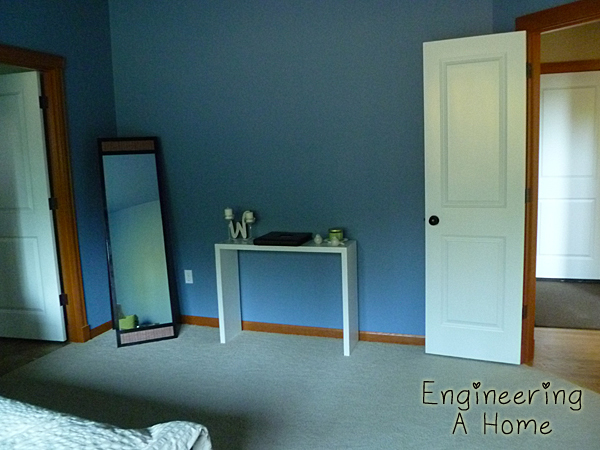
A quick shelf for a blank wall.
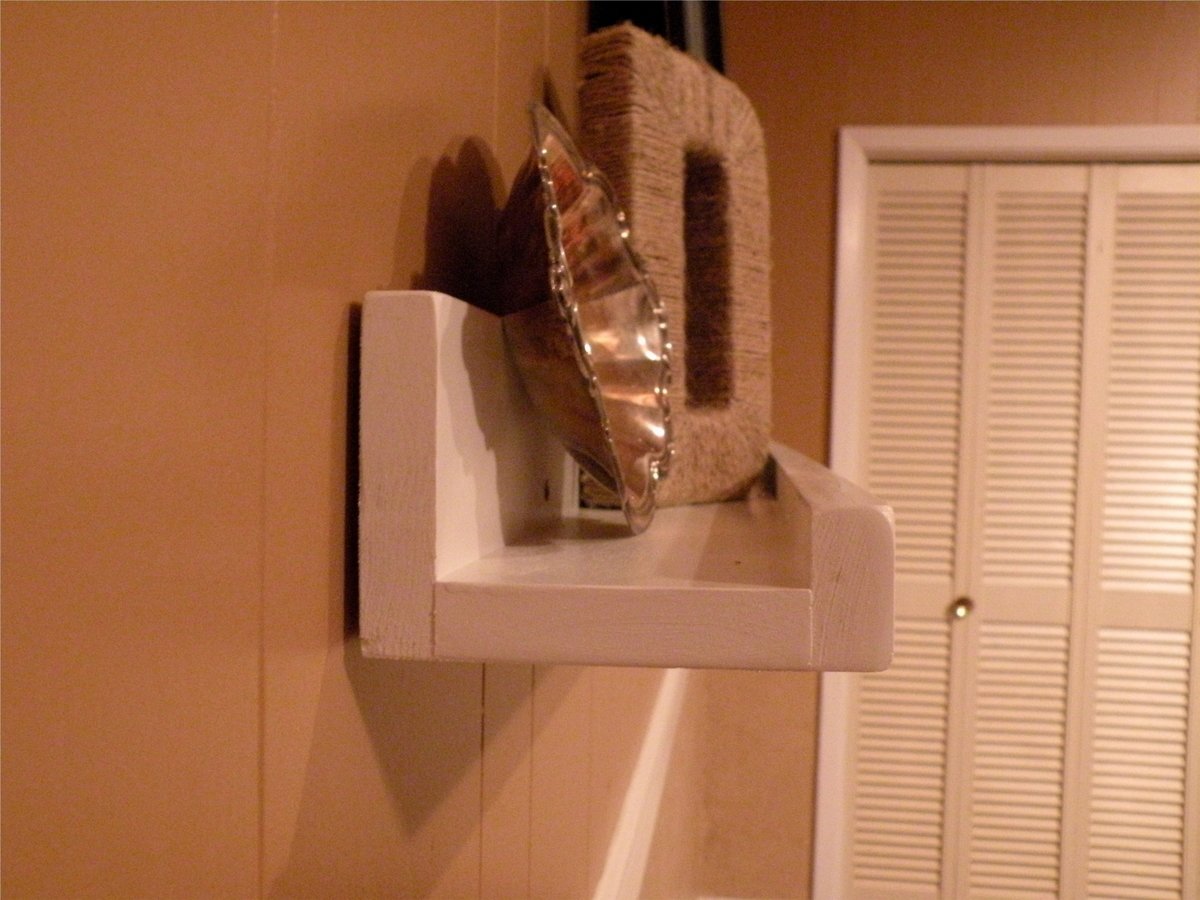
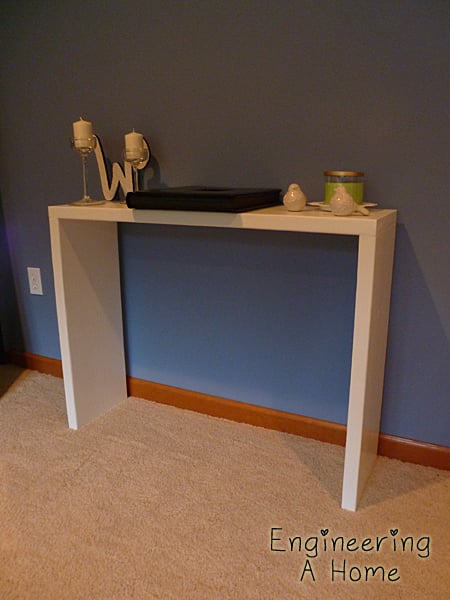
This is one of the easiest woodworking projects ever. It only took 2 cuts and 8 pocket holes.
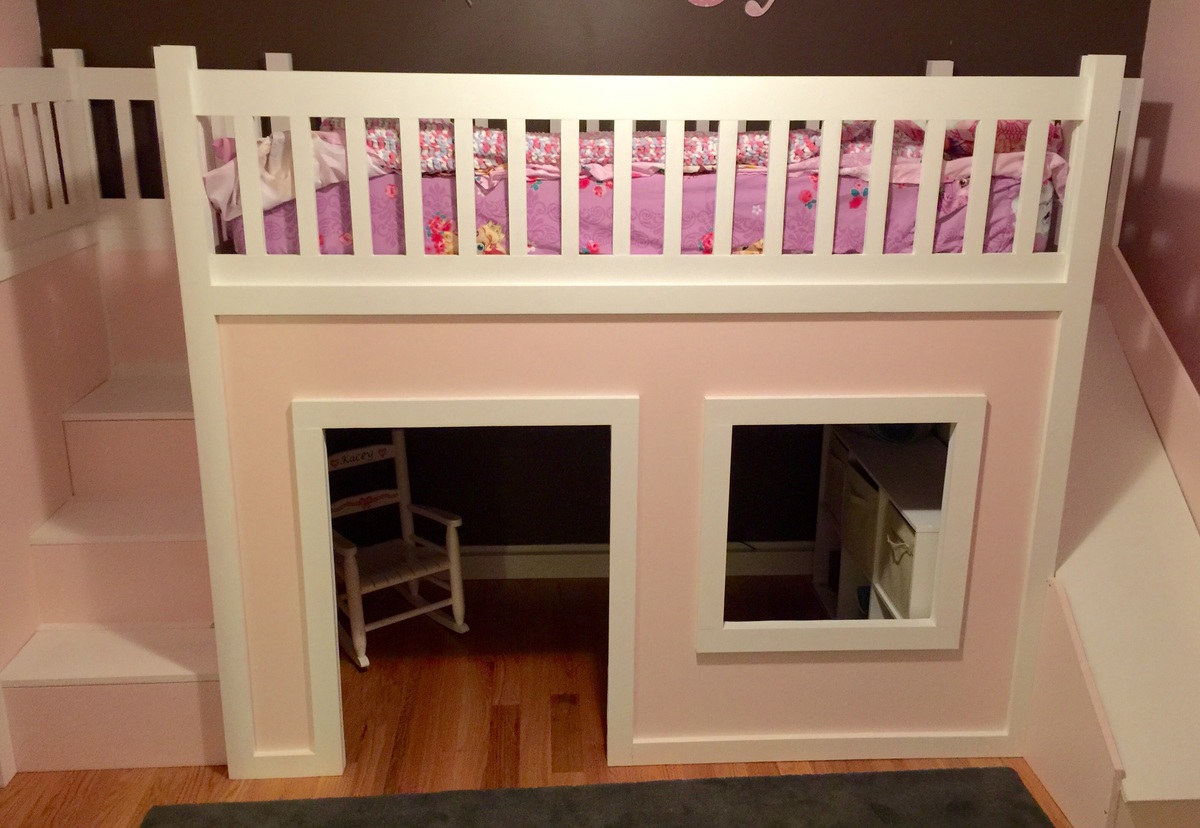
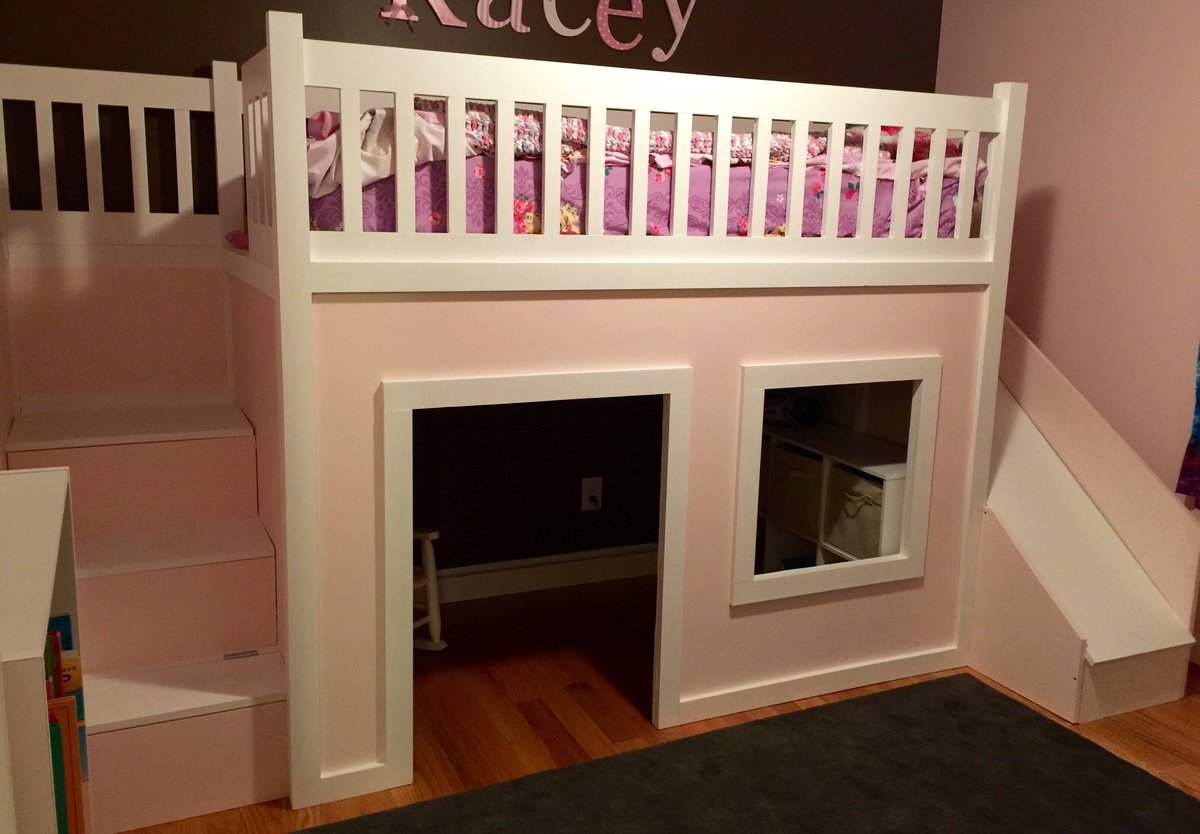
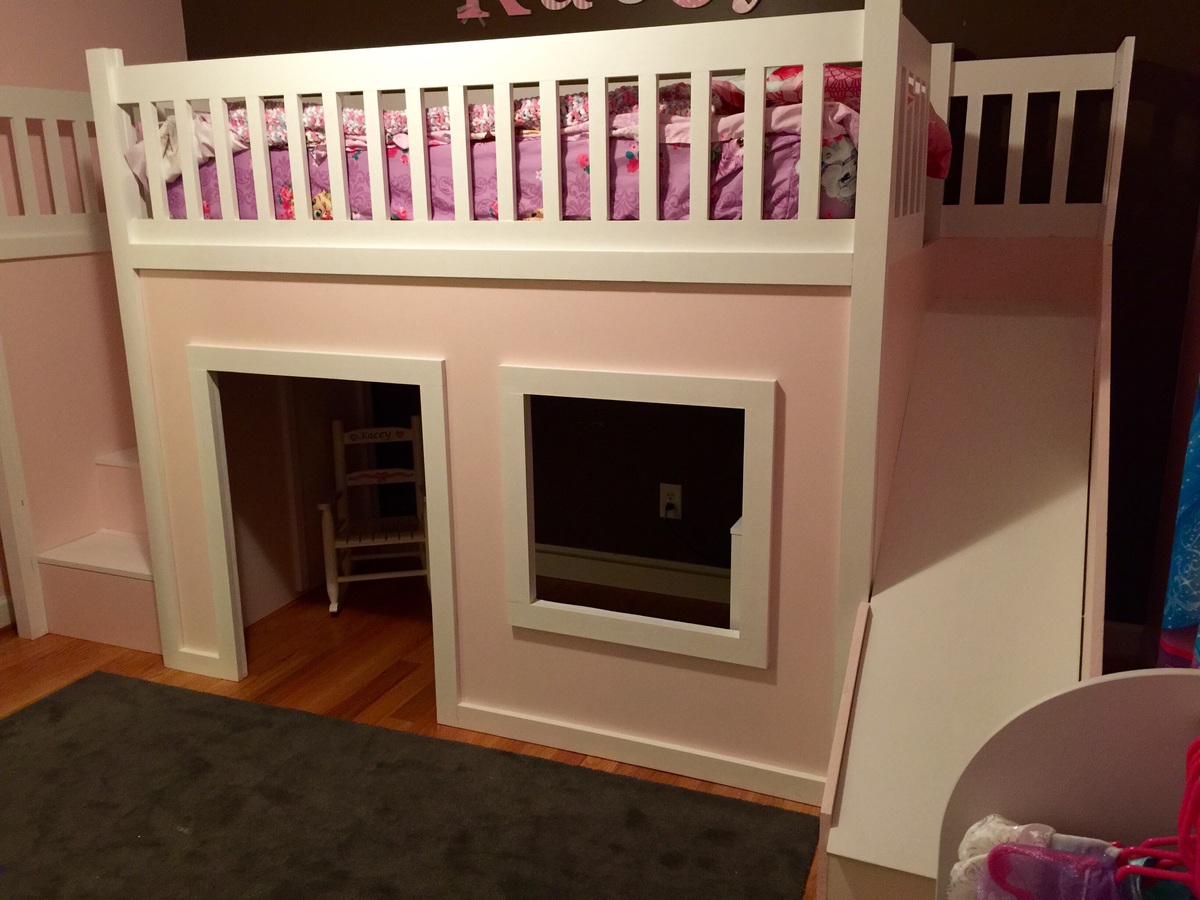
This is by far the biggest project I've completed yet. It actually surprised me how easy it was to complete. It did take me about 4 days to build the project and an additional week to sand and paint the project.
I followed the playhouse loft plans and the storage stairs plans, adjusting only the back to allow for the additional length of the slide. I didn't add the windows to the sides (I didn't see any point in having them there). I also used the castle loft plans for the slide. When I first started this project I was planning on making the slide completely separate. I changed my mind mid project after I had the side wall cut to length at Lowe's, so I just added that small piece to the left of the slide to make up for the gap. I also made this project in 4 separate pieces (stairs, slide, front wall, back) so I could put it together in her room in one evening and not have to kick her out. Once we moved it to her room all I had to do was screw the four corners in and attach the back wall and bed slats.
I definitely recommend not using particle board. I had no idea what the difference was between particle board, mdf and plywood when I started this project. Particle board was less then half the cost of plywood, but looking back I would pay the extra for the plywood. I don't feel like the screws hold well in the particle board and it also chipped on the bottom some. I actually had a chunk come off in the corner where I must of screwed to closely to the edge. I'm sure this is basic knowledge for most, but for those newbies (like me) just a little tip.
I had a lot of fun building this bed (not so much sanding and painting) and learned a lot. Now off to browse for my next project :)
Thu, 07/09/2015 - 07:30
Awesome job! Looks clean and not even close to DIY. Keep it up!
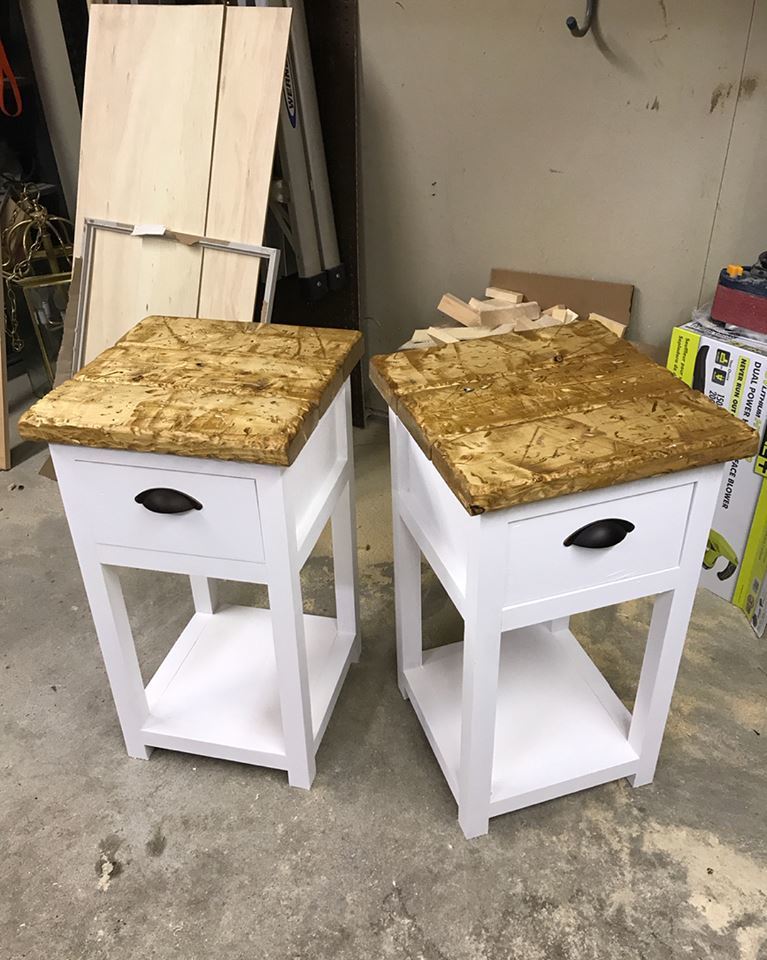
This was a really fun project. I altered the dimensions slighly to fit my space. I also used a piece of 1/4" ply for the bottom shelf instead of thicker common board. You can keep the cost way down if you rip 2x6's into 2x2's. A single 2x2 is about $10 whereas a 2x6 is $6. You get three 2x2's out of the 2x6, so you're basically getting triple for half the cost. Pick REALLY straight 2x6's though!

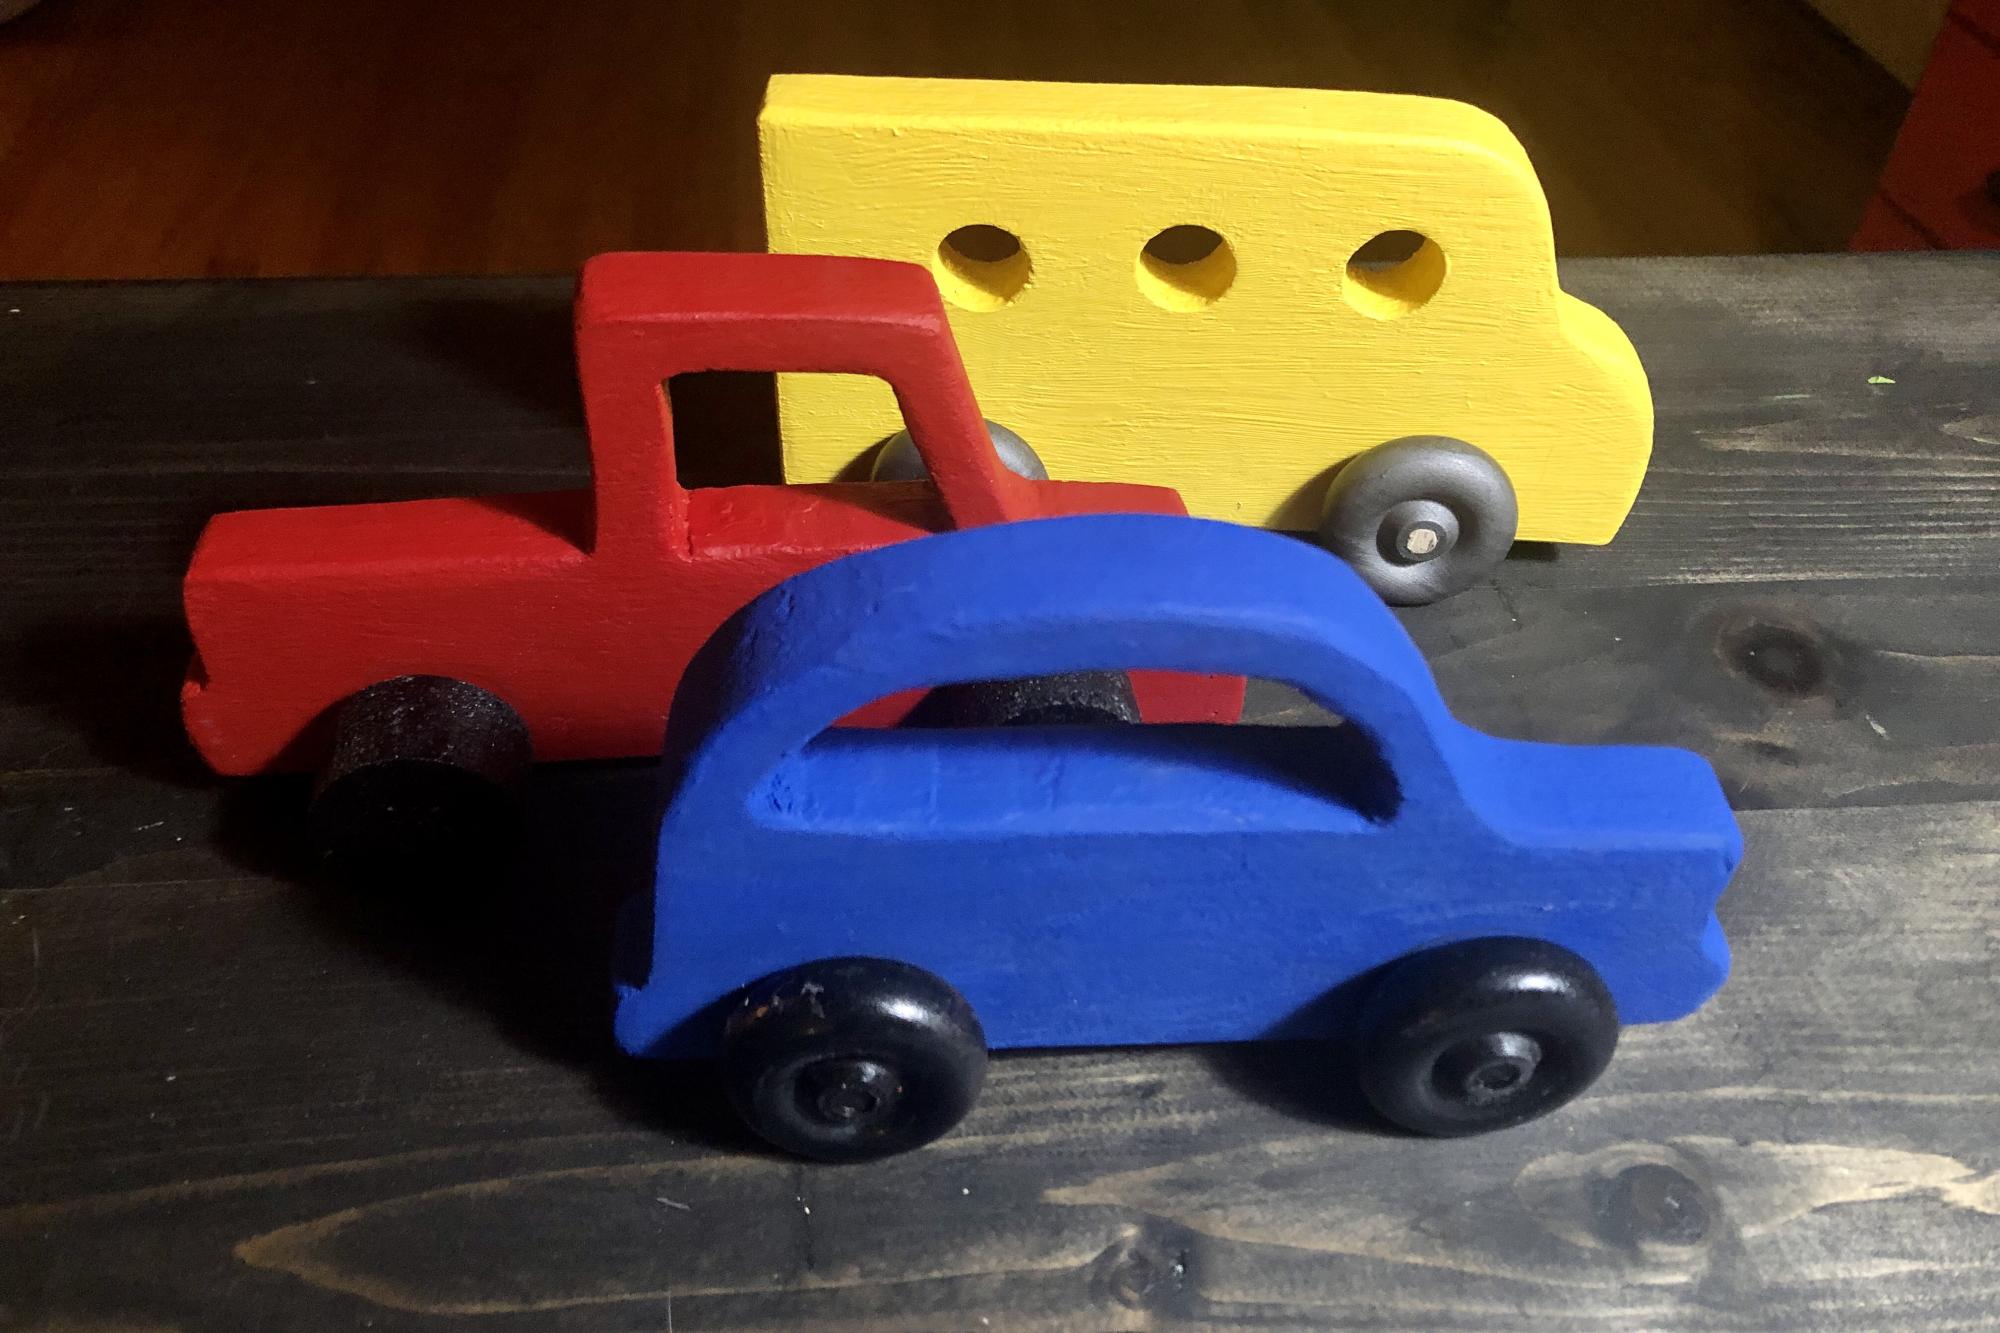
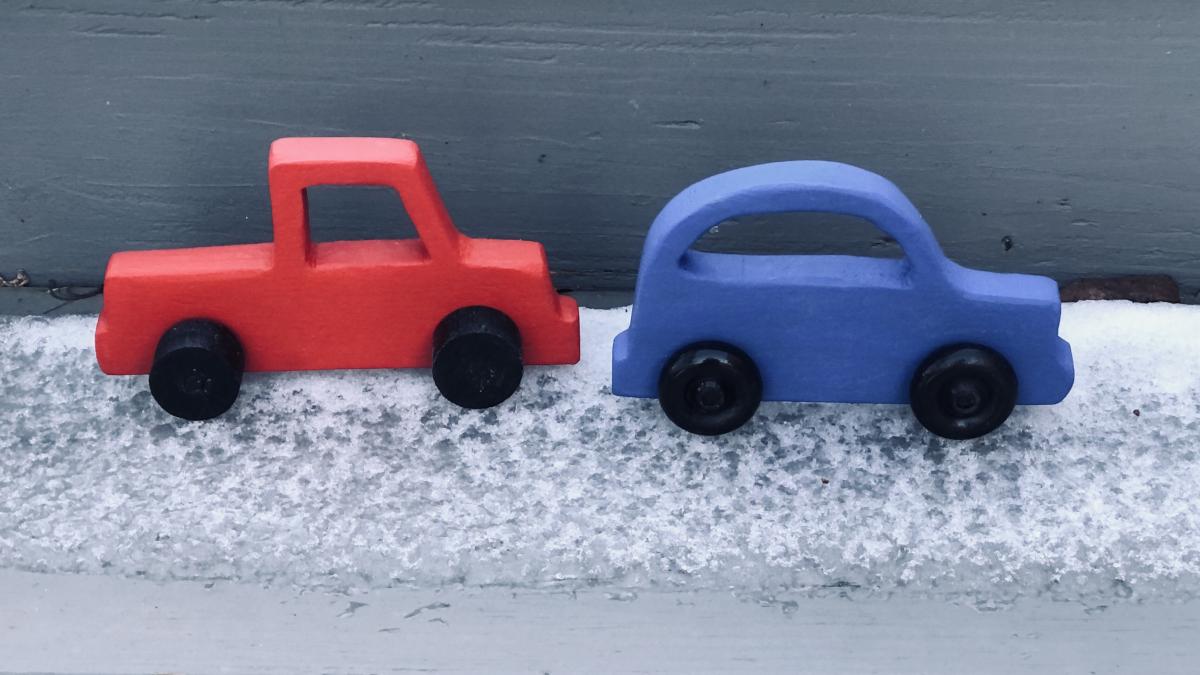
These are fabulous little vehicles that I made for my 18 month grandson when he visits. After making the car and truck, I decided to add a simple bus with round windows.
I used scrap wood, cut out the truck wheels with a hole saw but purchased a package of wheels for the others. My little cars aren't perfect but that adds to the charm.
Wed, 01/26/2022 - 08:34
These are great, thank you for sharing, you're grandson is sure to love and cherish these!
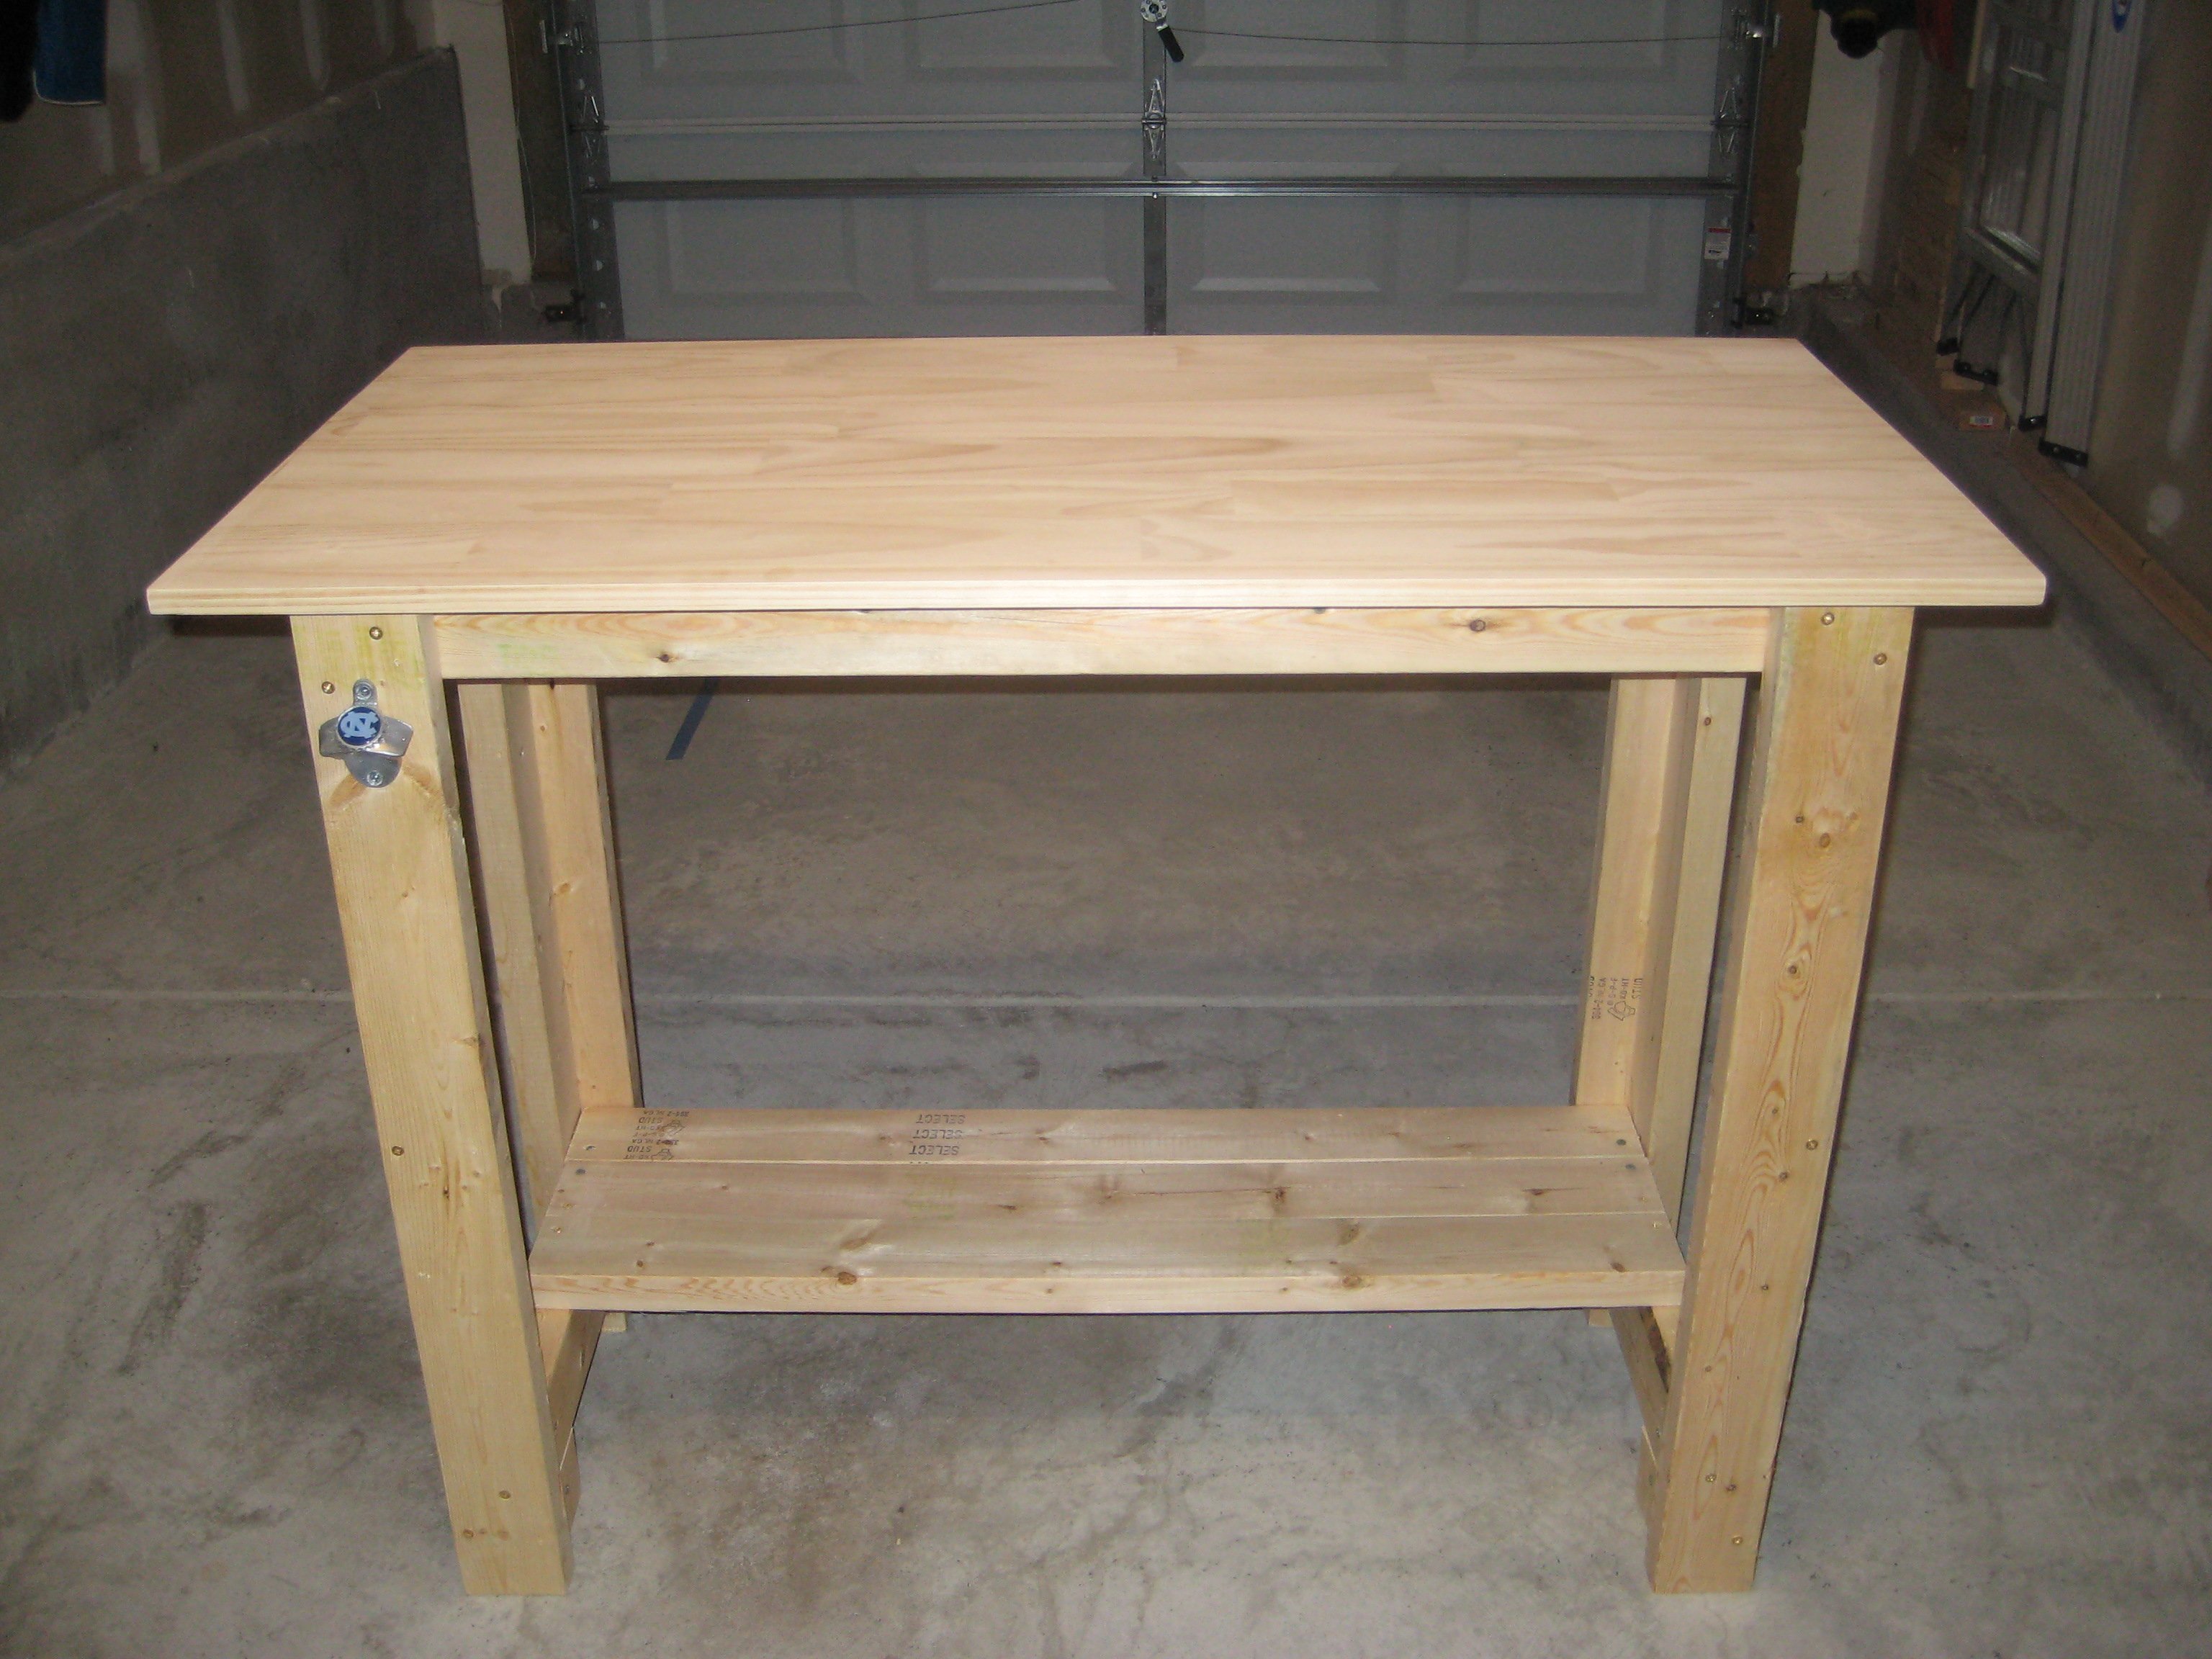
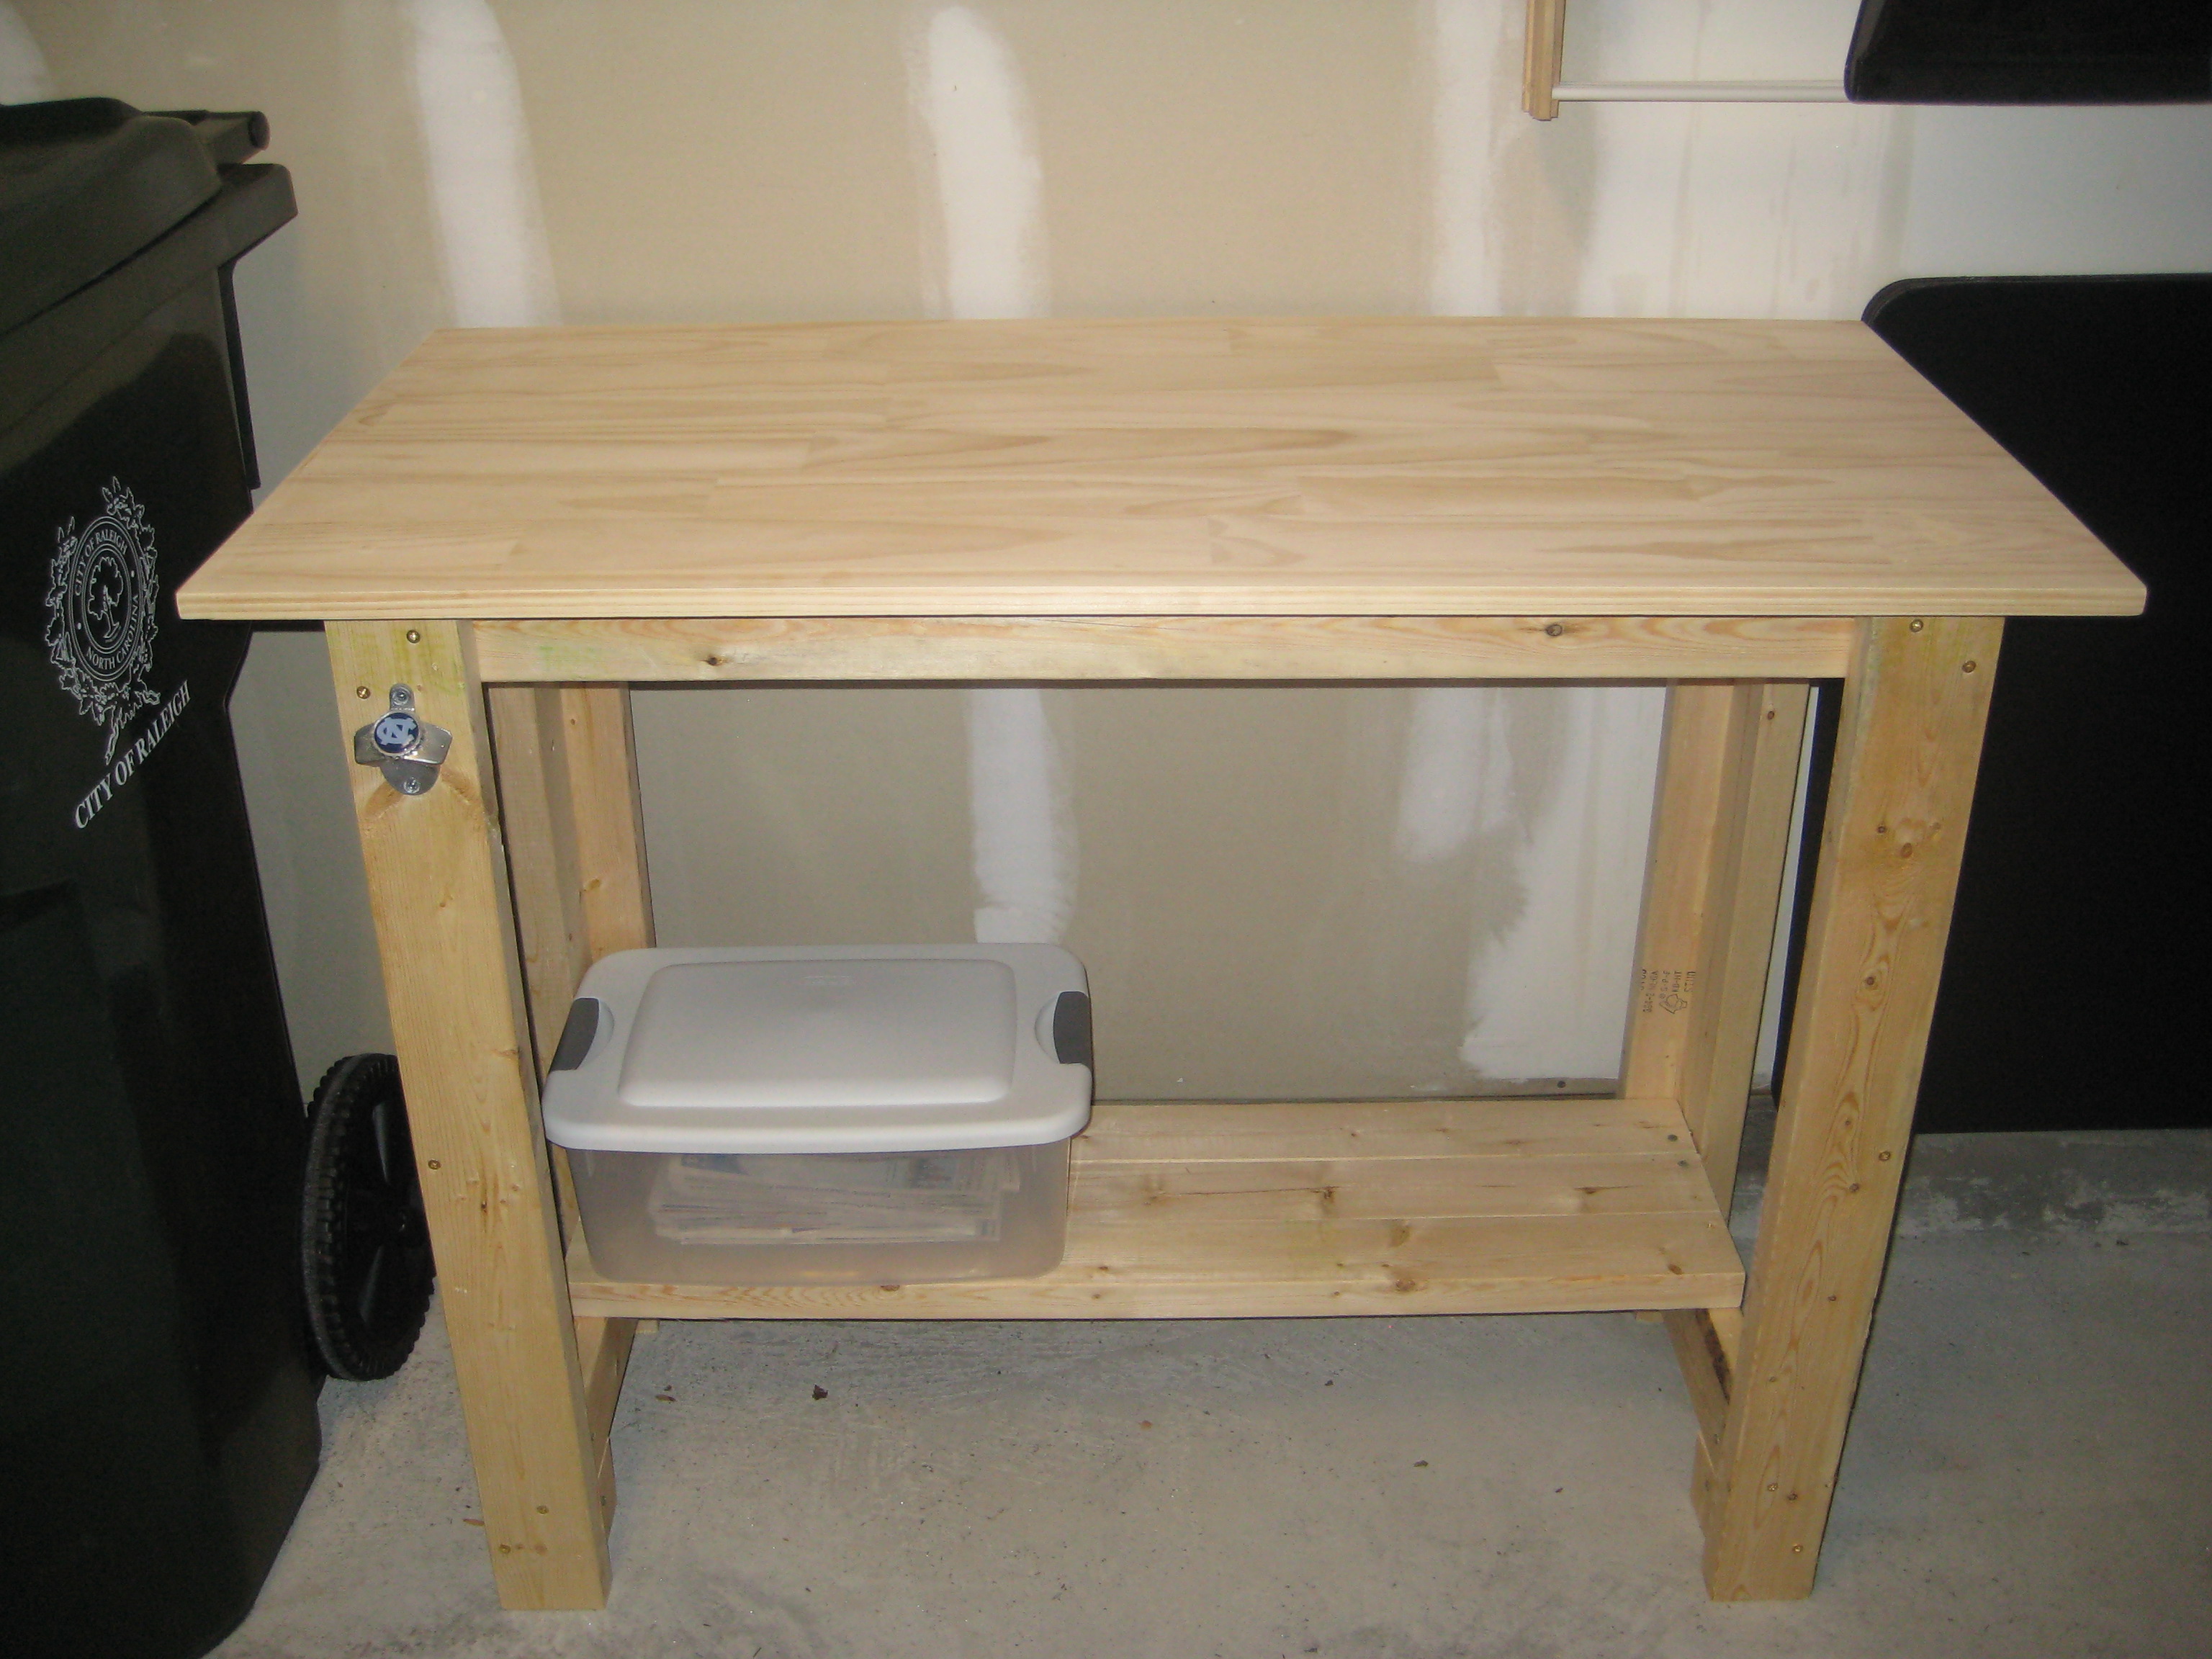
My first project from Ana's website! I figured in order to make more furniture I'm going to need a sturdy work bench to help me along the way. I cut my legs at 36" instead of 33". The 3 added inches brings it to a standard kitchen countertop height (I think, at least mine is). Thanks for the inspiration and plan pericles49!
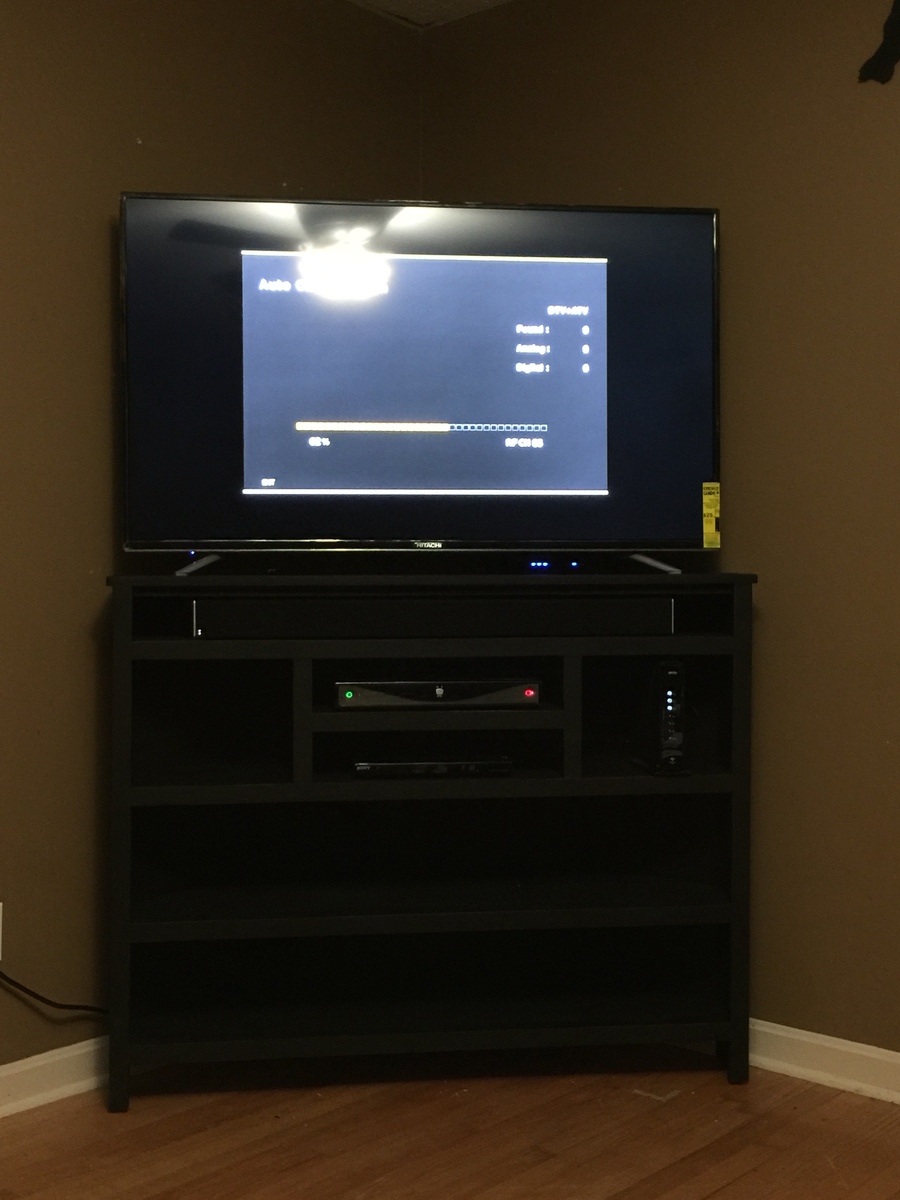
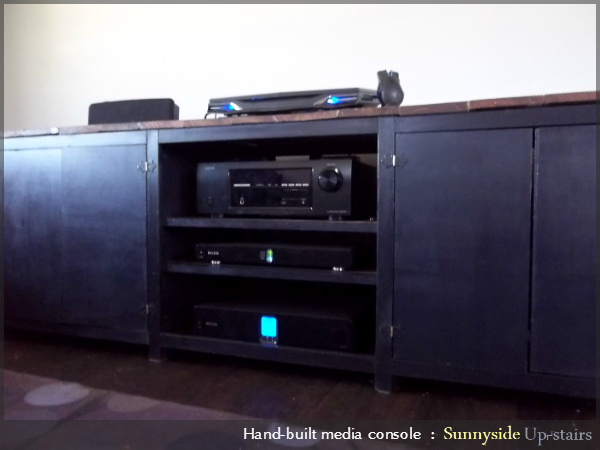
Easy excellent project for That odd room you may have that needs a corner tv stand.
I use pre made 16" wide 3/4" MDF shelving from Home Depot for the Shelves, Used 1" x 3" for the top, and sprayed it all with Rustoleum Industrial flat black which dries in 15min, was the large size cans for $5.40 and and only useds 3.25 cans to paint the whole thing.
TV is a 55" Class so it actually works perfect, because the tv stand is two legs and not the typical center mounted ones. so put the tv toward the front of the console and the console is as far as you can go into the corner.
I have two power strips screwed to the back of the console, along with a cable amplifier, my wireless router for the house sits right behind the TV and you can see the blue status lights under the bottom of the TV.
Have my speaker bar in the added shelf #1 below the tv, comcast cable modem in the right side square, TIVO in the center top, DVD Player in the center bottom, and loads of extra shelf space for whatever else I can think of....
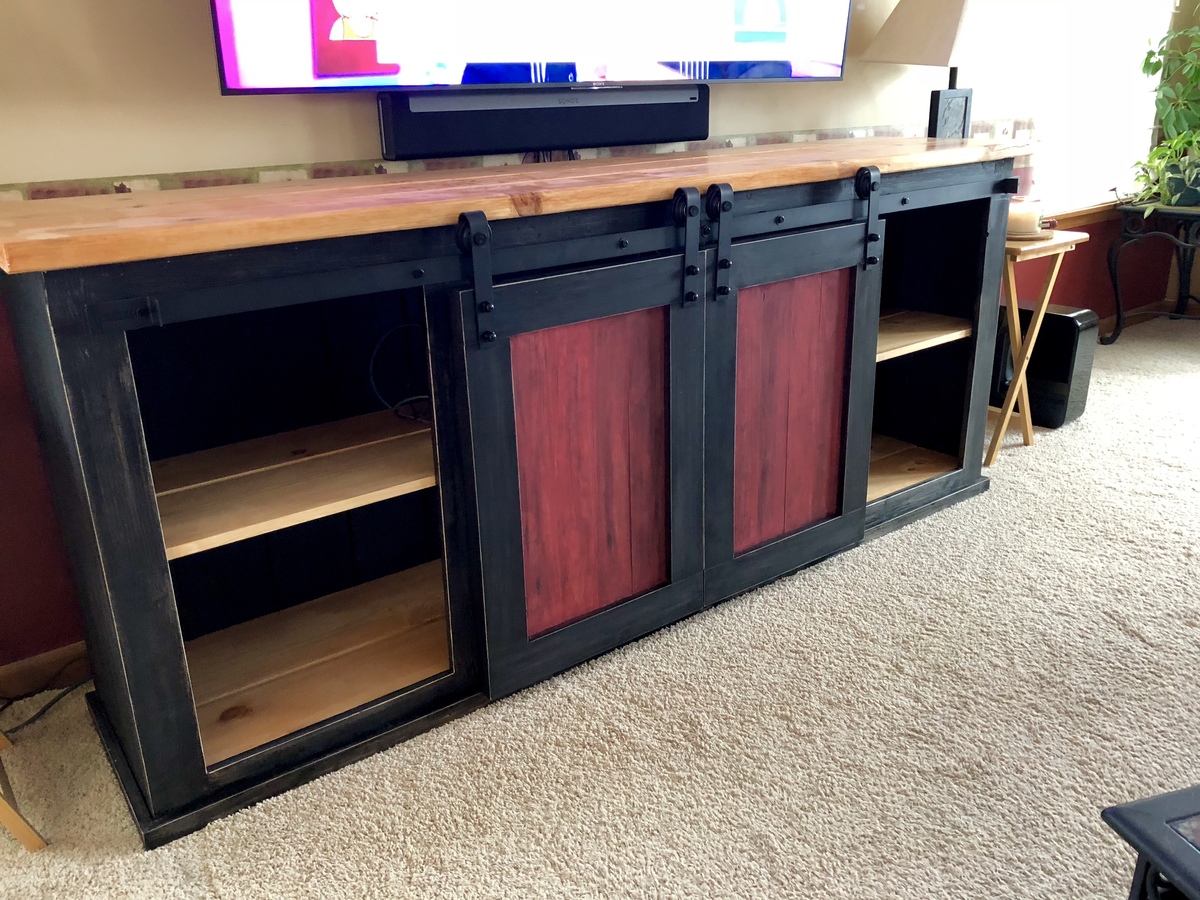
7.5' long cabinet, made with pine boards. Hardware purchased on Amazon.
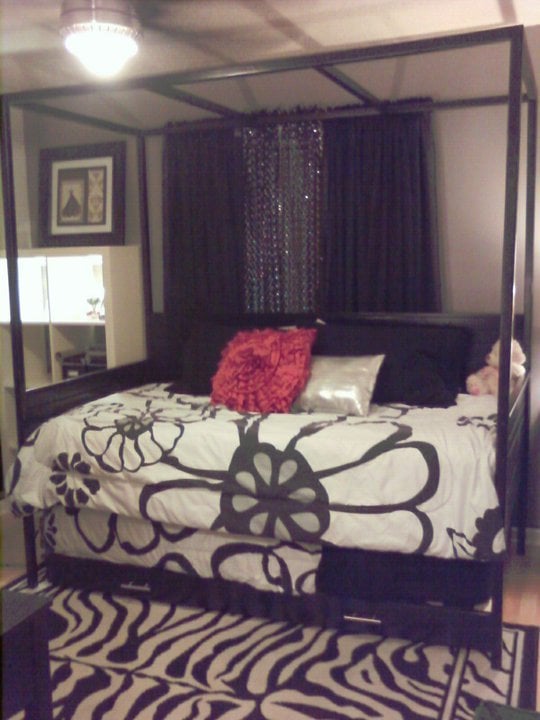
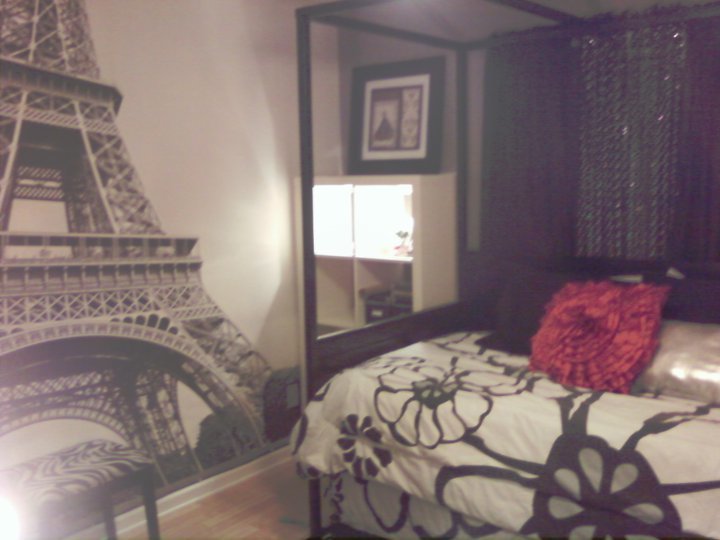
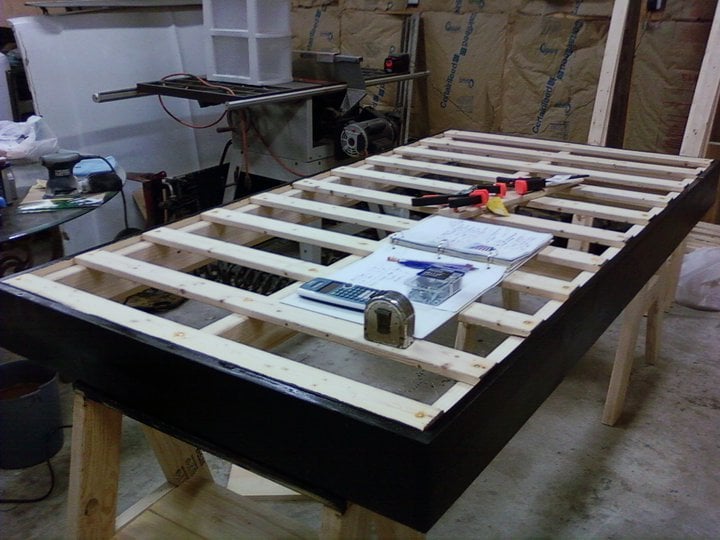
The daughter was whining (since that's what teenagers do) for a new bed(room) and a daybed was a requirement. After searching for the perfect one, we couldn't find one that worked with MY budget! When I came across these plans, I was thrilled (especially after I took a few minutes to calculate the cost)! Needless to say, I made some alterations to 1) the mattress height to accommodate the 2) trundle unit I designed. A custom ordered bedskirt (not shown) provided the perfect camouflage for the trundle and the chandelier (not shown) suspended between the center of the top rails added the perfect French touch for my daughter's dream "Paris themed" room! Thanks for the great site, can't believe I have never thought to make one myself, lol!

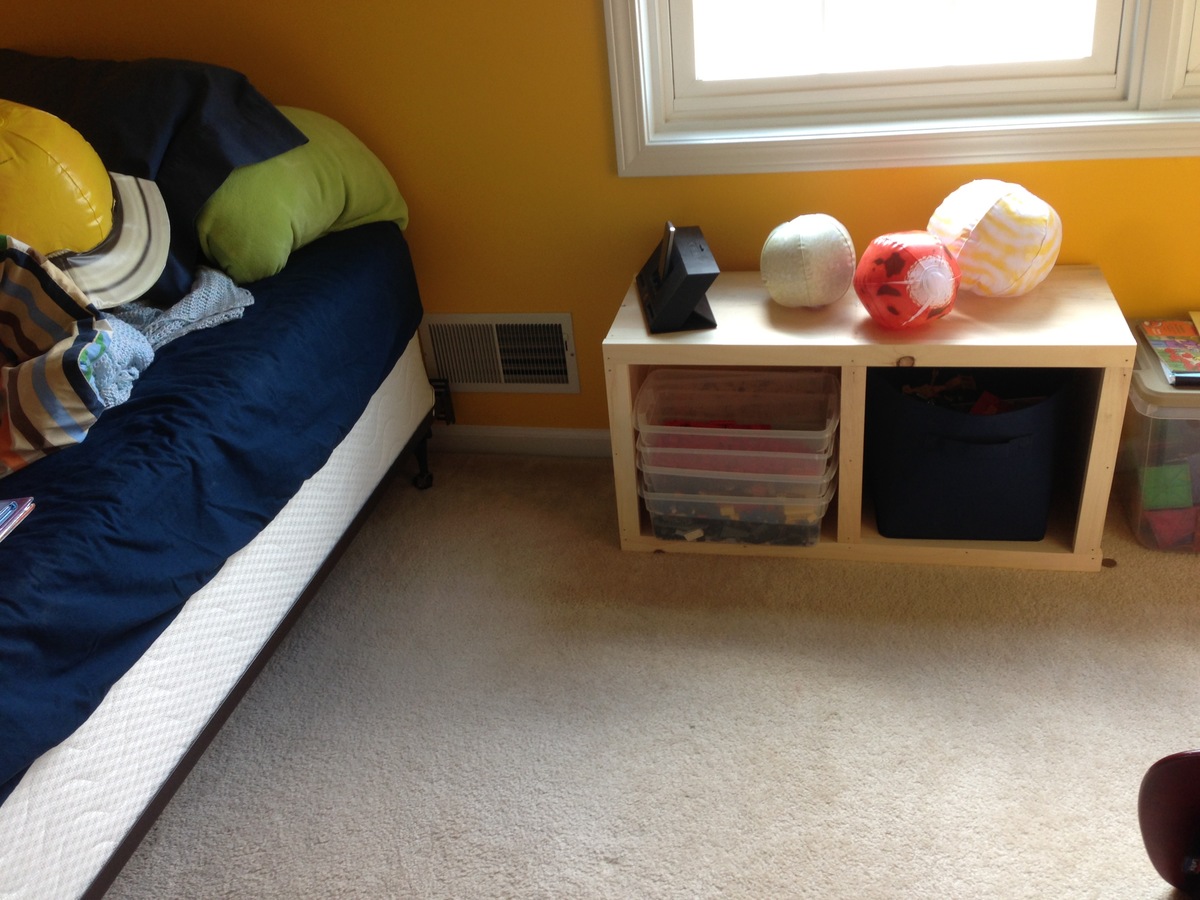
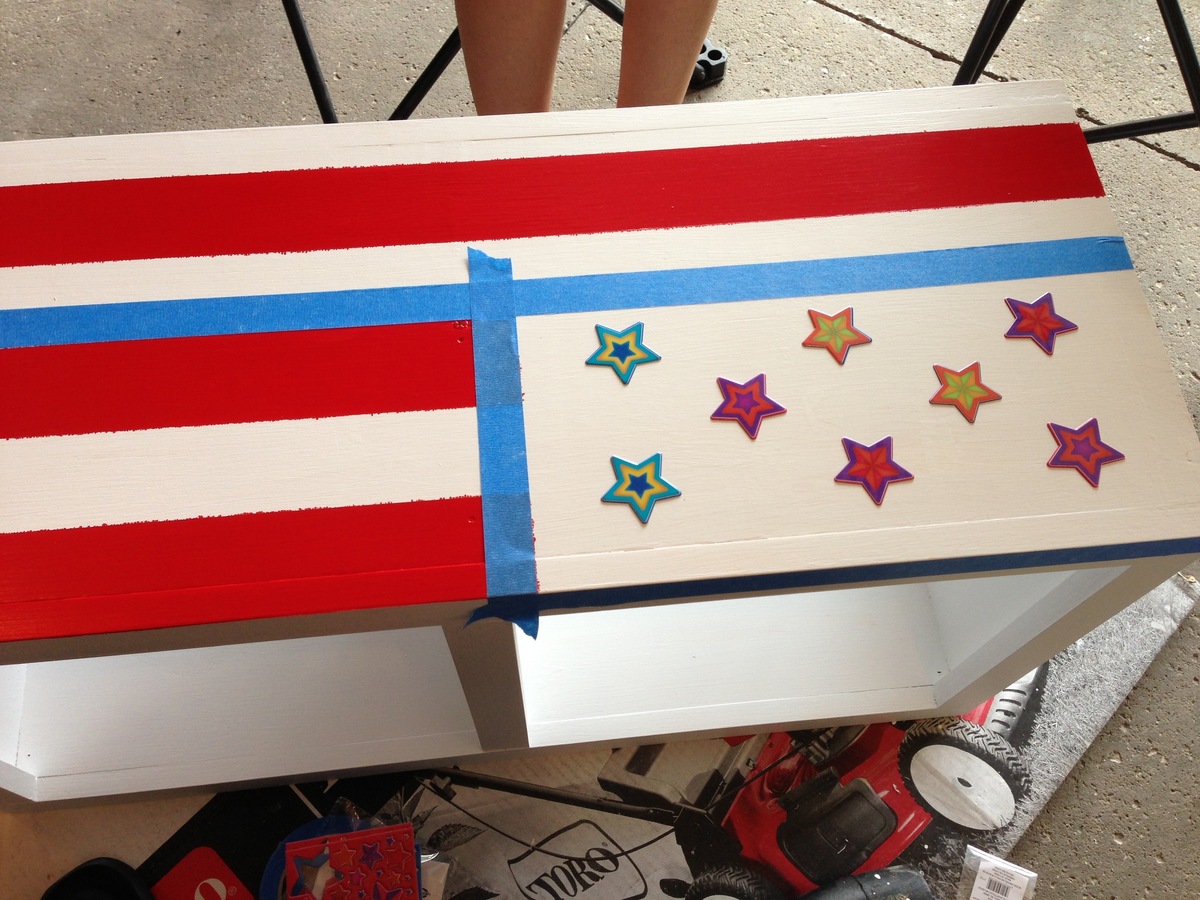
My 8-year-old and I built a shelf for his room, based on the Rolling Cubby Bench plans. (The paint job is all him. He originally suggested trying to paint a picture of an eagle on it, we ultimately settled on a partial flag.)
I'm fairly new to woodworking, and this was my second of four projects I've built using plans from this site so far. Cutting and assembly was just a couple of hours, but finishing stretched this out into a several-night project.
My dad and I built this table for my wife's birthday present.
Comments
Ana White Admin
Mon, 01/03/2022 - 12:26
Beautiful greenhouse!
Thank you for sharing, it looks perfect, love the happy face!