Community Brag Posts
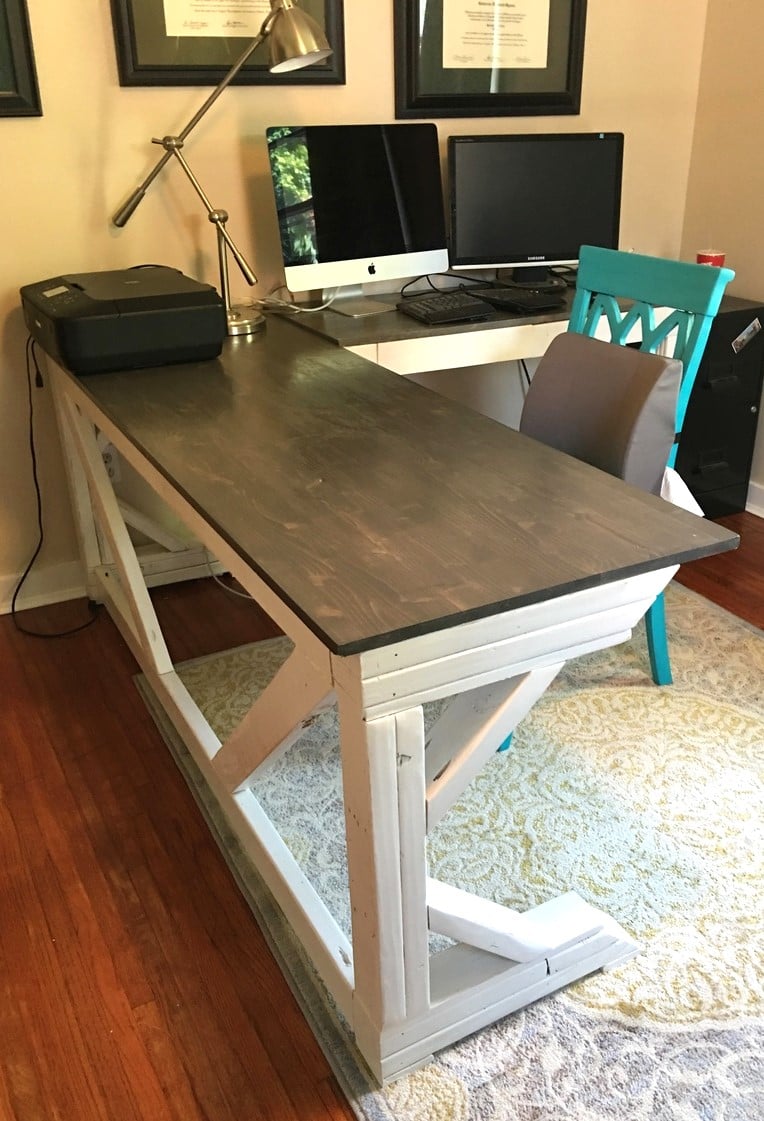

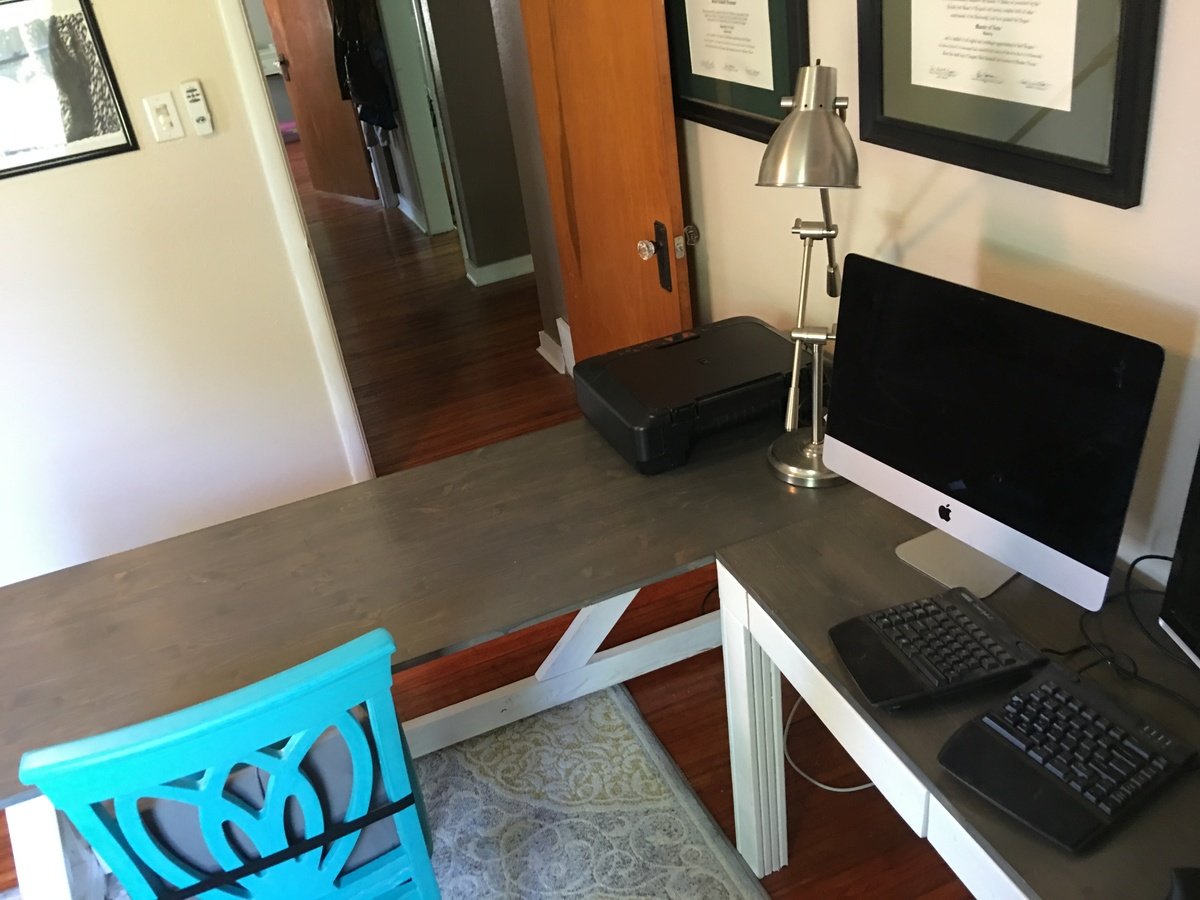
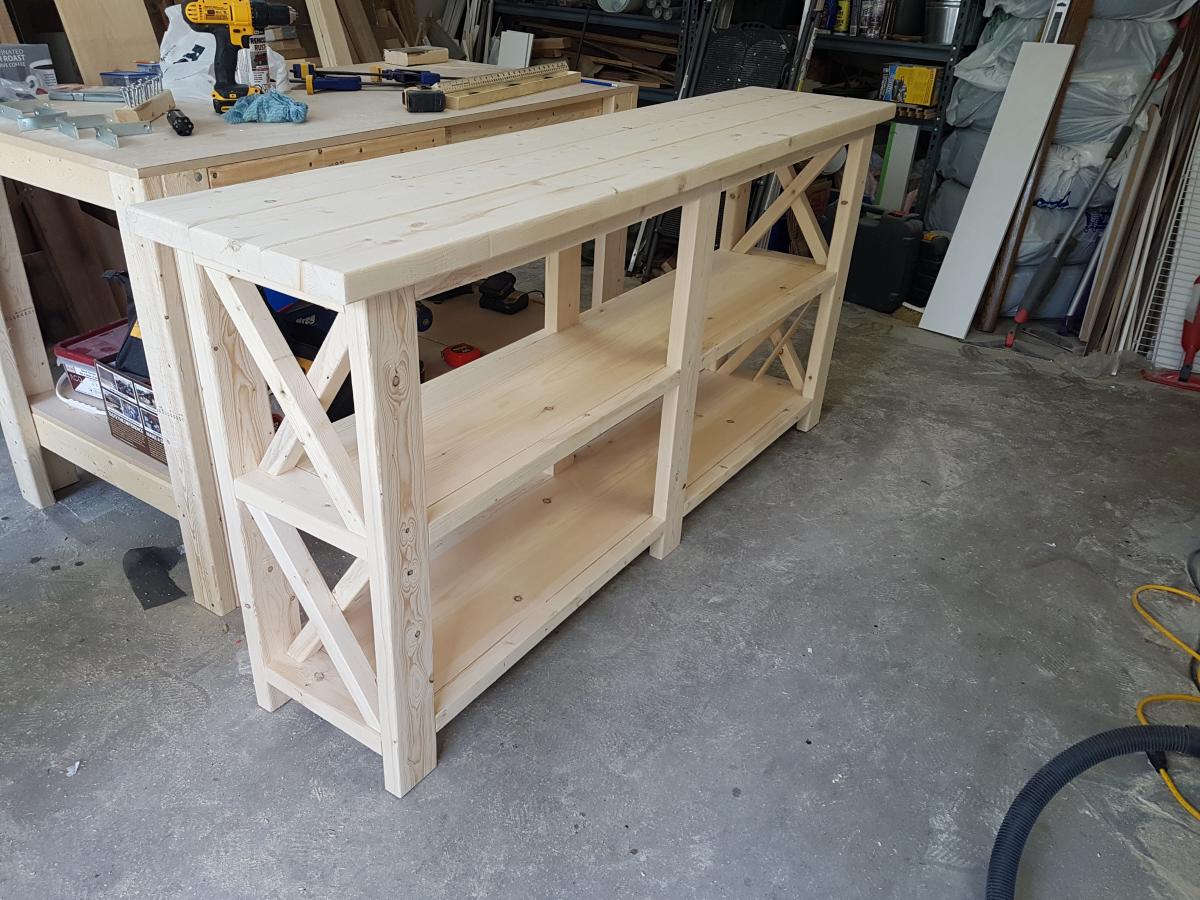
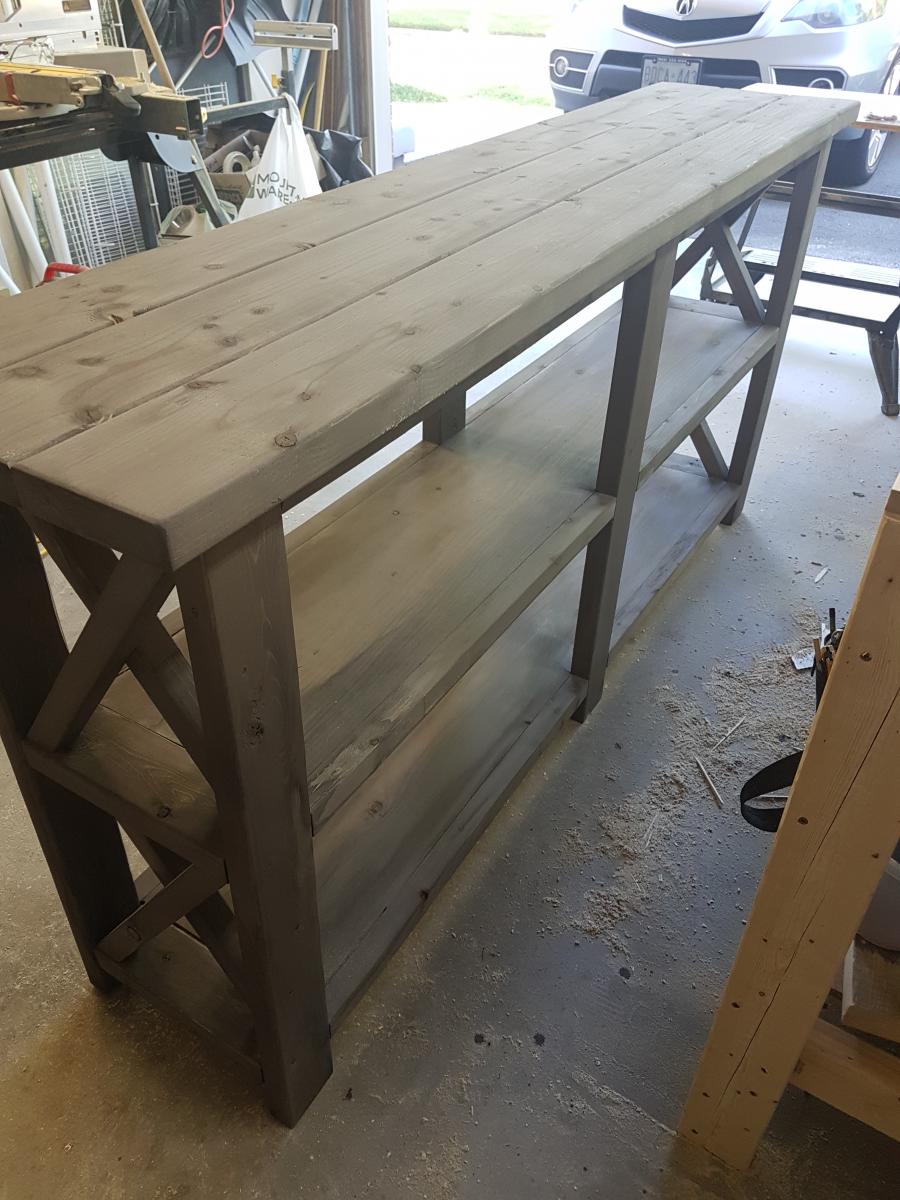
Farmhouse X Console Table
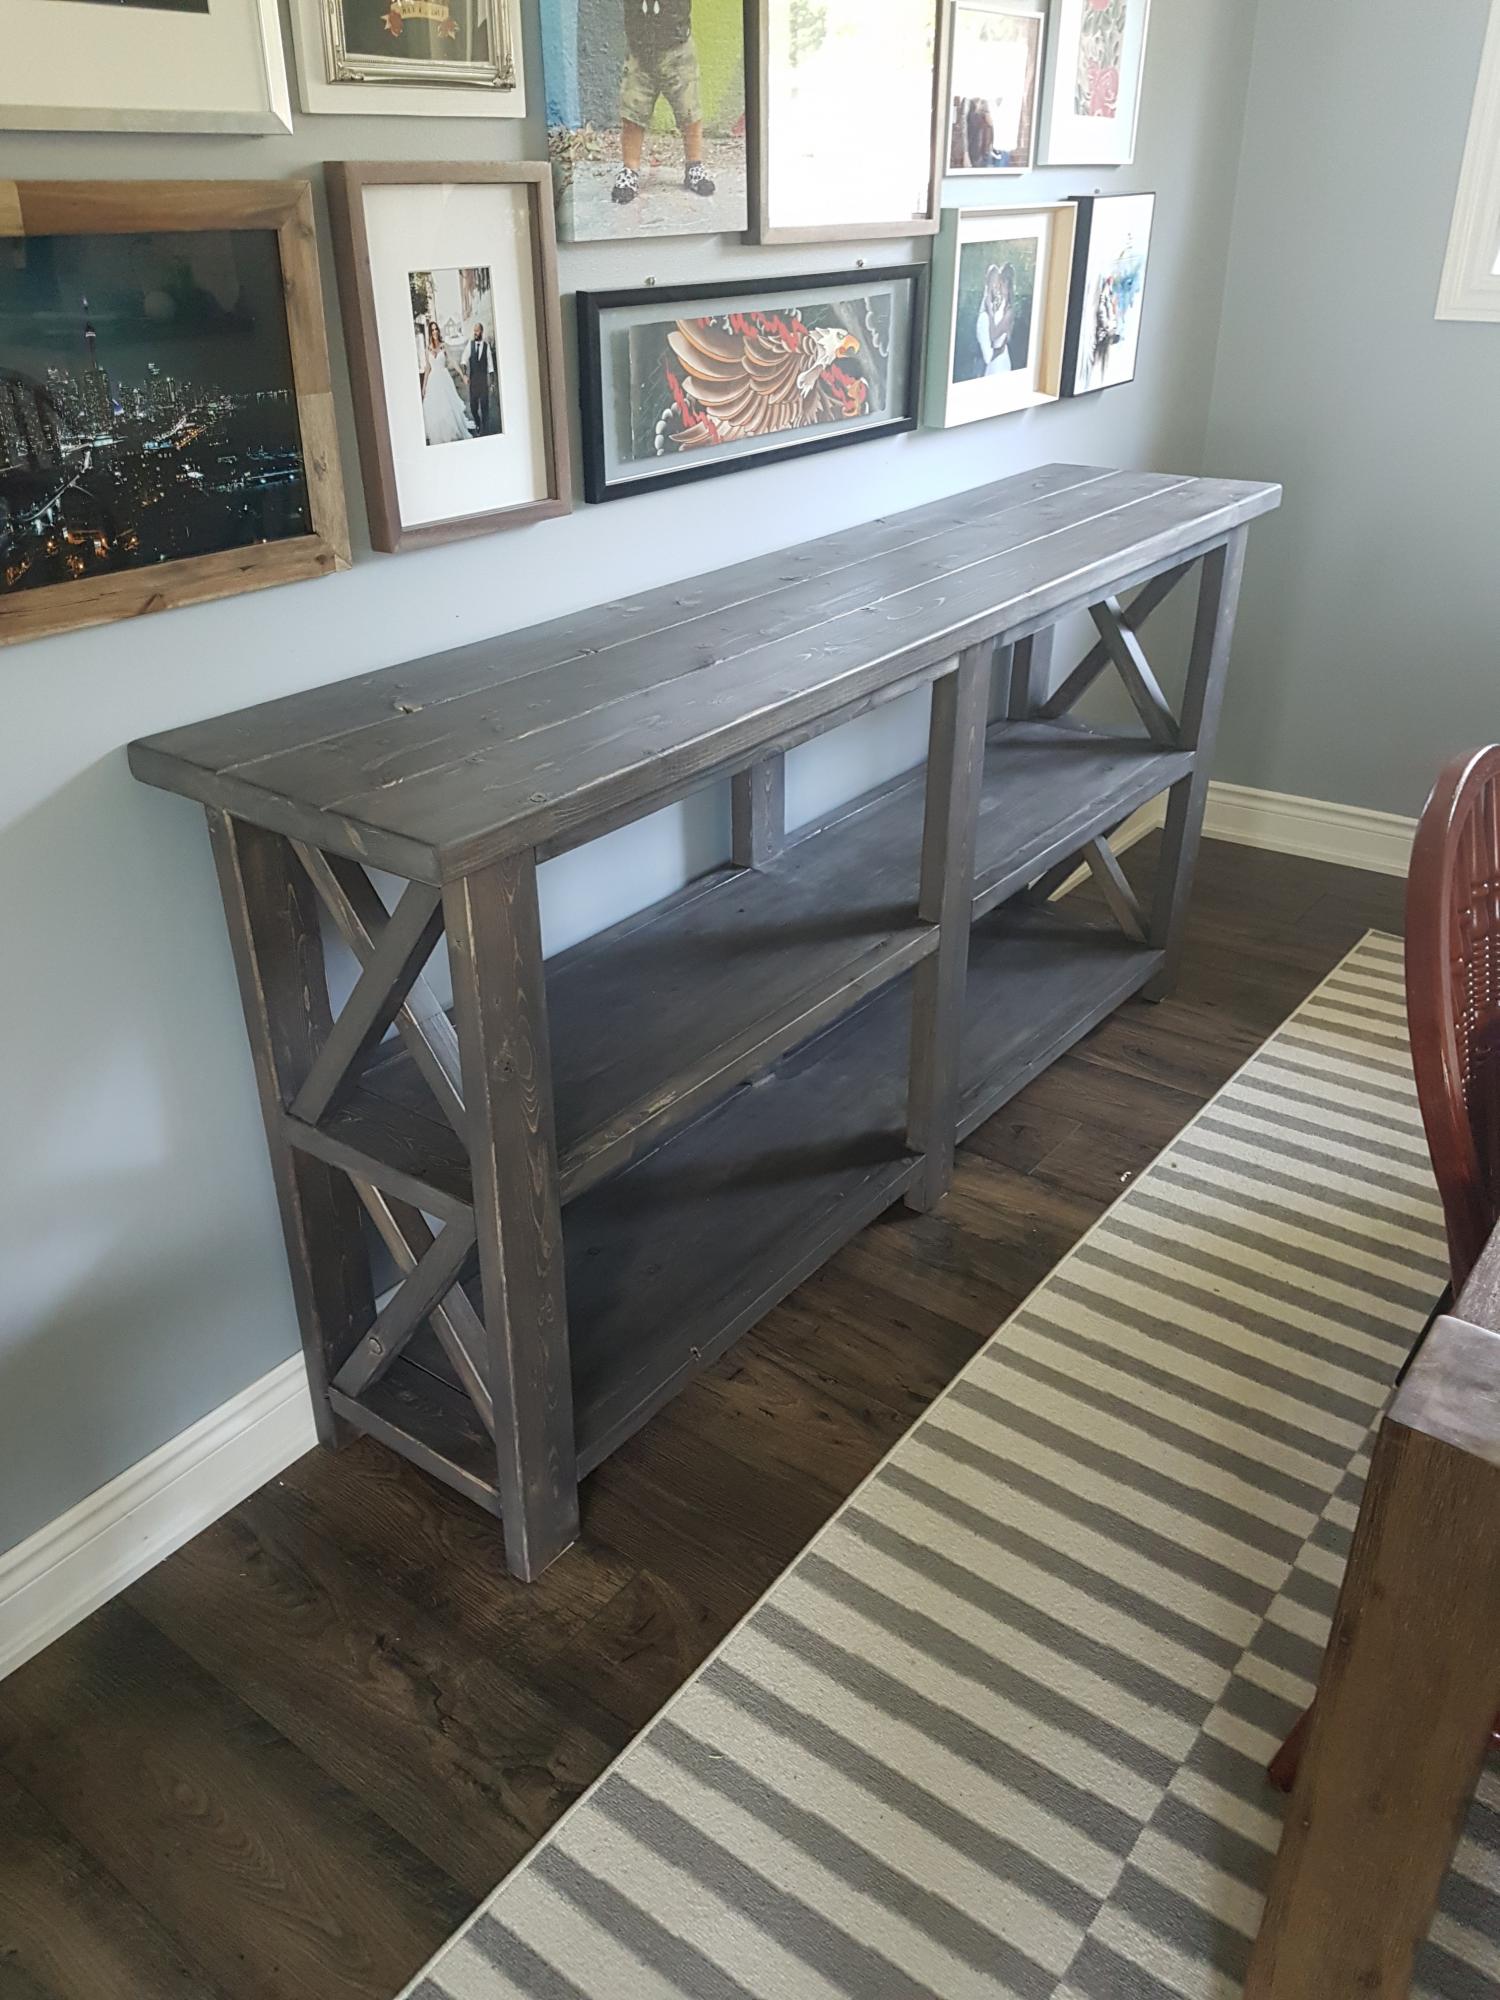
Only slightly modified version of the Farmhouse console table.
Built from Plan(s)
Estimated Cost
$90
Estimated Time Investment
Afternoon Project (3-6 Hours)
Finish Used
Saman stain mix
Recommended Skill Level
Beginner
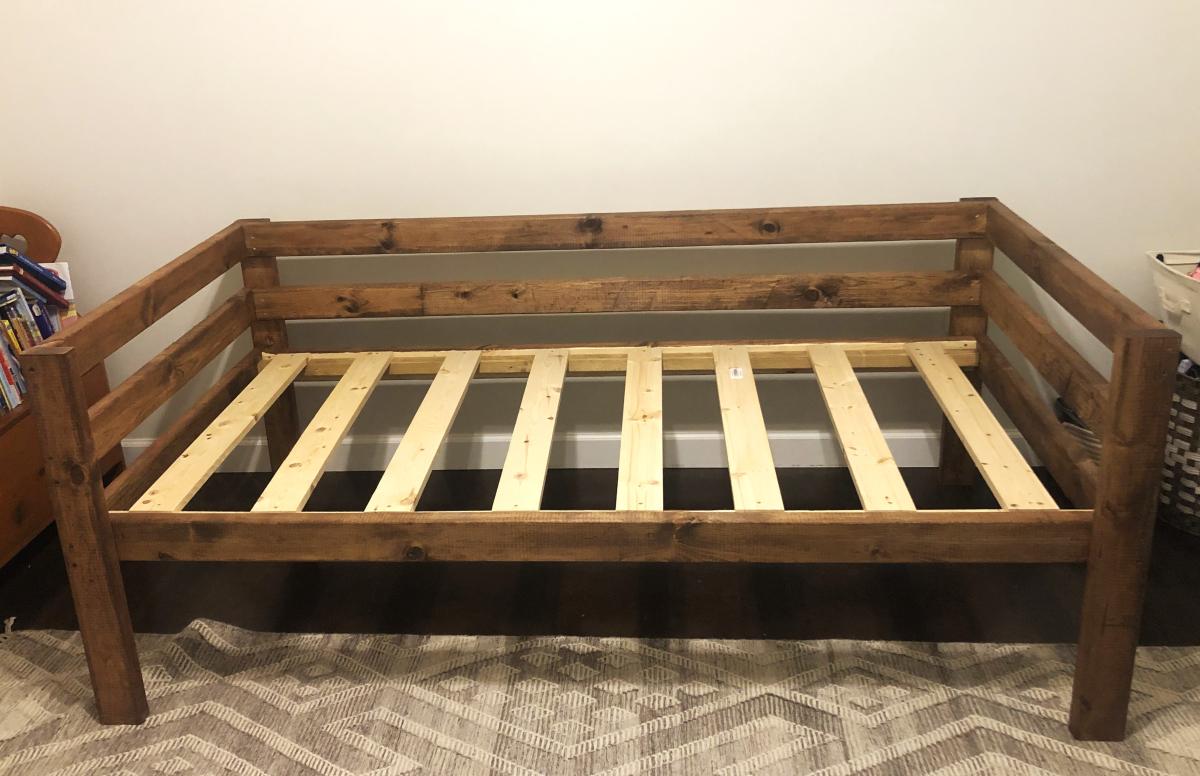
Simple DIY Daybed

This is the daybed option. The plan and cut list worked great.
Built from Plan(s)
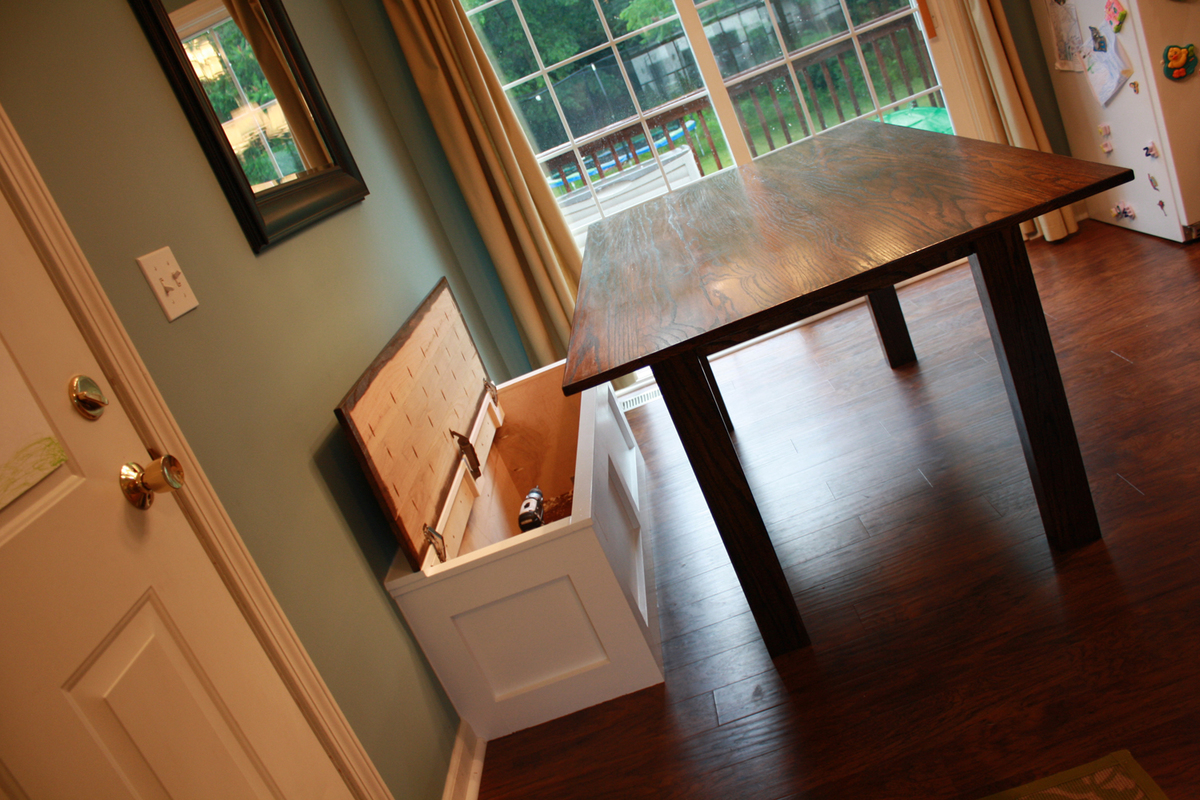
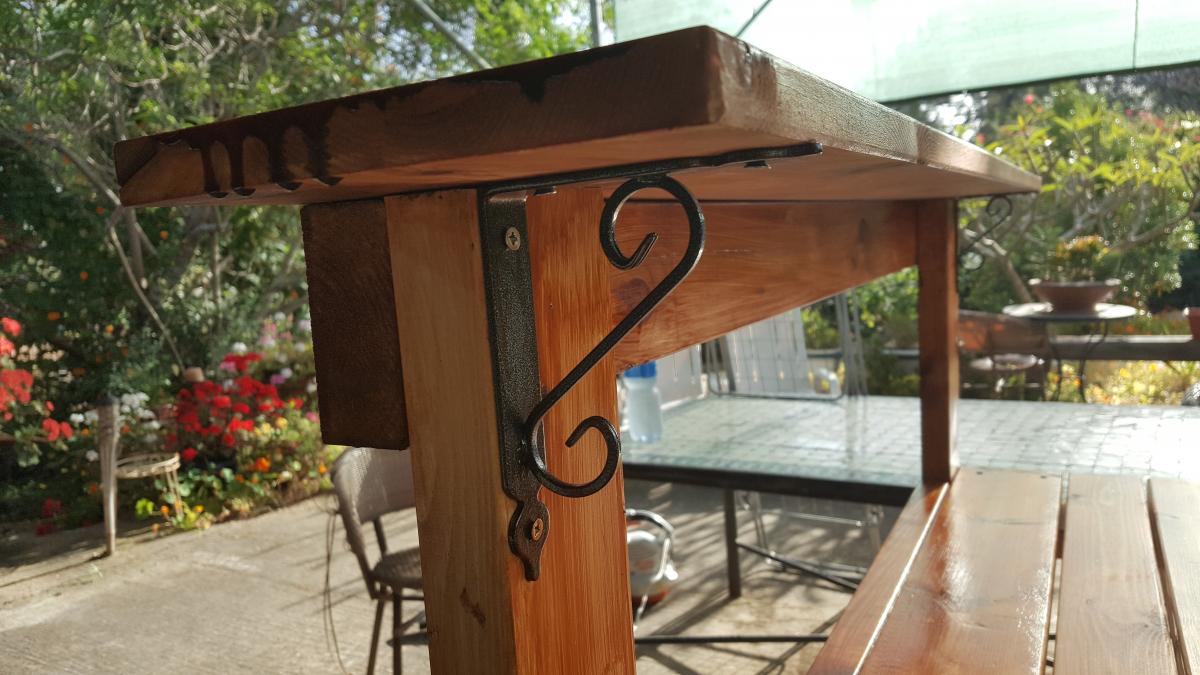
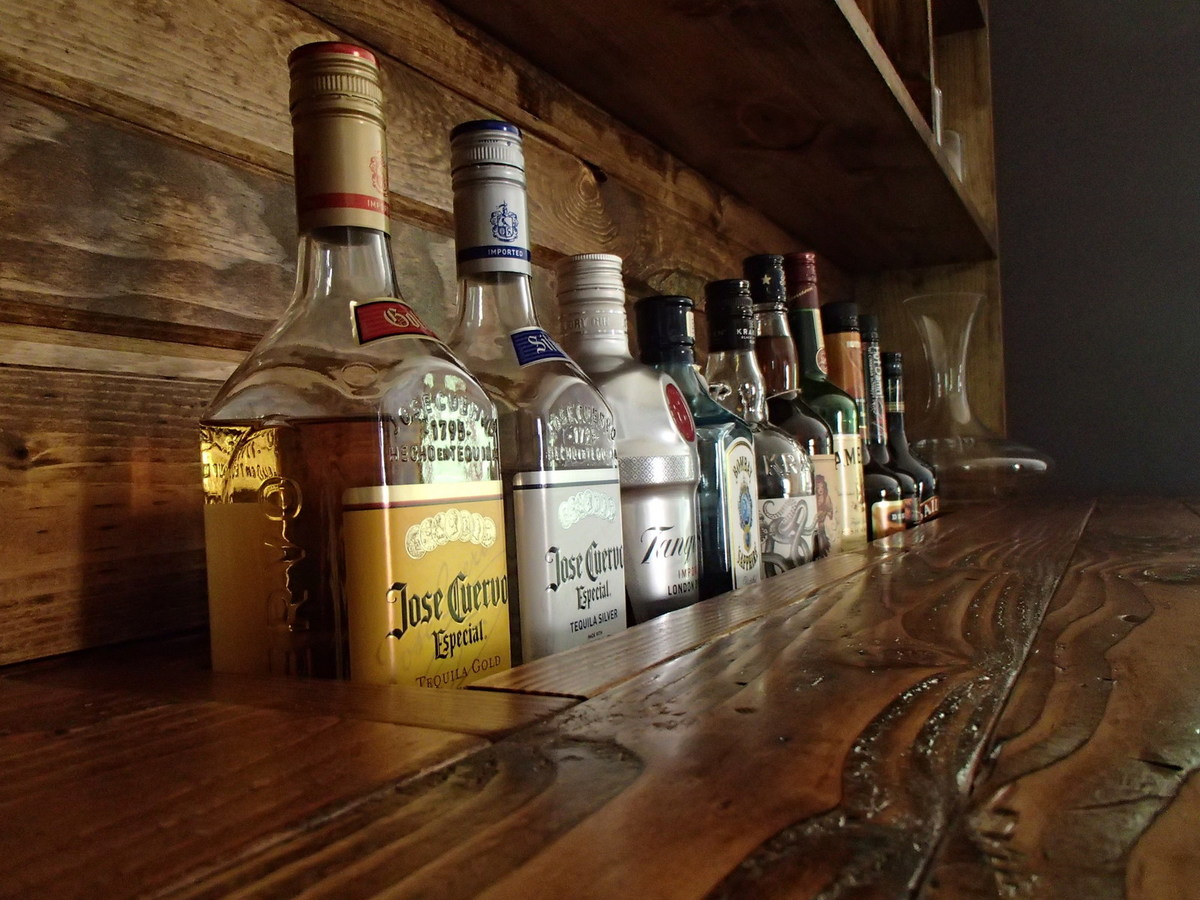
Craftsman Style/Farmhouse Table Hybrid
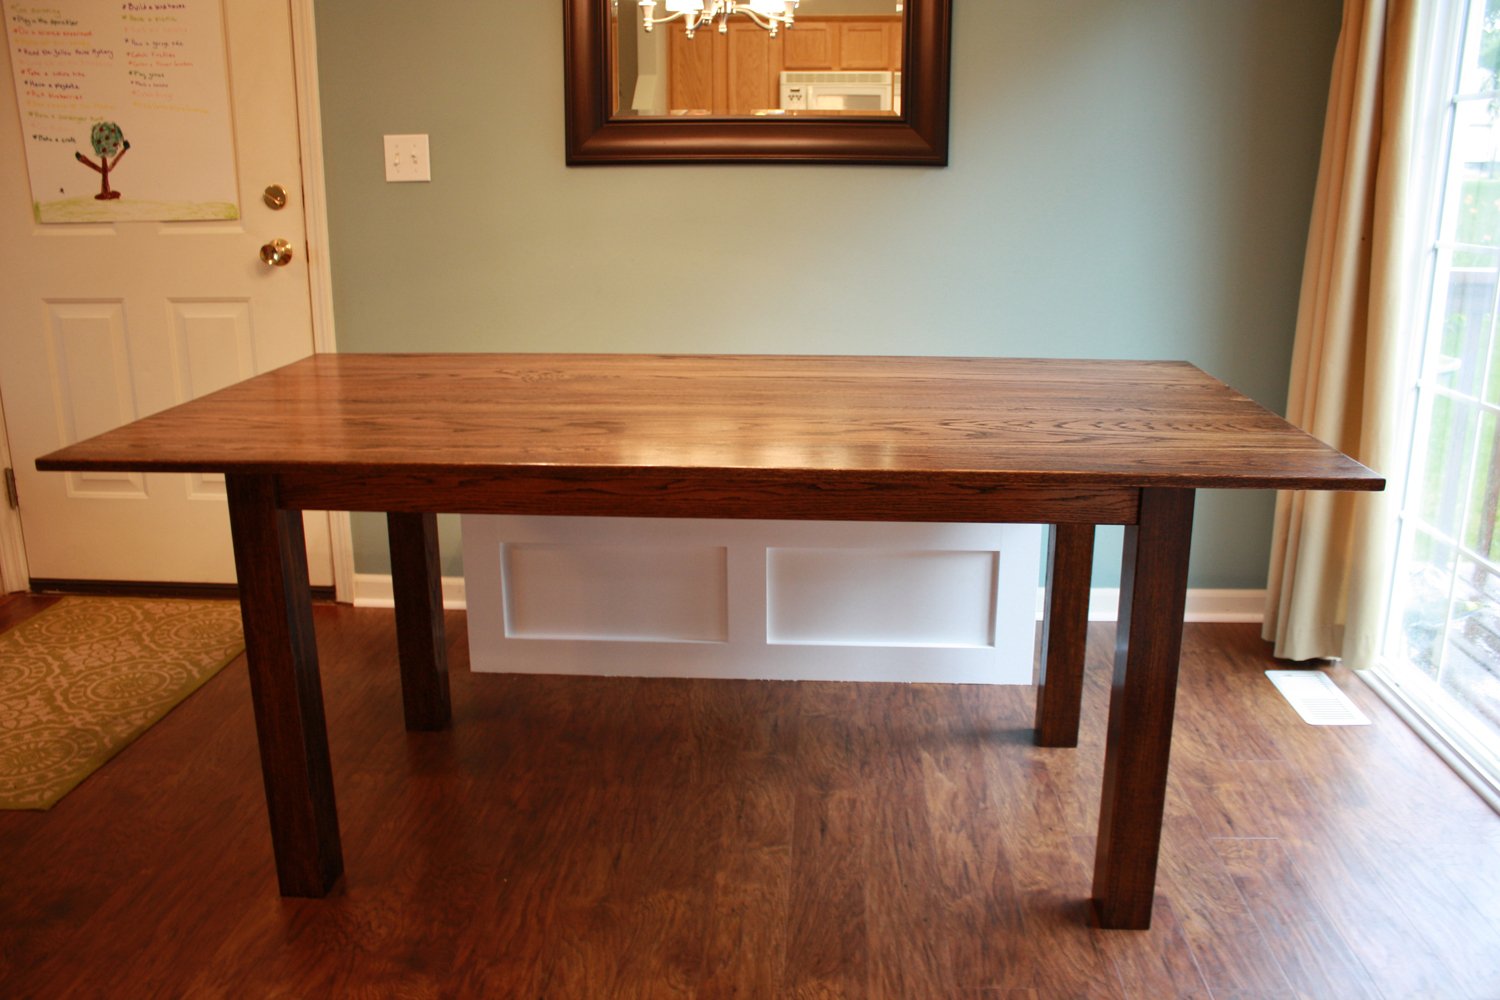
A few months ago we decided to build ourselves a new table based on the Farmhouse Table plans. We knew we wanted to make the table out of some red oak that I had gotten for free, so we would deviate from the plans a bit. Long story short, I deviated from the plans _quite_ a bit. We had planned to make the table essentially with free materials, but that changed when I spent several days squaring up the rough stock I had been given. I also joined a crowned plank in the center of the table-top...big mistake. After glueing, screwing, and sanding, I realized there would be no way to get the crown out of the top. So...the first table-top became the bench cover and the other half is going to be used for a computer desk in another room. After a trip to the local lumber yard, I had about $220 worth of red oak: 4 1x4x14ft planks for the legs and 7 1x6x6ft planks for the table top.
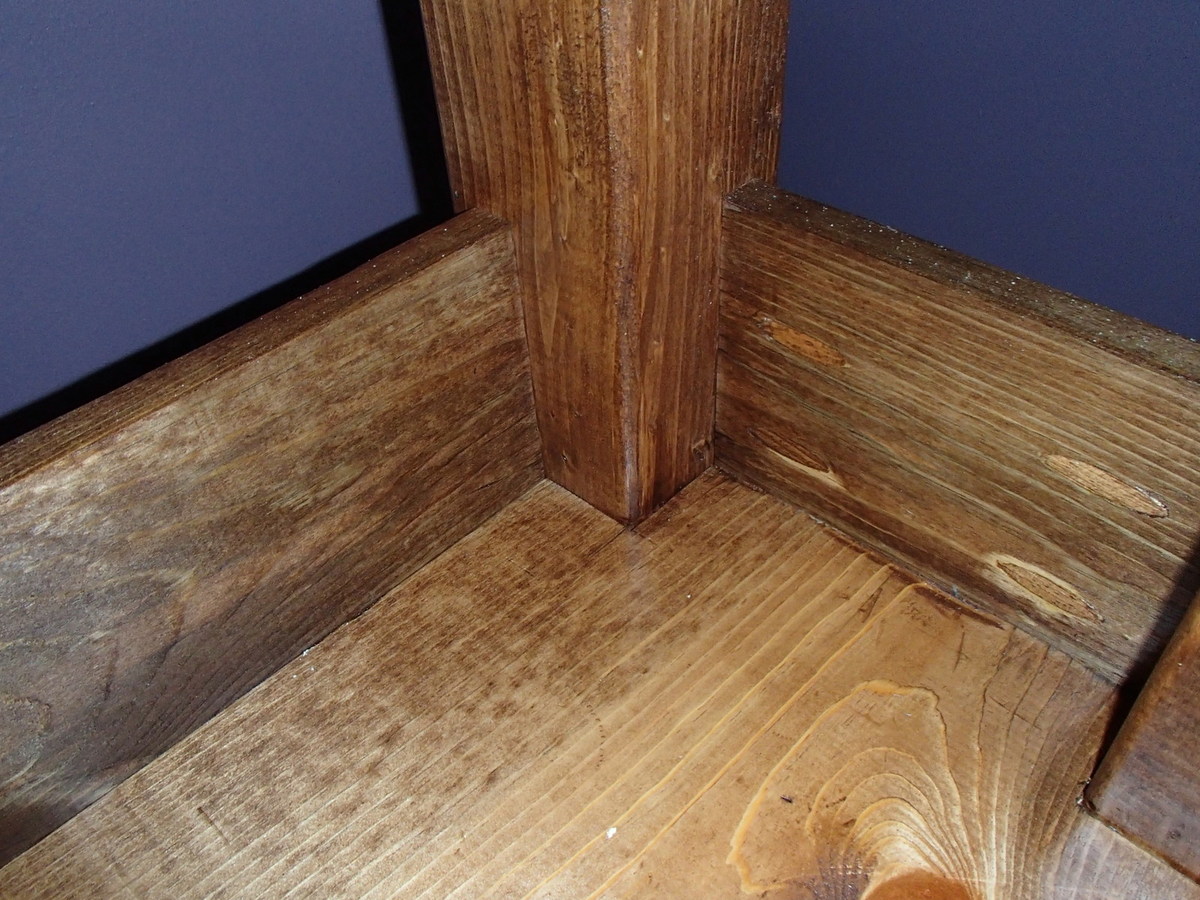
I began by cutting the 14 ft. 1x4's to length and then joining them with lots of glue and clamps to form the legs. Next I set up the table saw to notch out the tops of the legs to receive the box. I prefer this method over using a circular saw or jig-saw. Picked up my wood-chisel to clean things up and then sanded, scraped using a card scraper (I would highly recommend a scraper for the smooth finish and handcrafted feel the tool provides), applied two coats of stain, and finished with two coats of wipe on poly.
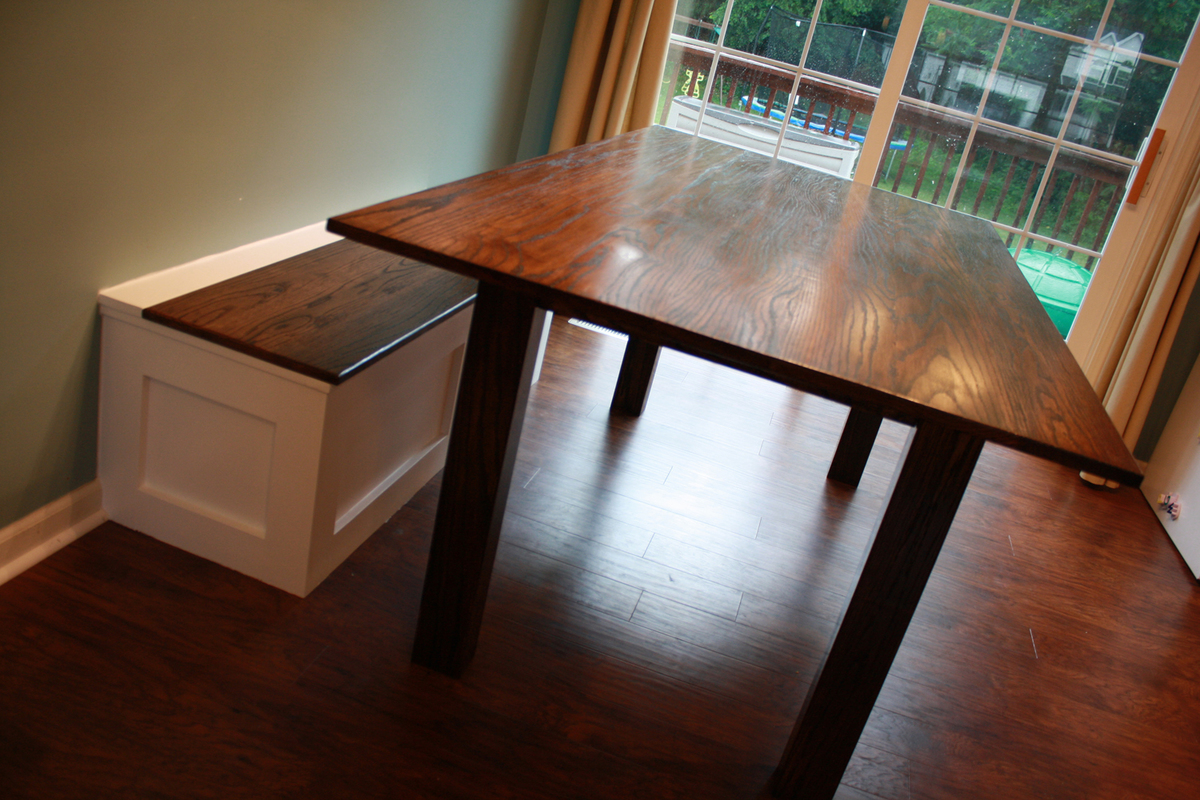
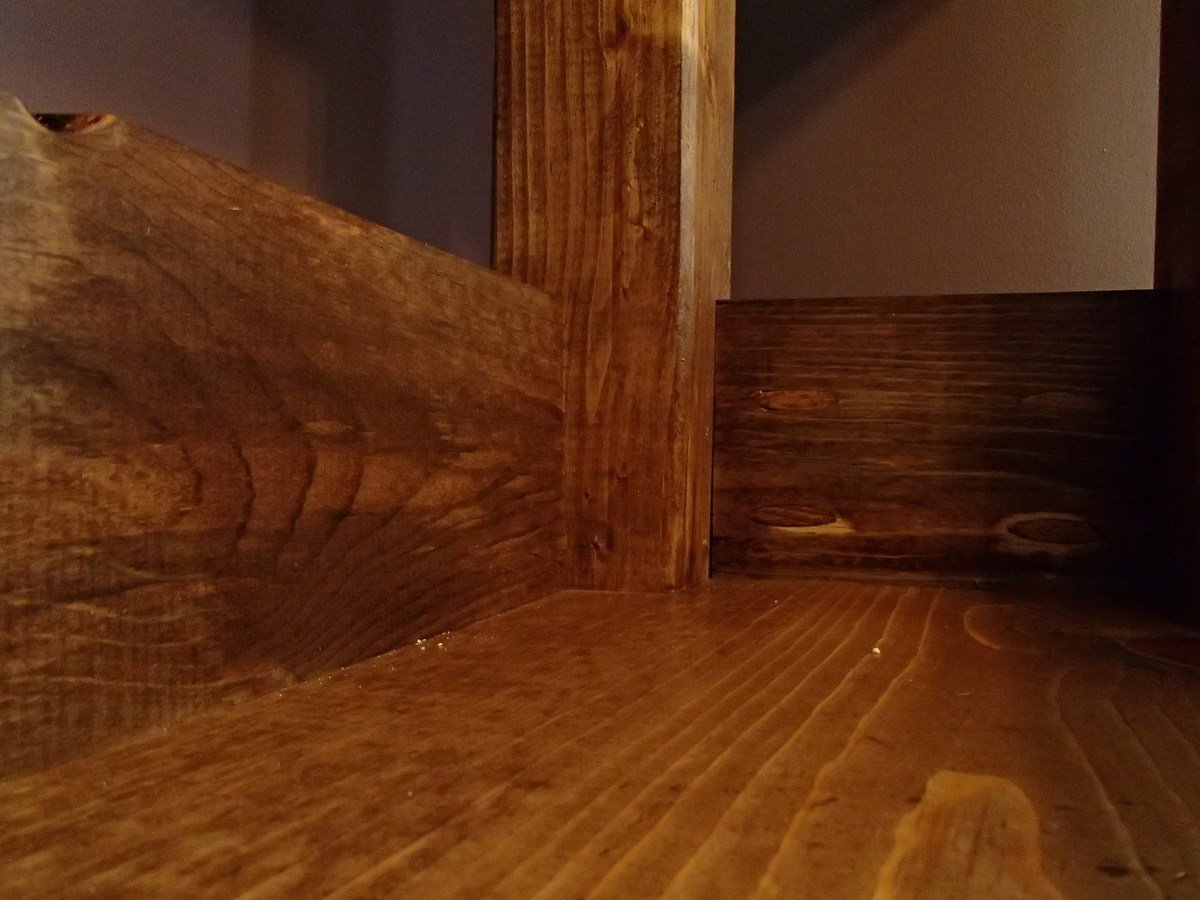
I followed Ana's plans to construct the 2x4 base, modifying it to fit the size of my table and the specific overhang I sought. I also simply used 2x4 scraps to span the width of the box, and then Kreg jigged them to the box and table-top for support.
I joined the table-top planks using a Kreg Jig and glue. Lots of sanding and scraping again, and then I flipped the top, attached the box, and attached the legs. I used more of the 1x4's for the skirts to hide the 2x4 box.
We decided that we wanted to build a built-in bench for storage instead of a free standing one to accompany the table. I followed the plan at the following site, modifying it as necessary to match the length of our table. I also only built the bench and not the wall unit (http://www.thisoldhouse.com/toh/how-to/intro/0,,20301255,00.html). My mistake with the first table-top ended up being a blessing of sorts when we were looking for a sturdy bench-top.
All in all, we love it! It took a good deal of time to finish the table—in part because I'm a horrible perfectionist. The bench, on the other hand, was finished in a day's work.
The table is constructed entirely out of red oak. The bench-top is also red oak. The bench is birch plywood and pine.
Total cost for table: $220 for wood; we already had all other supplies
Bench: $25; again, we already had most of the materials needed.
Built from Plan(s)
Estimated Cost
220
Estimated Time Investment
Week Long Project (20 Hours or More)
Finish Used
Minwax Jacobean 2750; Minwax Wipe on Poly
Recommended Skill Level
Intermediate
Comments
Fri, 07/06/2012 - 04:38
Card Scrapers
I first heard about using card scrapers from the Wood Whisperer podcast. In it is an episode that demonstrates the proper sharpening technique to keep your cards shaving nicely. I'm a big fan of his podscast and website. Here's the link to the scraper sharpening video: http://www.thewoodwhisperer.com/videos/scraper-sharpening-w-william-ng/
Blessings,
JB

Fri, 07/06/2012 - 16:25
Thanks for the detailed information
I love the prairie style, so your table knocks my socks off!
Hopefully, I'll have a table done for the holidays this year.
In reply to Thanks for the detailed information by Debi G
Fri, 07/06/2012 - 17:04
No Problem!
The table was a very rewarding project. We've only been using it for two days now, but it already feels like it's been there for years. The straight, clean lines of the Craftsman style are by far most appealing to me among furniture and architectural style.
Good luck on your table!
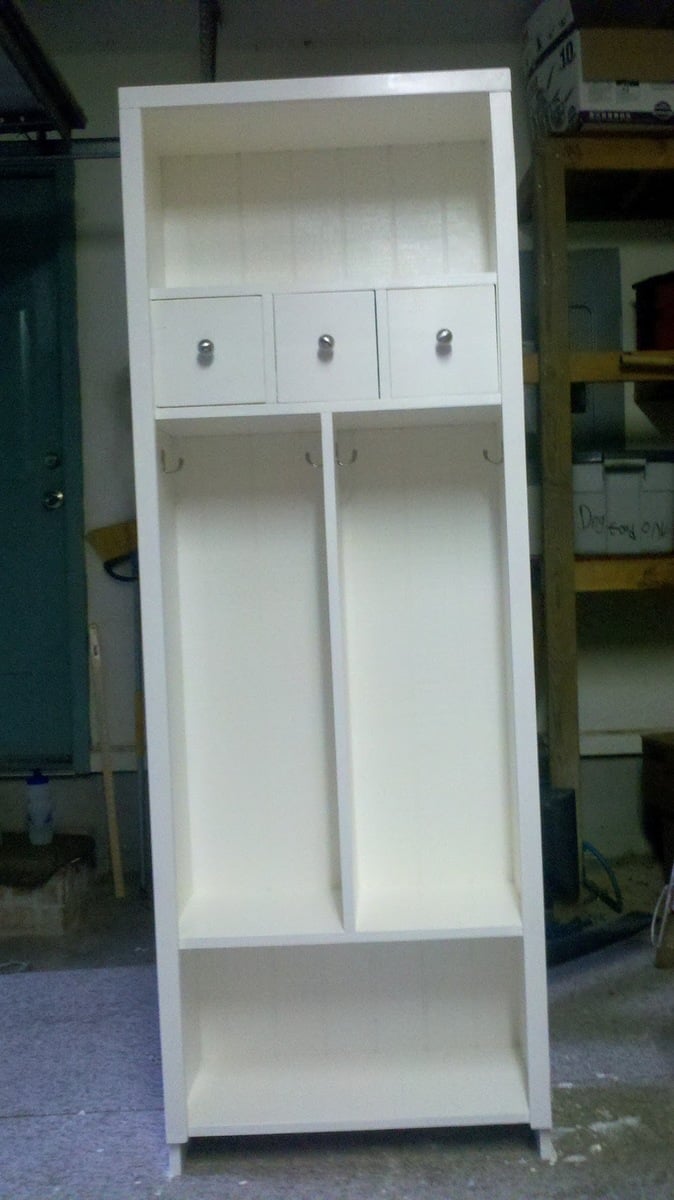
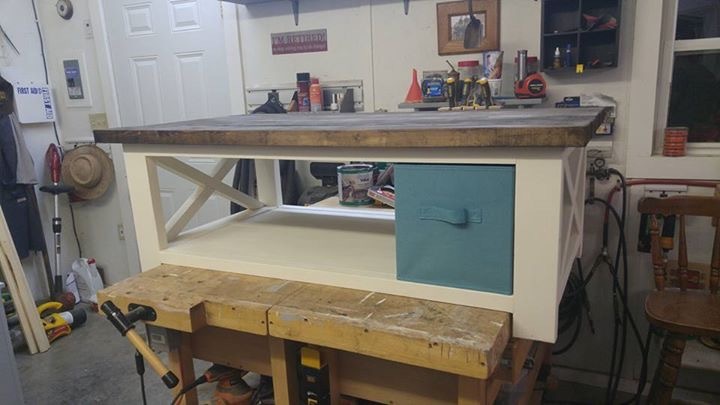
laundry room organizer
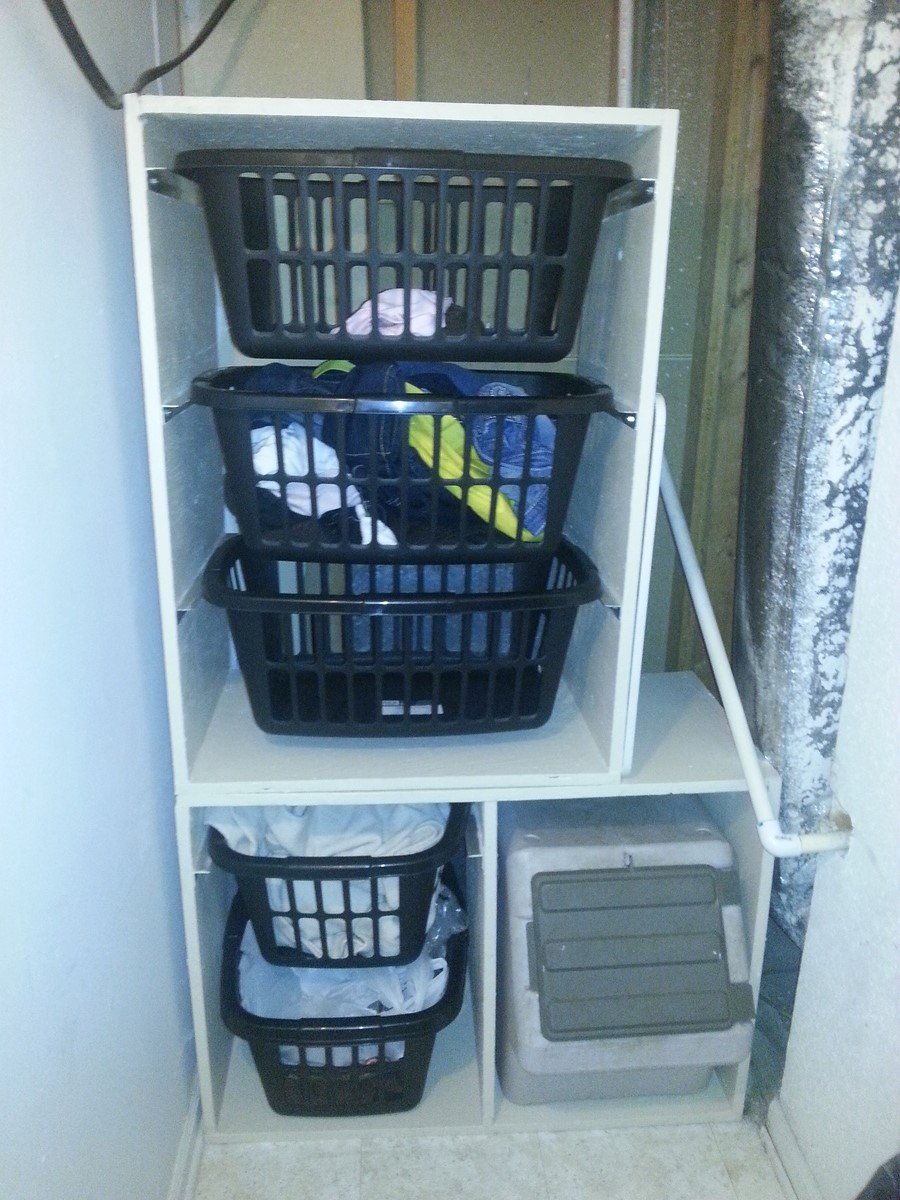
We revised the design a bit to make it fit in our space. We also made room for our dog food bin at the bottom
Built from Plan(s)
Estimated Time Investment
Weekend Project (10-20 Hours)
Finish Used
Paint
Recommended Skill Level
Starter Project
Comments
Mon, 04/21/2014 - 12:01
Sorry it's sideways! I
Sorry it's sideways! I couldn't figure out how to rotate the pic.

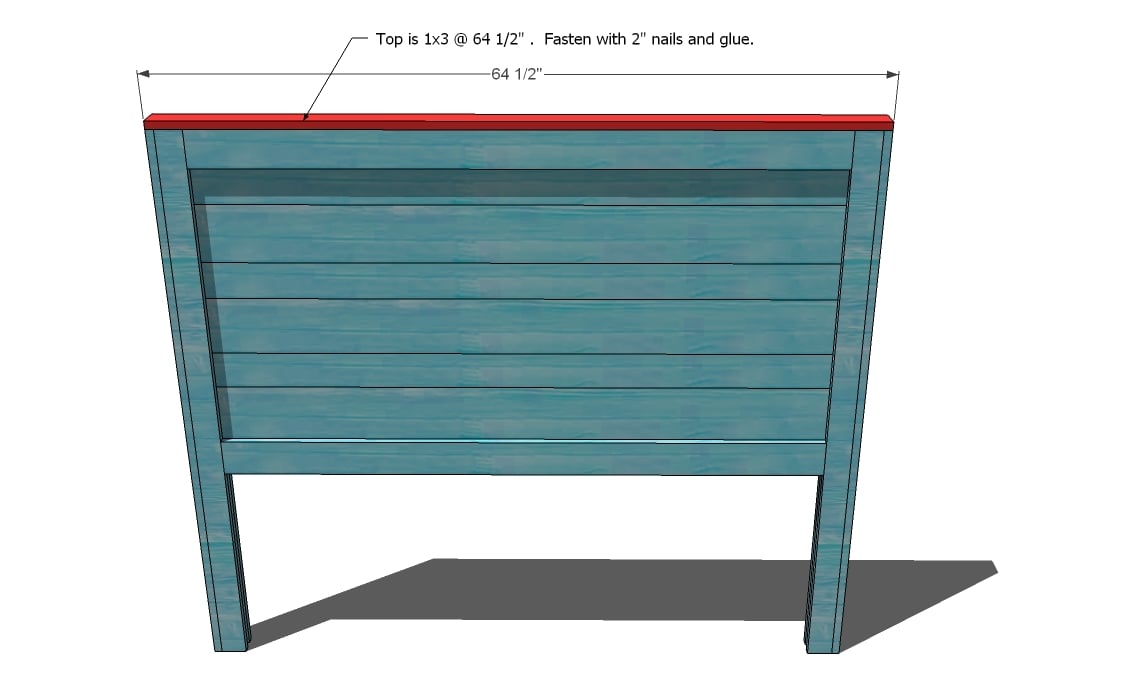
Fancy Farmhouse Bed
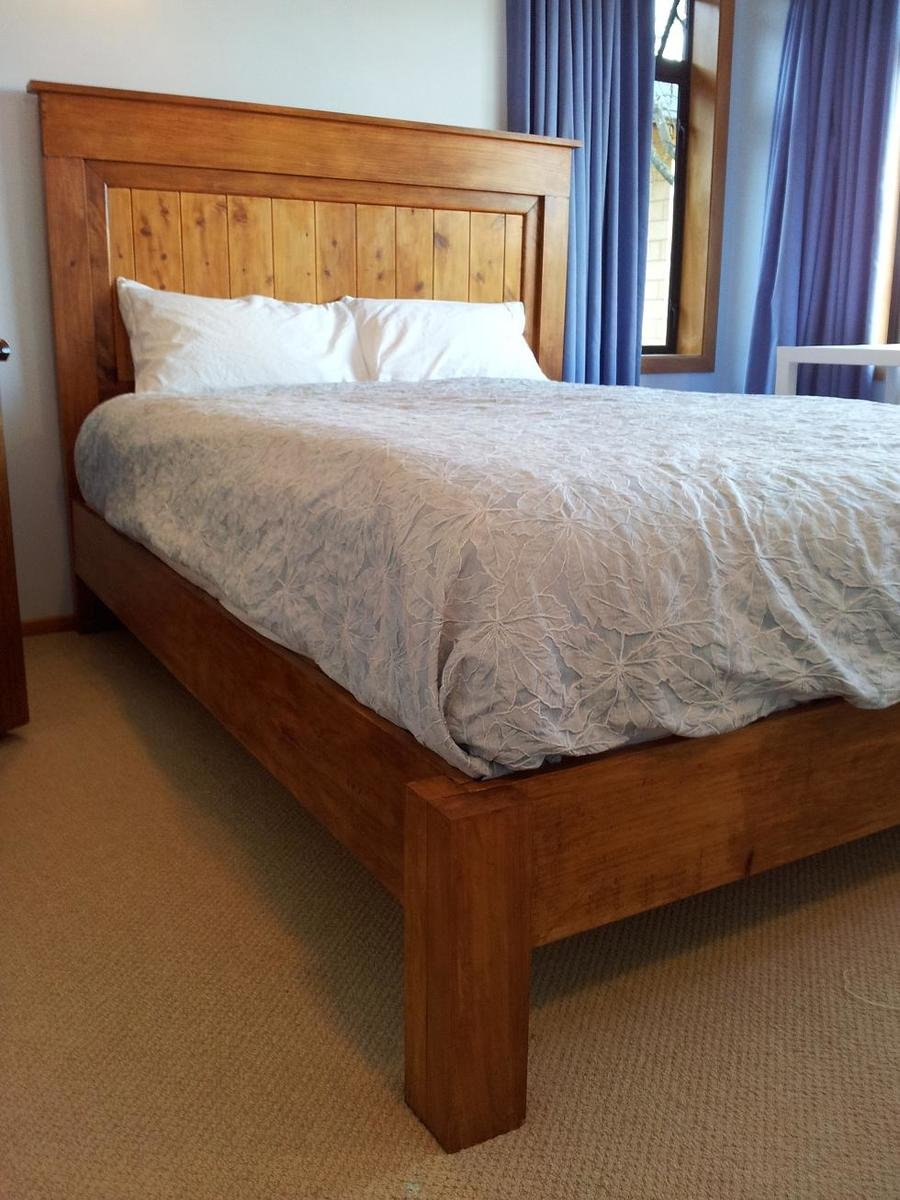
This bed has been a true labour of love over the last few months!
I made all cuts with a hand saw, and mainly used a kreg jig to assemble the bed.
The 'insert' in the headboard is made from macrocarpa window trim and tongue-and-groove panelling, which was leftover from when my parents built their house. The rest I bought from a local supplier as rough sawn timber, which I got dressed by a woodworking guy who lives nearby. Had I bought all the timber I used, the cost would have been closer to $400.
I didn't add the moulding that is included in the plan - it's just my preference.
It took a bit of work to convert Ana's plans into metric measurements, but I got there in the end! I love my bed
Estimated Cost
NZD$300
Estimated Time Investment
Week Long Project (20 Hours or More)
Finish Used
I started with 2 coats of Danish Oil. After deciding I wanted a deeper colour, I applied one coat of Briwax furniture wax, in Rimu, with super-fine steel wool.
Recommended Skill Level
Intermediate
Comments


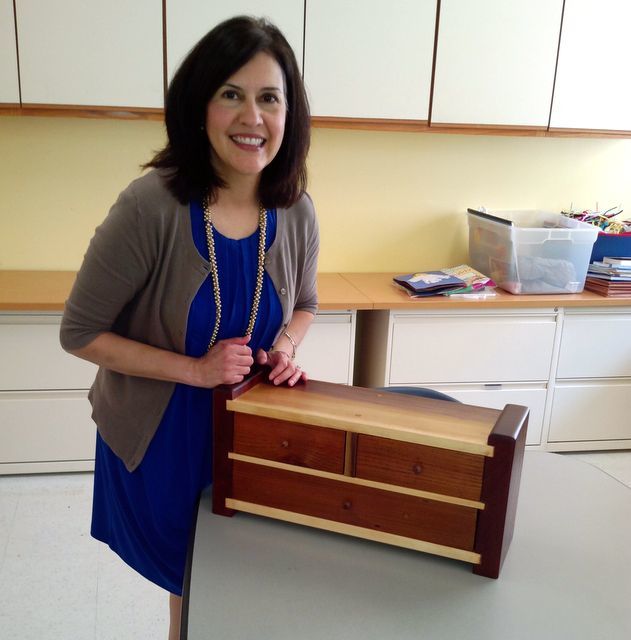
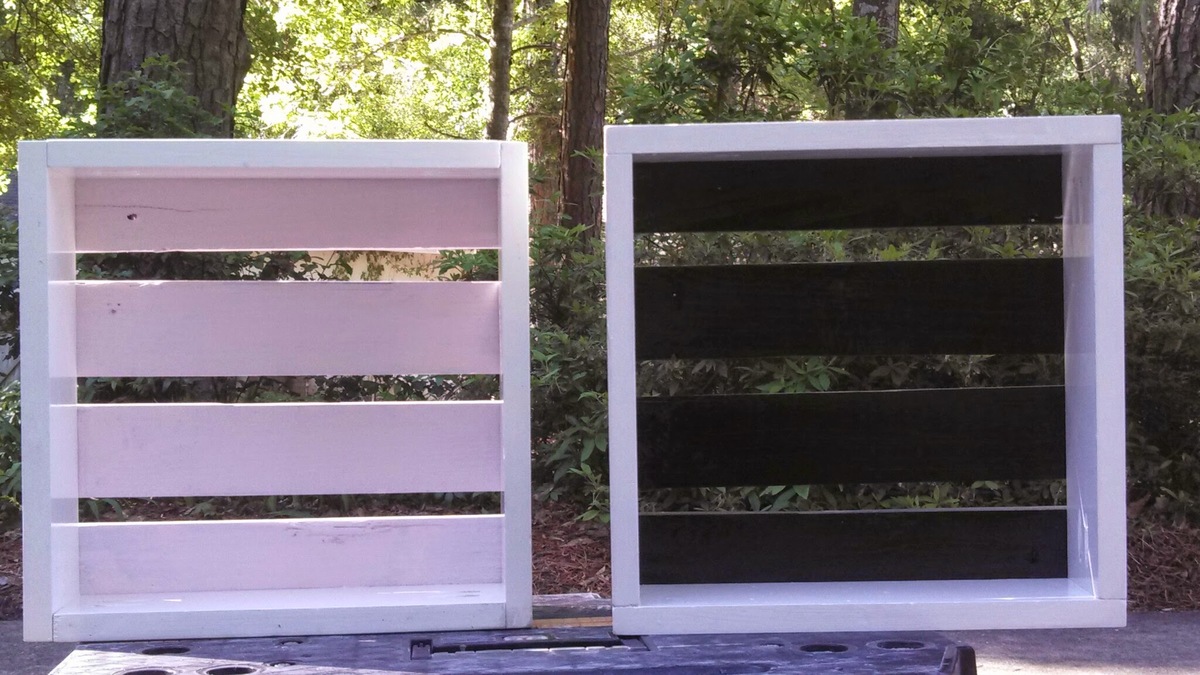
From Scrap to Sweet!
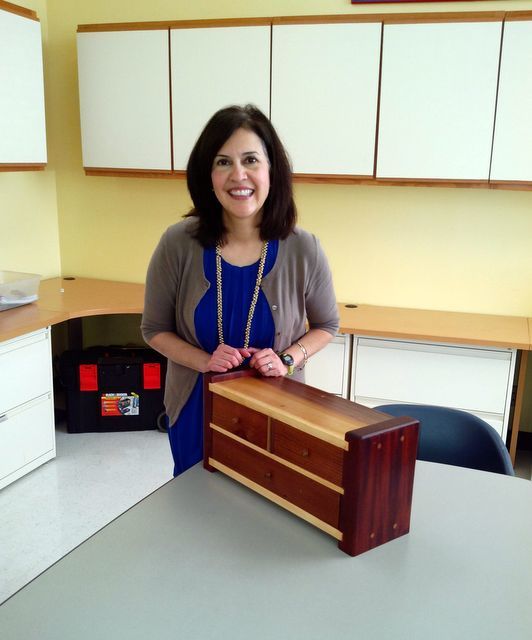
A friend wanted a small box for her cosmetics. She gave me the dimensions of her present container but my mind and my saws envisioned a different end. My only promise was that she would get three drawers. To keep cost low I used only scrap lumber I found around the garage. I added oak dowels for strength and decoration.
Estimated Time Investment
Weekend Project (10-20 Hours)
Finish Used
Finished only with a lot of sanding, two coats of Danish oil, and two coats of poly. Also once it was completely dry a coating of Johnson's paste wax.
Recommended Skill Level
Intermediate
Comments
Tue, 08/12/2014 - 11:51
I happened across your
I happened across your profile this morning, and I've spent a good part of the afternoon looking through your projects, as you've posted more brag posts than most people I've seen on Ana's website. I loved seeing all your projects and experimentation! Your sense of humor doesn't hurt, either. :) Keep it up, and I look forward to seeing more of your work in the future.
In reply to I happened across your by booksnotbombs
Tue, 08/12/2014 - 14:32
Thanks for the Nice Comments
Over the past four years I have learned a lot. The most important lessons are experiment and don't let the frequent screw ups get you down. Lately I have been concentrating on learning to weave seats (reed and rush), build small boxes, and turning wood. Today was terrible. Nice bowl blank I cut from a Hackberry log turned out to have cracks and a really nice scoop built up of poplar and walnut broke into two flying pieces when my gouge caught at 1200 RPM. Only thing to do is start over and hope you learned something.
If you are new to woodworking check for square at every opportunity and be safe. Accidents happen in milliseconds.
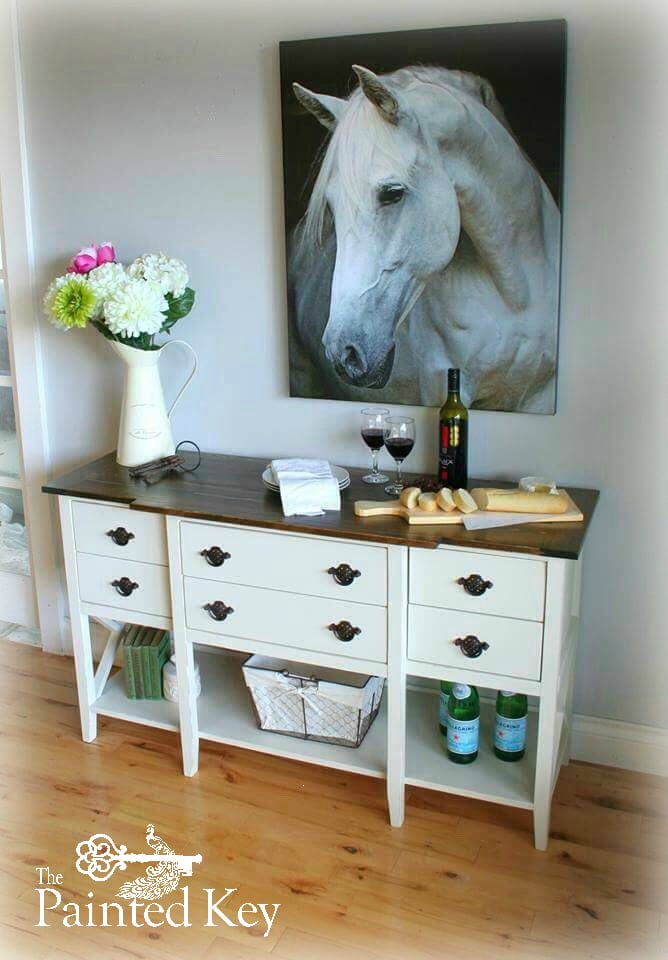
My Bailey Console Table for the #IGbuilderschallenge
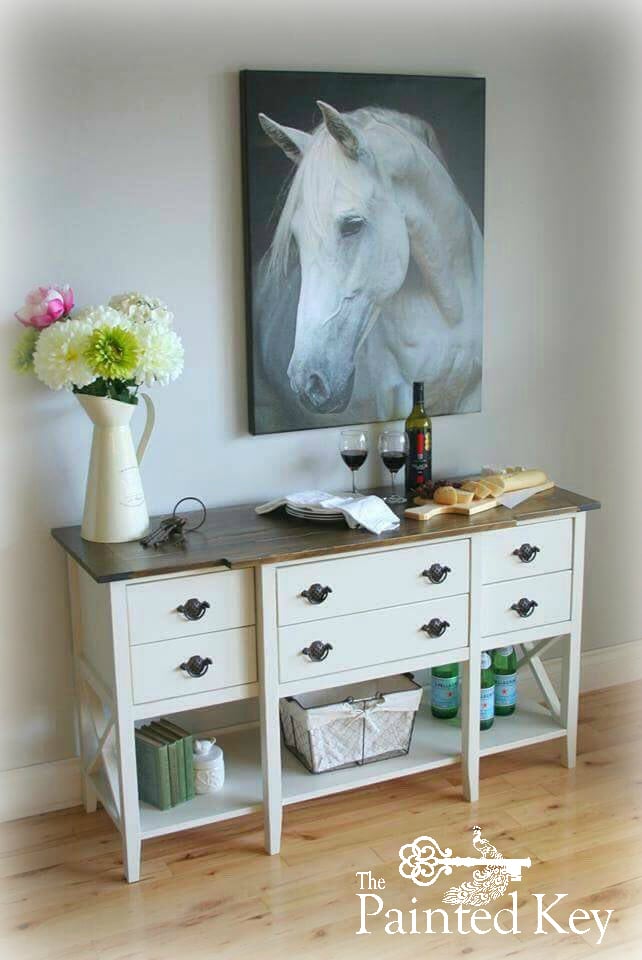
I was so excited to participate in the #IGBuildersChallenge! My modifications included reducing the width a few inches so I could cut two boards from a single 8' length for both the top as well as the bottom shelf. I added two additional legs to the front so I could divide the table into three drawer sections. I also decided to make it two thinner drawers as well. I added the x's on the sides to match the x coffee table I built for our home last month! I used tongue and groove to attach the breadboard ends which is something I'd never attempted before and is something I will try again. The top is stained in Minwax Jacobean and topped with a satin wipe-on poly. The base is painted Ashwood which is a Benjamin Moore colour I had colour matched at Home Depot in their Behr Premium Plus line and then topped in a satin polycrylic. I'm thrilled with how my table turned out and have already received a request from a friend to build her one for their home.

Built from Plan(s)
Estimated Time Investment
Weekend Project (10-20 Hours)
Recommended Skill Level
Intermediate
Comments


In reply to I love your version of the by handmadewithash
Sun, 07/24/2016 - 19:19
Thank you so much Ashley!!! :
Thank you so much Ashley!!! :) It was such a fun challenge!
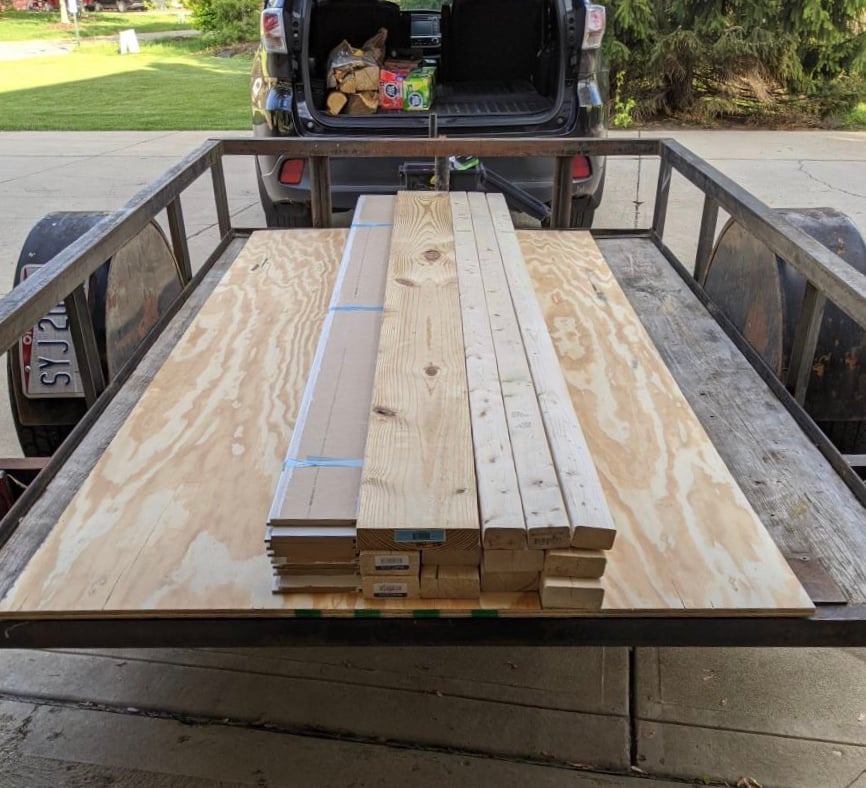
Rustic X Hall Tree - With Some Changes
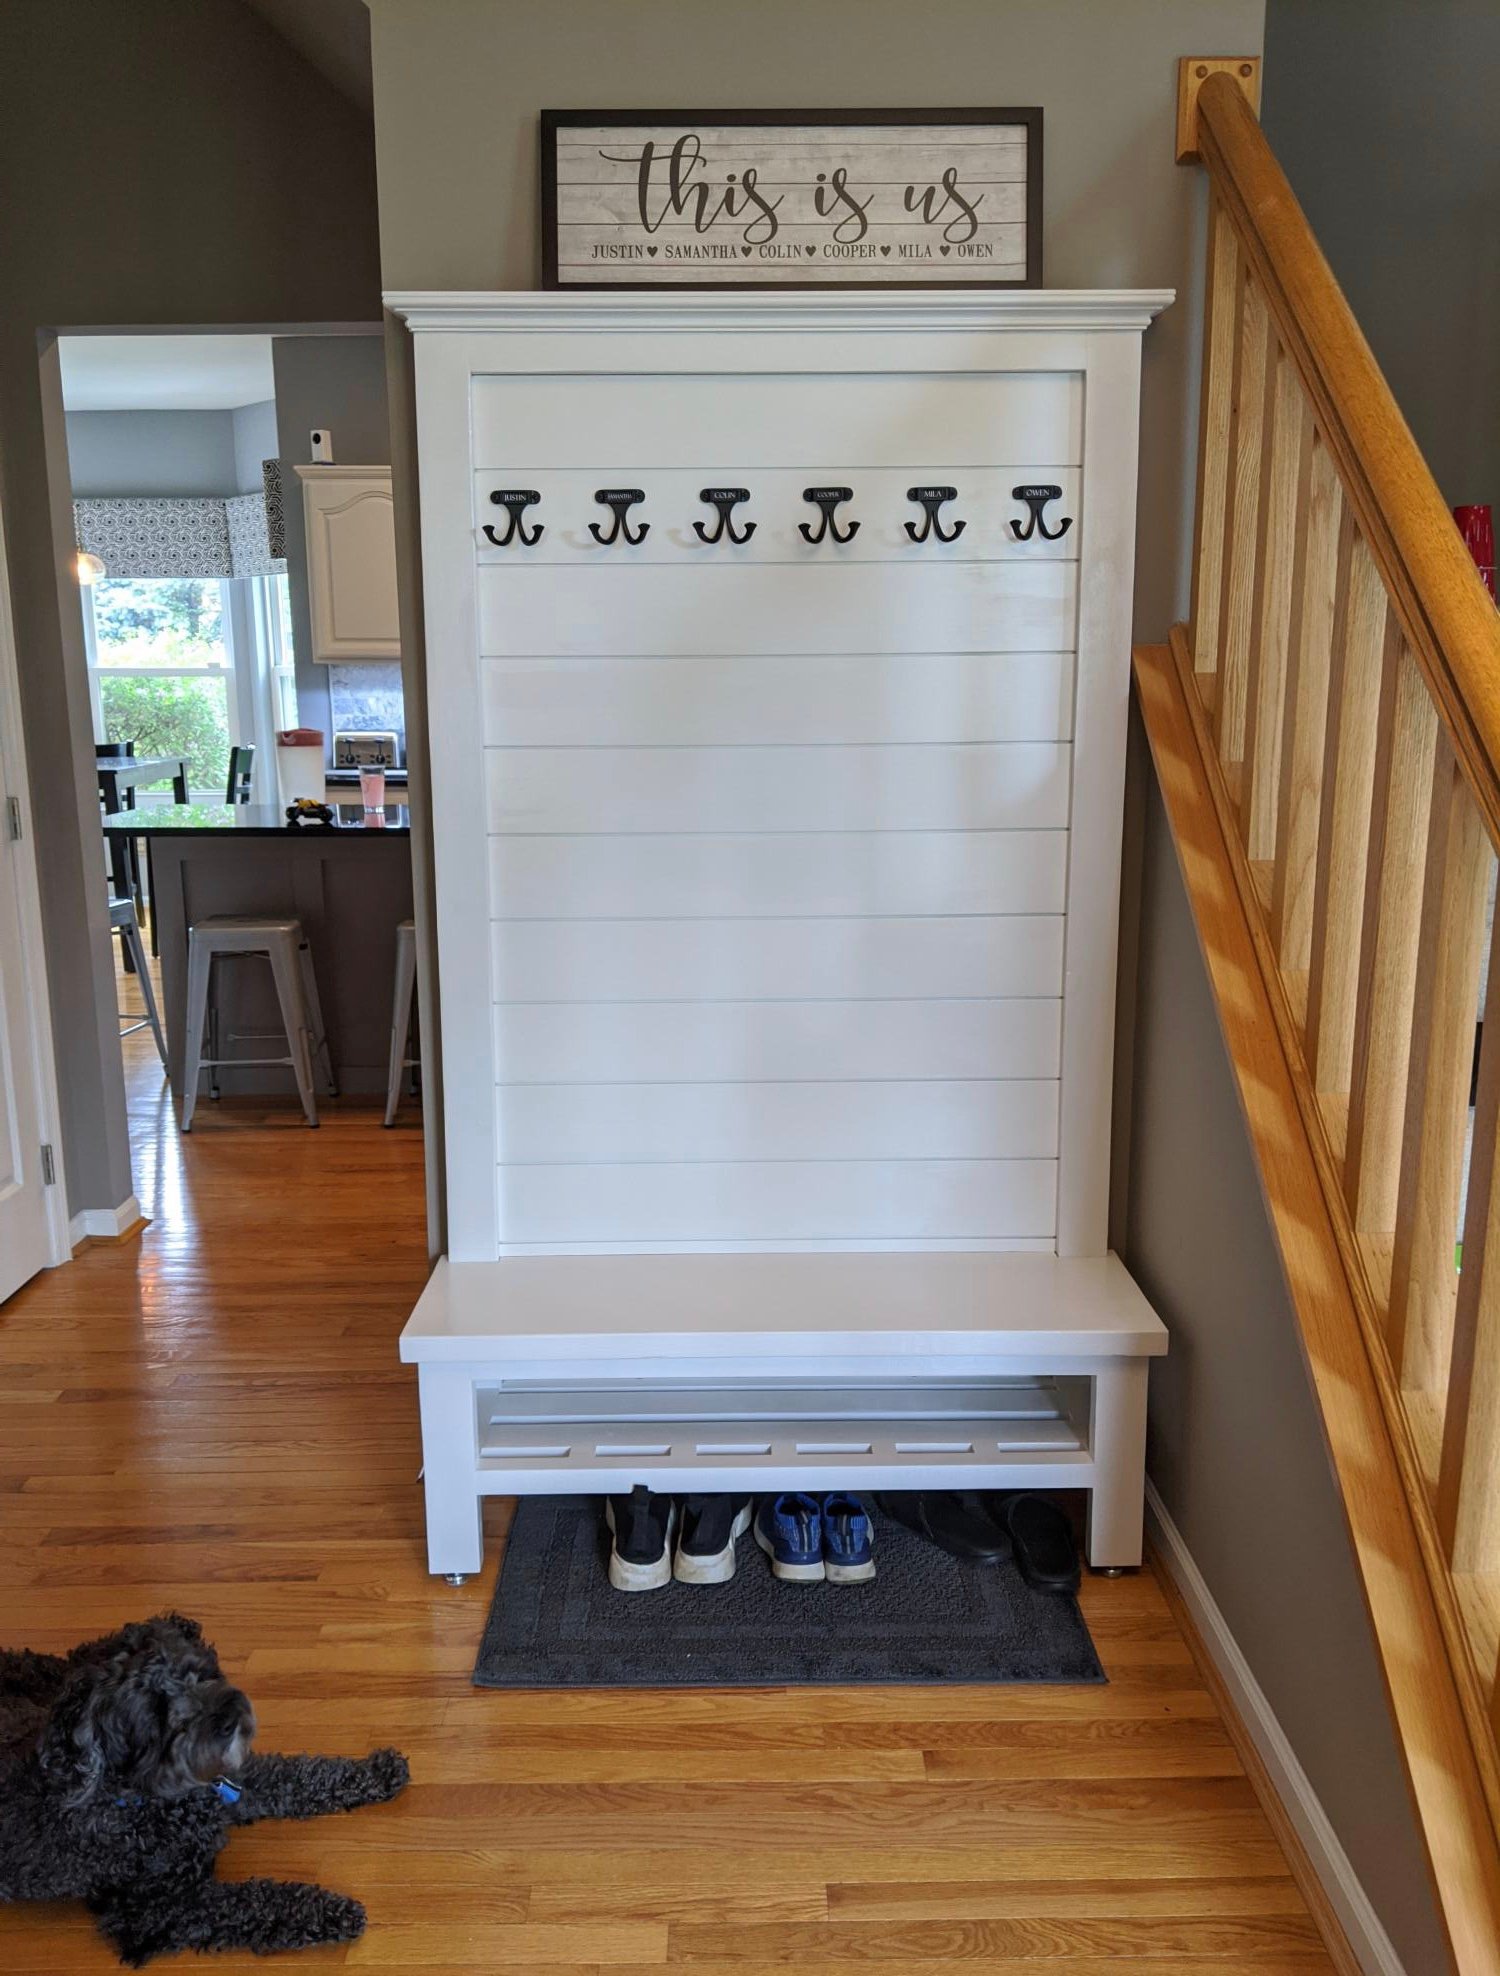
This is a great design! I made a few changes to suit our needs: 1. Raised the shoe shelf so shoes can also be kept on the floor 2. Added a few spacer blocks on the shoe shelf to prevent the 1x1 from spinning since there's only enough room for one pocket screw per side. 3. Cut a rabbet in the back of the tall 2x4s to accept the tongue and groove shiplap 4. Used tongue and groove shiplap (pre-painted white from Lowes) 5. Topped with crown molding 6. 6 hooks so everyone has their own hook (although I can see this getting very crowded in the winter) The wife loves it and got me a lot of brownie points right around Mother's Day!

Built from Plan(s)
Estimated Cost
$200
Estimated Time Investment
Week Long Project (20 Hours or More)
Finish Used
Indoor/Outdoor Acrylic Satin Finish, Polycrylic clear coat.
Recommended Skill Level
Intermediate
Barn Wood Rustic Island

My daughter bought a condo this past summer in St. Louis, MO. It's in an old factory that was rehabbed into condos. It's very industrial looking. Her condo has a lot of open space in the kitchen. She asked me to build her an island. I've previously used several of your plans to build various pieces of very functional pieces of furniture for my daughter, my son, and my wife and me. But this one is one I am especially proud of. I based it off your plan, "Michaela's Kitchen Island" modifying it to meet my daughter's unique needs. The majority of it is oak barnwood reclaimed from my wife's grandparents barns that were torn down to make way for an interstate highway. It is very attractive and user friendly. My daugher couldn't be more pleased. Thanks for all your great building ideas and plans. You've made this dad and daughter very happy.
Greg Winemiller, Mount Carmel, IL
Built from Plan(s)
Comments
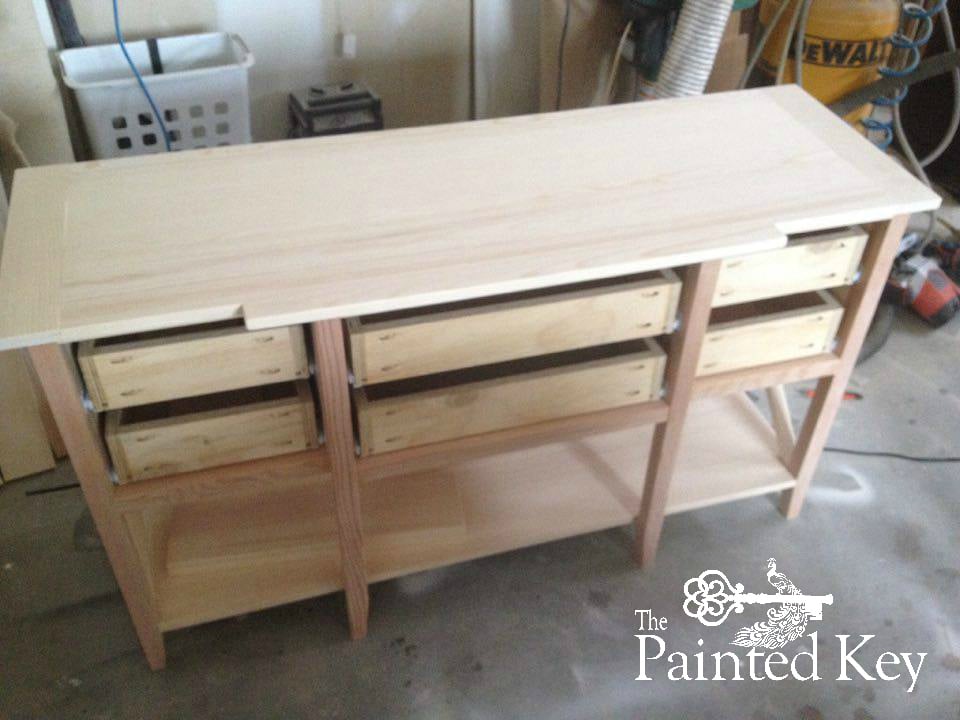
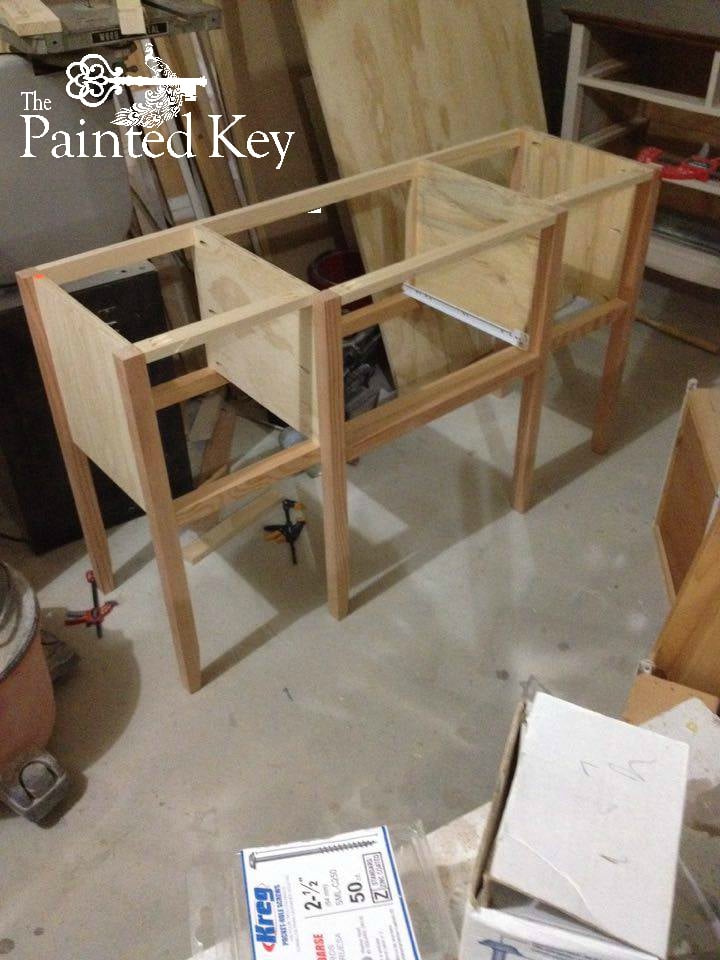
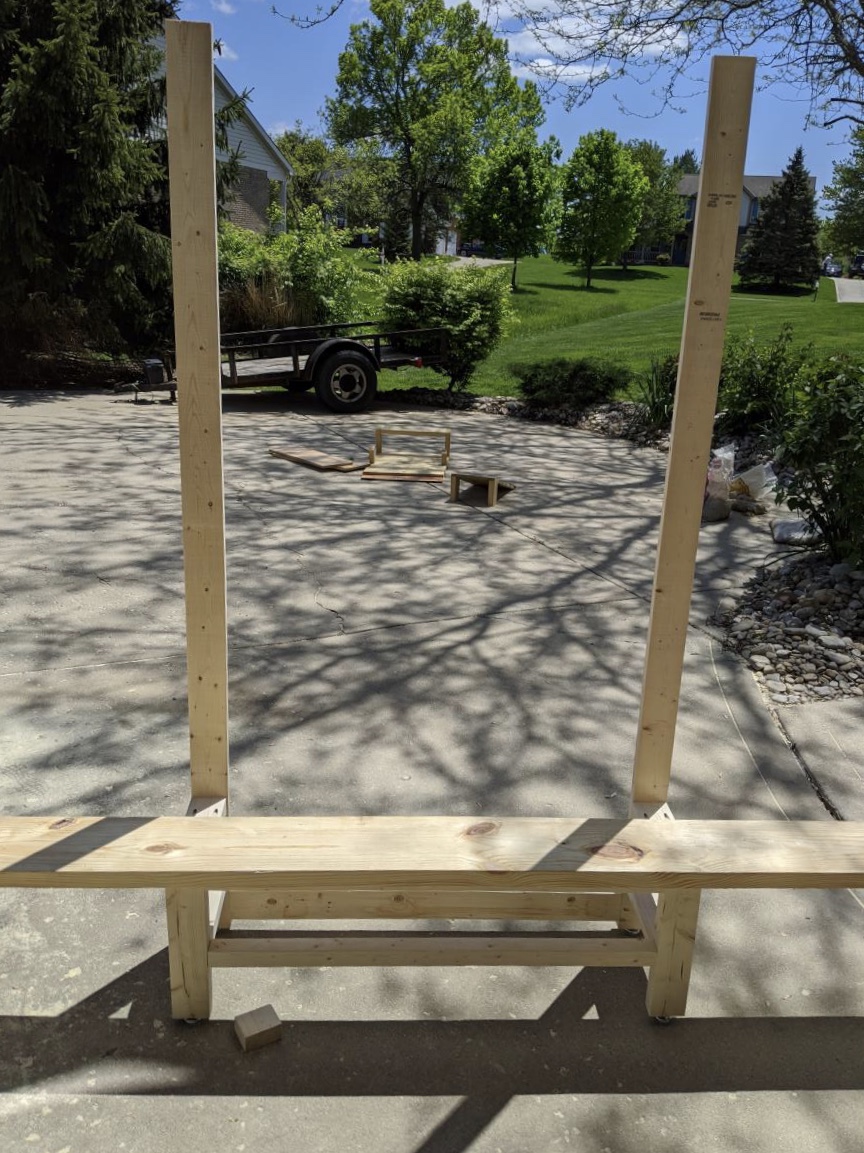
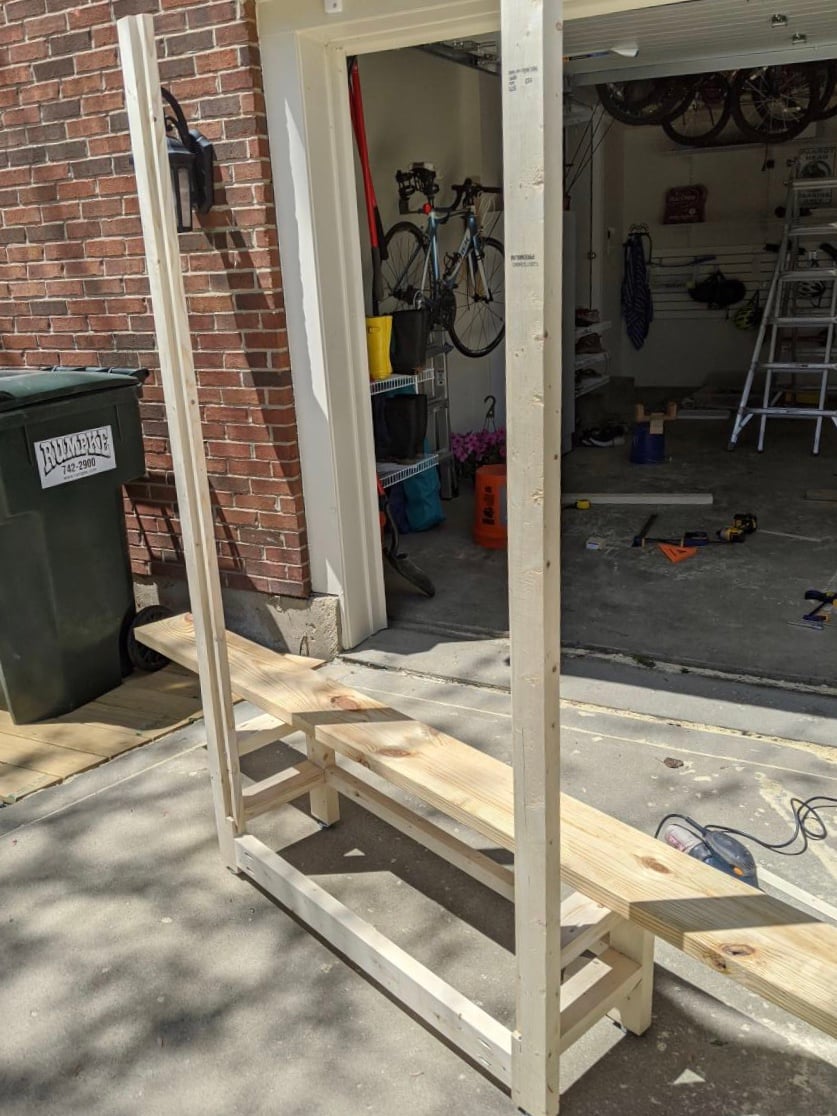
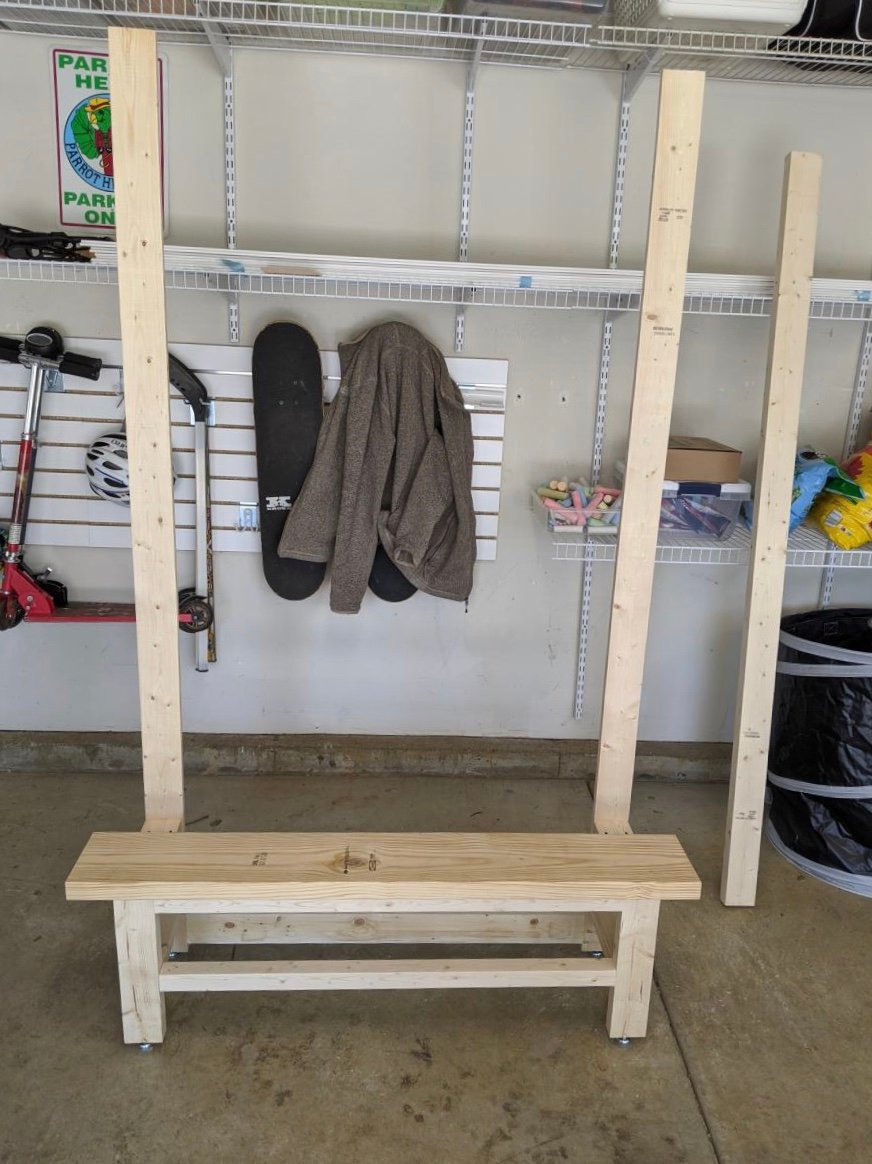
Workbench and Hutch with modifications
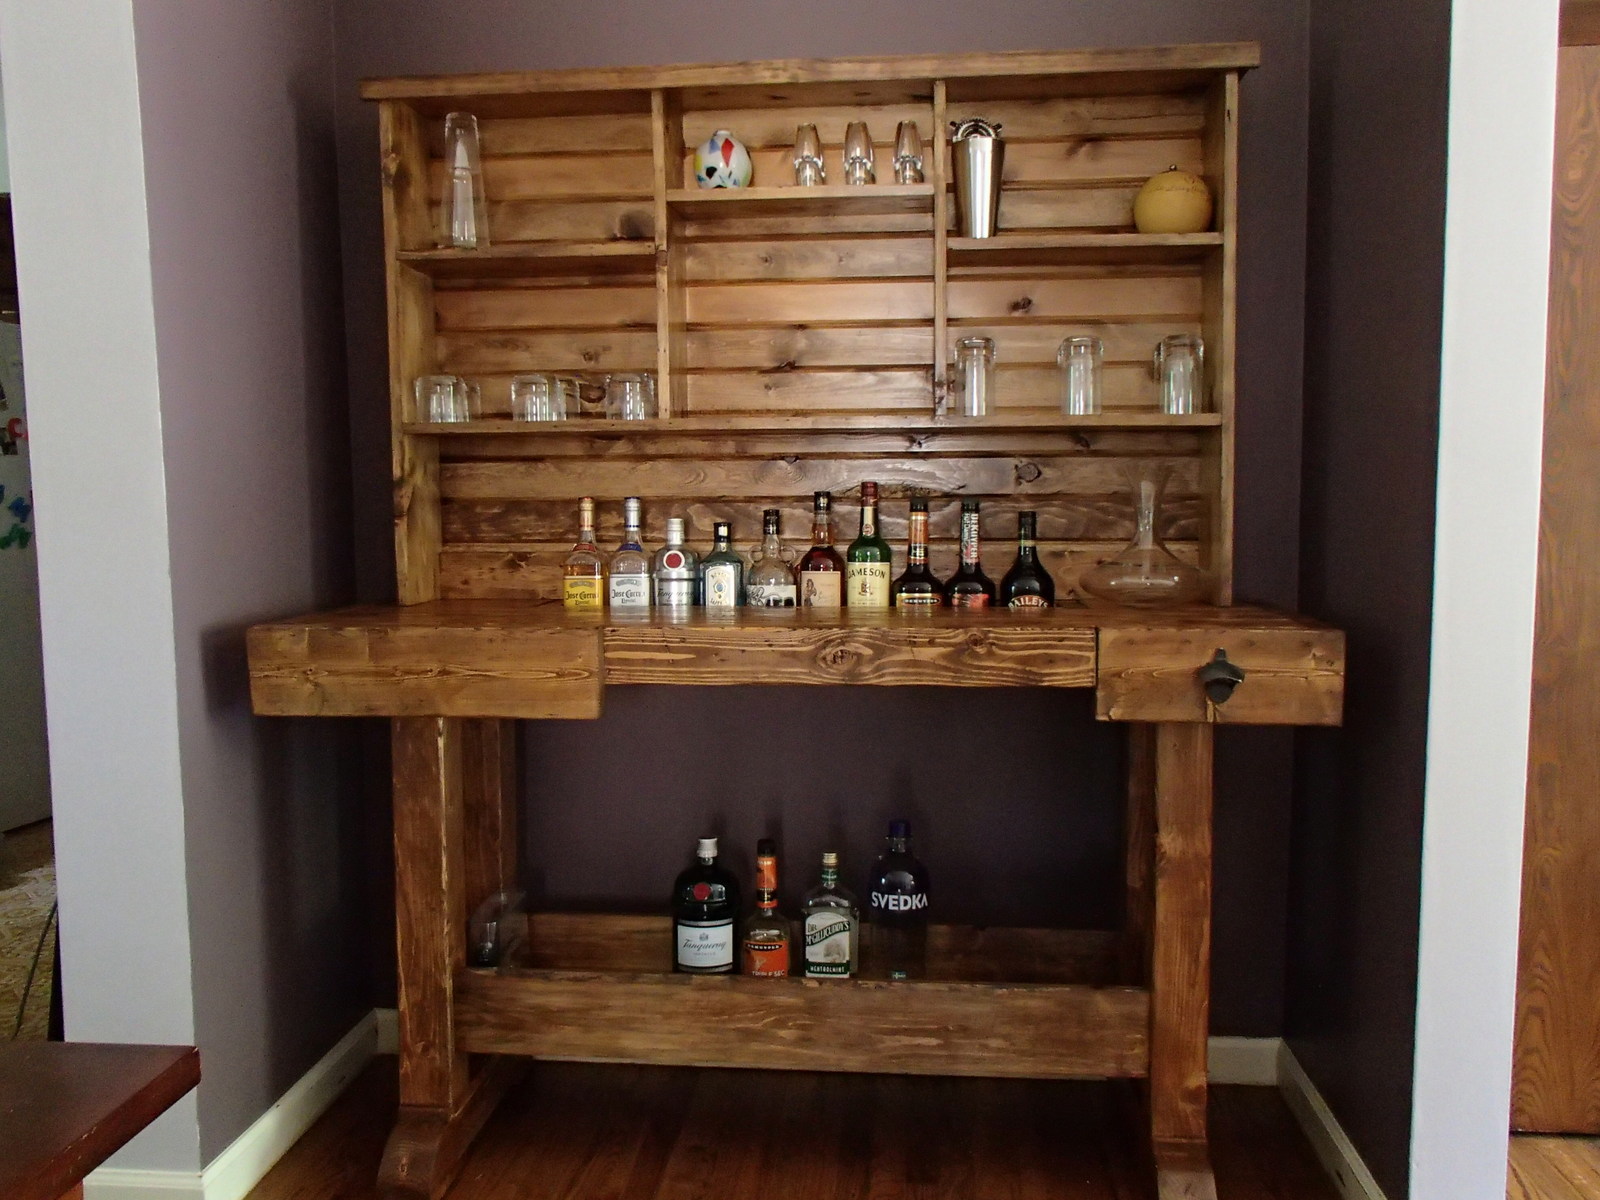
I decided to do some modifications to the original plans to make it more like the Pottery Barn original. I made the legs 4x4s like the original, as well as the horizontal bases of the legs. The major change that this entailed was in the bottom shelf. I notched the edges of the 1x12 so that it would fit flush, then connected it to the legs with pocket screws. The lowered ledge on the table top is two 2x4s on the bottom, a 2x4 on the front and back, and a 2x6 cut to size for the ends. I then attached it using pocket screws on the front, and just 2.5 inch screws from the back. The rest is pretty much the same as the plans. For the back of the hutch, I used 1x4 carsiding to give it a more finished look. It only cost a couple cents more for each 8 foot piece.

Estimated Cost
$150
Estimated Time Investment
Week Long Project (20 Hours or More)
Finish Used
Minwax wipe on poly
Recommended Skill Level
Intermediate
Comments
Getting Started, slow on posting
Thanks to our daughter who gave me plans from Pintrest for the popular locker. This is my first project in a long time. It has been followed by a few projects which have been inspired by plans or skills from the site.
Thanks
Recommended Skill Level
Starter Project
Rustic X coffee table
This table was very easy to build. A little bigger than I expected. You can fit storage cubes in it perfectly.
Built from Plan(s)
Estimated Cost
$70
Estimated Time Investment
Day Project (6-9 Hours)
Finish Used
Stain and chalk paint
Recommended Skill Level
Beginner
Tack Locker

We did some conversions to the smokehouse plans to make a locker for all of my horse tack! :)

Built from Plan(s)
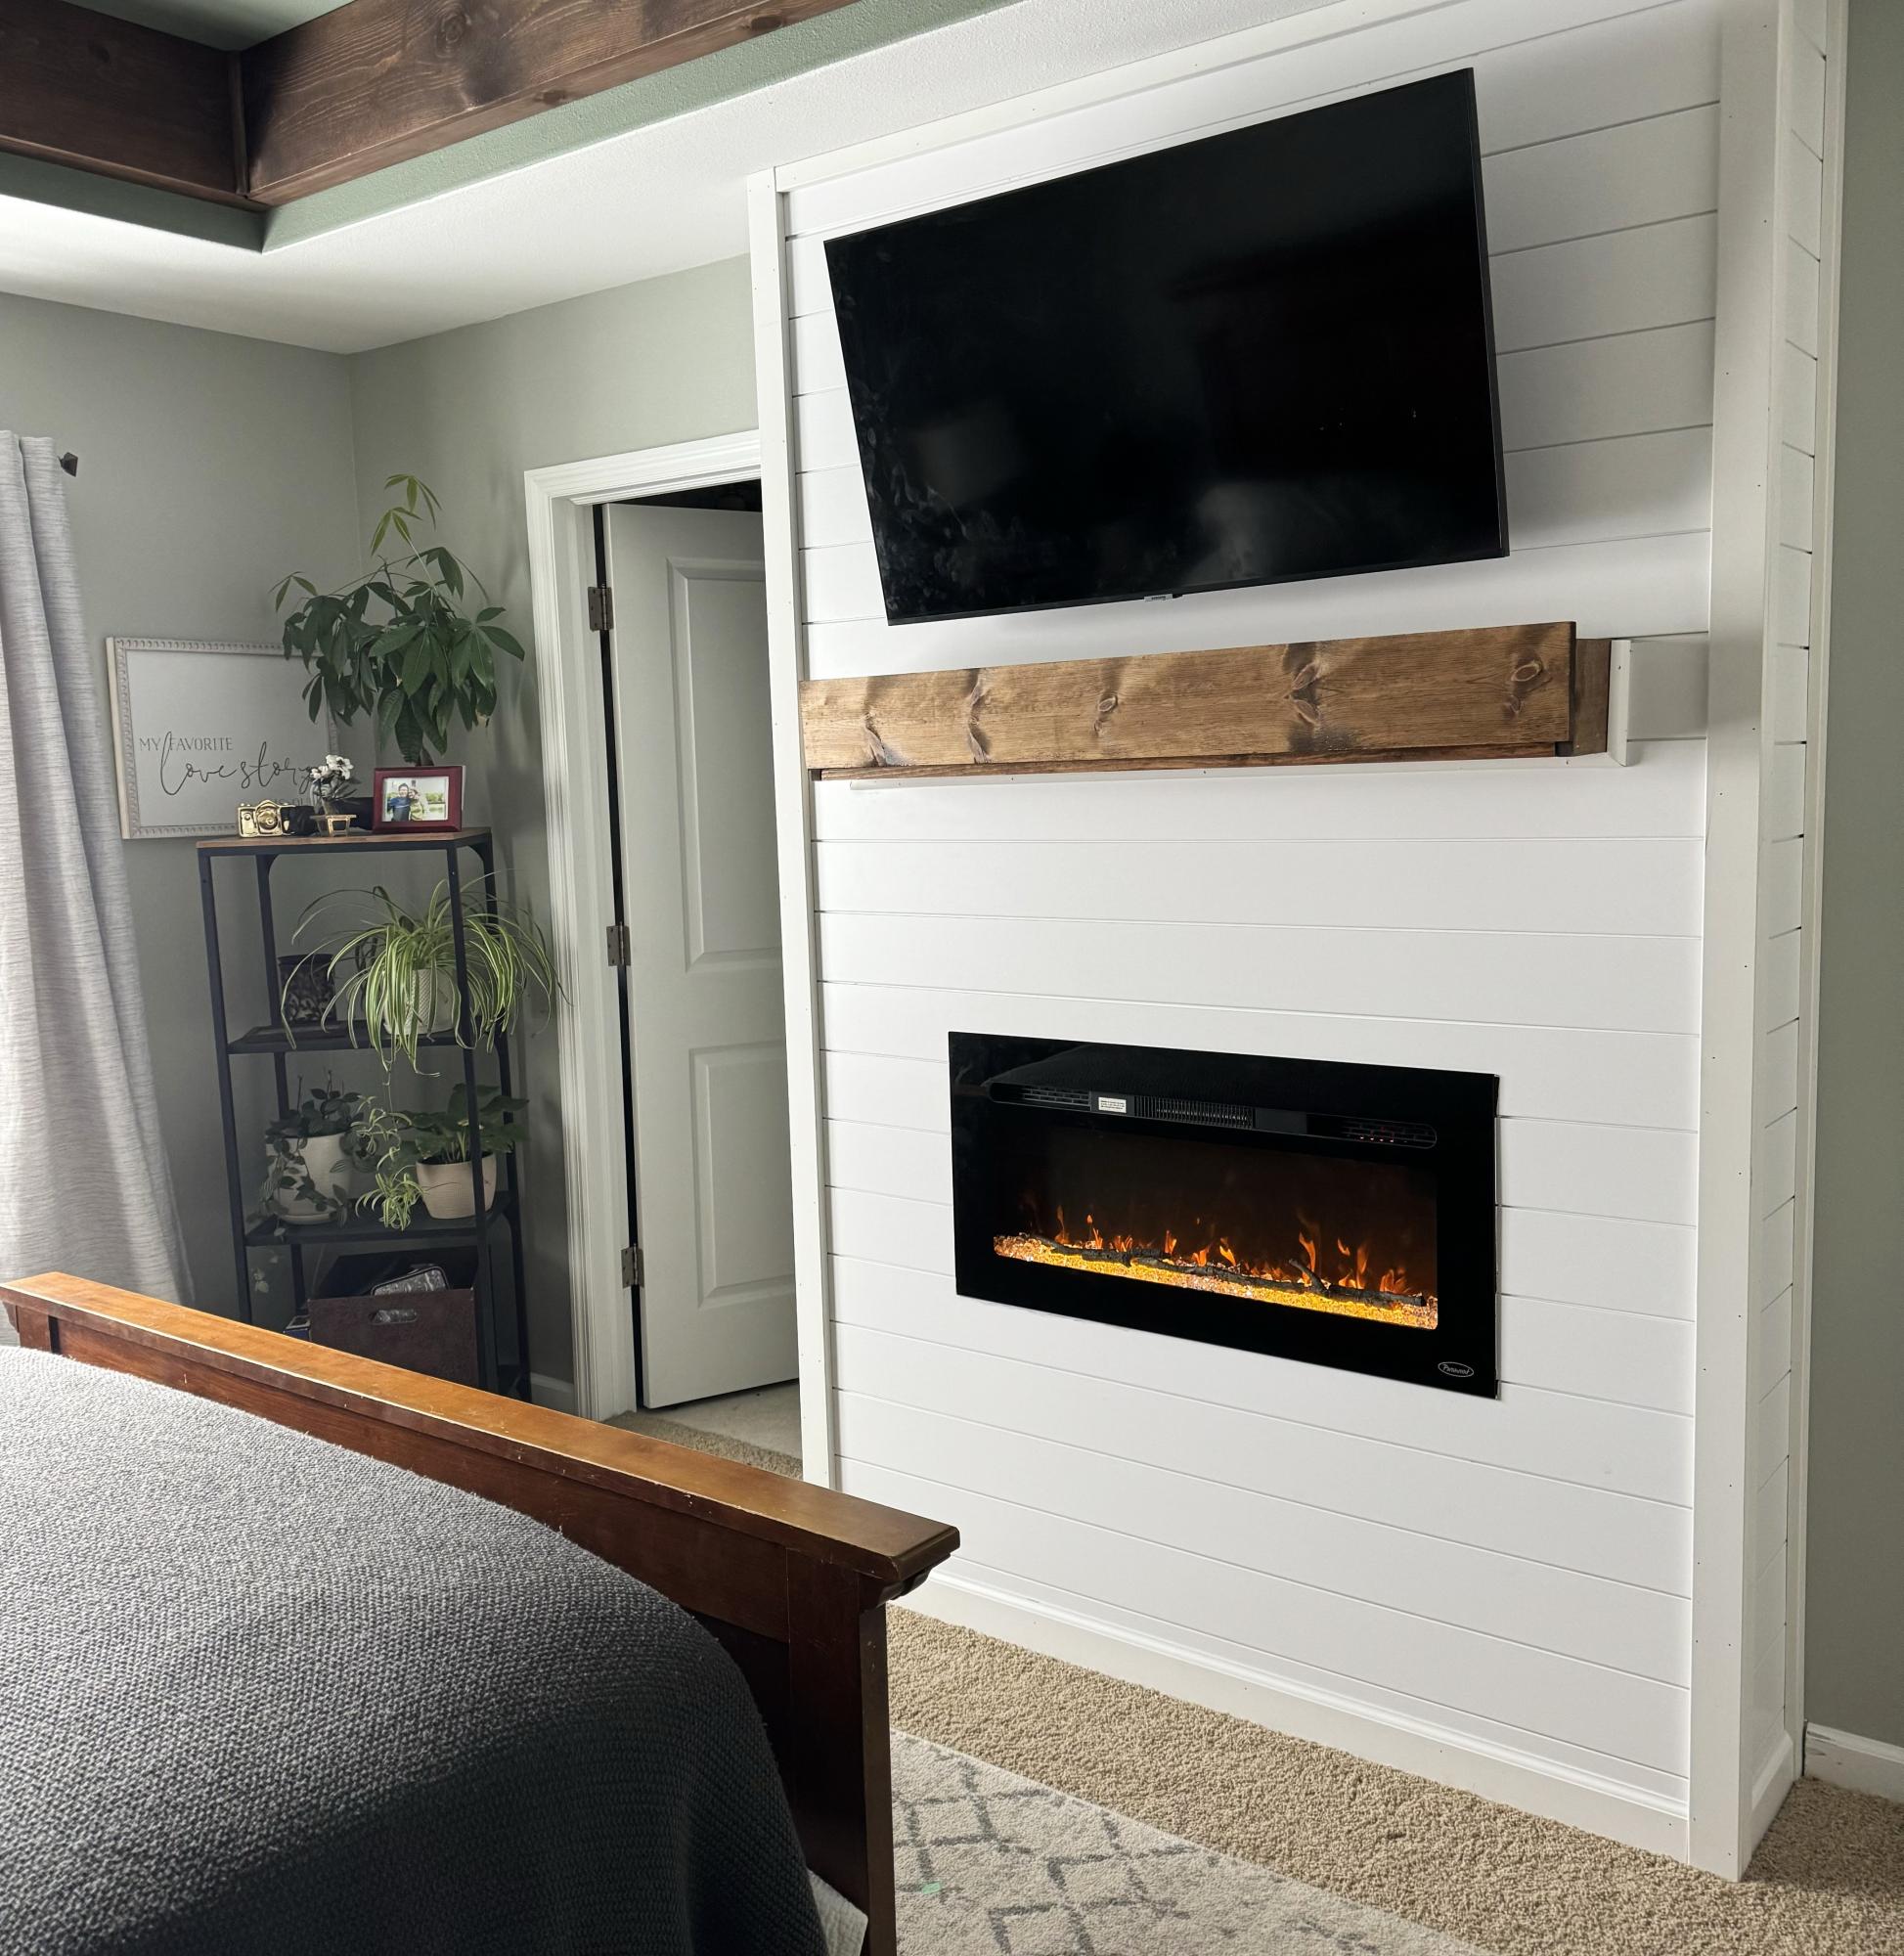
Headboard with Insdustrial Lights
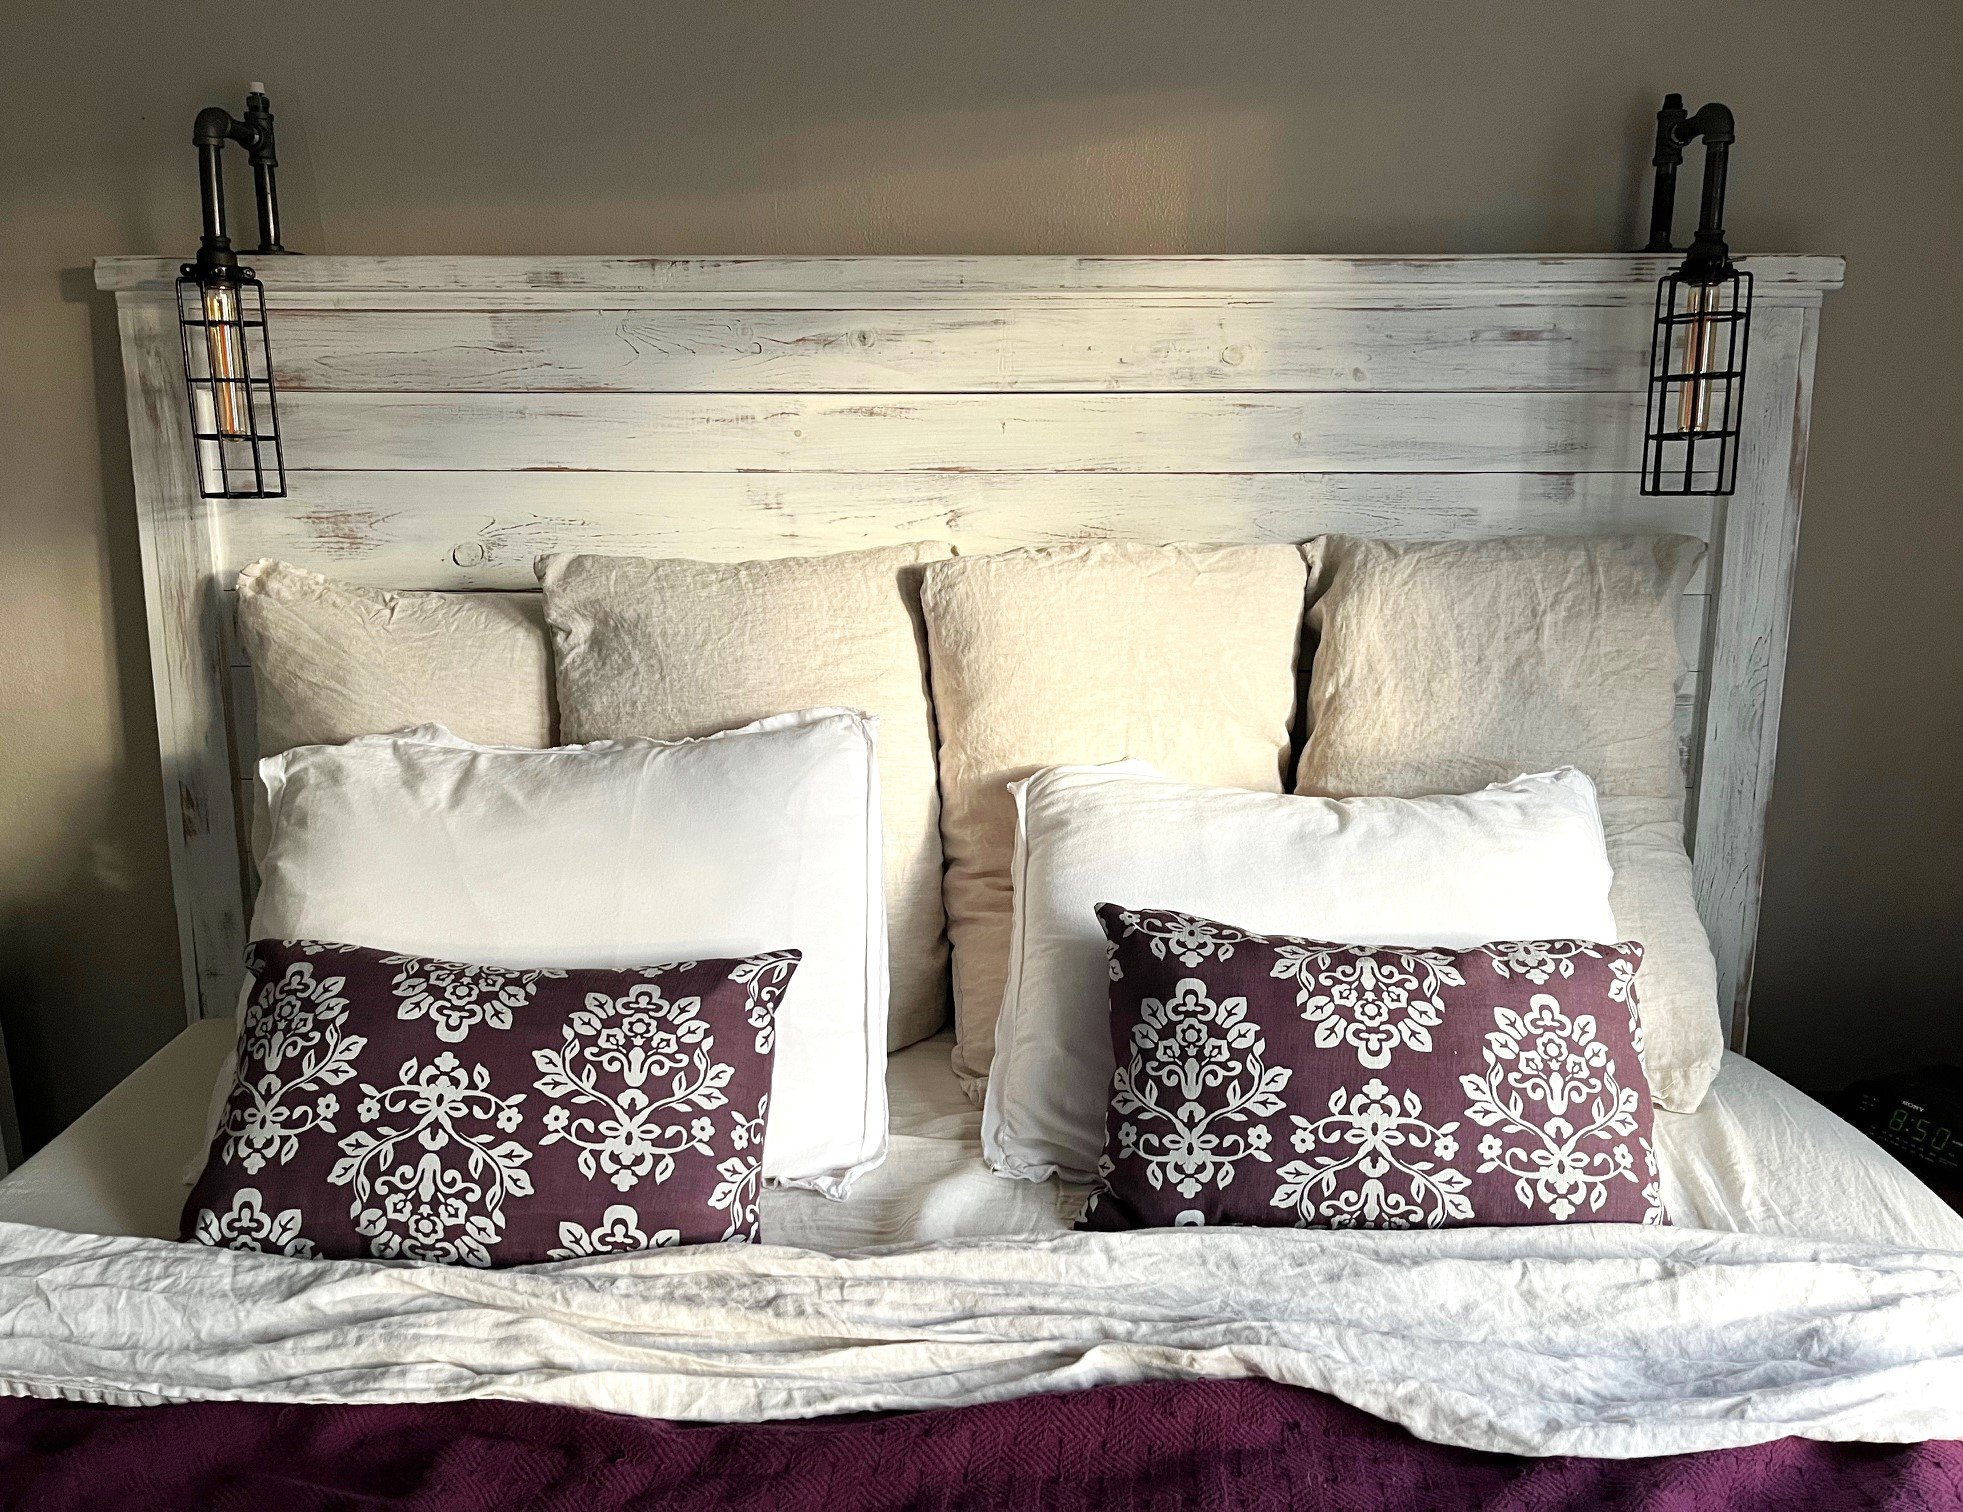
White Rustic headboard (California King) with sidelights.
Jackie M
Built from Plan(s)
Small Day bed
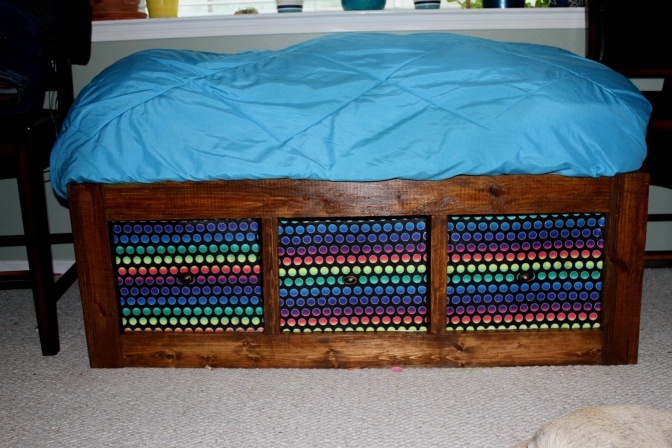
My niece is here for the summer! We needed a guest bed fast, that didn't take up an entire room! She chose this day bed!
Her bed is in the computer room, so there isn't enough room for a twin size bed. I modified the plans to fit a standard crib mattress. Now, when she isn't using the day bed, it doubles as a lounging spot to read. It is soooo cute!
For the storage baskets, I cut shipping boxes to size and mod podged fabric to them, and added some cute little knobs.
Built from Plan(s)
Estimated Time Investment
Afternoon Project (3-6 Hours)
Finish Used
Early American by Rustoleum followed by 2 coats of satin poly
Recommended Skill Level
Beginner
Comments
Sat, 03/23/2013 - 18:09
measurements/advice?
I'm wanting to do this exact same thing with a crib mattress. Could you provide the adjusted measurements you used?
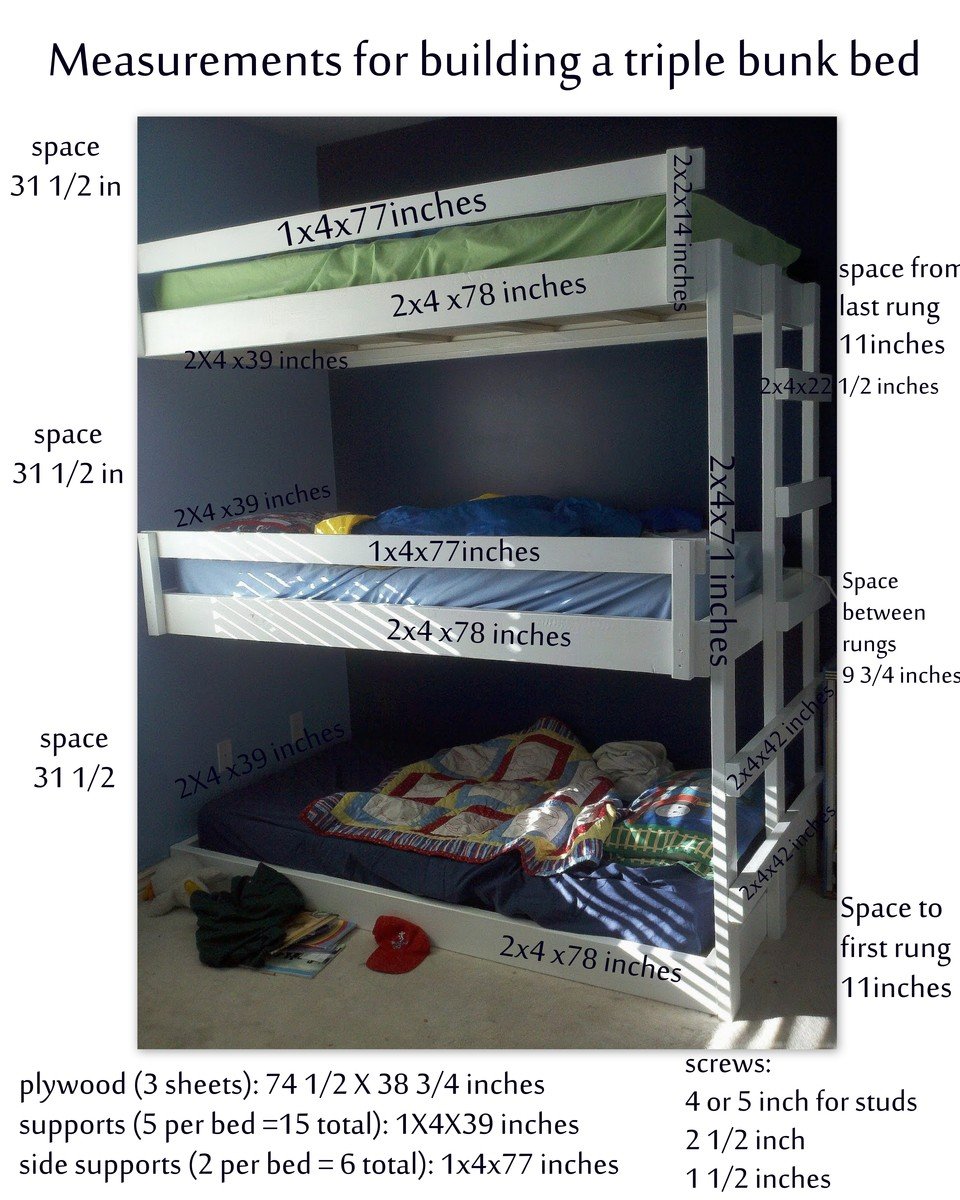
Easy Built in Triple Bunk Bed Plans
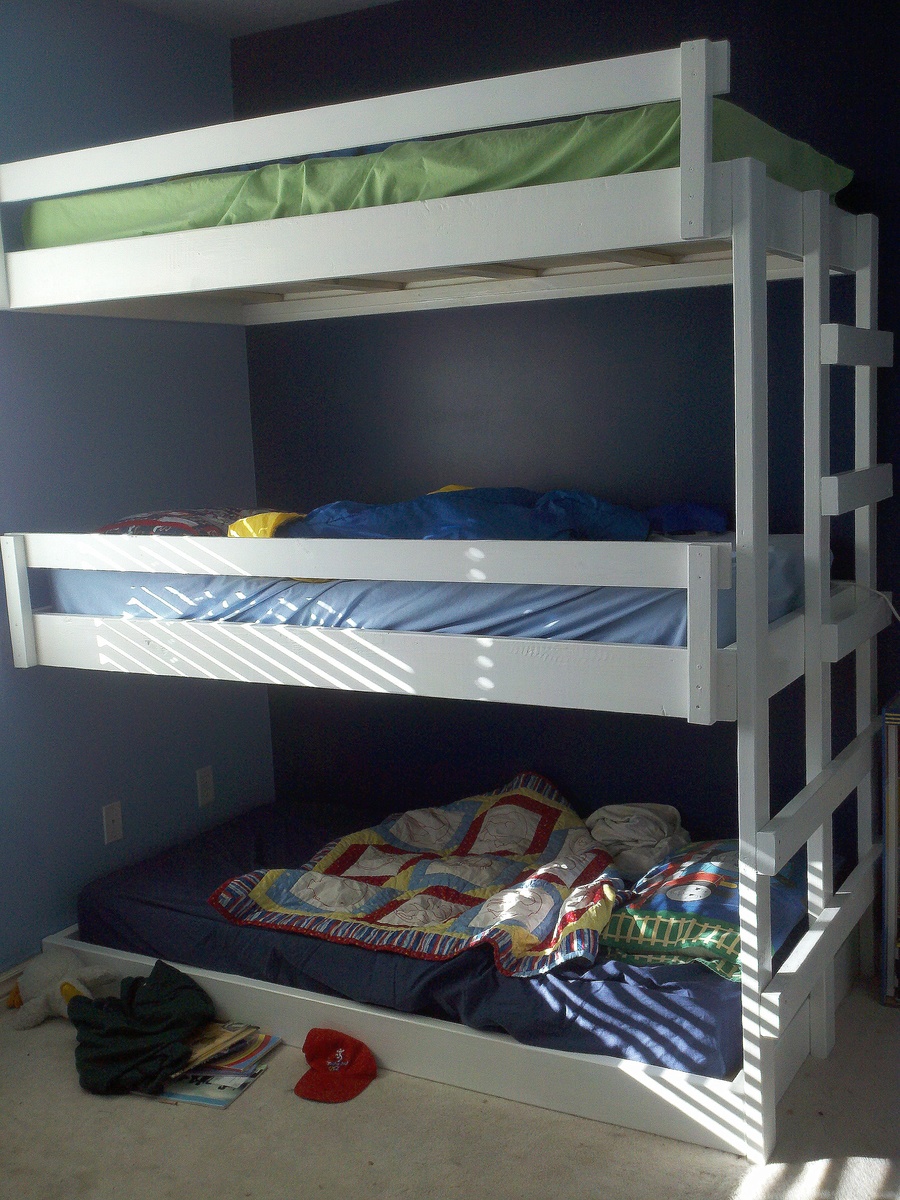
The Basic Process - Triple Bunk Bed Plans
More info on these Triple Bunk Bed Plans on my blog: http://myhomedonemyway.blogspot.com/2013/03/triple-bunk-bed-finished.ht…)
1. Build the Bed Frames: (I will explain the process for one bed...do it three times if you want three beds)
2. Add Side Supports: ( Also do this step three times for three beds. We did it later but would be easier to do now)
3. Add Roll Guard: (do twice...once for each top bunk. We did this later but can be done now)
4. Build Ladder:
5. Paint desired color (you don't have to paint the sides that will be screwed into the wall).
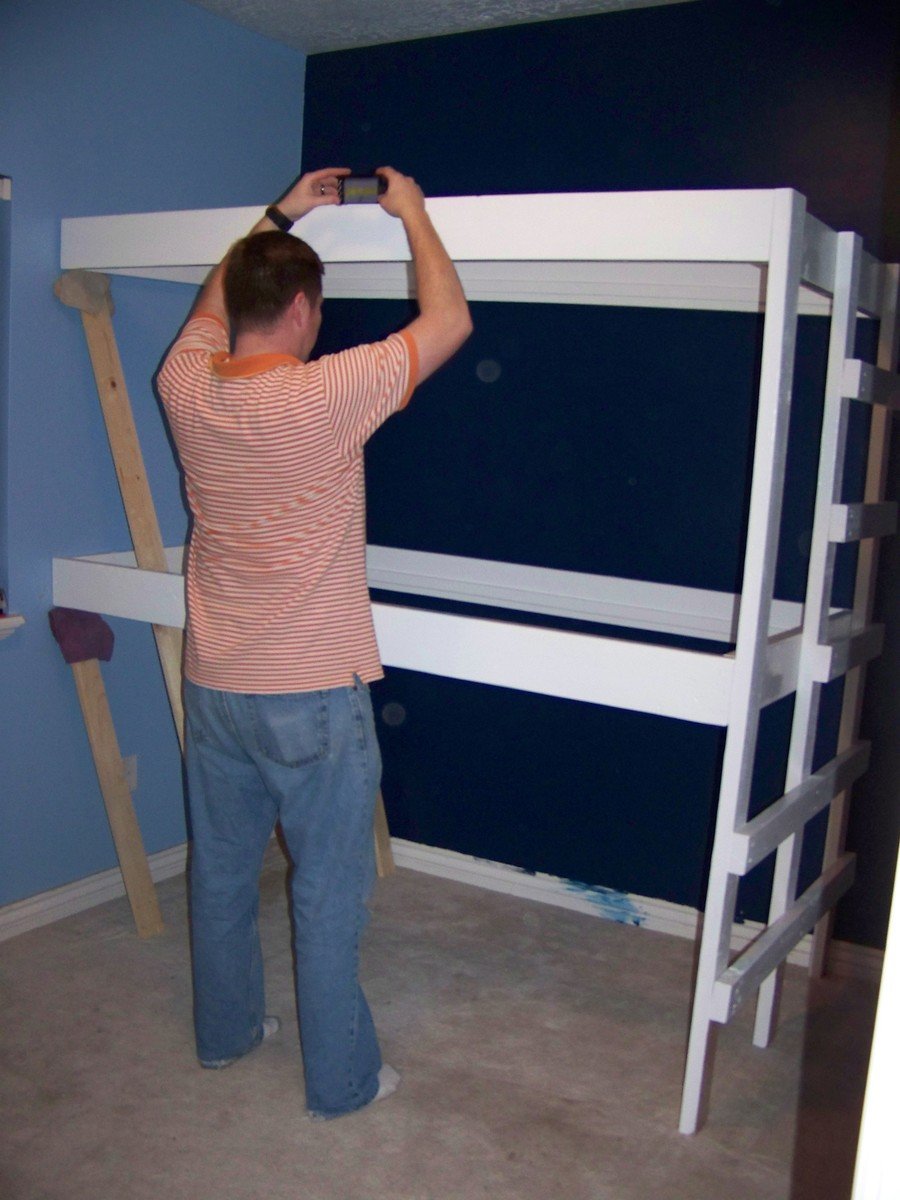
6. Install into the wall in desired bedroom
7. Add Supports (do three times for three beds)
8. Add Plywood (do three times for three beds) 9. Finish

Estimated Cost
$150
Estimated Time Investment
Day Project (6-9 Hours)
Finish Used
White Paint
Recommended Skill Level
Starter Project
Comments

Mon, 04/28/2014 - 13:28
Easy Built in Triple Bunk Bed Plans
I hope you all enjoy these triple bunk bed plans. The instructions should be easy to follow to make your own!

In reply to Easy Built in Triple Bunk Bed Plans by myhomedonemyway
Sun, 01/22/2017 - 11:06
Great Triple Bunk Bed Plans!
Thank you so much for sharing your plans! This is great, well built, but still easy to do!
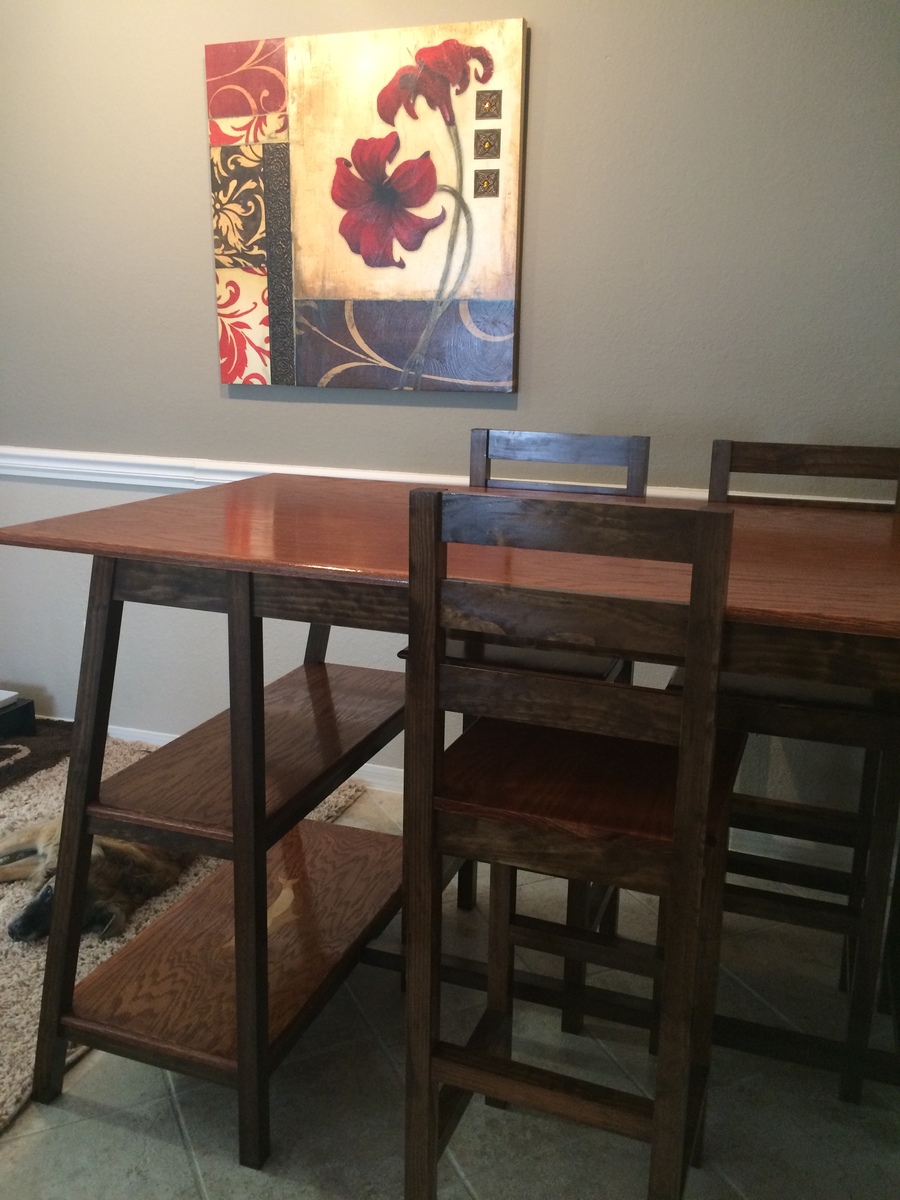
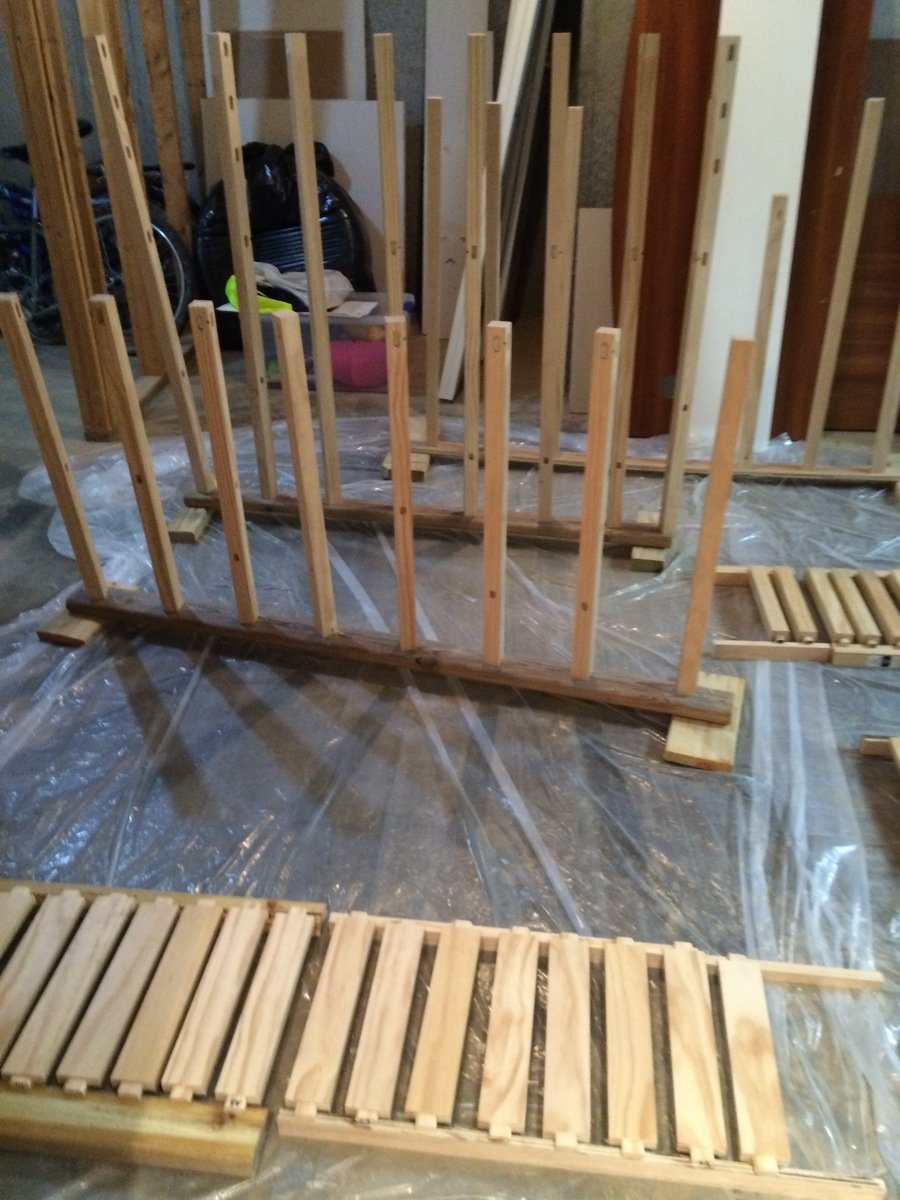
Bar Height Table and Chairs
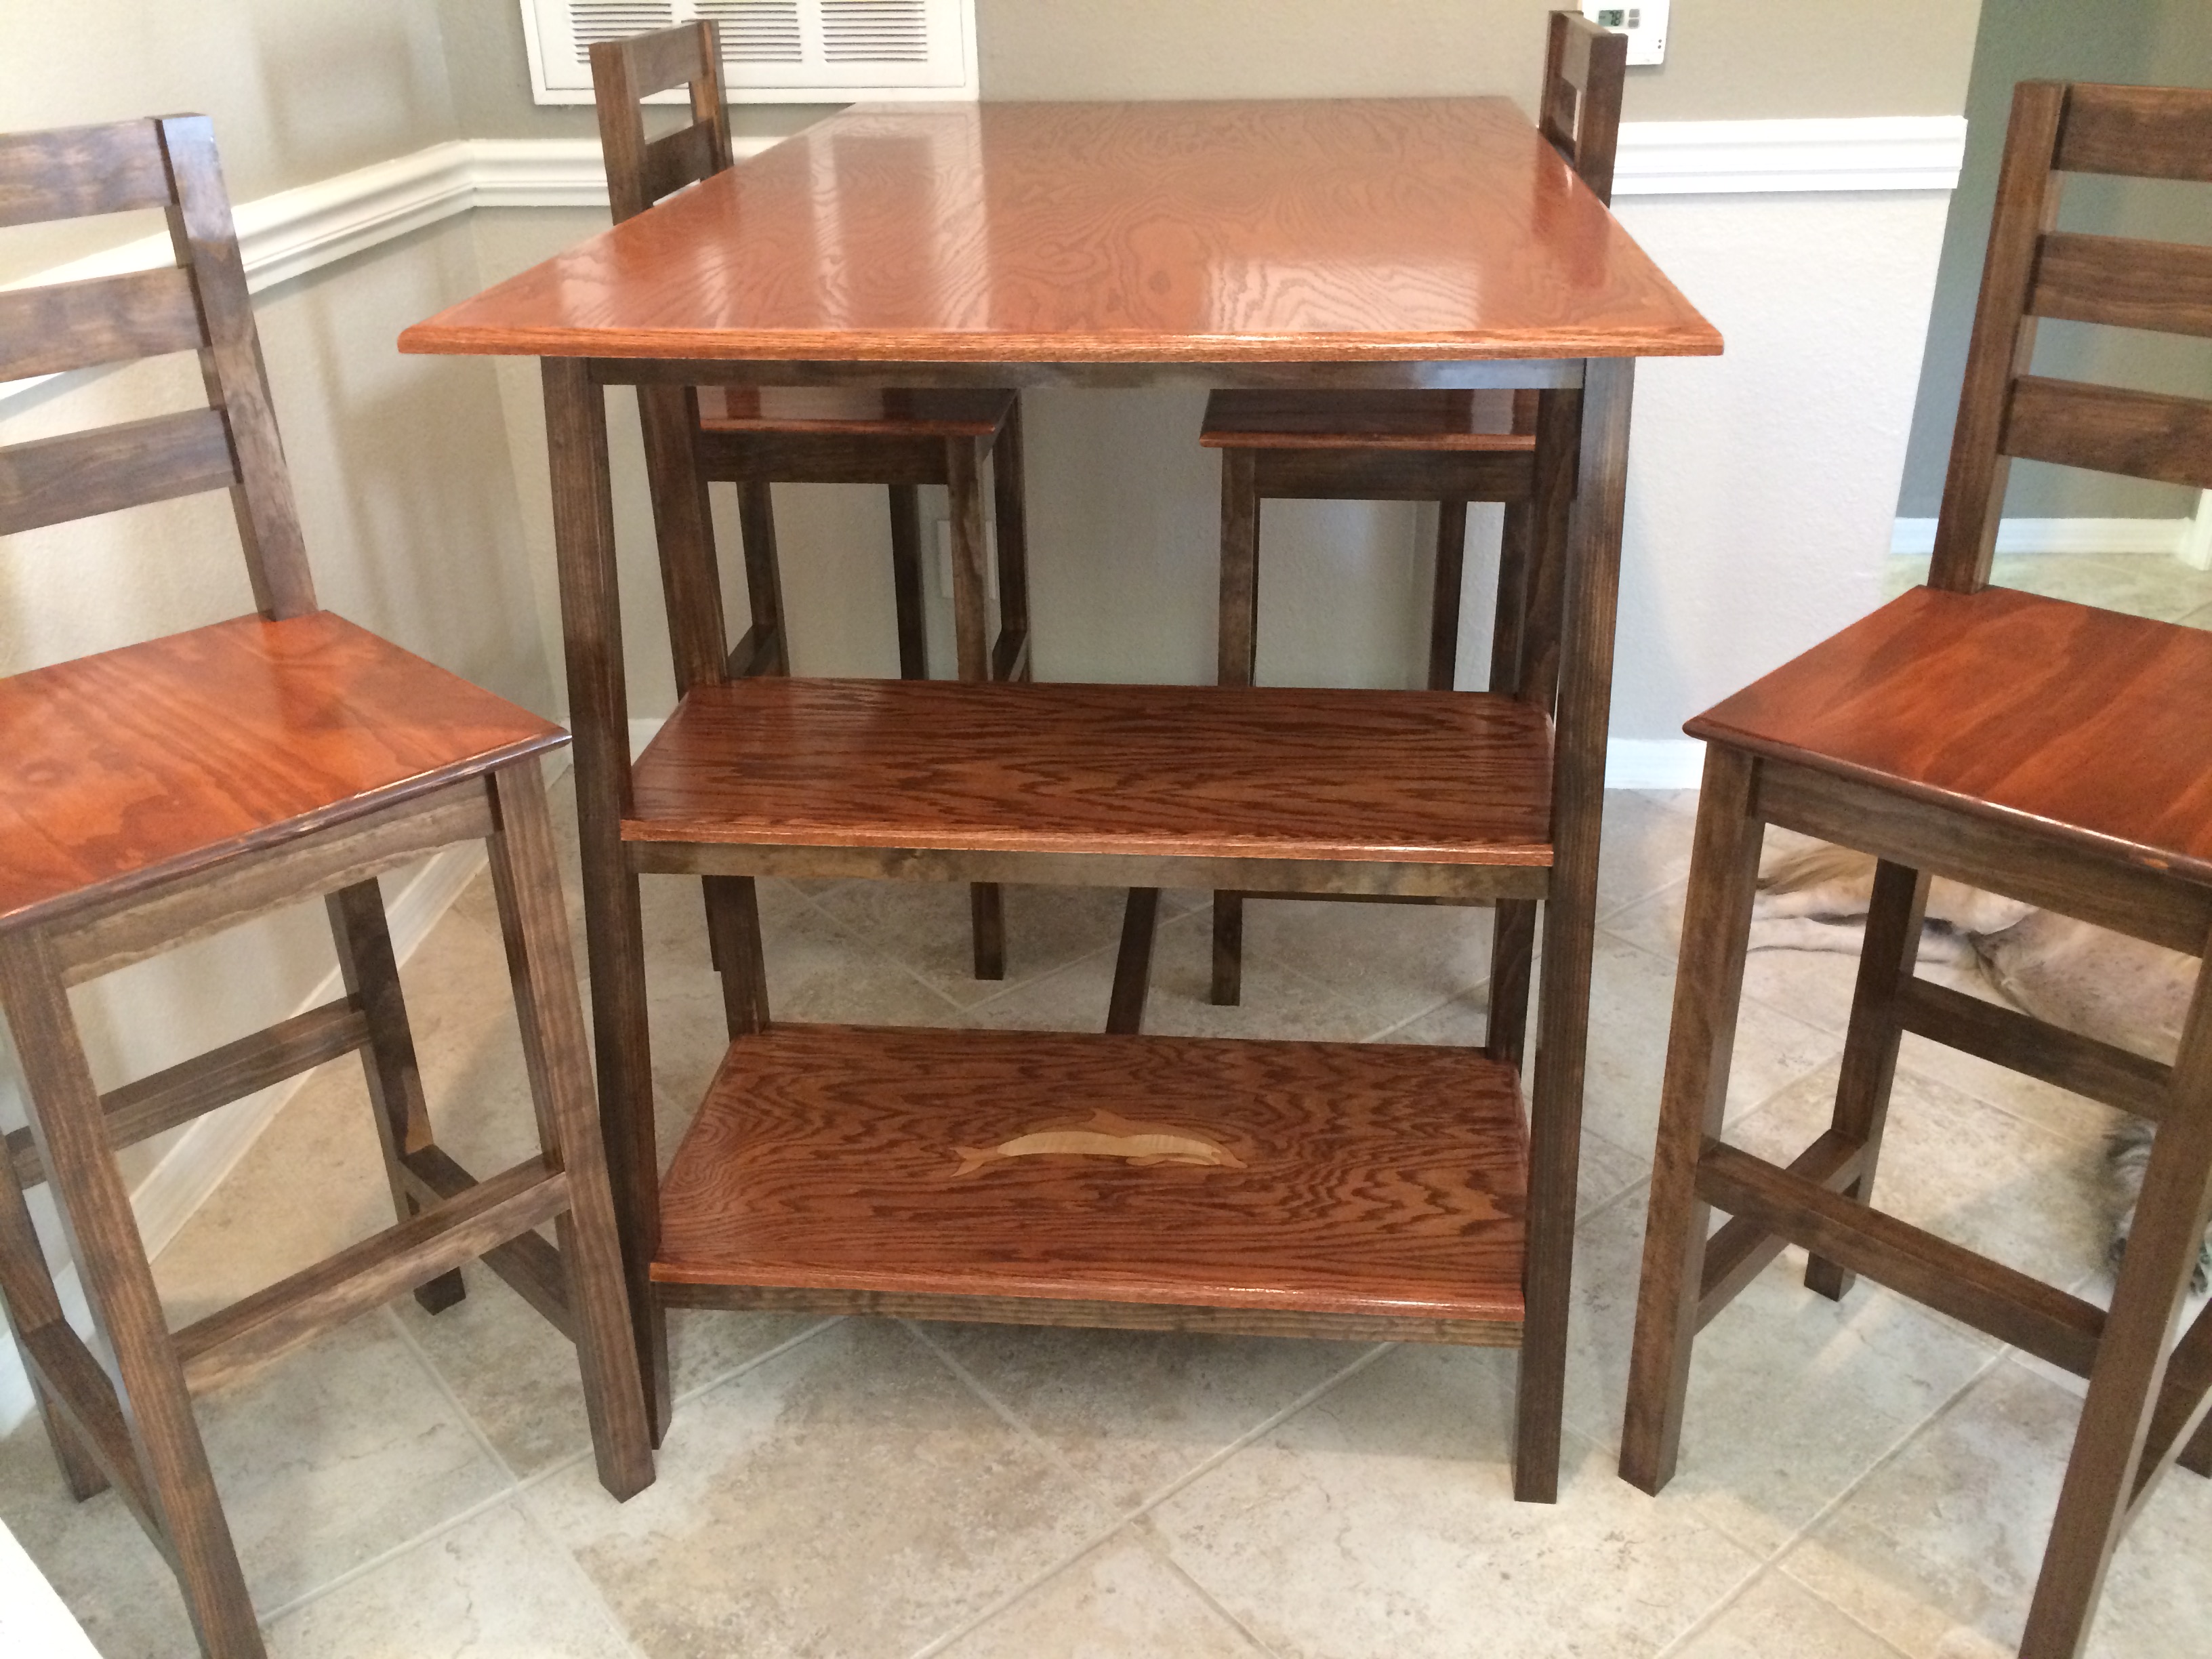
Decided to use mortise and tenon on the chairs to make for a clean look since I was staining and not painting. I did use a lot of pocket holes on the table.
Built from Plan(s)
Estimated Time Investment
Week Long Project (20 Hours or More)
Finish Used
American Walnut and Dark Walnut. Oil Based Poly and Furniture Wax
Recommended Skill Level
Beginner