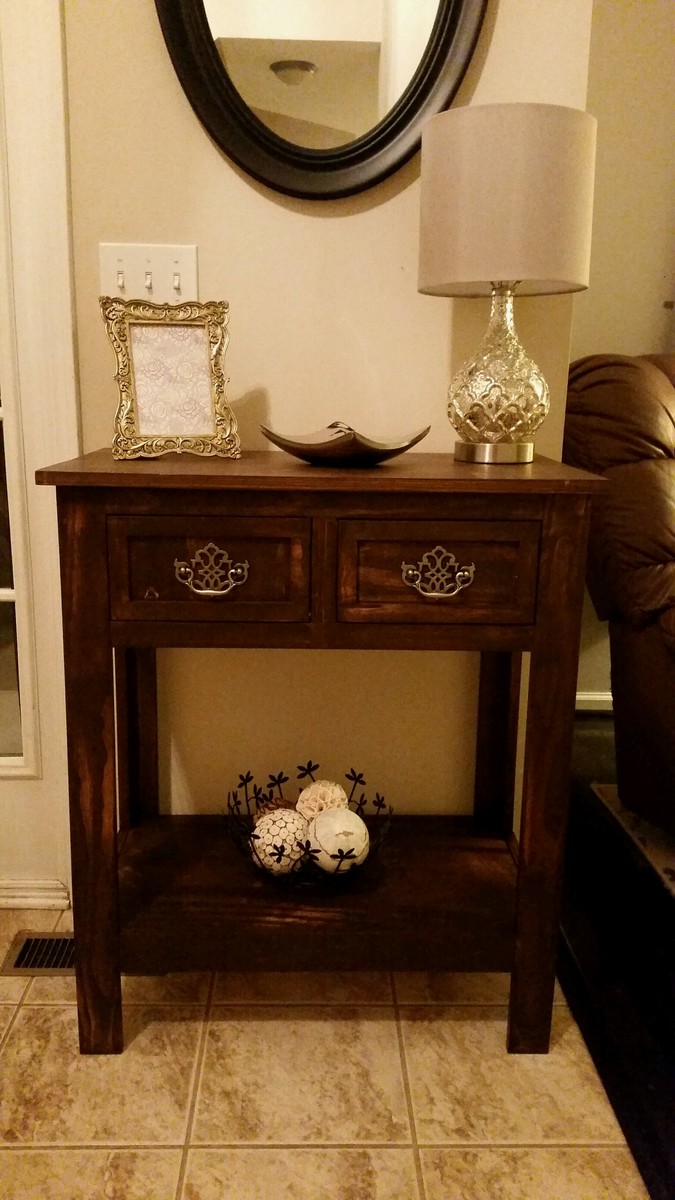
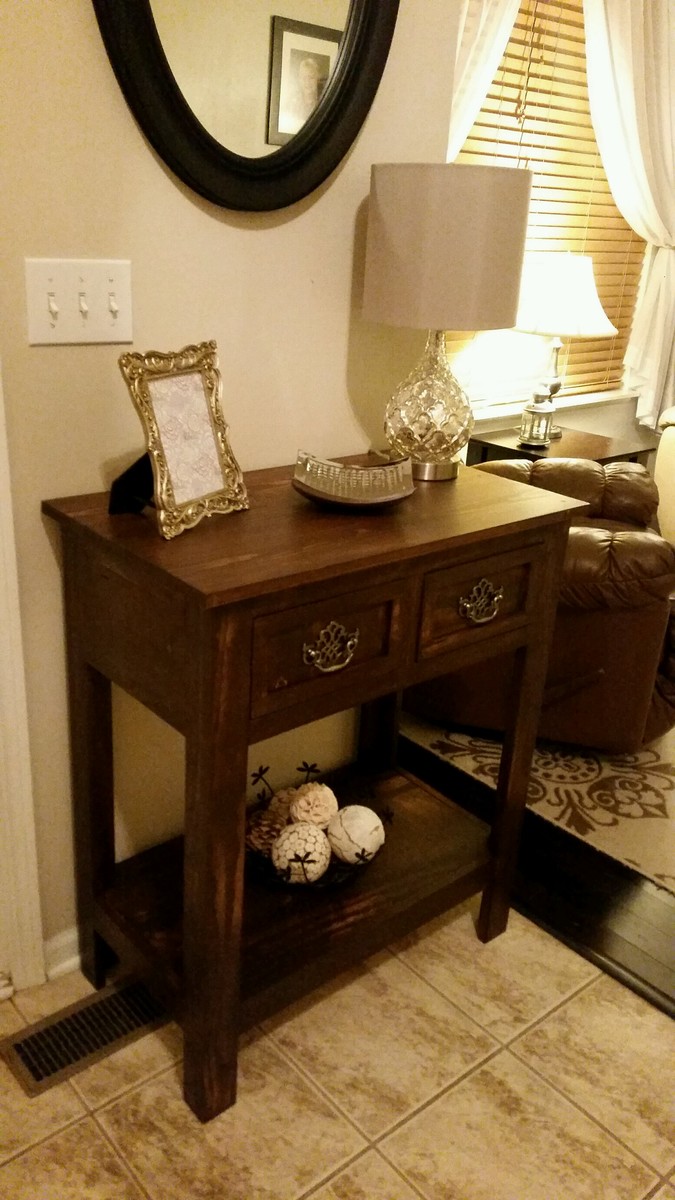
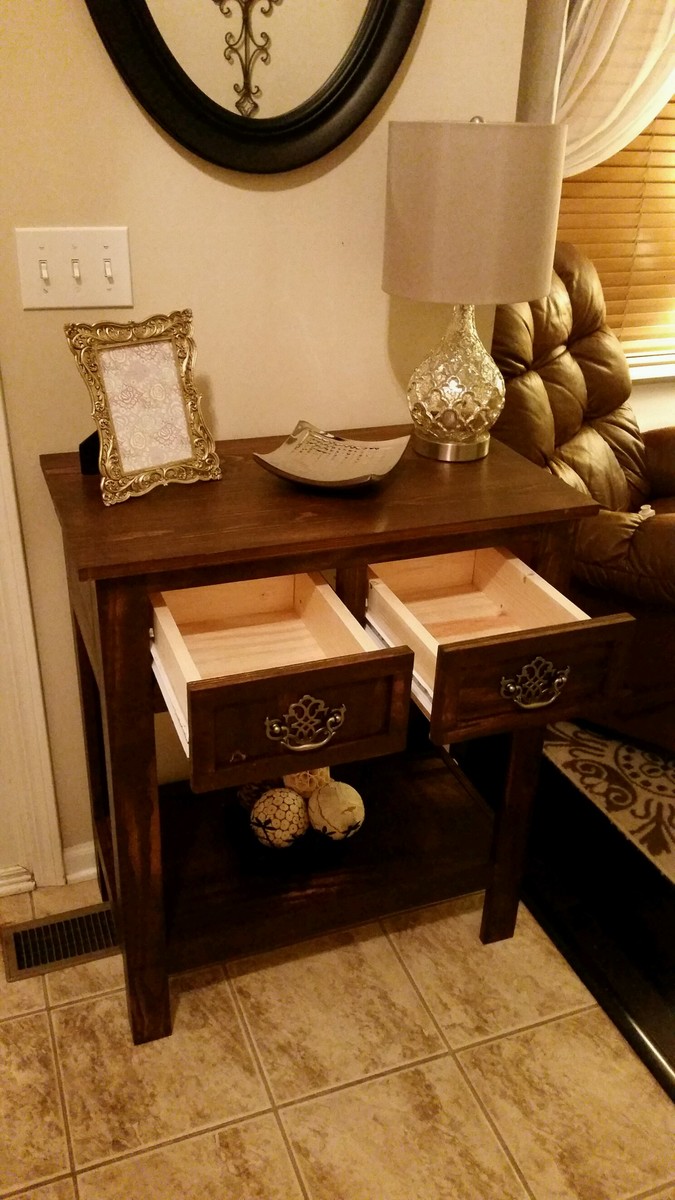
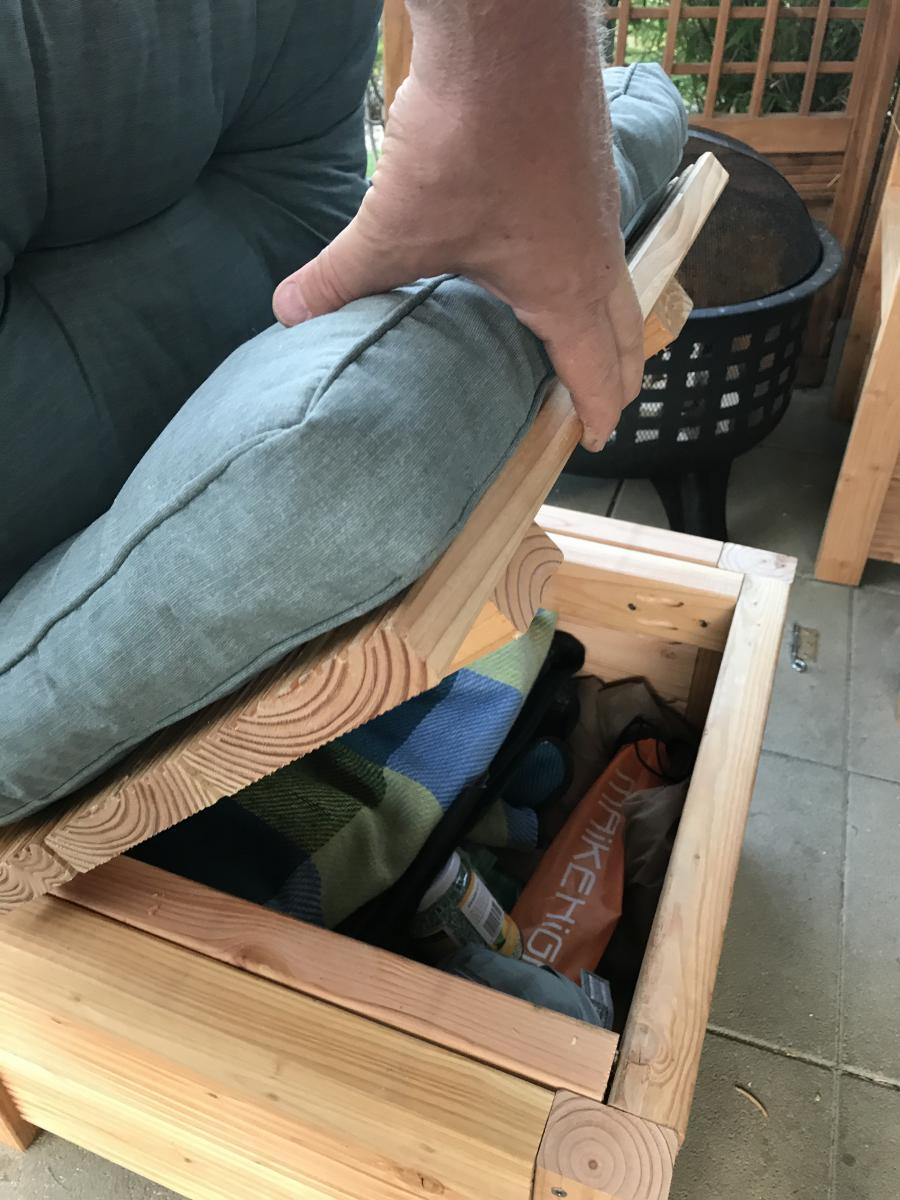
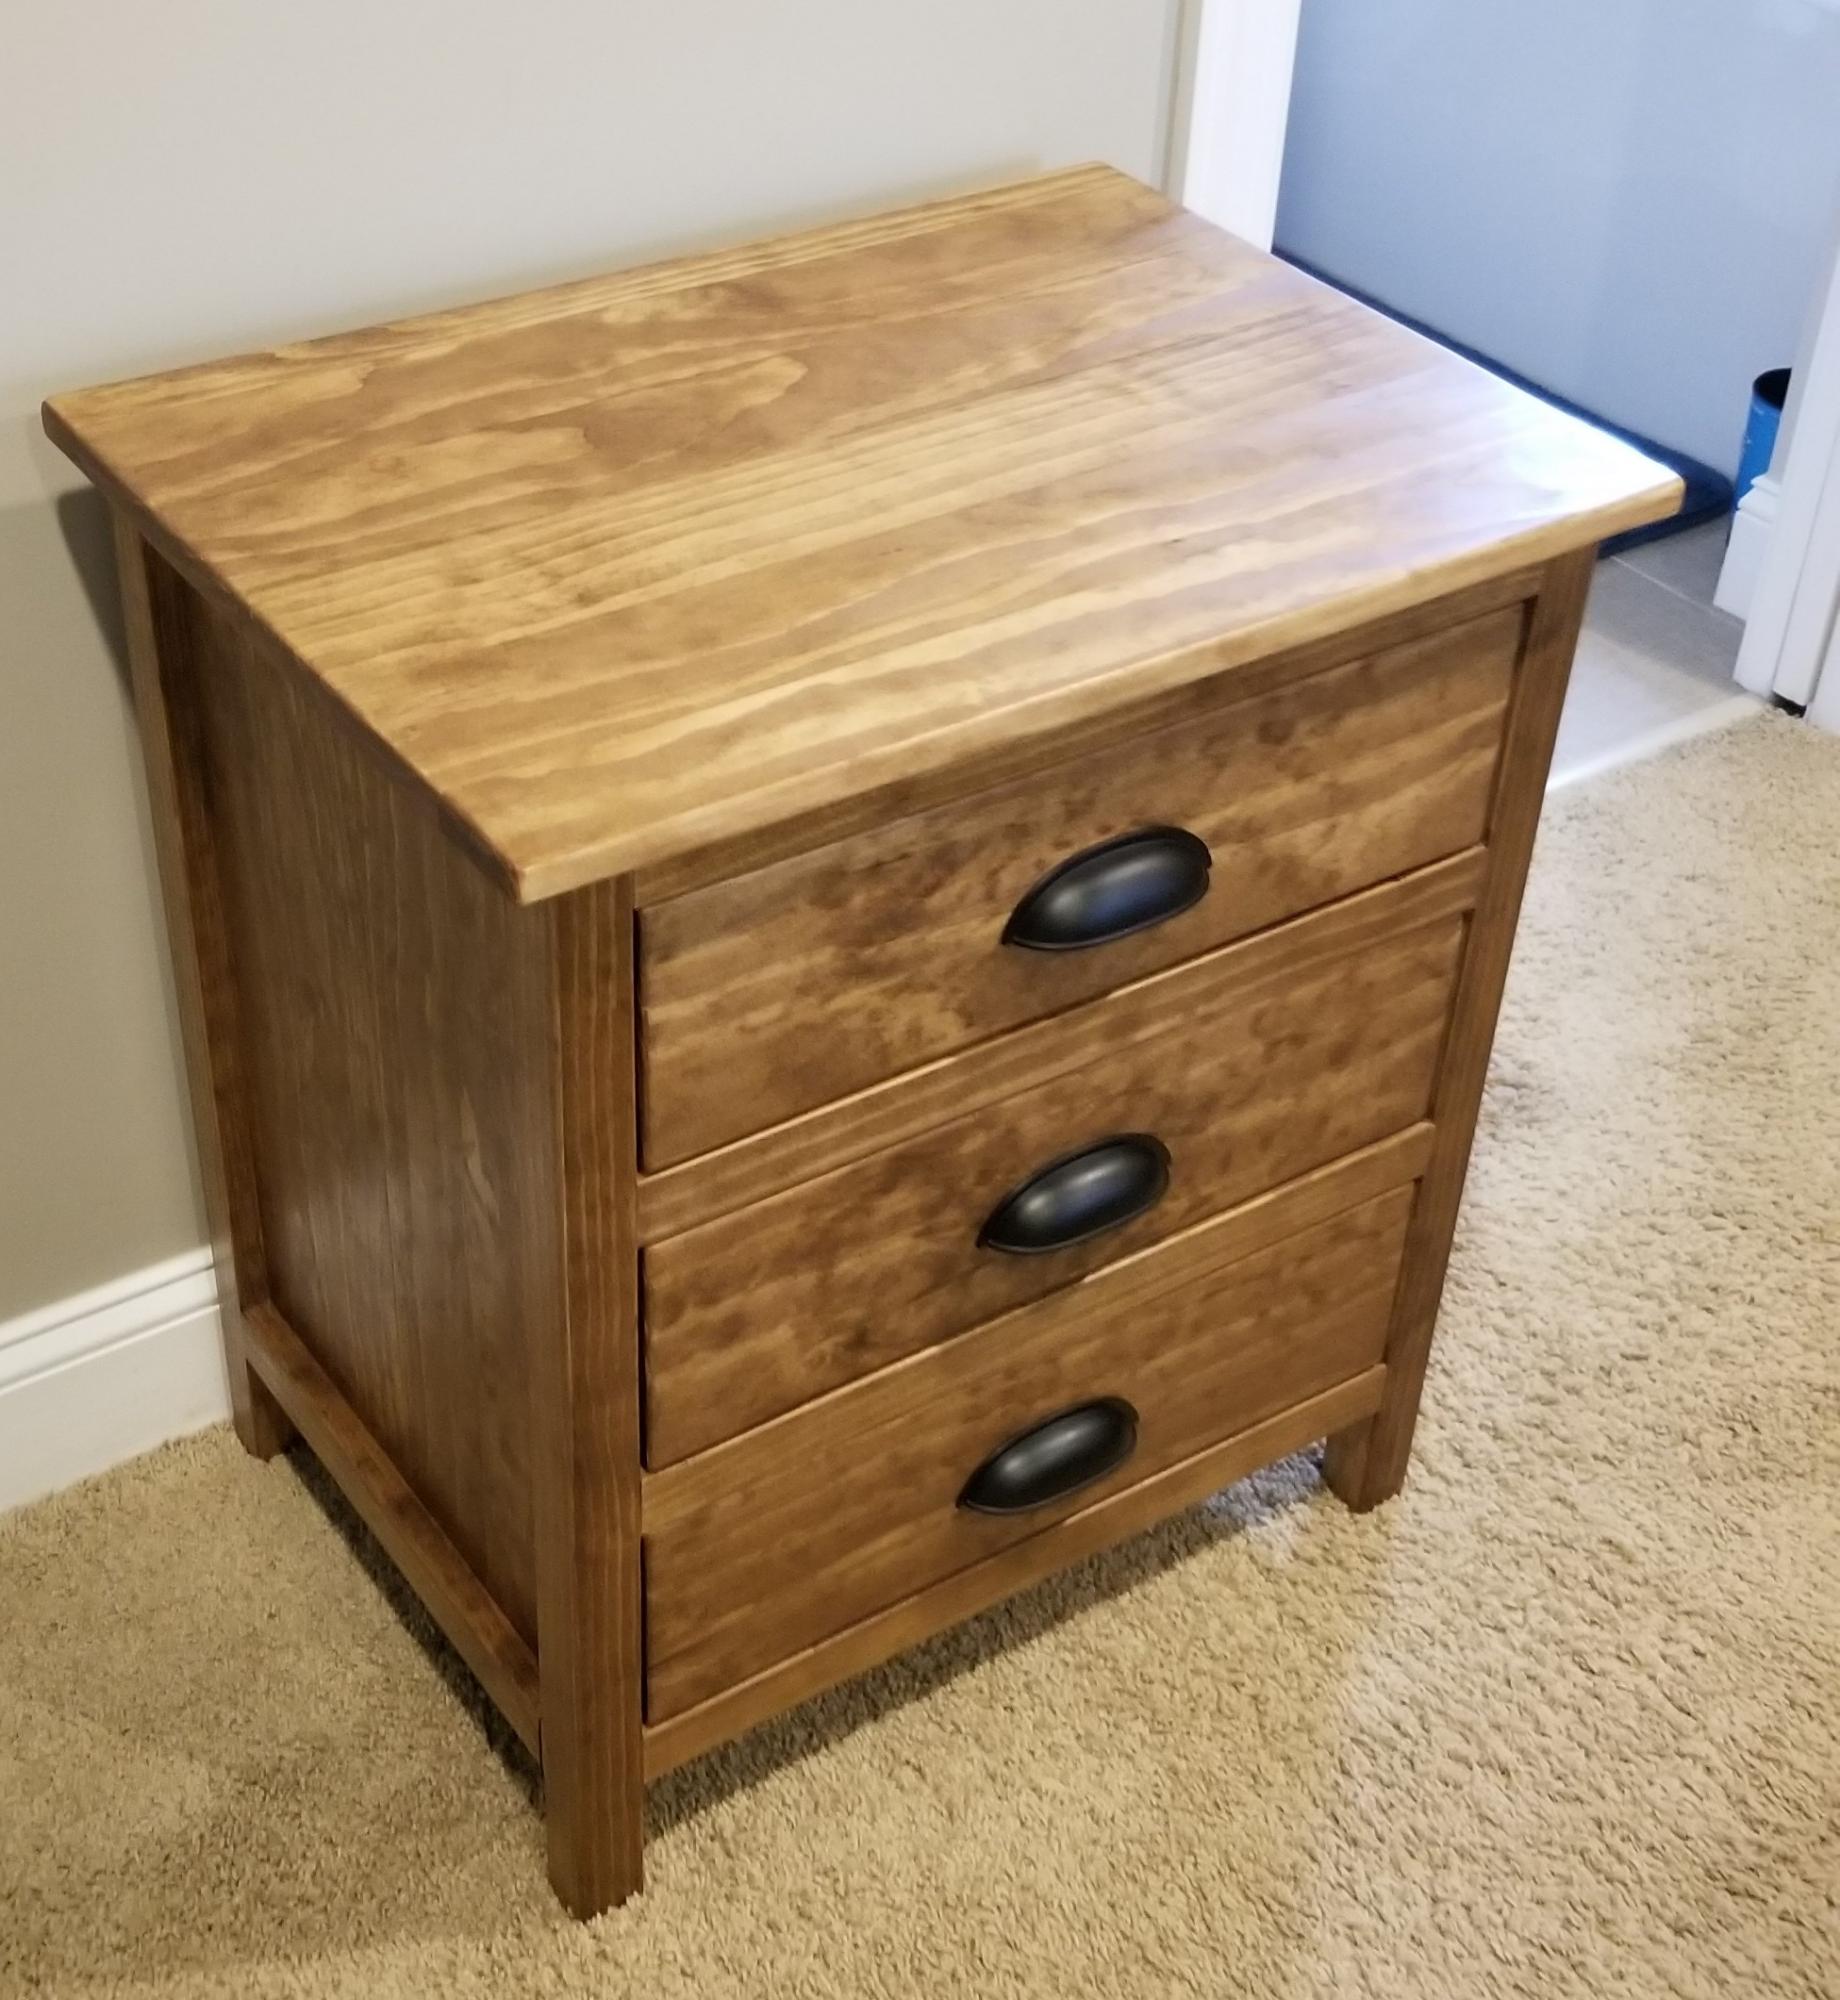
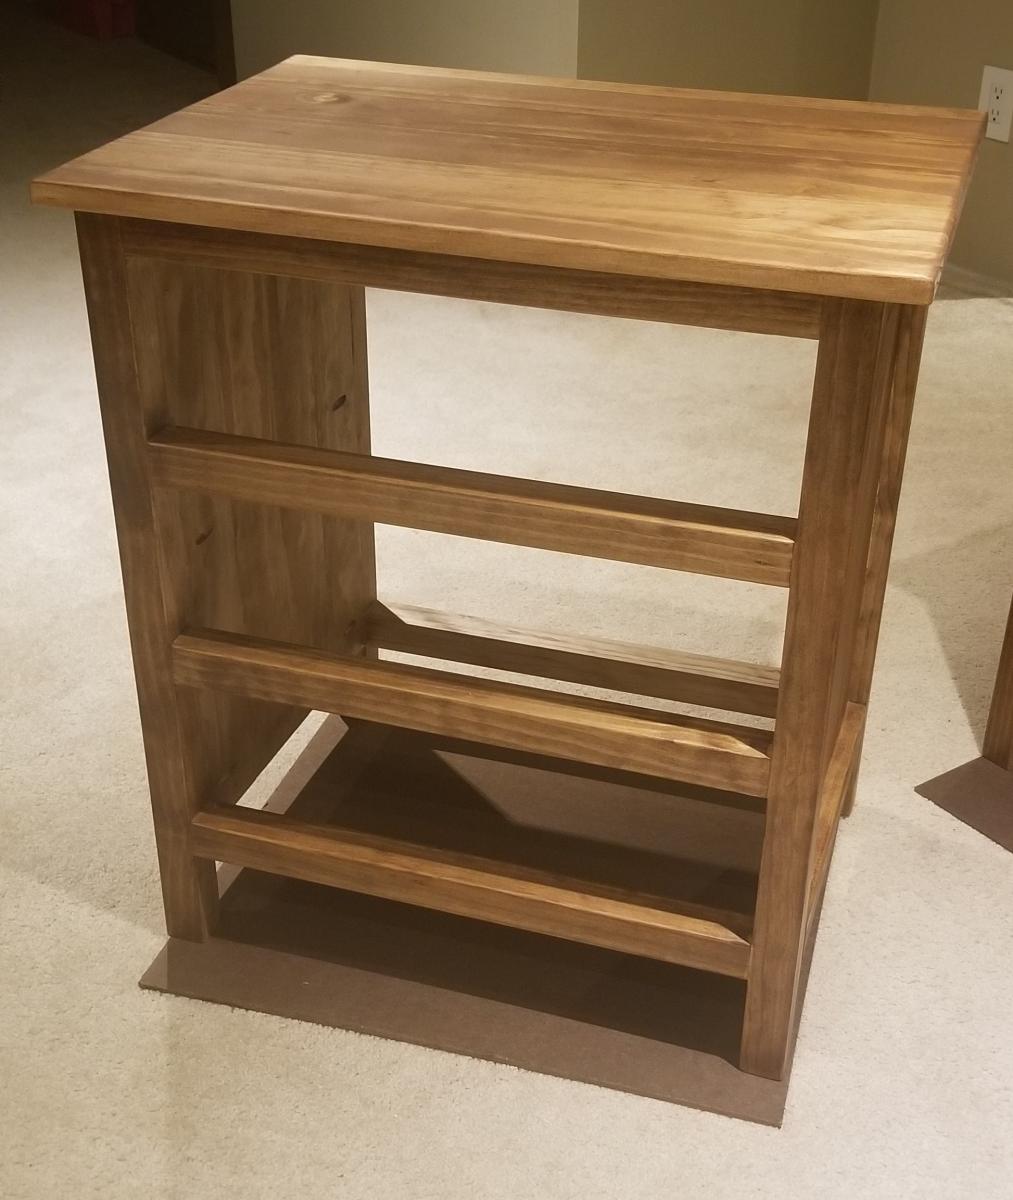
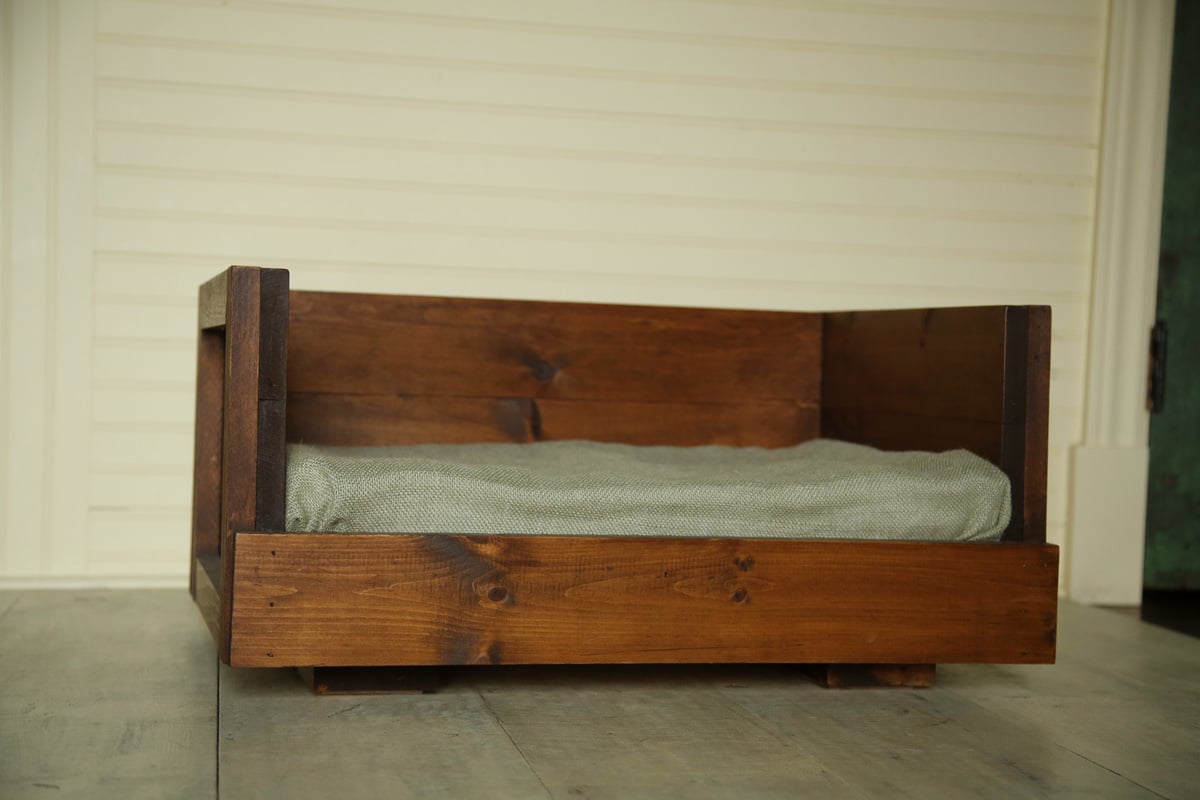
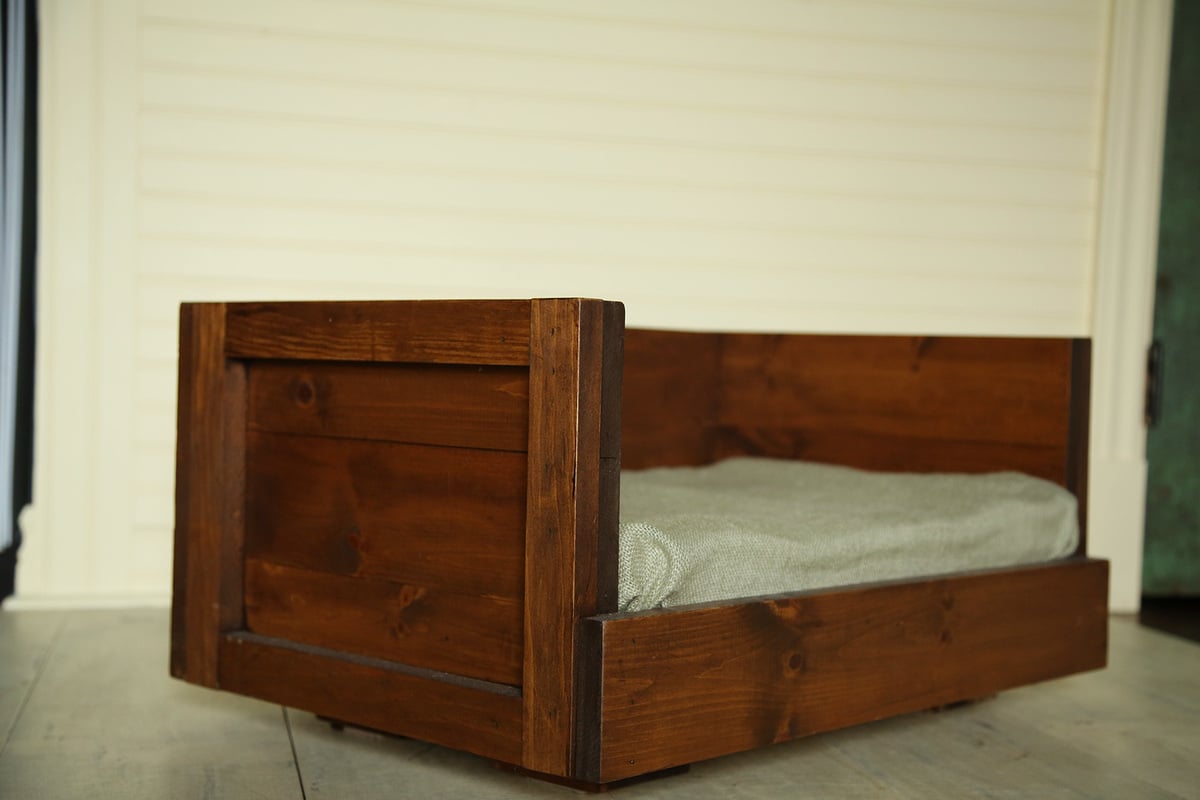
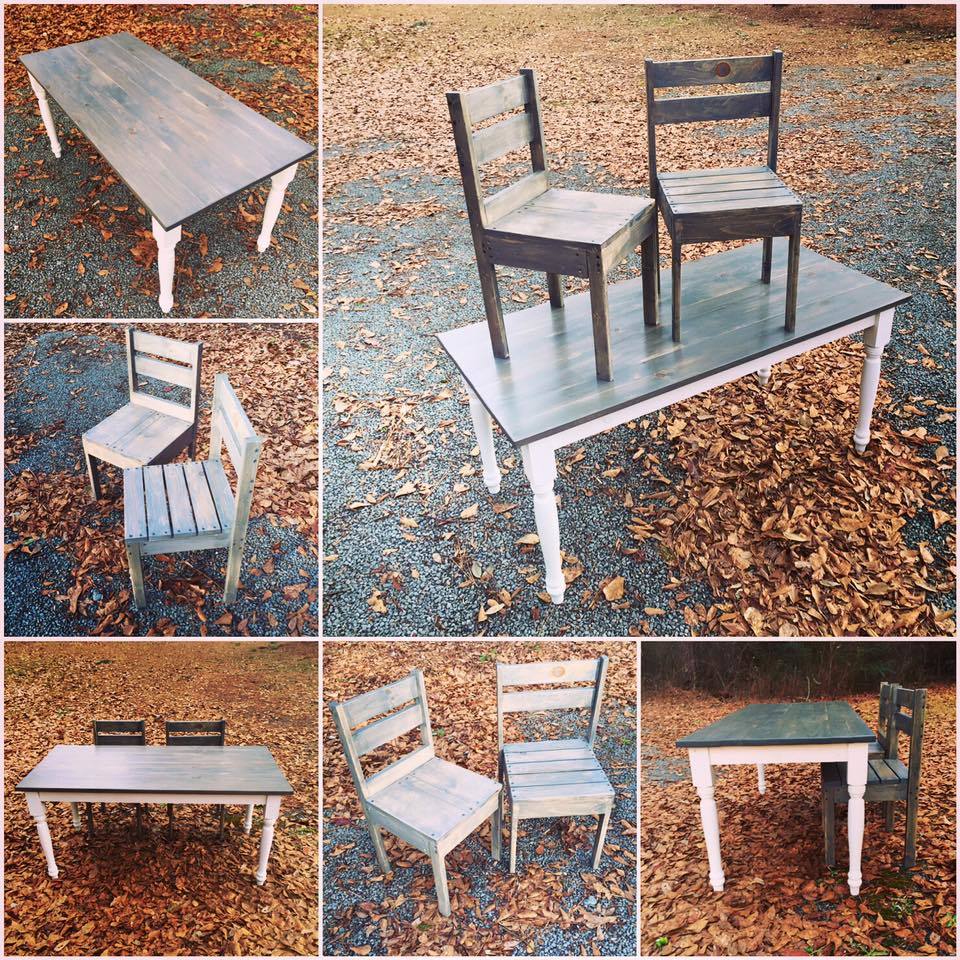
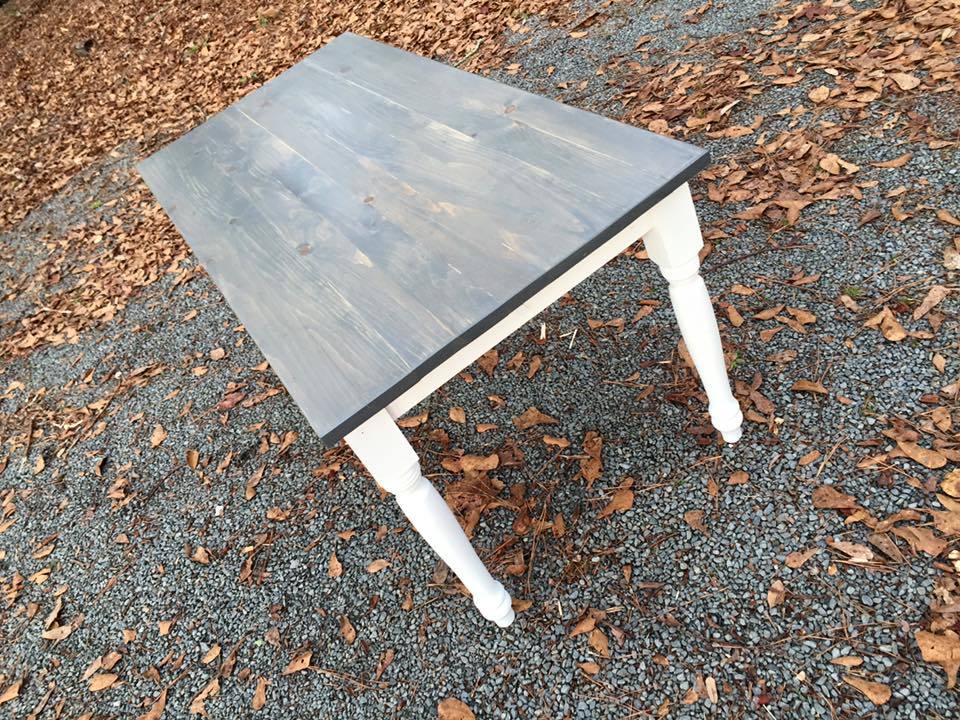
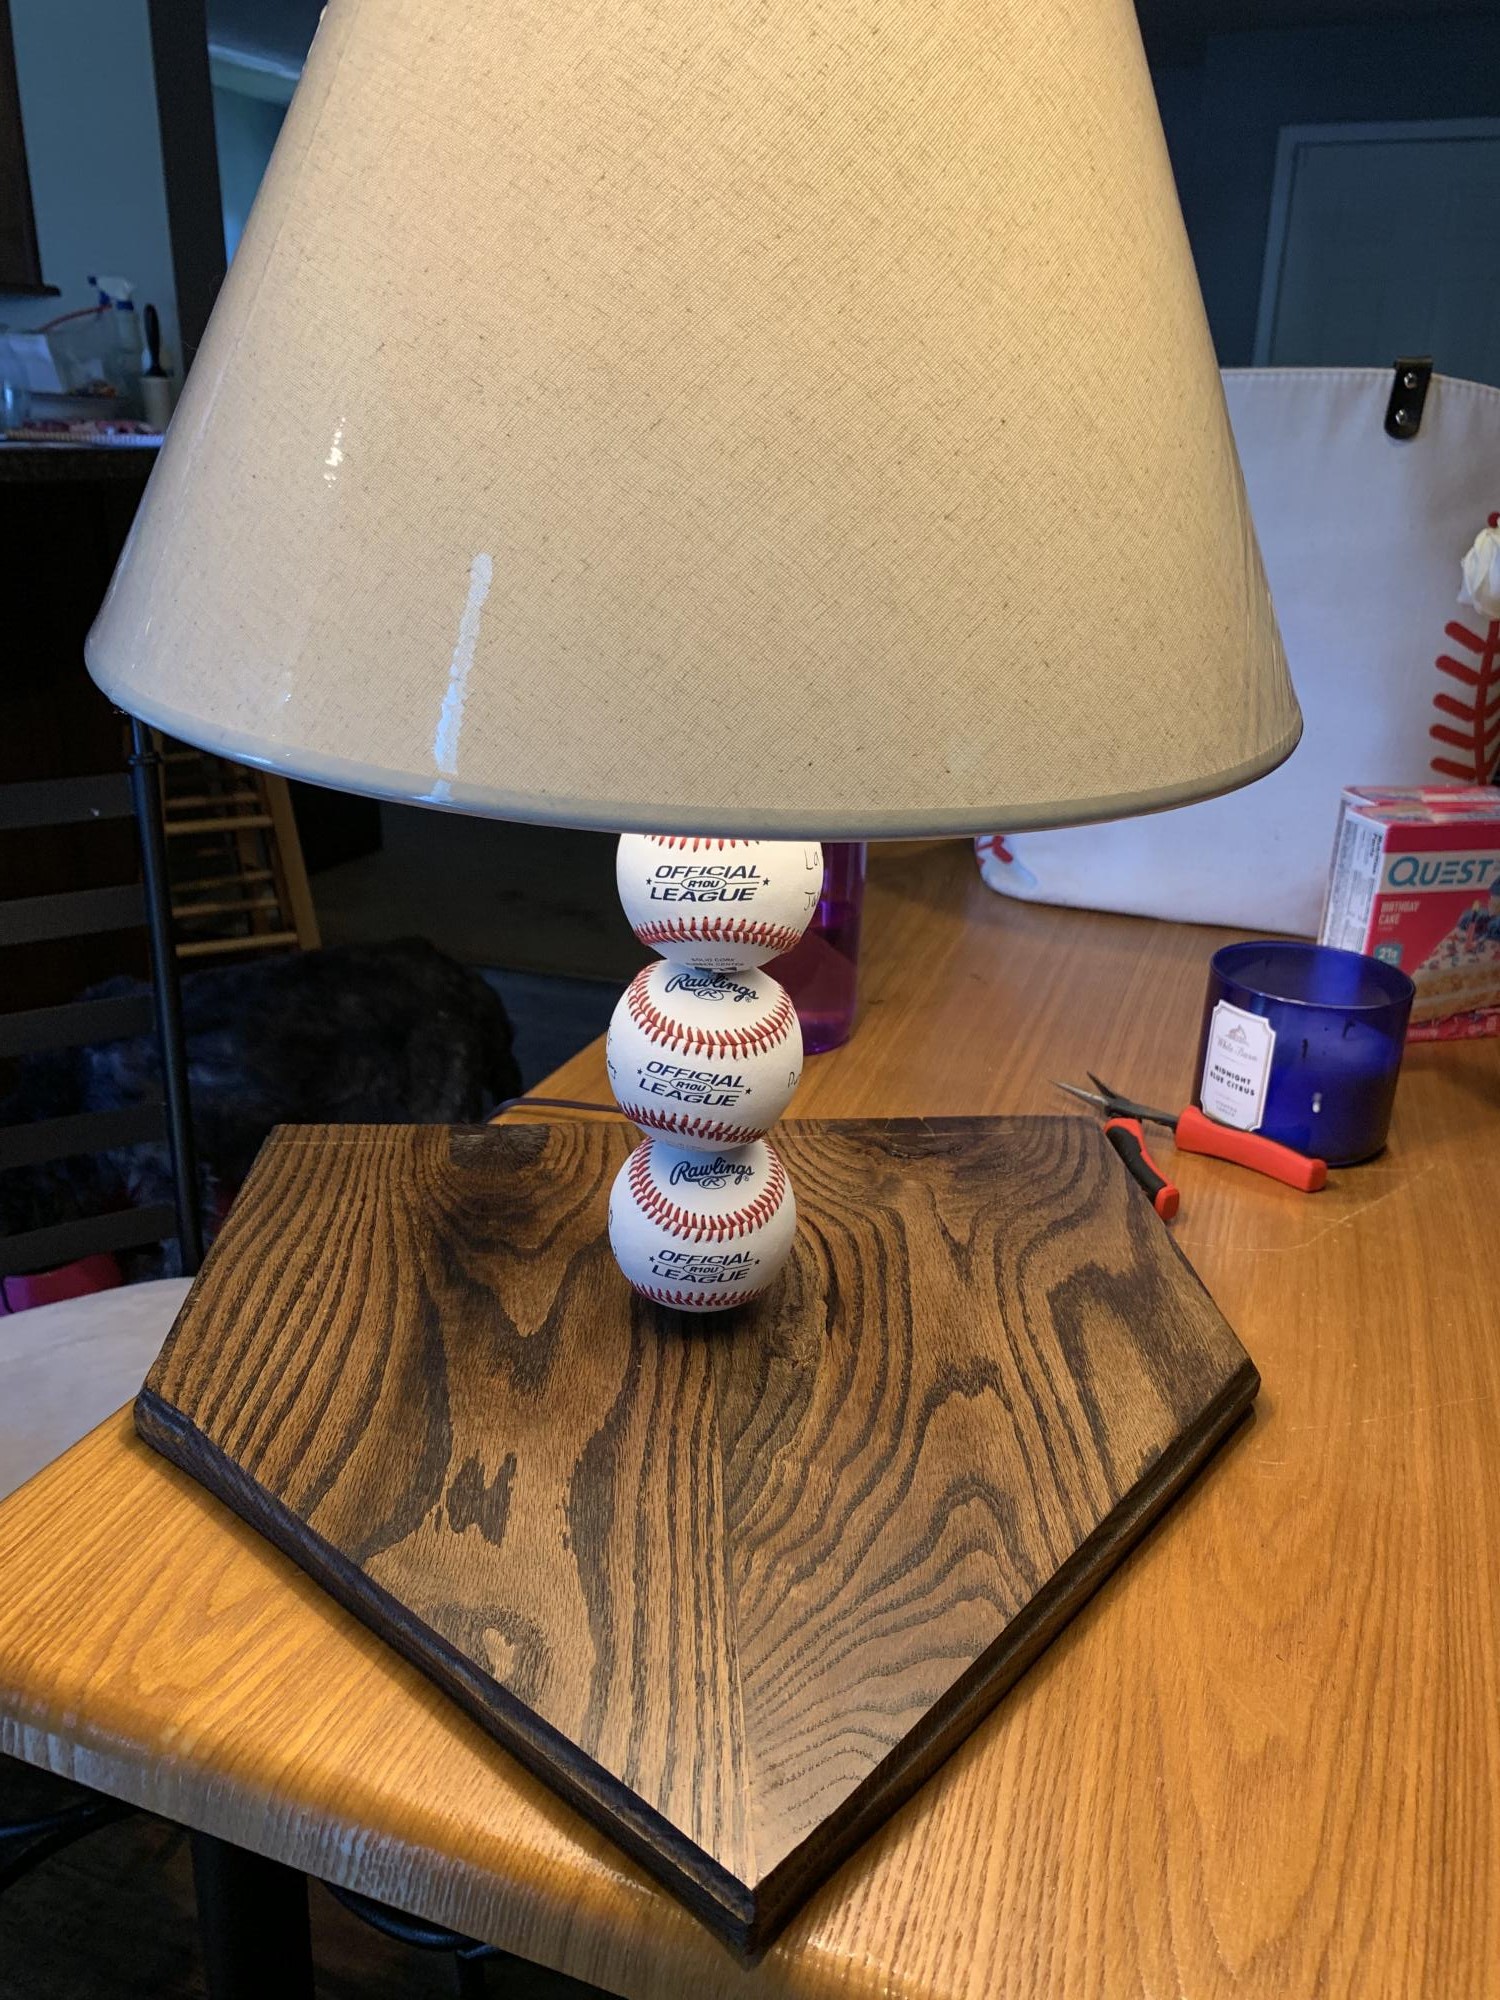
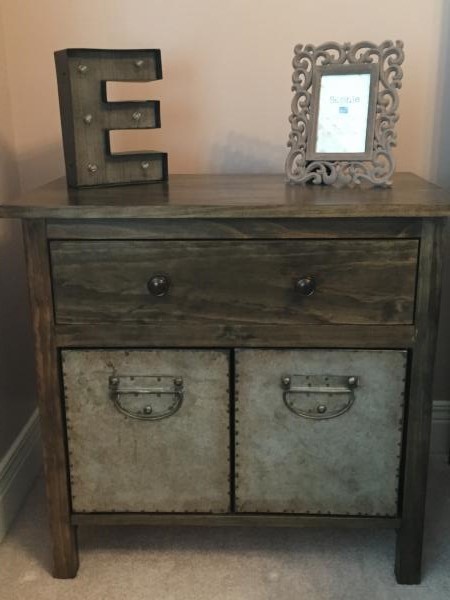
Perfect end table
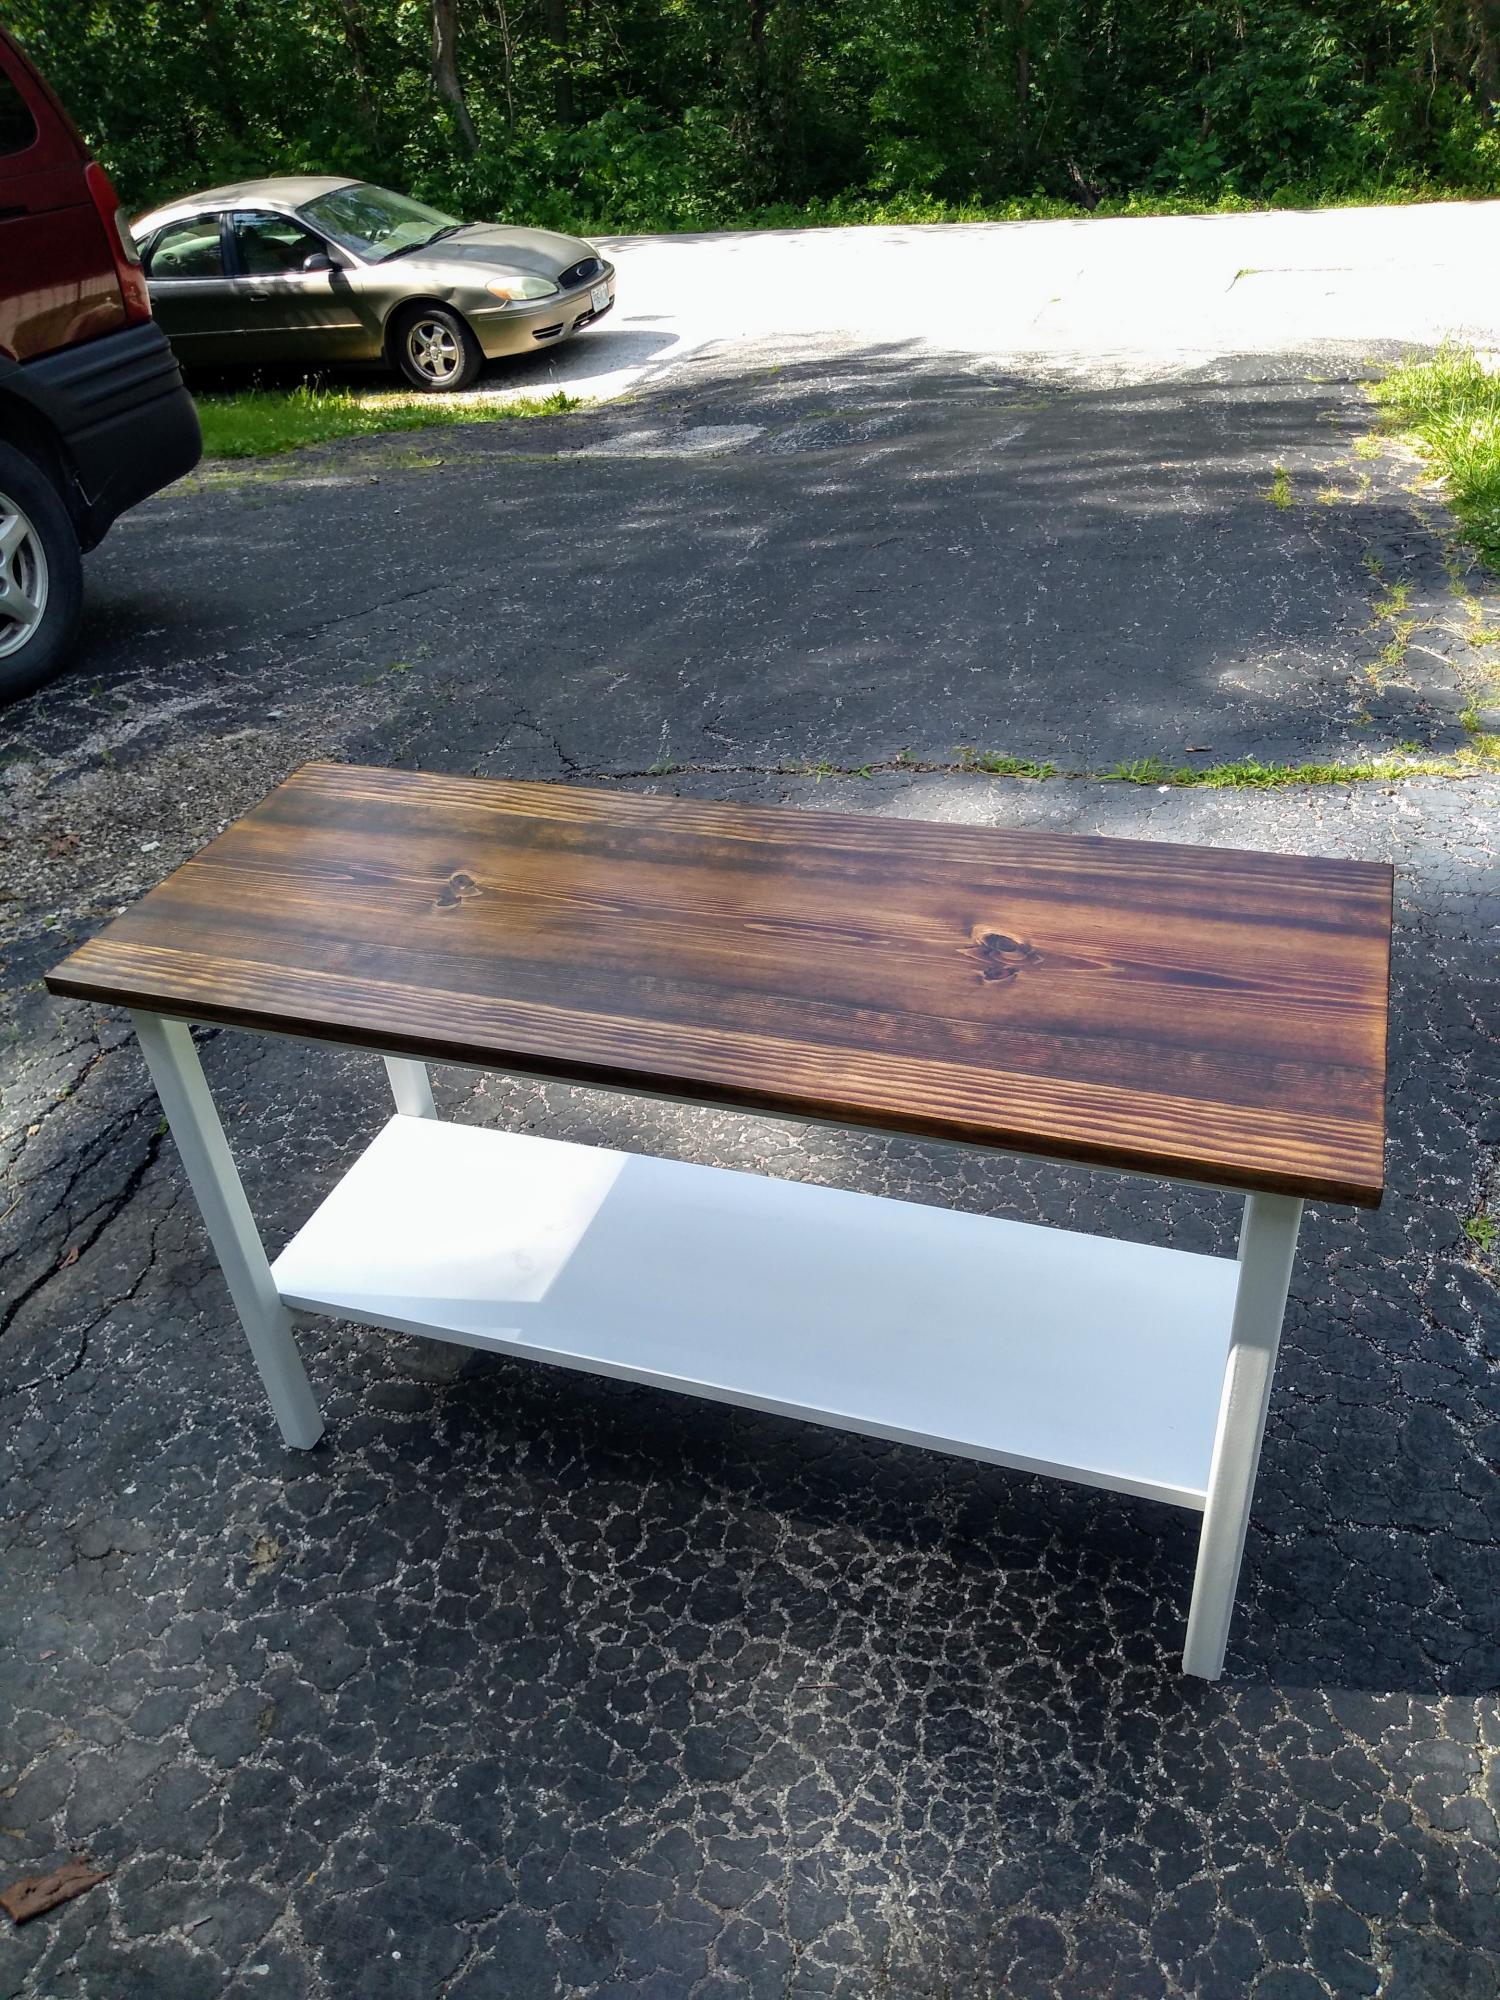
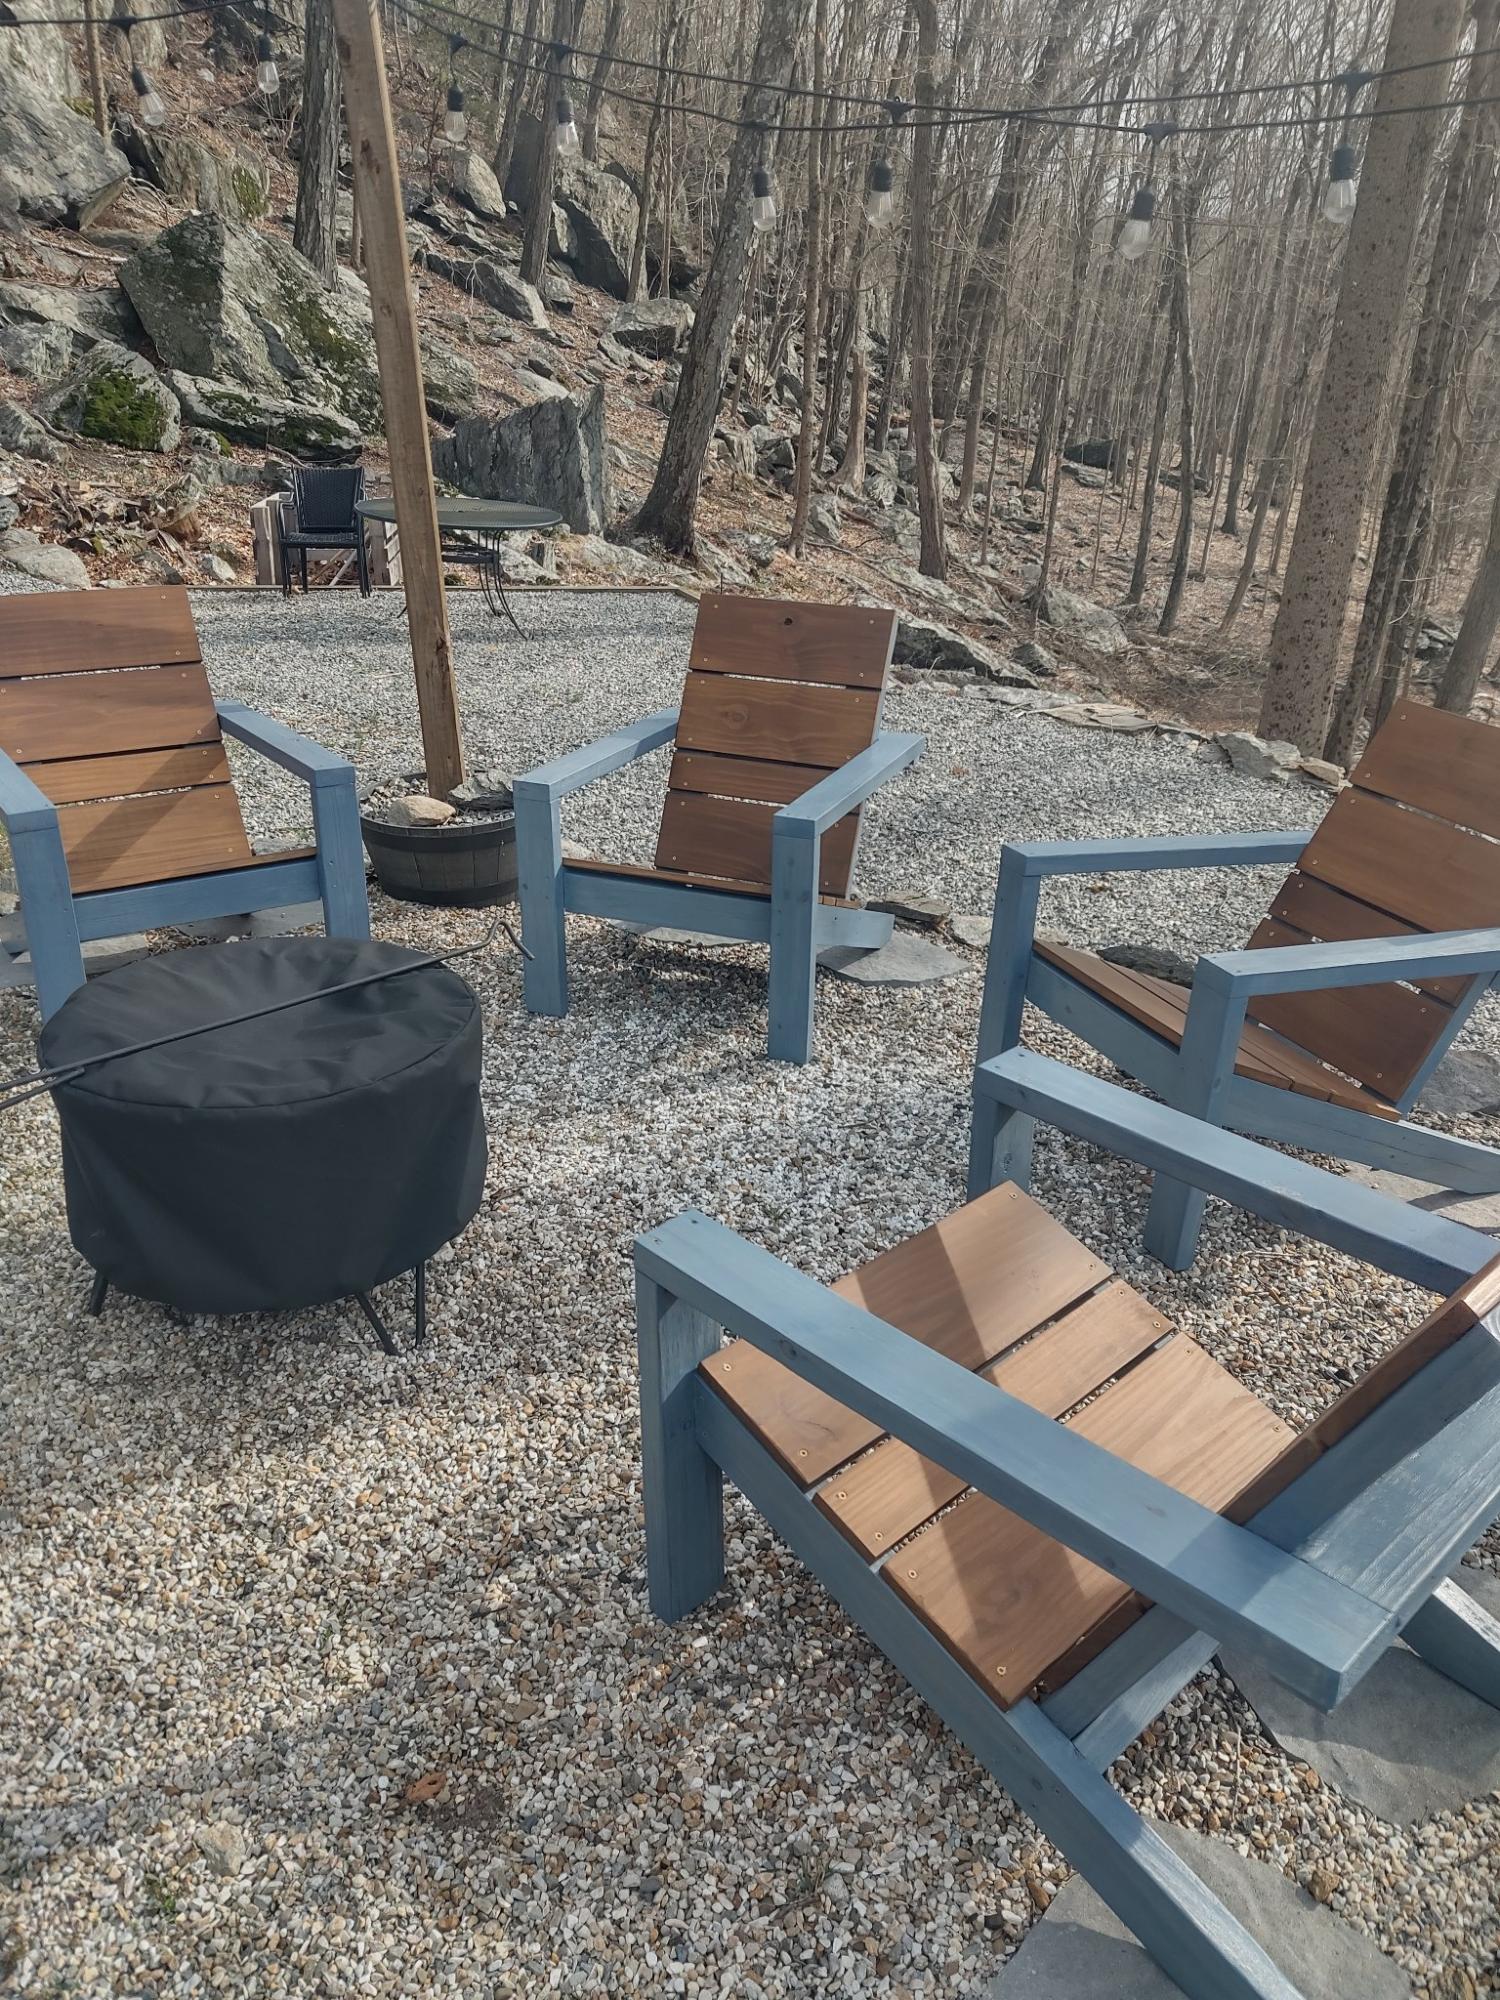
I've been looking for a simple end table when I stumbled upon this gem.
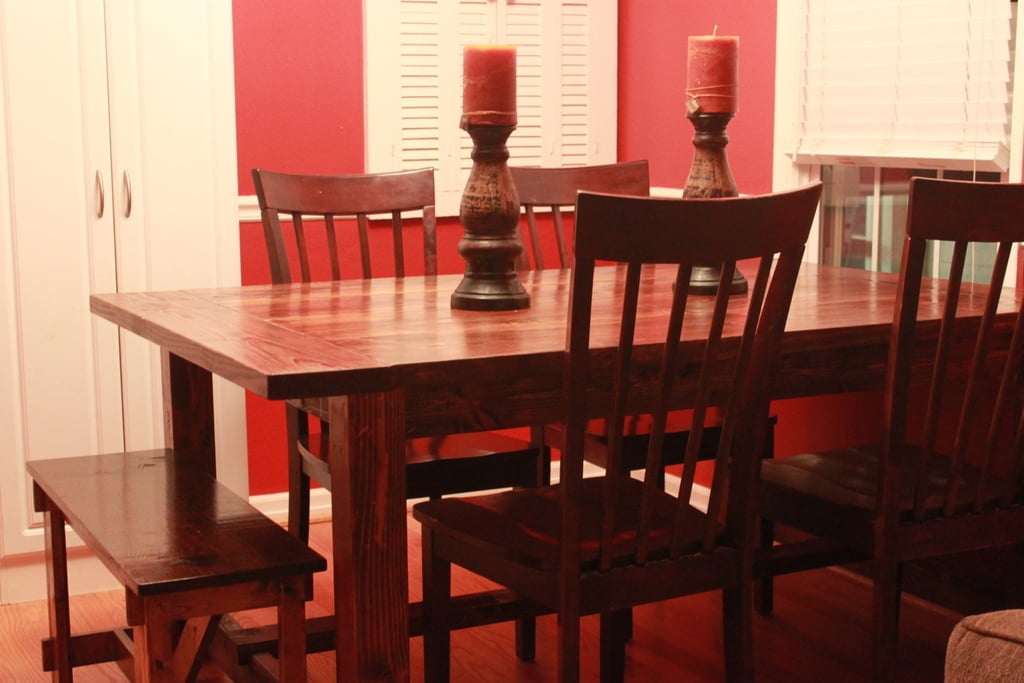
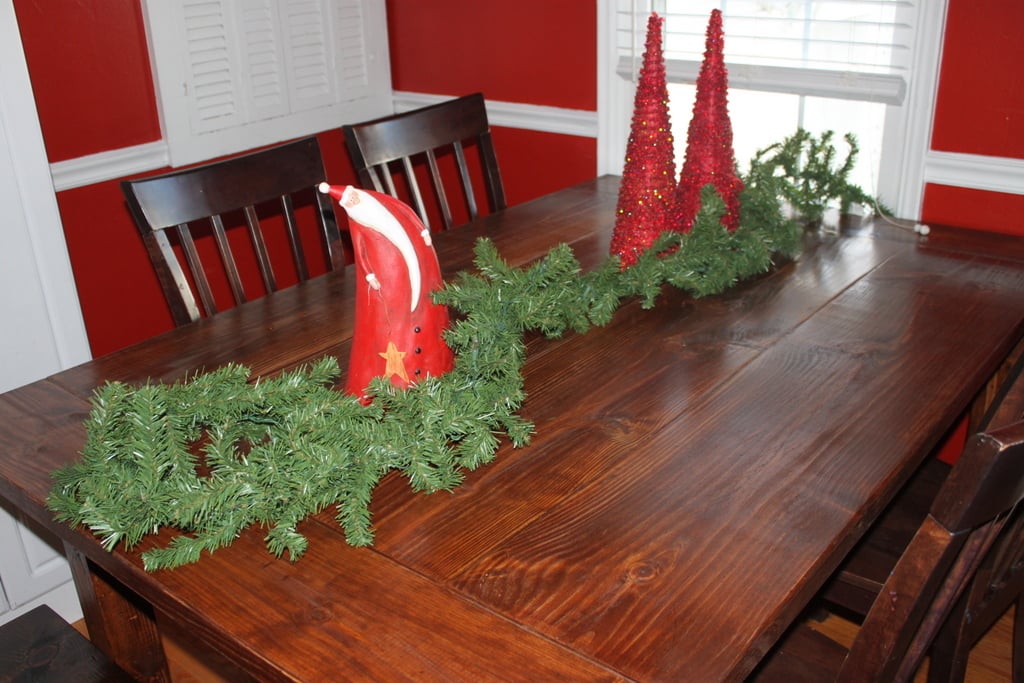
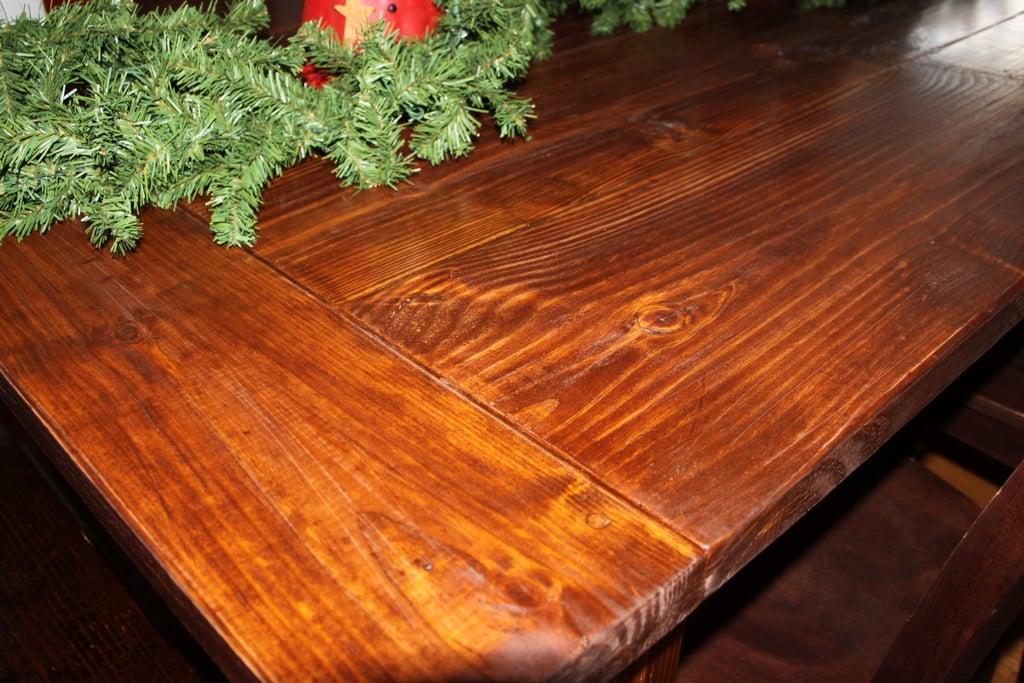
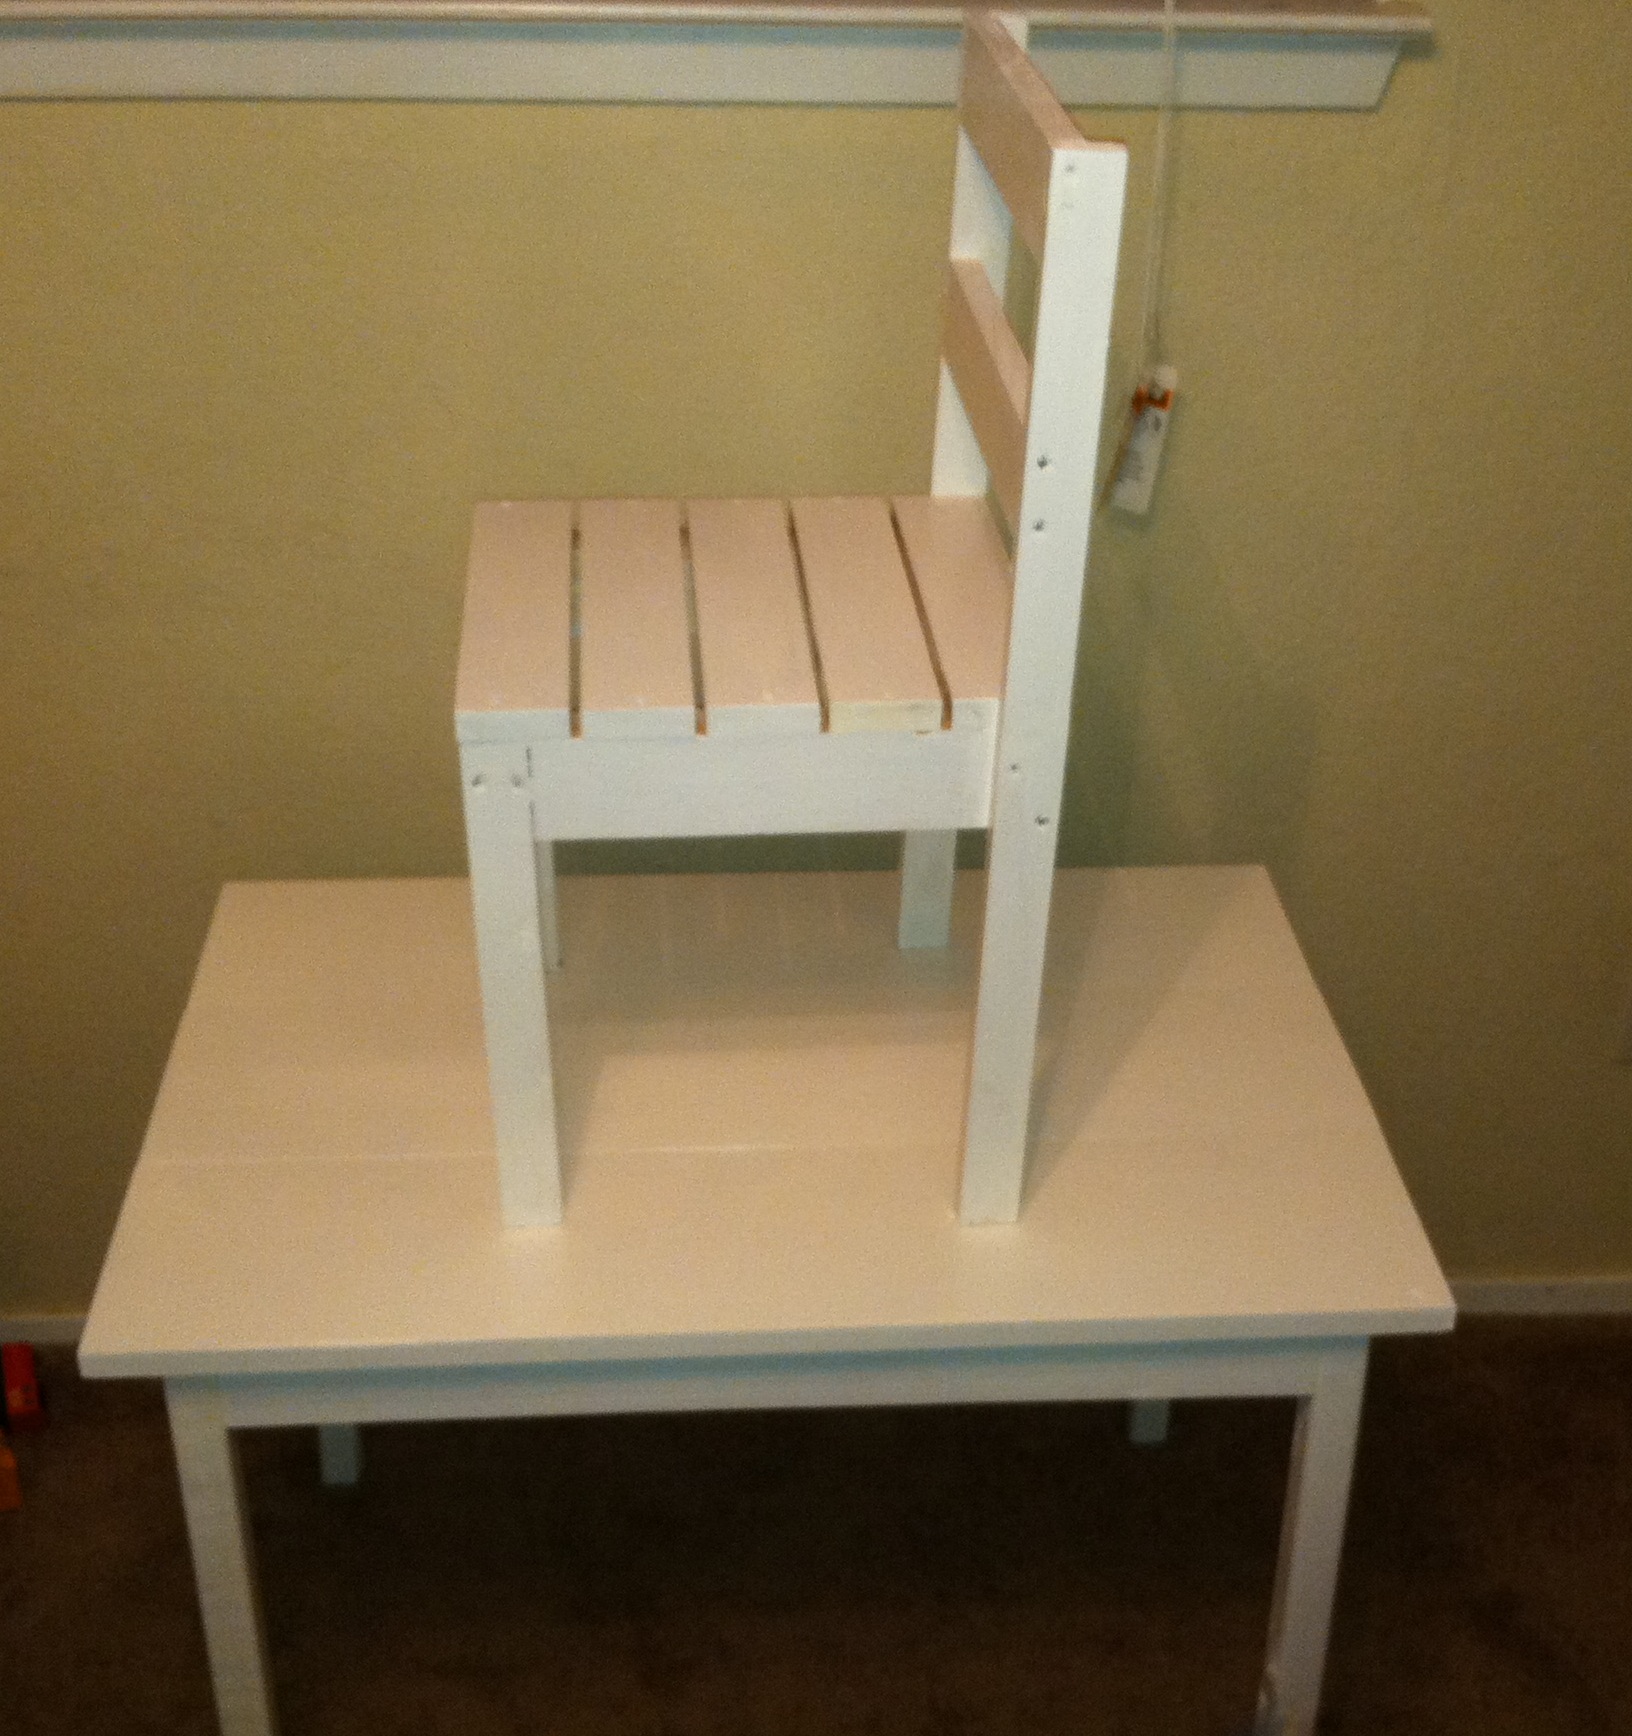
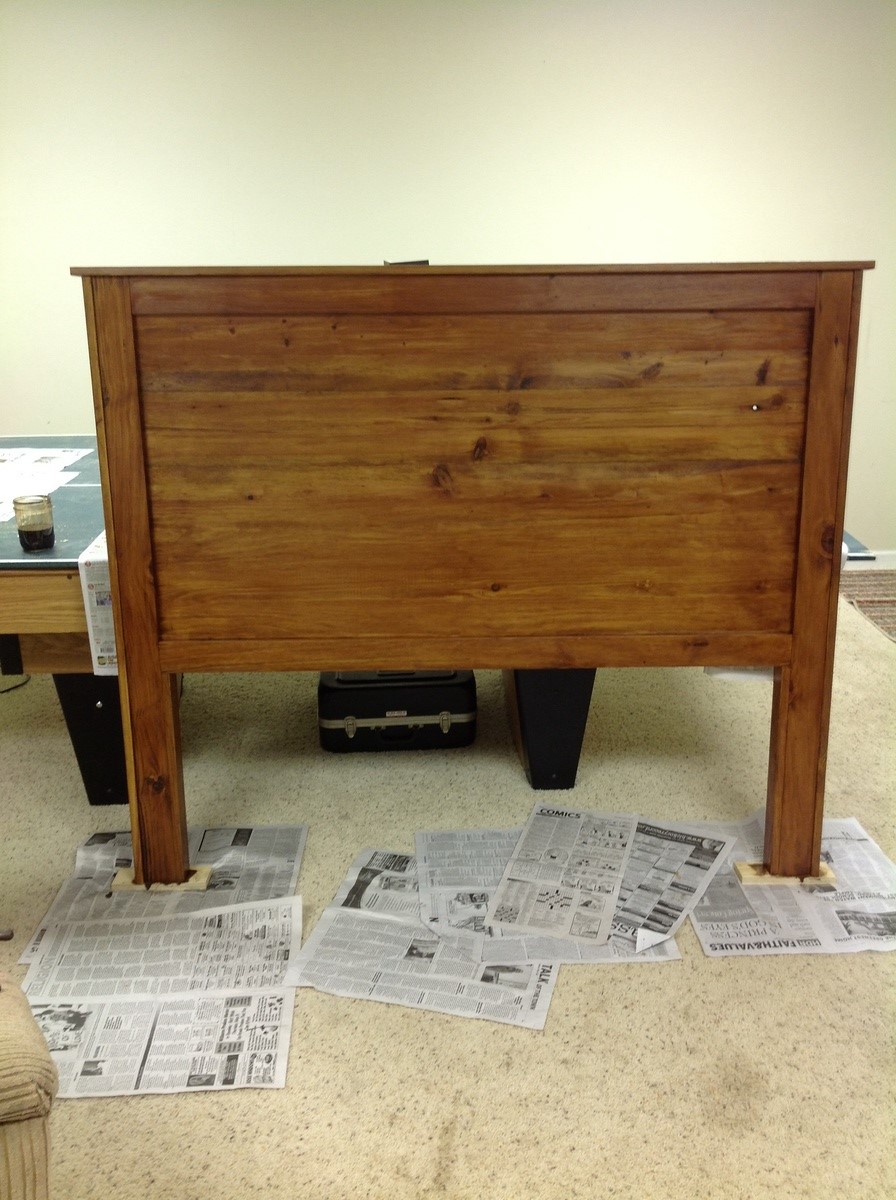
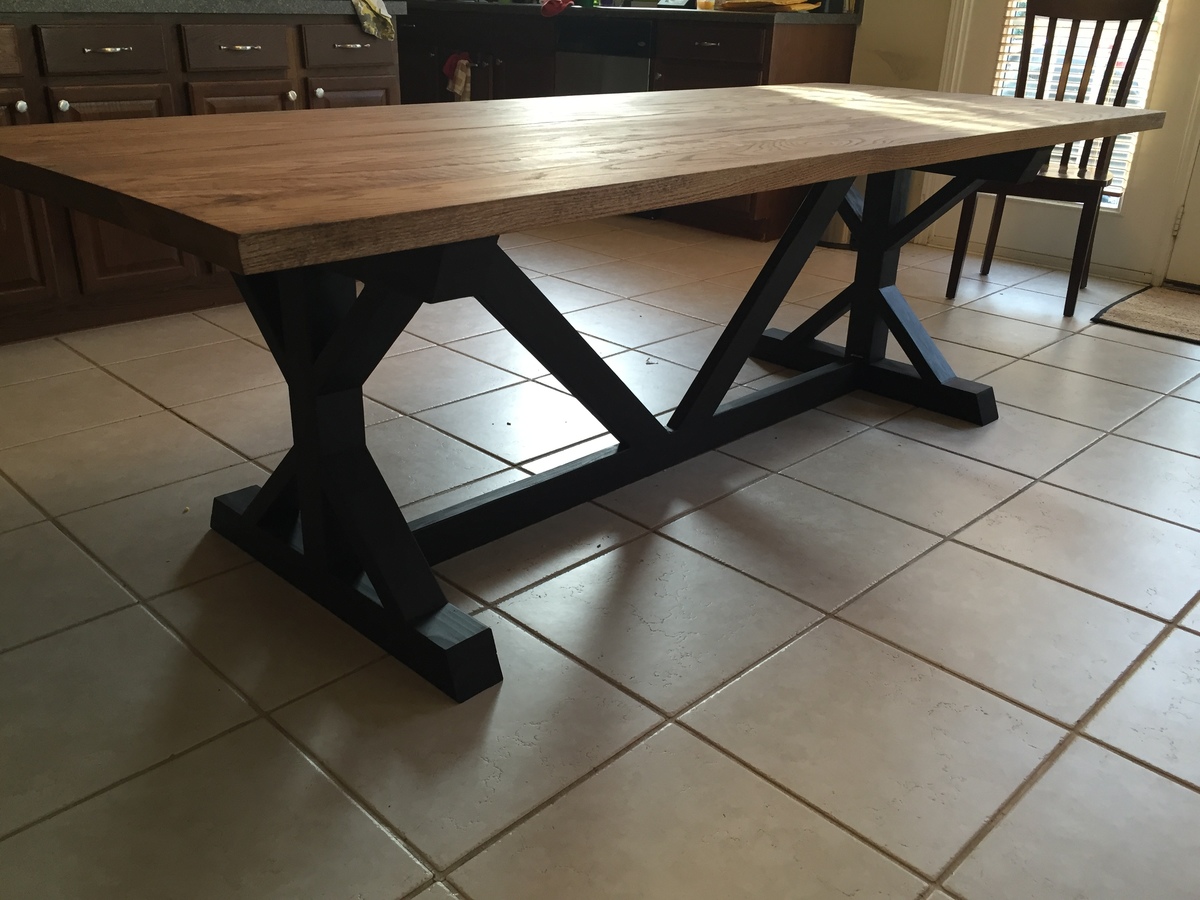
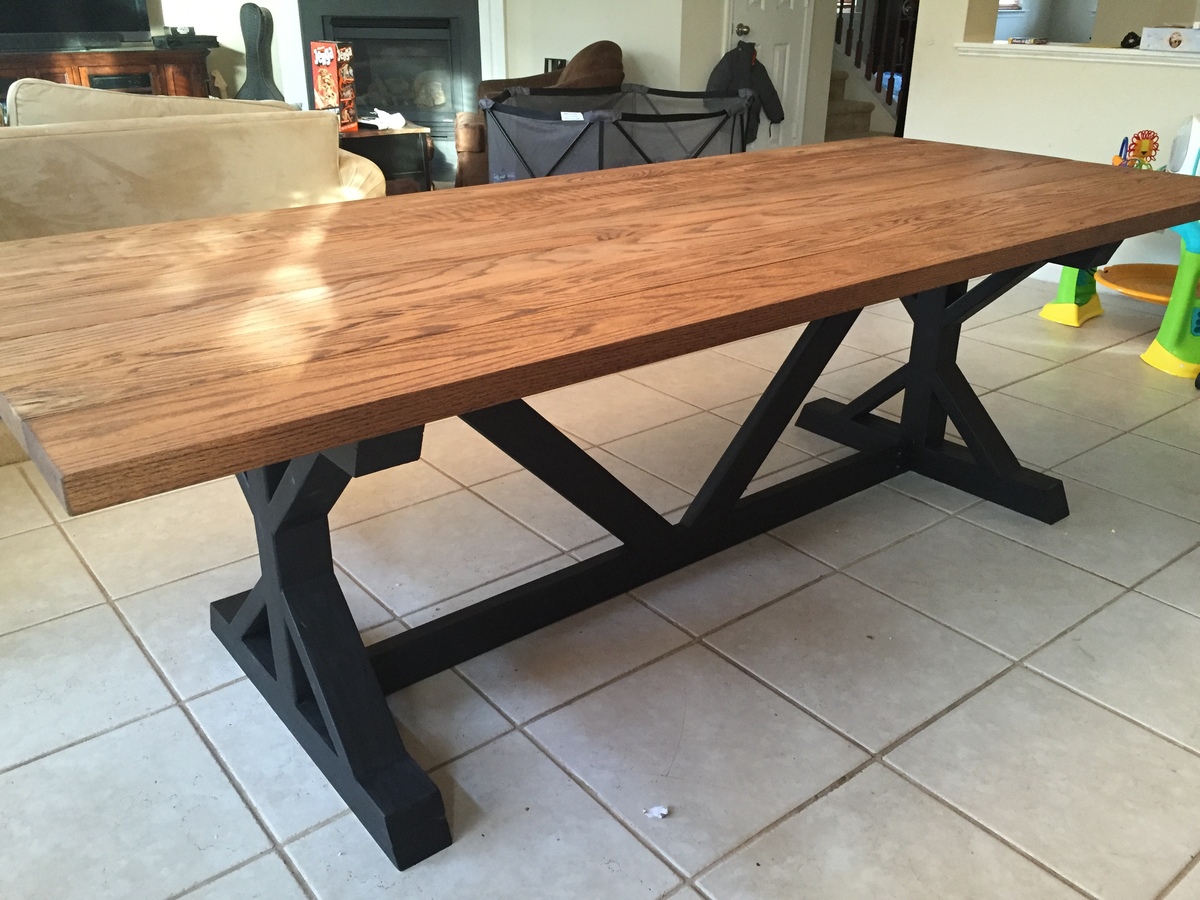
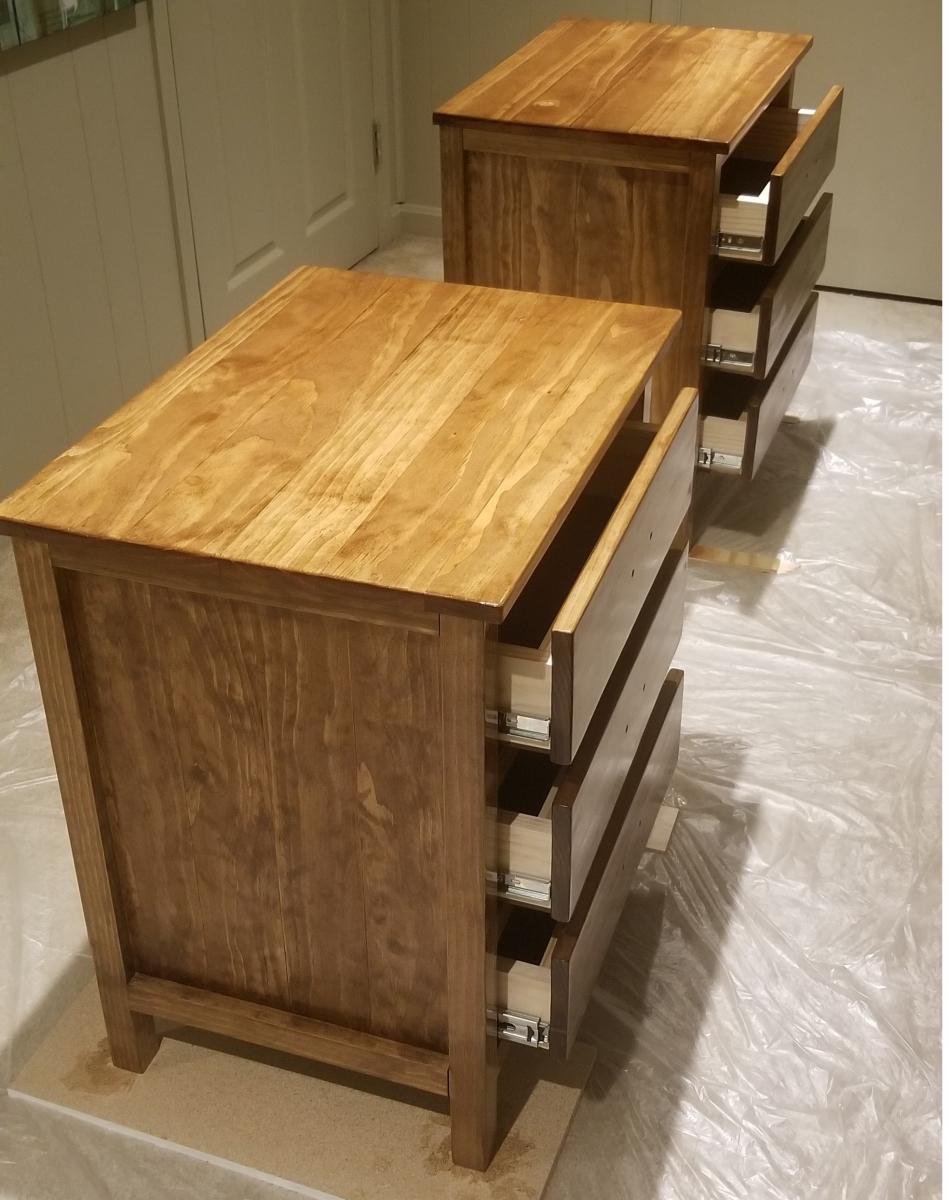
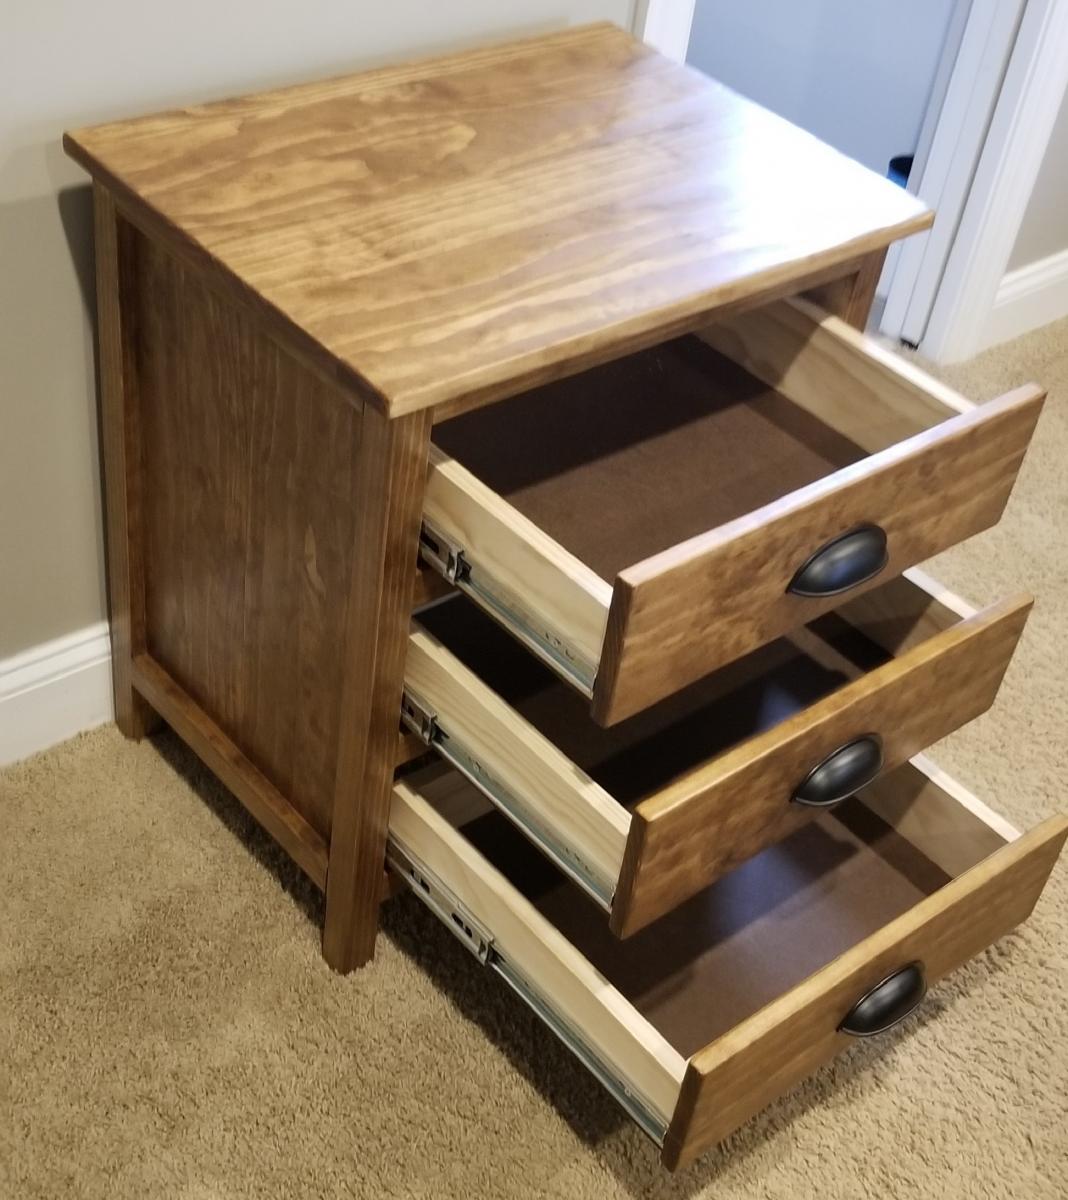
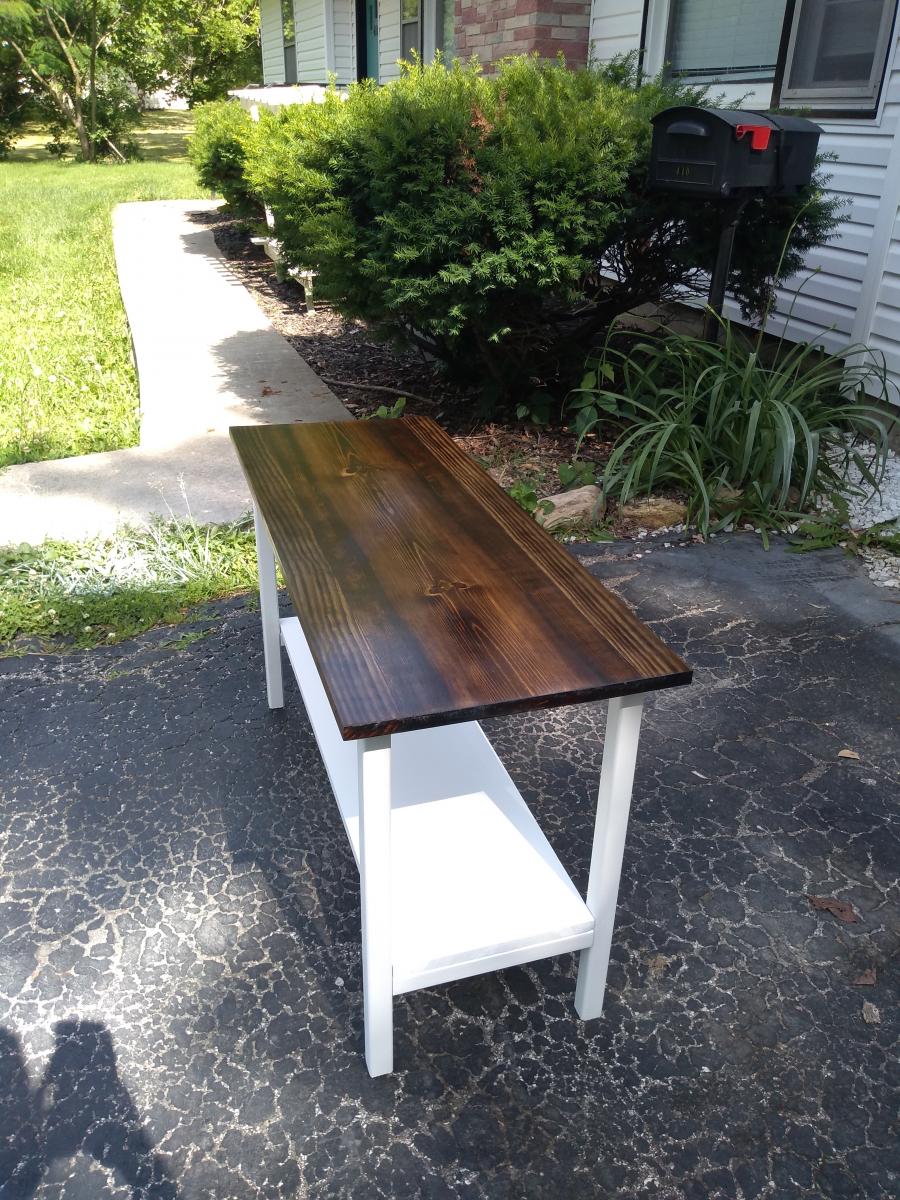
To get the wood grain to pop I torched the top before staining, then I high buffed a glass look into the clear coat. It really turned out perfect.

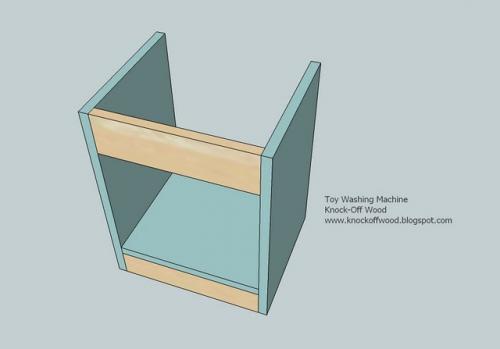
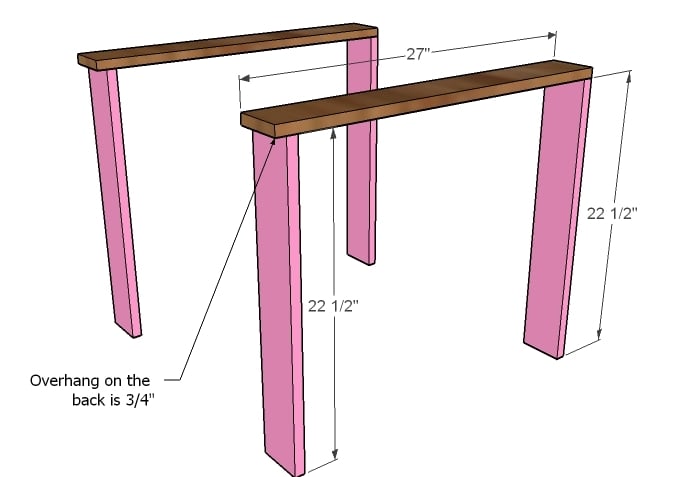
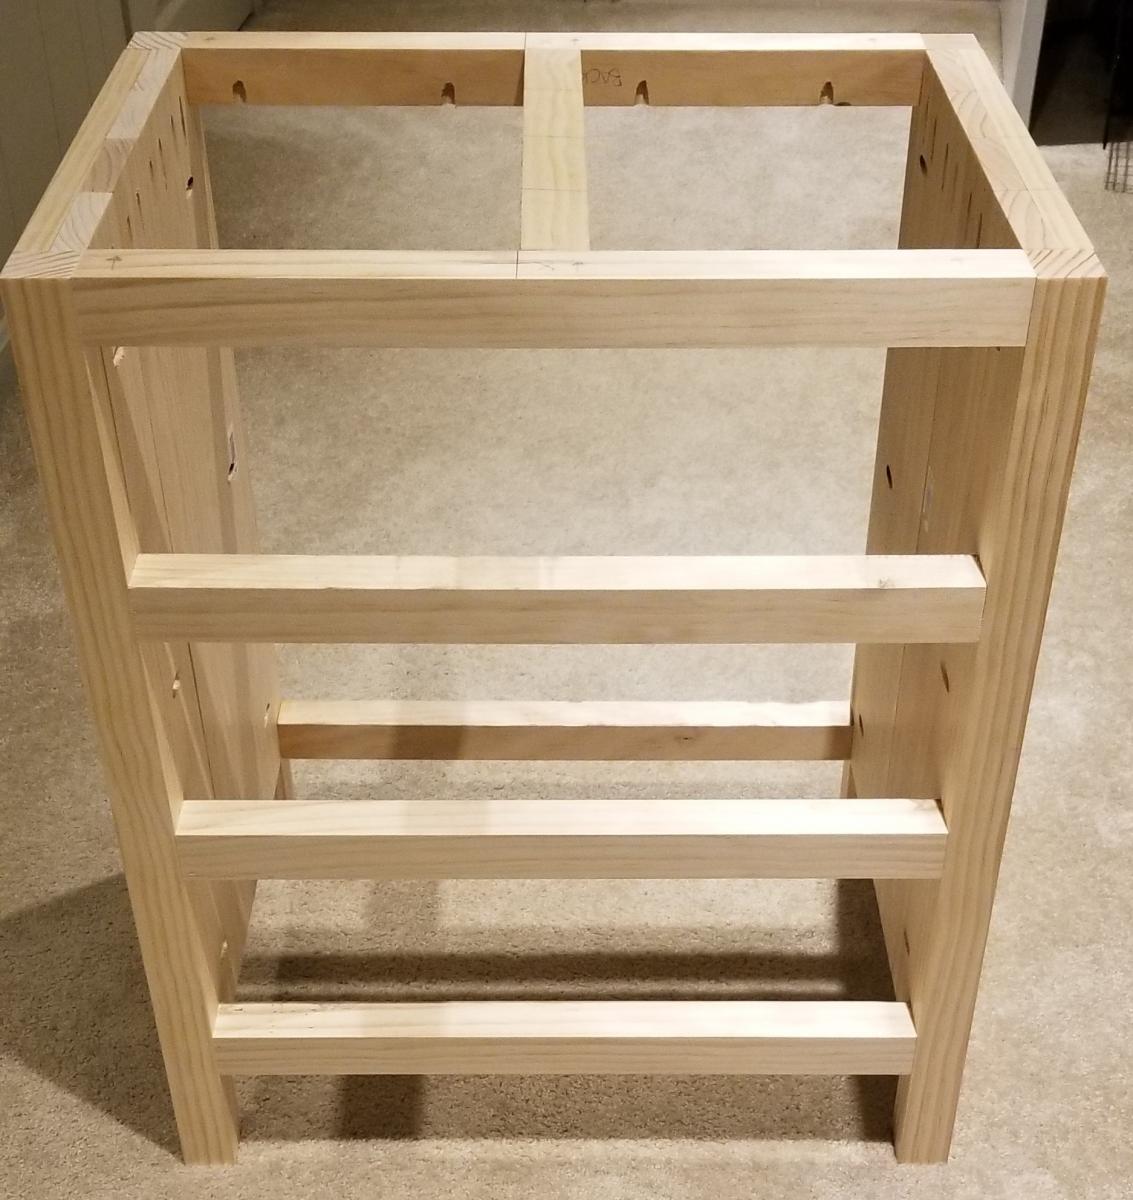
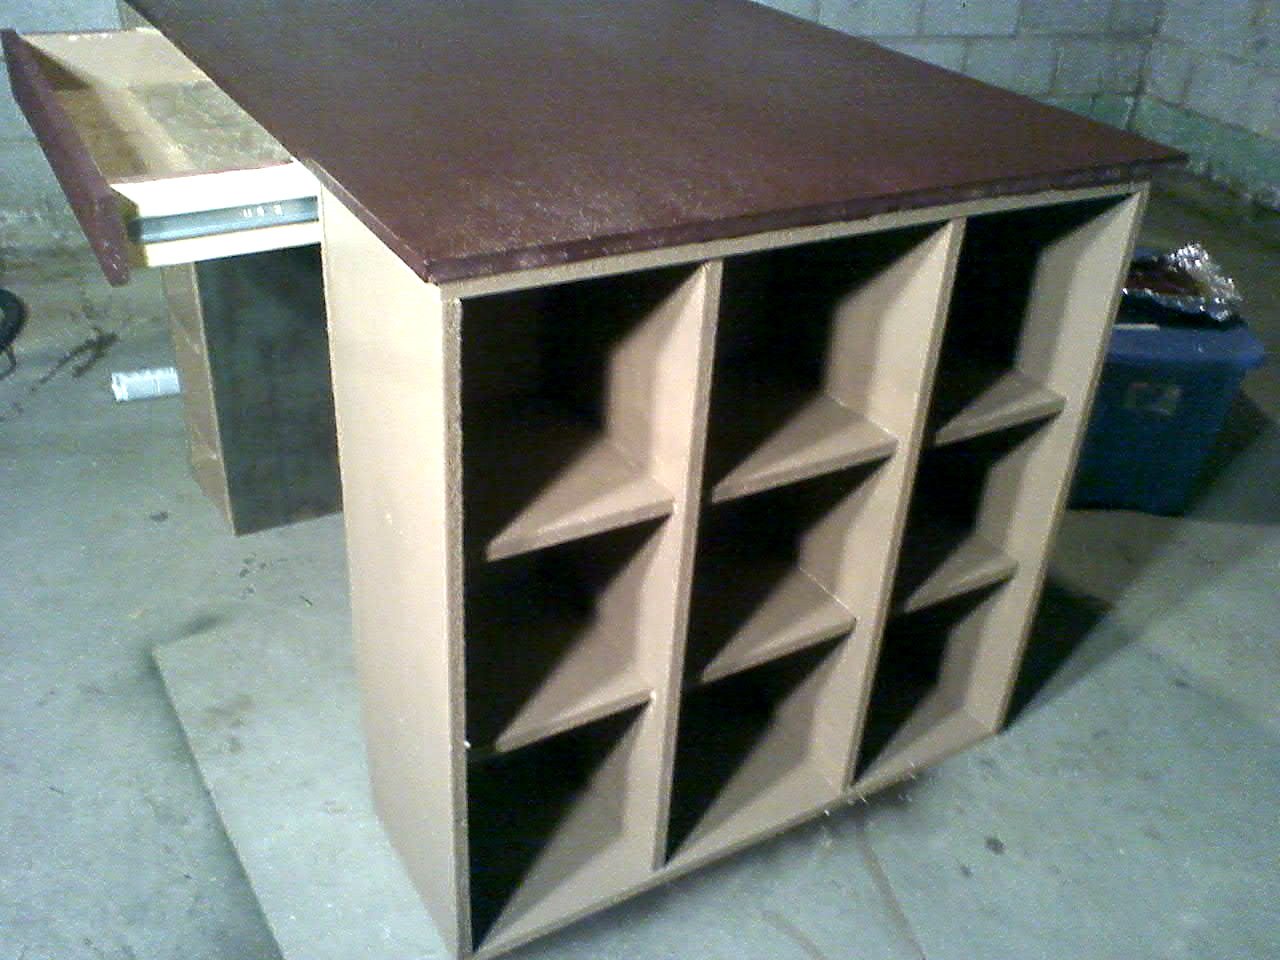
Built from Plan(s)
Estimated Cost
$30
Estimated Time Investment
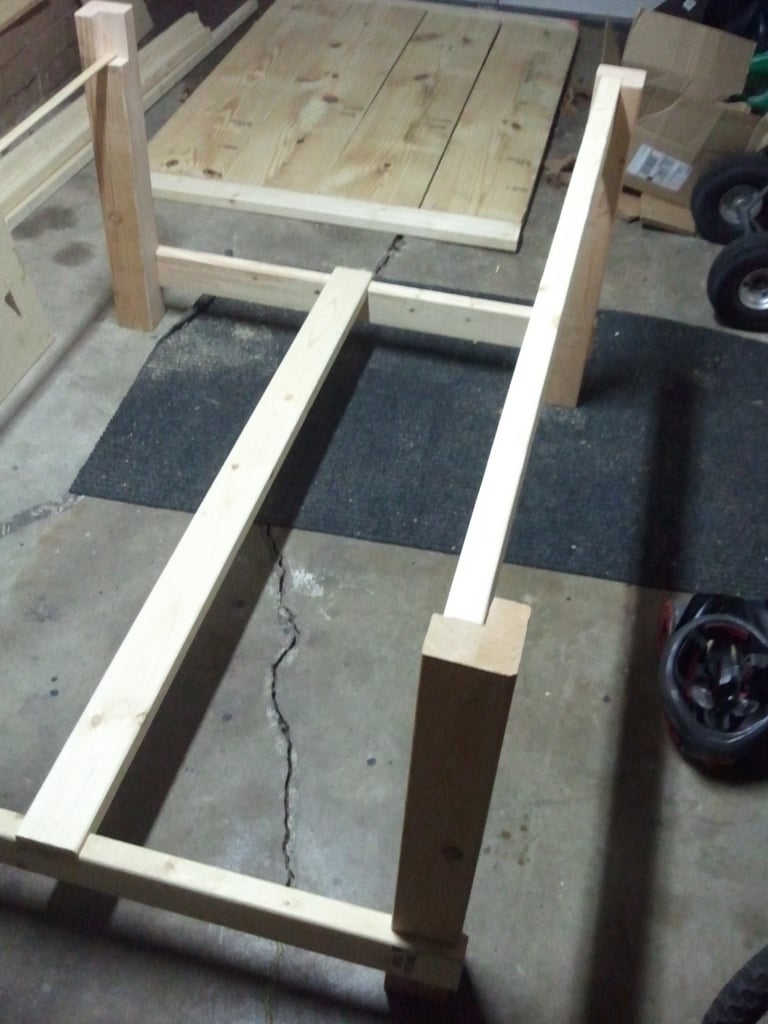
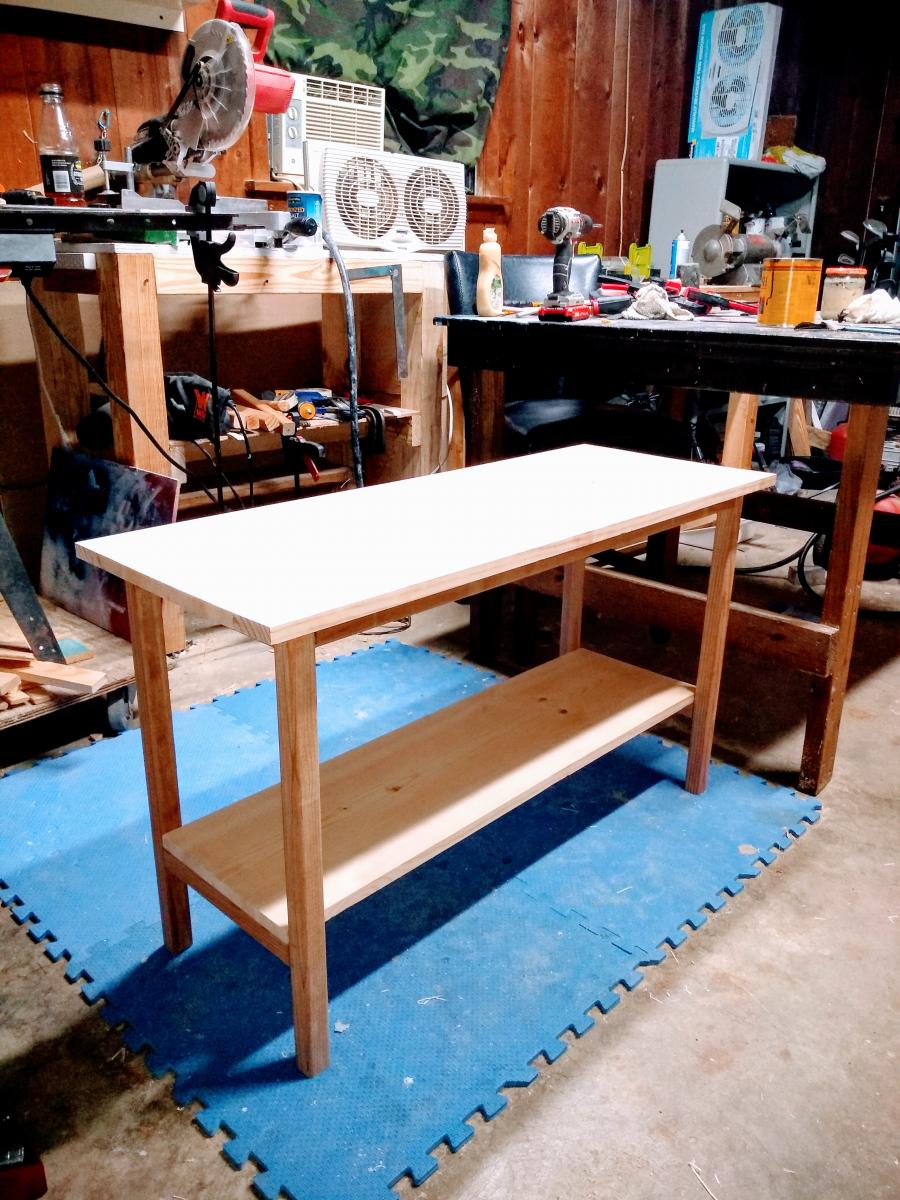
Weekend Project (10-20 Hours)
Finish Used
Torch and then Dark Walnut stain
Recommended Skill Level
Beginner