Community Brag Posts

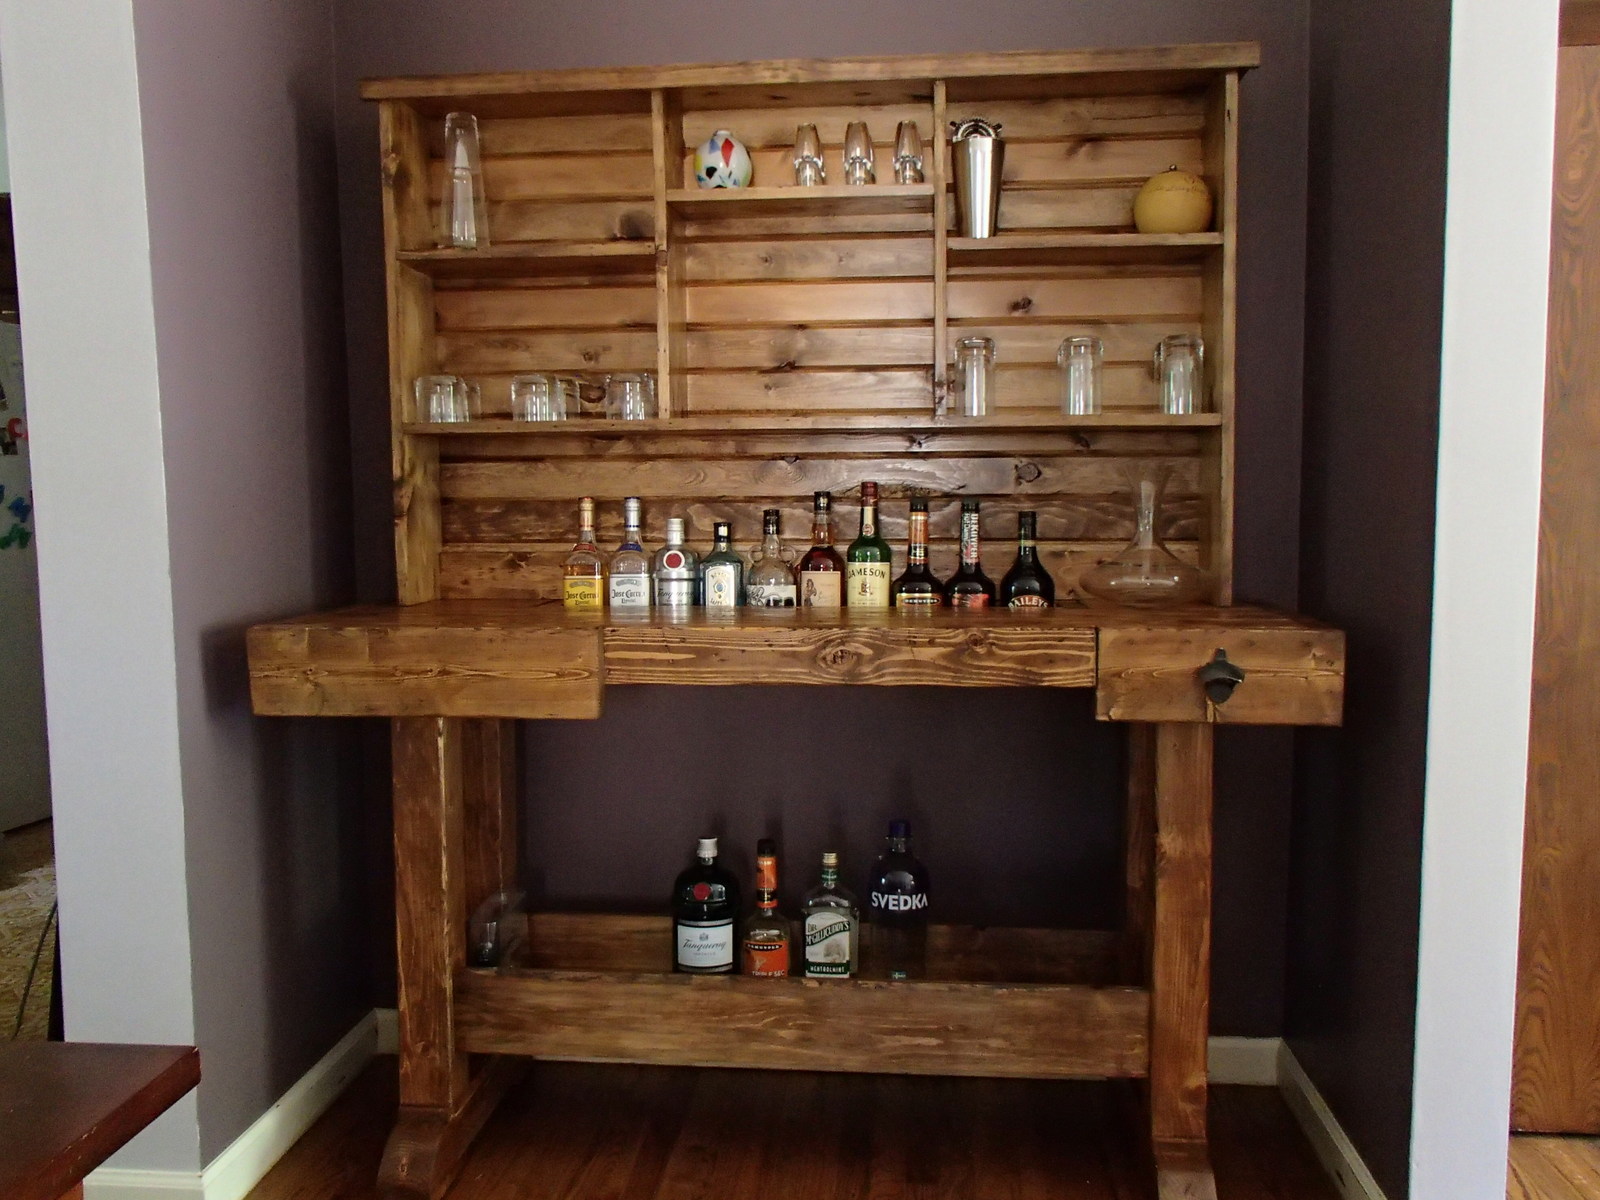
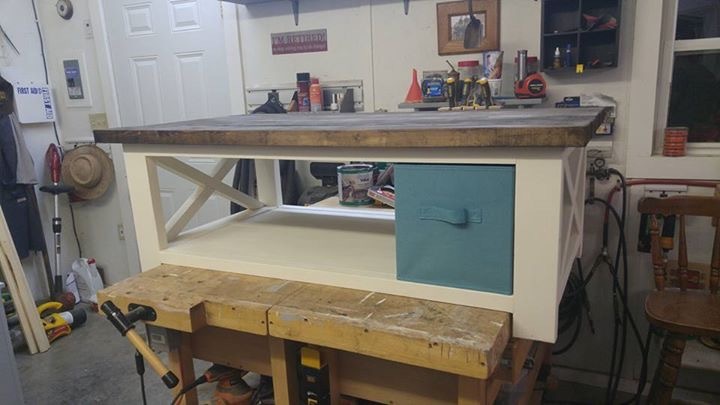
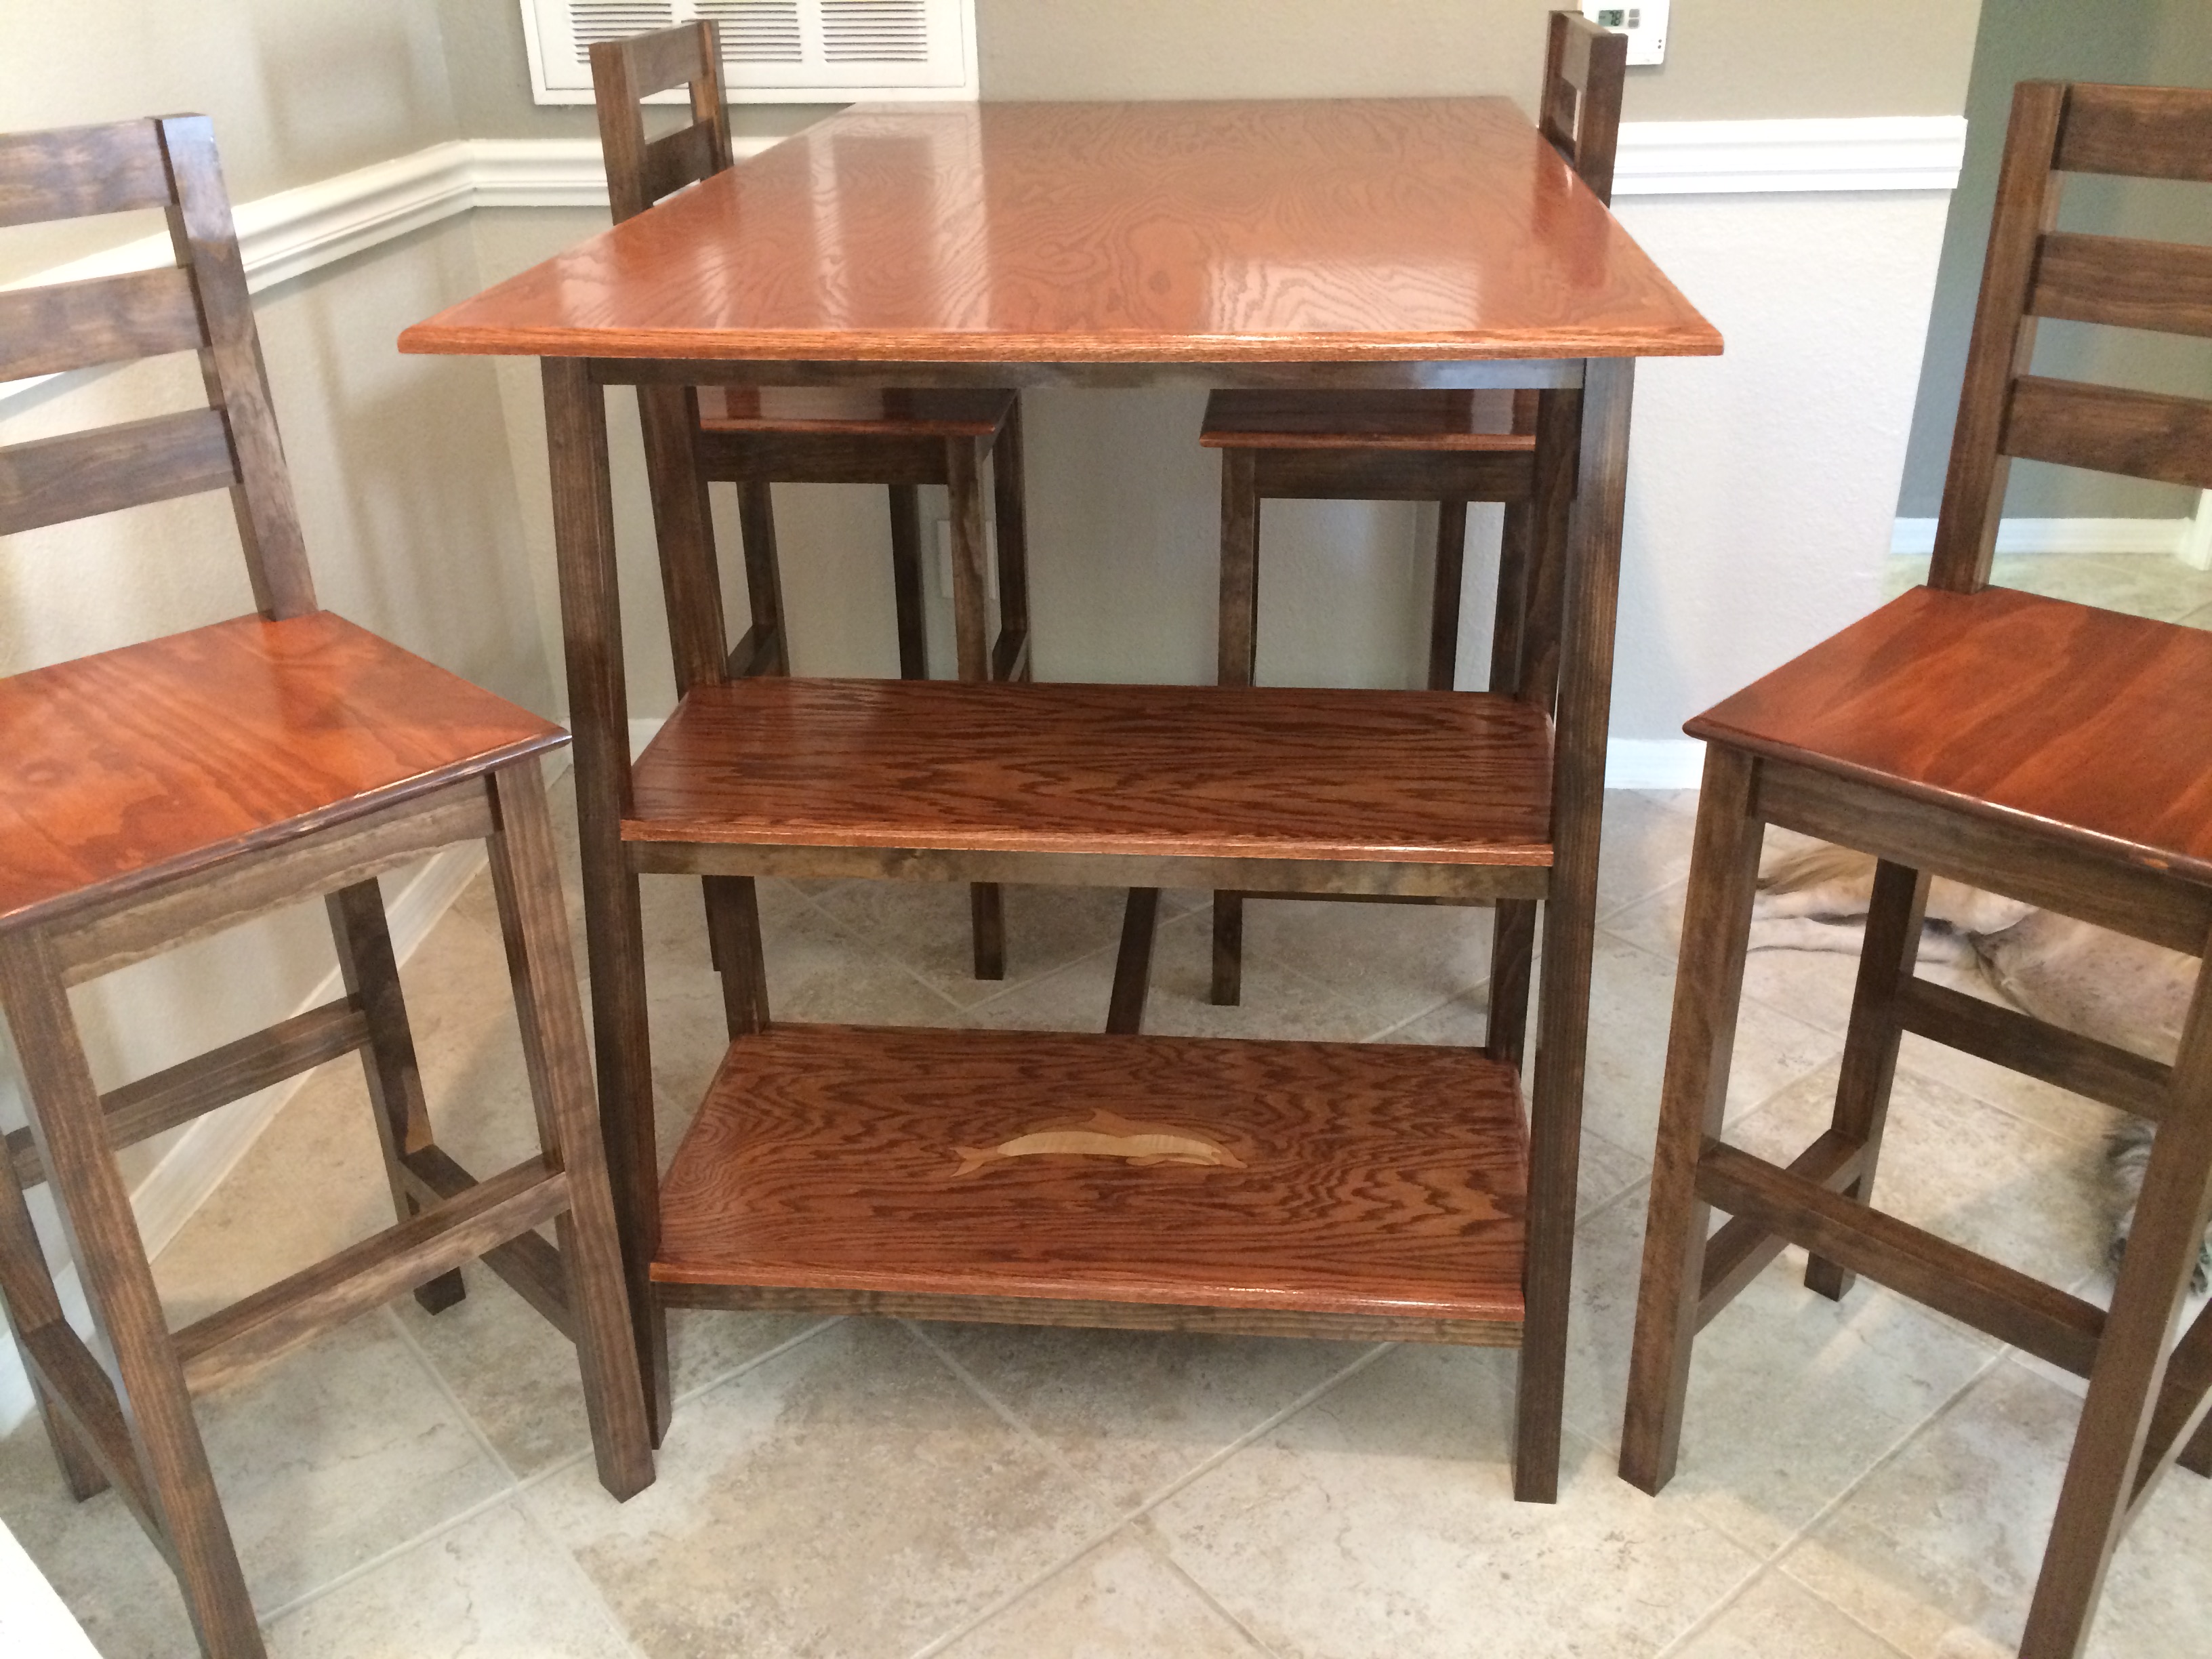
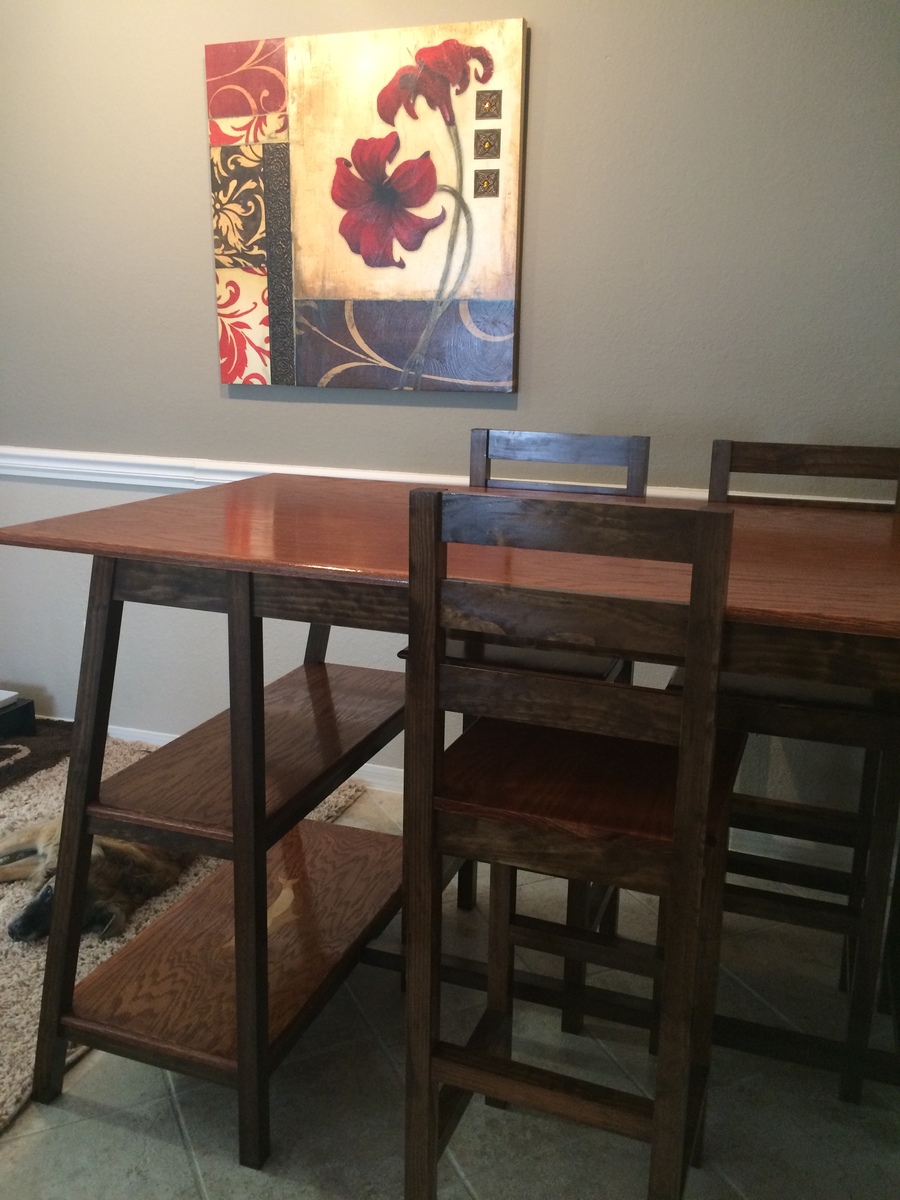
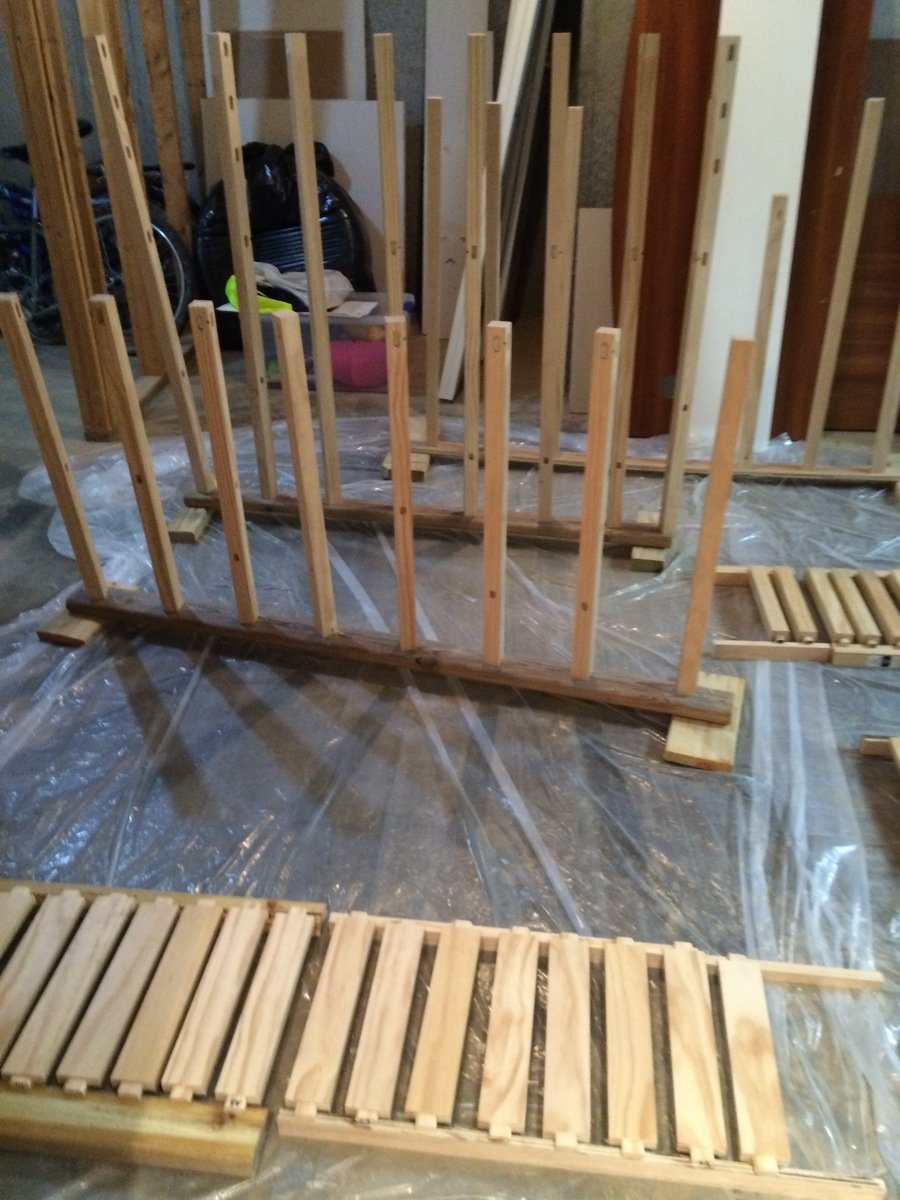
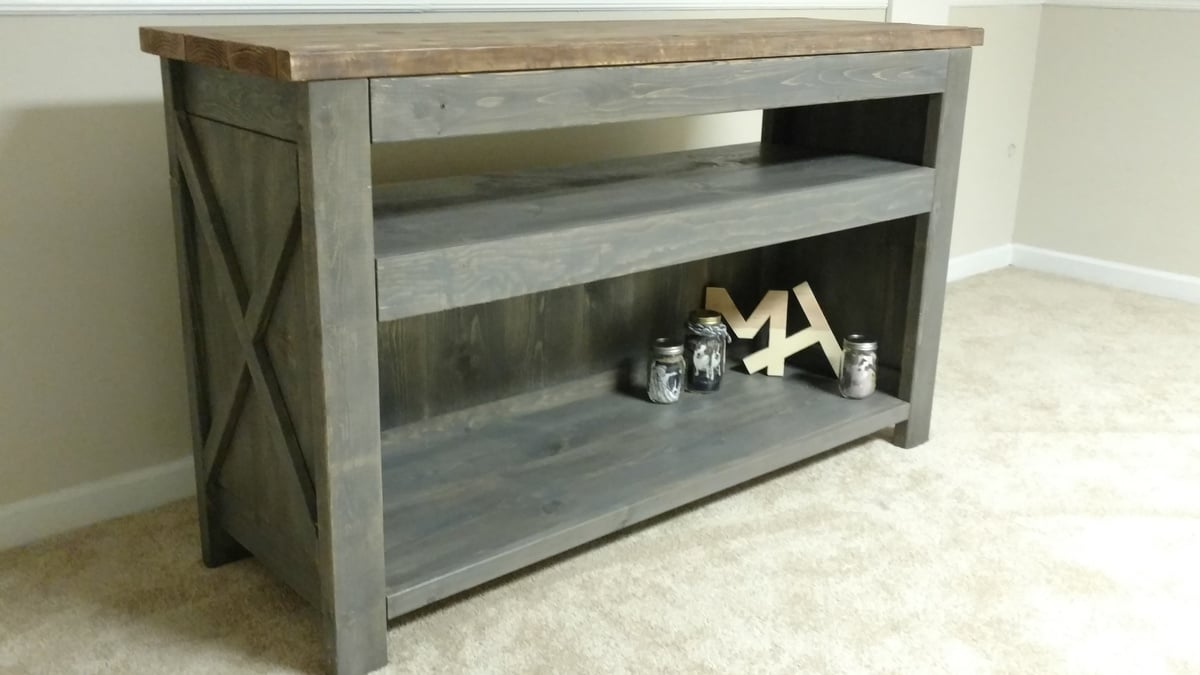
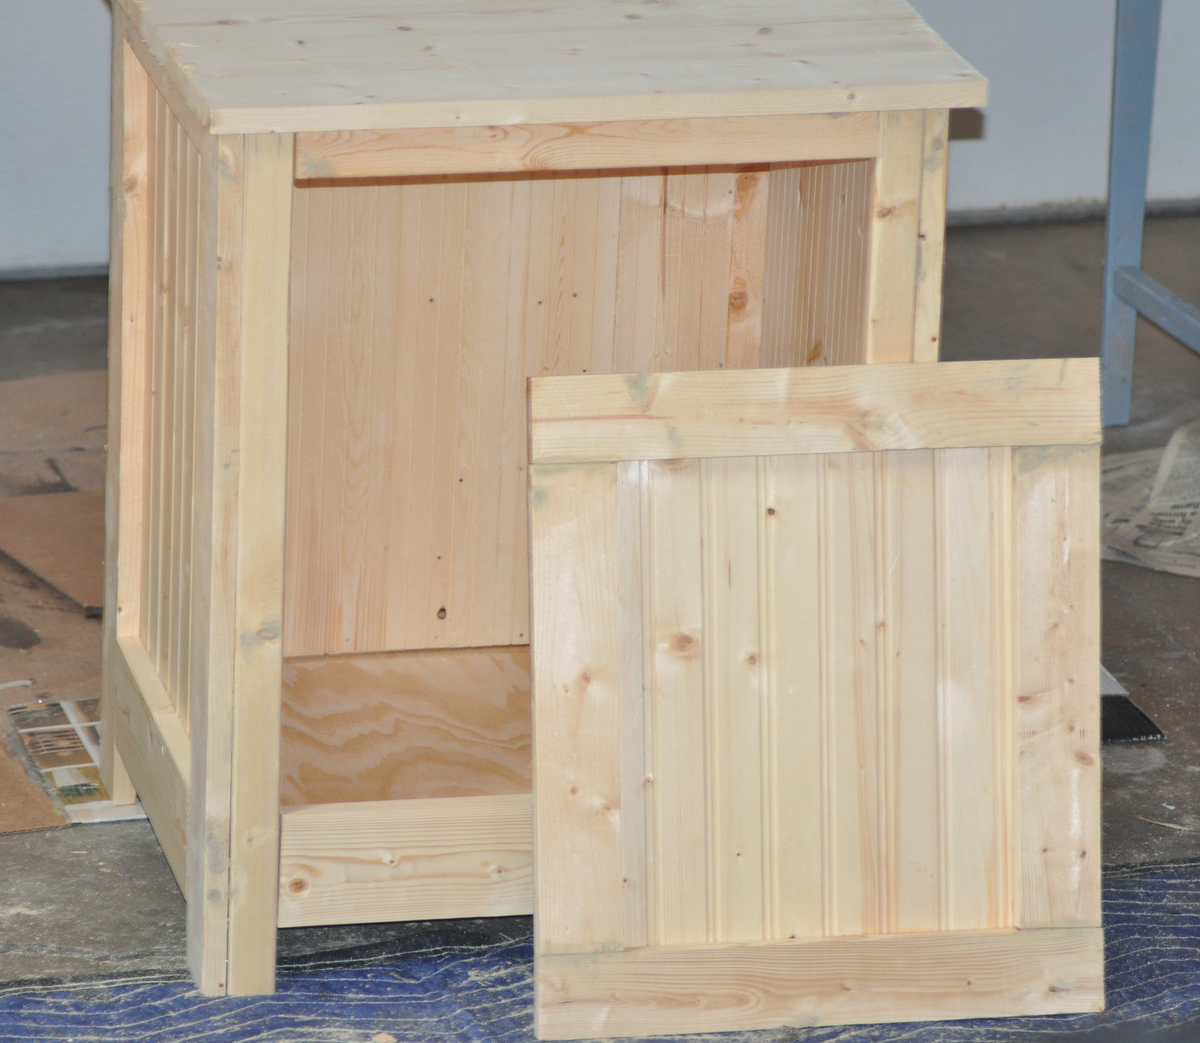
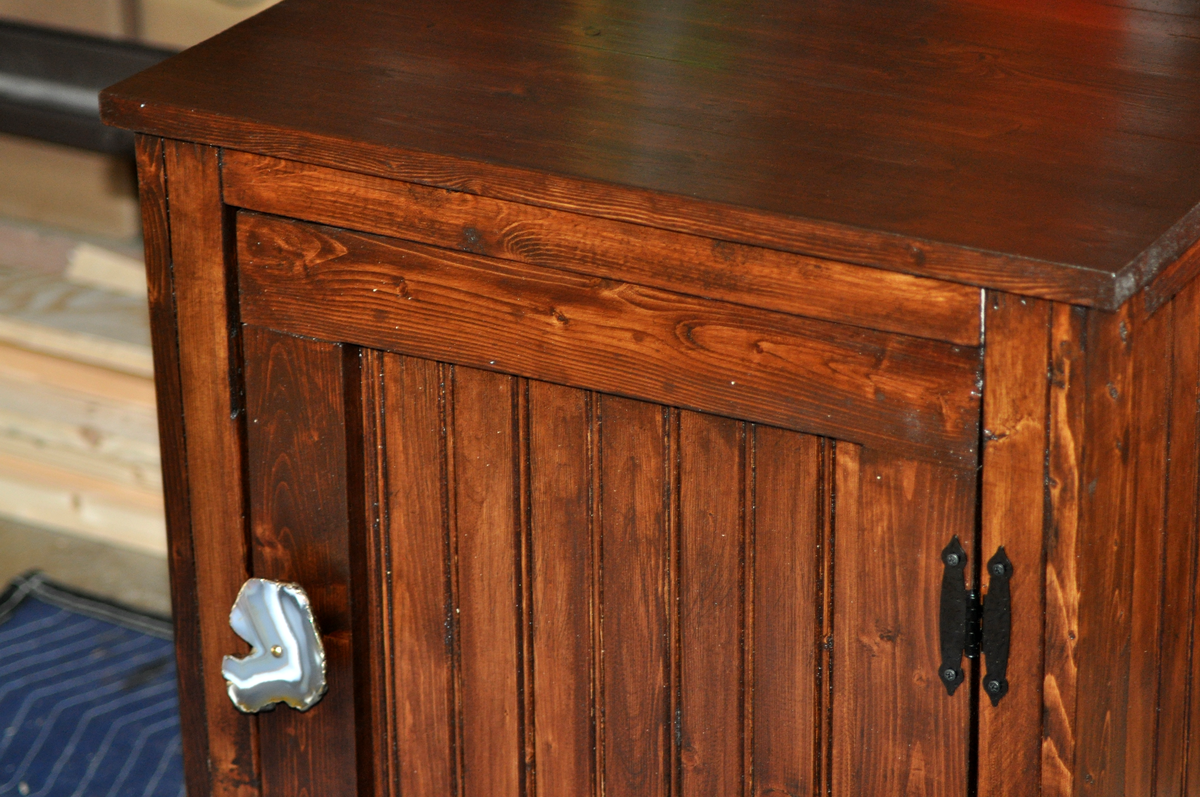
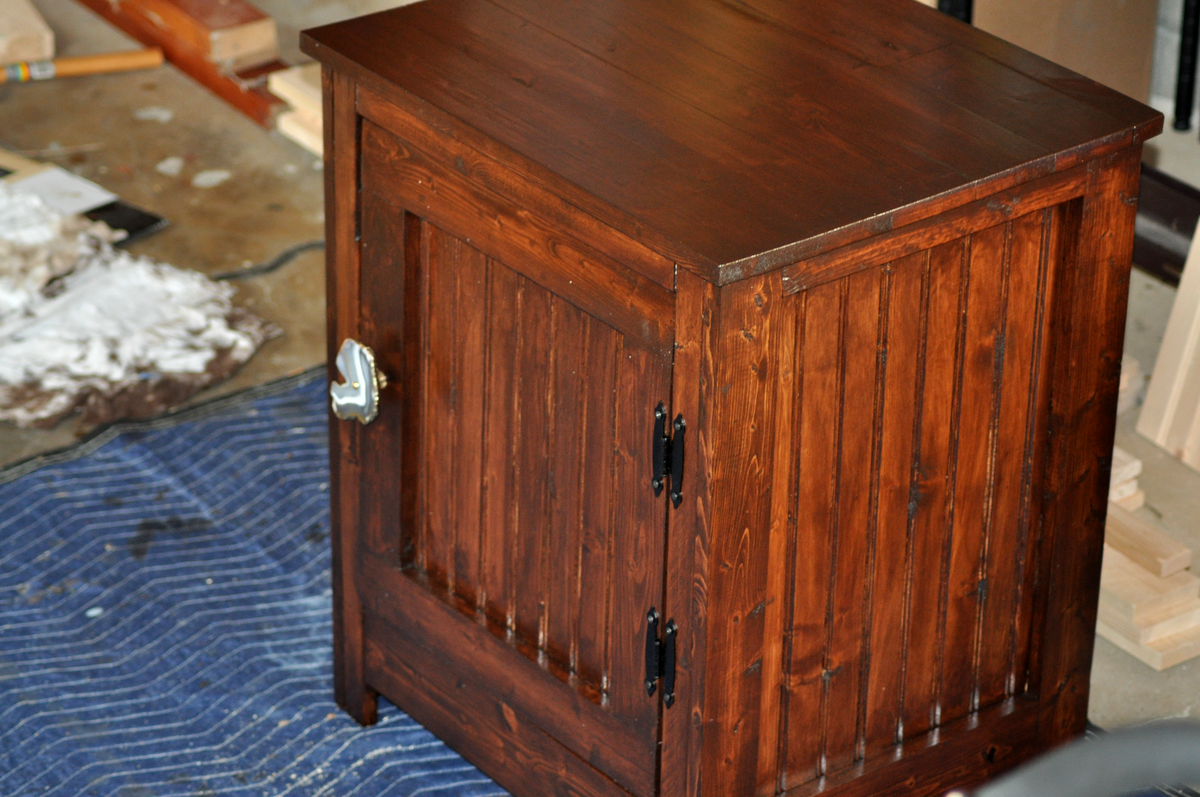
Barn Wood Rustic Island

Submitted by Anonymous (not verified) on Sun, 01/14/2024 - 19:12

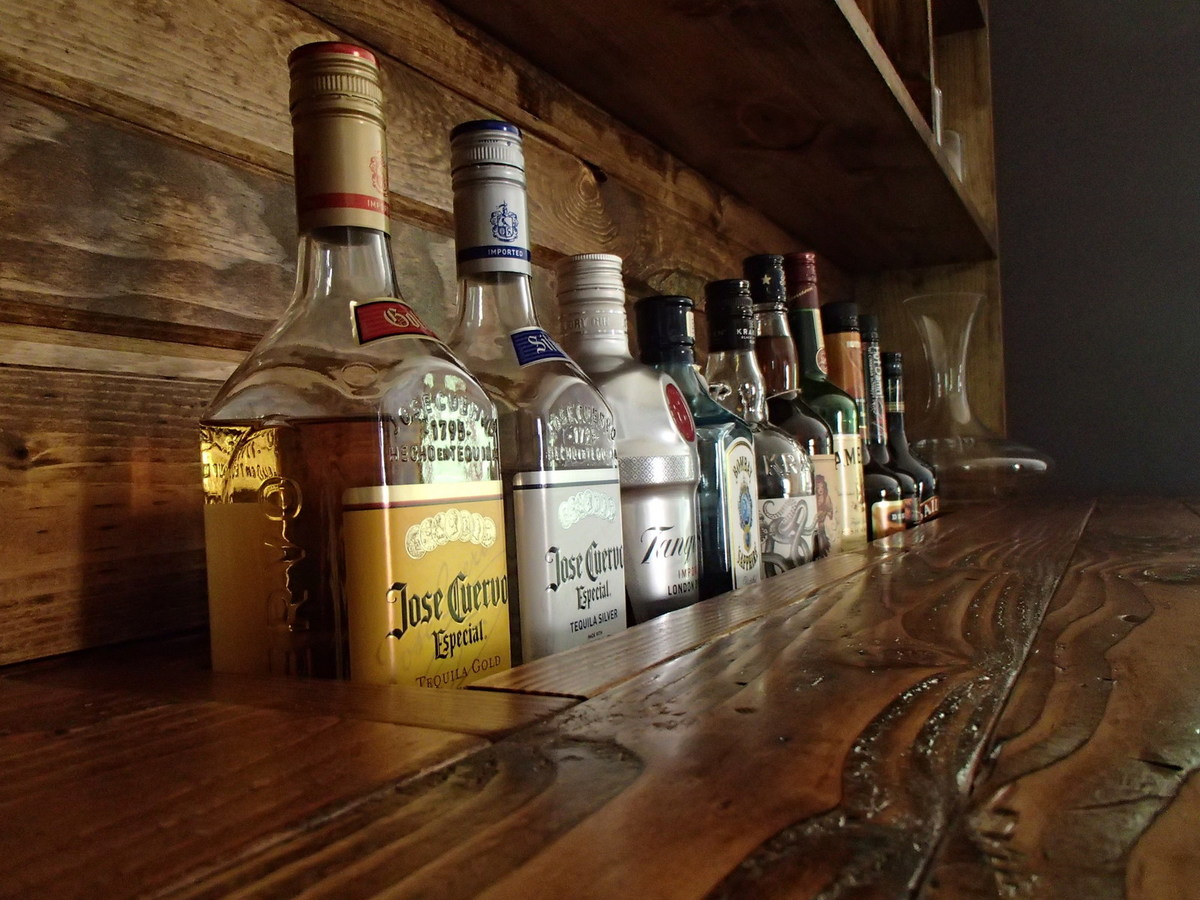
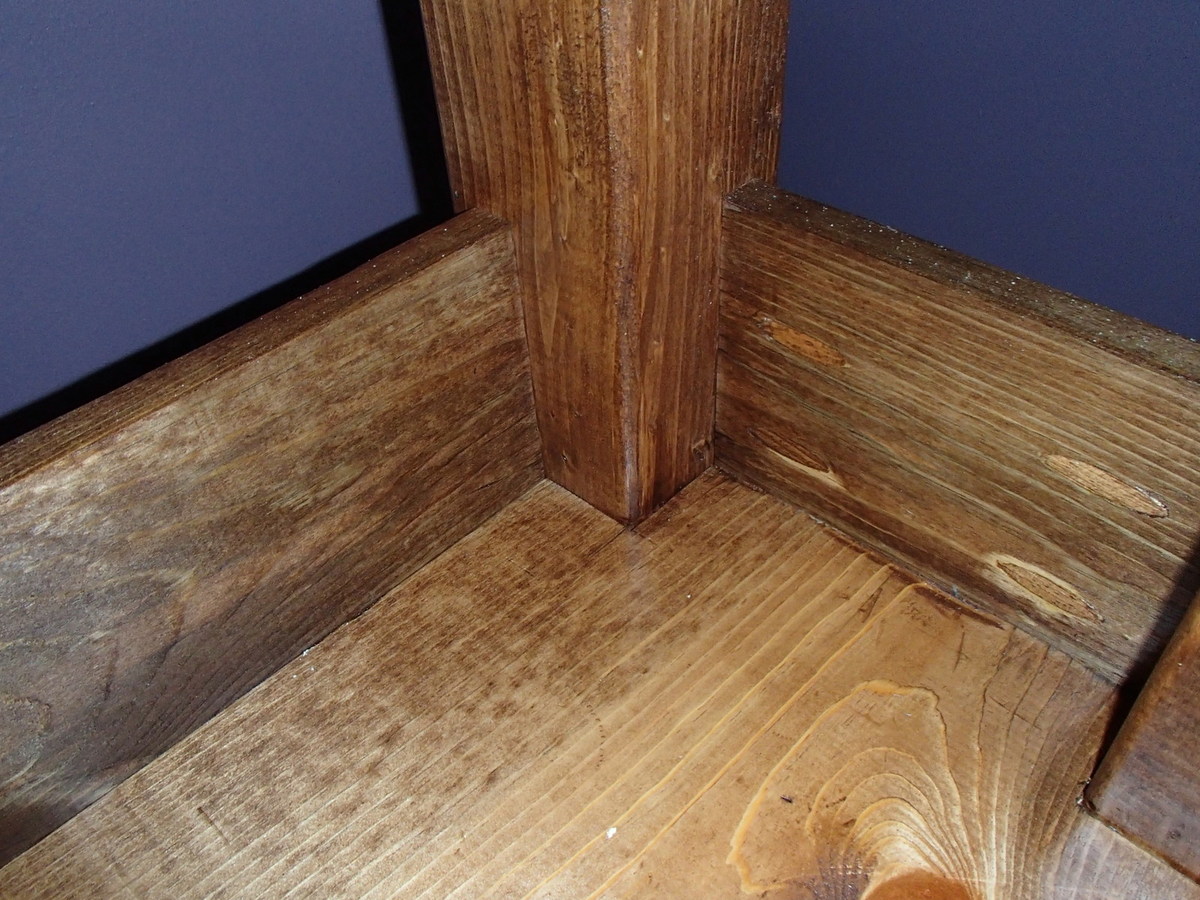
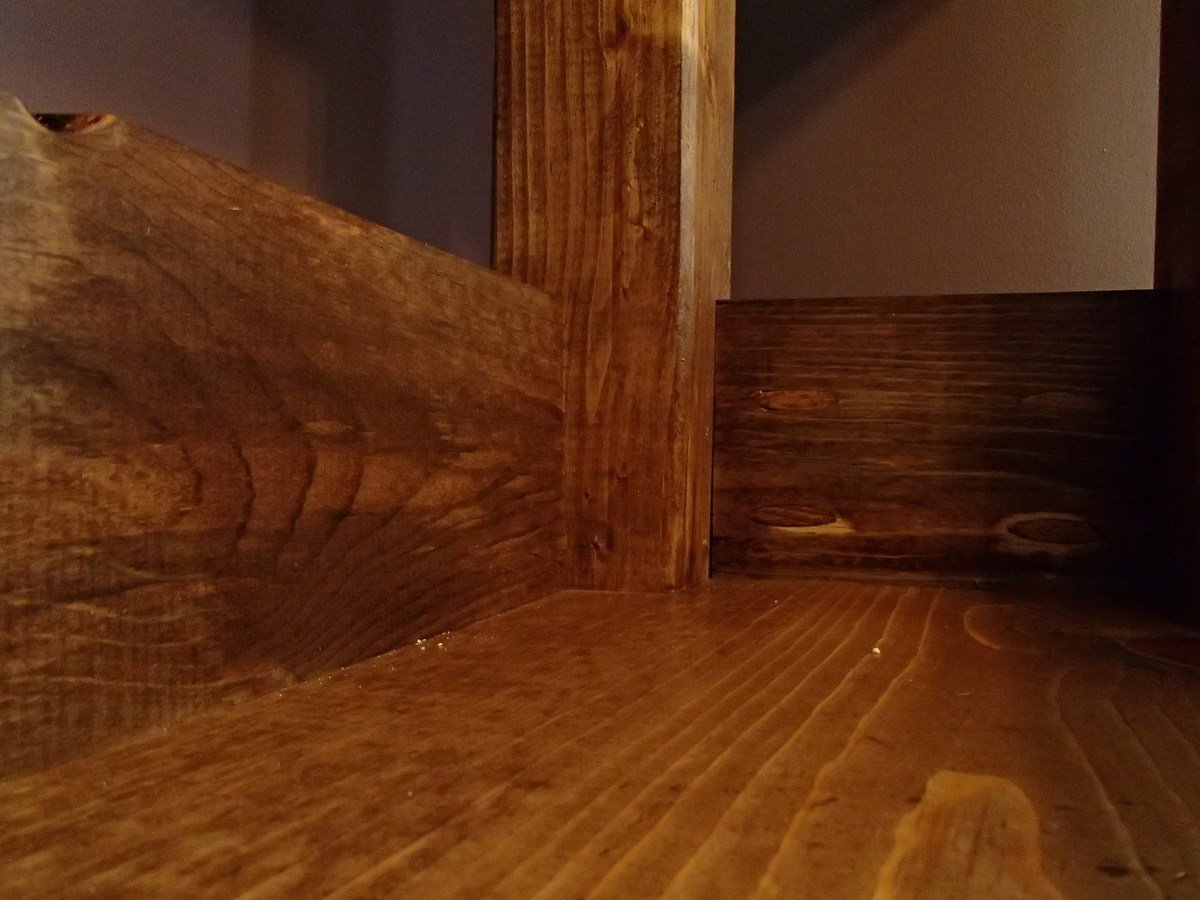
My daughter bought a condo this past summer in St. Louis, MO. It's in an old factory that was rehabbed into condos. It's very industrial looking. Her condo has a lot of open space in the kitchen. She asked me to build her an island. I've previously used several of your plans to build various pieces of very functional pieces of furniture for my daughter, my son, and my wife and me. But this one is one I am especially proud of. I based it off your plan, "Michaela's Kitchen Island" modifying it to meet my daughter's unique needs. The majority of it is oak barnwood reclaimed from my wife's grandparents barns that were torn down to make way for an interstate highway. It is very attractive and user friendly. My daugher couldn't be more pleased. Thanks for all your great building ideas and plans. You've made this dad and daughter very happy.

Greg Winemiller, Mount Carmel, IL

Built from Plan(s)

Comments

Workbench and Hutch with modifications

I decided to do some modifications to the original plans to make it more like the Pottery Barn original. I made the legs 4x4s like the original, as well as the horizontal bases of the legs. The major change that this entailed was in the bottom shelf. I notched the edges of the 1x12 so that it would fit flush, then connected it to the legs with pocket screws. The lowered ledge on the table top is two 2x4s on the bottom, a 2x4 on the front and back, and a 2x6 cut to size for the ends. I then attached it using pocket screws on the front, and just 2.5 inch screws from the back. The rest is pretty much the same as the plans. For the back of the hutch, I used 1x4 carsiding to give it a more finished look. It only cost a couple cents more for each 8 foot piece.

Estimated Cost
$150
Estimated Time Investment
Week Long Project (20 Hours or More)
Finish Used
Minwax wipe on poly
Recommended Skill Level
Intermediate

Comments

Getting Started, slow on posting

Submitted by pondrider on Fri, 04/25/2014 - 09:42

Thanks to our daughter who gave me plans from Pintrest for the popular locker. This is my first project in a long time. It has been followed by a few projects which have been inspired by plans or skills from the site.

Thanks

Recommended Skill Level
Starter Project

Rustic X coffee table

This table was very easy to build. A little bigger than I expected. You can fit storage cubes in it perfectly. 

Built from Plan(s)
Estimated Cost
$70
Estimated Time Investment
Day Project (6-9 Hours)
Finish Used
Stain and chalk paint
Recommended Skill Level
Beginner

Small Day bed

My niece is here for the summer! We needed a guest bed fast, that didn't take up an entire room! She chose this day bed!

Her bed is in the computer room, so there isn't enough room for a twin size bed. I modified the plans to fit a standard crib mattress. Now, when she isn't using the day bed, it doubles as a lounging spot to read. It is soooo cute!

For the storage baskets, I cut shipping boxes to size and mod podged fabric to them, and added some cute little knobs.

Built from Plan(s)
Estimated Time Investment
Afternoon Project (3-6 Hours)
Finish Used
Early American by Rustoleum followed by 2 coats of satin poly
Recommended Skill Level
Beginner

Comments

Bar Height Table and Chairs

Decided to use mortise and tenon on the chairs to make for a clean look since I was staining and not painting.  I did use a lot of pocket holes on the table.

Built from Plan(s)
Estimated Time Investment
Week Long Project (20 Hours or More)
Finish Used
American Walnut and Dark Walnut. Oil Based Poly and Furniture Wax
Recommended Skill Level
Beginner

Sam's New Loft Bed

Submitted by blouden on Fri, 07/13/2012 - 23:18

Built my daughter the day bed, and my son needed his own bed. But with a 2 bedroom house they have to share a room for now. So I seen the loft bed and well this is what I came up with. I stained it cherry, and routed the edges to give it a little touch.

Built from Plan(s)
Estimated Cost
$80
Estimated Time Investment
Week Long Project (20 Hours or More)
Finish Used
Cherry Stain
Recommended Skill Level
Intermediate

Comments

TommyHawk

Fri, 12/20/2013 - 07:57

This looks great! I like the way you kept it simple yet more rustic type appeal without adding the top board (laying flat).

TommyHawk

Fri, 12/20/2013 - 07:57

This looks great! I like the way you kept it simple yet more rustic type appeal without adding the top board (laying flat).

Twin Panel Bed

Submitted by Luckysme on Thu, 05/01/2014 - 12:45

Thank you so much for these awesome plans. When I saw the original twin panel bed, I knew this was exactly what I wanted to build for my two daughters. I love super high head boards, and these are exactly that. I am in love. I did make some changes to the plan. I went with taller side rails, and used metal bed rail brackets. The brackets were super important. We move every few years being in the military, and I wanted something that would with-stand time and moves. I am also quite impressed how solid these beds are. I could never find anything this amazing in a store. I would also like to thank my husband for his help. It was our first build, but definitely not our last. Thank you!

Built from Plan(s)
Estimated Cost
200 per bed.
Estimated Time Investment
Week Long Project (20 Hours or More)
Finish Used
I used Annie Sloan Chalk paint. Paris Grey, and Old White. First I Clear waxed it, then finished it with a dark wax. This gave it more dimension.
Recommended Skill Level
Intermediate

Comments

spiceylg

Thu, 05/01/2014 - 18:02

These came out beautiful and especially for a first build! Seriously impressive. Love the whole ensemble. Really pretty.

Danib

Wed, 06/11/2014 - 13:31

This bed is beautiful. You did a wonderful job on it. Could you please tell me where you got the big base molding for the inside of the headboard and footboard? Would love to try this for my granddaughter.

In reply to by Danib

Luckysme

Wed, 06/11/2014 - 17:27

Thank you for your very nice comments:
Here is some info, let me know if I can help further more.

This is what we used for the base molding and the headboard molding at the top. http://www.homedepot.com/p/House-of-Fara-5-8-in-x-4-in-x-8-ft-MDF-Base-…

For the the inner molding we used two pieces of molding: This is the style (link below) we used, but ours was a little bigger, 5 1/4 inches. Couldn't find it on the home depot website, but this is exactly the same style.

The addition molding below is a finishing molding that we had to use since the above molding was not flush to the back board. It finished really nice. Glad we added this addition dimension. You can easily skip using it with different "above" molding.

http://www.homedepot.com/p/American-Wood-Moulding-LWM47-9-16-in-x-4-1-4…

http://www.homedepot.com/p/American-Wood-Moulding-WM100-11-16-in-x-11-1…

For the side rails we also used 10 inch boards. I thought it made the bed look more proportioned. I will add additional pics of the molding, so re-check pictures. Again, let me know if you have further questions.

TV Stand Table

Submitted by Anonymous (not verified) on Tue, 08/02/2016 - 10:00

This was a super fun project and didn't cost much at all.

Estimated Cost
$75
Estimated Time Investment
Weekend Project (10-20 Hours)
Finish Used
Mixture of Grey and Brown stain with a poxy coating
Recommended Skill Level
Intermediate

Comments

Potting Table

Started with Ana's basic plan/dimensions. Changed the back legs to 1x6, added aa 2nd shelf and storage closet to hang hand tools/gloves.

Built from Plan(s)
Estimated Cost
$125
Estimated Time Investment
Day Project (6-9 Hours)
Finish Used
Minwax/Helmsman Semi-Gloss Spar Urethane
Recommended Skill Level
Beginner

$10 Shelves

Submitted by mgesinel on Tue, 07/17/2012 - 11:36

As soon as I saw this I had to try it! So cheap and so easy! Makes for a fun piece of art work/ practical storage for books.

Estimated Cost
$10 per shelf
Estimated Time Investment
Afternoon Project (3-6 Hours)
Recommended Skill Level
Starter Project

Blue big kids picnic table

Submitted by Anonymous (not verified) on Fri, 08/05/2016 - 23:25

I primed and painted all of the boards before I cut them. Then I just had to do some touch up when I was done. This is my first woodworking project and the instructions were clear and easy to follow. I already have my next Ana White project picked out.

Built from Plan(s)
Estimated Cost
$100
Estimated Time Investment
Day Project (6-9 Hours)
Finish Used
Primer and paint
Recommended Skill Level
Starter Project

Bed for teen boy

Submitted by Anonymous (not verified) on Sun, 05/24/2020 - 21:54

Went shopping Saturday, worked a few hours, then worked most of the day Sunday. Our boy is in heaven and everyone else wants one now.

Built from Plan(s)
Estimated Cost
$150-$175
Estimated Time Investment
Weekend Project (10-20 Hours)
Finish Used
Weathered look, the same brand as recommended.
Recommended Skill Level
Intermediate

Mailbox Stand

Submitted by Anonymous (not verified) on Mon, 02/12/2024 - 08:33

I didn't like the standard mailbox we had at my house so I designed this with my CAD program and mage it happen. thanks for this opportunity to post this.

Rich Hebert

Outdoor Patio Table

Submitted by stephanief on Wed, 07/18/2012 - 18:29

I built this outdoor patio table in about a weeks time working on and off. There are mistakes, it's uneven in places and it is not perfect! That being said, the plans for this are very forgiving and nobody would ever know without looking for these things.

You can get the breakdown on the build, the finish I used, chair solutions and other suggestions here:

http://legosecretagent.blogspot.com/2012/07/outdoor-patio-table.html

This beautiful table only cost around $60 total to build!

Built from Plan(s)
Estimated Cost
$60
Estimated Time Investment
Weekend Project (10-20 Hours)
Finish Used
Minwax, specifics at http://legosecretagent.blogspot.com/2012/07/outdoor-patio-table.html
Recommended Skill Level
Beginner

Kentwood side table (Restoration Hardware Kenwood nightstand)

I DO NOT have a Kreg Jig. If you don't have a Kreg Jig, I recommend purchasing small mending plates. I got mine at Walmart, they were $1.77 a 4 pack. I do not recommend using 3 inch nail screws and trying to get them in super straight. While it worked for 3 face frames, the last frame I just could not get to work (maybe I was getting tired). Speaking of tired, I mostly build in the middle of the night while my family is sleeping. If you look closely, I put the 1x2 26 1/2 inch pieces on the front and back frame. Wah wah.... I had to add an extra 1x2 across the top and re-size the 3/4 inch plywood on the bottom.

I'm pretty sure everything went wrong for me with this build but I wasn't going to let a nightstand beat me!

In case you are wondering, the cabinet pull is from Anthropologie. I haven't decided whether or not it's too fabulous for this piece.

Estimated Time Investment
Weekend Project (10-20 Hours)
Finish Used
Ha. I stained it with Minwax Gel Stain in Aged Oak and then my husband wanted dark dark dark so I did 2 parts Minwax Wood Finish in Dark Walnut to 1 part Minwax Polyshade in Bombay Mahogany. Then somewhere along the lines I sanded it all down, put mineral spirits on it and stained it with Rustoleum Dark Walnut. I touched it up using Minwax Gel Stain in Dark Walnut. Then finished with Minwax Polyurethane in Satin.

TLDR: I could never reproduce this color again. Ever. That is all.
Recommended Skill Level
Beginner

Comments

Back