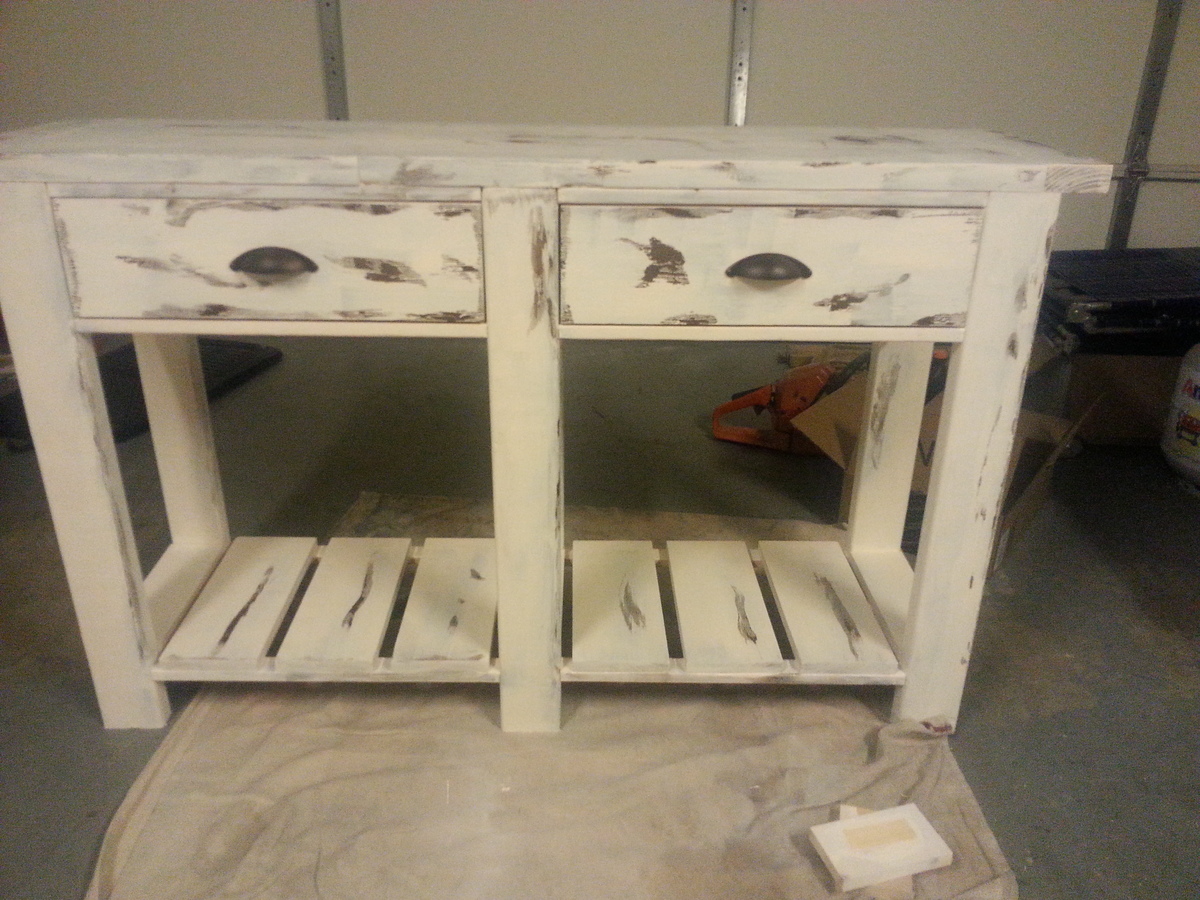
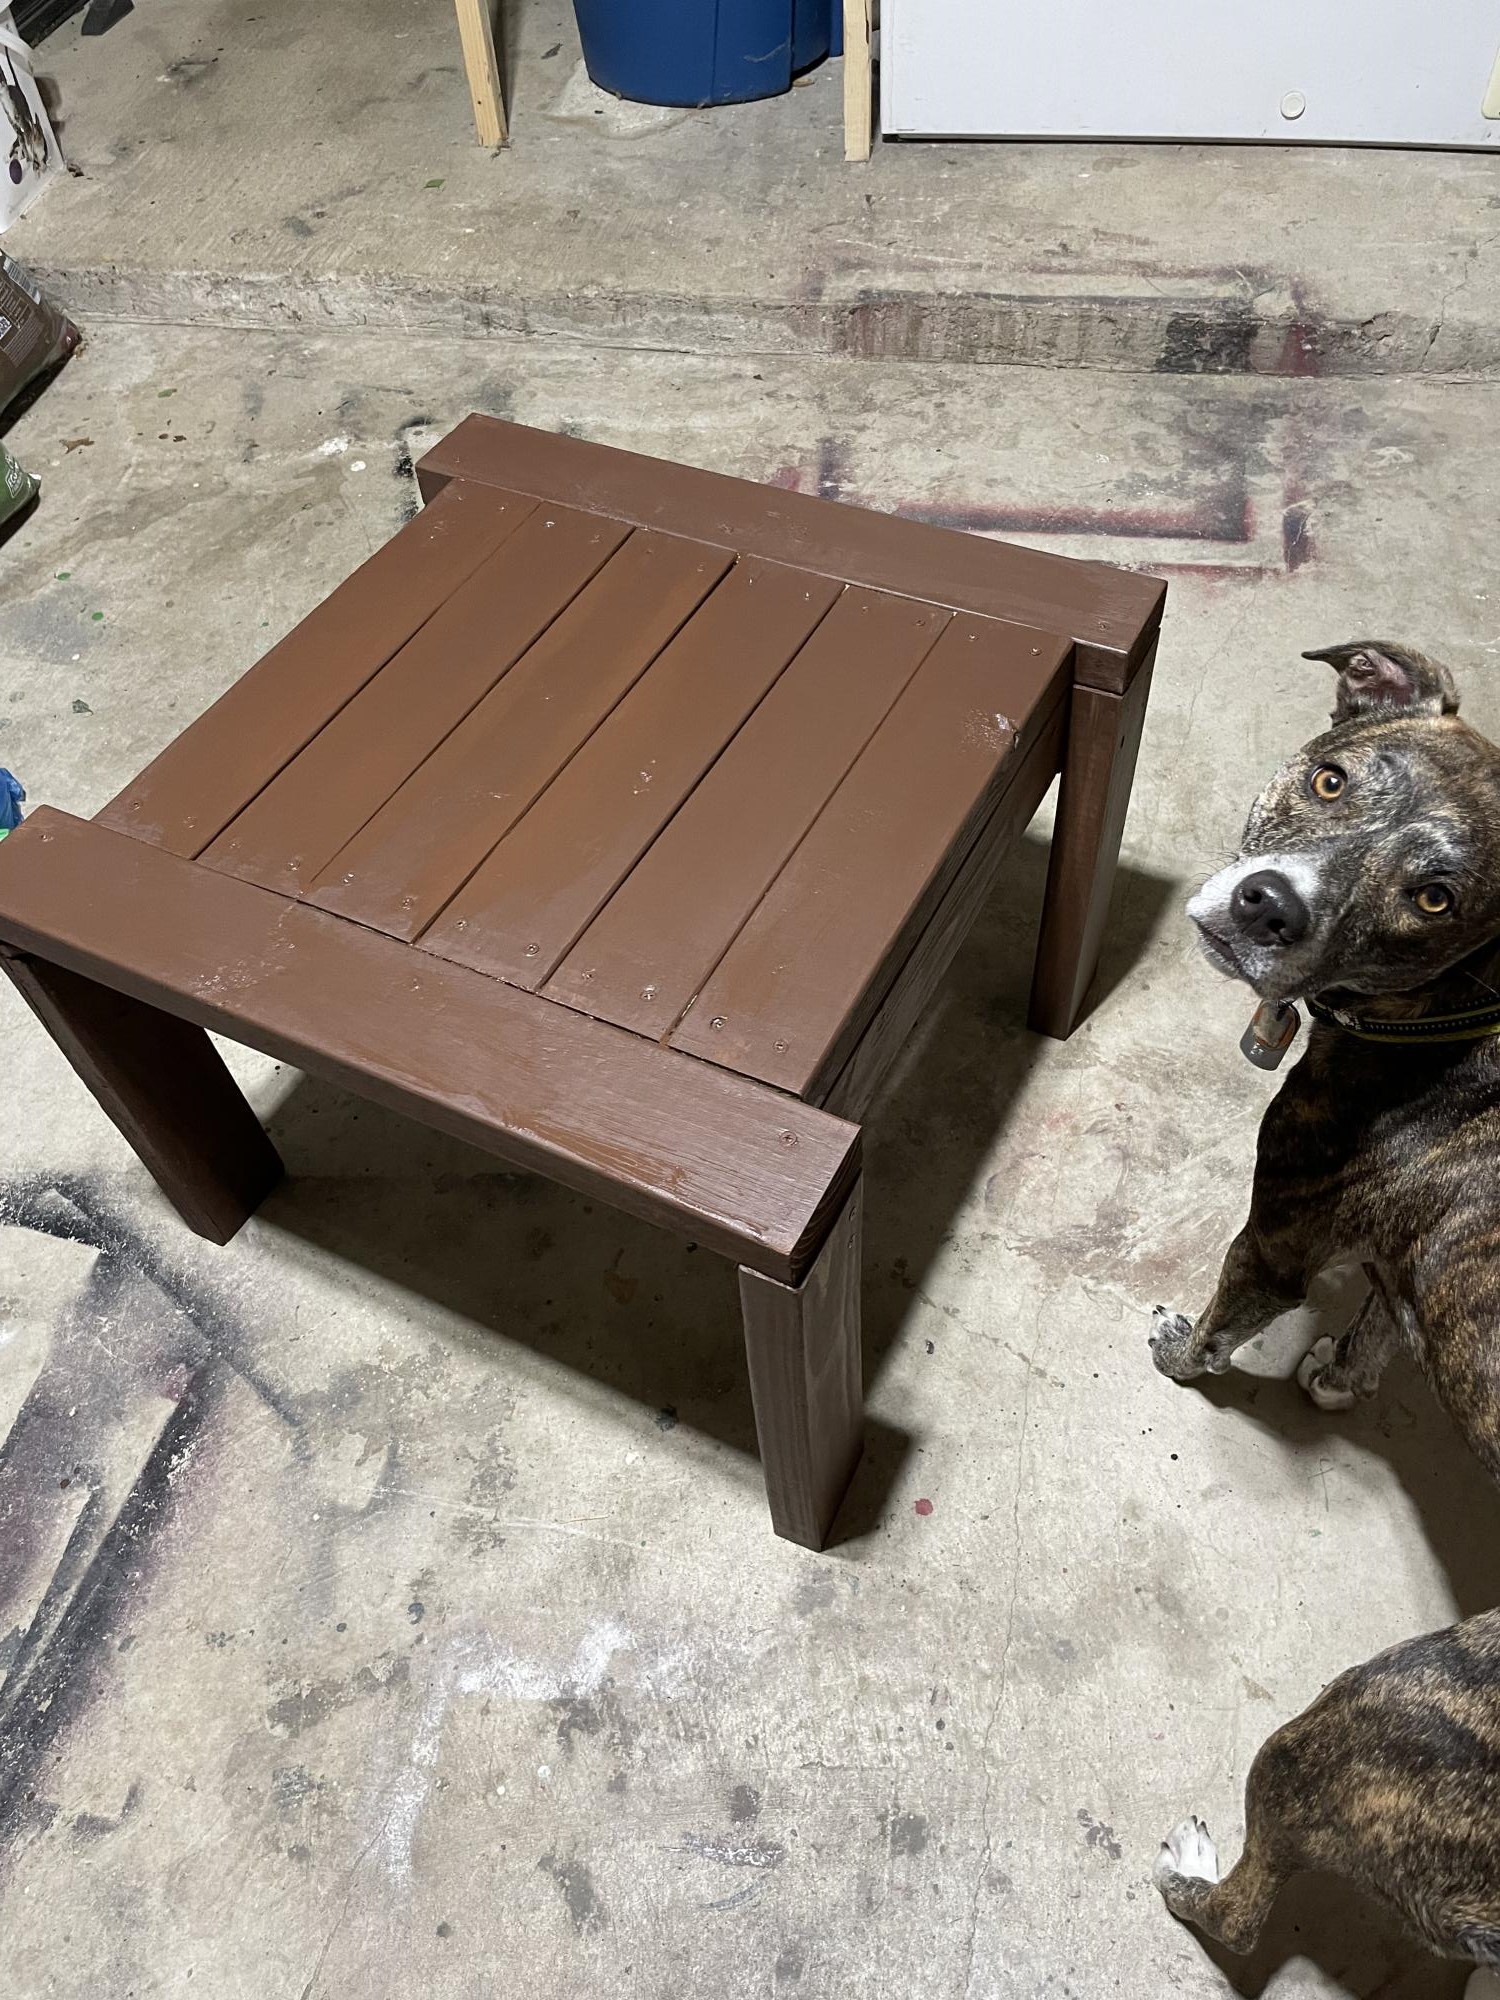
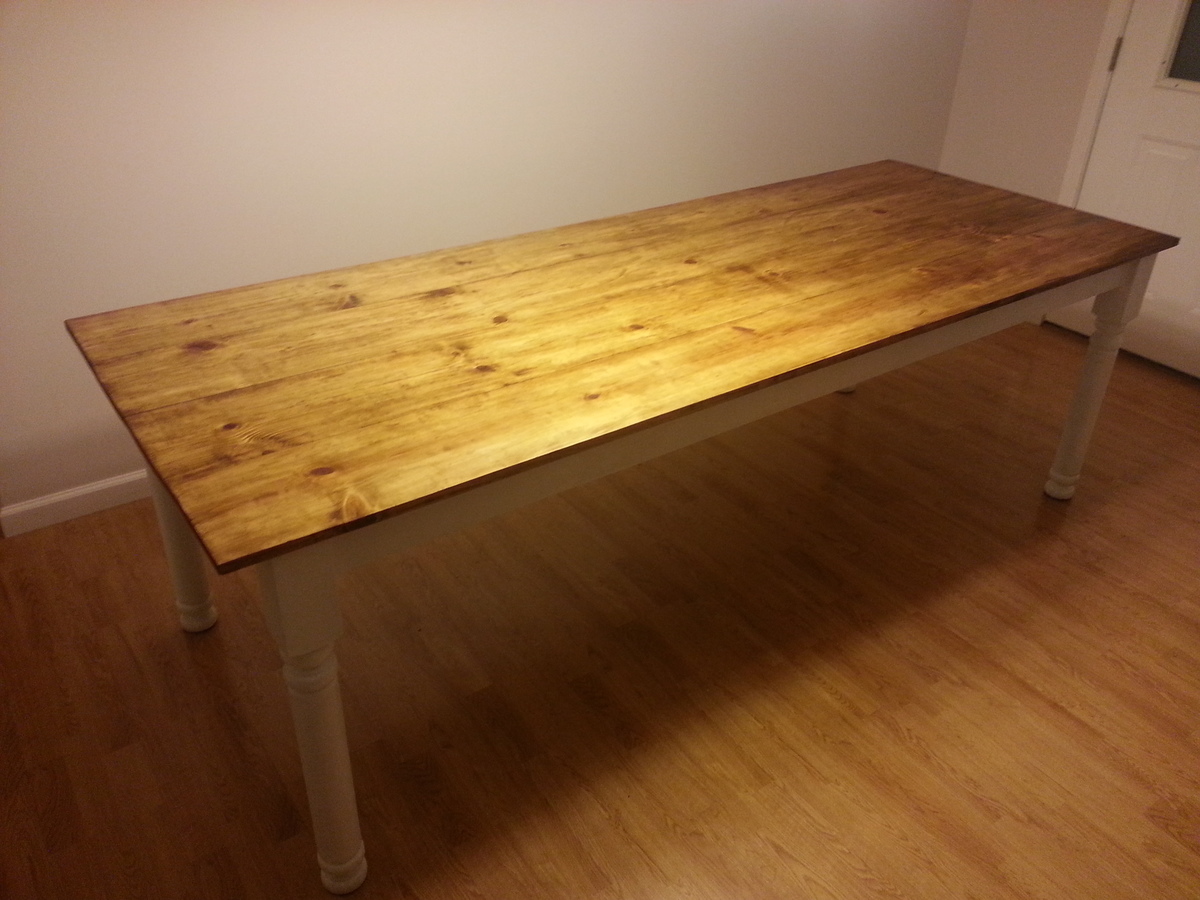
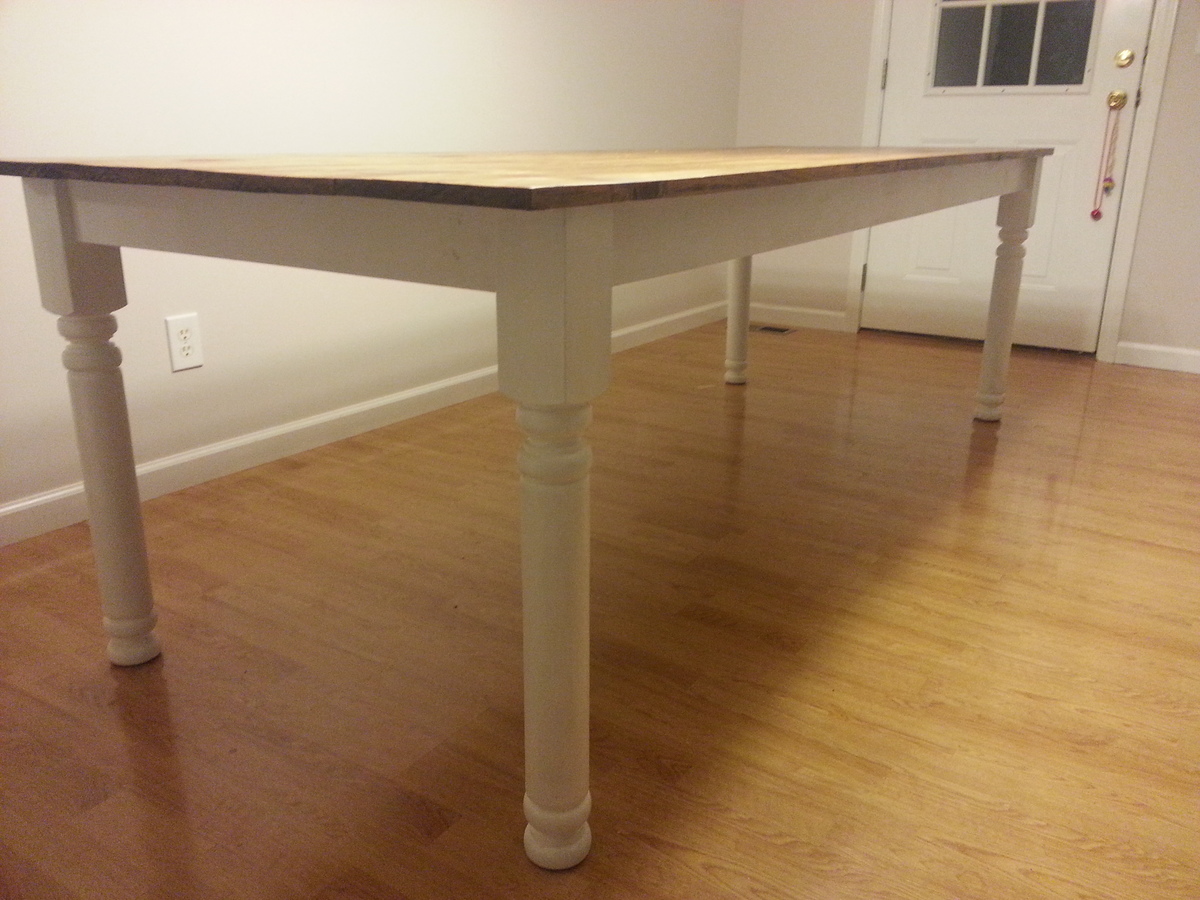
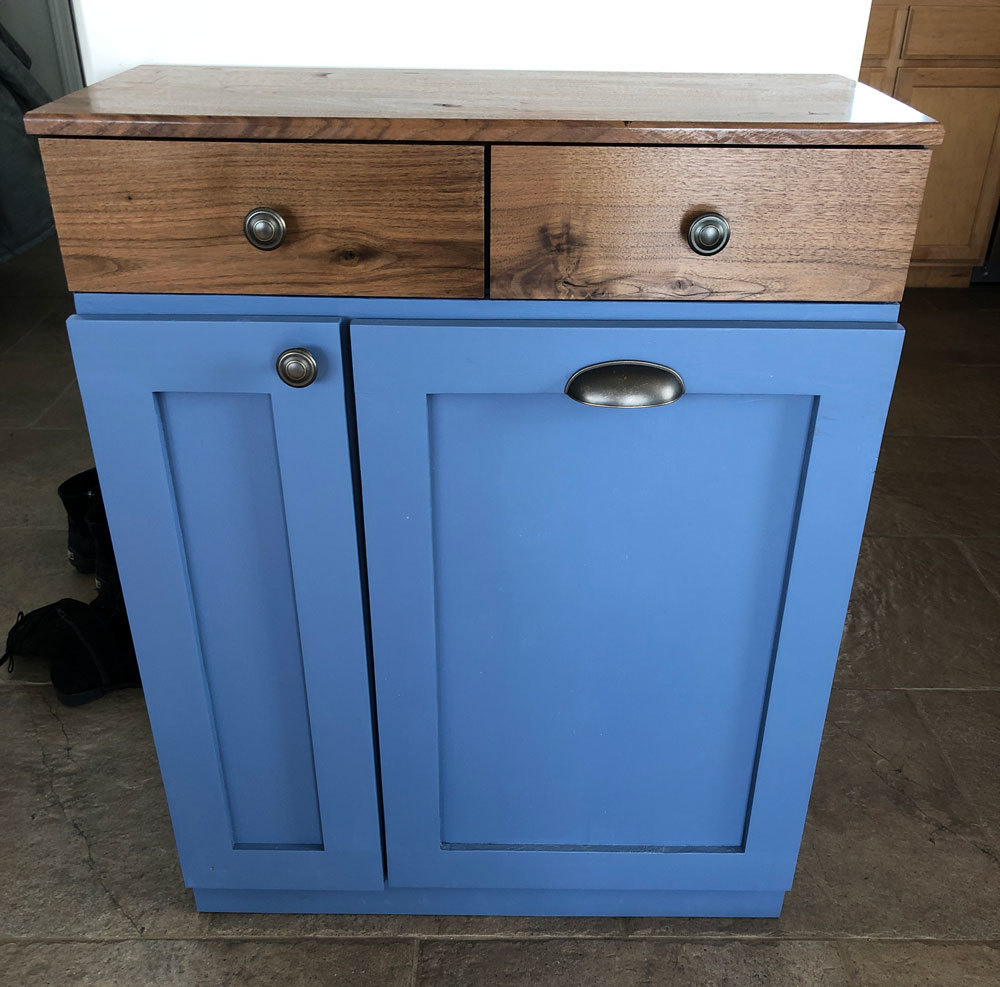
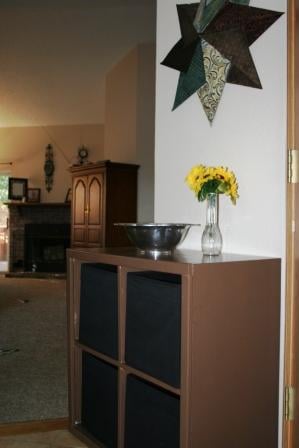
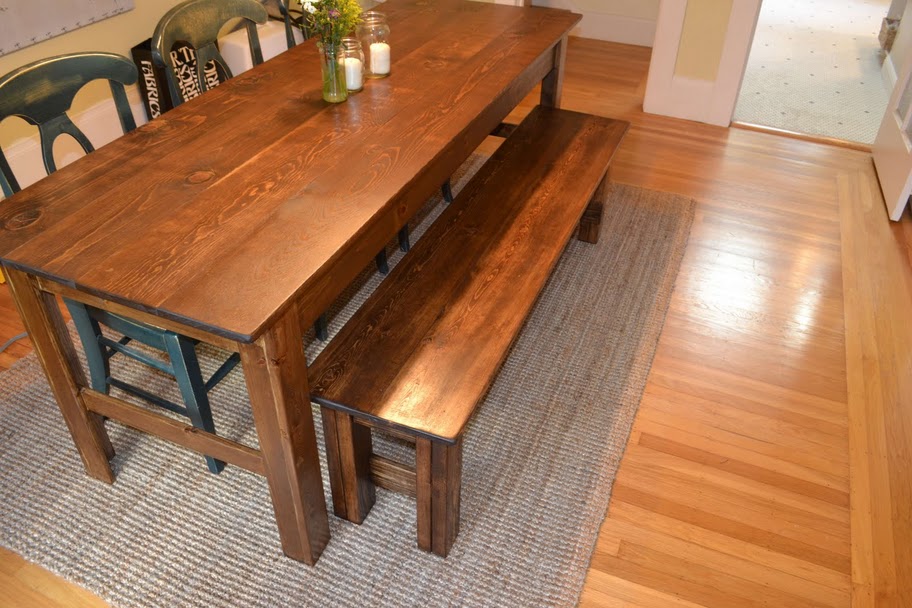
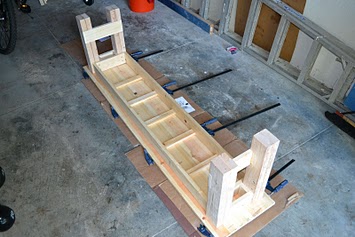
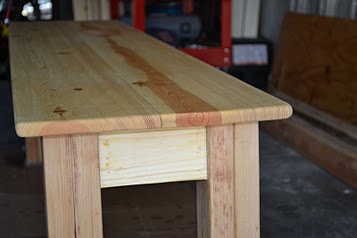
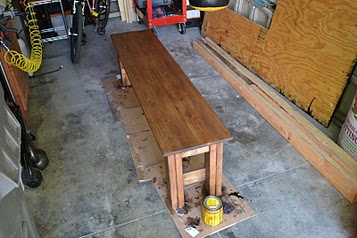
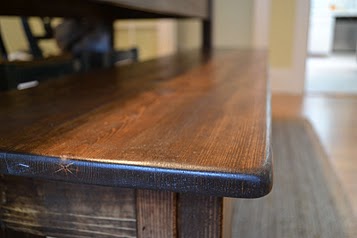
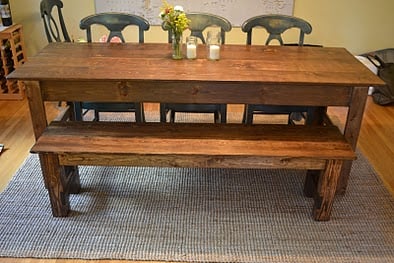
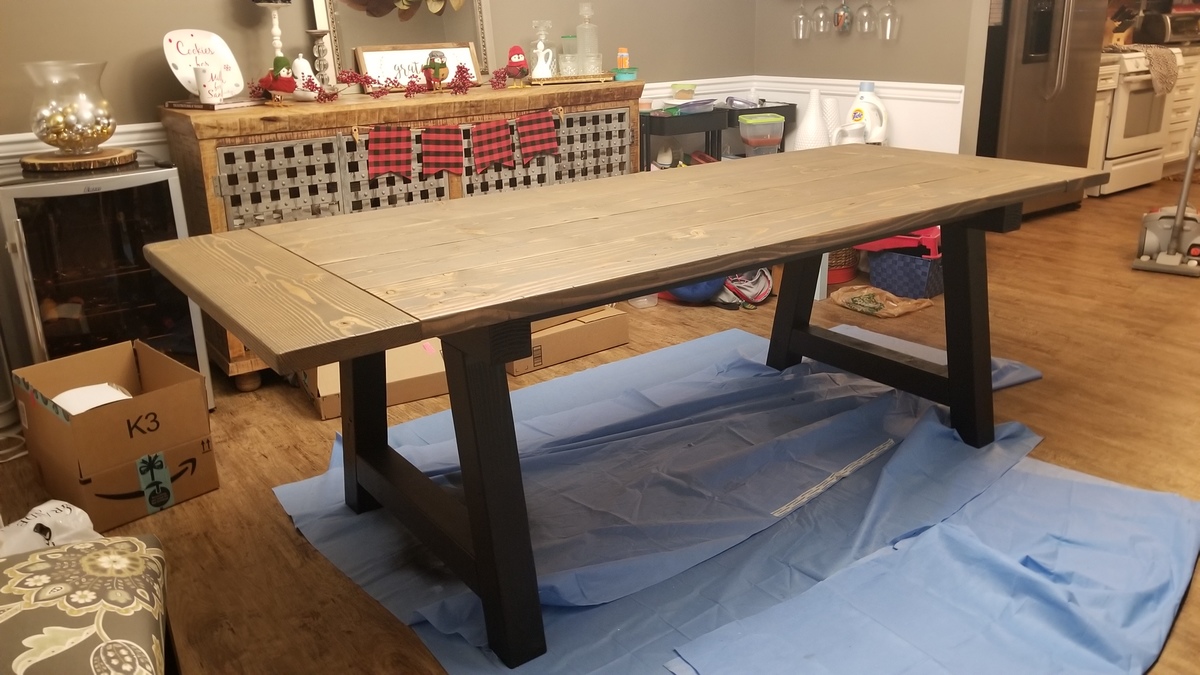
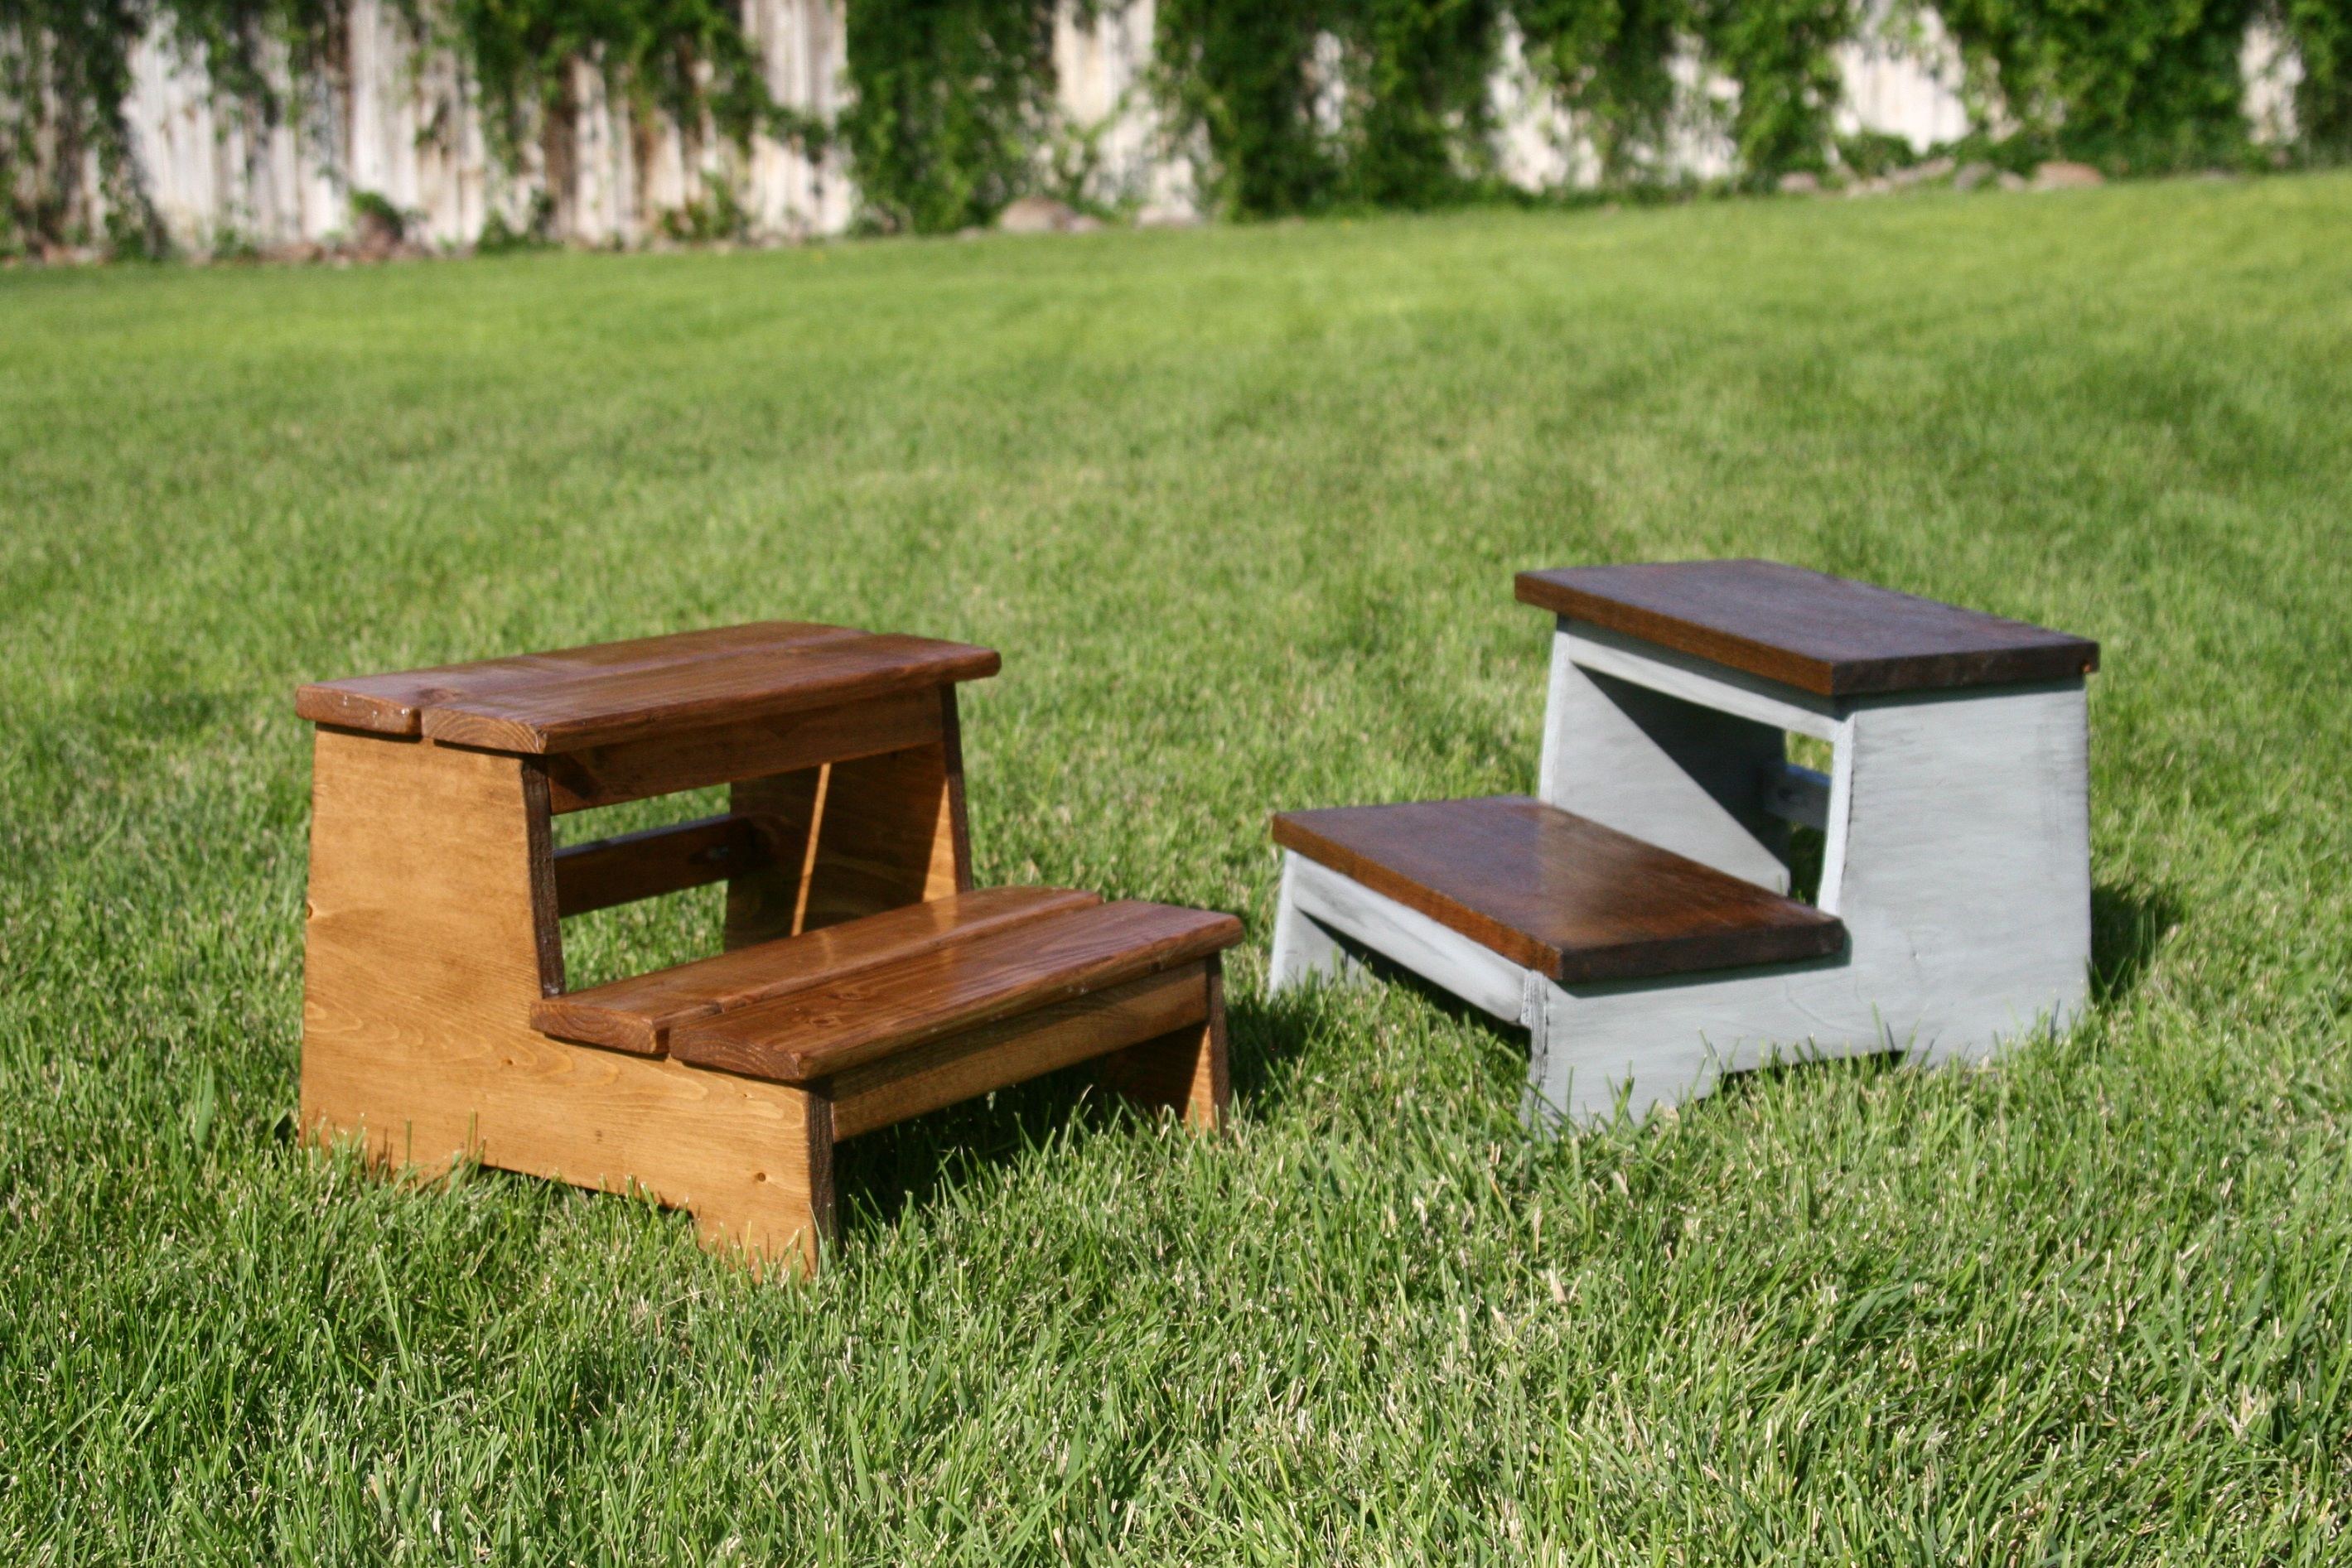
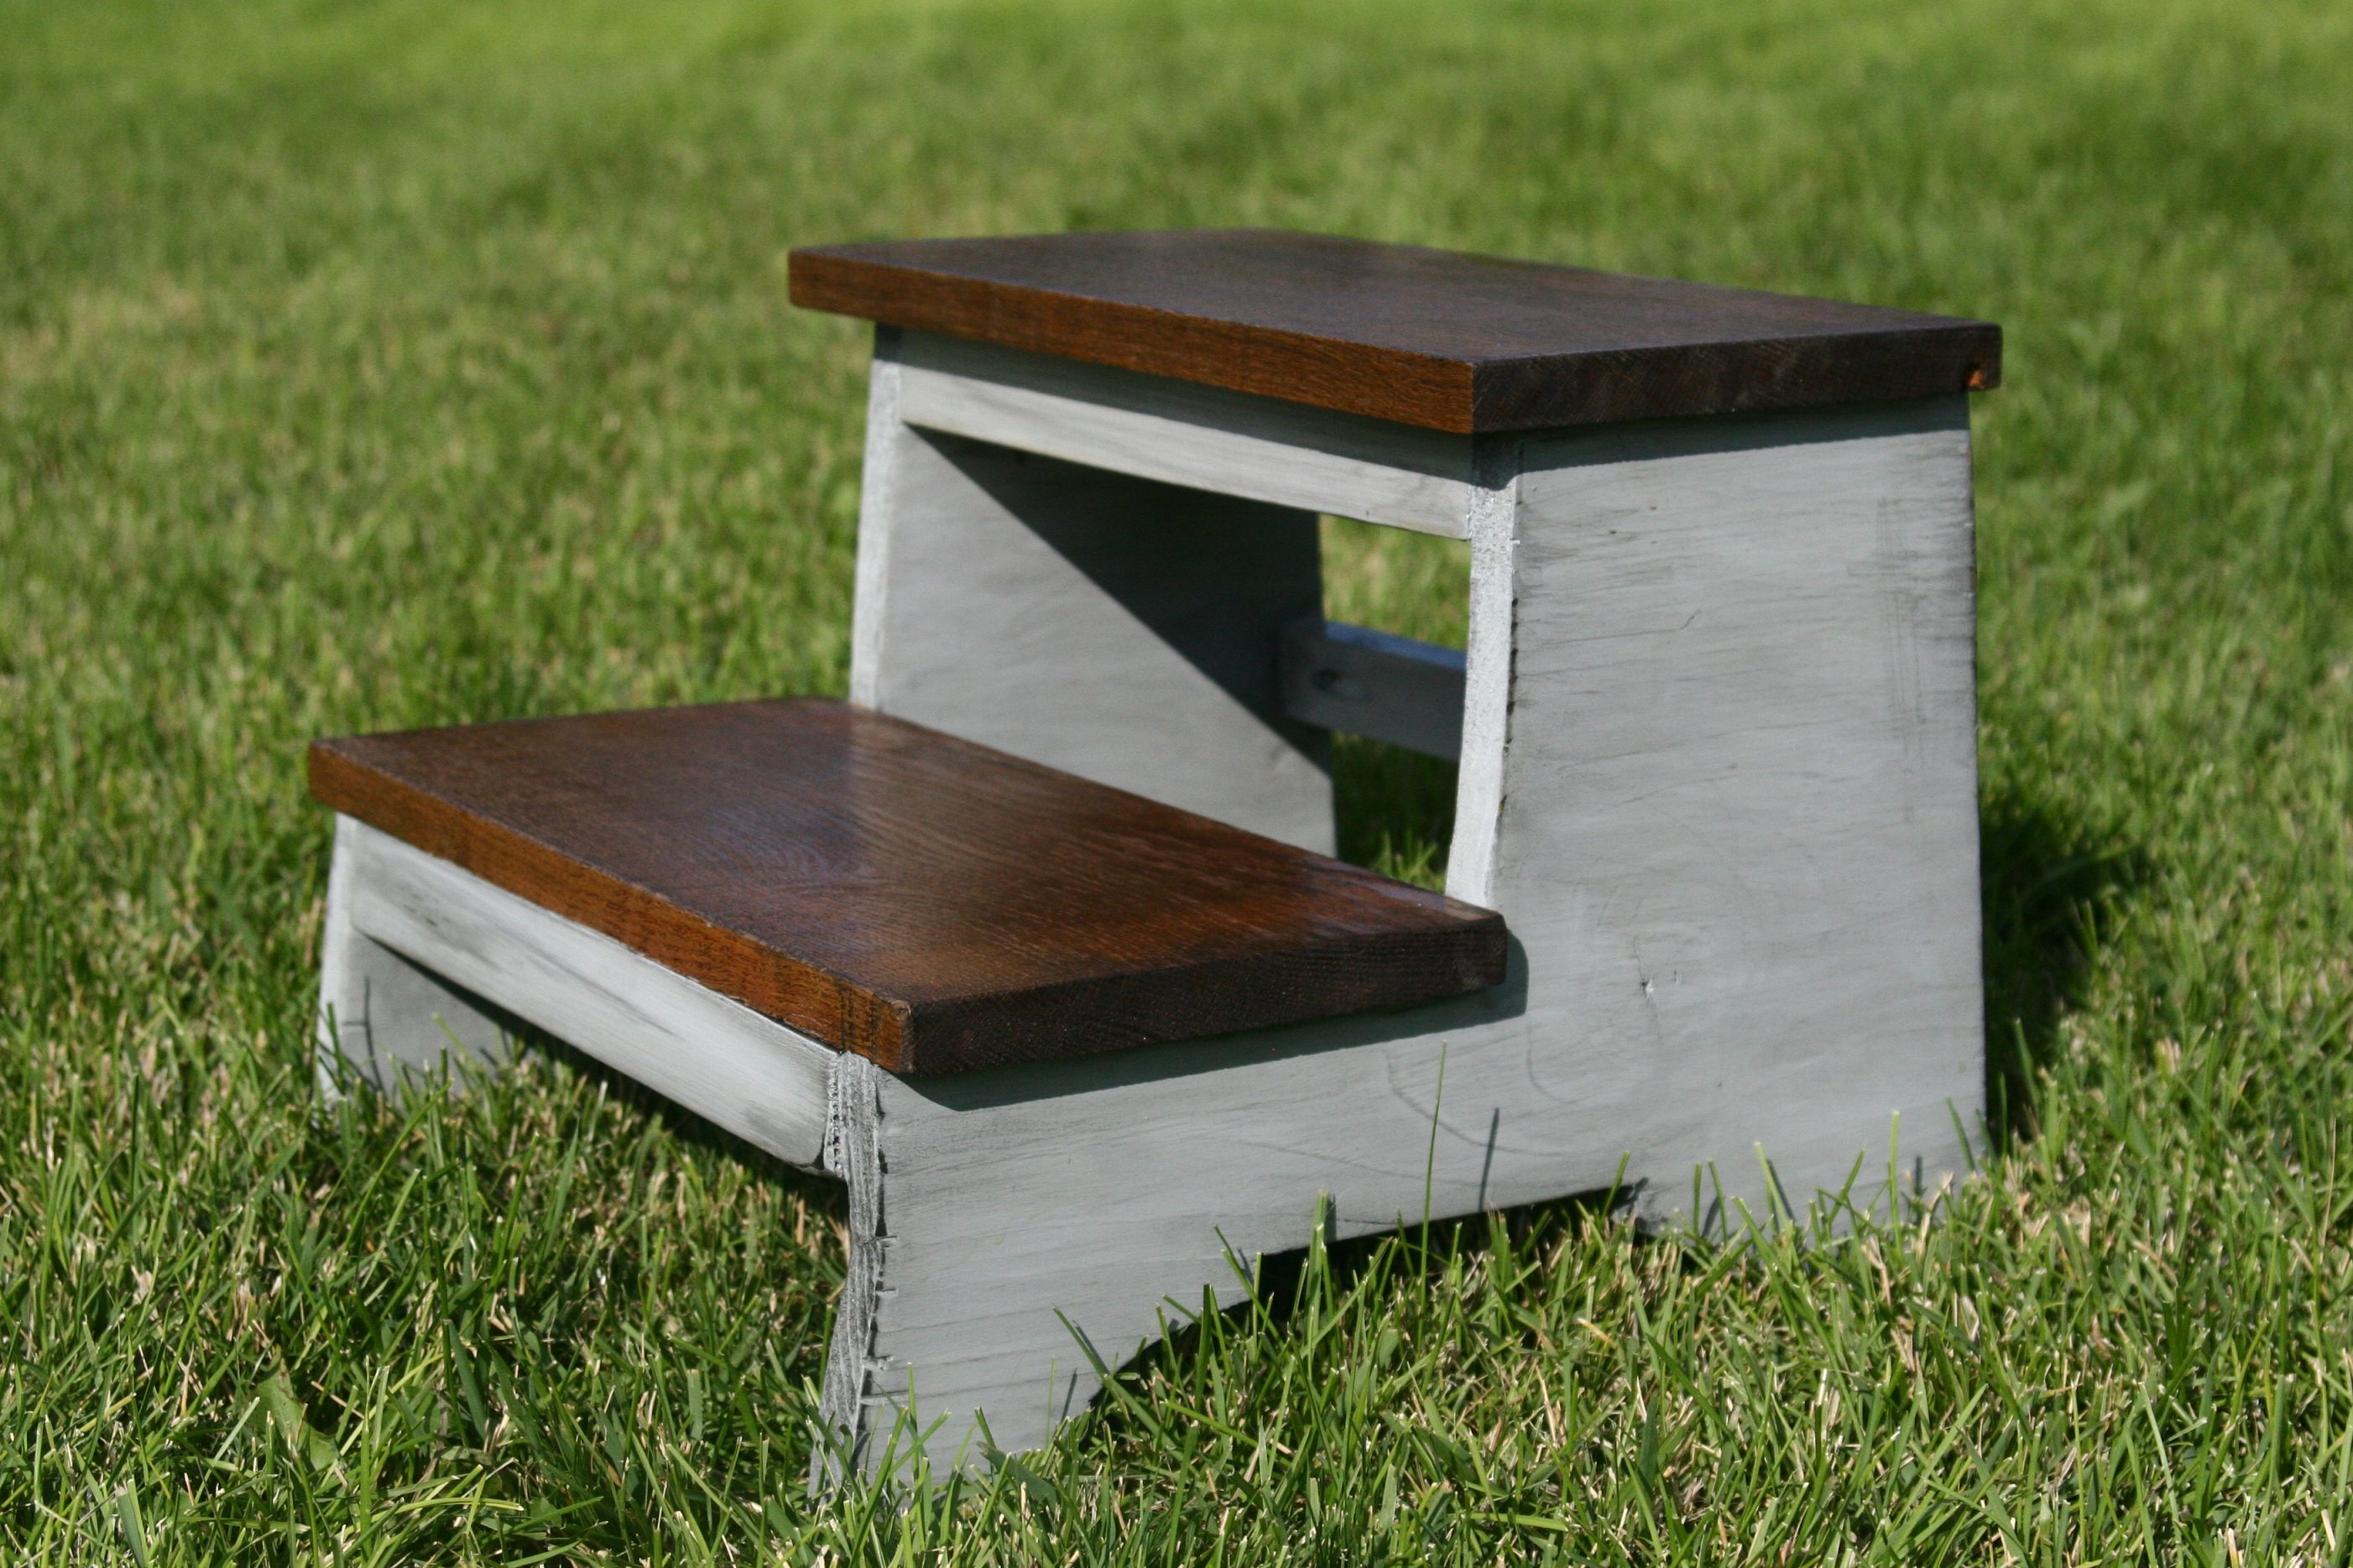
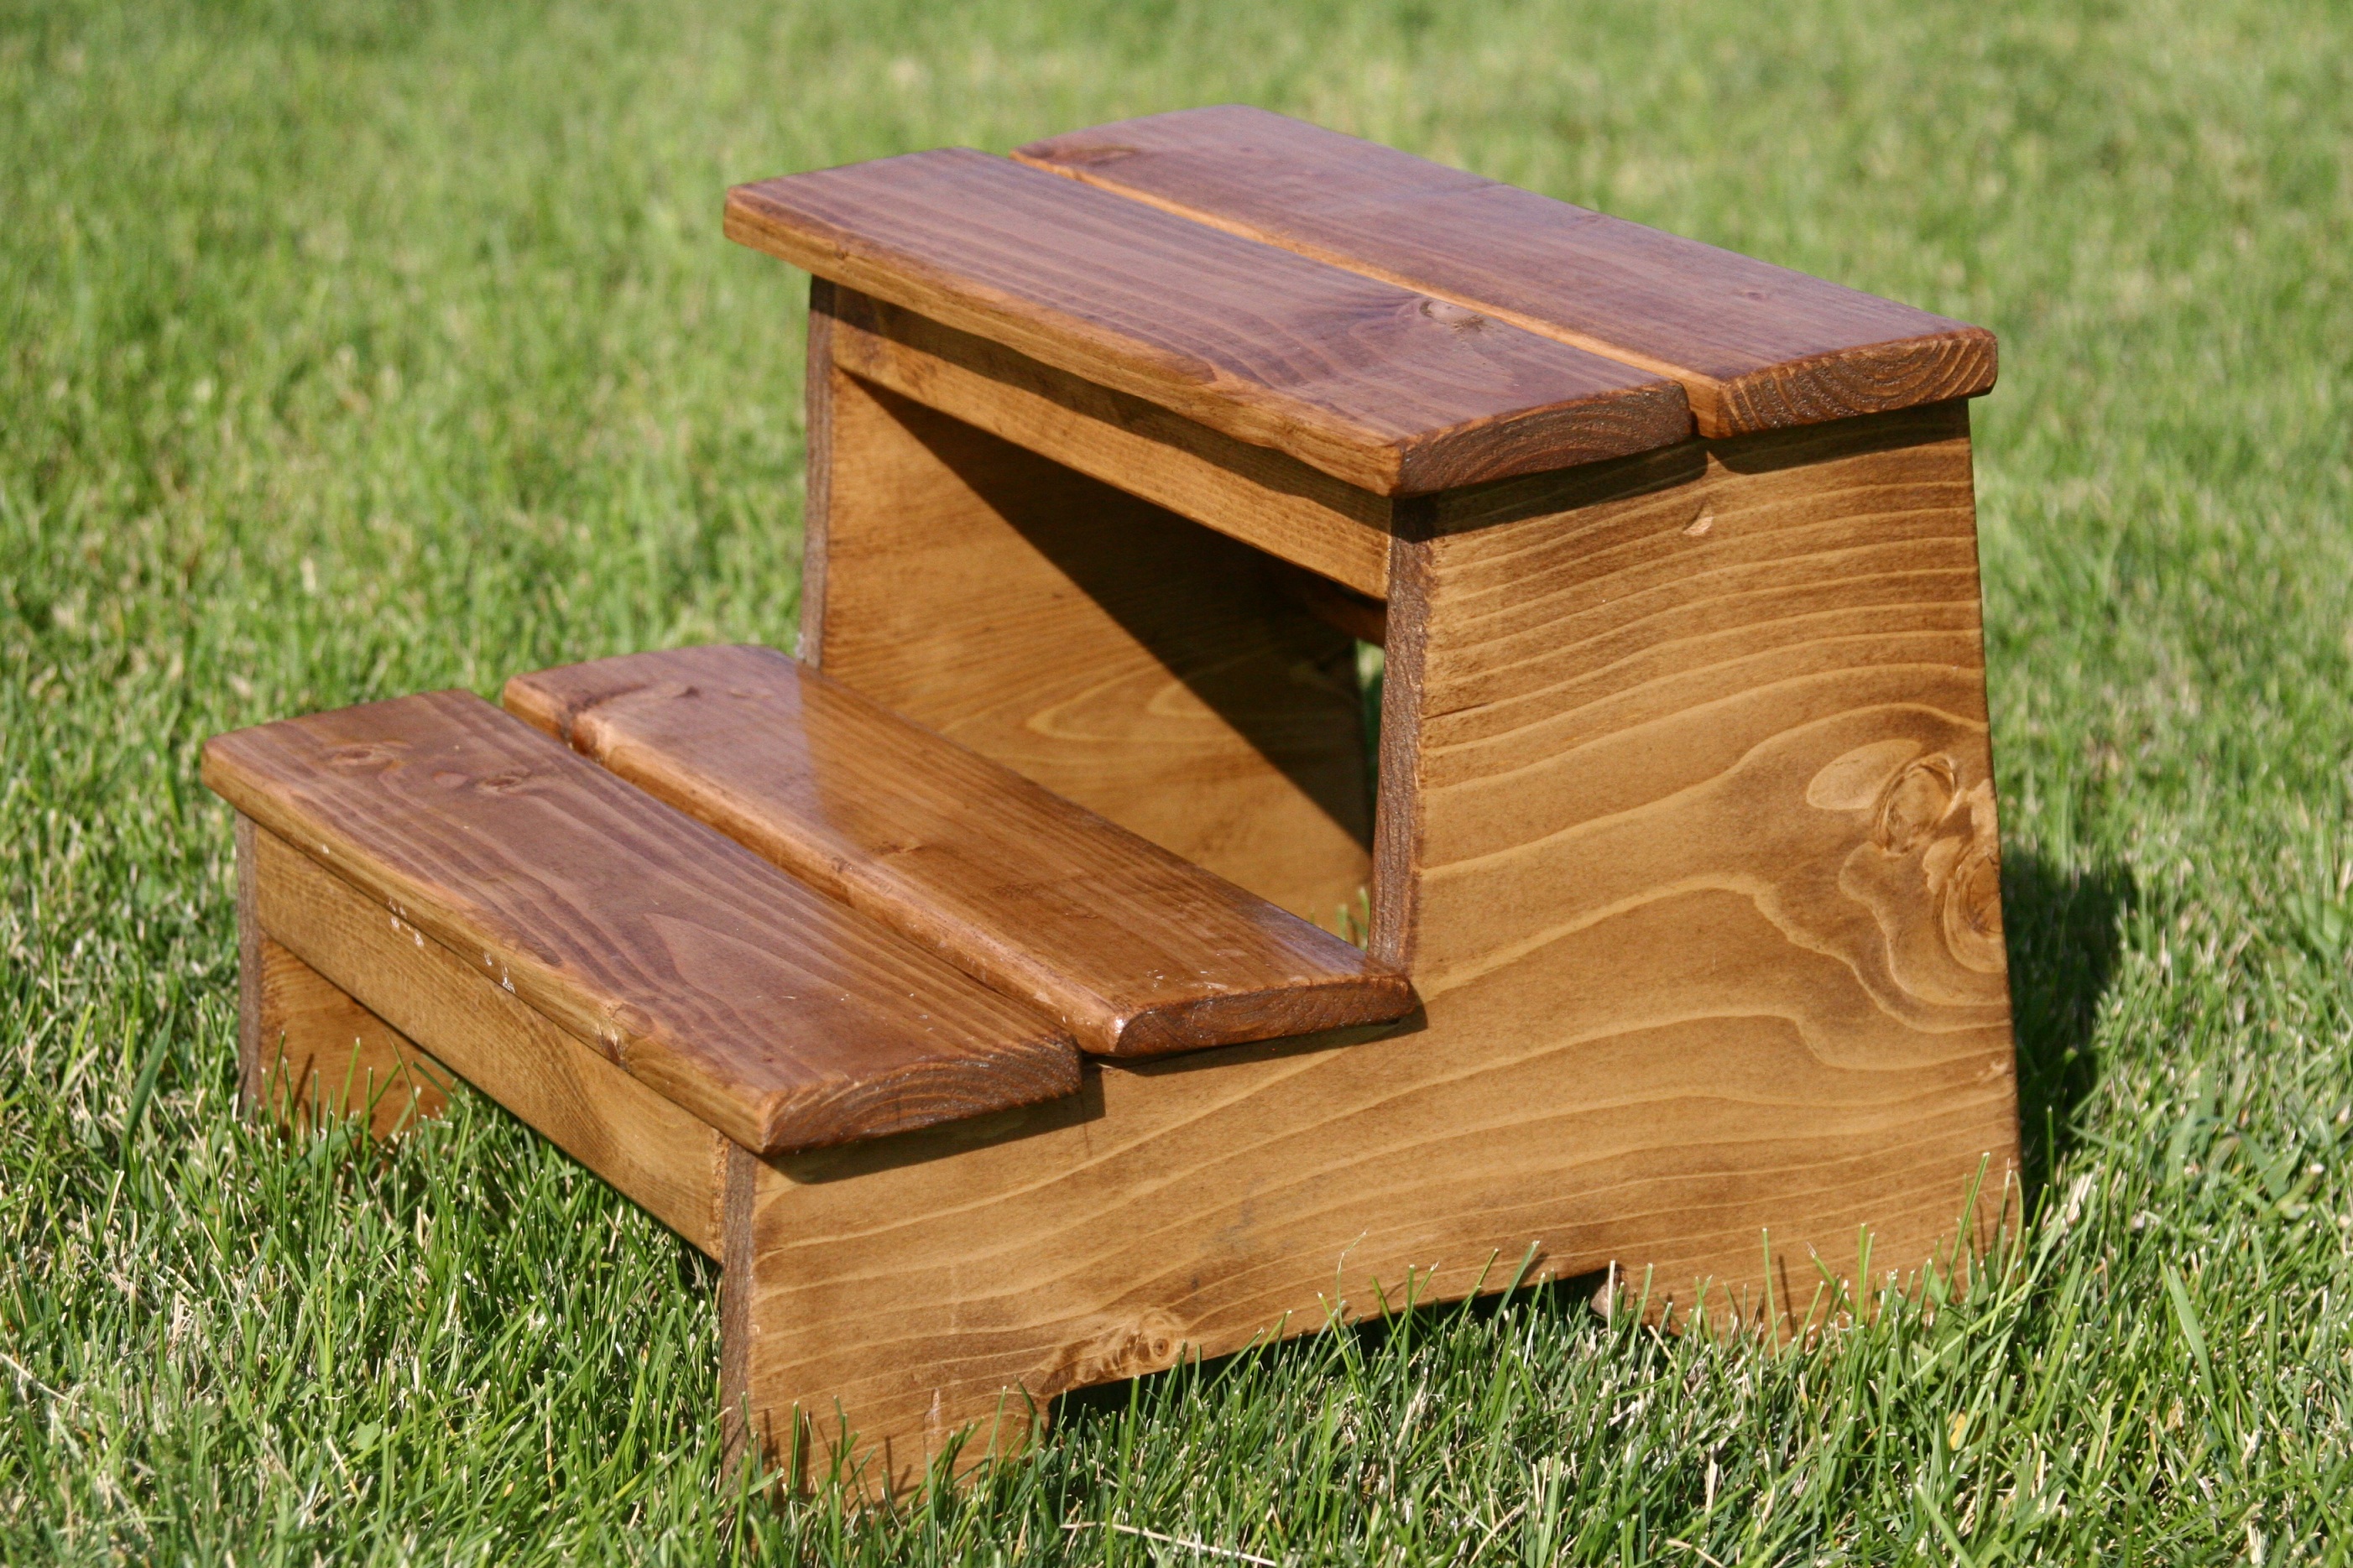
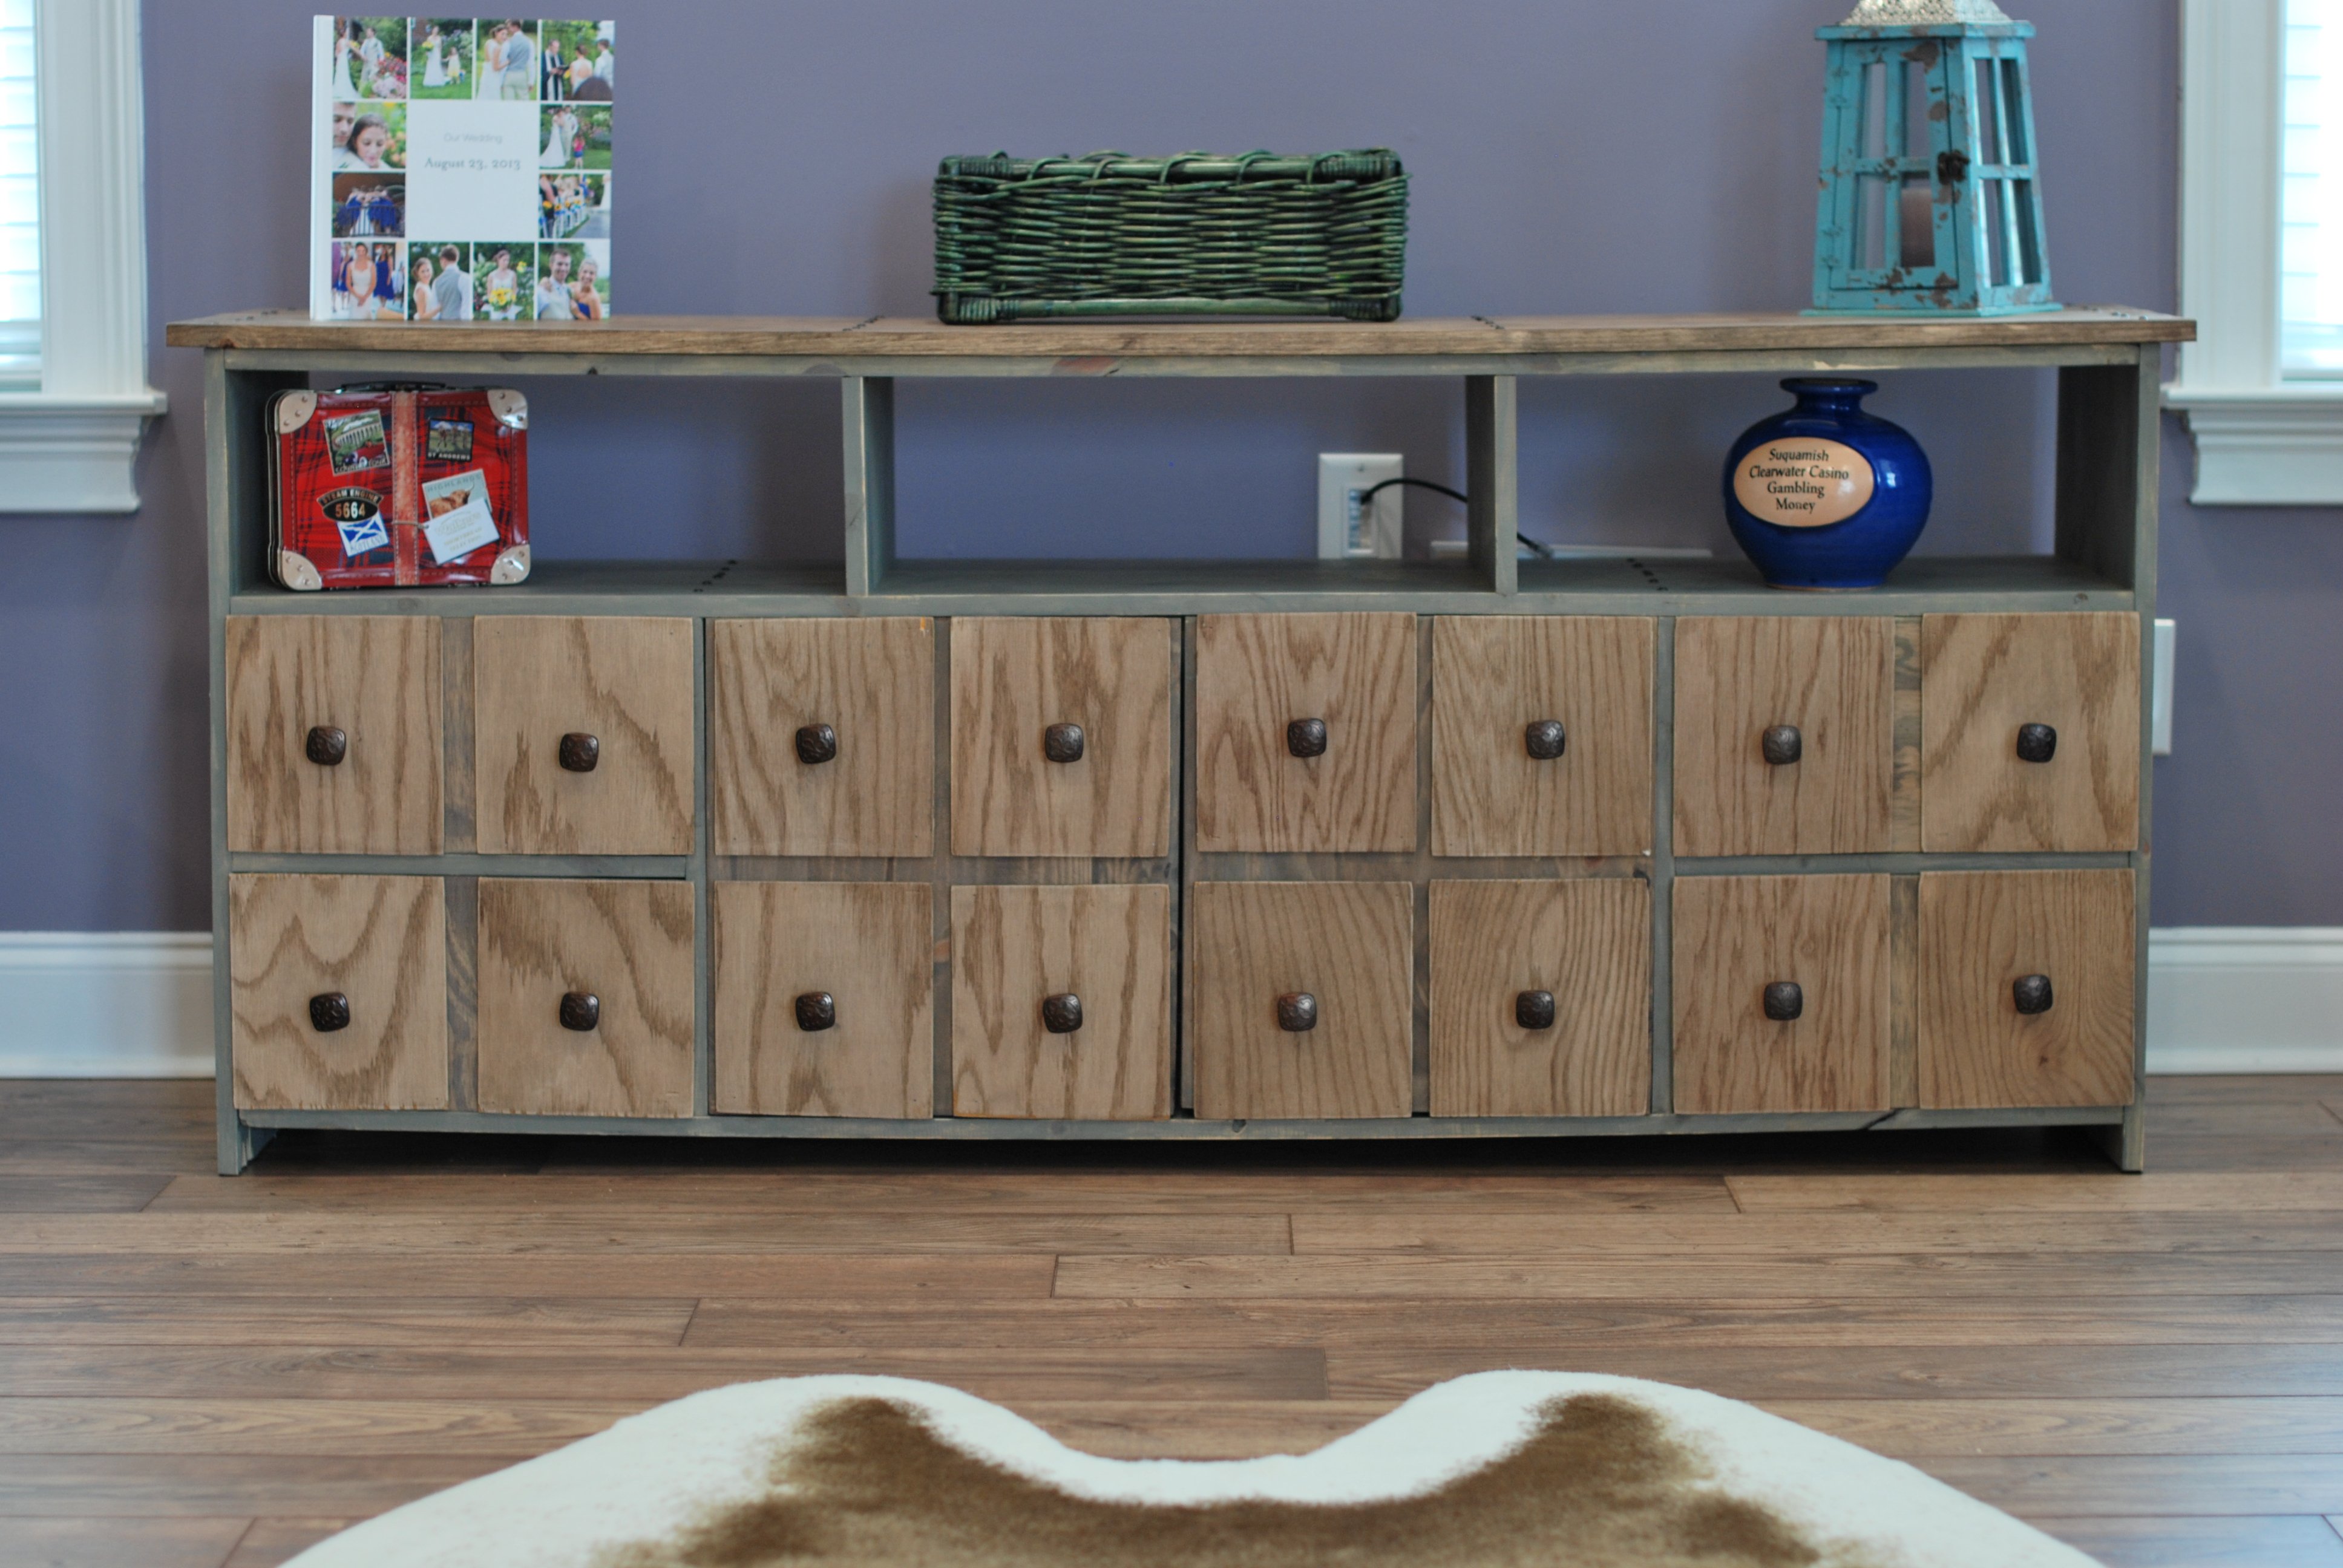
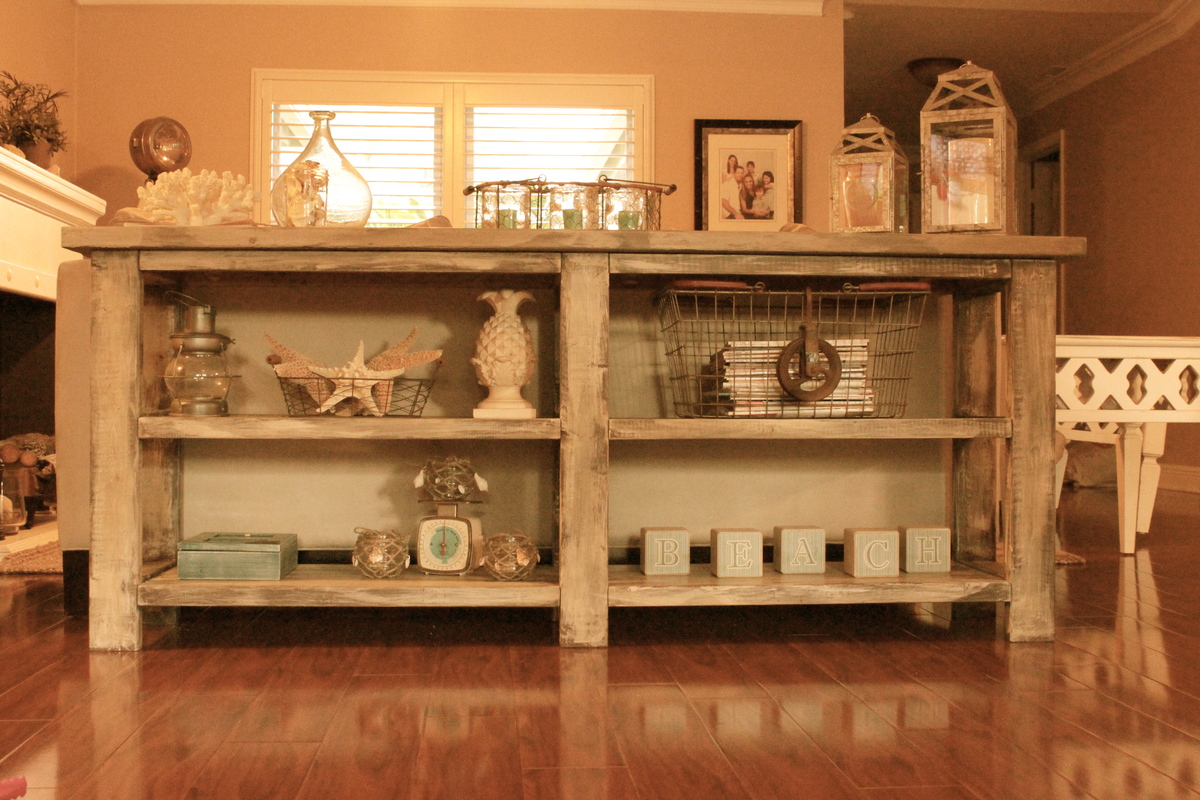
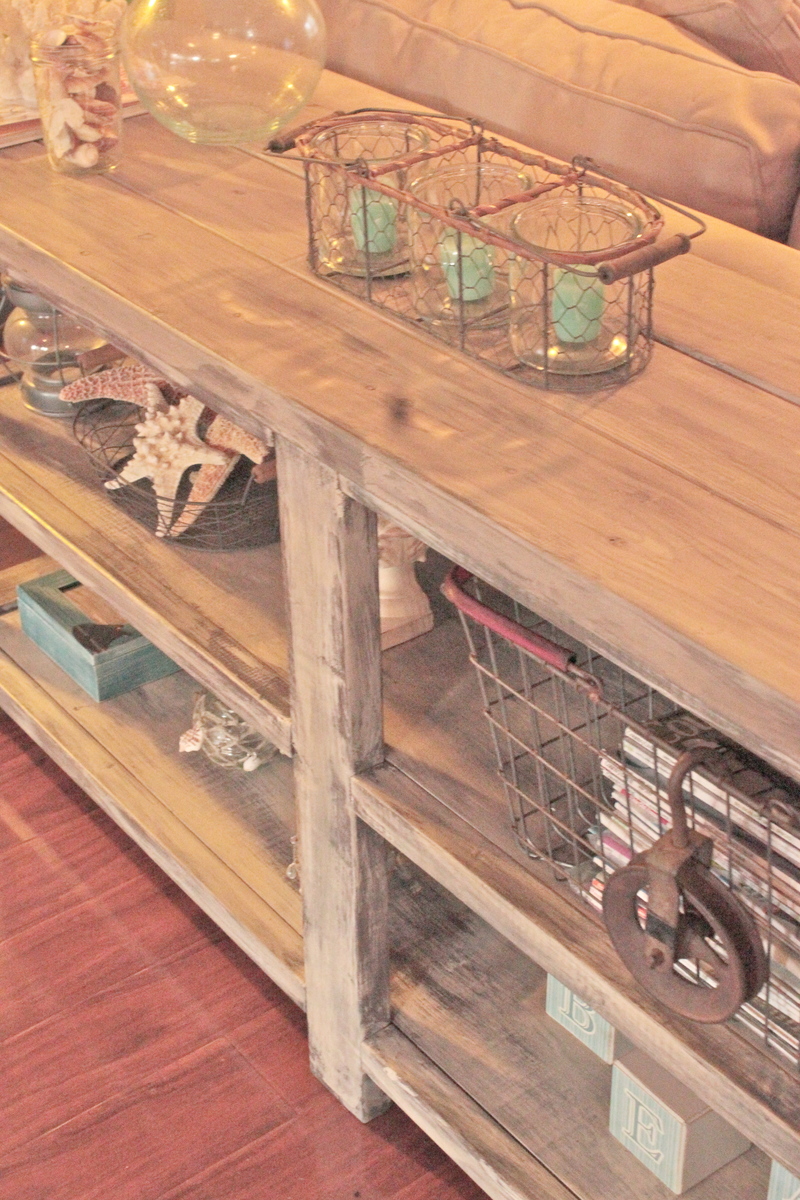
X Console Table
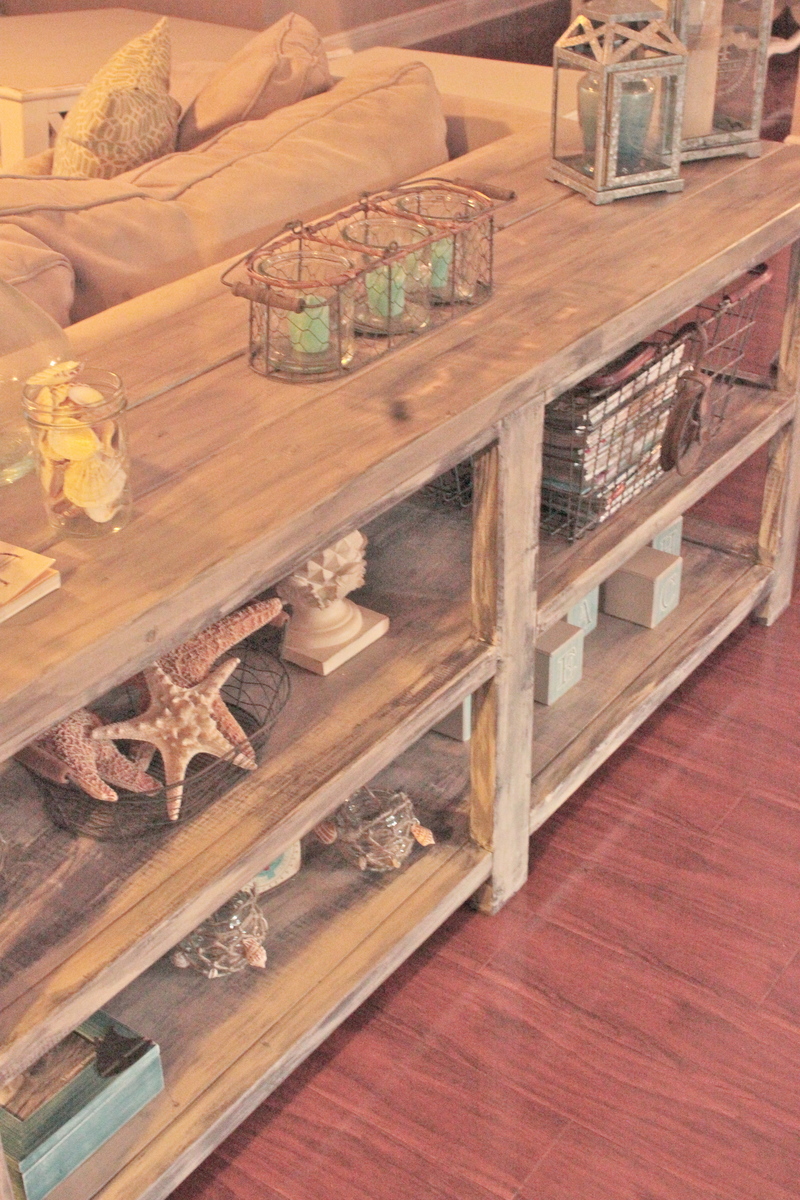
I have built this console quite a few times. Always trying different finishes. Love all of them. Have to say I always skip the X on the sides, I just get lazy towards the end :) Im in the process of building a couple more, will try to add the X to it this time...we will see :)

Built from Plan(s)
Estimated Cost
100
Estimated Time Investment
Weekend Project (10-20 Hours)
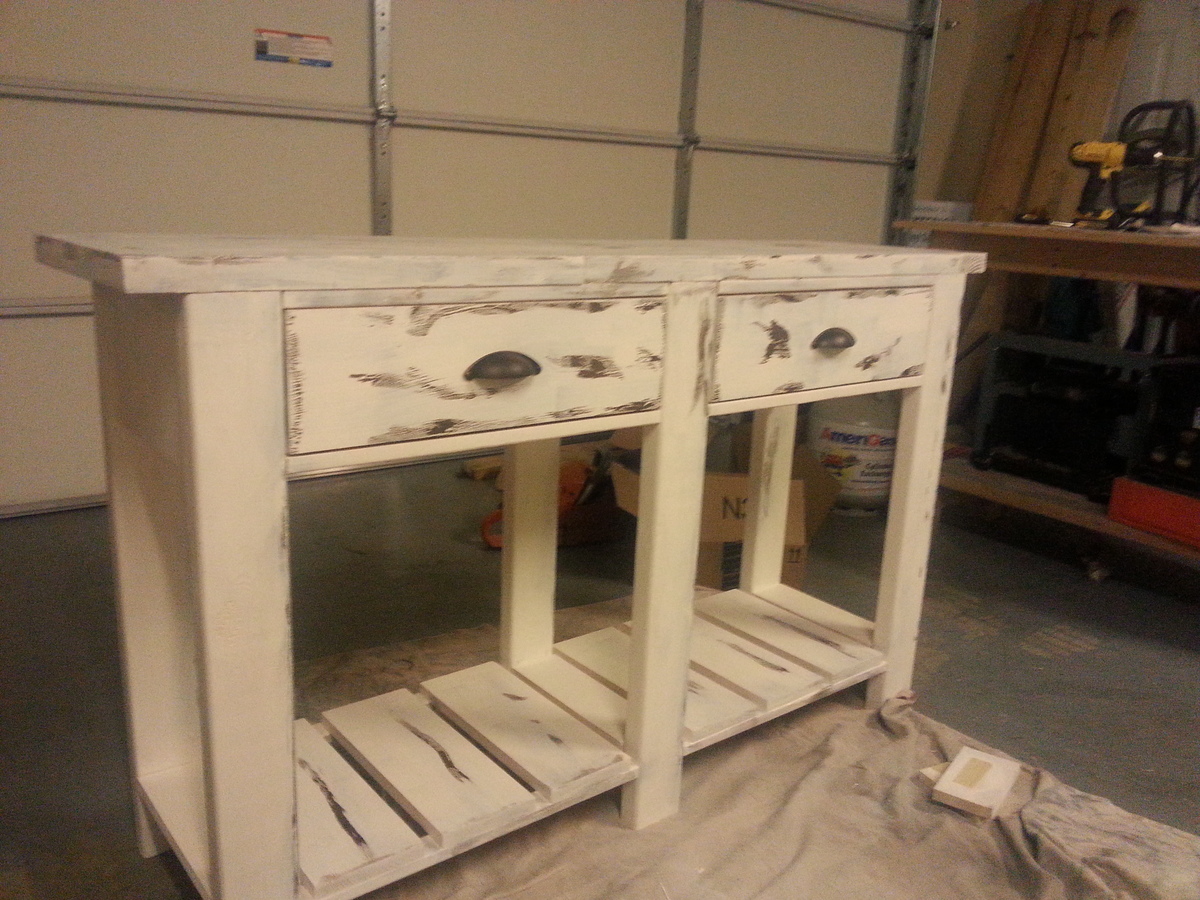
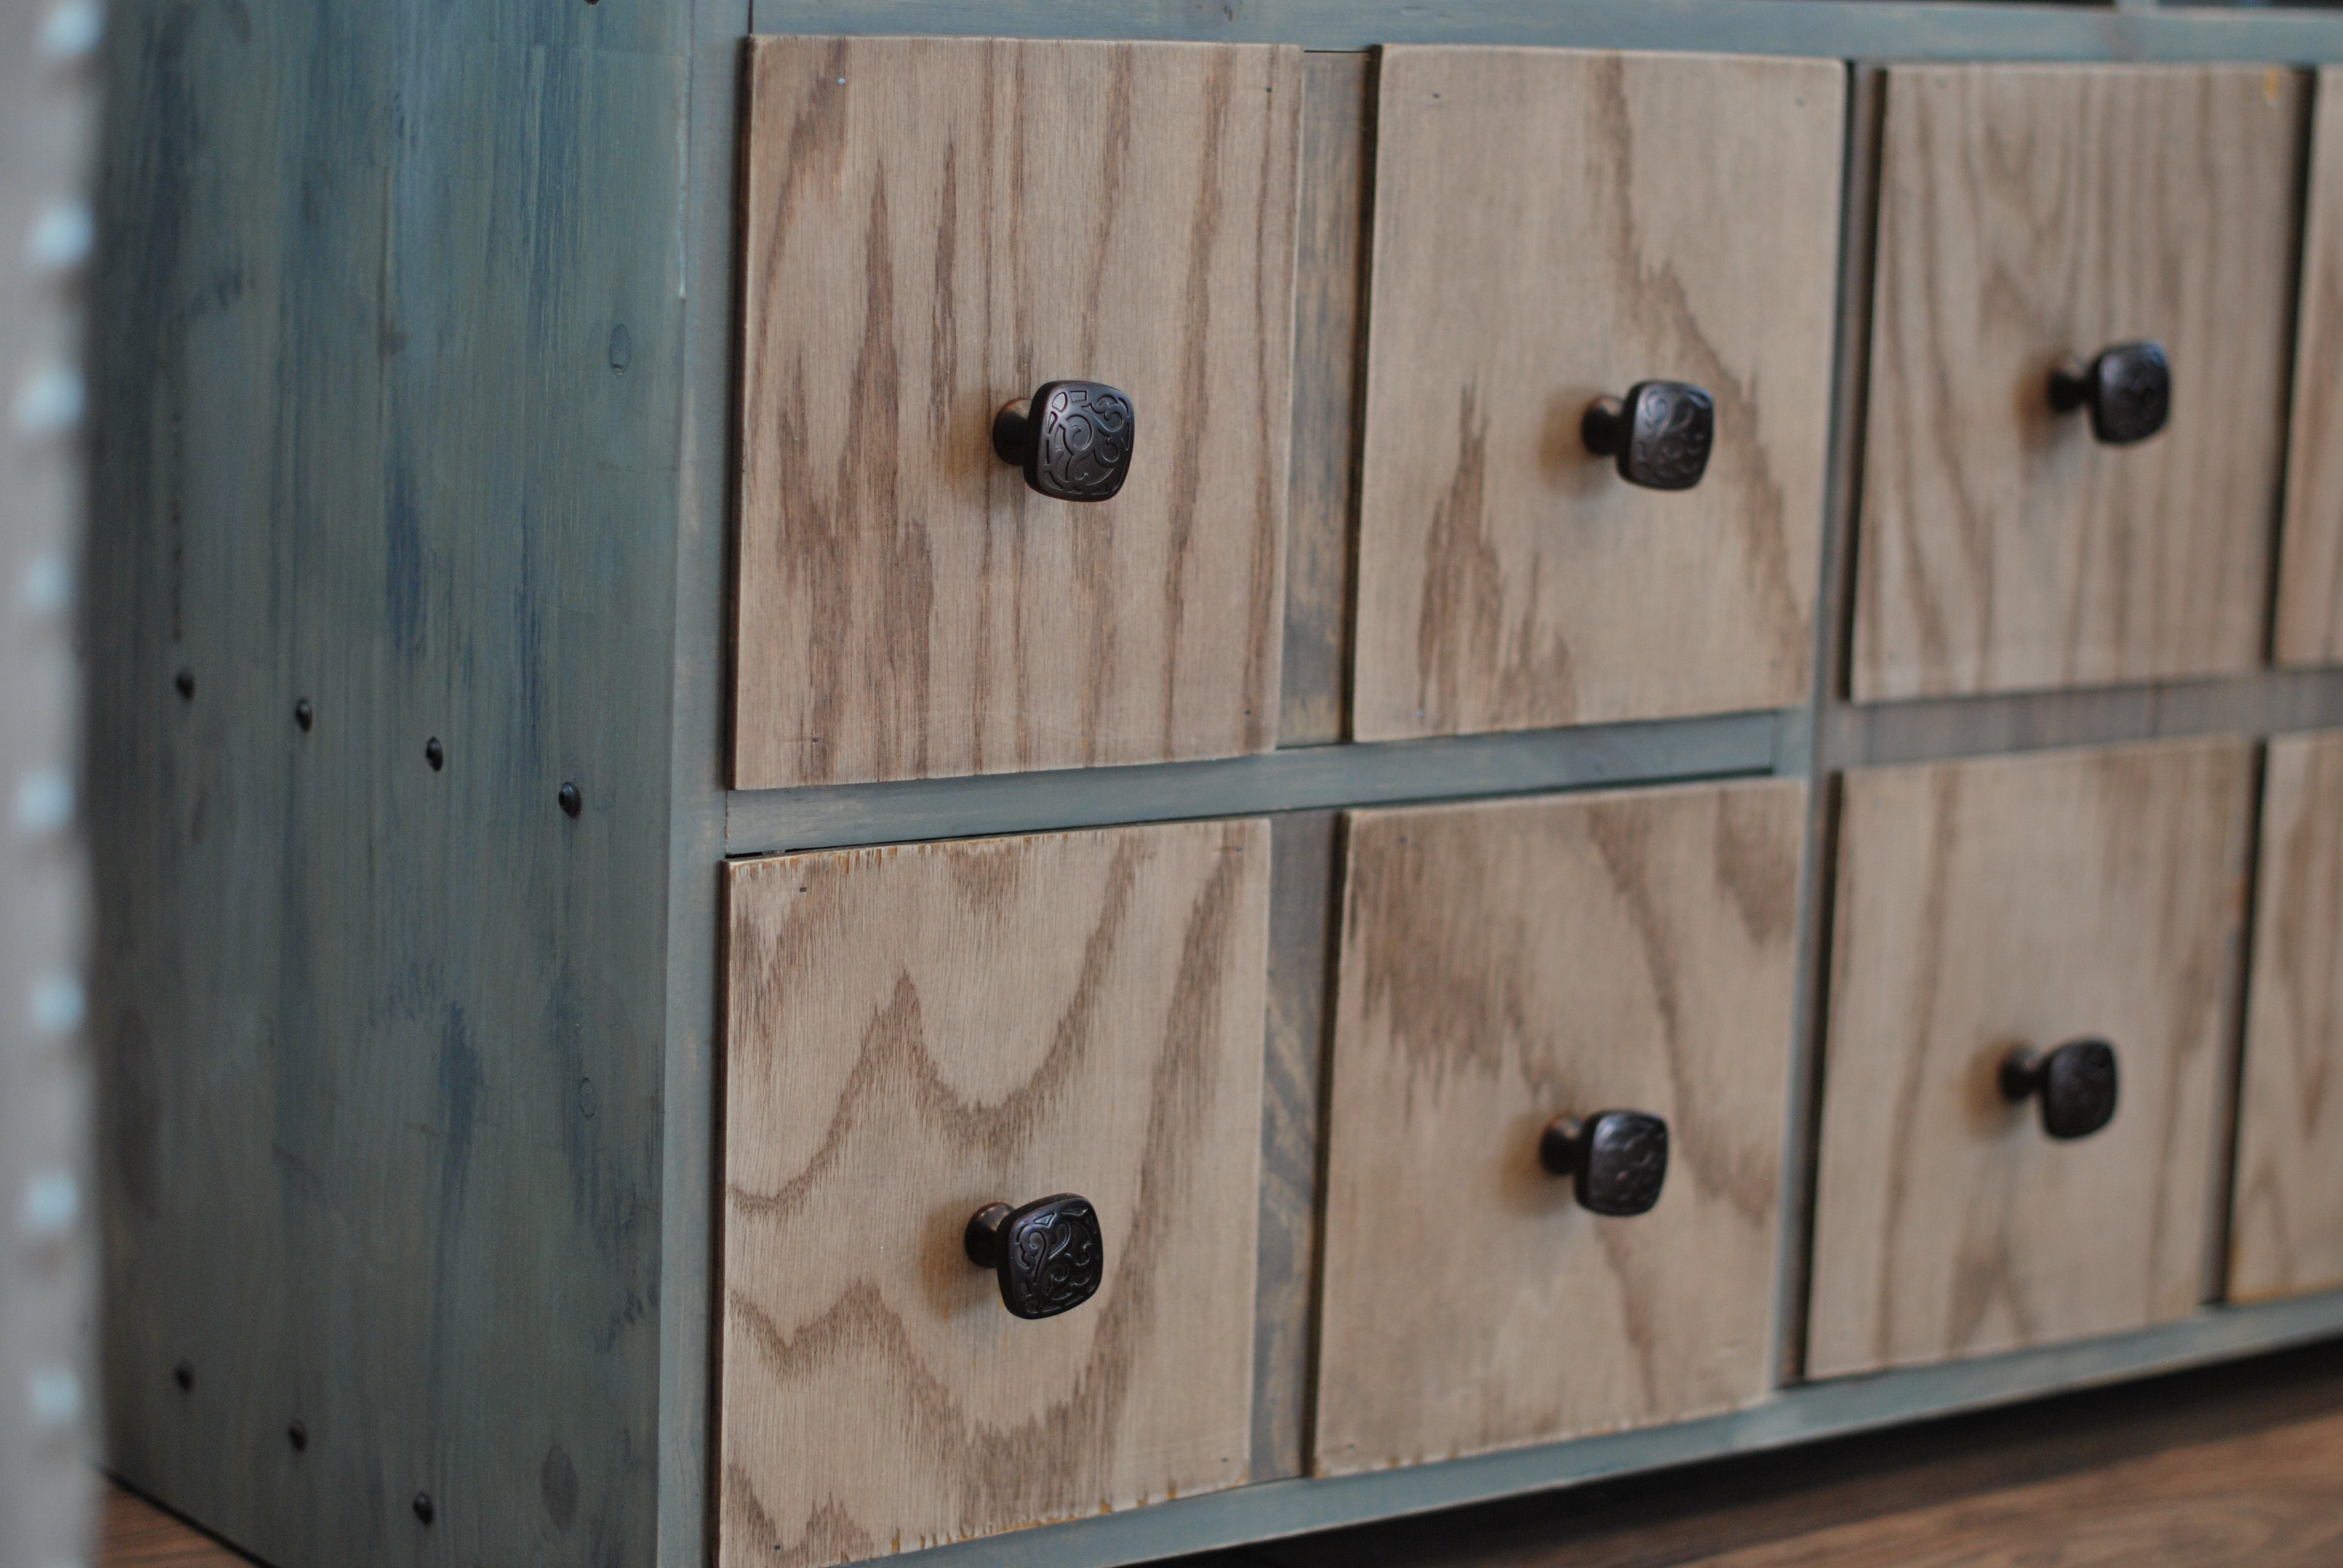
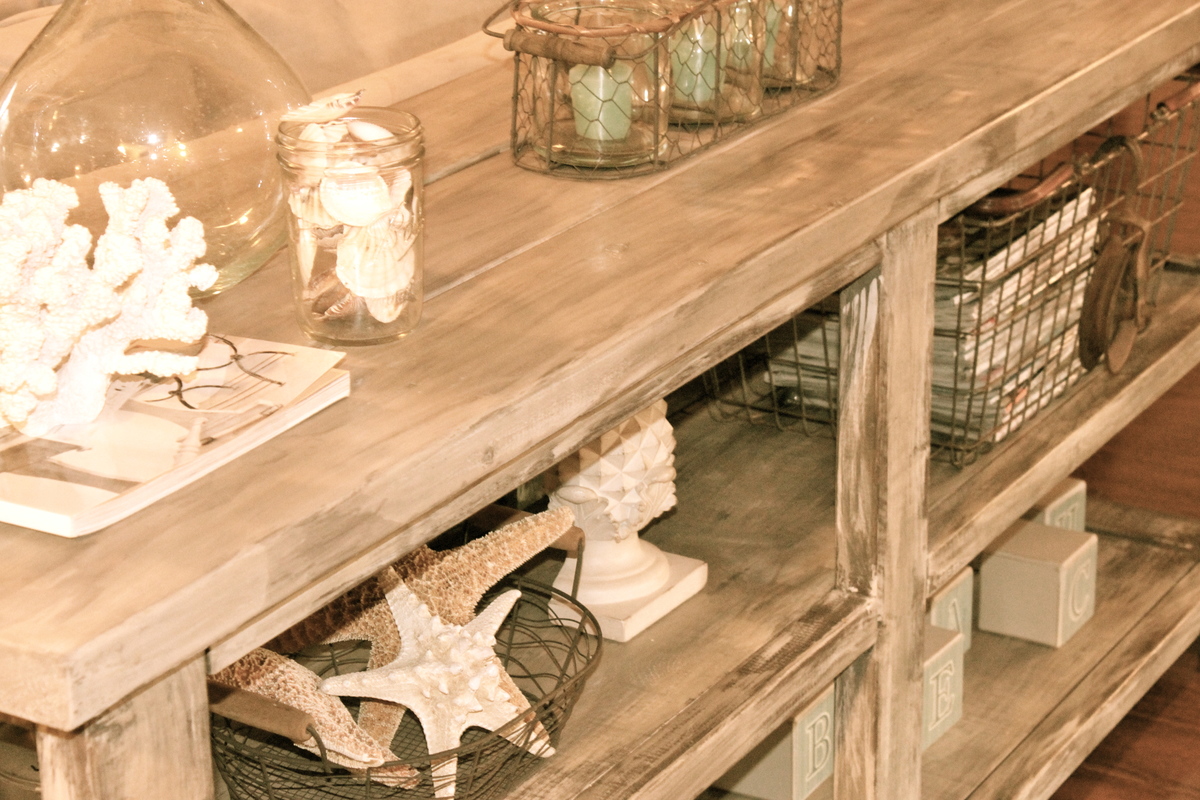
Finish Used
Just layering lots of different colors.
Recommended Skill Level
Beginner