Rustic X coffee table
This table was very easy to build. A little bigger than I expected. You can fit storage cubes in it perfectly.
We did some conversions to the smokehouse plans to make a locker for all of my horse tack! :)
White Rustic headboard (California King) with sidelights.
Jackie M
My niece is here for the summer! We needed a guest bed fast, that didn't take up an entire room! She chose this day bed!
Her bed is in the computer room, so there isn't enough room for a twin size bed. I modified the plans to fit a standard crib mattress. Now, when she isn't using the day bed, it doubles as a lounging spot to read. It is soooo cute!
For the storage baskets, I cut shipping boxes to size and mod podged fabric to them, and added some cute little knobs.
Sat, 03/23/2013 - 18:09
I'm wanting to do this exact same thing with a crib mattress. Could you provide the adjusted measurements you used?
Decided to use mortise and tenon on the chairs to make for a clean look since I was staining and not painting. I did use a lot of pocket holes on the table.
Built the drop zone bench with hidden storage in the laundry room. Modified to fit in 45 inch space where a built-in desk was. A fun and easy build. Thanks Ana for the great ideas and plans.
Don Toy
Built my daughter the day bed, and my son needed his own bed. But with a 2 bedroom house they have to share a room for now. So I seen the loft bed and well this is what I came up with. I stained it cherry, and routed the edges to give it a little touch.
Fri, 12/20/2013 - 07:57
This looks great! I like the way you kept it simple yet more rustic type appeal without adding the top board (laying flat).
Fri, 12/20/2013 - 07:57
This looks great! I like the way you kept it simple yet more rustic type appeal without adding the top board (laying flat).
This was a super fun project and didn't cost much at all.
Started with Ana's basic plan/dimensions. Changed the back legs to 1x6, added aa 2nd shelf and storage closet to hang hand tools/gloves.
I made this a few years back for my brother, such a fun build.
Natasha M
I modified the plan slightly to make it longer and higher to fill the space I wanted it to fill.
I primed and painted all of the boards before I cut them. Then I just had to do some touch up when I was done. This is my first woodworking project and the instructions were clear and easy to follow. I already have my next Ana White project picked out.
Went shopping Saturday, worked a few hours, then worked most of the day Sunday. Our boy is in heaven and everyone else wants one now.
I built this outdoor patio table in about a weeks time working on and off. There are mistakes, it's uneven in places and it is not perfect! That being said, the plans for this are very forgiving and nobody would ever know without looking for these things.
You can get the breakdown on the build, the finish I used, chair solutions and other suggestions here:
http://legosecretagent.blogspot.com/2012/07/outdoor-patio-table.html
This beautiful table only cost around $60 total to build!
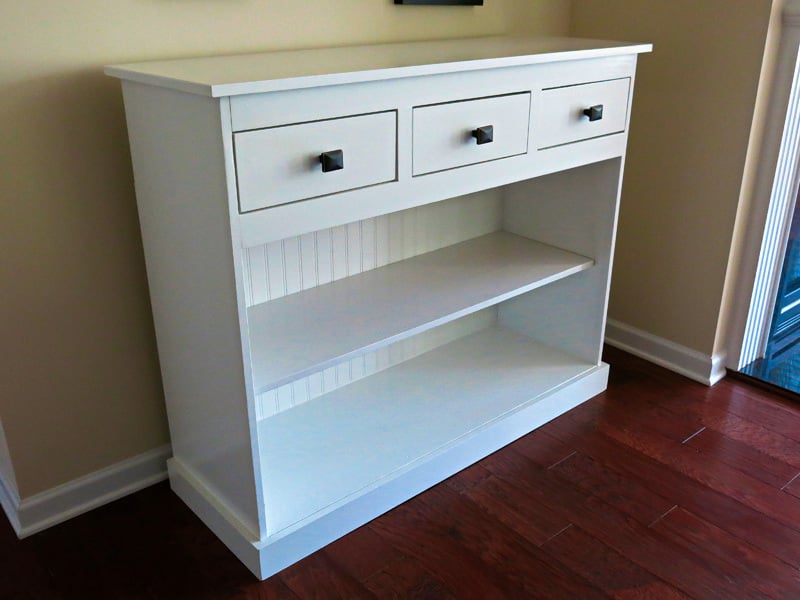
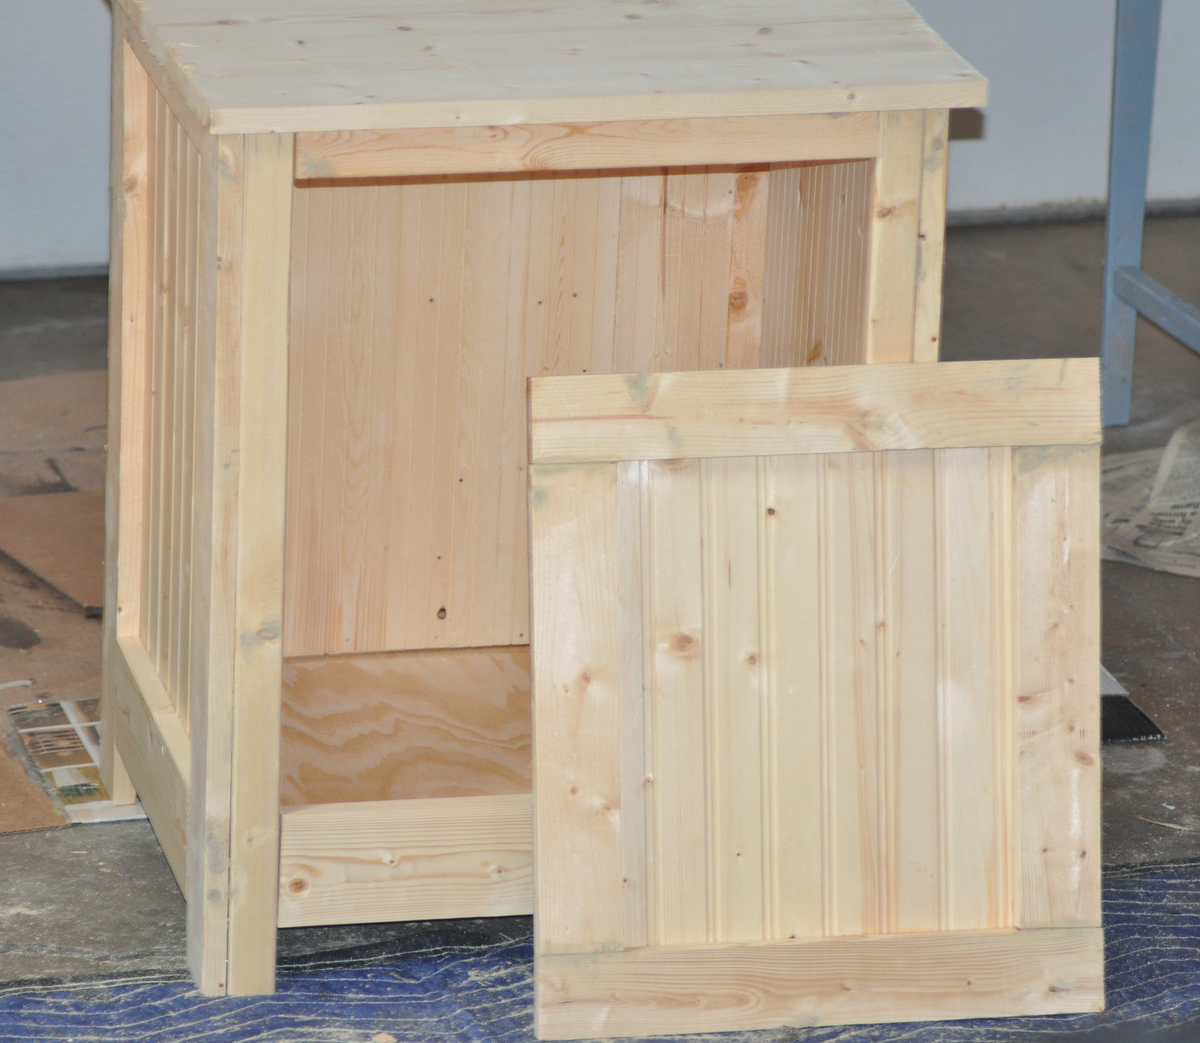
I DO NOT have a Kreg Jig. If you don't have a Kreg Jig, I recommend purchasing small mending plates. I got mine at Walmart, they were $1.77 a 4 pack. I do not recommend using 3 inch nail screws and trying to get them in super straight. While it worked for 3 face frames, the last frame I just could not get to work (maybe I was getting tired). Speaking of tired, I mostly build in the middle of the night while my family is sleeping. If you look closely, I put the 1x2 26 1/2 inch pieces on the front and back frame. Wah wah.... I had to add an extra 1x2 across the top and re-size the 3/4 inch plywood on the bottom.
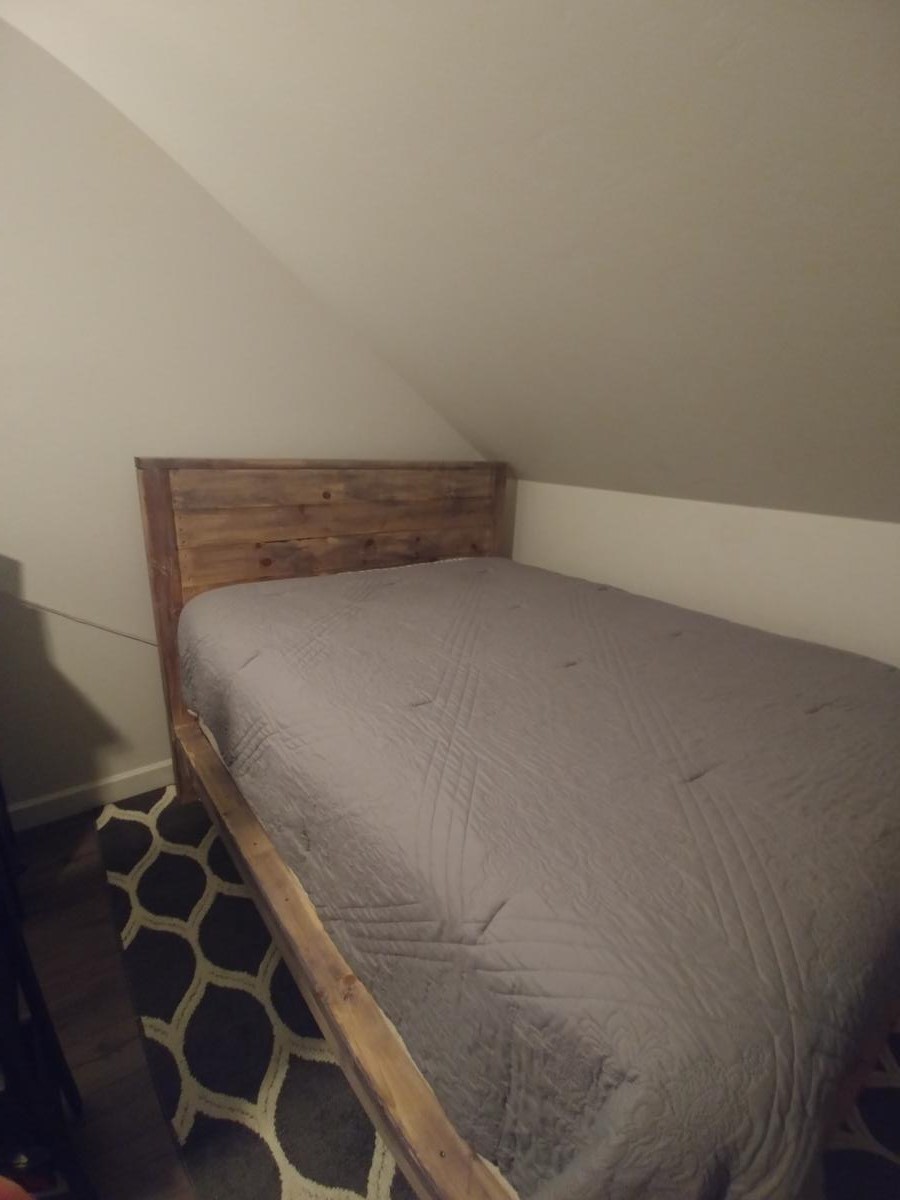
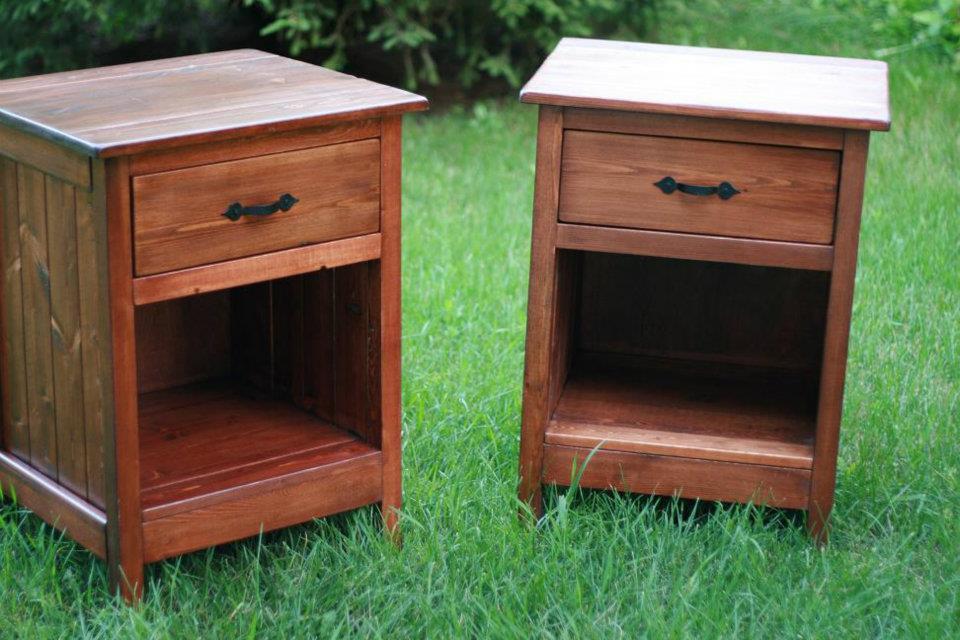
I'm pretty sure everything went wrong for me with this build but I wasn't going to let a nightstand beat me!
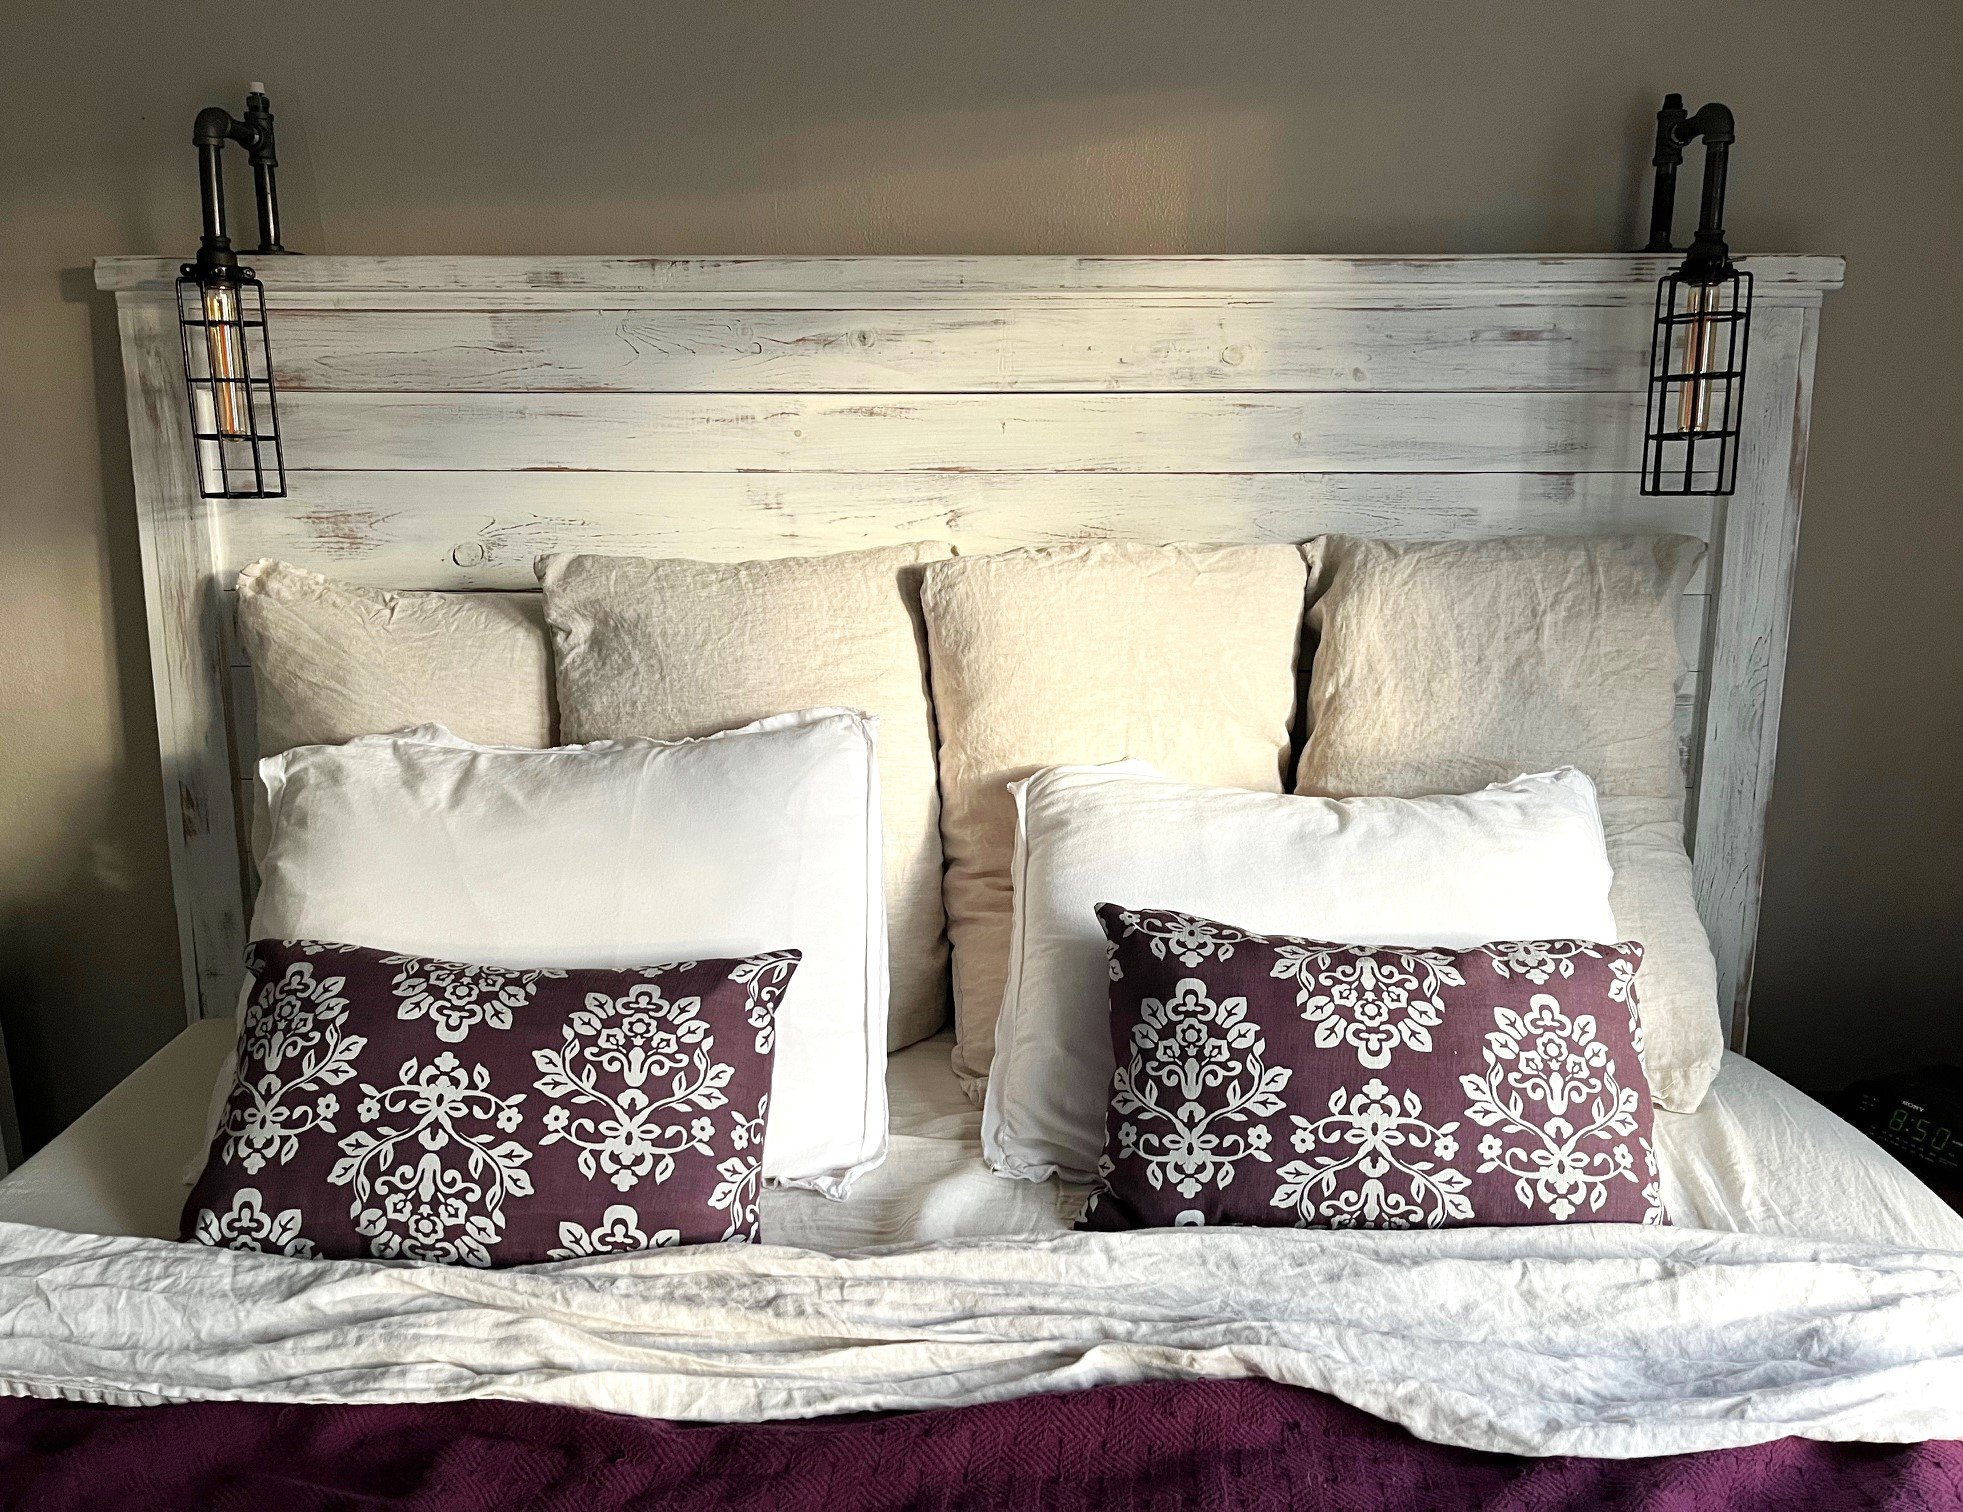
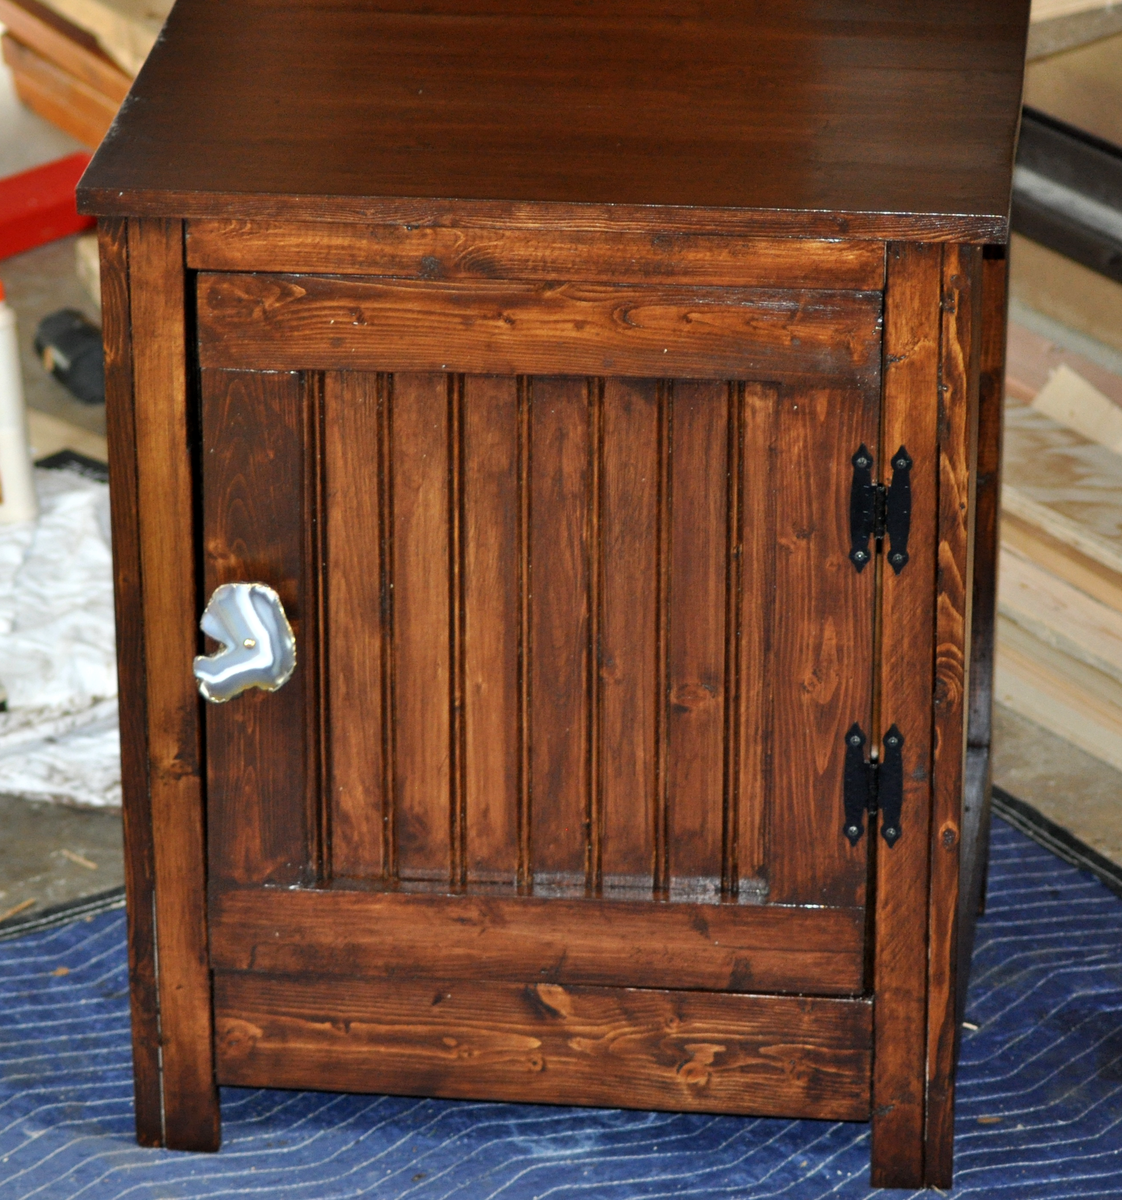
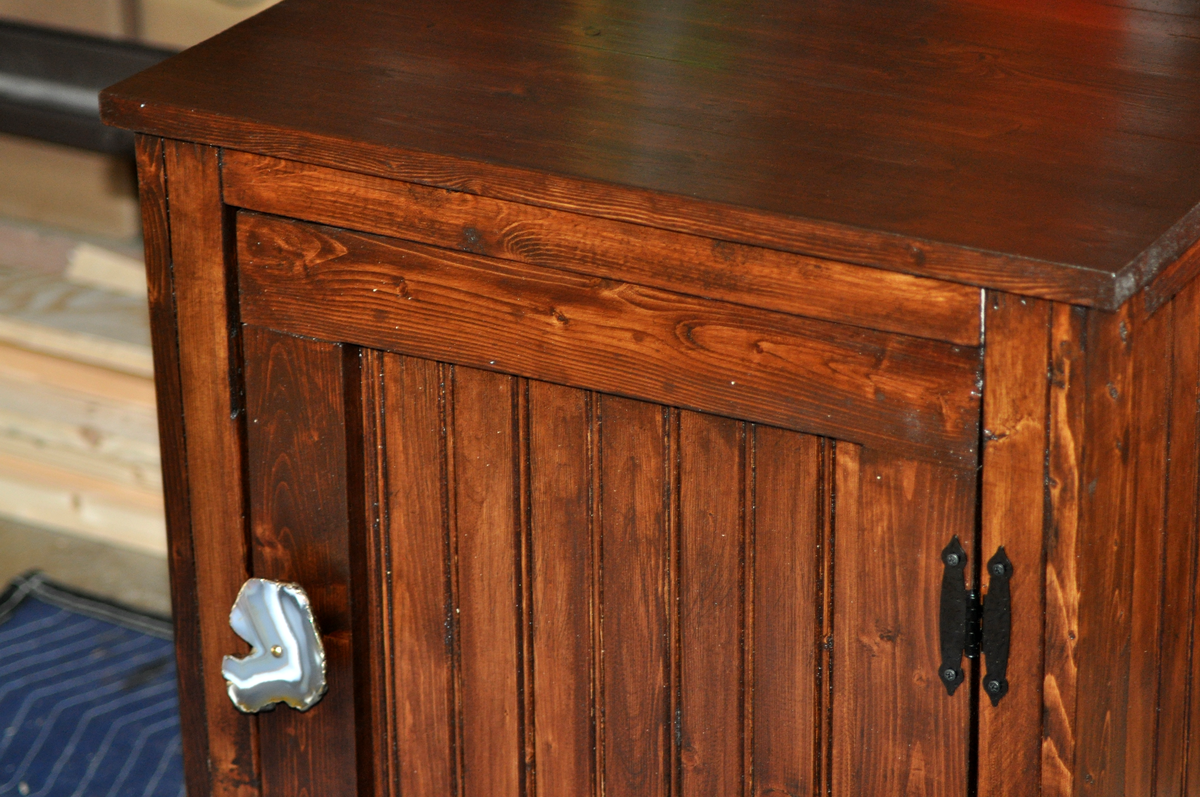
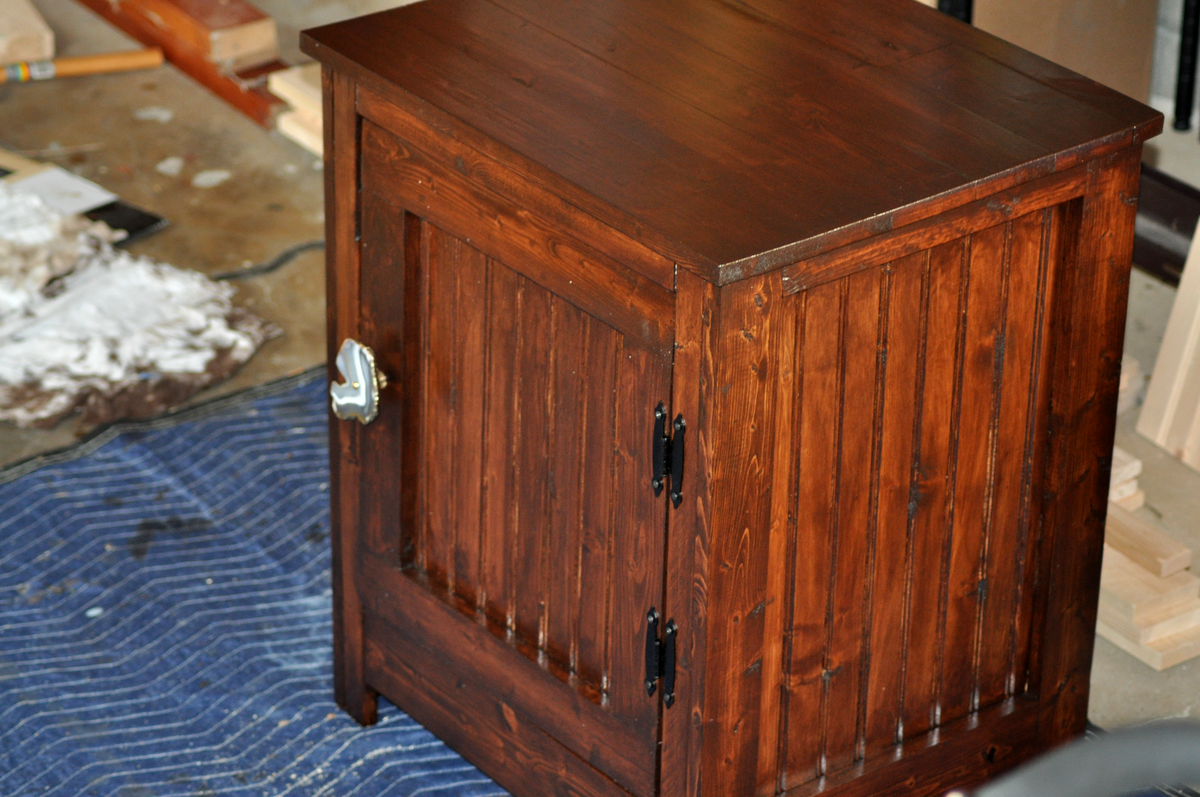
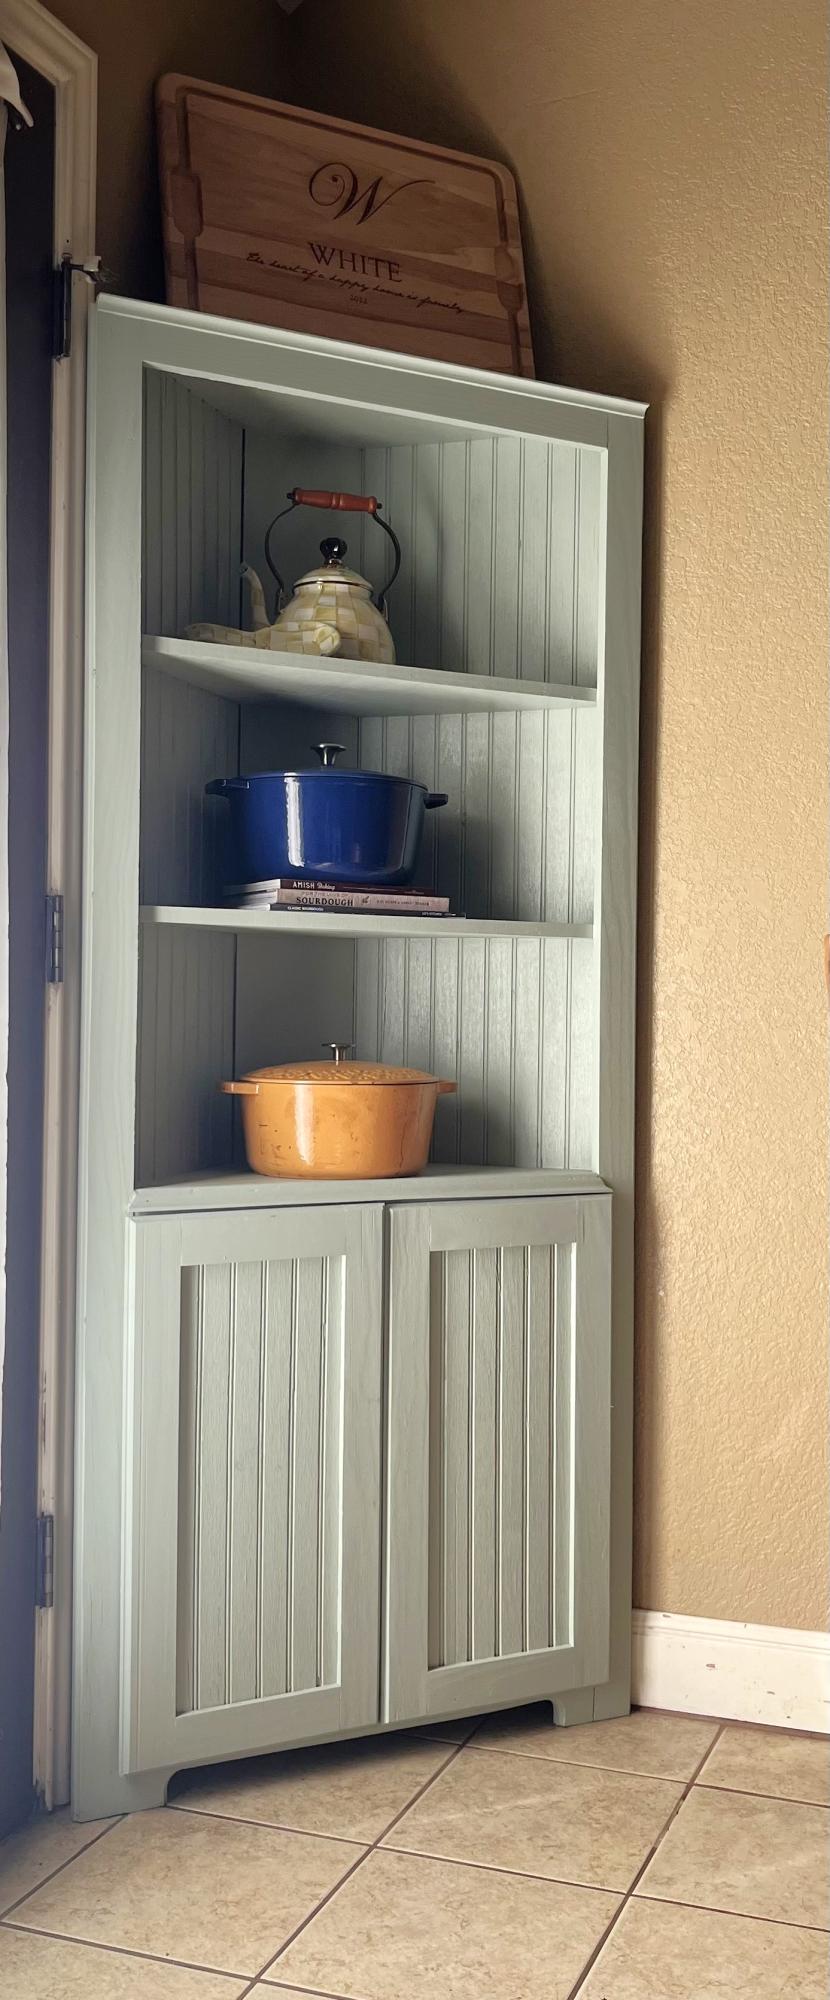
In case you are wondering, the cabinet pull is from Anthropologie. I haven't decided whether or not it's too fabulous for this piece.
I created a different top out various size select pine boards joined by biscuits and glue and then added utensil hooks on both ends and a bottle opener
I love the way these planters look and knew I wanted to make them. My freehand circular skills aren't great, so I attached the pickets together with a furring strip and used a template (second picture) to make the cuts. I used screws to attach the furring strips so that once the trim pieces are attached, the furring strips can be removed - or not. This method takes a little longer but it allowed me to make uniform parts. It's also easier to align the sides of the planters since the pickets are already attached to one another - i.e. one unit. I've made two, have a third, shorter one in progress and plan to make more!
This was so much fun to make, now my neighbor wants one 😁
Dale White
I used the plans for the Reclaimed Wood bedside tables but I didn't want to make all those drawers (being a beginner) so I settled on one. It took me fairly long to complete but really it should have been only a weekend project. I love the way they turned out.
Fri, 07/20/2012 - 20:16
I too fear drawers.
Your bedside tables have turned out beautifully!