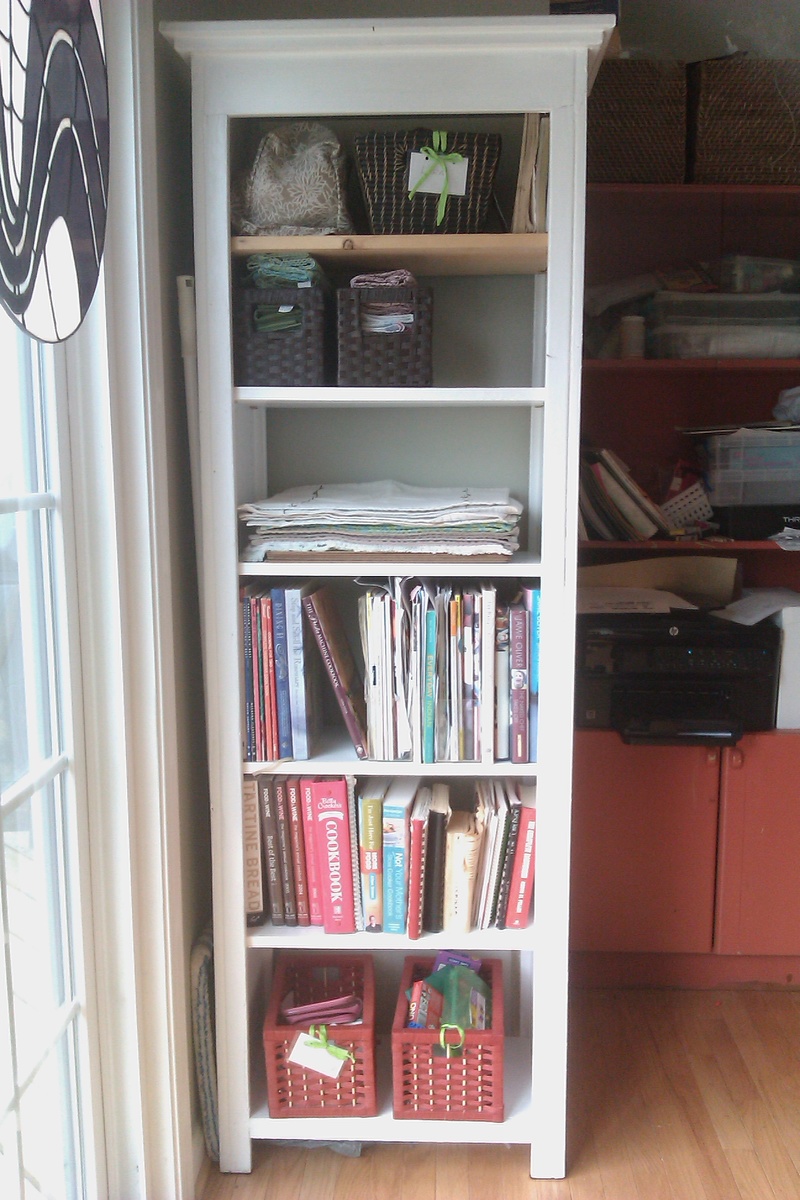
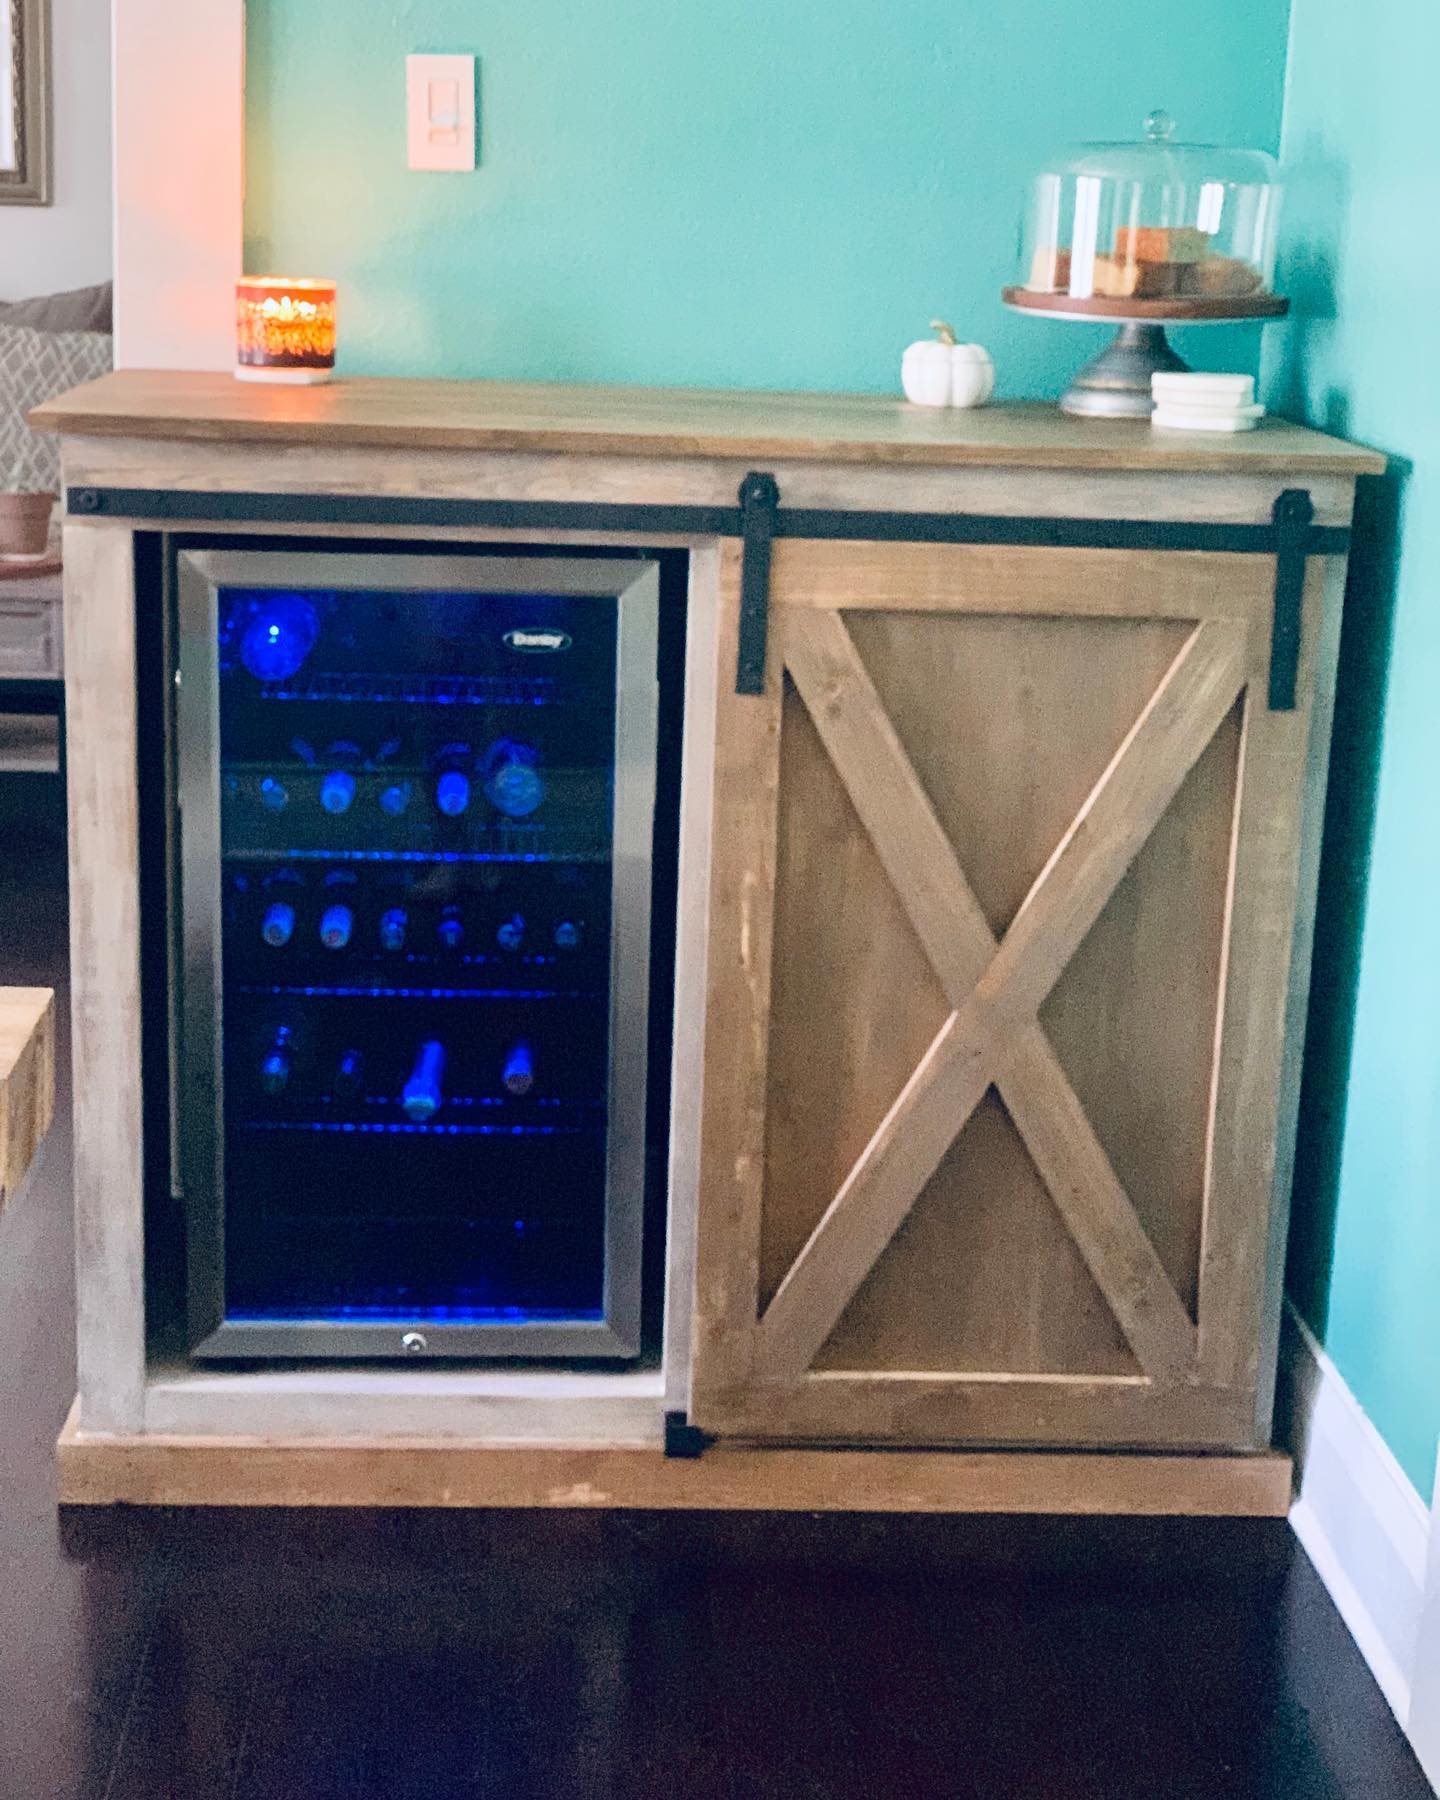
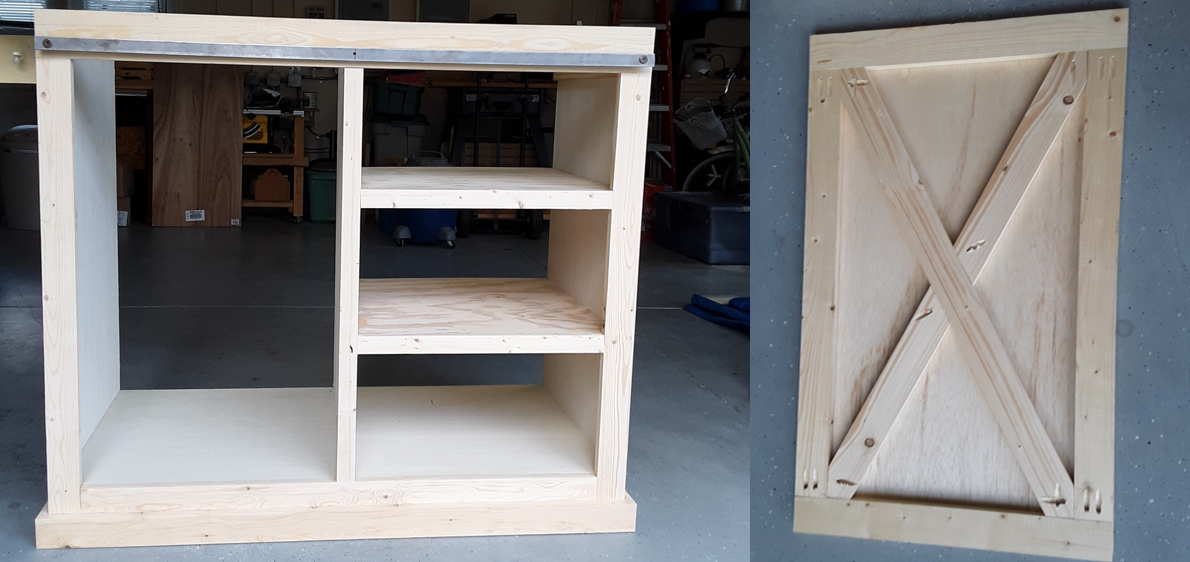
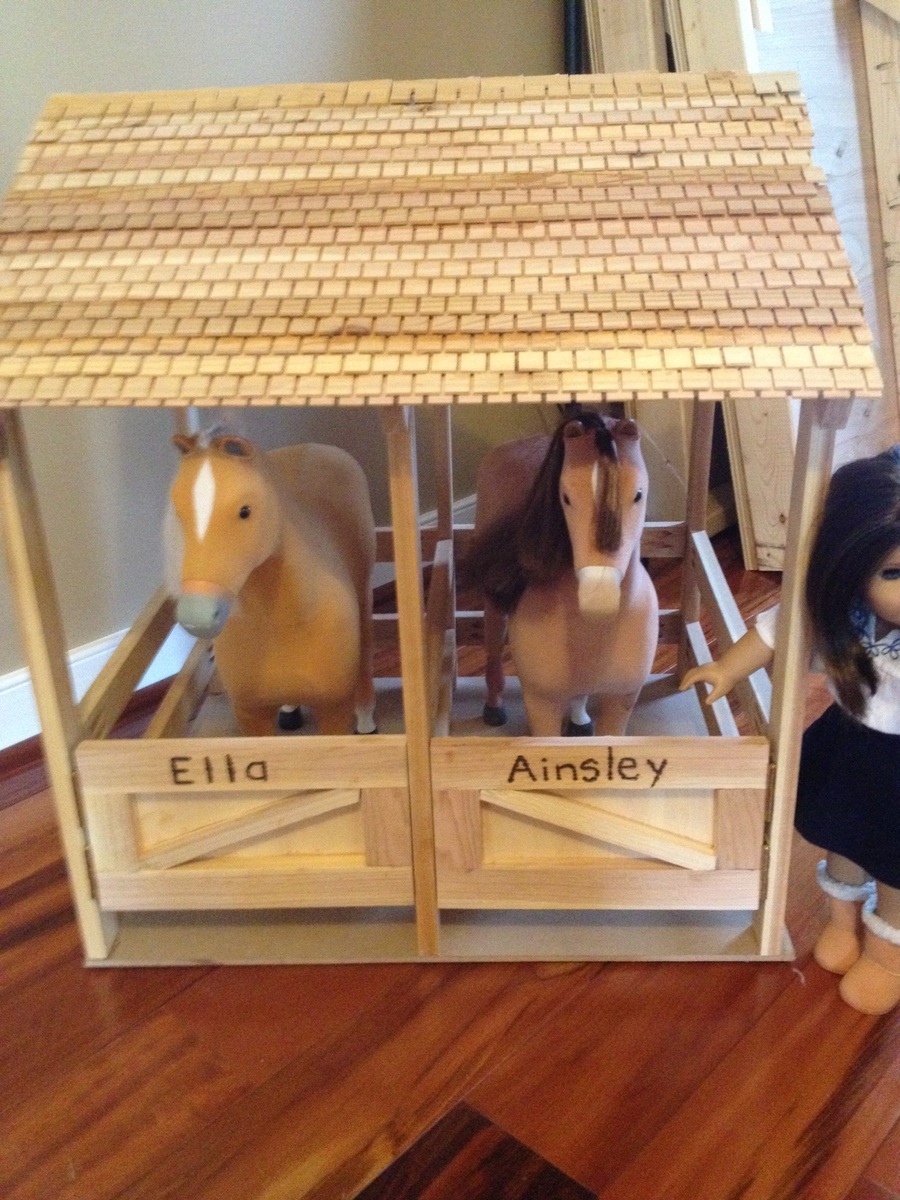
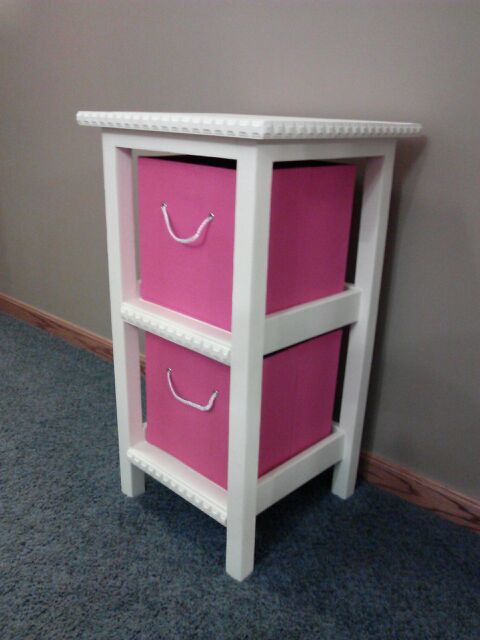
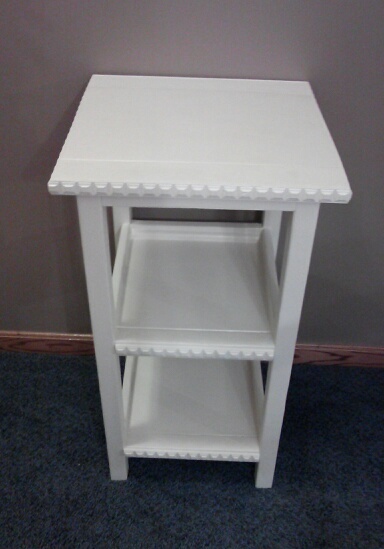
Storage Basket Shelves
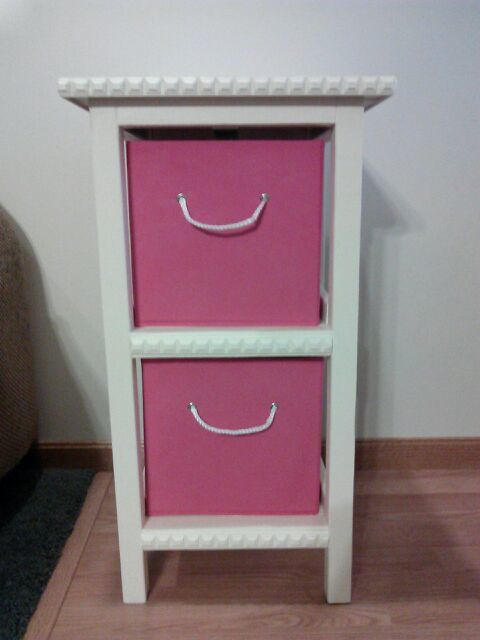
I built this and then ordered storage baskets that fit to the size. I built it exactly to the plan except I did not make the top flush to a back wall and I added decorative trim. I think adding trim really adds a nice look to this project.
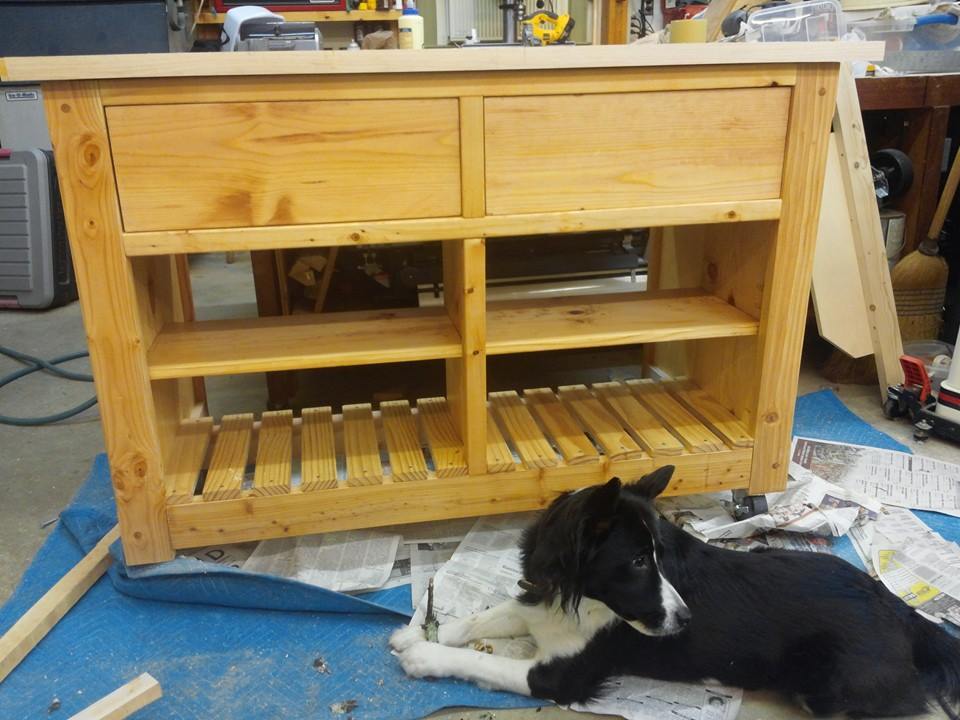
The tower was super easy to build and took hardly any time. The most time was spent on the finishing work (sanding and painting).
Built from Plan(s)
Estimated Cost
Unknown/used leftover wood
Estimated Time Investment
Afternoon Project (3-6 Hours)
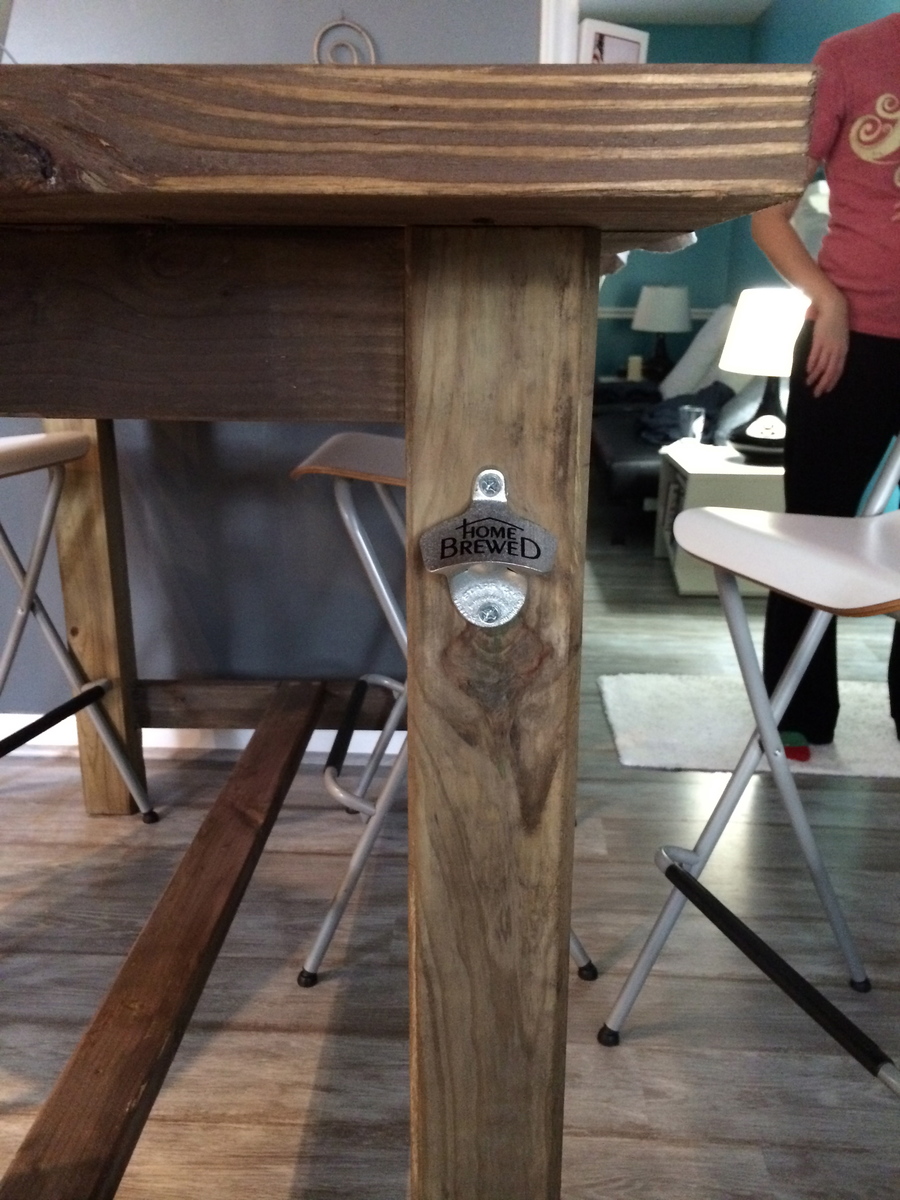
Finish Used
Sherwin Williams sample paint color matched to an antique white.
Recommended Skill Level
Beginner