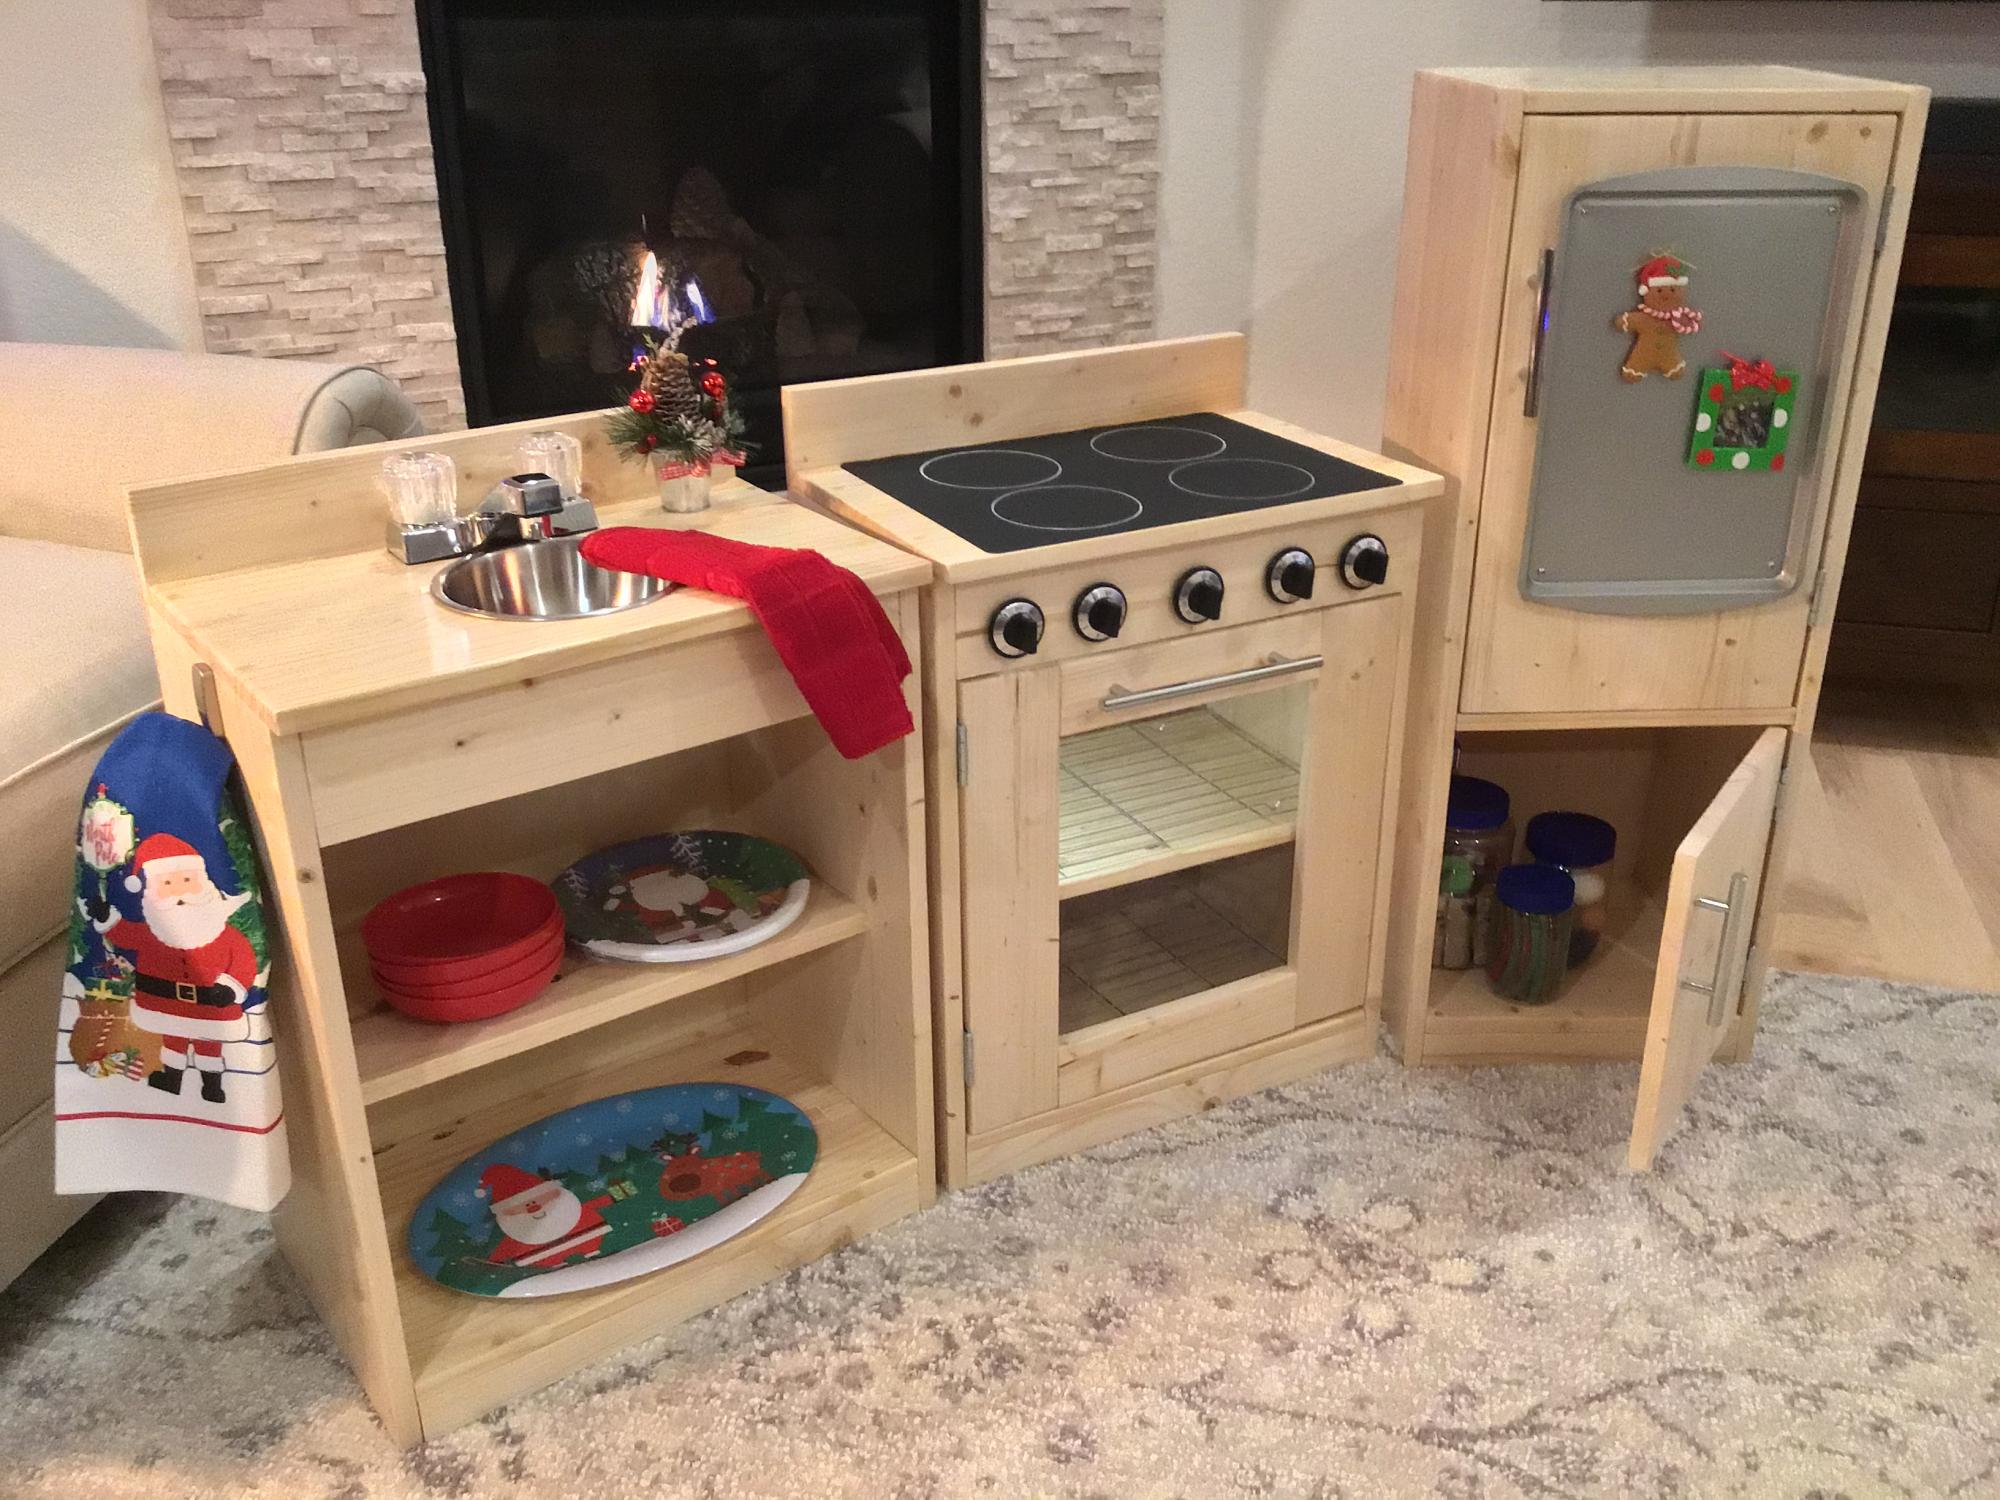
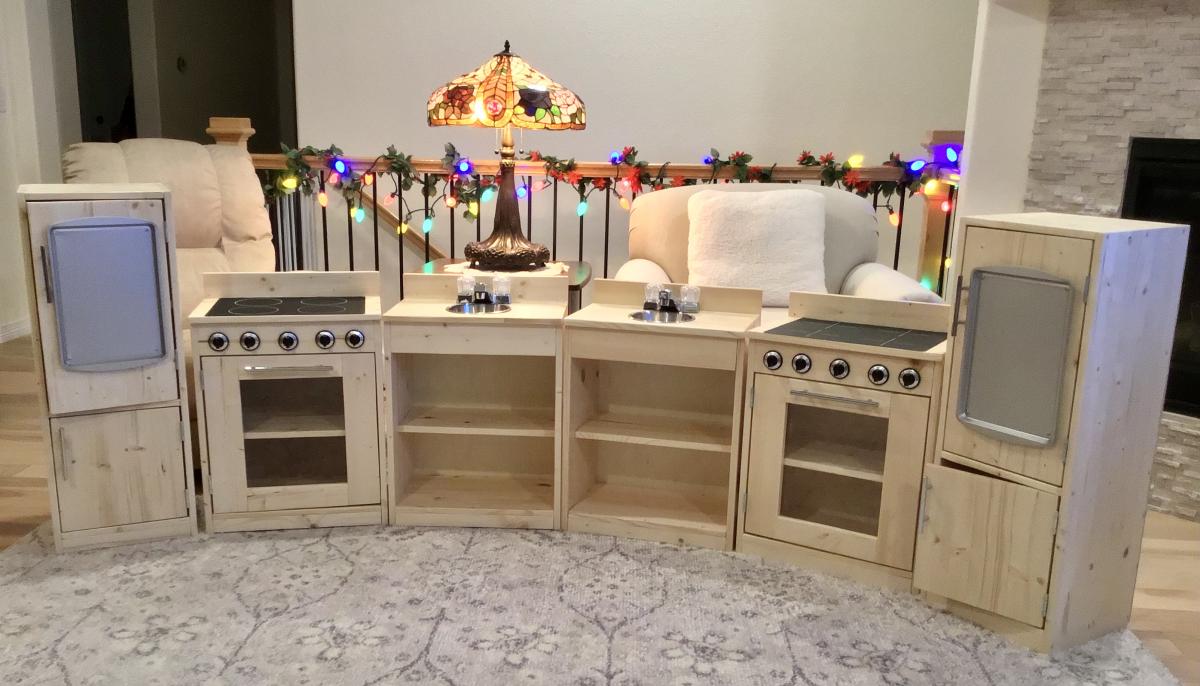
Two one-year-old cousins. What can I tell you; they BOTH needed a kitchen set for Christmas!
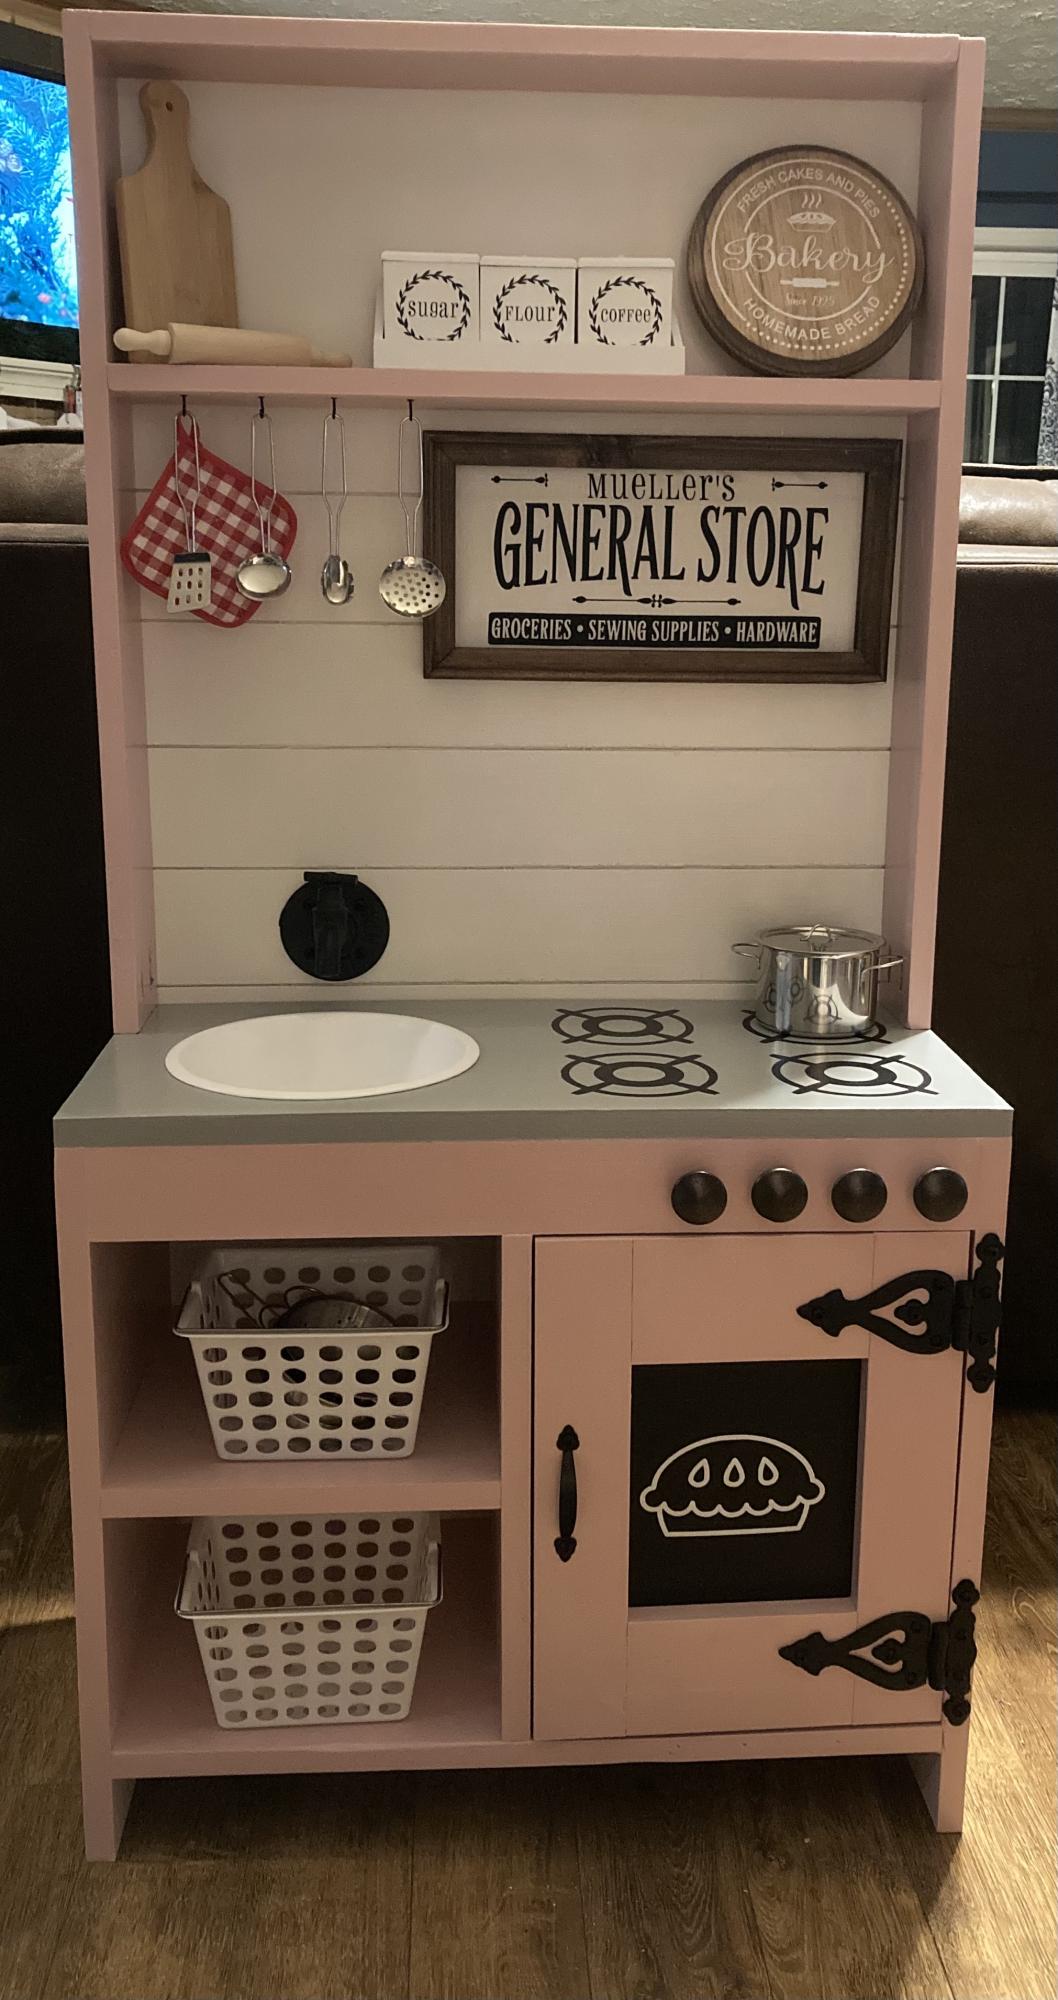
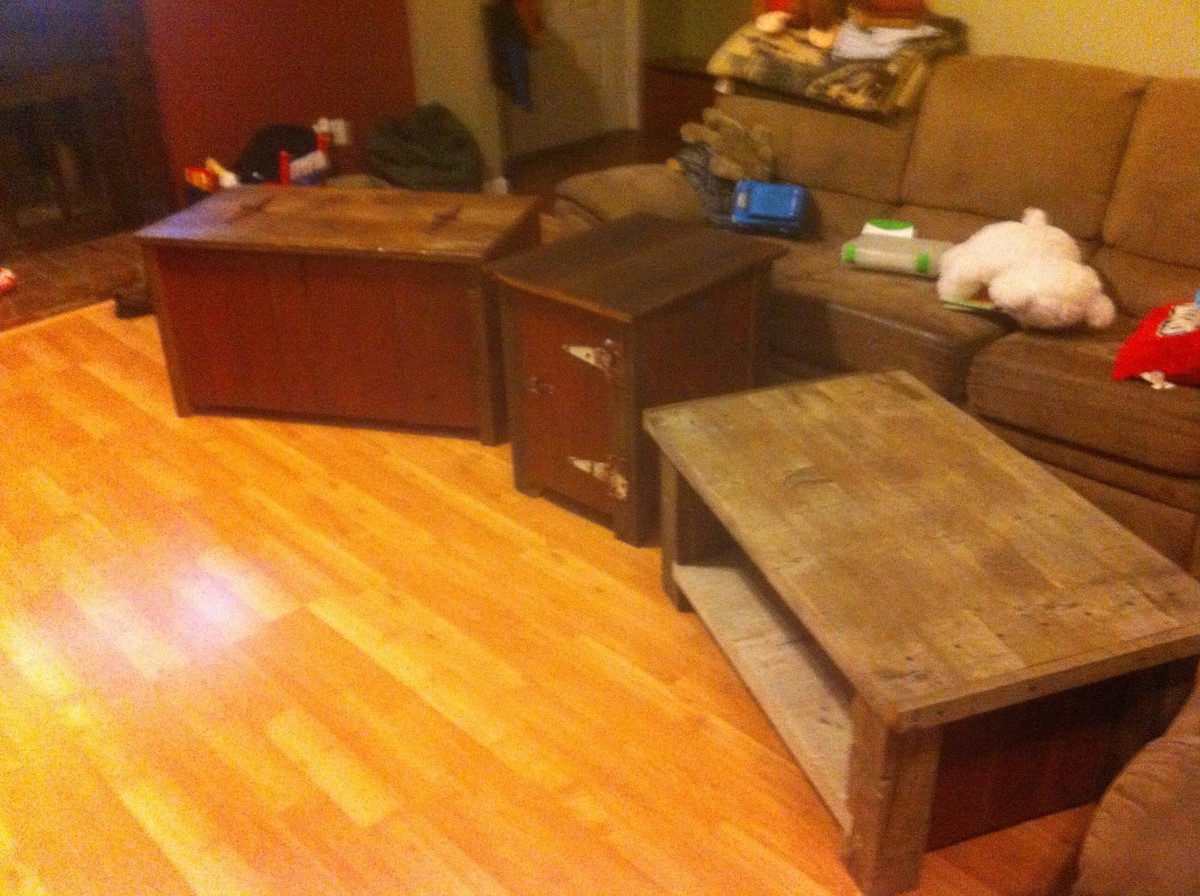
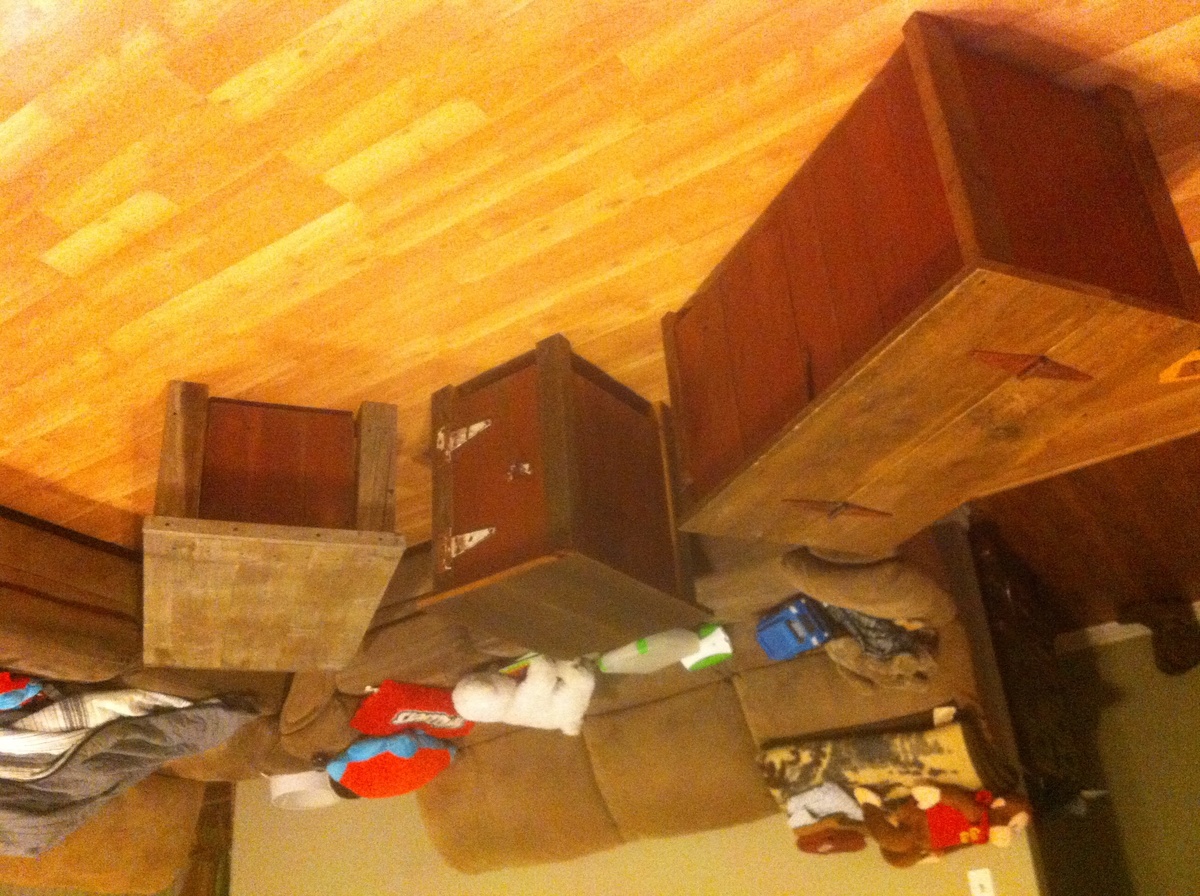
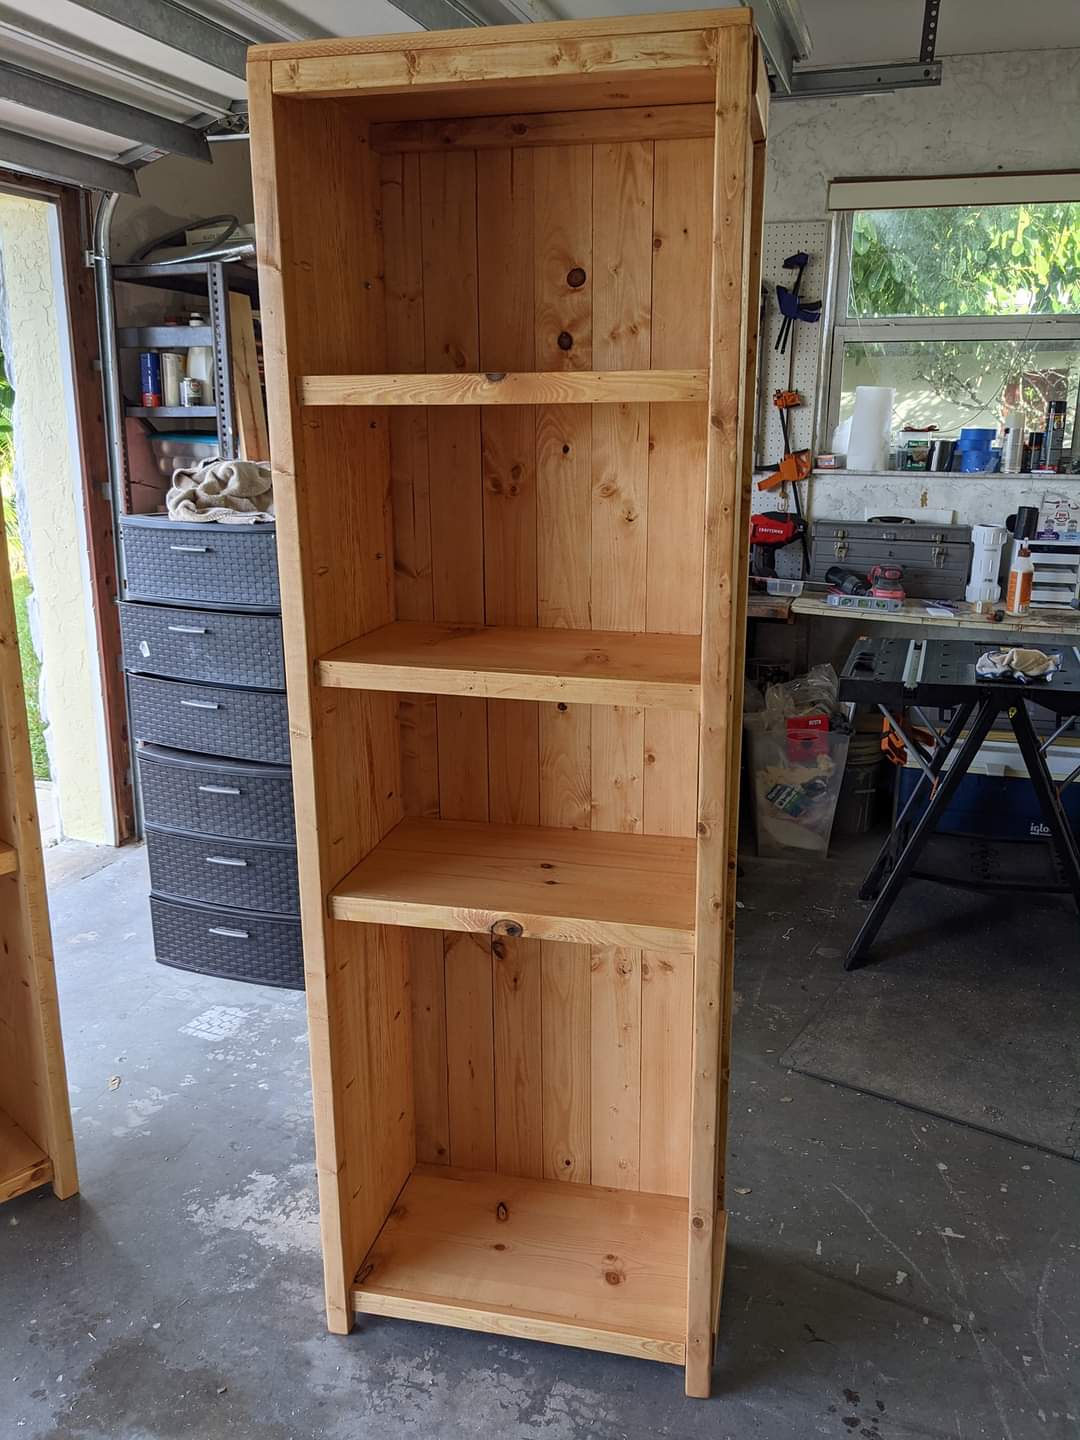
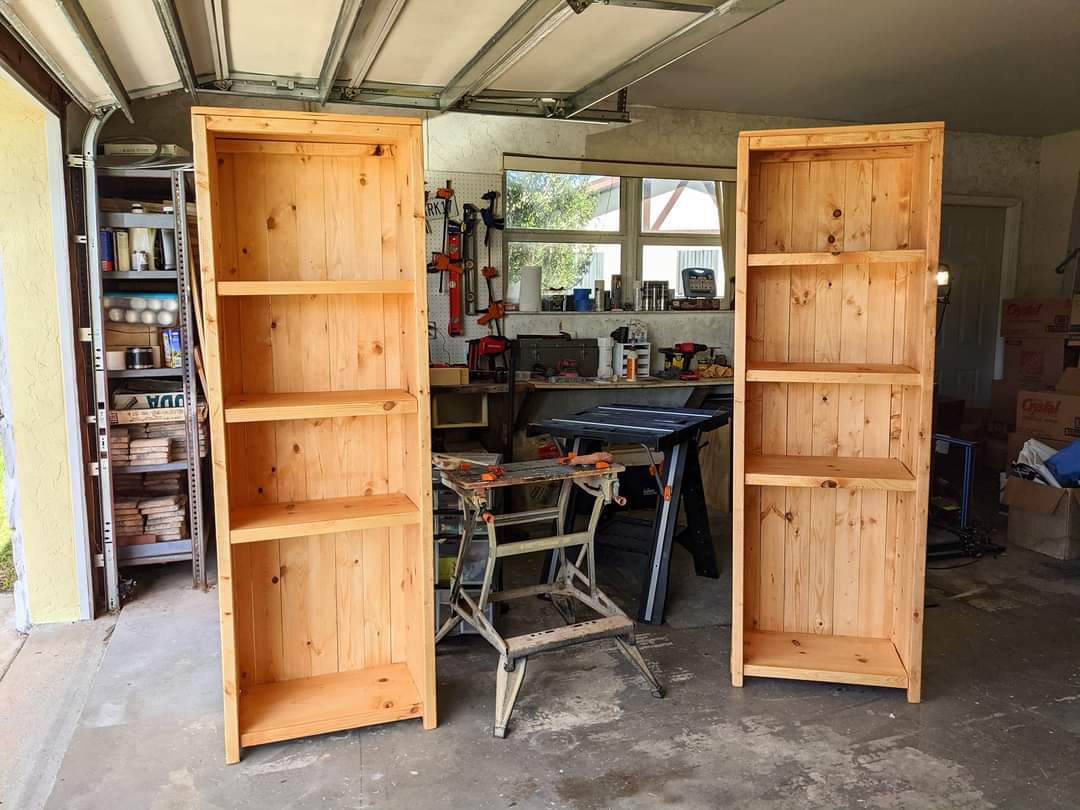
We were glad to stumble upon these plans for heirloom toys and greatly appreciate that they are free for all to access. Directions are easy to follow and the user-comments offer lots of good ideas which I incorporated into the units I built. I added three inches in width and height to the sink and stove units. Sanded pieces before assembly. Used screws instead of nails; screws were set using a counter-sink bit. Rounded all edges; this was very appreciated by the mothers! Both mothers also requested a clear polyurethane finish instead of paint. Magnetic closures on all doors.
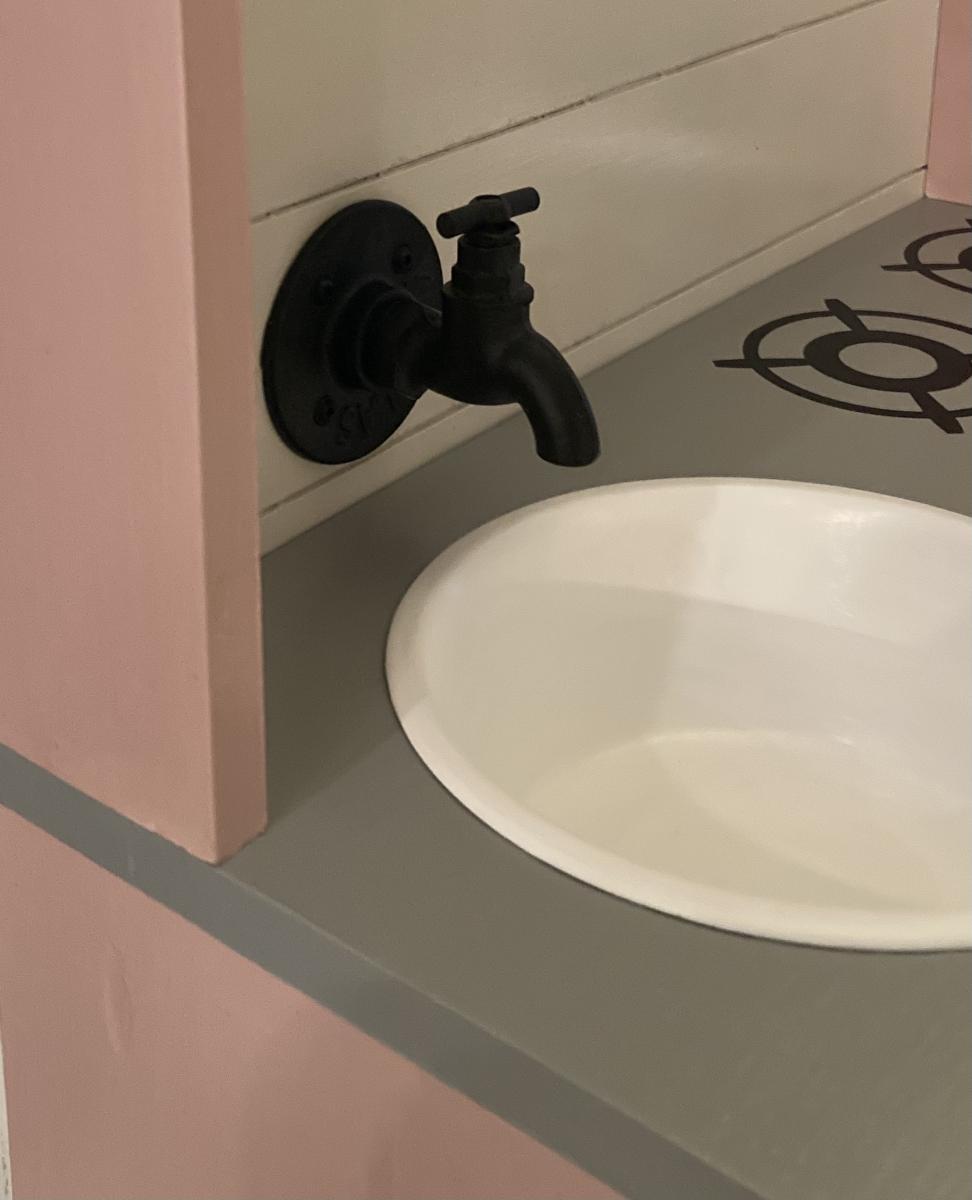
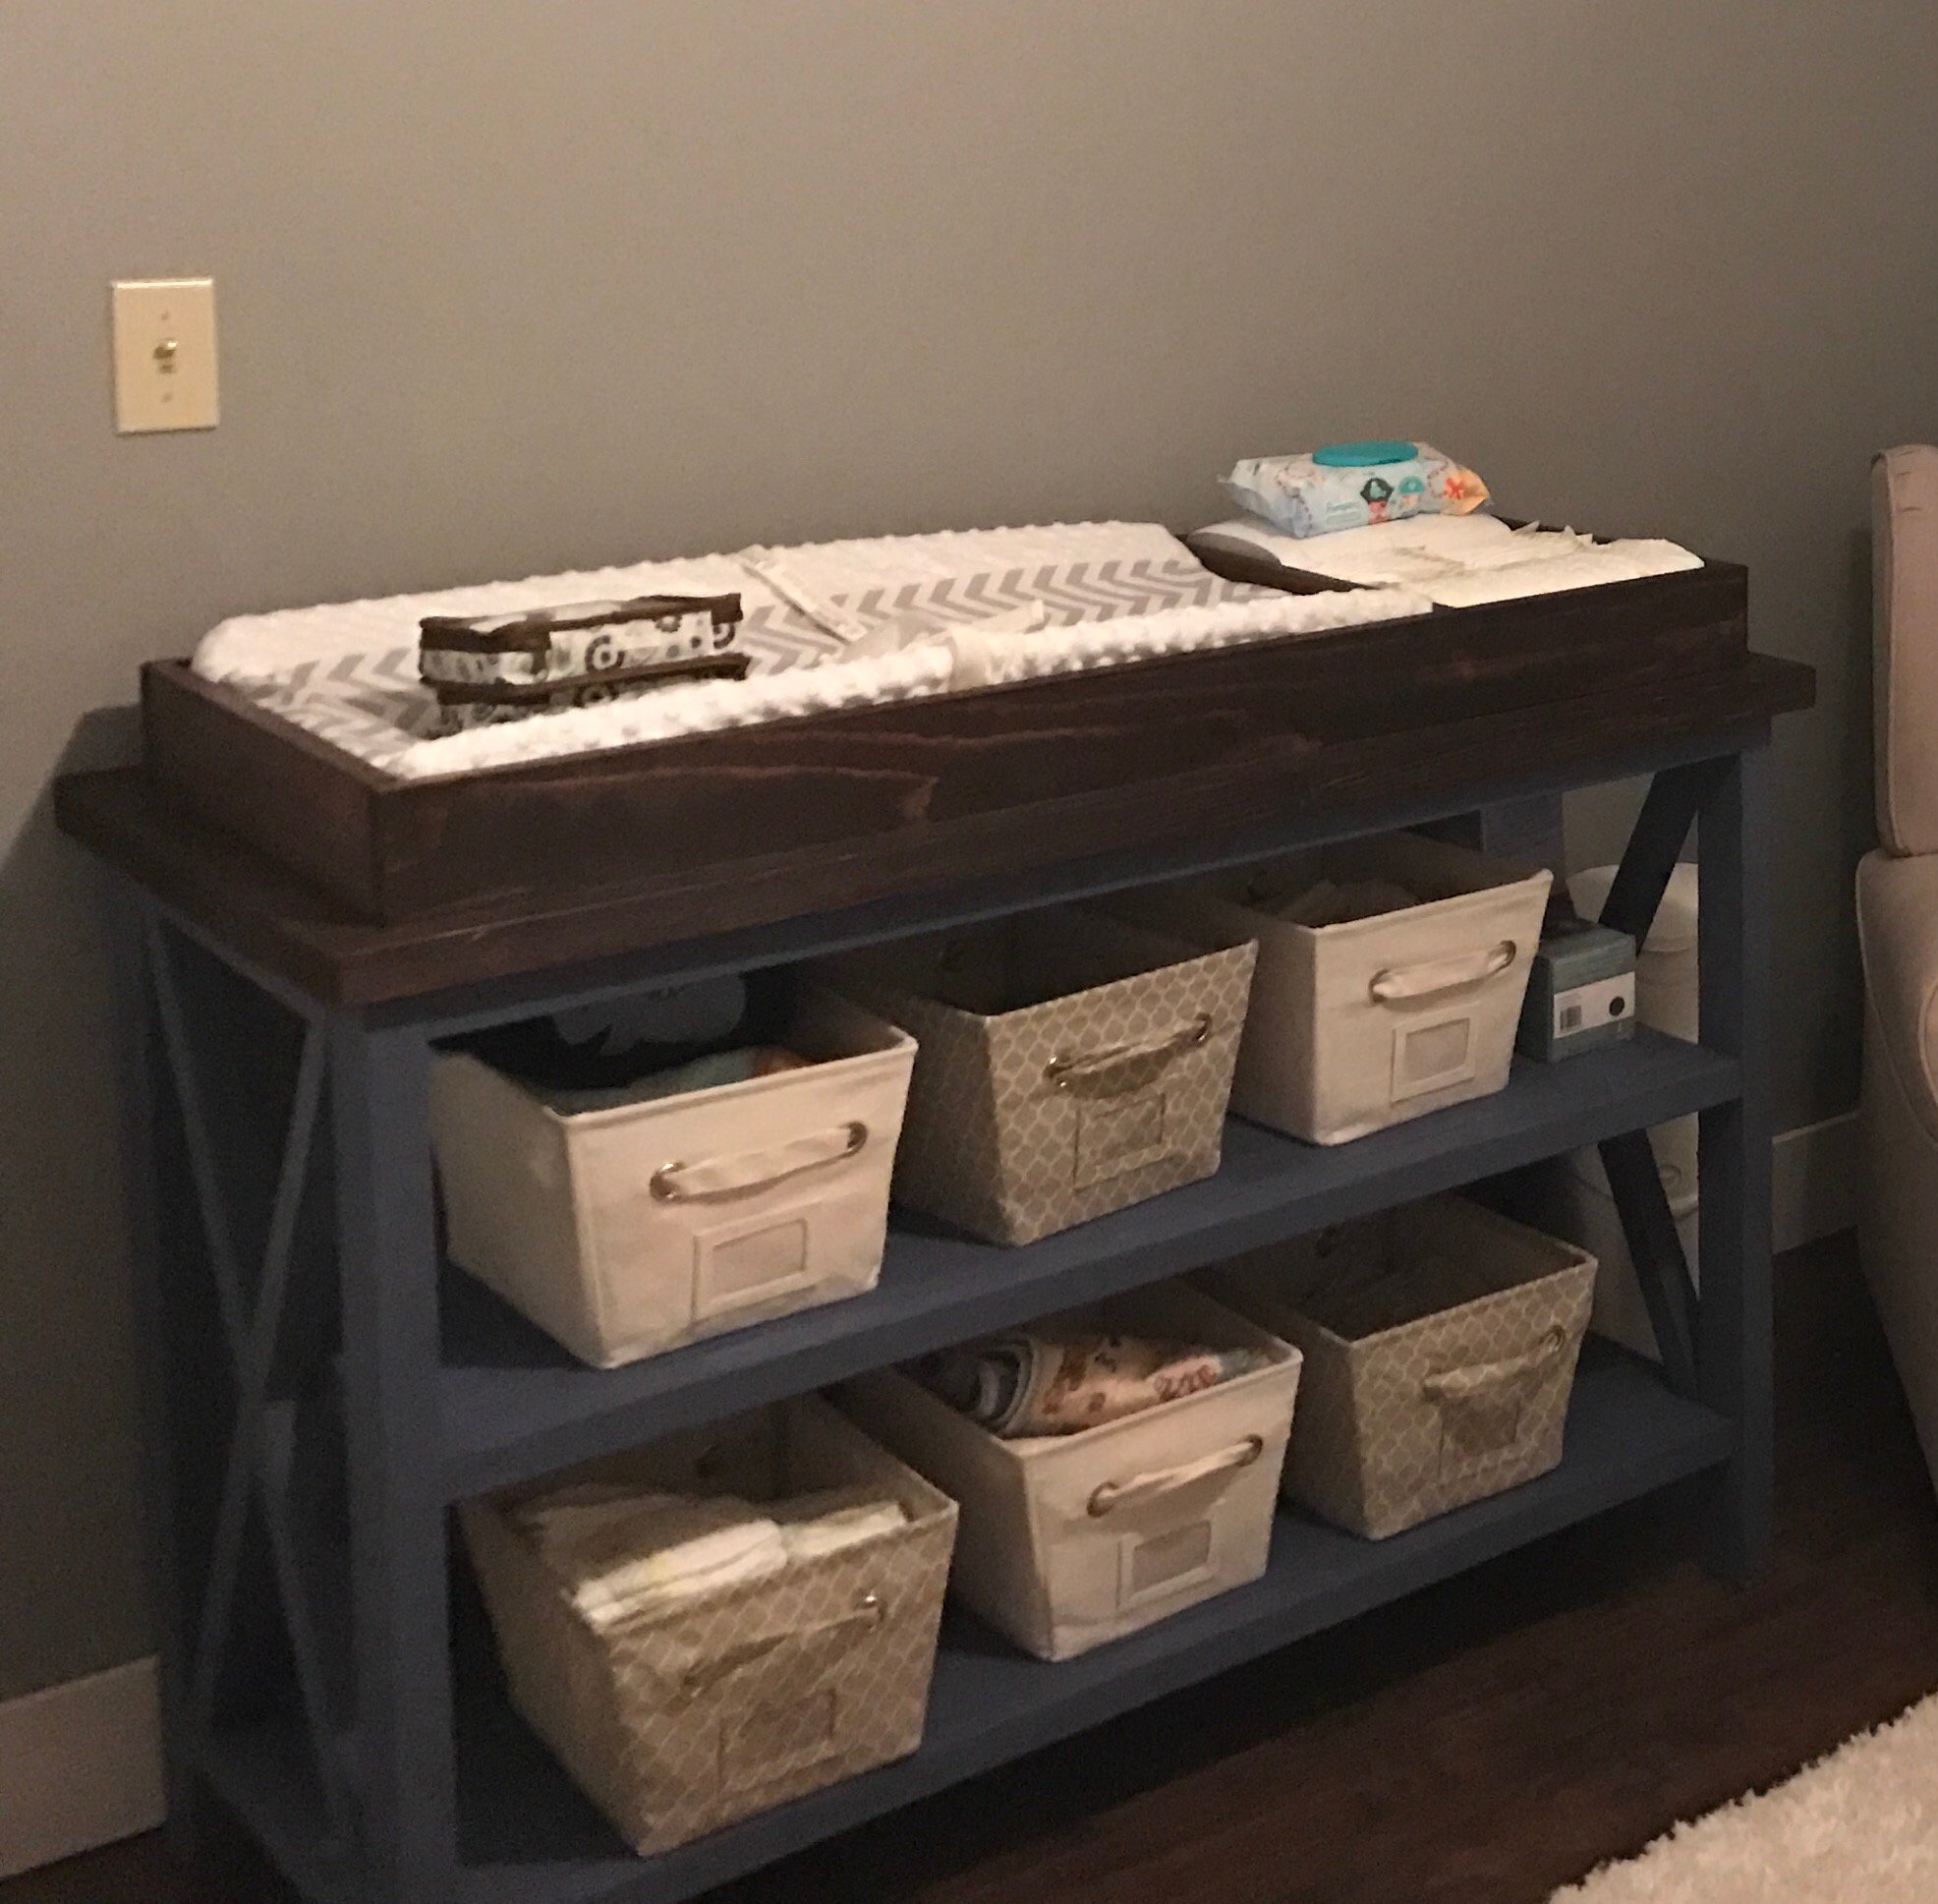
Touches of realism for the ovens: cookie-cooling racks on the oven shelves to simulate the oven racks, a motion-sensor-light in each oven triggers when the door is opened, cooktops created with a black silicone placemat and a white permanent marker worked well to draw/simulate the burners. Despite the families’ actual home ovens having digital controls, both moms requested knobs for the children to manipulate ... screws through the back of the faceplate allow the knobs to rotate. Oven doors have side hinges for ease of child access to ‘baking food’ and to prevent anyone from stepping onto an opened door hinged on the bottom. Touches of realism for the sinks: aluminum mixing bowls for sinks, box-store bathroom faucets, hook at the side for hand towel. Touches of realism for the Narrow Fridge: hinges on the right and freezers on the bottom to match the children’s home refrigerators. We considered coating the top door with magnetic paint, but per request to stay away from paint, cookie sheets were screwed to fronts so that children can display drawings or anything magnetic.
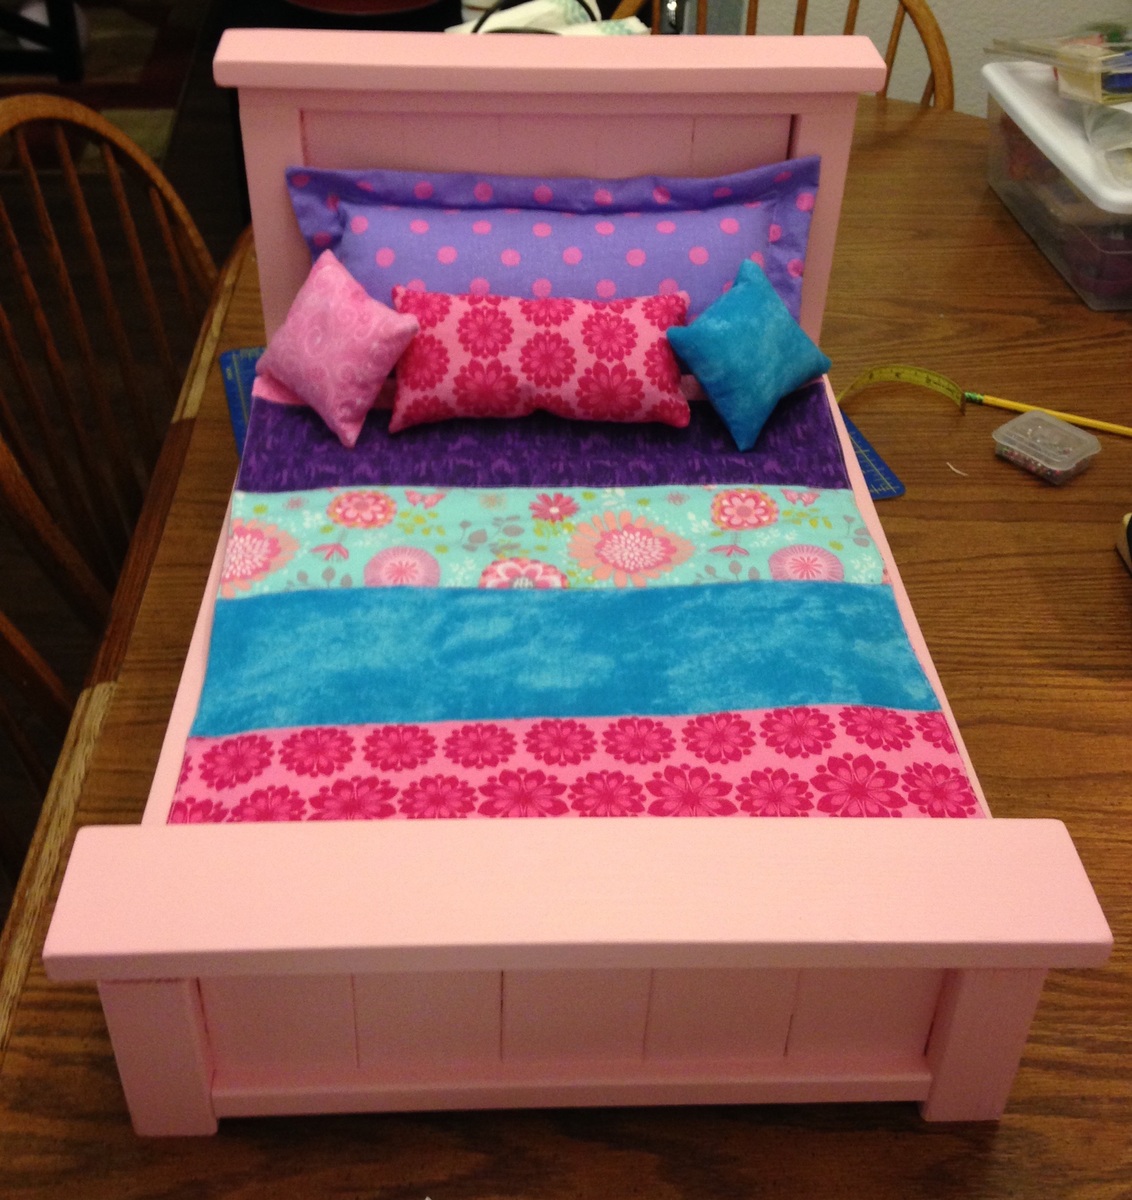
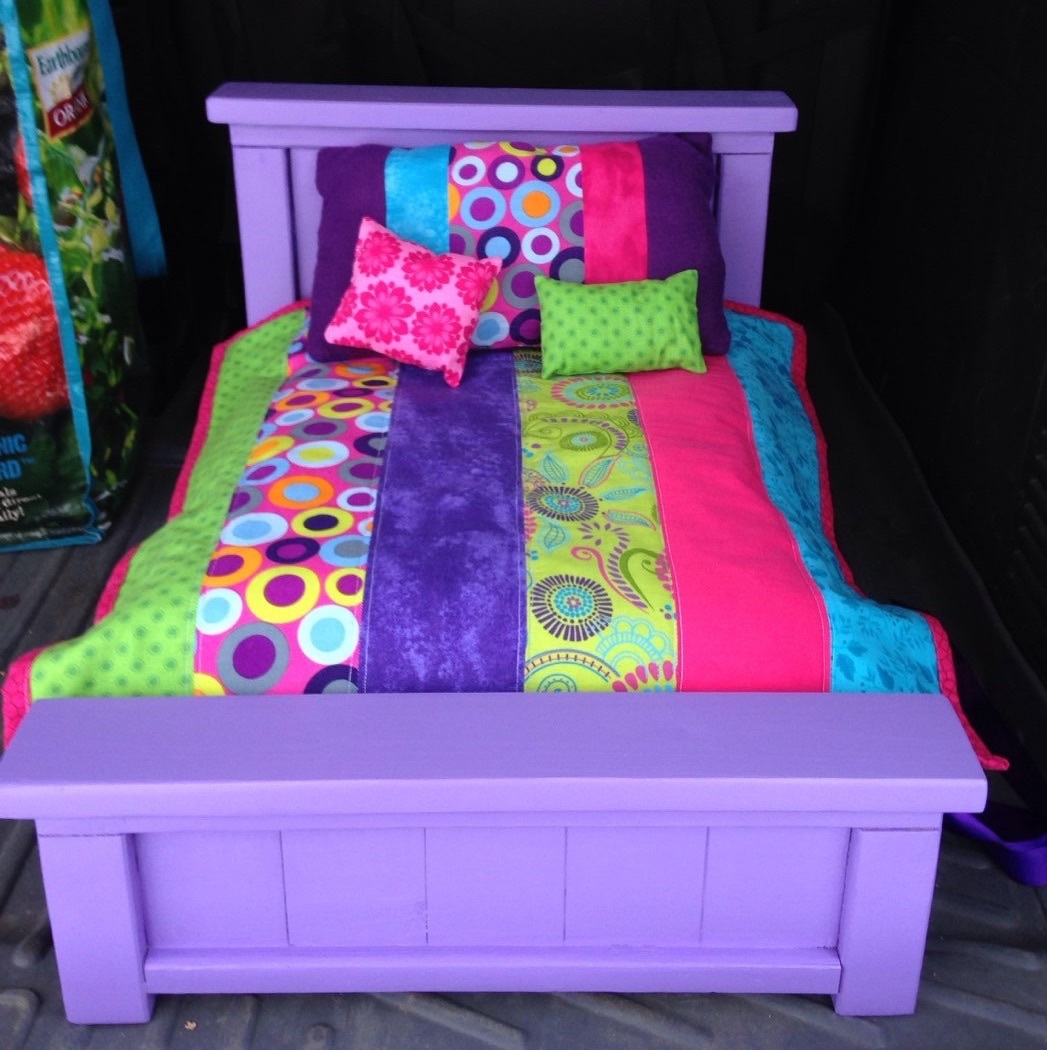
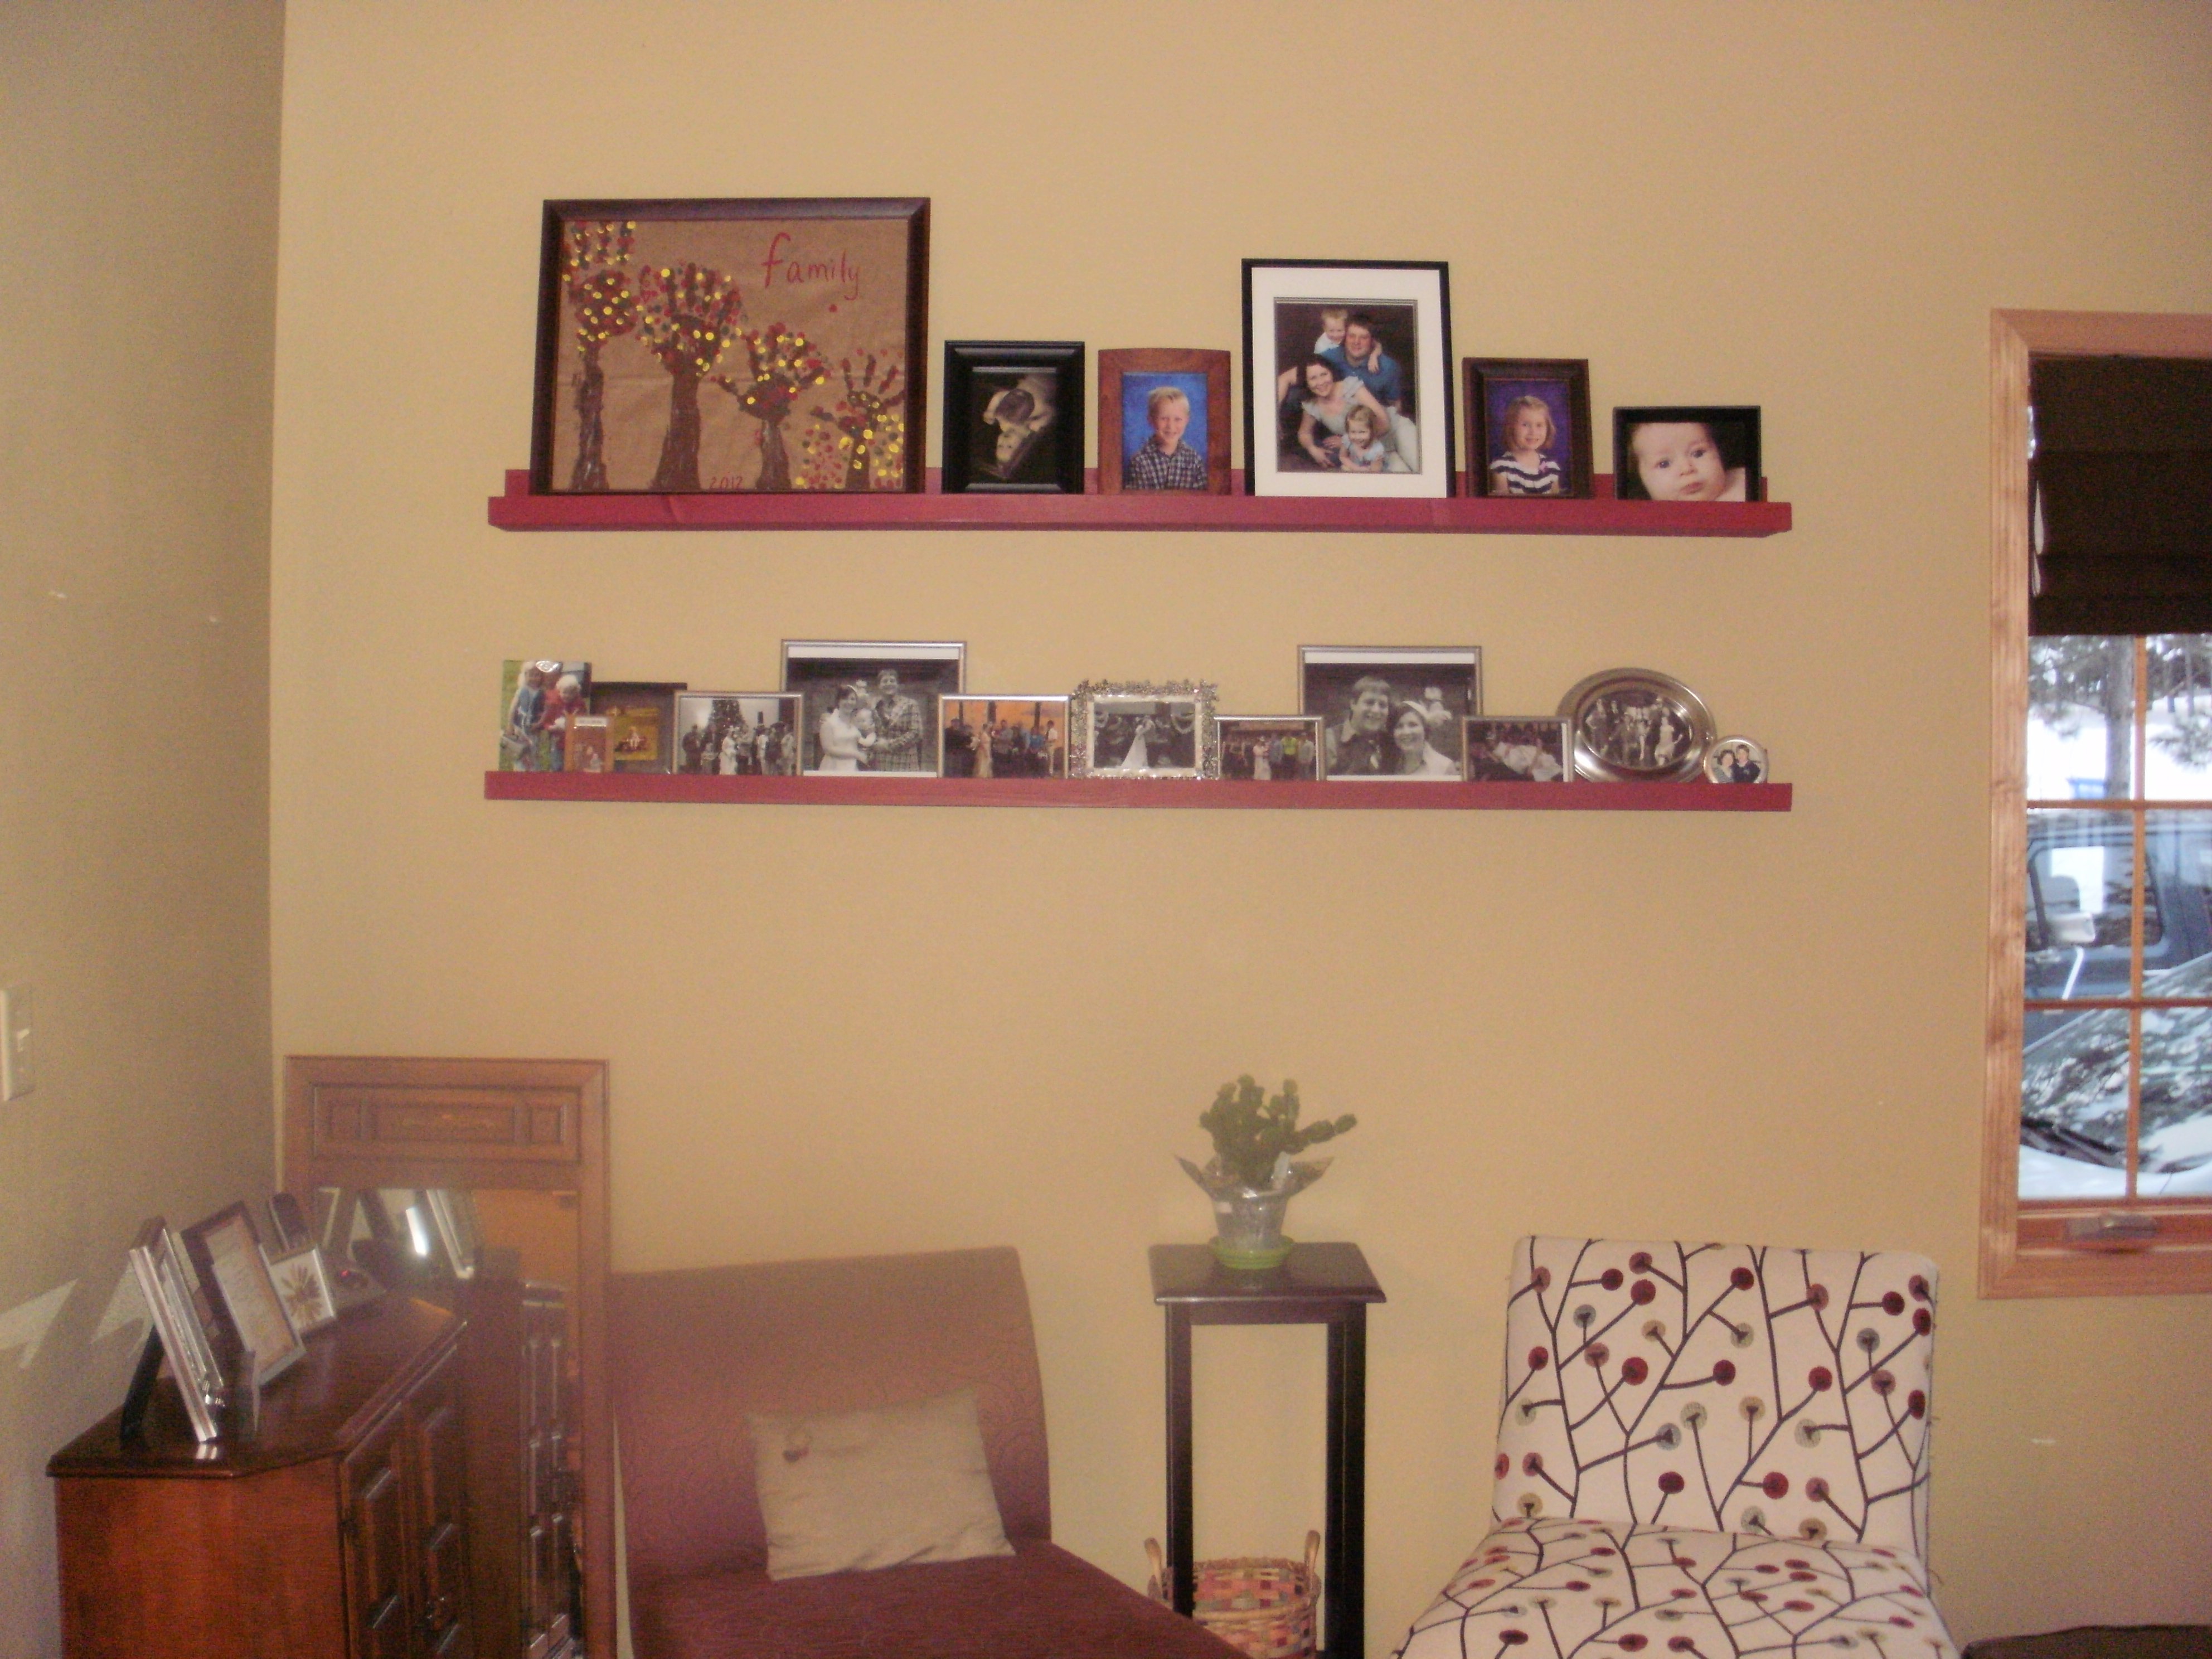
Several Christmasy additions such as linens, dinnerware, magnets and mini floral buckets really added to the “wow factor” under the Christmas tree!


Comments
DanGraves
Wed, 11/26/2014 - 09:25
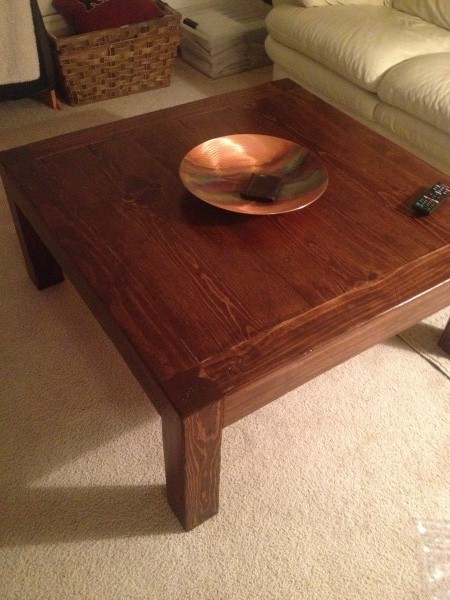
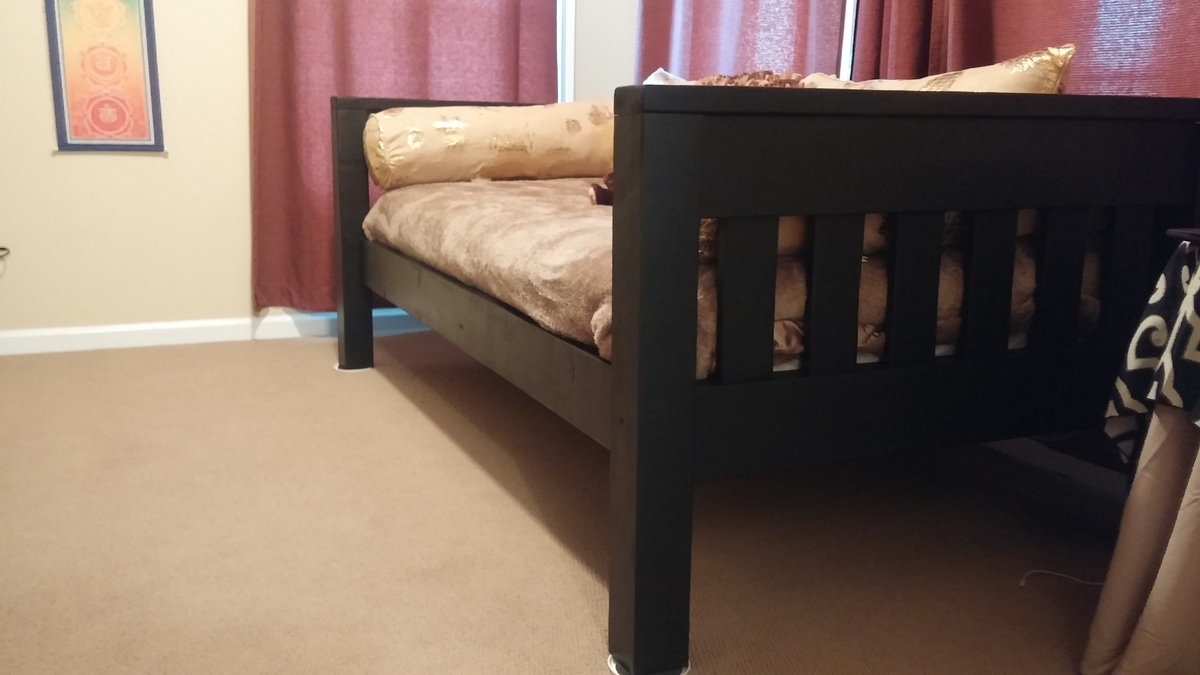
picture
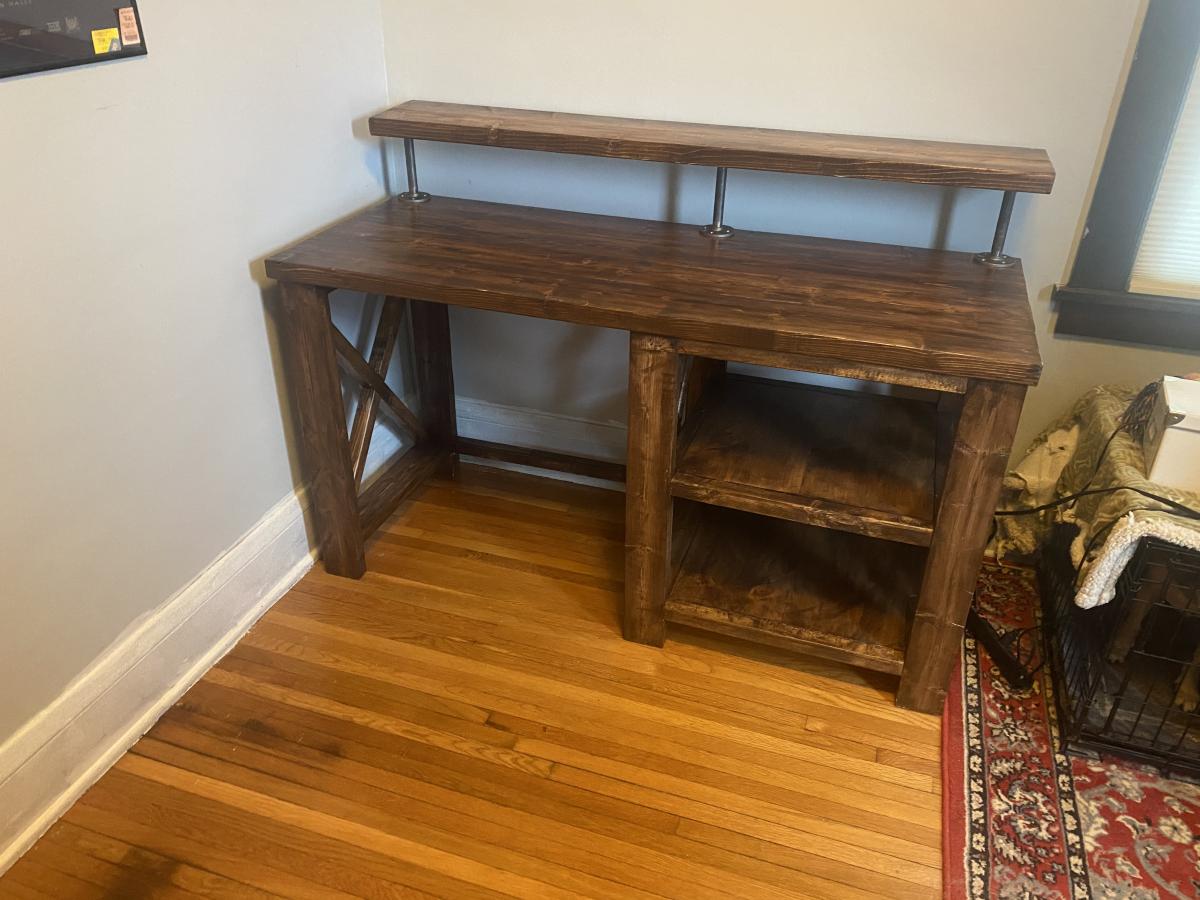
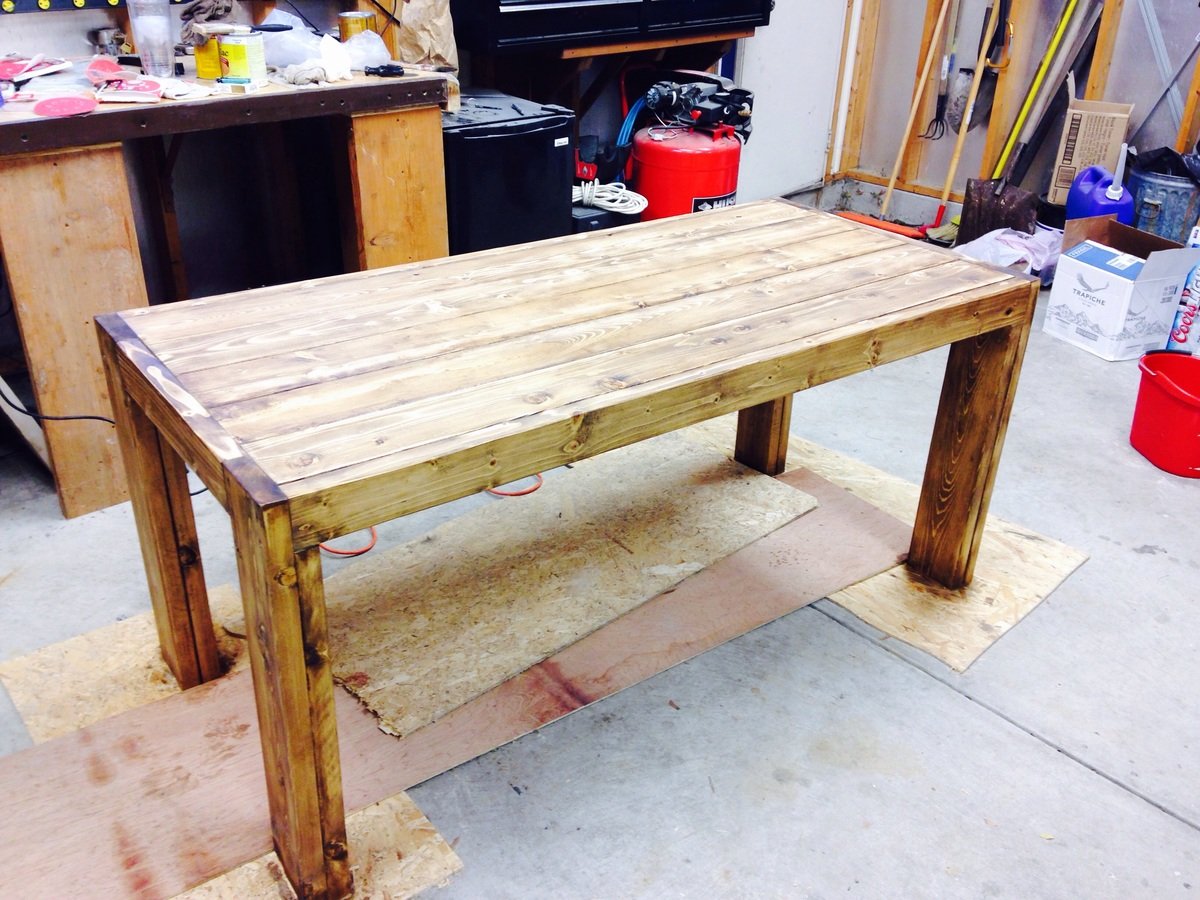
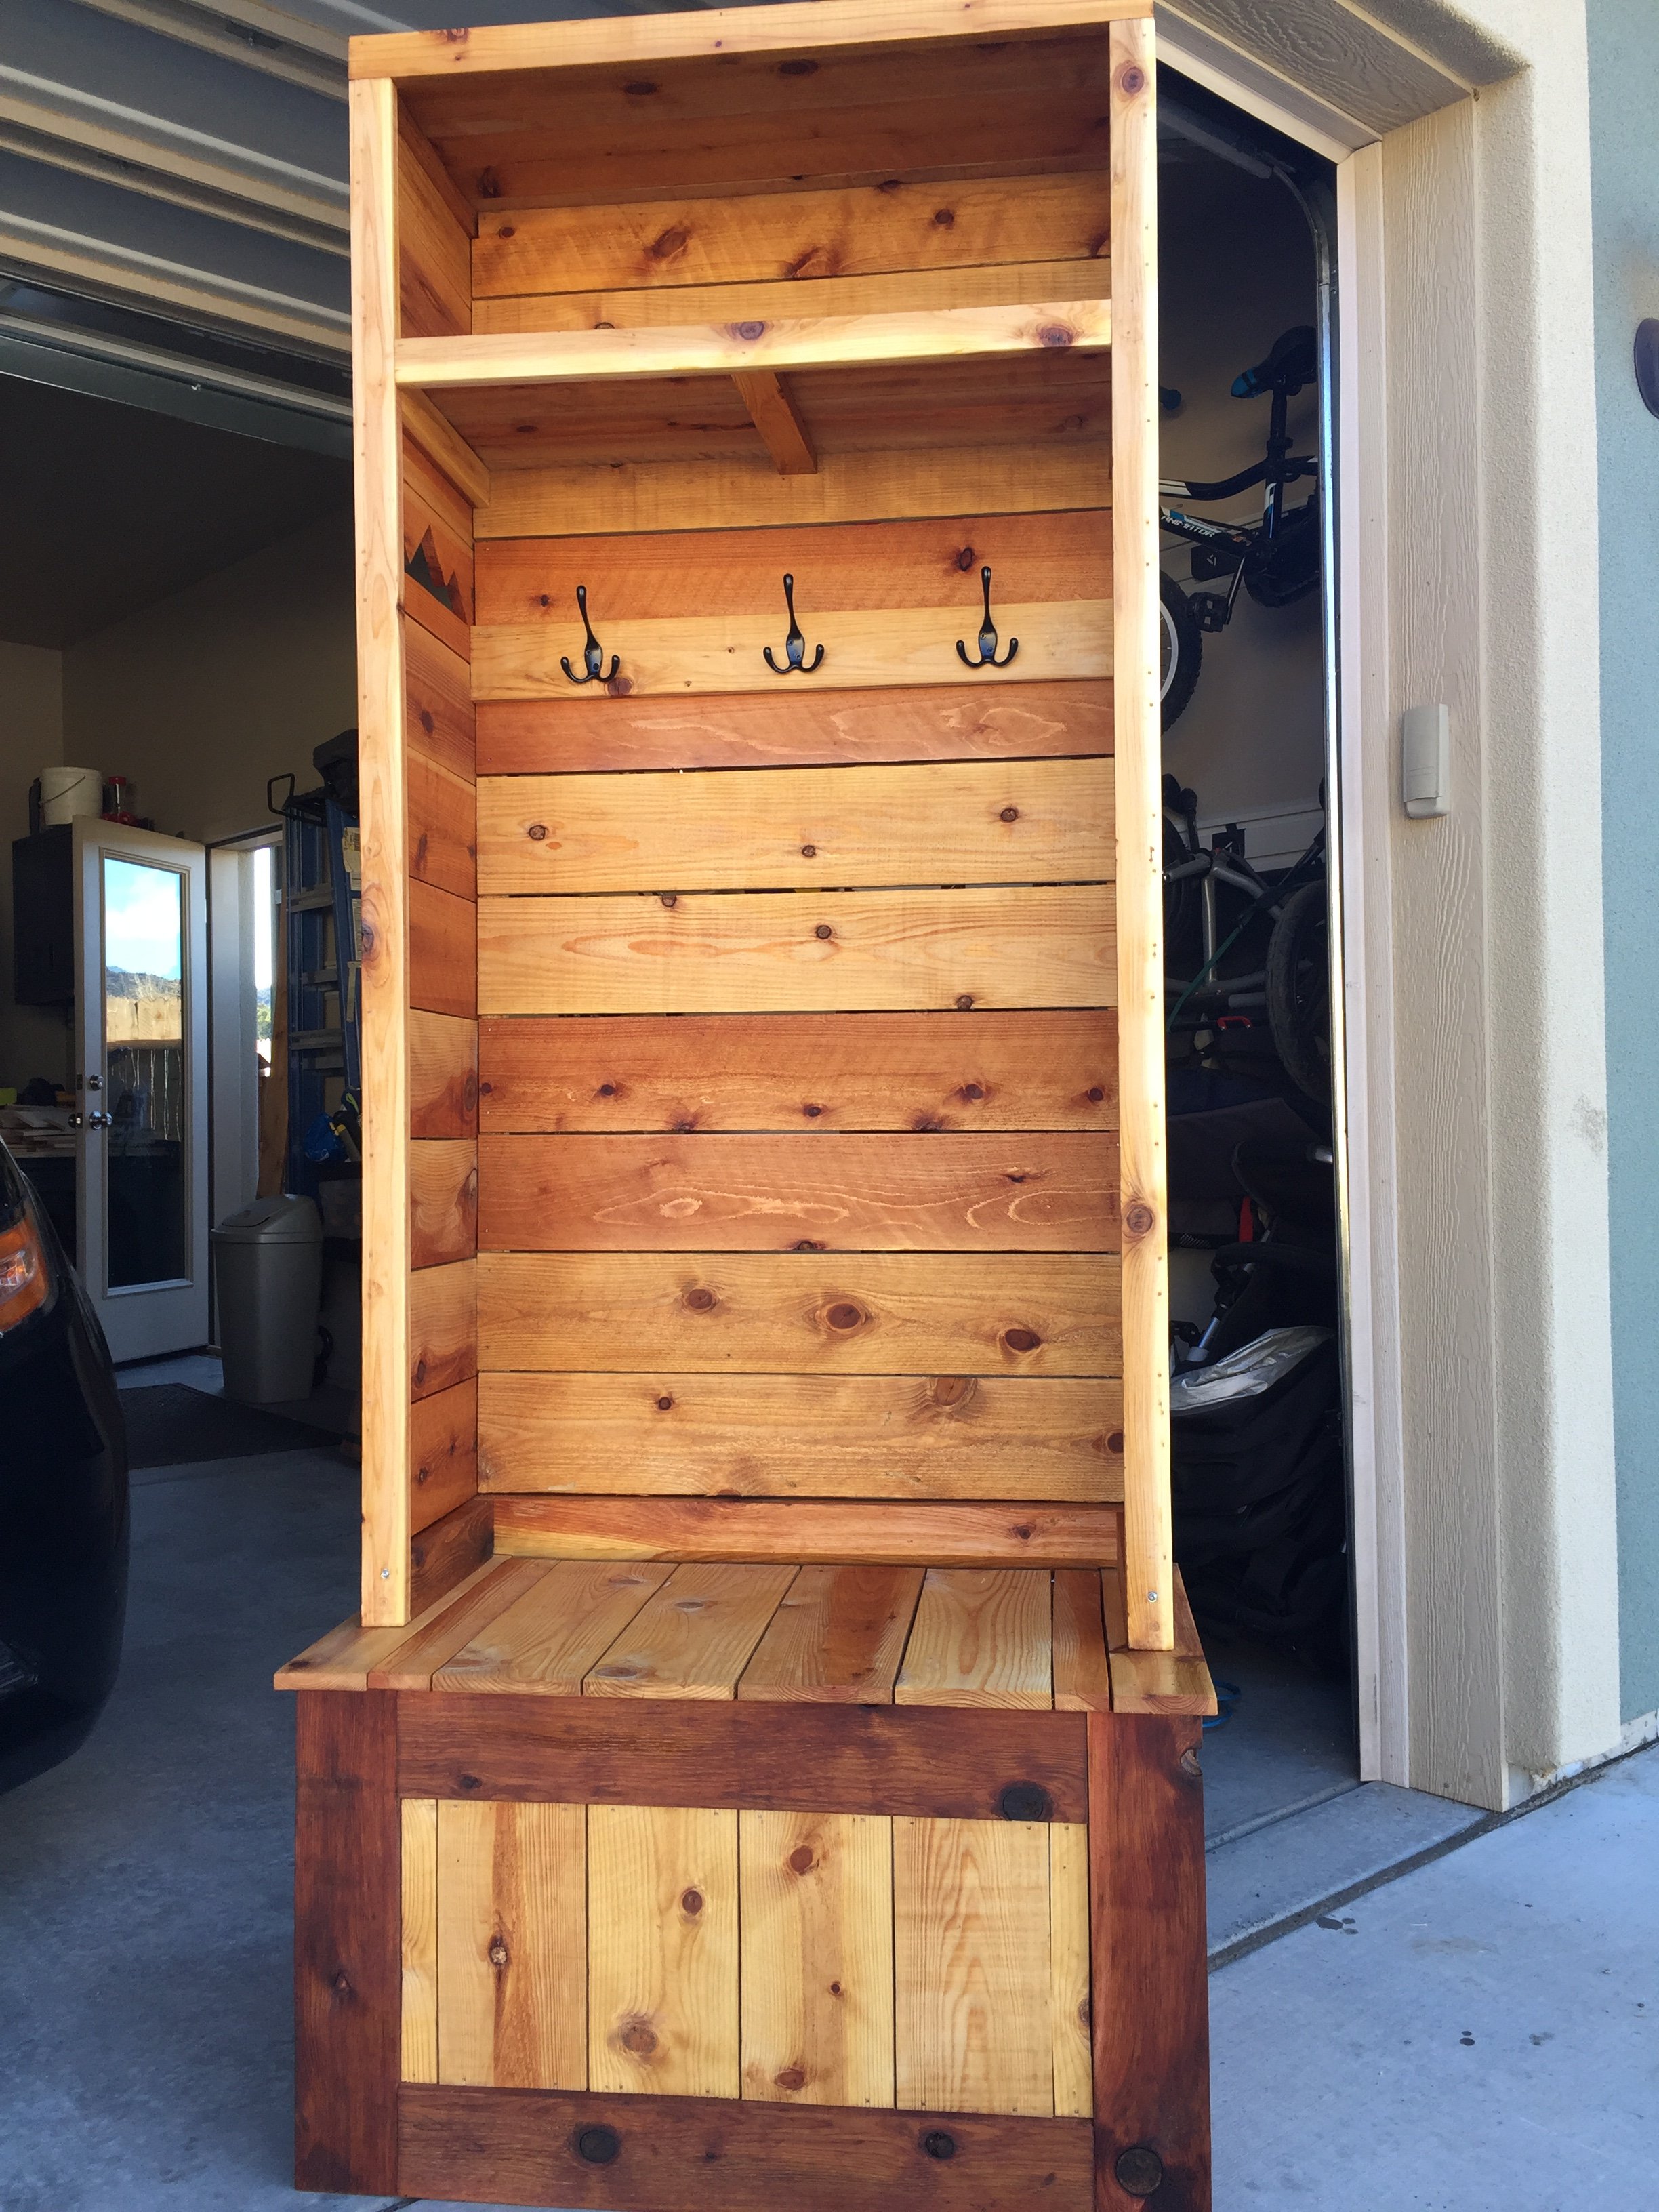
For some reason it has turned the photo but if you click on it. It will open normal
bikerider
Fri, 01/06/2017 - 12:01
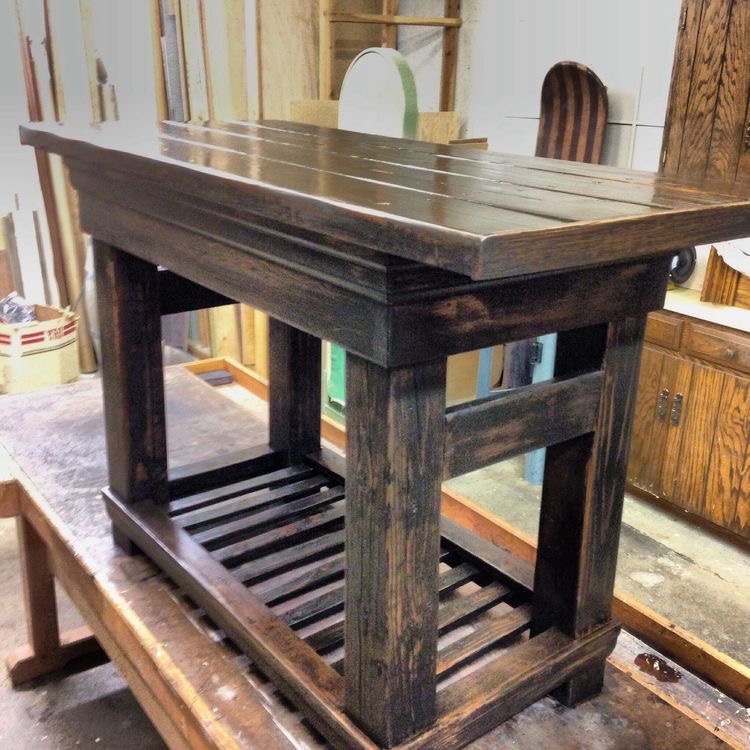
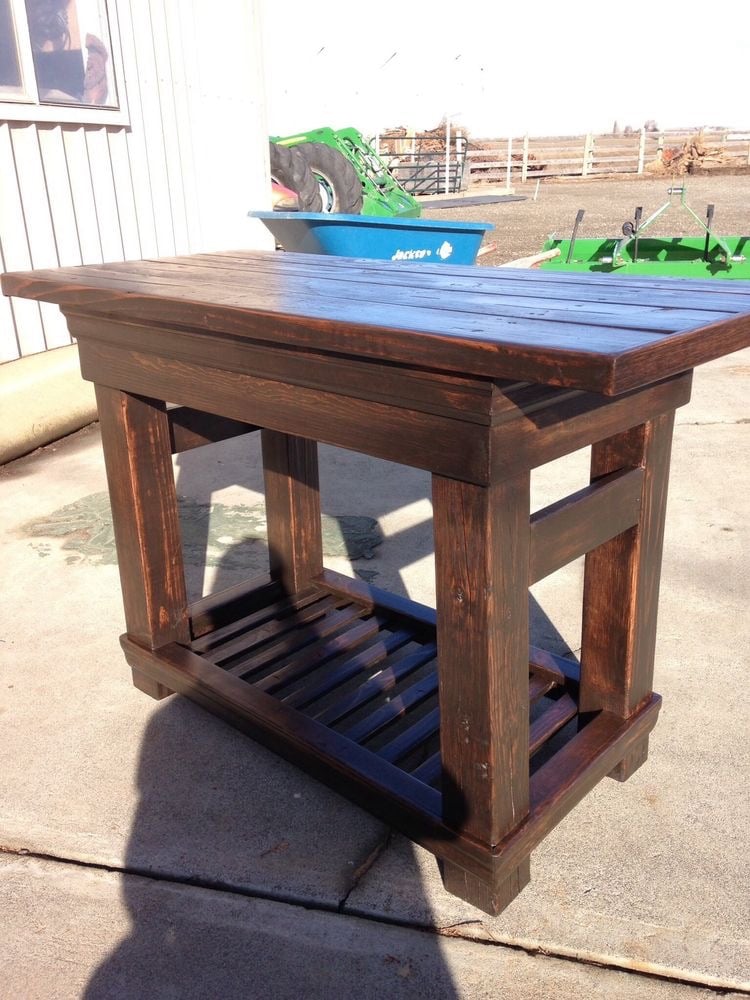
Stain color?
What color minwax stain did you use? The final product looks great.