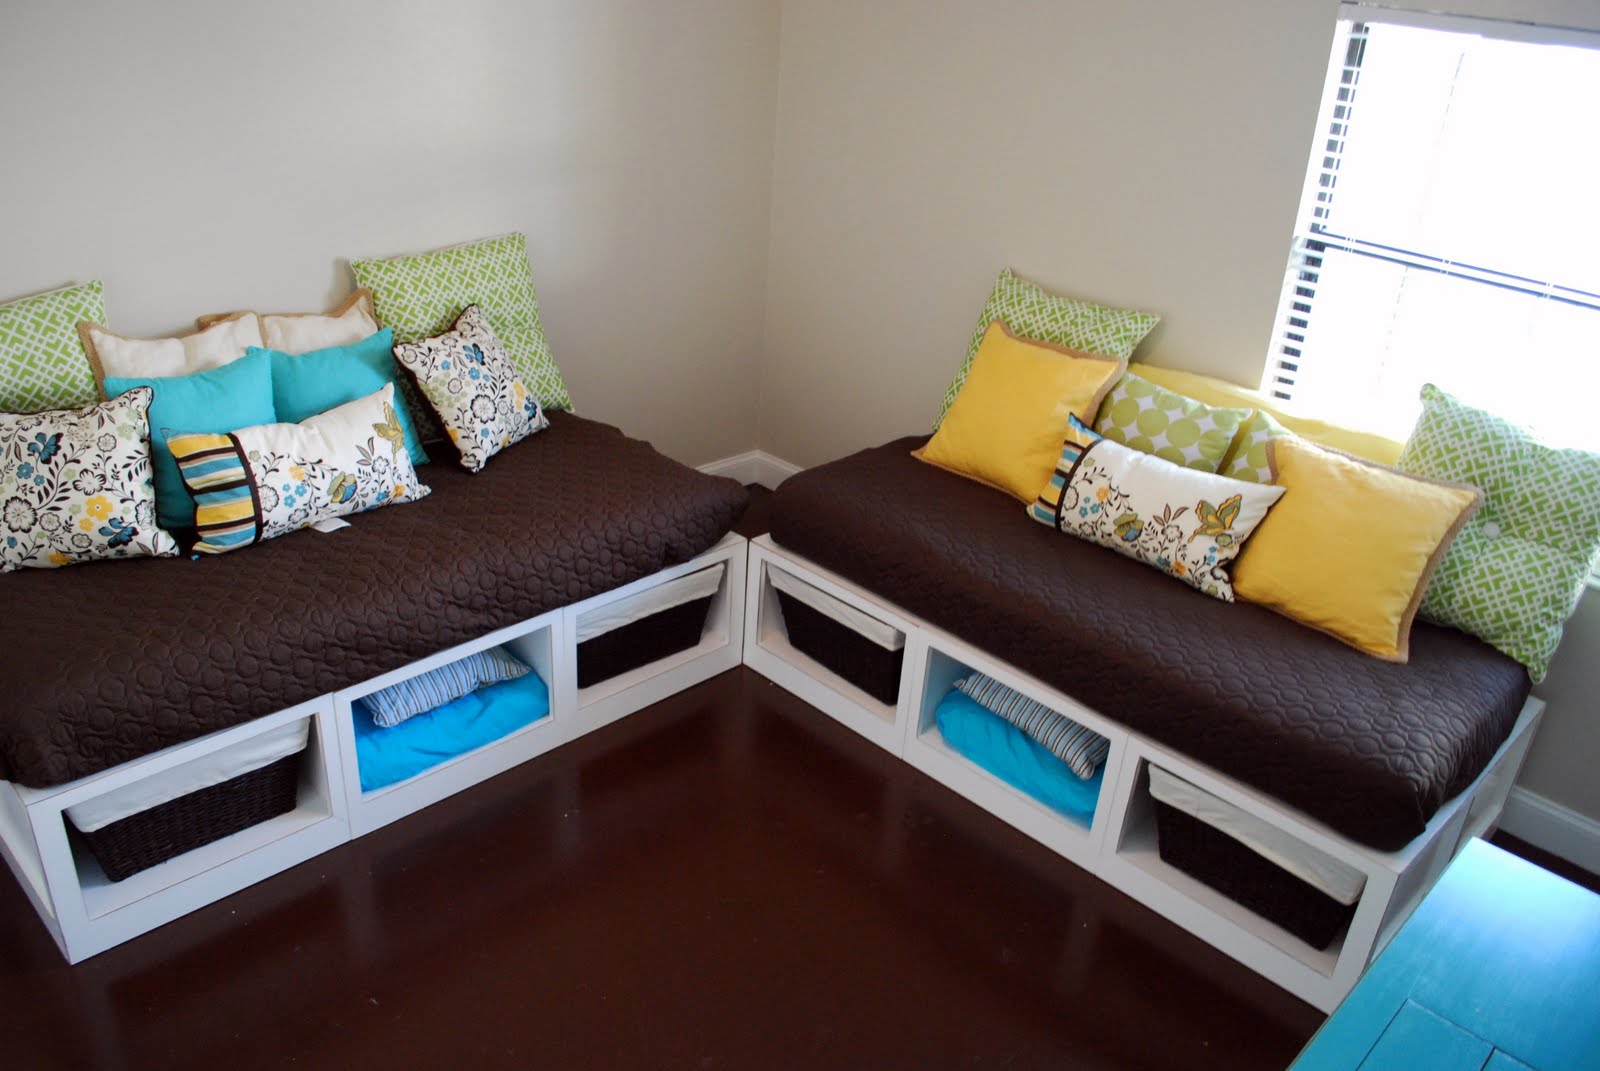
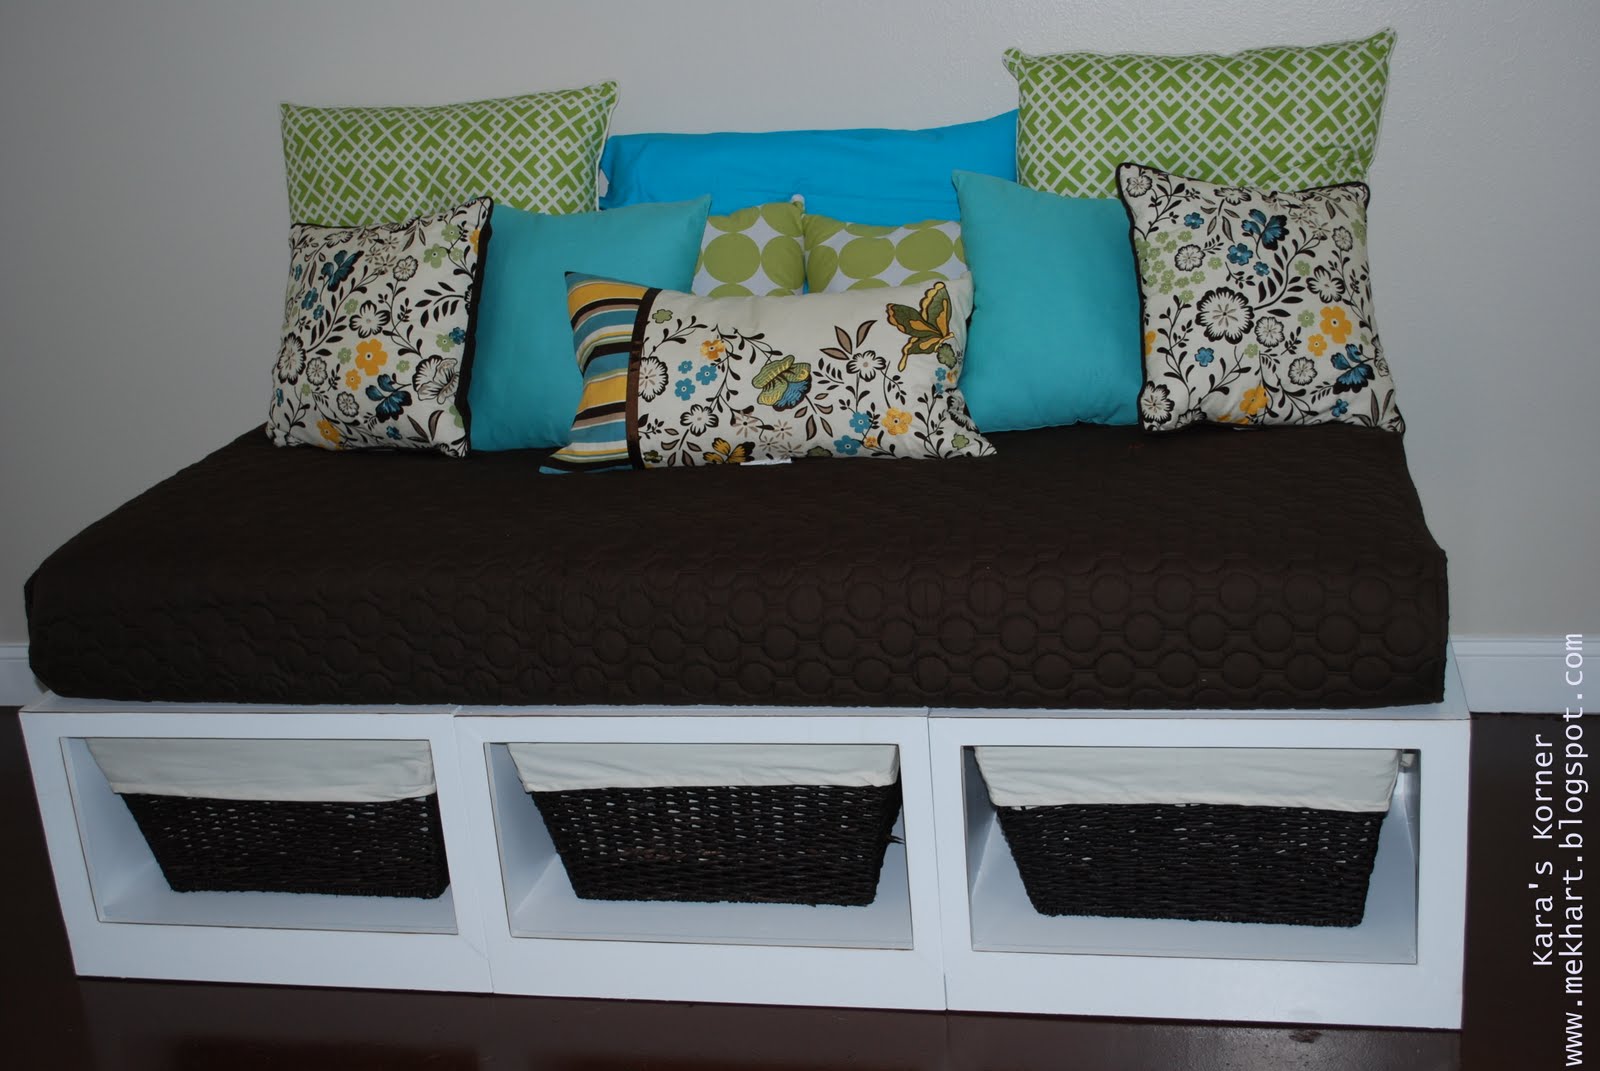
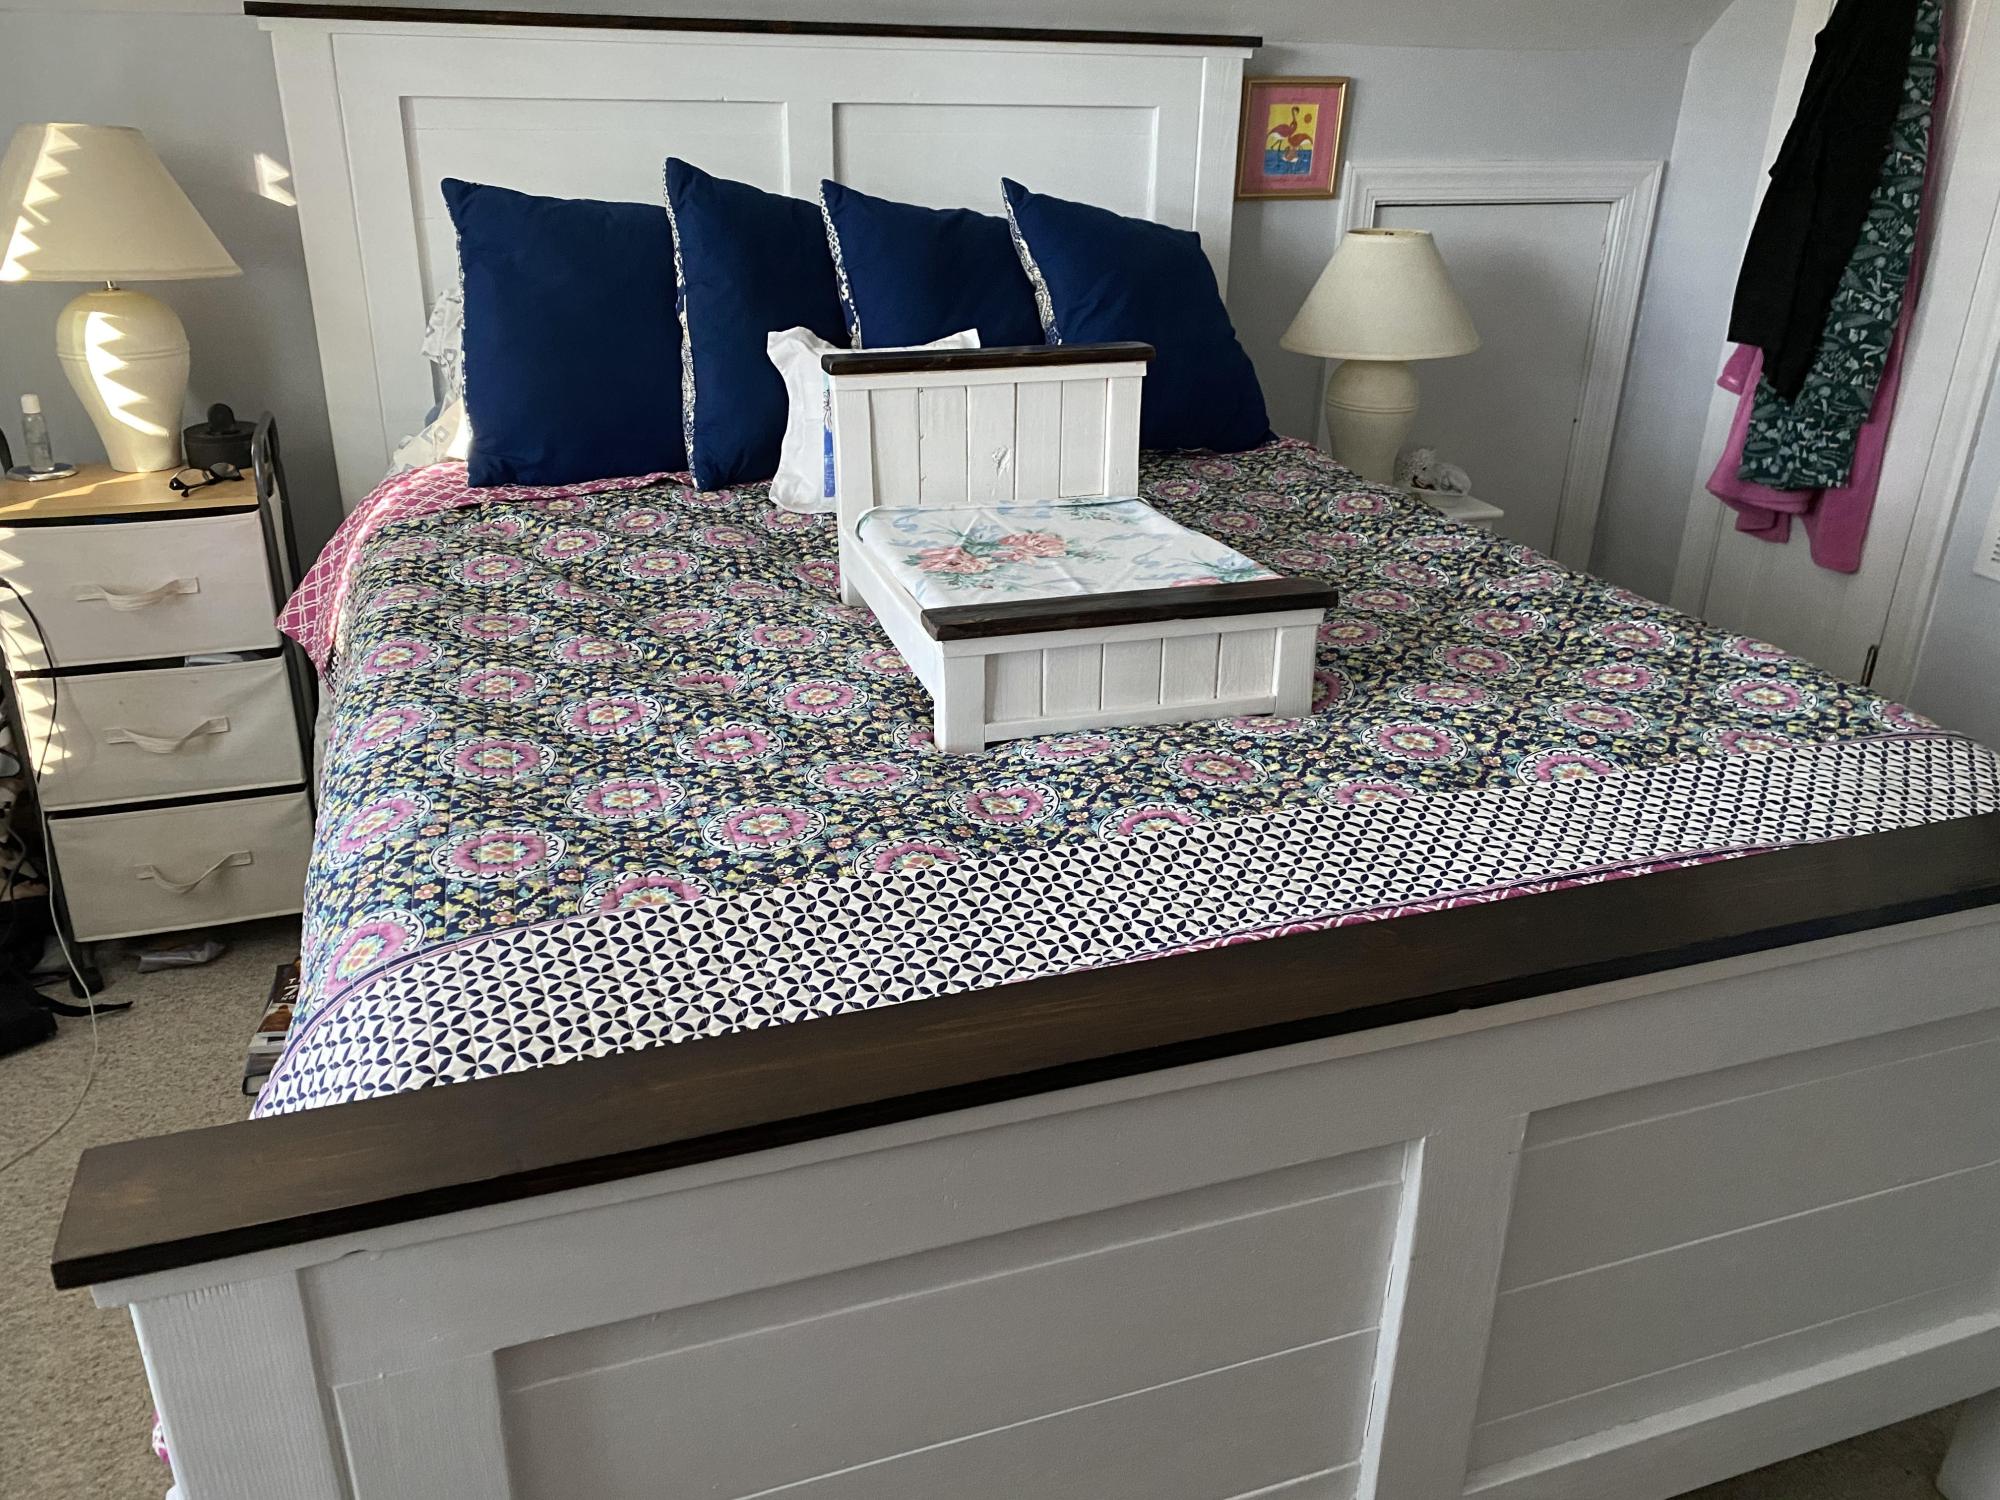
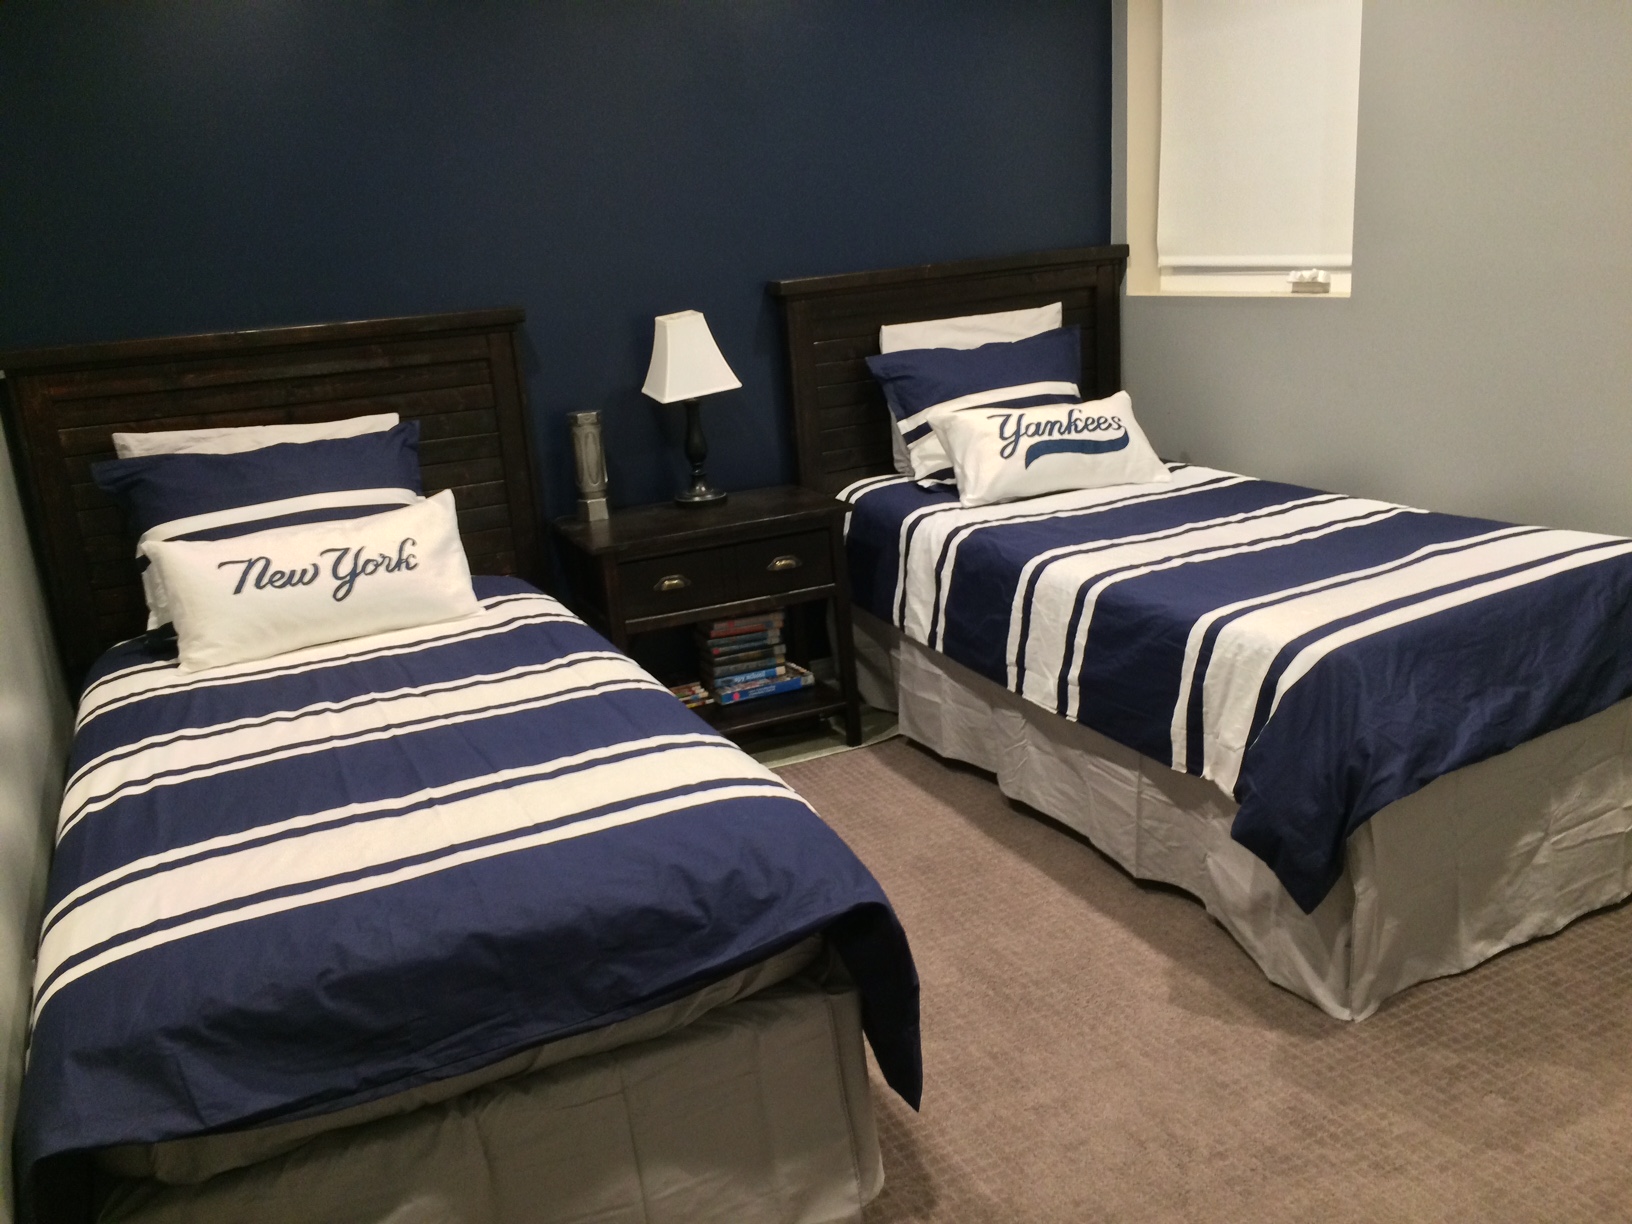
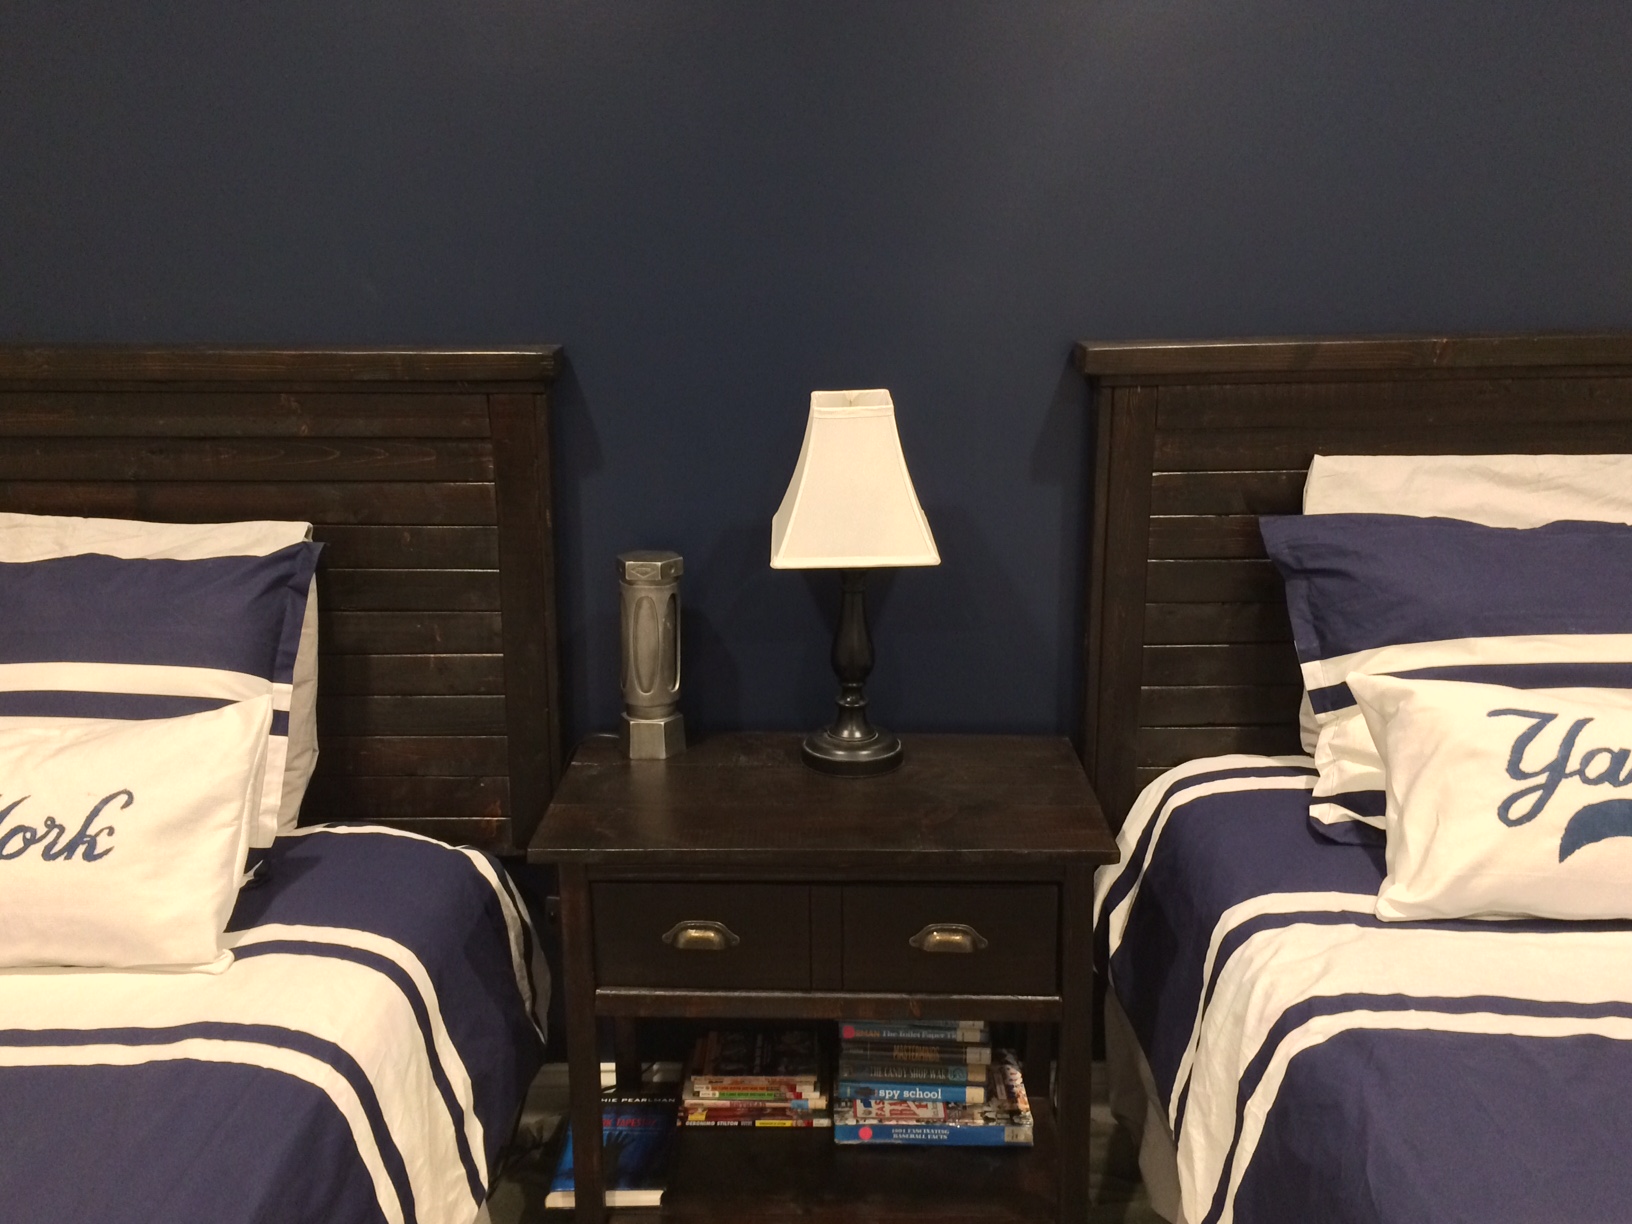
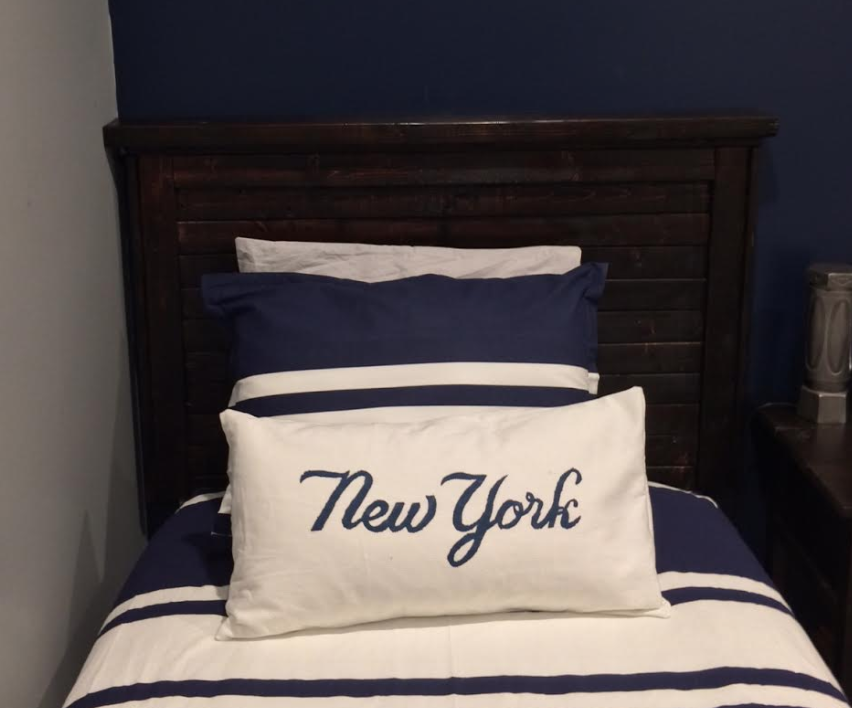
Headboards

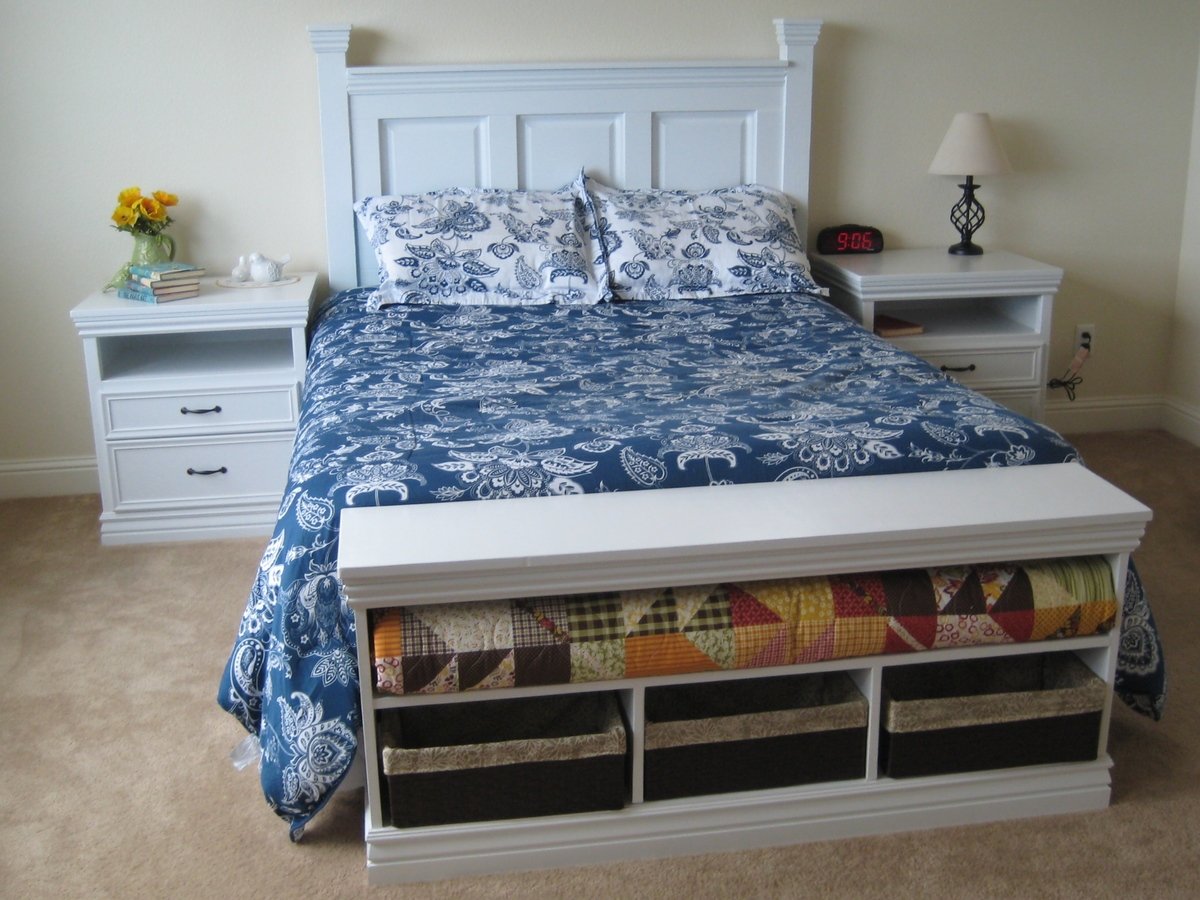
Built these for my boys room- these headboards are for highrisers so I did not use legs- they end at the bottom of the slats. I used 1x3 furring strips for the slats to keep the costs down, I believe I used 10 slats. In order to mount the headboards, they are completely mounted on the wall and not attached to the bed at all. I used 3-2'' Z clips, at the top, tried to get them drilled into wall studs. To keep the headboards even more secure, I used corner braces on the bottom- 2'' braces, drilled into the wall with anchorless screws and then drilled into the bottom of the headboard frame.
I also did not cut the wood at the hardware store- I purchased a circular saw and was very happy with the decision. Was MUCH better to cut as I built.
Built from Plan(s)
Estimated Cost
$75-$100
Estimated Time Investment
Day Project (6-9 Hours)
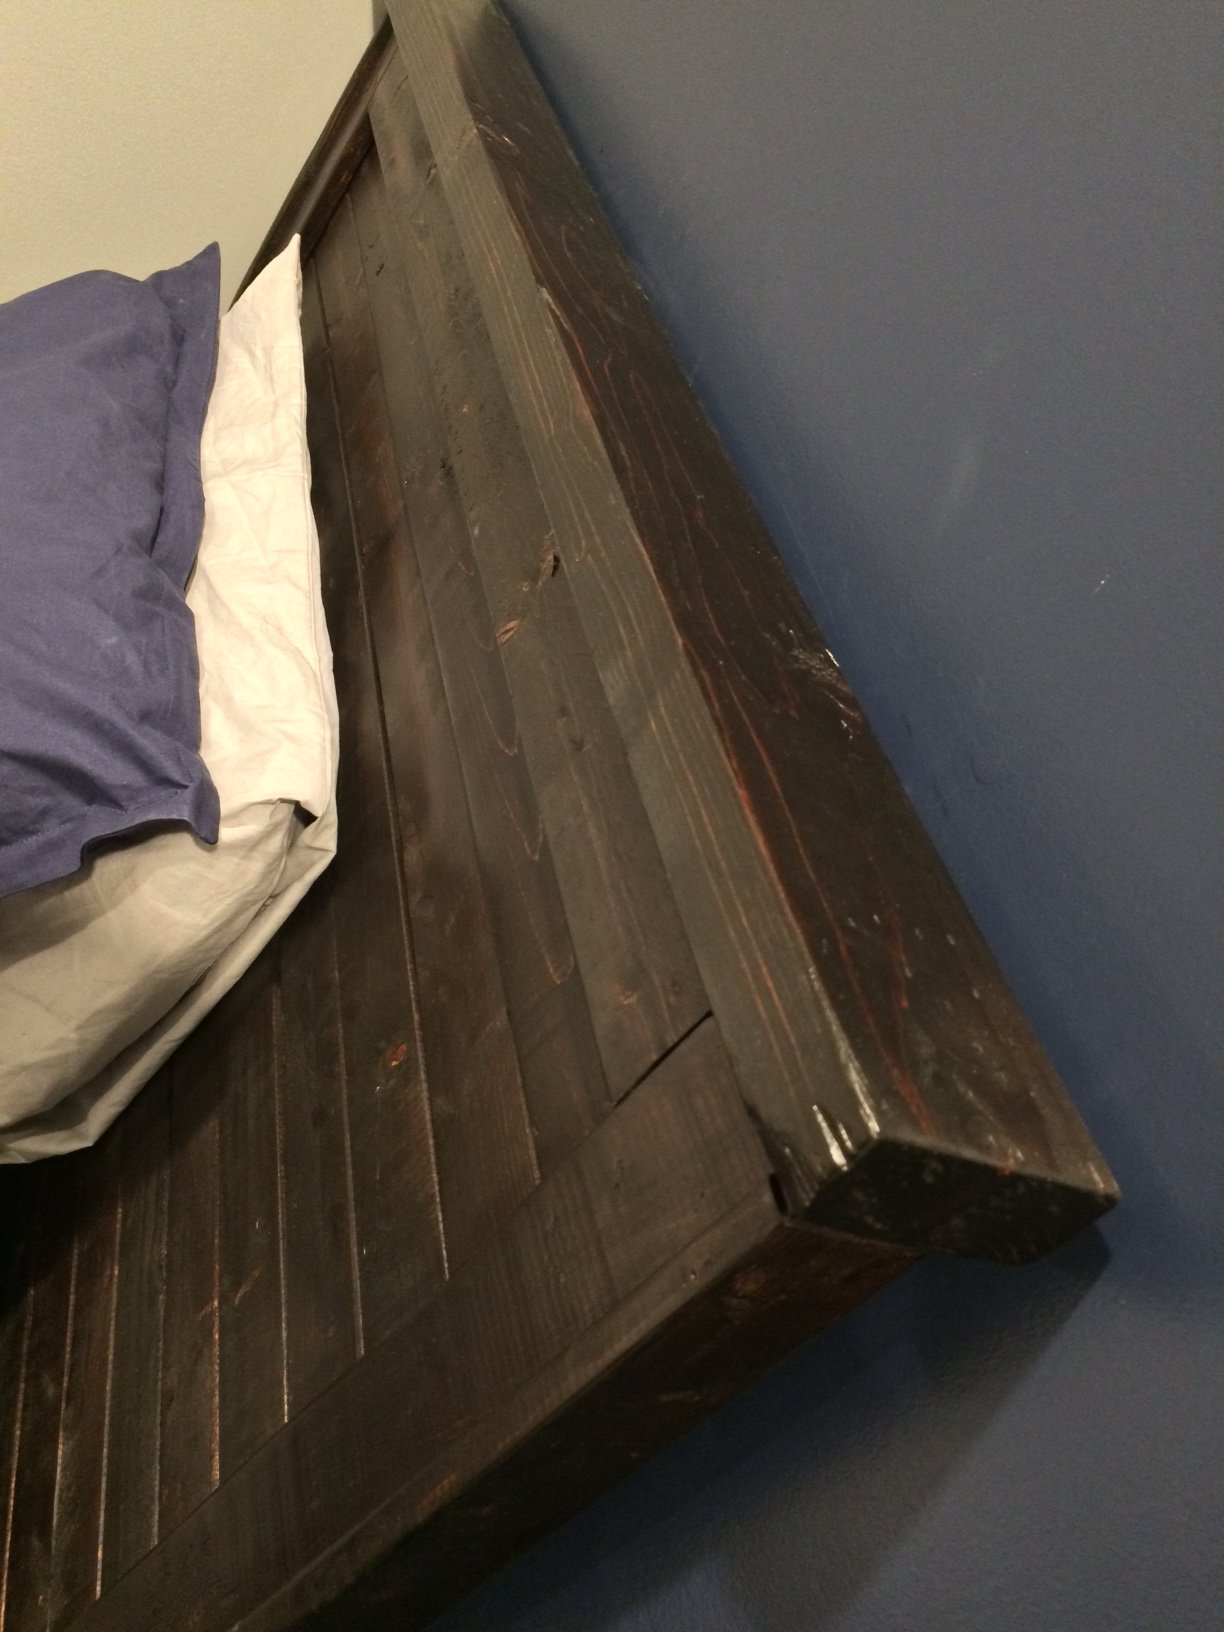
Finish Used
Minwax penetrating stain- 2 coats dark walnut, 1 coat red mahogany. Spray Minwax Lacquer in Satin
Recommended Skill Level
Beginner