Community Brag Posts

Coat Tree

Submitted by annem on Sat, 03/12/2011 - 07:27

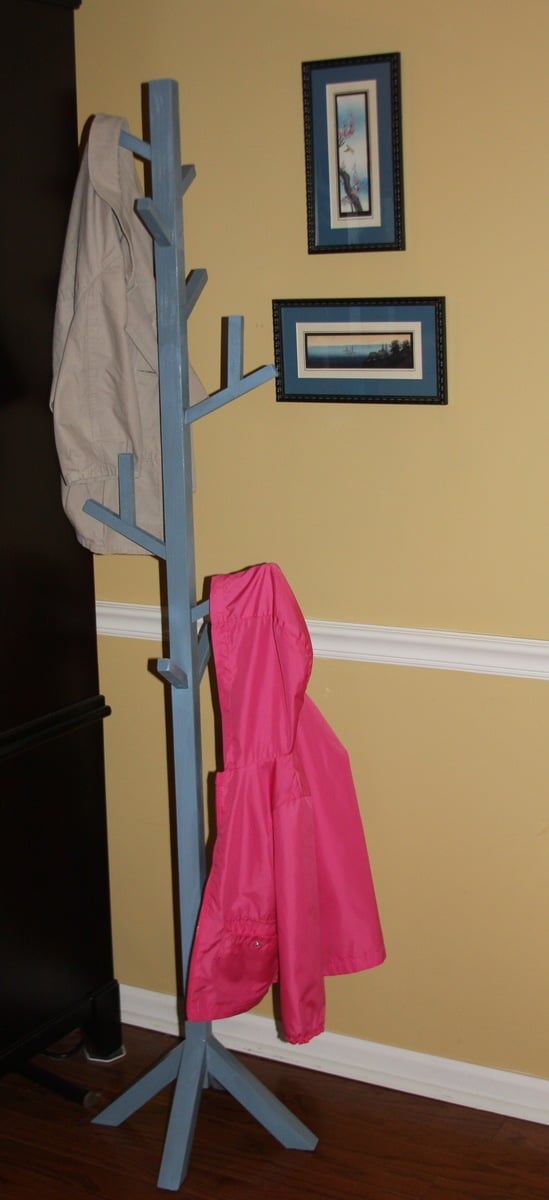
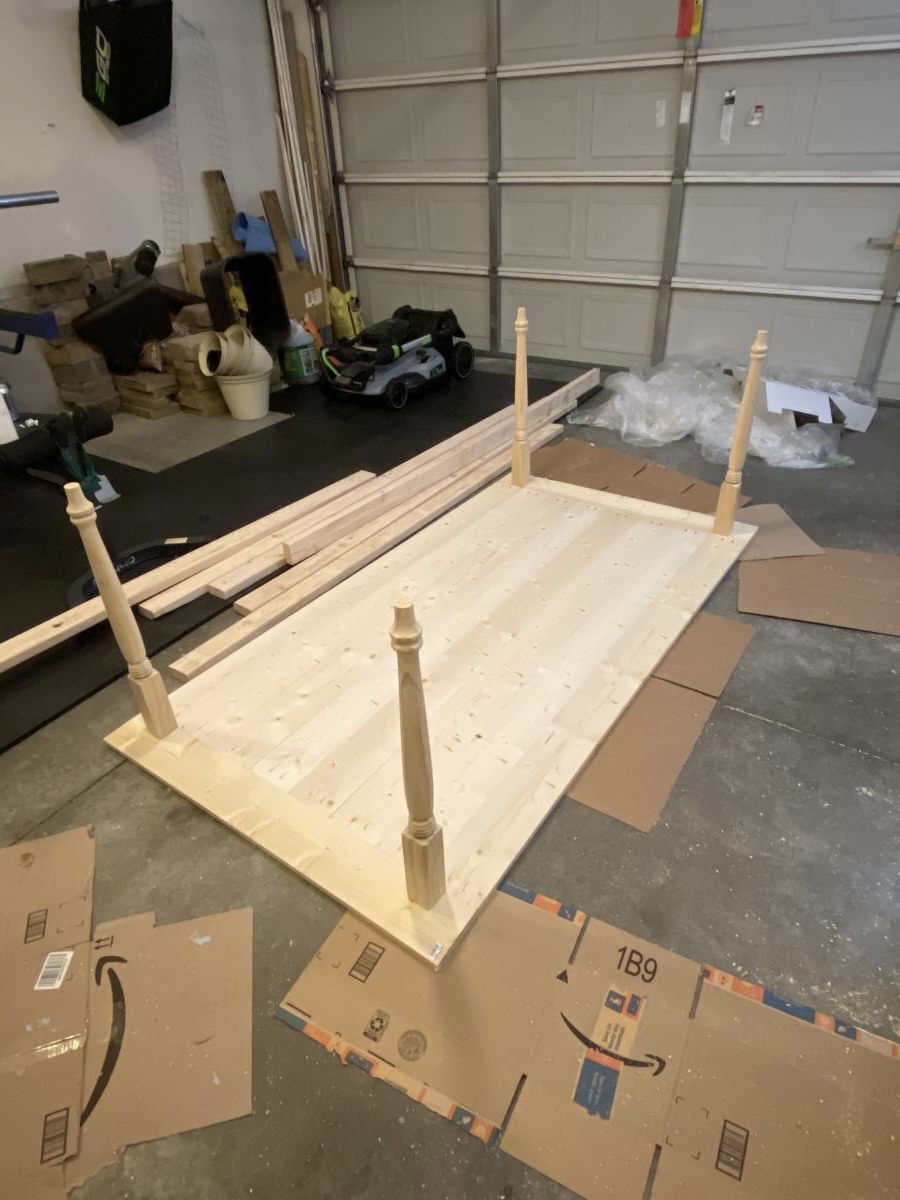
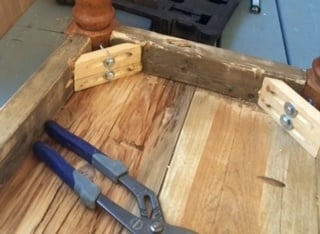
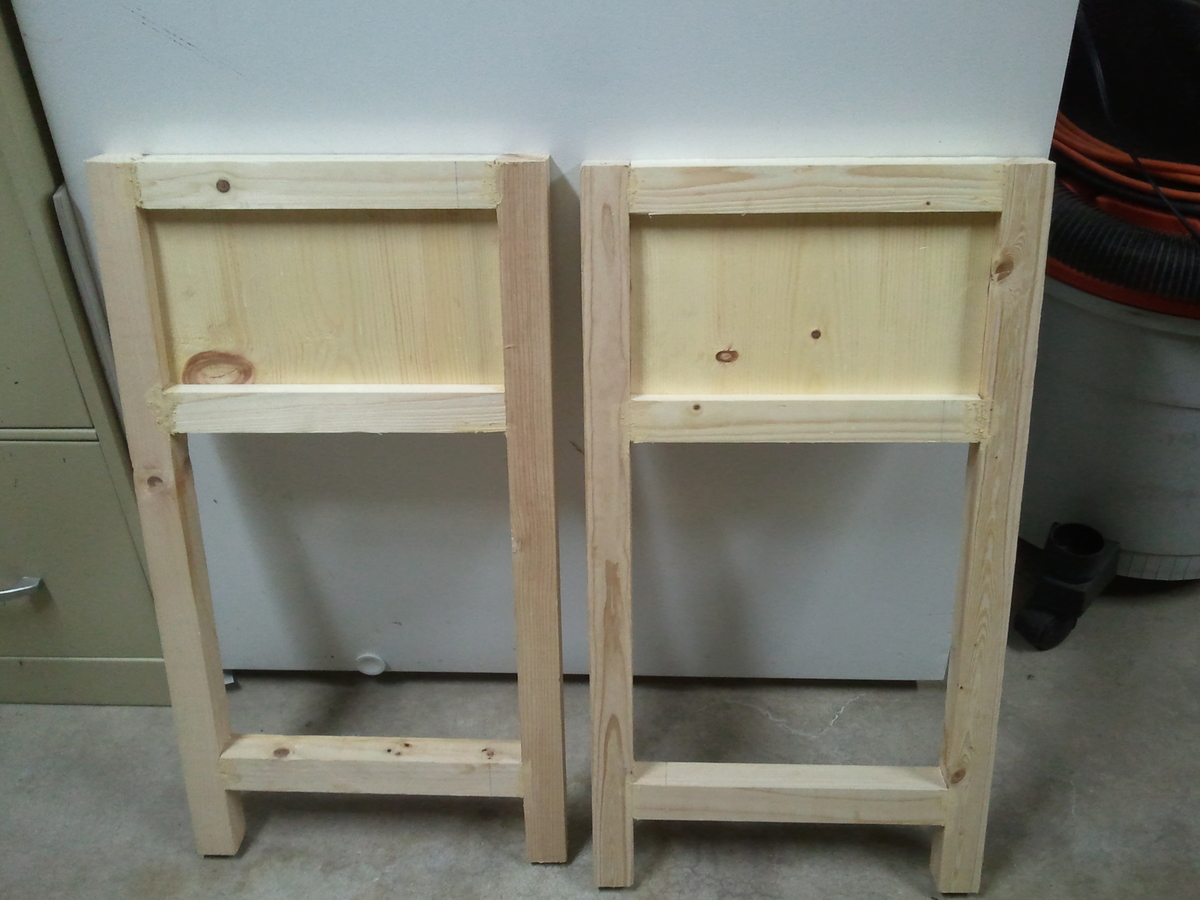
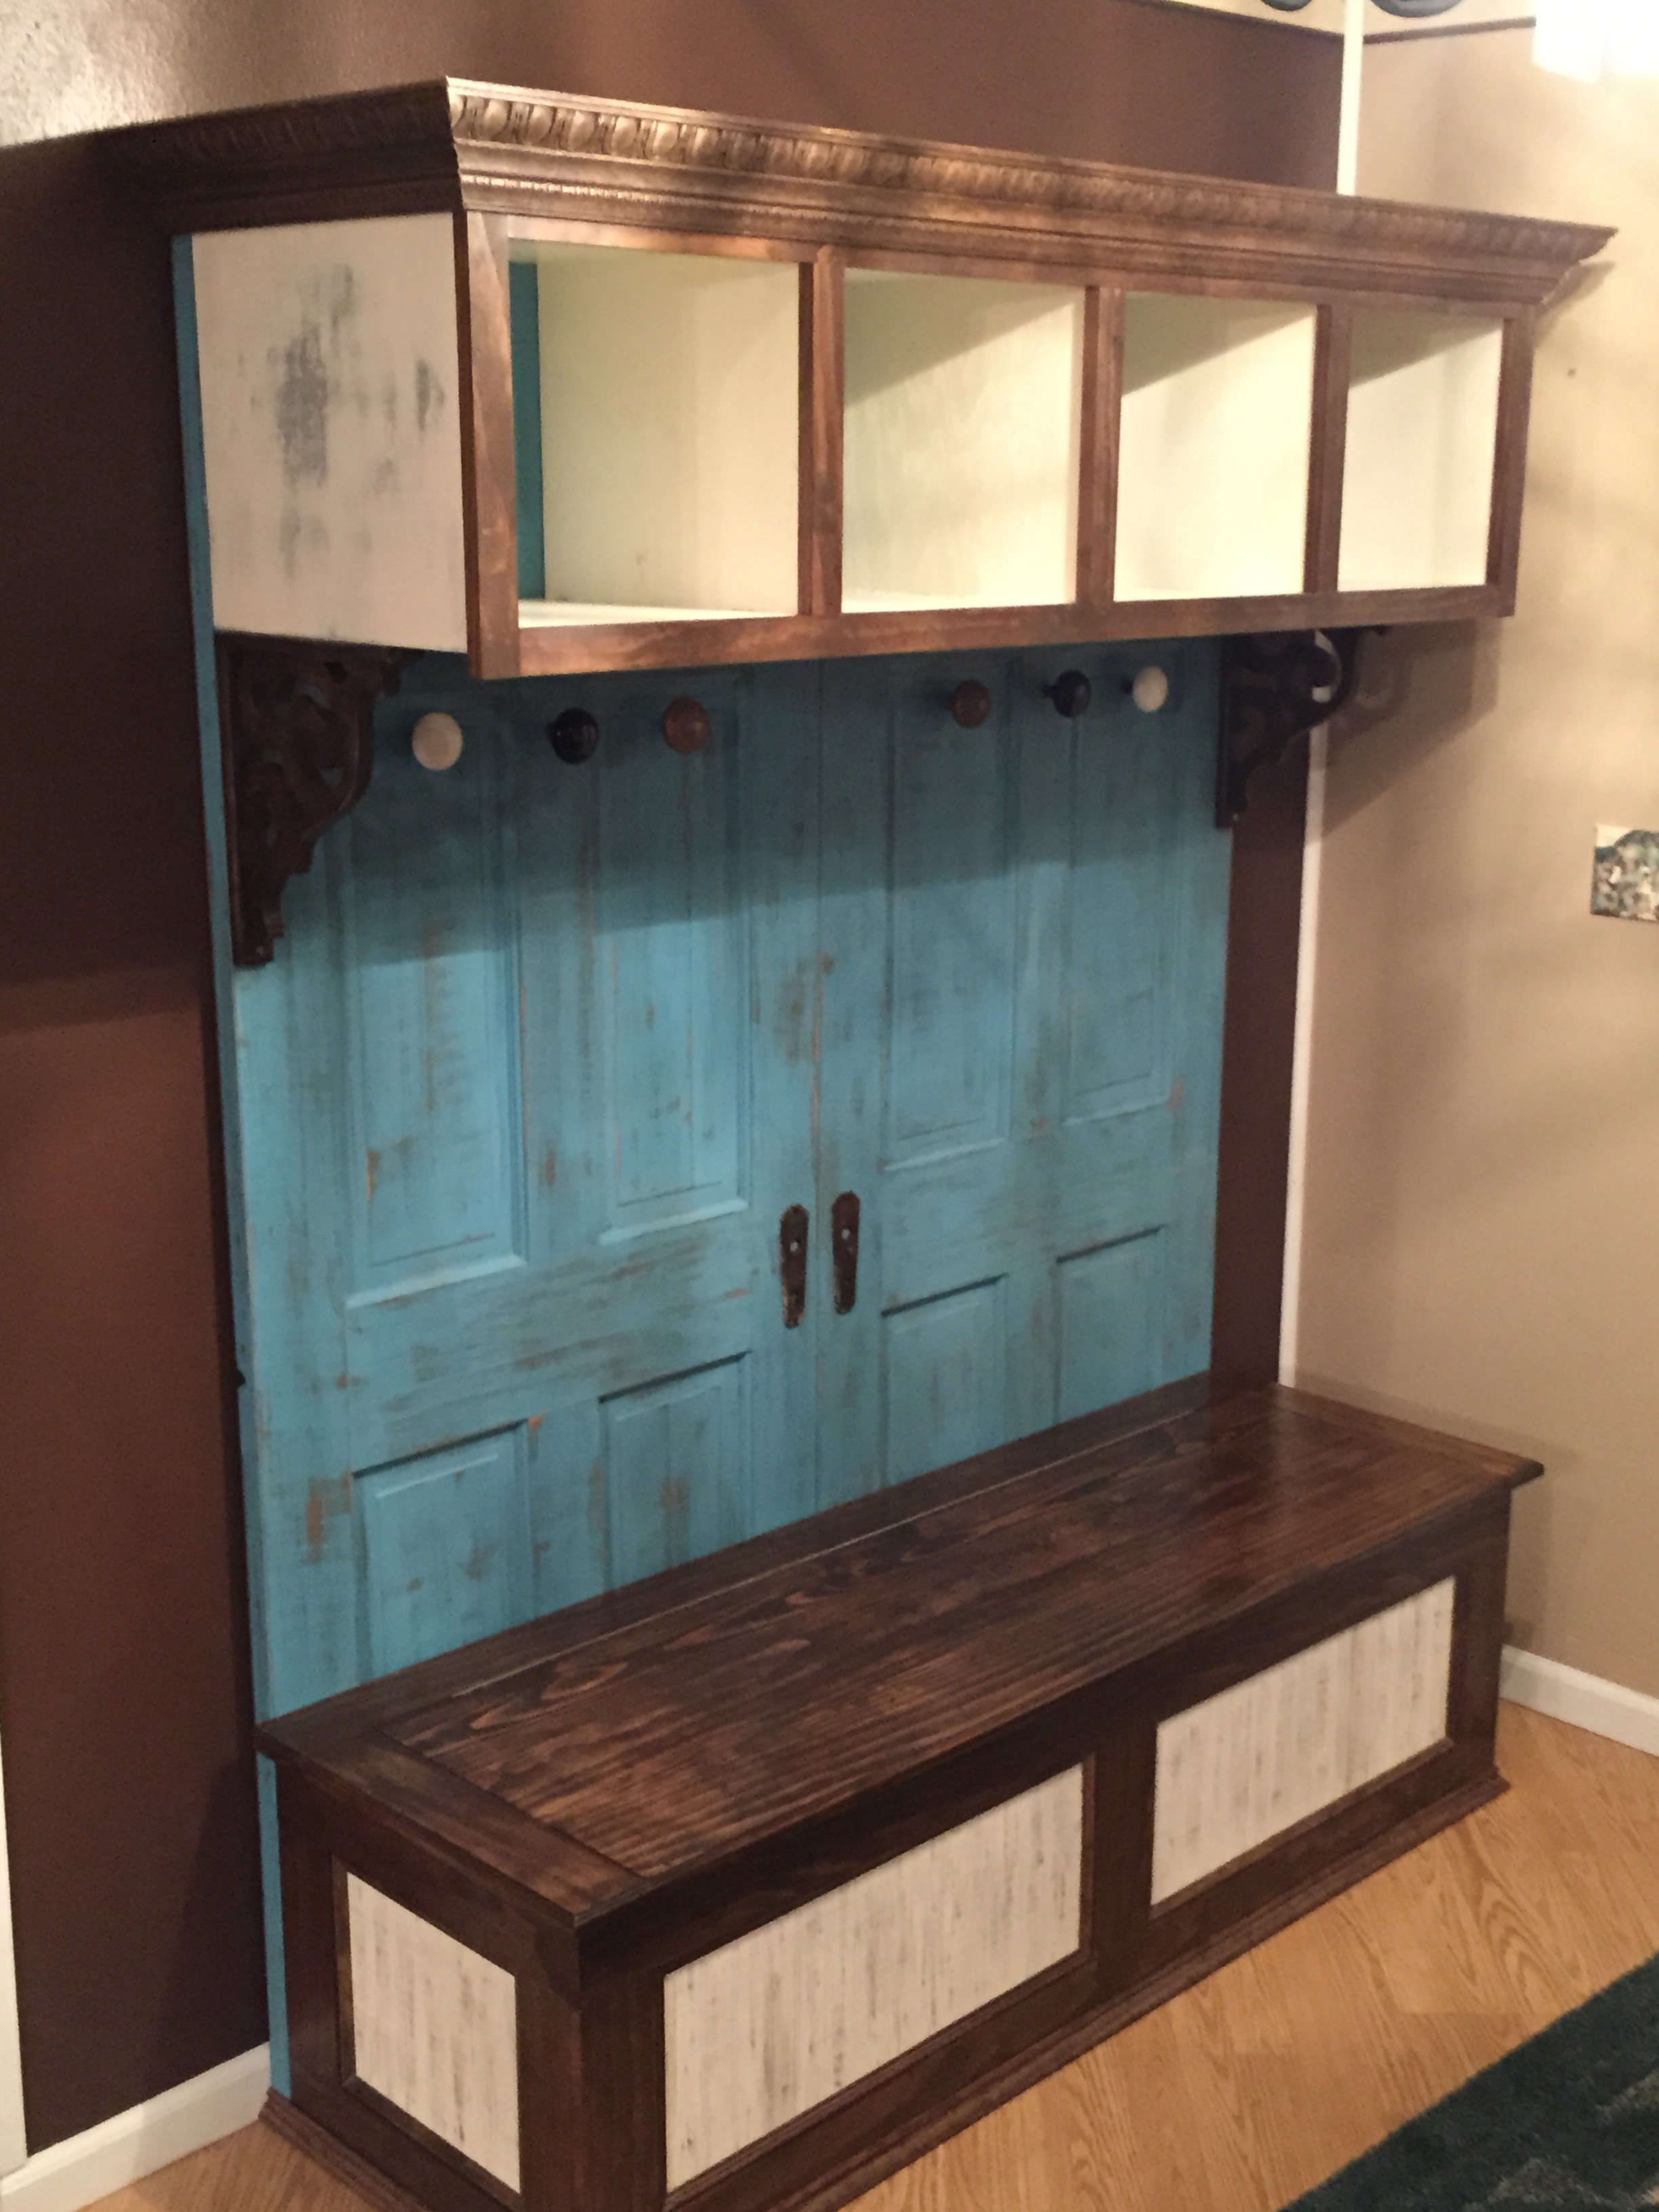
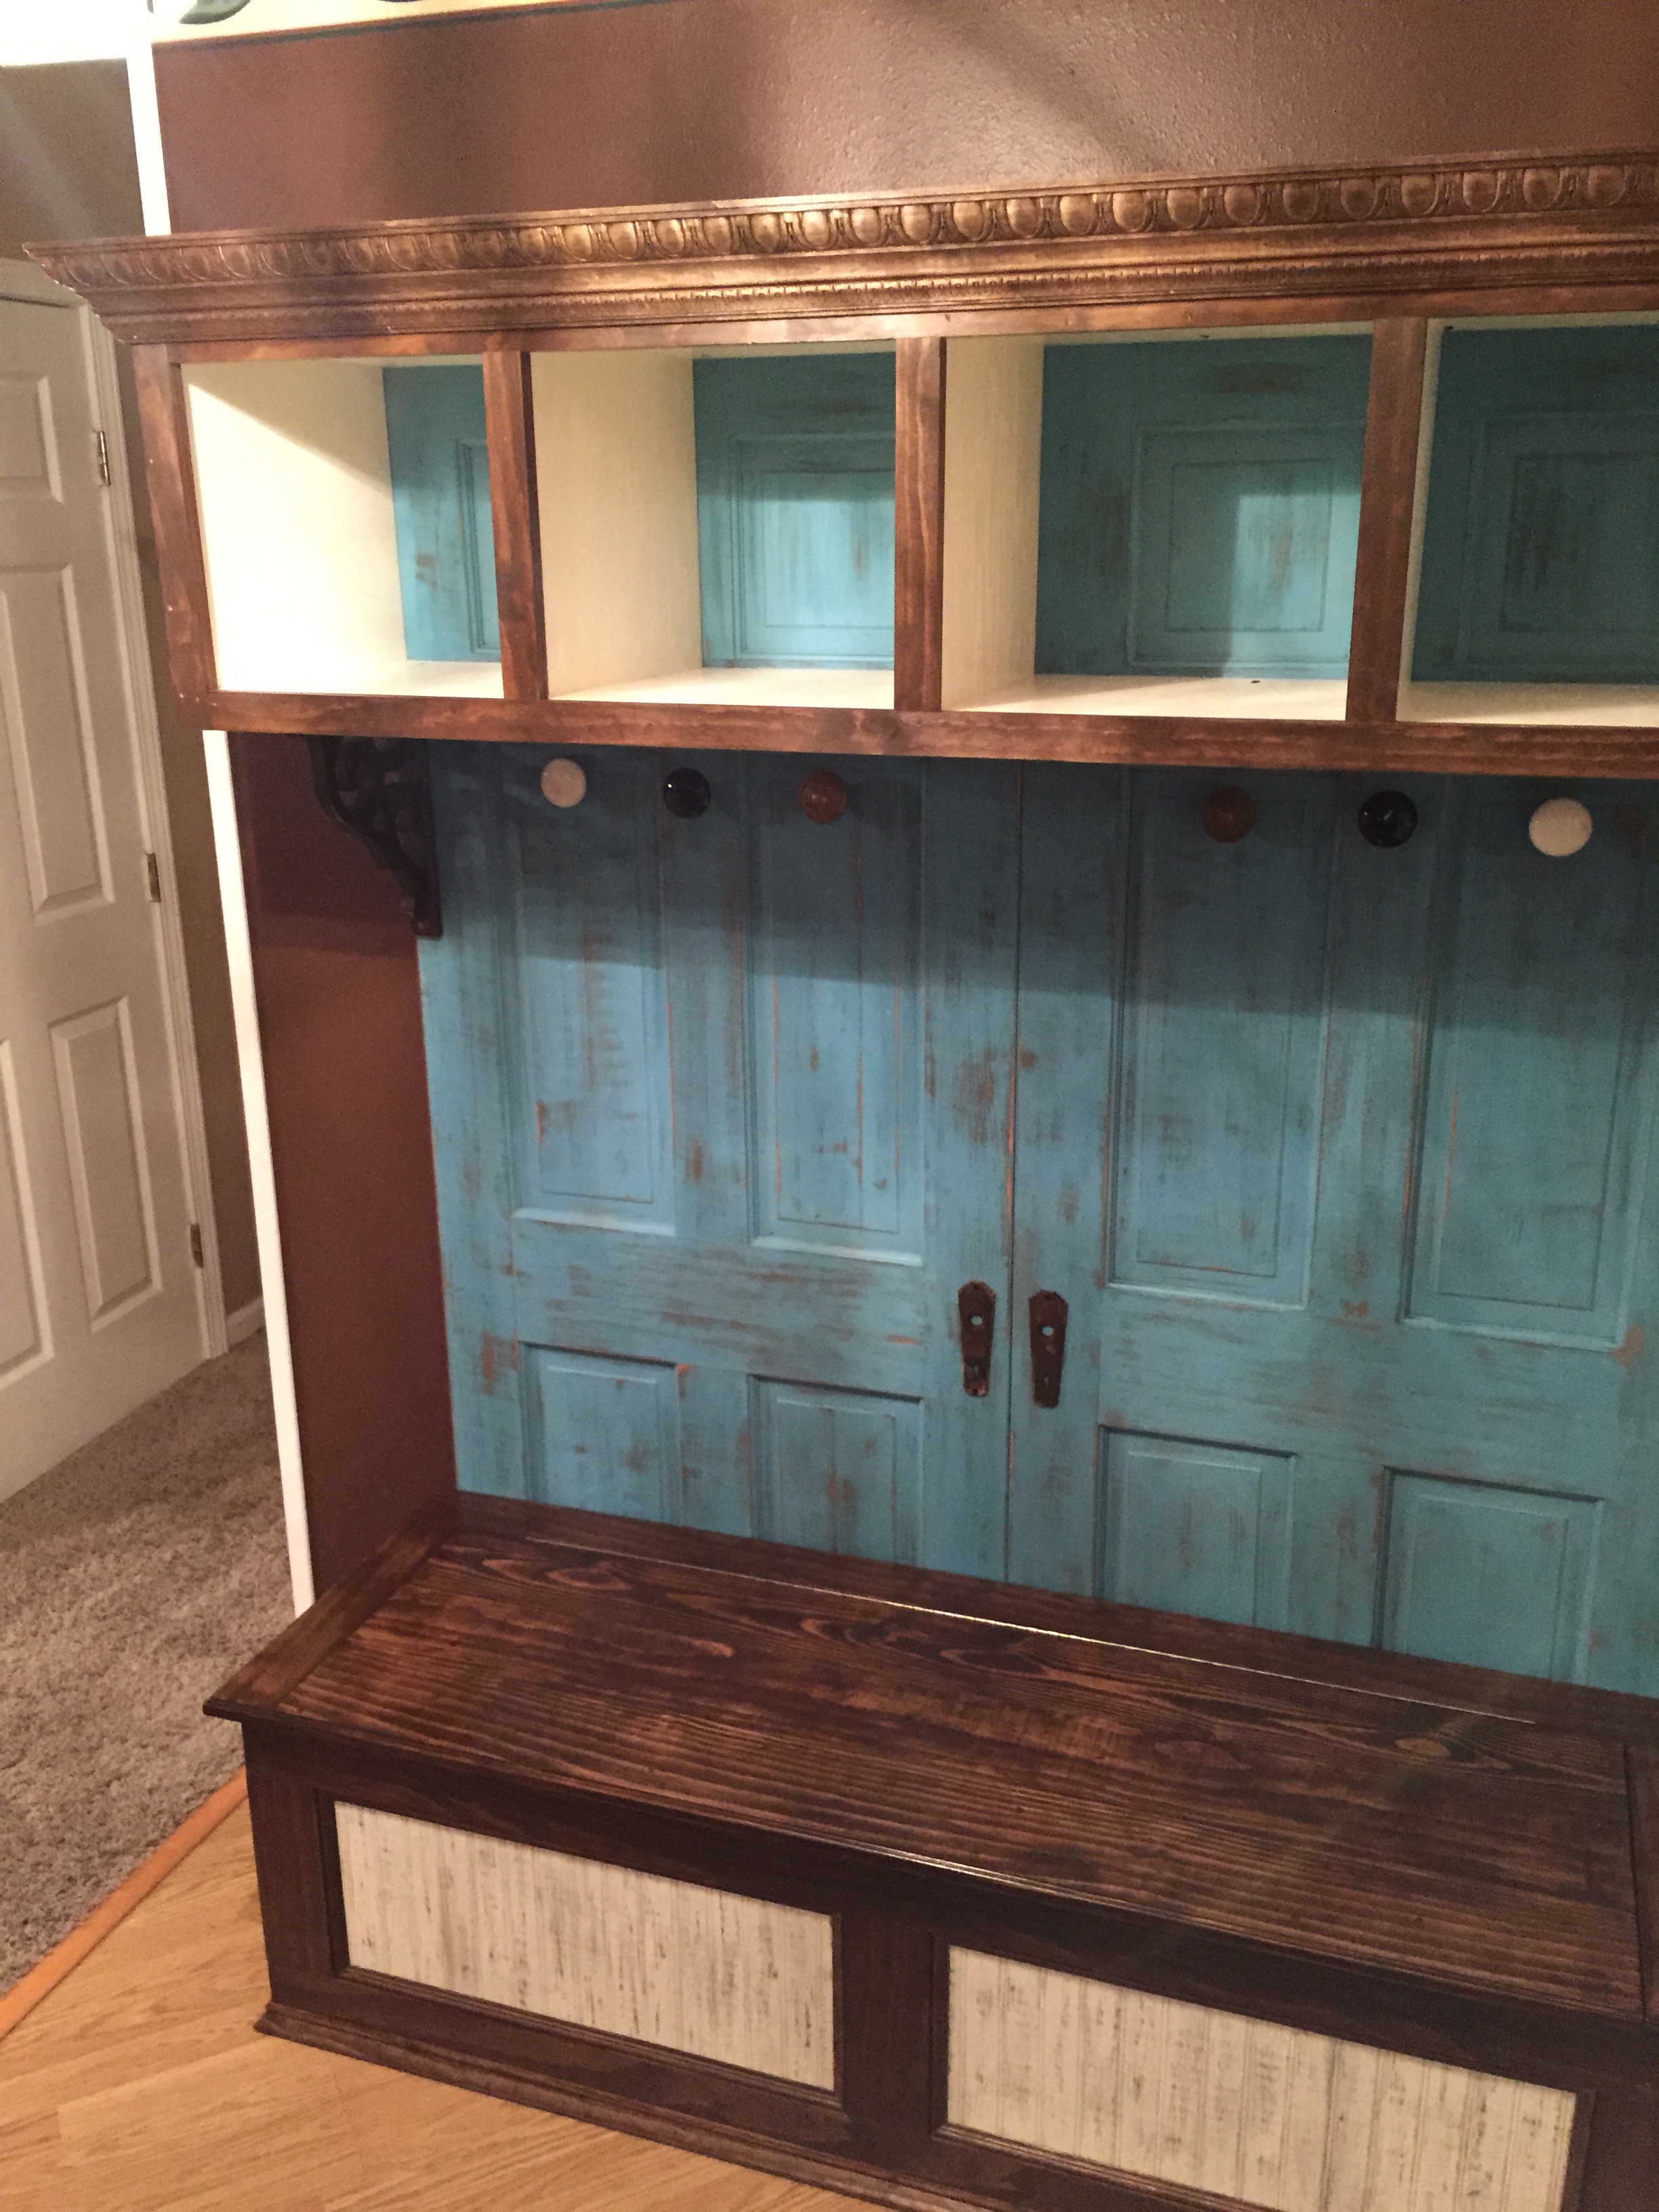
With my 3 young kids and all of their winter gear, I needed a coat rack that they can use. Since I don't have a miter saw, I asked my Father-in-law to make the cuts for me so I can't claim to have done that (although I am asking for a miter saw for my birthday!). Assembly was pretty easy with 2 pocket holes each on the roots and one for each of the limbs. With the small pieces of wood, it was tricky to get the holes centered using my Kreg Jig Jr. so I added some small finishing nails to some of the limbs for more support. (Think young kids tugging to get their coats down!) Some things I learned: Sand all pieces to the way you want them BEFORE assembling as it's nearly impossible to do later. Stagger the bottom roots because screwing in 8 screws to the same center point does not work. I ended up using shorter screws than the 2 1/2" recommended and had to add felt pads to stabilize the legs that were moved up to allow for me to fit the screws in. I am pleased with this project and while it's not perfect, it will get a lot of use around here!

Estimated Time Investment
An Hour or Two (0-2 Hours)
Finish Used
Spray primer, Rustoleum Slate Blue spray paint
Recommended Skill Level
Beginner

Farmhouse Table with Butcher Block

Submitted by kharris on Tue, 05/28/2013 - 16:51

We are selling our house and needed a small table for the corner of our kitchen. Since we had leftover butcher block after replacing the countertops, I modified the Farmhouse Table and bench plans. The piece worked perfectly in the space and the house sold immediately after our open house.

Estimated Cost
$100
Estimated Time Investment
Afternoon Project (3-6 Hours)
Finish Used
Mineral oil for the butcher block top and white paint and primer for the legs. We still need to varnish the top of the benches.
Recommended Skill Level
Beginner

Jewelry Cabinet

Submitted by jleigh333 on Sat, 04/25/2015 - 07:32

This is such an easy and fun project! This is the second time I've made this cabinet. The first time I made it identical to the one in the plans but this one was for my 11yr old niece so I wanted it to look more girly and less rustic. I used hooks instead of nails which I really like. Thanks for such a great plan!

Built from Plan(s)
Estimated Cost
$35
Estimated Time Investment
Afternoon Project (3-6 Hours)
Finish Used
Antique white paint
Recommended Skill Level
Starter Project

Comments

JoanneS

Sat, 04/25/2015 - 08:06

Great job on this jewelry cabinet! I love everything about it - the color, the hardware, and the hooks -- I'm sure your niece will adore it!

Pallet backboard

Submitted by ErinRN on Thu, 09/07/2017 - 06:55

My son found an old basketball rim and wanted it for his room. I googled plans and lo and behold, Ana provided again!! He wanted it simple (i.e. so he didn't have to do much work) so we stripped a pallet down and followed Ana's plans, sanding it but not staining it. He didn't want the frame for it either. The back is held together with 3 1x2's, 1 1/4" nails, and wood glue. Thankfully it is 32" wide so I could drill it into wood studs, although I did tell him this is not to be dunked on :-) He ordered a new net from Amazon for $5 and there you have it!

Estimated Cost
$5
Estimated Time Investment
An Hour or Two (0-2 Hours)
Recommended Skill Level
Beginner

Storage Bed

Submitted by mariakathh on Sun, 03/13/2011 - 08:40

So we really needed a better bed than the flimsy moderny thing that would shift at least a few inches when I would get into the bed. And I like storage. So this was a great fit. The folks at blue were really good to me and help me cut all my lengths of plywood. I did modify the headboard to be 3 inches taller. Otherwise the plans were great! I had one hiccup in adding the divider to one of the benches. It came out kind of slanted. So I would recommend having a lot of light and measuring it out in the back of the box when you are inserting the divider

Estimated Cost
$250
Estimated Time Investment
Weekend Project (10-20 Hours)
Recommended Skill Level
Beginner

Entry table/console table

Submitted by Medickep on Thu, 05/30/2013 - 12:52

I made this entry table to go by our front door. It's a spin off from the "console table" posted by Anna. I read some of the comments from people who had problems with her plans as a result of different standards in lumber and decided to alter this some!

I cut the side braces short enough so when I included the measurements of the legs the actual table top extended approx. 3/4" further past the legs and apron of the table. I also went with one sheet of wood on the table top and finished it up with some trim around the edge of the table top.

Estimated Cost
approx. 100.00 (depends on wood used, I used hemlock)
Estimated Time Investment
Day Project (6-9 Hours)
Finish Used
I wanted to paint the table to matched a near bye coat rack I made. I primed the table first and painted it with three coats of Behr premium paint. I also used a polyacrylic to protect it a little from my boys. I did three coats on all of it and two additional coats on the front of the legs, apron, table top and bottom brace. Make sure you sand with 300-400 grit between coats!
Recommended Skill Level
Starter Project

Industrial coffee table

Here is an industrial style coffee table I recently built.  I used reclaimed pallet wood for the top and shelves and I built the shelves to be removable if needed.  For the finish I used oil based poly in a satin.   

@timberandsoul 

www.facebook.com/timberandsoul

Estimated Cost
$140.00
Estimated Time Investment
Afternoon Project (3-6 Hours)
Finish Used
oil based poly
Recommended Skill Level
Beginner

Comments

Farmhouse dining table

Submitted by Anonymous (not verified) on Wed, 10/06/2021 - 14:44

We could not find a table that we liked within our price range so we decided to take matters into our own hands. Thanks to Anna White we were inspired to create this piece, our first wood building project ever!

Built from Plan(s)

Comments

Loft Bed

Submitted by Jenny Anne on Tue, 03/15/2011 - 08:43

I made this loft bed for my 4-year-old son.  It is plenty strong.  It can easily hold him and his daddy for bedtime stories.  I followed the plans to the letter.  I found this a challenging but attainable second project and only needed help with final assembly.  I'll start working on some bookshelves for under it but need to figure out how to work around the supports I already added (that are omitted in the bookshelf plans).  

Now I have to finish the poor kid's quilt so he can stop using my pink one.
Built from Plan(s)
Estimated Cost
$300
Estimated Time Investment
Week Long Project (20 Hours or More)
Finish Used
primed and painted with satin finish. I still need to cover the final assembly screws and touch up some junctions. One note if you paint this, DON'T paint the sections of the long boards that you'll have to slide in on final assembly. We had to sand that paint off to get them to squeeze in.
Recommended Skill Level
Intermediate

Simple Outdoor Table

Submitted by ShannonMN on Sun, 06/02/2013 - 11:06

I took the Simple Outdoor Table along with a table I had seen at Pottery Barn and kind of put this together. It made of cedar and stained with a natural to keep the pretty color.

Estimated Time Investment
Weekend Project (10-20 Hours)
Finish Used
Behr stain and protect in natural color.
Recommended Skill Level
Intermediate

Comments

bullitt453

Sun, 06/02/2013 - 19:28

Very nice! If you don't mind me asking, about how much money do you have invested in the table? I have been considering building something very similar, though smaller.

ShannonMN

Mon, 06/03/2013 - 13:25

Thanks! I did have extra wood left over but if I had to guess it was around $100 - $130 and that's for all cedar.

storchinsky

Mon, 06/03/2013 - 16:58

I really love the way you did this table! I've been considering a bunch of different plans and haven't been entirely satisfied with any of them. What are the dimensions of your table? And do you have measurements, or did you just figure it out as you went?

In reply to by storchinsky

ShannonMN

Wed, 06/05/2013 - 08:33

I started out with the size of 8 ft by 40 inches. It isn't exact but it's real close. After I had the initial measurements I just kind of pieced it together. I got ideas from looking at different tables on here and followed the pattern of the one I liked at Pottery Barn.

Charging Station

Submitted by Bradnag on Wed, 09/13/2017 - 05:20

I used the charging station plans as my first attempt at building something using pocket holes, and also my first real attempt at building any piece of furniture from scratch. I stuck pretty much to Ana's plans except for not cutting the front footer (I didn't own a jigsaw at the time) and using panes of frosted glass as the center of the doors.


As a piece of furniture it gets used every day, but it has been most invaluable to me as a learning experience. I've built many pieces of furniture in the time since I made the charging station, growing my skills each time. But this project was where I started, so it always feels a little extra special to me.

Estimated Cost
$40
Estimated Time Investment
Afternoon Project (3-6 Hours)
Finish Used
Varathane Premium Fast Dry Wood Stain, weathered gray
Recommended Skill Level
Intermediate

Coffee Table

My wife said she did not want anything for her birthday, so instead of buying her
something after she said that, I decided to try and make something.  We did not have a coffee table in our living room - when we hosted Christmas, we had a piece of plywood over boxes, covered with a table cloth.  So I decided to try and make a coffee table for her.

Made some mistakes sanding the top, so then had to spend a lot more time sanding out the gouges.I did not use a plan per se, but when I started looking here, it was remarkable similar to Clara's Table, with differeing dimensions.  The cost was a little higher due to the oak boards for the table top.  Those alone were $50.

Built from Plan(s)
Estimated Cost
75
Estimated Time Investment
Weekend Project (10-20 Hours)
Finish Used
I was tring to match the piece in the background as much as possible. For stain, the base was Minwax red oak and the top was Minwax gunstock. Sealed with 6 coats of Minwax wipe on poly - 4 clear, and 2 satin.
Recommended Skill Level
Beginner

Red Cedar "Simple Outdoor Dining Table"

This table follows the plan pretty closely except that I wanted to use Red Cedar because of its beauty and durability. We can only get Red Cedar at one National Chain here and it only came in 6" widths, which meant a few recalculations. We also used deck strips (as recommended at the store) to attach the top from underneath (shown in photo) and adjusted the screw length to accommodate. We were able to keep waste to a minimum (seen in photo with triangle) by making sure to cut varying lengths from the boards (ie. one board gave us the length and width of the table). This was made easier by the available lengths of board from the store (8', 10', 12'). Another recommendation from the store was to use coated screws with cedar to prevent black streaks over time.
I love my new table!

Estimated Cost
$190
Estimated Time Investment
Afternoon Project (3-6 Hours)
Recommended Skill Level
Starter Project

Comments

egookaasan

Wed, 11/11/2015 - 11:08

I was wondering about the size of this table.  If I need to make three different sized tables, 36x36  24x24  and 24x30 would this pattern be easy to adjust?

Thanks,

Sarah

A rustic coffee table for my mum

Submitted by sagey on Sun, 05/03/2015 - 21:59

This is a turned leg coffee table that i built for my mum. the top is reclaimed and the legs were found on a cheap craigslist side table!

I used corner brackets to secure the legs so they could be taken on and off...as i needed to ship the table in the mail.

The boards on top were already distressed but i used a gooey month long festering vinegar and steel wool concoction to add even more interesting layers.

I am so happy with the table and my mother is in love with it!!!!

Thanx again for the great plan and resource that helped me build it!

Estimated Cost
wood free
legs 35.00
Estimated Time Investment
Week Long Project (20 Hours or More)
Finish Used
top= oxidizing solution vinegar and steel wool steeped for over a month.
wax finish
legs chalk paint
Recommended Skill Level
Beginner

Comments

My very first build and I love it

Submitted by kimewest on Tue, 06/04/2013 - 20:47

This is my first try at building! Well, I have built above ground gardens but never furniture. Seeing what everyone has done on this site encouraged me to give it a try too. I'm so glad I did and it turned out exactly as I wanted. Now, I have several other projects that I'm excited to start. This could get addicting.

I needed a side table for my office and wanted it to match the decor. I have all black picture frames and accessories and needed the wood to look very similar to what was on the couch. I had planned on painting the bottom shelf but really liked it plain so decided to stain it as well.

Built from Plan(s)
Estimated Cost
About $60 but would have been less if I'd done this before
Estimated Time Investment
Weekend Project (10-20 Hours)
Finish Used
High gloss black paint and Minwax Rosewood stain. I finished with a glossy polyurethane.
Recommended Skill Level
Starter Project

Hall Tree

After 10 years of kicking around back packs and shoes that are always in the way, my wife decided she would like a Hall Tree for our foyer. For the last year or so I have been gathering ideas from the internet and putting plans together in “Sketchup”. I wanted to re-purpose some old doors and door knobs and was fortunate to find them at local auctions and antique malls. I’ll have to say that finding a pair of matching solid wood doors was the hardest thing to do. I was lucky to find a pair at an antique mall, and only paid $36 for both. The porcelain door knobs are used for hanging our jackets and coats. I found several of these at an auction. I used a piano hinge for the bench and installed a soft close hinge made by “Sugatsune” which I found on “Amazon’s” website


 Not cheap but well worth eliminating the dreadful slamming sound of the bench door. I had never distressed anything, but this and my wallet received plenty during the build. I’d have to say the best part of the build was working with my little cookie monster. She was always wanting to help, and I’m gonna let her because you all know as well as I that those days won’t last forever. Not a professional by any means, but Thanks for looking.

Built from Plan(s)
Estimated Time Investment
Week Long Project (20 Hours or More)
Finish Used
Dark Walnut Stain, Antique White and Turquoise Latex
Recommended Skill Level
Intermediate

Comments

adeath

Thu, 05/07/2015 - 11:31

This is really fantastic. I love the doors as a design element. I may just have to head out this weekend and find some matching doors.

c_loughridge

Mon, 05/18/2015 - 05:10

Thanks Ana. Also thank you for all you do to keep this site up and going....really appreciate all the great plans and ideas.

Safejosh

Thu, 11/17/2016 - 11:37

I would love to build this but, I could not find the plans for this size of a bench to match the back piece. Could someone please assist? Thank you.

Farmhouse bed - twin size

Submitted by Teazle33 on Wed, 09/20/2017 - 19:30

This is the first bed I have built. It turned out better than I expected. The plans were great and easy to follow. I completed the bed from start to finish in two days. The steps I made from leftover material. 

Built from Plan(s)
Estimated Cost
200
Estimated Time Investment
Weekend Project (10-20 Hours)
Finish Used
Dark walnut stain
Recommended Skill Level
Beginner

Modern Farmhouse Tables

Submitted by Anonymous (not verified) on Sat, 10/16/2021 - 09:43

I made the coffee table, an end table and I modified the console table to add another shelf because I have too much stuff lol! These are my first wood projects and I am happy how they turned out 🥰

Comments

Factory Cart: How Low can you go?

Submitted by chjaway2 on Wed, 03/23/2011 - 08:15

The Factory cart was really easy to put together.

I used a pocket-hole jig to eliminate any screw heads on the exterior.
The wood I had was already distressed somewhat, but I figured that would add to the 'old' look when ultimately completed.
The most difficult part of this project was finding casters that I liked and that I could afford (those suckers are expensive!)  I'm still not 100% sold on the ones I purchased, but will keep my eyes open when out & about for replacements!
The plans posted on Ana-White.com could NOT have been easier to follow.
However, I should like to stress that this coffee table is EXTREMELY low to the ground.  One of the first lines on the plan page reads:  "This coffee table sits lower than traditional coffee tables." = understatement of the year!  (my fault, I should have compared the posted dimensions with an existing coffee table to get an idea before hand) 

The plans will make a awesome factory cart height factory cart, but a nearly-uncomfortable height coffee table (As is).  In the attached photo, you'll note a foot-rest in the upper left corner as compared to the finished factory cart.
 --again, the build was super easy & a LOT of fun because I intended the finish to look worn, I didn't have worry about scratching up the wood during the build.  In fact, the kids are looking forward to helping me distress it later!  I'll just have to increase the height of the sides to make it usable as a coffee table in our home.

Built from Plan(s)
Estimated Cost
$40
Estimated Time Investment
Afternoon Project (3-6 Hours)
Finish Used
(Will) Paint, distress & stain
Recommended Skill Level
Beginner