Community Brag Posts

small bed large bed project

Submitted by Anonymous (not verified) on Mon, 01/17/2022 - 08:03

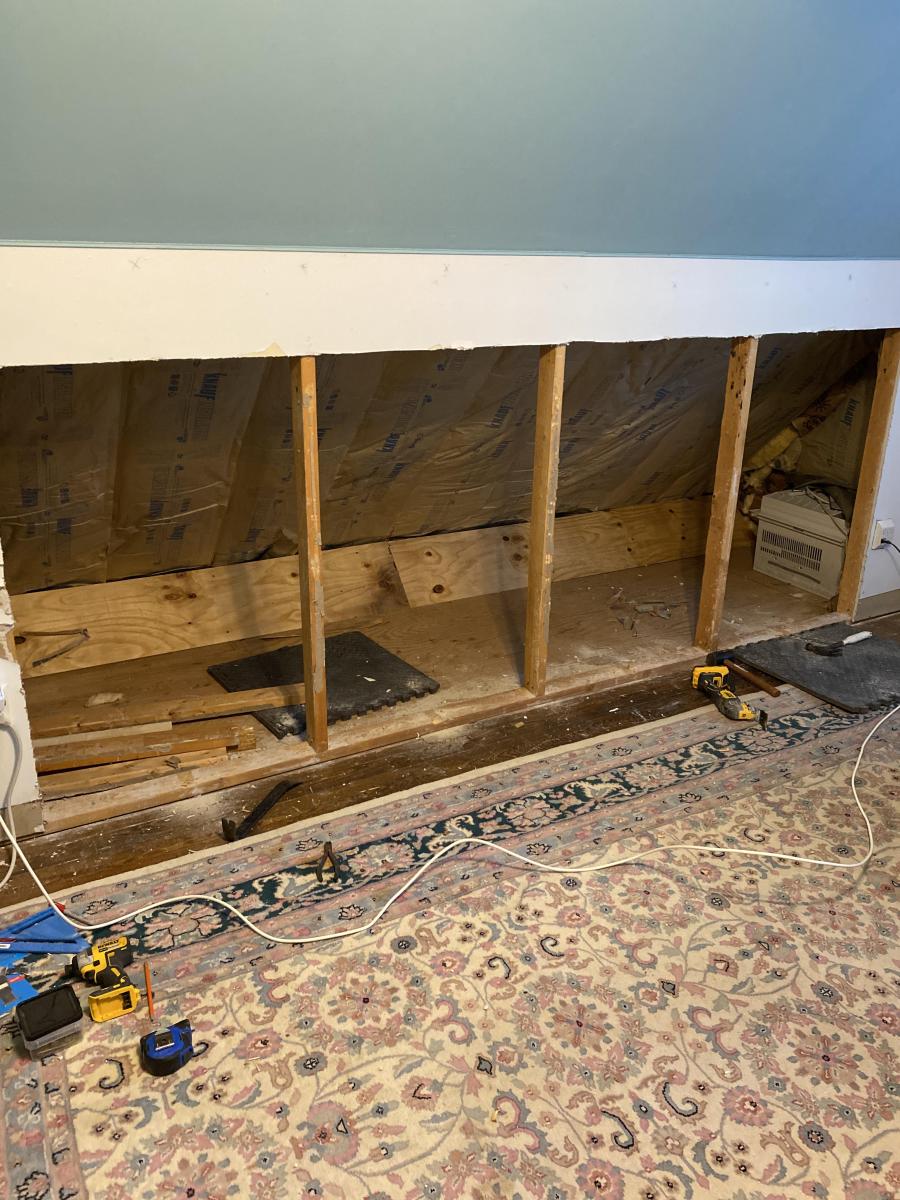
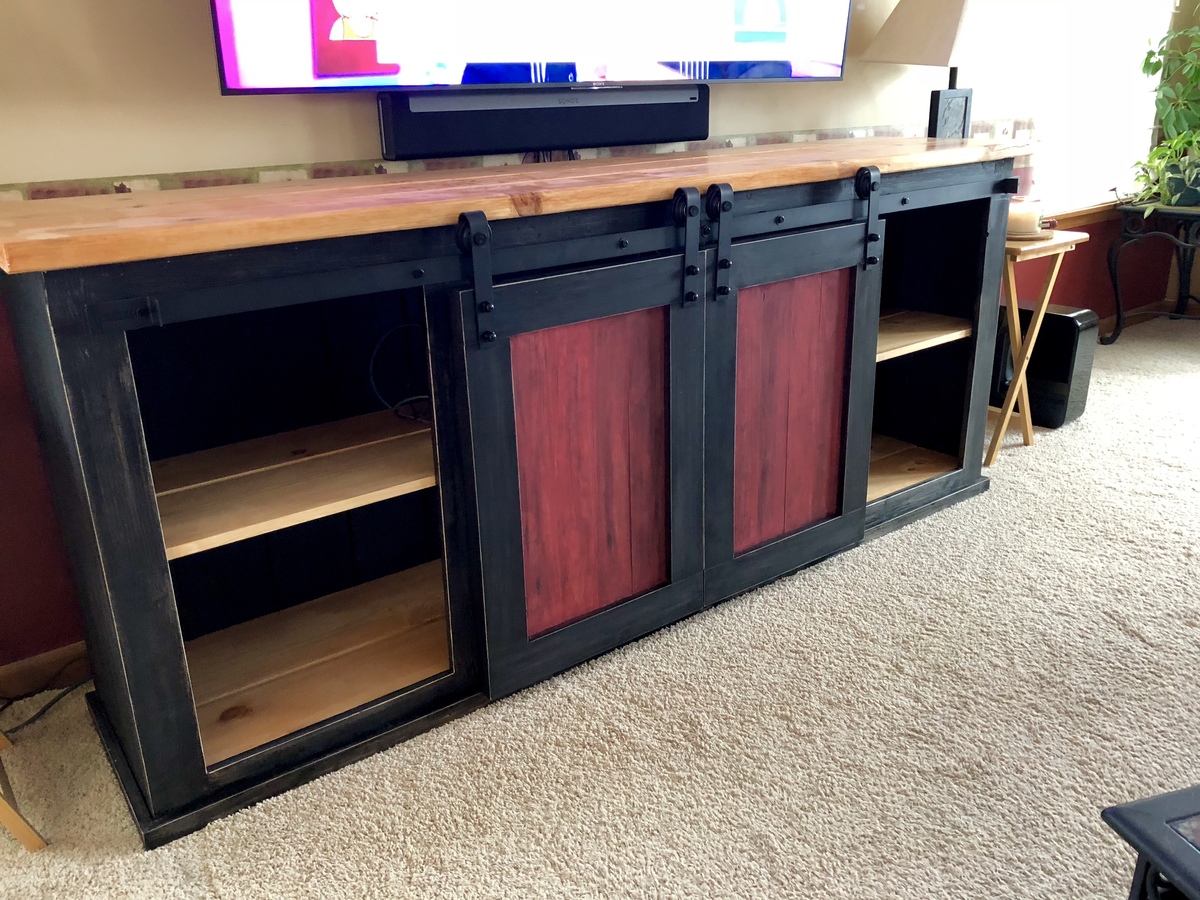
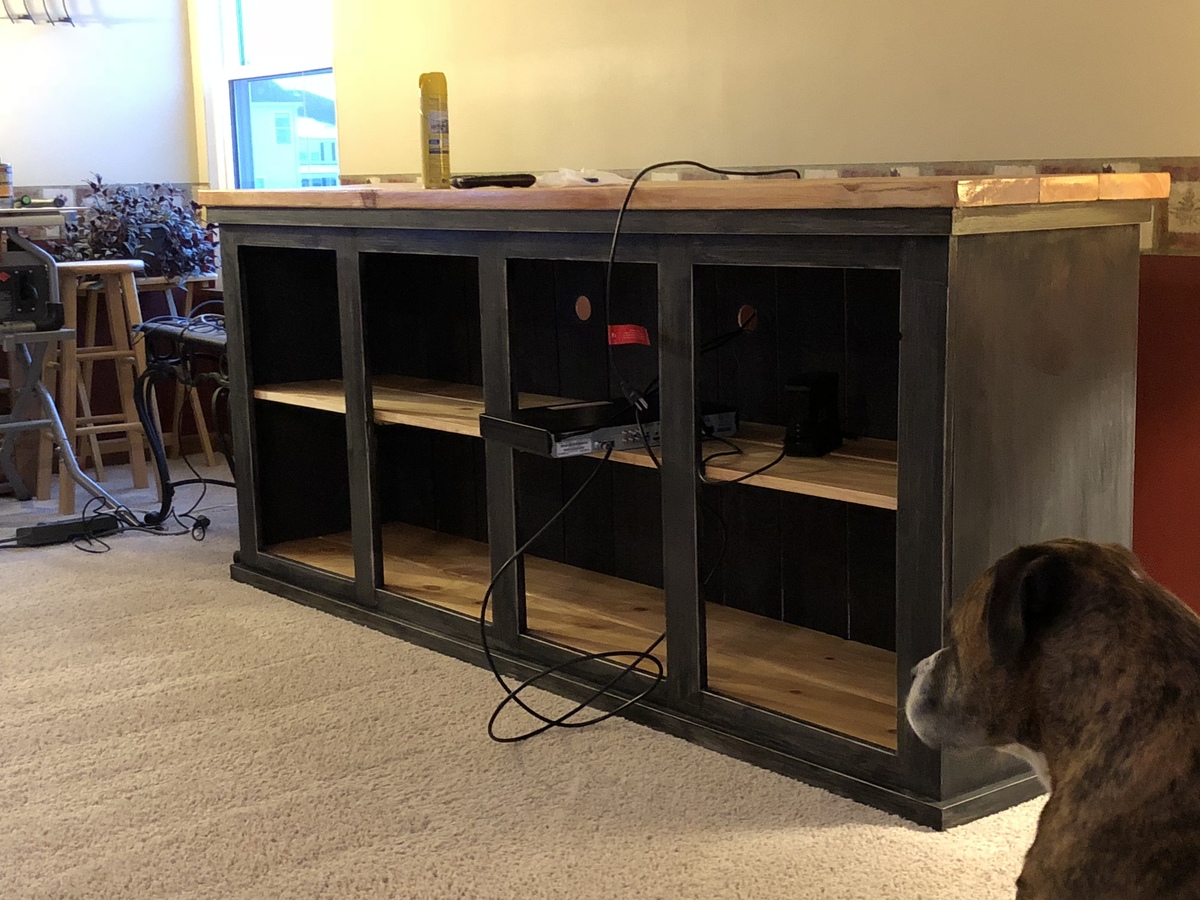
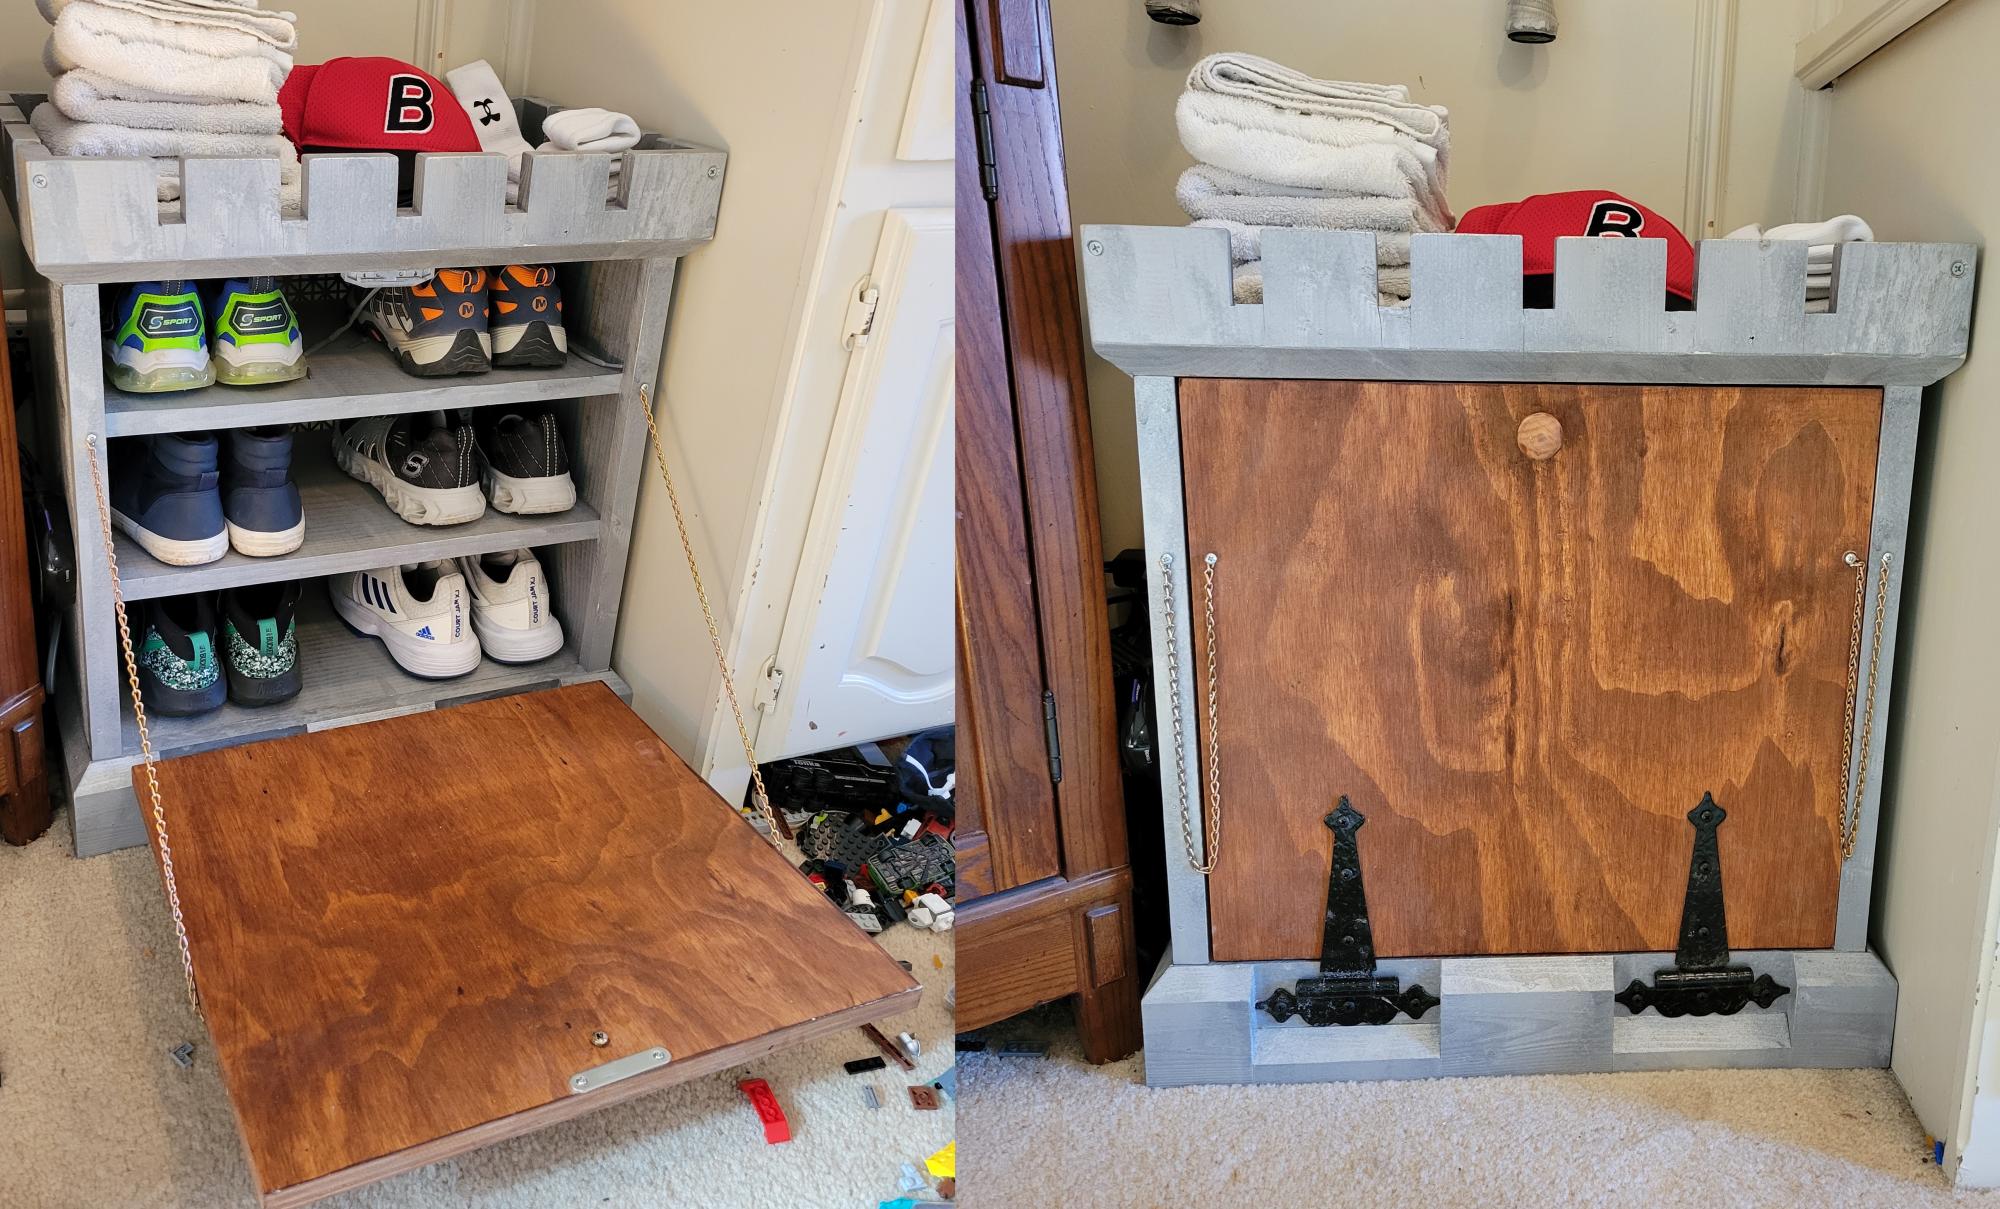
After seeing your knee wall project I decided I could modify it to work for me. first I insulated the angular wall to provide a conditioned environment. (wife wanted to store Christmas decorations. Then removed existing sheetrock, removed every other vertical 2x4 and had the opening size I wanted . Currently working on sheet rocking the interior and will then begin to work on the doors. Waiting on hinges. I think my wife likes it so far. I'll upgrade with photos when done. thanks

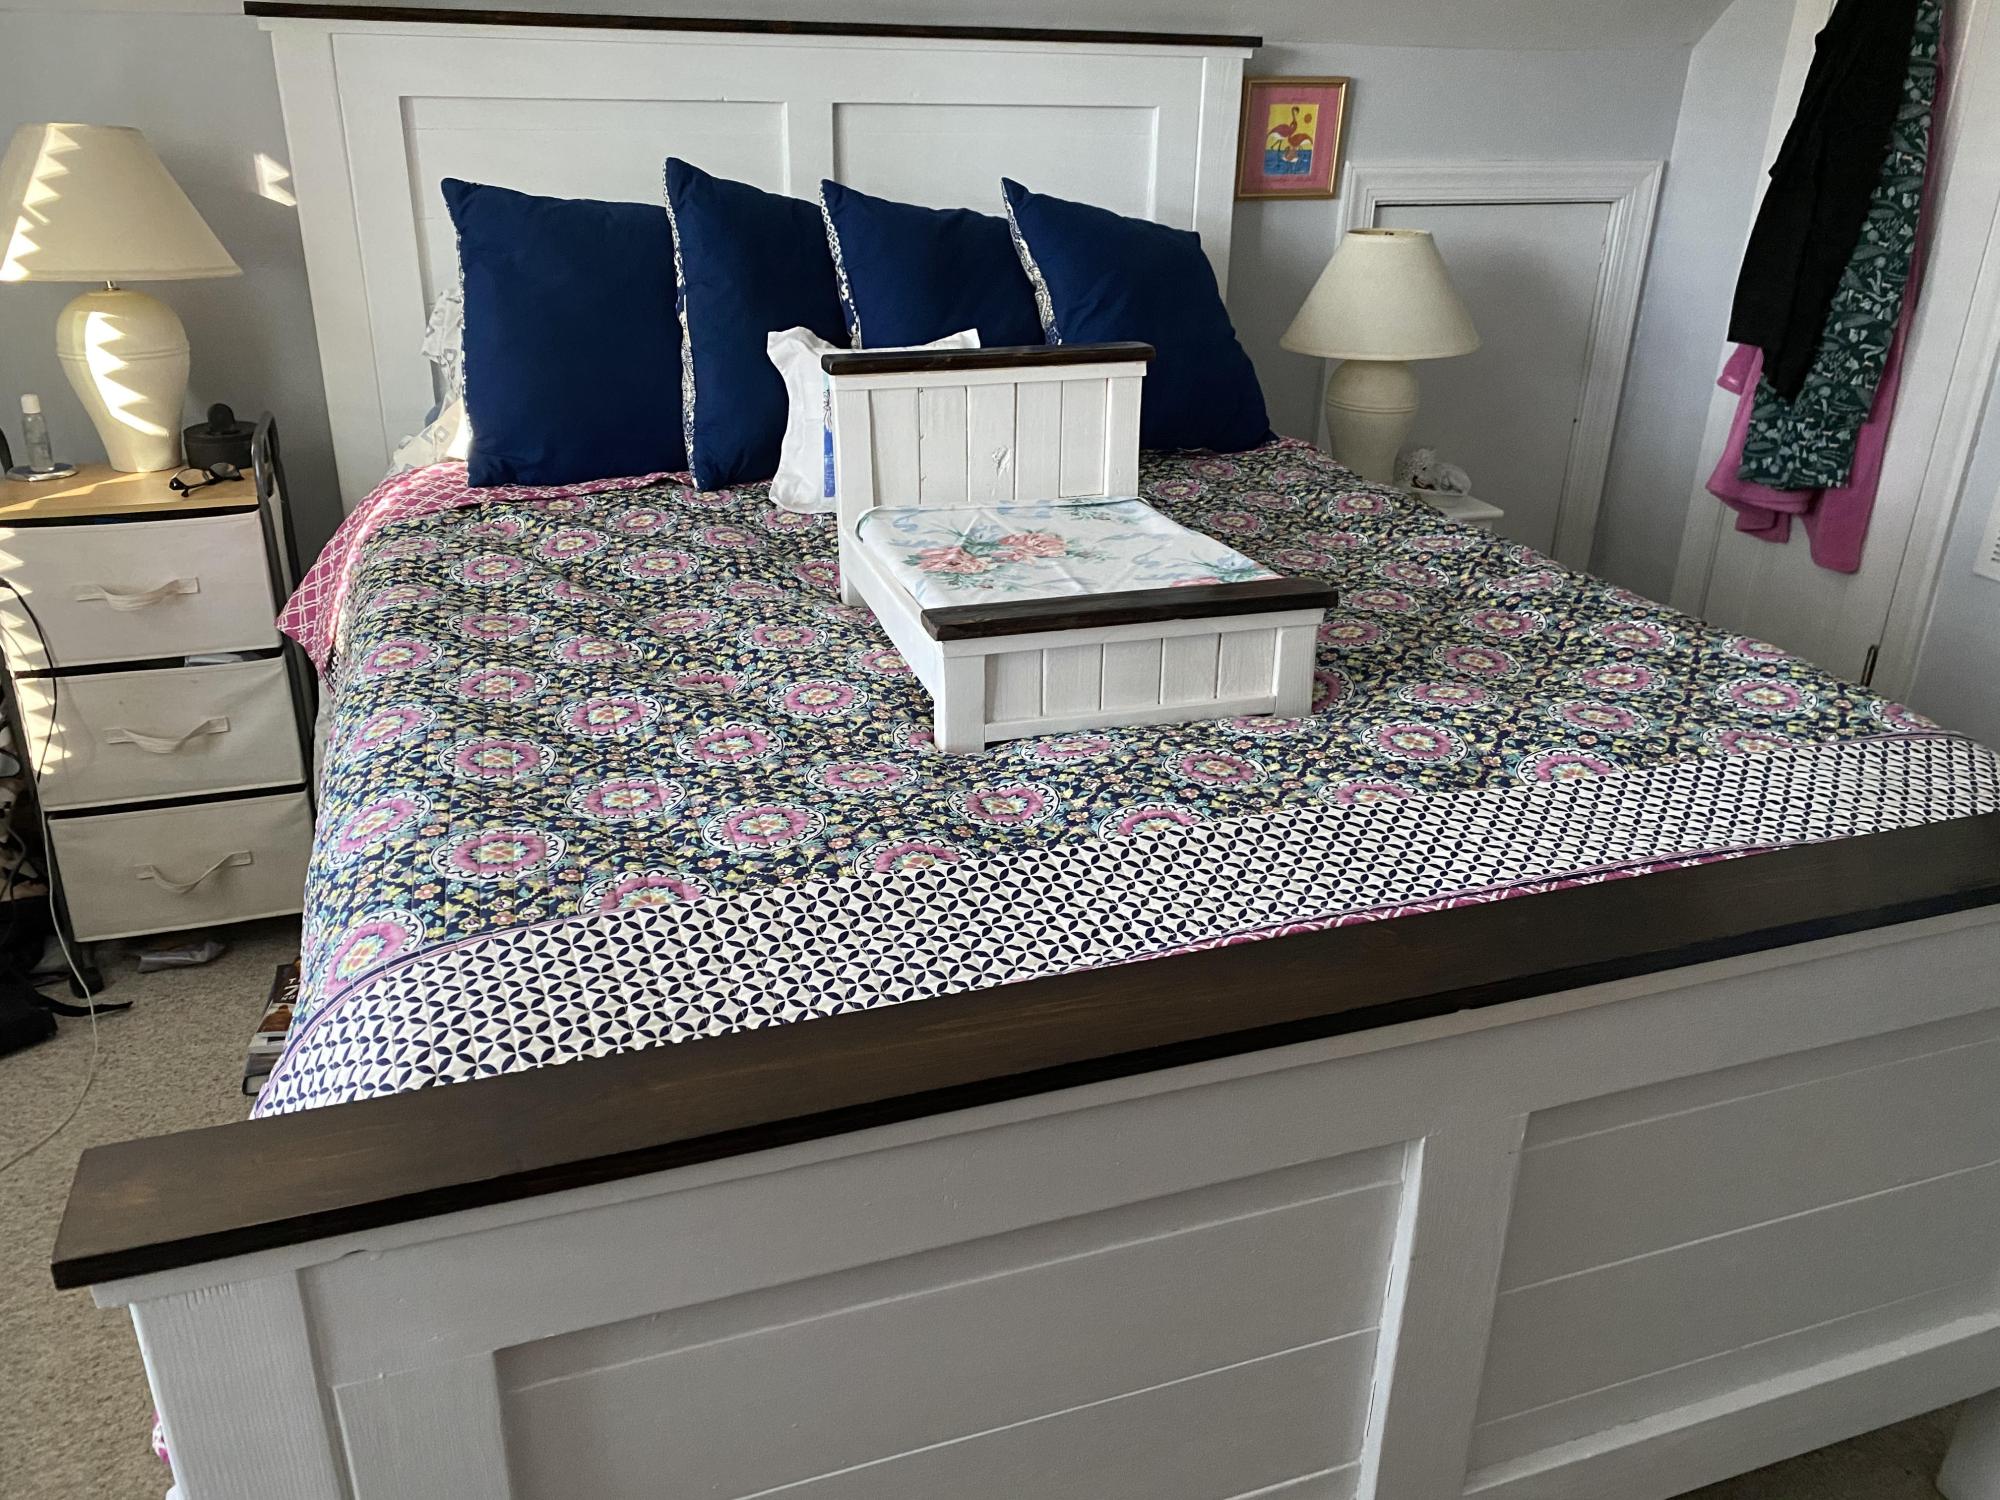
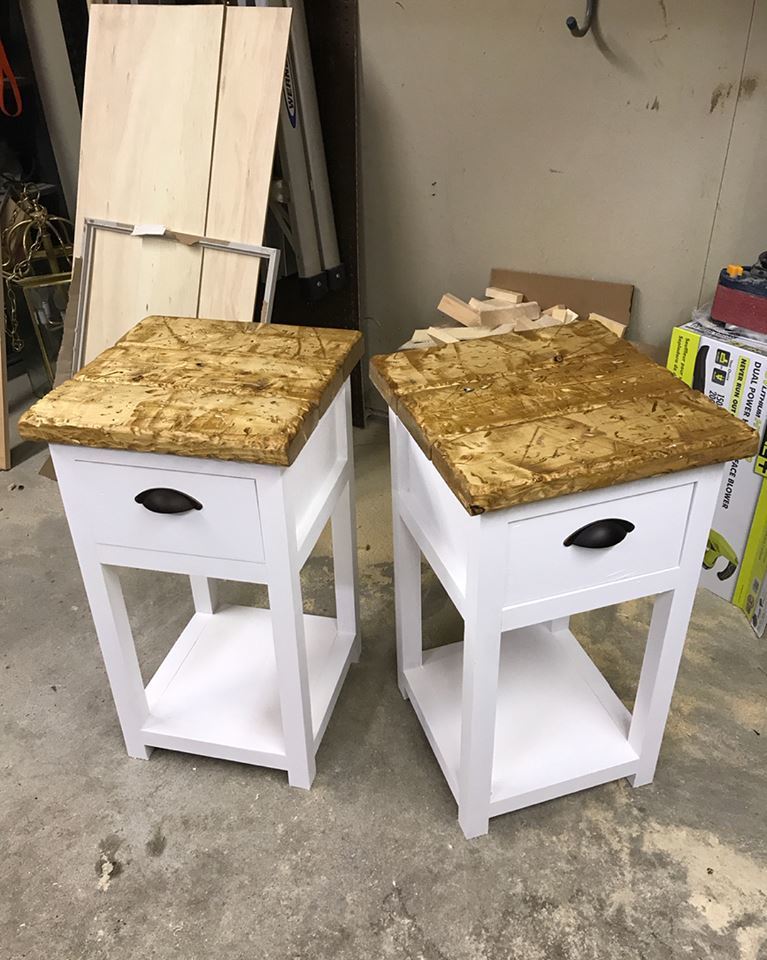
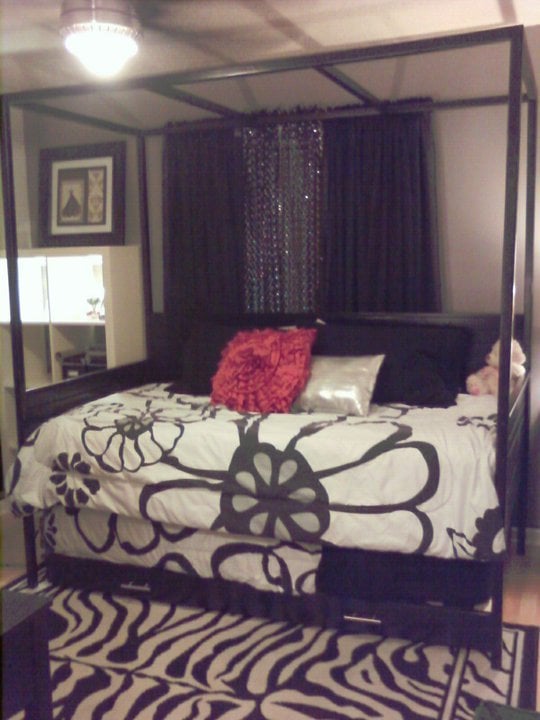
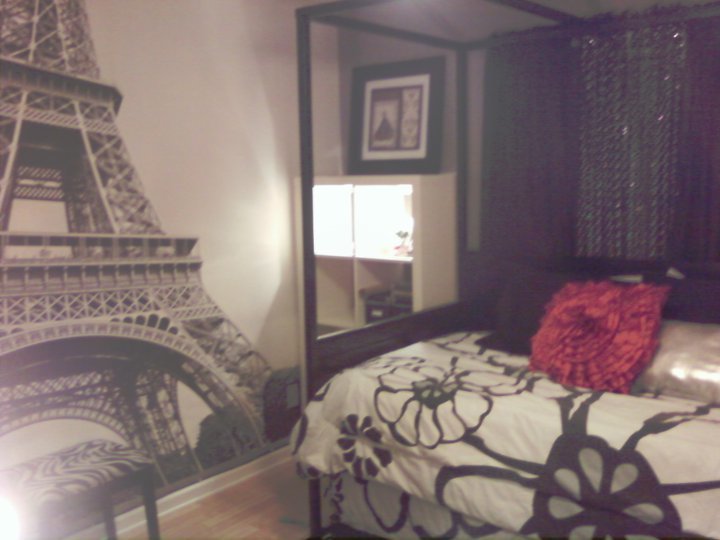
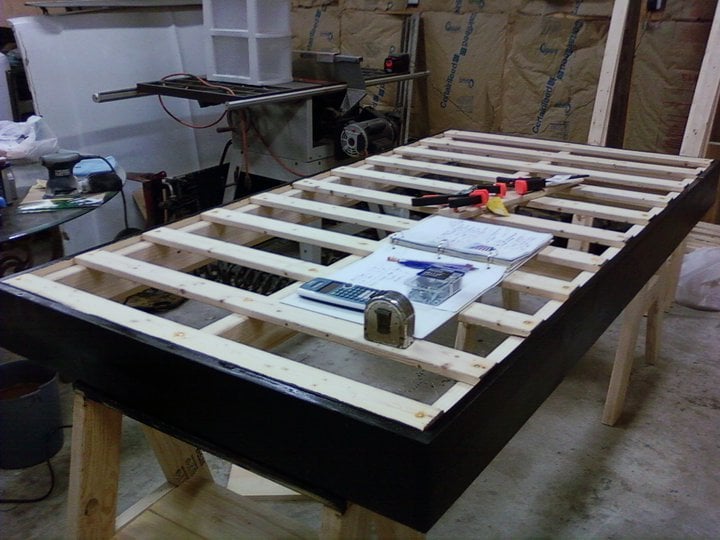
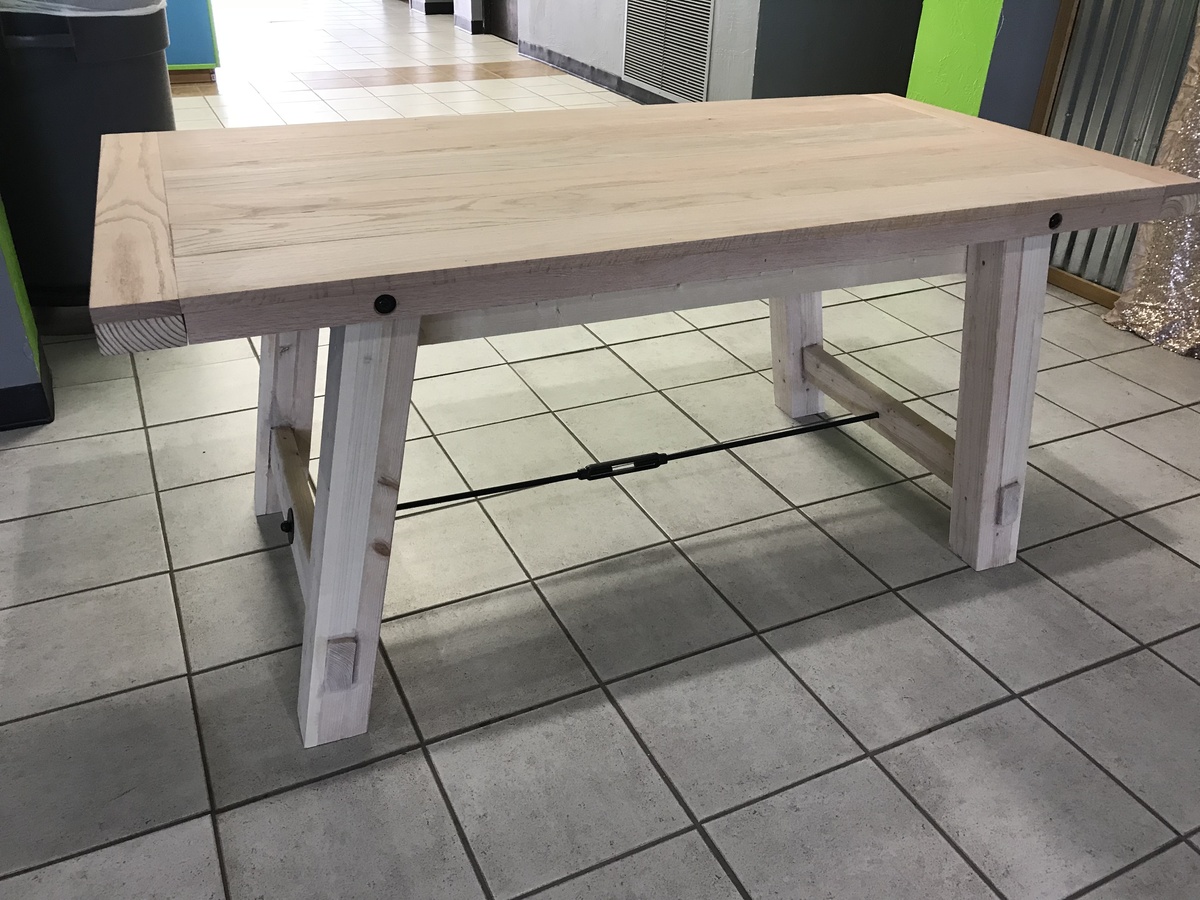
the small bed was from one of your plans (american girl bed) and then we just changed dimensions and made our master bed (Queen). That was a fun project.

Thanks for sending plans, we look forward to them.
George, Mechanicsville, Virginia

Comments

Distressed Bed Side Tables

Submitted by Ryan in NH on Mon, 01/29/2018 - 07:38

This was a really fun project. I altered the dimensions slighly to fit my space. I also used a piece of 1/4" ply for the bottom shelf instead of thicker common board. You can keep the cost way down if you rip 2x6's into 2x2's. A single 2x2 is about $10 whereas a 2x6 is $6. You get three 2x2's out of the 2x6, so you're basically getting triple for half the cost. Pick REALLY straight 2x6's though! 

Estimated Time Investment
Day Project (6-9 Hours)
Finish Used
Ipswitch pine on distressed top
Recommended Skill Level
Intermediate

Wood Push Car & Truck

Submitted by Sue Hill on Wed, 01/26/2022 - 07:15

These are fabulous little vehicles that I made for my 18 month grandson when he visits. After making the car and truck, I decided to add a simple bus with round windows.
I used scrap wood, cut out the truck wheels with a hole saw but purchased a package of wheels for the others. My little cars aren't perfect but that adds to the charm.

Comments

Clip strip art

This was a great way to keep my five year old daughter busy on a rainy afternoon. I had a scrap piece of 1x4 and bought some clothes pins and 10 cents clearance wooden figures at Joann. We also used some left over acrylic paint and some glitter nail polish. Thanks for a other great idea Ana!

Built from Plan(s)
Estimated Cost
$5
Estimated Time Investment
An Hour or Two (0-2 Hours)
Recommended Skill Level
Starter Project

Barn door cabinet

7.5' long cabinet, made with pine boards. Hardware purchased on Amazon.

Built from Plan(s)
Estimated Cost
$400
Estimated Time Investment
Weekend Project (10-20 Hours)
Finish Used
This was made to sit under our new wall mounted 75" tv!
Recommended Skill Level
Intermediate

Comments

Outdoor Daybed with Canopy turned indoor bed with custom trundle...

The daughter was whining (since that's what teenagers do) for a new bed(room) and a daybed was a requirement. After searching for the perfect one, we couldn't find one that worked with MY budget! When I came across these plans, I was thrilled (especially after I took a few minutes to calculate the cost)! Needless to say, I made some alterations to 1) the mattress height to accommodate the 2) trundle unit I designed. A custom ordered bedskirt (not shown) provided the perfect camouflage for the trundle and the chandelier (not shown) suspended between the center of the top rails added the perfect French touch for my daughter's dream "Paris themed" room! Thanks for the great site, can't believe I have never thought to make one myself, lol!

Estimated Cost
Around $300
Estimated Time Investment
Week Long Project (20 Hours or More)
Finish Used
After ample sanding, filling, and more sanding, the bed was stained with "Ebony" by Min-wax with 2 solid clear coats on top.
Recommended Skill Level
Intermediate

"Ameri-shelf"

Submitted by omarNY on Tue, 07/16/2013 - 18:19

My 8-year-old and I built a shelf for his room, based on the Rolling Cubby Bench plans. (The paint job is all him. He originally suggested trying to paint a picture of an eagle on it, we ultimately settled on a partial flag.)

I'm fairly new to woodworking, and this was my second of four projects I've built using plans from this site so far. Cutting and assembly was just a couple of hours, but finishing stretched this out into a several-night project.

Built from Plan(s)
Estimated Time Investment
Weekend Project (10-20 Hours)
Recommended Skill Level
Beginner

Benchright Farmhouse Table

Submitted by dhoop31 on Mon, 02/05/2018 - 13:08

I built this table for my wife as a surprise 50th birthday present.  She had been wanting me to build her a farmhouse table and I loved this design.  I allowed her to pick out the colors of stain/paint that she wanted for the finish after she unwrapped it.  I actually went into sketchup and designed my own table, based on these plans, to fit into our smaller dining space. By designing it, I was also able to modify it to fit our chairs.  The top is Oak with a red mohagany stain.  The legs and aprons are pine and chalk painted in drop cloth...her favorite paint and color.  

Great table.  I already have people asking me to build them one.  

Estimated Cost
$400
Estimated Time Investment
Week Long Project (20 Hours or More)
Finish Used
Stain (minwax red mahogany) on top and paint on the bottom. We used Dixie Bell chalk paint. My wife is a distributor.
Recommended Skill Level
Beginner

Kids Shoe Organizer Castle

My son needed some encouragement to keep his shoes in one place.
I made him a castle shaped shoe holder with a drawbridge door,
including an air venting back so his shoes will dry.

See link below for my youtube video of the construction...

Comments

Modified Ten Dollar Ledges/Story-time Corner

I loved these little ledges, especially since I had the perfect scraps for them. I needed a little extra storage in our story-time corner, and these were perfect. Took me one nap time to get them cut, assembled and painted! SWEET!!!!

Built from Plan(s)
Estimated Cost
Free (all from scraps, wood & paint)
Estimated Time Investment
An Hour or Two (0-2 Hours)
Finish Used
white interior spray paint (2 coats), poly spray finish (2 coats)
Recommended Skill Level
Starter Project

20 Second Office

I am in the process of remodeling/redecorating my tiny house. I started with the kitchen and am now moving into the living room. The two rooms are connected so I needed something that would match the "beachy feel without being obvious" style I am trying to accomplish. I also needed a place for my files, printer, etc since I don't have an office. My house is very small so I have to consider function in every piece of furniture I own. This table was the PERFECT solution! It hides my seldom used but definitely necessary office supplies while looking super cute and brightening up the room.

As you can see I made a few slight changes to the look of the trundle. I made it look like three "drawers" instead of the two in the plans, and used manila rope instead of handles or cutting out the shape in Ana's design. I also lined the inside of the trundle with felt to protect my computer, etc. from the hard surface of the wood. I couldn't help pick my favorite color, since you can't see it while the trundle is closed. Though not pictured here, I added a bracket for files as well (they didn't photograph well). I picked it up from a woodworking specialty store for $15.

All in all it was an easy second project for me, I had it built and nearly finished in a weekend.

Estimated Cost
$100
Estimated Time Investment
Weekend Project (10-20 Hours)
Finish Used
I used 3 coats of Minwax's Polyshades Classic Oak, sanding with 220 grit VERY lightly in between. This was my first time using a combo product and didn't find it to be as great as I thought it would be. It was easy to apply but was very runny so I had to triple check every nook and cranny for drips and pile ups after and even then still missed a few. I could have achieved a similar look in half the time using traditional methods. I'll finish the can but probably won't buy it again.
Recommended Skill Level
Beginner

Comments

Camp Grandma

Wed, 08/13/2014 - 07:29

for our house at the beach. Thank you so much for sharing your design and your experience. We are just finishing up a 7 piece outdoor set for the deck. Your table is next, going right to the top of our "To Build List".

My first build - for my 7 year old

Submitted by jeriehuxel on Mon, 07/20/2015 - 18:51

I needed to adjust the width of the dresser to fit  - and it was may first build by myself... Already have a second one ready to paint!
 

Built from Plan(s)
Estimated Cost
$200
Estimated Time Investment
Afternoon Project (3-6 Hours)
Finish Used
White Latex paint, pink lace from Walmart, and Modge Podge
Recommended Skill Level
Intermediate

Dining Set

Wyldwood 42-square-inch pine table is finished with red mahogany stain and matte varnish, with black painted legs. It's paired with four of our custom dining chairs.

Comments

Cube Bookshelves

When we moved into our home we had minimal furniture pieces. On a tight budget and not wanting to buy something that was made of veneer, I stumbled upon the attractive and functional plans for the cube shelves. I love that I can "add on" to the set with additional pieces if I want to in the future. But for now, one set of cube shelving is just right for us.

This was the first project that I used the table saw by myself, and while it went just fine I do think it would have been helpful to have another set of hands around. Piecing together the first two joints was a bit challenging with only one set of hands holding the wood and putting in nails. But once I got a few done, the piece really came together quickly. It literally took me just a few hours to cut the pieces and put it together. It's the sanding painting and priming that can take some time and patience!

Built from Plan(s)
Estimated Cost
$50
Estimated Time Investment
Afternoon Project (3-6 Hours)
Finish Used
I use this cute cubby to hold books and gadgets that I like to keep out of sight in our family room area. If I had kids I think this would be an amazing storage unit for toys. Its so cute and functional. The canvas cube totes I picked up from Target for $12 for a set of 3.

I did add an additional top from a solid piece of wood that overhung on the edges slightly to give it a more finished look.
Recommended Skill Level
Beginner

WIDE CABIN DRESSER METAL SLIDES

Submitted by daddydrew on Fri, 07/19/2013 - 12:03

This was my third or fourth project and it was pretty tough. I started out with the basic build which was pretty simple and then I got to the end where everything was built except for the drawer slides and boy was it rough. I think that i spend half of the time on this project doing the drawer slides and half the time doing the build and the finish. I don't want to discourage anyone from doing this project but make sure you don't get in over your head. Check out my profile I am willing to do builds for people for an inexpensive price.

http://ana-white.com/users/daddydrew

Estimated Time Investment
Week Long Project (20 Hours or More)
Finish Used
minwax jacobean oil based stain
minwax polycrylic clear coat finish
Recommended Skill Level
Advanced

Comments

Man Cave Chair from Reclaimed Wood

Submitted by JoanneS on Sat, 07/25/2015 - 13:06

Man cave chair for my Hubby, made entirely from reclaimed/scrap wood.  This took a long weekend to build (includes time to rip down the reclaimed wood, and a couple of tries to get the padded arm rests right). 

This build uses the Simple White Outdoor Chair plan, adjusted to fit smaller cushions and use my scrap/reclaimed wood. 

The seat cushion is covered with marine vinyl, and the back cushion is covered with fabric from a curtain already on hand.  The covers are done in a simple box style.  The seat cushion closes with ties at the back, and the back cushion has an envelope back.  

The end result is a sturdy, comfortable chair that’s not too heavy, and is decked out with colors from Hubby’s favorite football team.  I’m very pleased to say that Hubby likes his new chair!

Estimated Cost
Cost: $75 for cushion materials (high density foam and vinyl). Everything else was reclaimed or already on hand.
Estimated Time Investment
Weekend Project (10-20 Hours)
Finish Used
Finish: 2 coats gloss black (Valspar Ultra paint + primer). The bottom surfaces of the legs are covered with some adhesive backed felt for easy sliding.
Recommended Skill Level
Intermediate

End Tables

I changed the size of one of the tables to fit the space. Otherwise they are built from the plans. Turned out very nice.

Built from Plan(s)
Estimated Cost
$100 for Both
Estimated Time Investment
Day Project (6-9 Hours)
Recommended Skill Level
Beginner