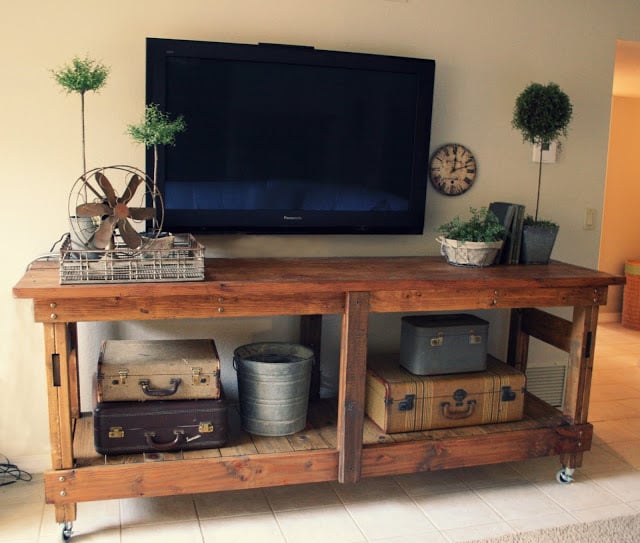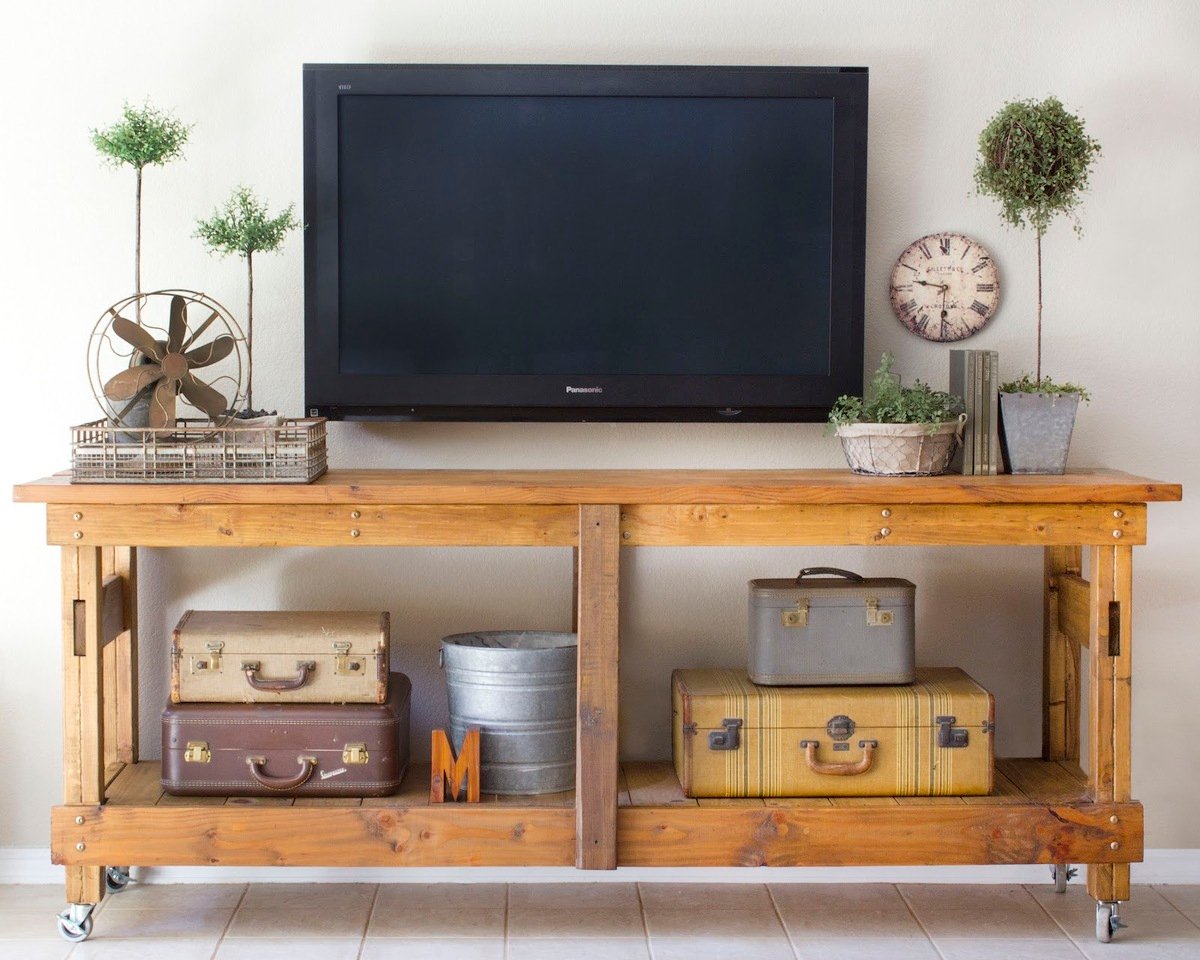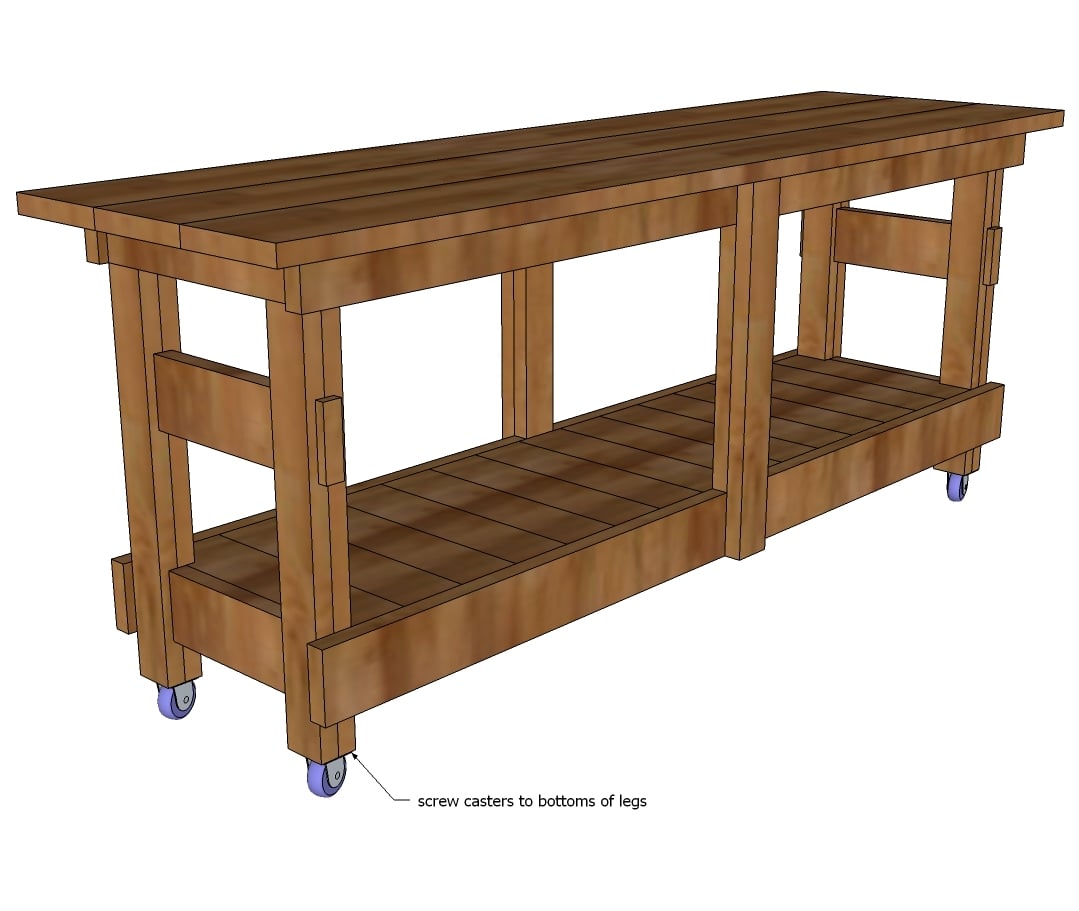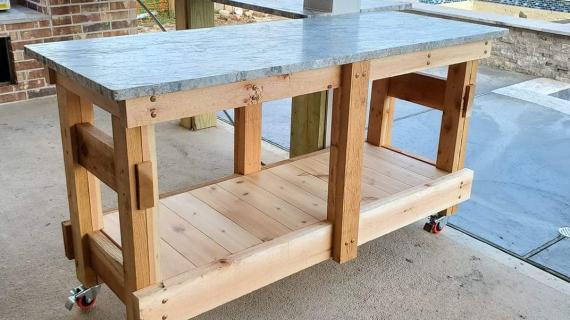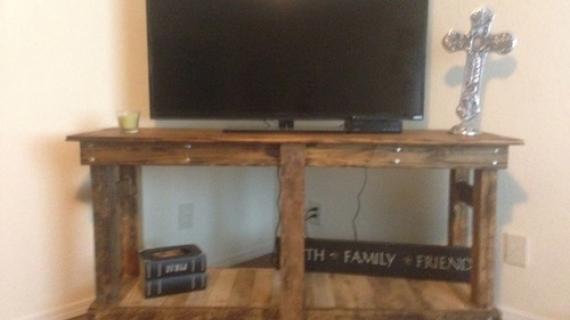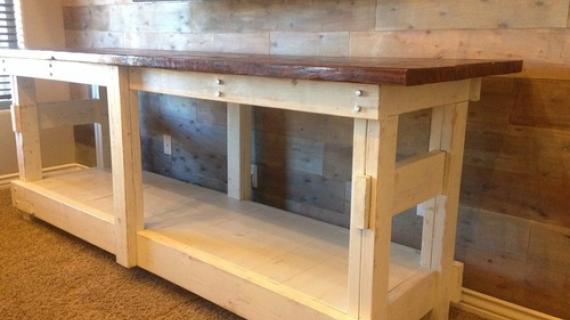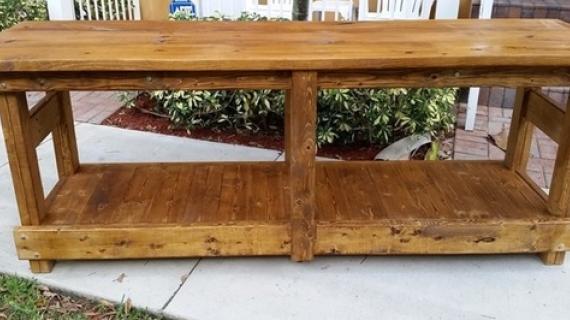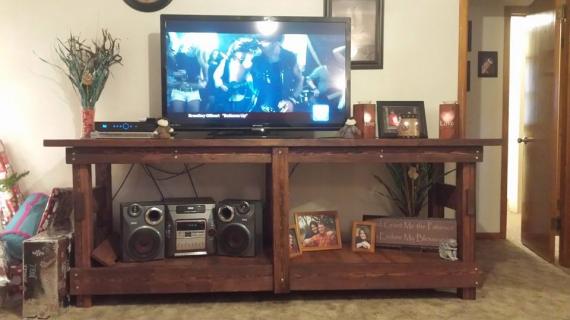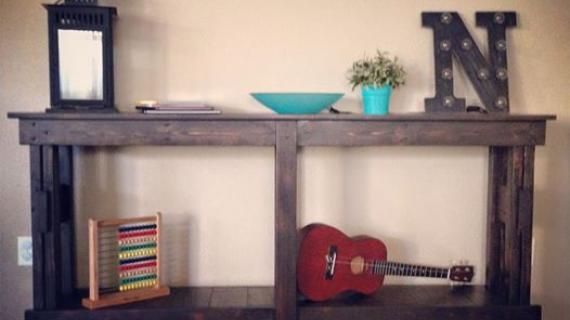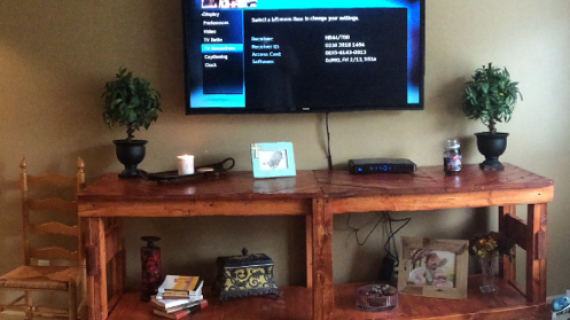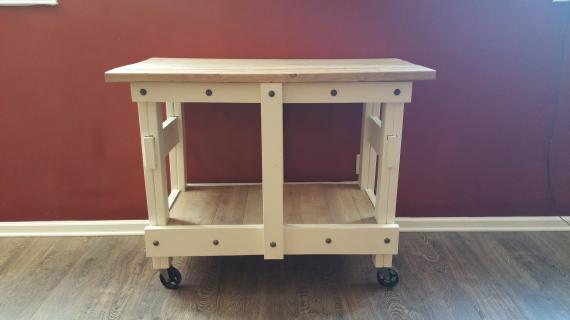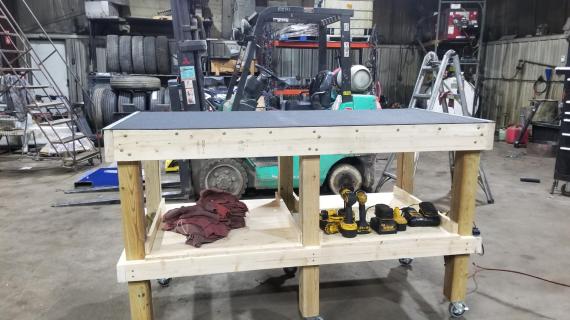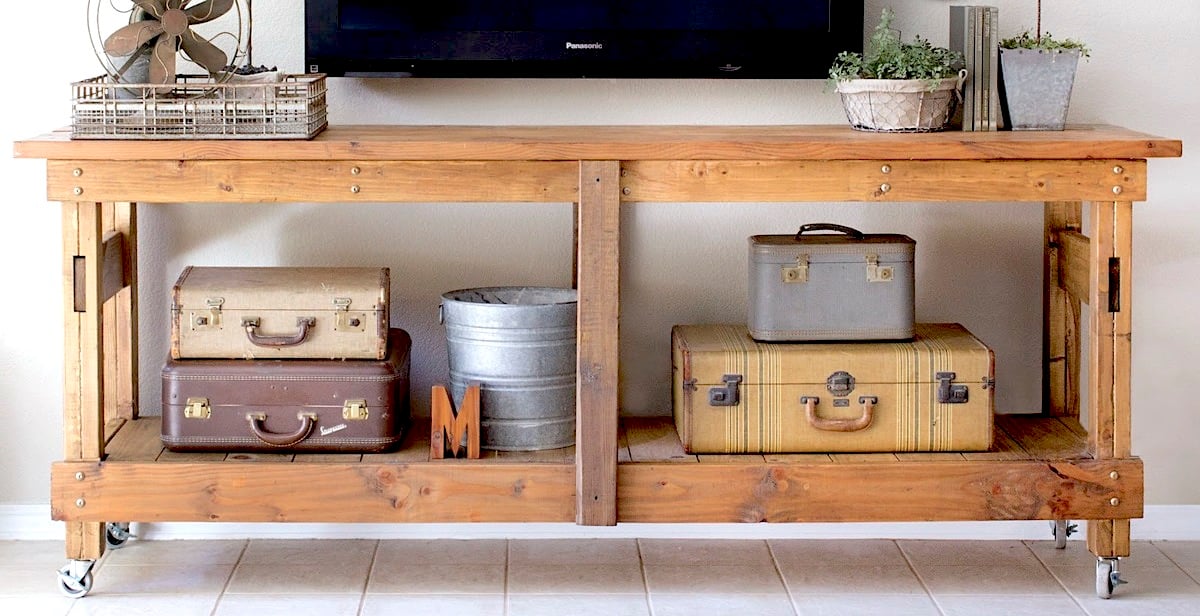
Free plans to build this beautiful console table with open shelf and large top. This project is made from 2x framing lumber.
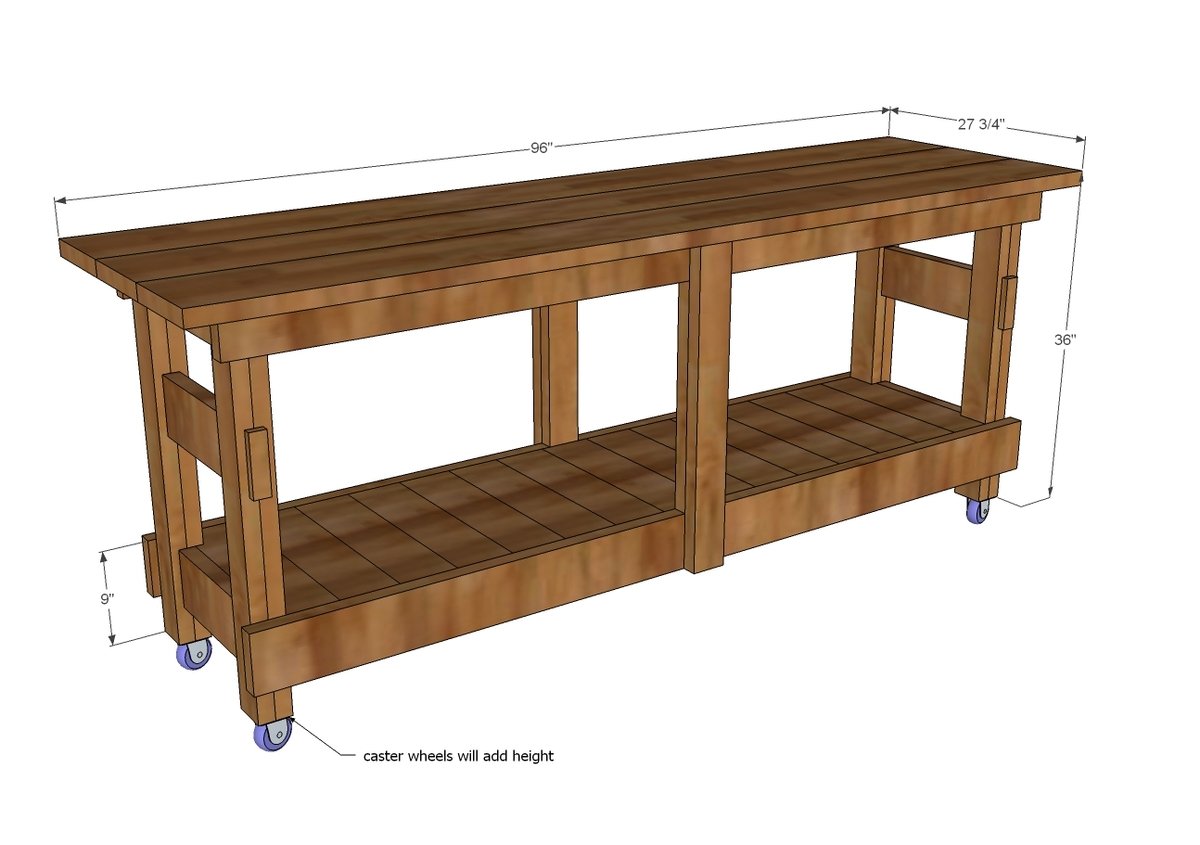
Preparation
- 8 - 2x4 @ 8 feet long
- 3 - 2x6 @ 8 feet long
- 4 - 1x6 @ 8 feet long
- 3 - 2x10 @ 8 feet long
- 2 - 2x2 @ 8 feet long (could also use 2x4s)
- 4 - caster wheels
- 2-1/2" wood screws (get the self tapping torque head ones)
- 24 3" lag screws (for decorative exposed heads)
- 1-1/4" finish nails (for attaching bottom shelf boards)
- 2-1/2" pocket hole screws (you'll just need 8 for attaching bottom apron)
- 4 - 2x4 @ 34-1/2" (longer leg pieces)
- 4 - 2x4 @ 31" (shorter leg pieces)
- 2 - 2x6 @ 22-1/4" (middle leg stretcher - passes through notches)
- 2 - 2x6 @ 13-3/4" (shorter bottom stretcher)
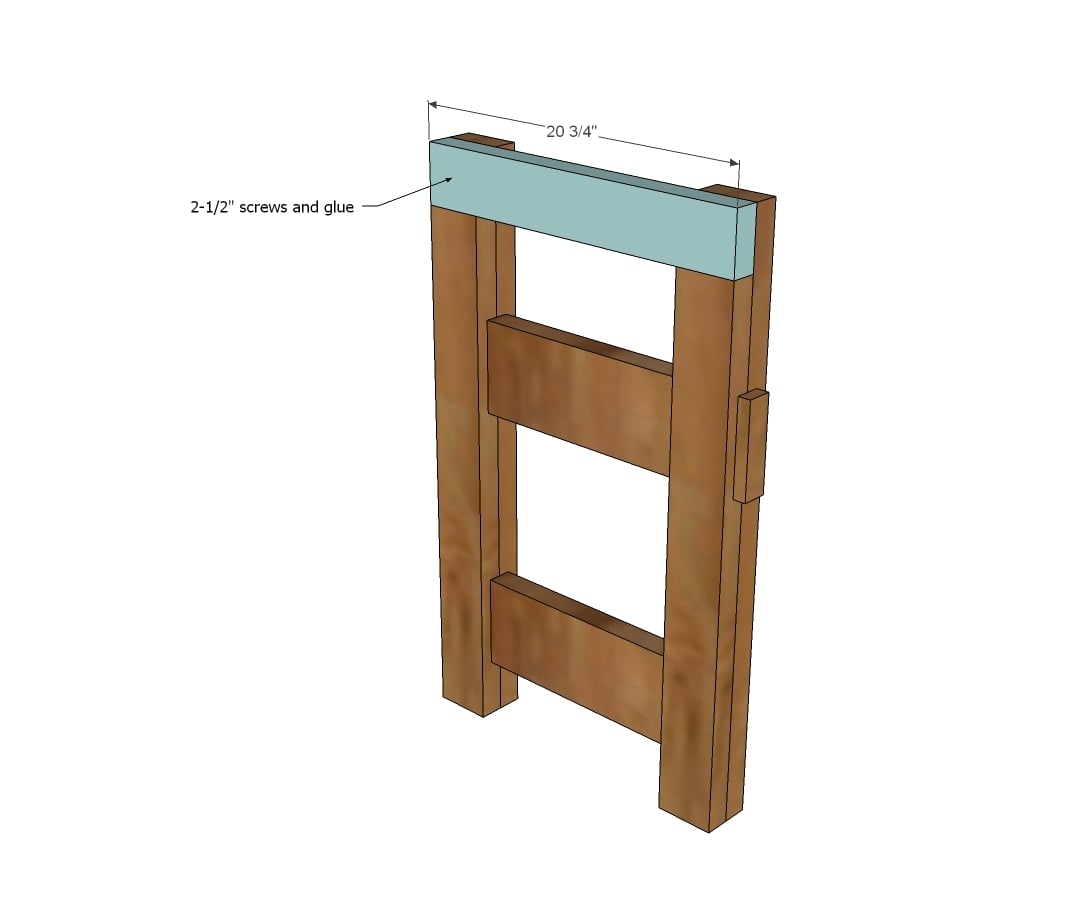
- 5 - 2x4 @ 20-3/4" (top "studs")
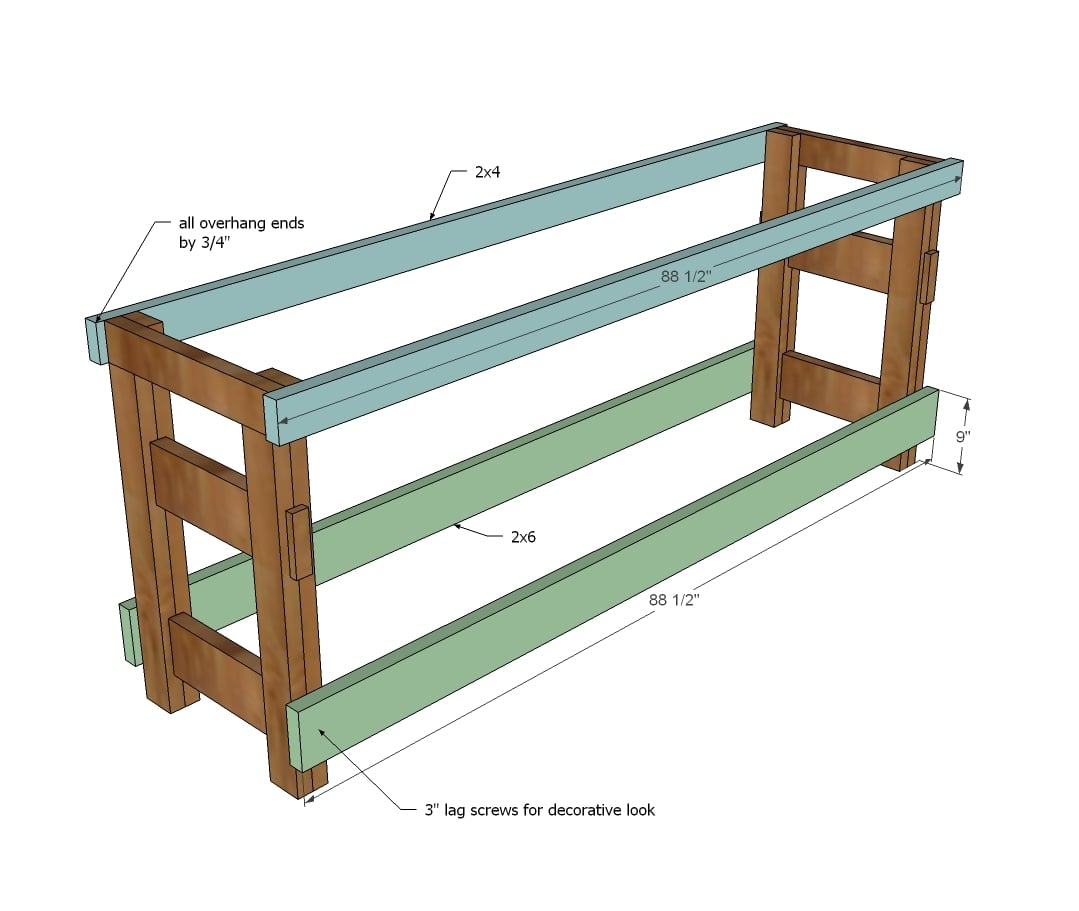
- 2 - 2x4 @ 88-1/2" (front/back top aprons)
- 2 - 2x6 @ 88-1/2" (bottom shelf front/back aprons)
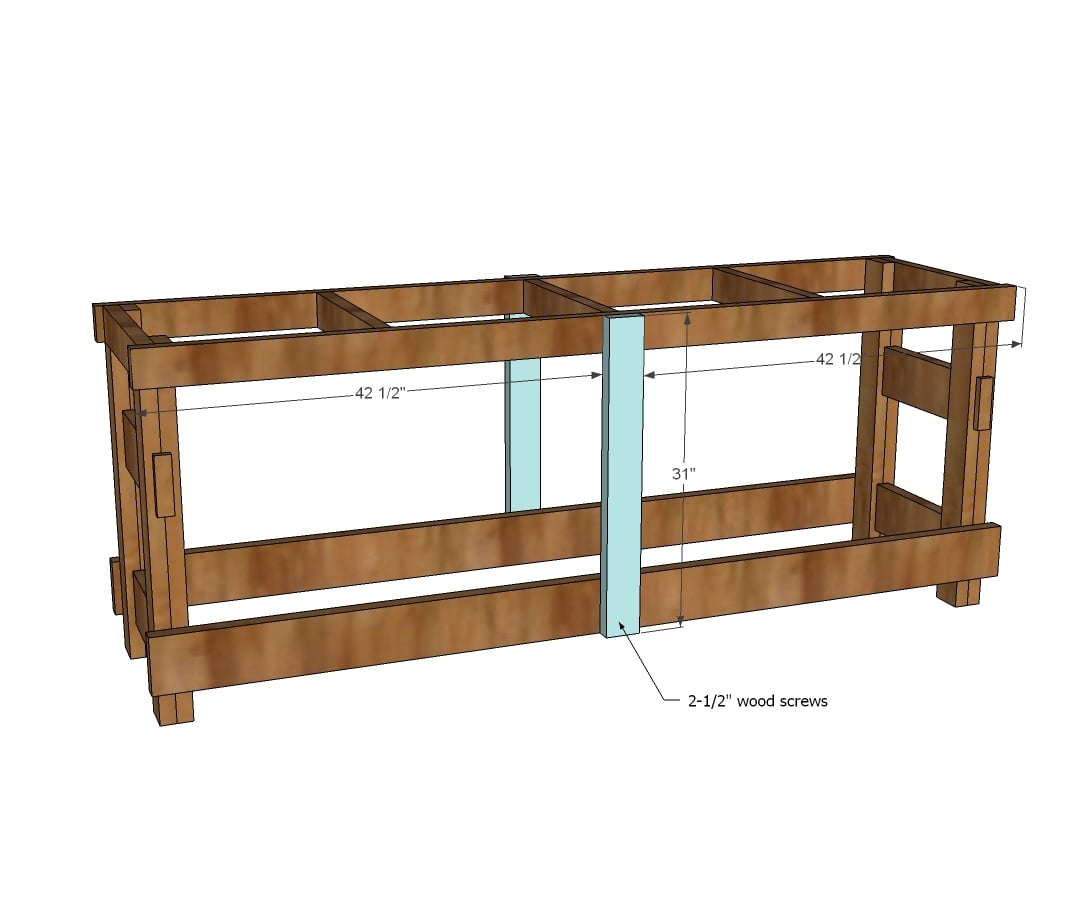
- 2 - 2x4 @ 31" (center legs)
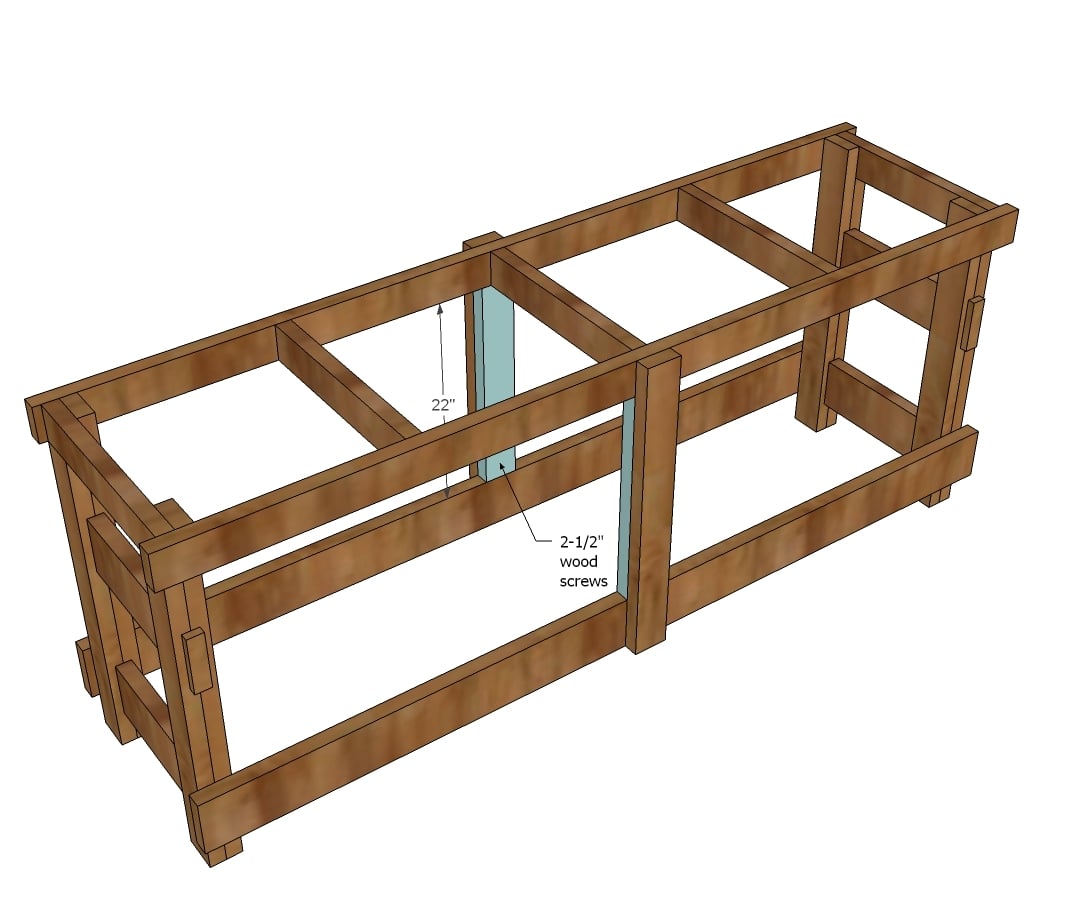
- 2 - 2x4 @ 22" (inside center legs)
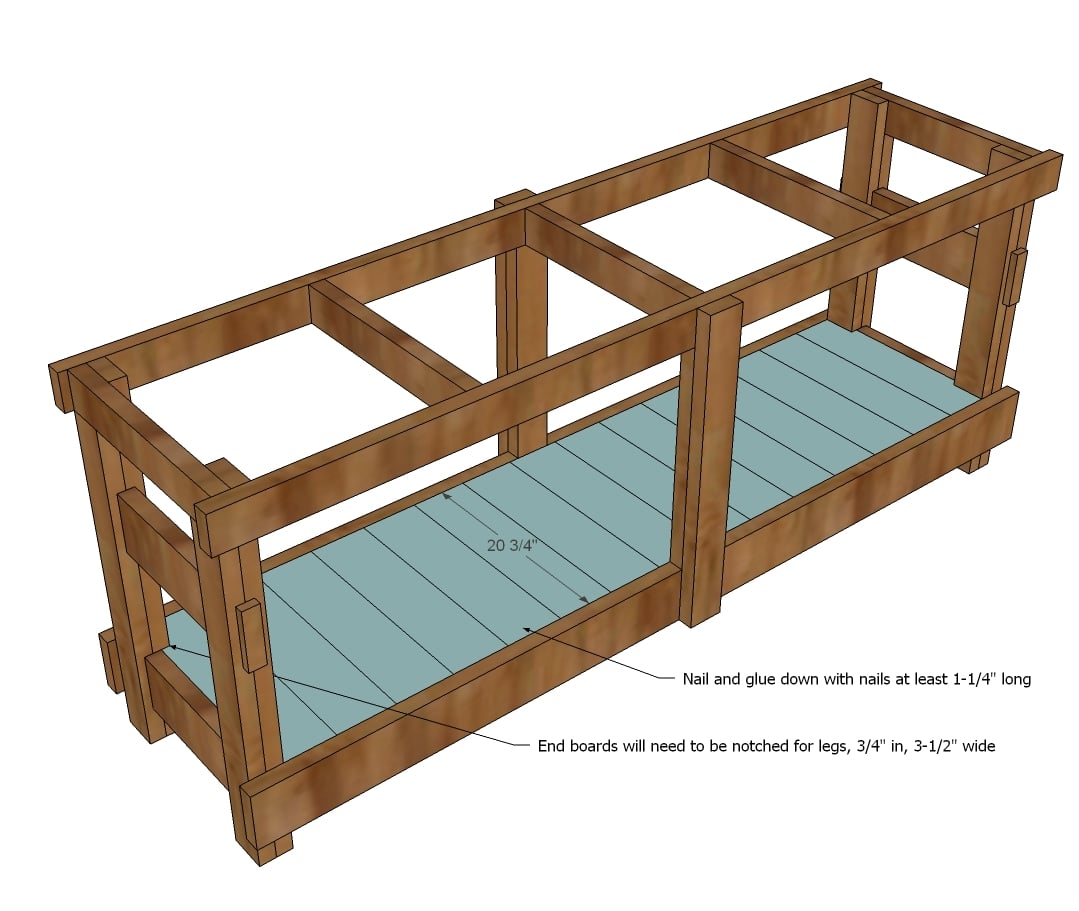
- 2 - 2x2 @ 81" (could also use 2x4s - for setting shelf boards on top)
- 15 - 1x6 @ 20-3/4" (bottom shelf boards)
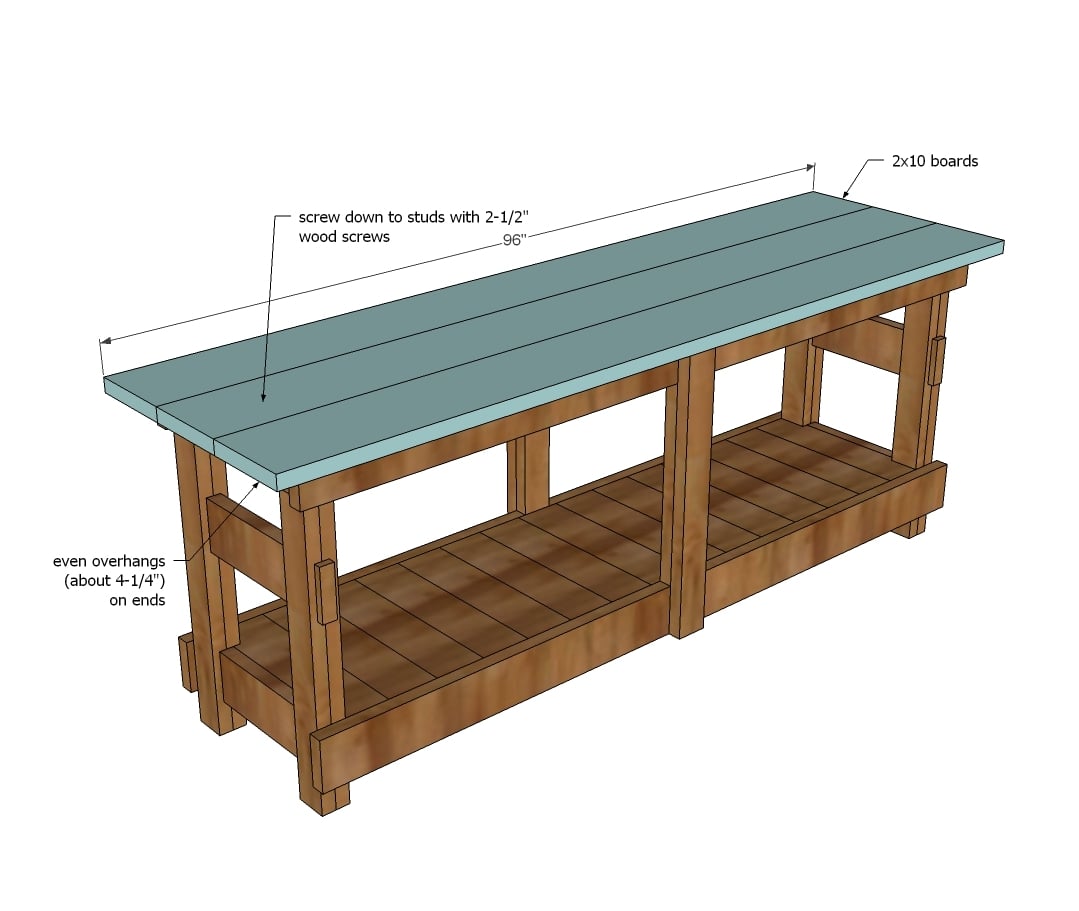
- 3 - 2x10 @ 8 feet long (top boards)
Please read through the entire plan and all comments before beginning this project. It is also advisable to review the Getting Started Section. Take all necessary precautions to build safely and smartly. Work on a clean level surface, free of imperfections or debris. Always use straight boards. Check for square after each step. Always predrill holes before attaching with screws. Use glue with finish nails for a stronger hold. Wipe excess glue off bare wood for stained projects, as dried glue will not take stain. Be safe, have fun, and ask for help if you need it. Good luck!
Instructions
Step 1
Notch out the 8 leg pieces as shown here.
To notch out, set your circular saw blade to a depth of 3/4". Make cuts in notched area about every 1/4". Use a chisel to remove material from notched out areas after cutting.

Image from MakeZine
Step 2
Step 3
Attach bottom 2x6 with 1-1/2" pocket holes and 2-1/2" pocket hole screws. If you don't have a pocket hole jig you can alternatively attach by screwing at an angle with the 2-1/2" screws or you could notch as done with the upper 2x6 piece.
UPDATE: One of our readers suggested that when you attach this board with 1-1/2" pocket holes, the screw lands between the two leg boards. I suggest drilling 3/4" pocket holes instead (this will move the pocket hole inward enough) you can still use the 2-1/2" pocket hole screws.
Step 6
Step 9
Step 10
Step 11
Step 13
For finishing details, please visit Jilly and Mia.
It is always recommended to apply a test coat on a hidden area or scrap piece to ensure color evenness and adhesion. Use primer or wood conditioner as needed.


