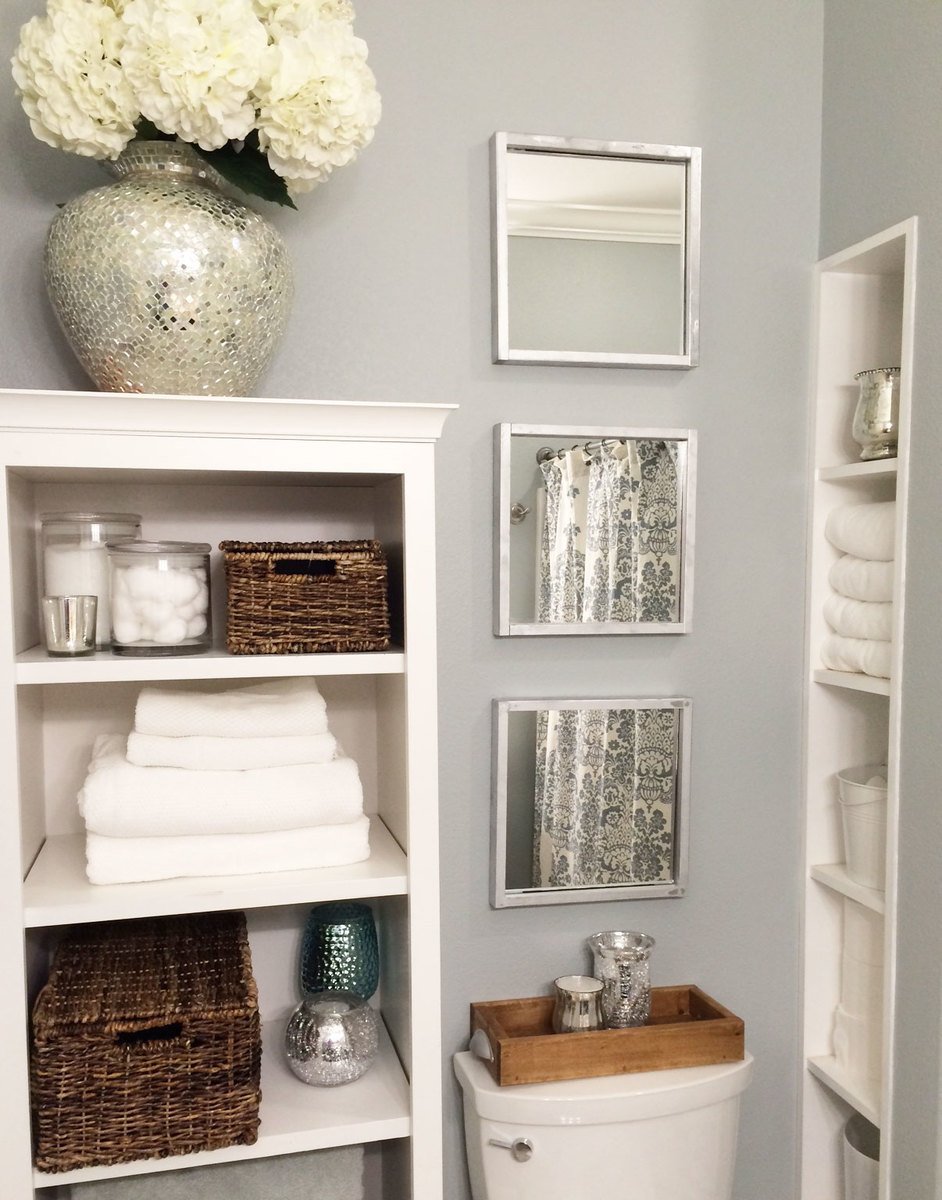
Turn an inexpensive mirror tile into a beautiful framed mirror. Free tutorial from Ana-White.com
Dimensions

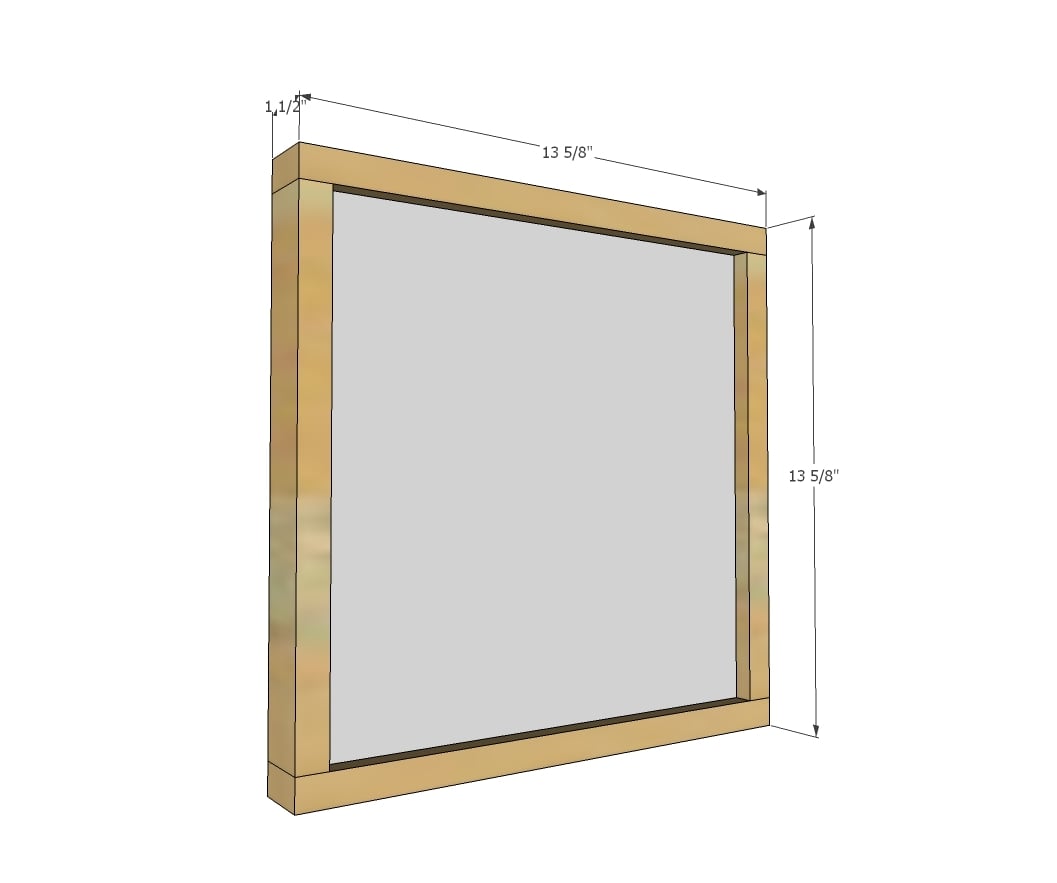
Dimensions shown above
Preparation
Shopping List
For ONE Mirror -
- 1 - 12" x 12" mirror tile
- 1 - 1x2 @ 8 feet long
- mirror adhesive
- wood glue and nails or screws or pocket hole screws
- picture hanging kit and hanging hardware
Cut List
- 4 - 1x2 @ 12-1/8" (for 12" mirror tiles)
- 2 - 1x2 @ 13-5/8" (cut to fit)
Instructions
Step 1
Step 2
Step 3
NOTE: Add picture hanging kit hardware before installing mirror.
Glue the mirror to the frame according to the directions with the mirror. For added security, you may wish to also apply a small bead of clear silicone around the front of the mirror, further preventing mirror from popping outward.
Hang using a picture hanging kit.
Finishing Instructions
Preparation Instructions
Fill all holes with wood filler and let dry. Apply additional coats of wood filler as needed. When wood filler is completely dry, sand the project in the direction of the wood grain with 120 grit sandpaper. Vacuum sanded project to remove sanding residue. Remove all sanding residue on work surfaces as well. Wipe project clean with damp cloth.
It is always recommended to apply a test coat on a hidden area or scrap piece to ensure color evenness and adhesion. Use primer or wood conditioner as needed.
It is always recommended to apply a test coat on a hidden area or scrap piece to ensure color evenness and adhesion. Use primer or wood conditioner as needed.
Project Type


Comments
dmcarwin
Mon, 10/20/2014 - 13:58
So cute!
I love these simple and easy!