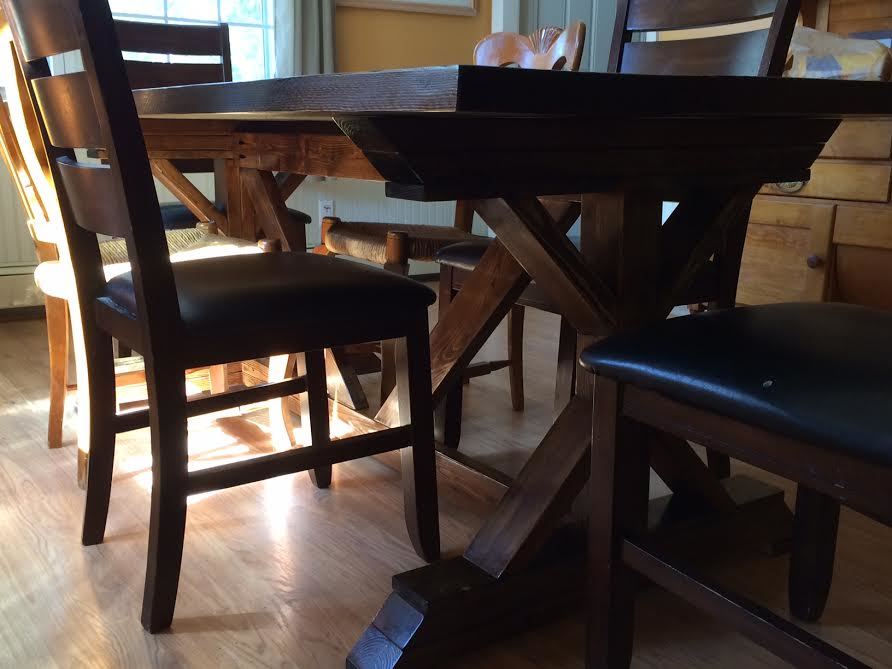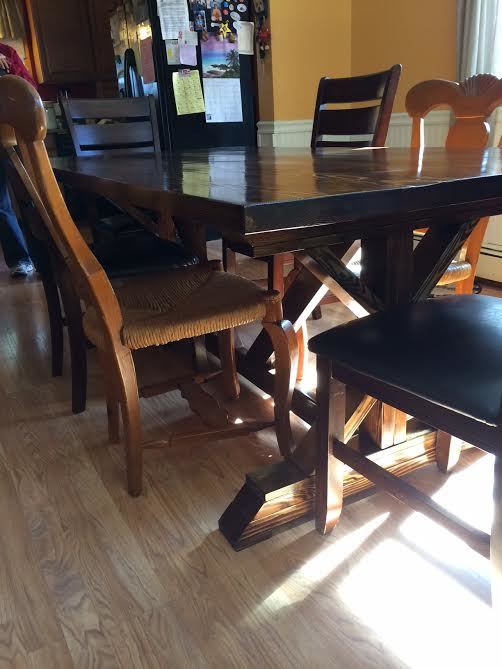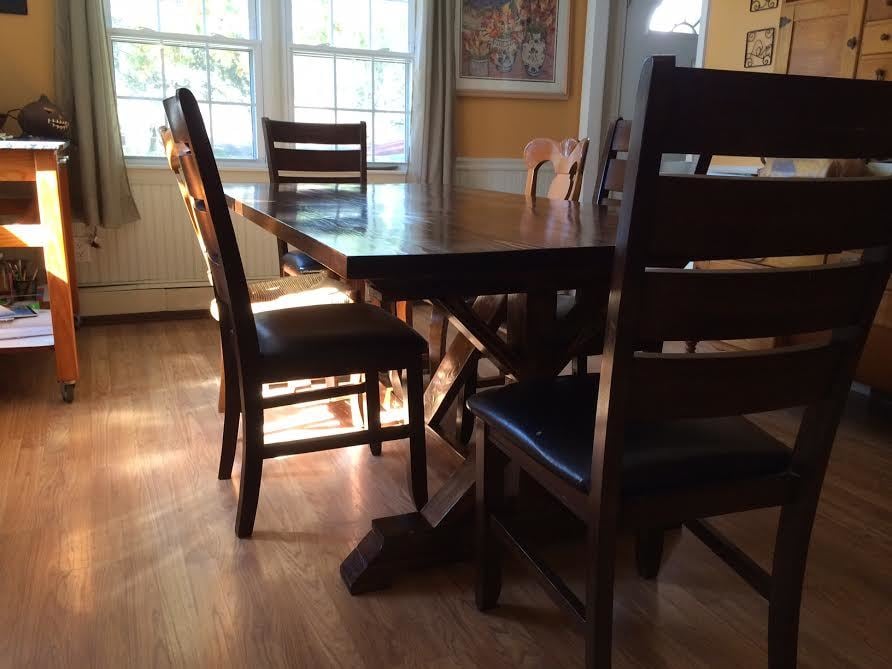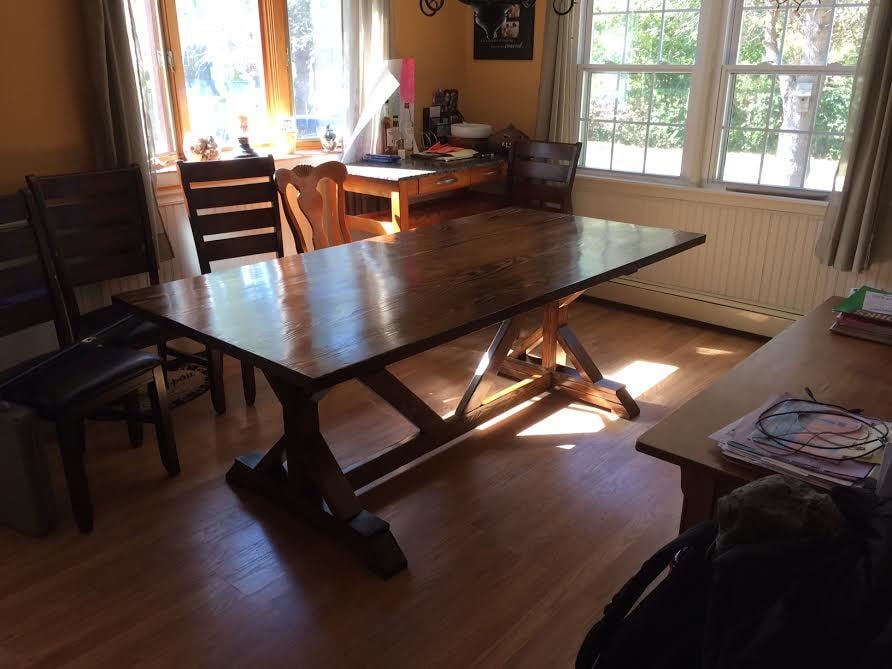
This 7 ft fancy x farmhouse table was built as an anniversary gift for some close friends, so they'd have a dining table large enough for their blended family.
Modifications to original plans
I shortened the top to 84" long, widened the top to 40"wide, and the (outside edge to outside edge) of the legs / supports to 60". This left plenty of room for a chair on each end. The diagonal support brace cuts were not modified.
Instead of pine, I used kiln-dried Douglas fir 2x4s for legs / supports. My local lumberyard sells in 8 ft pieces for well under $10 each. I rifled through the racks to find a bunch of straight, virtually knot free (ie clear) ones.
For the top, I sourced Clear Mixed Grain (CMG) Douglas Fir. Four 10 ft 2x12s were over $250 delivered. Not cheap! But they were straight and flat. No messing around with racked or warped big box stuff this time!
I ripped them down to 10" wide with a good table saw, rip fence, and fresh 60 tooth blade. I did not cut to 7 ft length immediately. Rather, I cut down to a few inches over that (more on that in a moment). I used the Kreg jig to drill pocket hole screws underneath, but I used Titebond III wood glue and pipe clamps / 5' galvanized pipes (6 of them, in alternating directions) to clamp the top together. I added 2" coarse thread blue-coated pocket hole screws the next day - really more for peace of mind.
To cut down to 84" length, I marked the lines with a straightedge & carpenter's pencil. I then used my circular saw (also with a fresh 60 tooth high quality blade) and a straight edge clamped to the wood as a guide. This gives you nice smooth end cuts without the worry of lining everything up perfectly during glue-up. Warning - you can splinter the ends if you aren't careful.
Sanding
I used a cheap Harbor Freight belt sander with 80 and 120 grit (be careful if you've never used a belt sander before, especially with coarse grits!) to even out the top and bottom. It didn't take much, luckily. (I bought a planer *after* completing this piece).
All cuts were sanded 60, 80, 100, 150, 220, 320 and 400 grit. Lesson learned: in the future its okay to stop at 220 or so. Sanding was done with a basic Dewalt quarter-sheet sander, with a 3m rubber hand sanding block, and plain ole-sandpaper in my hand. I shaped all edges by hand with 100/150/220.
Nails & Glue
I used a pneumatic nailer and Titebond III wood glue on the legs and supports, then a nail punch and wood filler to hide any nail holes. The aprons / stretchers were fastened with pocket hole screws and glue. I used plugs on the lower one, as it is more visible. The plugs are pretty much seamless - use glue and wood filler and sand out, nobody will ever be able to tell :)
A Quick Word on Wood Glue Selection
Many of the project plans on this site (and brag posts) mention the use of expanding glues like Gorilla Wood Glue, Elmer's Carpenter's Glue etc. These long open-time adhesives are easy to work with but they expand and are not as strong as Titebond.
Stain & Poly
I used a clean rag (cut up an old t shirt..) to apply a generous coat of Minwax wood conditioner, wiping off any excess after about 15 min. I then immediately applied a coat of Minwax Dark Walnut stain. I used stain applicator pads but a good rag works just fine and wiped off excess after 10 or 15 minutes.
The top received 2 coats, the second coat applied a week later.
2 coats of Minwax fast dry polyurethane were applied via brush (high quality natural bristle brush). I lightly sanded with 220 after the 1st coat was fully dried, and with 320 after the second. Semi gloss was used for the 3rd and final coat. If I had a 'do over', I would have used wipe on poly and thinned with mineral spirits to eliminate brush marks more effectively. OR I would have used a foam roller (still thinning a coat or two with mineral spirits).
Important: I applied a single coat of poly to the underside of the table as well. Coating the entire piece stabilizes the wood, according to a few articles. This means its less likely to shrink or swell unevenly over time.
Attaching the Top
In Ana's / Shanty 2 Chic's original plans, there are comments from people wondering how to attach the table top to the supports. Originally, I planned on drilling through the sandwiched 2x4 supports and deeply counterinking screws. You can buy a surprisingly decent countersink drill bit set at Harbor Freight for very little money. You could also use something like 3M velcro tape. Either way, you would be able to separate the top from the legs for transport. If you do use Titebond III to glue it down, I'm confident it will never come off.
This is my first brag post and only my 4th completed DIY furniture project, so please LMK if I've forgotten to cover any important details.
Dan Gendreau
S Kingstown, RI


If I could do it over, I would have used a roller the way Family Handiman magazine recommends (google it - there are a few great and informative pieces on applying poly for best results). I also would have thinned 50% with mineral spirits if using a brush again. It's just too easy too 'pull' the poly when brushing and leave flat or dry spots.