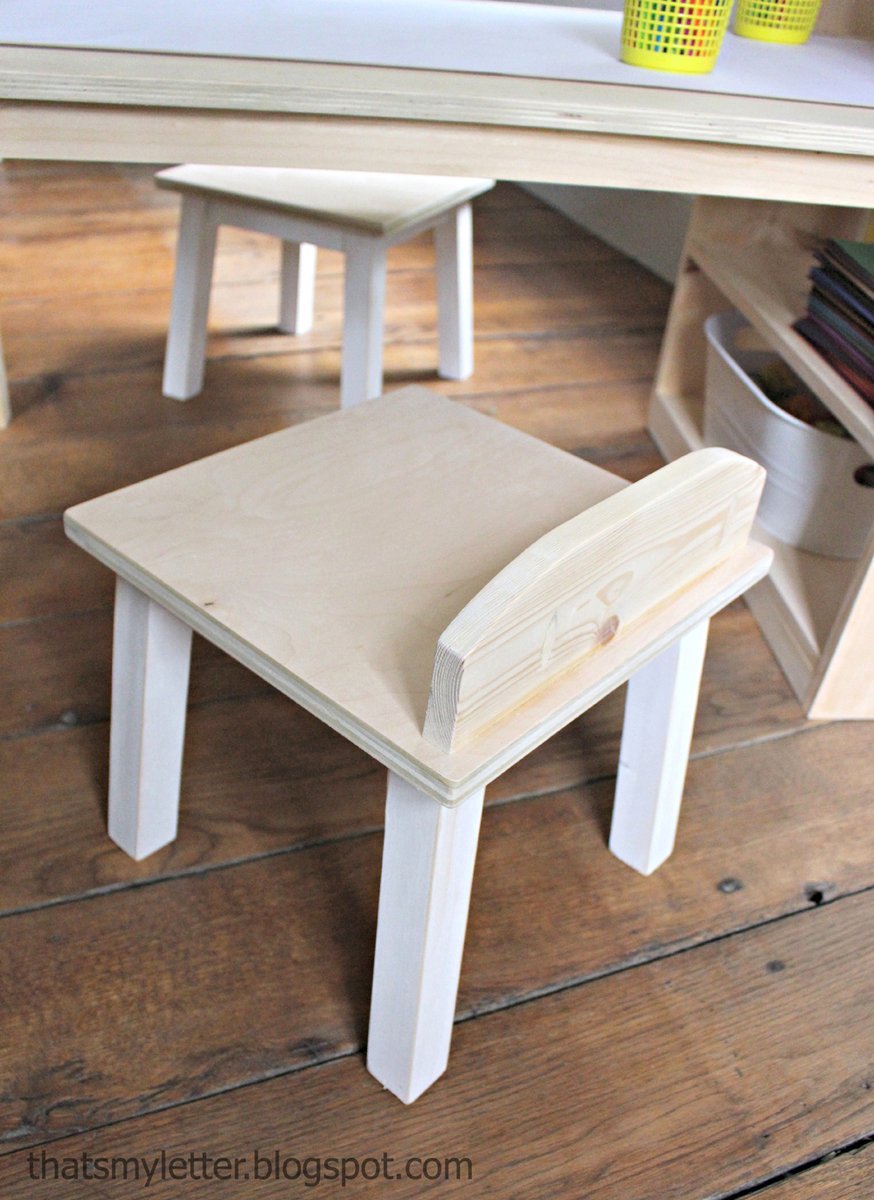
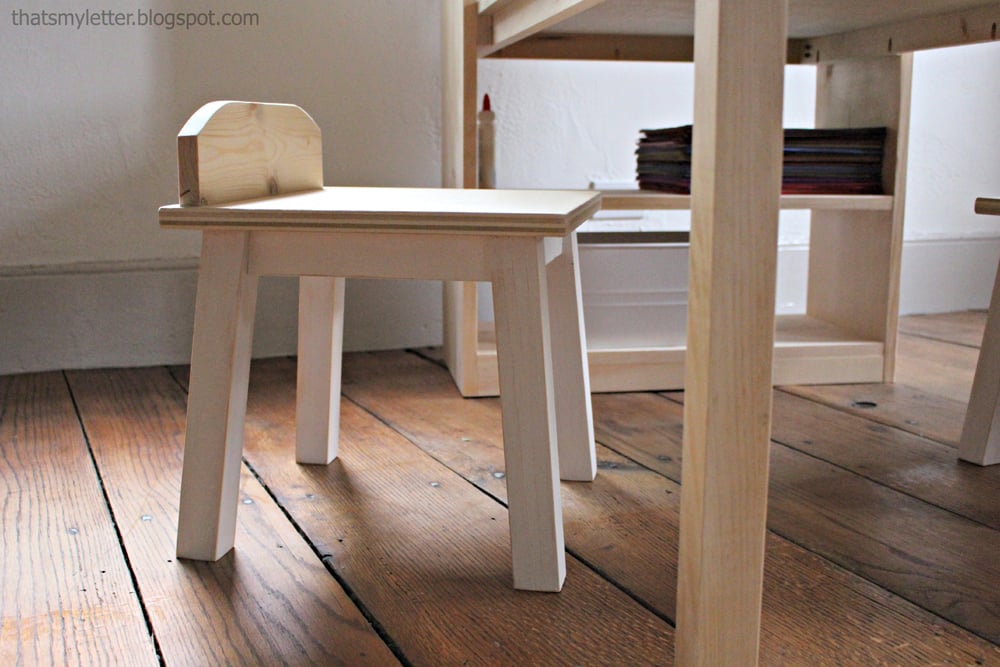
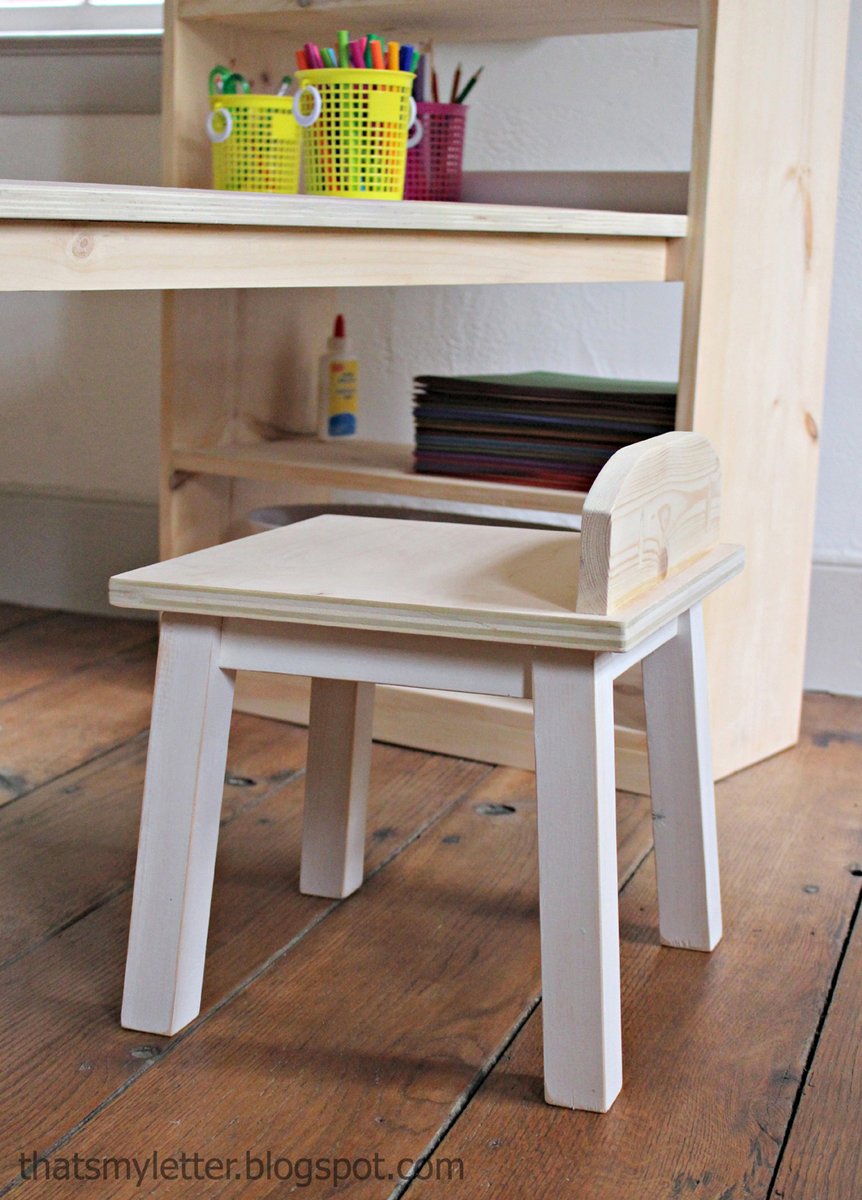
DIY Kids stools that you can make with scrap wood! Free plans by ana-white.com
Remember this one from a couple weeks back?

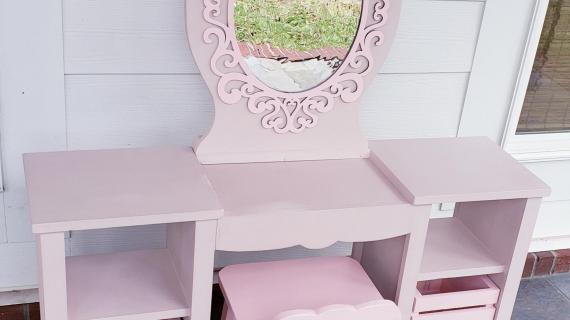
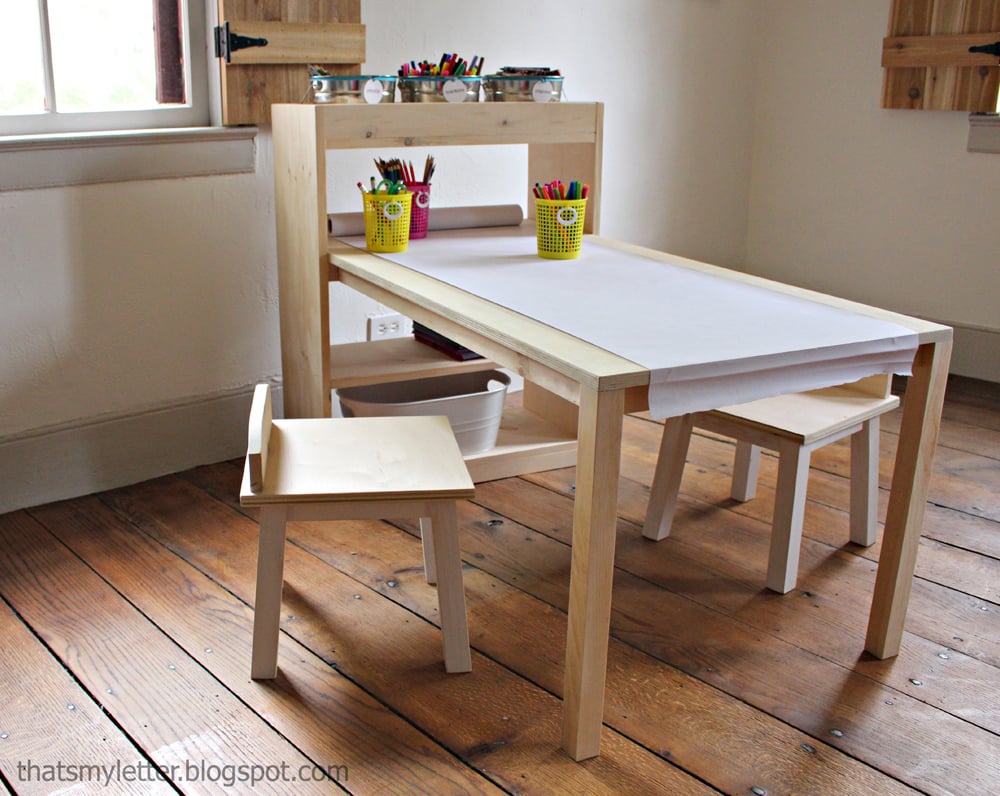
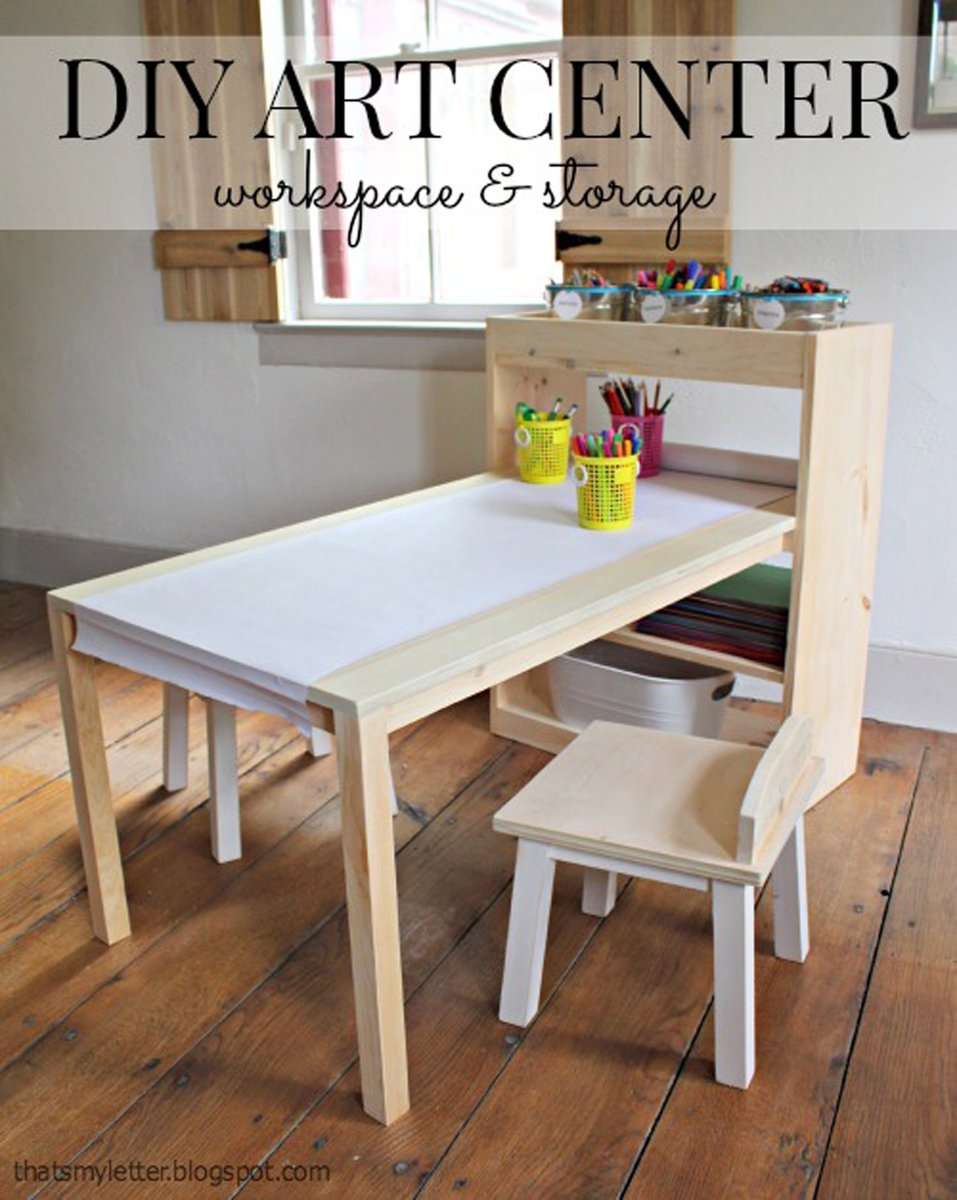
The amazing art center (plans here) built by Jaime from That's My Letter for our Handmade Holiday series?

Thank you for the reminder that I need to get you those stool plans!!! What good would the perfect art table be without a matching stool? Because we know your kids are going to want to pull up a chair and stay awhile at this art center!
You'll find the plans for this stool following, and here's a list of the related posts:
- Jaime from That's My Letter's building post with more photos and construction tips
- The plans for the art table
- All the plans in the Handmade Holiday Series
Enjoy the plans following! And if you do build, please either brag photos or share on your social sites and include #anawhite in your post so we can find your photo.
XO Ana + Family
Preparation
- 1 - 3/4" plywood scrap (13" x 13")
- 1 - 2x2x8
- 1 - 1x2x6
- 1 - 1x4 scrap @ 12"
- 1 - 3/4" plywood @ 13" x 13" (seat)
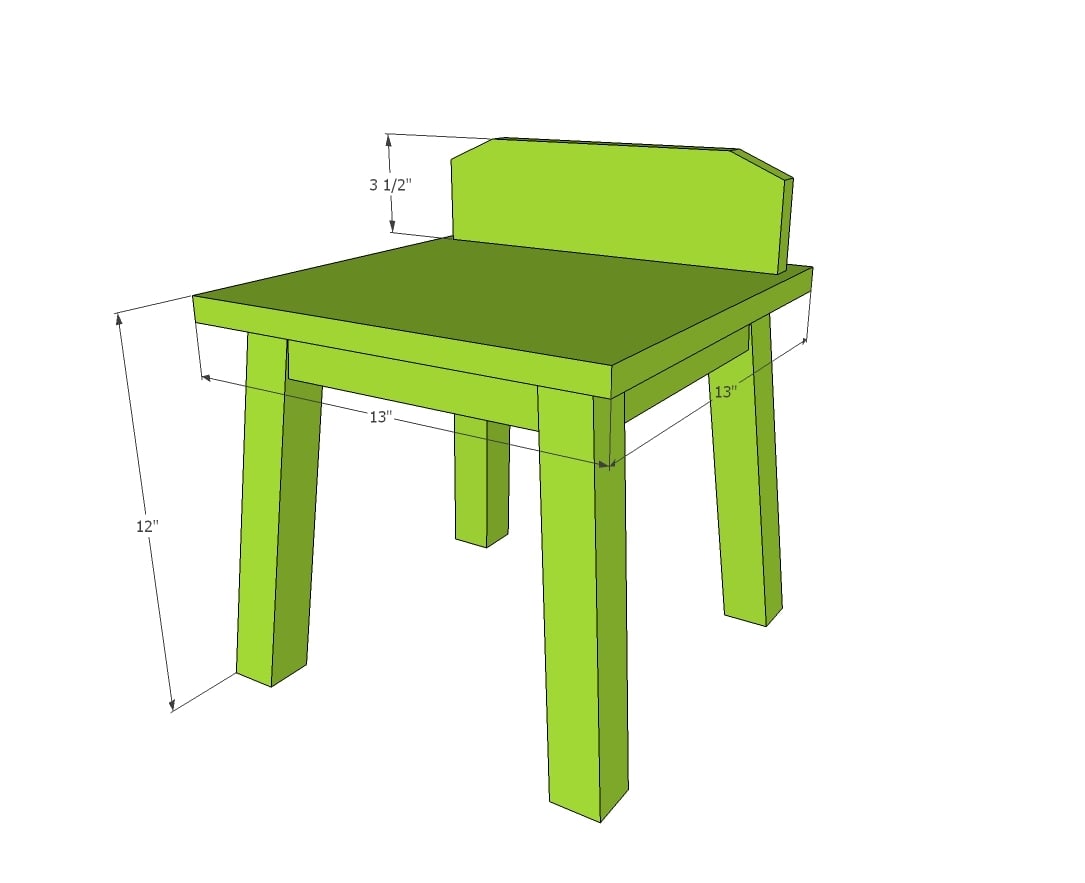
- 4 - 2x2 @ 11 1/4" (5 degree bevel & miter on both ends parallel, measuring short point to long point) (legs)
- 4 - 1x2 @ 8" (5 degree miter both ends NOT parallel, measuring short point to short point) (apron)
- 1 - 1x4 @ 12" (seat back)


Please read through the entire plan and all comments before beginning this project. It is also advisable to review the Getting Started Section. Take all necessary precautions to build safely and smartly. Work on a clean level surface, free of imperfections or debris. Always use straight boards. Check for square after each step. Always predrill holes before attaching with screws. Use glue with finish nails for a stronger hold. Wipe excess glue off bare wood for stained projects, as dried glue will not take stain. Be safe, have fun, and ask for help if you need it. Good luck!
Instructions
Step 1

Take all of the legs and mark the inside corner on the top and the outside corner on the bottom. A five degree bevel/angle can be hard to judge once you start building.
Then with inside corners on the inside, attach an apron to two of the legs. Do this for two leg sets. Use the 3/4" setting on your Kreg Jig and attach with 1-1/4" pocket hole screws, pocket holes are drilled in the aprons.
TIP: Also drill 3/4" pocket holes facing upward in aprons for attaching the seat in later steps.
Step 2

Drill 3/4" pocket holes on either end of the remaining aprons (and also facing upward for attaching the top in later steps). Attach to leg sets with 1-1/4" pocket hole screws and glue.
Step 3

Attach seat back to seat. If you are painting, you can use pocket holes (3/4" setting with 1-1/4" pocket hole screws) but for stain, attach from underside with carefully placed and predrilled 2-1/2" screws.
Step 4

Attach seat to leg base through the pocket holes drilled in step 1 and 2.

It is always recommended to apply a test coat on a hidden area or scrap piece to ensure color evenness and adhesion. Use primer or wood conditioner as needed.