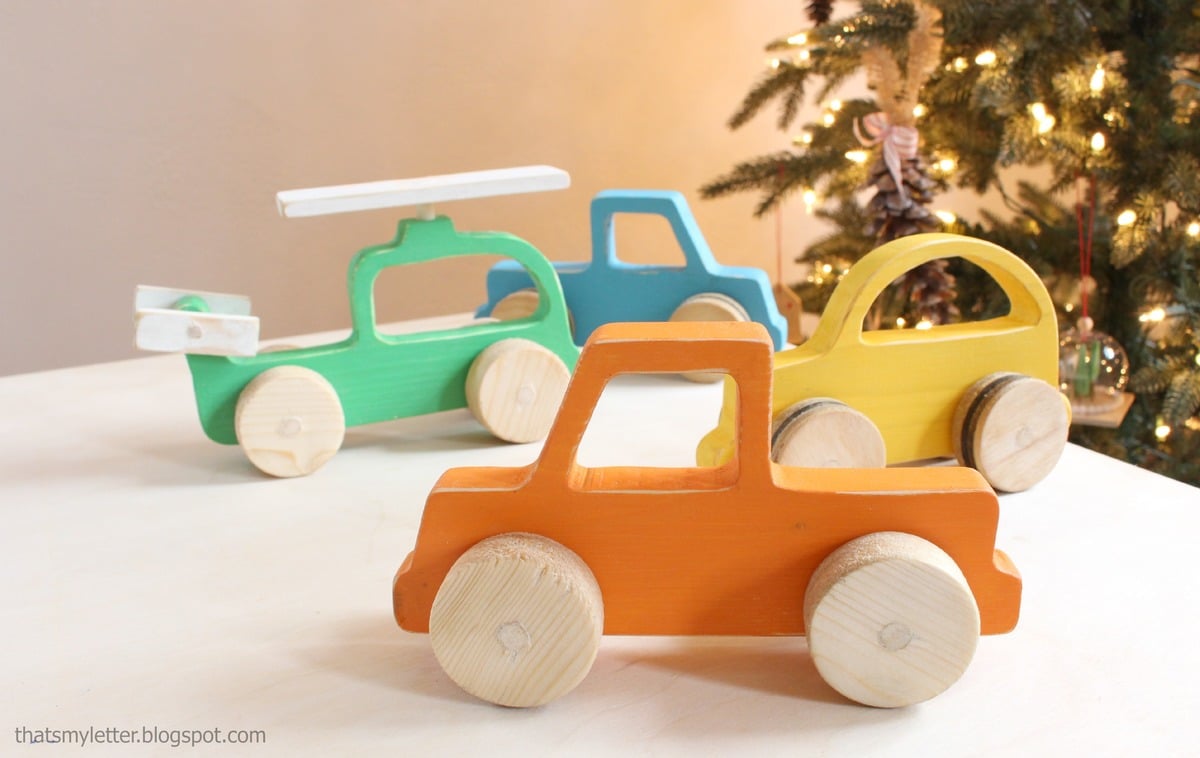
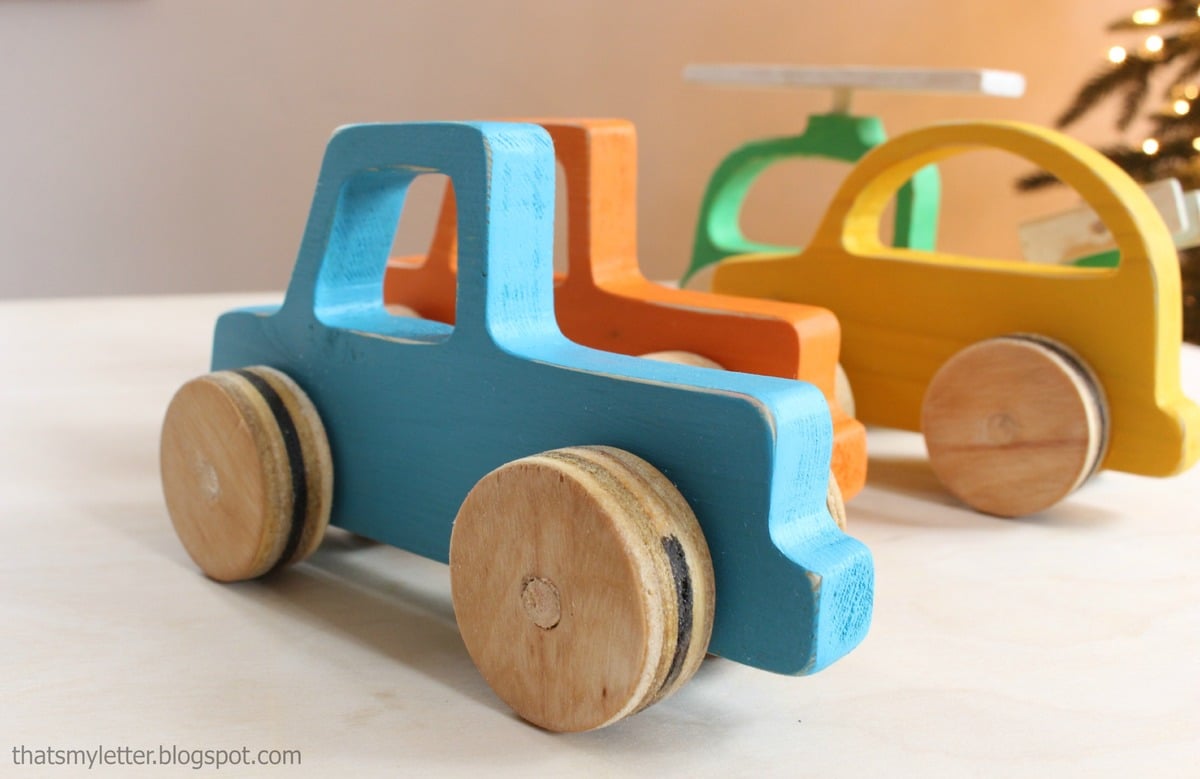
DIY Wood push car truck and helicopter toy plans with template - easy to make from scrap wood!
Preparation
1x4 scrap wood
small wood dowel matching hole saw bit or store bought wheel axel hole (about 6" per toy)
store bought wheels (1-1/2" diameter) or cut your own wheels with a hole saw (see step 4)
Cut 1x4 to length of the template
Cut two dowels 2-1/2" long per toy
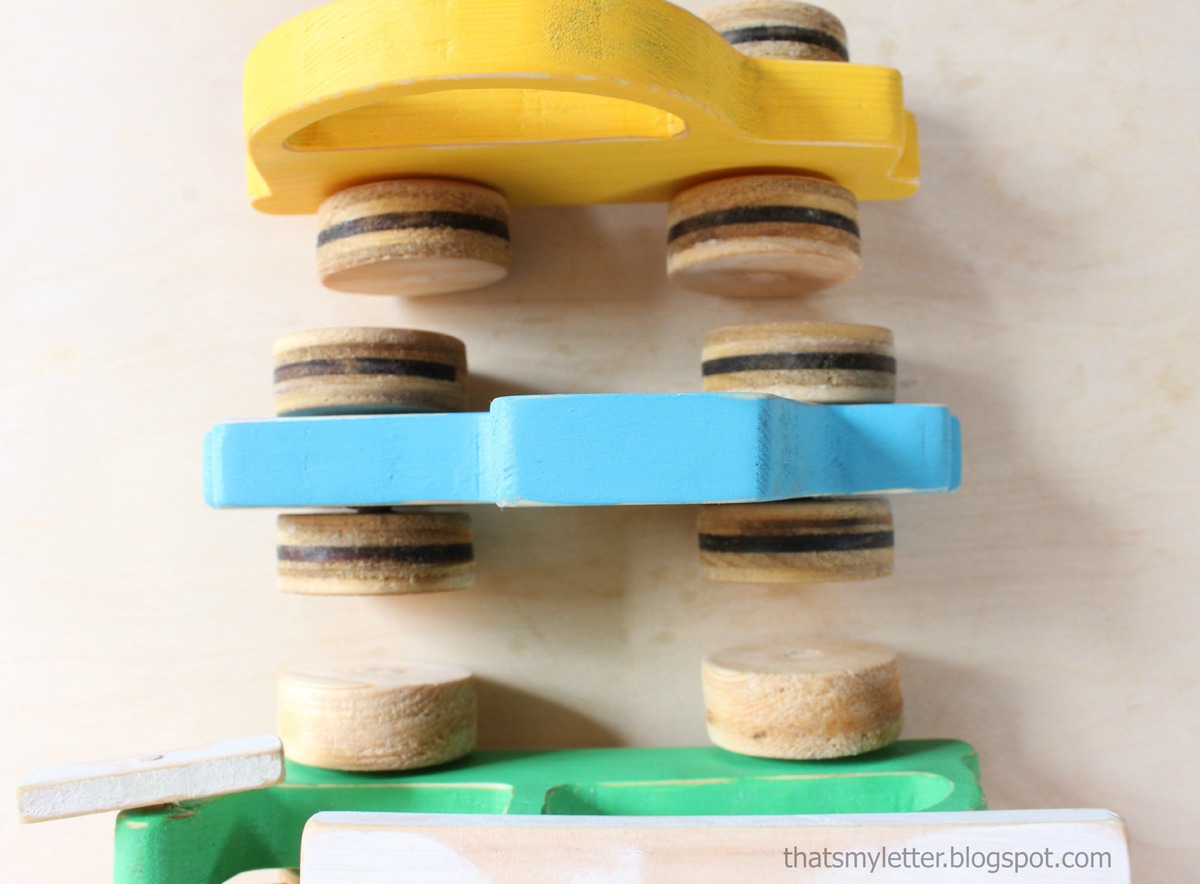
If you are making your own wheels, use a 1-1/2" hole saw to drill out wheels, and sand smooth
Please read through the entire plan and all comments before beginning this project. It is also advisable to review the Getting Started Section. Take all necessary precautions to build safely and smartly. Work on a clean level surface, free of imperfections or debris. Always use straight boards. Check for square after each step. Always predrill holes before attaching with screws. Use glue with finish nails for a stronger hold. Wipe excess glue off bare wood for stained projects, as dried glue will not take stain. Be safe, have fun, and ask for help if you need it. Good luck!
Instructions
Step 1
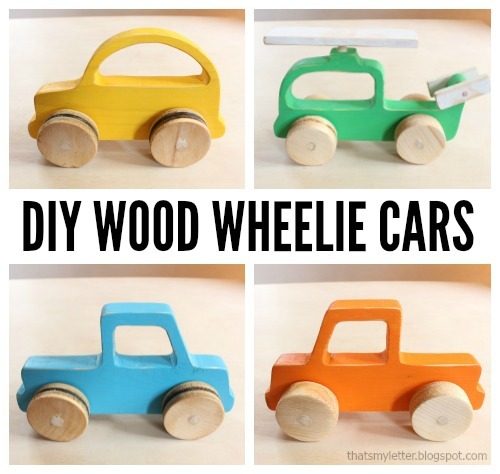
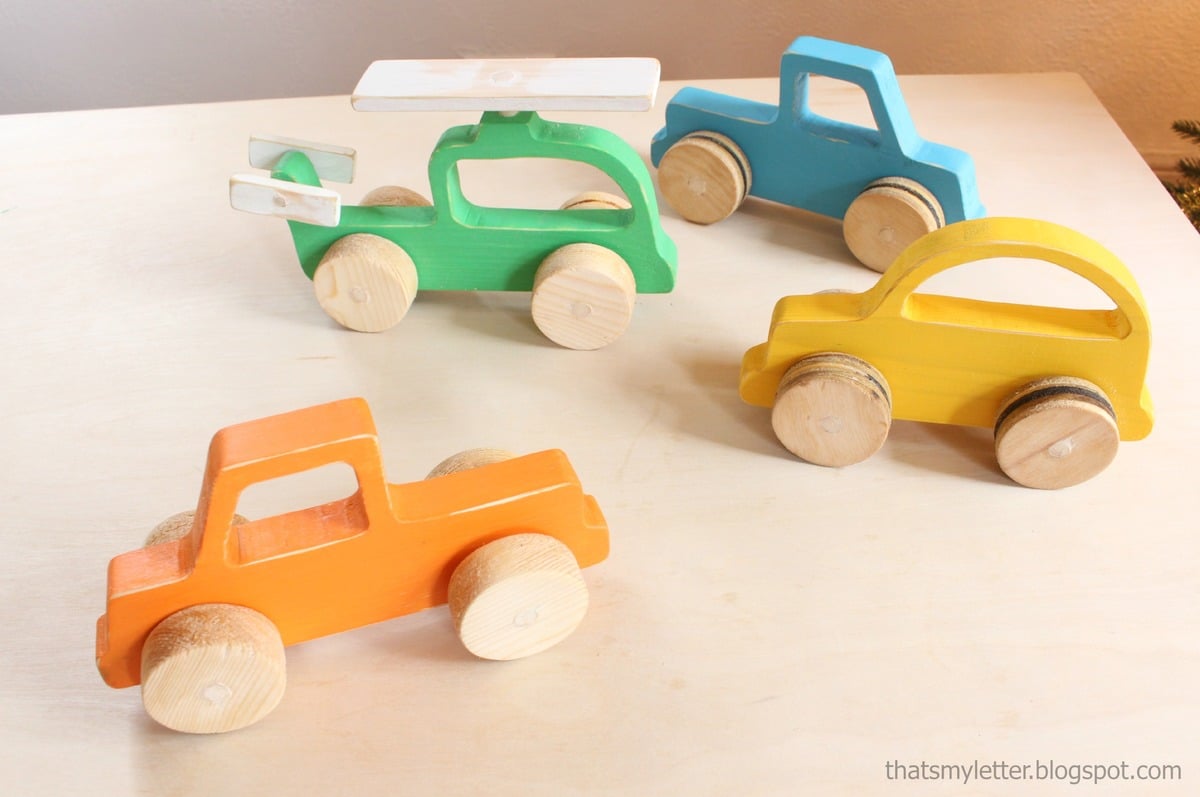
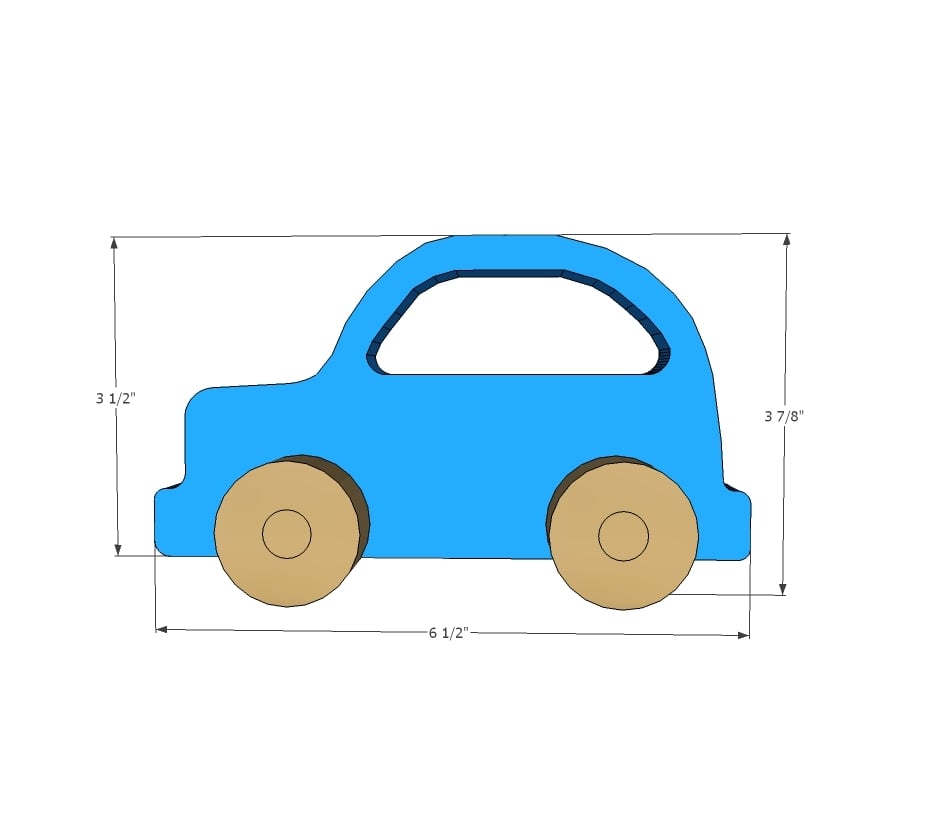
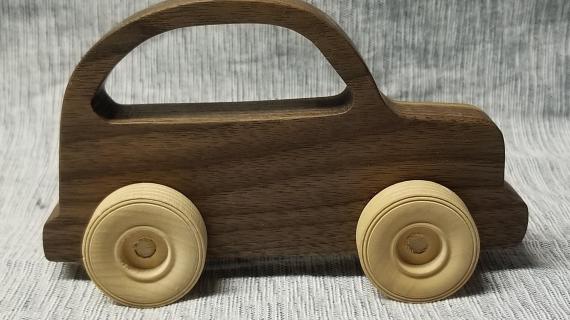
Car - Cut car template out and trace on to 1x4 board. To cut window area out, drill a center hole in the window area bigger than the jigsaw bit and cut out with a jigsaw.
Drill holes matching hole saw bit (you could even use the same hole saw bit) in the template and thread dowel through. Glue the wheels to the dowels. Make sure you don't glue the dowels to the car to allow the dowel to spin.
Step 2
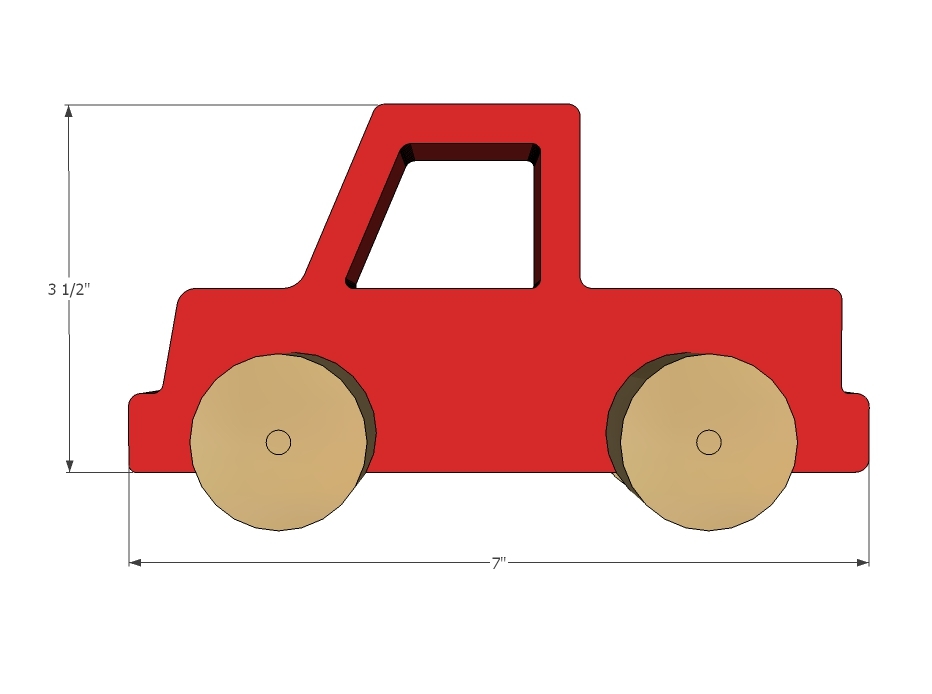
Truck - Cut truck template out and trace on to 1x4 board. To cut window area out, drill a center hole in the window area bigger than the jigsaw bit and cut out with a jigsaw.
Drill holes matching hole saw bit (you could even use the same hole saw bit) in the template and thread dowel through. Glue the wheels to the dowels. Make sure you don't glue the dowels to the car to allow the dowel to spin.
Step 3
Helicopter - Cut helicopter template out and trace on to 1x4 board. To cut window area out, drill a center hole in the window area bigger than the jigsaw bit and cut out with a jigsaw.
Drill holes matching hole saw bit (you could even use the same hole saw bit) in the template and thread dowel through. Glue the wheels to the dowels. Make sure you don't glue the dowels to the car to allow the dowel to spin.
The blades on the helicopter are just scrap pieces of wood. Attach back piece the same as the wood wheels. The top blade can also be attached with a small wood lag screw and washer between blade and top of helicopter. Predrill holes (IMPORTANT) to prevent wood from splitting.
Step 4
Jaime cut her own wheels using a hole saw bit. You can find more details on her blog here.
It is always recommended to apply a test coat on a hidden area or scrap piece to ensure color evenness and adhesion. Use primer or wood conditioner as needed.






Comments
Pam the Goatherd
Fri, 11/28/2014 - 15:30
These are AWESOME!!!! I'm
These are AWESOME!!!! I'm definitely going to have to make these for my future grandchildren!
BuLLdoGG
Thu, 12/04/2014 - 07:38
AWESOME making them for my
AWESOME making them for my grandson this christmas
thanks for the plans
handmadewithash
Fri, 12/19/2014 - 17:38
I'm totally building this for
I'm totally building this for my little boy. I have sooo much scrap lumber.