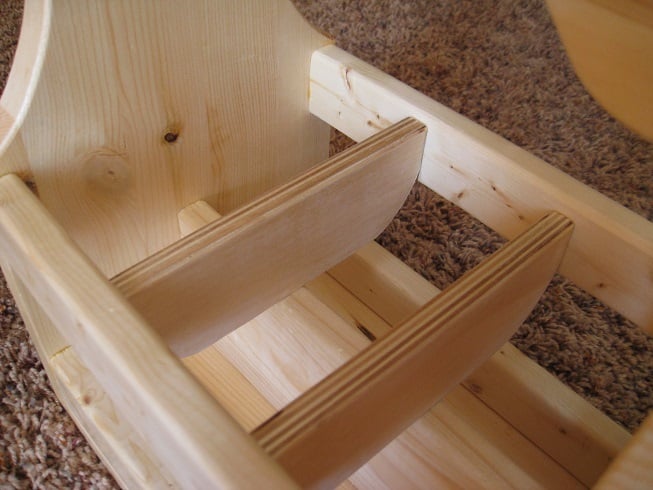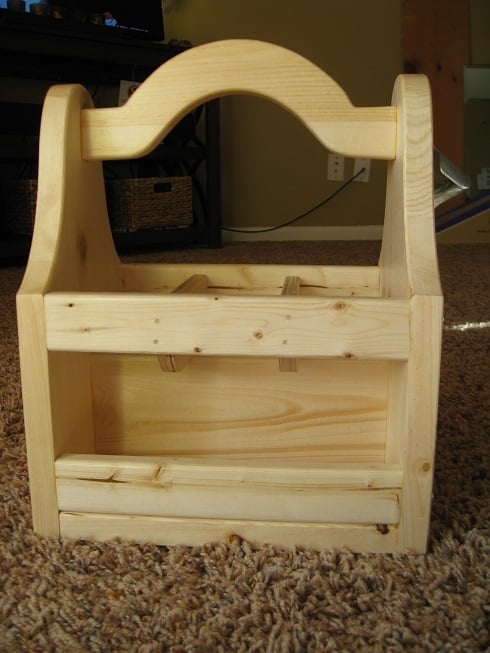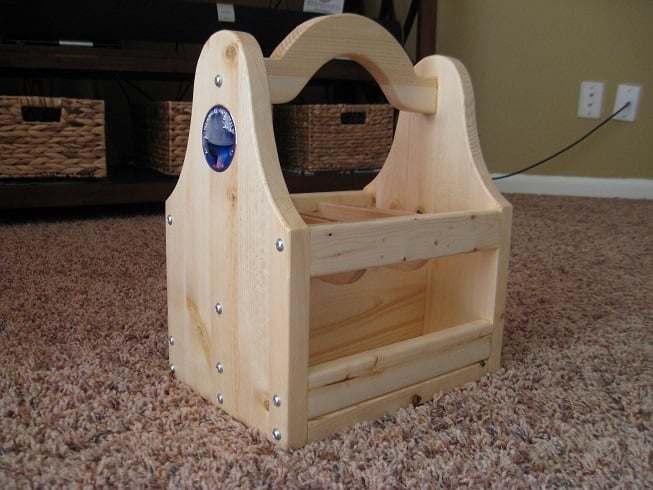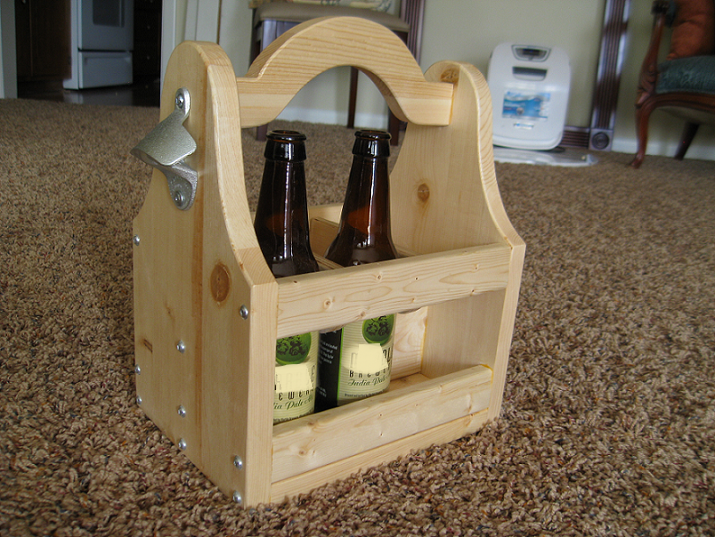
This was made for a silent auction fund raiser complete with six different microbrews. I used a pine project board from the local big box hardware and left over pine 1x2, 1x4s, and a small piece of 1/2" plywood that was left over from another project.
Preparation
½ “ Plywood (for dividers)
1 Pine 1x4
1 Pine furring strip (1” x 2”)
1½ ' x 2' Pine board
1½" Pocket Hole screws
½ Truss-head screw
1" Finish nails
Bottle Opener
Wood Glue
Clear Wood Finish Semi-Gloss Brushing Lacquer
600 grit sand paper
Rails : Four pine furring strips (1” x 2”) at 8 10/16” long
Tote Ends: Two at 12” high x 7 ¼ wide
Base : One at 7 ¼” wide by 8 10/16” long
Handle : One at 3” wide by 8 10/16” long; handle witdh after cutting arch is 1 6/16”
Divider: One 1x4 at 8 10/16” long
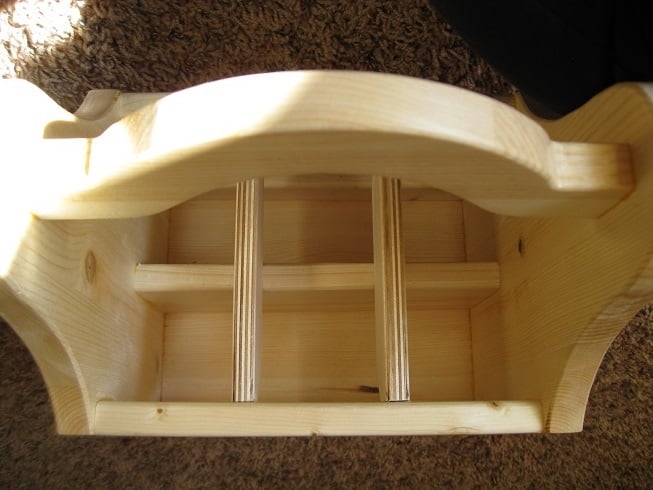
Cross Dividers: ½ “ Plywood - Two at 2” deep by 5 15/16” long; draw a graduate curve from were it meets the outside rail so its presence is minimized.
Please read through the entire plan and all comments before beginning this project. It is also advisable to review the Getting Started Section. Take all necessary precautions to build safely and smartly. Work on a clean level surface, free of imperfections or debris. Always use straight boards. Check for square after each step. Always predrill holes before attaching with screws. Use glue with finish nails for a stronger hold. Wipe excess glue off bare wood for stained projects, as dried glue will not take stain. Be safe, have fun, and ask for help if you need it.
Make sure you square up your wood BEFORE you begin cutting.
Good luck!
Instructions
Step 1
Square up your 1.5' x 2' board
Step 2
Cut two 12 x 7 1/4" tote ends
Step 3
Sketch out your tote end arch and trace onto the two panels.
Step 4
Cut Arches out of pannel using a jigsaw. Note: cut slighly larger than your pencil mark. You will sand this down to the line by hand or by a stationary belt sander. If using a stationary jigsaw and stationary belt sander, tape the two panels together before cutting. This will insure that they are mirror copies of each other. After cutting the arches out, now is the time to drill the hole for if you want to embed a coin. Be careful not to drill deeper than the coin is deep, The coin should be flush with the wood after it is inserted. If you are using double sided tape to hold it in place, make sure the thickness of the tape is accounted for in the depth that is drilled.
Step 5
Cut the base (One) at 7 ¼” wide by 8 10/16” long
Step 6
Cut one 1x4 at 8 10/16” long
Step 7
Sketch handle pattern onto the 3" x 8 10/16" allowing 1 1/4" on either side of the arch. Cut out using jigsaw. Again, cut slightly larger than the pencil line and hand sand or belt sand to finshed dimension.
Step 8
If you have a router, route a soft edge on all edges of the handle except for where it attaches to the tote ends. Route the top edges of the cross dividers.Route all edges of the tote ends EXCEPT for the bottom. If you do not have a router, you can hand sand the edges.
Step 9
Perform a dry fit before drilling screwing and gluing. This may take two people, if you don't have clamps.
Step 10
While clamped, ensure every part is exactly where its final resting place will be. Pre-drill all holes, one hole for each end of a 1x2, two for the 1 x 4 and three for the bottom on each side, and one for each side of the handle. Ensure your drill holes are as straight as possible. Remove the clamps and sand every piece with 220 grit sand paper smoothing all rough edges. Important to note: Do not drill completely through the tote side where the bottom of the bottle opener will be attached. The 1/2 inch screw will go in this position but not until the entire tote is complete. Attaching the bottle opener will be the very last step.
Step 11
Begin gluing and screwing (1 1/2" pocket hole screws) from the bottom up ensuring the screws go into the exact holes previously drilled. NOTE: Do not tighen screws down untill all parts have been put in placed. Once this is done, then go back and tighten down the screws being careful not to strip the holes out. Pine wood will strip very easily.
With a damp rag (not wet) wipe away the excess glue as much as possible. If you are planning to stain this project, any left-over glue will prevent the stain from taking, DO NOT STAIN PRIOR TO THIS STEP. If you do, your glue may not stick to the stain. Also, you will want to screw both ends of the handle in WITHOUT the bottle opener. This is also the point at which the cross dividers will be nailed in. Make sure 3 bottles will fit on each side with the dividers in place BEFORE gluing. Clamp project and wait 24 hrs for glue to dry.
Step 12
After the glue dries, stain and wait 24 hrs. Once that is complete, apply the clear coat lacquer in light coats. You will have better control of the finsh if light coats are applied. Apply the 1st coat, let dry for 24 hrs. sand lightly with 600 grit sandpaper, wipe free of and dust and apply 2nd coat. Wait 24 hrs. Repeat until you are satisfied with the finish.
Step 13
After tote is dry, gentley remove the screw in the end of the handle where 2 holes were drilled for the bottle opener and attach th bottle opener, being careful not to strip the screw holes. I suggest using a screwdriver as opposed to a drill for this. Use the 1/2" screw in the lower screw hole of the bottle opener.
It is always recommended to apply a test coat on a hidden area or scrap piece to ensure color evenness and adhesion. Use primer or wood conditioner as needed.


