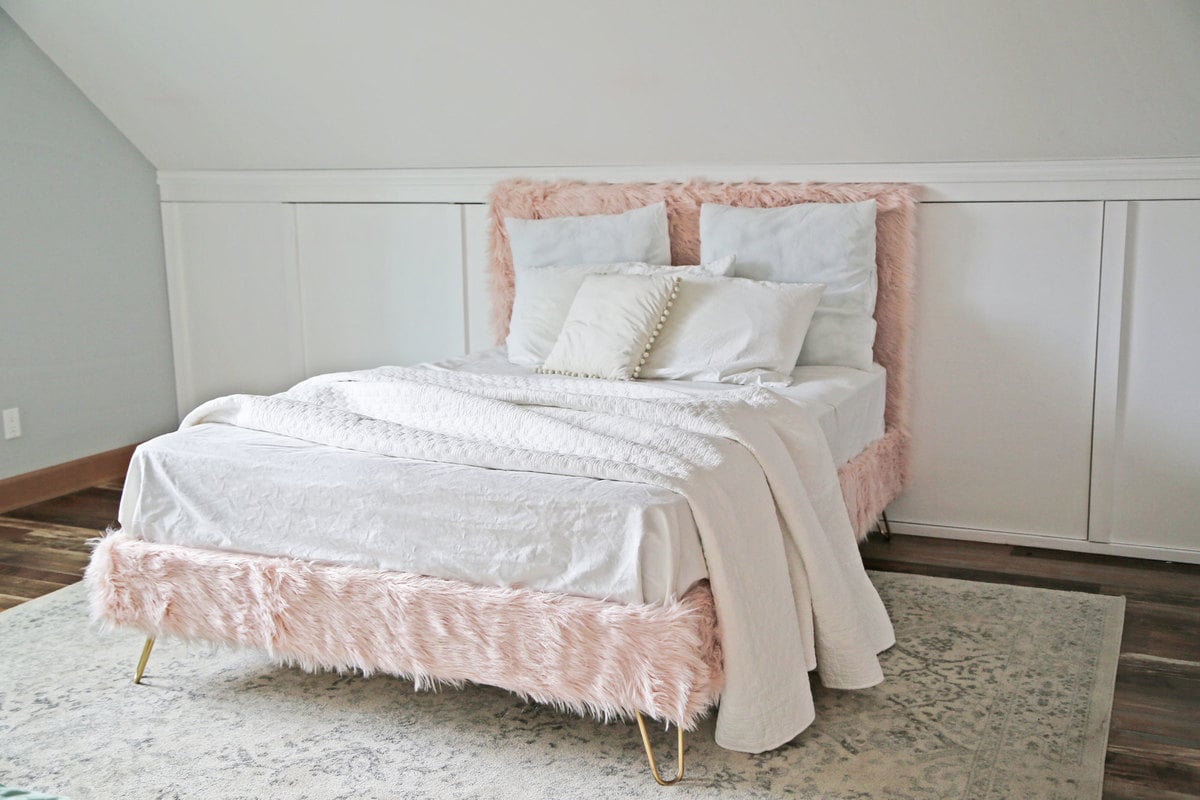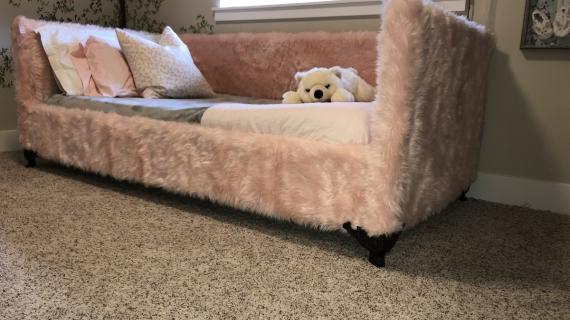
The easiest upholstered bed tutorial - use any fabric you choose! Step by step plans from ANA-WHITE.com
Dimensions

Overall height is 48" (with 8" legs)
Width and depth are about 3" larger than the mattress size
Width and depth are about 3" larger than the mattress size
Preparation
Shopping List
Queen Shopping List
- 6 - 2x4 @ 8' or stud length (construction grade lumber ok)
- 2 - 1x8 @ 8' (I used whitewood boards)
- 1 - 1x8 @ 6' (I used whitewood boards)
- 2 - 2x2 @ 8' (furring strips are fine)
- 7 - 1x3 @ 8' (furring strips are fine)
- 1 - 48" x 96" plywood panel
- 4 - 8" hairpin legs
- 3-5 yards of fabric (depending on width and pattern)
- 3-5 yards of batting
- wood staples
- 30 - 3" wood screws
- 100 - 2" wood screw
- 10 - 1-1/4" wood screws or brad nails
Full Shopping List
- 6 - 2x4 @ 8' or stud length (construction grade lumber ok)
- 2 - 1x8 @ 8' (I used whitewood boards)
- 1 - 1x8 @ 6' (I used whitewood boards)
- 2 - 2x2 @ 8' (furring strips are fine)
- 6 - 1x3 @ 8' (furring strips are fine)
- 1 - 48" x 96" plywood panel
- 4 - 8" hairpin legs
- 3-5 yards of fabric (depending on width and pattern)
- 3-5 yards of batting
- wood staples
- 30 - 3" wood screws
- 100 - 2" wood screw
- 10 - 1-1/4" wood screws or brad nails
Twin Shopping List
- 4 - 2x4 @ 8' or stud length (construction grade lumber ok)
- 2 - 1x8 @ 8' (I used whitewood boards)
- 1 - 1x8 @ 4' (I used whitewood boards)
- 2 - 2x2 @ 8' (furring strips are fine)
- 5 - 1x3 @ 8' (furring strips are fine)
- 4 - 8" hairpin legs
- 1 - 1/4" plywood panel 48" x 48"
- 3-4 yards of fabric (depending on width and pattern)
- 3-4 yards of batting (same amount as fabric)
- wood staples
- 25 - 3" wood screws
- 75 - 2" wood screw
- 10 - 1-1/4" wood screws or brad nails
Cut List
QUEEN - 60" x 80" Mattress
- 2 - 2x4 @ 80" - mattress frame sides
- 2 - 2x4 @ 57" - mattress frame top and bottom
- 1 - 2x4 @ 77" - mattress frame center support
- 2 - 1x8 @ 80" - siderails
- 1 - 1x8 @ 61-1/2" - footboard
- 2 - 2x2 @ 40" - headboard sides
- 1 - 2x2 @ 58-1/2" - headboard top
- 1 - 2x4 @ 58-1/2" - headboard bottom
- 1 - 1/4" plywood @ 61-1/2" x 40" - headboard panel
- 21 - 1x3 @ 31-3/4" - slats
FULL - 54" x 75" Mattress
- 2 - 2x4 @ 75" - mattress frame sides
- 2 - 2x4 @ 51" - mattress frame top and bottom
- 1 - 2x4 @ 72" - mattress frame center support
- 2 - 1x8 @ 75" - siderails
- 1 - 1x8 @ 55-1/2" - footboard
- 2 - 2x2 @ 40" - headboard sides
- 1 - 2x2 @ 52-1/2" - headboard top
- 1 - 2x4 @ 52-1/2" - headboard bottom
- 1 - 1/4" plywood @ 55-1/2" x 40" - headboard panel
- 18 - 1x3 @ 31-3/4" - slats
TWIN - 39" x 75" Mattress
- 2 - 2x4 @ 75" - mattress frame sides
- 2 - 2x4 @ 36" - mattress frame top and bottom
- 2 - 1x8 @ 75" - siderails
- 1 - 1x8 @ 40-1/2" - footboard
- 2 - 2x2 @ 40" - headboard sides
- 1 - 2x2 @ 37-1/2" - headboard top
- 1 - 2x4 @ 37-1/2" - headboard bottom
- 1 - 1/4" plywood @ 40-1/2" x 40" - headboard panel
- 10 - 1x3 @ 39" - slats
Cutting Instructions
Cut all boards with a circular saw or compound miter. Cut plywood with a circular saw. The video tutorial shows how we cut the boards for this plan.
Instructions
Step 1
Step 3
Project Type
Room


