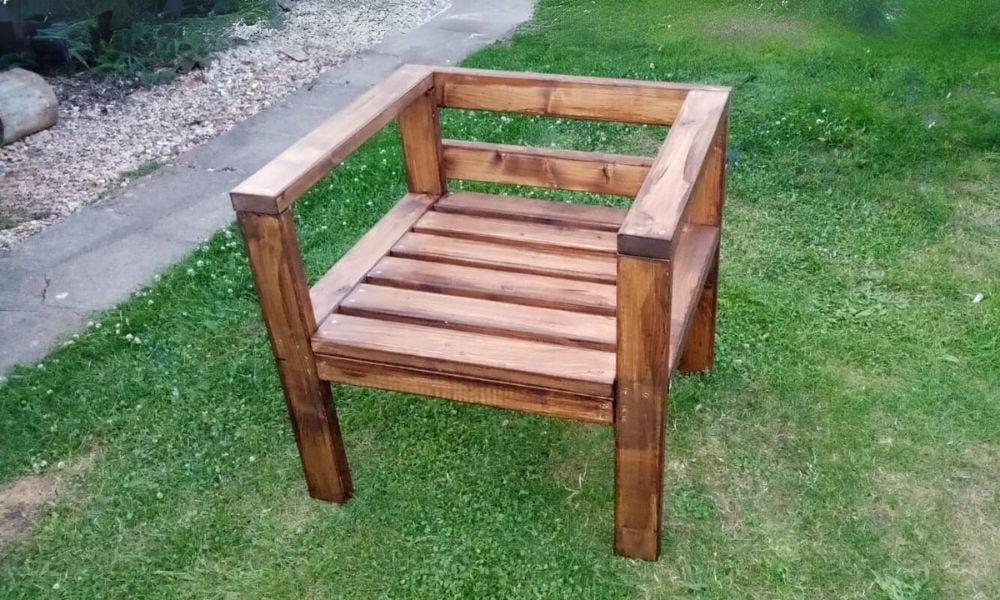

Build your own outdoor chairs out of 2x4s, designed to work with 24" x 24" cushions. This chair plan matches our super popular 2x4 outdoor sofa and sectional plans.
Free plans include step by step diagrams, shopping and cut list, and lots of reader submitted photos - created by Ana-White.com
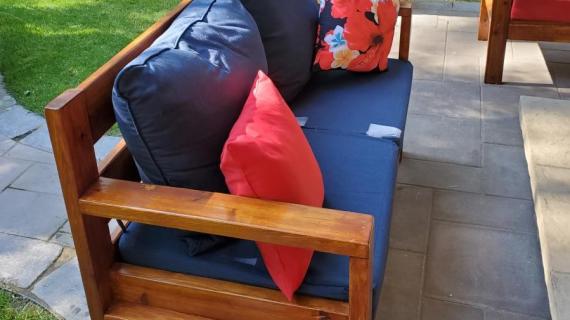
UPDATED PHOTO SUBMITTED BY JAMESBROWN0304
See Also: 2x4 Outdoor Furniture Collection of Free Plans
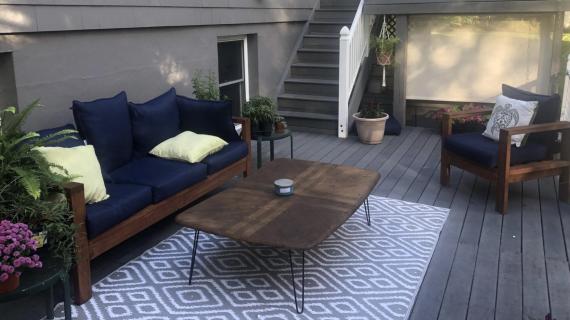
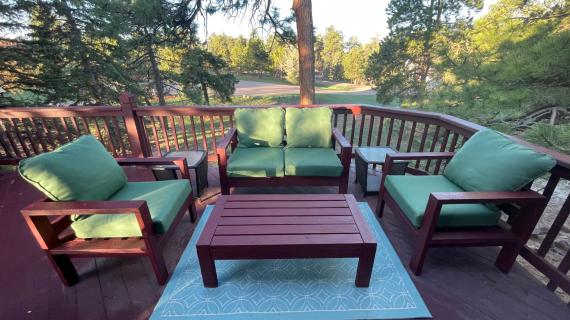
This plan is part of a collection that includes sofa, coffee table, loveseat and more!
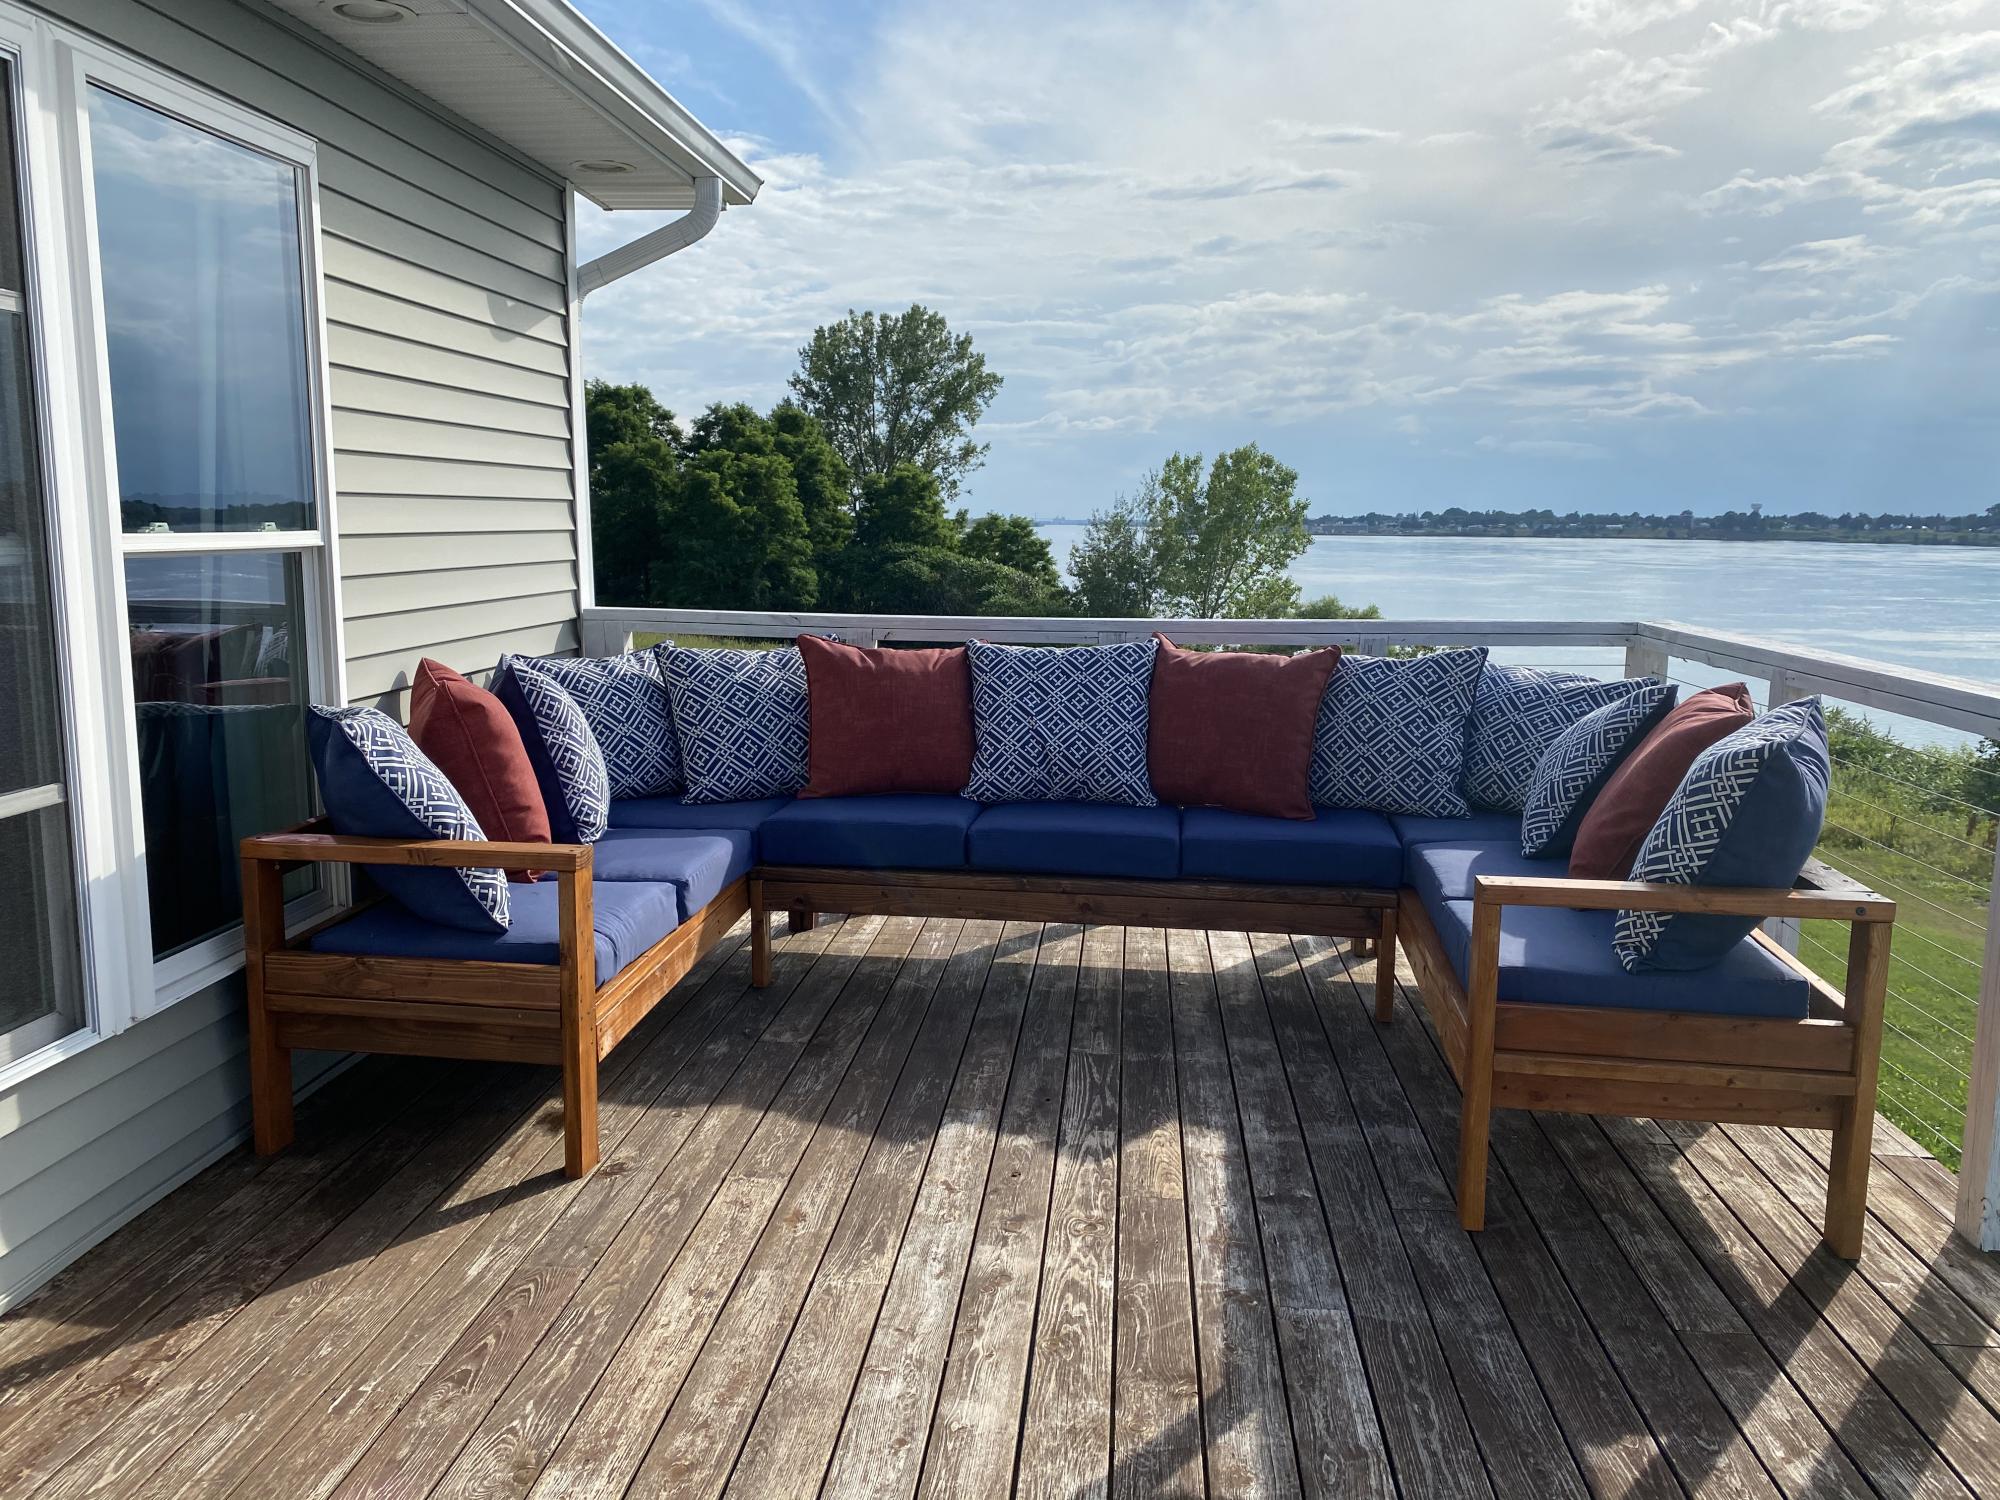
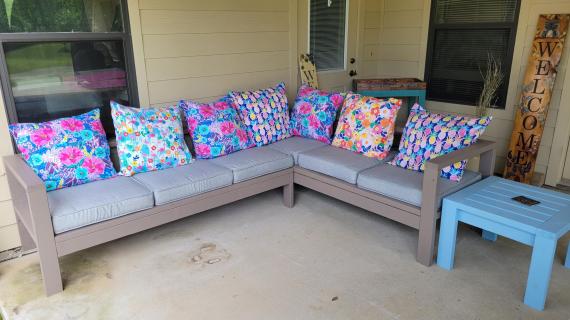
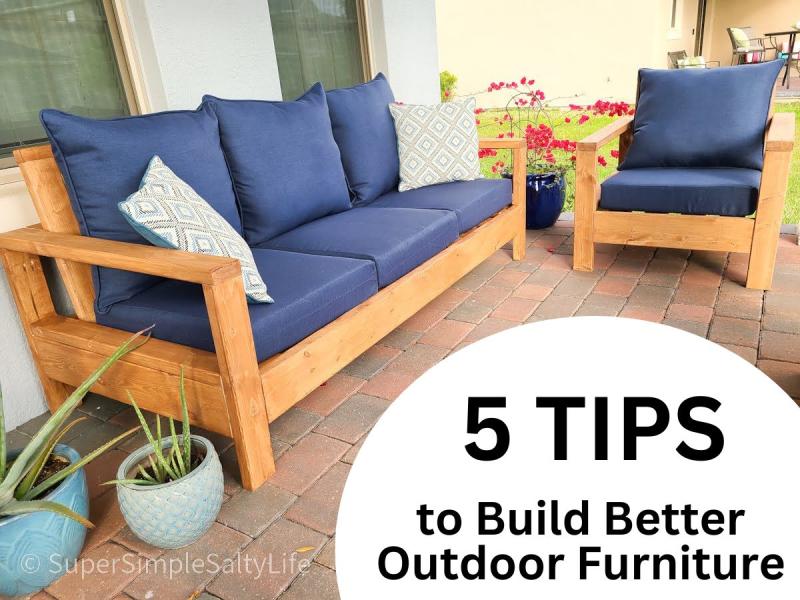
Photo credit - EGRAVLIN58
Click here to view all plans in our 2x4 Outdoor Collection.
Here's Some Tips to Build Better Outdoor Furniture
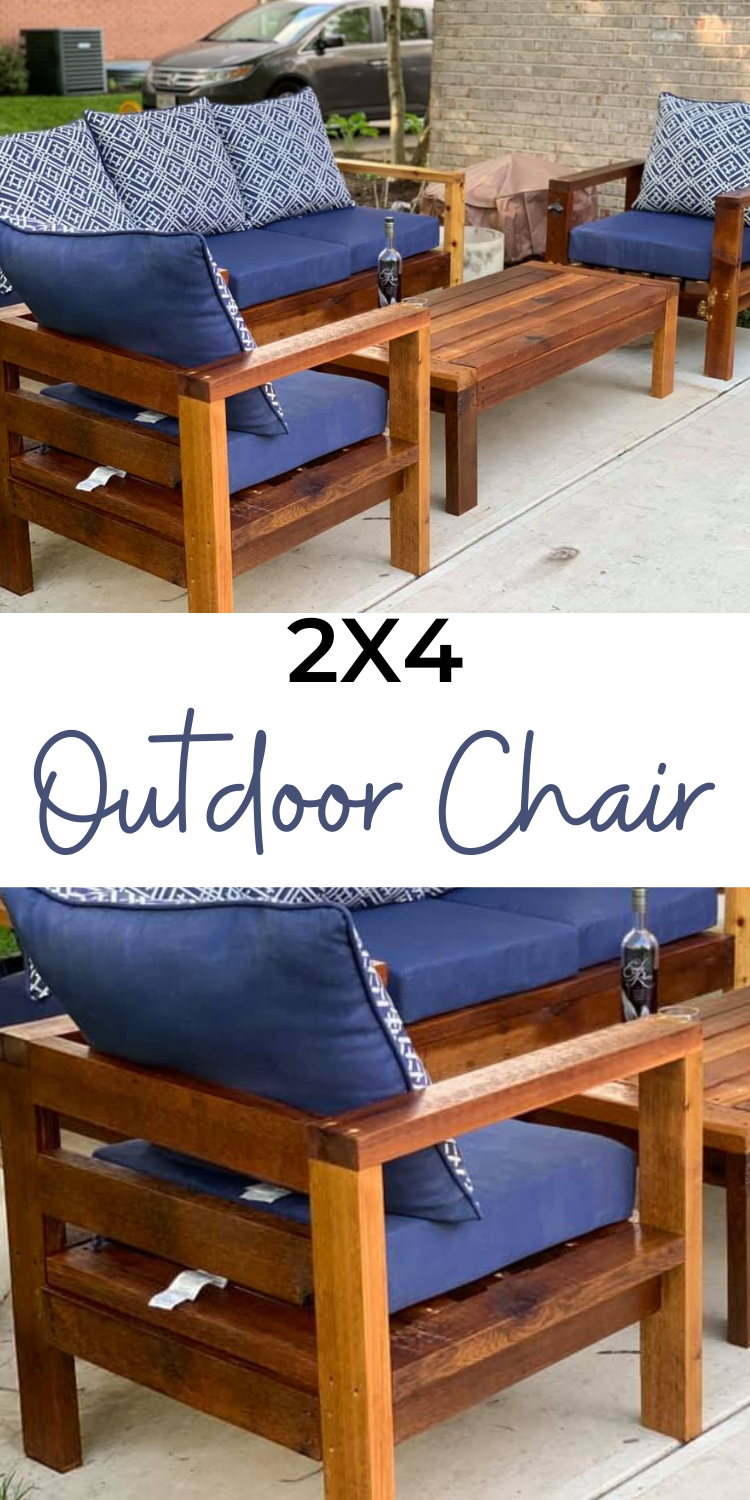
Pin For Later!!
Preparation
- 6 - 2x4 @ 10 feet long
- 75 - 2-3/4" star head construction screws, exterior approved
TIP: Consider prestaining or painting the 2x4s before assembly for a faster and neater finish.
- 10 - 2x4 @ 25-1/2"
- 2 - 2x4 @ 28-1/2"
- 10 - 2x4 @ 24" or width of cushions (TIP: If your 2x4s are exactly 10 feet long, then consider cutting them all at 23-3/4" to get four cuts on one 2x4)
Cut all boards using a circular saw and a straight edge. A chop saw or miter saw would be faster and more accurate.


Instructions
Step 1

Attach one arm rest to two legs with the 2-3/4" screws.
Build two identical.
Step 2

Add the middle support with the 2-3/4" screws.
Step 3

Add the second middle support underneath with two screws per end and two screws from the top into the top edge.
Step 4

Build the seat frame with 2-3/4" screws, two per end.
Step 5

Attach the middle frame to the arms with four 2-3/4" screws per side, spacing the screws out on the top/bottom and ends for the most distance between the screws for the most support. Also slightly angle drive the screws for increased grab.
Step 6

If you have a pocket hole jig, this would be a great spot to use it. If not, you can attach by screwing at an angle. Start the screw almost perpendicular, about 1" from the end, and then once you get the screw going, angle at a 45 degree angle and finish driving the screw. Two screws per end.
TIP: It may be easier to attach the lower one first, so you can fit your drill in there.
Step 7

Lay the seat slats out, evenly spacing, and screw down with two screws per end.