
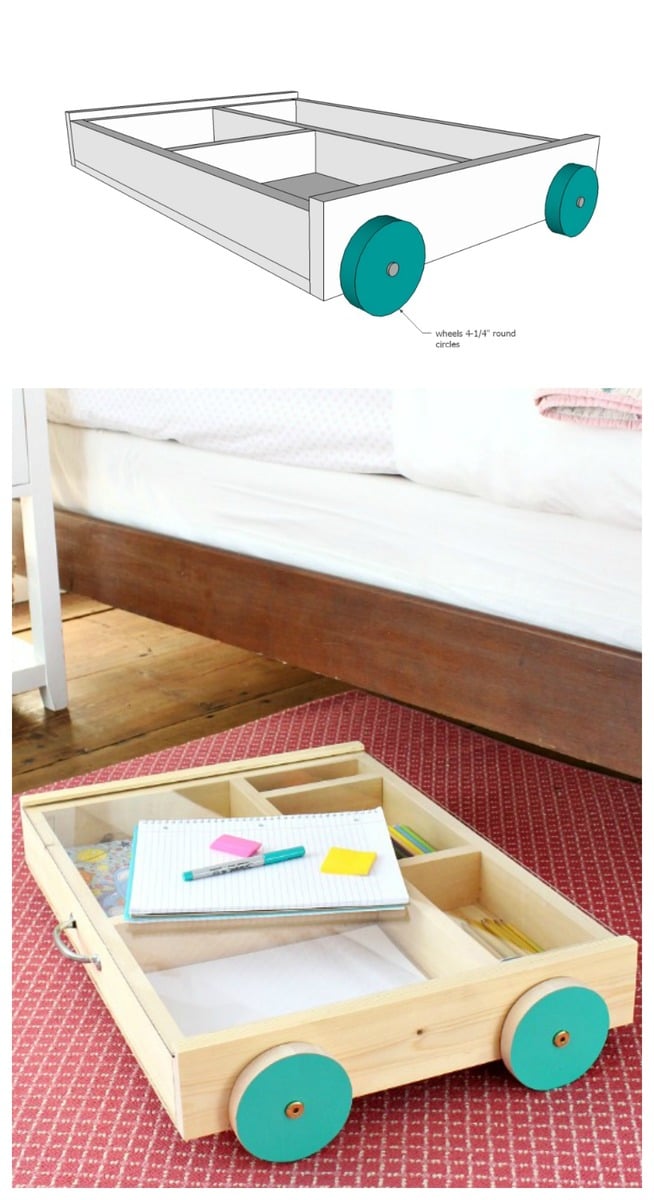
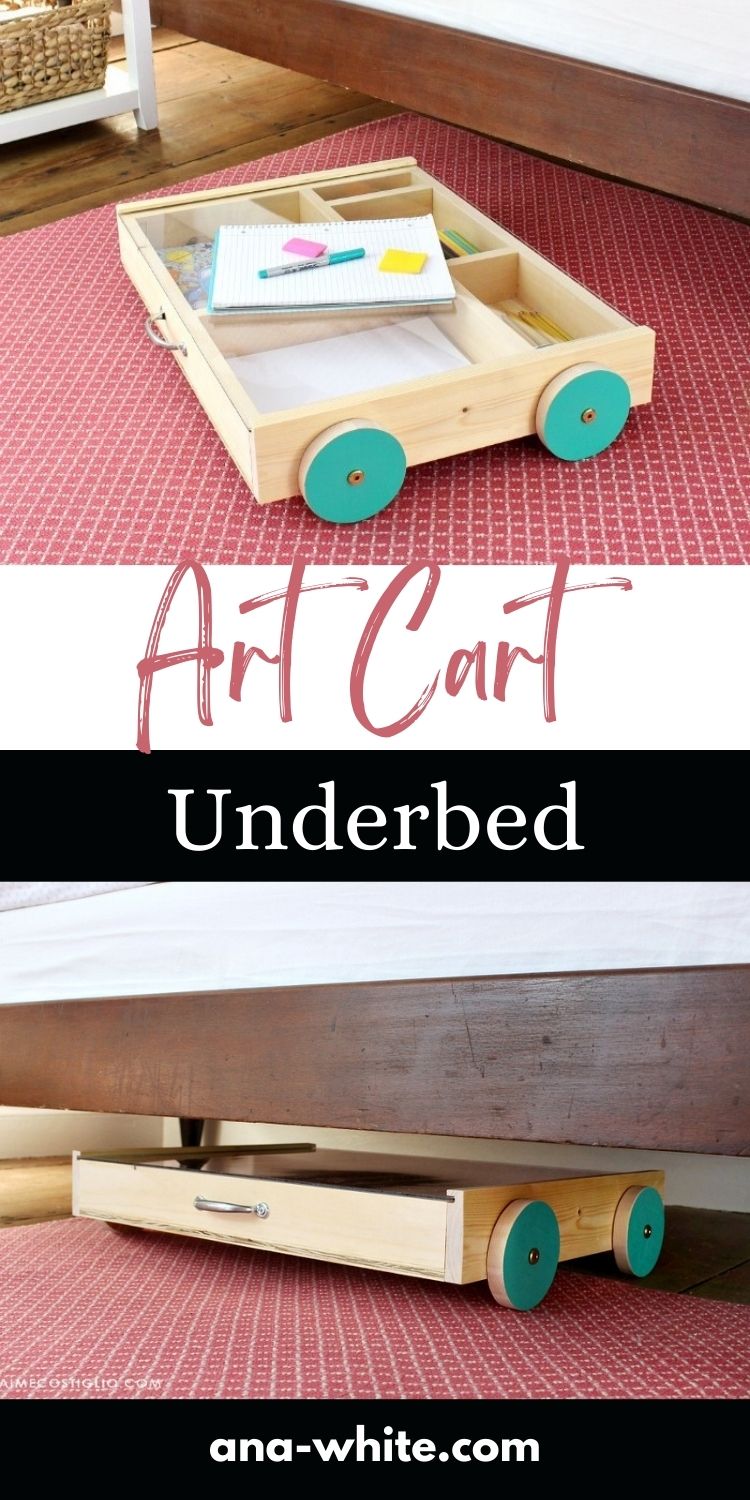
Art cart that rolls under bed or sofa. DIY plans by ANA-WHITE.com

Do your kids love coloring and artwork? My daughter in particular is always doodling or drawing or making signs.
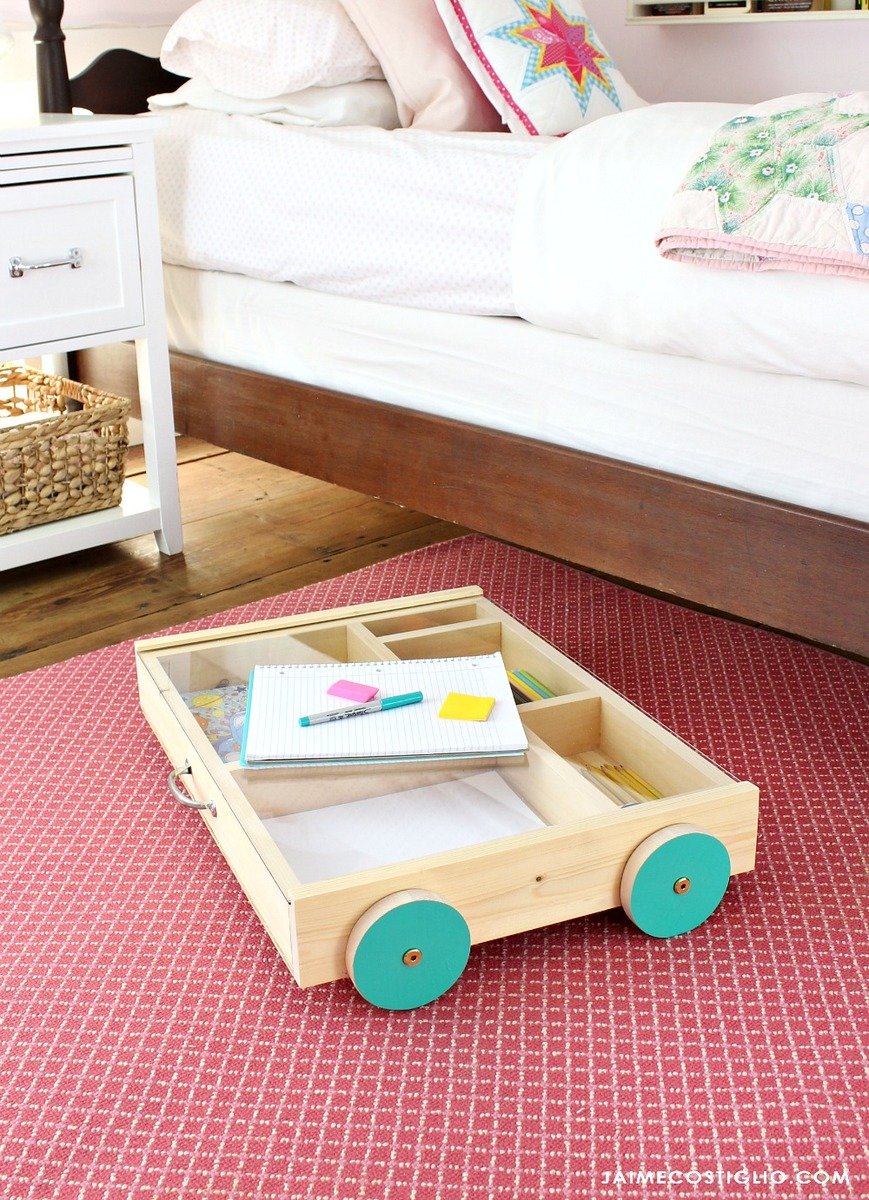
For this Handbuilt Holiday season, Jaime Costiglio and I wanted to create a plan for an art station that can be rolled under a bed or sofa.
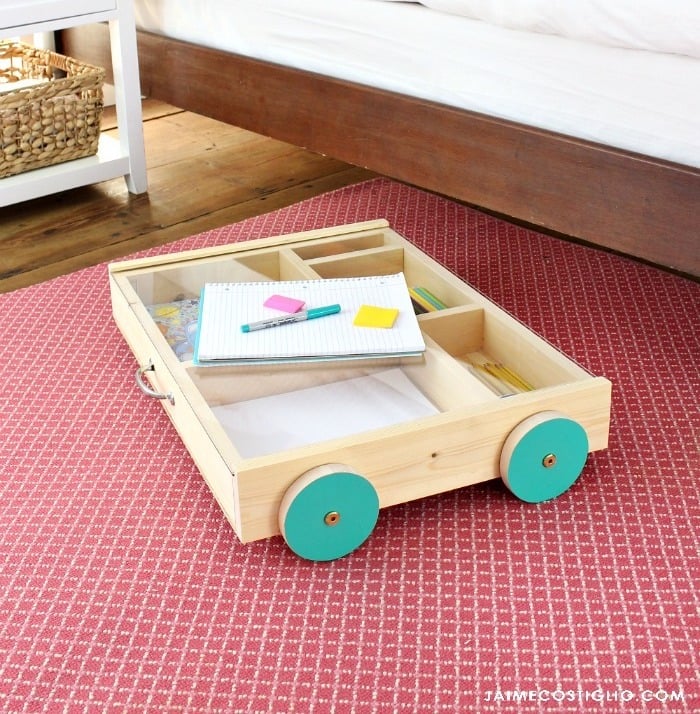
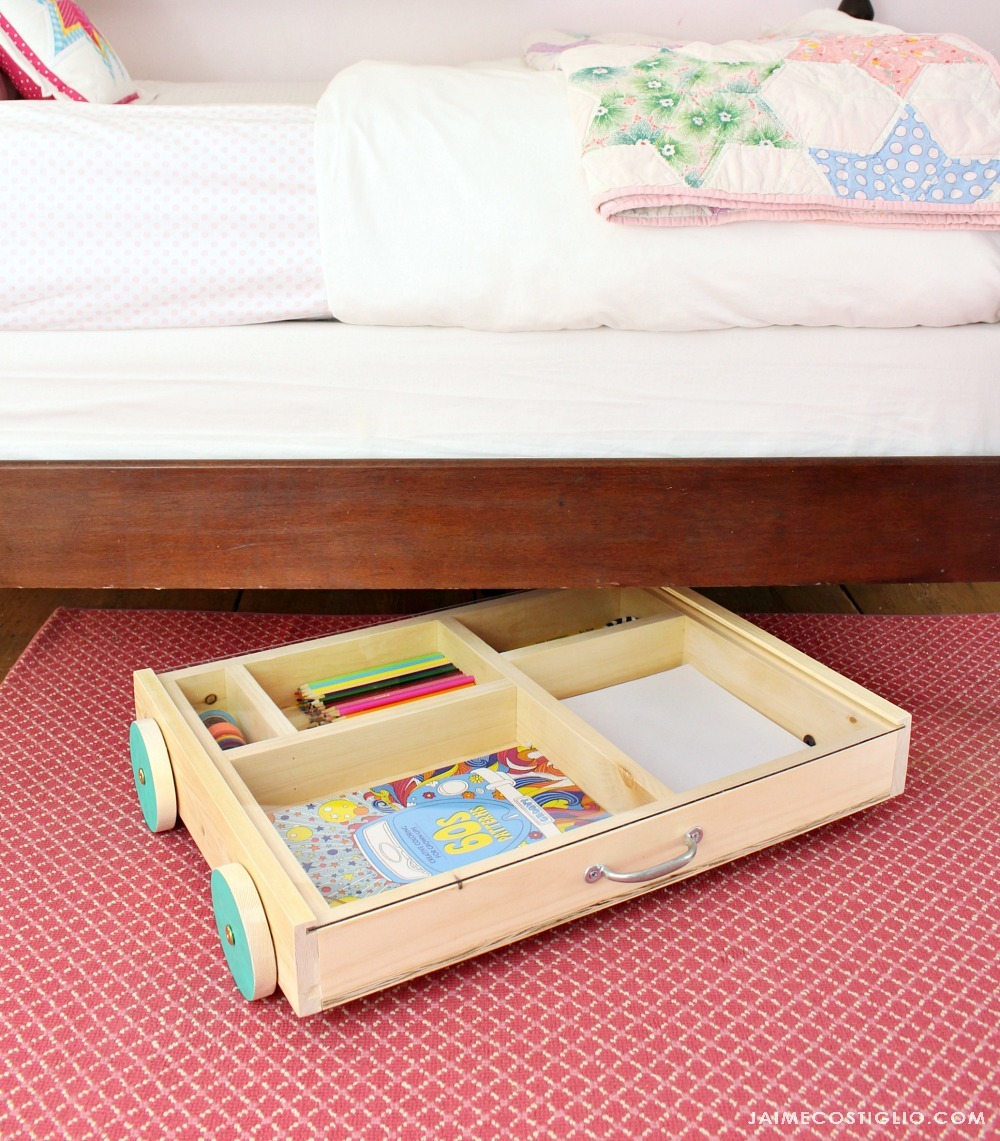
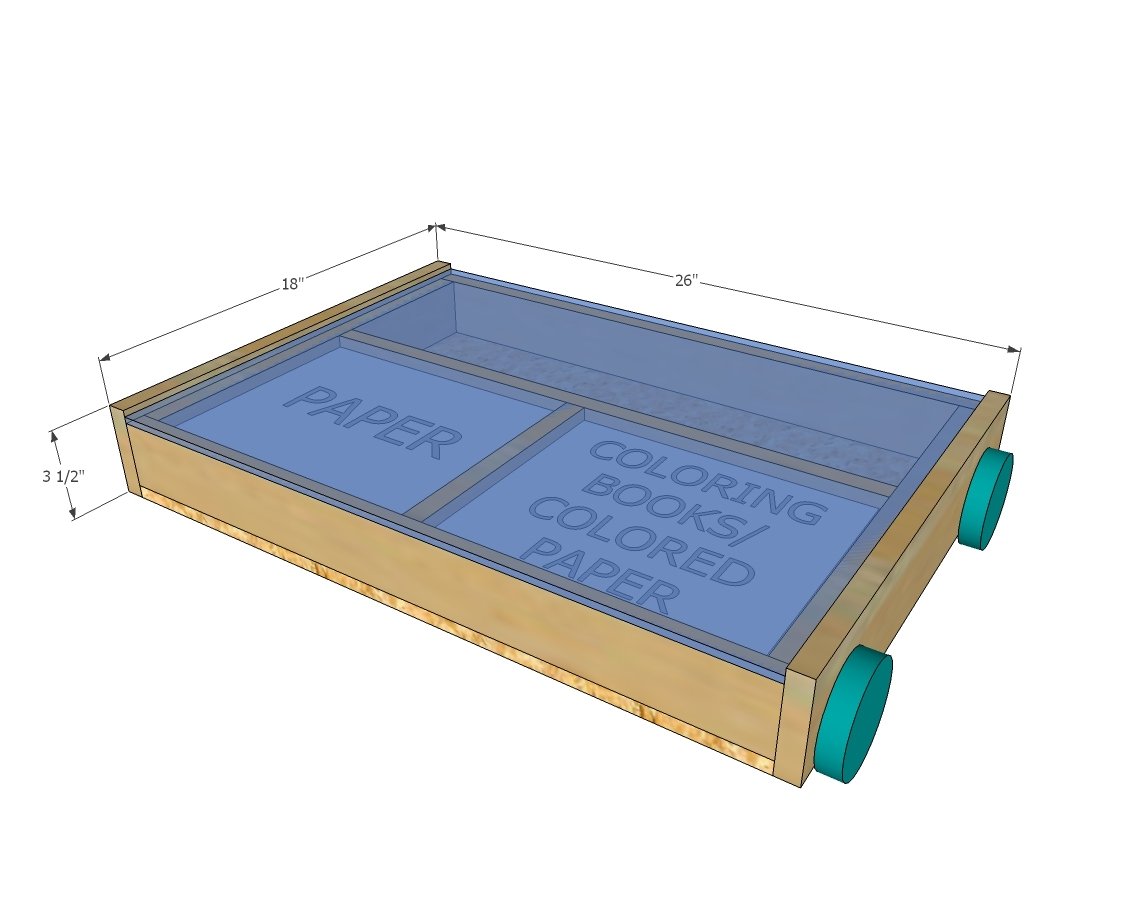
First up, needs lots of storage compartments -
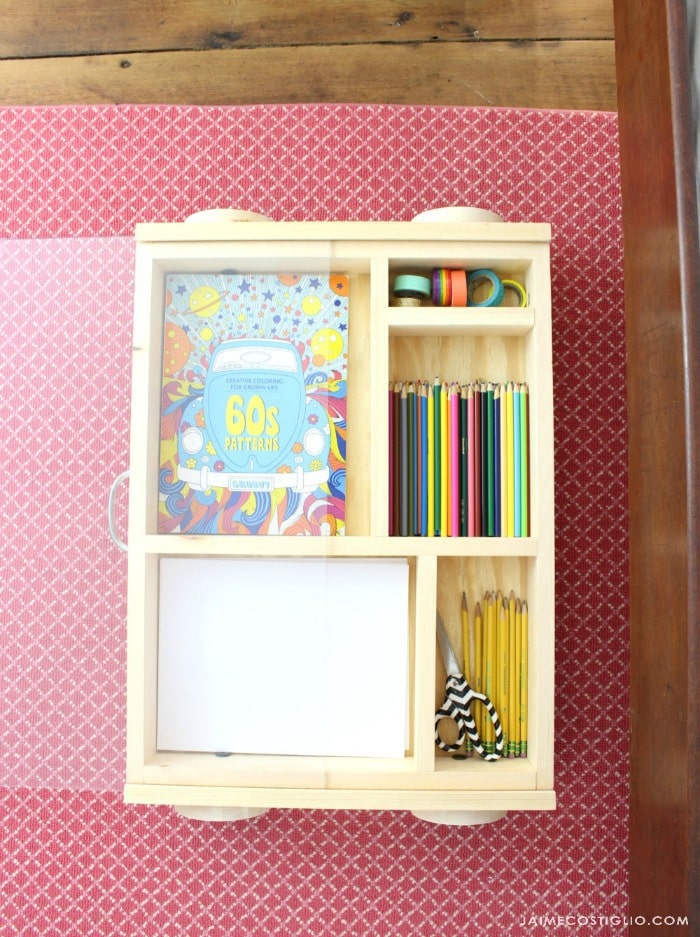
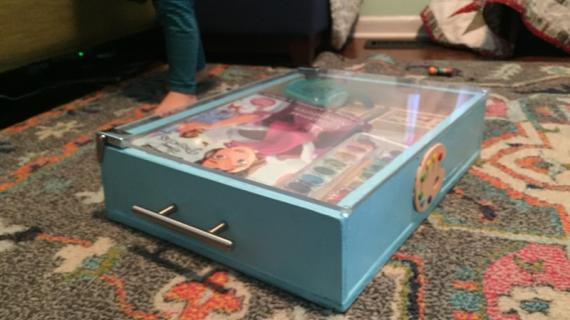
Can you see it? We added a clear acrylic top (available off the shelf to fit this plan) that serves as a smooth working surface and also allows the user to see the contents inside the cart.
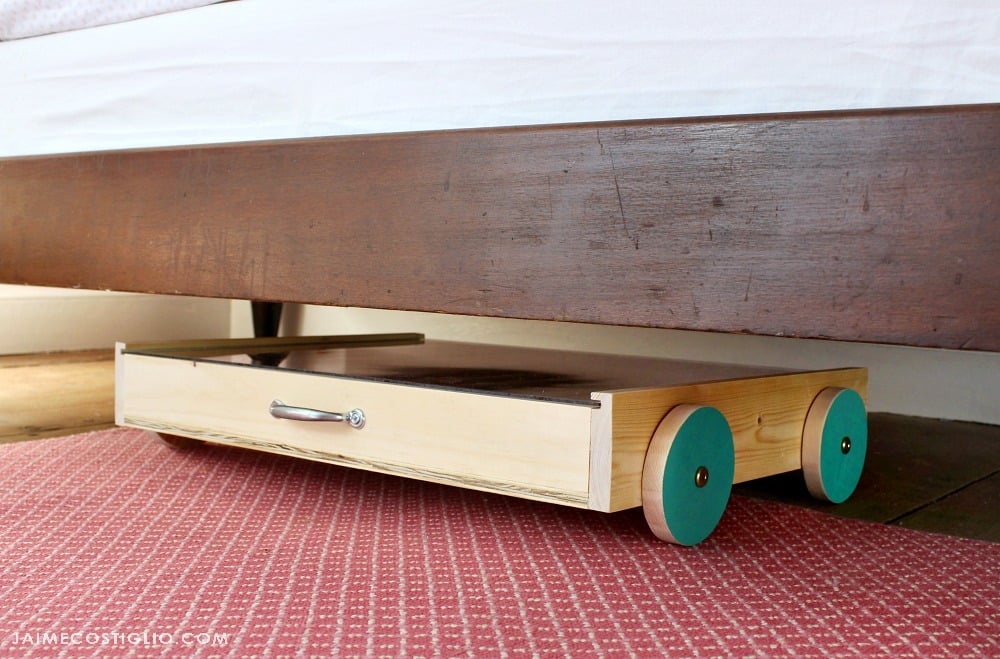
Then we moved the wheels to the sides to lower the clearance and also save some materials cost, as casters can be expensive. Of course, you can still put casters on the bottom.

Jaime and I are both very pleased with how this one came out and anxious to see it built for loved ones everywhere. I can see variations to suit every child's interests - from Legos to action figures and craft supplies.
For the plans below, I have the clear top just resting on top of the project. But Jaime wanted to create a sliding top option for those of you with routers -
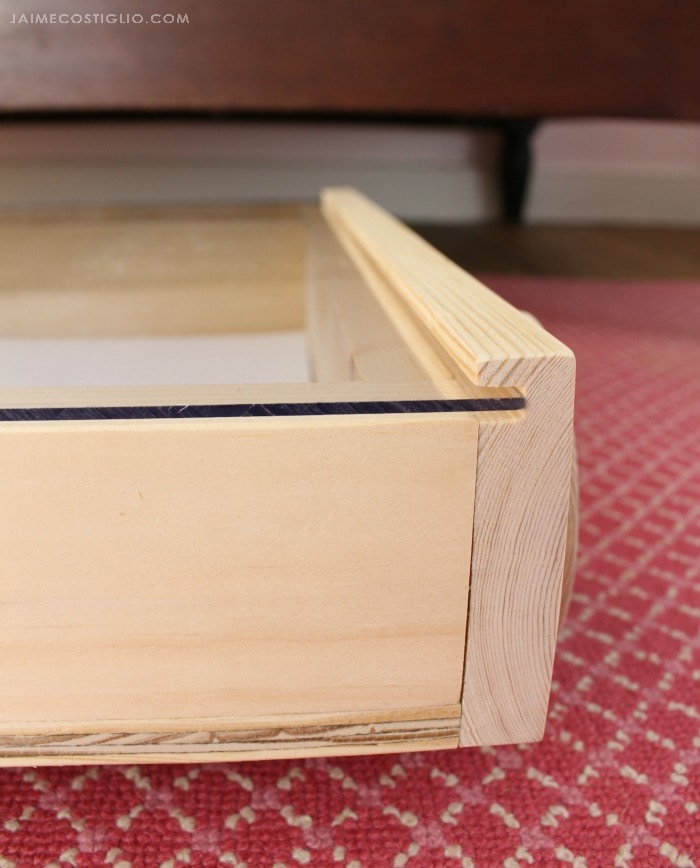
So make sure you head on over the JaimeCostiglio.com for the details on how she modified the plans to create this option.
You'll find the plans following, but do pop over and read Jaime's build post for lots of tips, more photos and details - like how she cuts her wheels and attaches.

Enjoy and share the plans following!
XO Ana
CLICK HERE FOR JAIME COSTIGLIO BUILD POST
Pin For Later!
Preparation
- 1 - 1x4 @ 3 feet long
- 2 - 1x3 @ 8 feet long
- 1/4" or 1/2" plywood panel 18" x 24-1/2"
- 18" x 24" clear plastic sheet
- Scrap 1x5 or larger for cutting wheels out of
- 4 - 2" stainless steel hex bolts with nuts and washers
- 3/4" brad nails or staples (to match your fastening tool)
- 2 - 1x4 @ 18"
- 2 - 1x3 @ 24-1/2"
- 2 - 1x3 @ 16-1/2"
- 1 - 1x3 @ 23"
- 1 - 1x3 @ 9"
- Bottom plywood 18" x 24-1/2"


Instructions
Step 1

Attach 1x3s together to create the divider shape - work from inside out so you have room for your tool to fasten. Use glue and 2" fasteners.
Attach bottom to 1x3s with 3/4" brad nails or staples and glue.
Step 2

Attach 1x4s to outside of 1x3s with glue and 1-1/4" brad nails.
Step 3

Cut wheels (Jaime used a quart paint can as a template) and cut out with a jigsaw. Sand until smooth. Drill holes in center of wheels. Place tray on top of 1x material to elevate off the floor. Then mark center of wheels on sides of tray. Drill out holes to match your bolts. Install wheels using bolts and nuts.
Step 4

The acrylic sheet sits on top of the project.