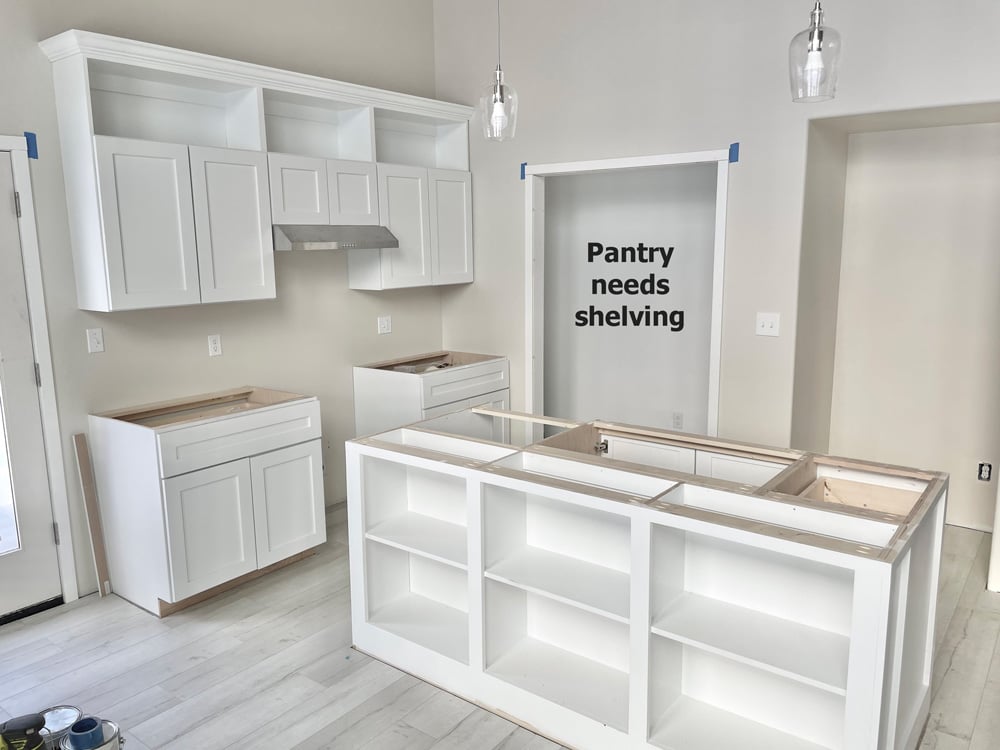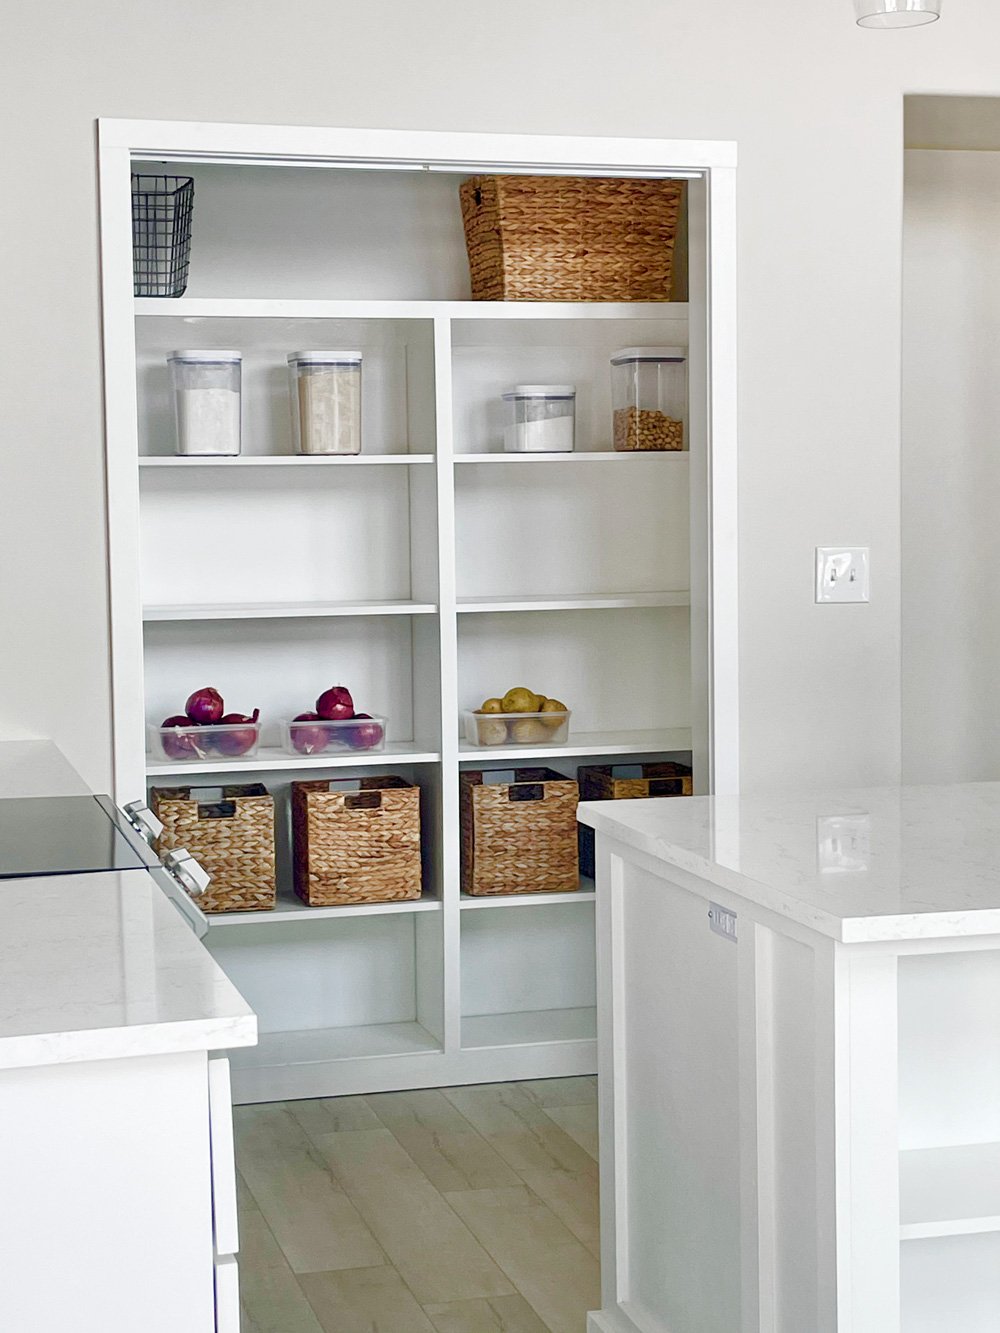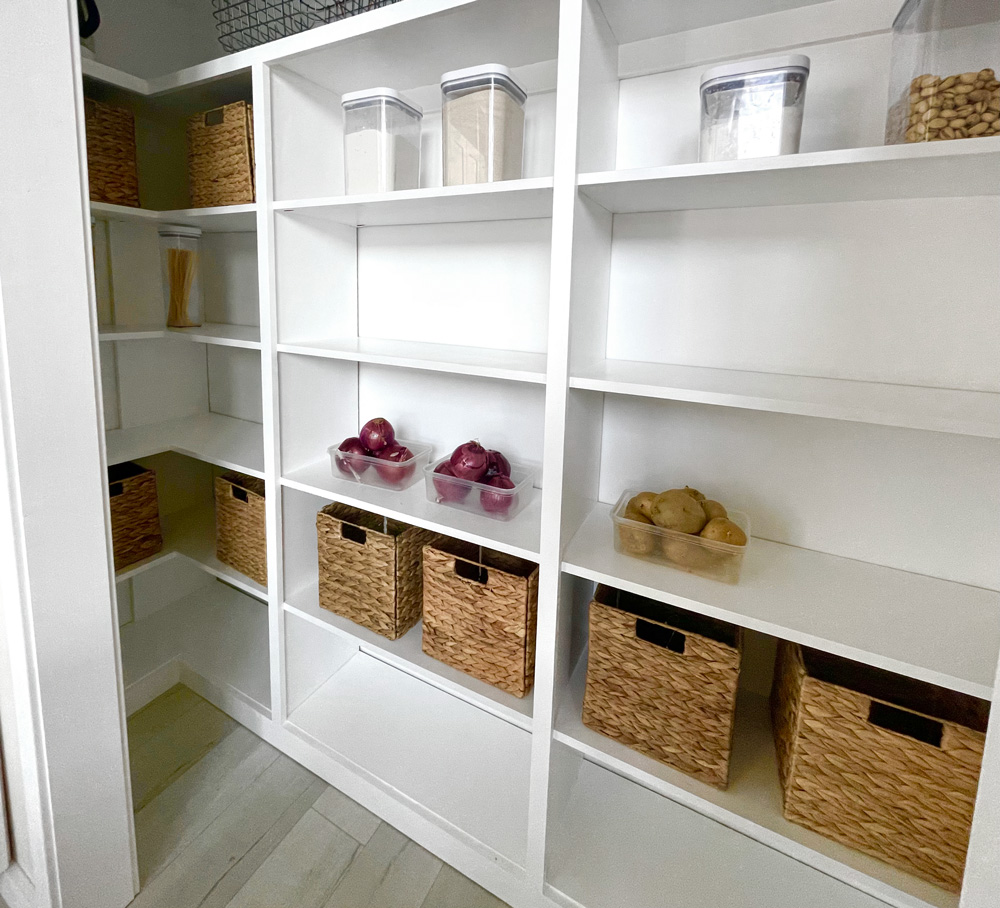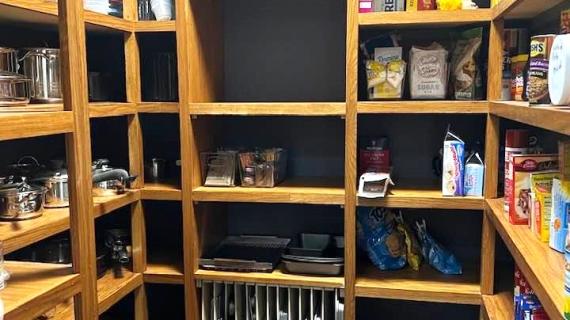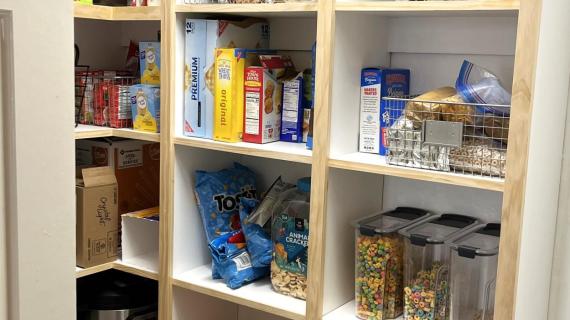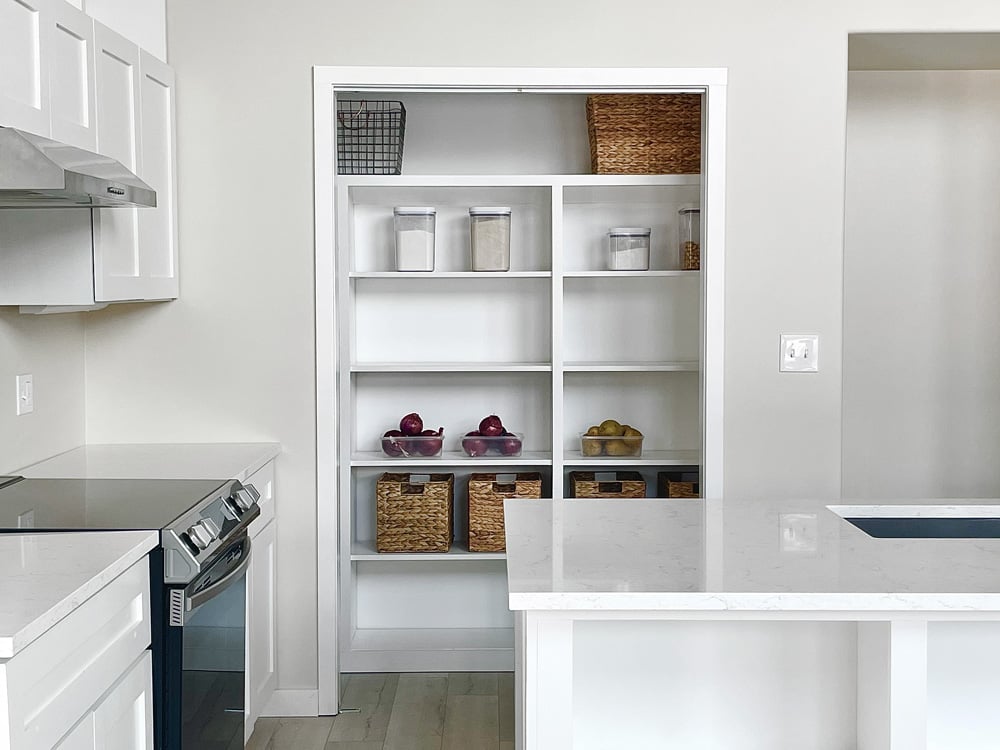
This is the best way to build nice pantry shelving, that will last a lifetime and looks great. Free plans and video by Ana-White.com
Pin For Later!

Preparation
- 3/4" plywood
- 1x2 for trim
- 1x4 or 1x3 for bay supports
- 3/4" edge banding in matching wood veneer
- 1-1/4" pocket hole screws
- 1-1/4" brad nails
- wood filler
- wood glue
- paint, primer, finishing supplies
- Cut list is generated in Ana's Design App
- Rip the plywood first to the desired depth of the shelving. Then cross cut with a circular saw to match the cut list generated in the design app.
- Cut the 1x boards to fit
Instructions
Step 1
Planning and Designing Your Pantry Shelving to Fit Your Pantry
Measure your pantry and decide how big of shelving you'll want.
You'll want to make the shelving a little smaller so it fits inside without scratching up walls - I give an inch.
Use my free design app (below) to custom design your pantry shelving using the following parameters -
- Height - up to you, but consider useable heights for storage is about 72" - the top counts as a shelf too.
- Width - overall width of pantry, but subtract an inch so it's not too tight of a fit
- Depth - 11.25" or 15.25" are standard depths, but it's really up to you and the space you have.
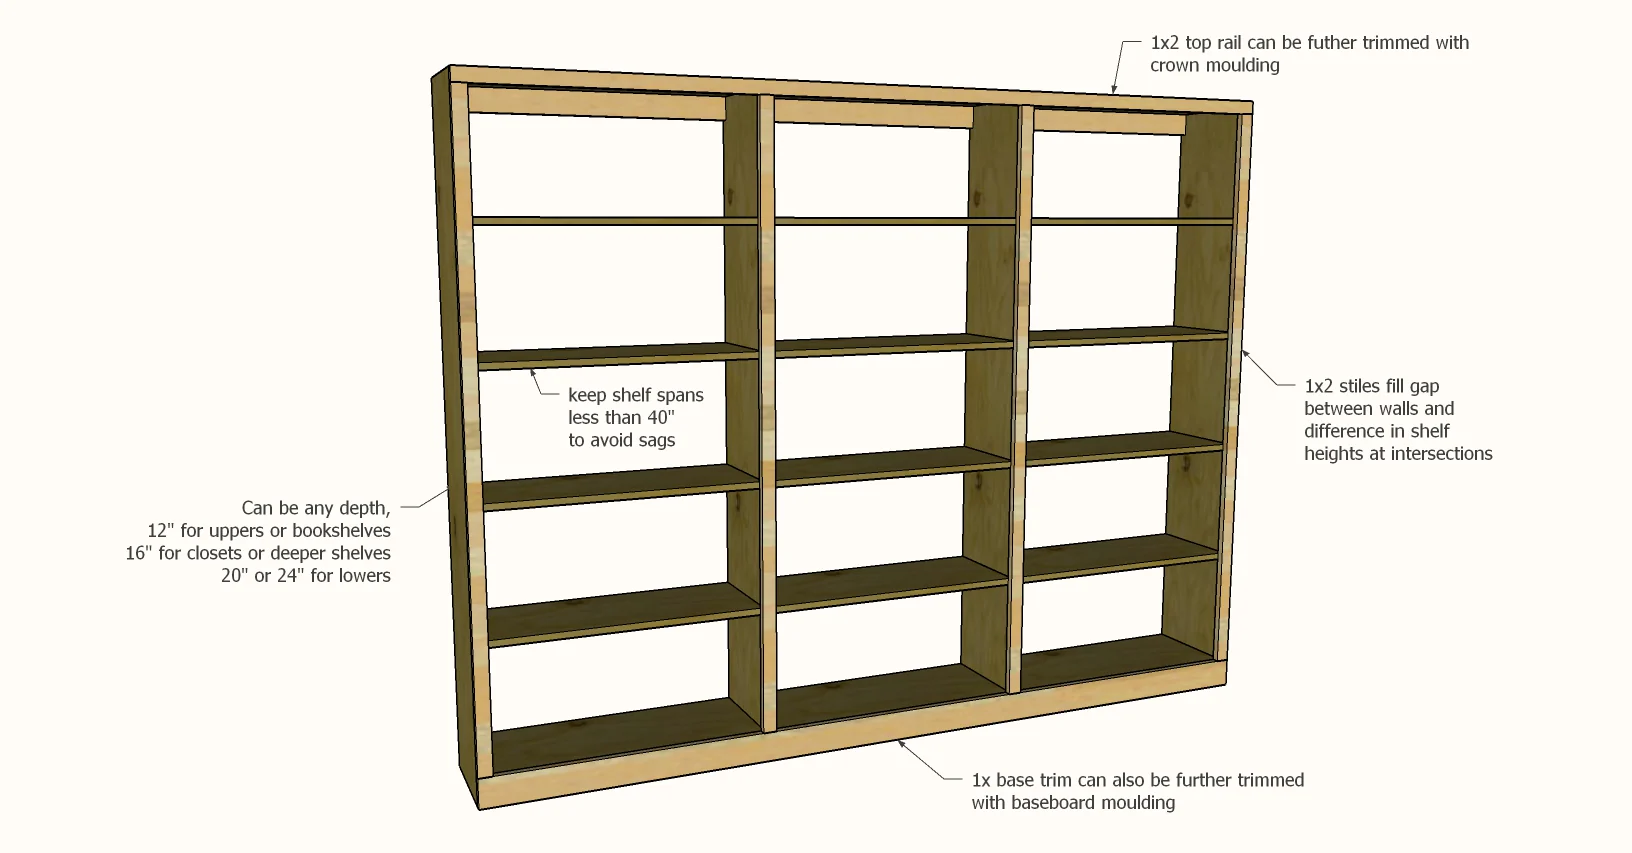
- Bays - Shelves should not span over 36" as they may start to sag, so add bays to keep shelf spans.
- Distance between shelves - About 13" is good standard height, but it's up to you.
Cutting the Pieces
Once you have finished designing your perfect pantry shelving, complete the project and download the drawings.
The drawings will supply a cut list. Rip 3/4" plywood into desired depth and then cross cut with a circular saw to match the cut list.
Apply edge banding to front edges with an iron and trim off excess. Sand the edges with sand paper.
Step 2
Assembling the Wood Pieces
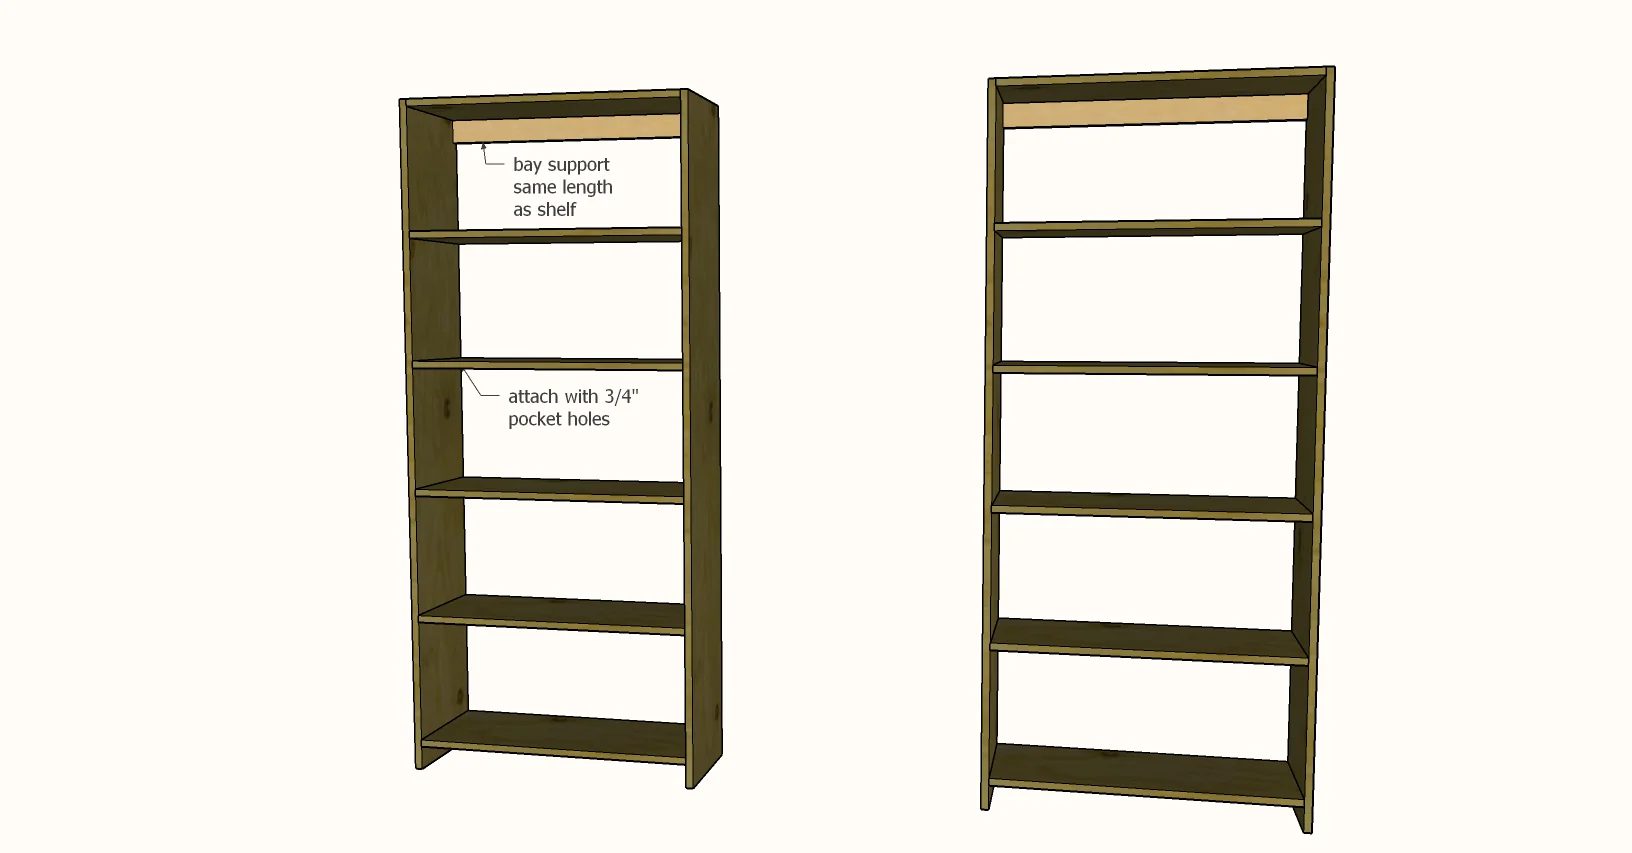
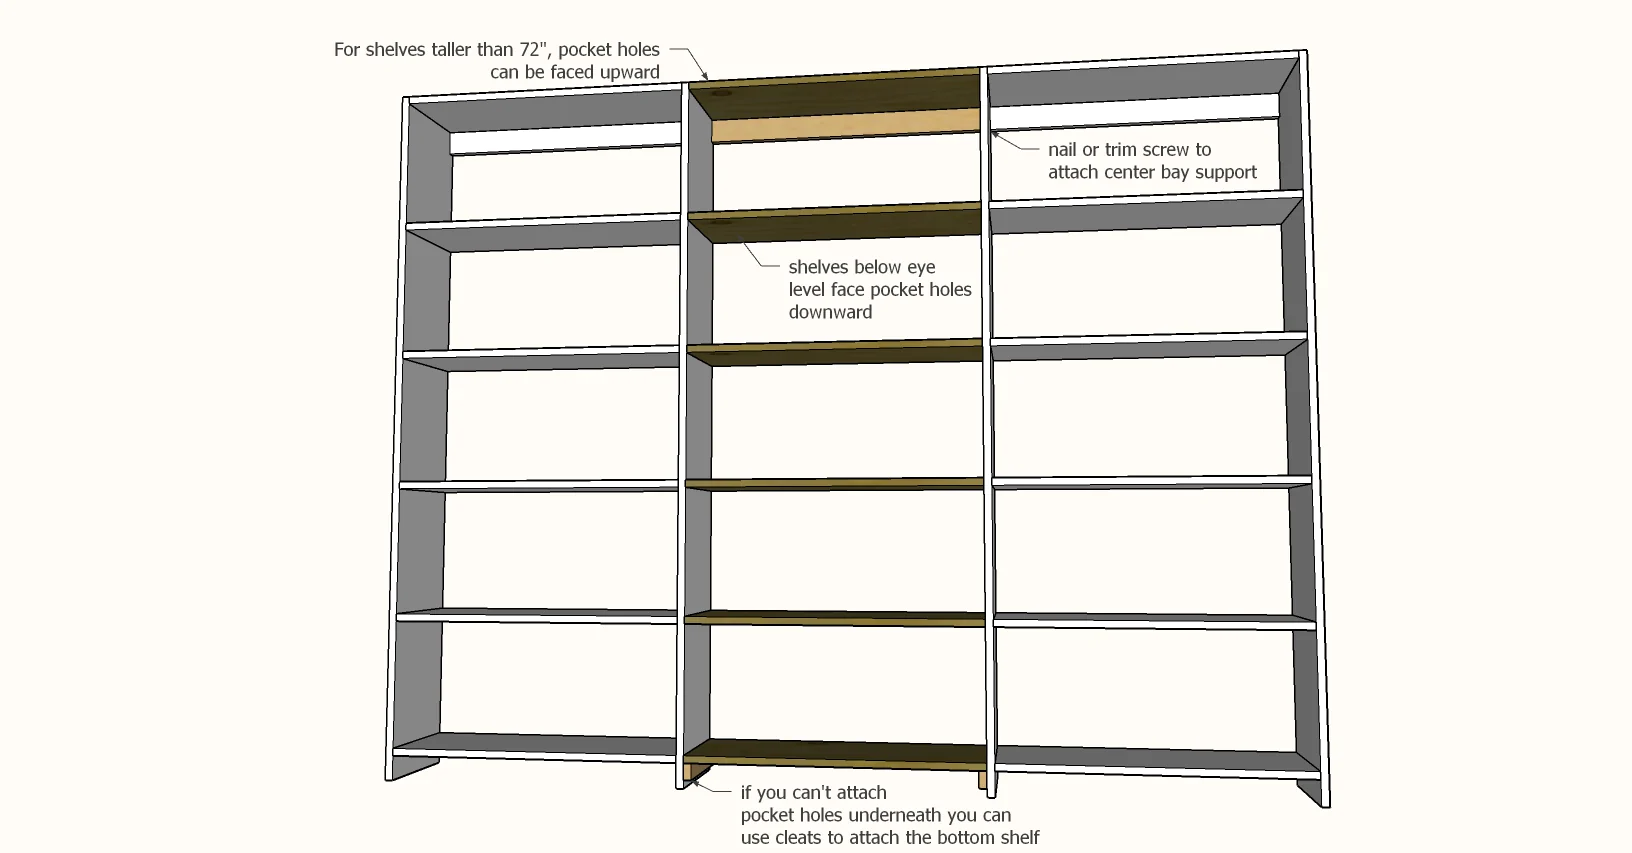
Depending on how many bays you have, it may make sense as I did to assemble outer bookshelves and tie them in once they are in the pantry.
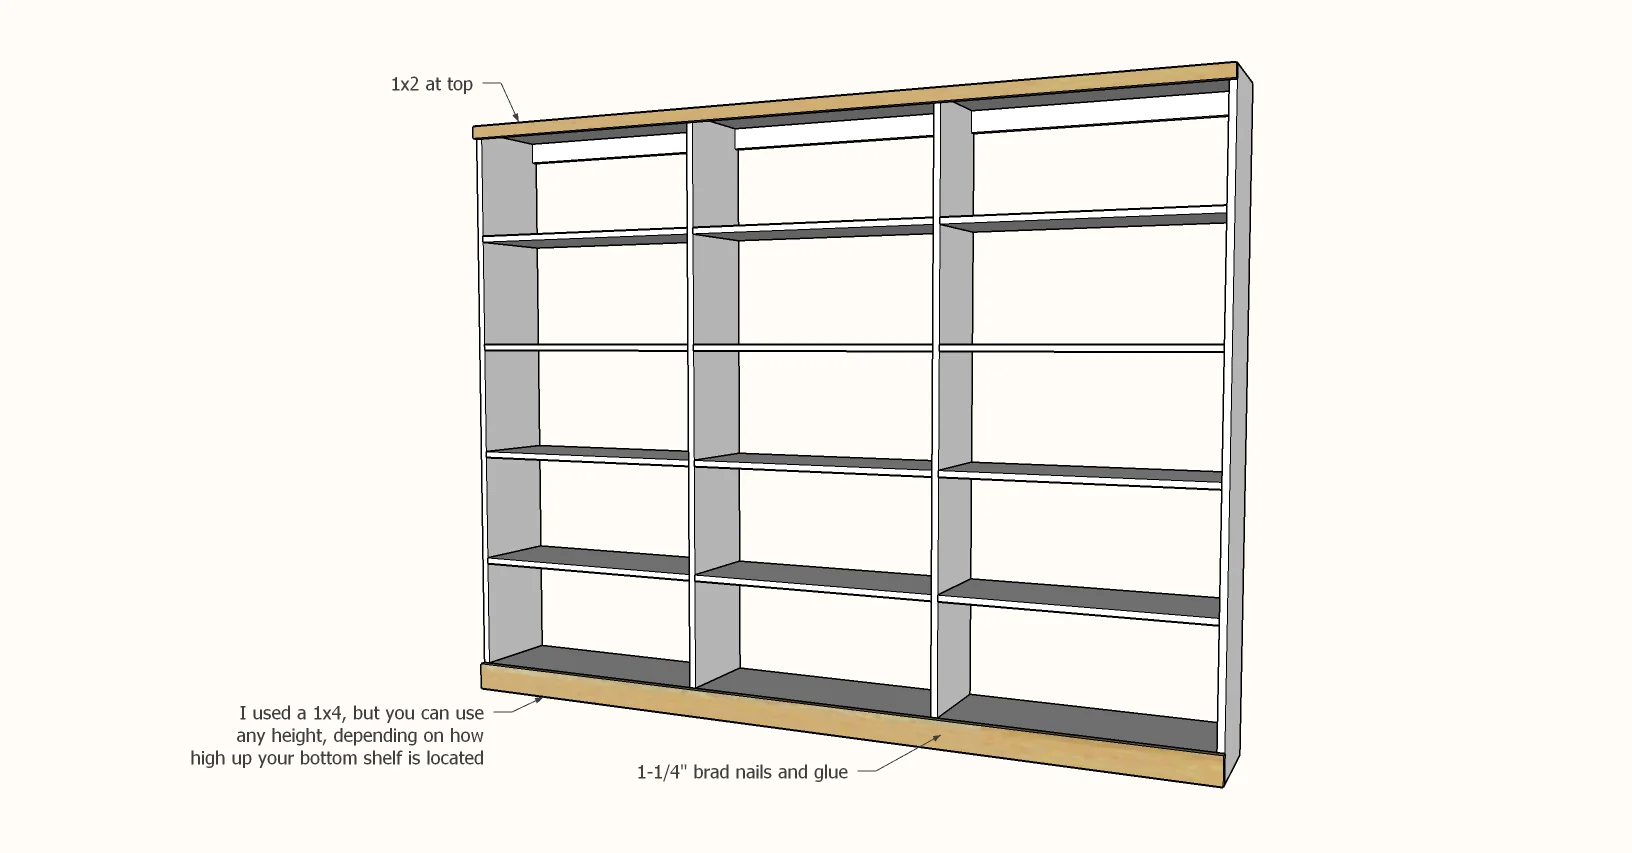
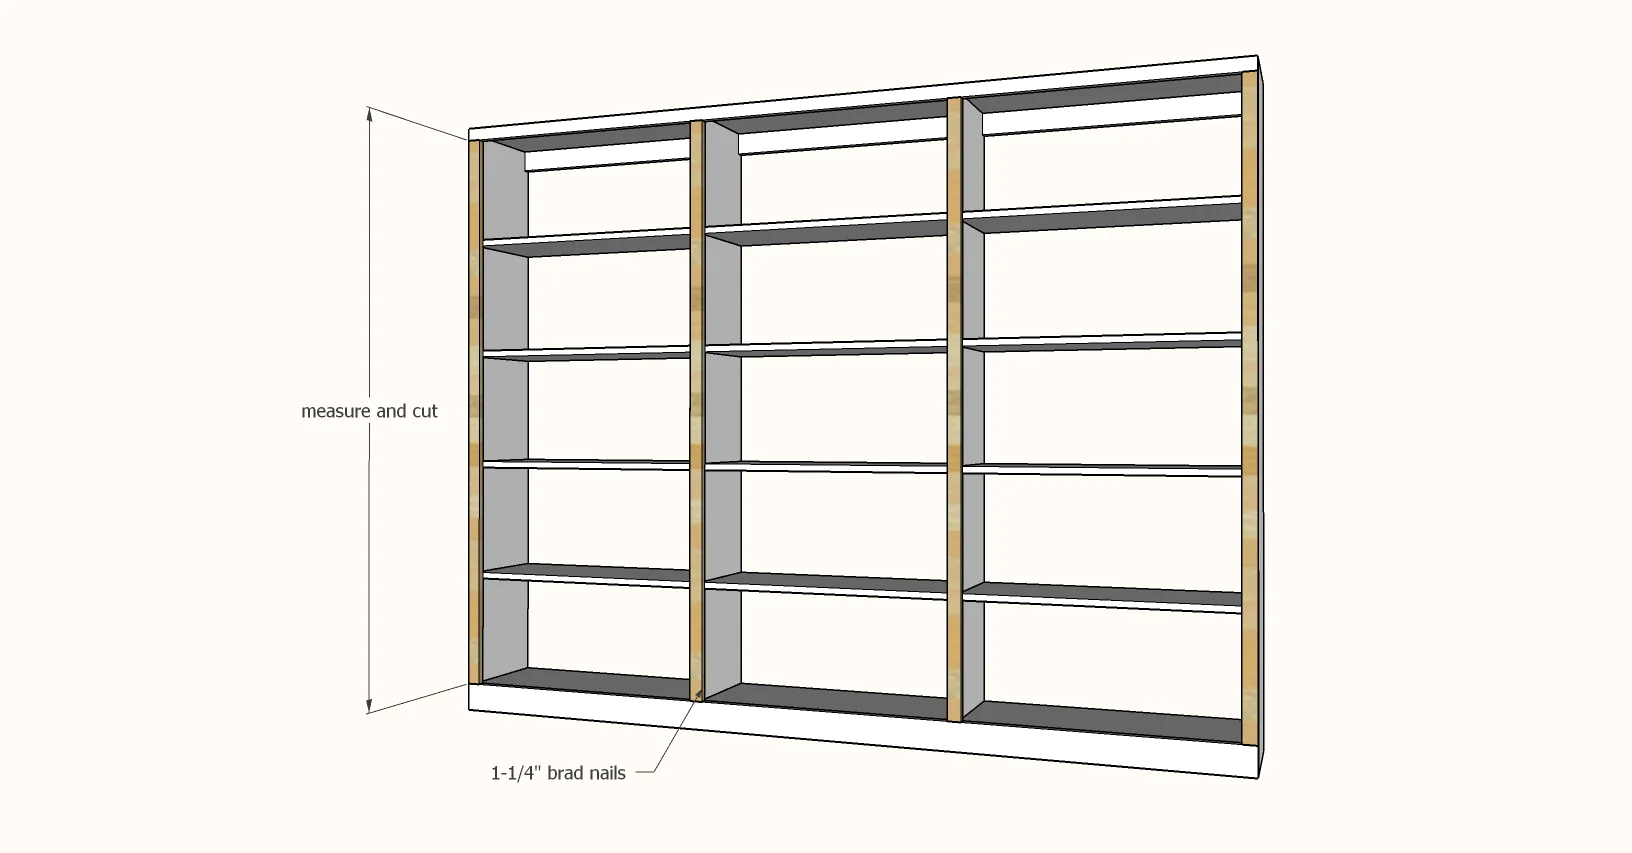
Assemble using 3/4" pocket holes and 1-1/4" pocket hole screws. Add "bay supports" to the top to help keep the shelving square, and this also gives you a backing to attach to the walls.
Step 3
Step 4
Sand excess off.
Sand entire project with 120 grit sandpaper.
Remove all sanding residue with a vacuum with soft bristled brush. Wipe clean with a damp, lint free cloth.


